¡Regálales a tus amigos $10 de descuento en su primer pedido!
Recomienda a un AMIGO








Un proyecto de nuestro programa en vivo VITRINA DE MARCAS - ISOBEL CRAFT - Acompáñanos en este evento tan querido donde las marcas PEQUEÑAS alzan la voz MÁS FUERTE - Transmitido el 20 ENE 23 · 01/20/2023 · velo desde 51:00
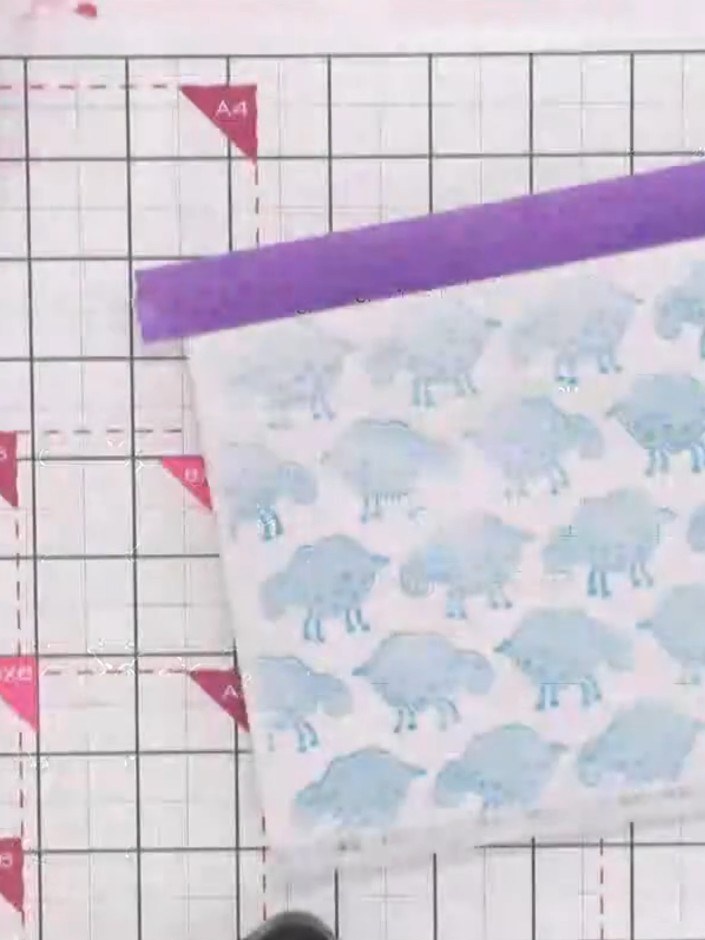
Create a charming layered card featuring adorable sheep designs built up with stencils and stamps. This whimsical project combines soft pastel tones with decorative flourishes and sweet sentiments like 'Love Ewe'. Use stencilling and stamping techniques to add depth and dimension, creating delightful scenes with floating sheep and coordinating embellishments.
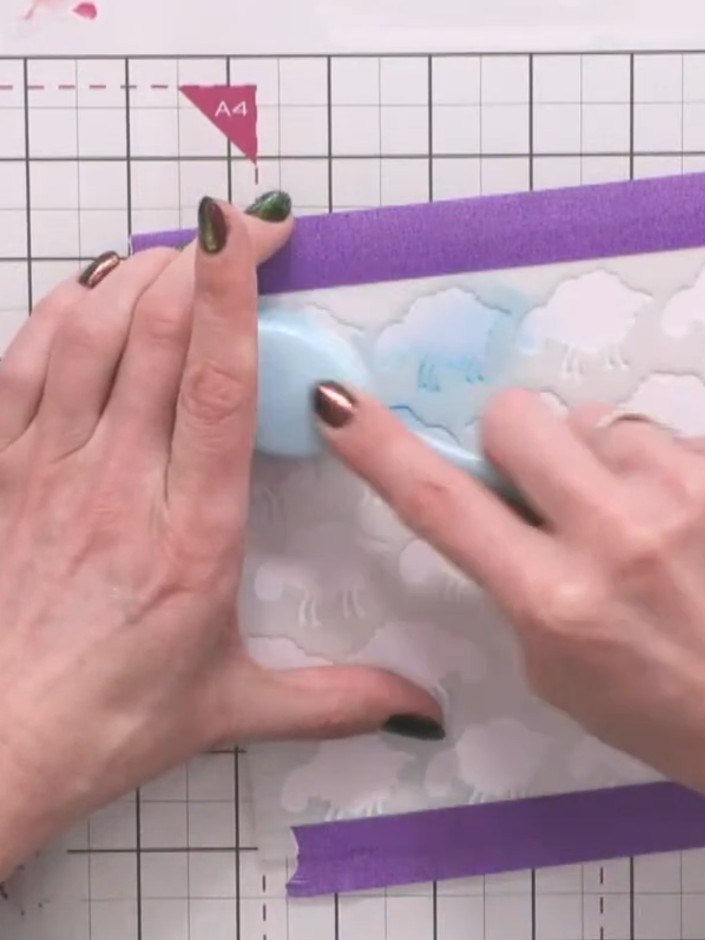
Position the first sheep stencil layer over your card panel. Apply distress ink in Peacock Feathers (or your chosen blue colour) through the stencil using a blending tool or sponge, working the colour evenly over the cloud shapes.
▶ ver este paso (51:15)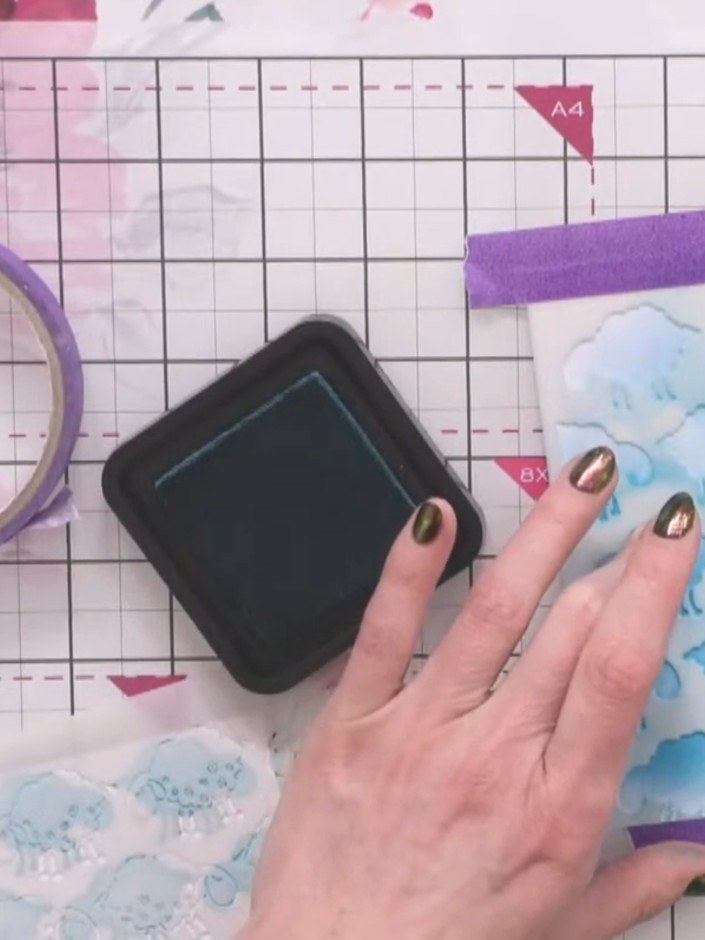
Line up and apply the second stencil layer using faded jeans or a darker coordinating blue ink to add depth to the sheep design. Continue building up the layers by clicking and adding the stencil repeatedly.
▶ ver este paso (51:45)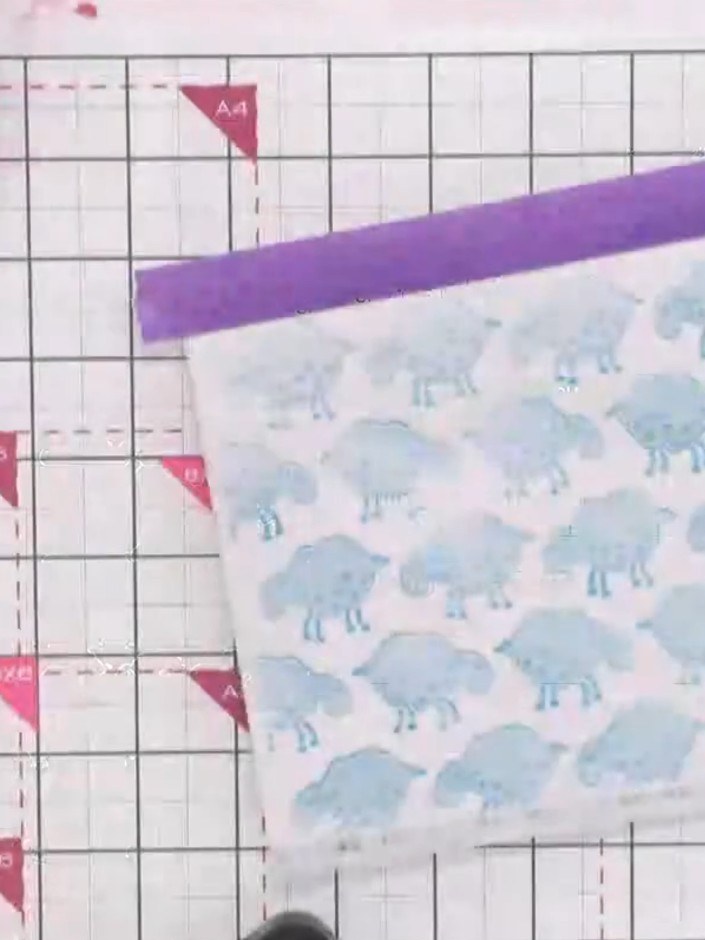
Position the third sheep stencil over your card and apply purple ink through the stencil to add the final layer of detail to the sheep pattern.
▶ ver este paso (52:15)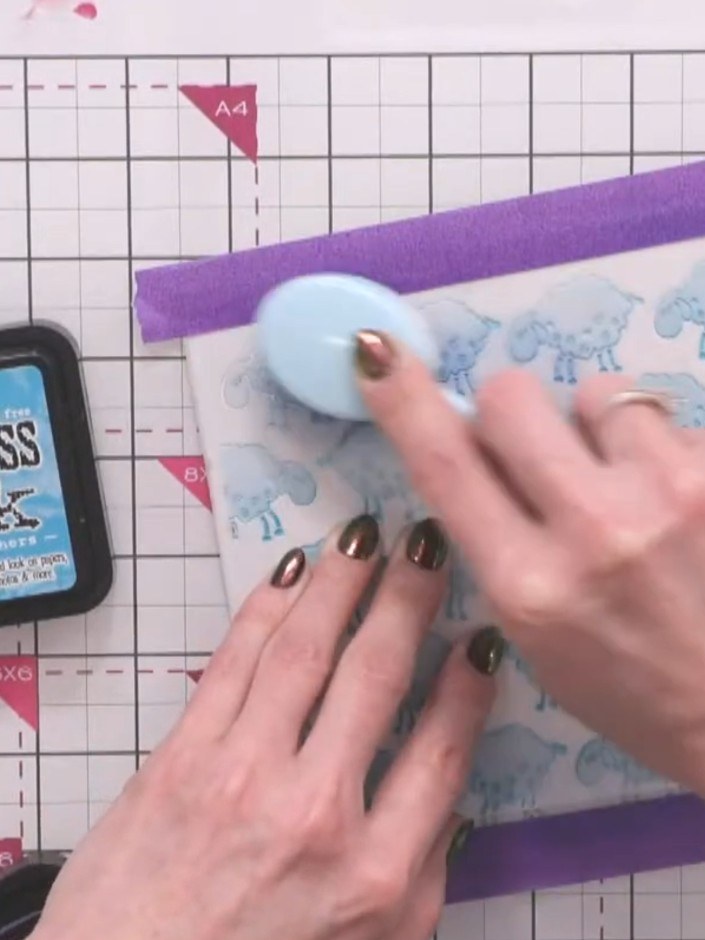
Stamp sheep images from the coordinating stamp set onto the card base using Peacock Feathers Distress Ink. Position the stamps randomly across the panel to create a scattered pattern.
▶ ver este paso (52:45)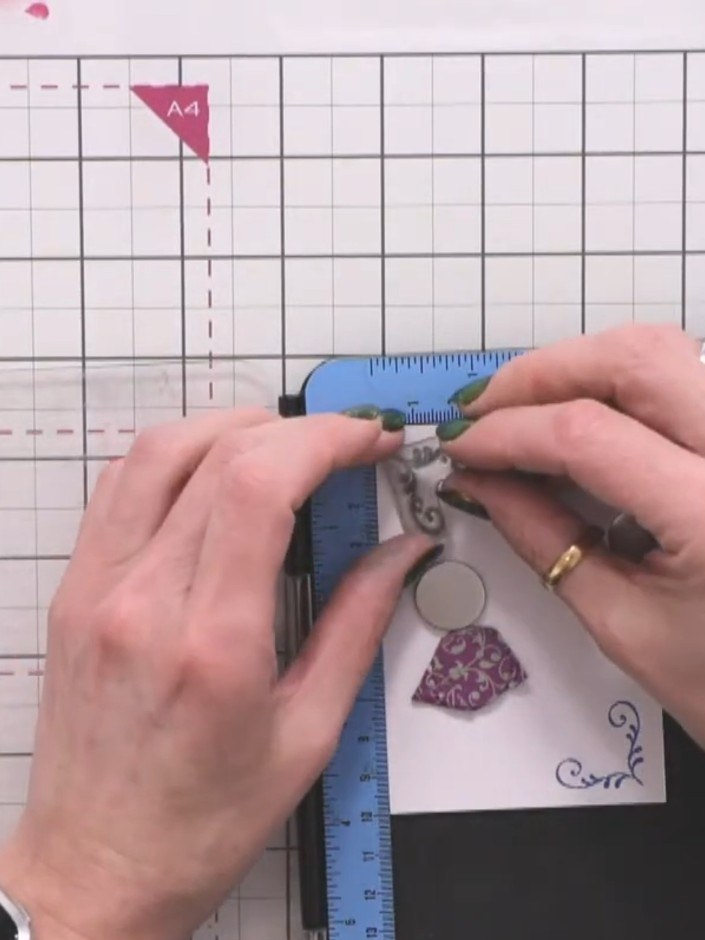
Add sentiment stamps such as 'Love you' using dark ink to complement the sheep design. Position the stamps in the corner areas of your card to create balanced decoration.
▶ ver este paso (53:30)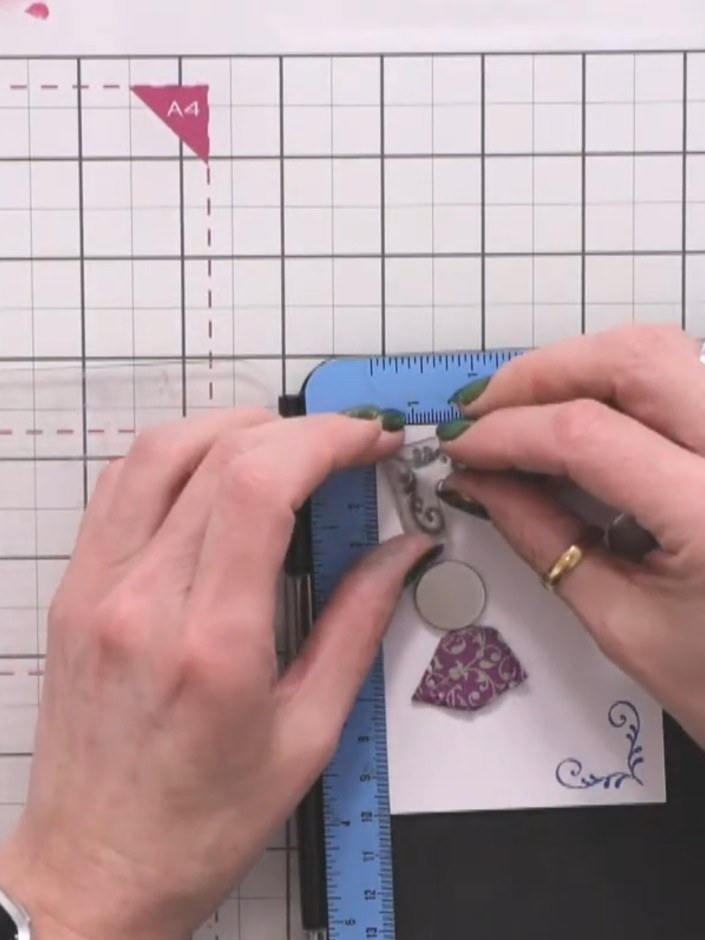
Use distress ink from the greasing set and water to create a subtle wash or decorative squiggle beneath the sheep to ground them on the card.
▶ ver este paso (54:00)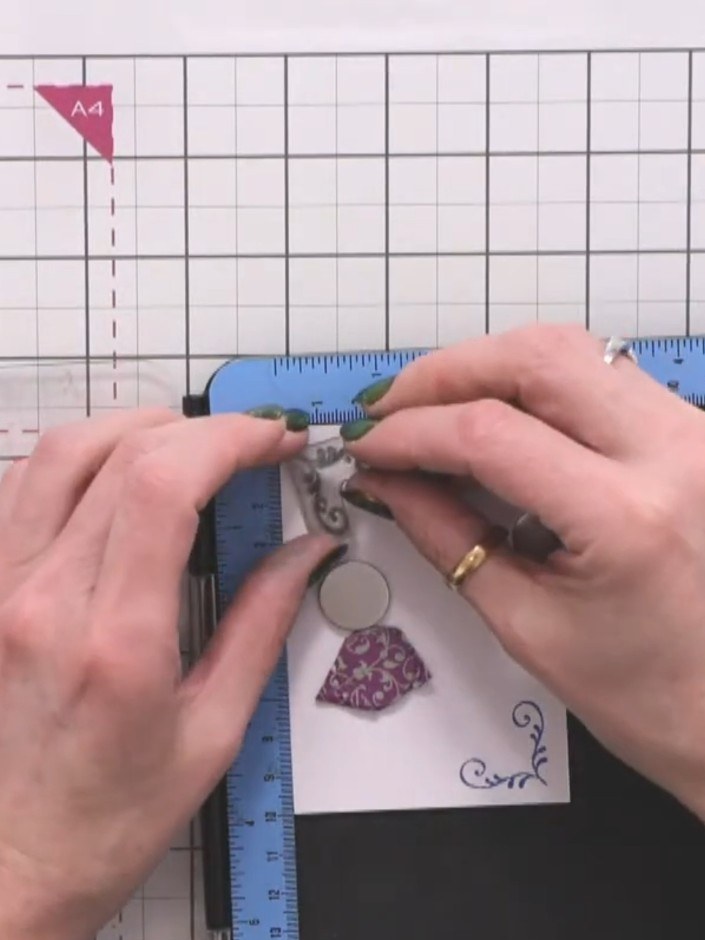
Use a water brush from the greasing set to blend the grounding colour, creating a soft watercoloured effect.
▶ ver este paso (54:45)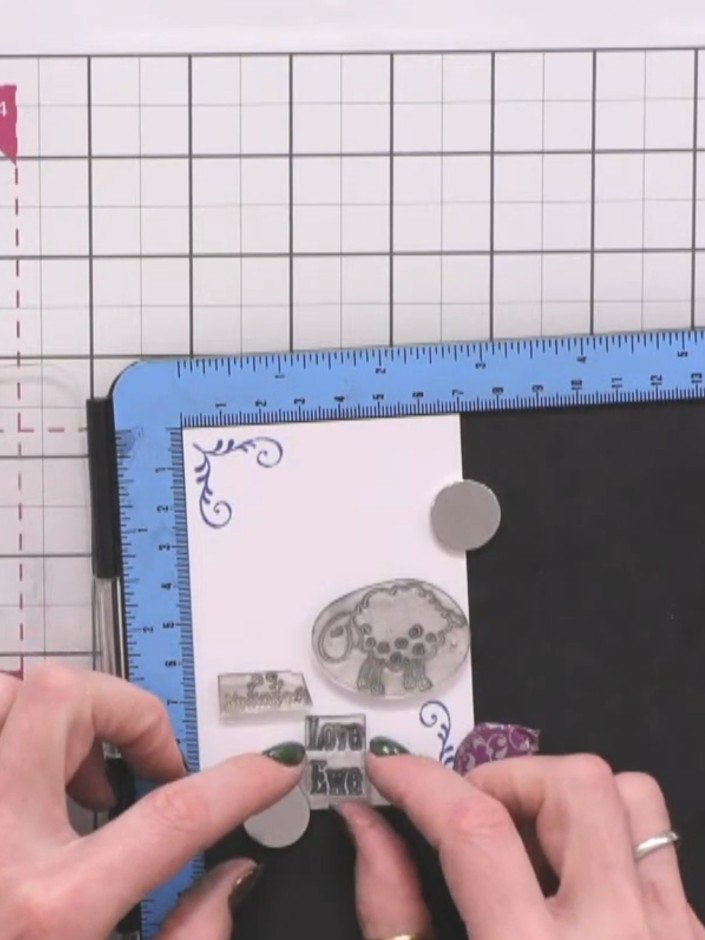
Mount your finished sheep design onto a coordinating card base. Alternatively, you can use the design as a gift tag.
▶ ver este paso (55:30)Redactado a partir del propio programa. Mira todas las guías de nuestros programas · guías paso a paso gratis · mira en vivo en My Telly