ENLACES RÁPIDOS

info@howtocraftnetwork.com
Ahora somos más inteligentes: compra y mira con la app de SBMDESCARGA LA APPMíranos en vivo en tu smart TVVER CÓMODescubre nuestro canal IPTV exclusivo: visita my-telly.comVERAcumula puntos de fidelidad en cada pedidoMÁS INFORMACIÓN
Te damos la bienvenida a How to Craft Network
 
SBM SHOP
SÍGUENOS
REGÁLALES $10 DE DESCUENTO A TUS AMIGOS RECOMIENDA A UN AMIGO › DESCUBRE MY-TELLY.COM › AHORA SOMOS MÁS INTELIGENTES DESCARGA LA APP › CANAL GALARDONADO EN TU TV › ÚNETE AL CLUB PARA AHORRAR ›
 

Steampunk Distress Ink Layered Background

Un proyecto de nuestro programa en vivo VITRINA DE MARCAS - ISOBEL CRAFT - Acompáñanos en este evento tan querido donde las marcas PEQUEÑAS alzan la voz MÁS FUERTE - Transmitido el 20 ENE 23 · 01/20/2023 · velo desde 44:45
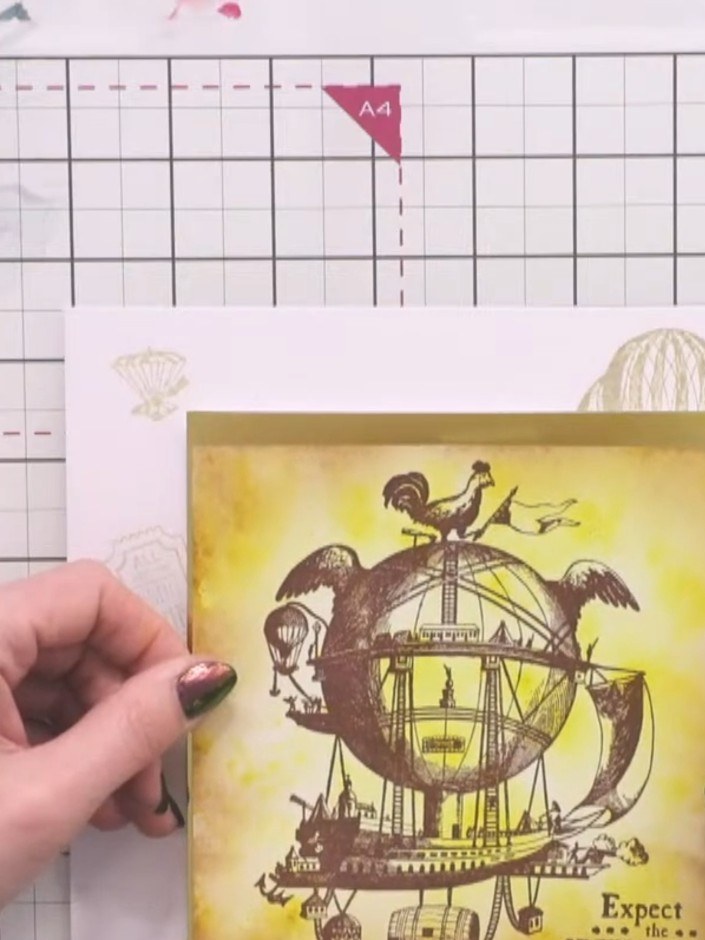
Steampunk Distress Ink Layered Background - the finished project
El proyecto terminado

Create a stunning vintage steampunk background featuring a fantastical airship design with warm yellow and antique tones. Using distress inks in antique linen and coordinating colours, you'll build up layers to achieve an aged, industrial aesthetic. This technique produces a beautifully faded background perfect for steampunk-themed cards and crafts.
DESCARGA ESTA GUÍA (PDF)

Paso a paso

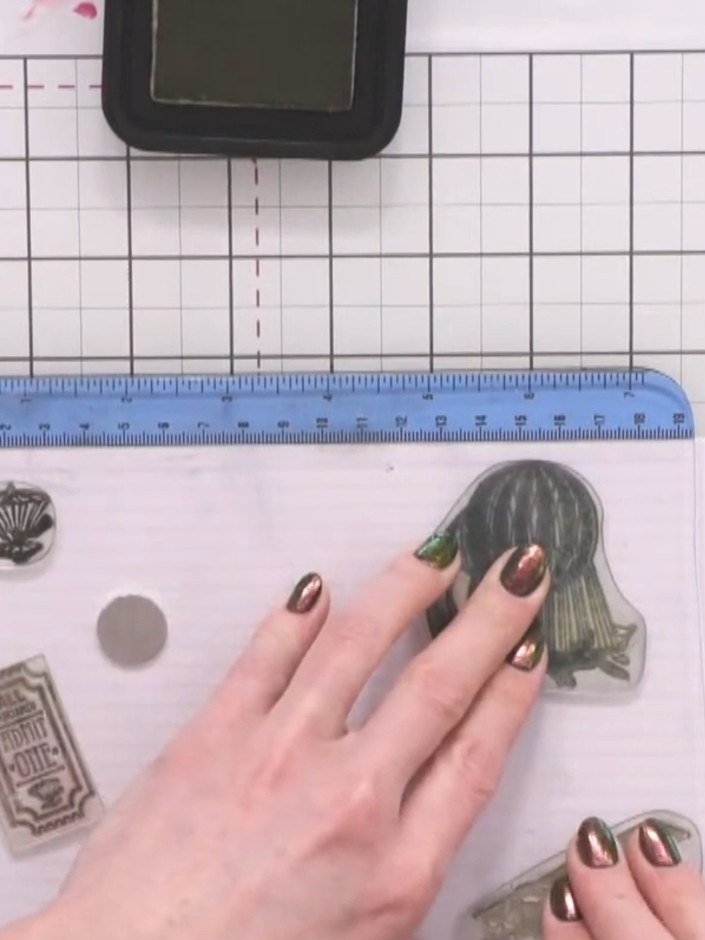
  1. Step 1: Apply a very pale antique linen distress ink across your white cardstock using a stamp platform, building up t

    Apply a very pale antique linen distress ink across your white cardstock using a stamp platform, building up the colour gradually with light layers.

    ▶ ver este paso (44:45)
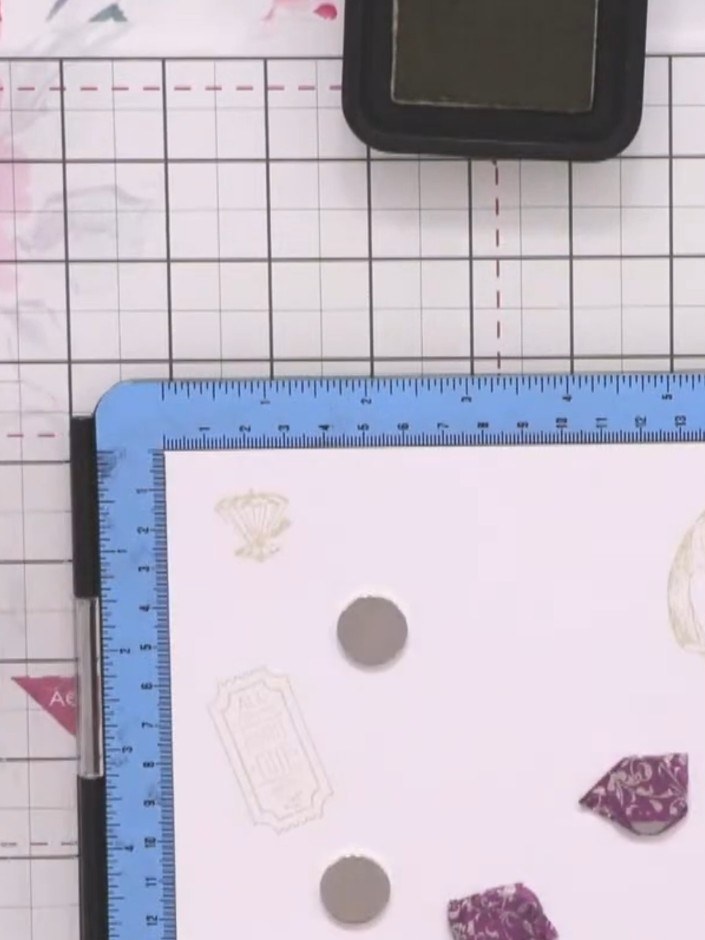
  2. Using the same pale gold ink, stamp the steampunk images multiple times across the white background. Vary the placement to create a layered, faded effect with the images overlapping. ▶ watch 45:15
  3. Step 3: Allow the ink to dry between applications to build up the vintage, aged appearance. Continue stamping and laye

    Allow the ink to dry between applications to build up the vintage, aged appearance. Continue stamping and layering the steampunk images across the white cardstock, varying the ink colours and stamp positions to create depth and interest.

    ▶ ver este paso (45:45)
  4. Layer your steampunk images and sentiments on top of the prepared background card. Position the die-cut elements and stamped pieces to create your desired composition, building up the layers for dimension. ▶ watch 46:30

Consejos del programa

Más de este programa

Redactado a partir del propio programa. Mira todas las guías de nuestros programas · guías paso a paso gratis · mira en vivo en My Telly







