¡Regálales a tus amigos $10 de descuento en su primer pedido!
Recomienda a un AMIGO








Un proyecto de nuestro programa en vivo VITRINA DE MARCAS - ISOBEL CRAFT - Acompáñanos en este evento tan querido donde las marcas PEQUEÑAS alzan la voz MÁS FUERTE - Transmitido el 20 ENE 23 · 01/20/2023 · velo desde 37:30
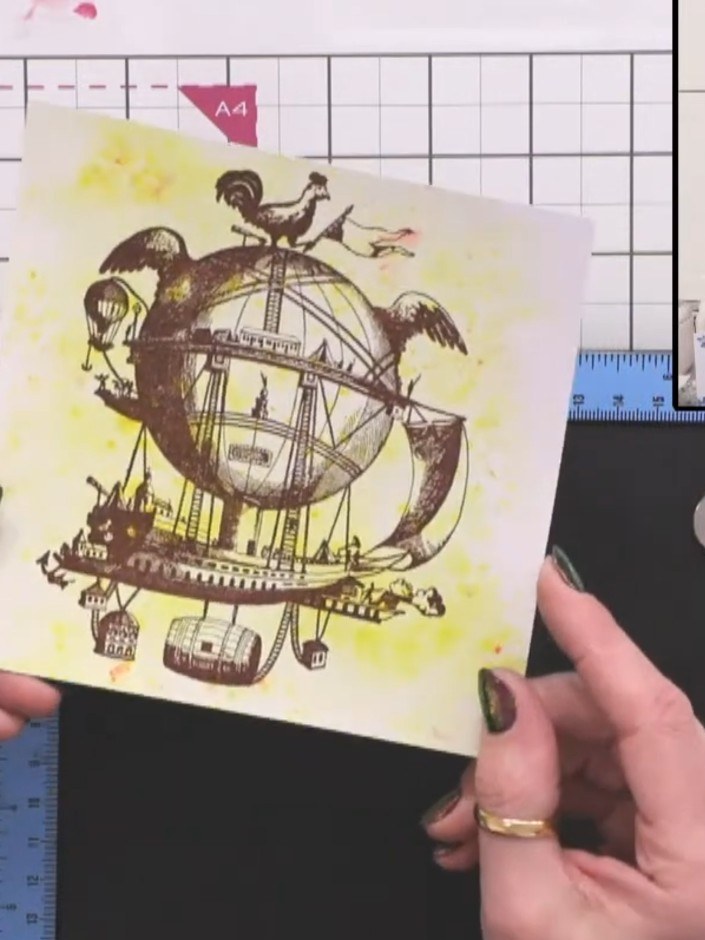
Create a striking steampunk-themed card featuring a fantastical airship design set against a vibrant yellow and lemon Brusho ink background. This project combines bold stamping techniques with fluid ink blending to achieve a dramatic, industrial-style finish. The layered composition includes a detailed steampunk stamp and coordinating sentiment for maximum visual impact.
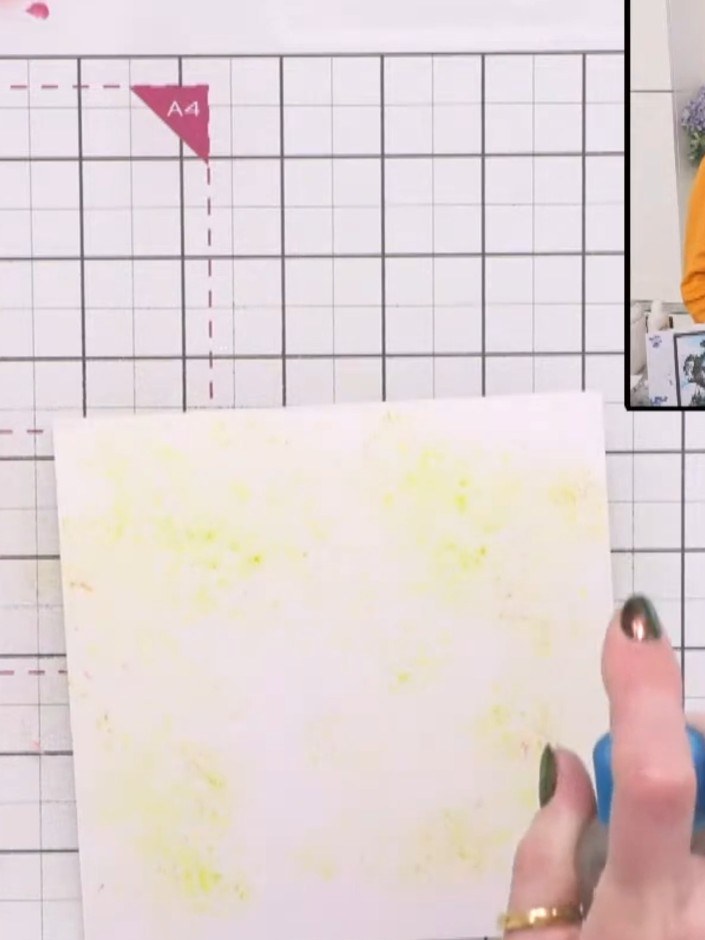
Tap lemon yellow Brusho ink onto white cardstock using a brush. Build up the colour gradually with light tapping motions across the surface.
▶ ver este paso (37:45)
Add yellow Brusho ink over the lemon-coloured areas, blending the two colours together on the card. Use a brush or tool to spread and blend the ink.
▶ mira este paso (38:00)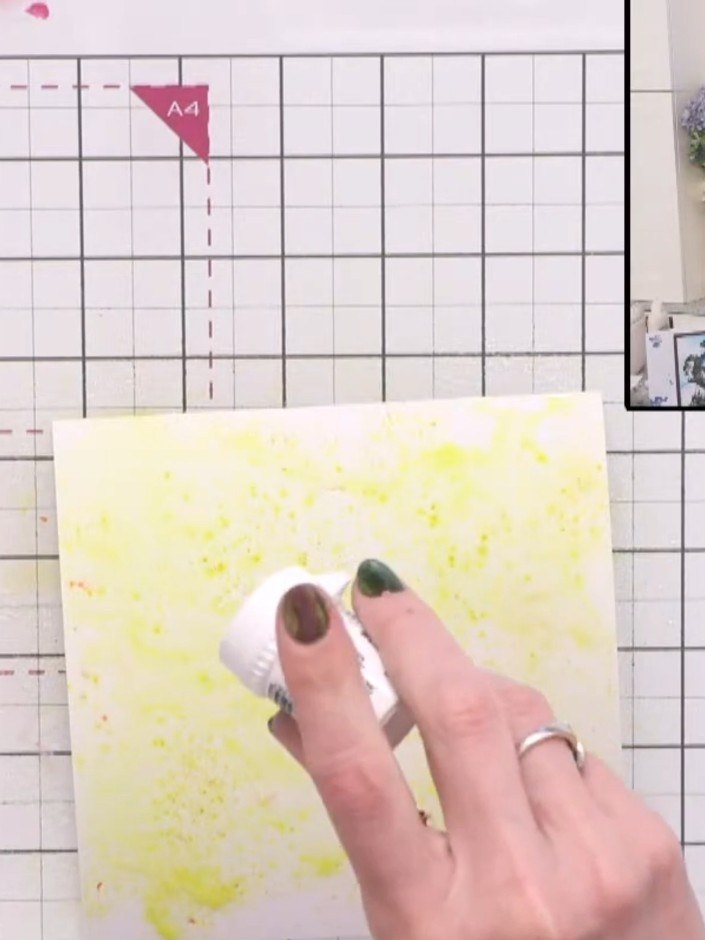
Dry the background thoroughly using a heat gun. Start from one side and work across the surface, then finish by drying the back to prevent the card from curling.
▶ ver este paso (38:30)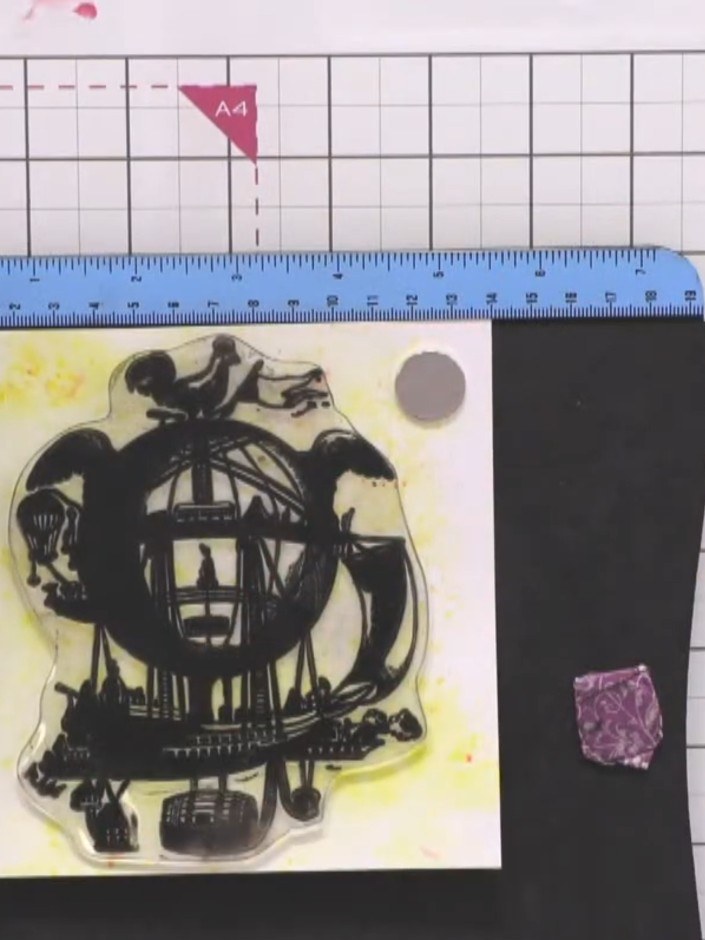
Stamp the large steampunk airship image onto the dried yellow background using brown ink. Press firmly and evenly to ensure all the fine details of the design are captured clearly.
▶ ver este paso (40:00)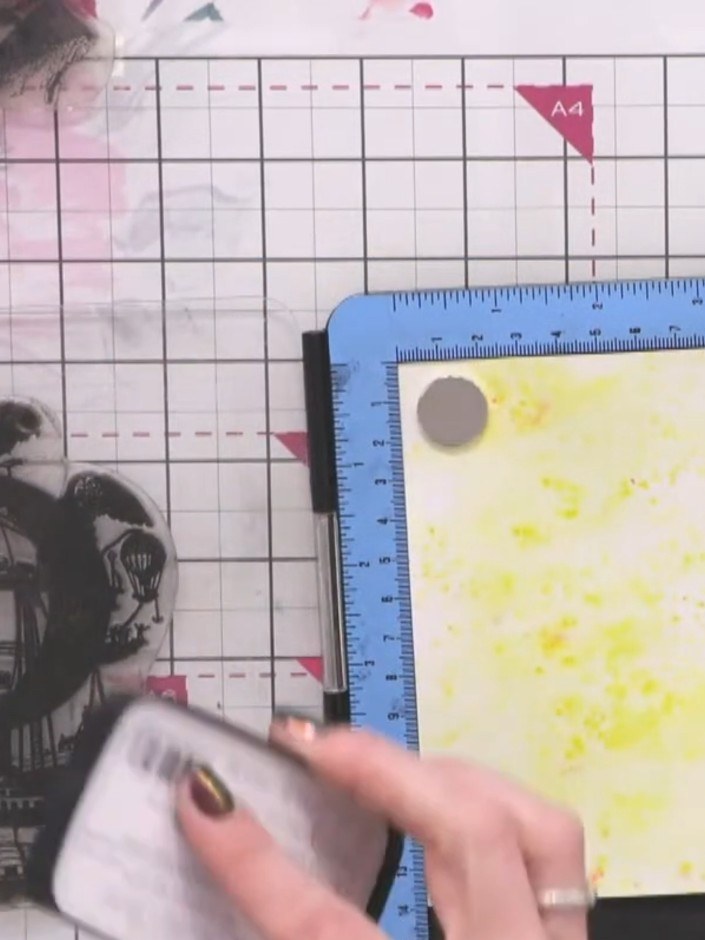
If any areas of the stamped image appear faint, carefully re-stamp those sections to ensure the intricate steampunk design has good coverage throughout.
▶ ver este paso (41:00)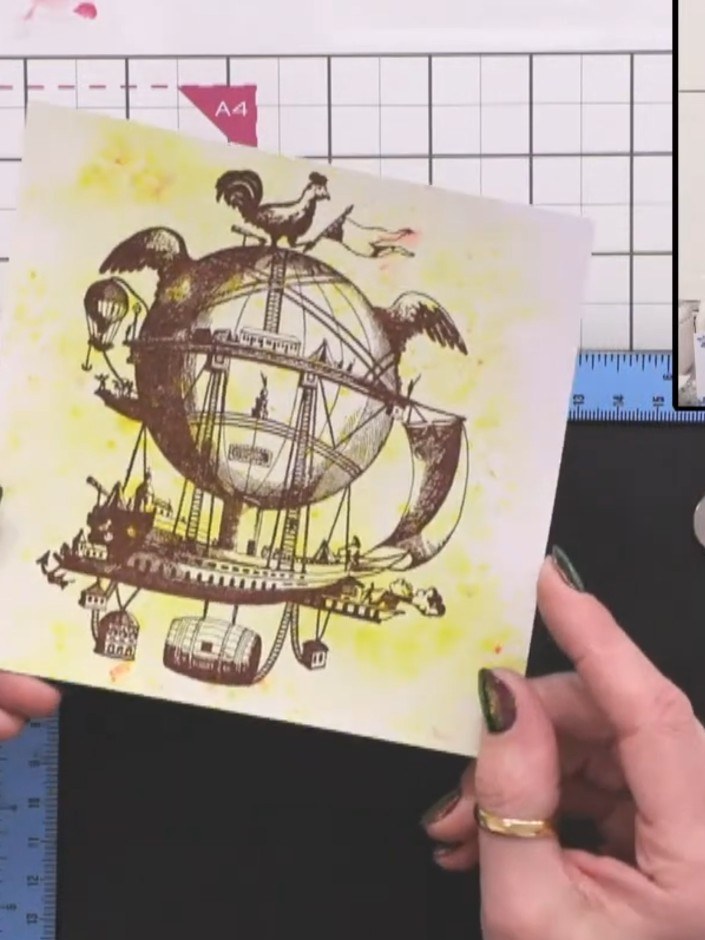
Stamp a coordinating steampunk sentiment in the bottom right corner of your card using the same brown ink. The detailed stamp will complement the airship design and complete your steampunk scene.
▶ ver este paso (42:00)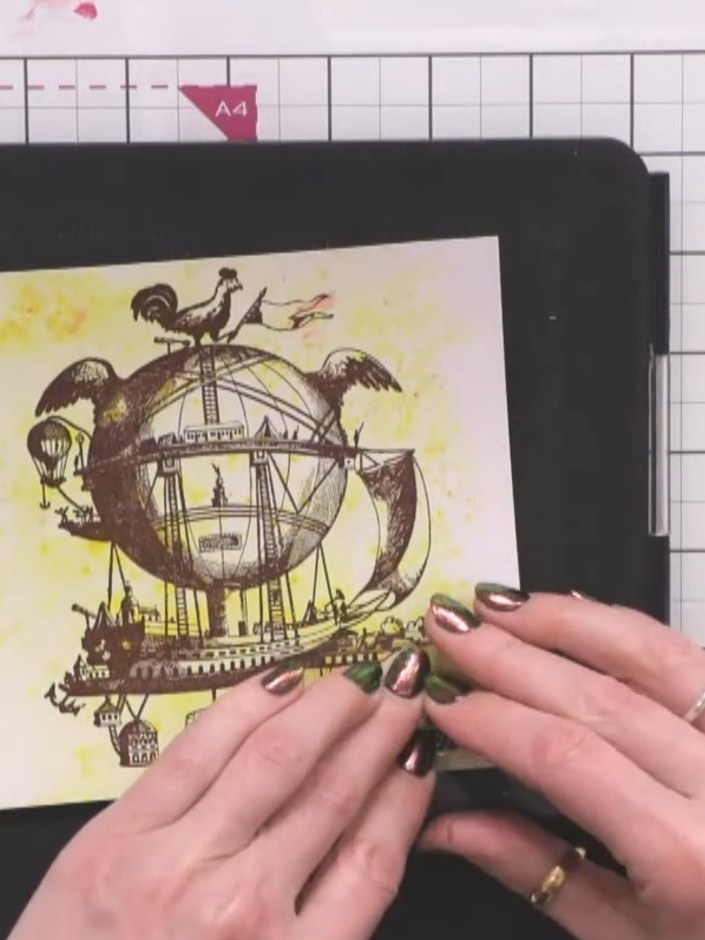
Mount the stamped and coloured image onto black metallic card to create a border and add dimension to your finished design.
▶ ver este paso (43:00)Redactado a partir del propio programa. Mira todas las guías de nuestros programas · guías paso a paso gratis · mira en vivo en My Telly