Regala ai tuoi amici 10 $ di sconto sul loro primo ordine!
Invita un AMICO








 The Thursday Dropgio 5 nov 13:00
 The Friday Final Cutven 6 nov 5:00
 Community Showcaselun 9 nov 5:00
I prezzi si aggiornano subito. Ogni lingua è una nostra traduzione, non Google.
Un progetto dalla nostra diretta MONDAY MADNESS - Unisciti a Simon Williamson di AVAGO-INK per le sue ultime novità e dimostrazioni - In onda il 16 maggio 22 · 05/16/2022 · guardalo da 1:30
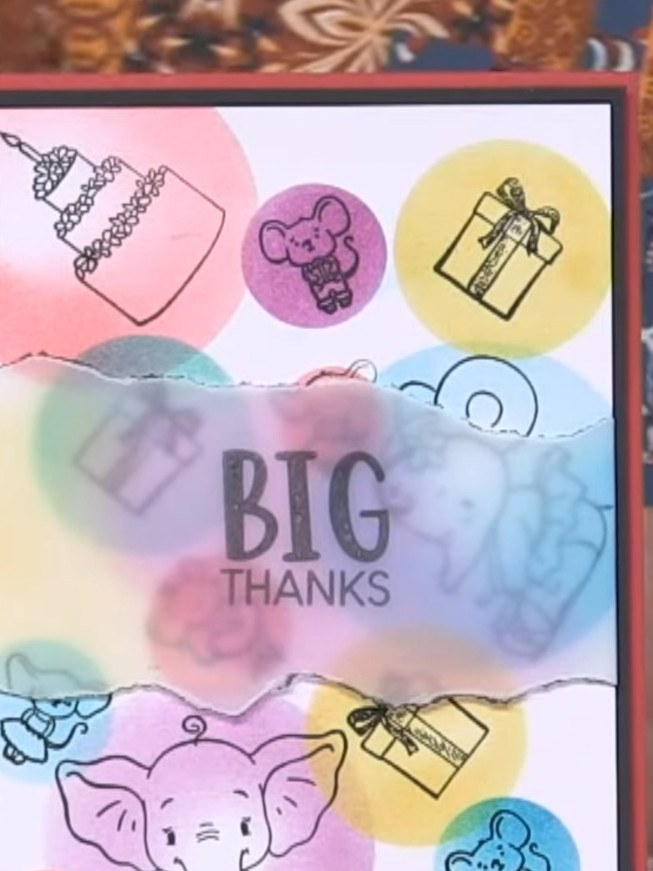
Create a cheerful card featuring adorable elephant characters surrounded by colourful circles. Using hand-made circle masks and layered ink blending, you'll build up a dreamy rainbow background in soft pastels. Stamp cute elephants and coordinating images within each circle, then add a vellum sentiment panel for a whimsical, dimensional finish.
 AVAGO-INK DESIGNS - TIMBRO A5 - ENJOY TODAYGUARDA
 TAMPONE D'INCHIOSTRO DYE IZINK 5 X 5CM - GRENADINE 050821oGUARDA
 TAMPONE D'INCHIOSTRO DYE IZINK 5 X 5CM - CIRE 050821kGUARDA
 TAMPONE D'INCHIOSTRO DYE IZINK 5 X 5CM - CASSIS 050821qGUARDA
 TAMPONE D'INCHIOSTRO DYE IZINK 5 X 5CM - CERISE 050821fGUARDA
 TAMPONE D'INCHIOSTRO DYE IZINK 5 X 5CM - OUTREMER 050821nGUARDA
 BIGLIETTI CON PIEGA IN ALTO ROSSI - 280921gGUARDA
 TAMPONE D'INCHIOSTRO VERSAFINE - ONYX BLACK - 300921cGUARDA
 TAMPONE D'INCHIOSTRO DYE IZINK 5 X 5CM - EMERAUDE 050821hGUARDA
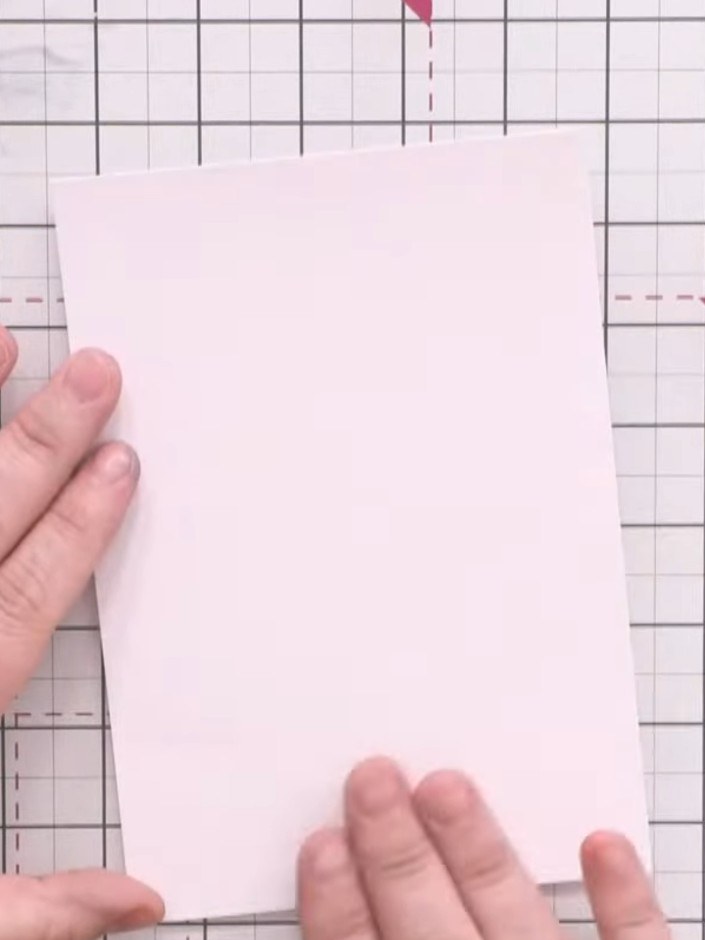
Parti da un pezzo di cartoncino testurizzato per timbri come base. This will be used to create a stencil for the circular mask design.
▶ guarda questo passaggio (1:30)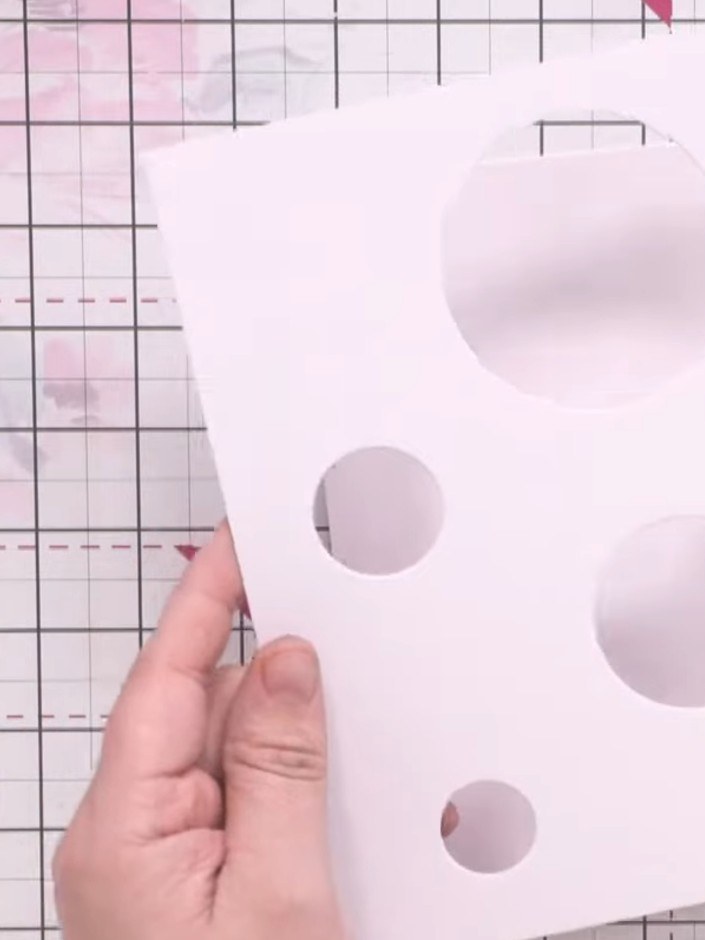
Create a stencil by cutting circles of various sizes from spare white card using circle dies from your stash. Trace the circles onto card to show the different sizes you'll be using.
▶ guarda questo passaggio (1:45)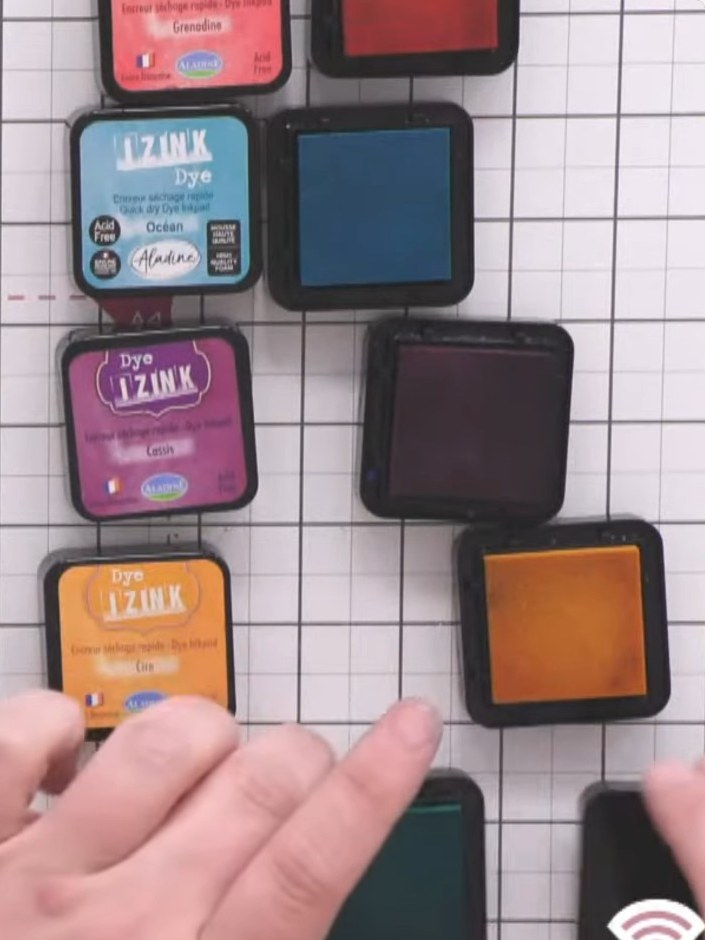
Select several coordinating Izink dye-based ink pads in colours such as ocean, cassis, orange and emerald. Arrange them on your work surface with their lids positioned nearby to use as holders for ink blenders.
▶ guarda questo passaggio (2:00)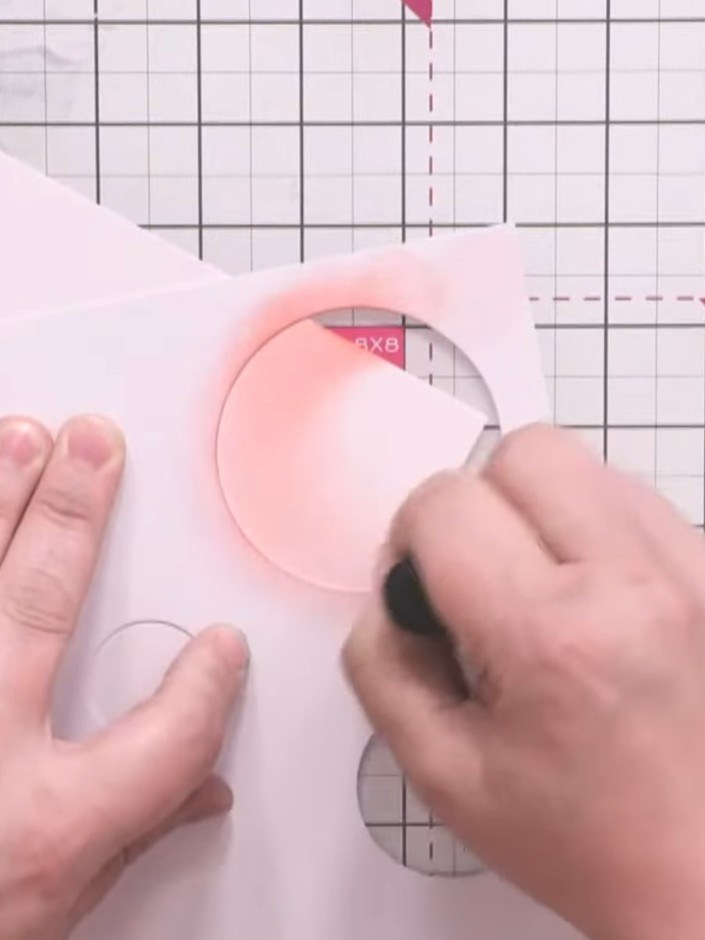
Using a blending tool with pink ink, work in circular motions from the outer edge of the largest circle towards the centre. Build up the colour gradually to create dimension and depth.
▶ guarda questo passaggio (2:30)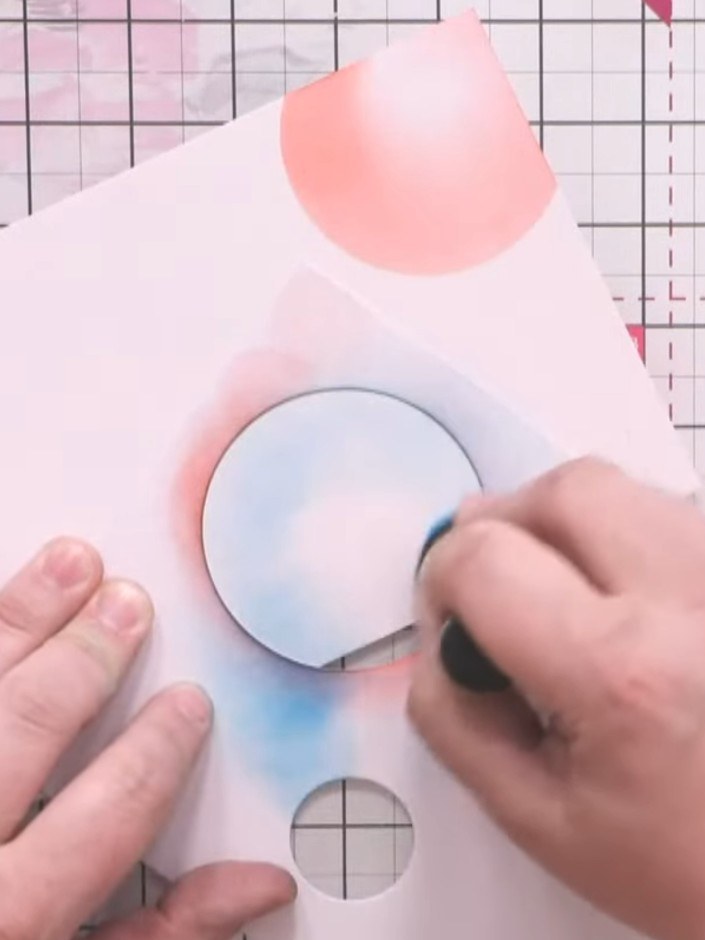
Leave the centre of each circle pale to create a dome effect. Blend a second colour around the edges of the circles, working the ink outwards from the centre.
▶ guarda questo passaggio (3:00)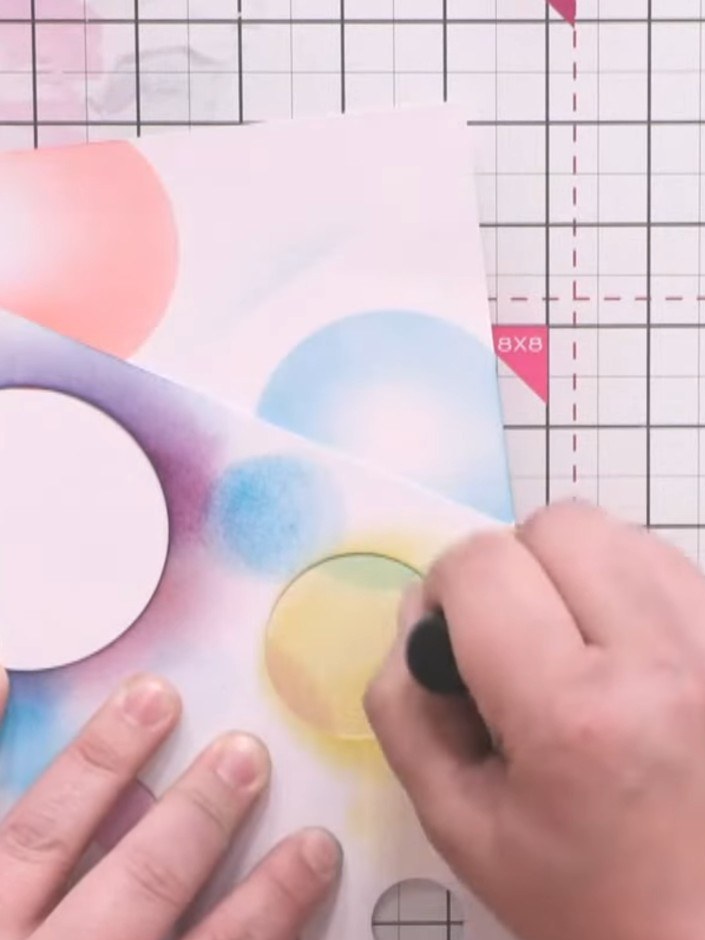
Continue adding smaller circles using different coloured ink pads, overlapping them slightly. Leave some white gaps between the circles for visual interest.
▶ guarda questo passaggio (4:00)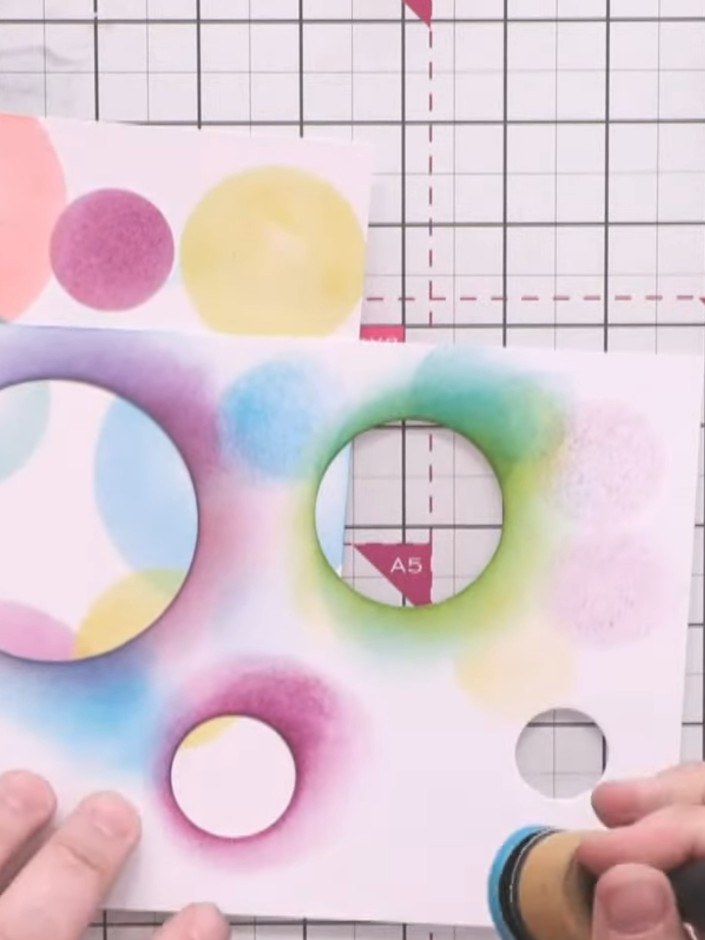
Continue adding circles in different sizes and colours across the card using the blending tool and various ink pads. Overlap some of the circles to create depth and build up a colourful composition.
▶ guarda questo passaggio (5:15)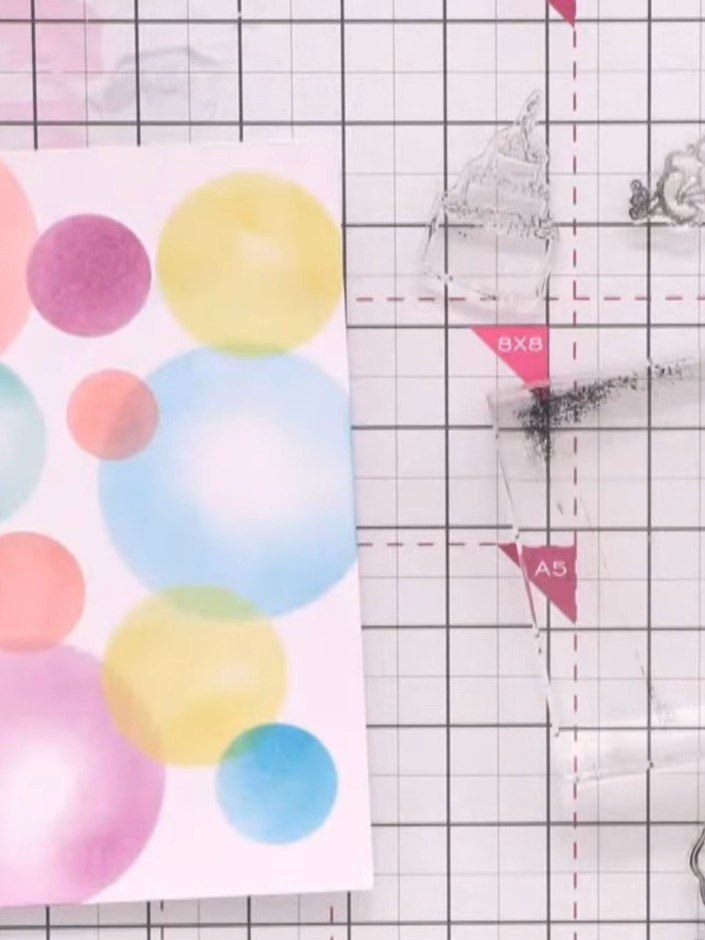
Using black ink, stamp the elephant characters and coordinating images (birthday cakes, mice, parcels, ballerinas) from the stamp sets within each circle on your card panel.
▶ guarda questo passaggio (7:00)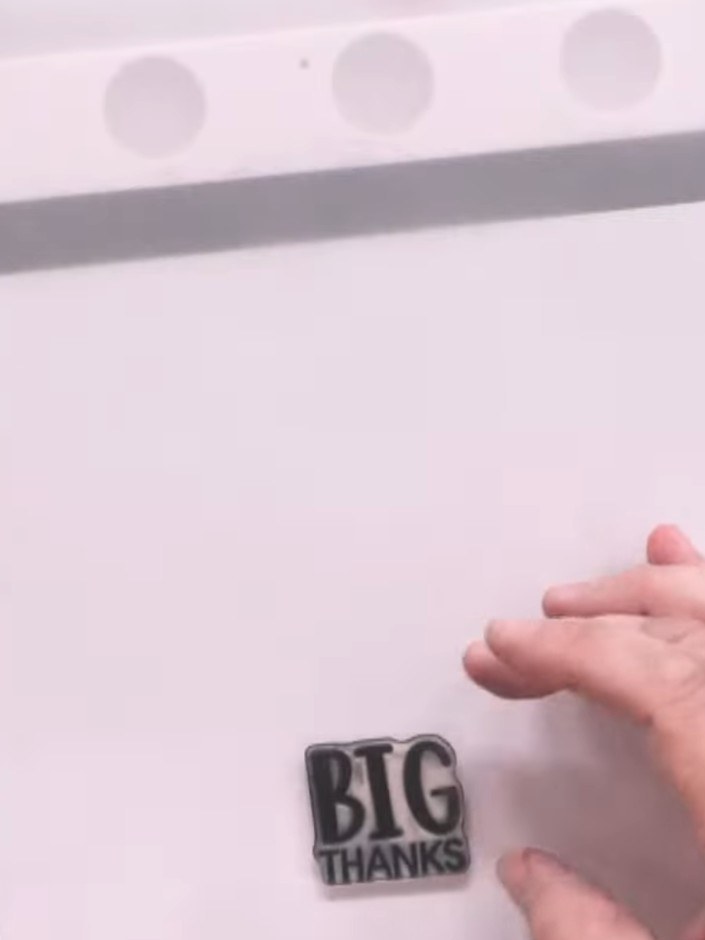
Cut a piece of plain vellum and stamp a sentiment such as 'Big Thanks' onto it using black Stazon ink. Position the stamp in the bottom corner of the vellum sheet.
▶ guarda questo passaggio (10:00)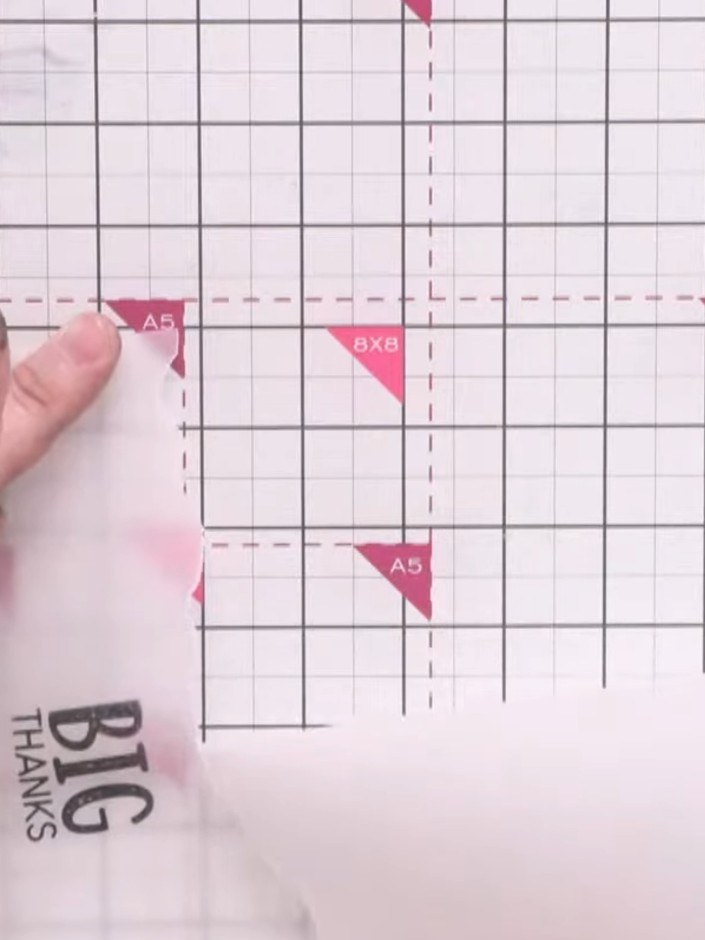
Tear the edges of the vellum piece by hand to create a quirky, jagged border all around.
▶ guarda questo passaggio (11:15)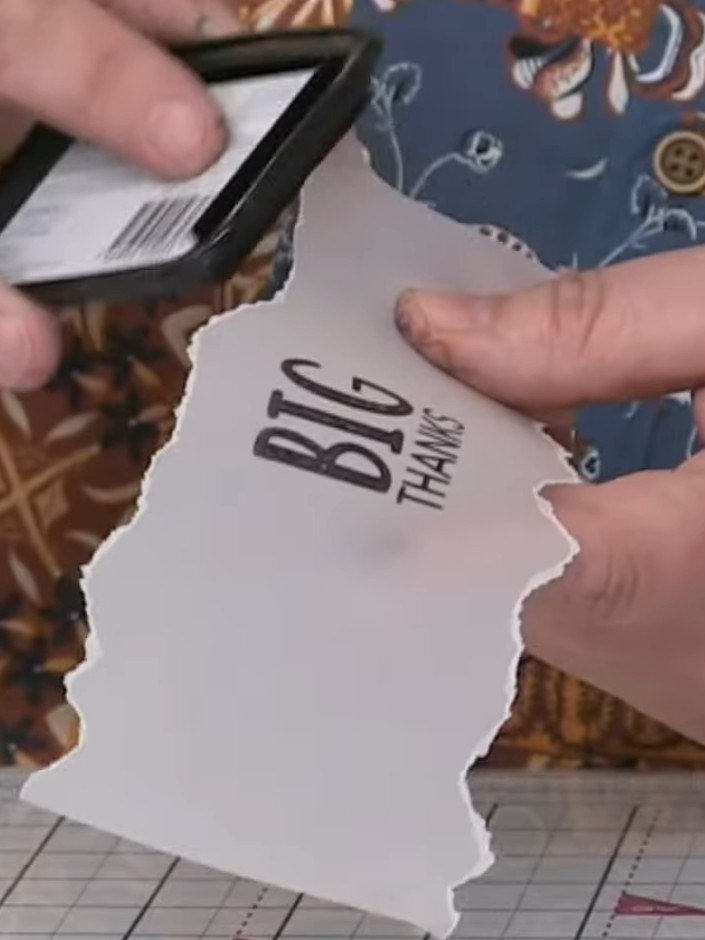
Brush the torn edges of the vellum panel with black Stazon ink to add definition and depth to the sentiment.
▶ guarda questo passaggio (11:45)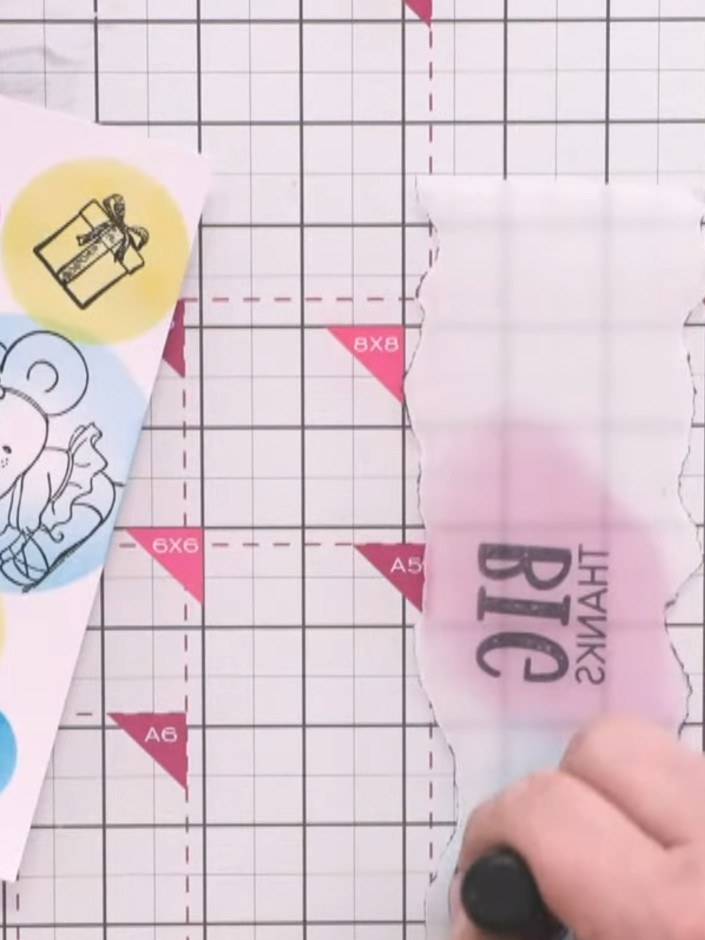
Turn the vellum piece over and colour the back with coordinating ink pads in purple, blue, and orange to add subtle colour that complements the stamped design.
▶ guarda questo passaggio (13:00)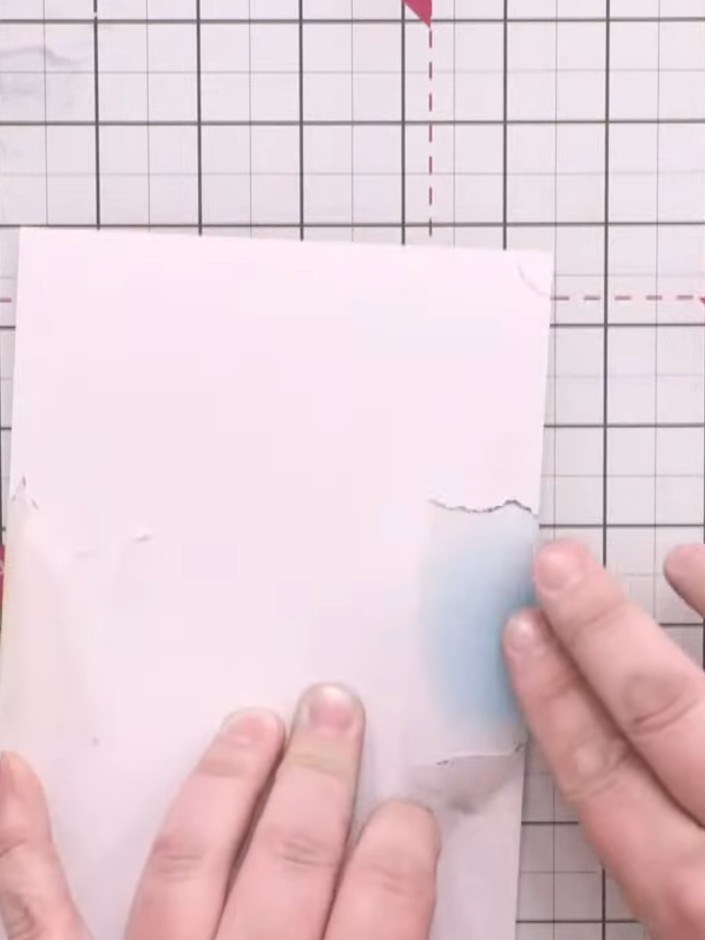
Mount the coloured circle background panel onto a black card mat layer using wet glue. Then attach this matted panel onto the front of a red top-folding card base.
▶ guarda questo passaggio (14:00)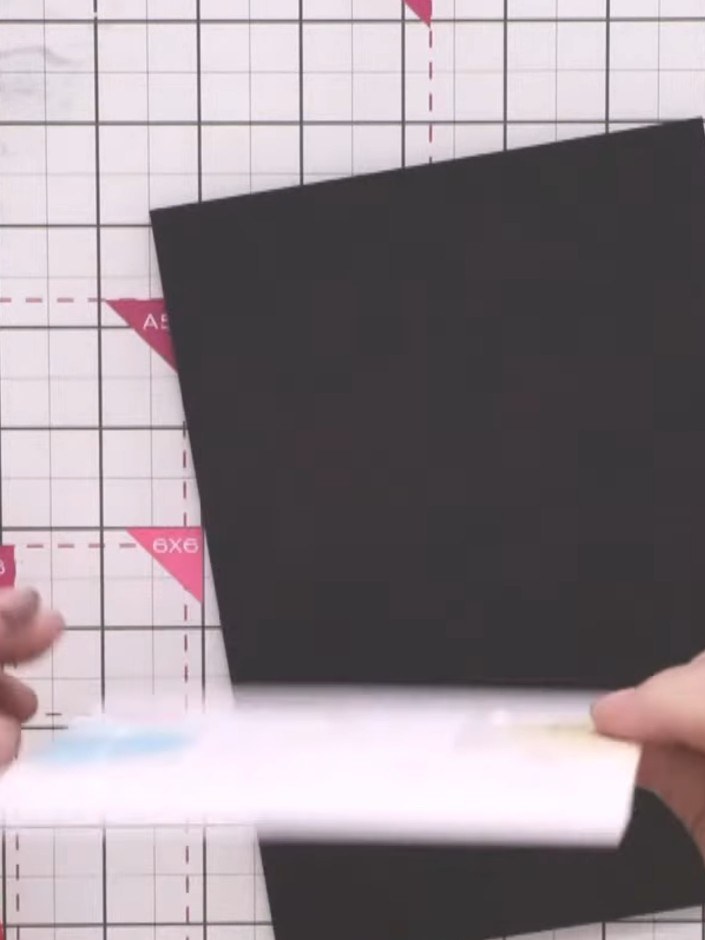
Adhere the vellum sentiment panel to the centre of the black card base using a tape runner.
▶ guarda questo passaggio (14:45)Scritto direttamente dalla puntata. Scopri tutte le guide delle nostre puntate · tutorial gratuiti · guarda in diretta su My Telly