Give your friends $10 off their first order!
Refer a FRIEND


WHAT YOU WILL NEED:
Pink top folding card blank (8 1/4 x 5 3/4")
White card (8 x 5 1/2")
White card (5 1/2 x 4")
Pink card (6 x 6")
White card (5 1/2 x 5 1/2")
Stamps from You Are Amazing Stamp Collection
Stamps from Abstract Flowers Stamp Collection
Dies from Deboss Circle Nesting Dies Collection
Versafine Ink Pad: Onyx Black
Distress Oxides: Salvaged Patina, Vintage Photo, Iced Spruce
HIMI Oil Pencils: Yellow (5109), Blue (5122)
Paint brush
Water spray bottle
Eureka 101
Paper Trimmer
Perfect Together Glue
Double sided foam sheet or foam pads
Die Cutting machine
[click image to enlarge] 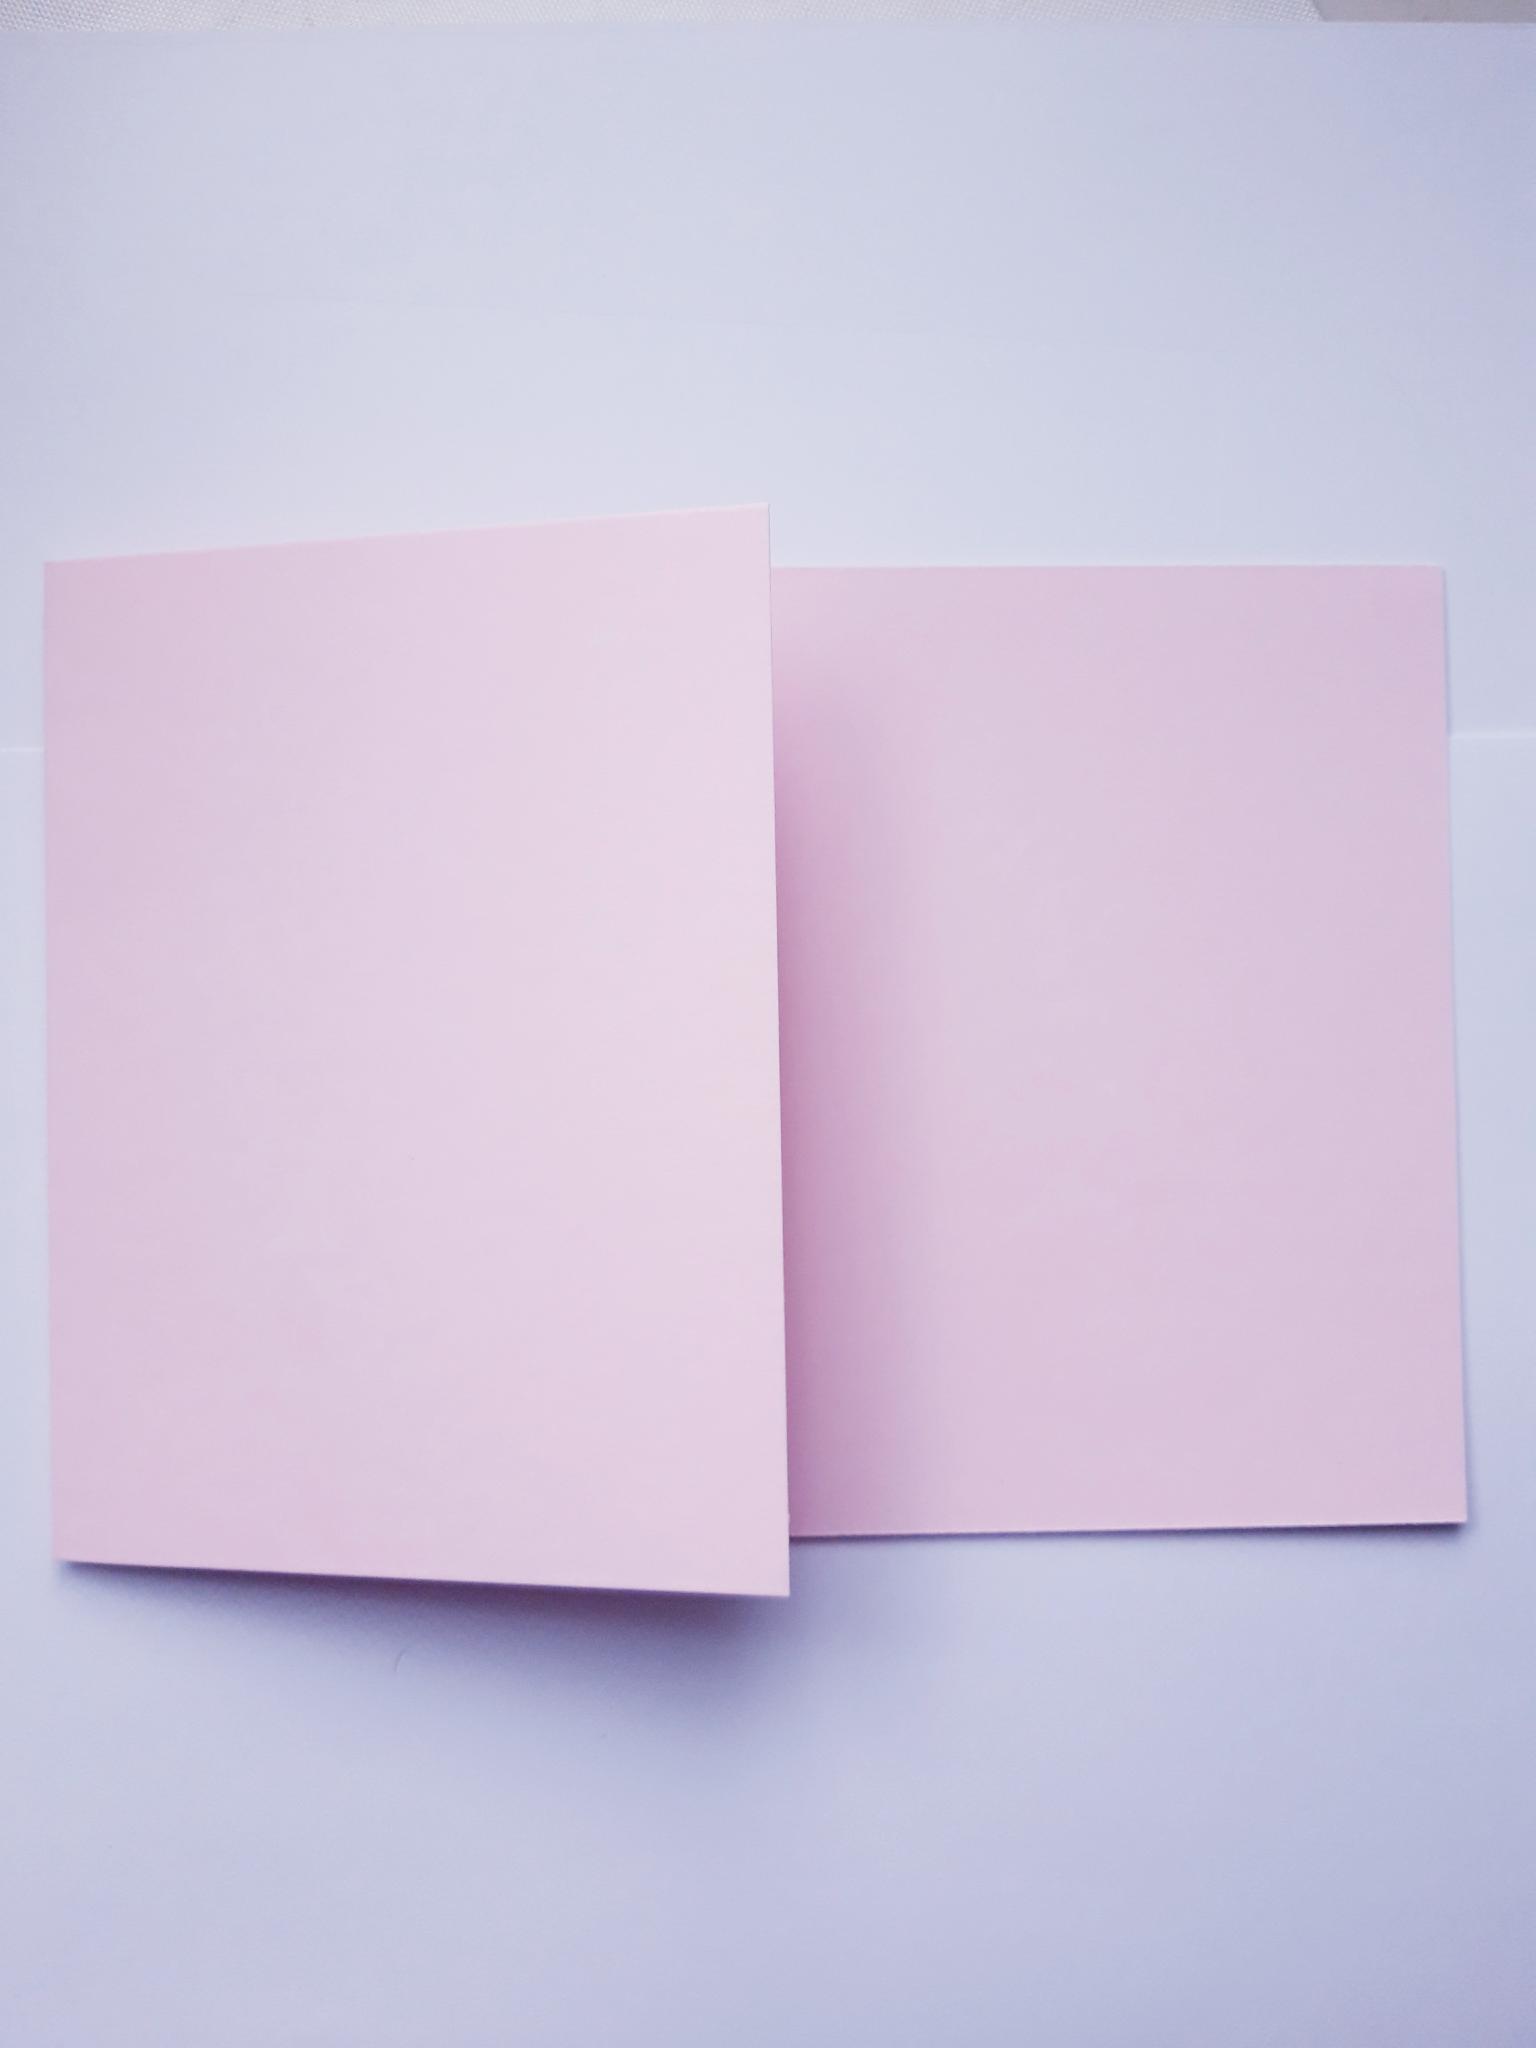
|
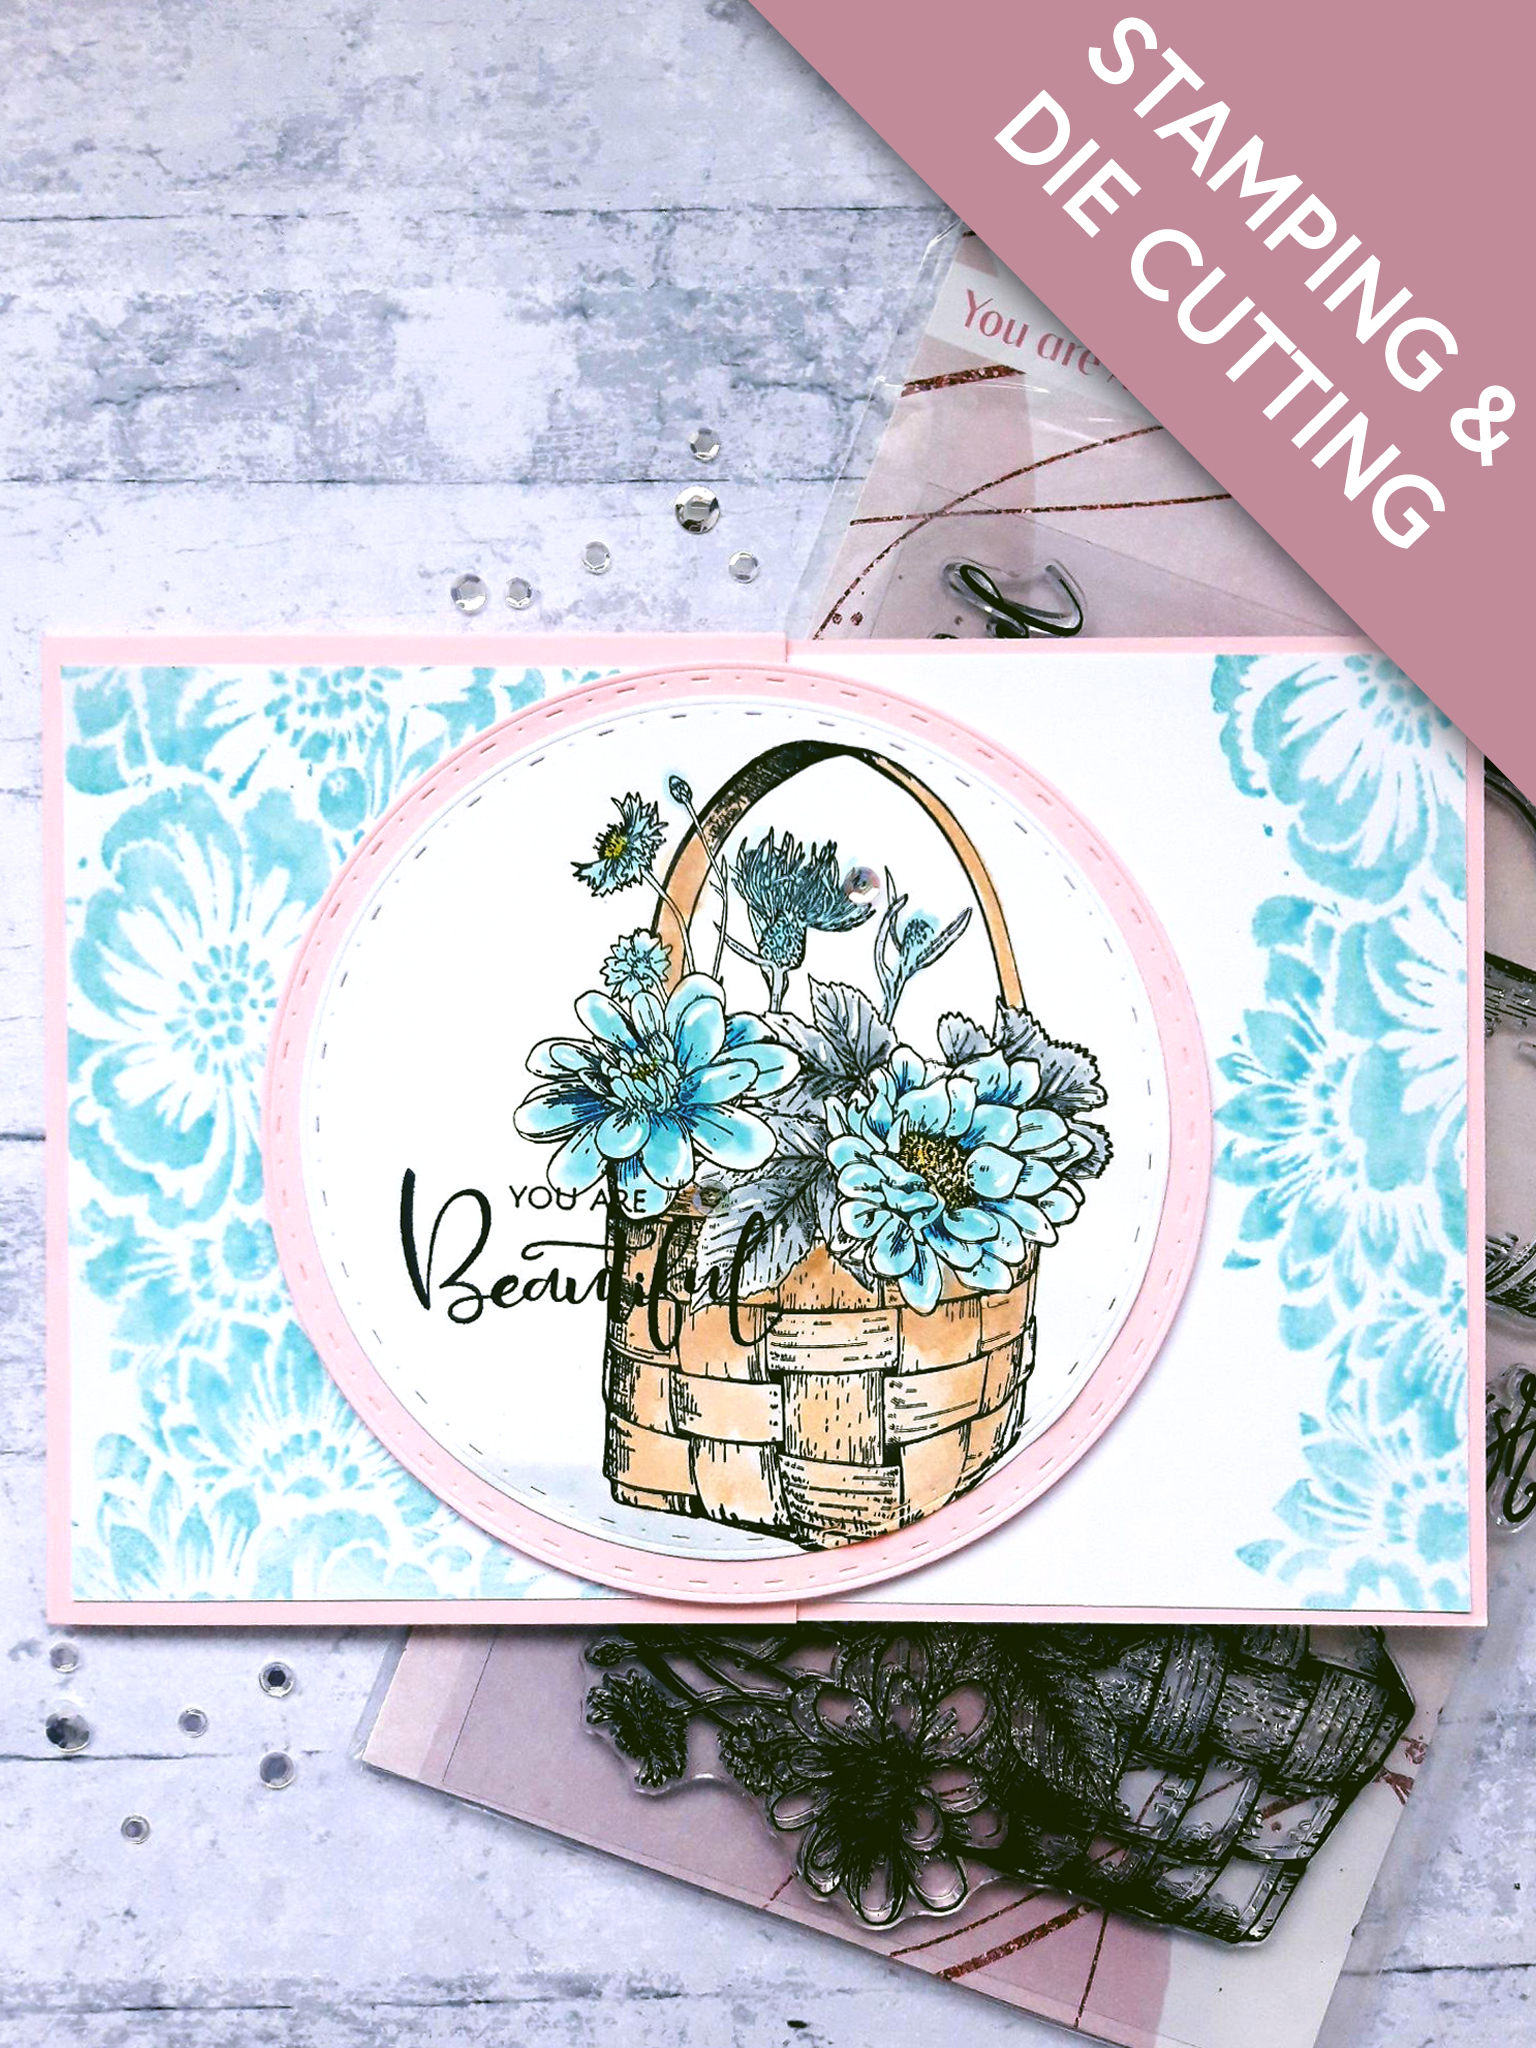
Cut off half of the front of your top folding, landscape, pink card blank, and set to one side. |
|
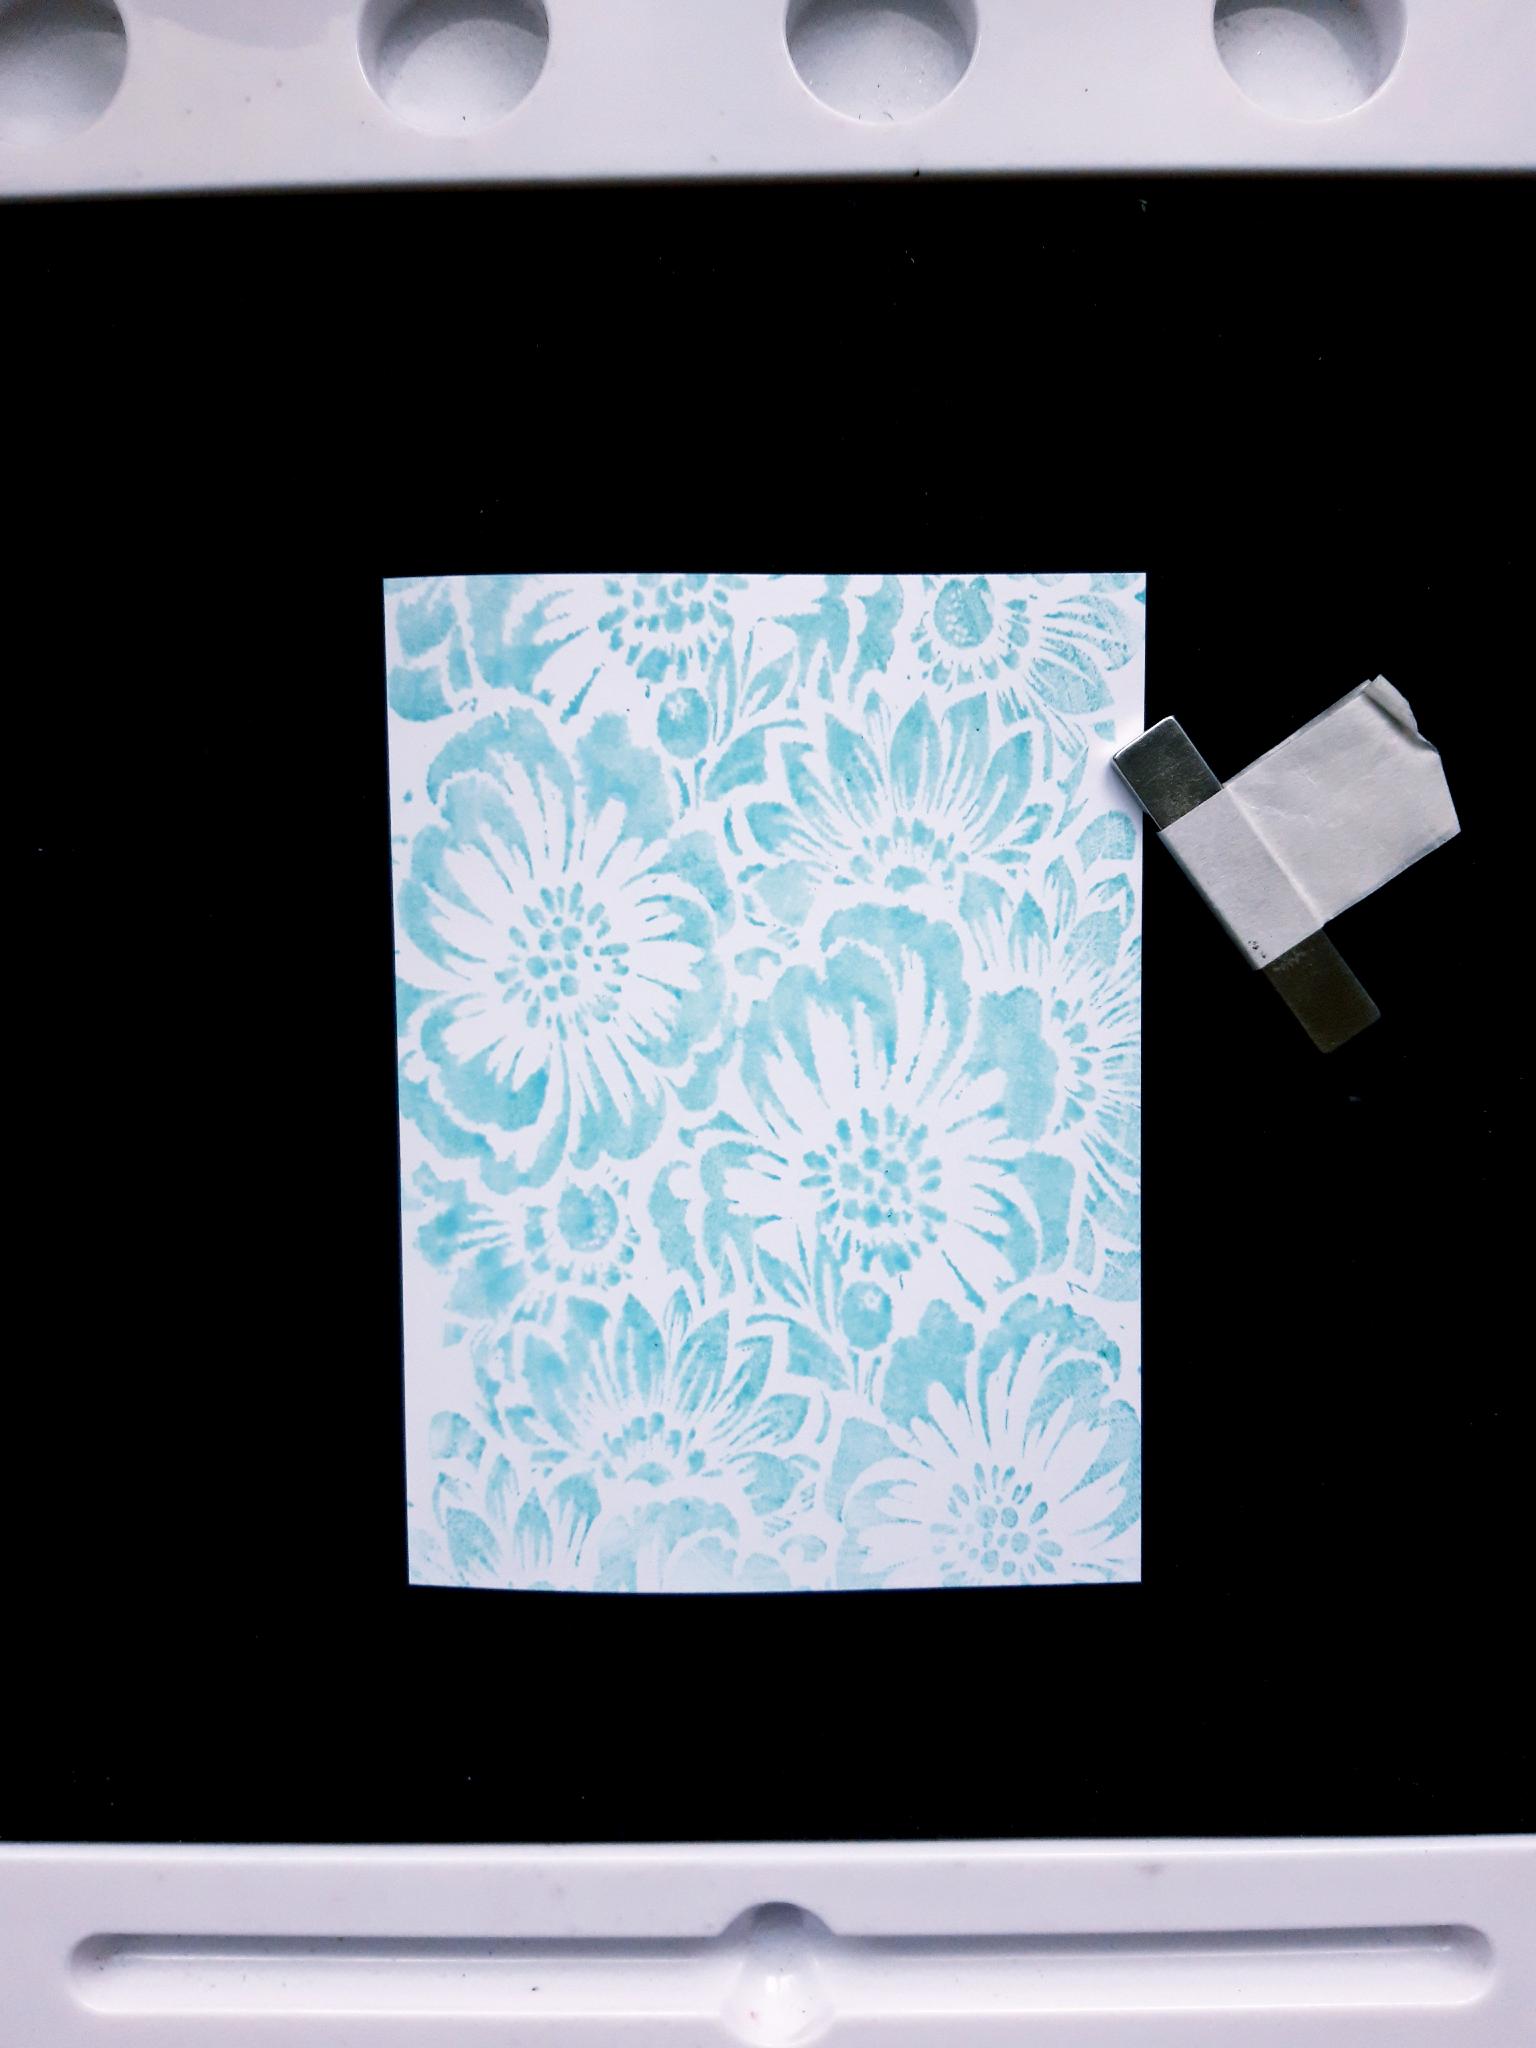
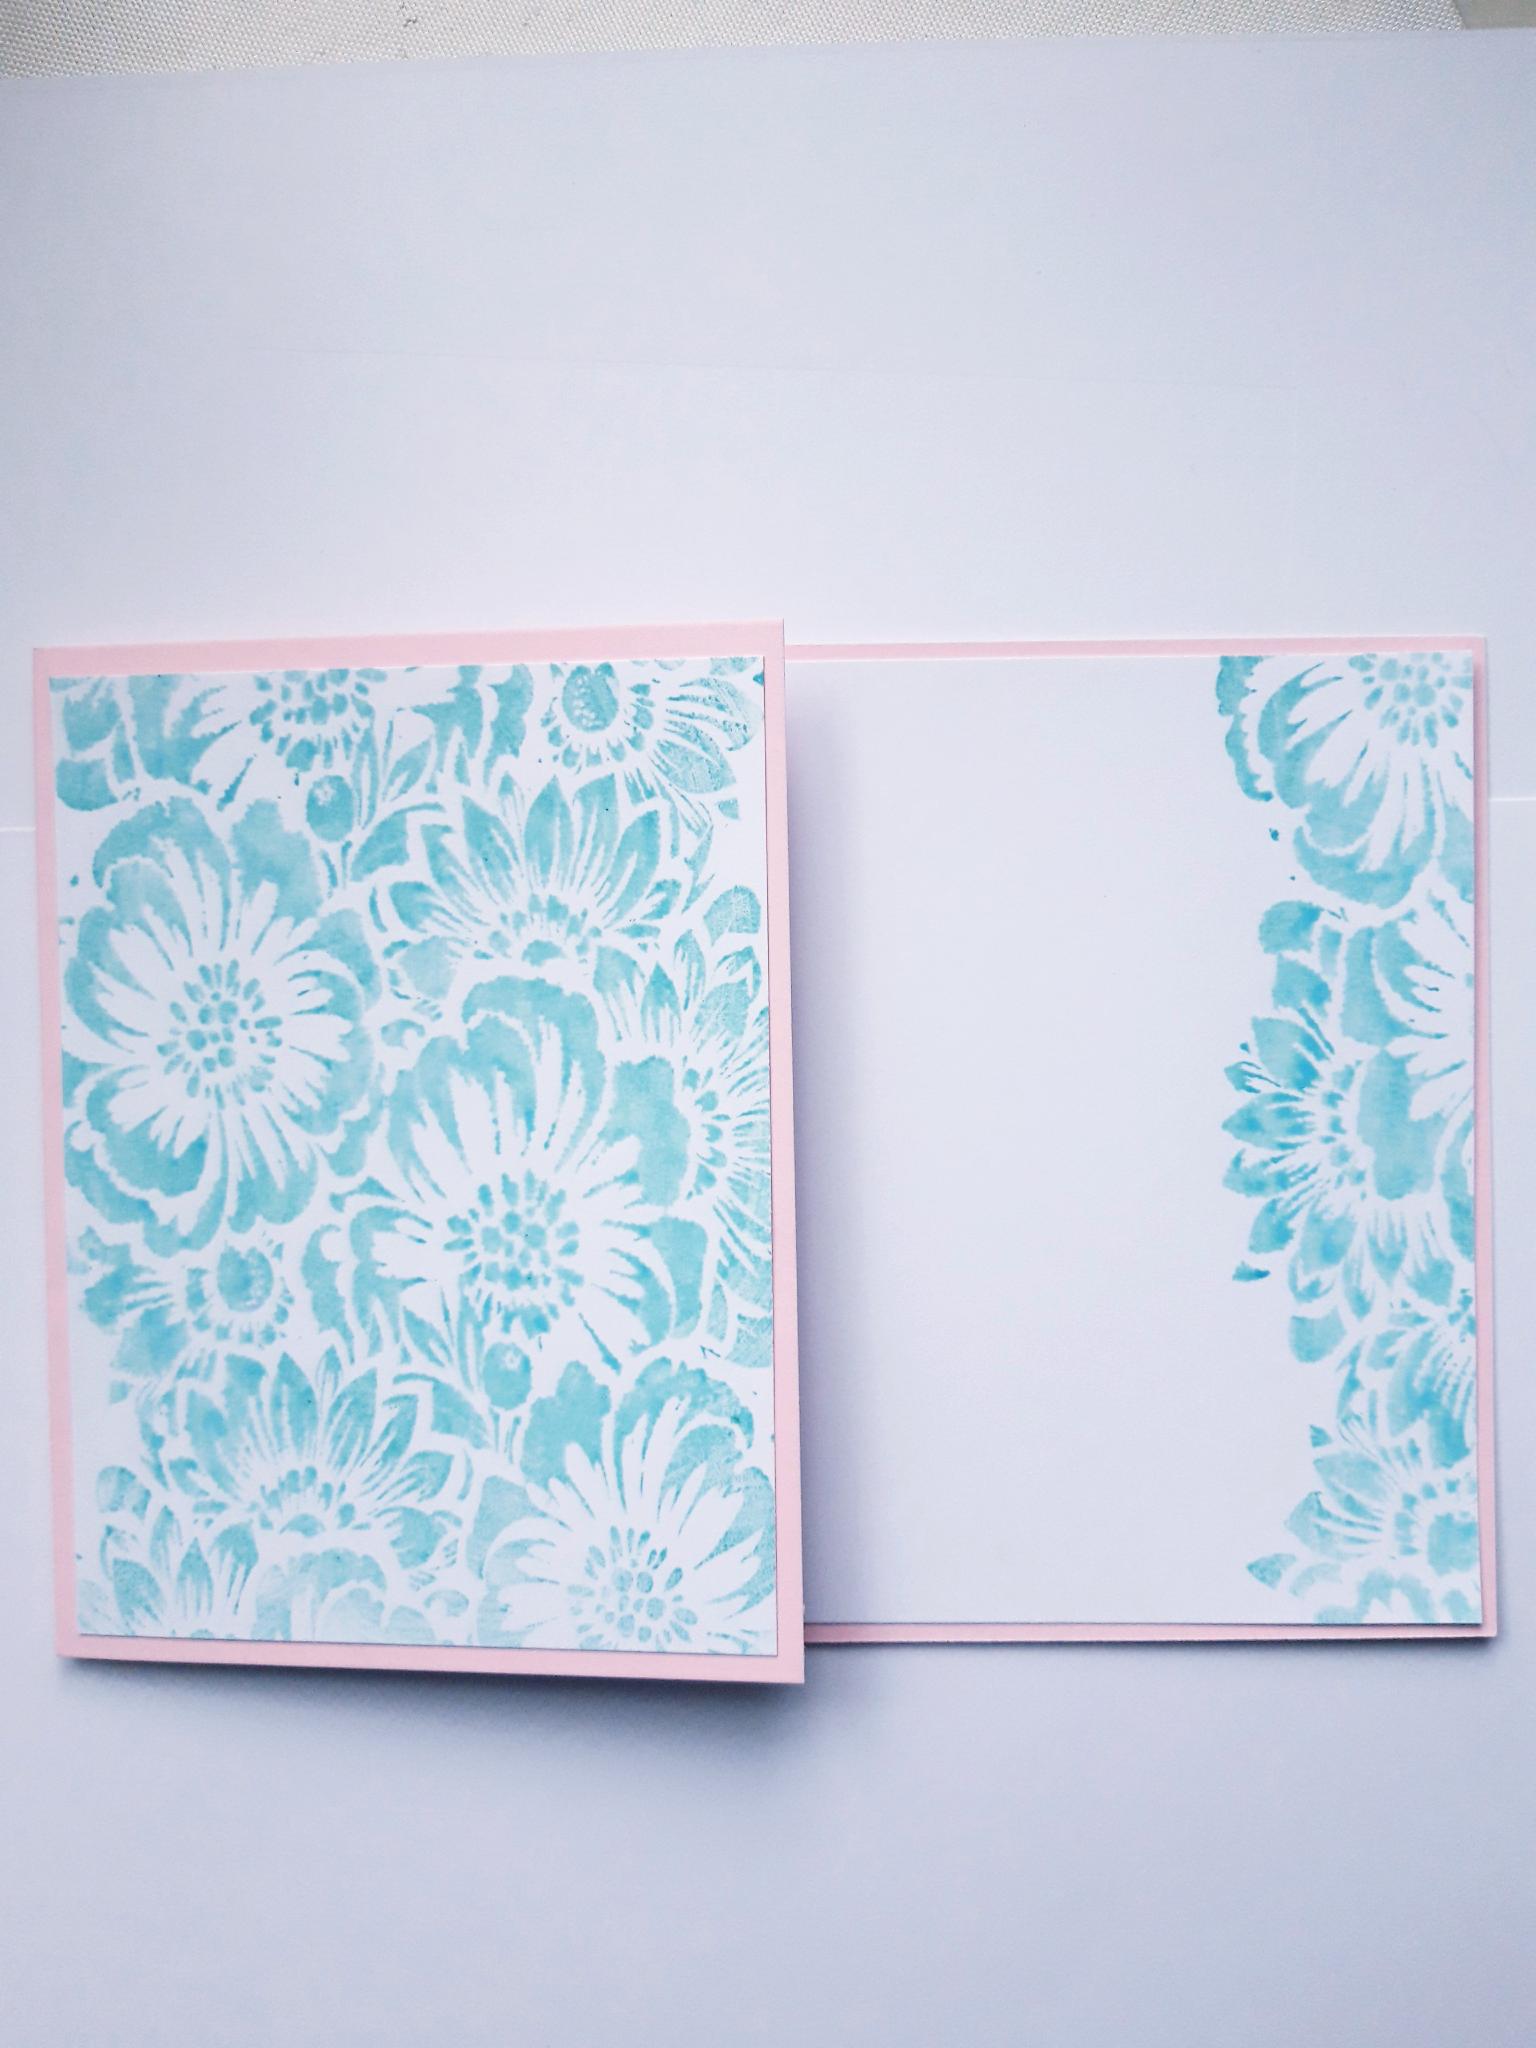
Ink up the stamp from the Abstract Flowers Stamp Collection, with the Salvaged Patina Oxide. Spritz the stamp with water, and stamp on to the 5 1/2 x 4" white card. Set to one side to dry. |
|
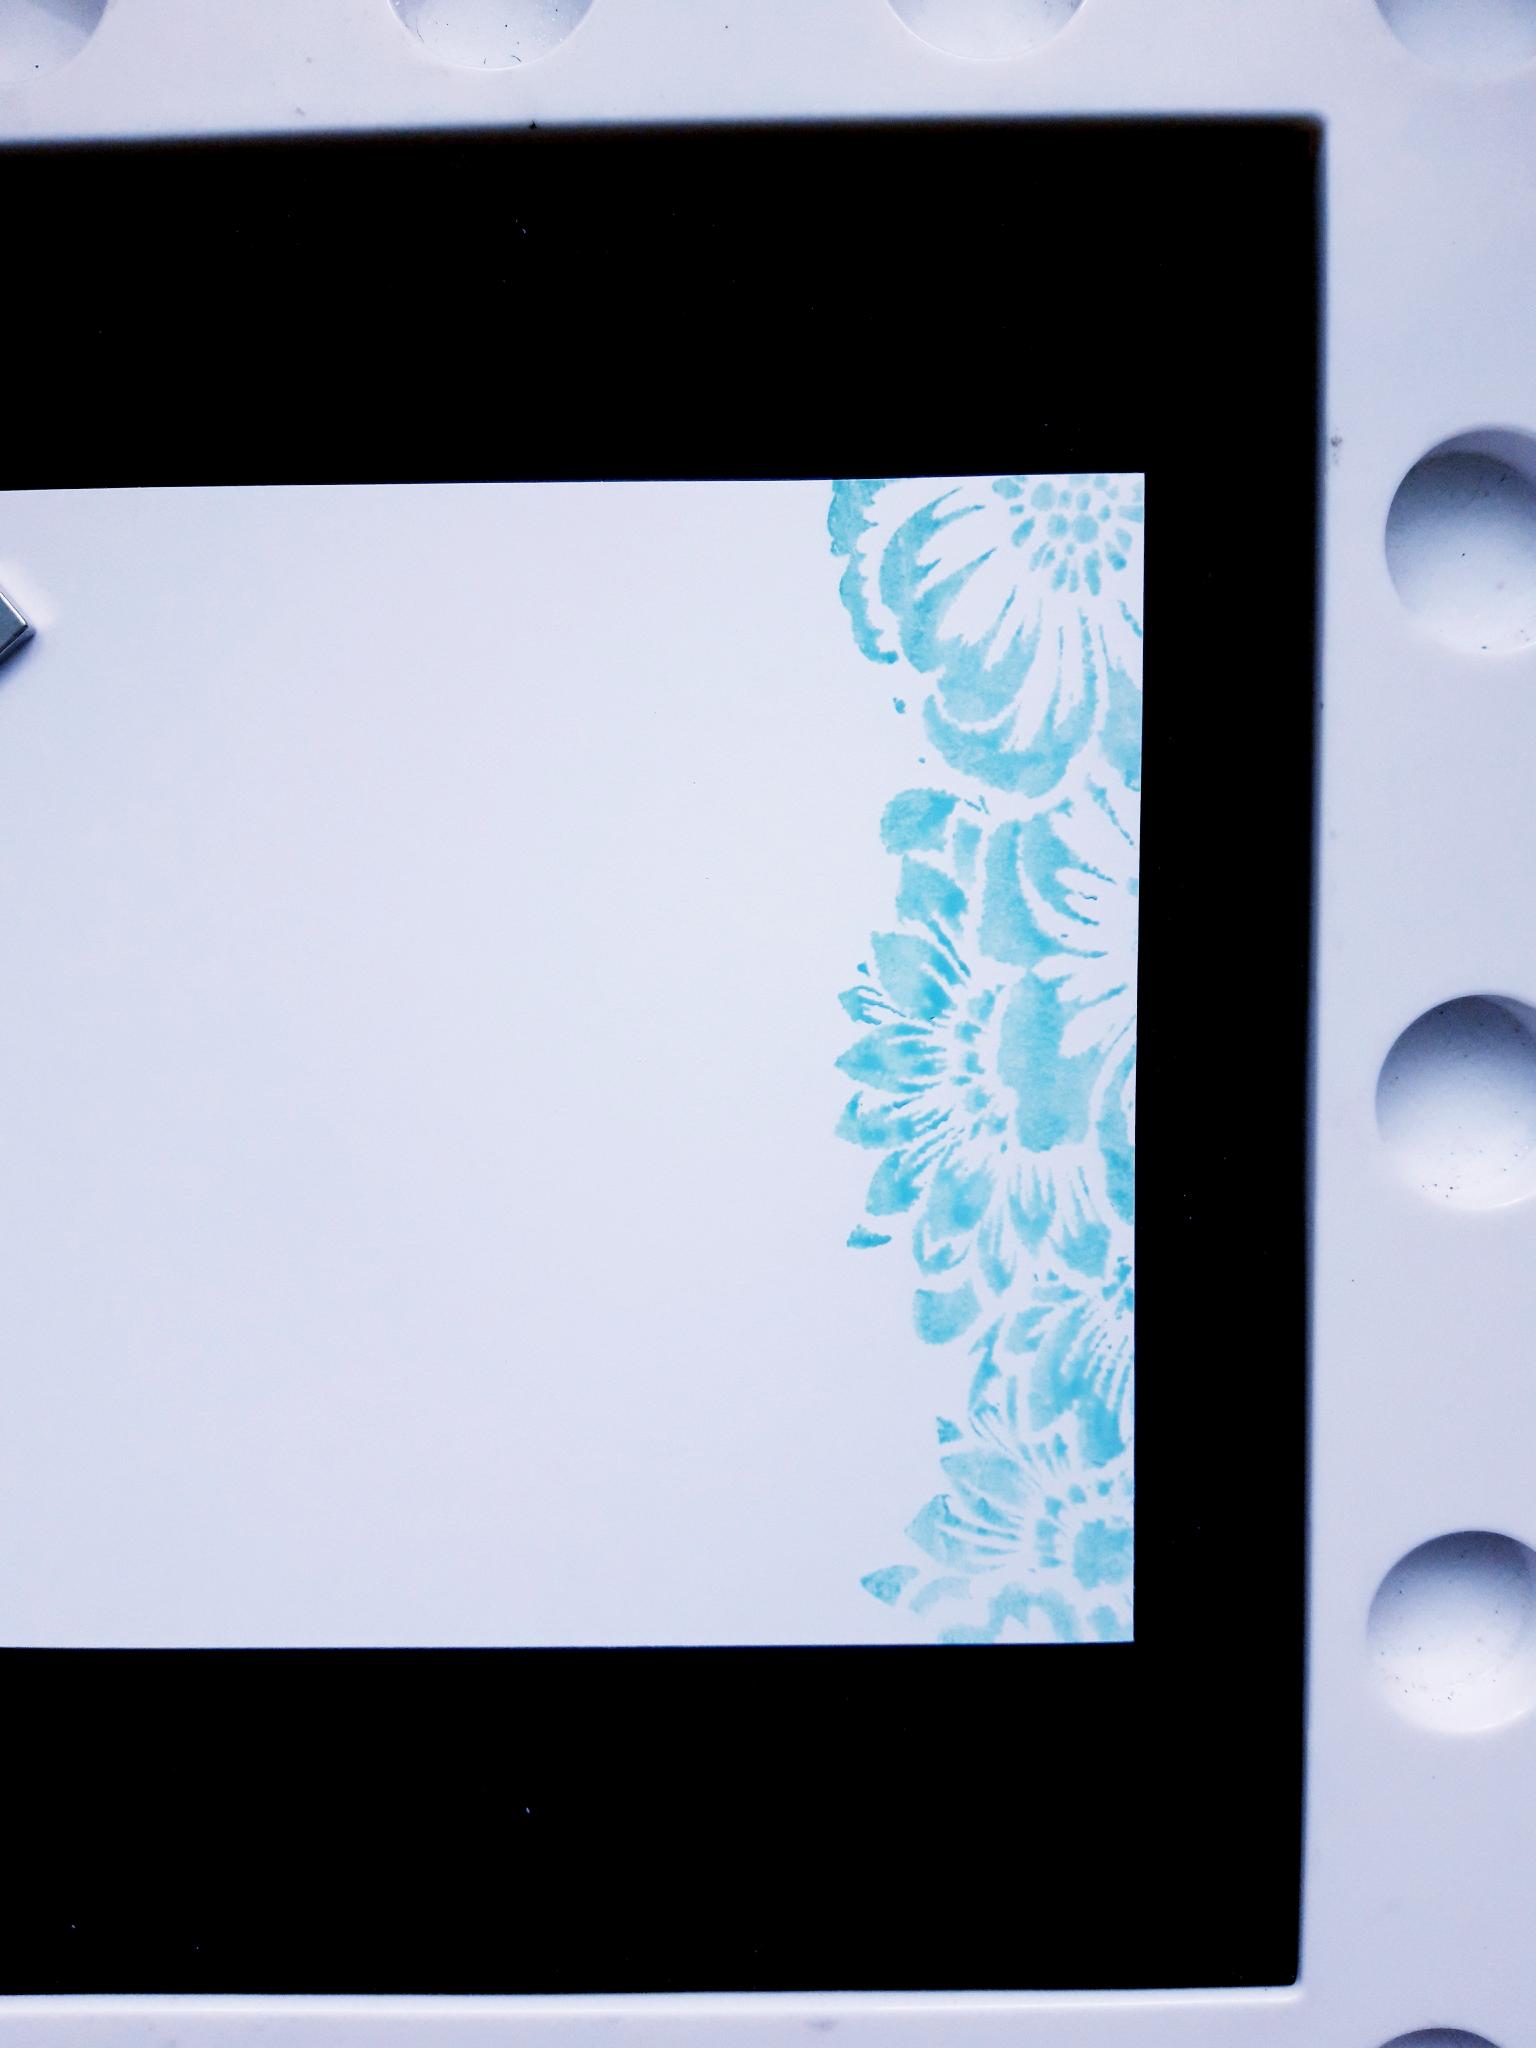
Reink the stamp, and stamp down the right hand edge of the 8 x 5 1/2" white card. Dry off the ink. |
|
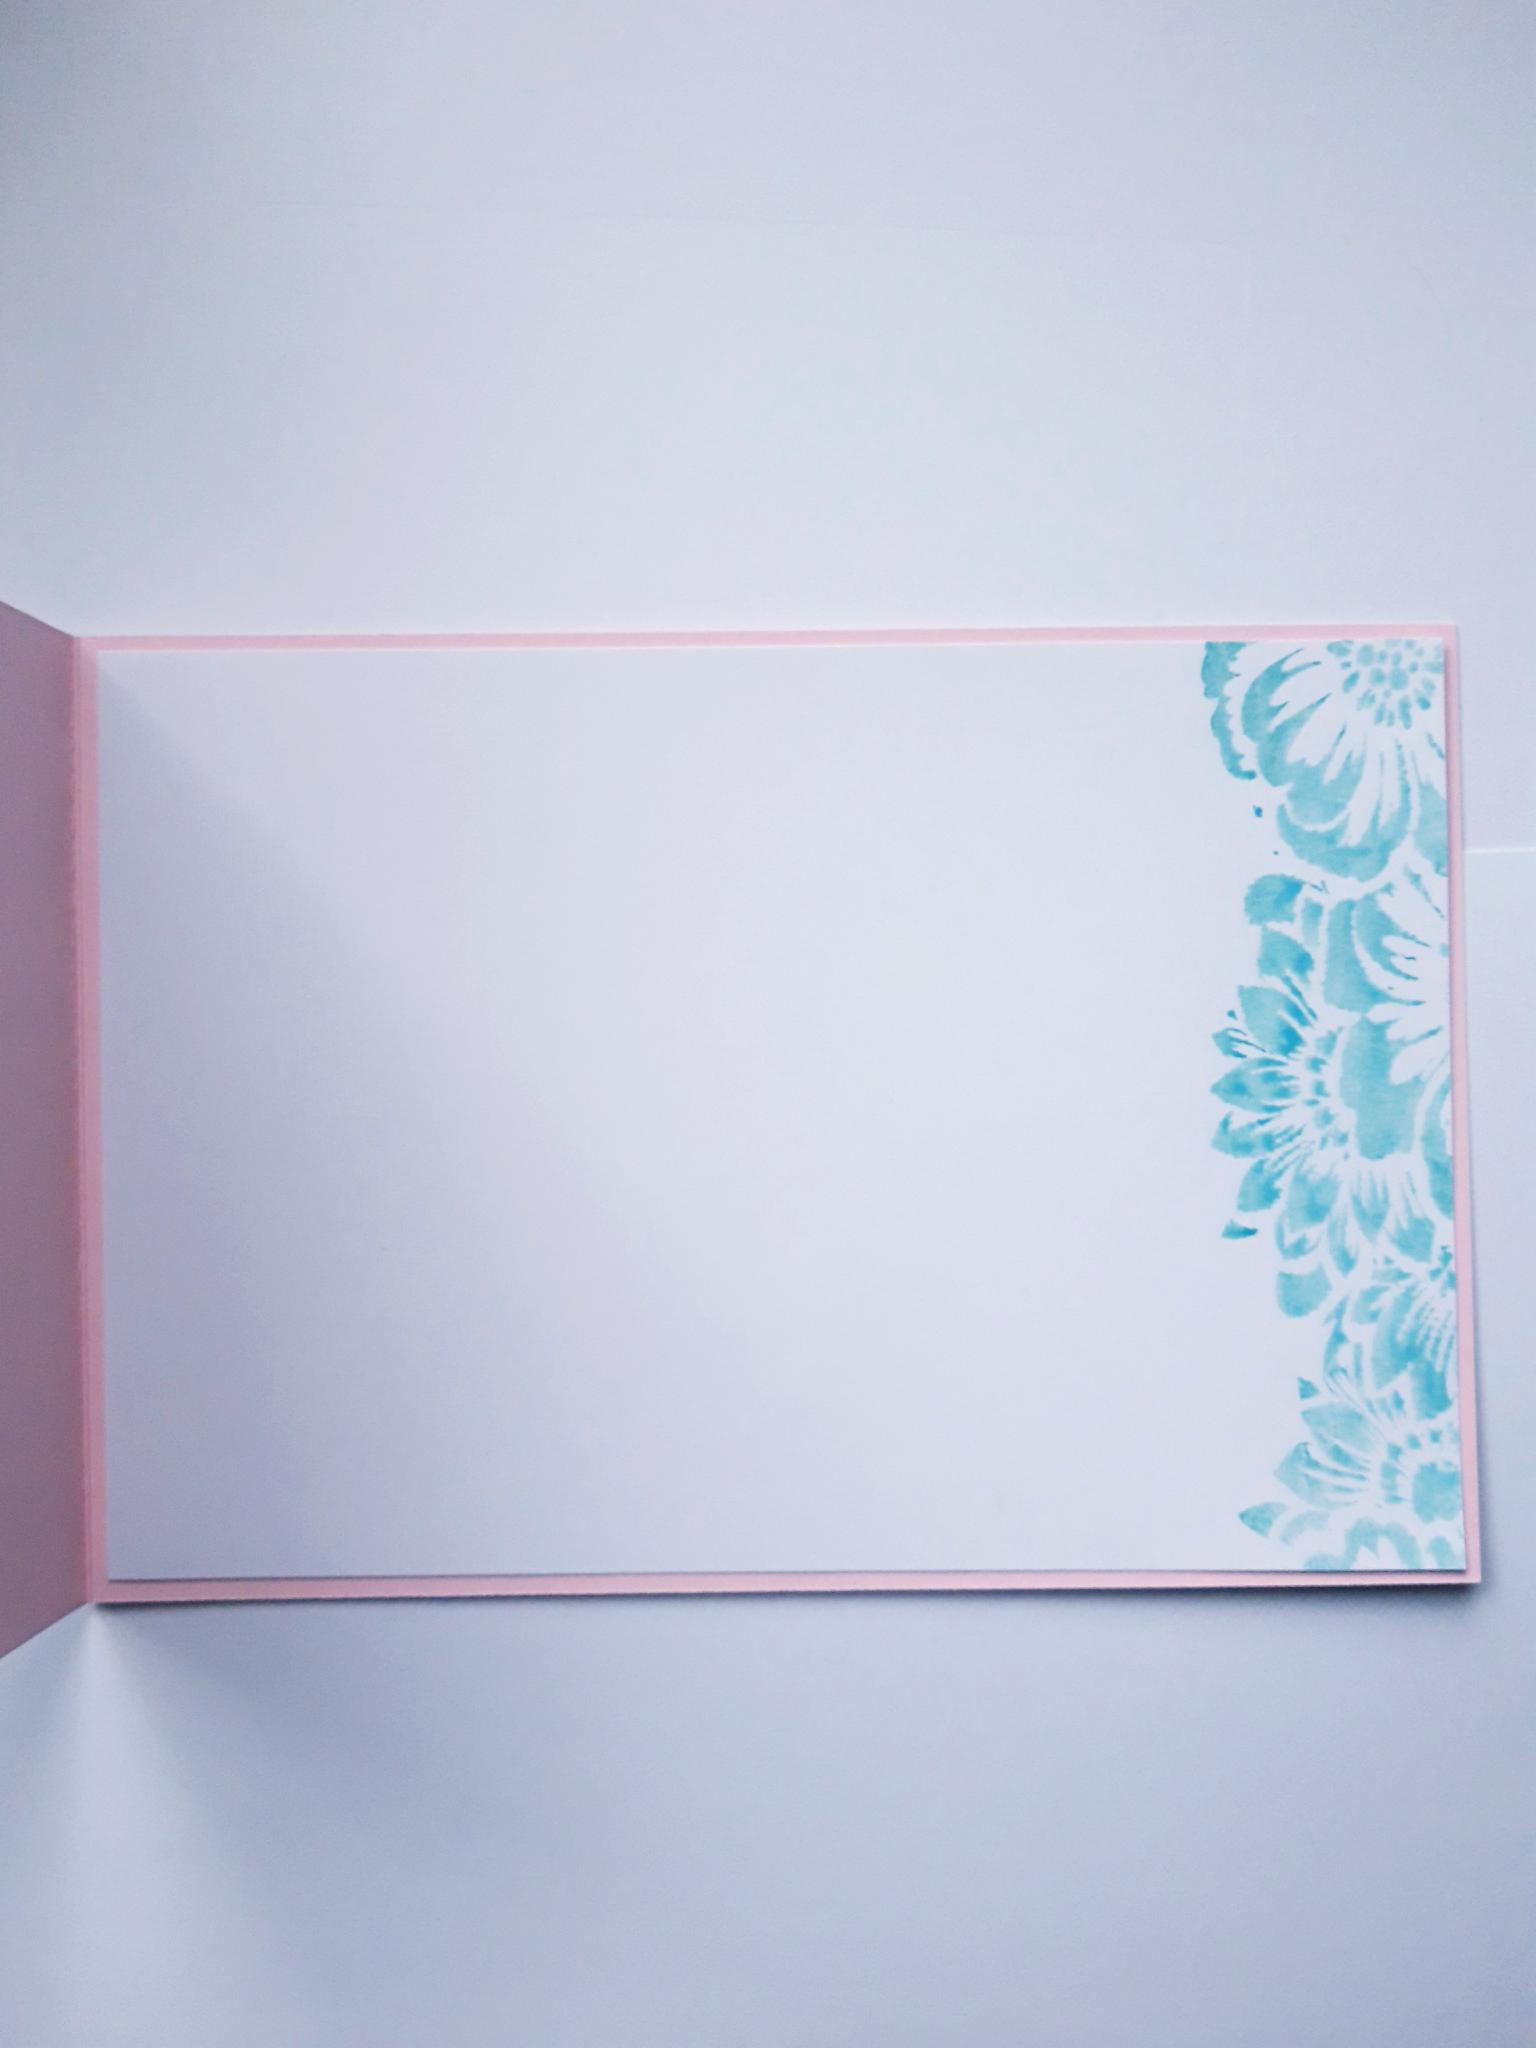
Glue the stamped border card on to the inside of your card blank. |
|
Adhere the other stamped background on to the front panel of your card blank, and set to one side. |
|
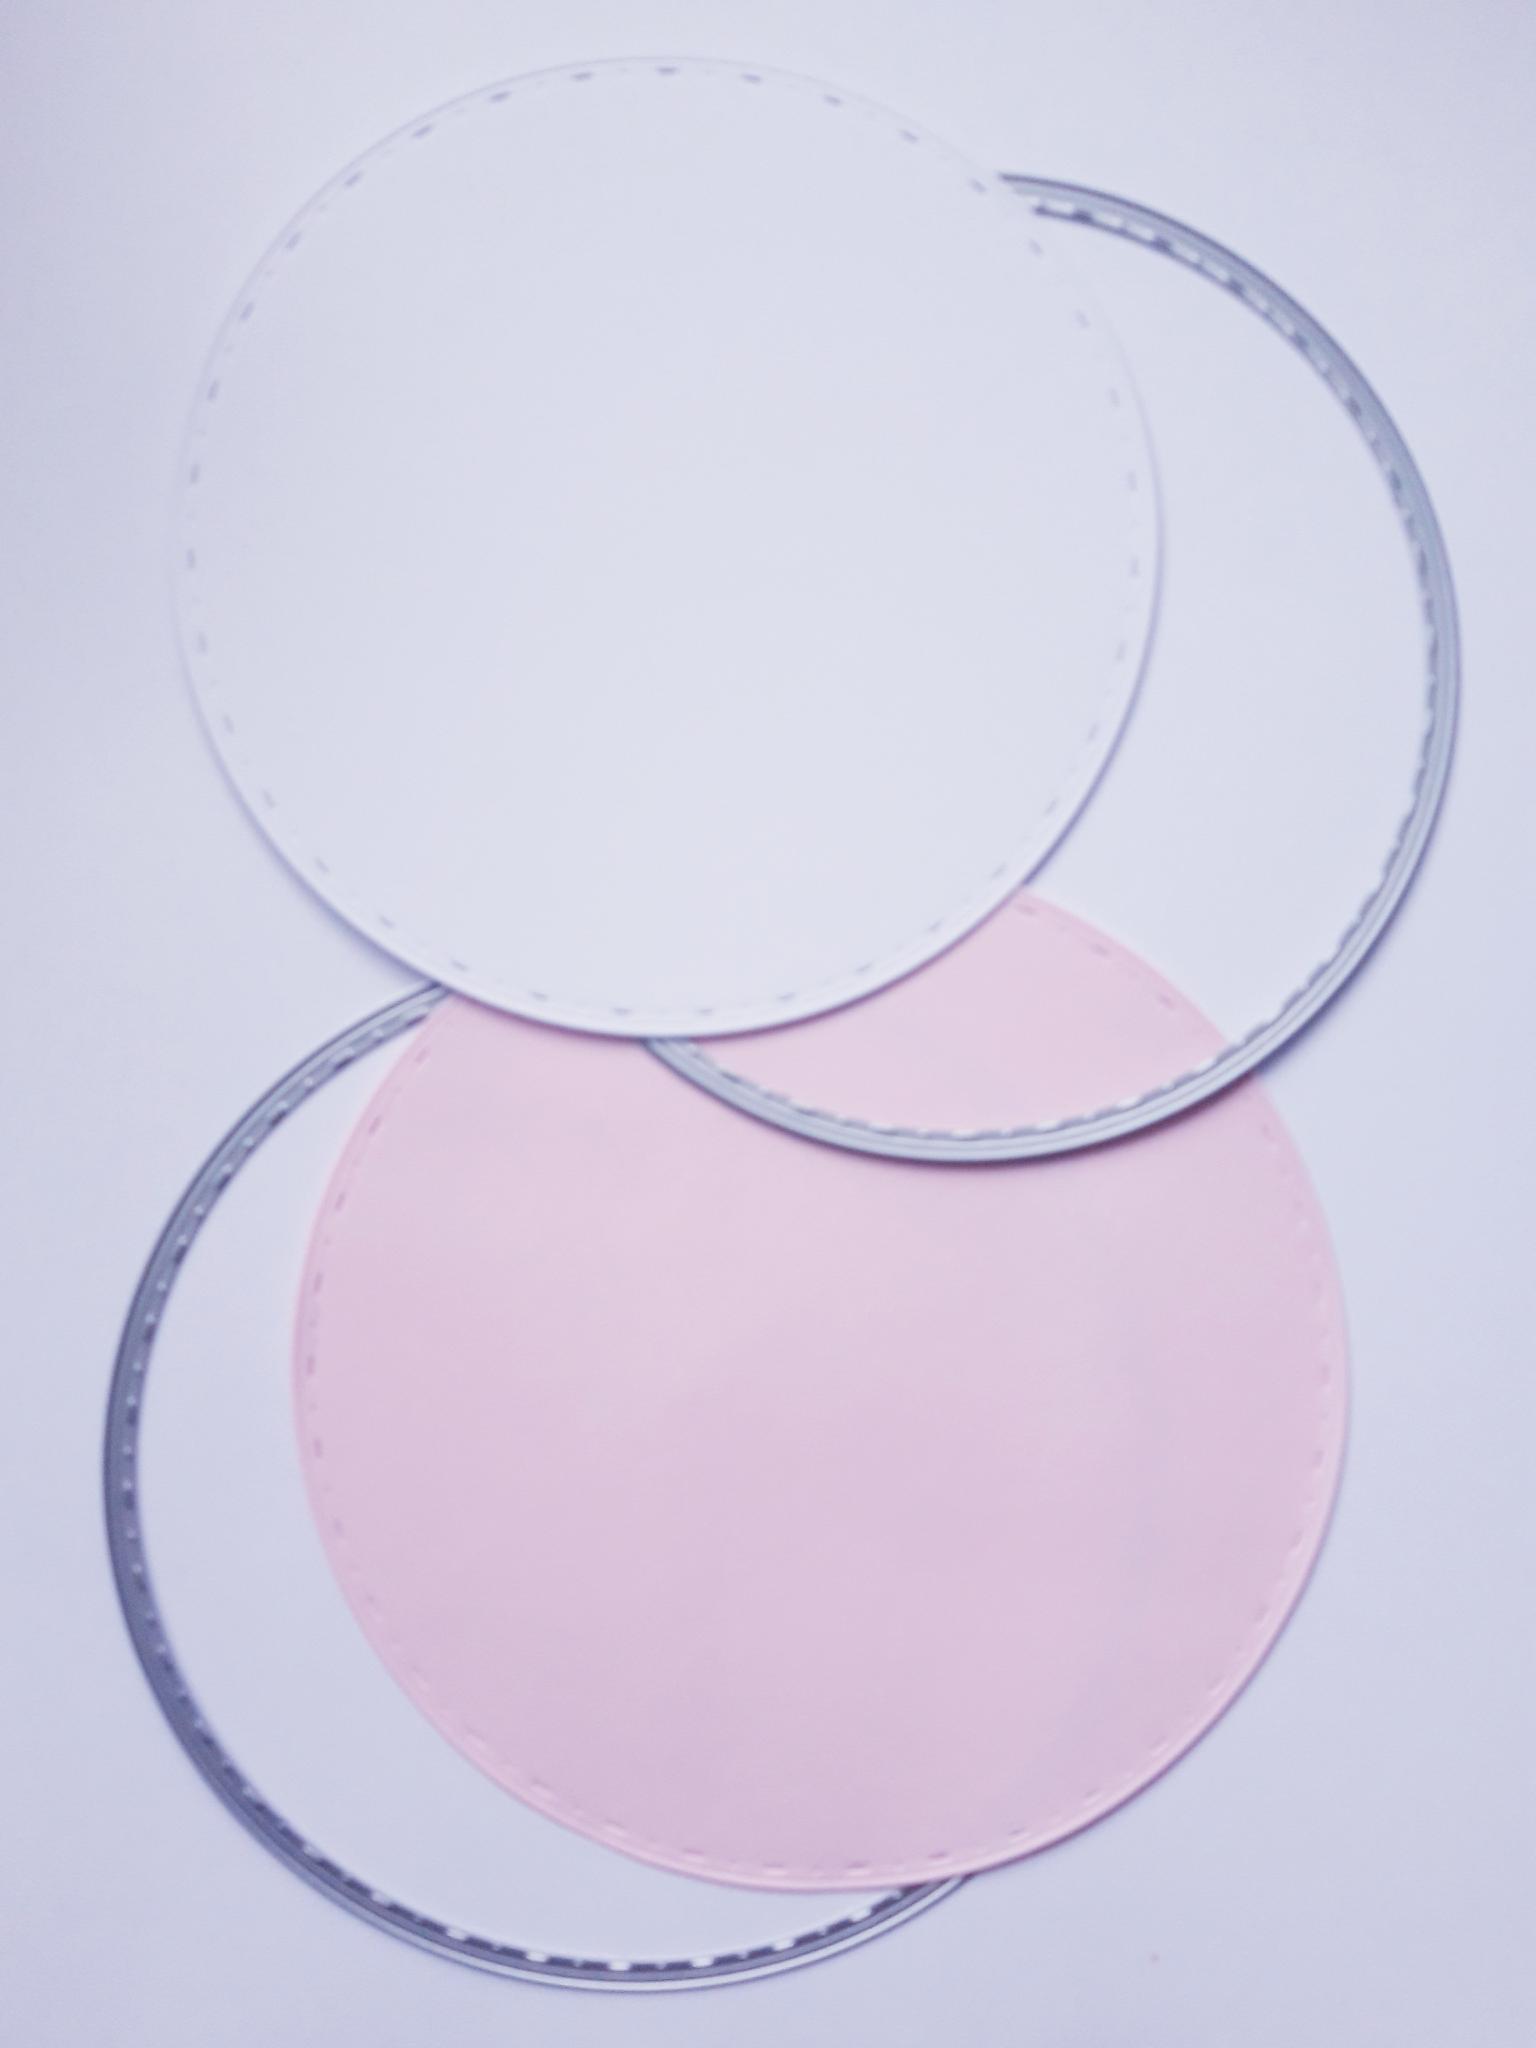
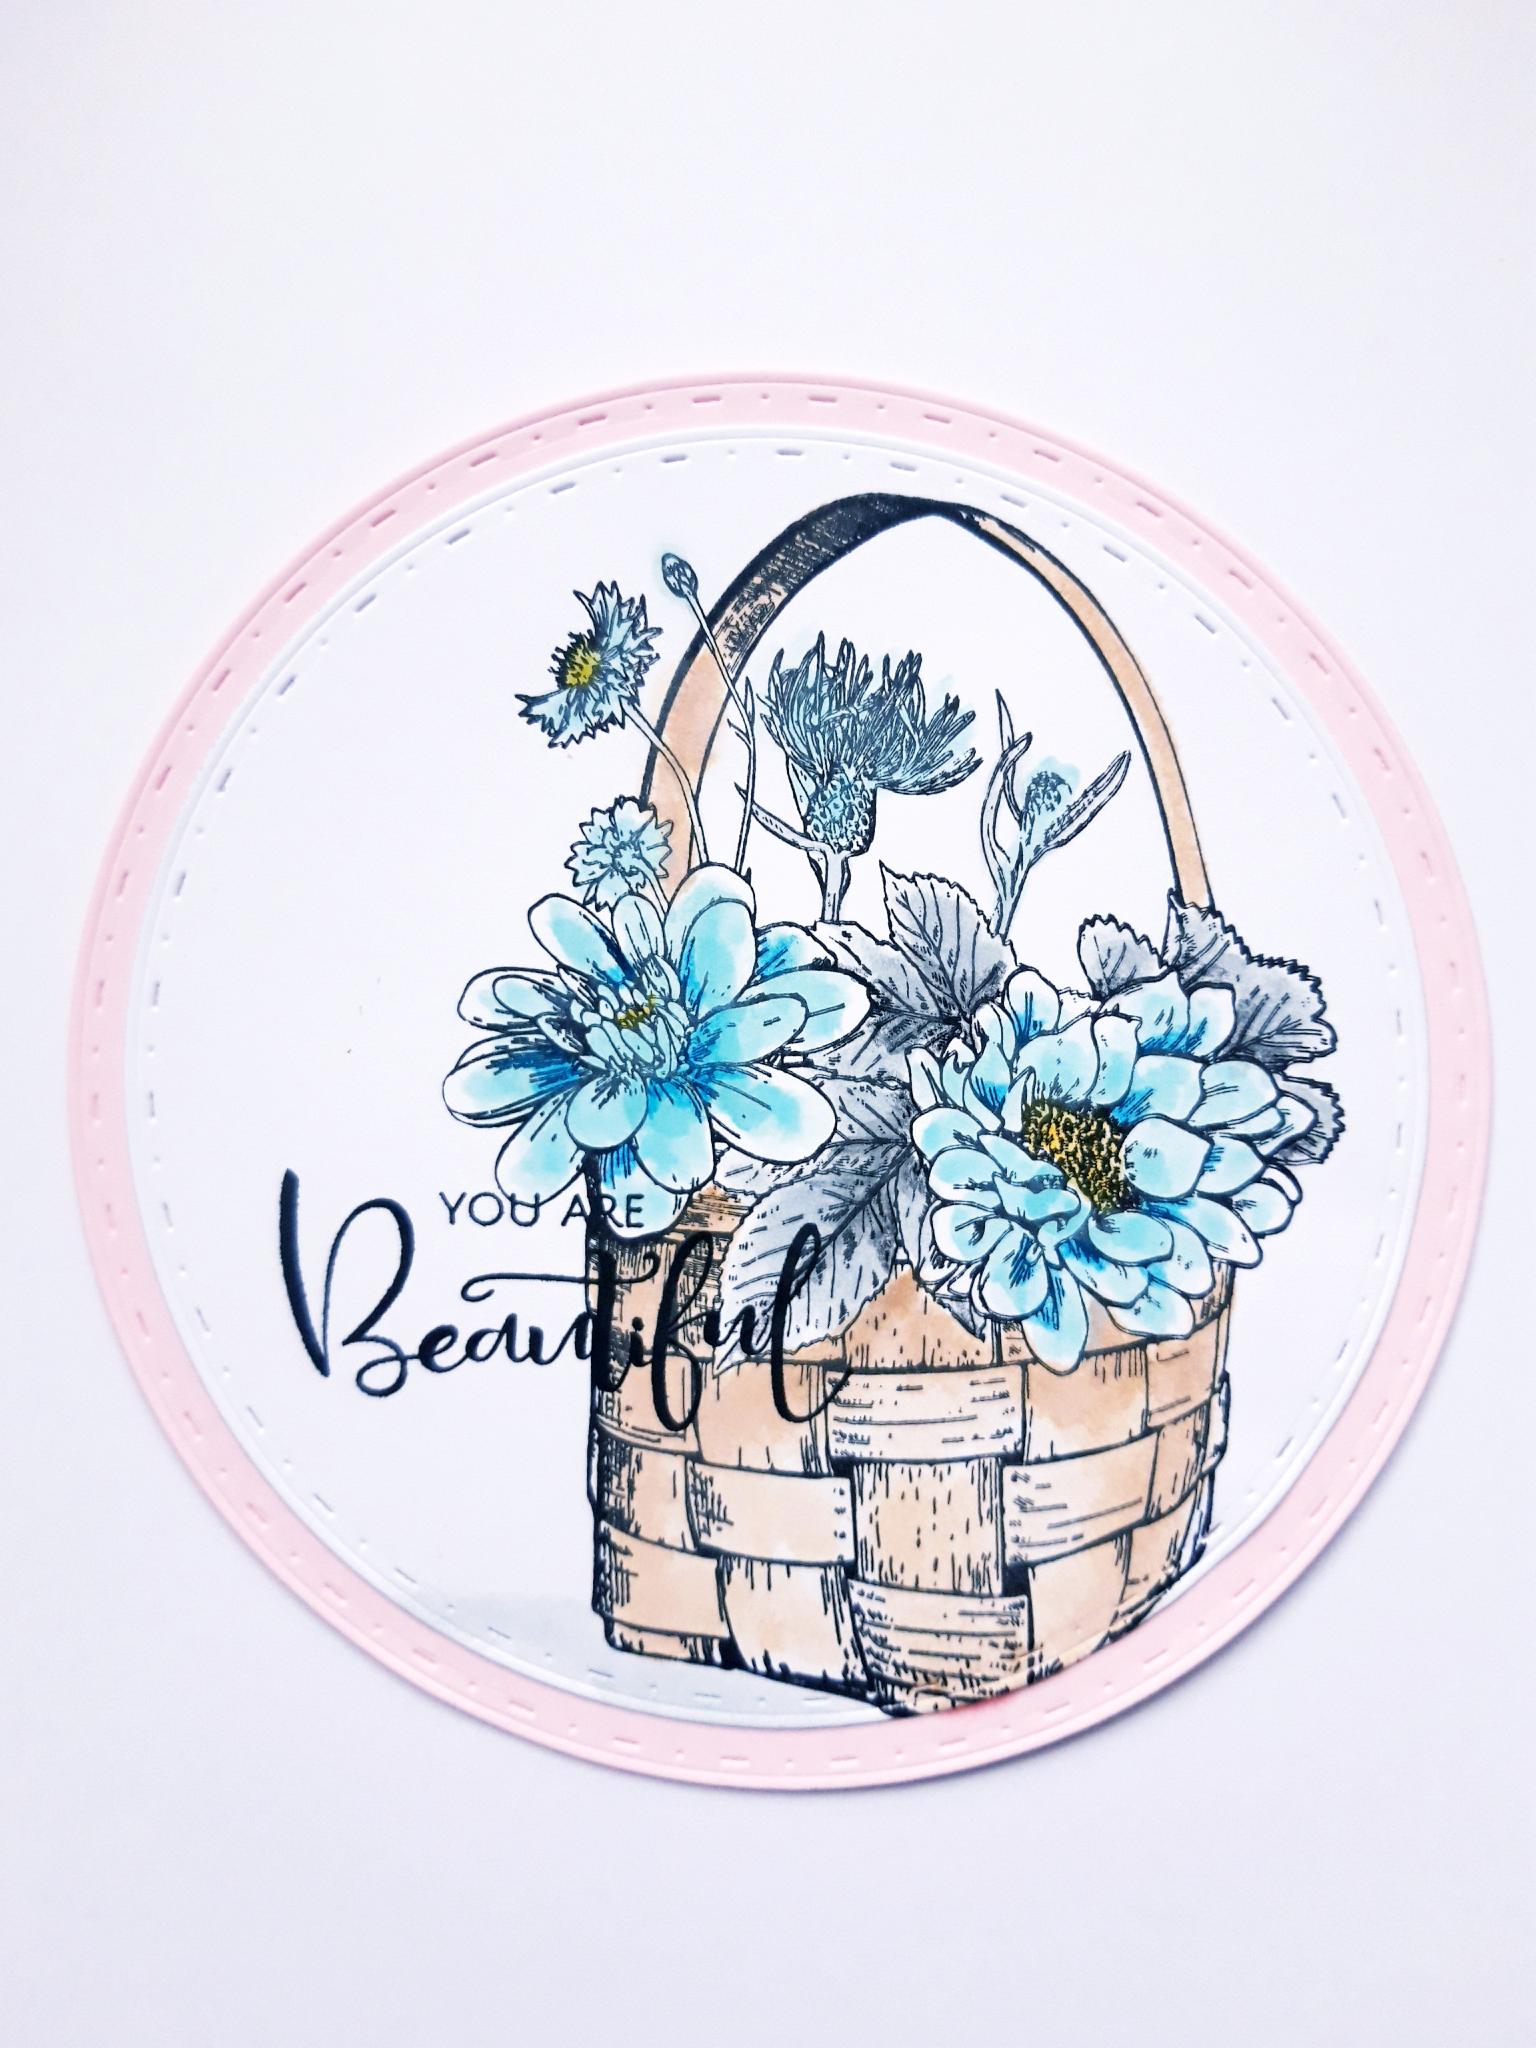
From the Deboss Circles Nesting Dies Collection, place the die that measures approx 5 1/2" in diameter, on to the 6 x 6" pink card. Place the die that measures approx 5" in diameter, on to the 5 1/2 x 5 1/2" white card, and run through your die cutting machine. Set the pink die cut circle to one side. |

|
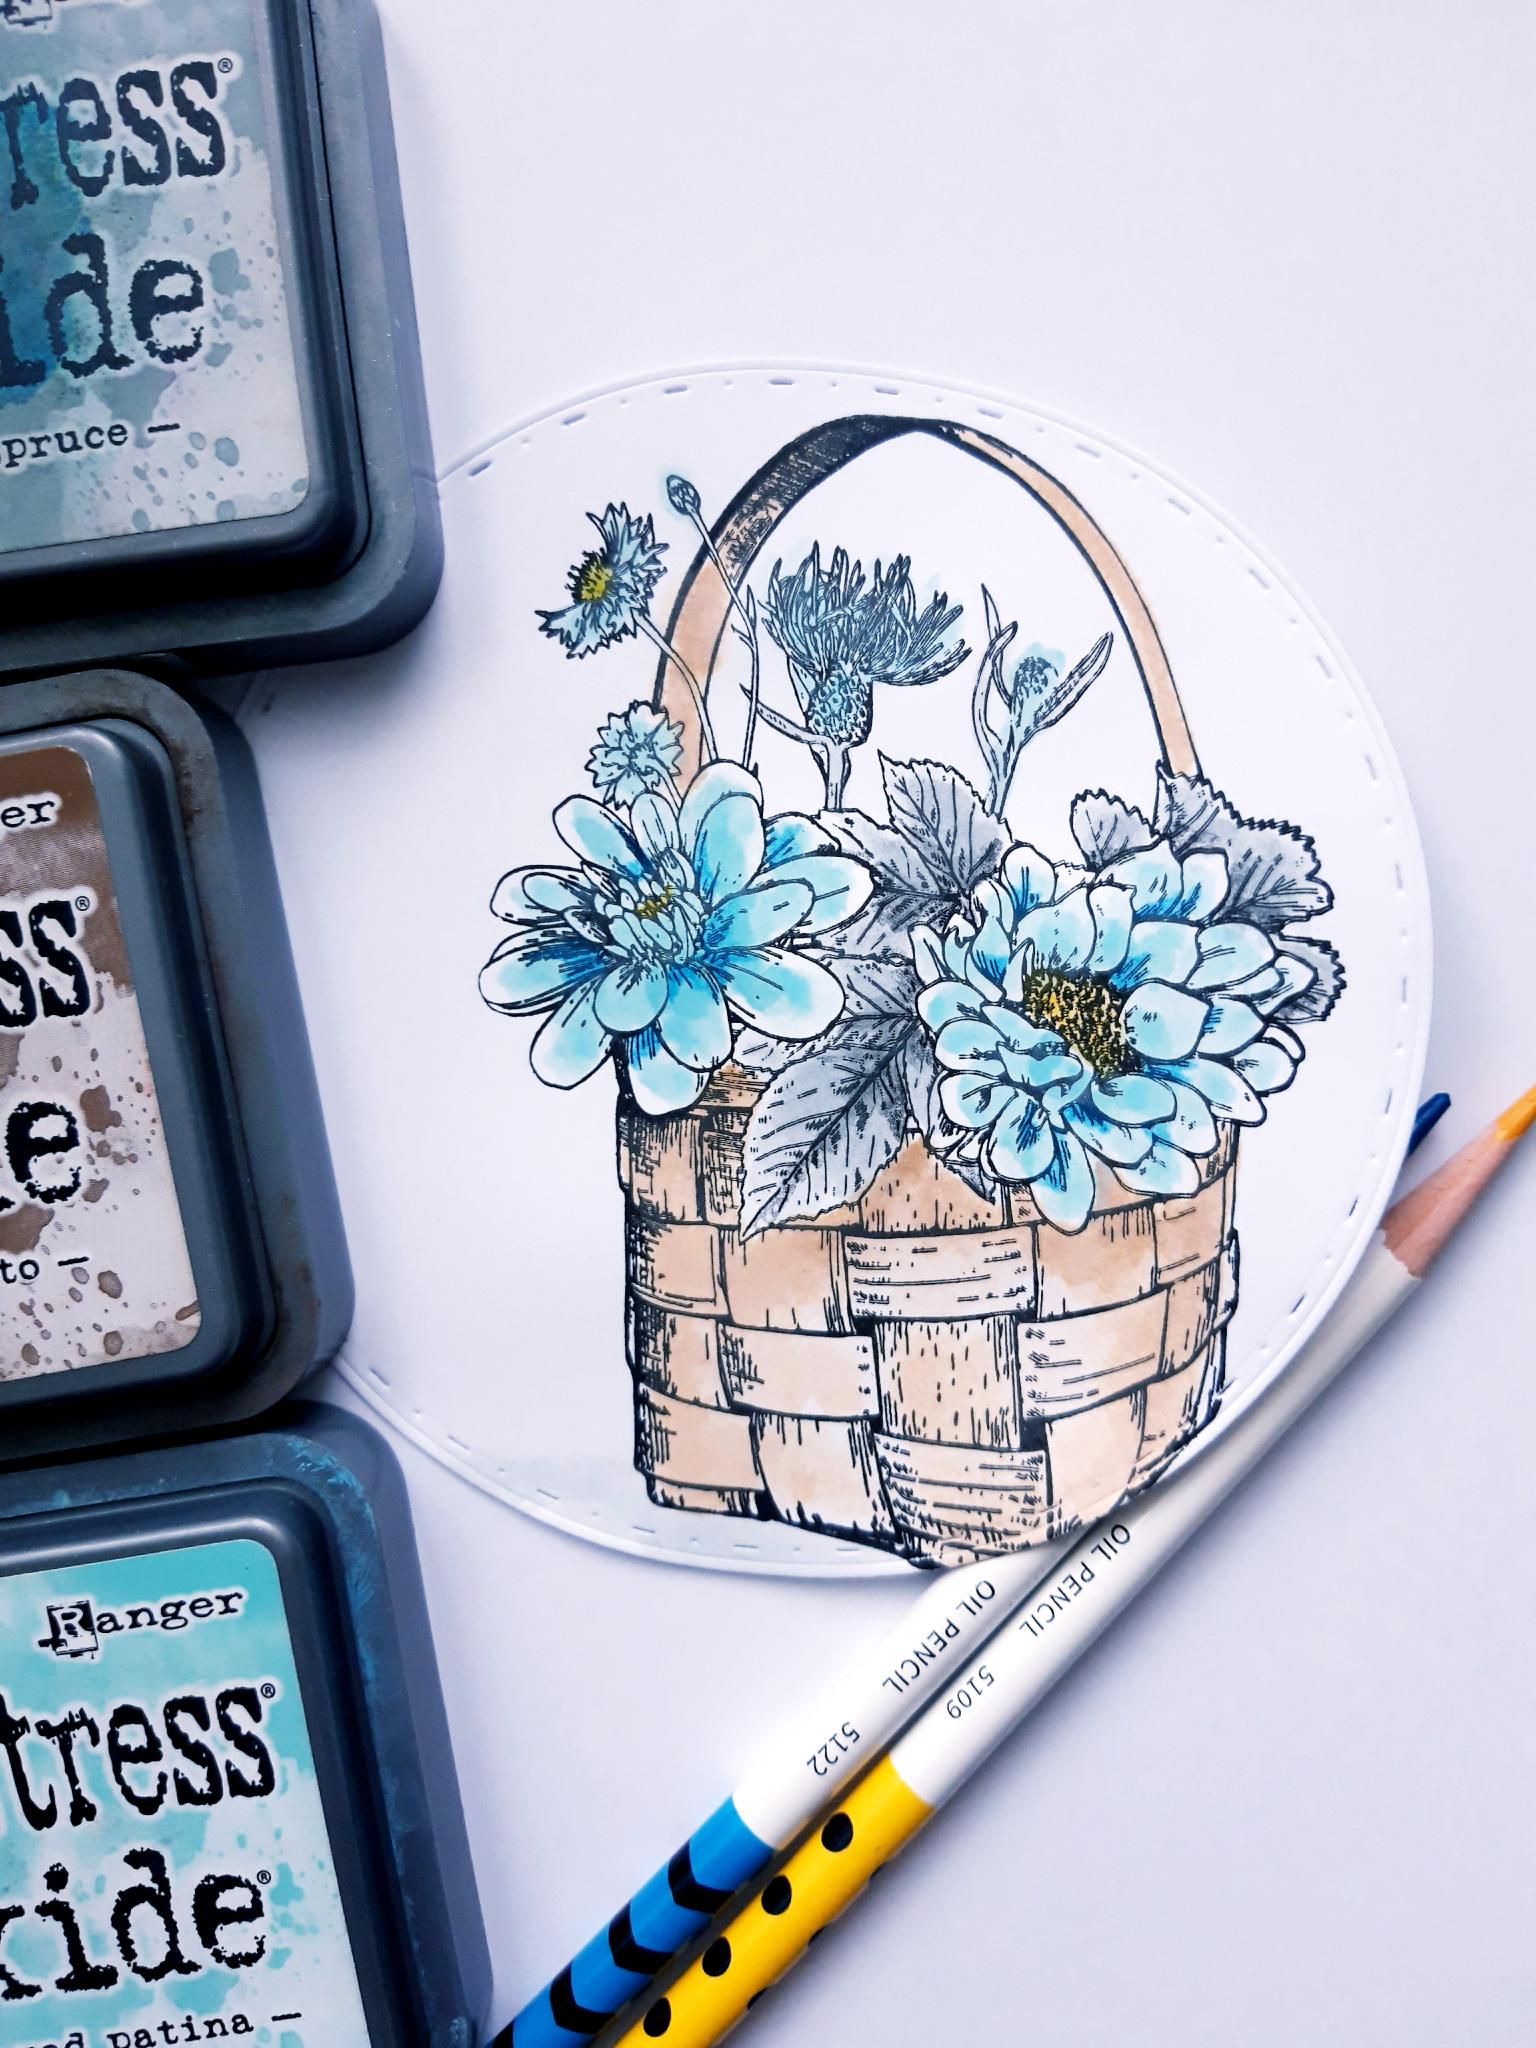
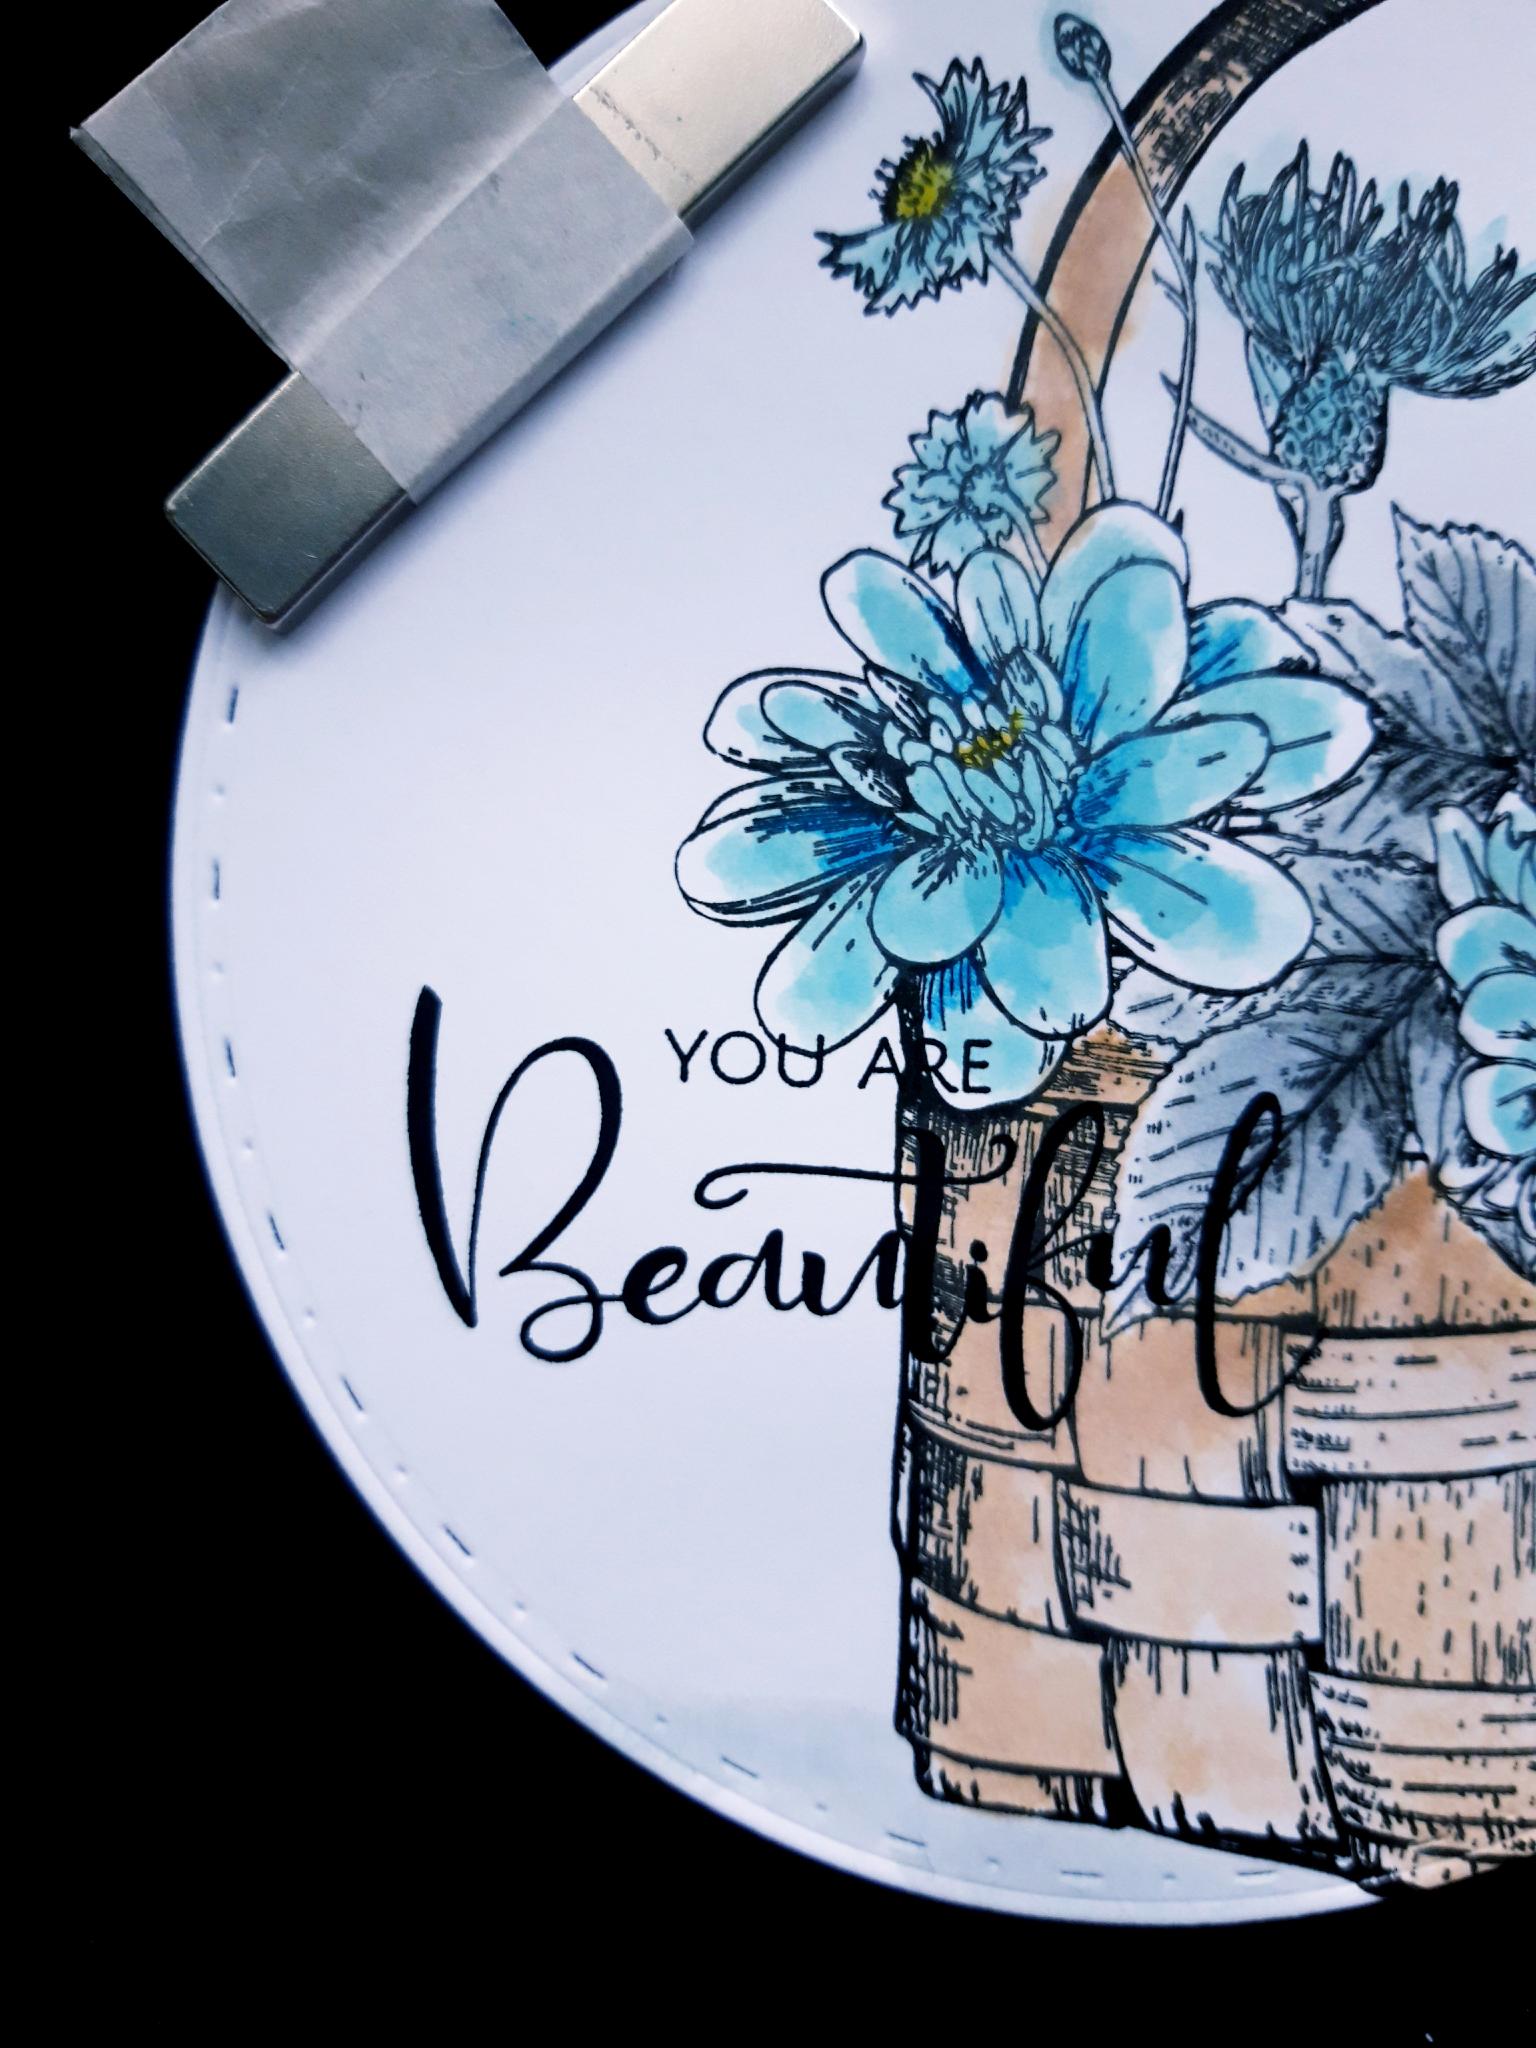
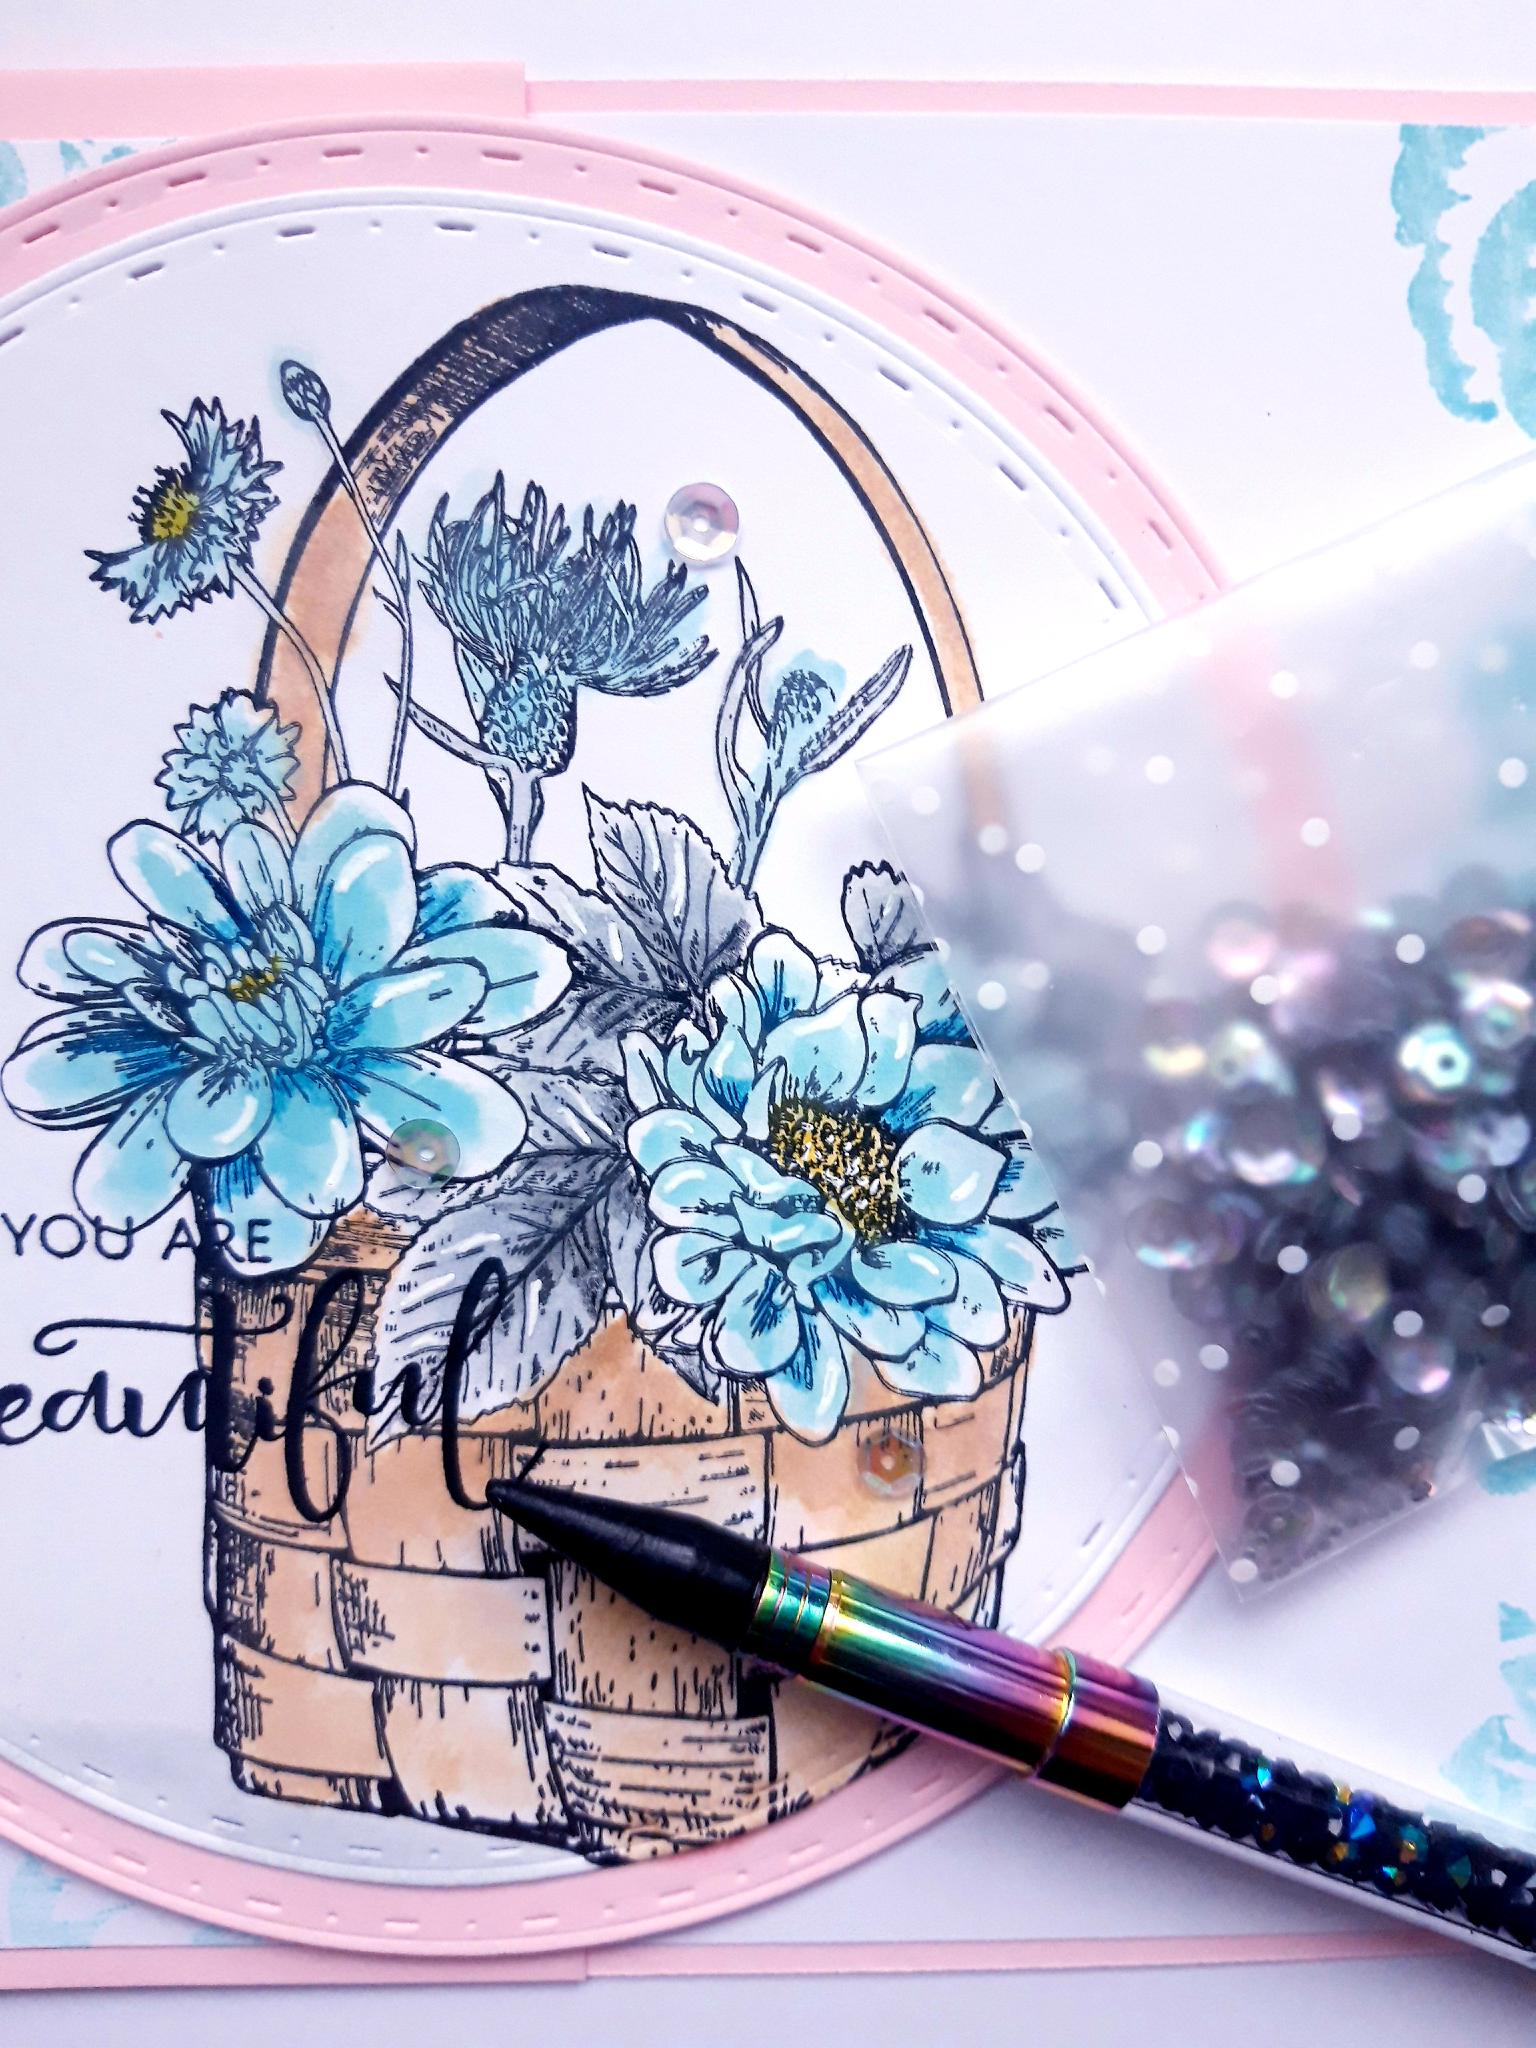
Ink up the basket of flowers stamp, from You Are Amazing Stamp Collection, with the Onyx Black Versafine. Stamp it just off the bottom right edge, of the white die cut circle. |
|
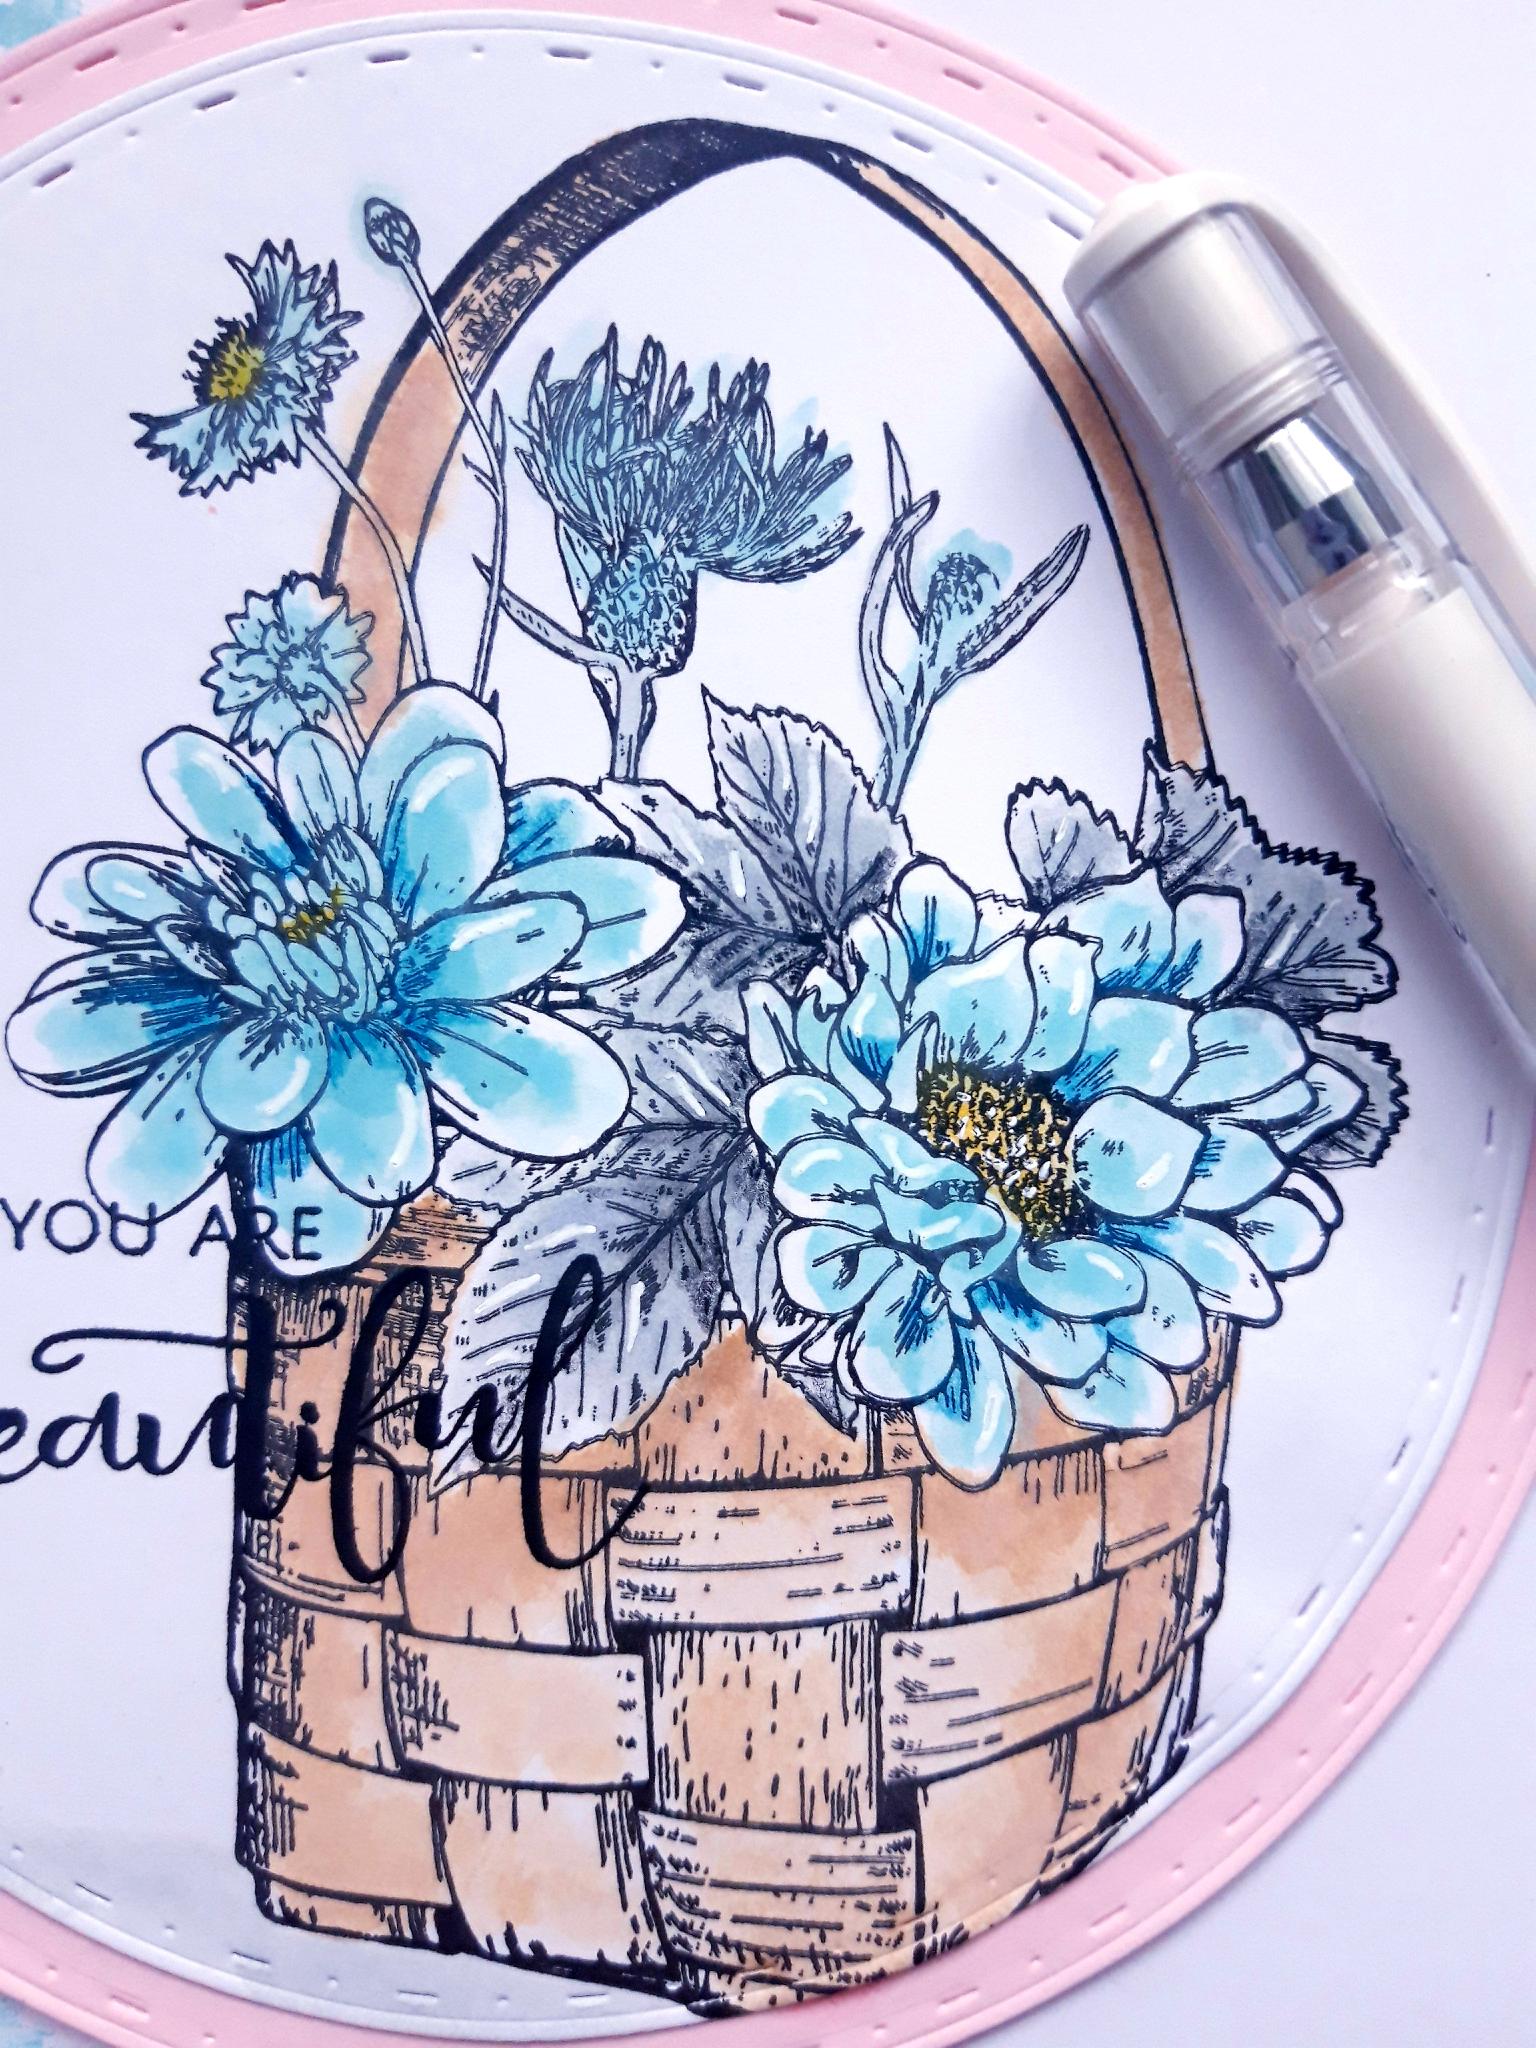
Apply the Distress Oxides to a craft or glass mat, add water and paint your stamped image. Dry off the inks, then go back in with the HIMI Oil Pencils, to add shadow and dimension to your artwork. |
|
Ink up the sentiment stamp, from the same stamp collection, with the Versafine, and stamp bottom left of your artwork. |
|
Once the ink is dry, adhere on to the die cut, pink card circle. |
|
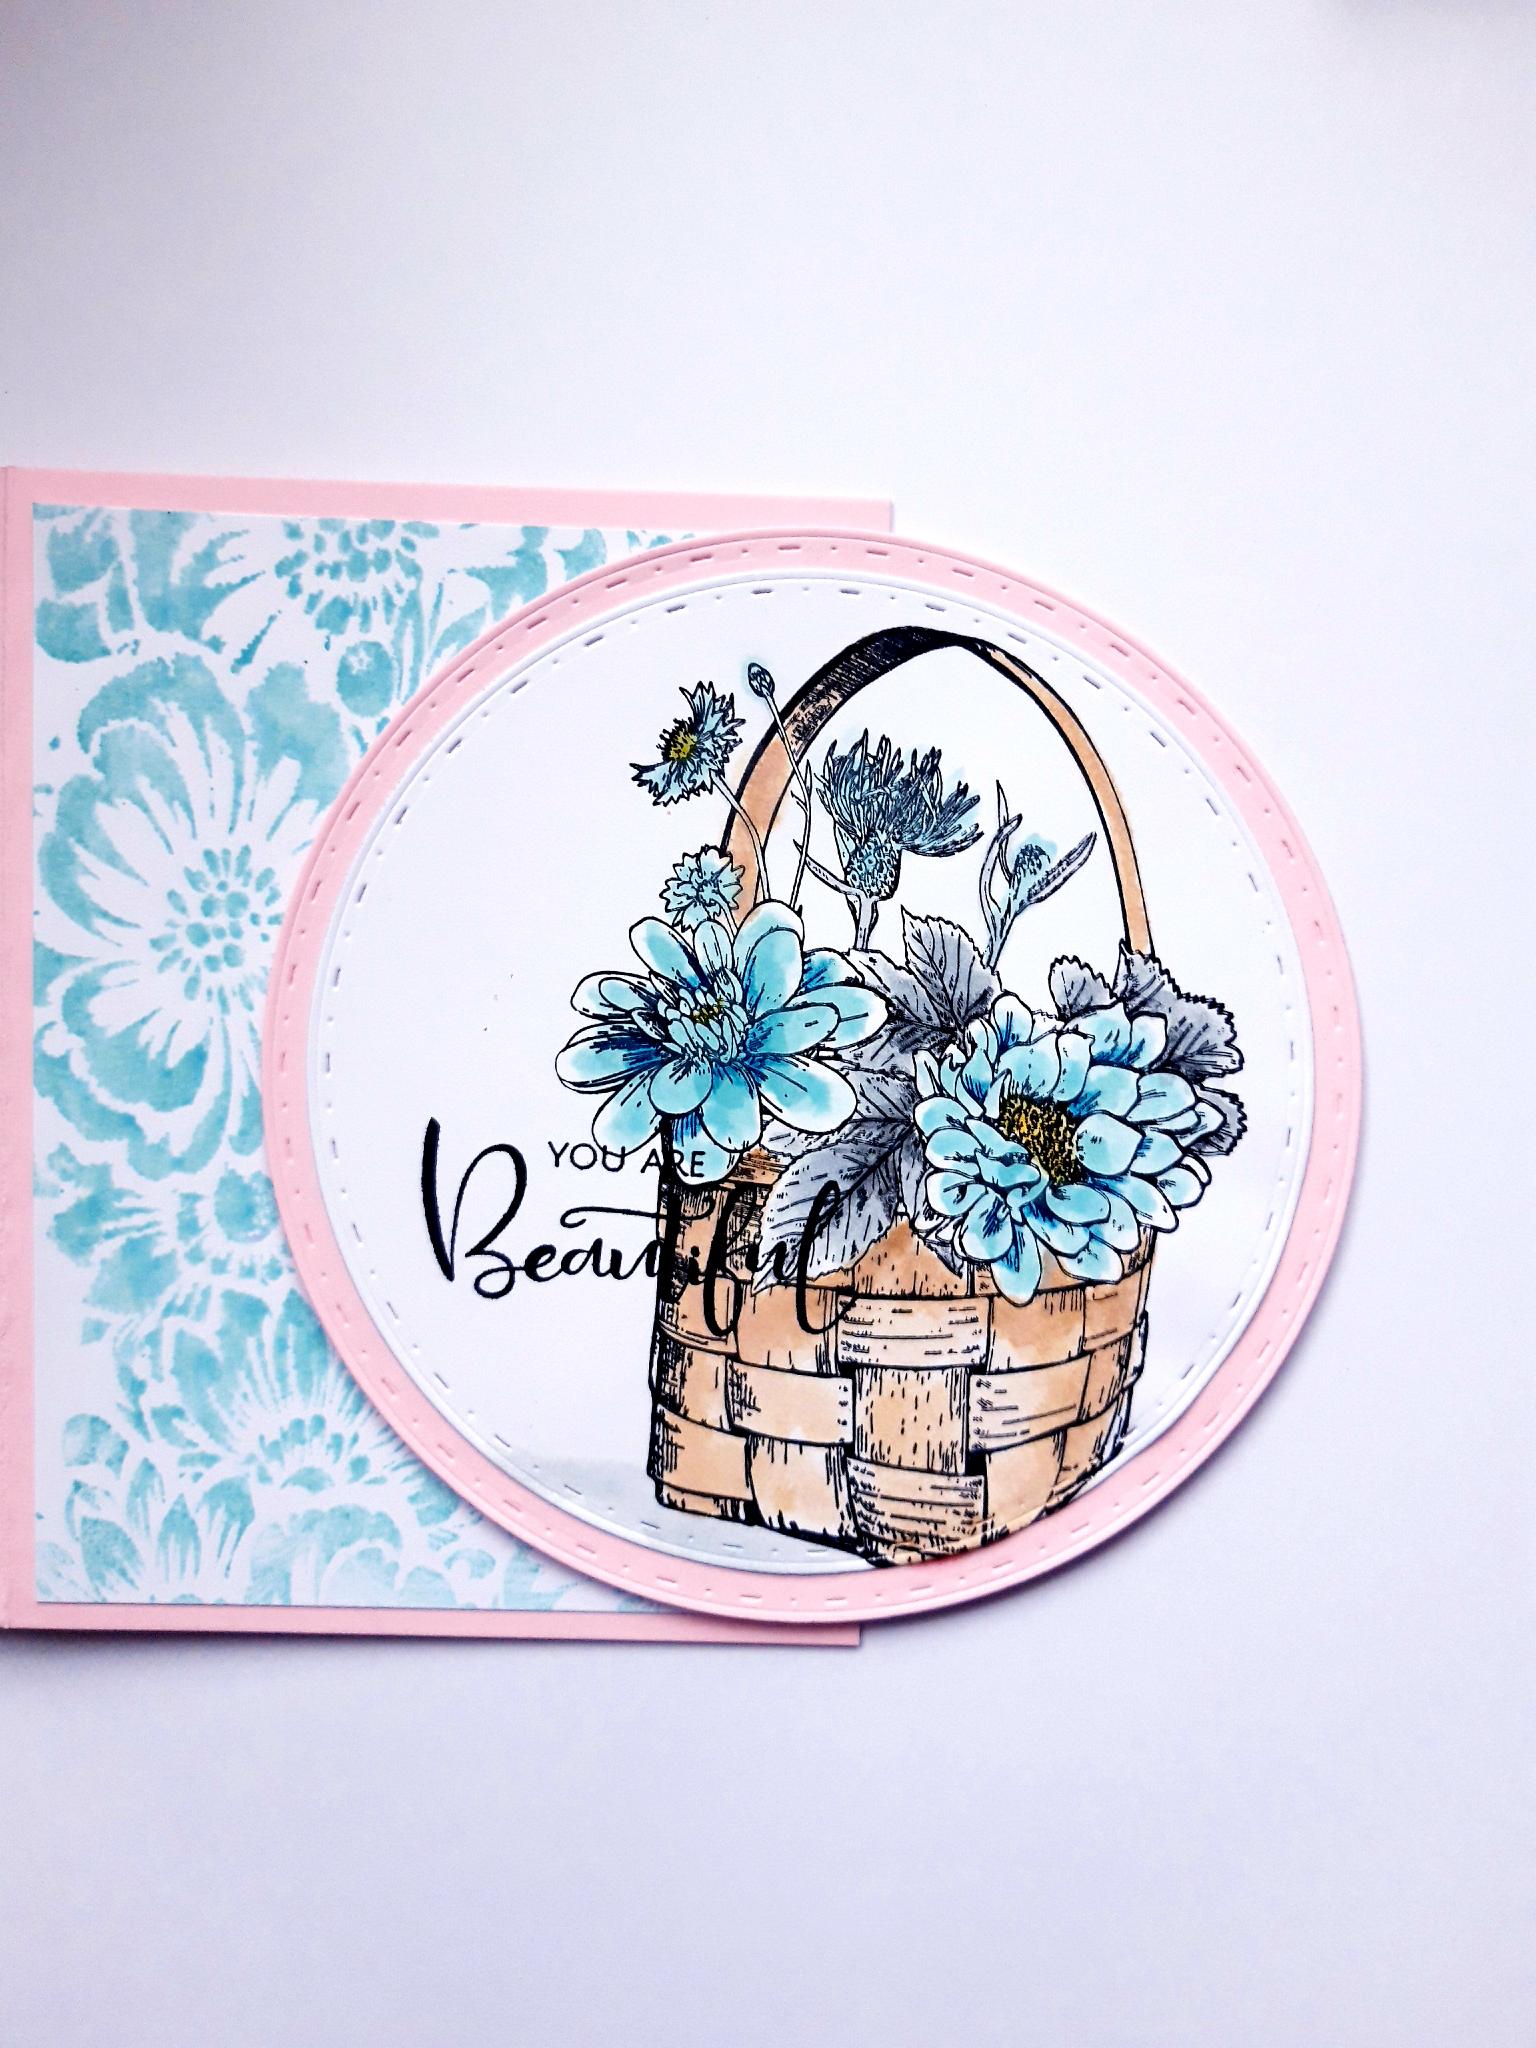
With your topper facing down, apply strips of the double sided foam sheet, or foam pads, on to the right half only. |
|
Peel off the foam sheet backing, and adhere to the front panel of your card blank, as shown here. |
|
Use your white gel pen, to add accents and highlights to your artwork. |