Give your friends $10 off their first order!
Refer a FRIEND


WHAT YOU WILL NEED:
White card blank (7 x 7")
White card (6 x 6")
A4 copier paper
Stamps from Small Town Girl Lamination Stamp Collection
Stamps from Adventure Begins Stamp Collection
Stamps from Beautiful Soul Stamp Collection
Thirsty Brush Northern Lights 8 x 8" Paper pad
Versafine Ink Pad: Onyx Black
Izink Dye Ink Pads: Aurore, Cire, Grenadine, Menthe, Emeraude
White gel pen
Sequins: Down The Bay
Gem pick up and pokey tool
Paint brush
Ruler
Black pen
Water spray bottle
Eureka 101
Paper Trimmer
Perfect Together Glue
[click image to enlarge] 
|
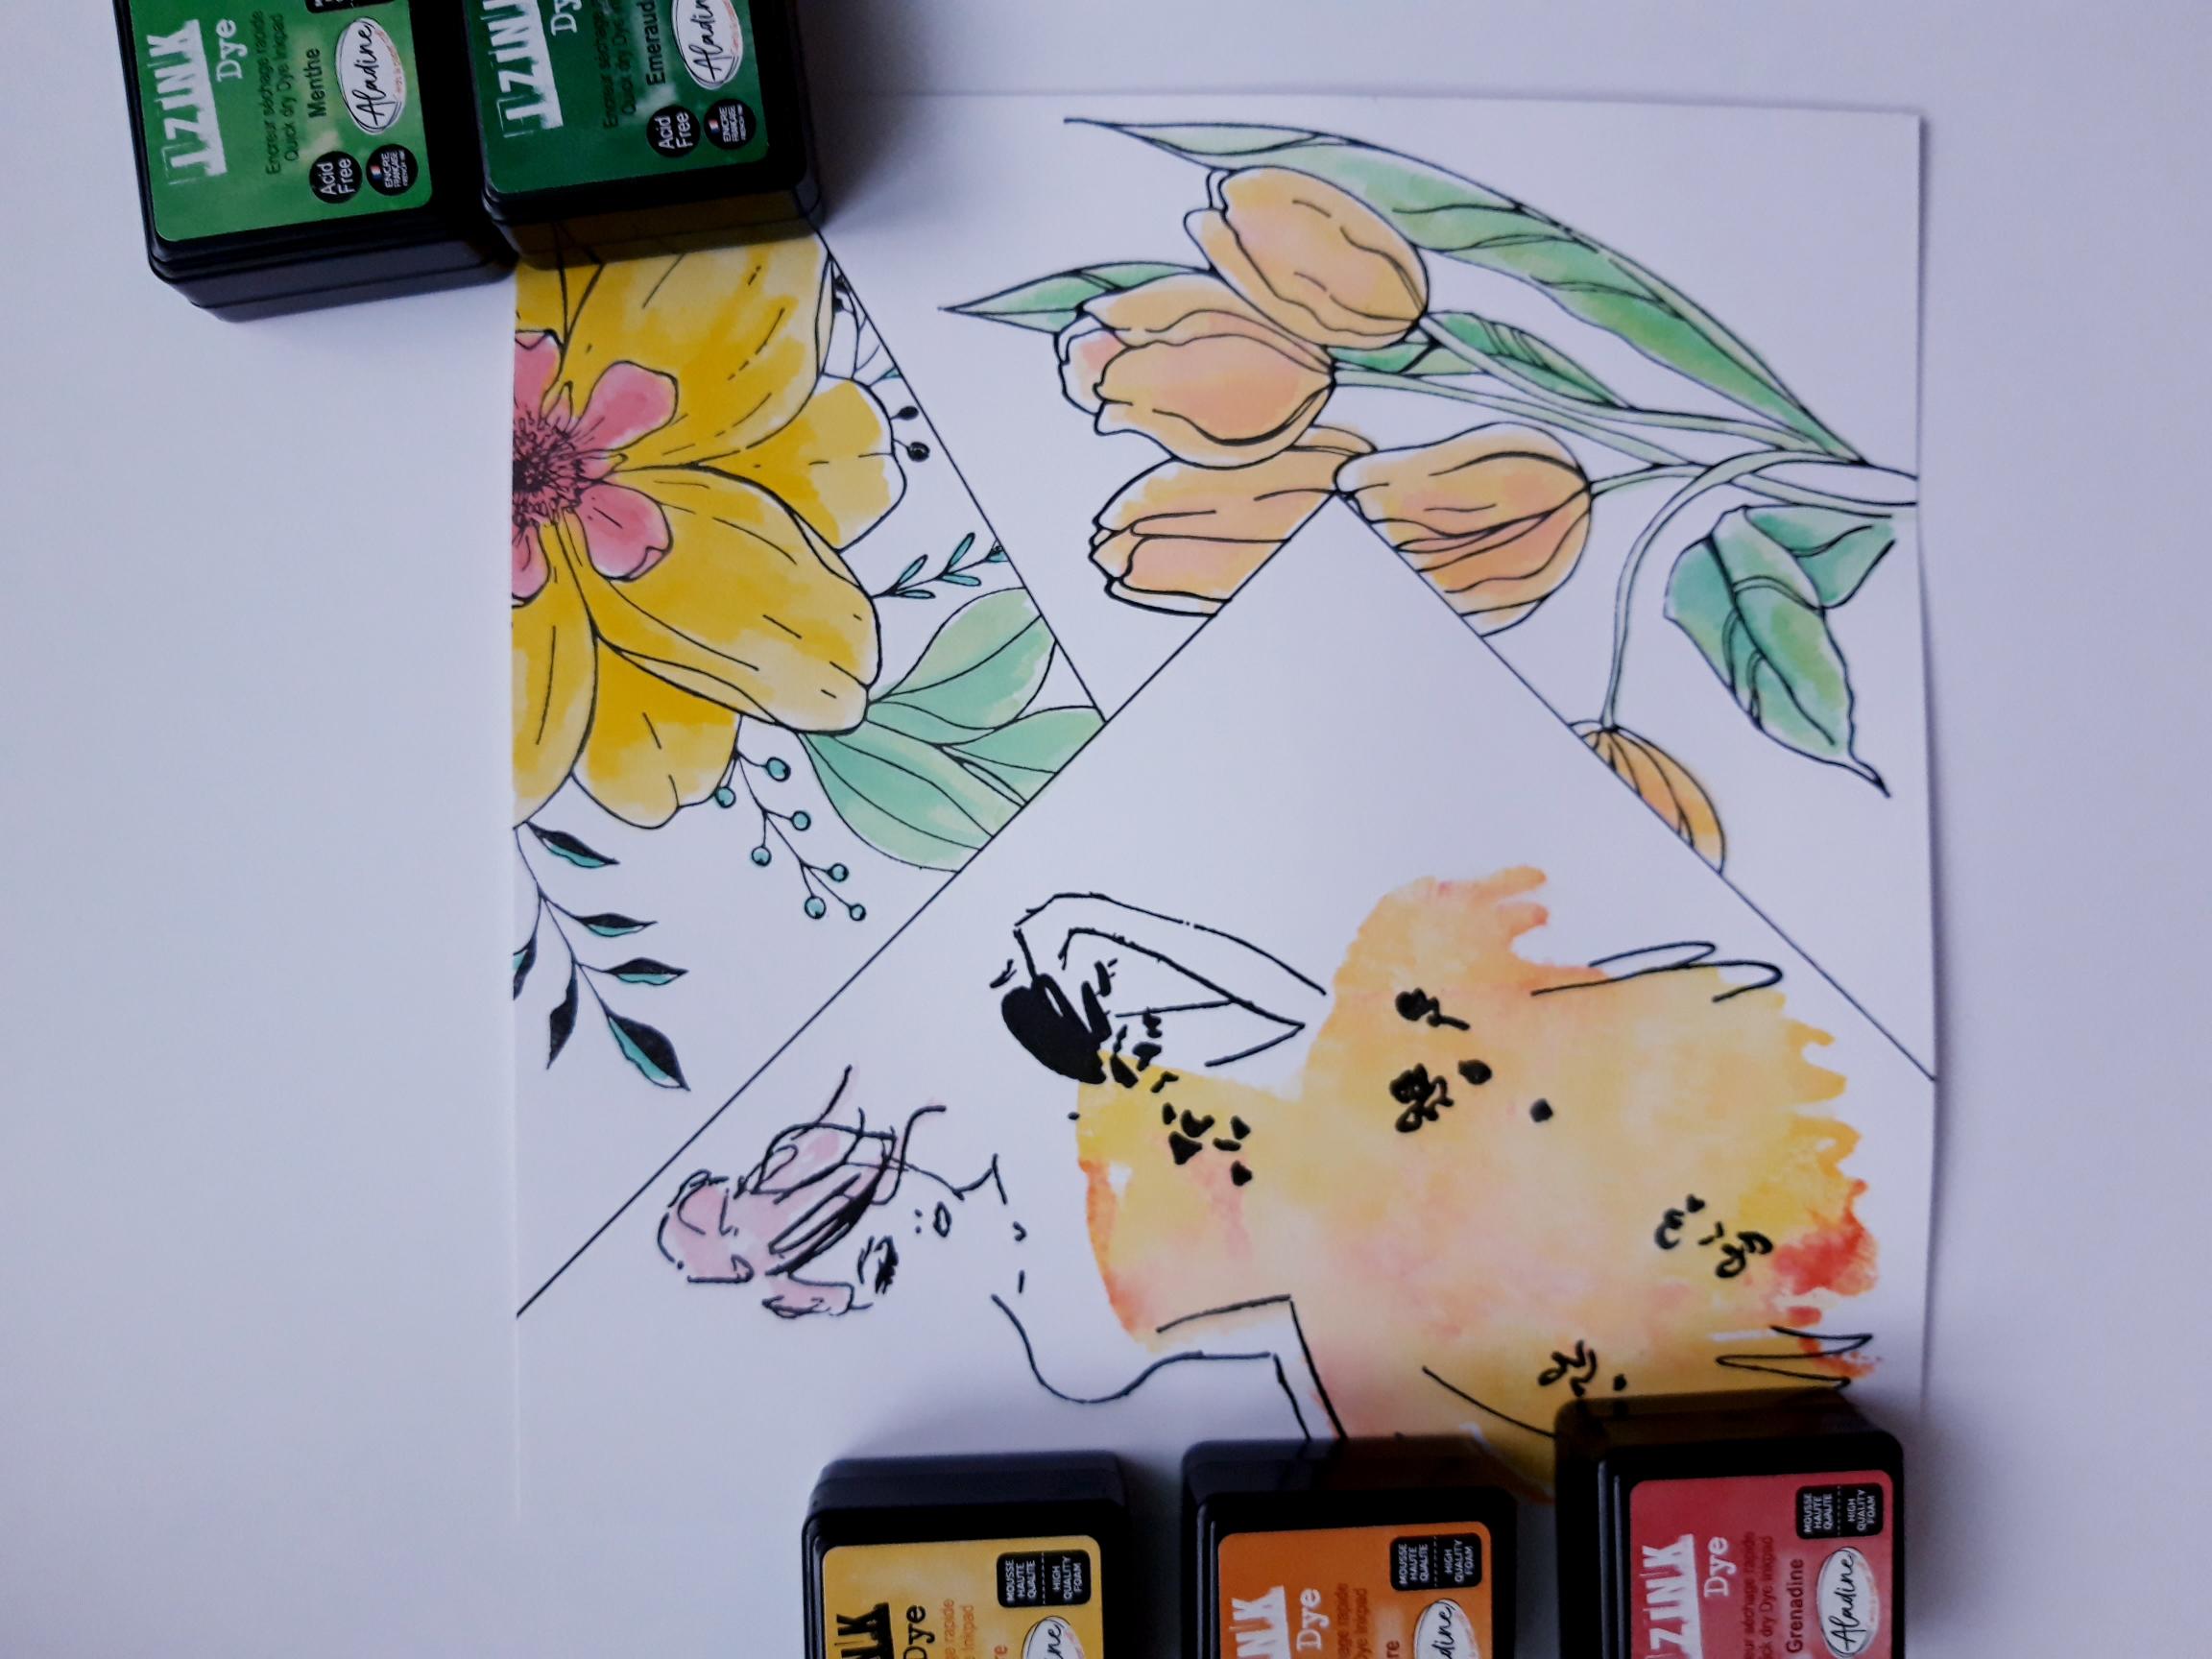
Ink up the solid stamp from Small Town Girl Lamination Collection, with the Izink Aurore and Cire ink pads. Spritz the stamp with water, and stamp just off the bottom, left hand edge of the white card. You can reink and stamp again, to add more depth of colour, as required. Dry thoroughly. |
|
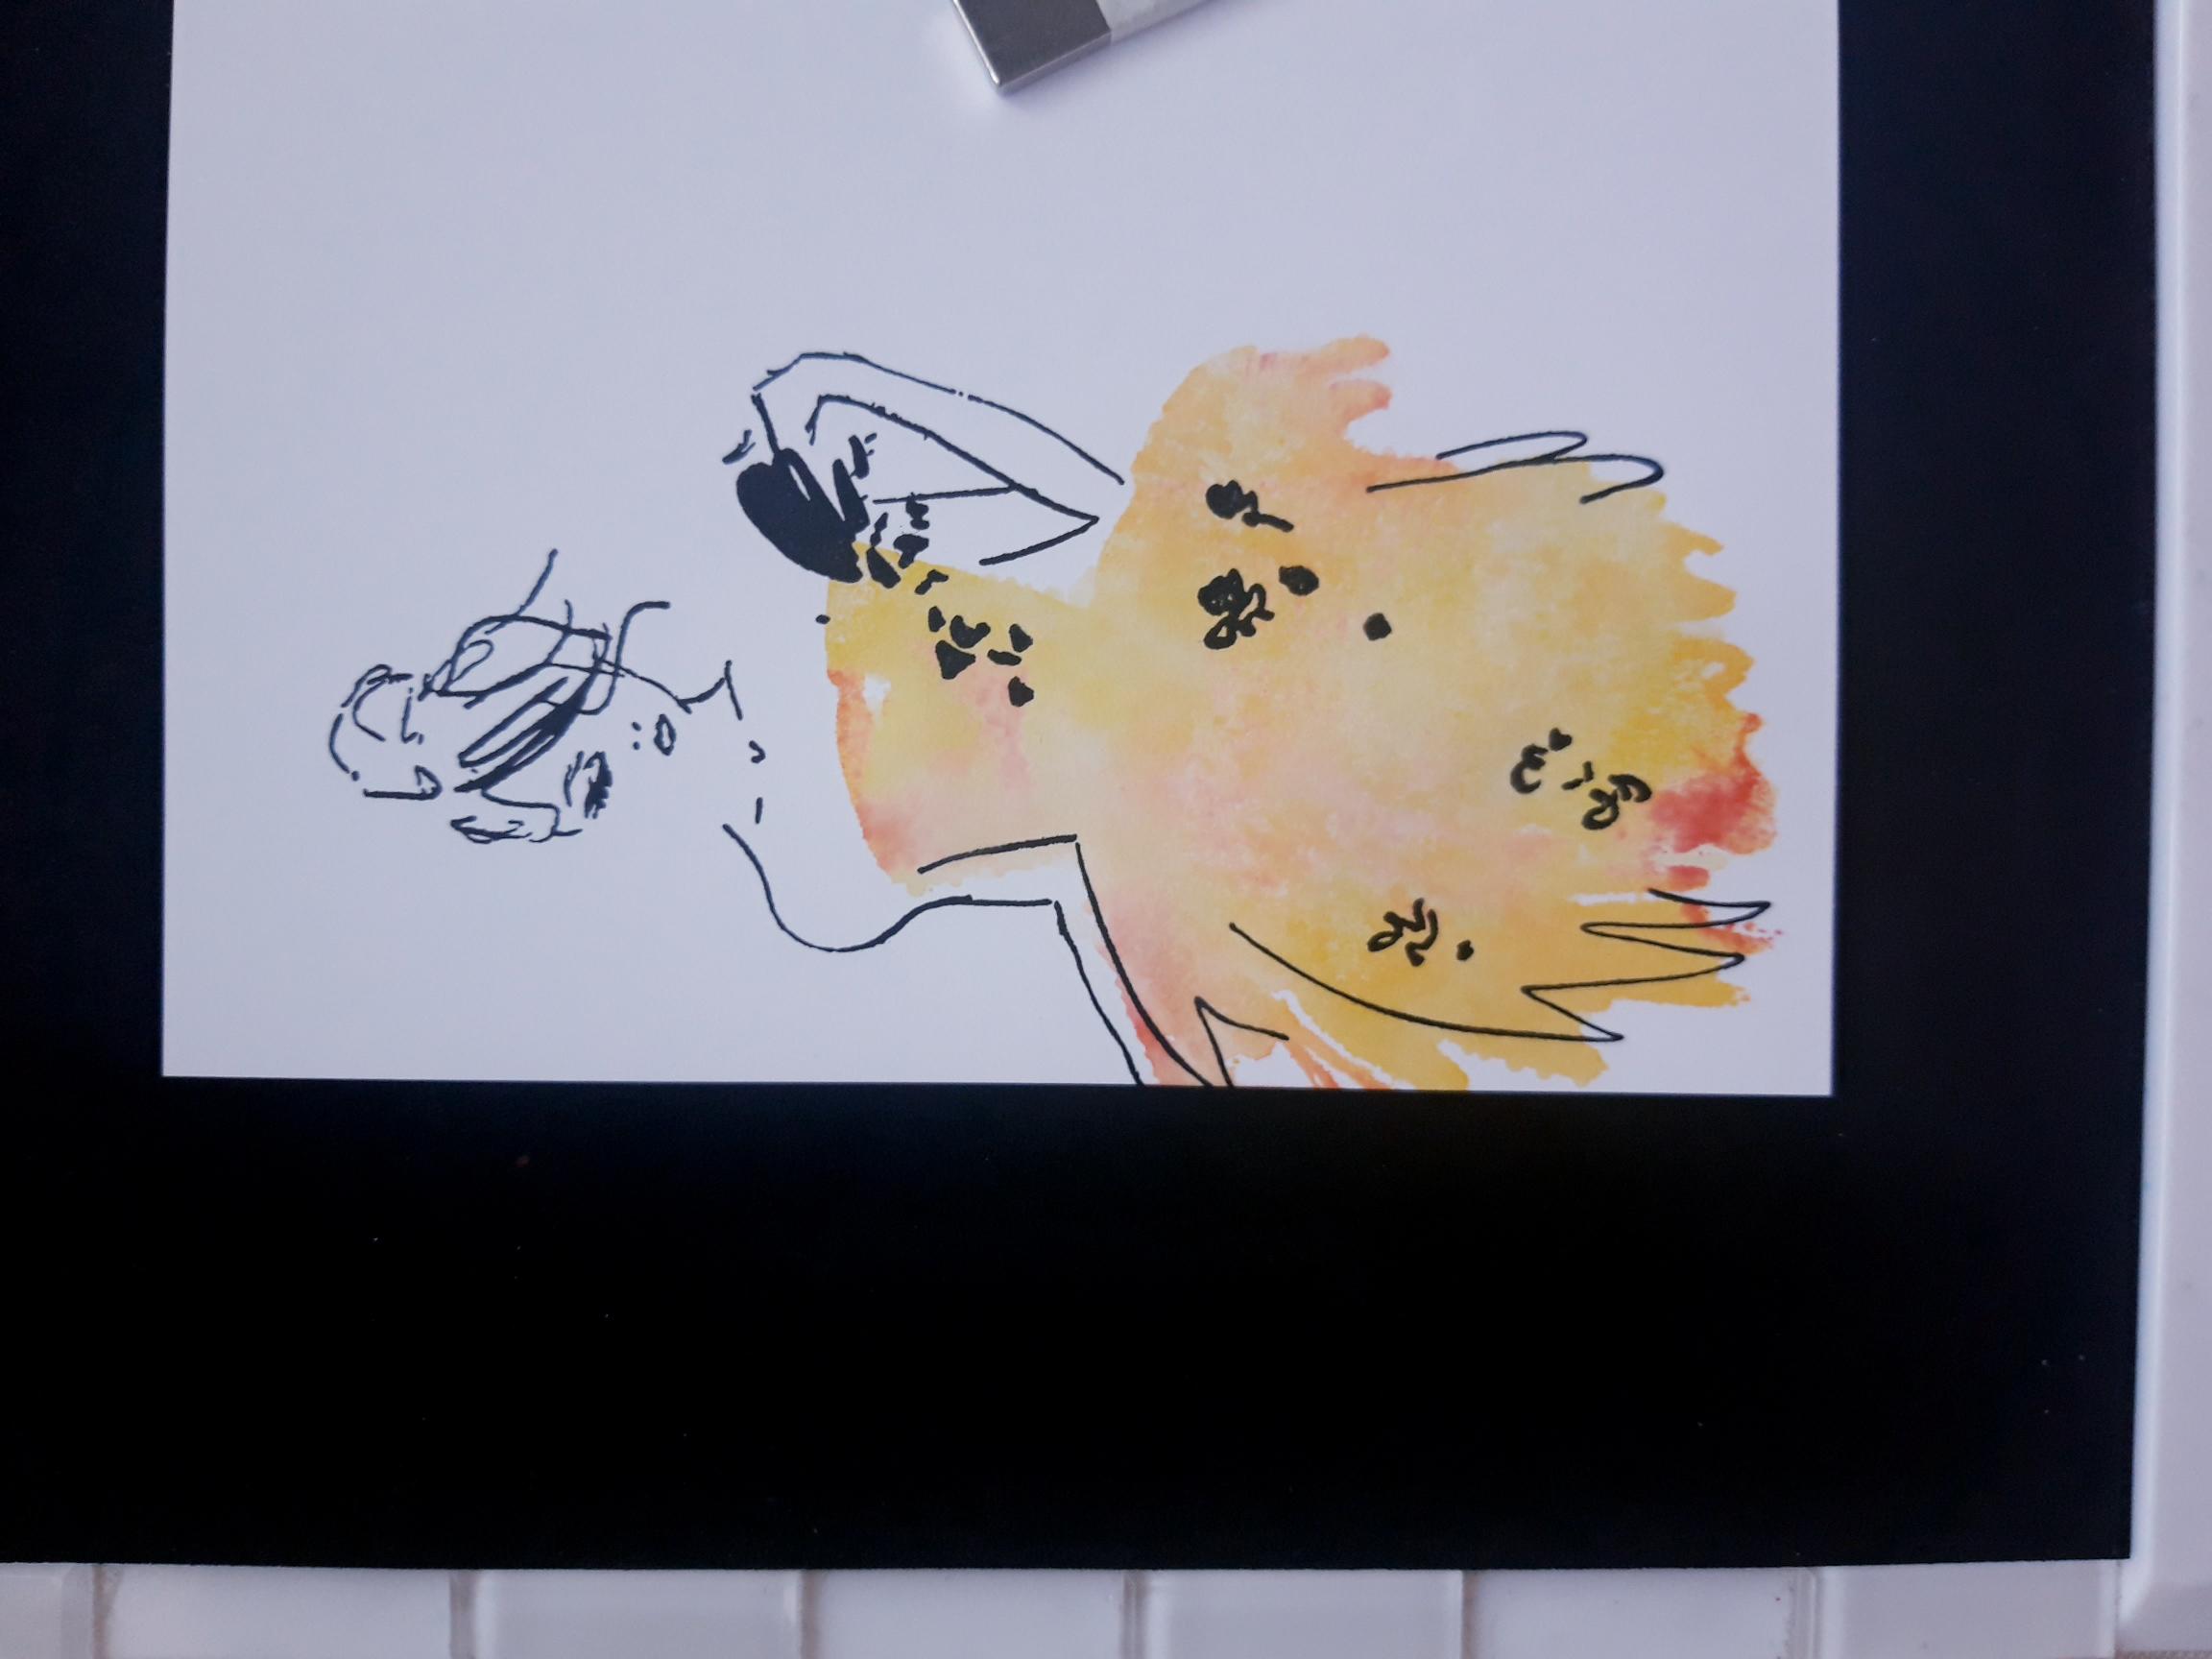
Ink up the coordinating, detailed stamp, with the Onyx Black Versafine. Stamp in place over your solid stamped image. If you are unsure how to line it up, the images on the pacakaging will help. Dry thoroughly, before proceeding to the next step. |
|
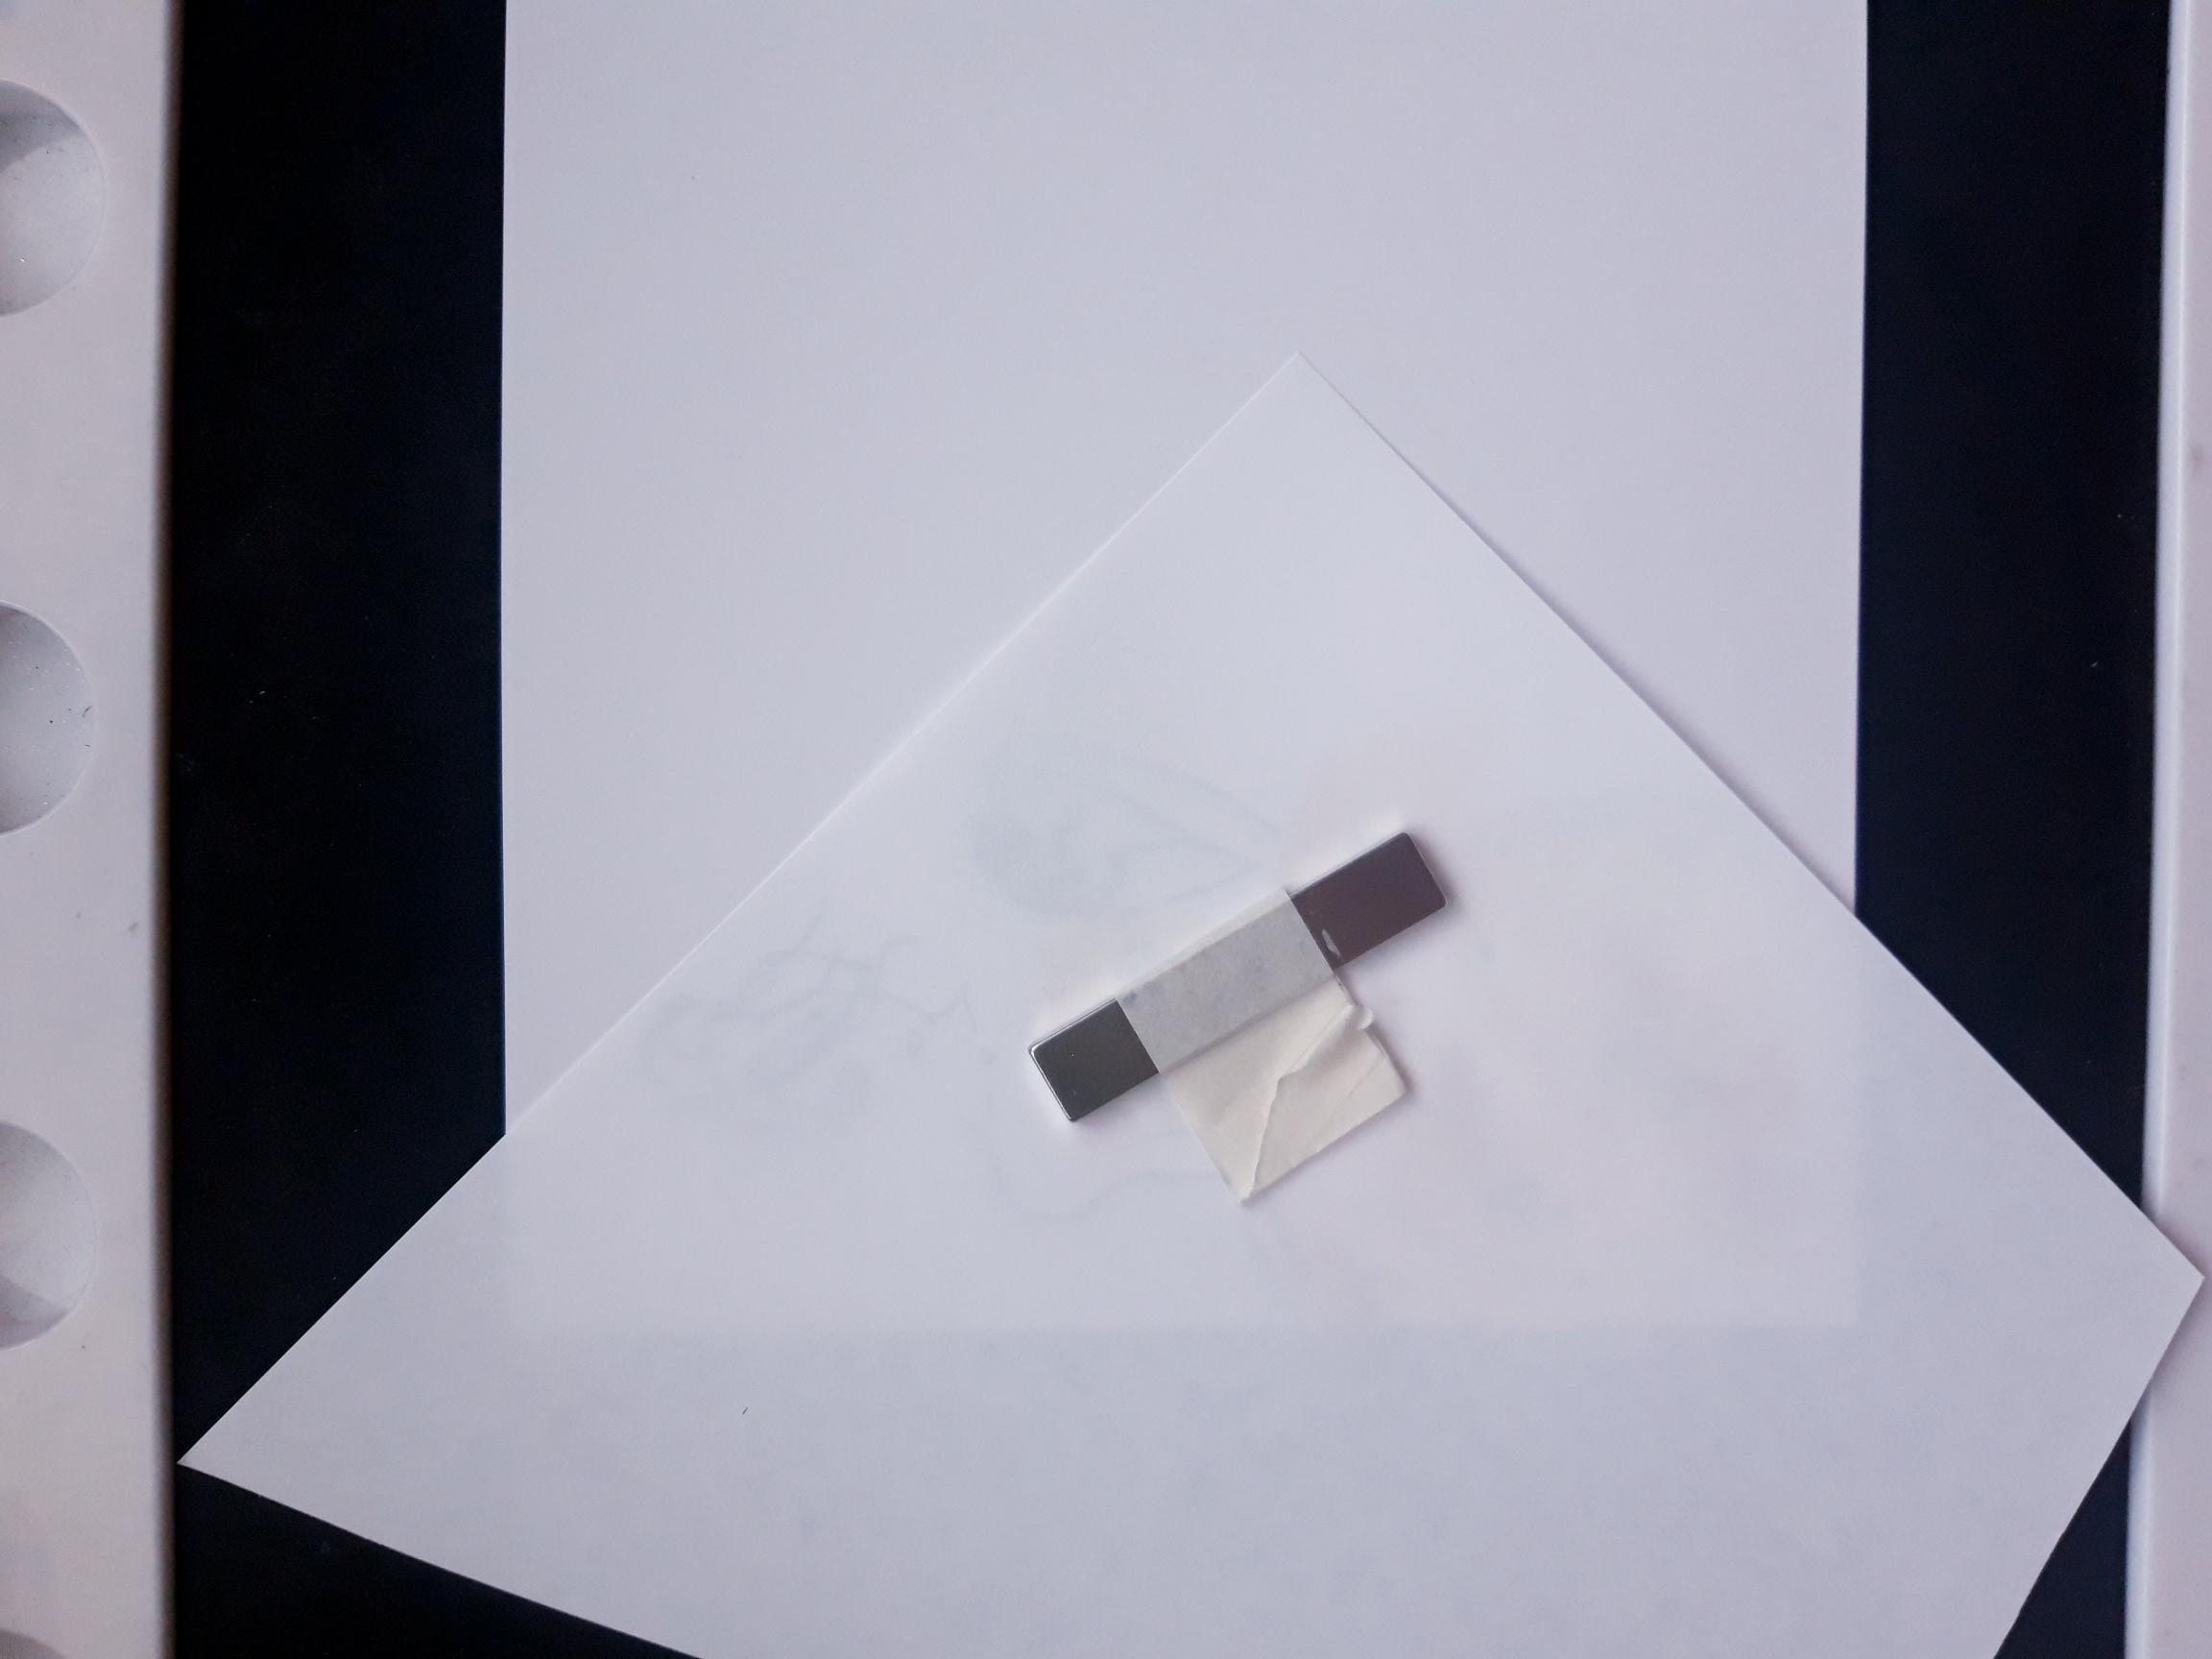
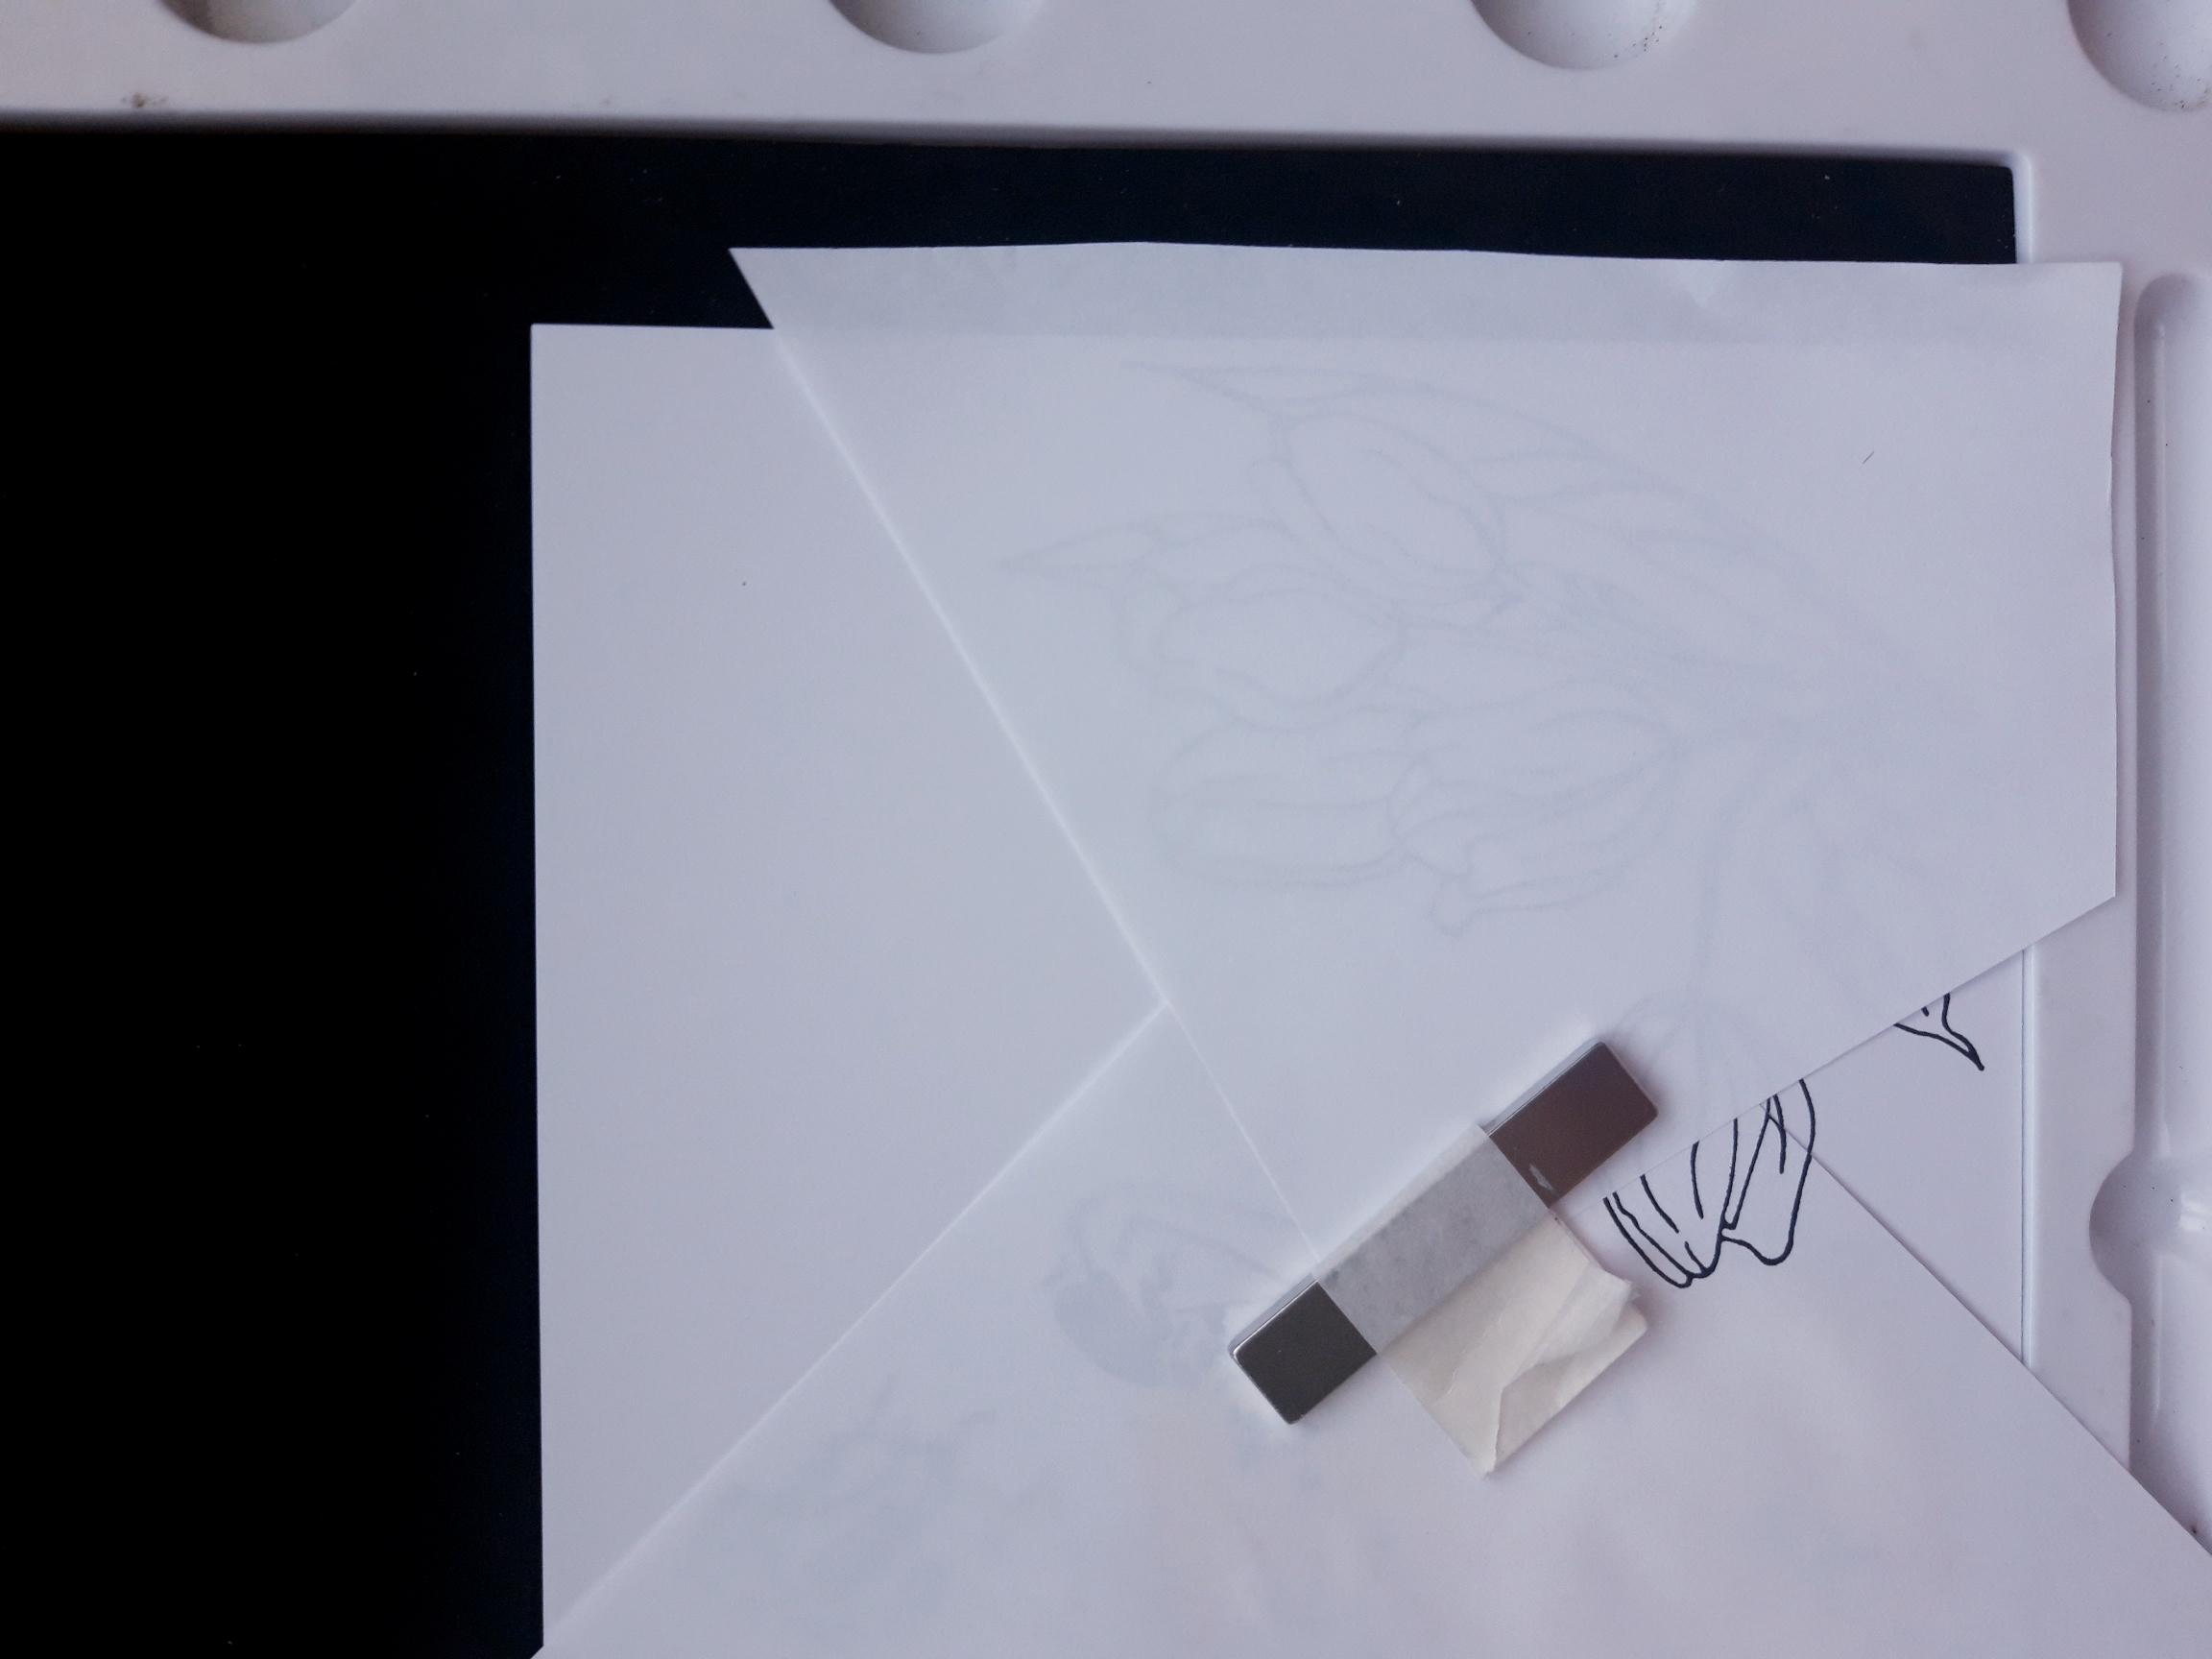
Place your artwork to the right hand side of your Eureka 101. Position a piece of copier paper just over your stamped image, at an angle as shown here, and secure in place with your magnet. |
|
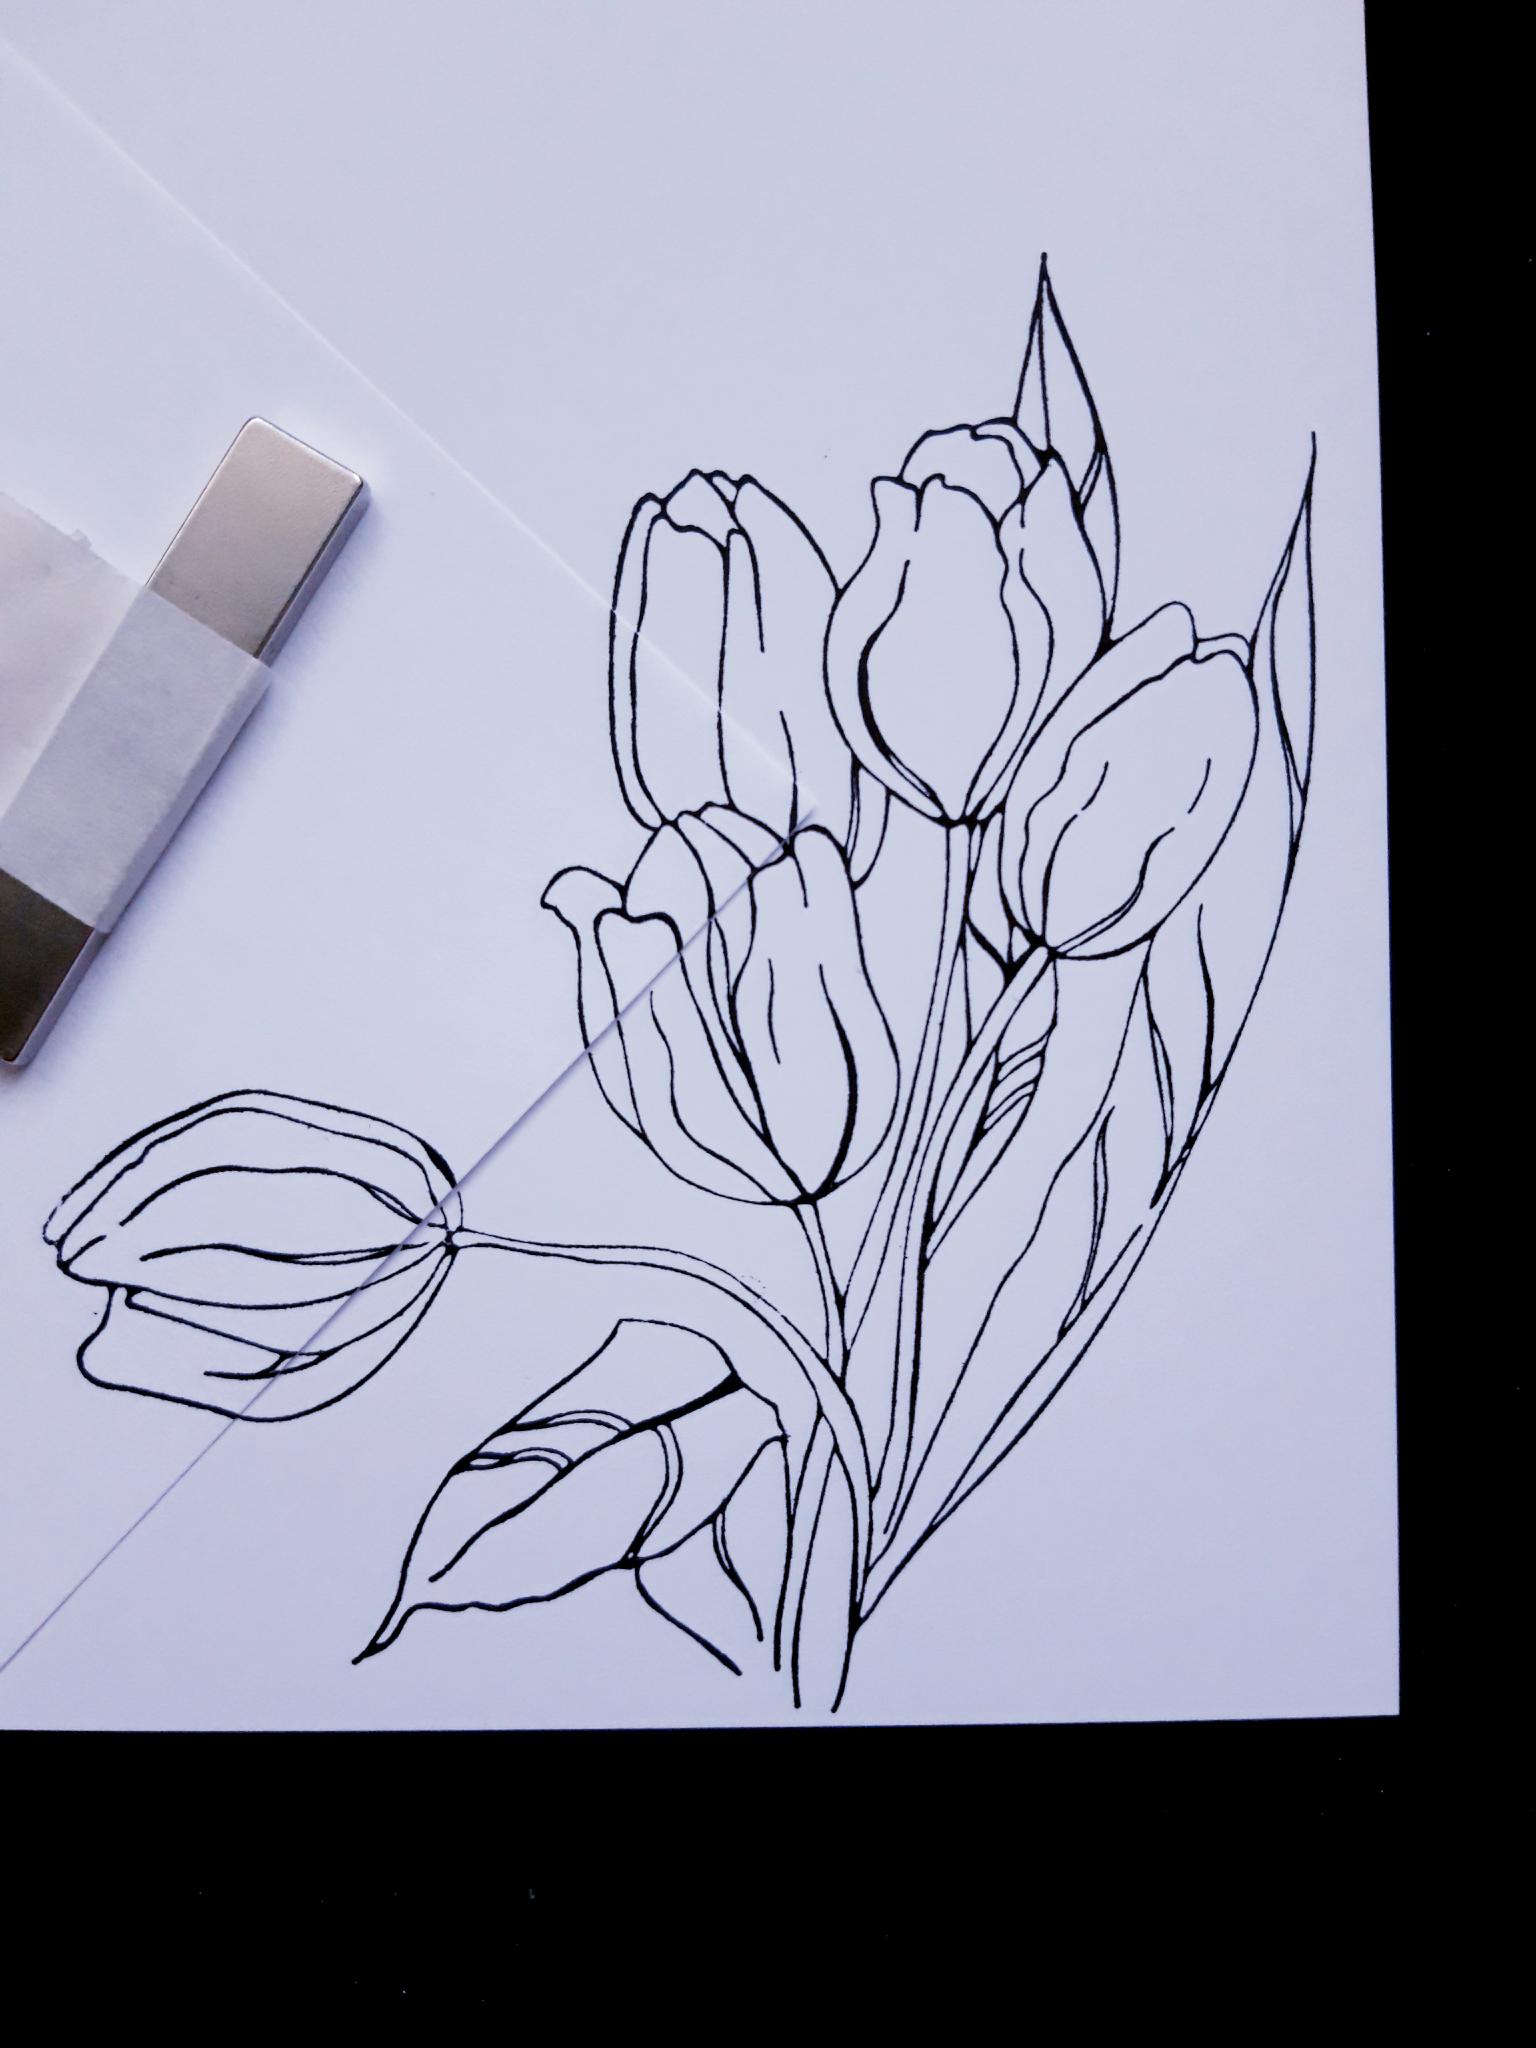
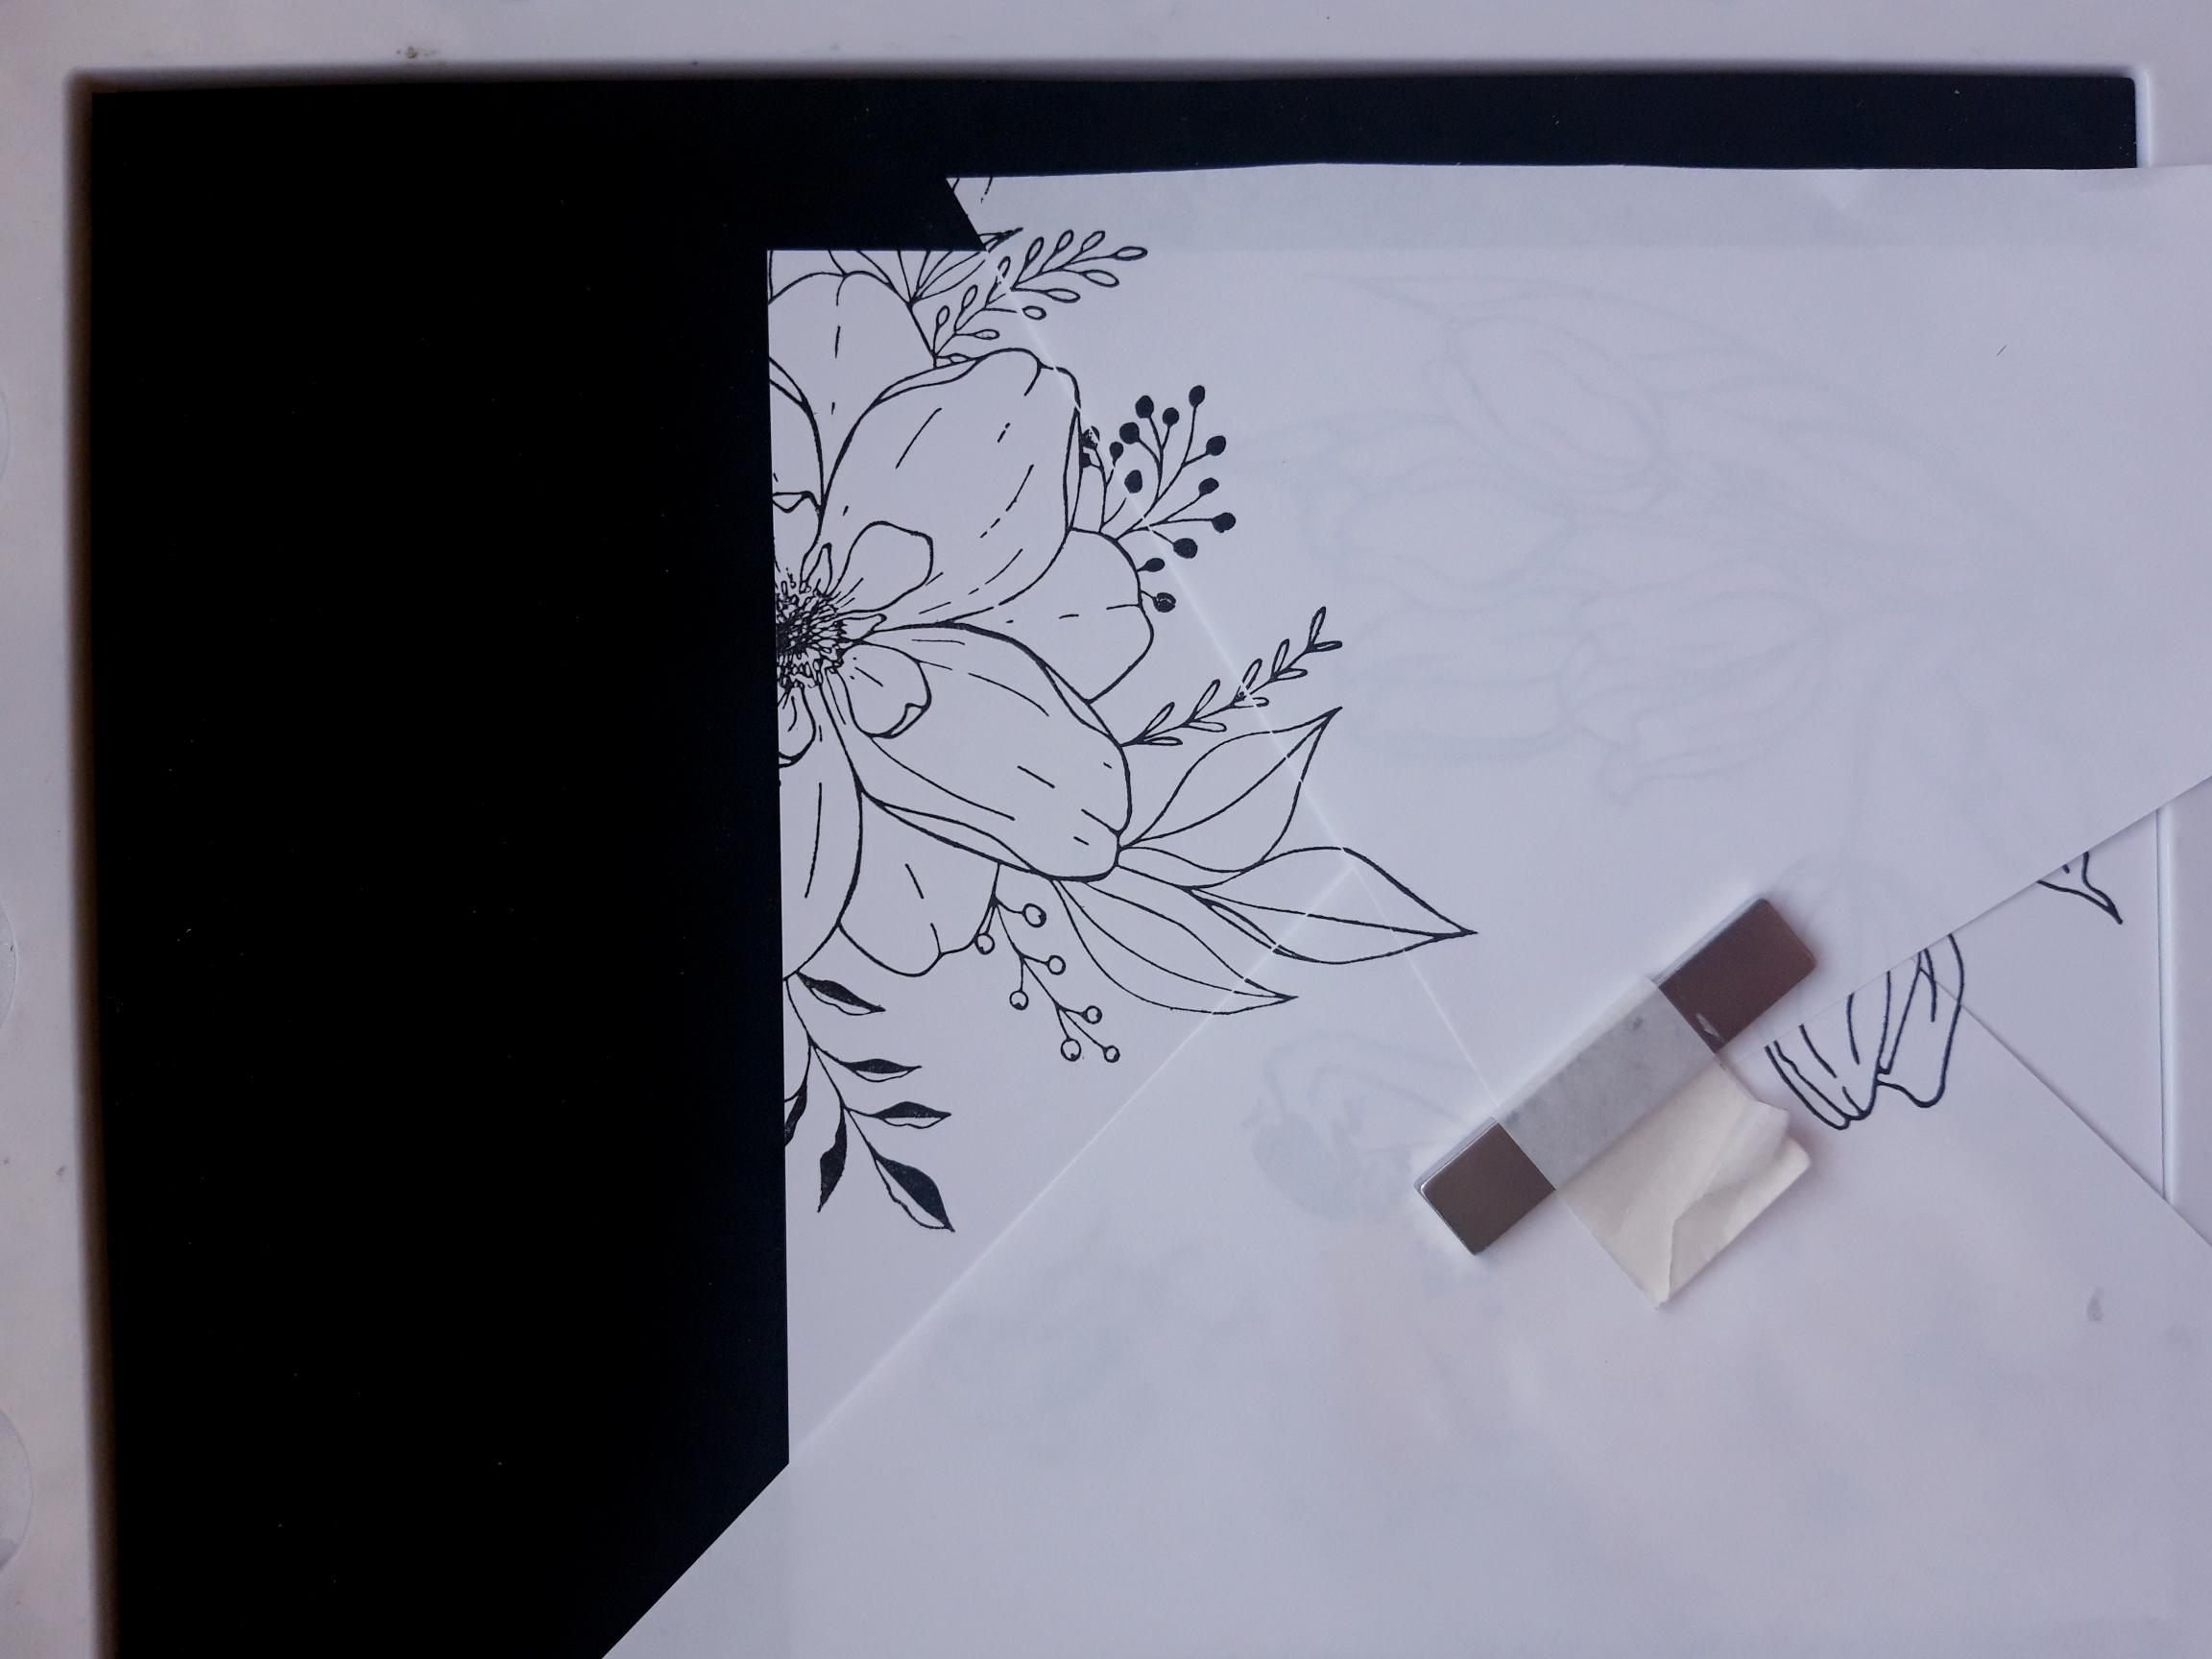
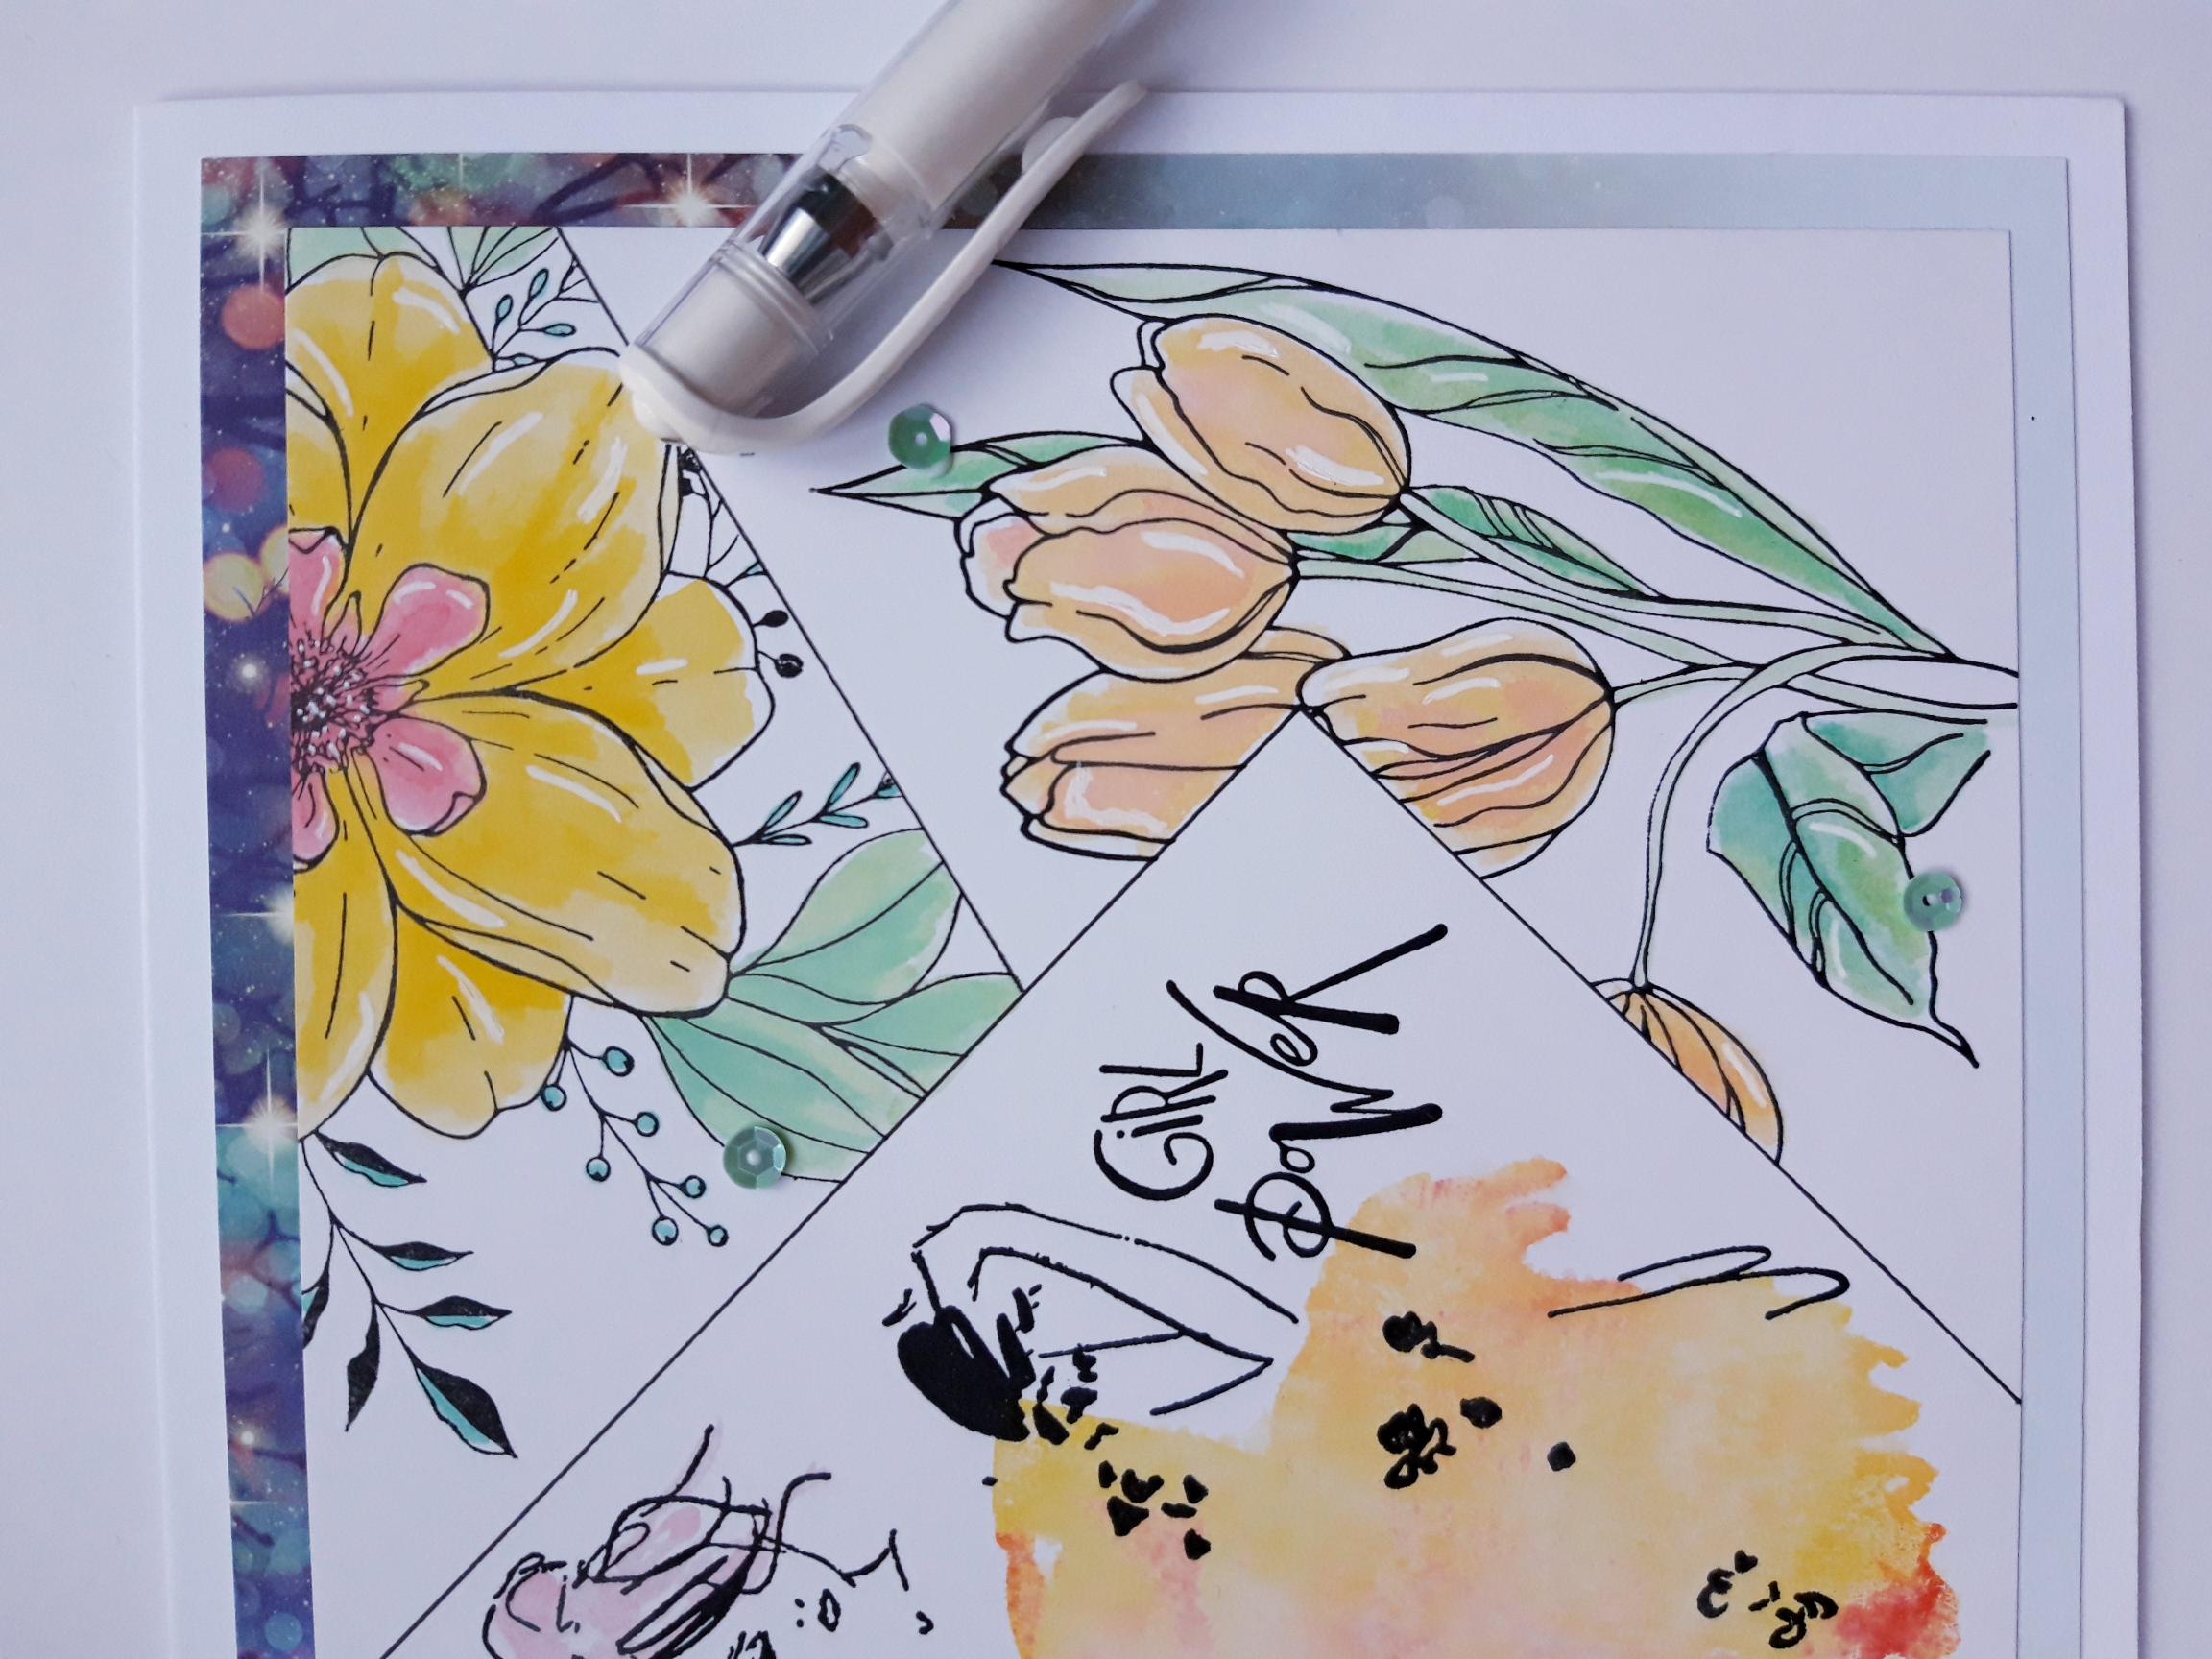
Ink up the floral stamp from Adventure Begins Stamp Collection, with the Versafine. Stamp bottom right of your card, allowing some of the design to overlap on to the copier paper. Allow ink to dry, keeping the copier paper in position. |
|
Place another piece of copier paper just over the stamped floral image, and secure with magnet. This will leave a panel visible, at the top of your card. |
|
Ink up the stamp from the Beautiful Soul Stamp Collection, with the Versafine. Stamp within the top panel, again allowing some of the image to overlap on to the copier paper. |
|
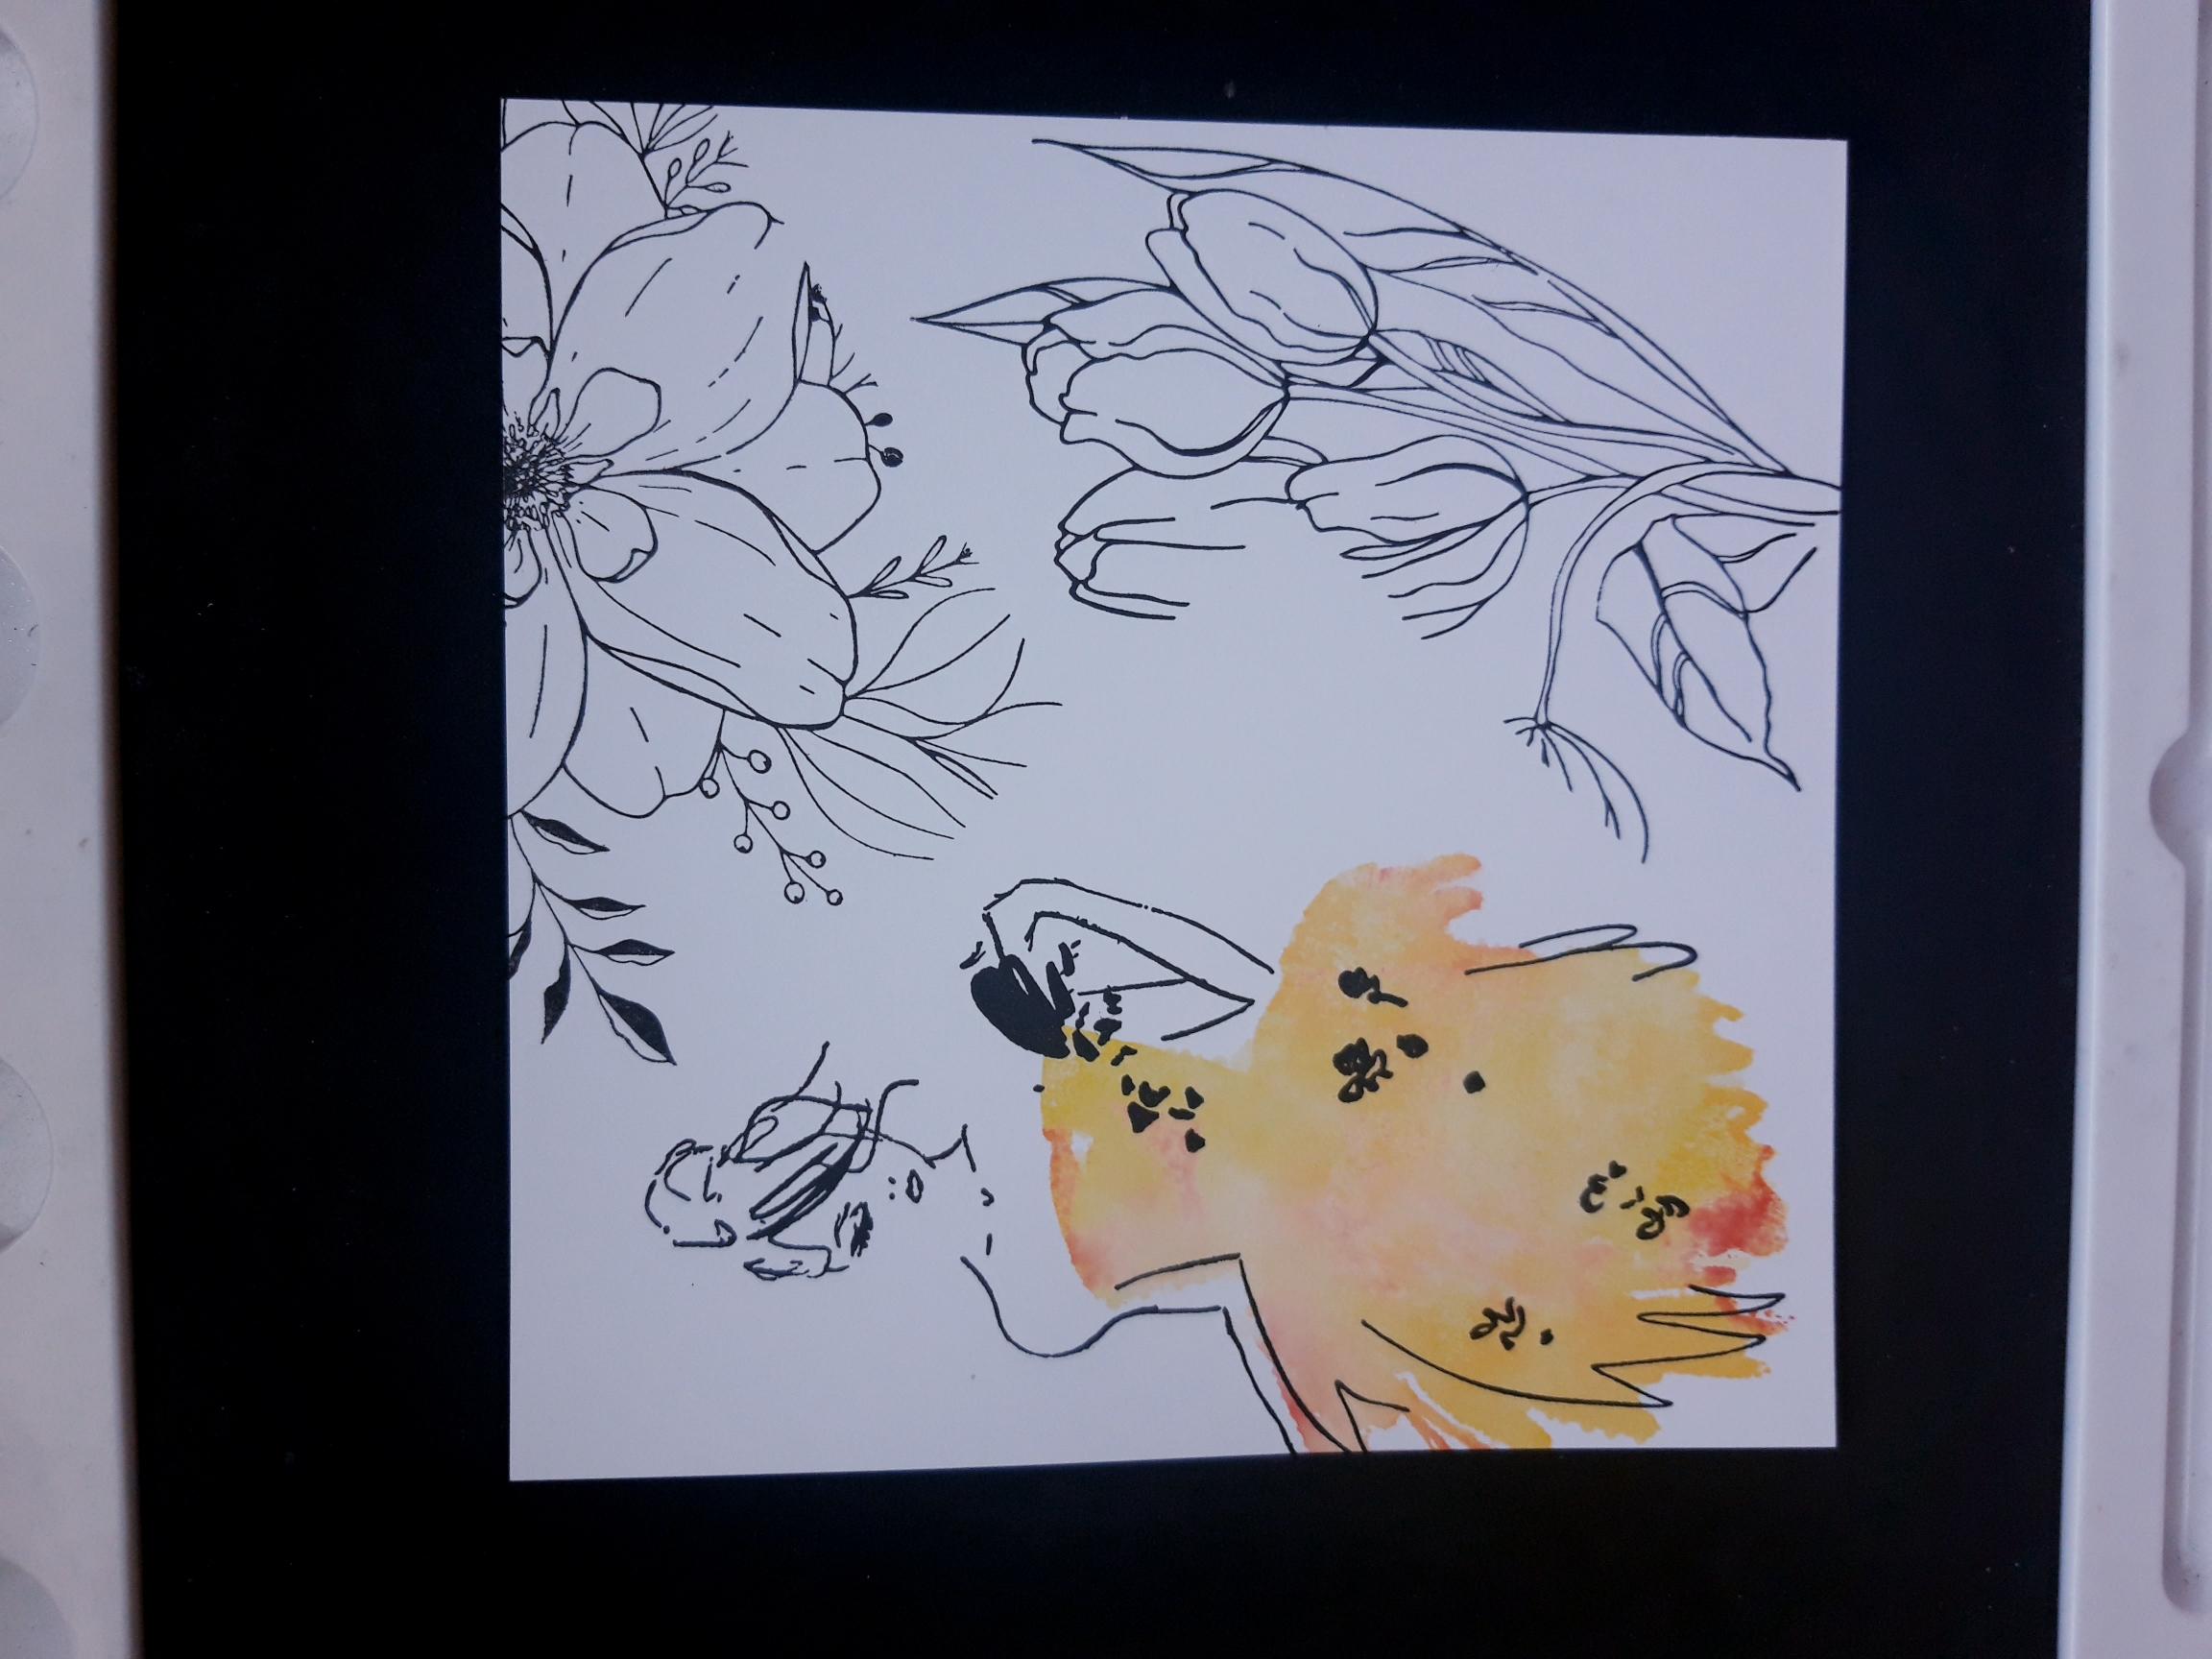
Remove the copier paper, to reveal this stamped design. Dry thoroughly. |
|
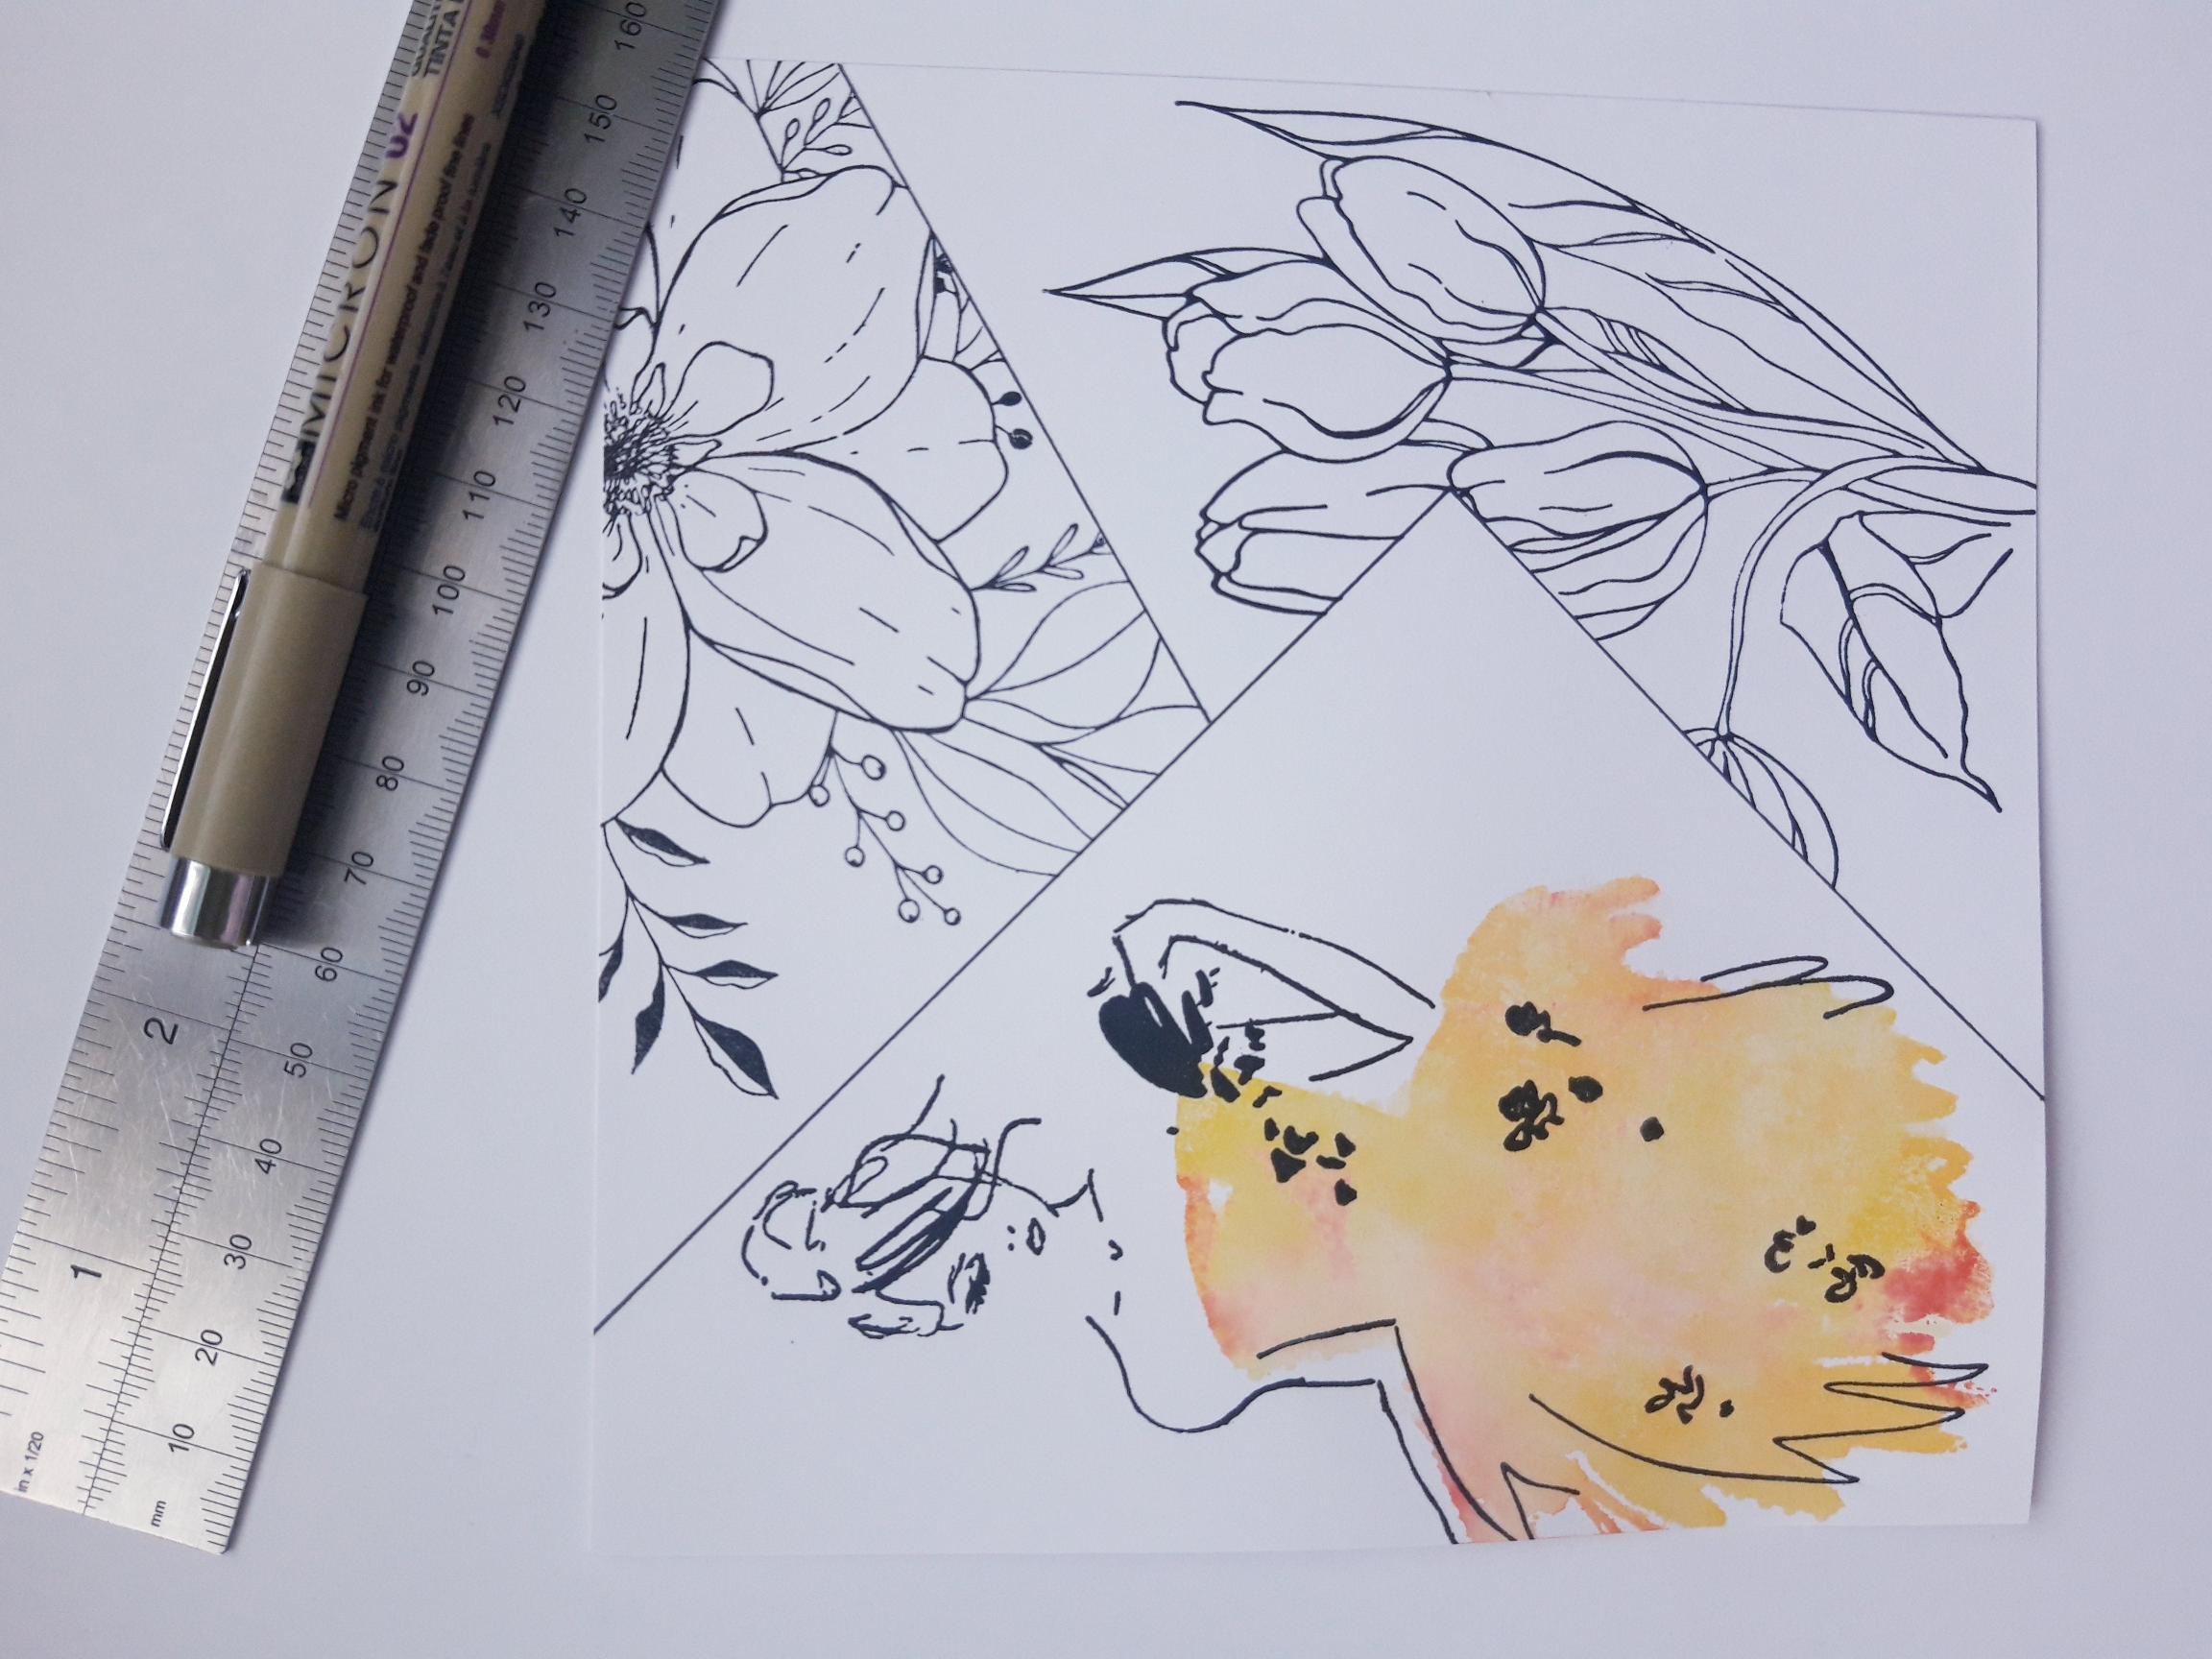
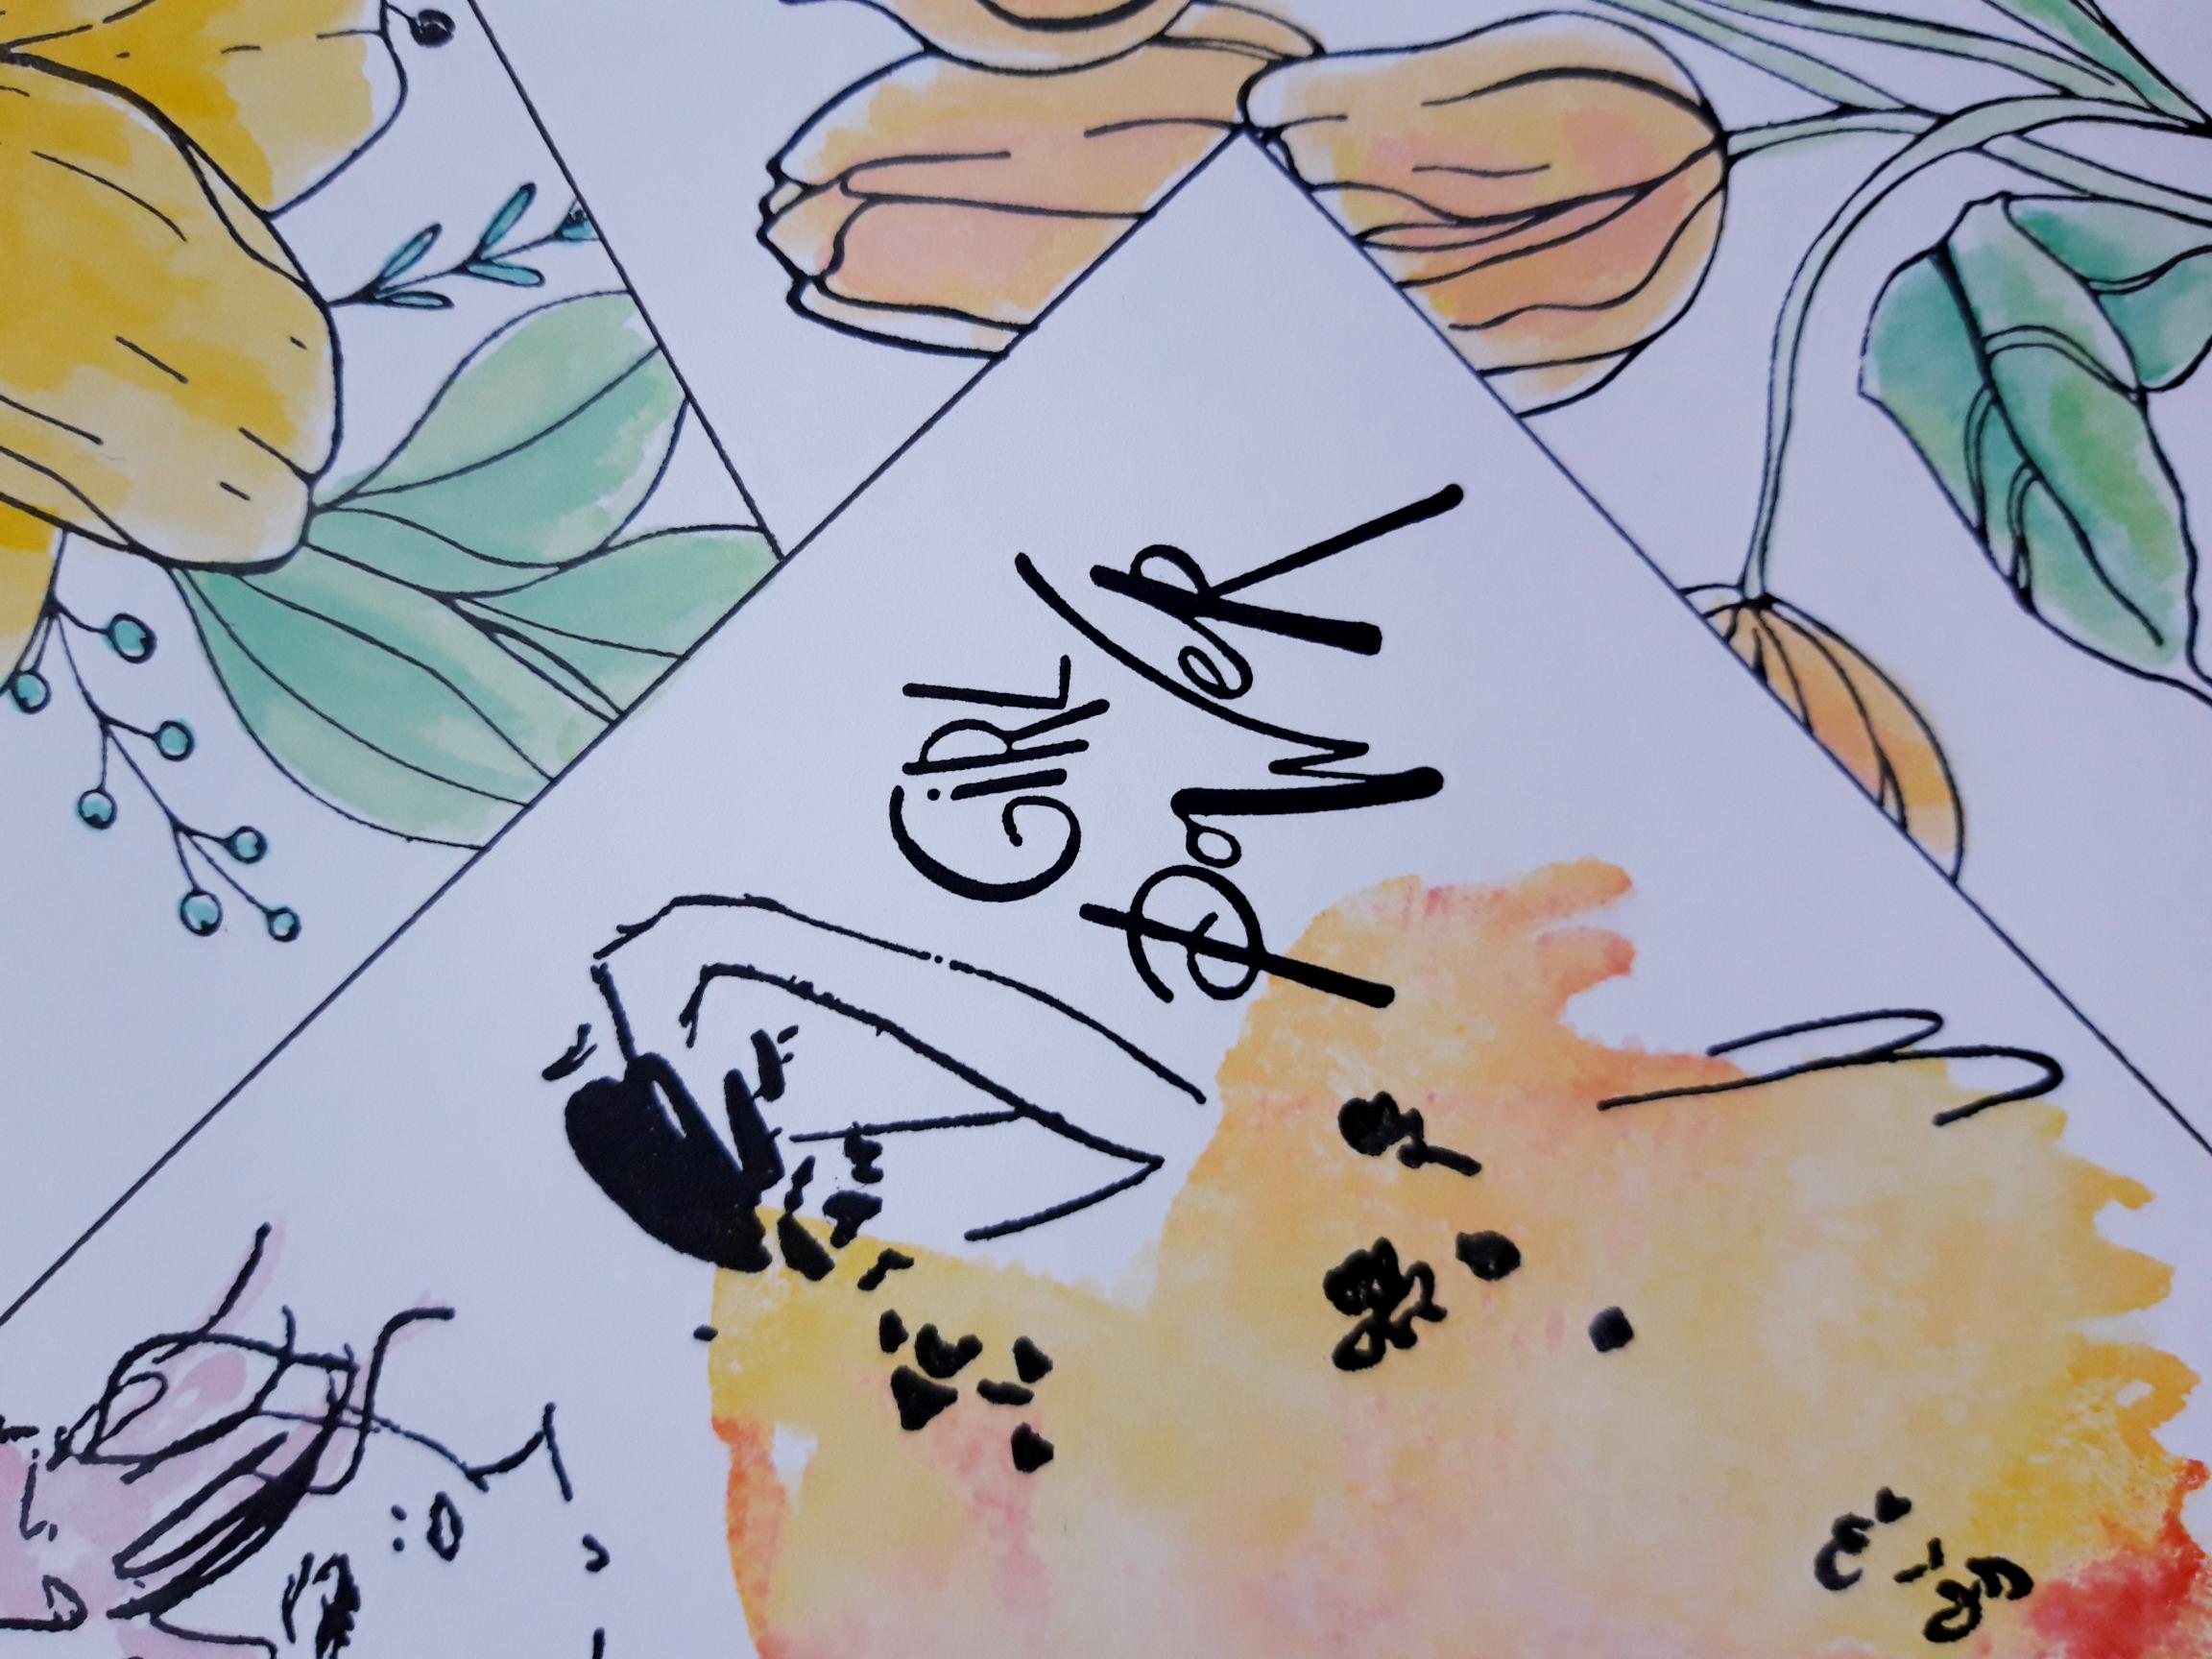
You can clearly see where the edges of the copier paper had been placed. Taking a ruler and a black pen, you need to draw in lines where the edges of the paper were. These will connect your masked off images. The result will be 3 panels, each with a masked off image within, as shown here. Tip: If you are unsure where to draw your lines, pop your copier paper back in place, making little marks with a pencil, along each edge, and then use your black pen to connect these. Once you have done this techniqe once, you will find it much easier to draw the lines in. Ensure the pen ink is dry before proceeding to the next step. |
|
Apply your Izink dye ink pads on to a craft or glass mat, spritz with water and paint your stamped images, as required. Allow ink to dry. |
|
Ink up the sentiment stamp from Small Town Girl Lamination Collection, with the Versafine, and stamp where required, on your artwork. Set to one side. |
|
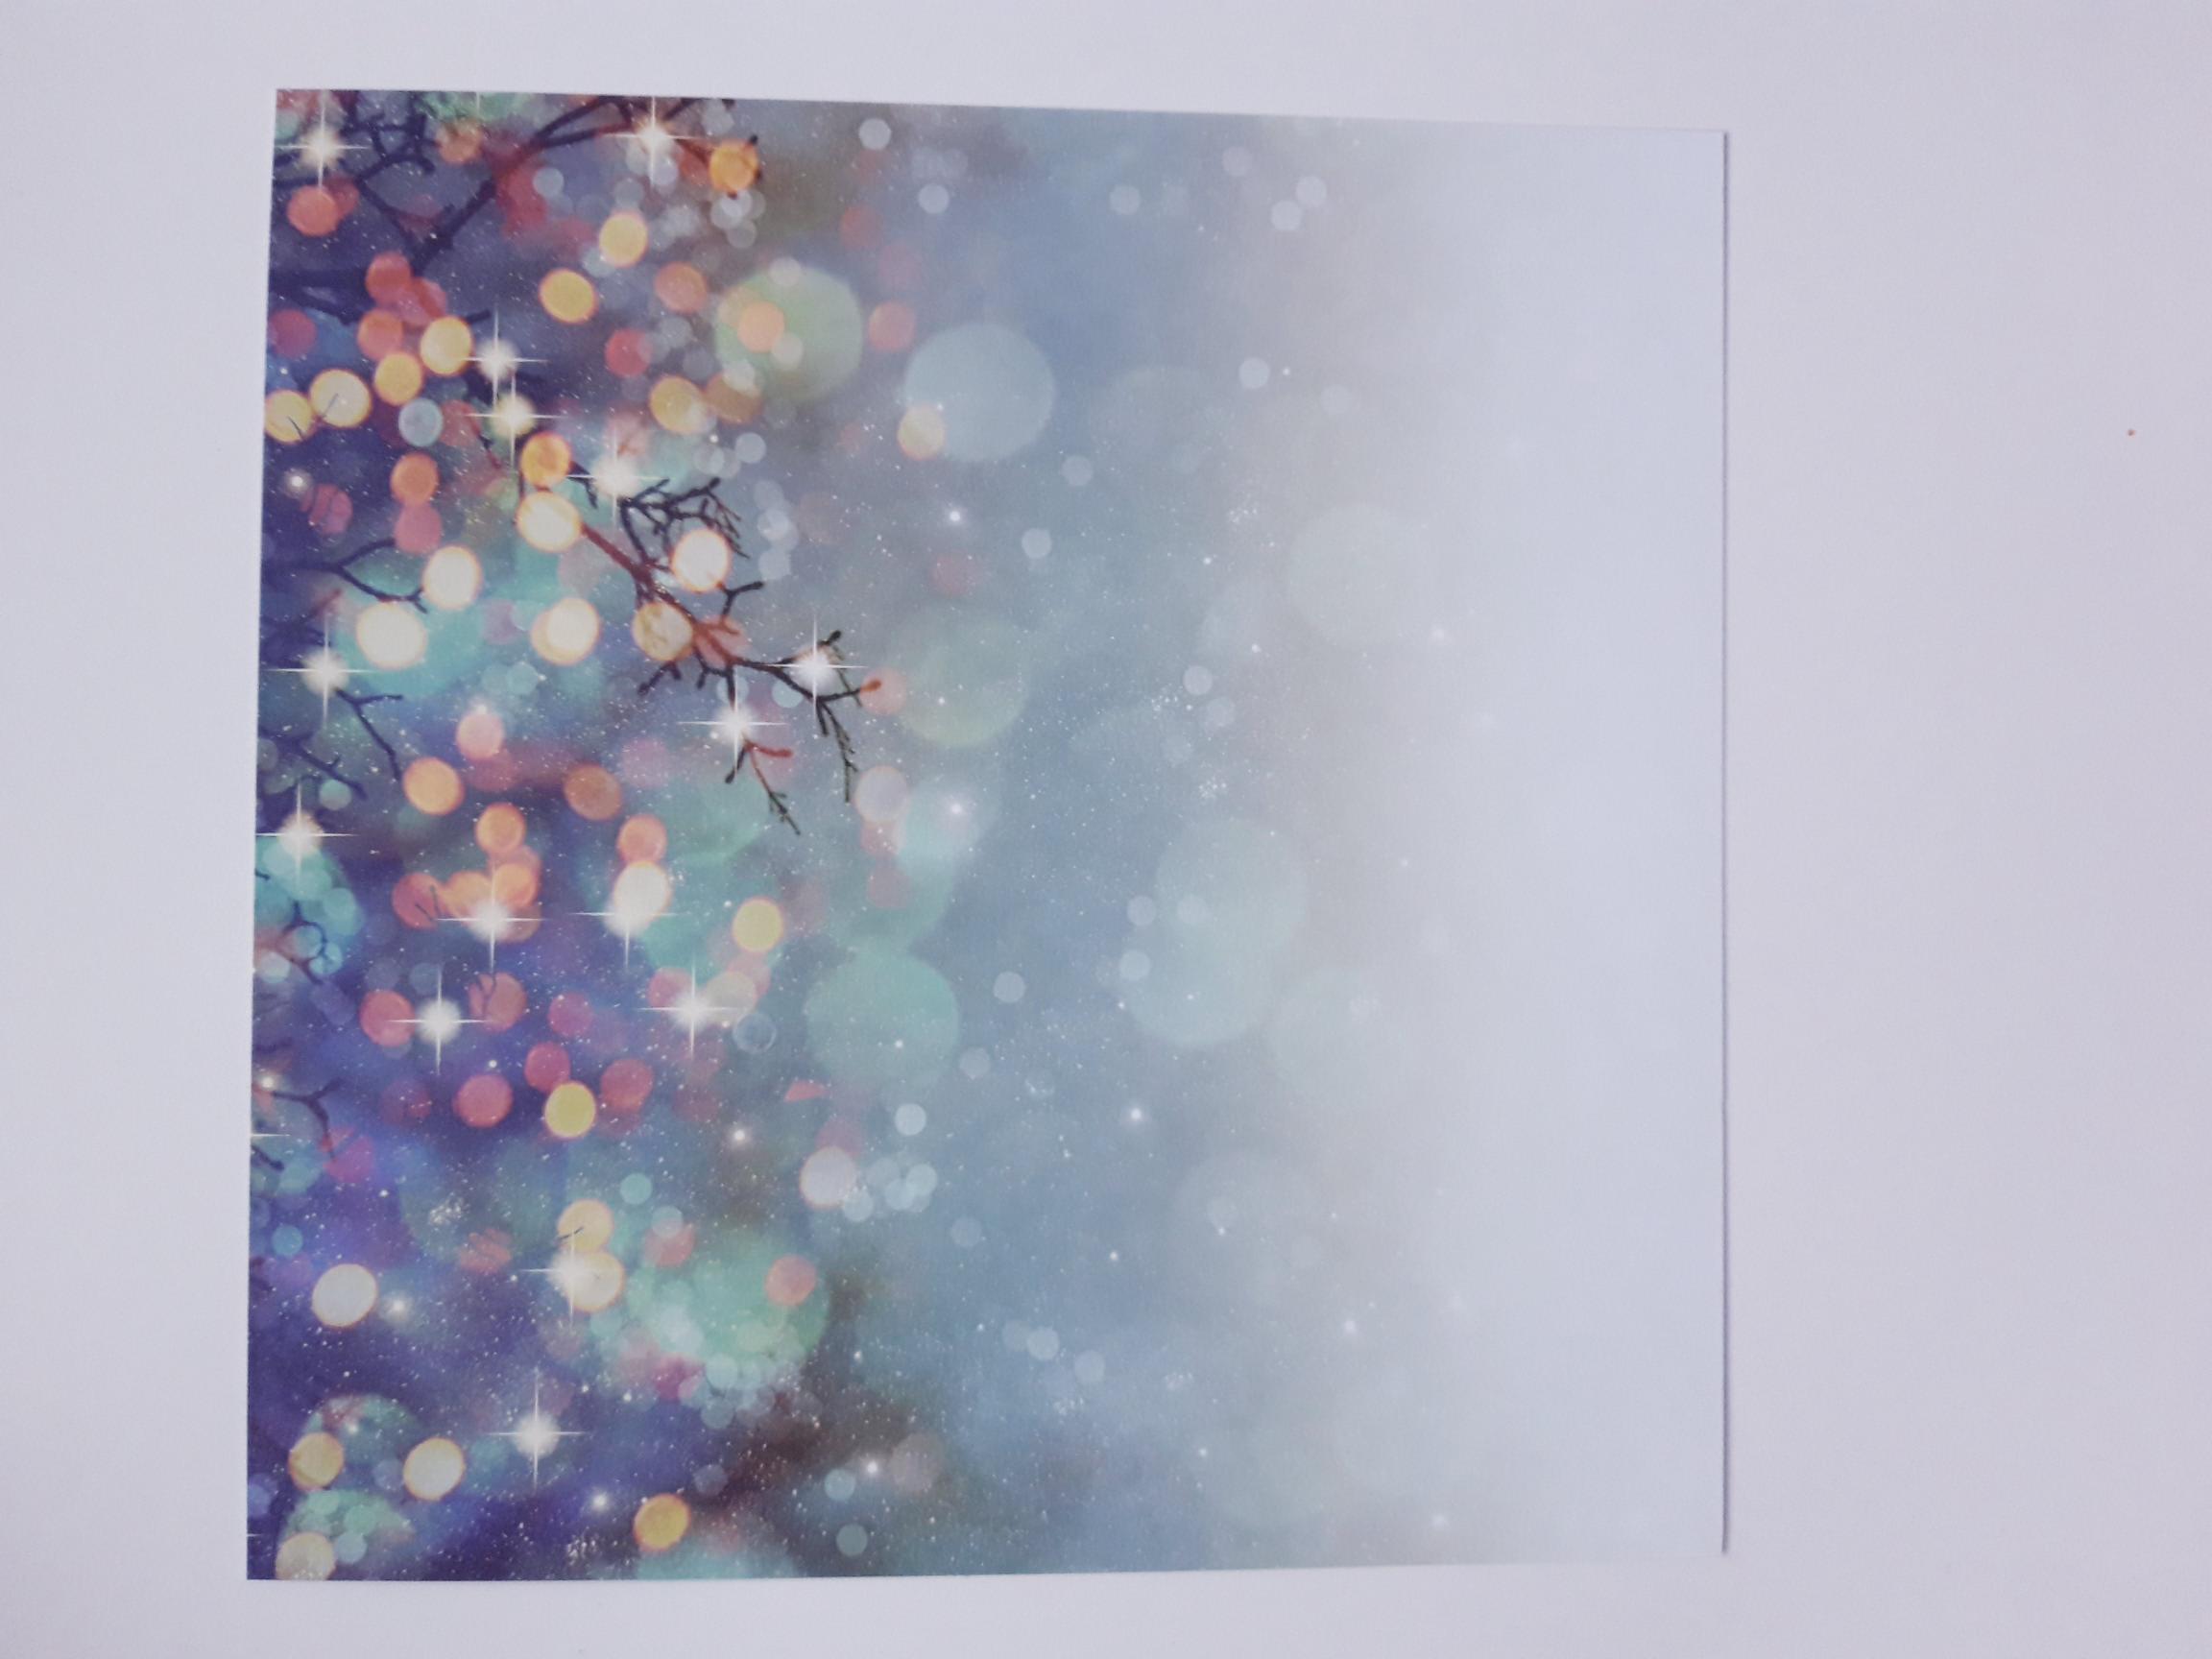
Tear out this decorative paper, from the Thirsty Brush Northern Lights paper pad, and trim to 6 1/2 x 6 1/2". |
|
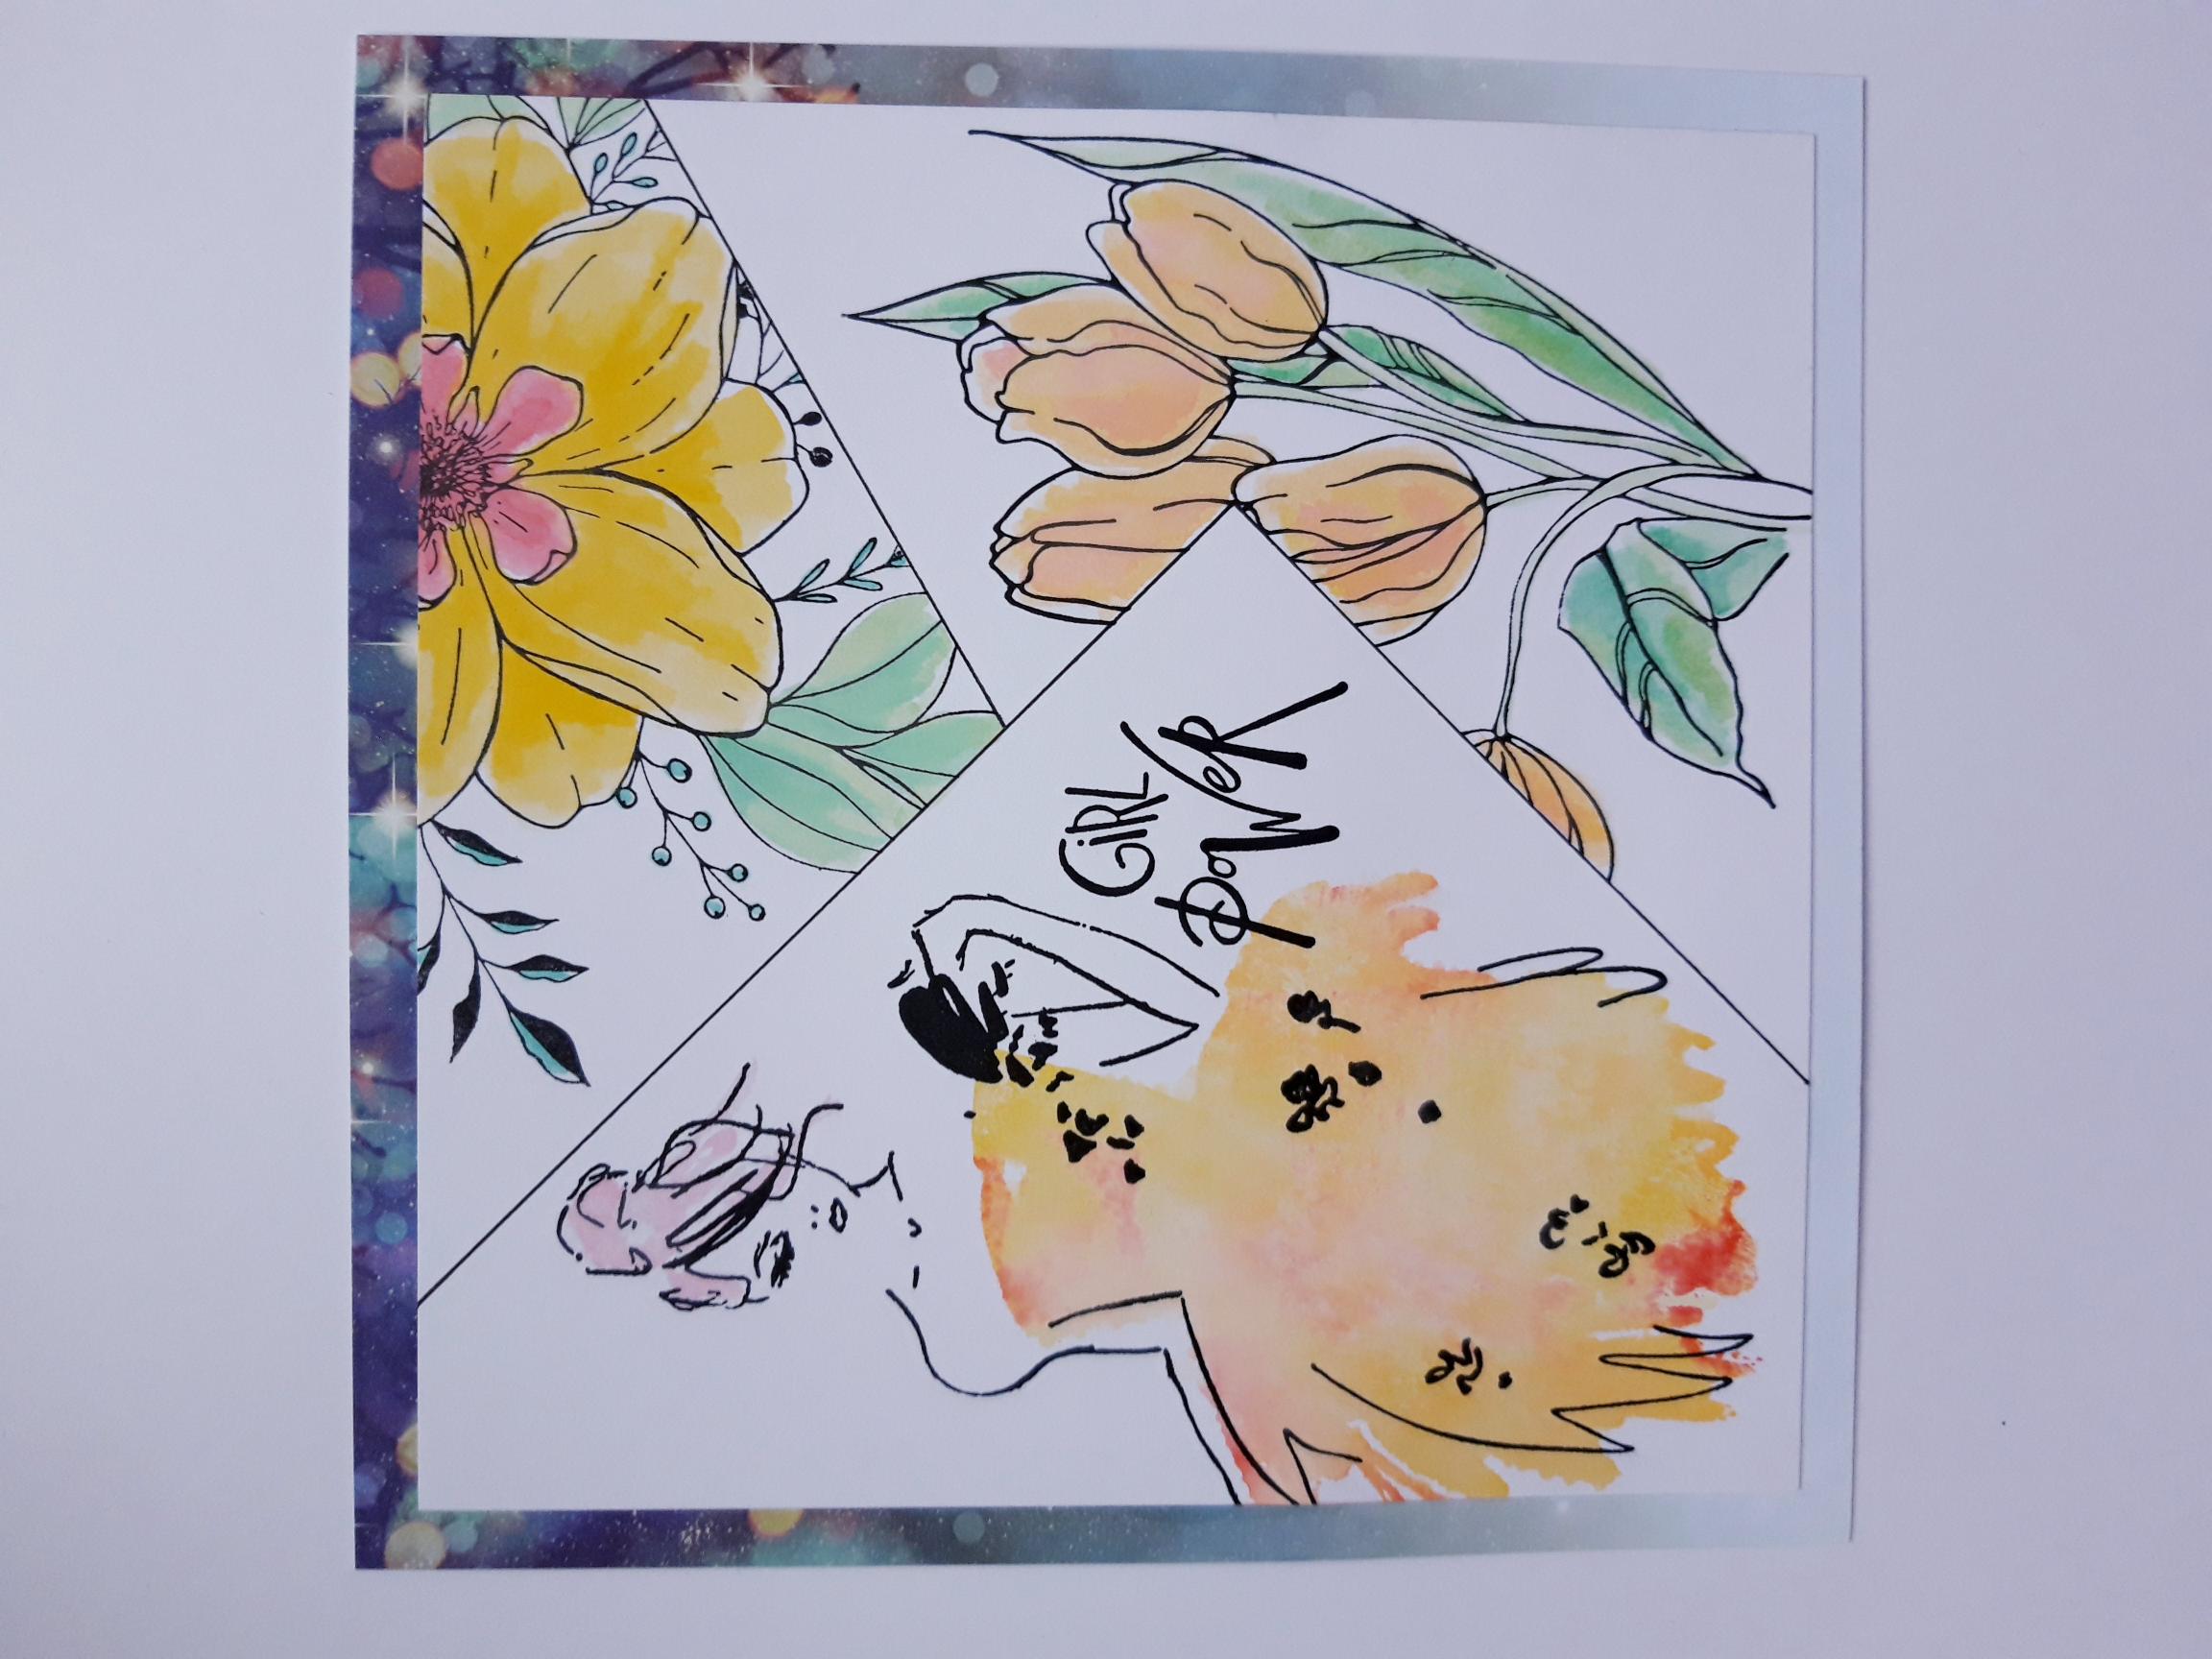
Adhere your stamped artwork on to the decorative paper. |

|
Adhere this on to the front of your white card blank. |

|
Add sequins to your artwork, where required. |
|
To finish, use a white gel pen to add accents, and highlights, to your artwork. |