Give your friends $10 off their first order!
Refer a FRIEND


WHAT YOU WILL NEED:
2 sheets of A4 white card
Black card (5 1/2 x 5 1/2")
Black card (7 x 5")
White card (8 x 7")
White card (3 x 1")
Dies from Lovely Layers Die Collection
Dies from Alice Cover Plate Die Collection
Stamps from Poppy Days Stamp and Die Collection
Dies from Circle Deboss Nesting Dies Collection
Versafine Ink Pad: Onyx Black
Izink Dye Spray: Cassis Violet, Blue Moon
Black pen
Sequins: Amethyst
Red liner double side adhesive tape
Scoreboard
Bone folder tool
Gem pick up and pokey tool
Banner punch
Water spray bottle
Eureka 101
Paper Trimmer
Perfect Together Glue
Foam Pads
Die Cutting machine
[click image to enlarge] 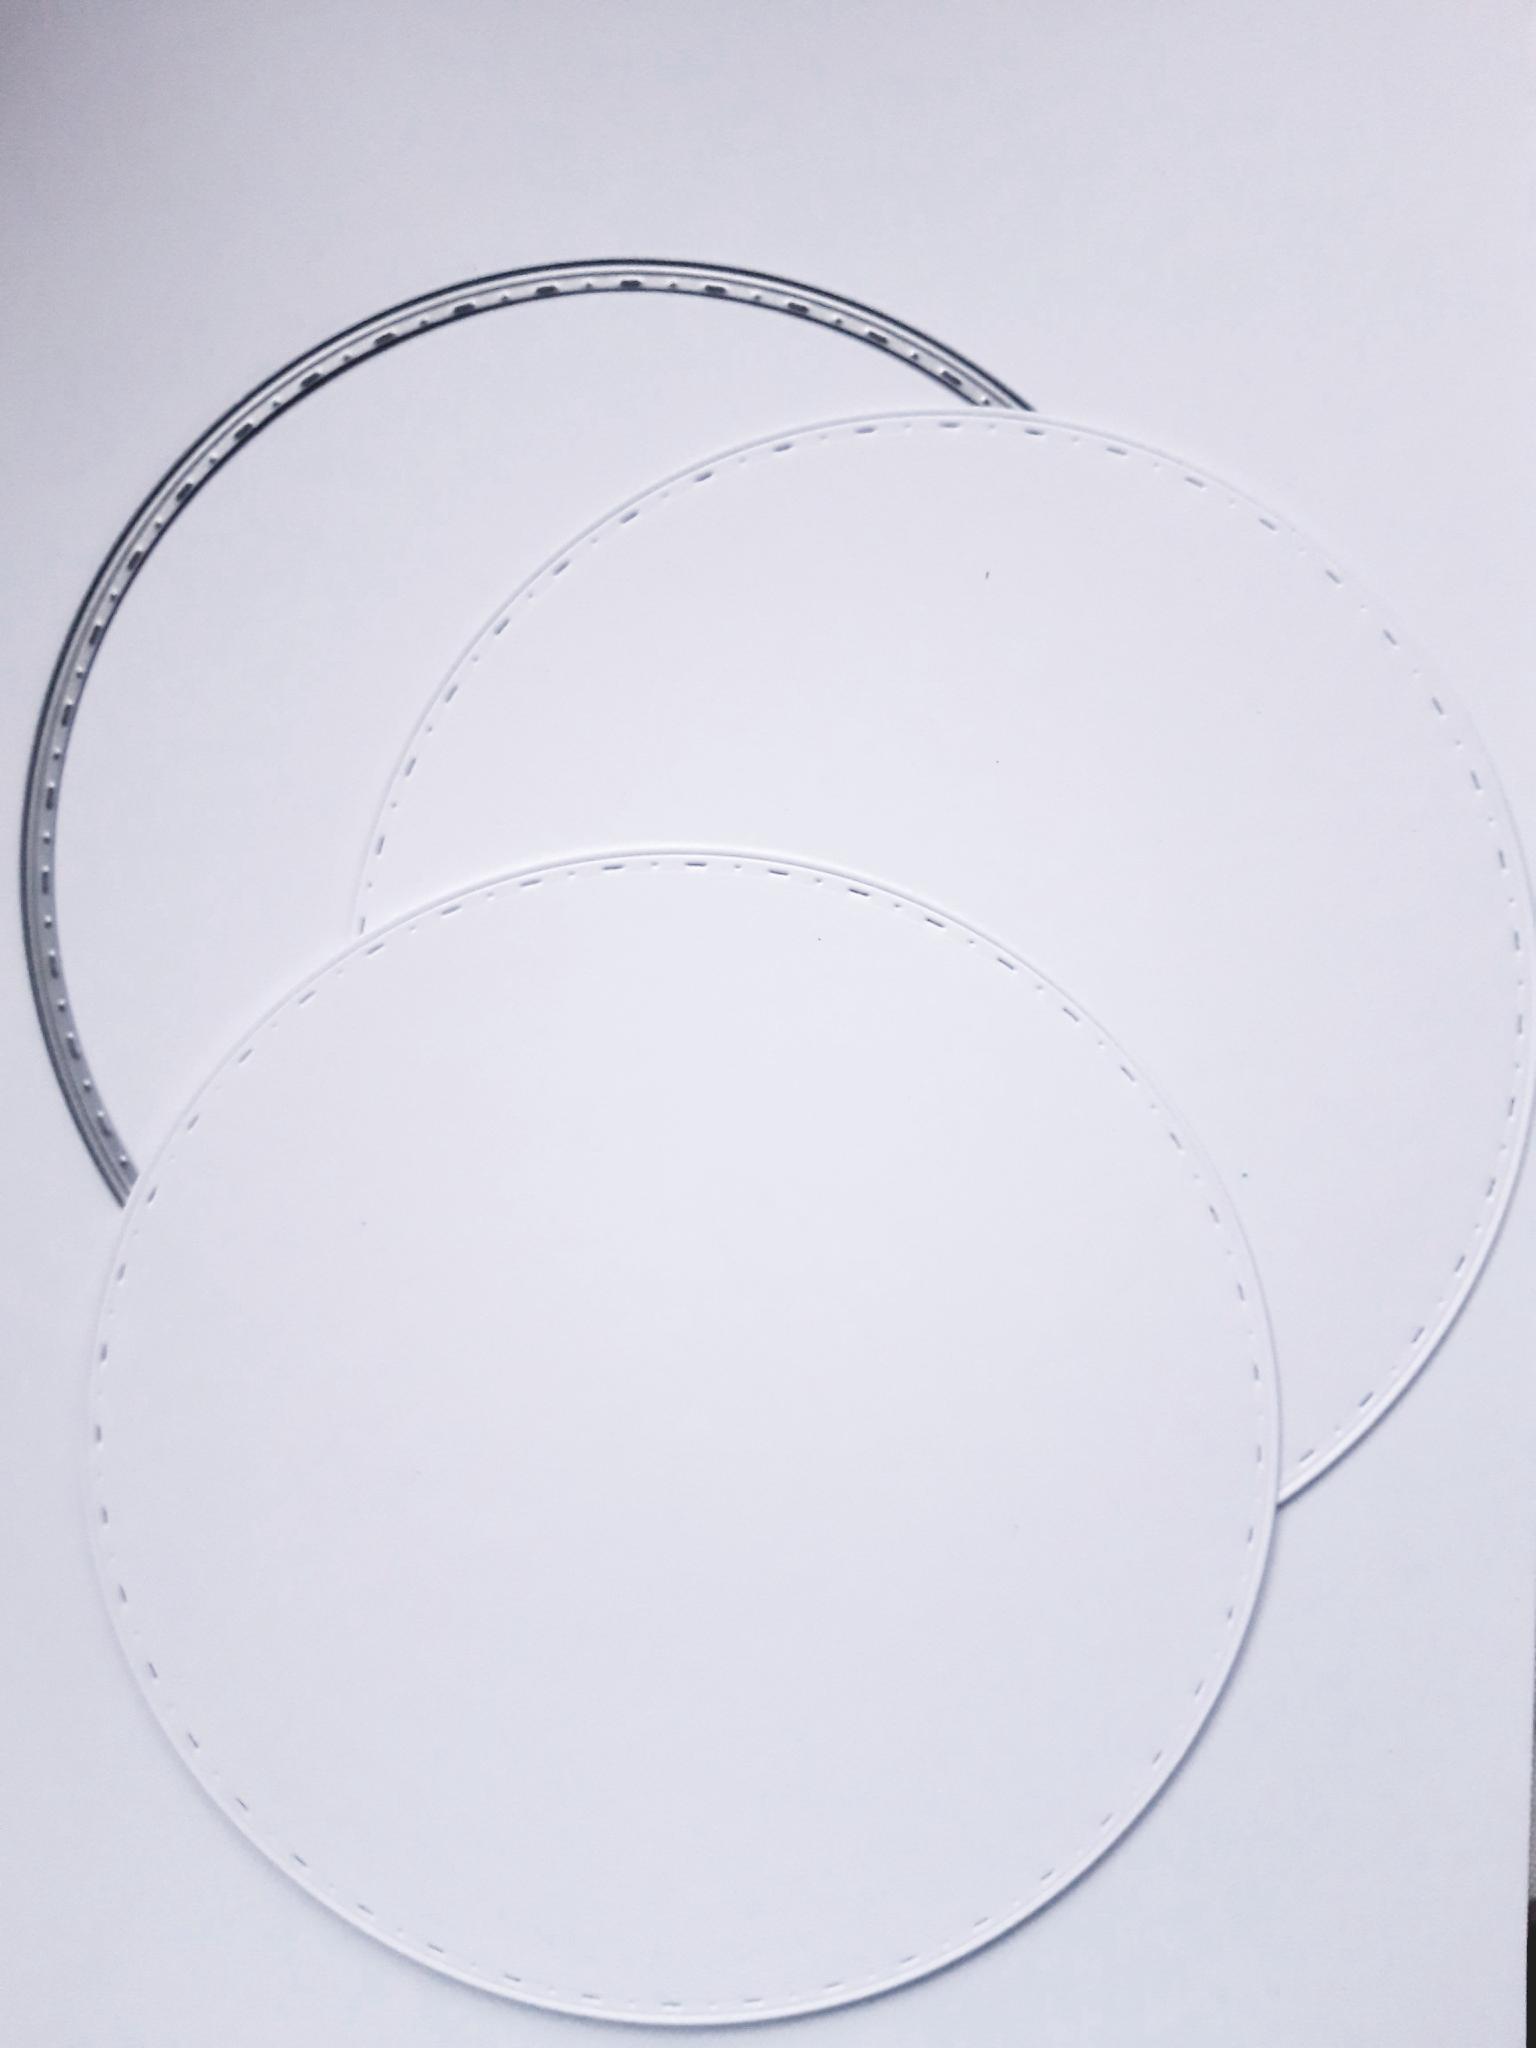
|
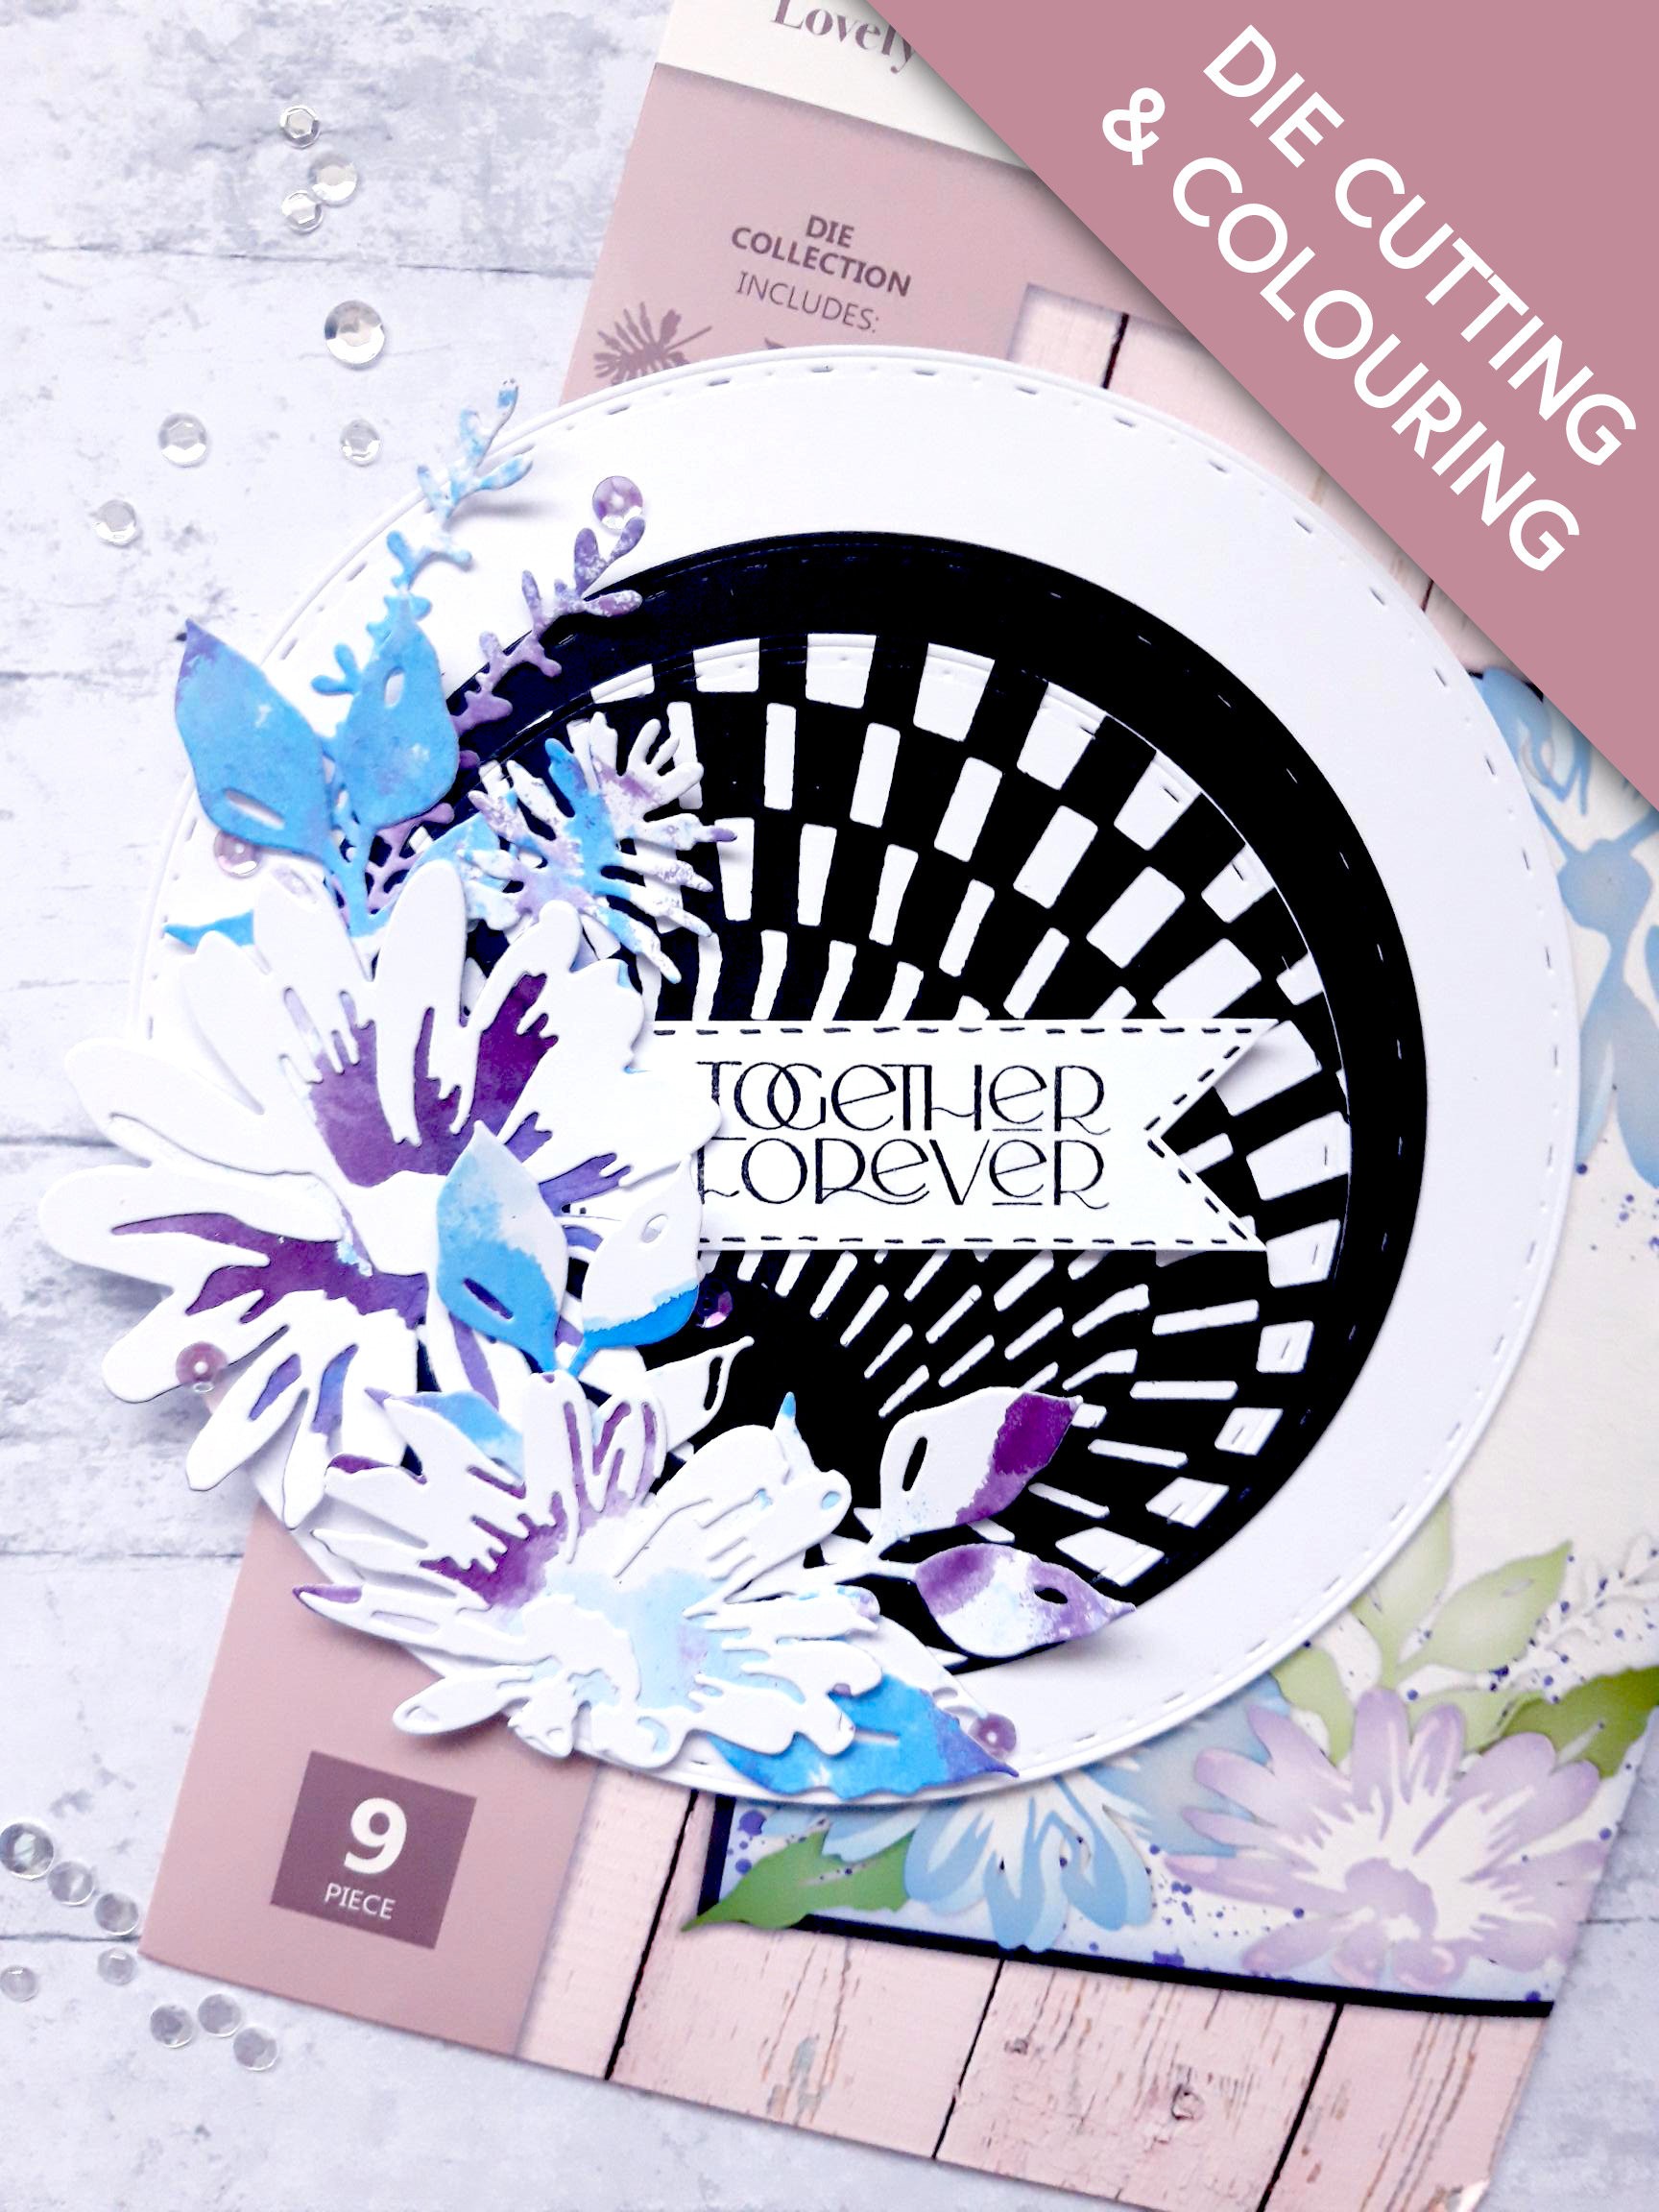
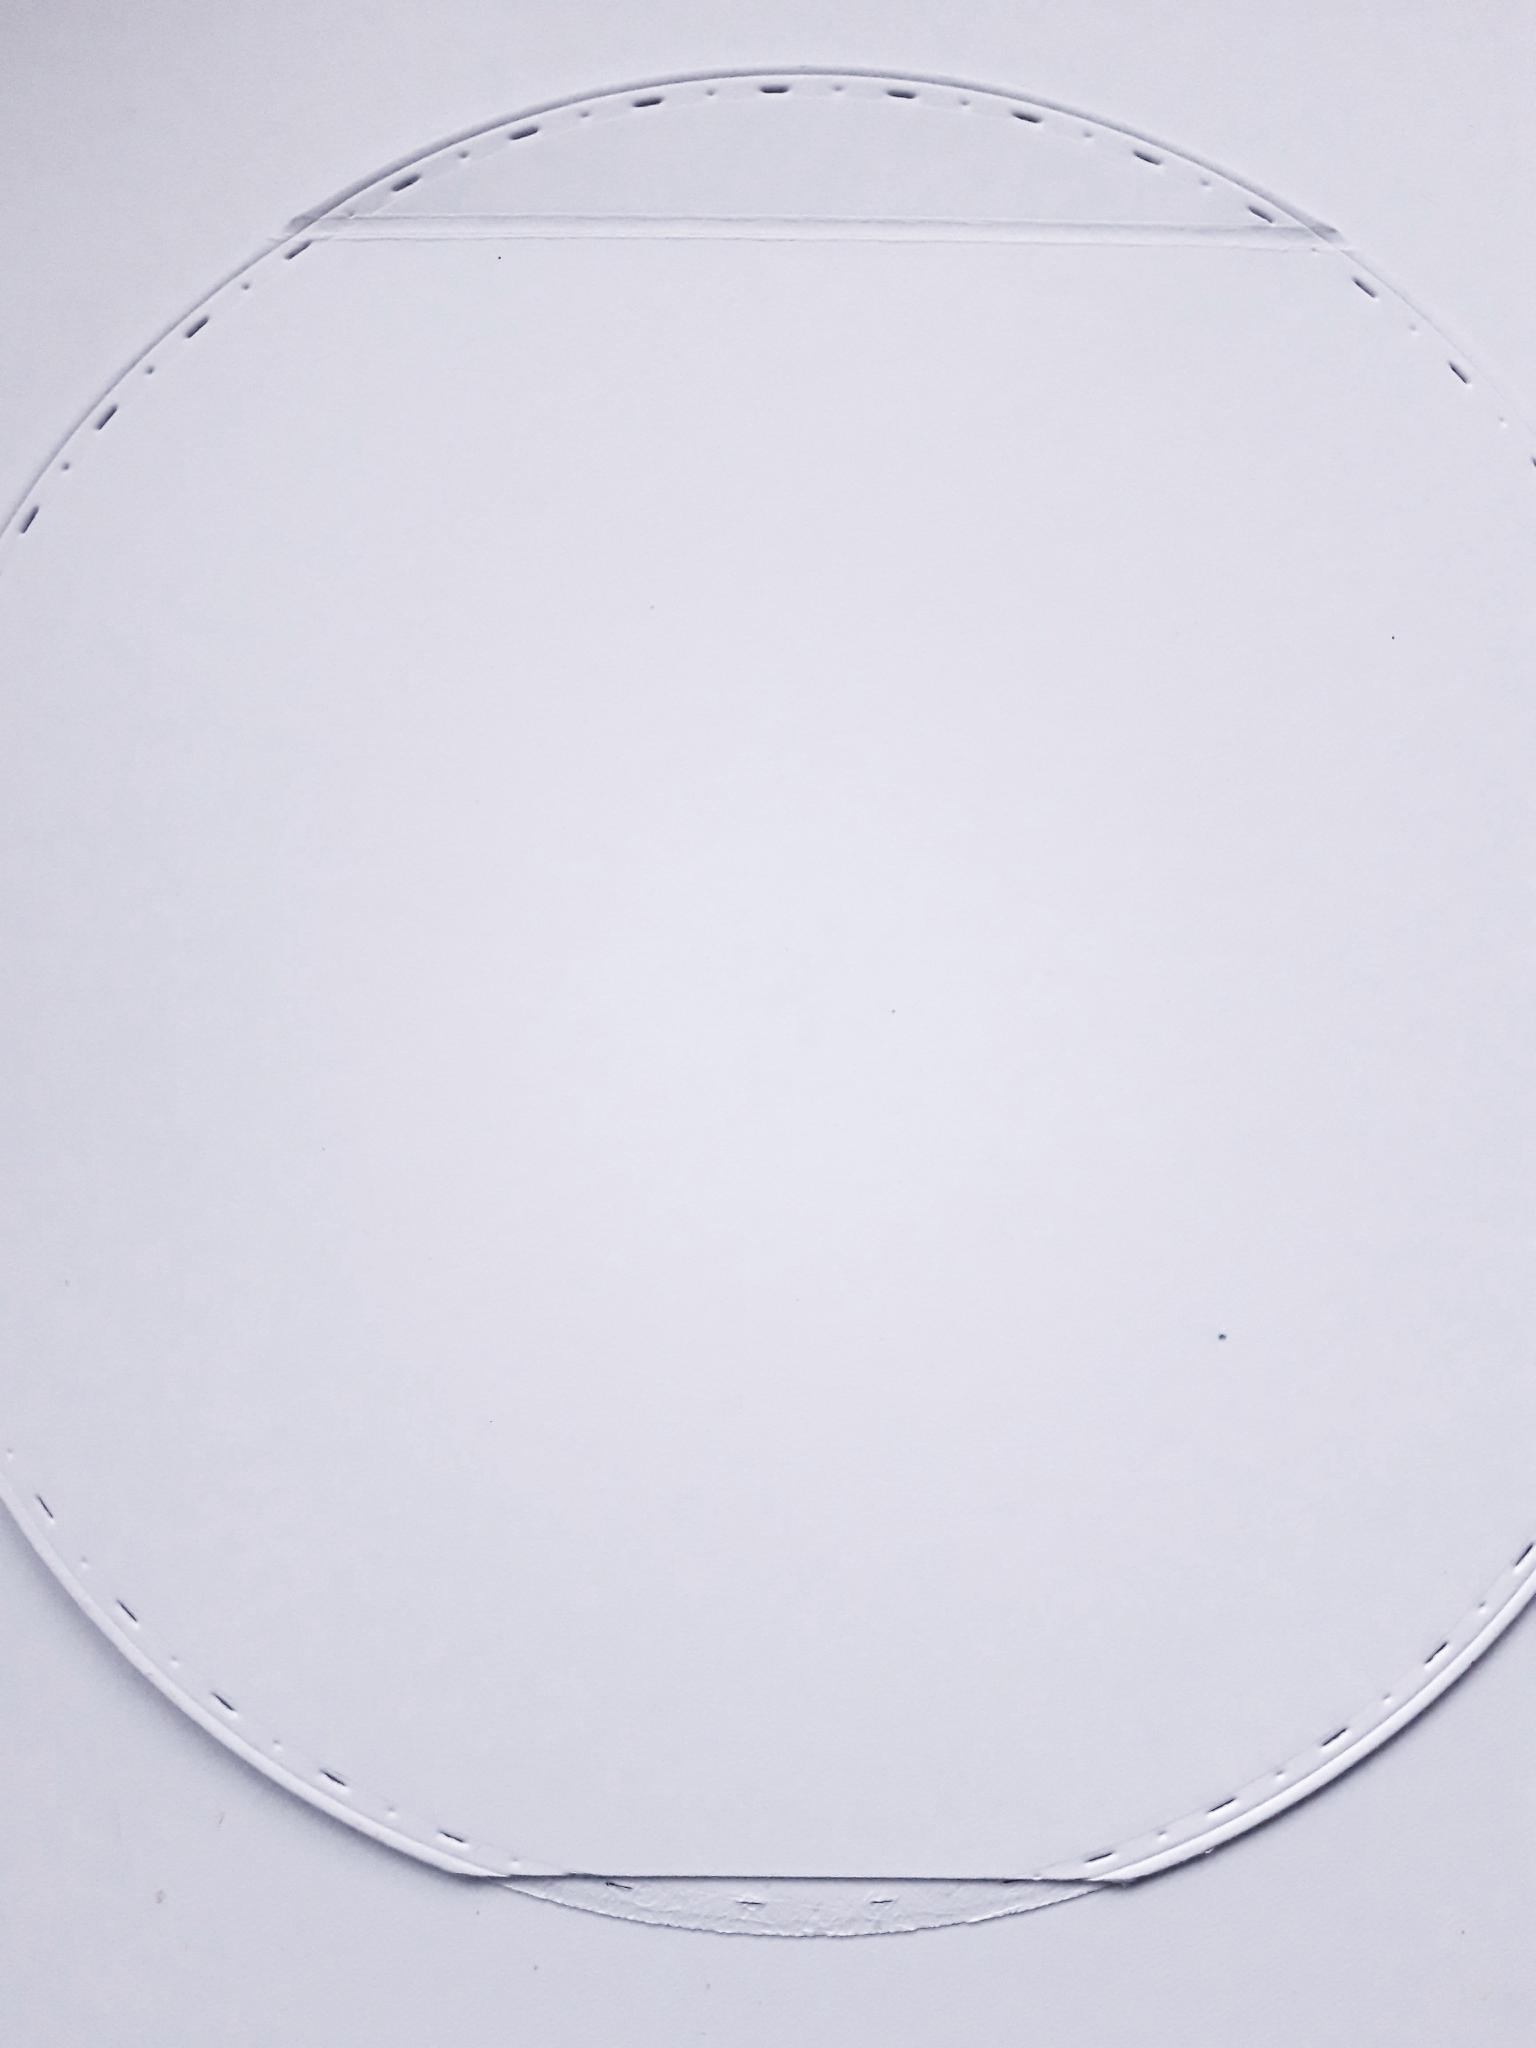
Place the circle die, that measures approx 6 1/2" in diameter, on to one corner of one sheet of A4 white card, and run through your die cutting machine. Repeat so you have TWO white die cut circles, the same size. |
|
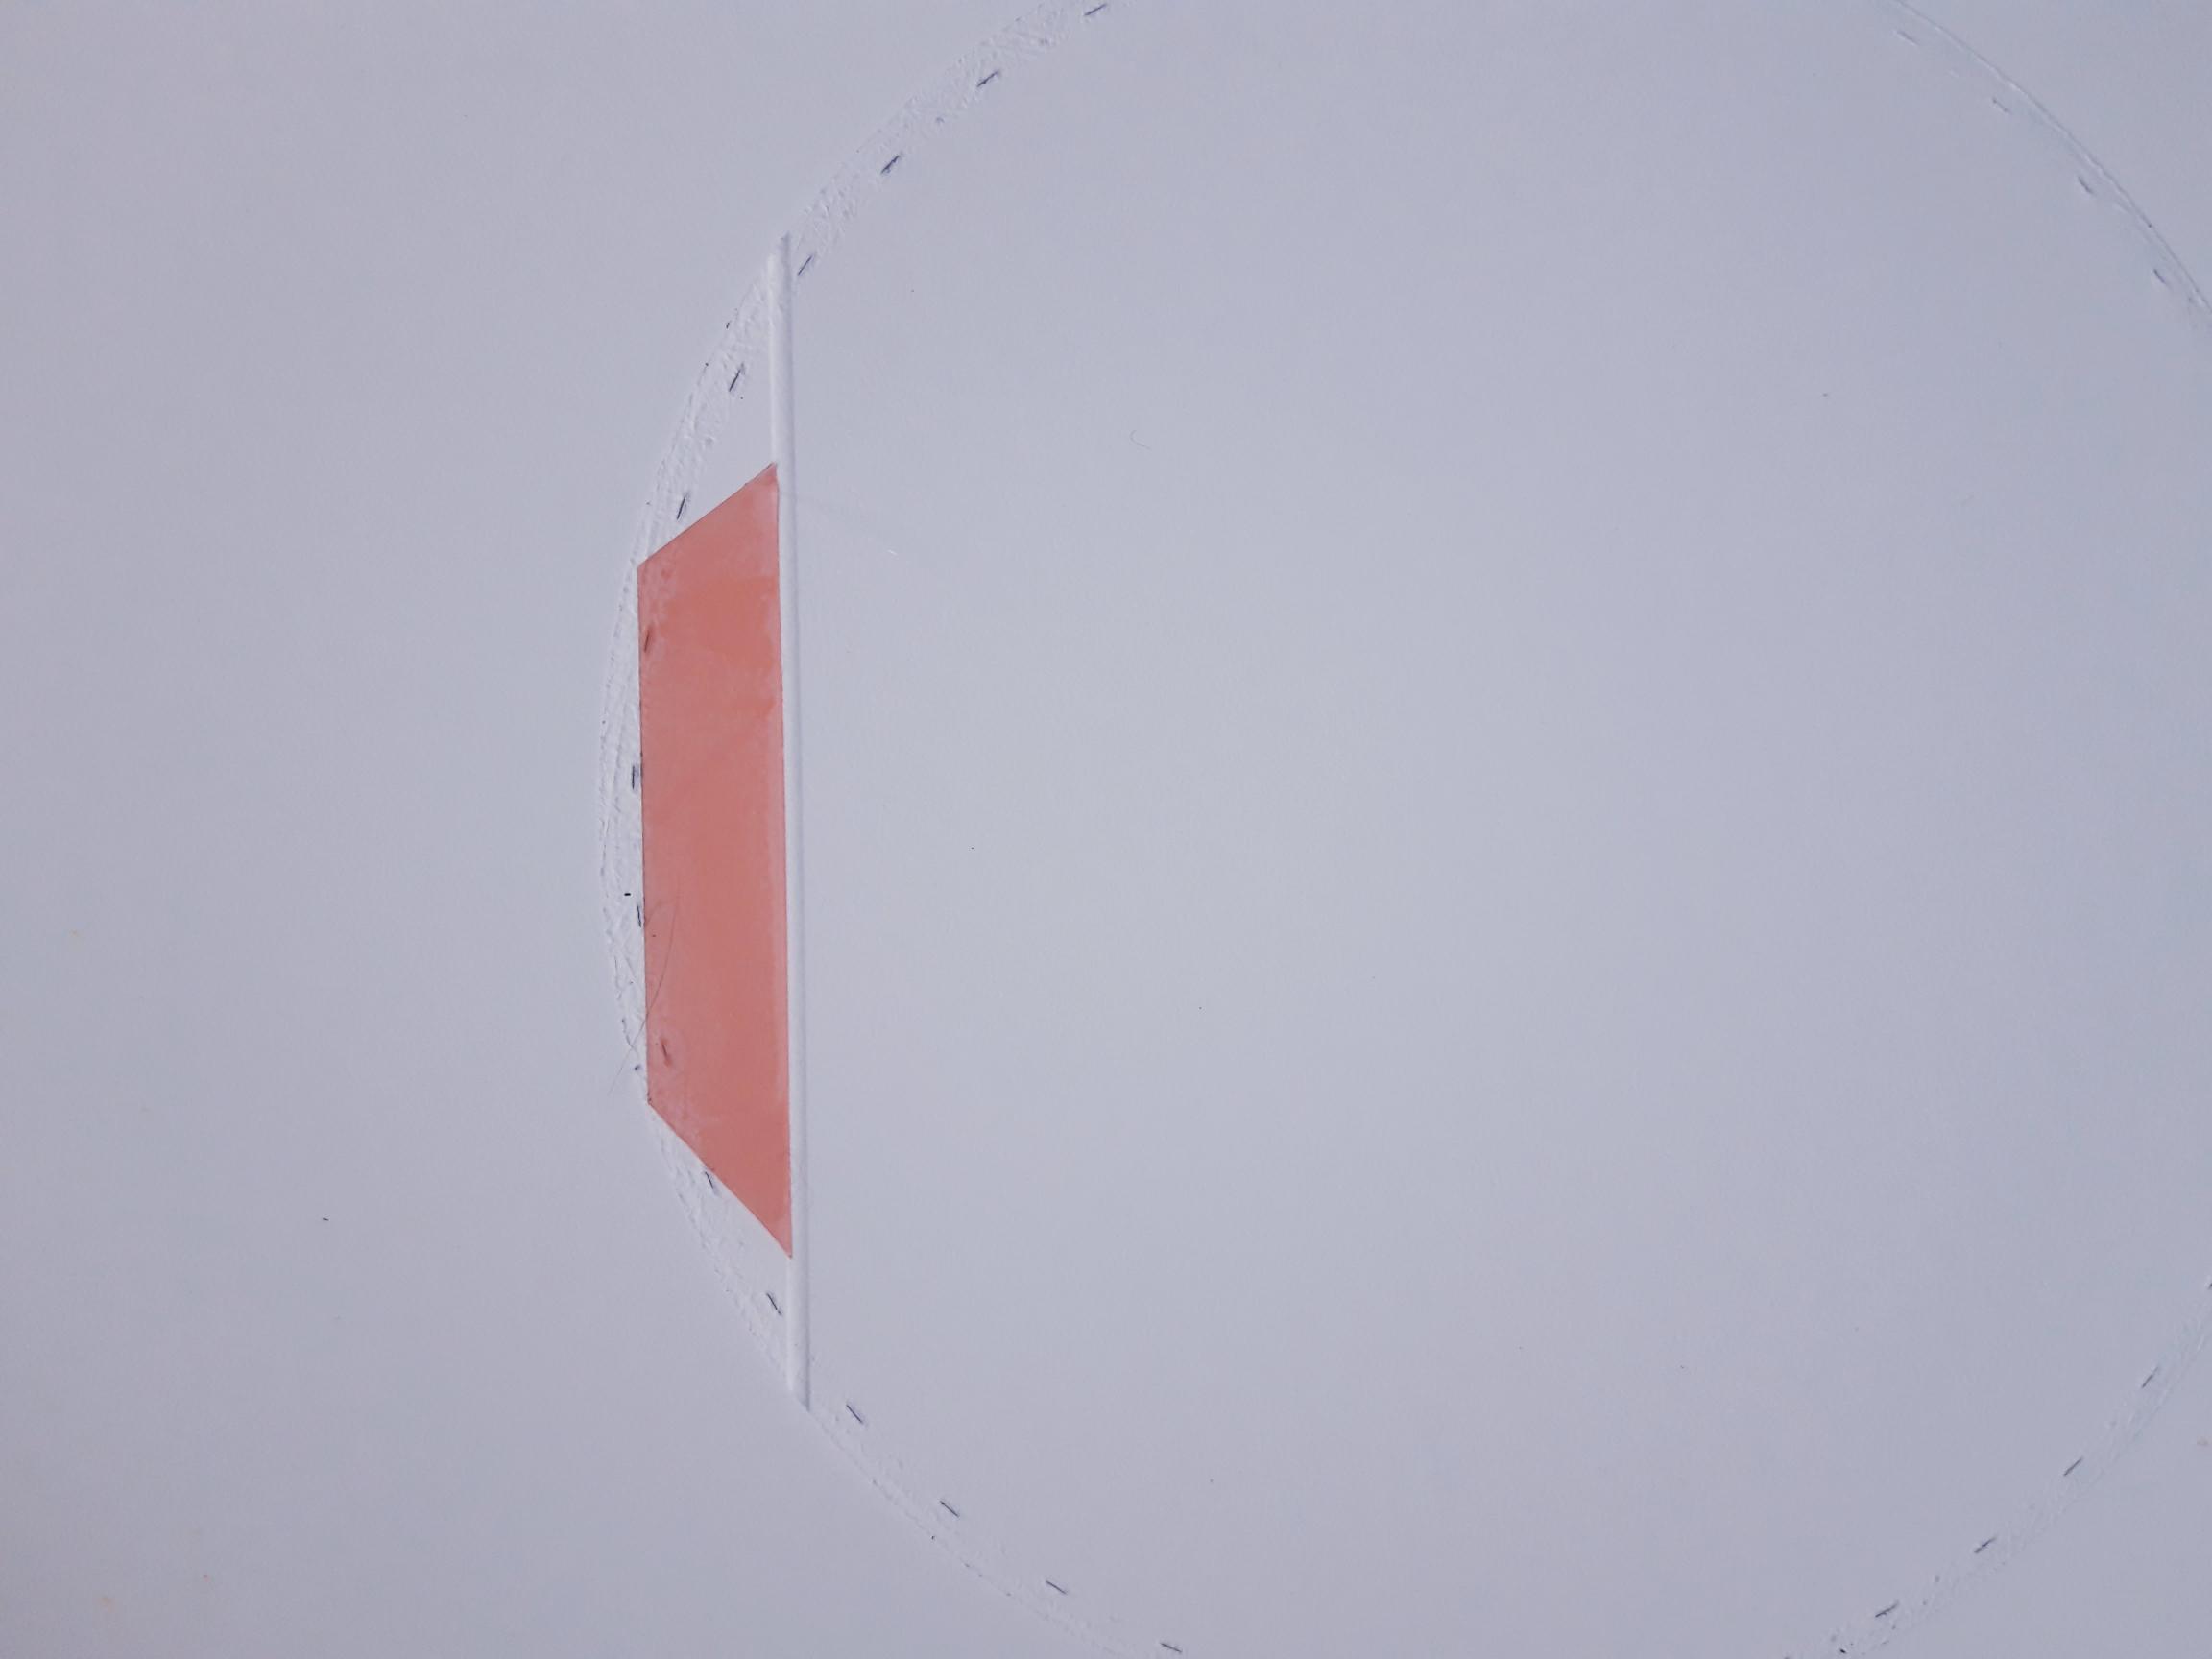
Place one of the die cut circles on to your score board, and score across at approx 2cm down from one edge. Add red liner tape above the scored line, as shown in this image. |
|
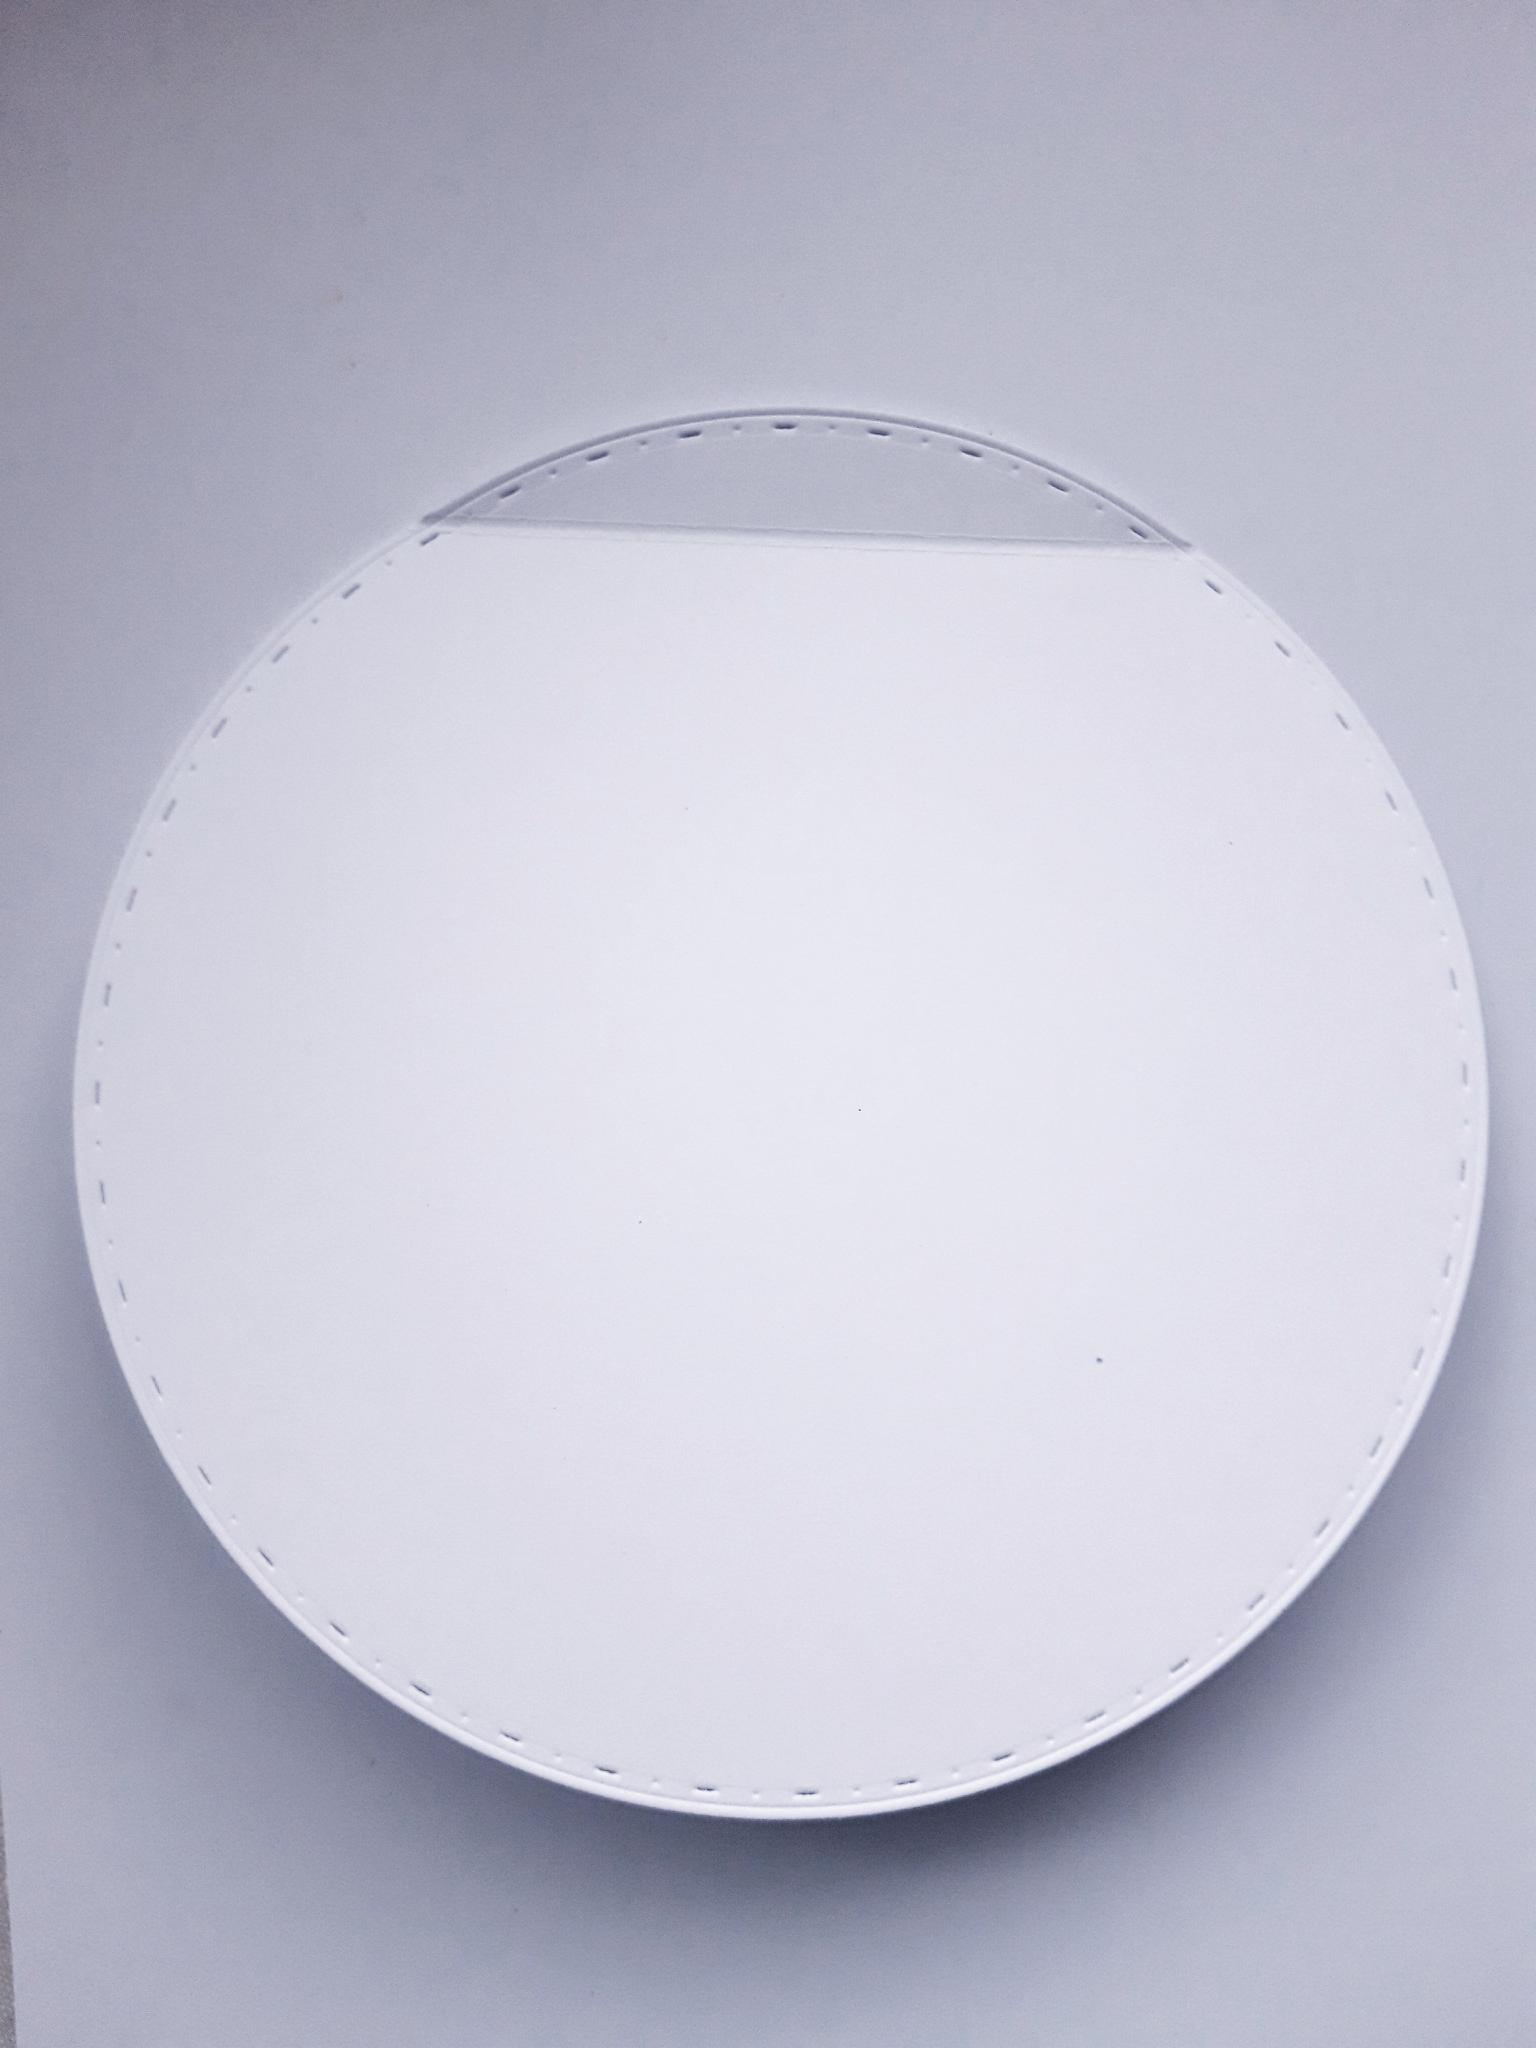
Carefully place the second die cut, white circle, on top of the first, applying pressure over the adhesive tape, so they adhere flush together. You have now created your circular card blank. |
|
You need to cut a small strip of the card off, along the base of the back of your card blank, to enable your card blank to stand up, without rolling around! Set your card blank to one side. |
|
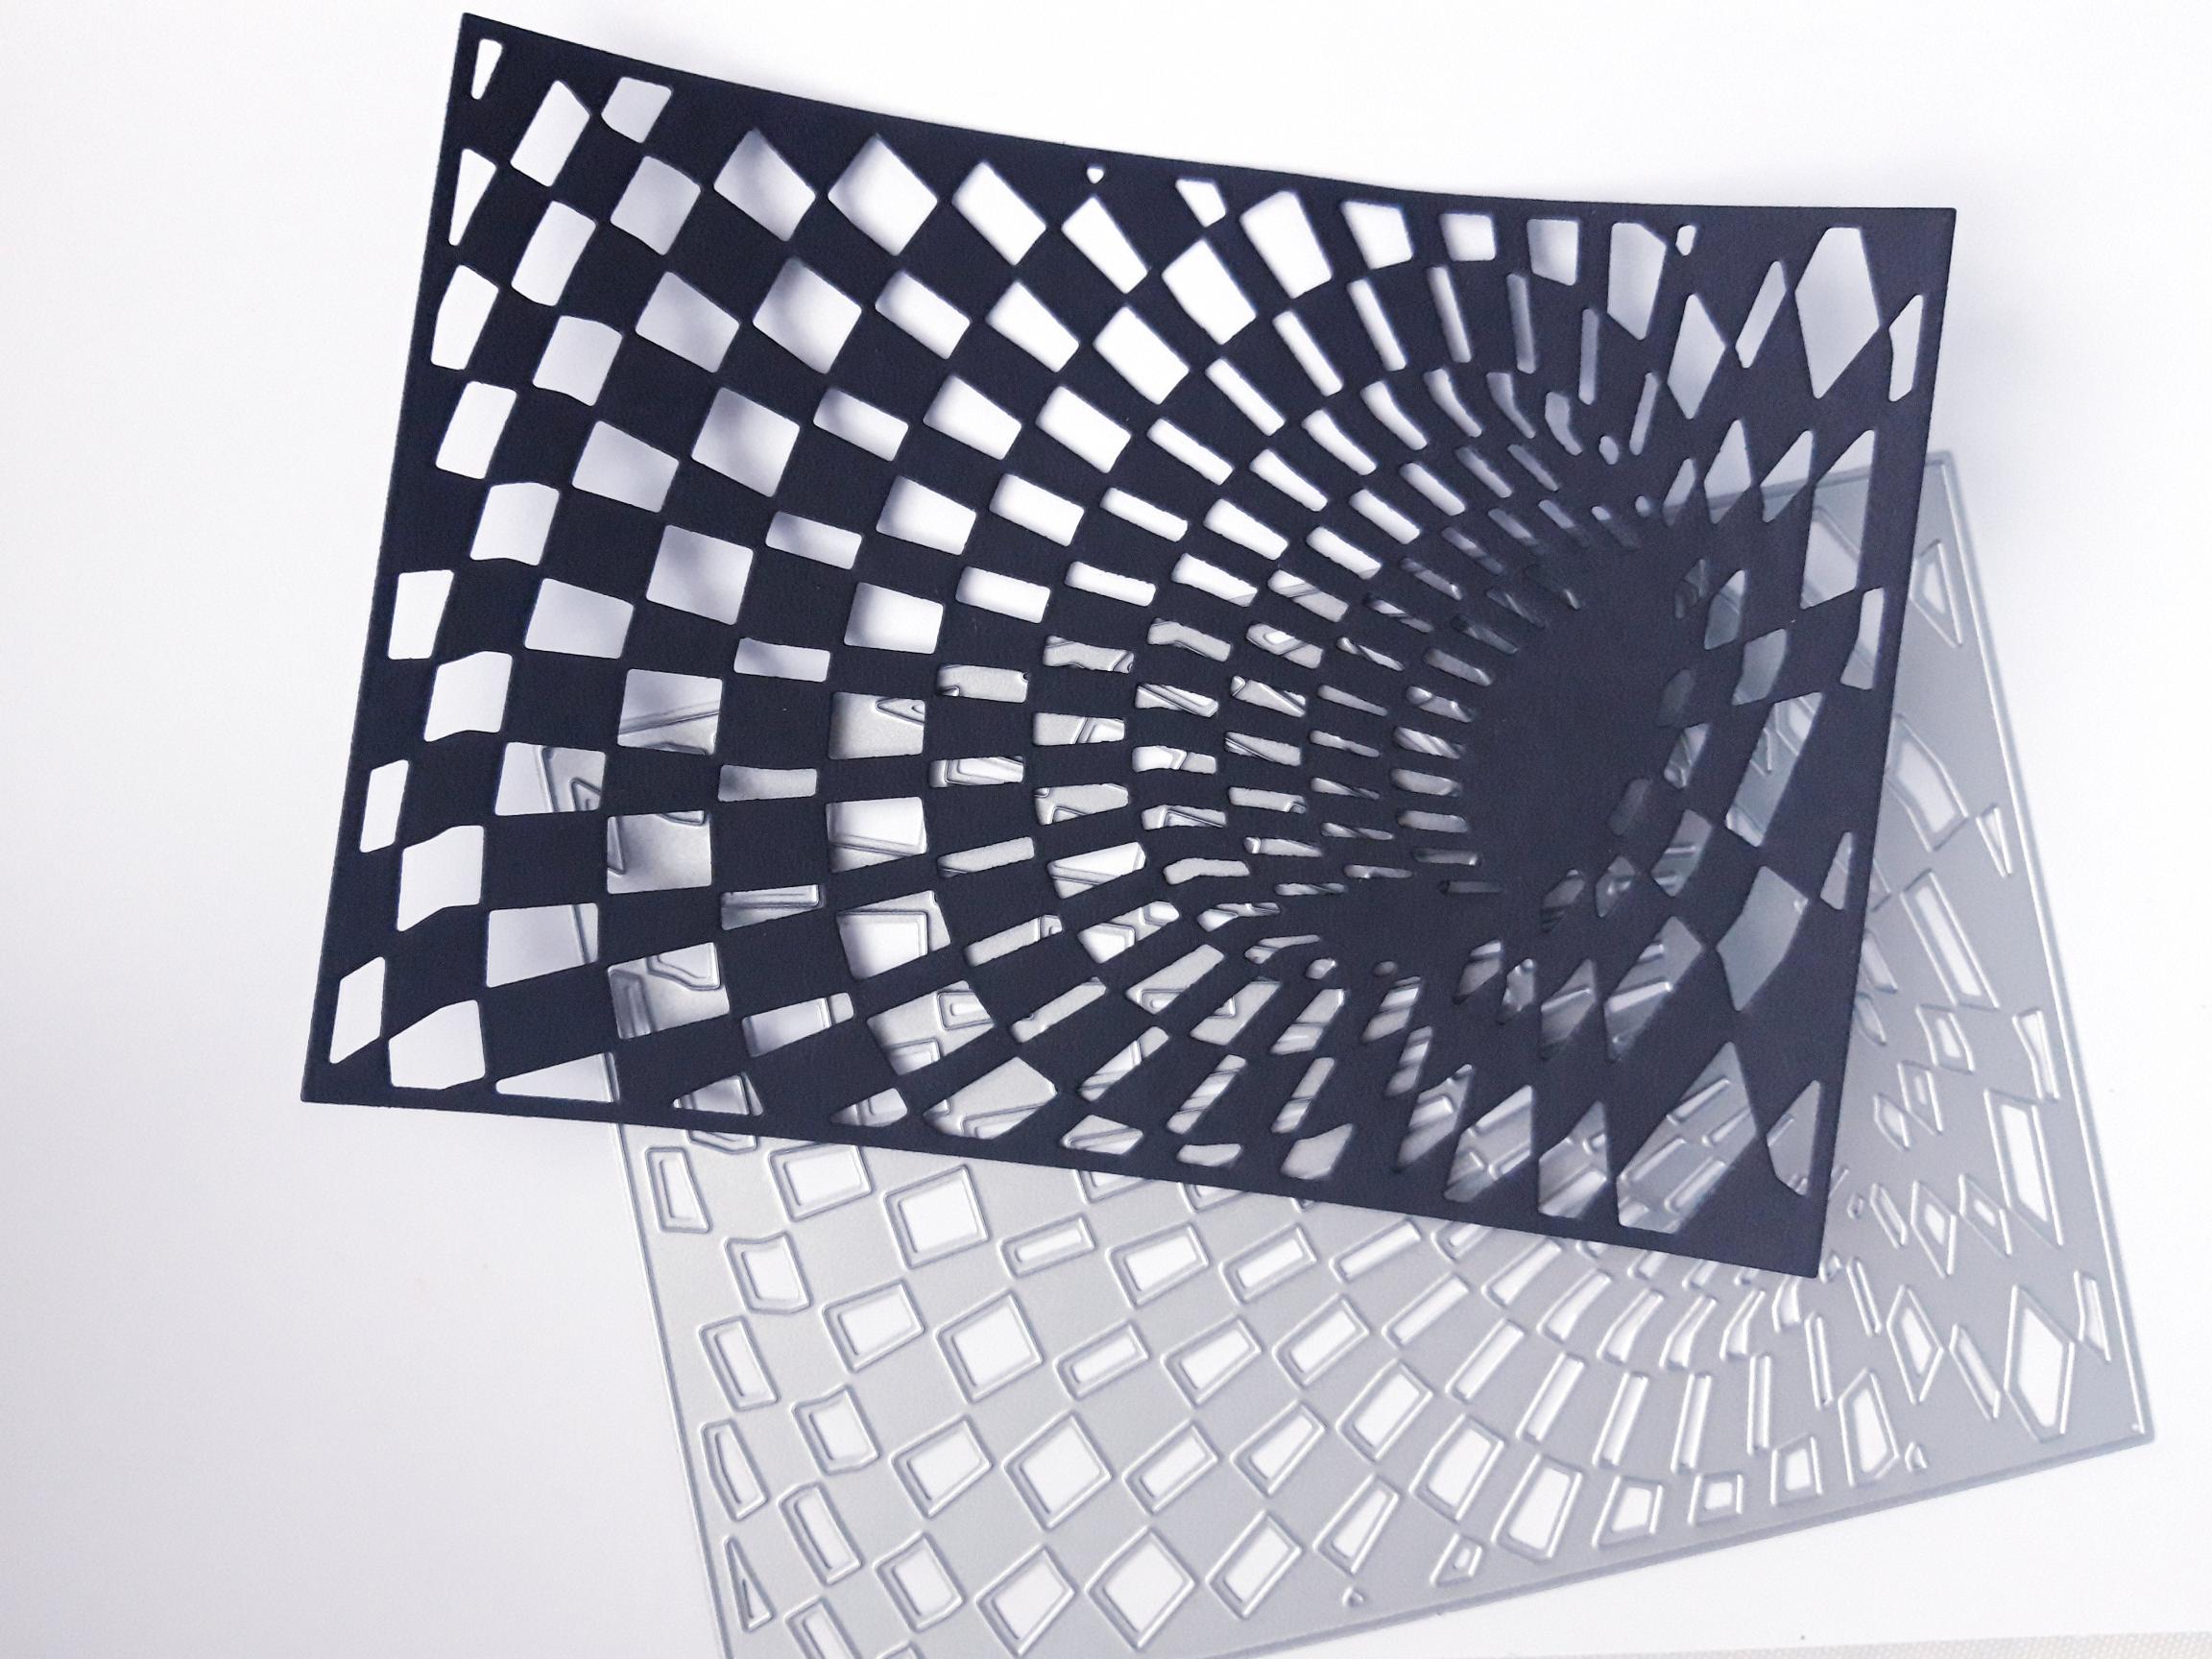
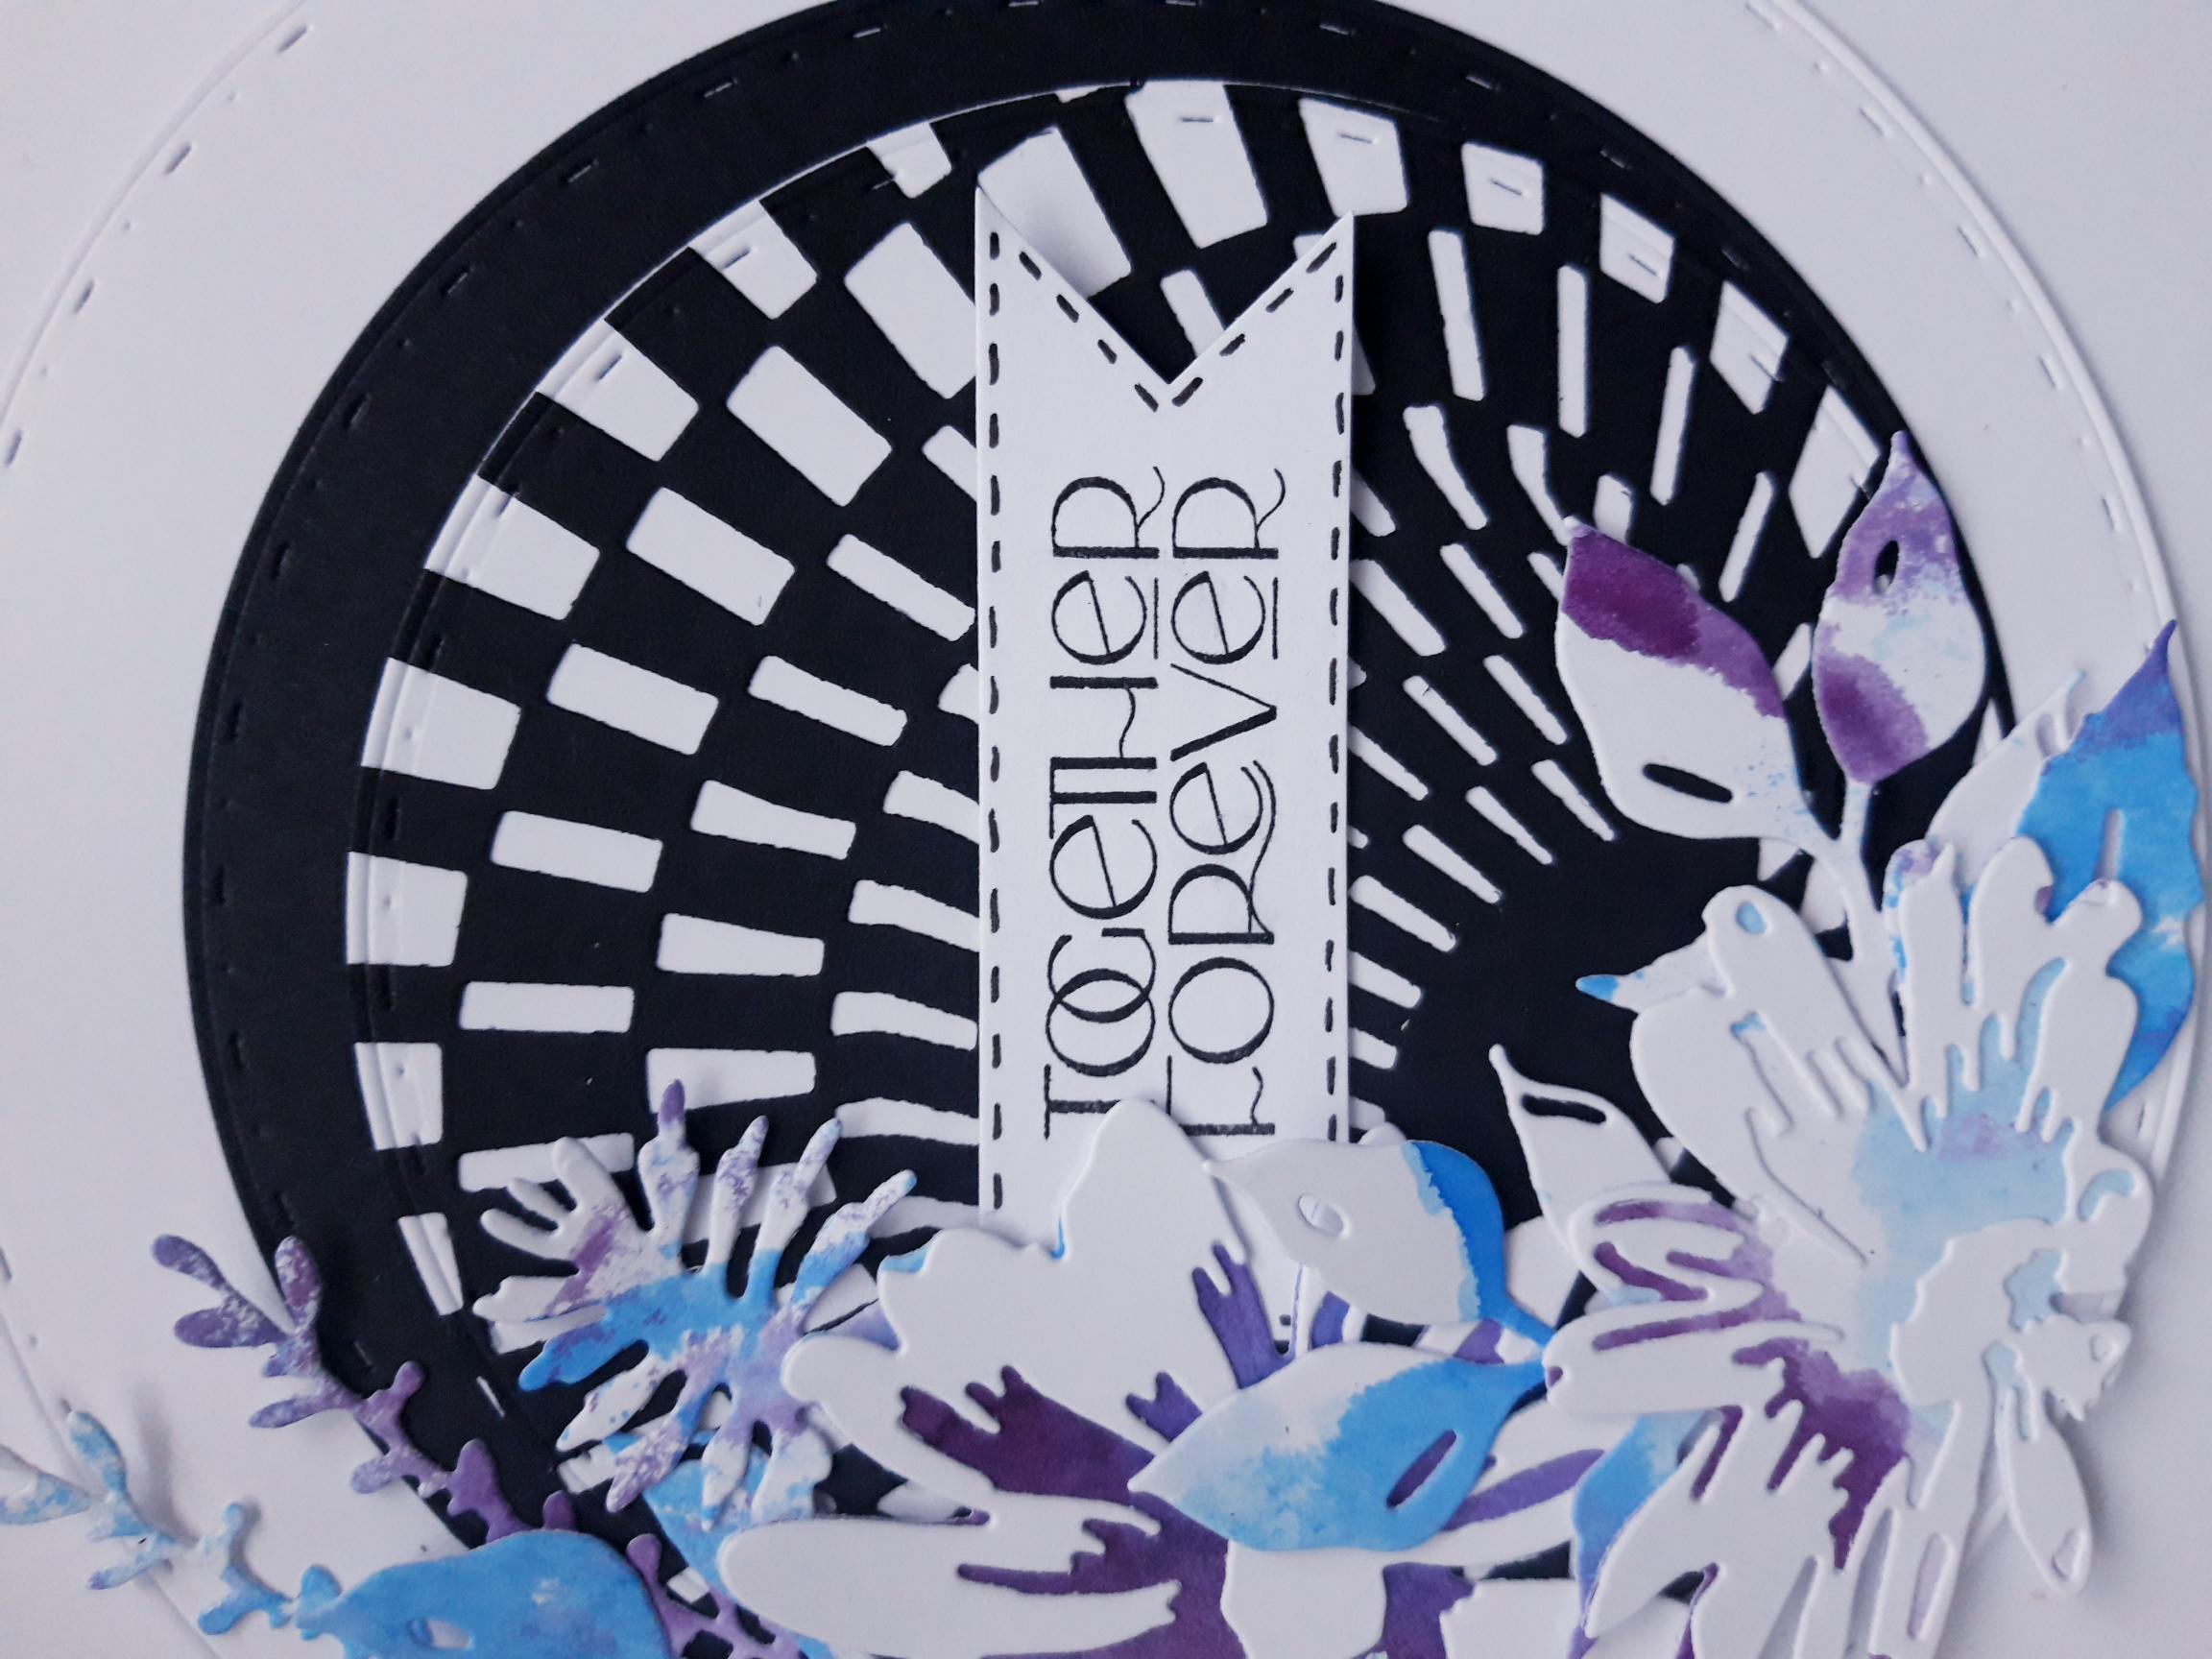
Place the die from the Alice Cover Plate Die Collection, on to the 7 x 5" black card, and run through your die cutting machine. |
|
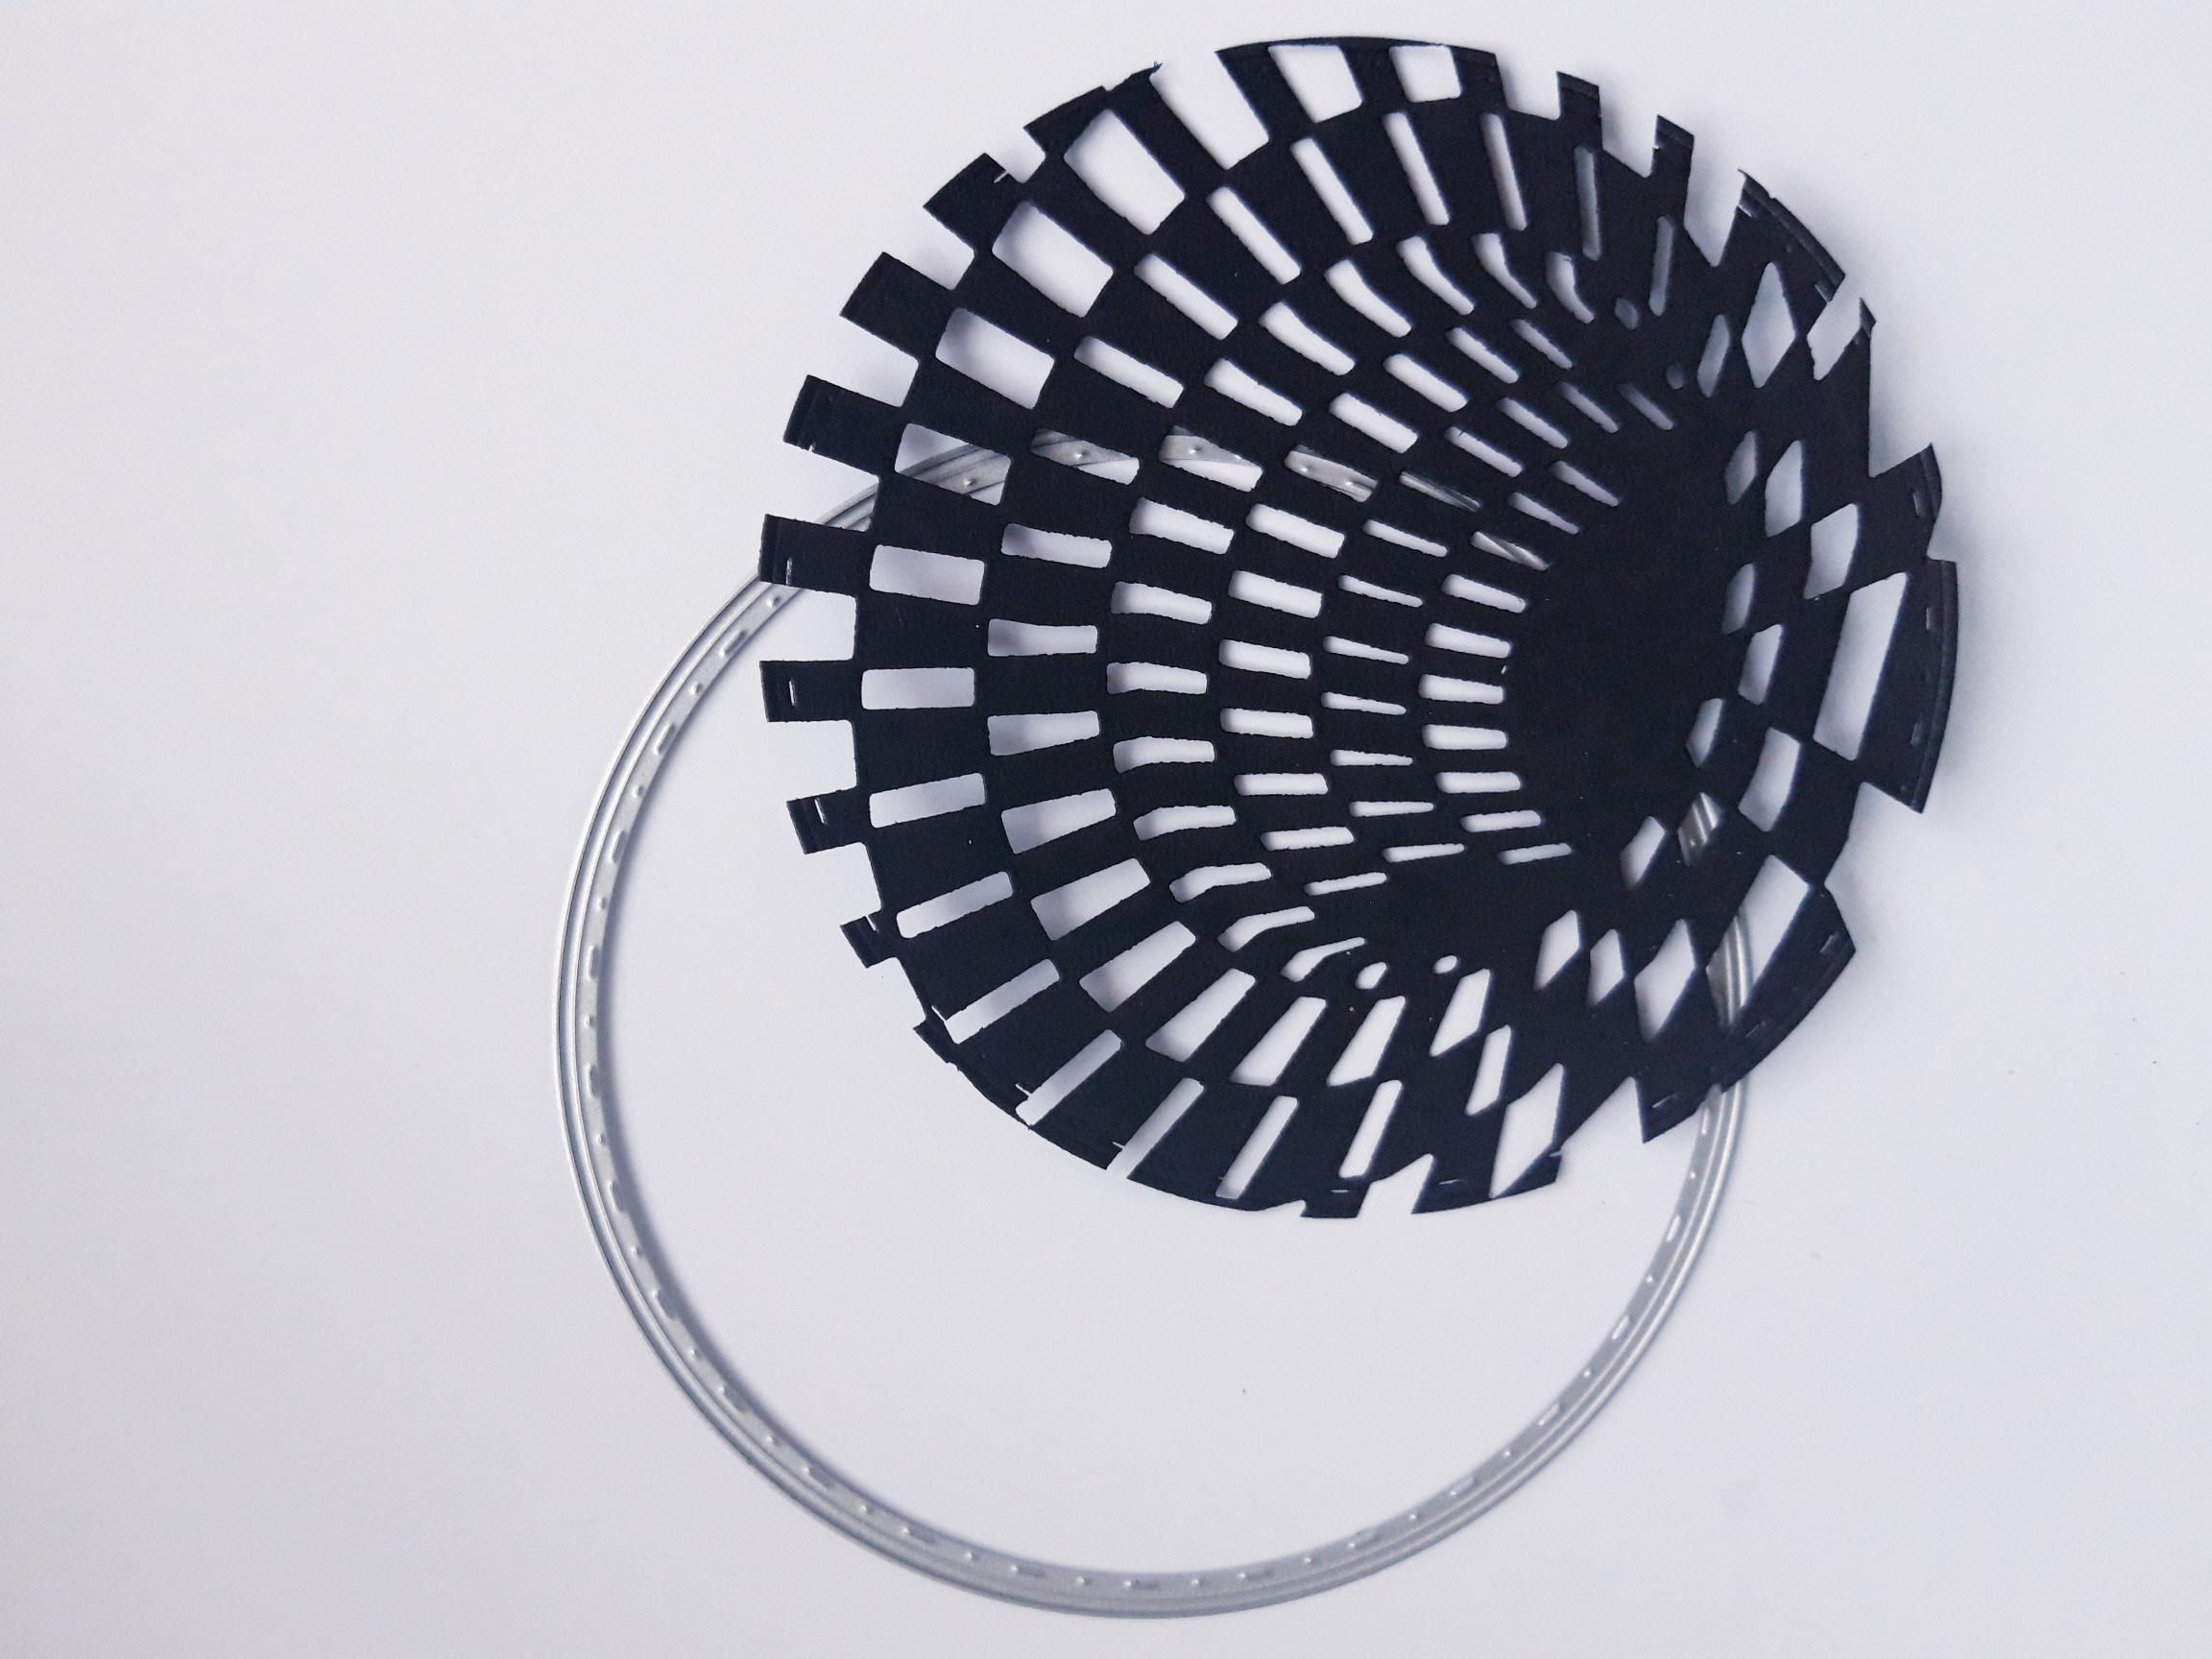
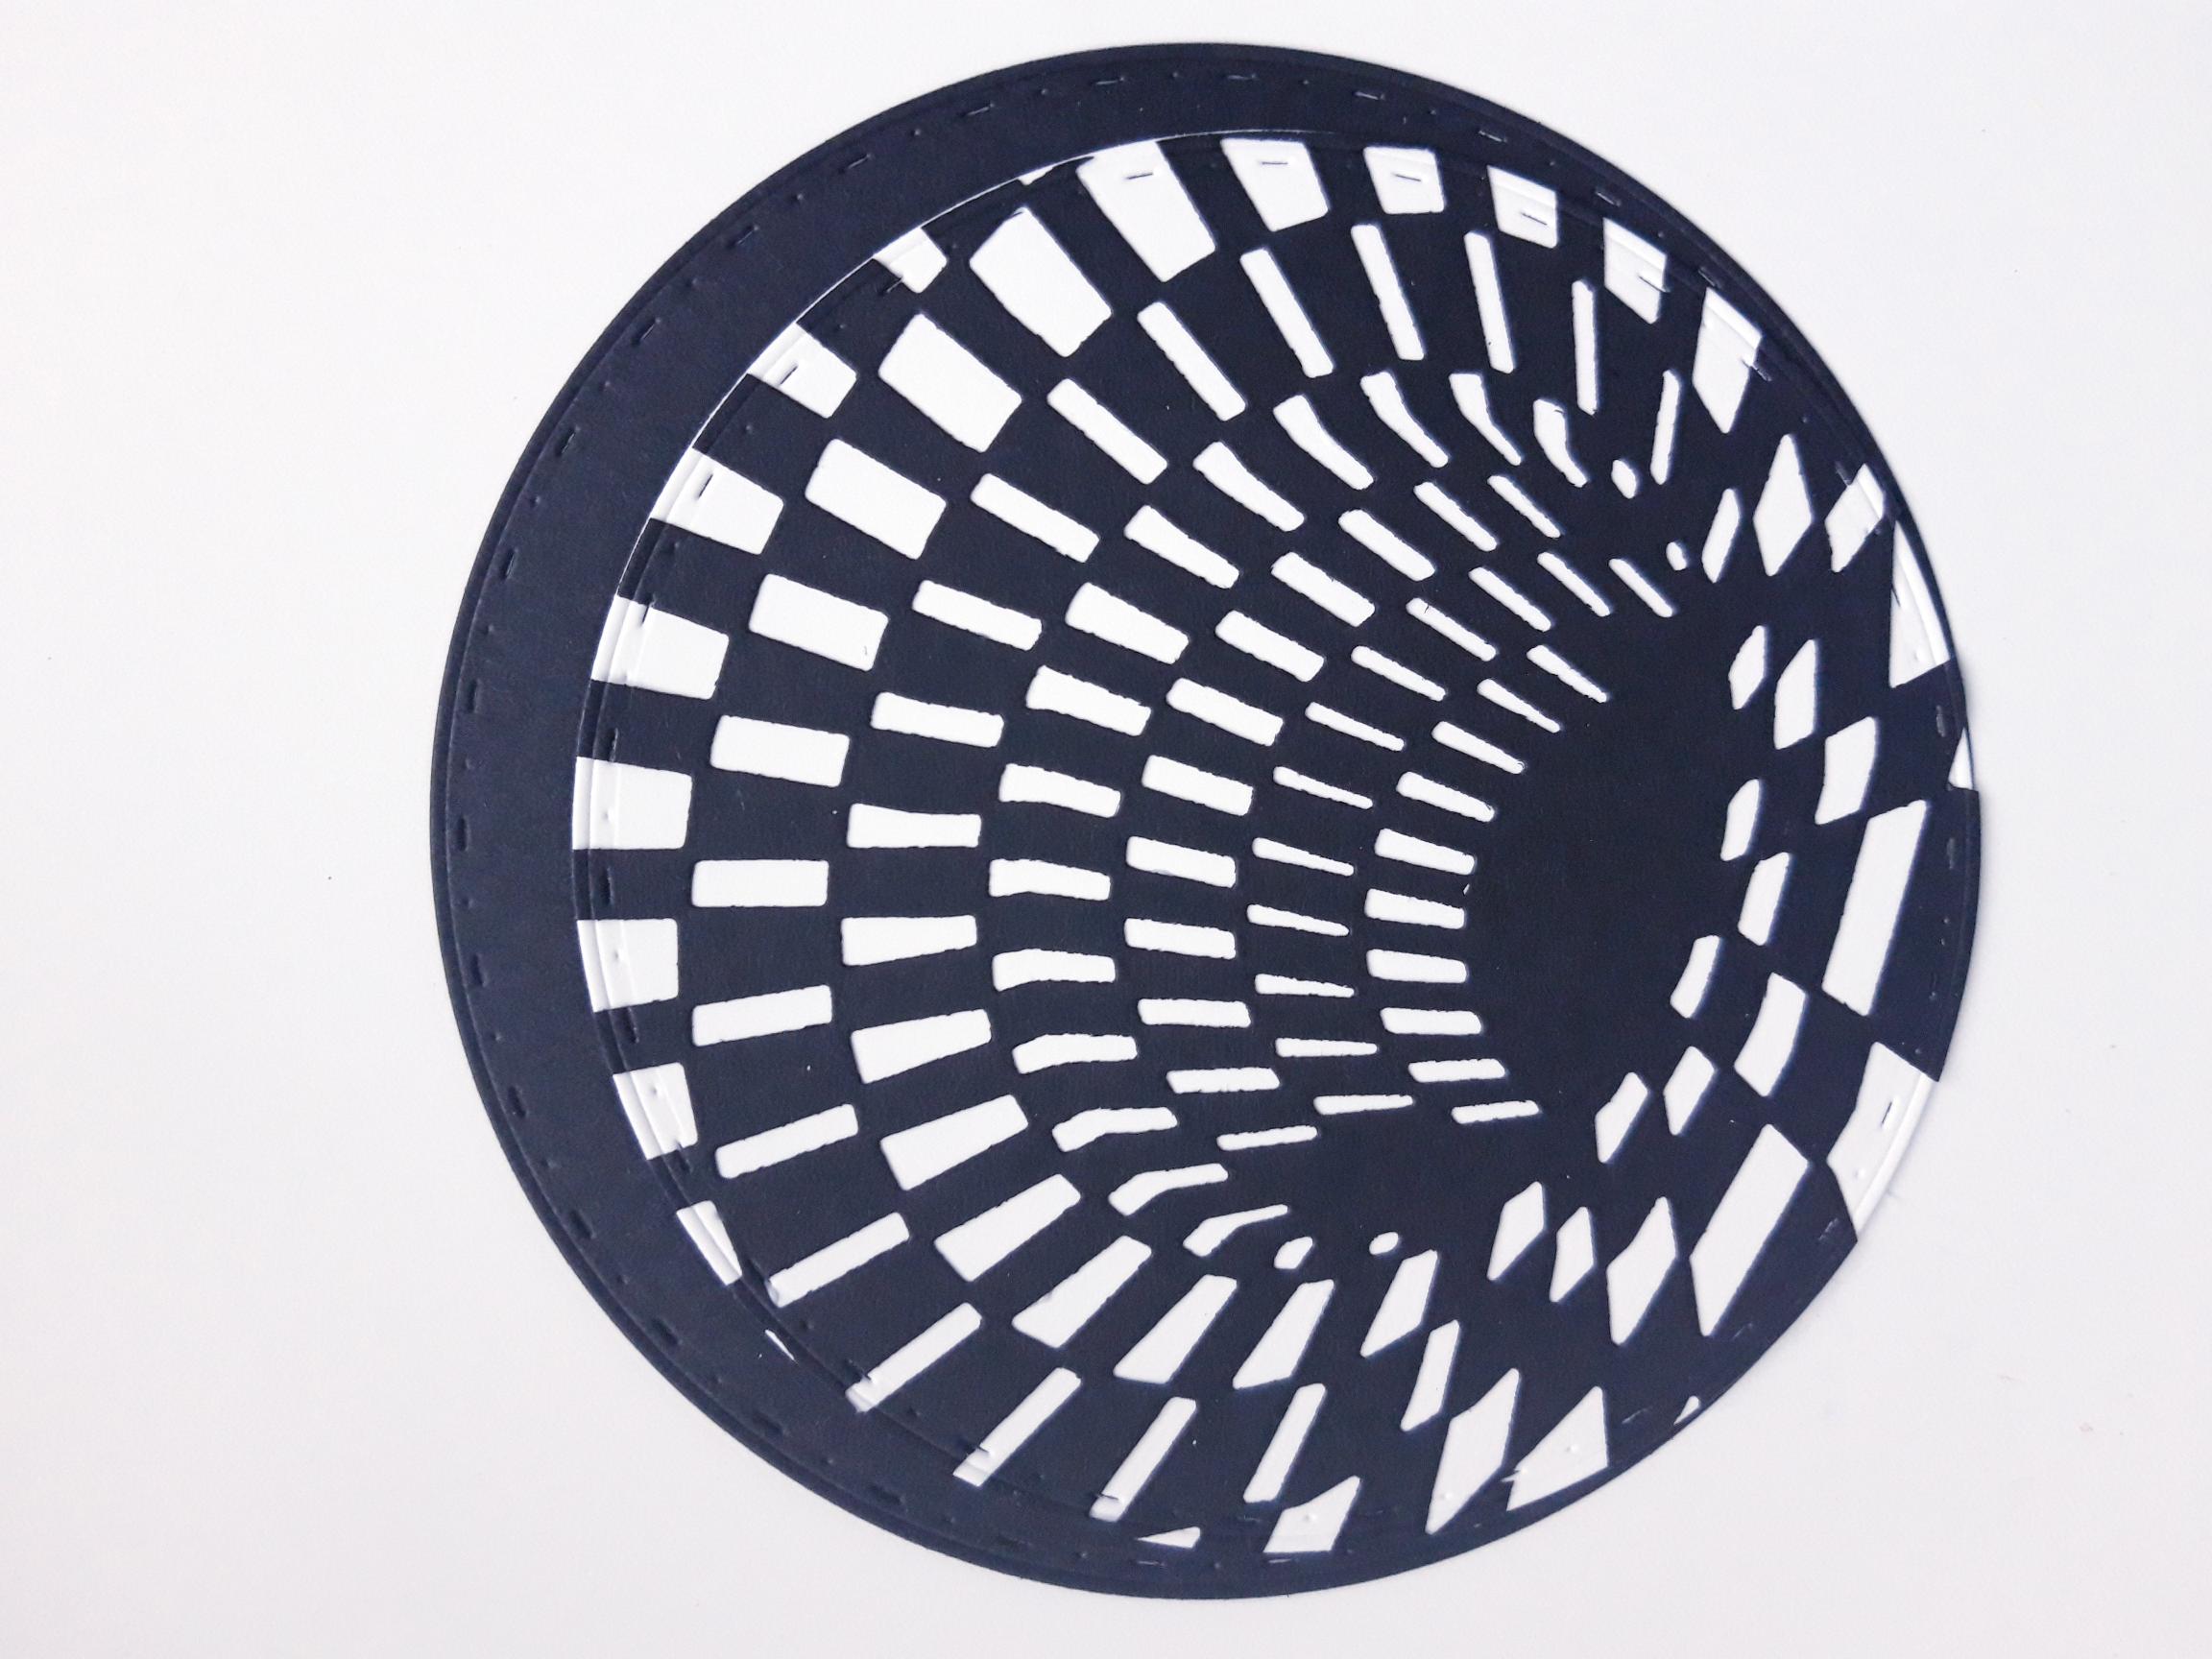
Place the circle die that measures approx 4 1/2", on to the section of the Alice Cover die cut element that you want to use, as shown here, and run this through your die cutting machine. |
|
Place the same sized circle die on to an area of your white A4 card, and run through your die cutting machine. Adhere the black Alice Cover die cut element on to the white, die cut circle mat. |
|
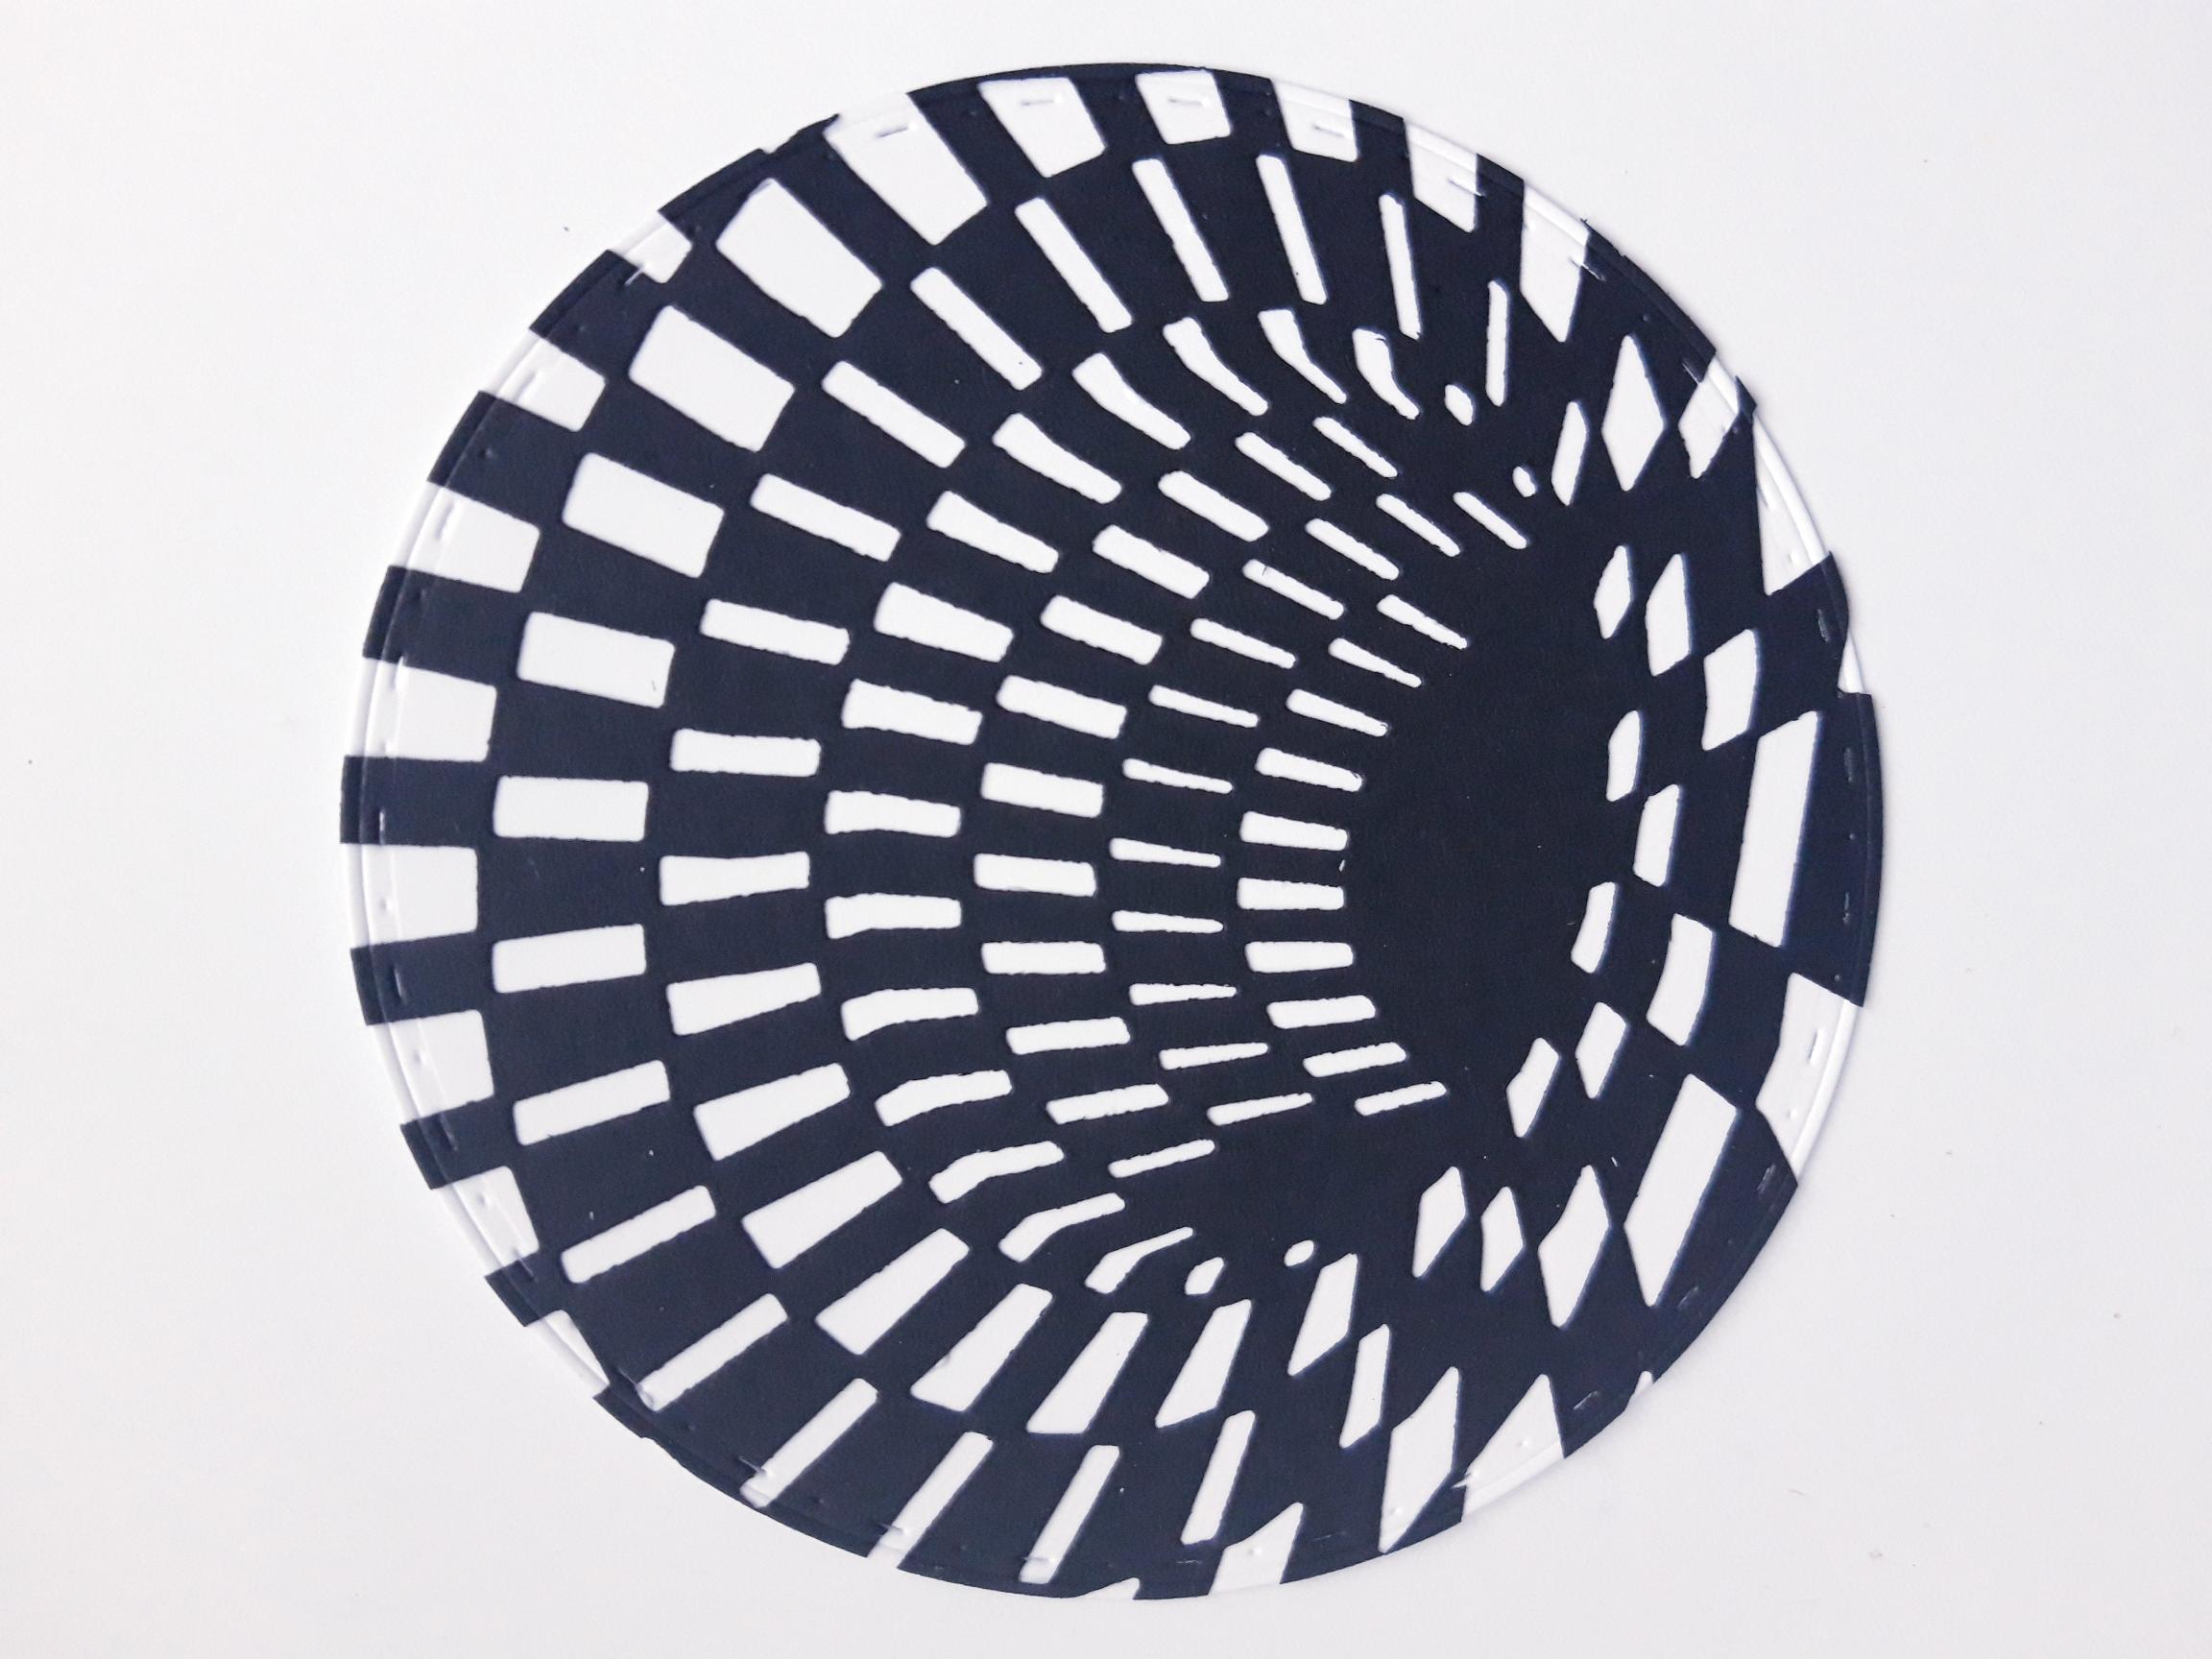
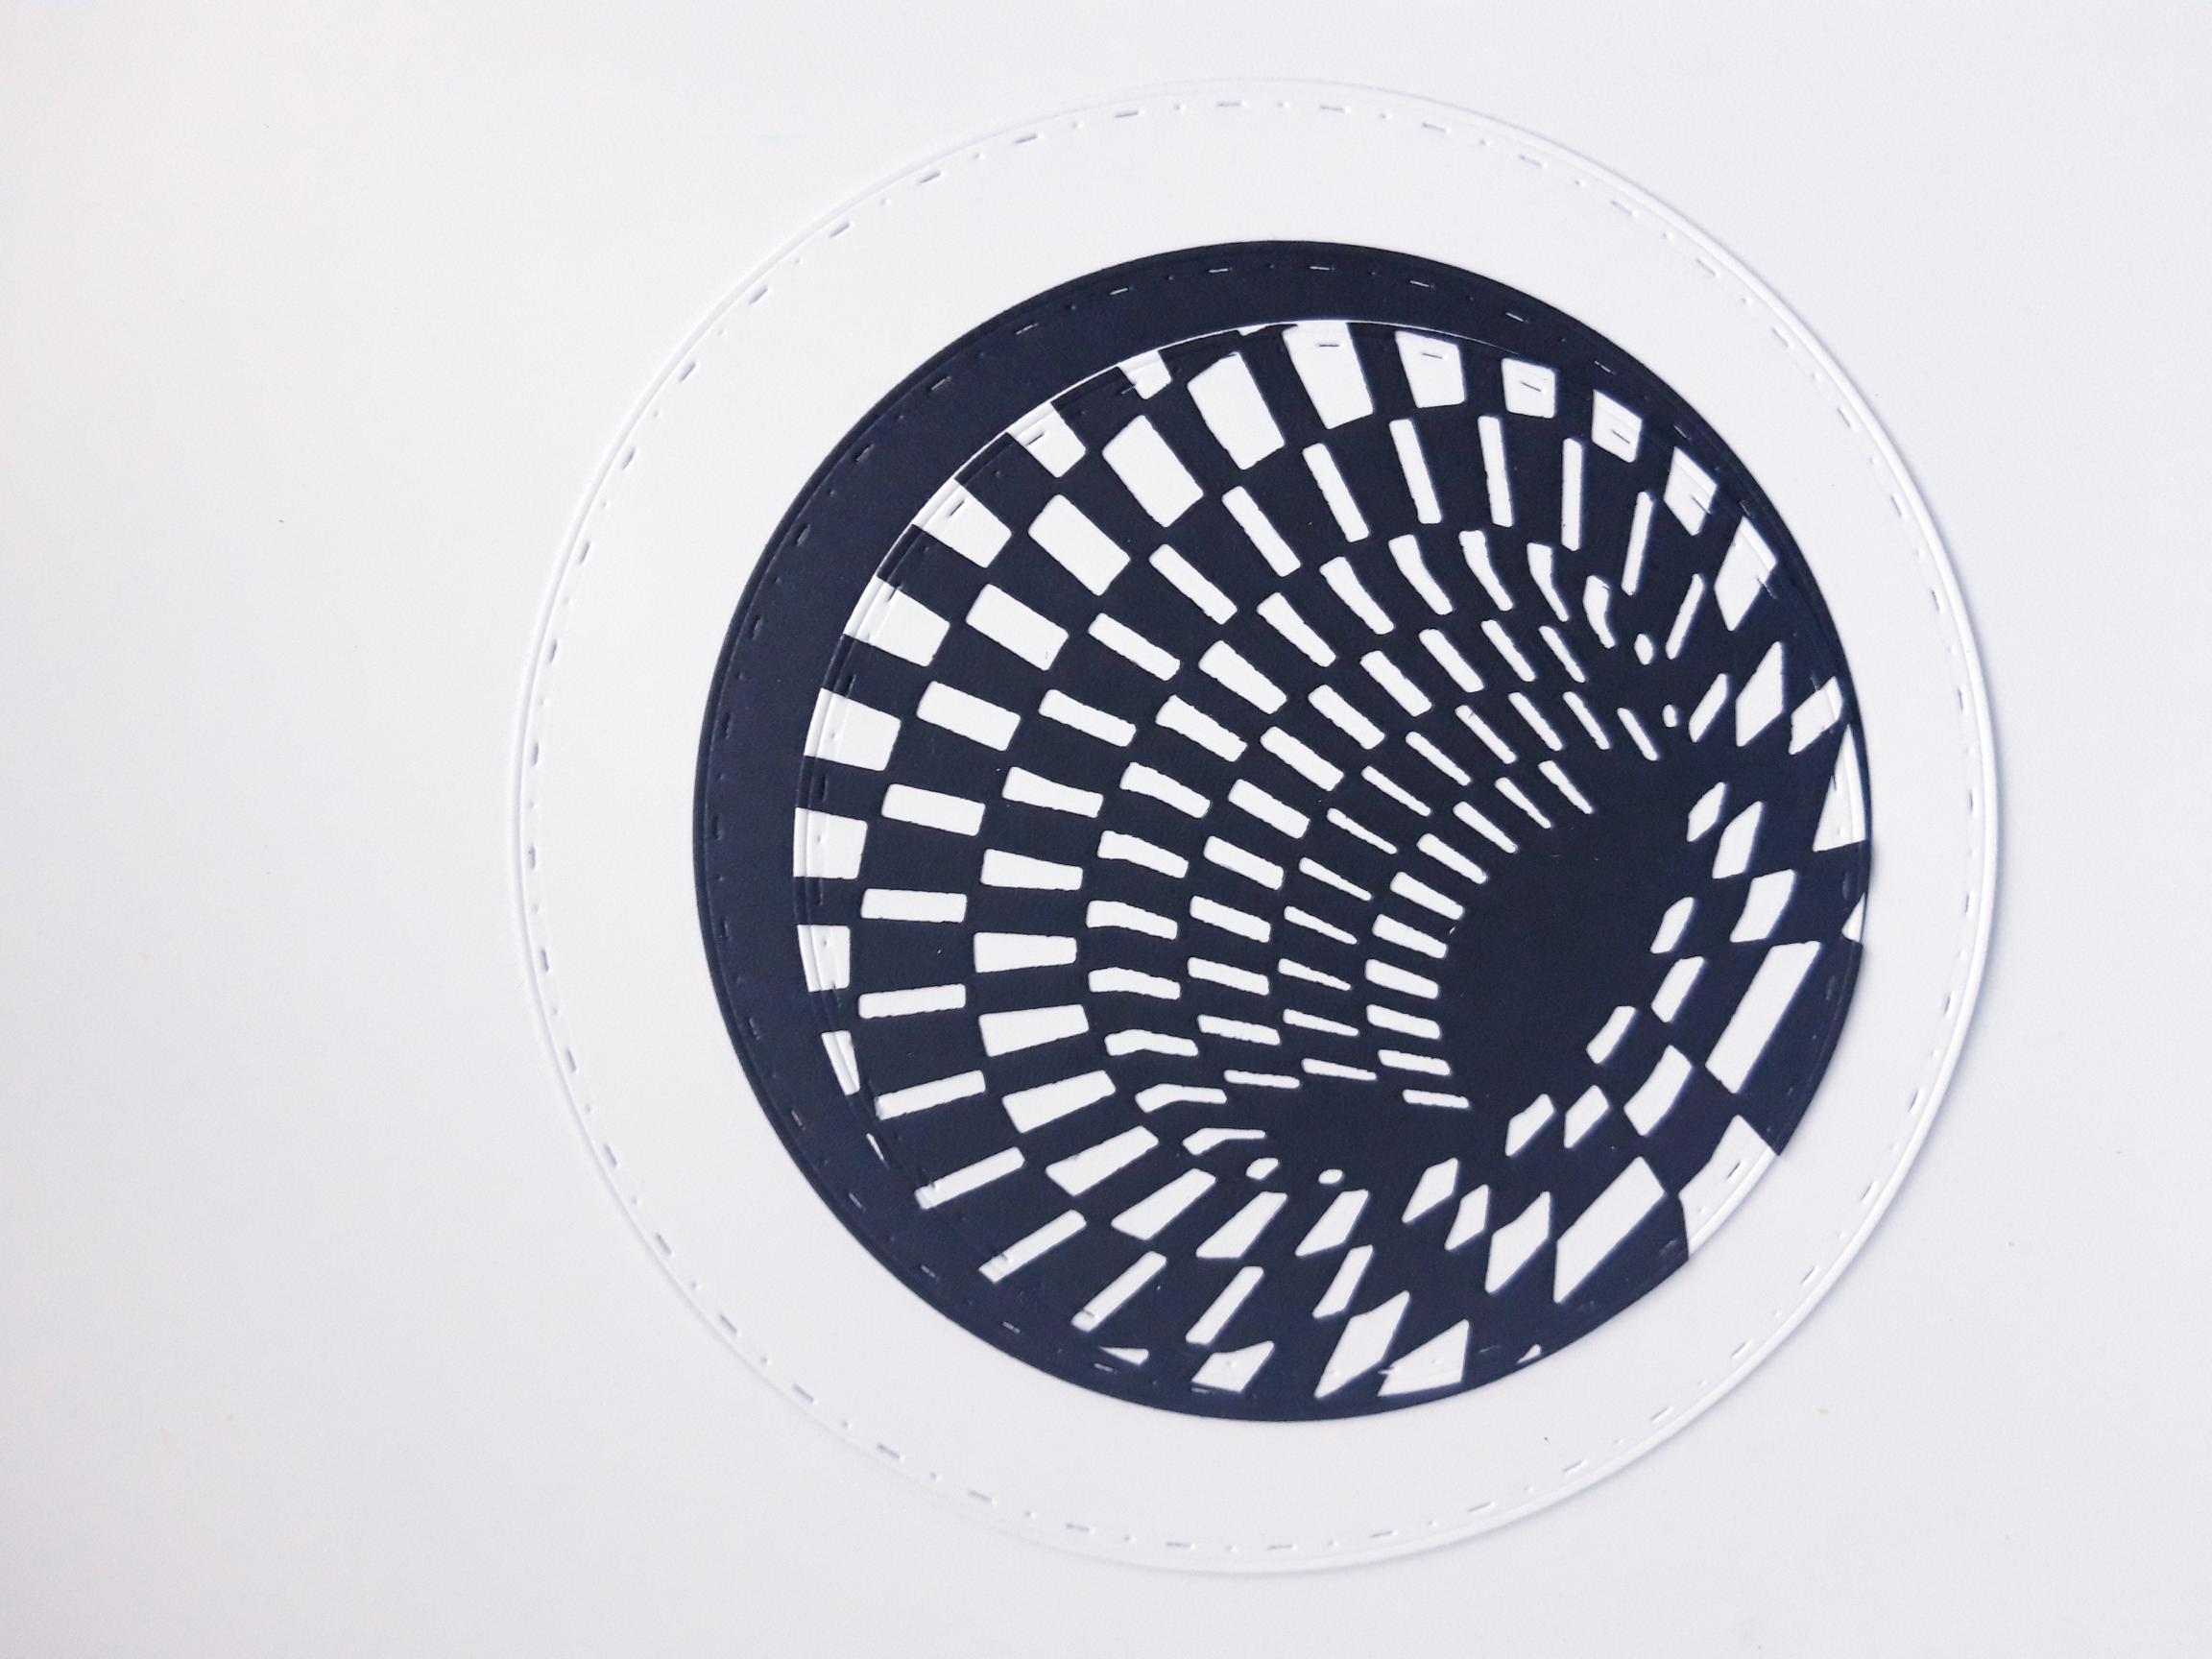
Place the circle die that measures approx 5" on to the black card ( 5 1/2 x 5 1/2") and run through your die cutting machine. Adhere your Alice Cover die cut element on top of your black, die cut circle mat, ensuring its flush around the bottom edges, as shown here. |
|
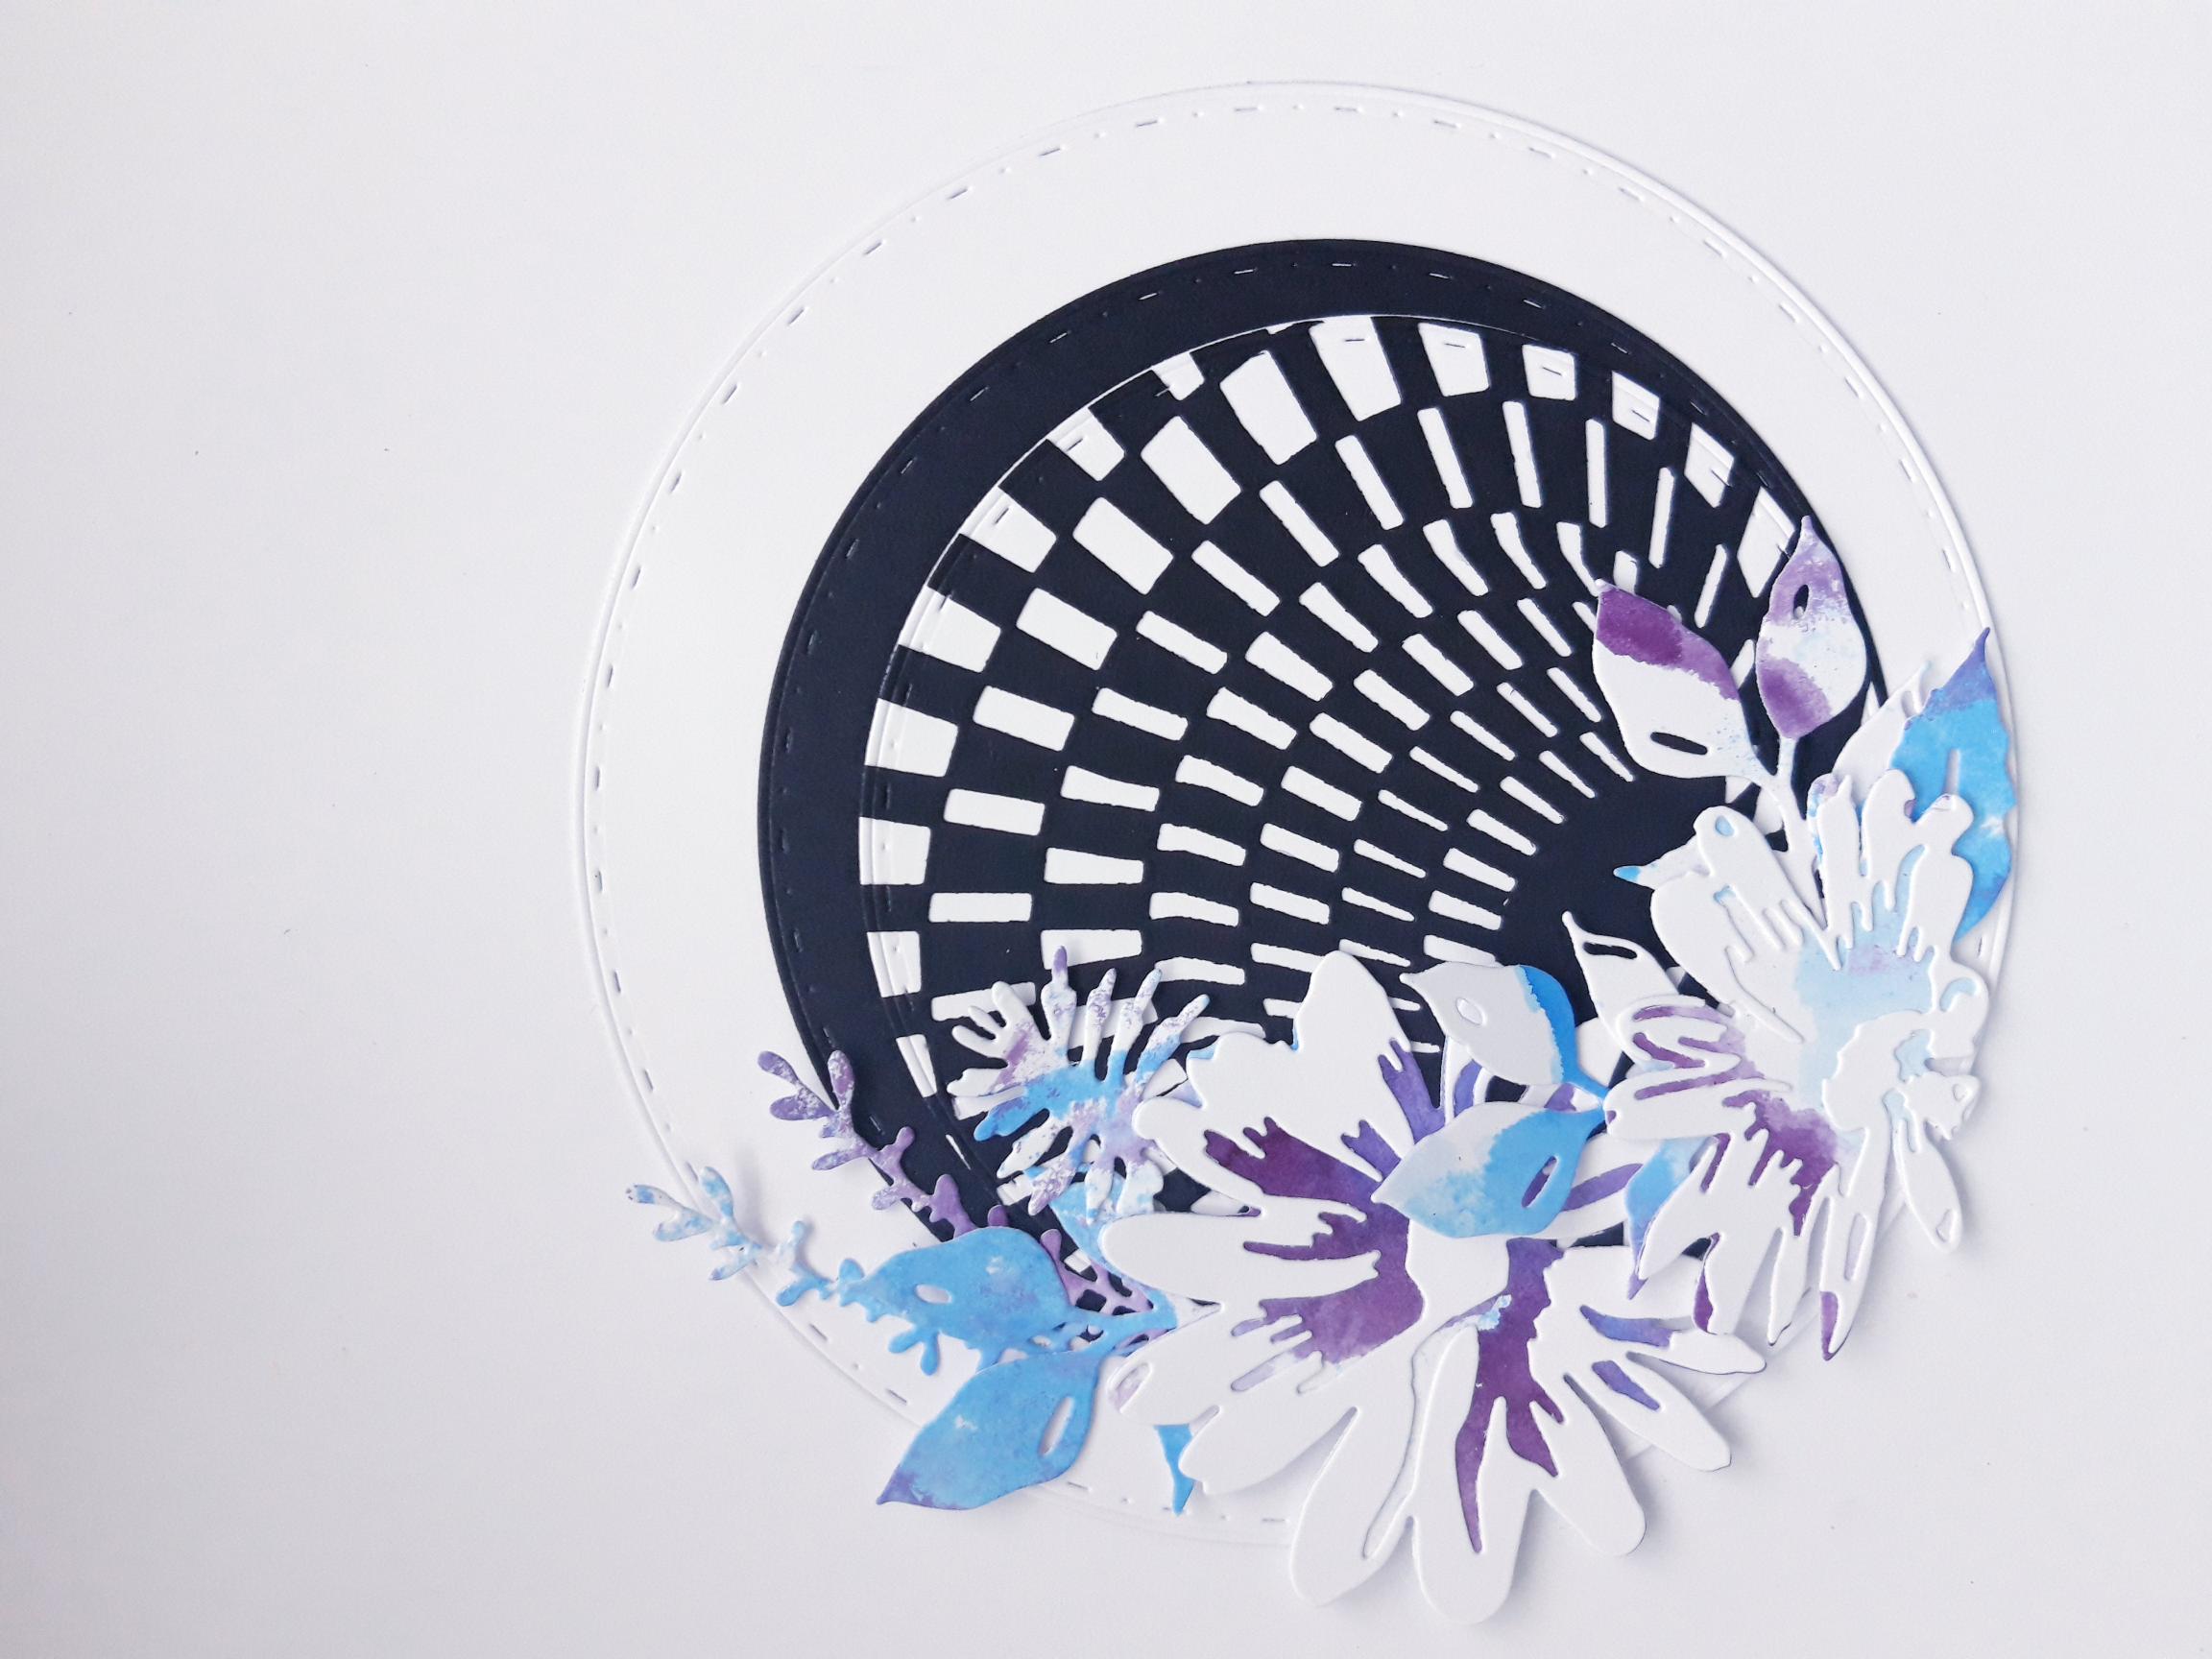
Adhere this on to the front of your circular card blank. NB: Ensure that your card blank is the right way up, with the cut off base of your card blank, at the bottom, BEFORE adhereing your die cut element in position, where required. Set your card to one side. |
|
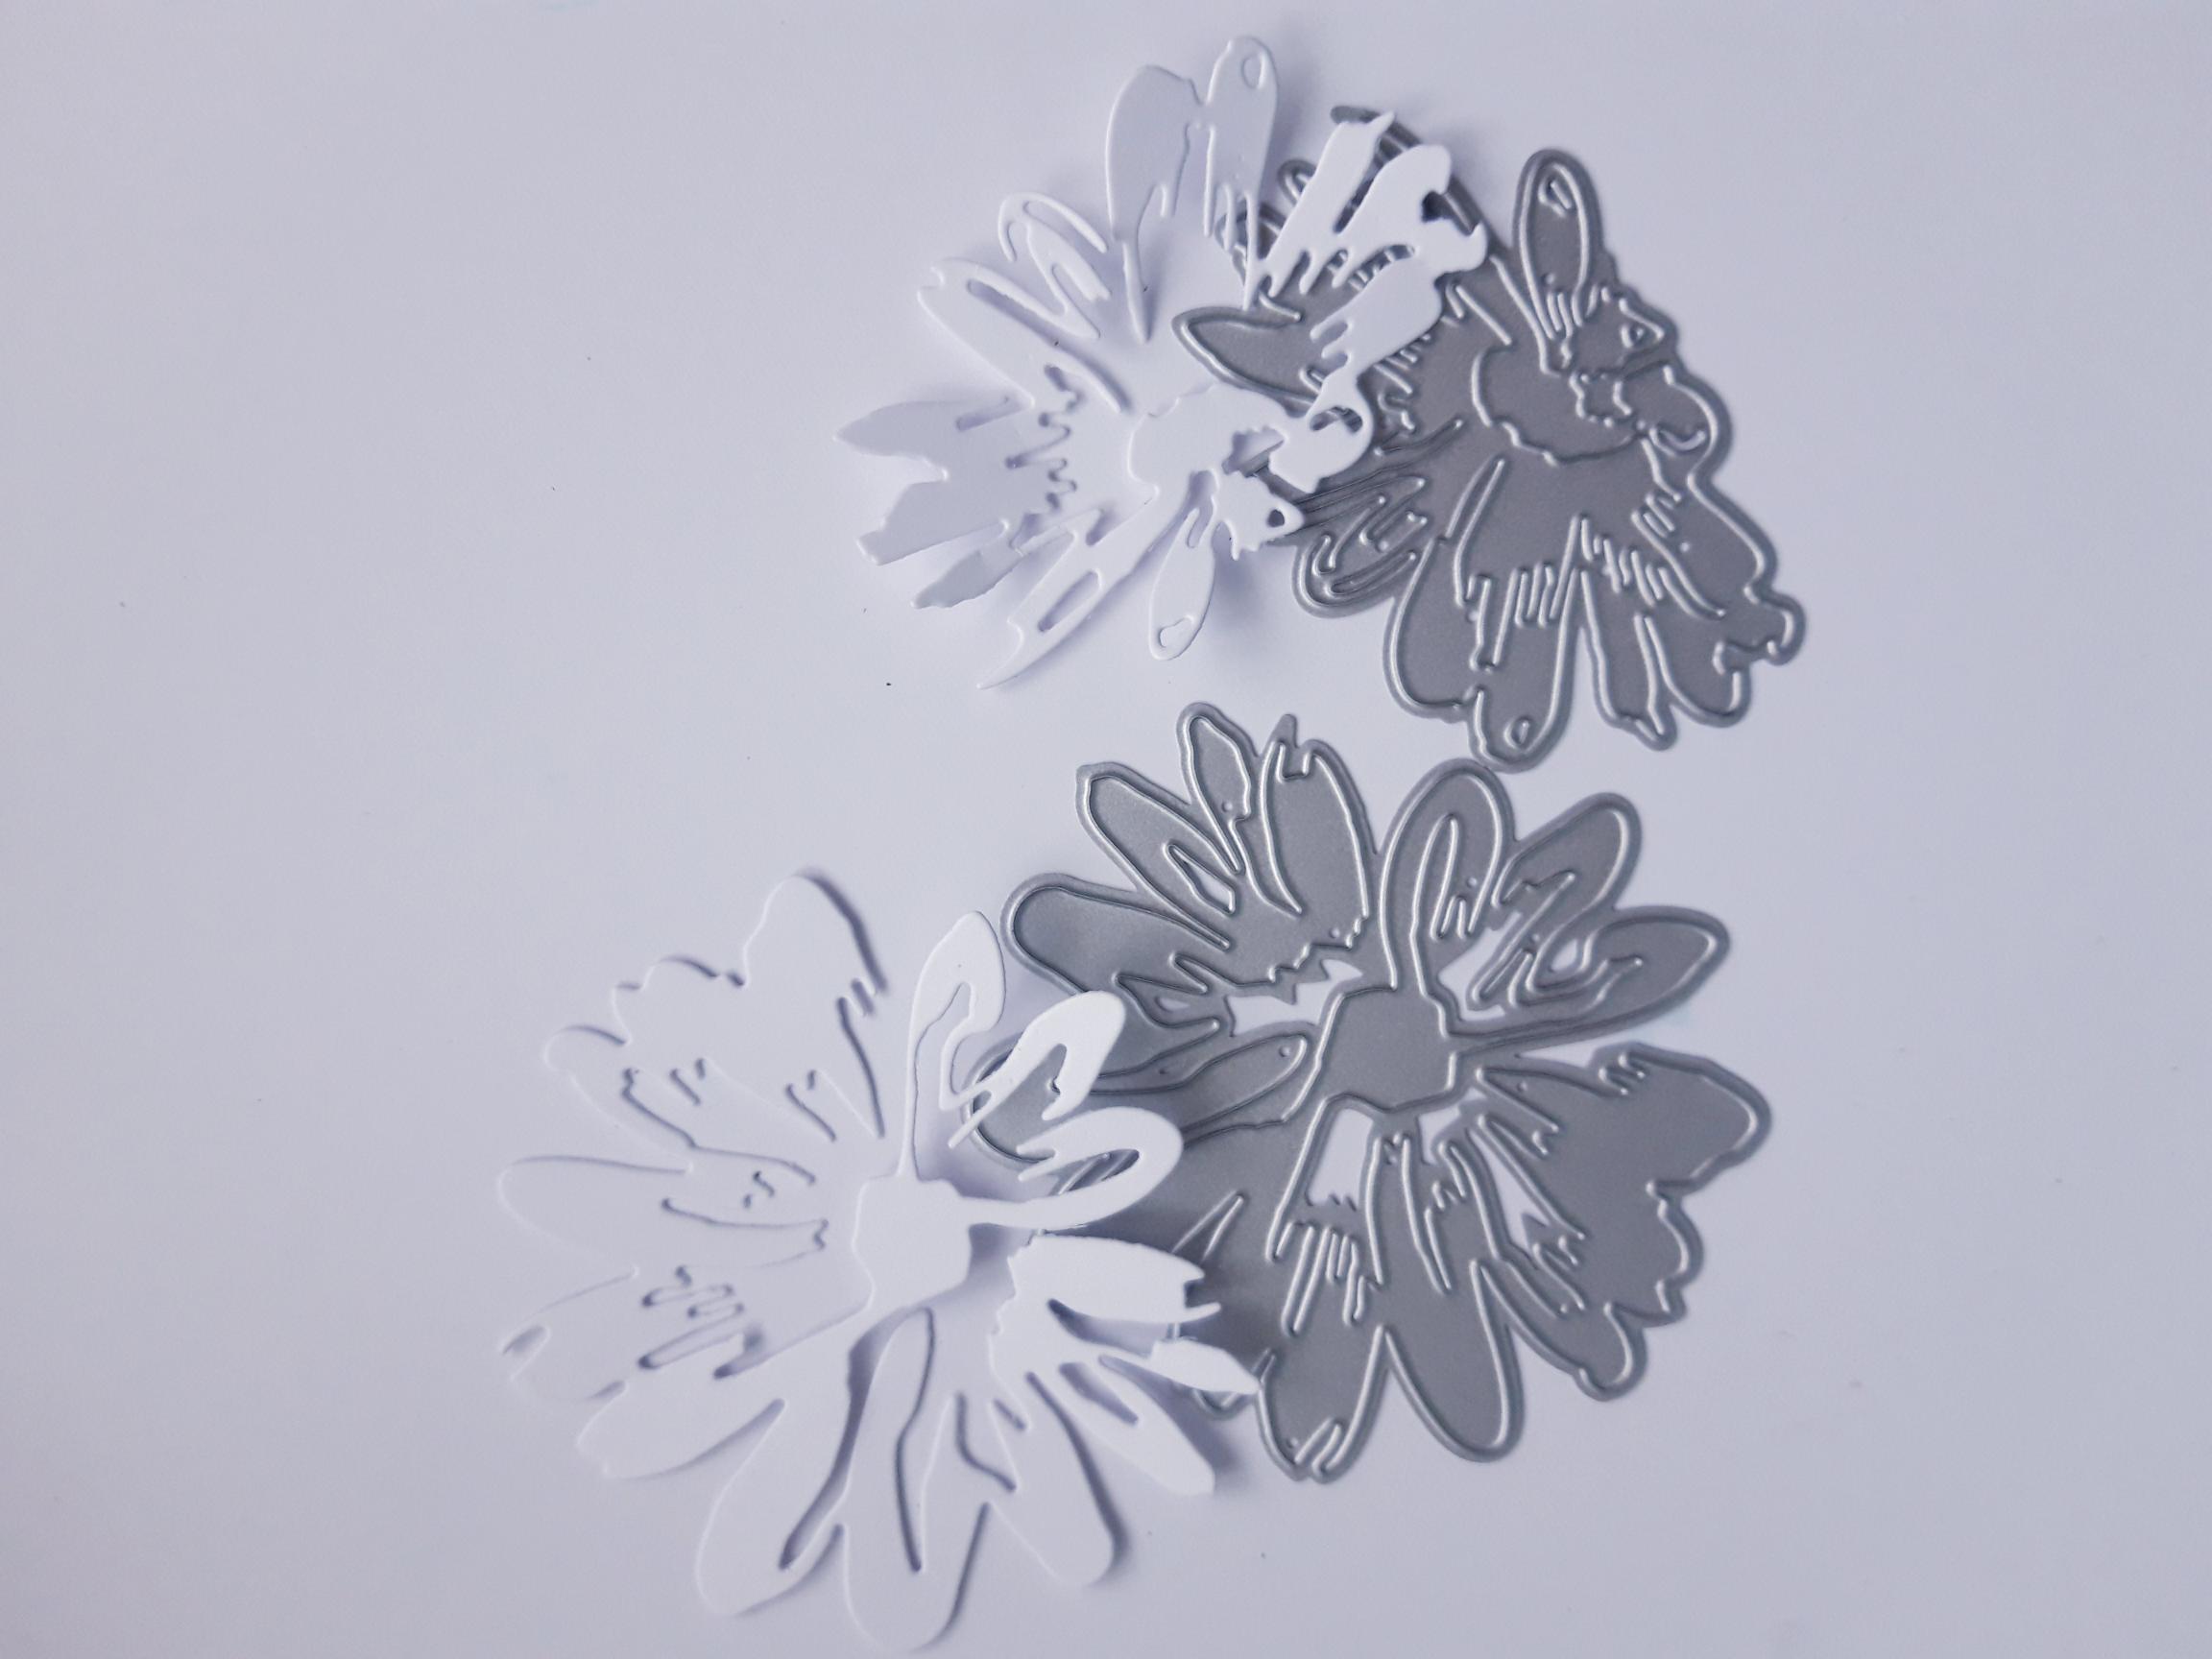
Take the 2 dies, shown here, from the Lovely Layers Die Collection and place on to some of your remaining white cardstock. Run through your die cutting machine and set to one side. |

|
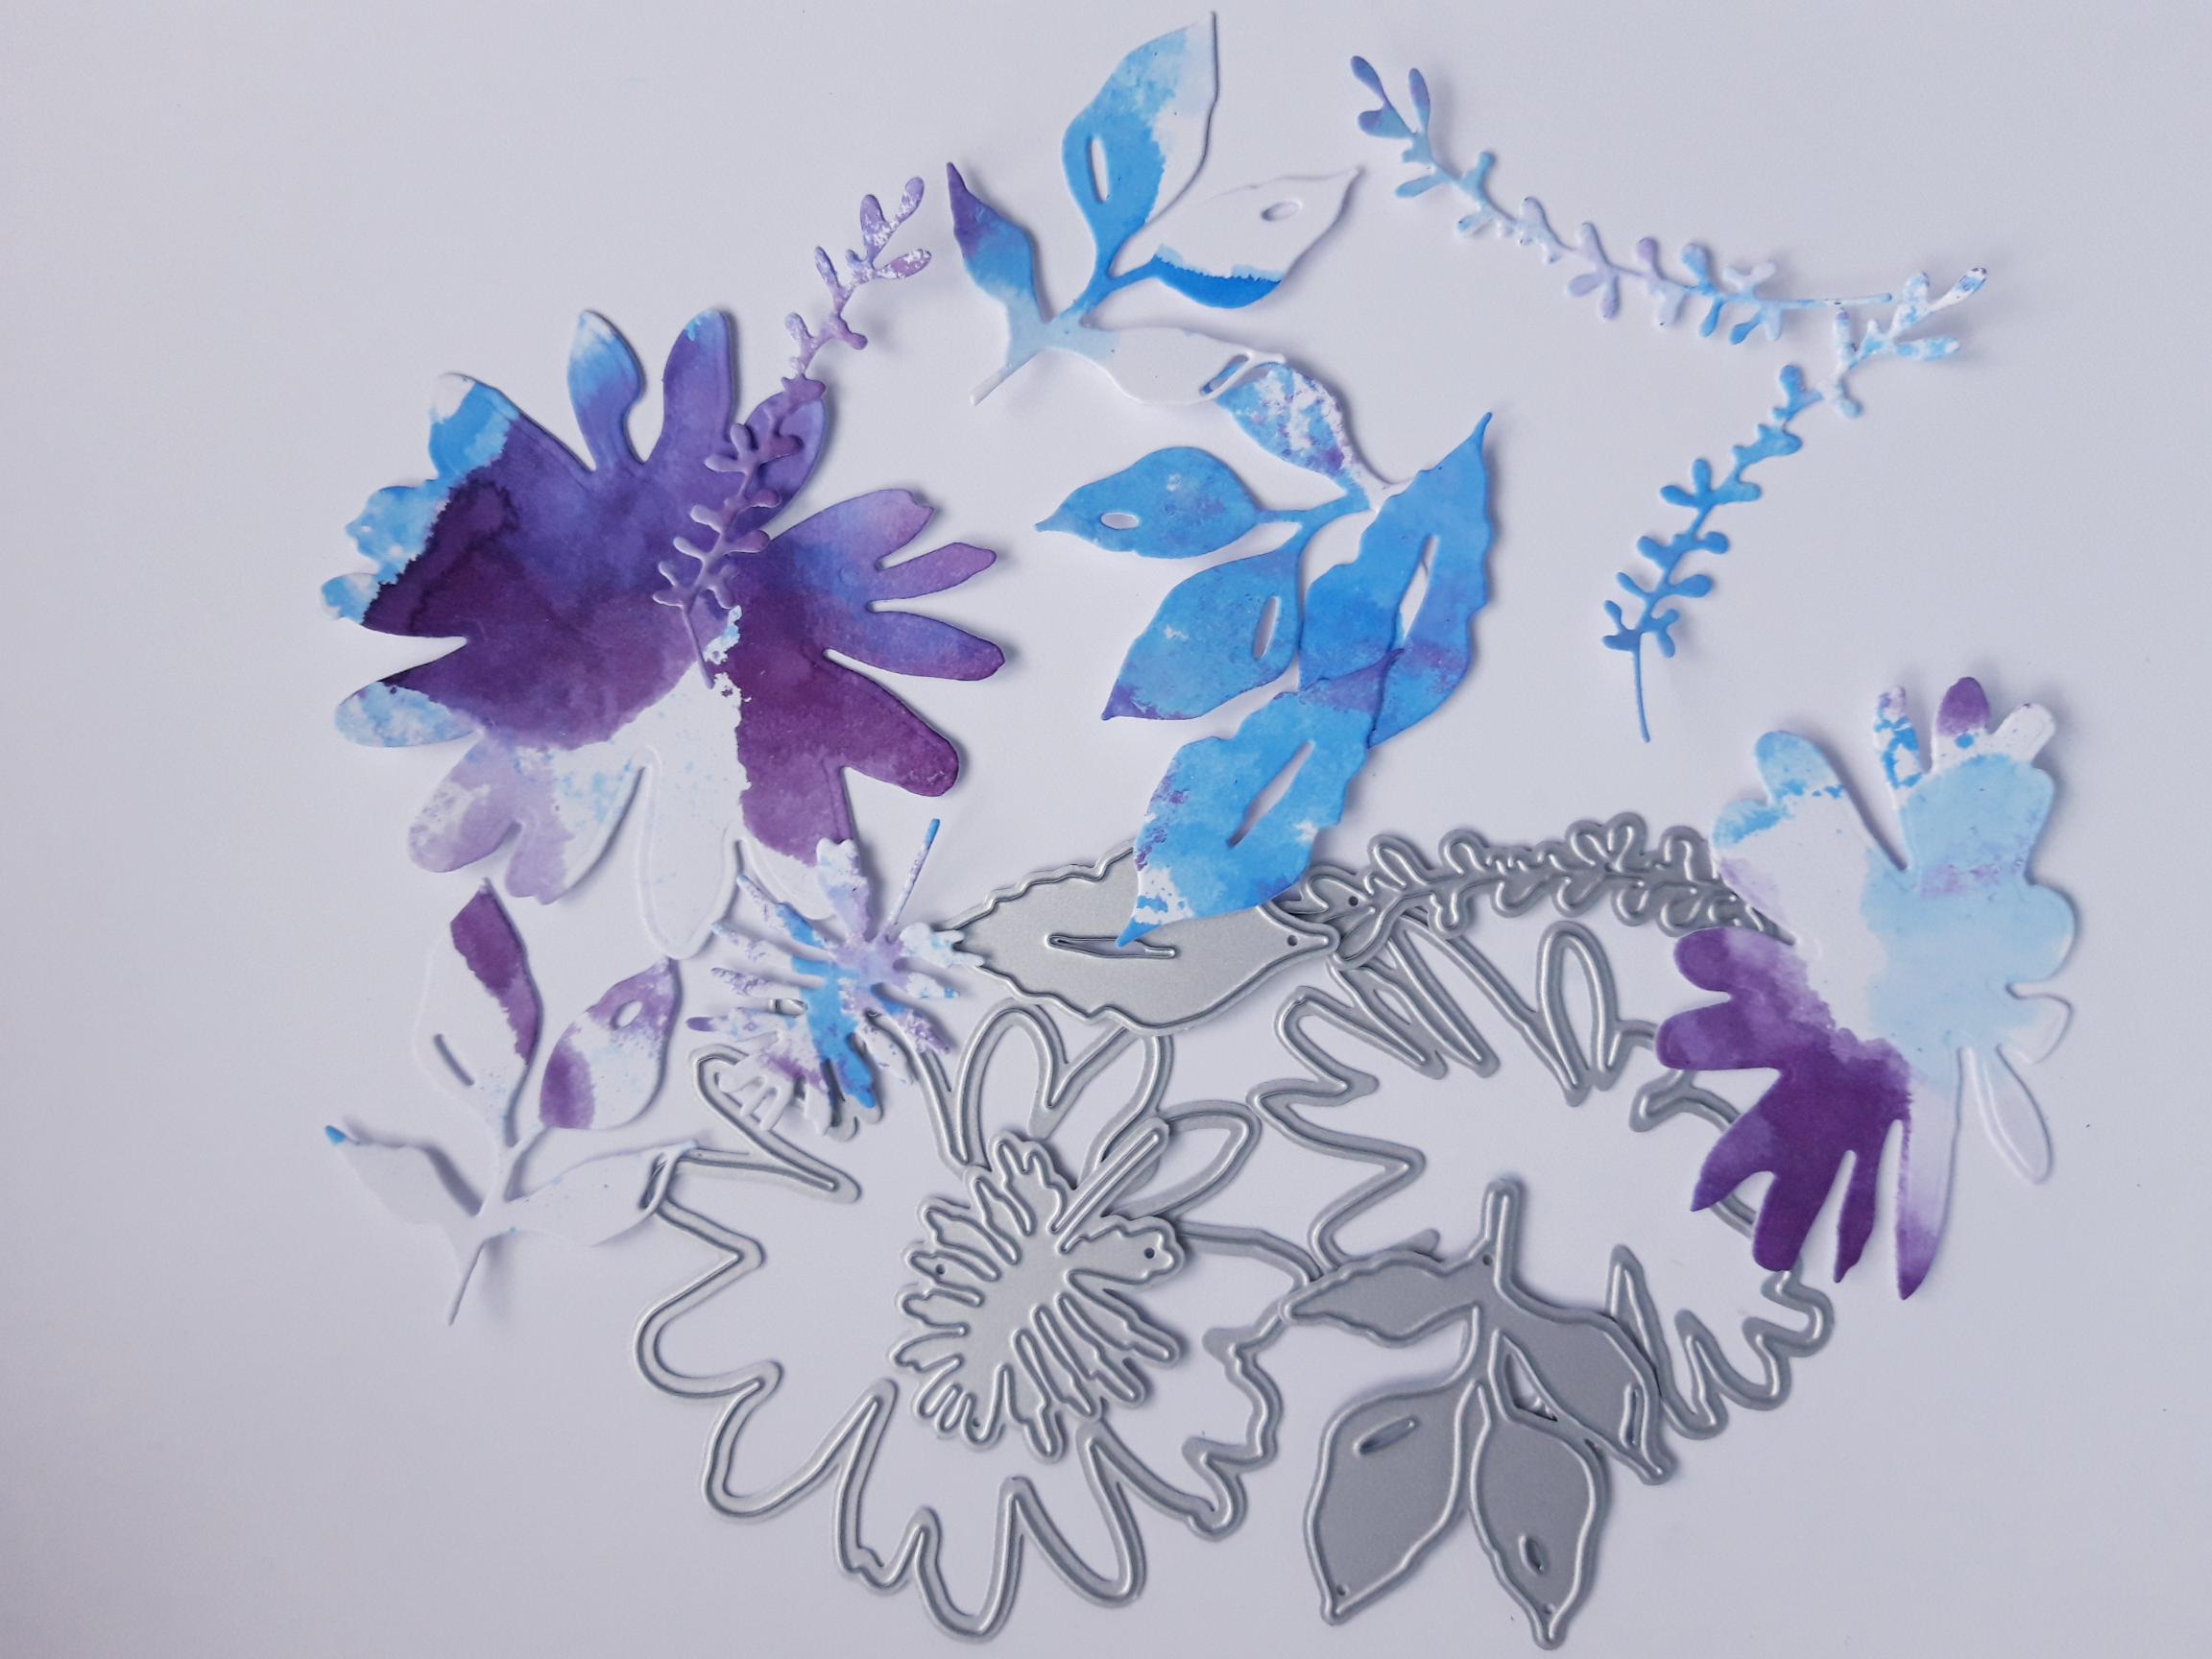
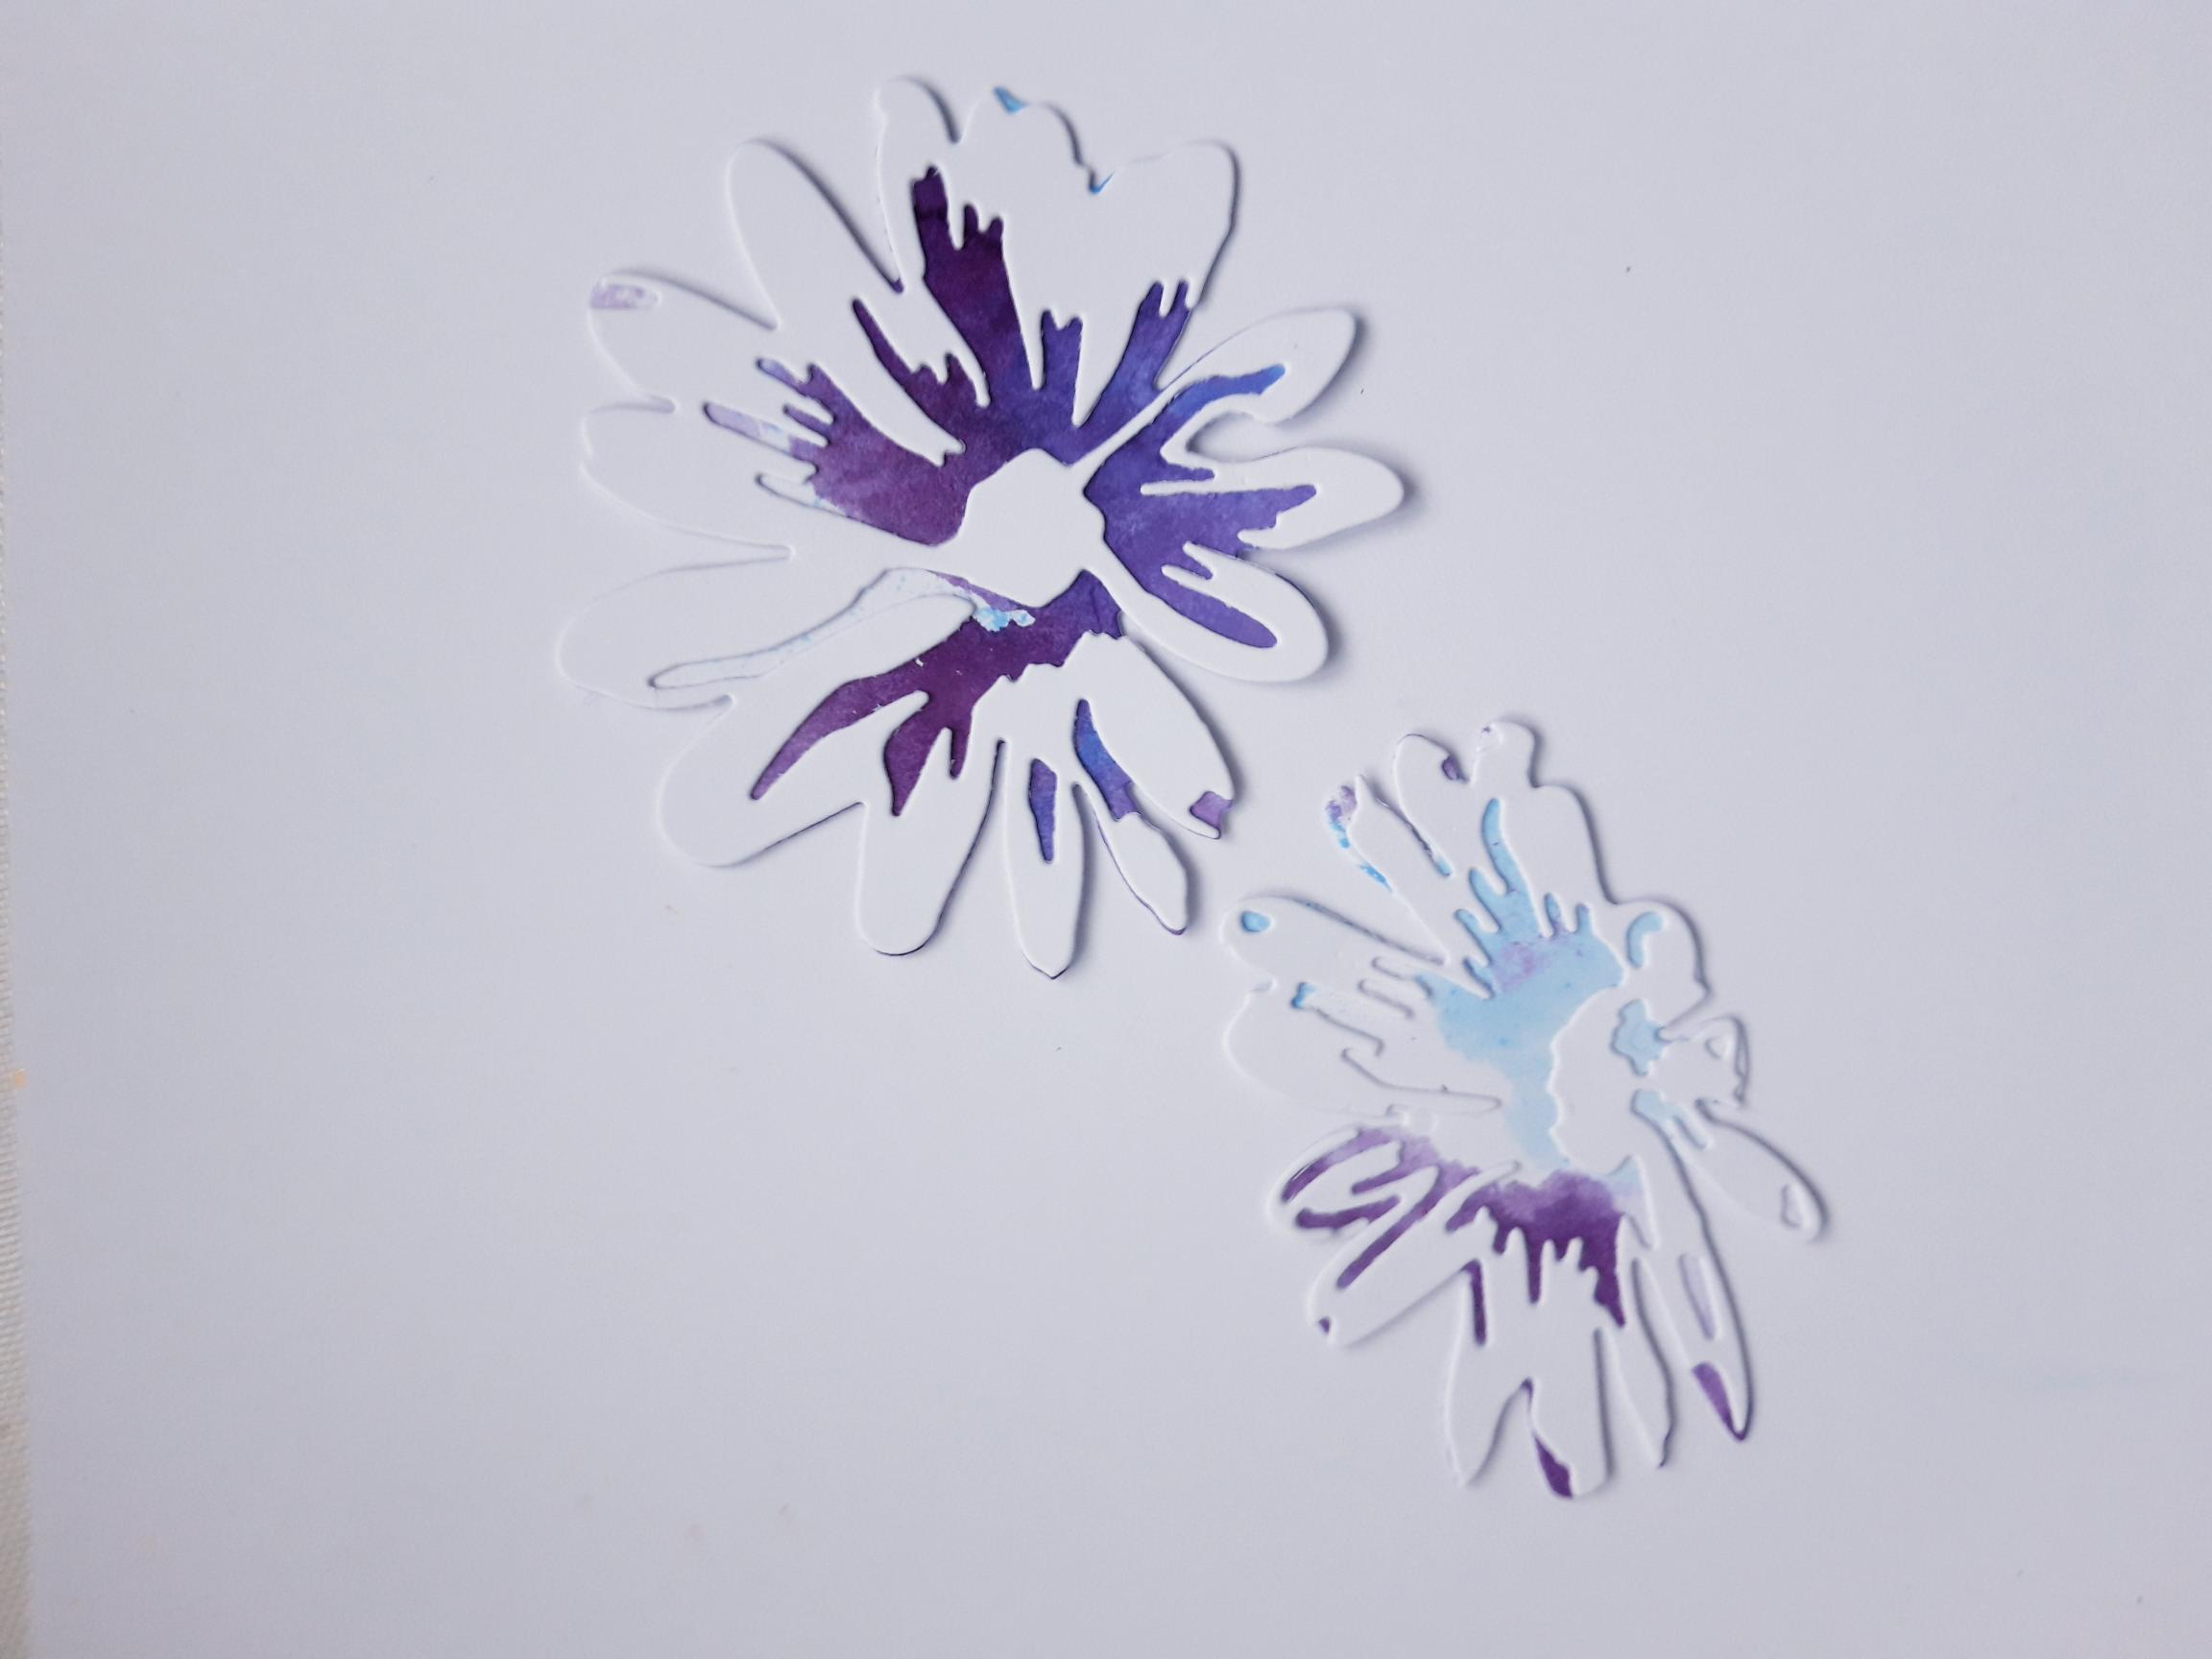
Spray the Izink Blue Moon on to your craft or glass mat, spritz with water and pick up the ink on to the 8 x 7" white cardstock. Repeat using the Izink Cassis Violet Dye Spray. Dry the ink before proceeding to the next step. |
|
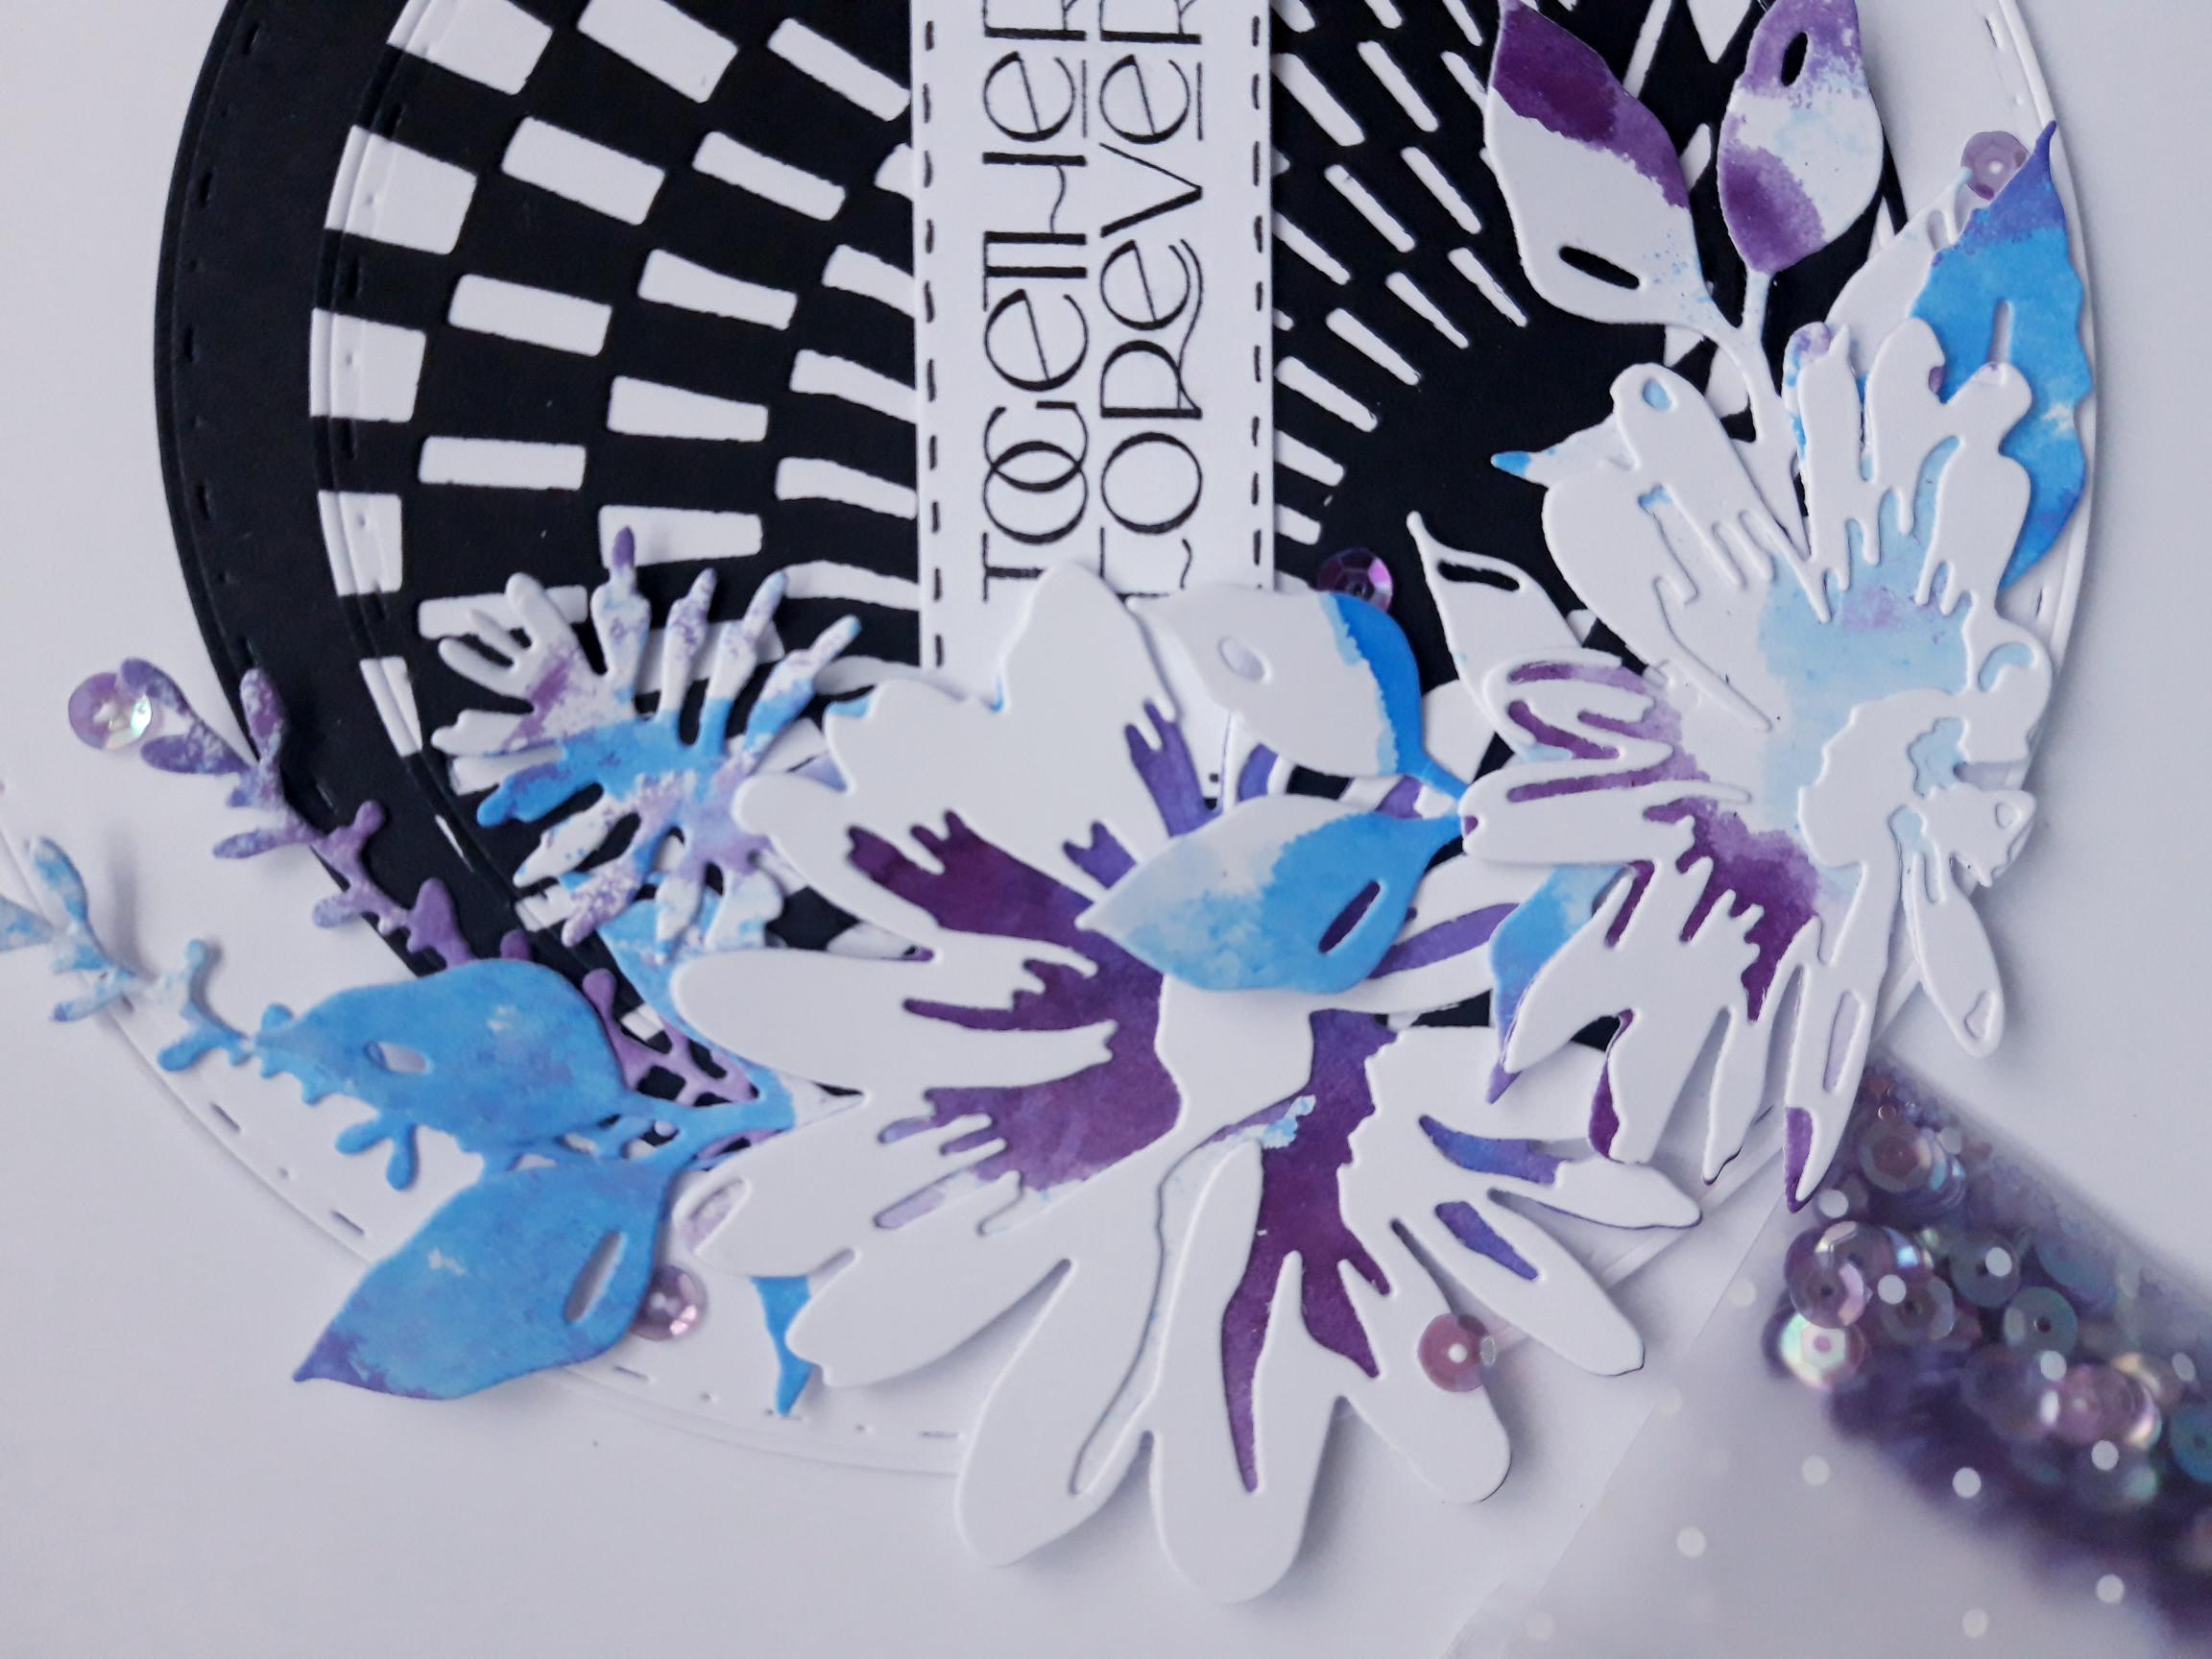
Place the coordinating floral and foliage elements, from the Lovely Layers Die Collection, on to your inked card and run through your die cutting machine. You can die cut as many as you wish, as any left over, can be kept for another card. |
|
Using the images on the packaging as a guide, adhere your detailed floral elements on to the white die cut floral elements, that you set aside earlier, as shown here. |
|
Once you have decided which die cut elements you are using, and the layout of your floral design, adhere them all in place, on to your card blank. Remember to ensure the base of your card blank is at the bottom before gluing everything in place! |
|
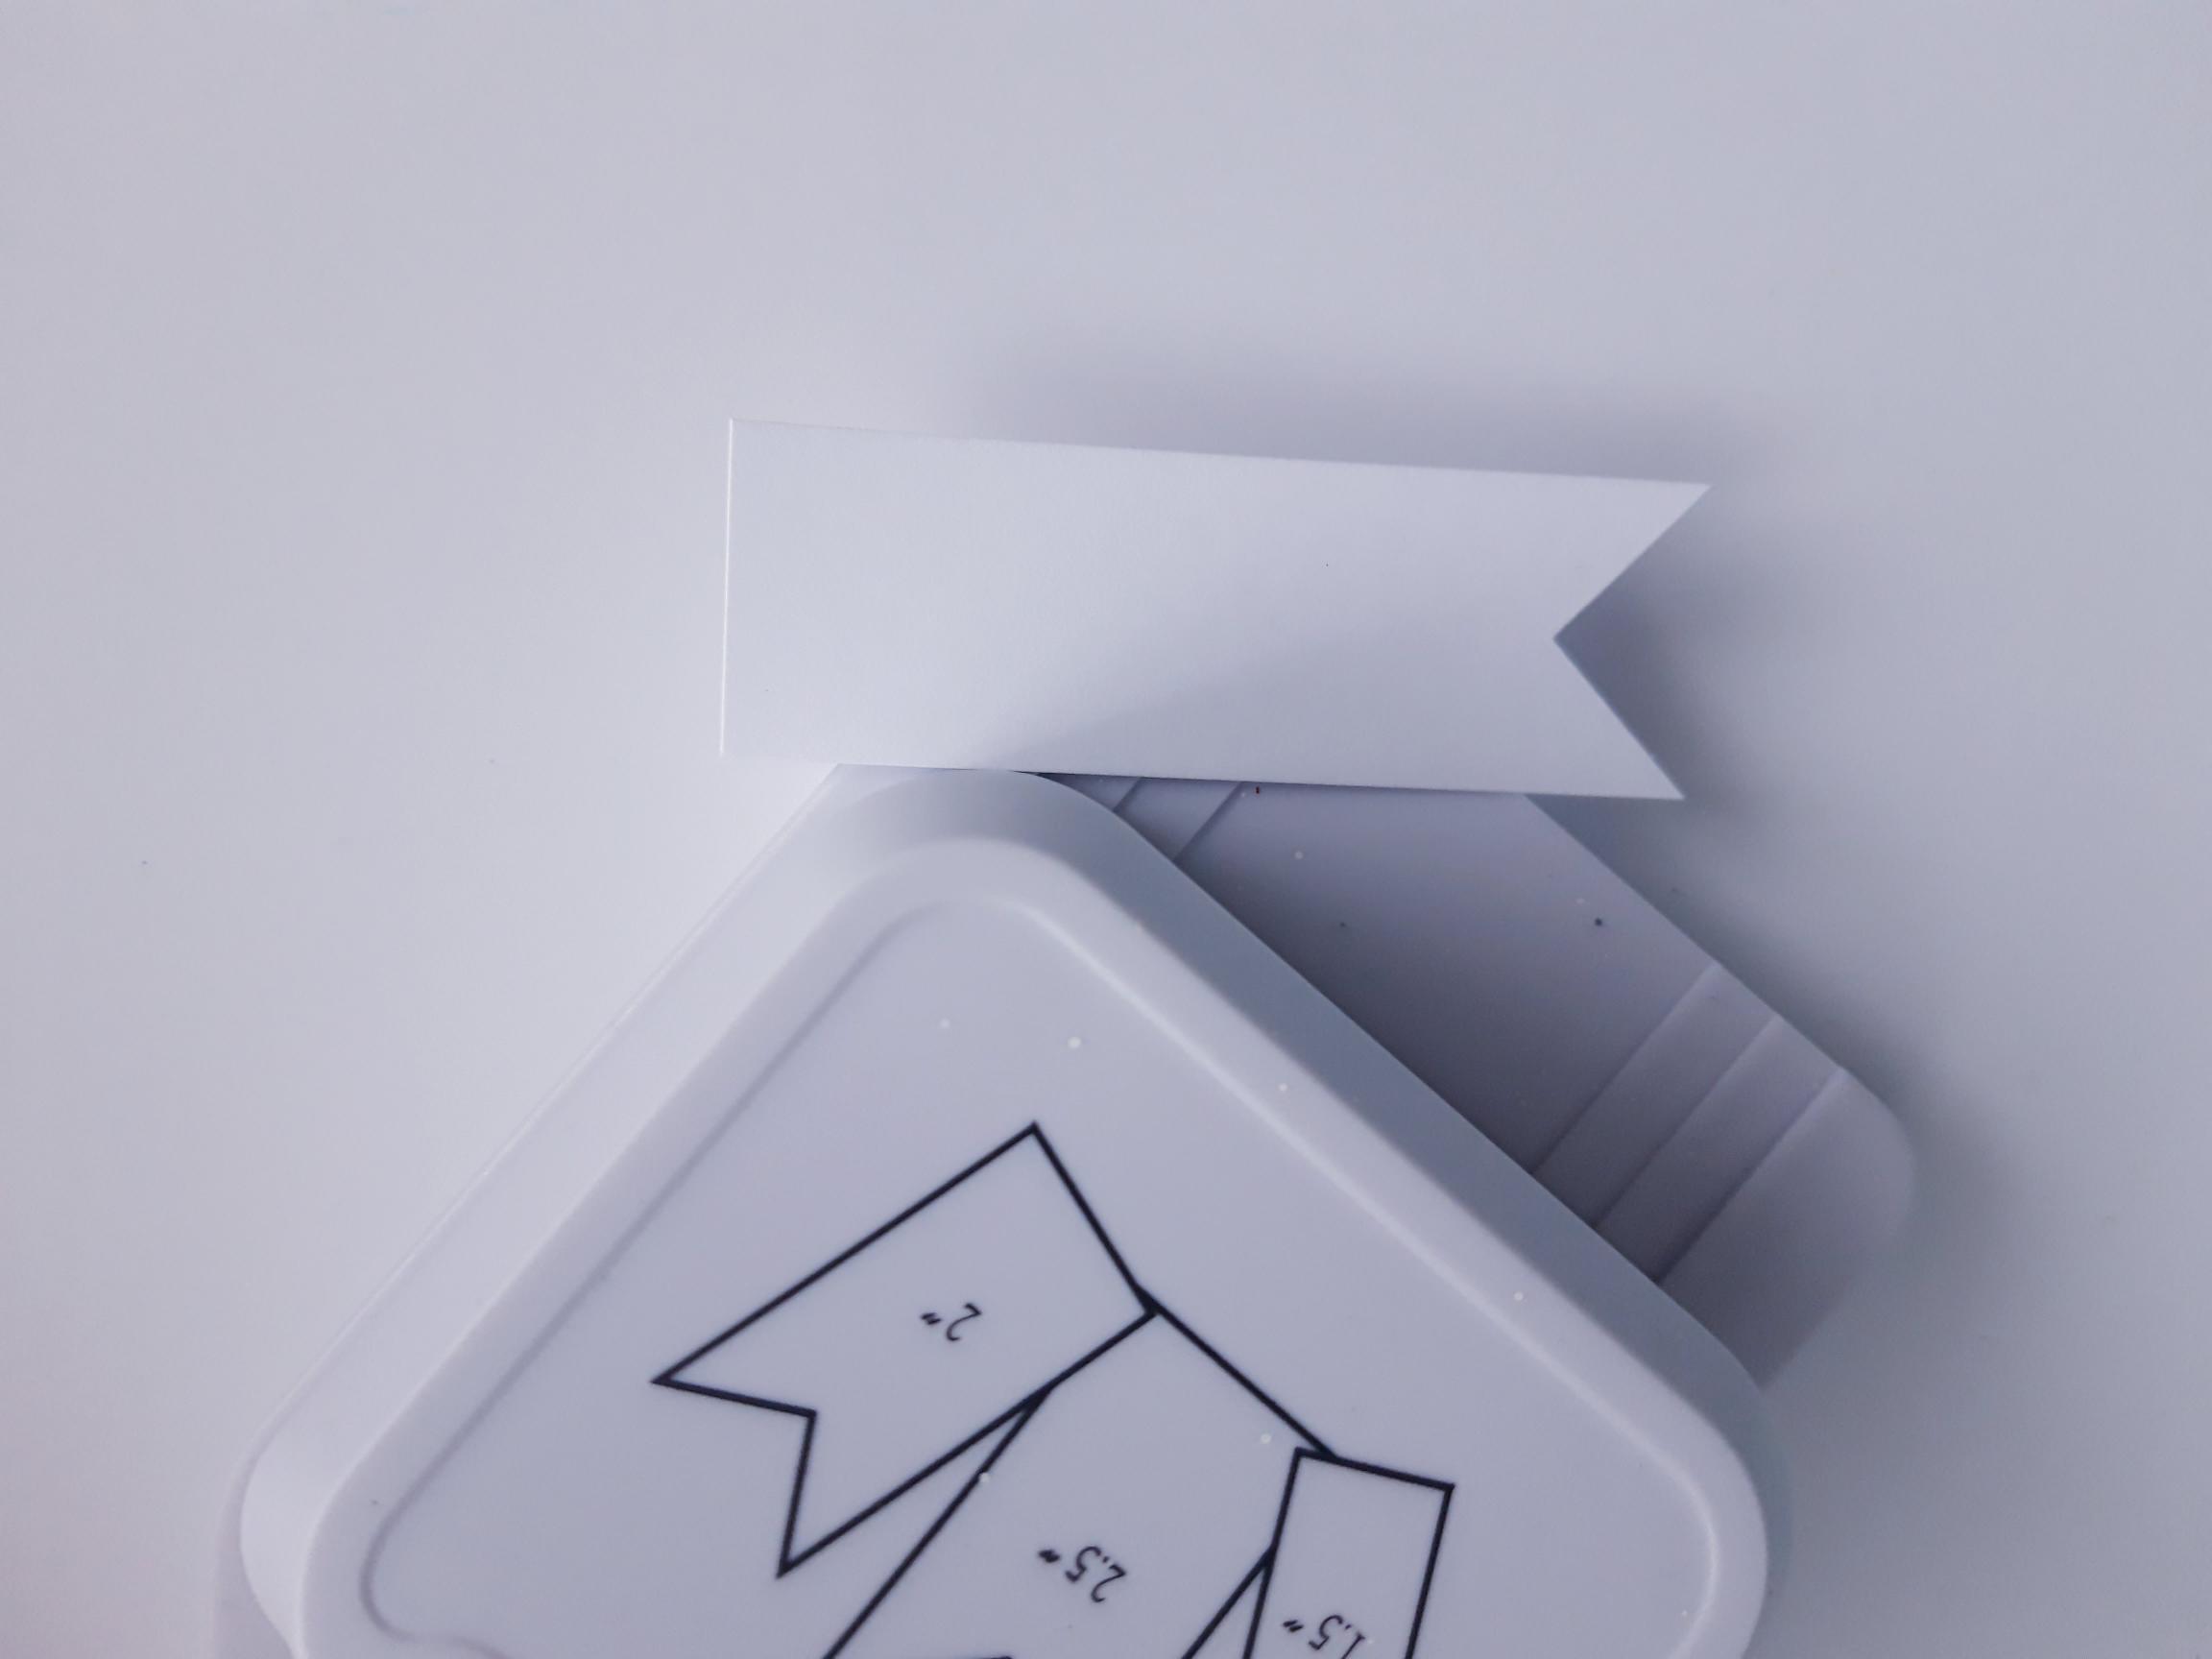
Use your banner tag punch on one end of the 3 x 1" white card, to create a banner strip. |
|
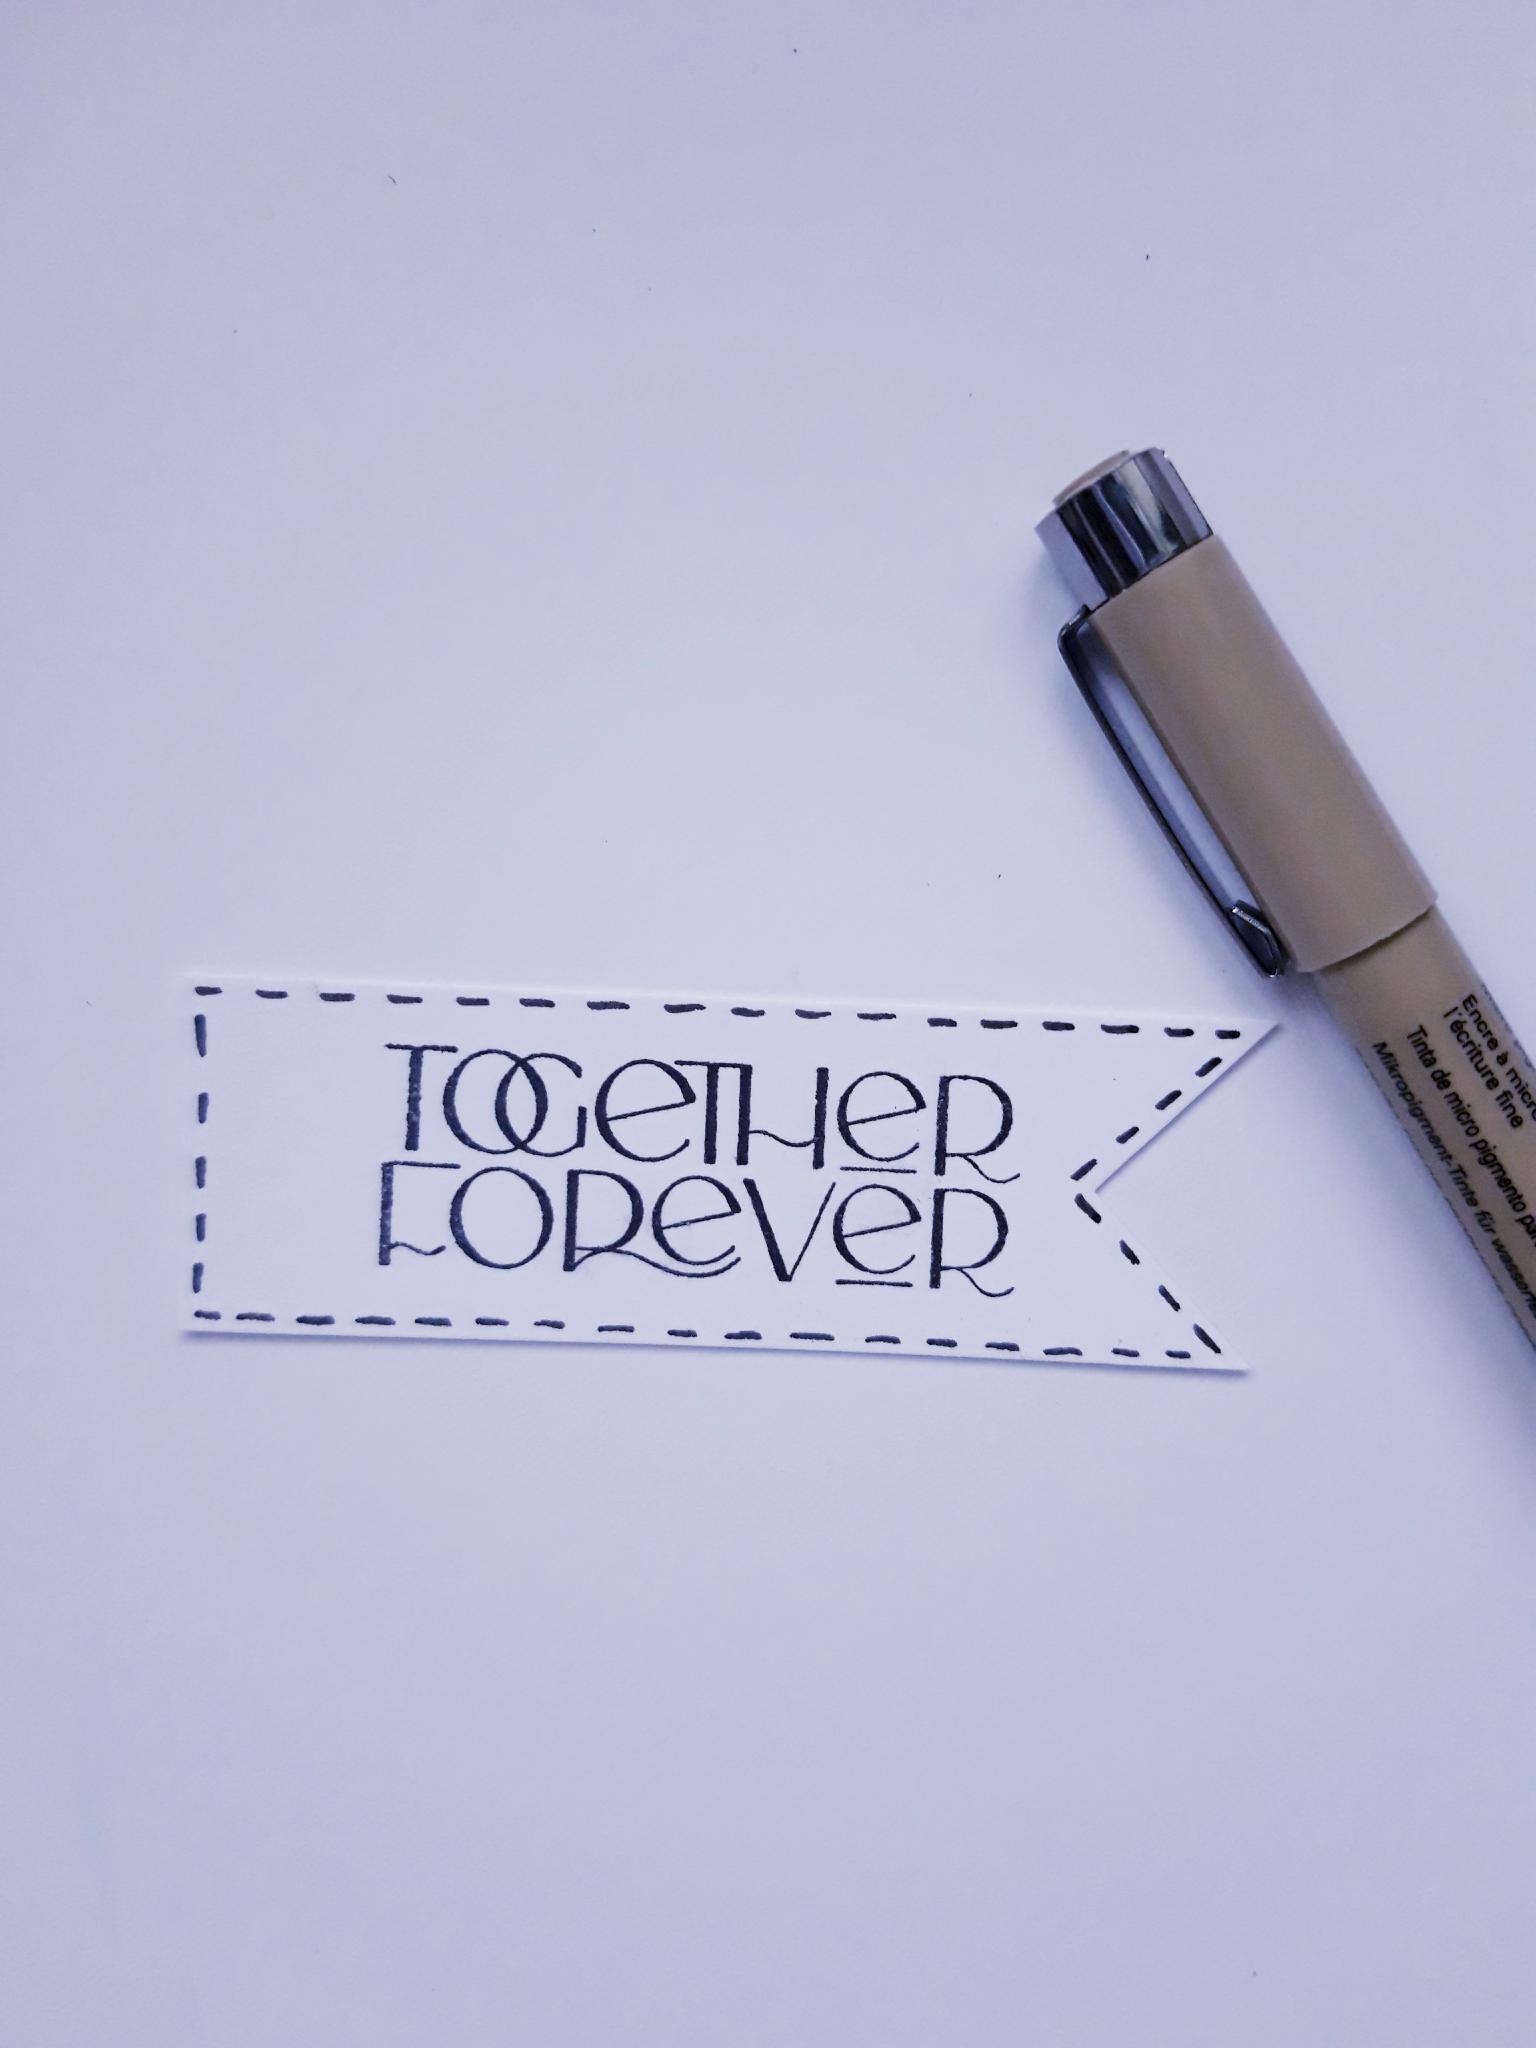
Ink up the sentiment from the Poppy Days Stamp And Die Collection, with the Onyx Black Versafine and stamp on to the banner strip. Use a black pen to draw a stitched line around the banner. |
|
Adhere the sentiment banner in place, tucked just under the edges of the floral petals, with wet glue, or foam pads. |
|
To finish off your card, add sequins on, under, and around your floral design. |