Give your friends $10 off their first order!
Refer a FRIEND


WHAT YOU WILL NEED:
Grey top folding card blank (8 1/4 x 5 3/4")
Black card (7 1/4 x 5")
White card (TWO pieces 7 x 5")
Acetate (6 1/2 x 4")
Stamps and dies from Blossom Bouquet Stamp And Die Collection
Stamp from Textured Wall Stamp Collection
Versafine Ink Pad: Onyx Black
Distress Oxide: Iced Spruce
Watercolour paint palette
Paint brush
Thirsty Brush Confetti Paint: White Lace
Circle mask/dies or copier paper
Water spray bottle
Anti static bag
Sequins: from Creative Box, Down By The Bay
Gem pick up and pokey tool
Eureka 101
Paper Trimmer
Perfect Together Glue
Foam Pads
Red liner double sided tape
Double sided foam tape/shaker tape on a roll
Die Cutting machine
[click image to enlarge] 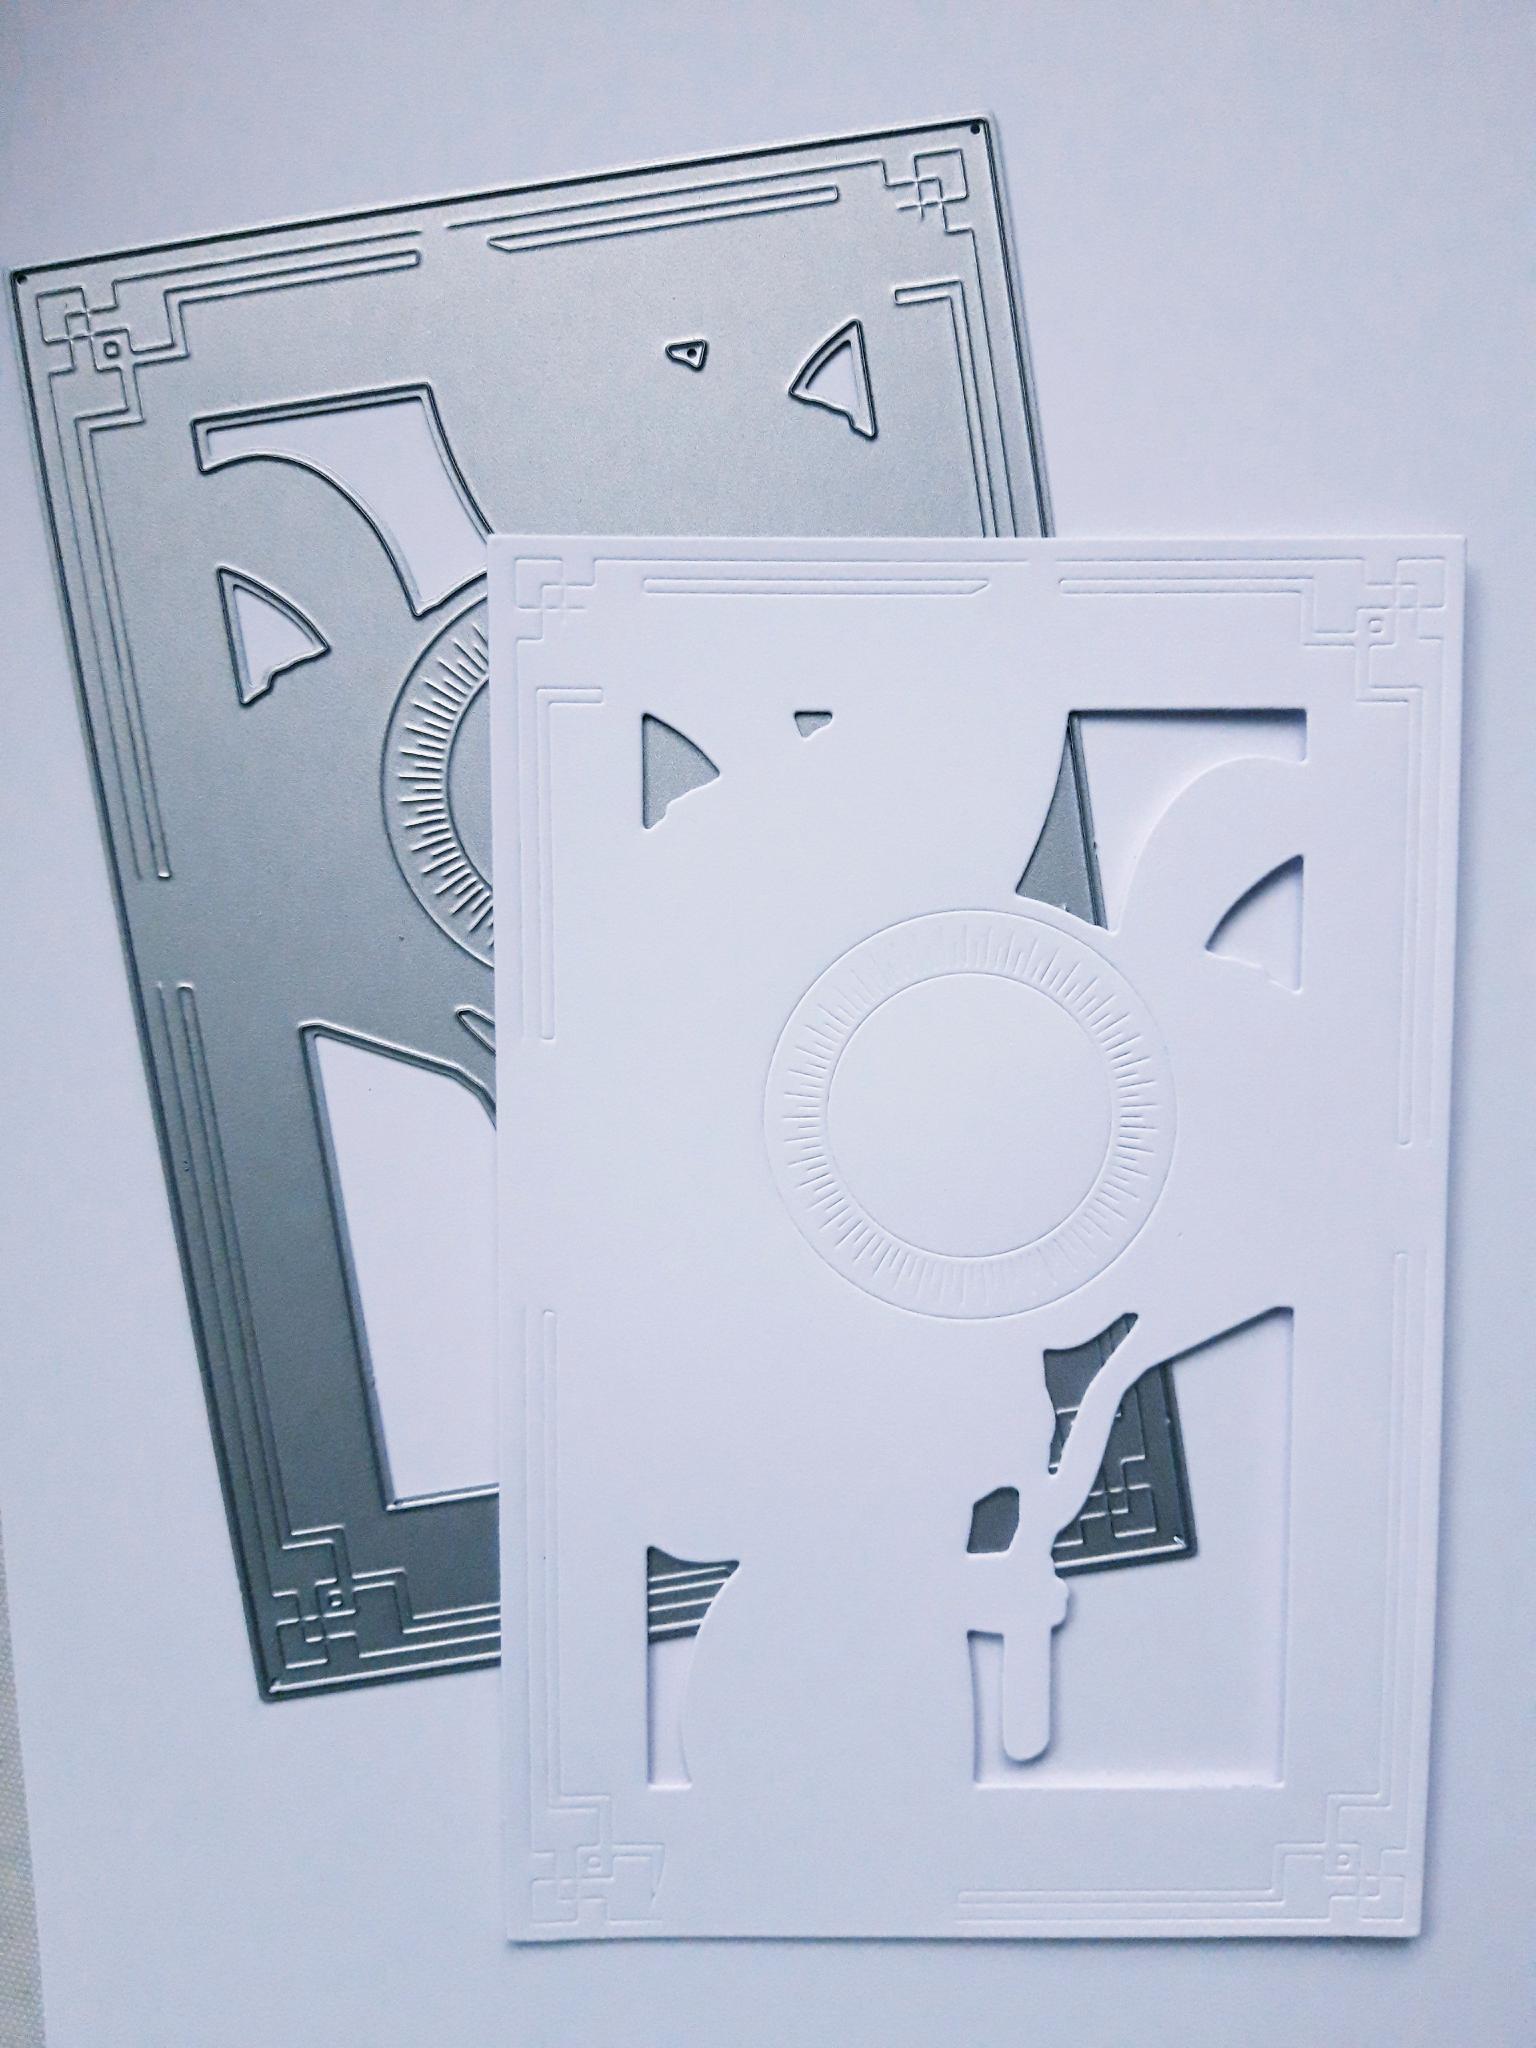
|
Place the die plate, from the Blossom Bouquet Stamp And Die Collection, on to ONE of the pieces of 7 x 5" white card, and run it through your die cutting machine. Keep the "waste" white card to assist you with the next step. |
|
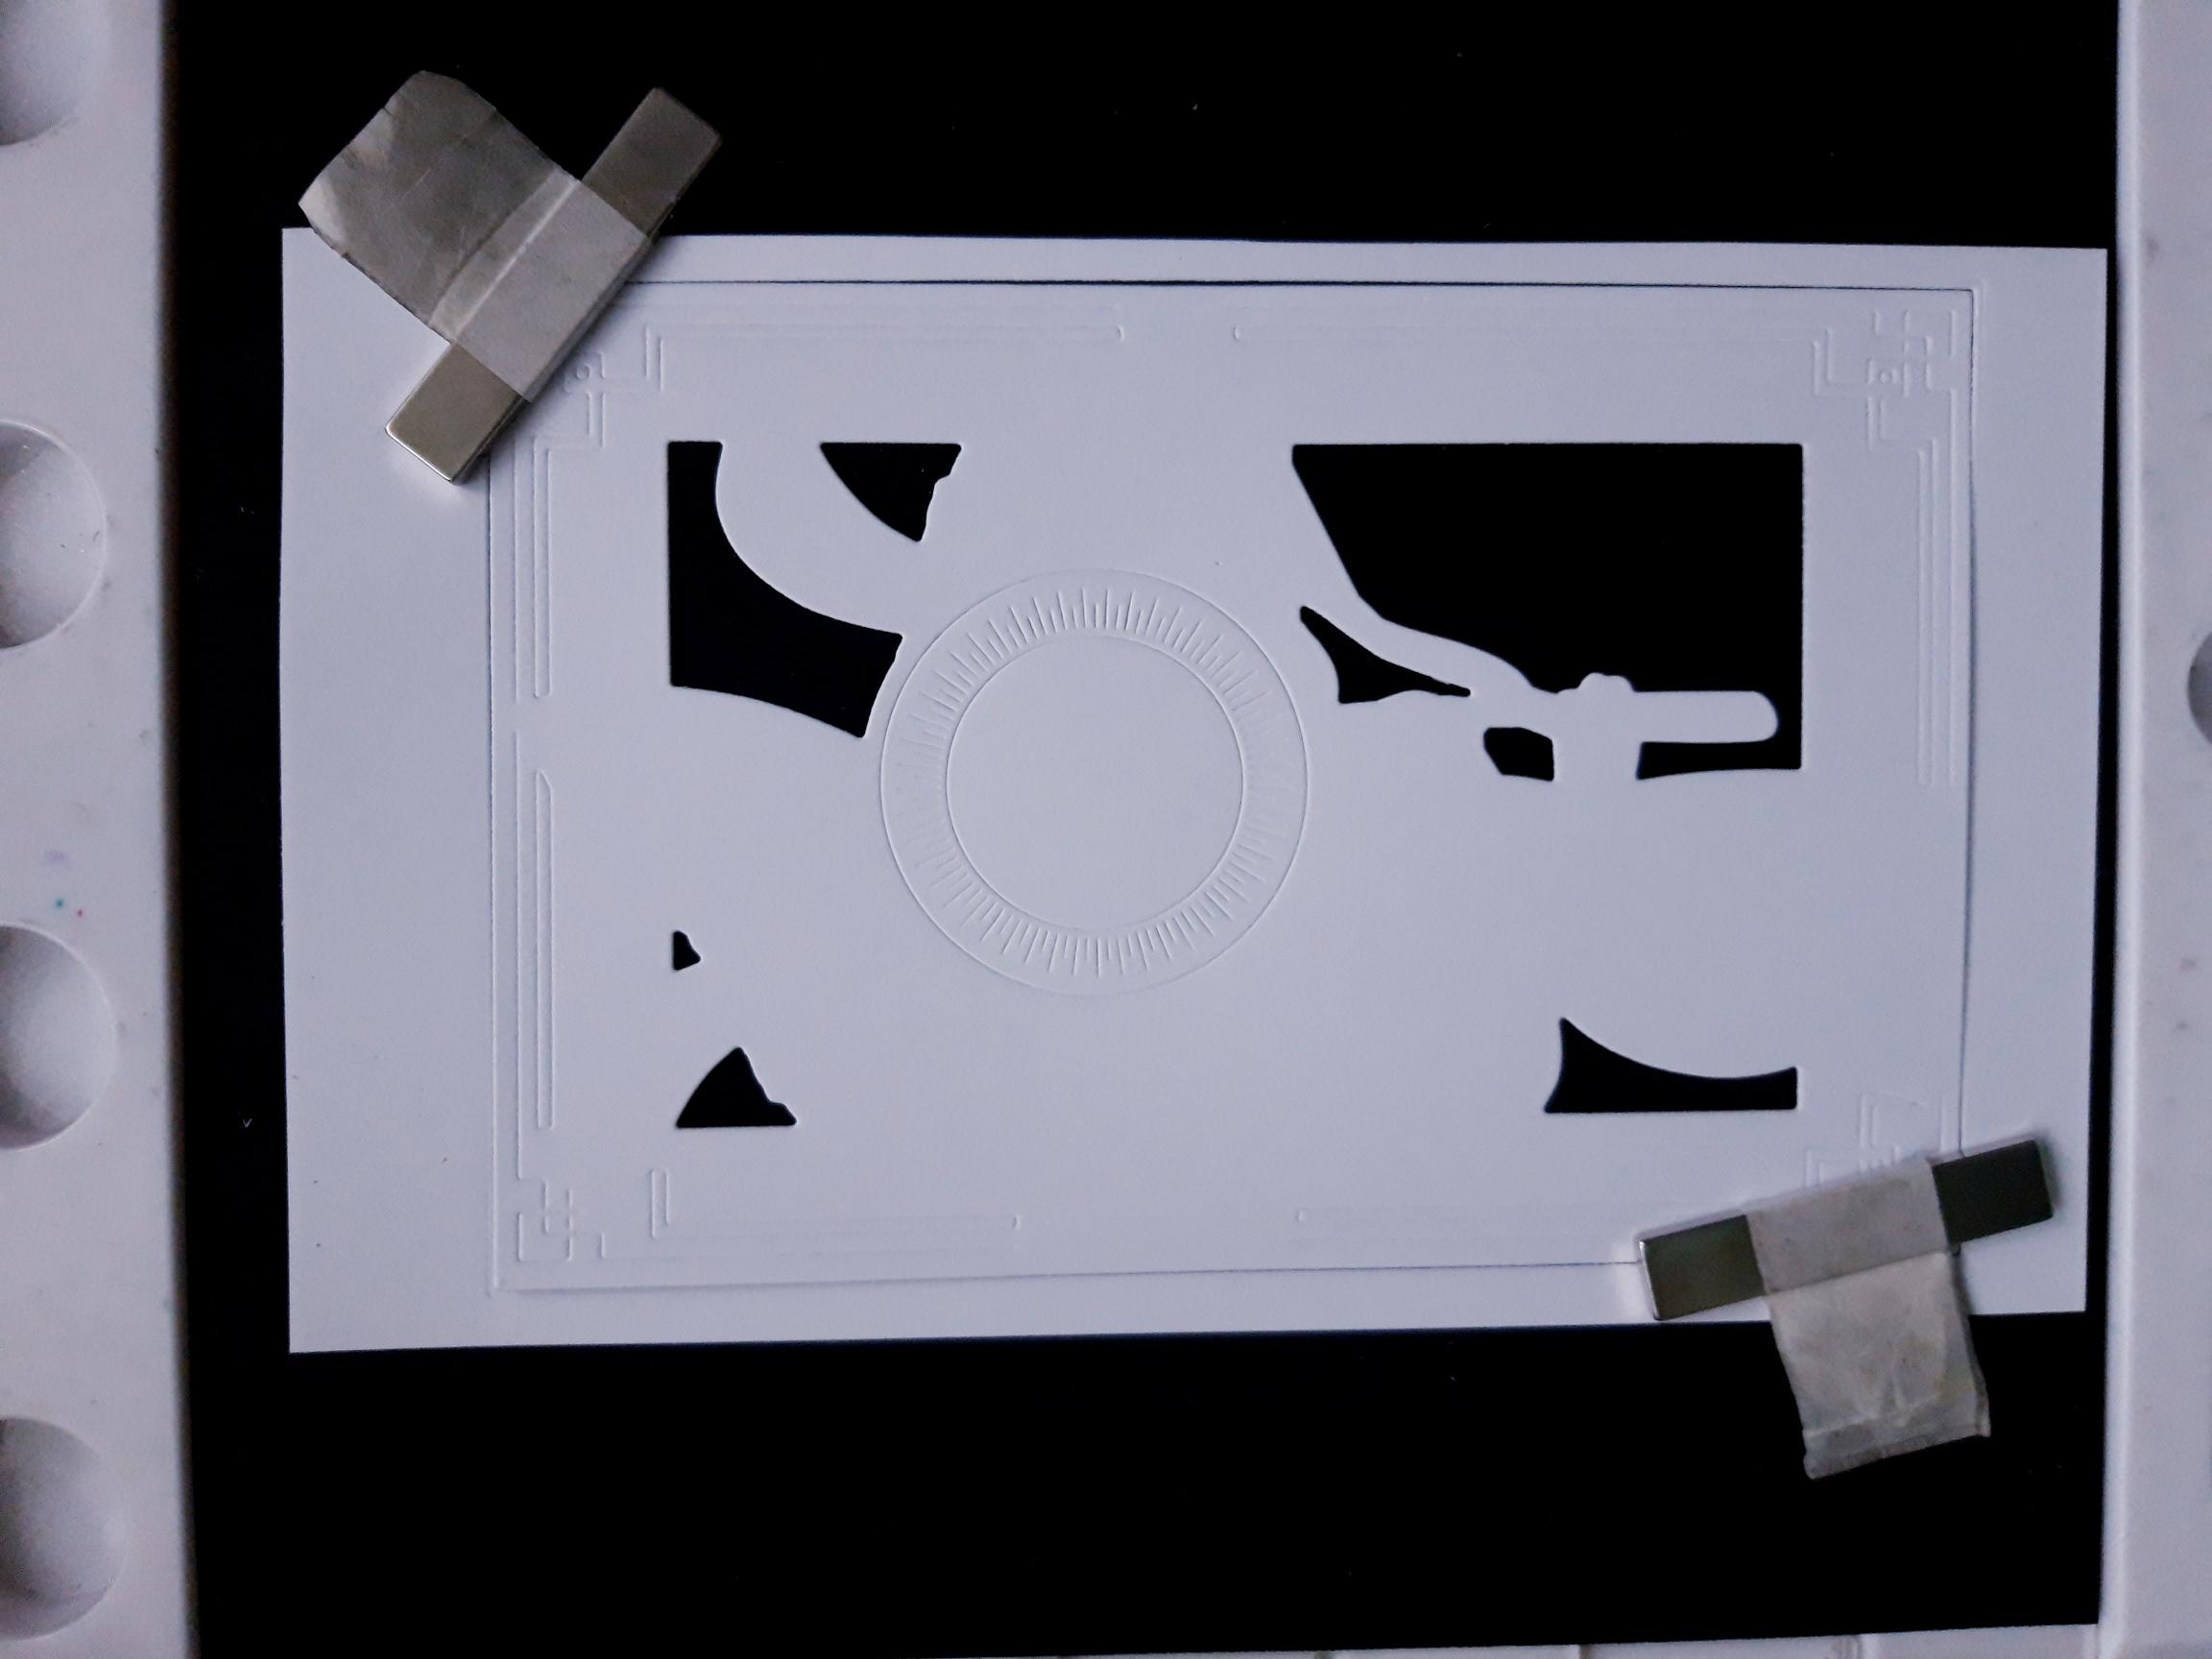
Place the die cut element back in the "waste" card, and secure in your Eureka with the magnet. |
|
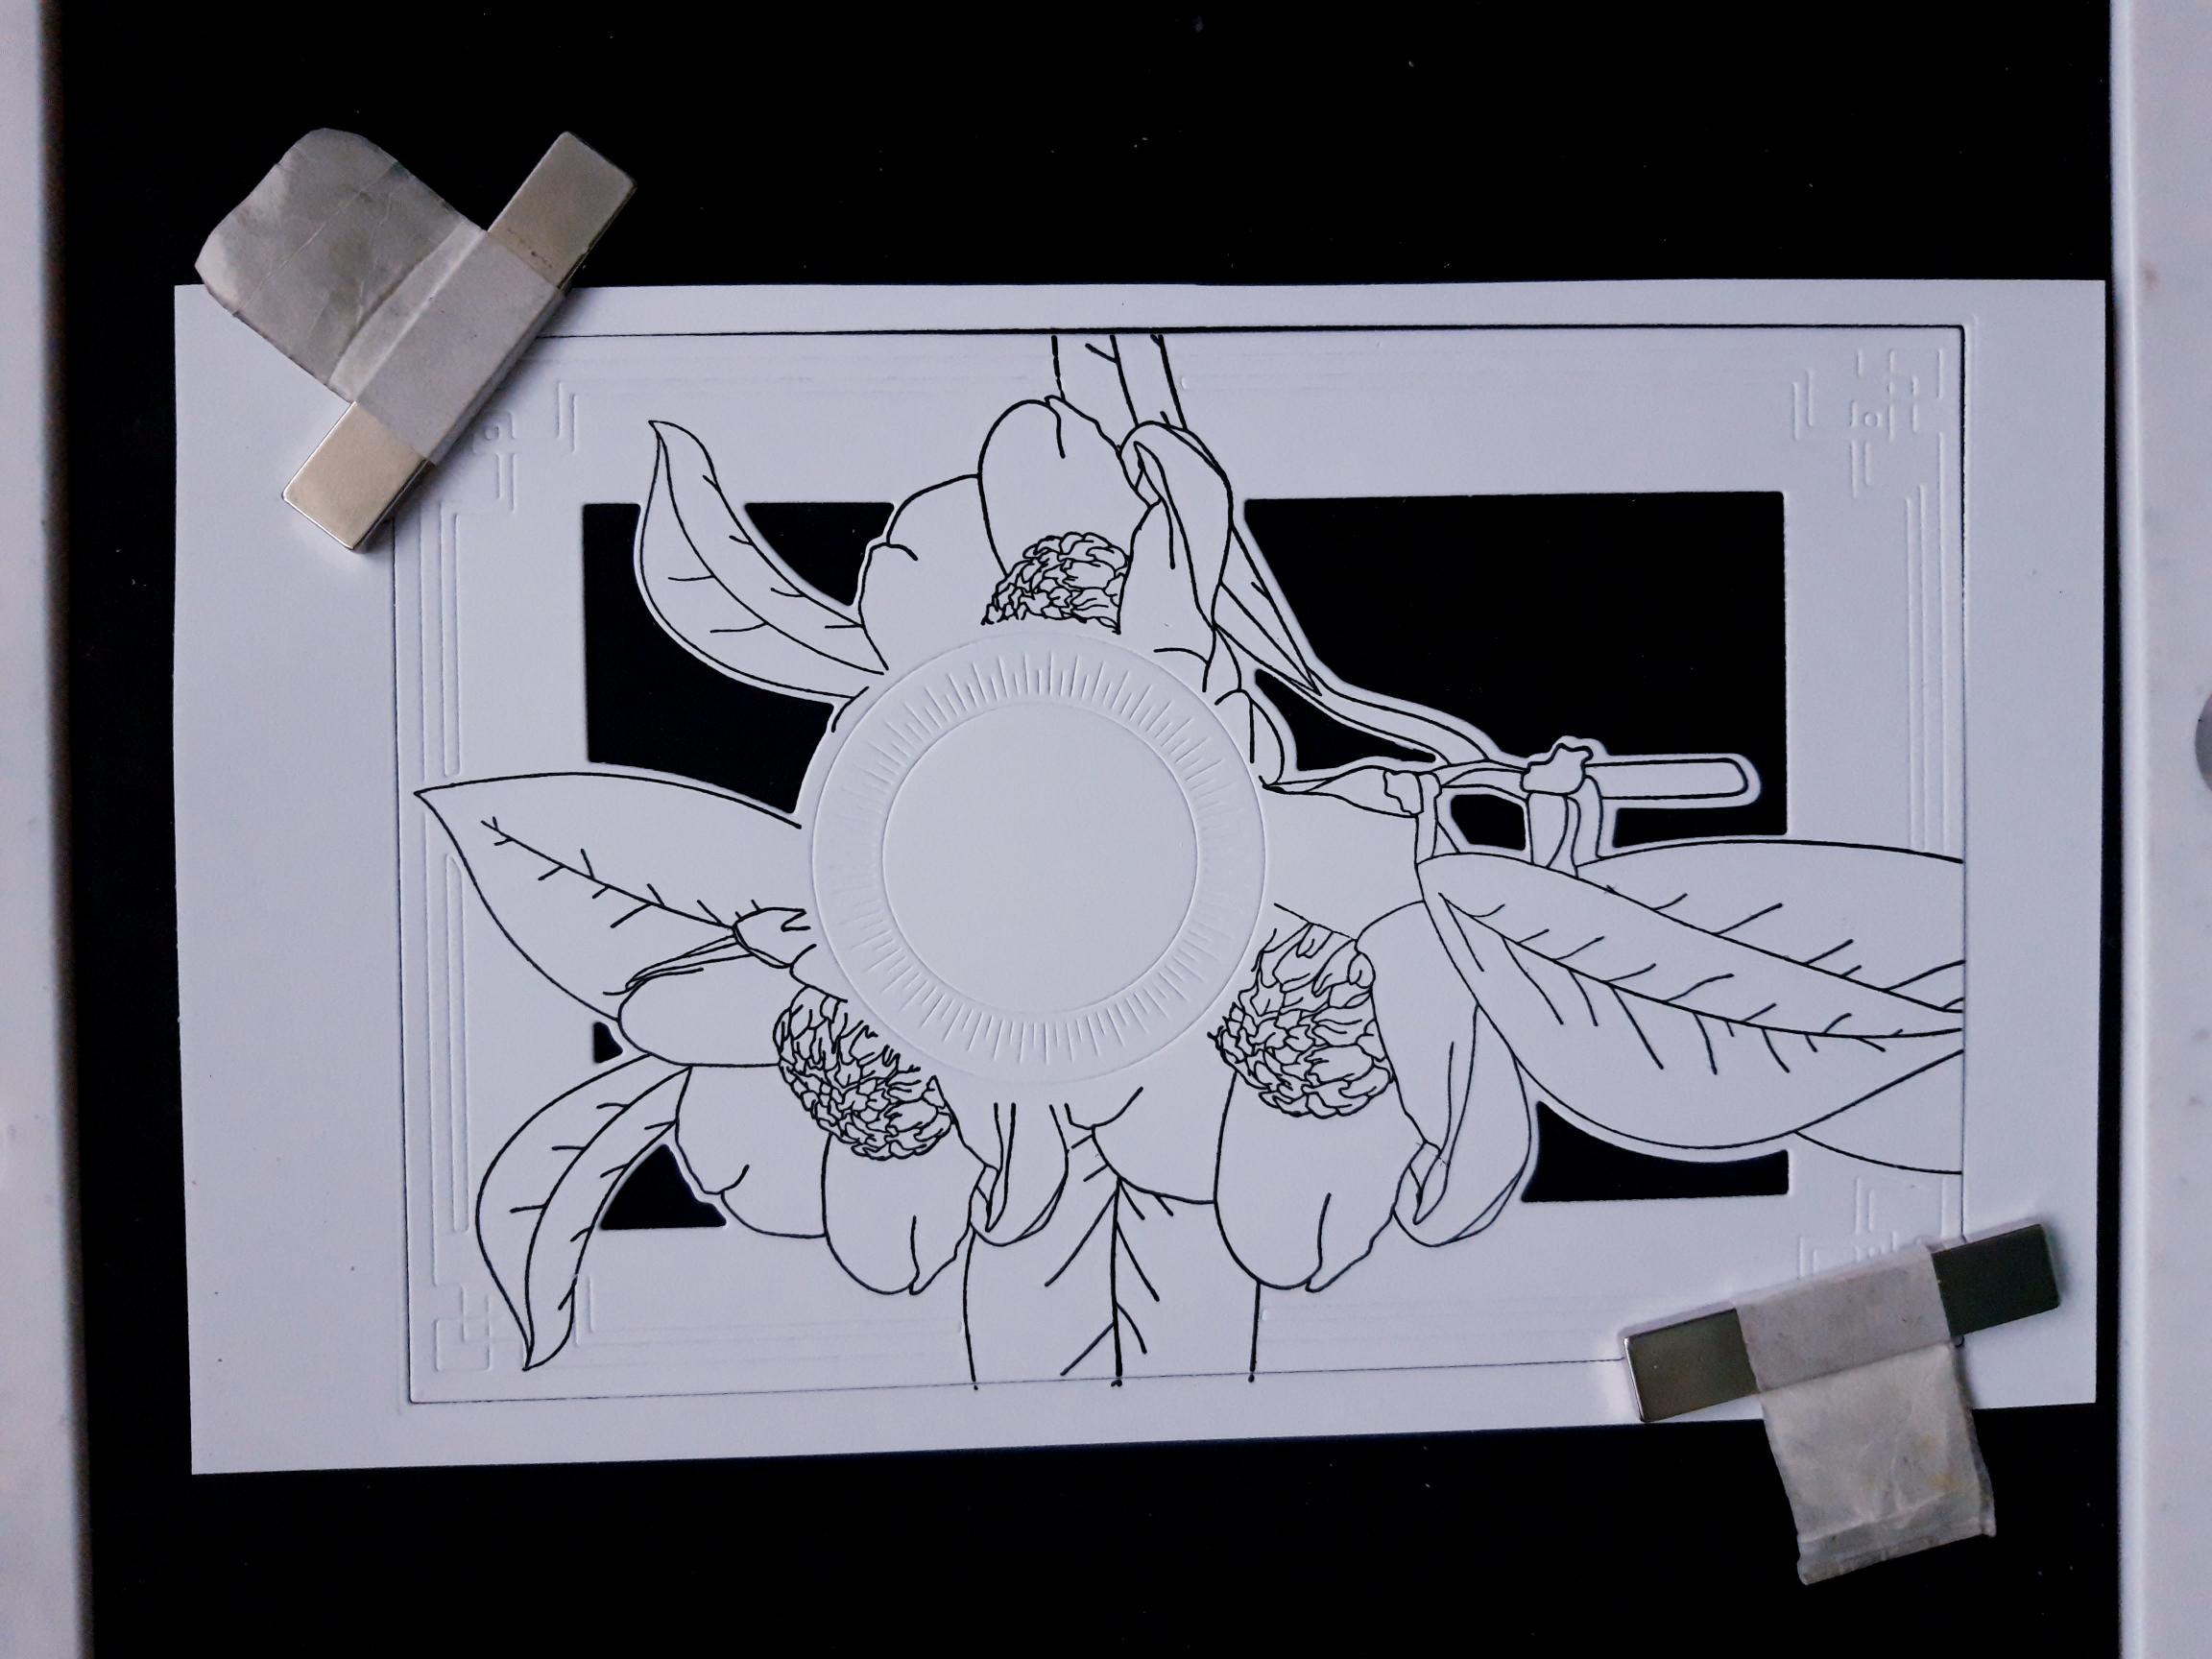
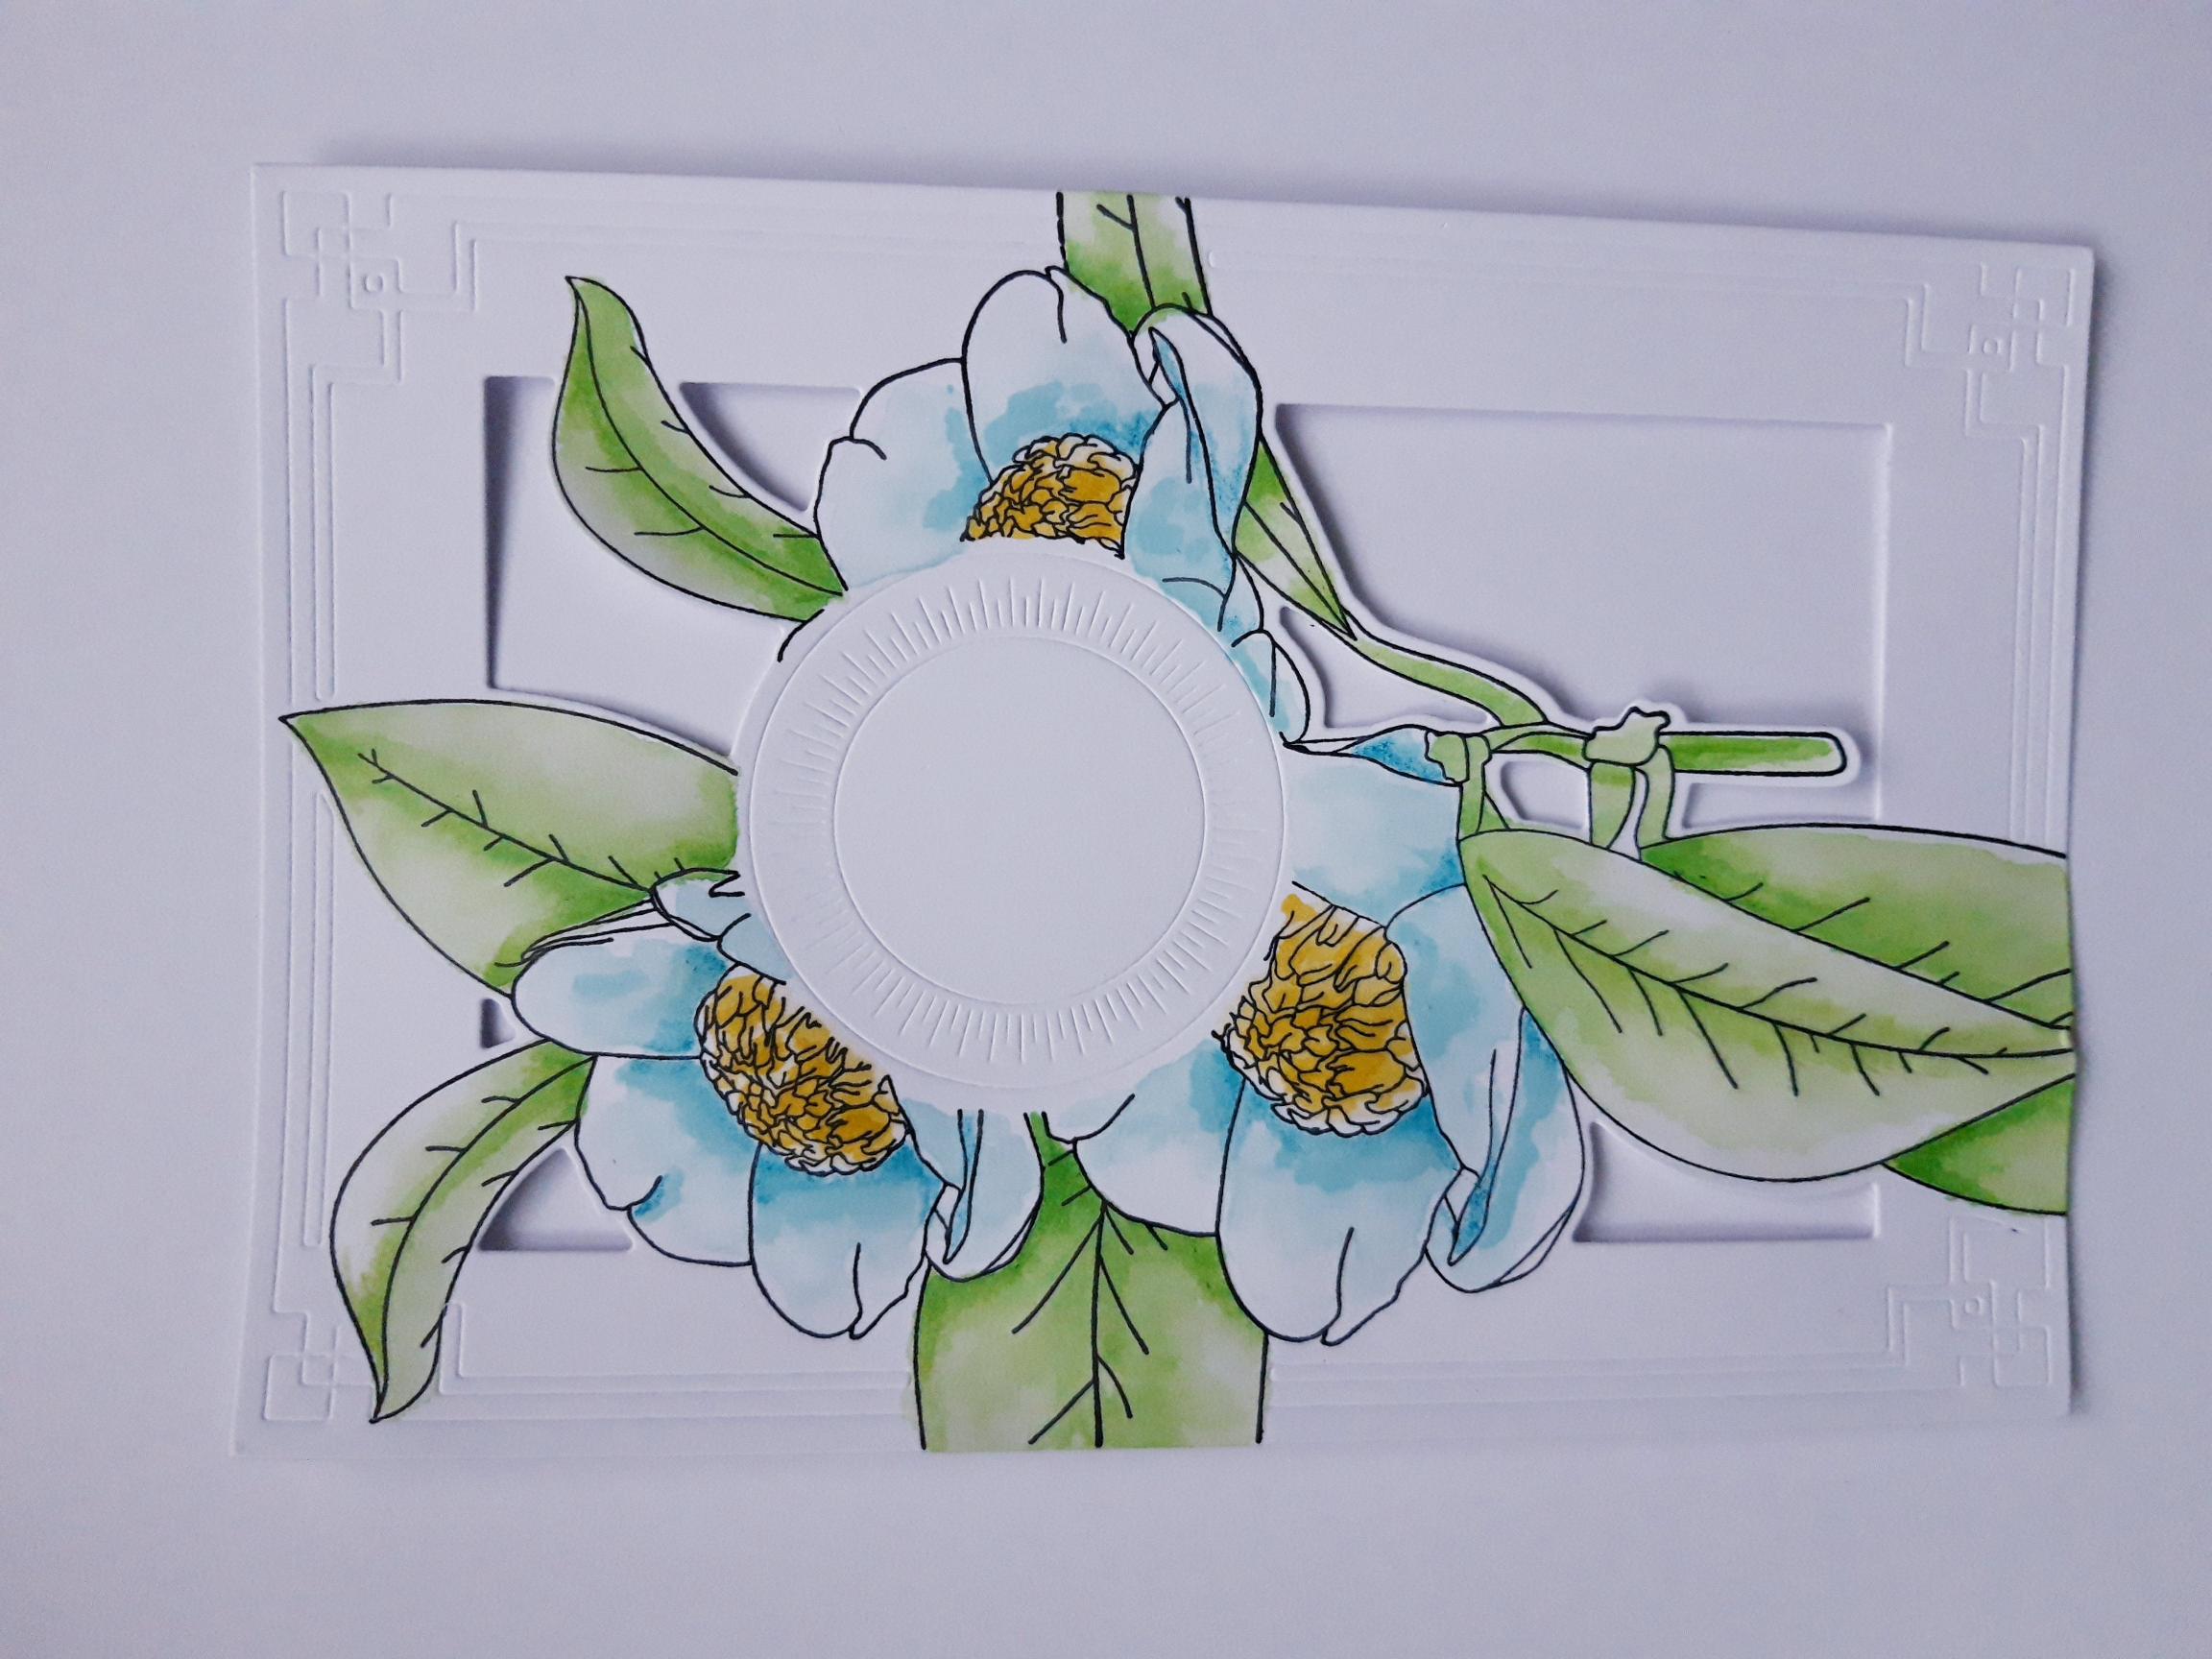
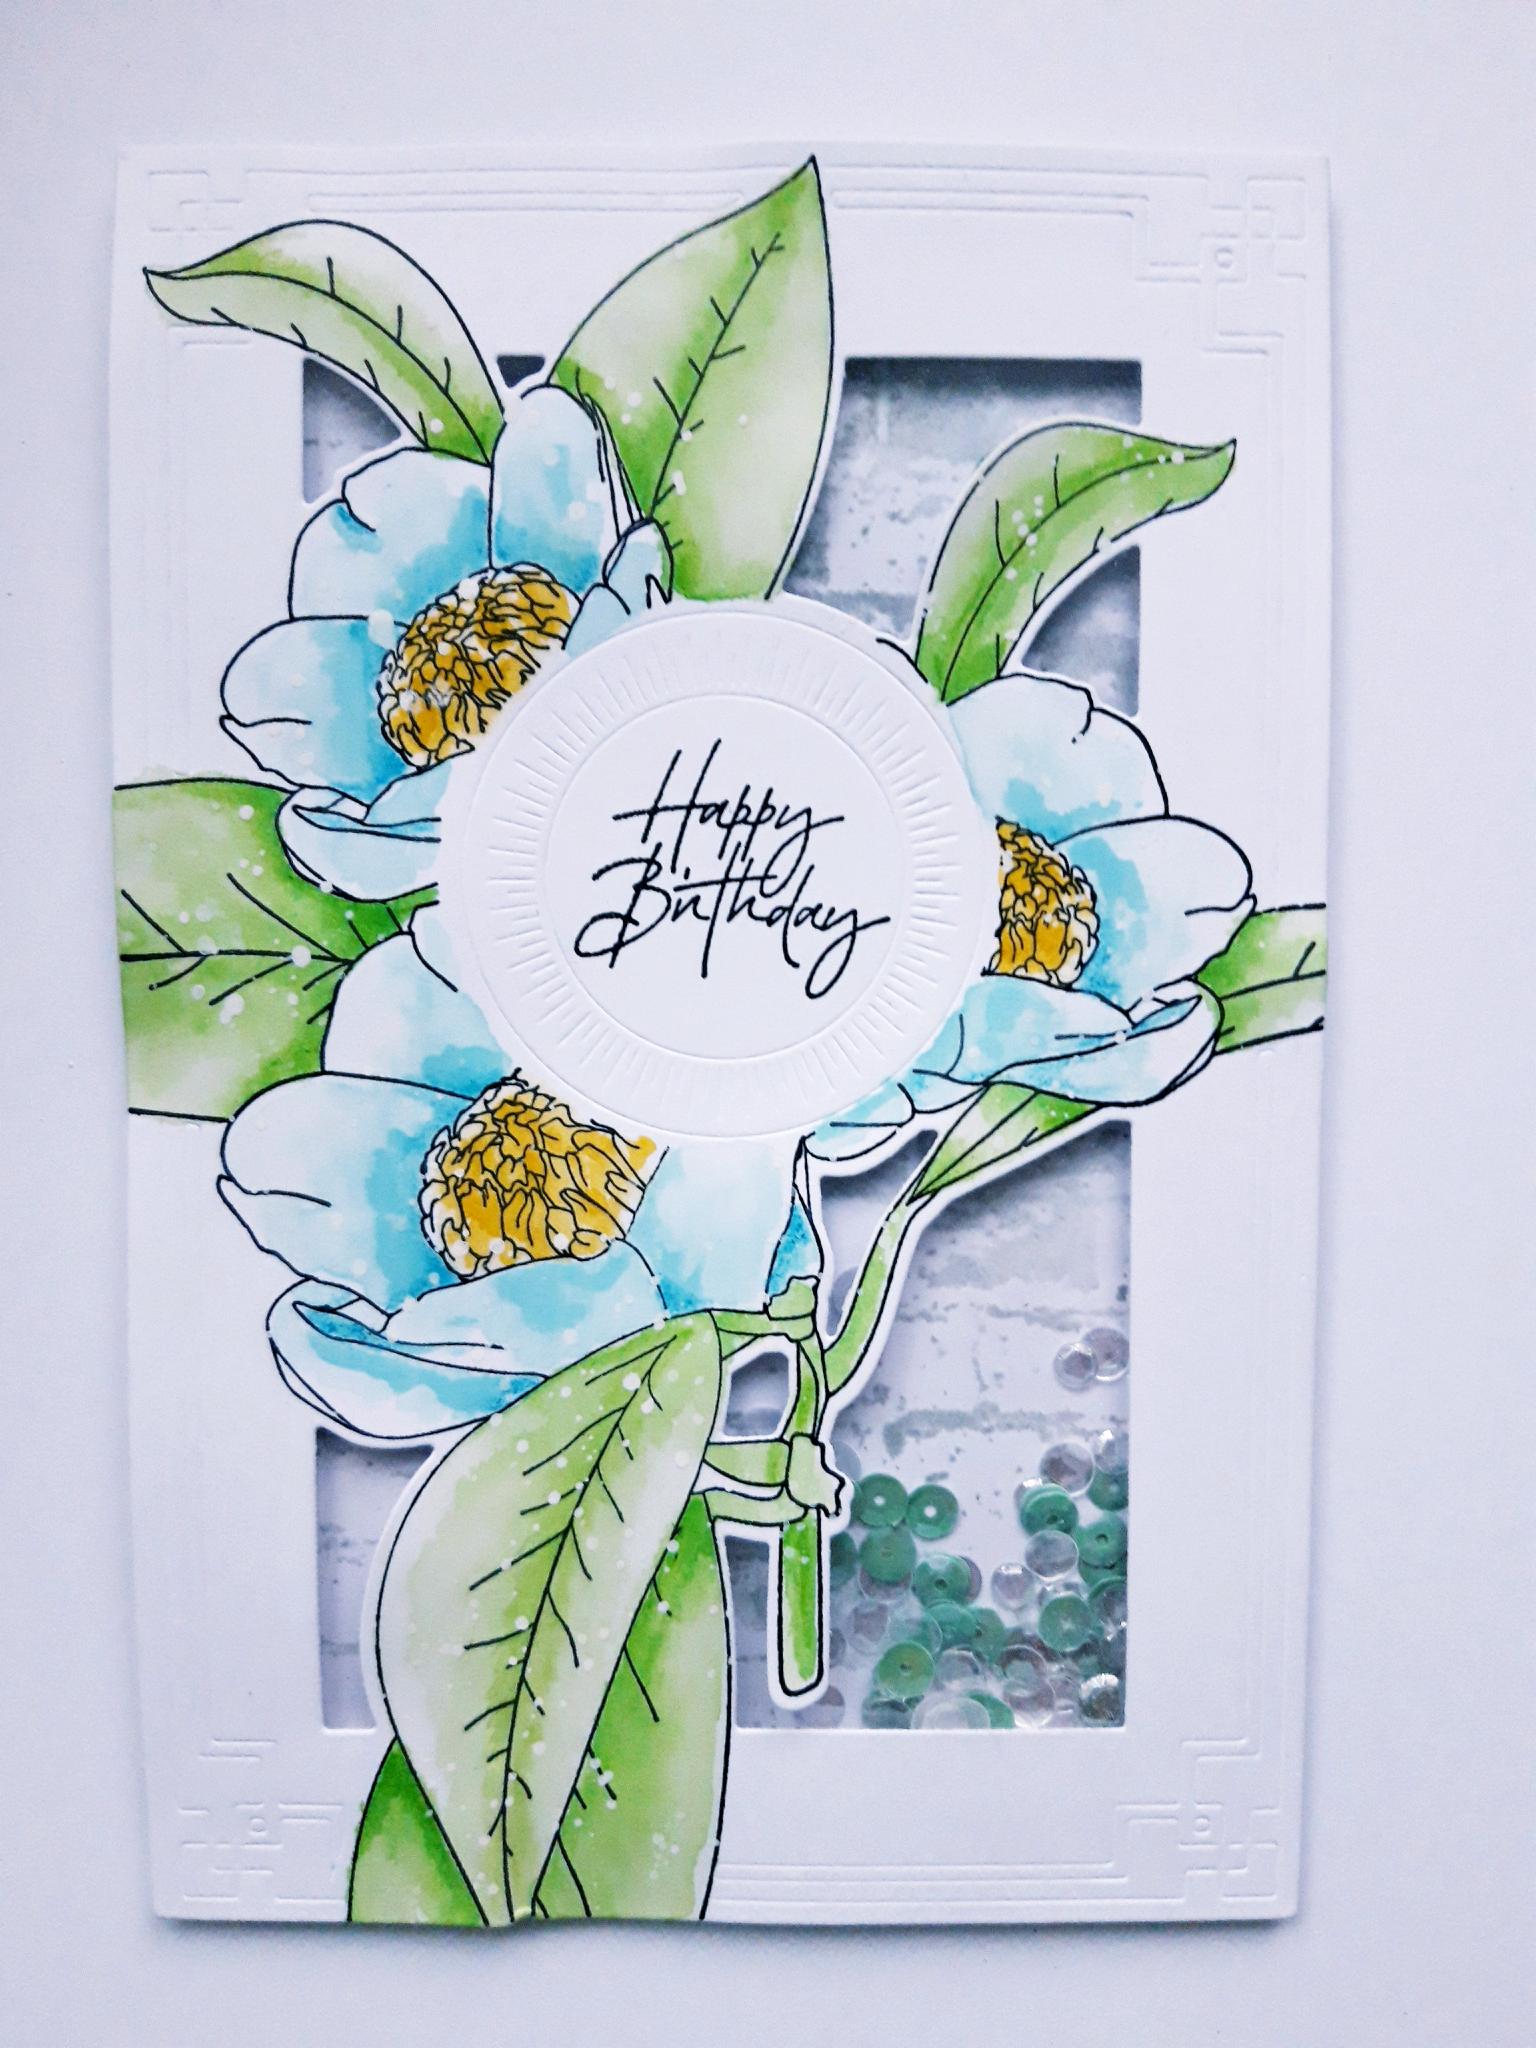
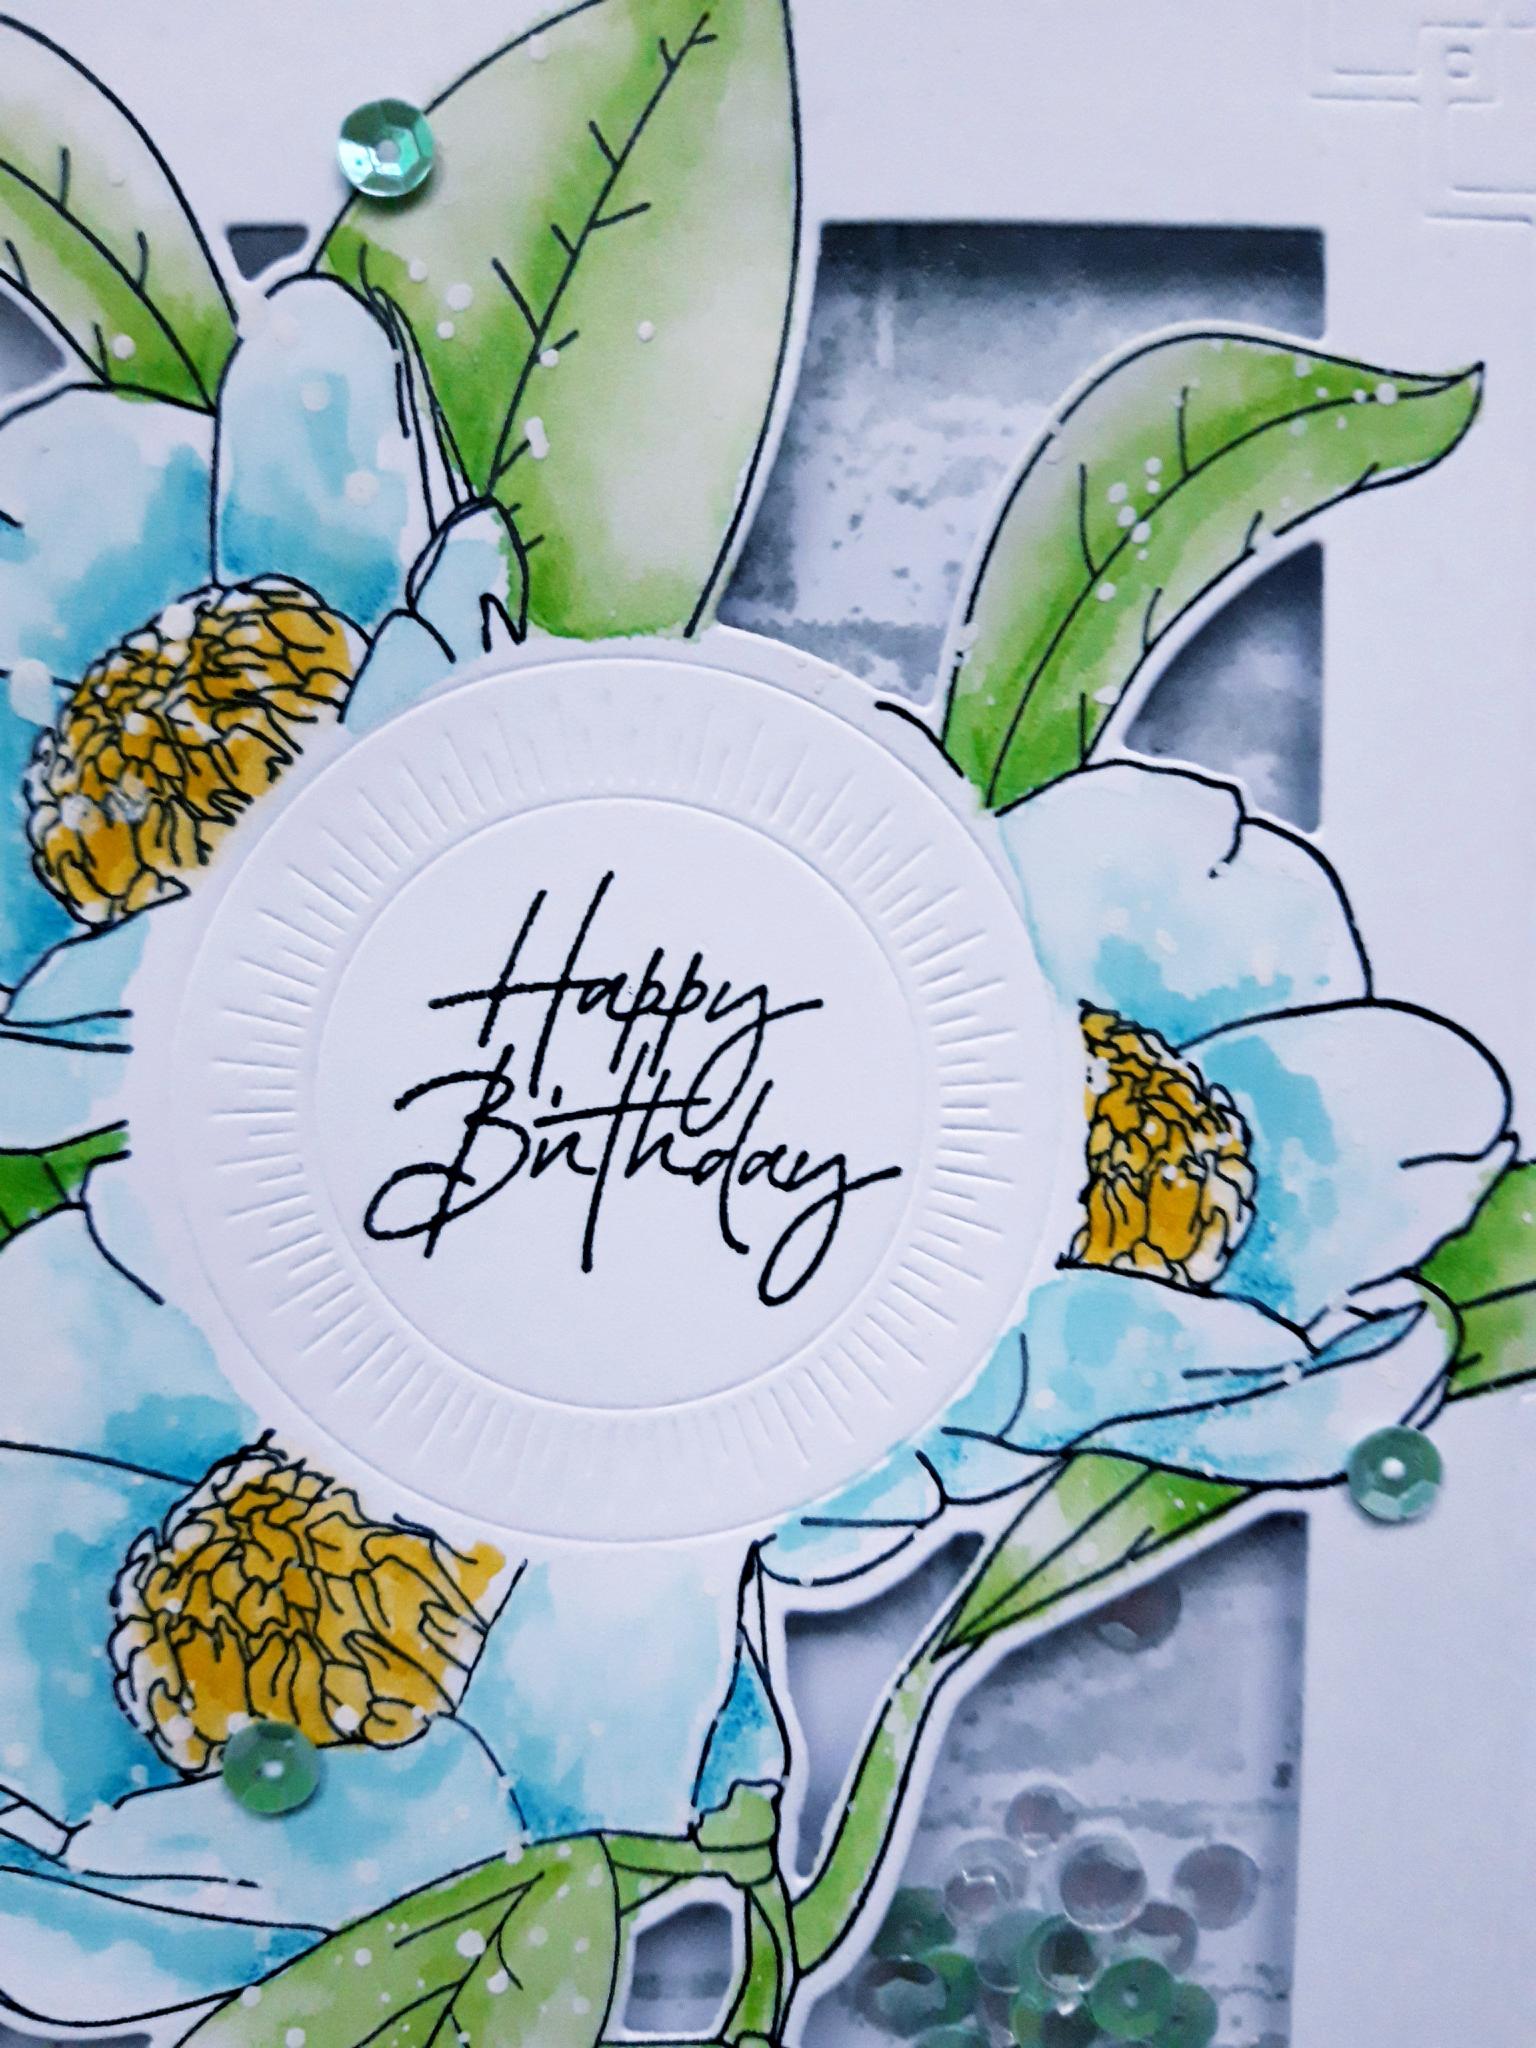
Ink up the stamp, from the same set, with the Onyx Black Versafine. Stamp in place on to your die cut element, as shown here. |
|
Use your watercolour paints to paint your stamped image. |
|
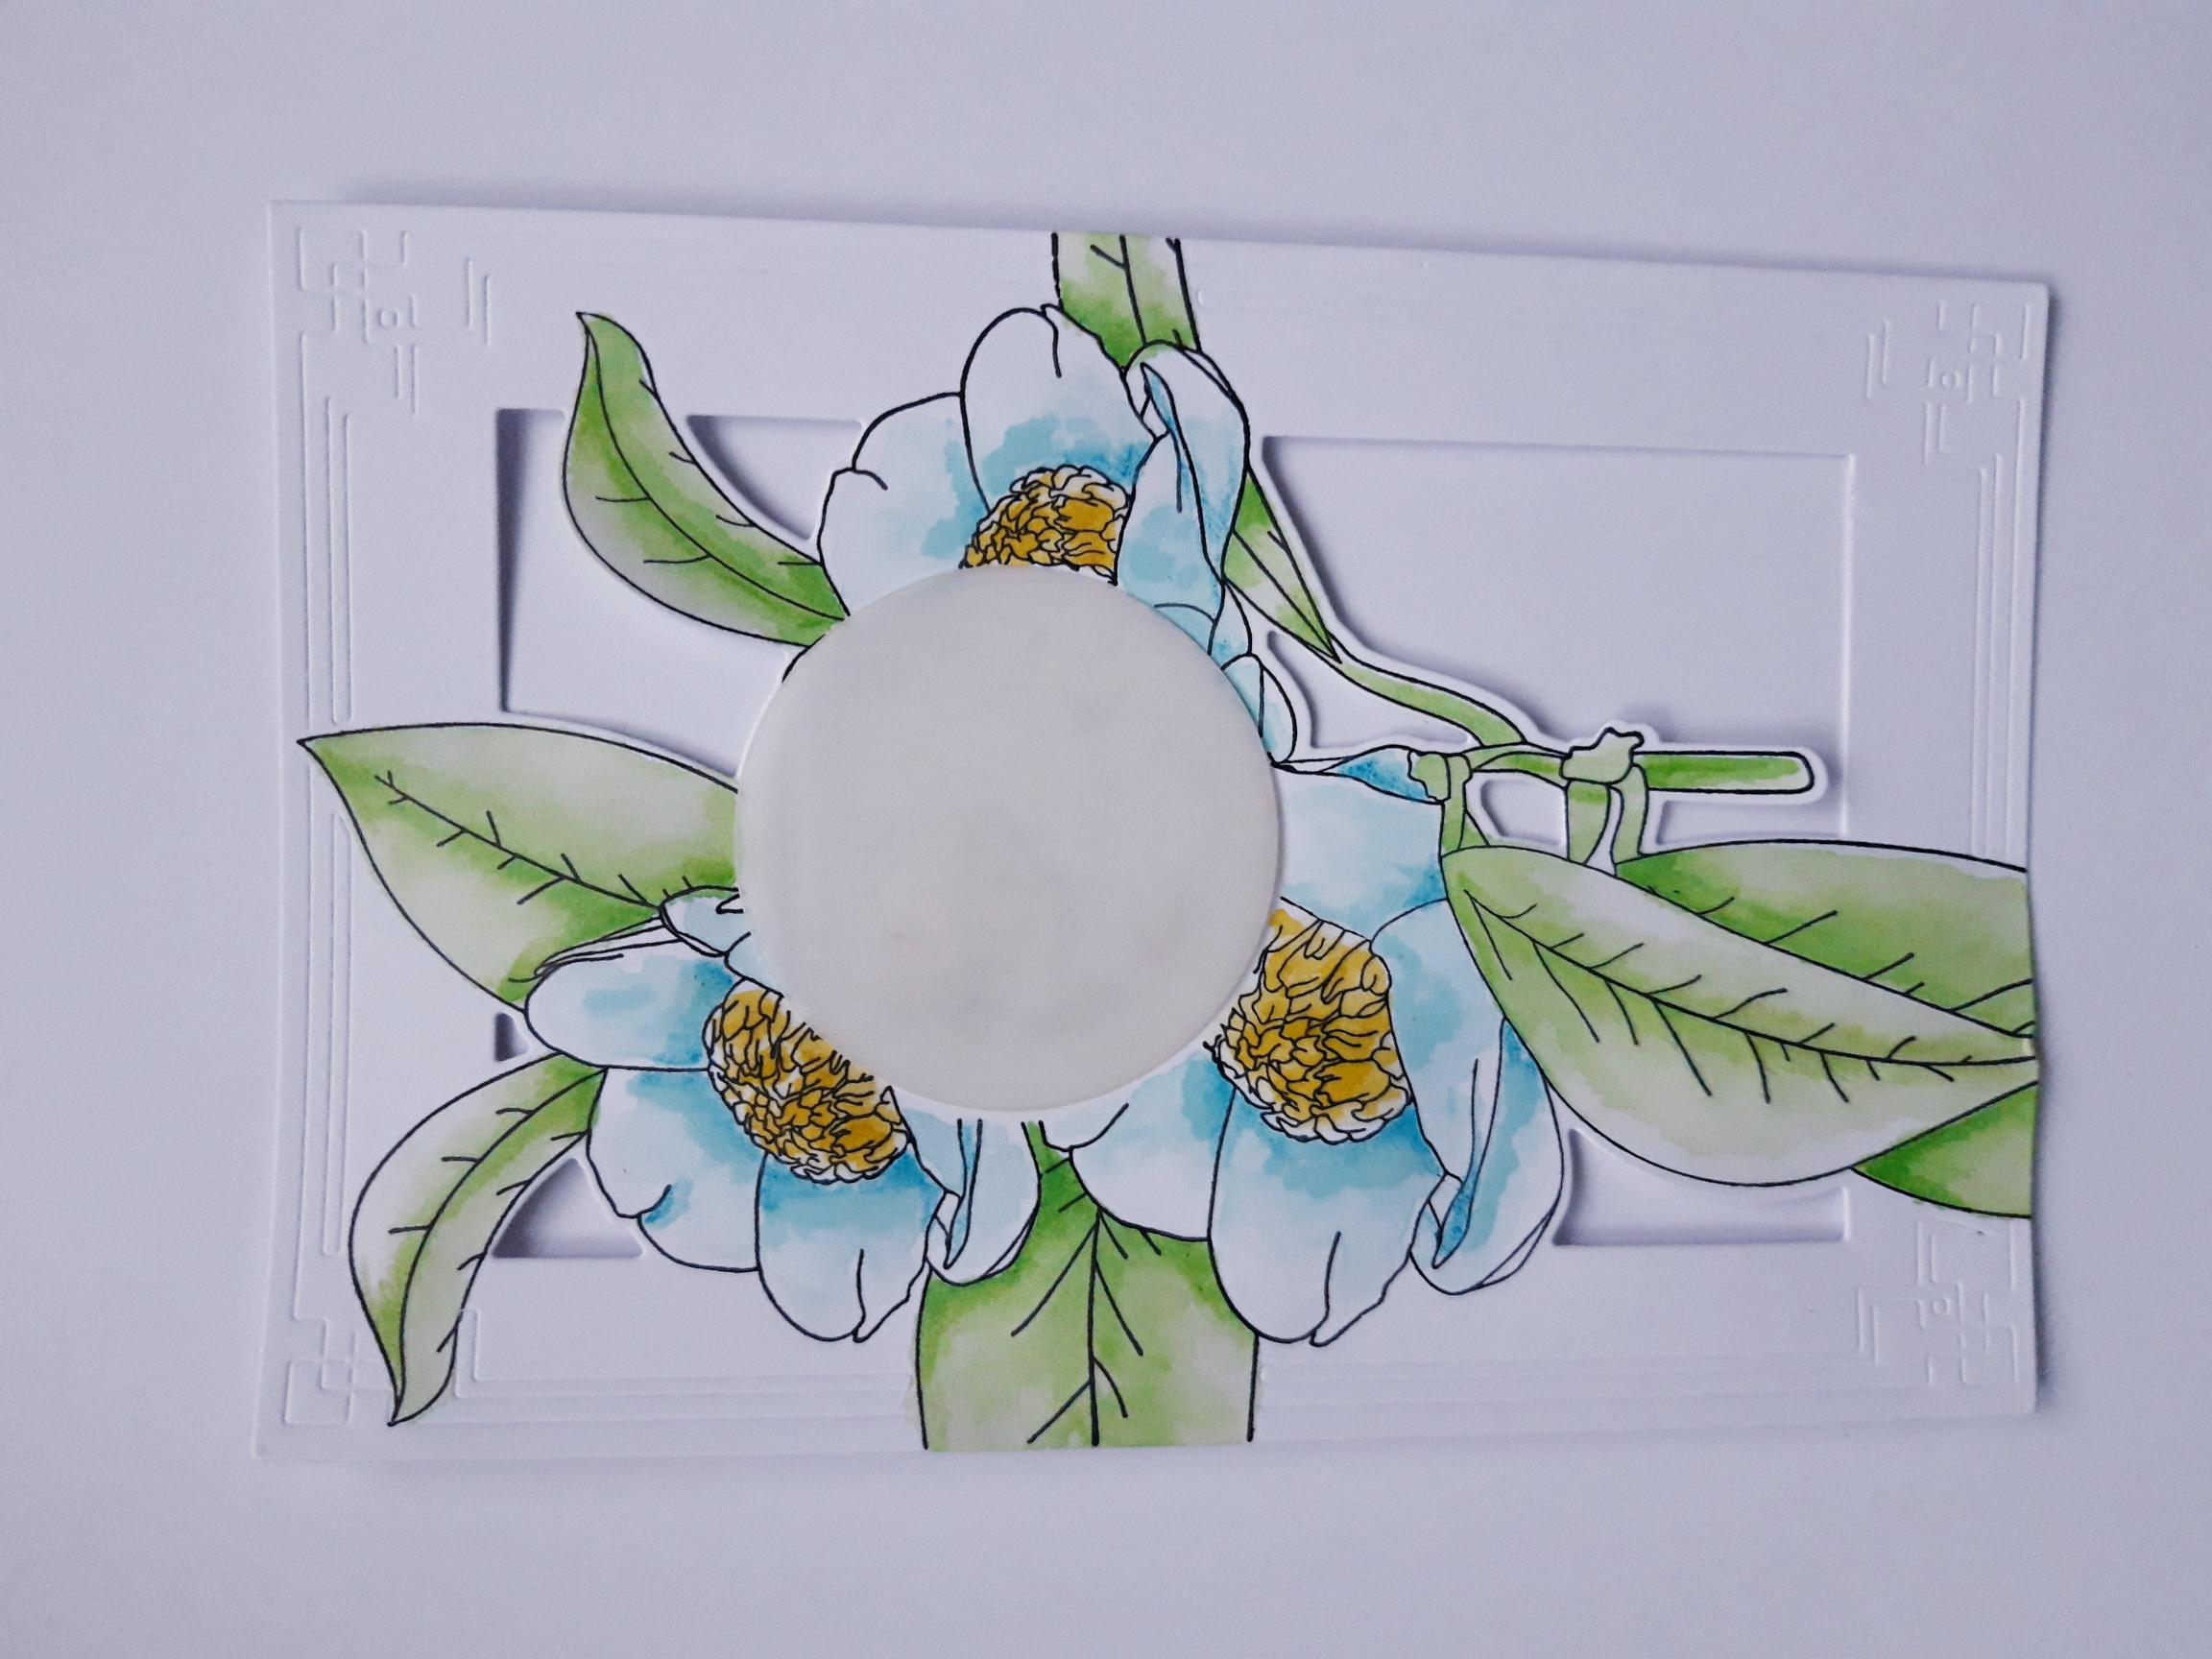
Once the ink is dry place a circle mask, or cut one out from a piece of copier paper, over the circle in the centre of your artwork. |
|
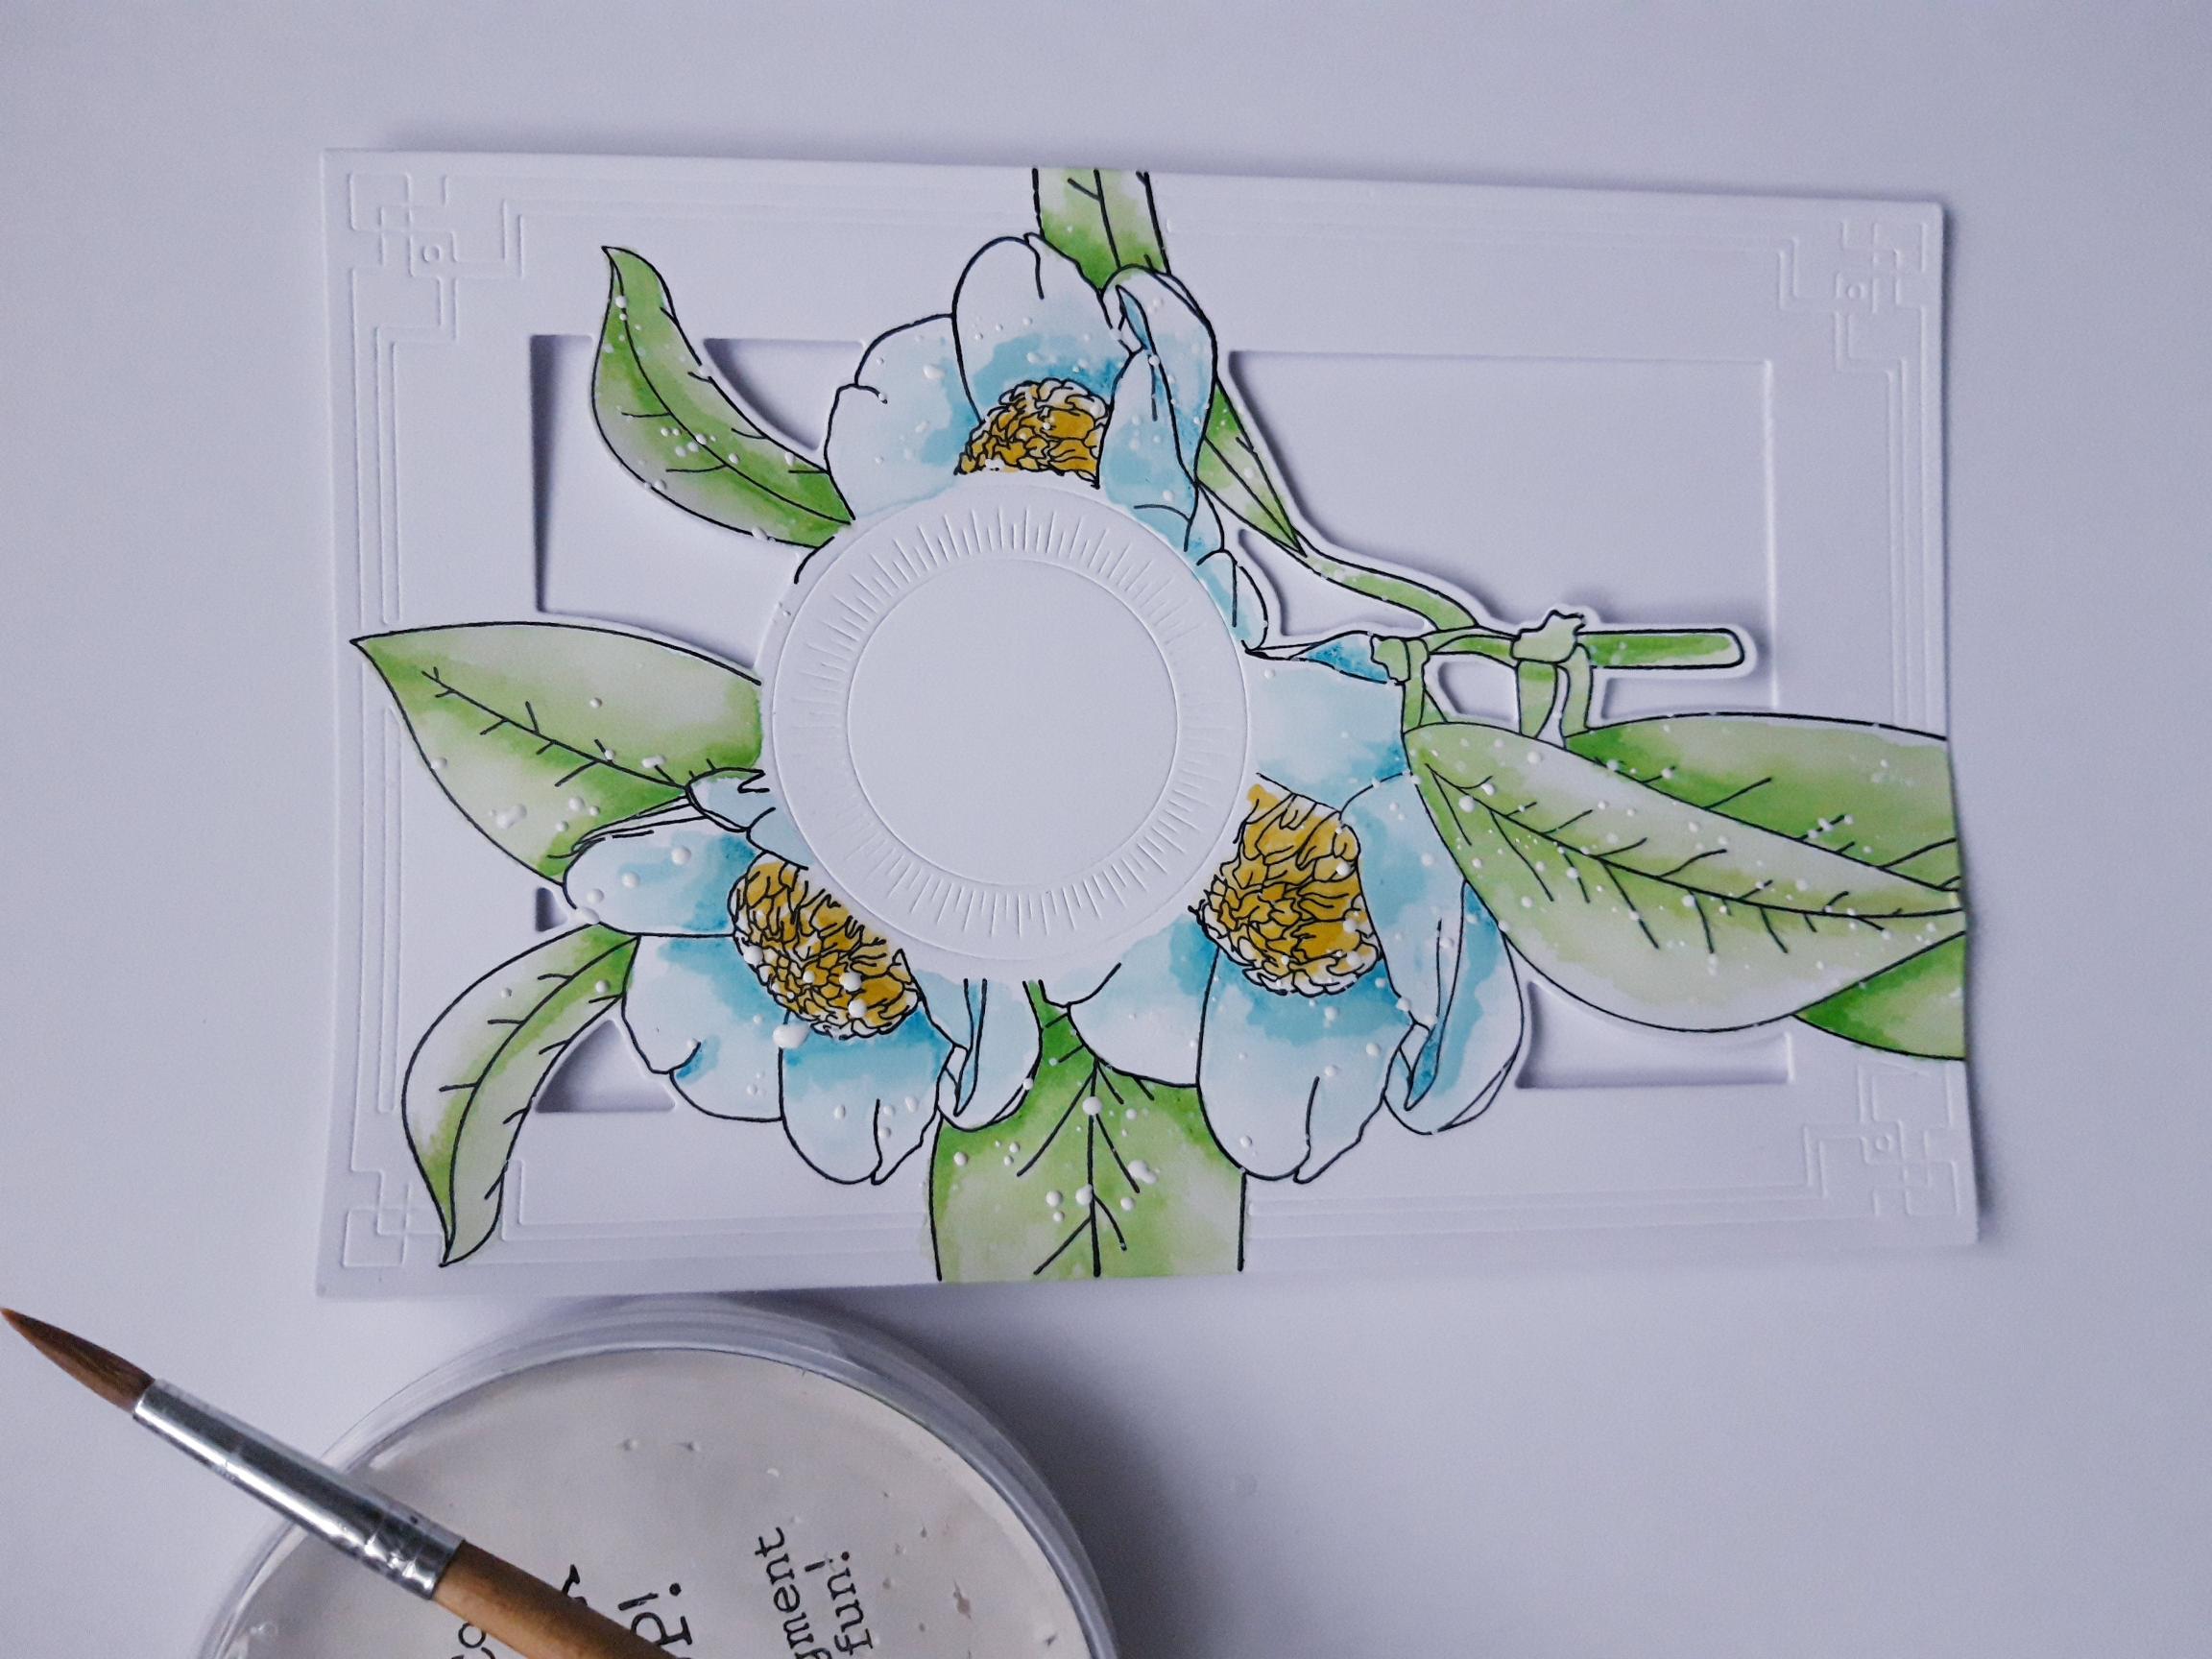
Splatter the white Confetti paint over your artwork, as required. I like lots of splats!! Remove the circle mask and dry off the paint. |
|
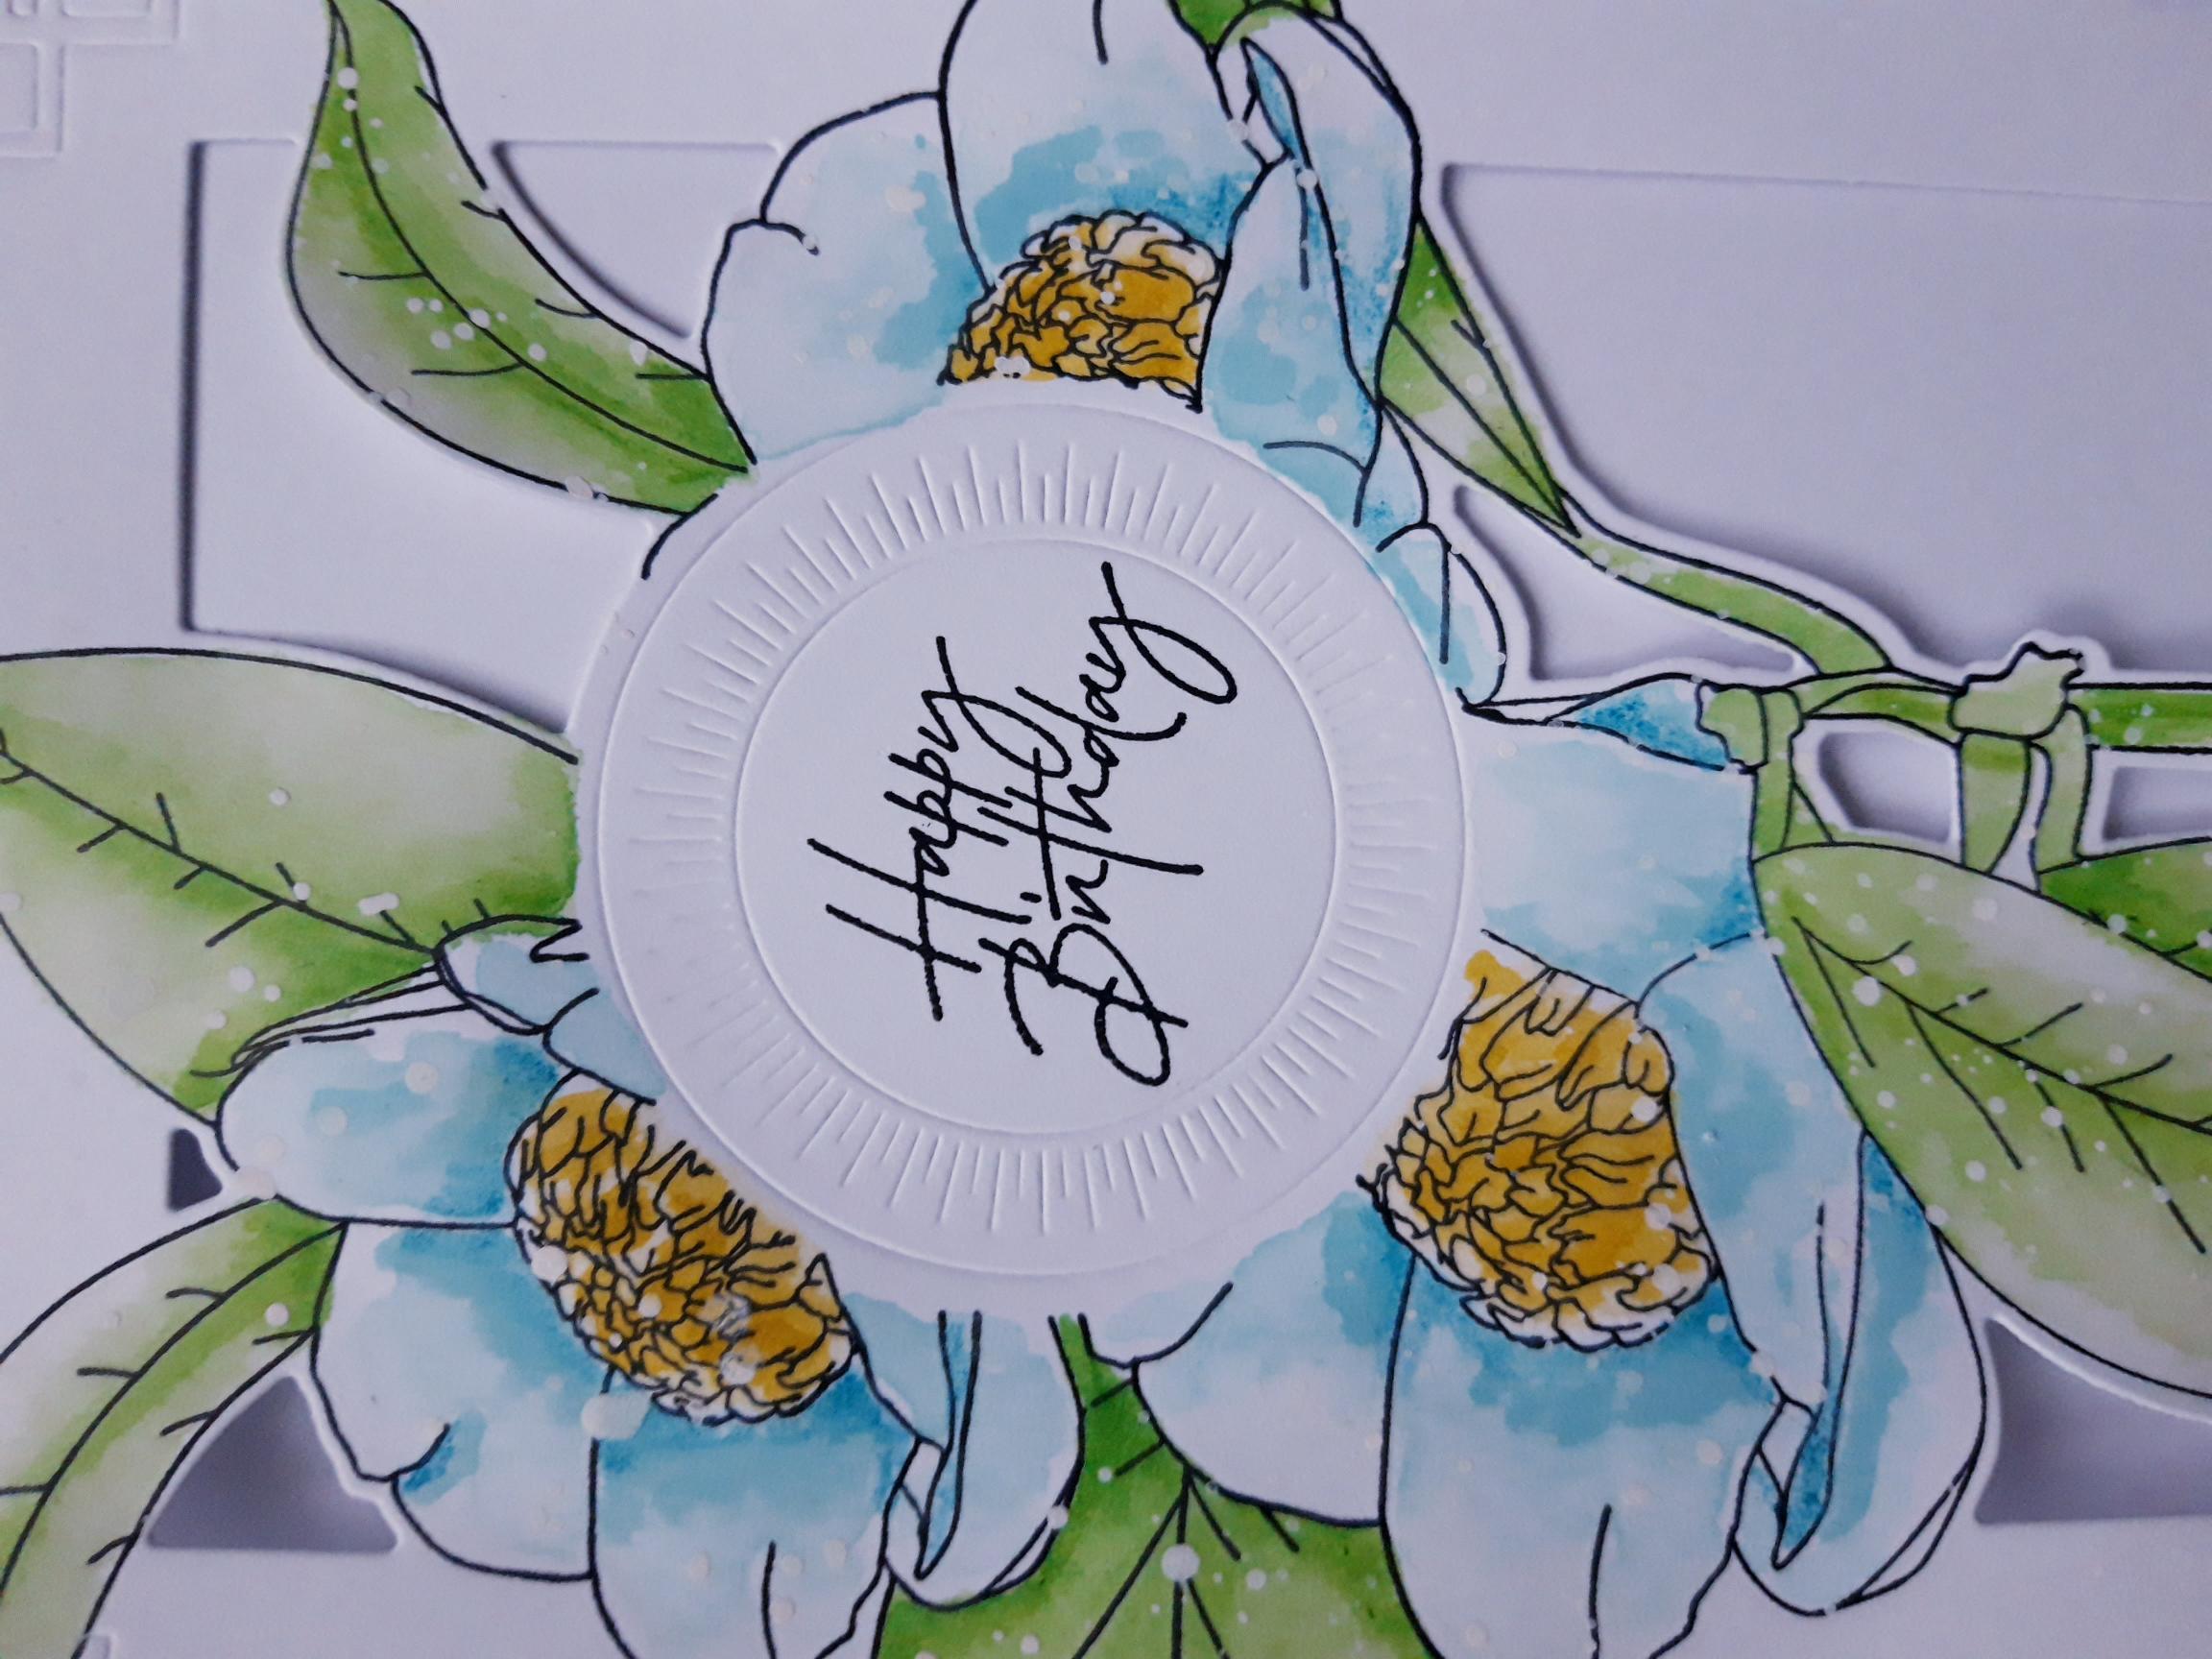
Ink up the sentiment stamp, from the same set, with the Onyx Black Versafine, and stamp it in the circle panel. |
|
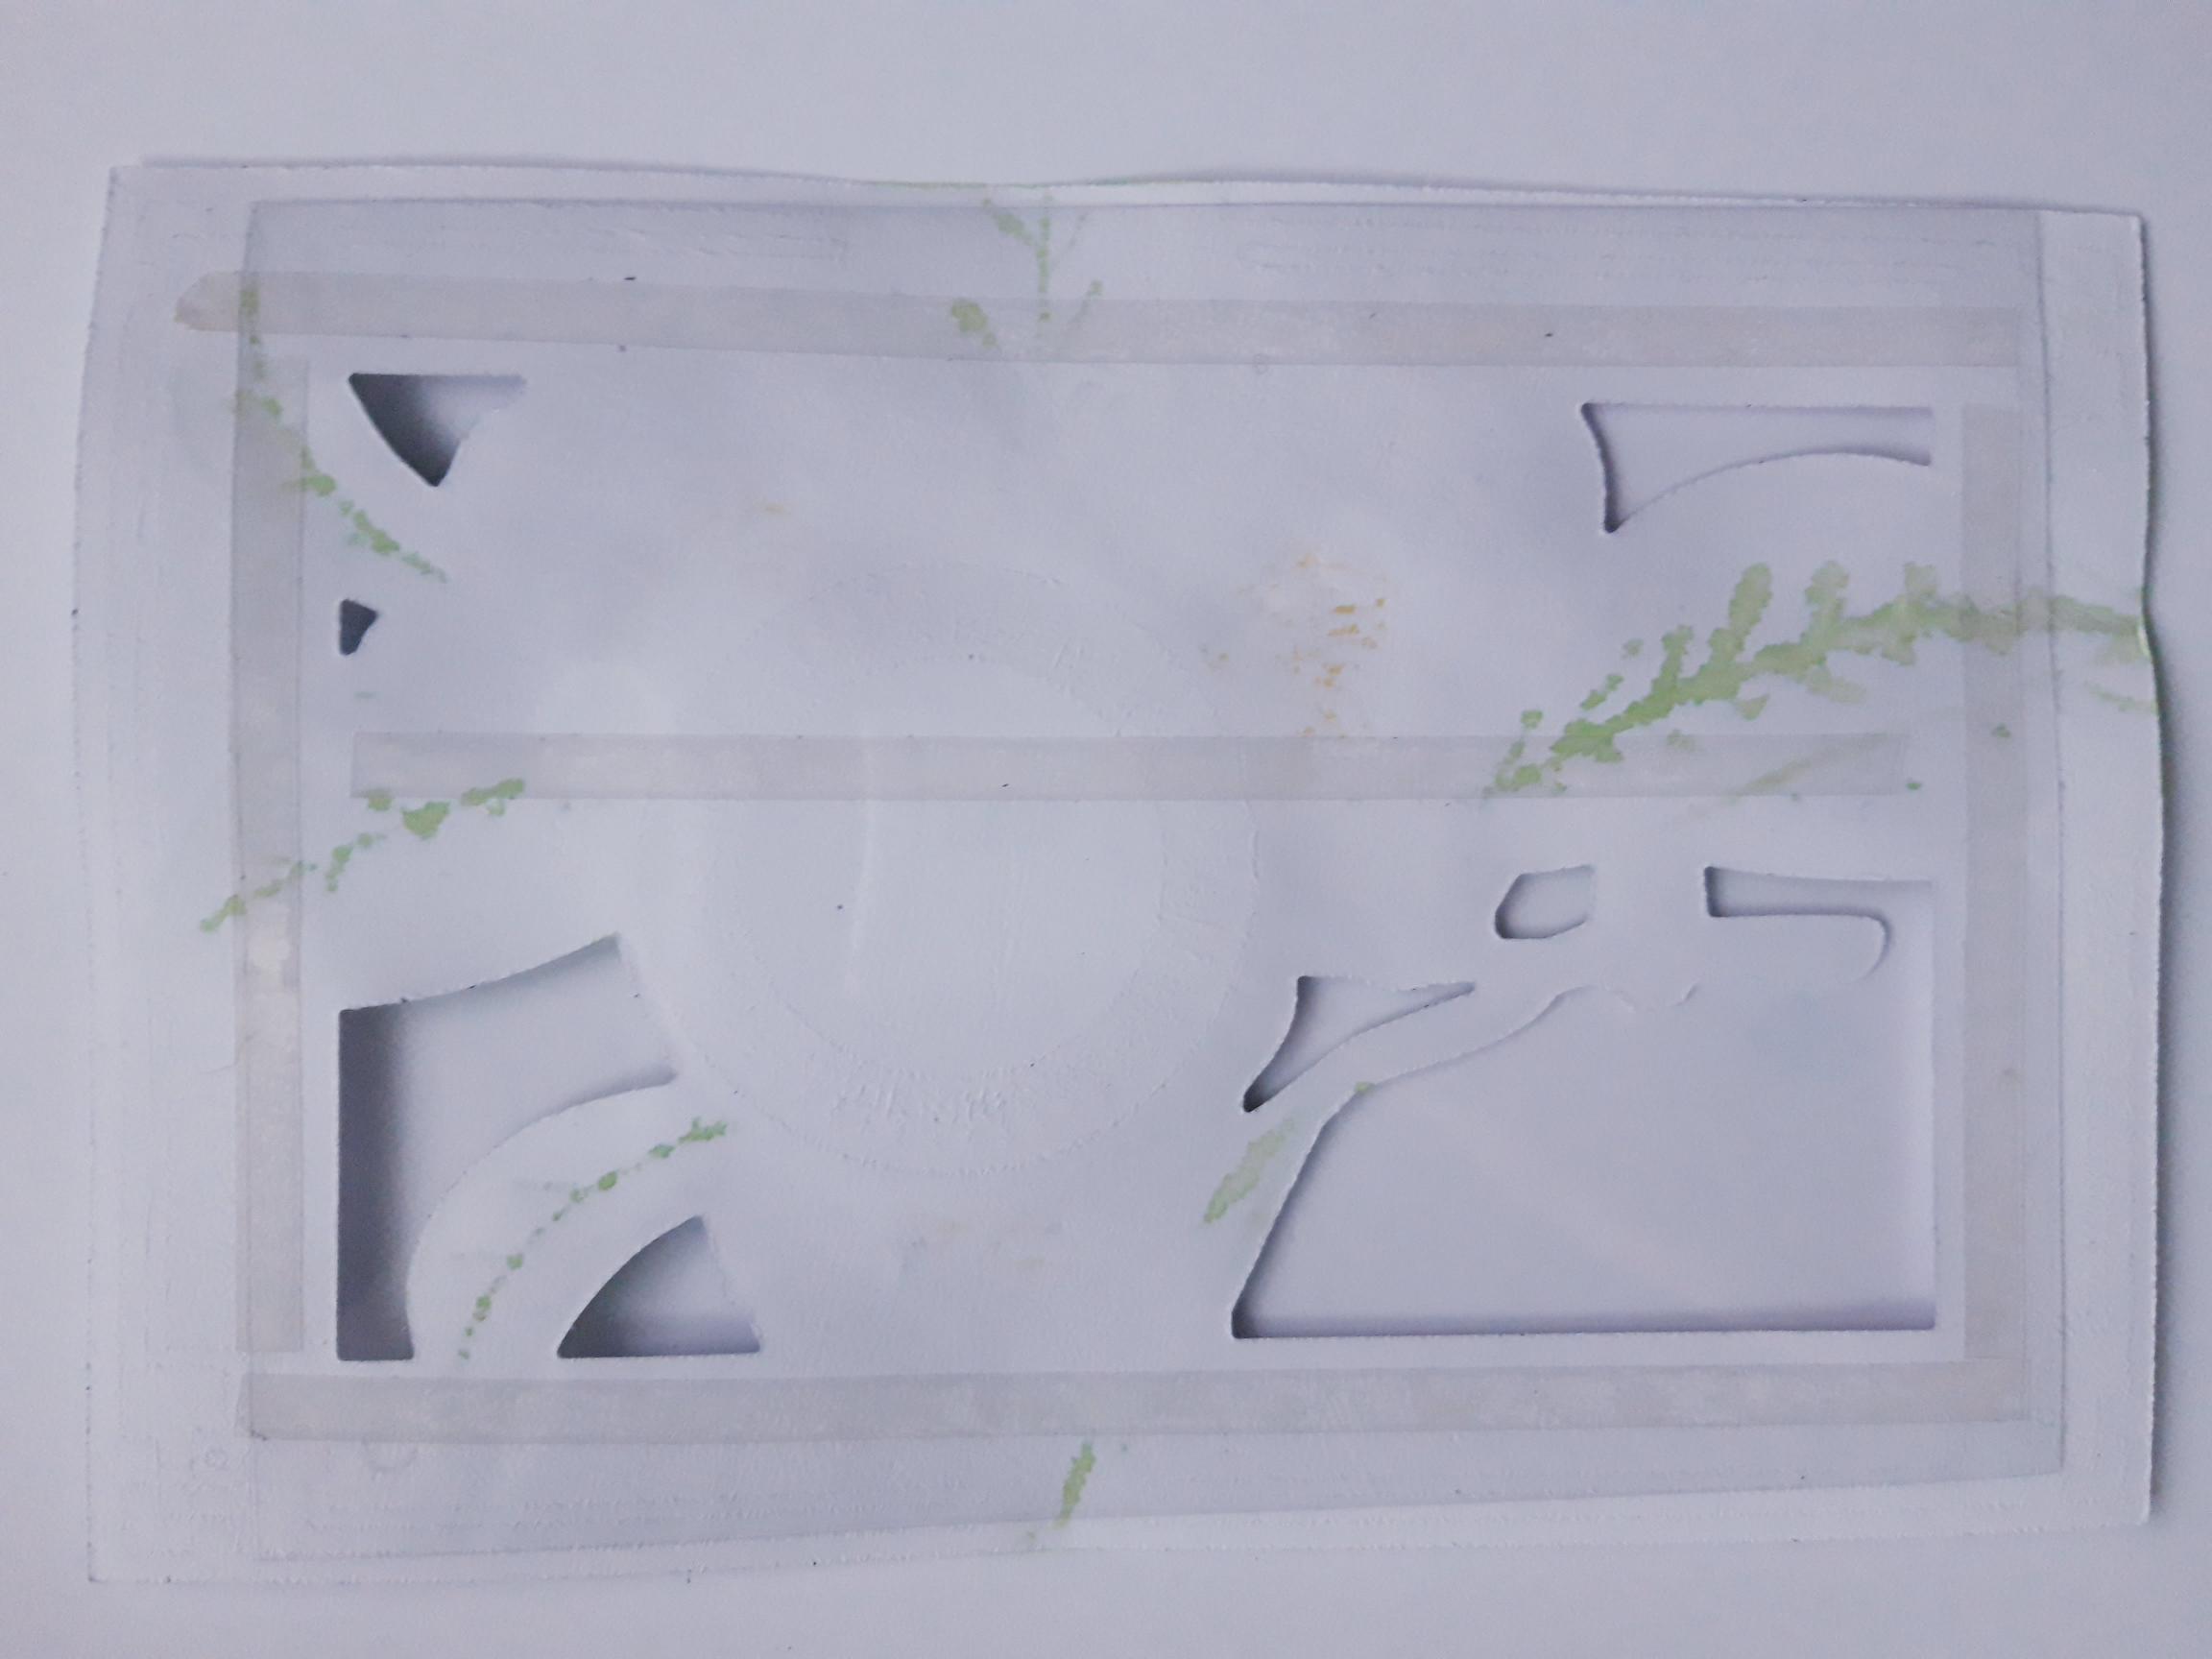
Apply the red liner tape to the back of your painted die cut element, and adhere the acetate in place. |
|
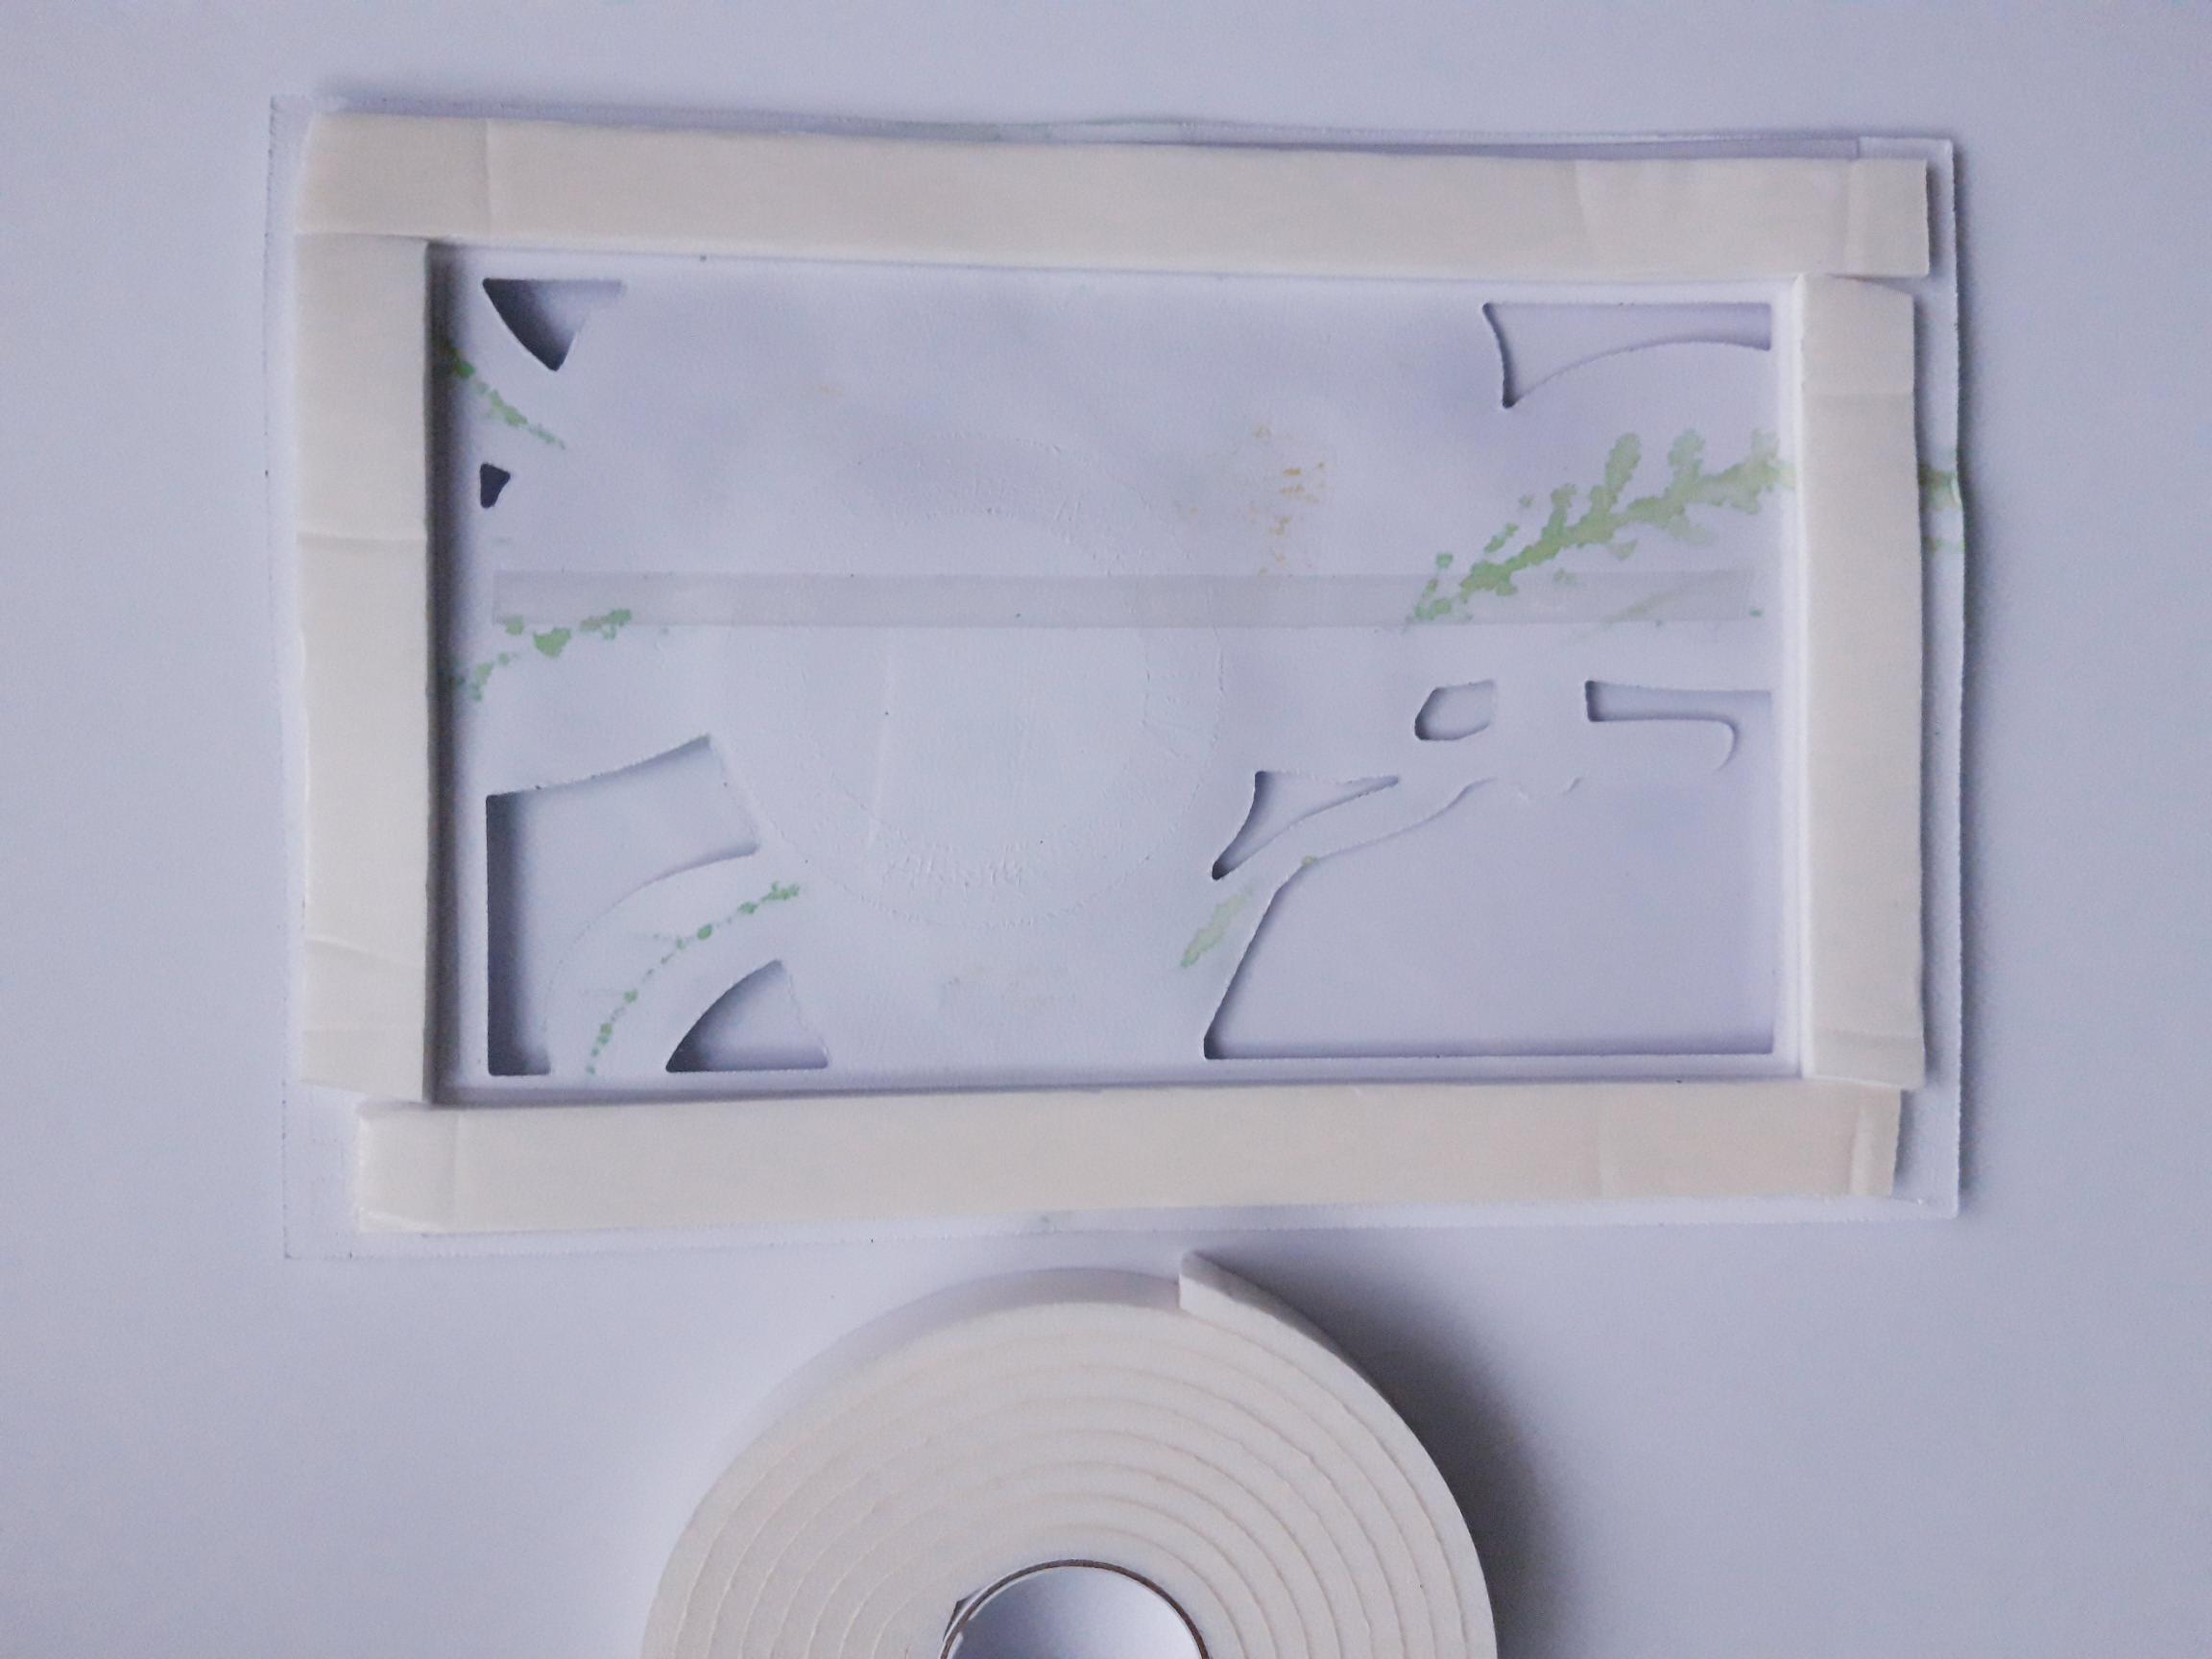
Adhere the shaker or double sided foam tape, around the edges, ensuring there are no gaps in between the tape. Set this to one side. |
|
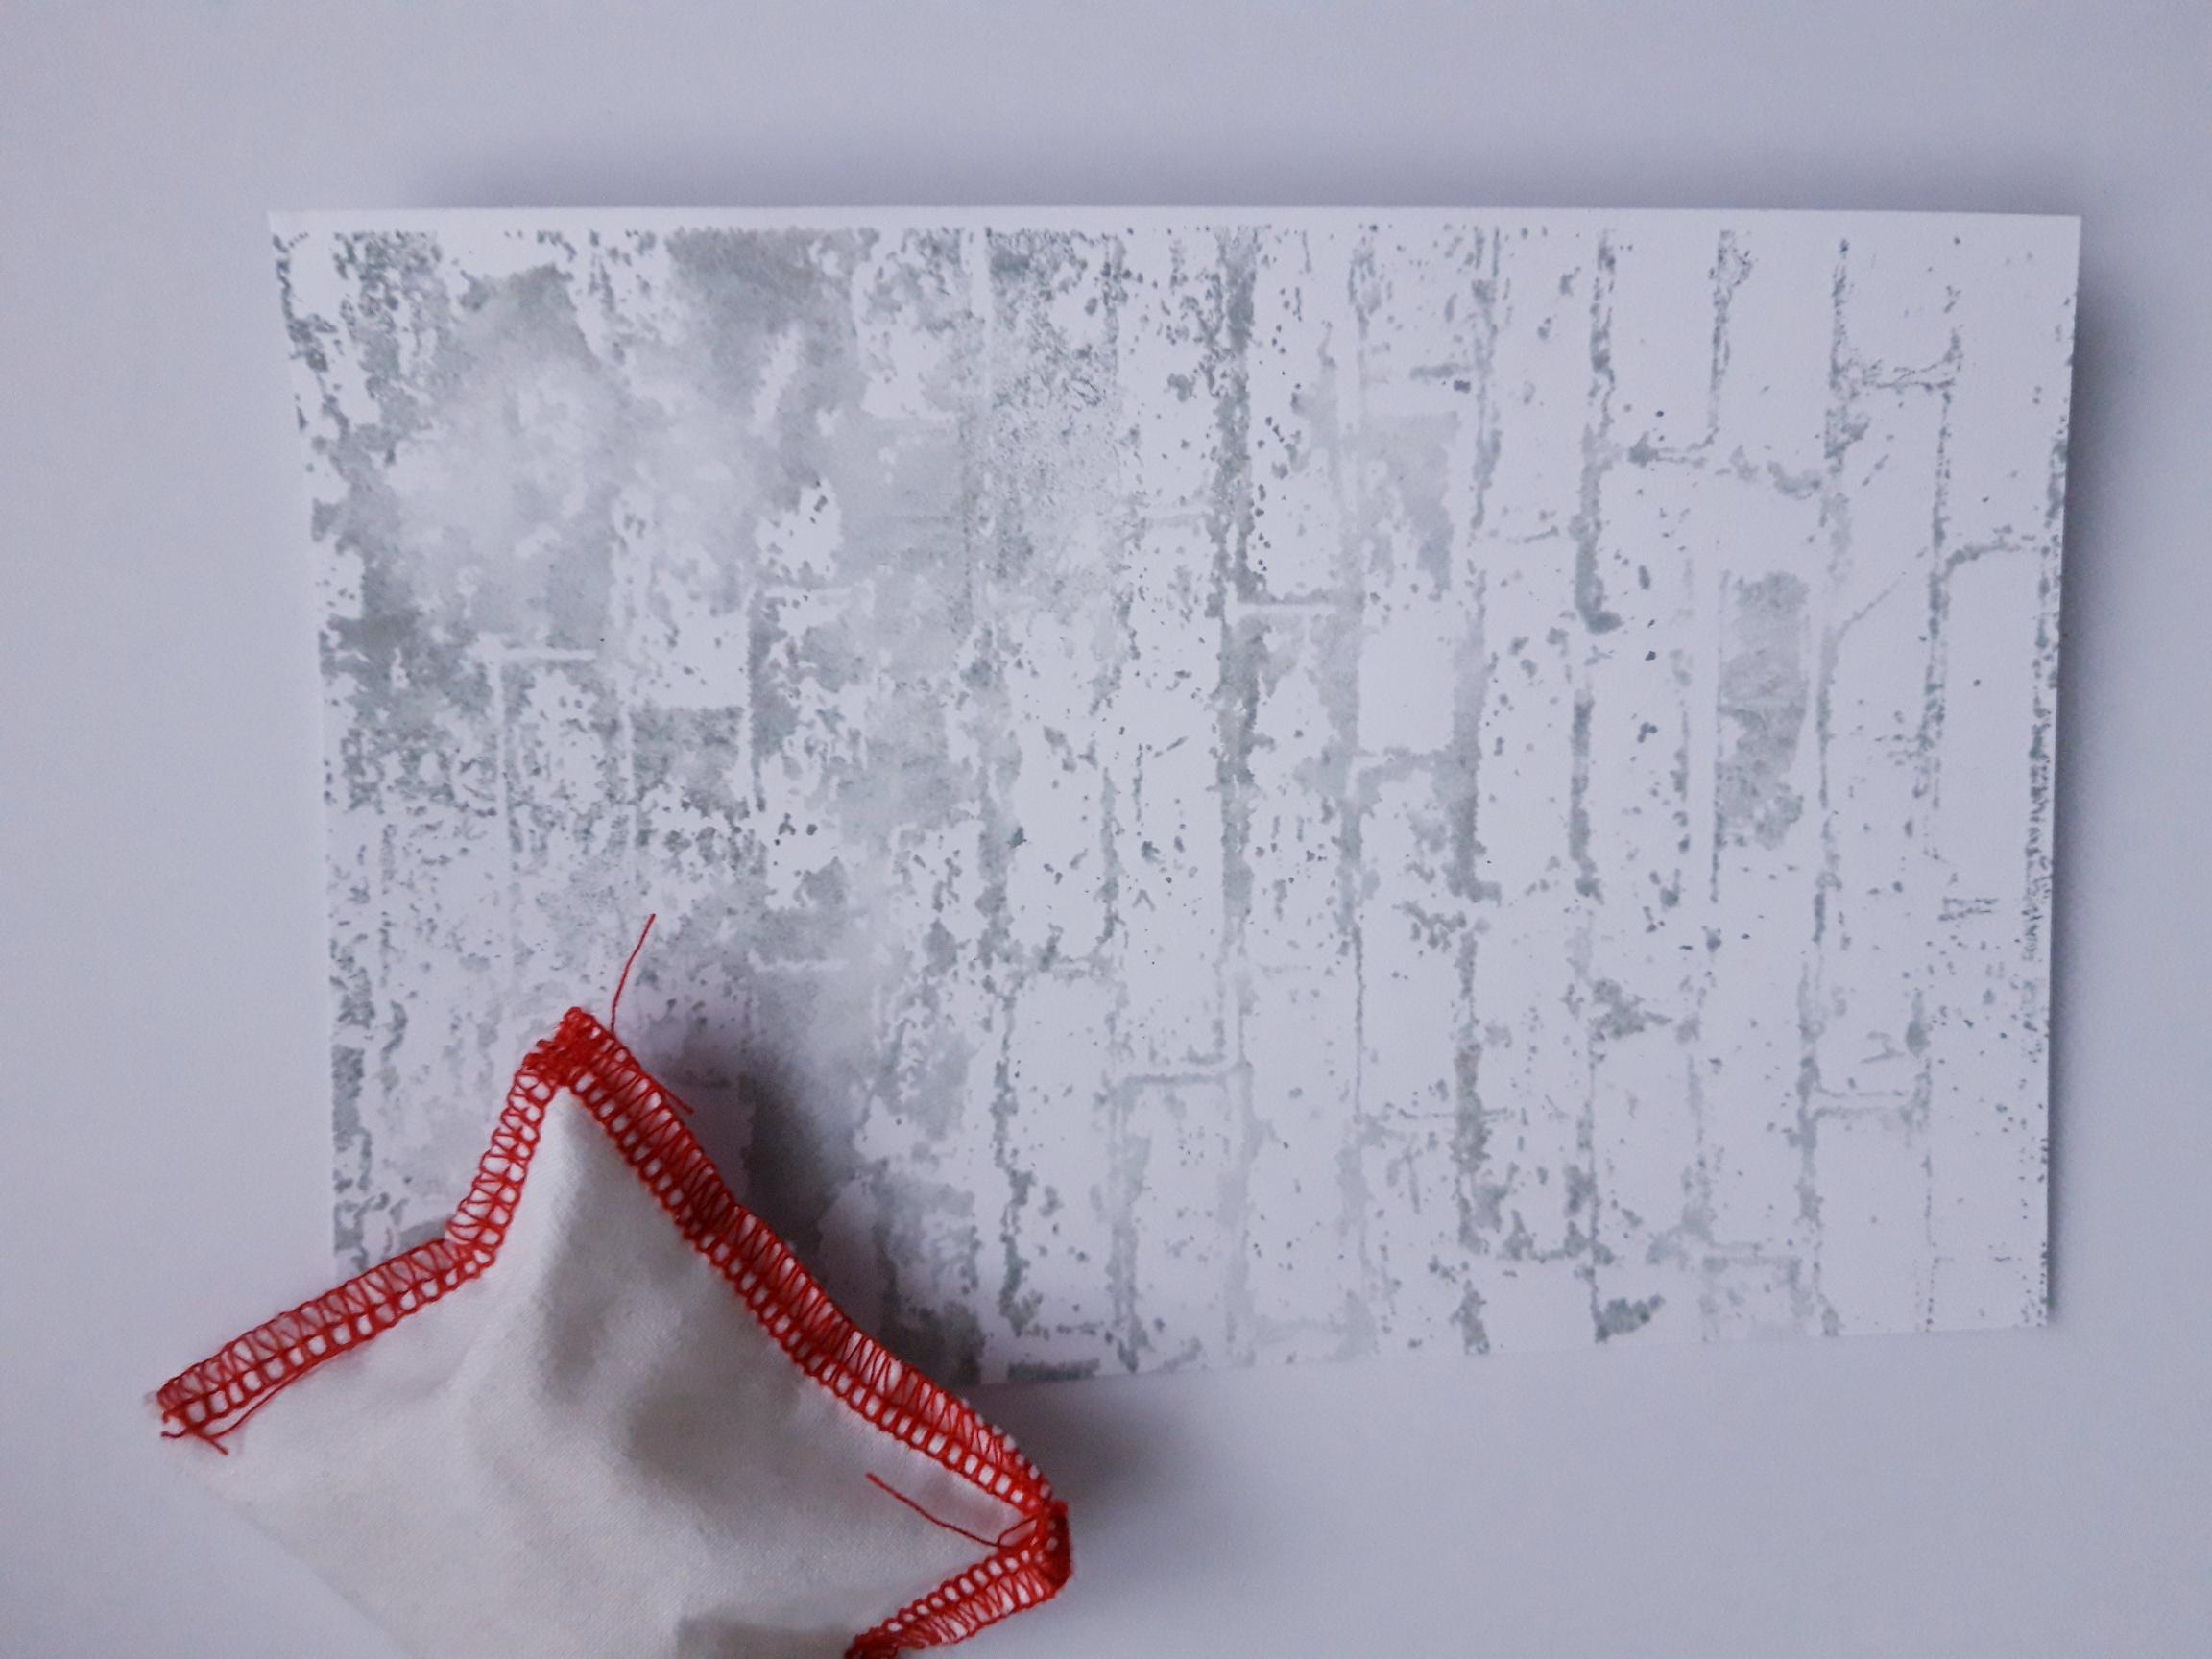
Ink up the stamp from the Textured Wall Stamp Collection, with the Iced Spruce Distress Oxide. Spritz with water and stamp on to the second piece of 7 x 5" white card. Dry this thoroughly, then trim to 6 1/2 x 4 1/4" (slightly smaller than your die cut element). Wipe over the background with an anti static bag. |
|
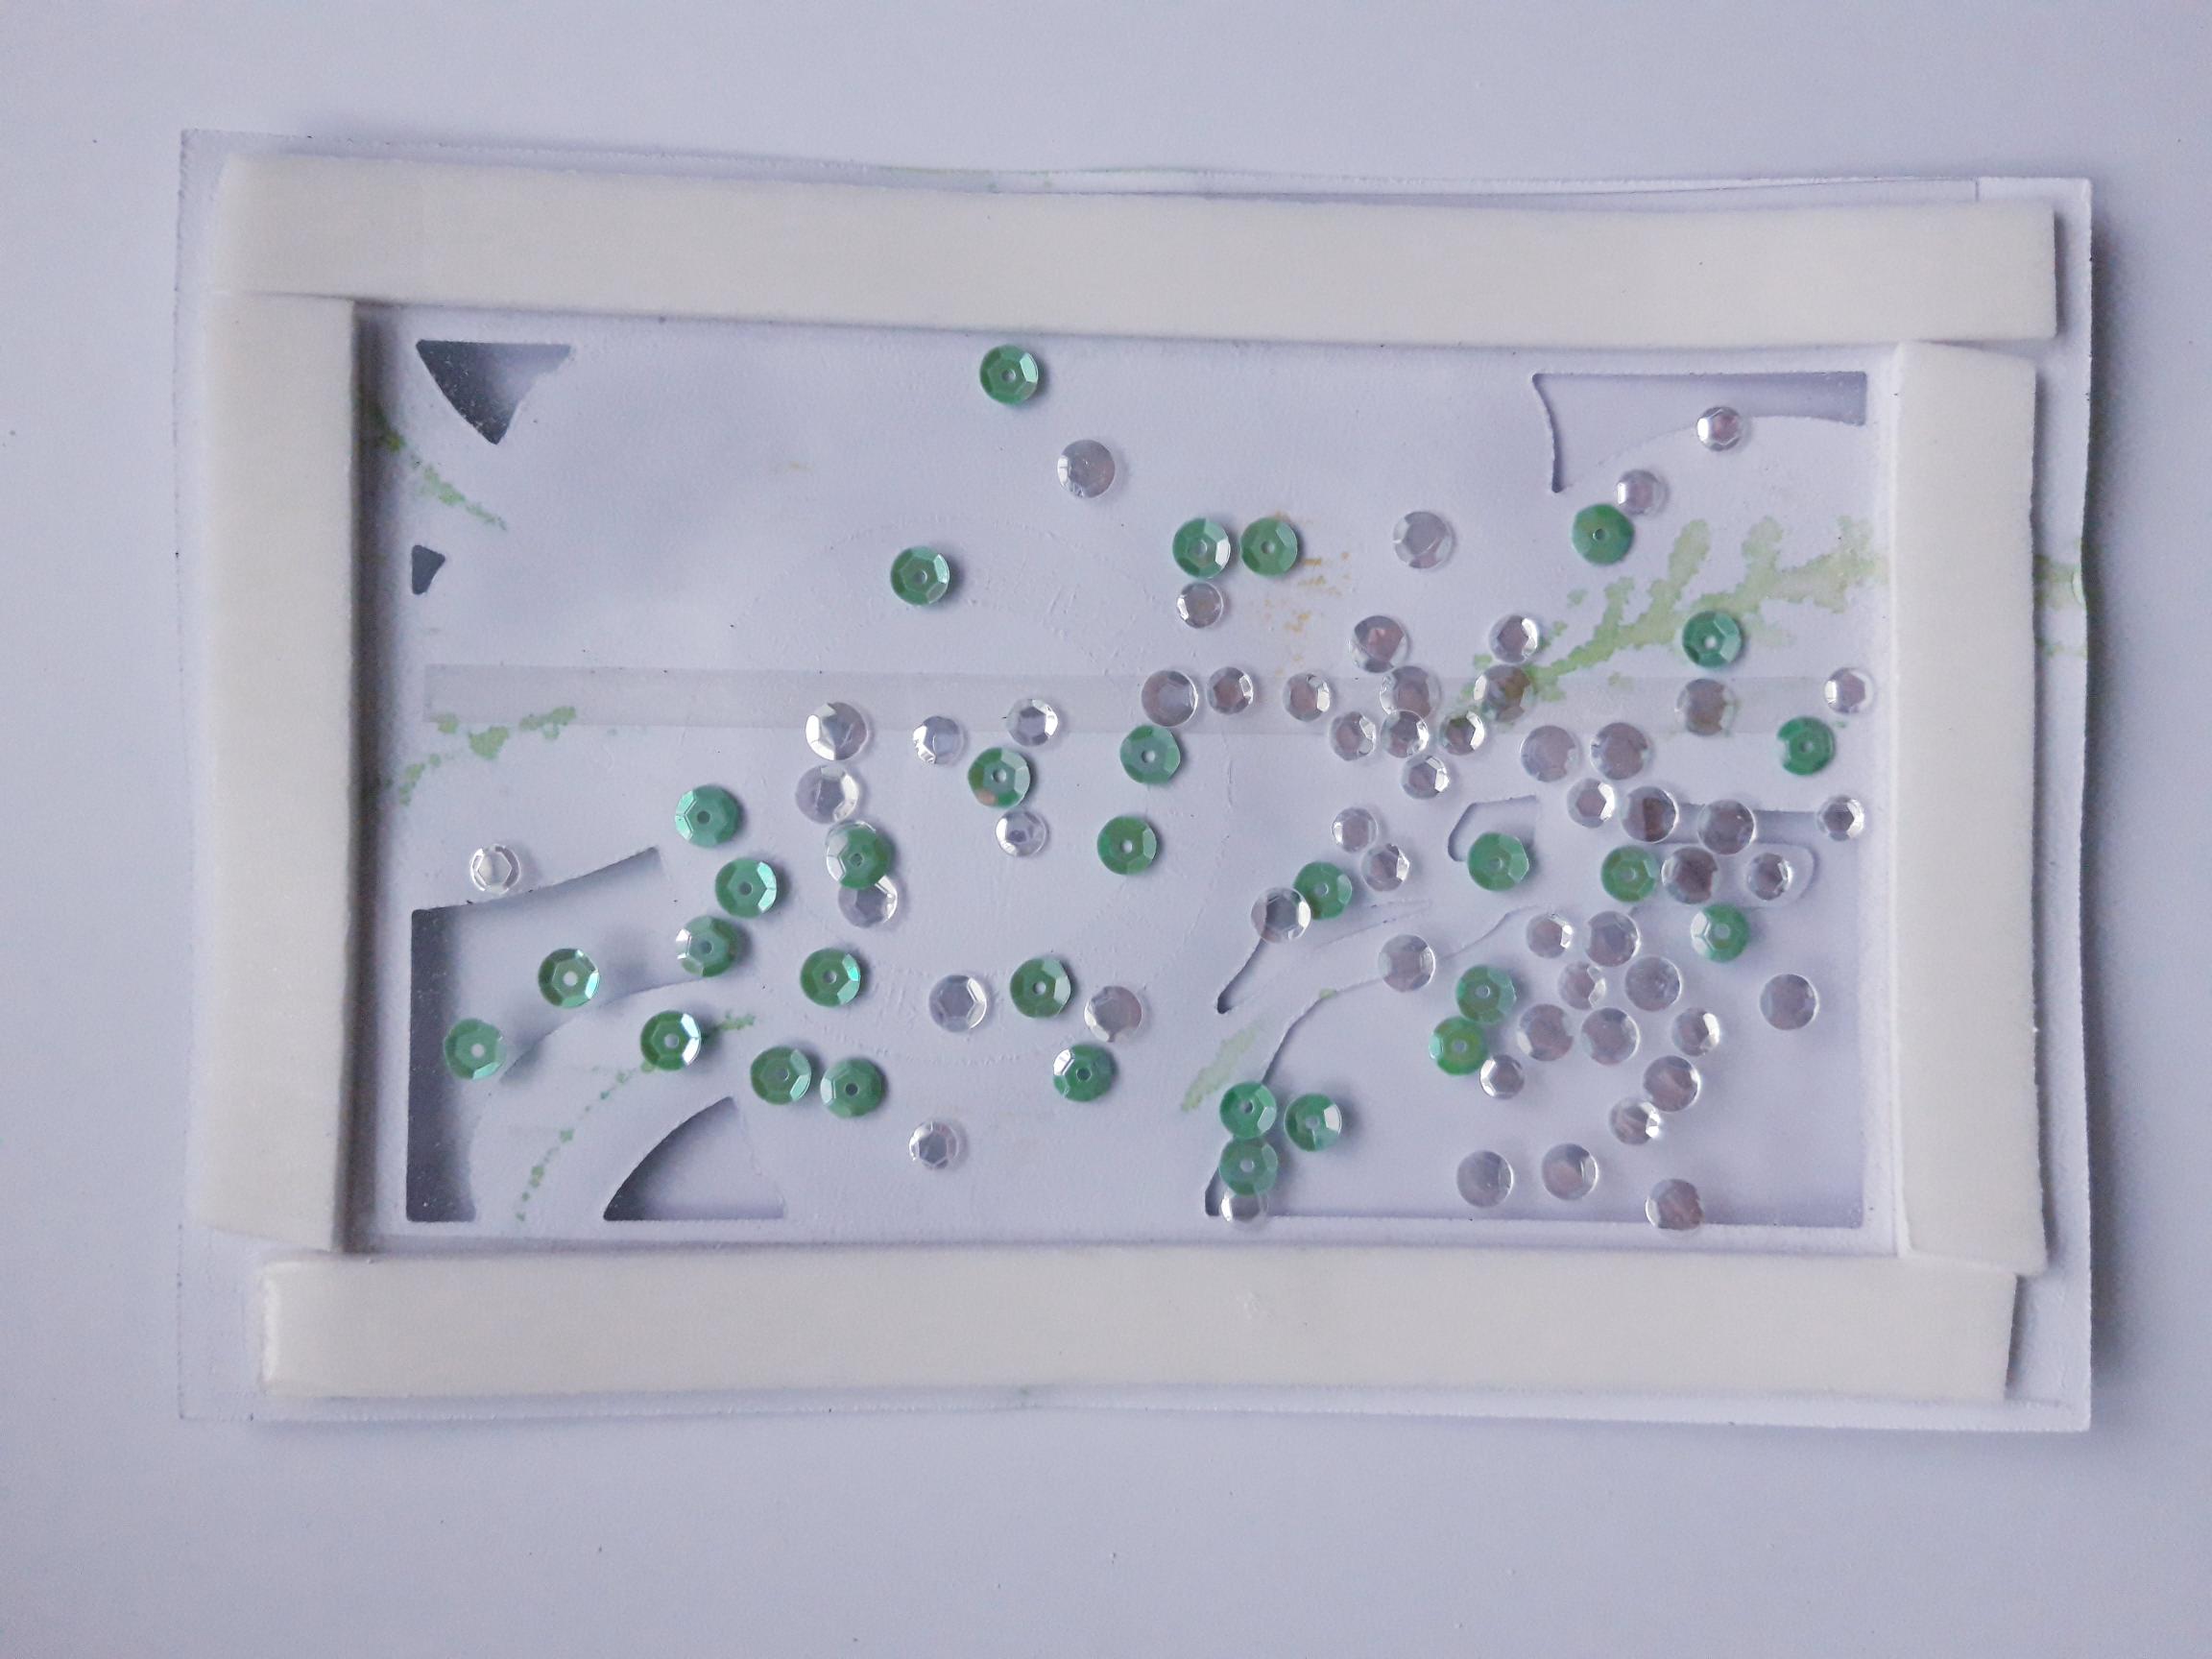
Lay the painted topper on your craft mat, and remove the backing off the foam tape. Wipe the inside of the acetate with your anti static bag, then place your sequins on top of the acetate, being careful not to touch the acetate. Use a pokey tool to spread the sequins out flat, around the acetate. |
|
Carefully place the stamped background over the top, with the stamped image facing down, making sure you press it down firmly, all around the double side tape, so no sequins can escape! |
|
You can now turn your artwork over, and give it a good shake, to loosen up all the sequins! |
|
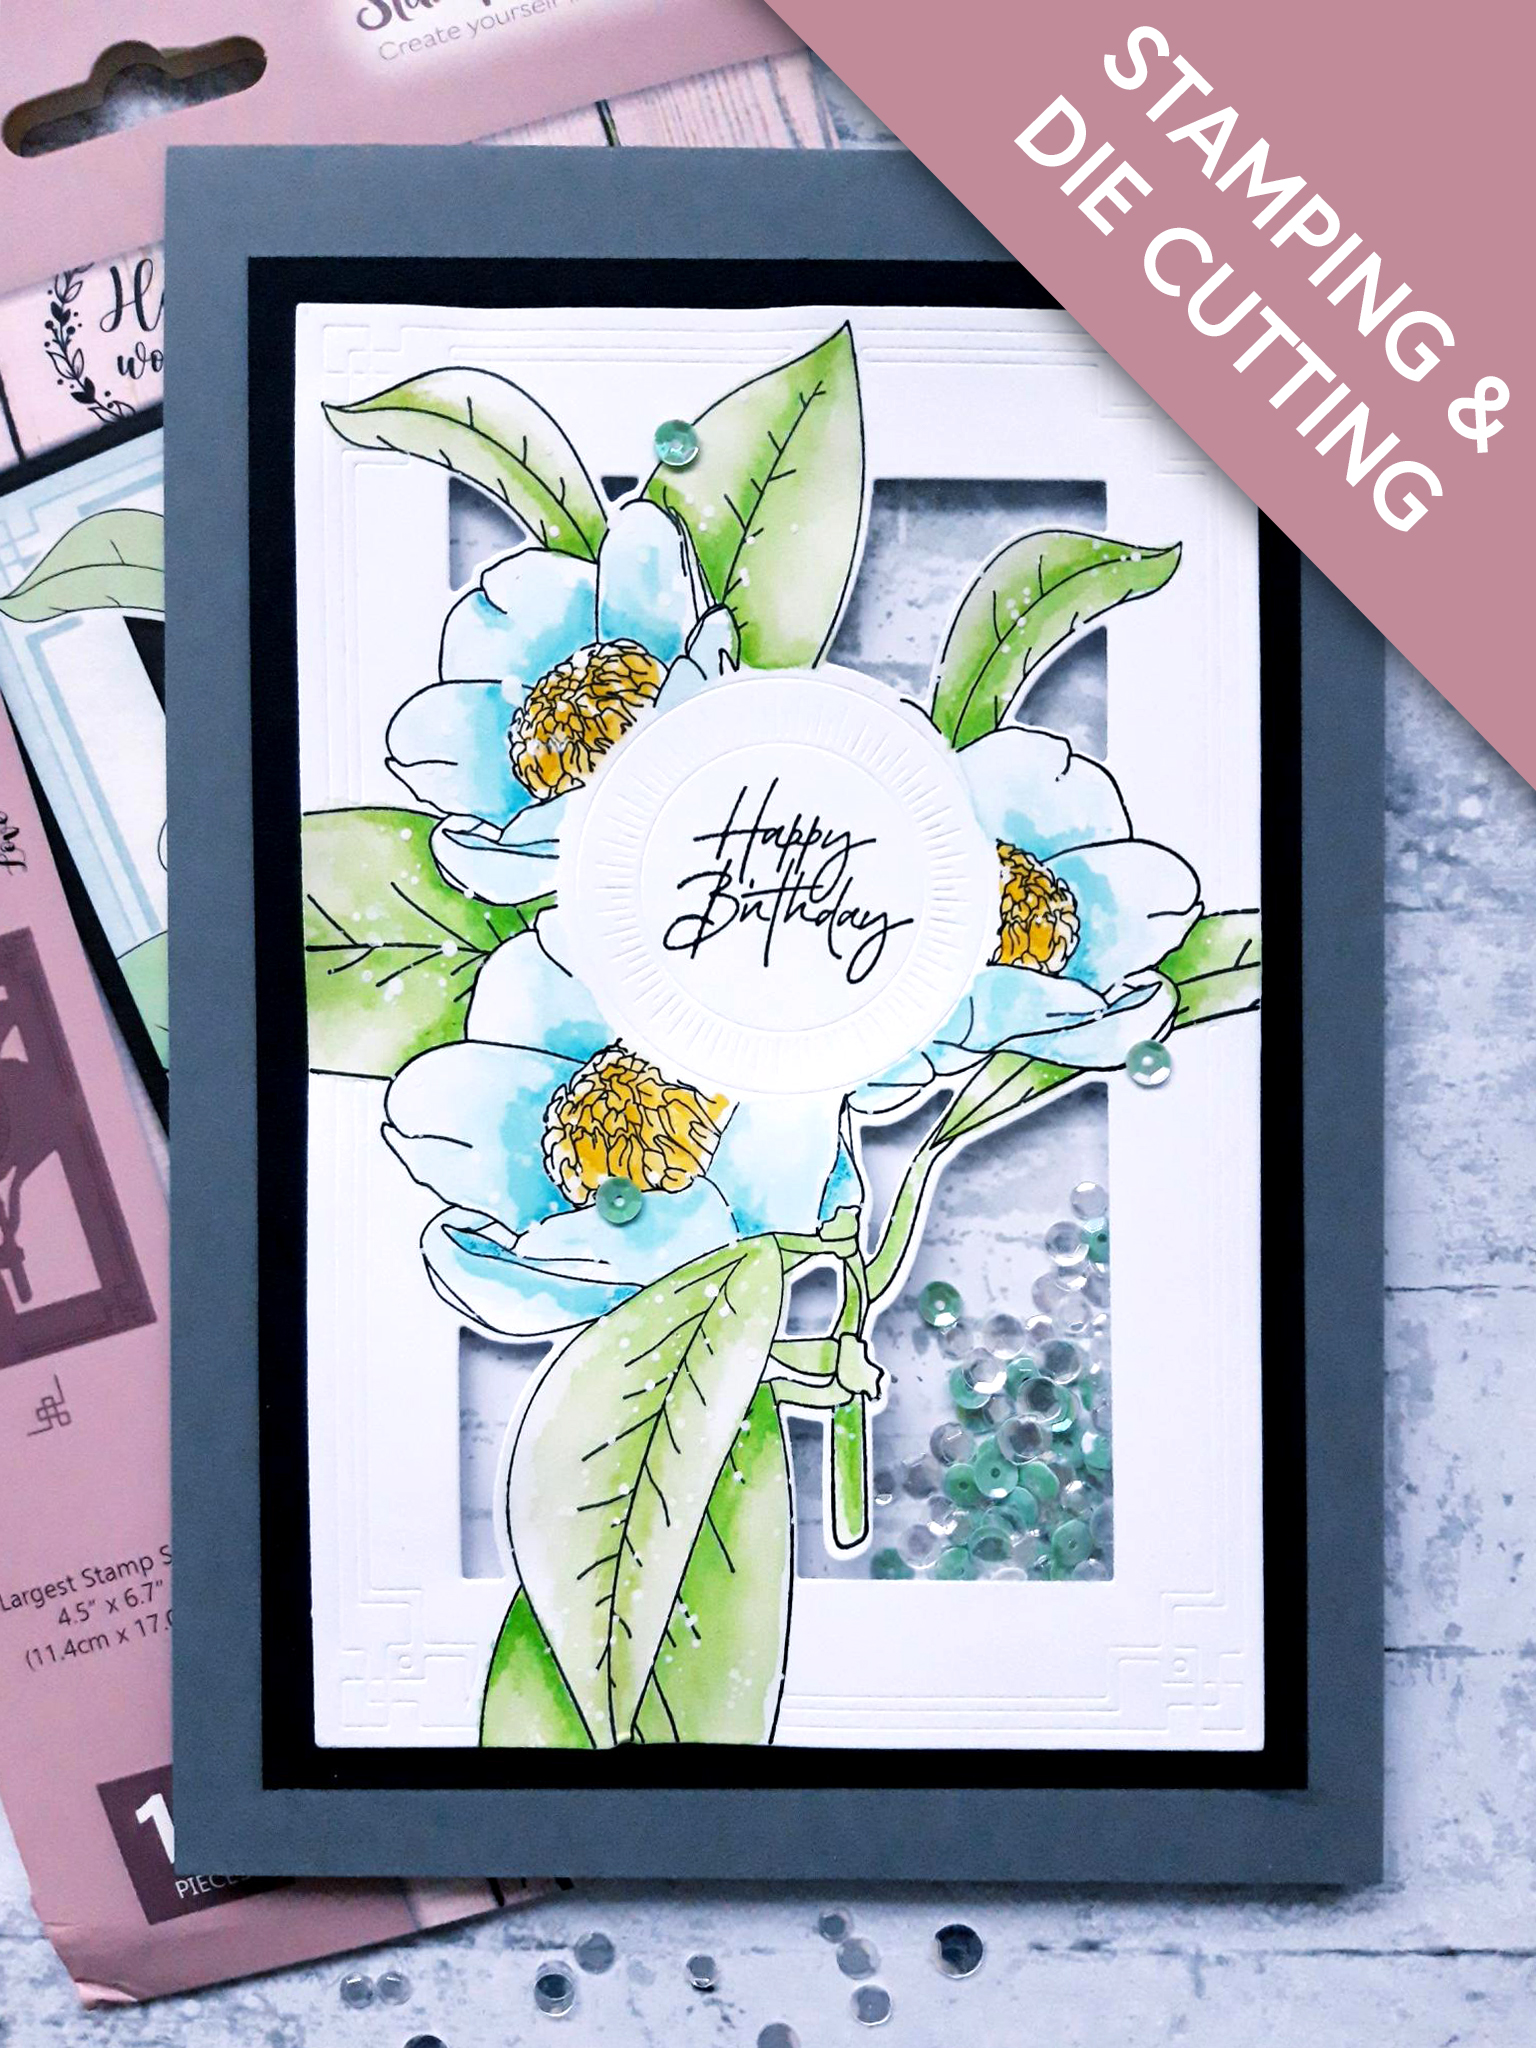
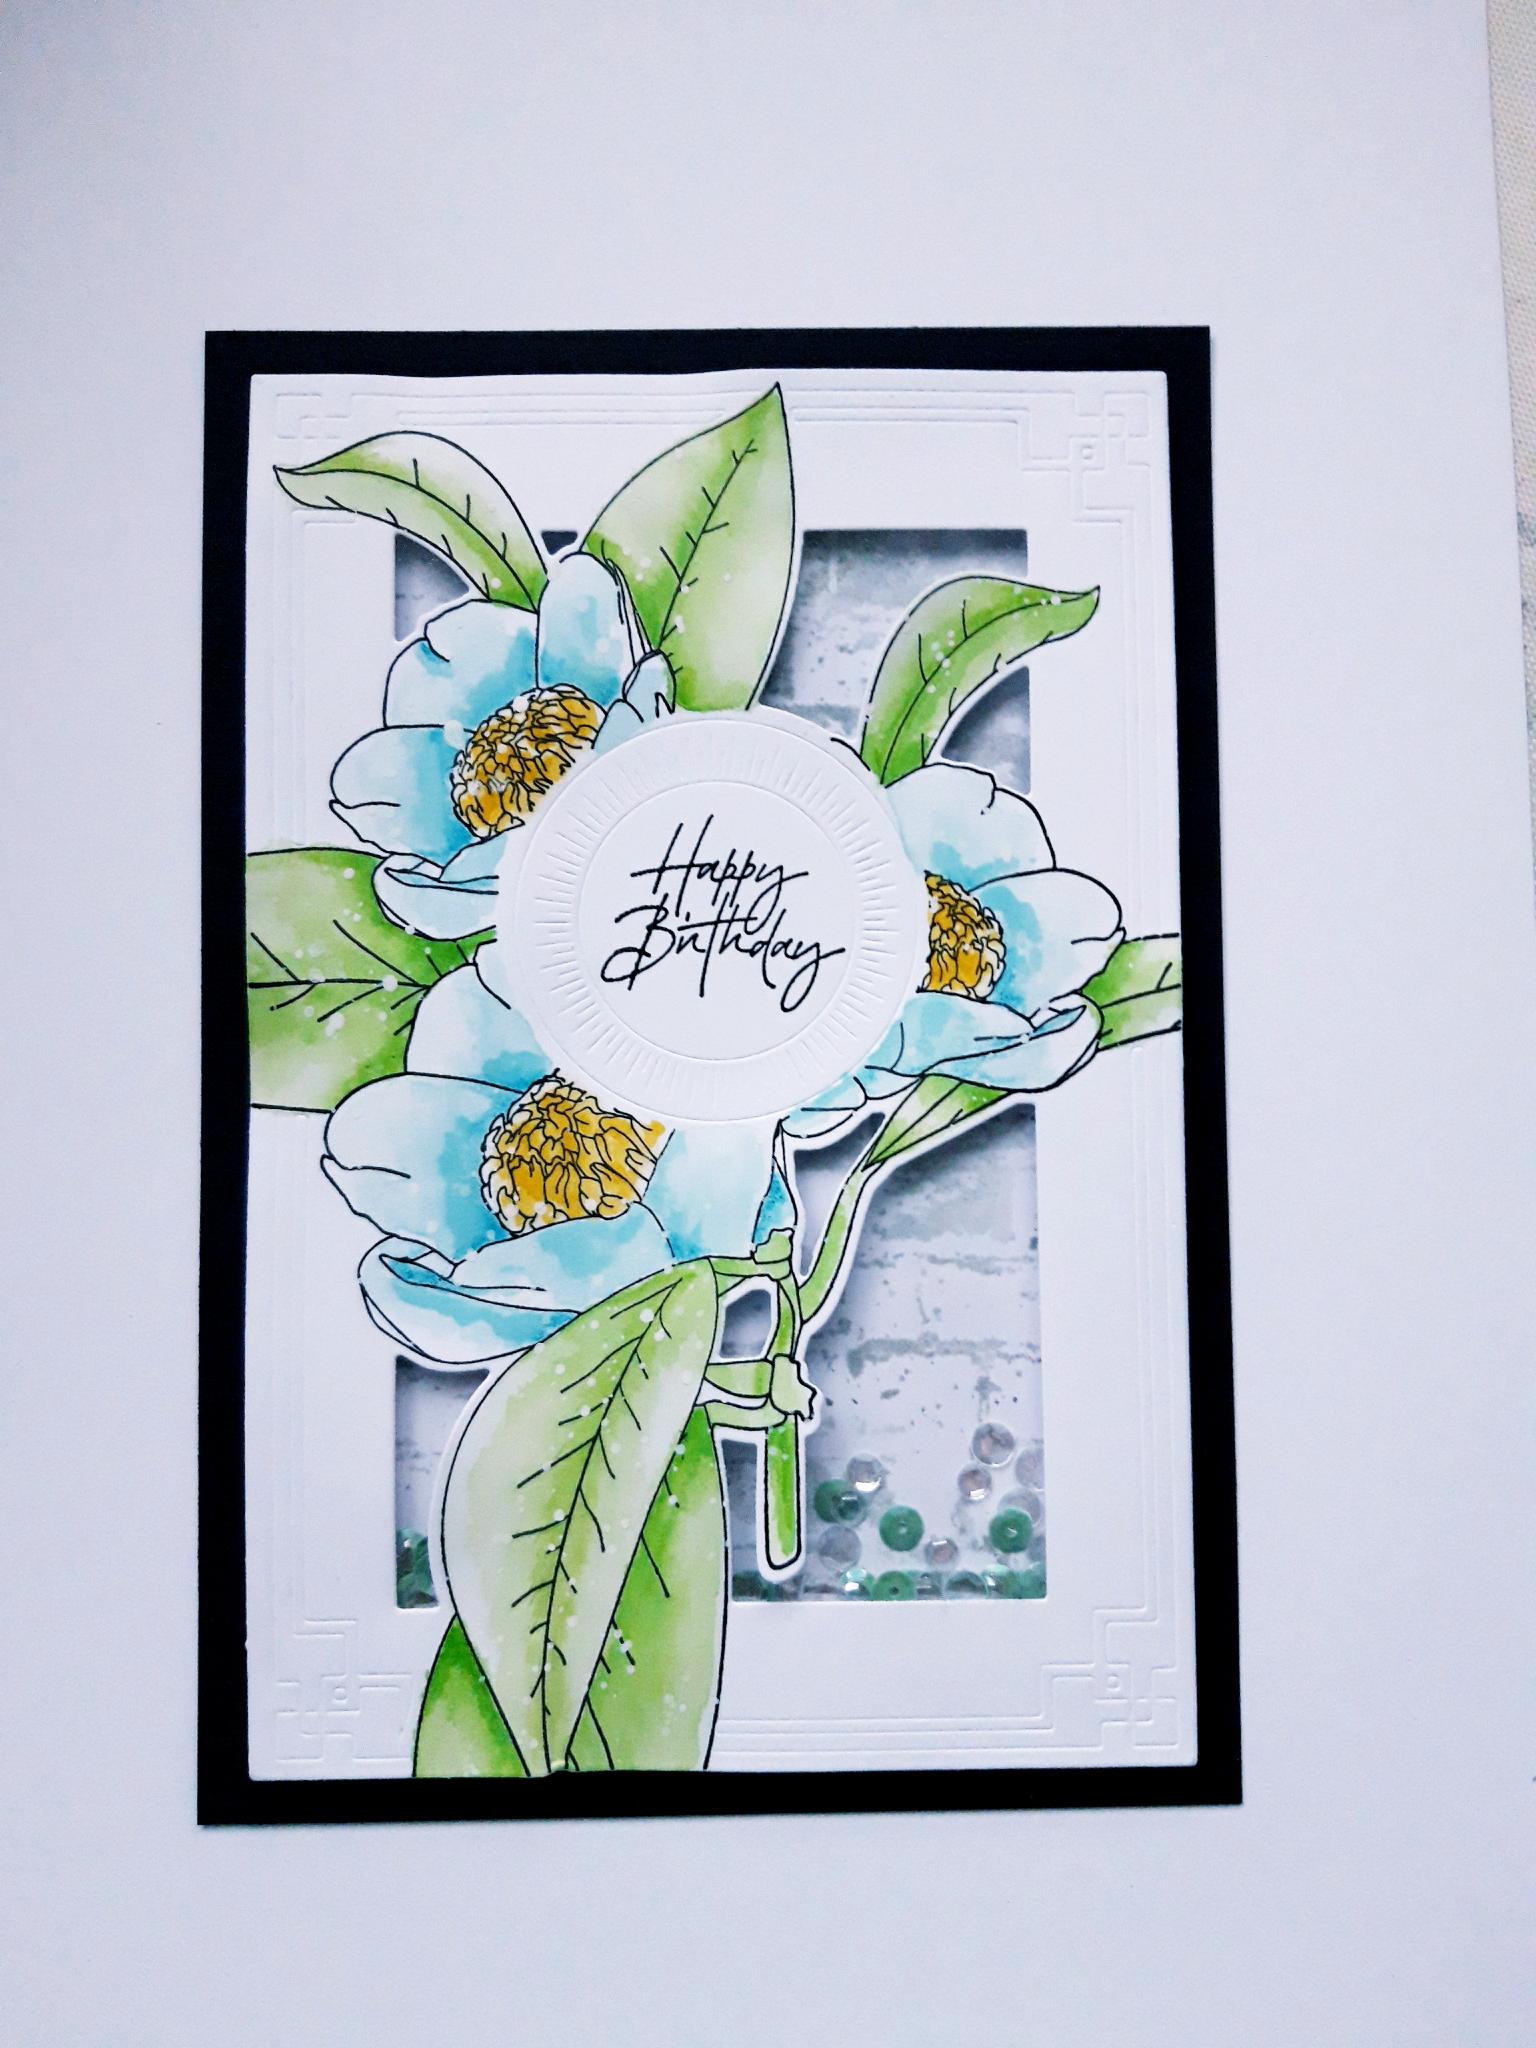
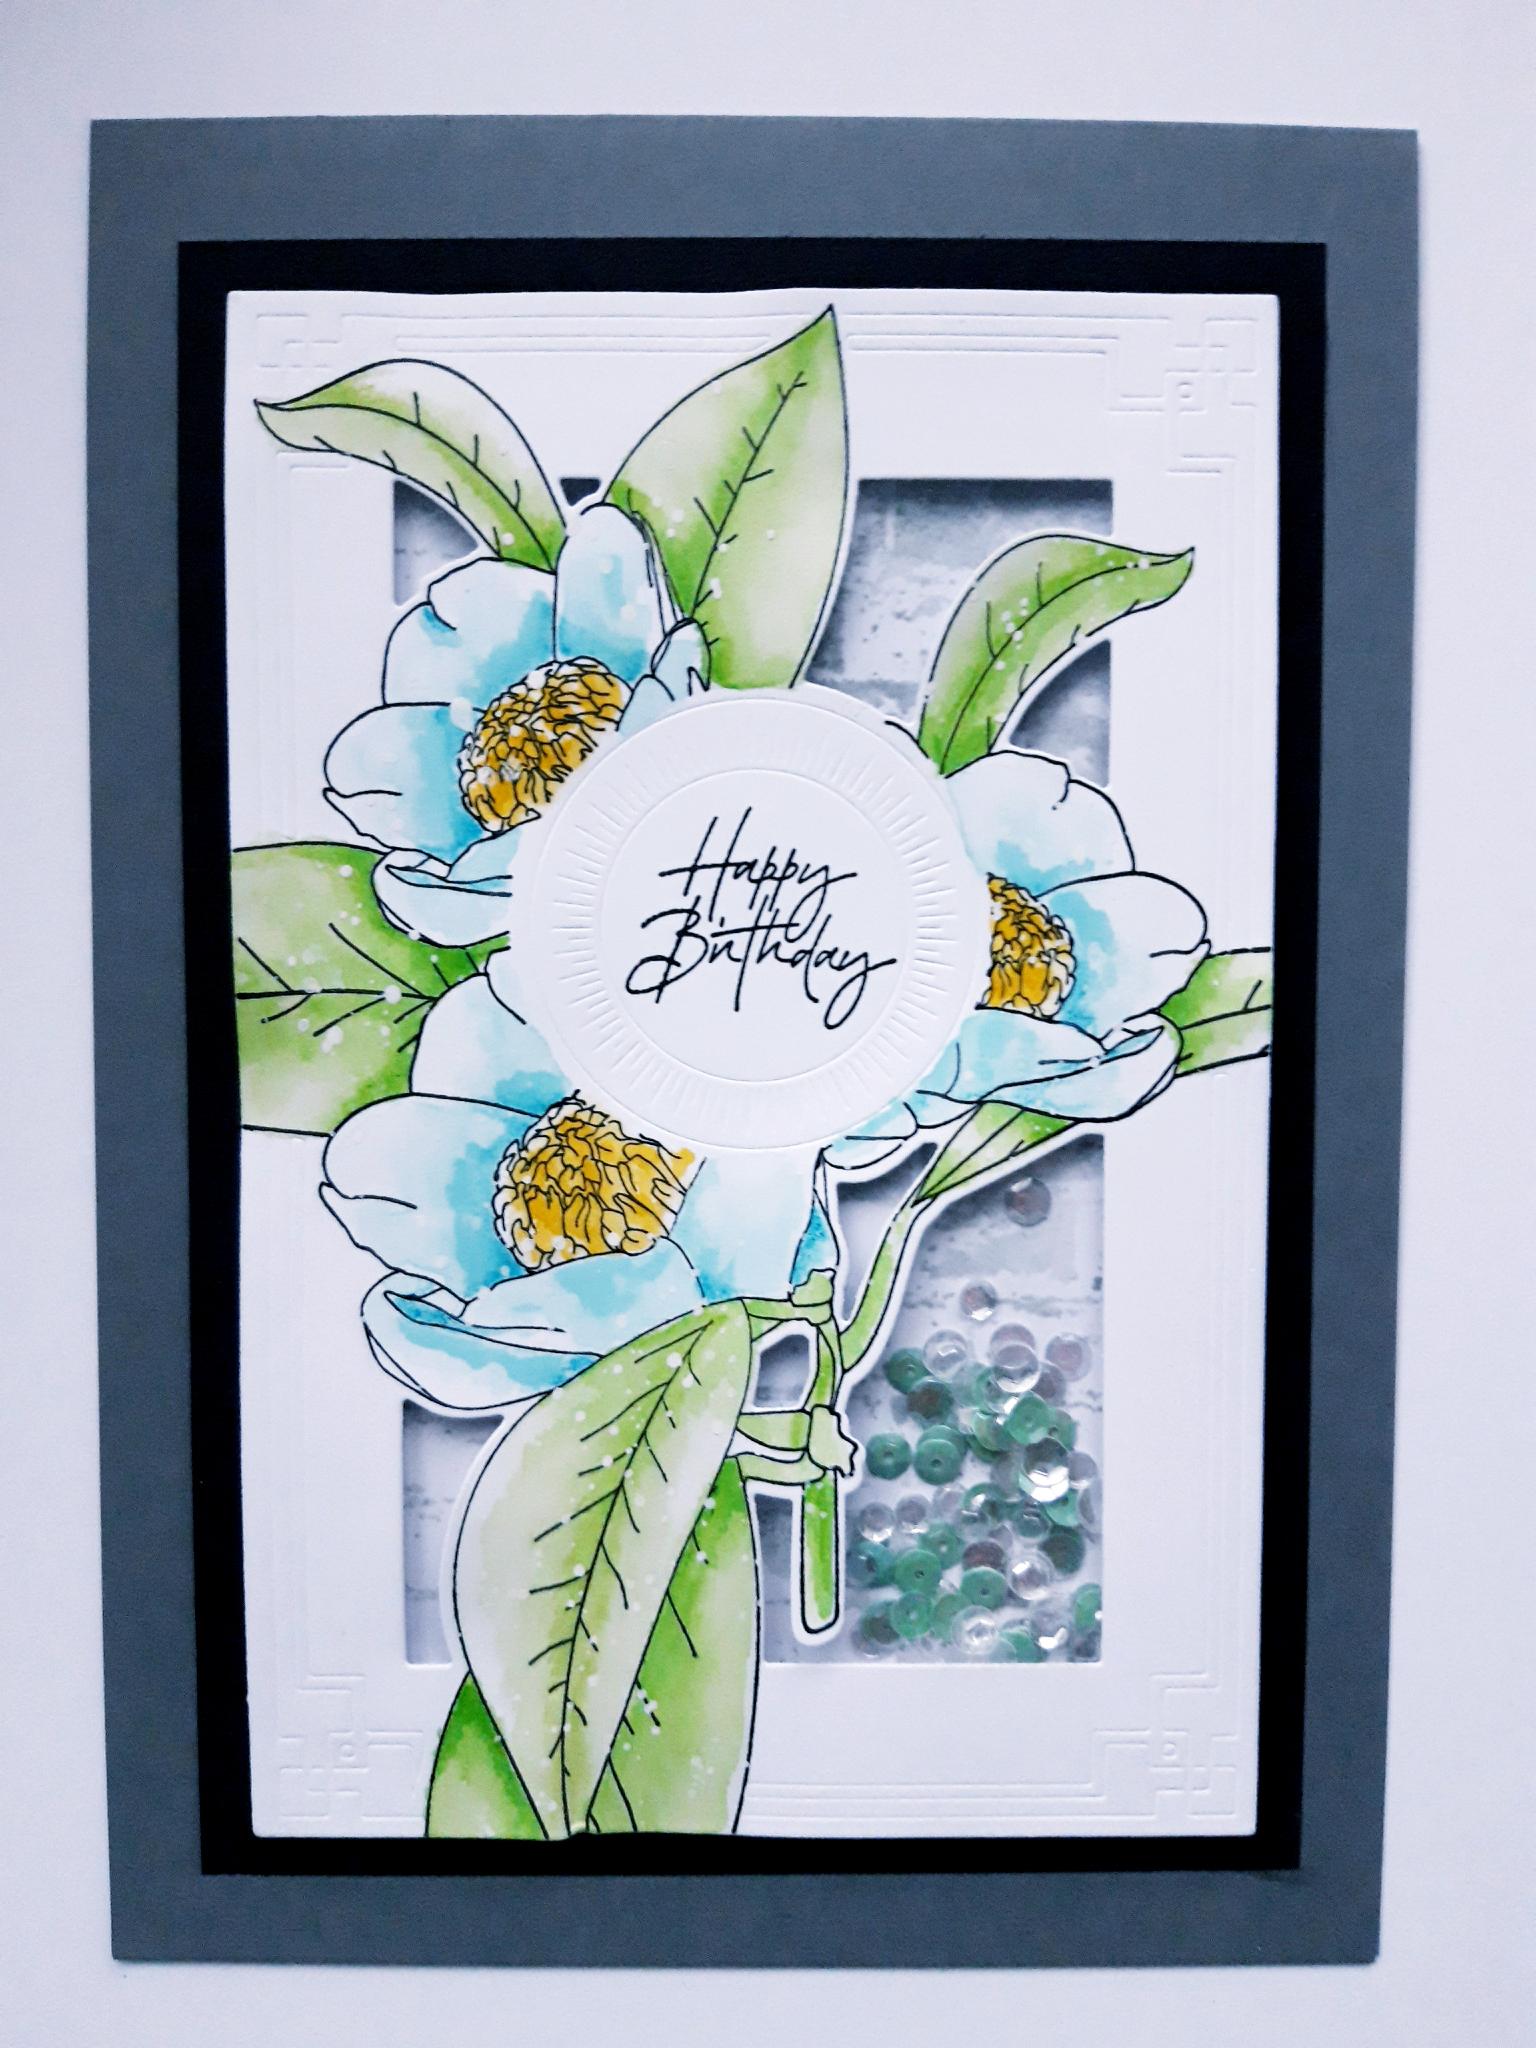
Adhere this on to the black card. |
|
Adhere this on to the front of your top folding, grey card blank. |
|
To finish your shaker card, add sequins where required. |