Give your friends $10 off their first order!
Refer a FRIEND


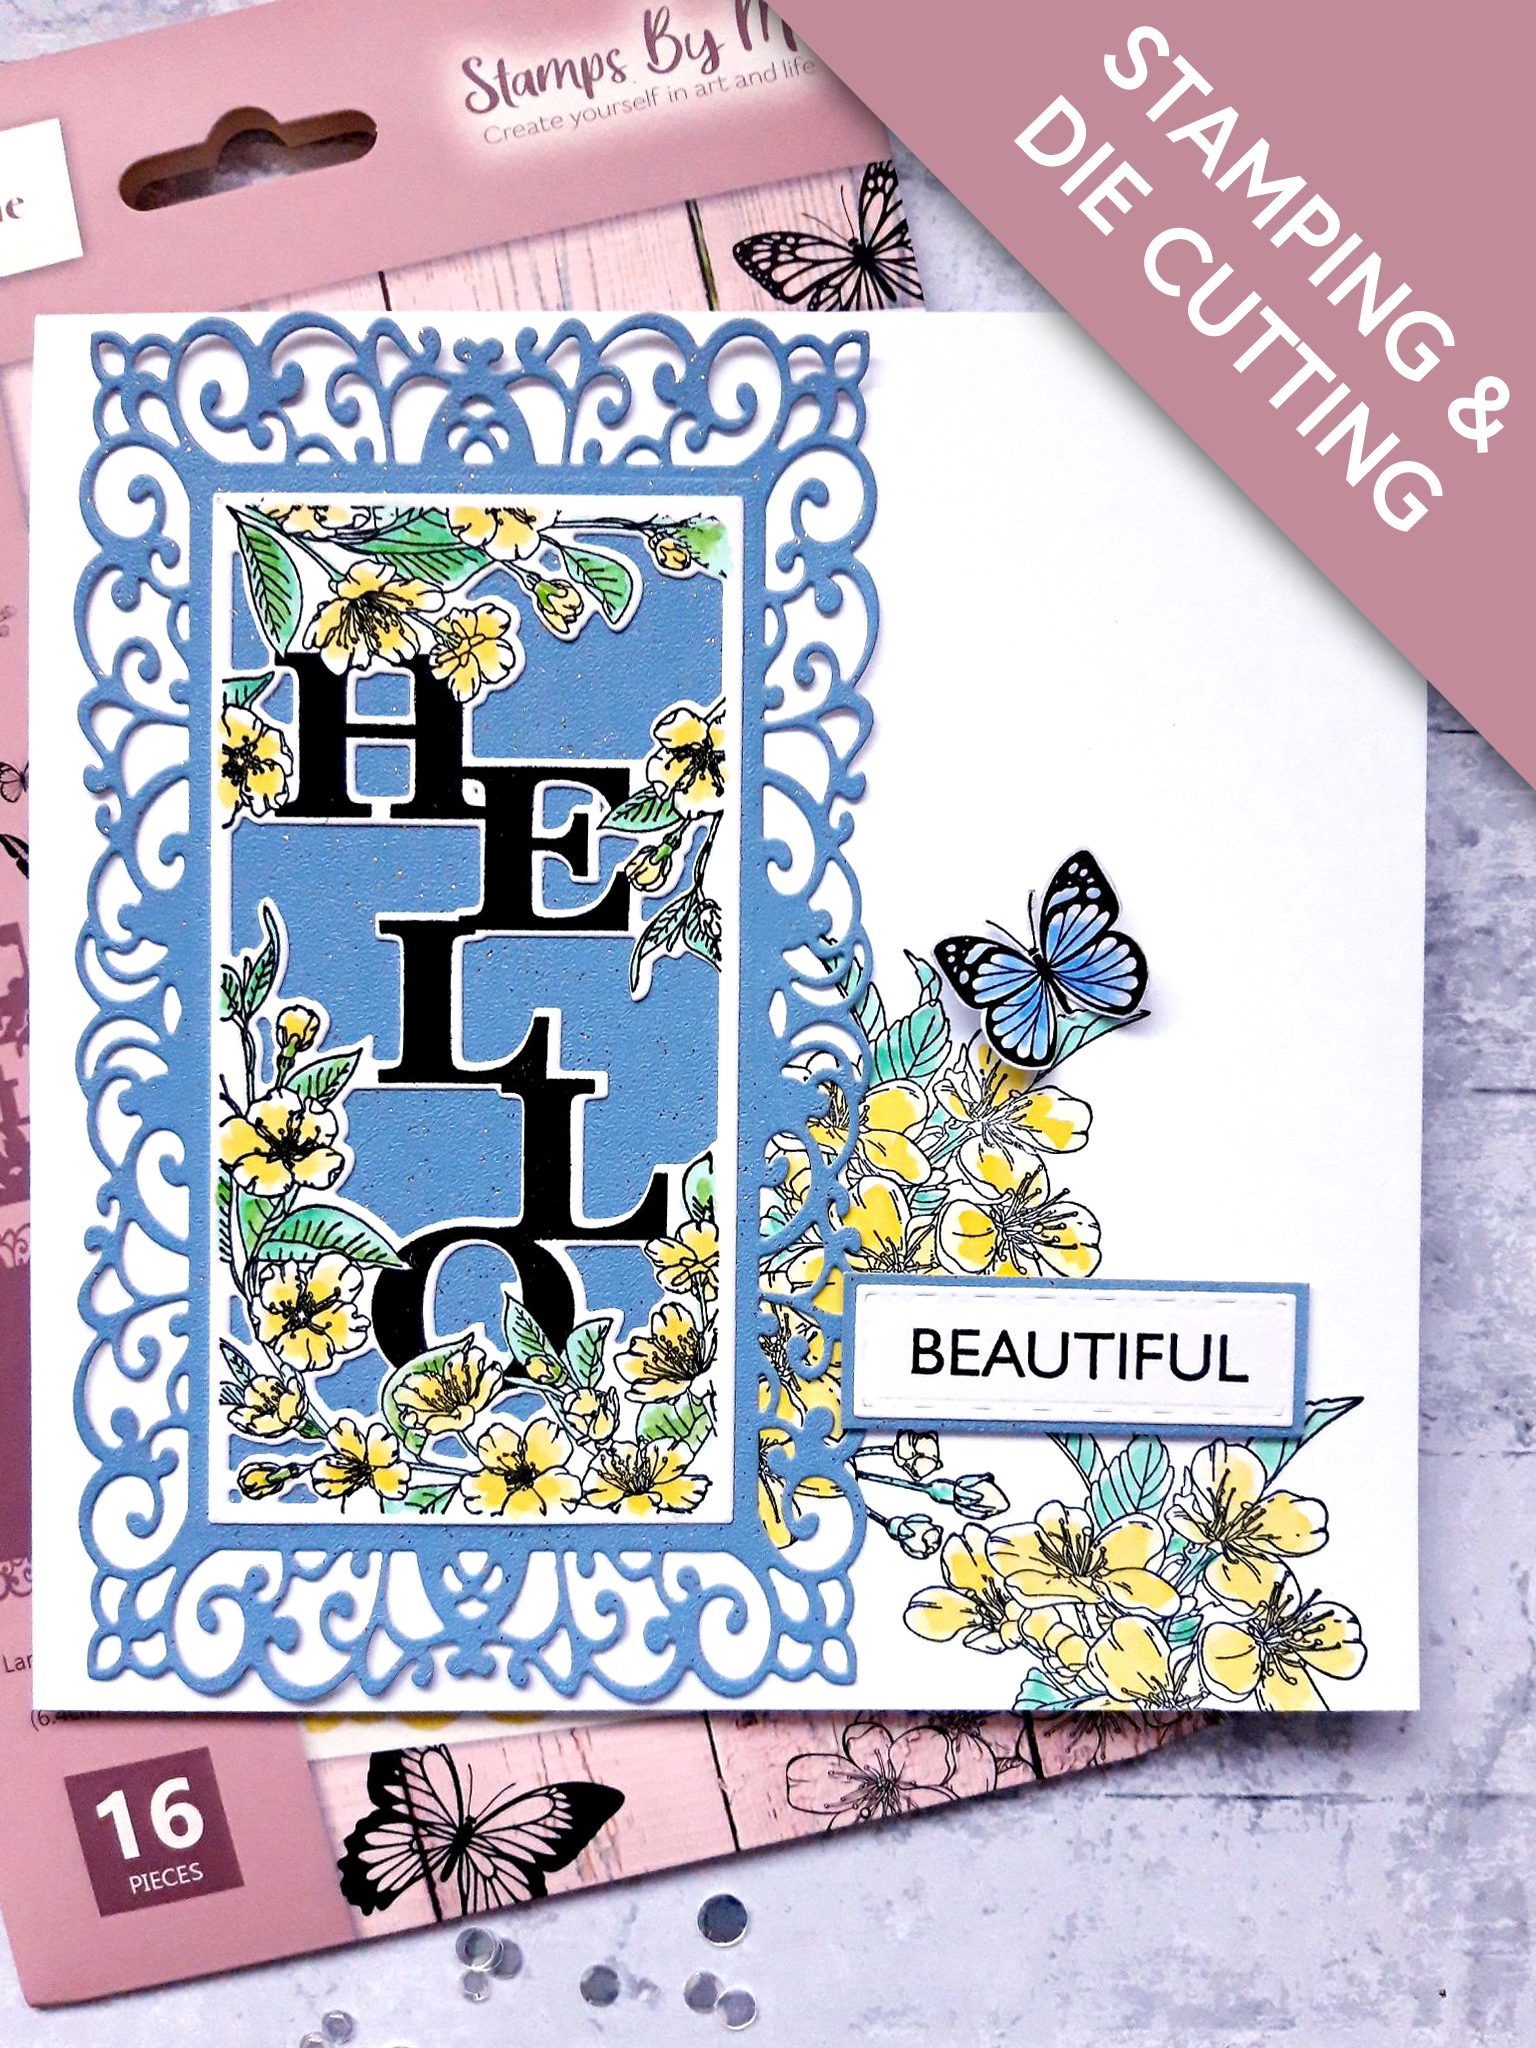
WHAT YOU WILL NEED:
White card blank (7 x 7")
White card A4
Blue Glitter card A4
Stamps and dies from Bonjour Slimline Stamp And Die Collection
Dies from Deboss Rectangle Nesting Dies
Versafine Ink Pad: Onyx Black
Watercolour paint palette
Paint brush
Eureka 101
Paper Trimmer
Perfect Together Glue
Foam Pads
Die Cutting machine
[click image to enlarge] 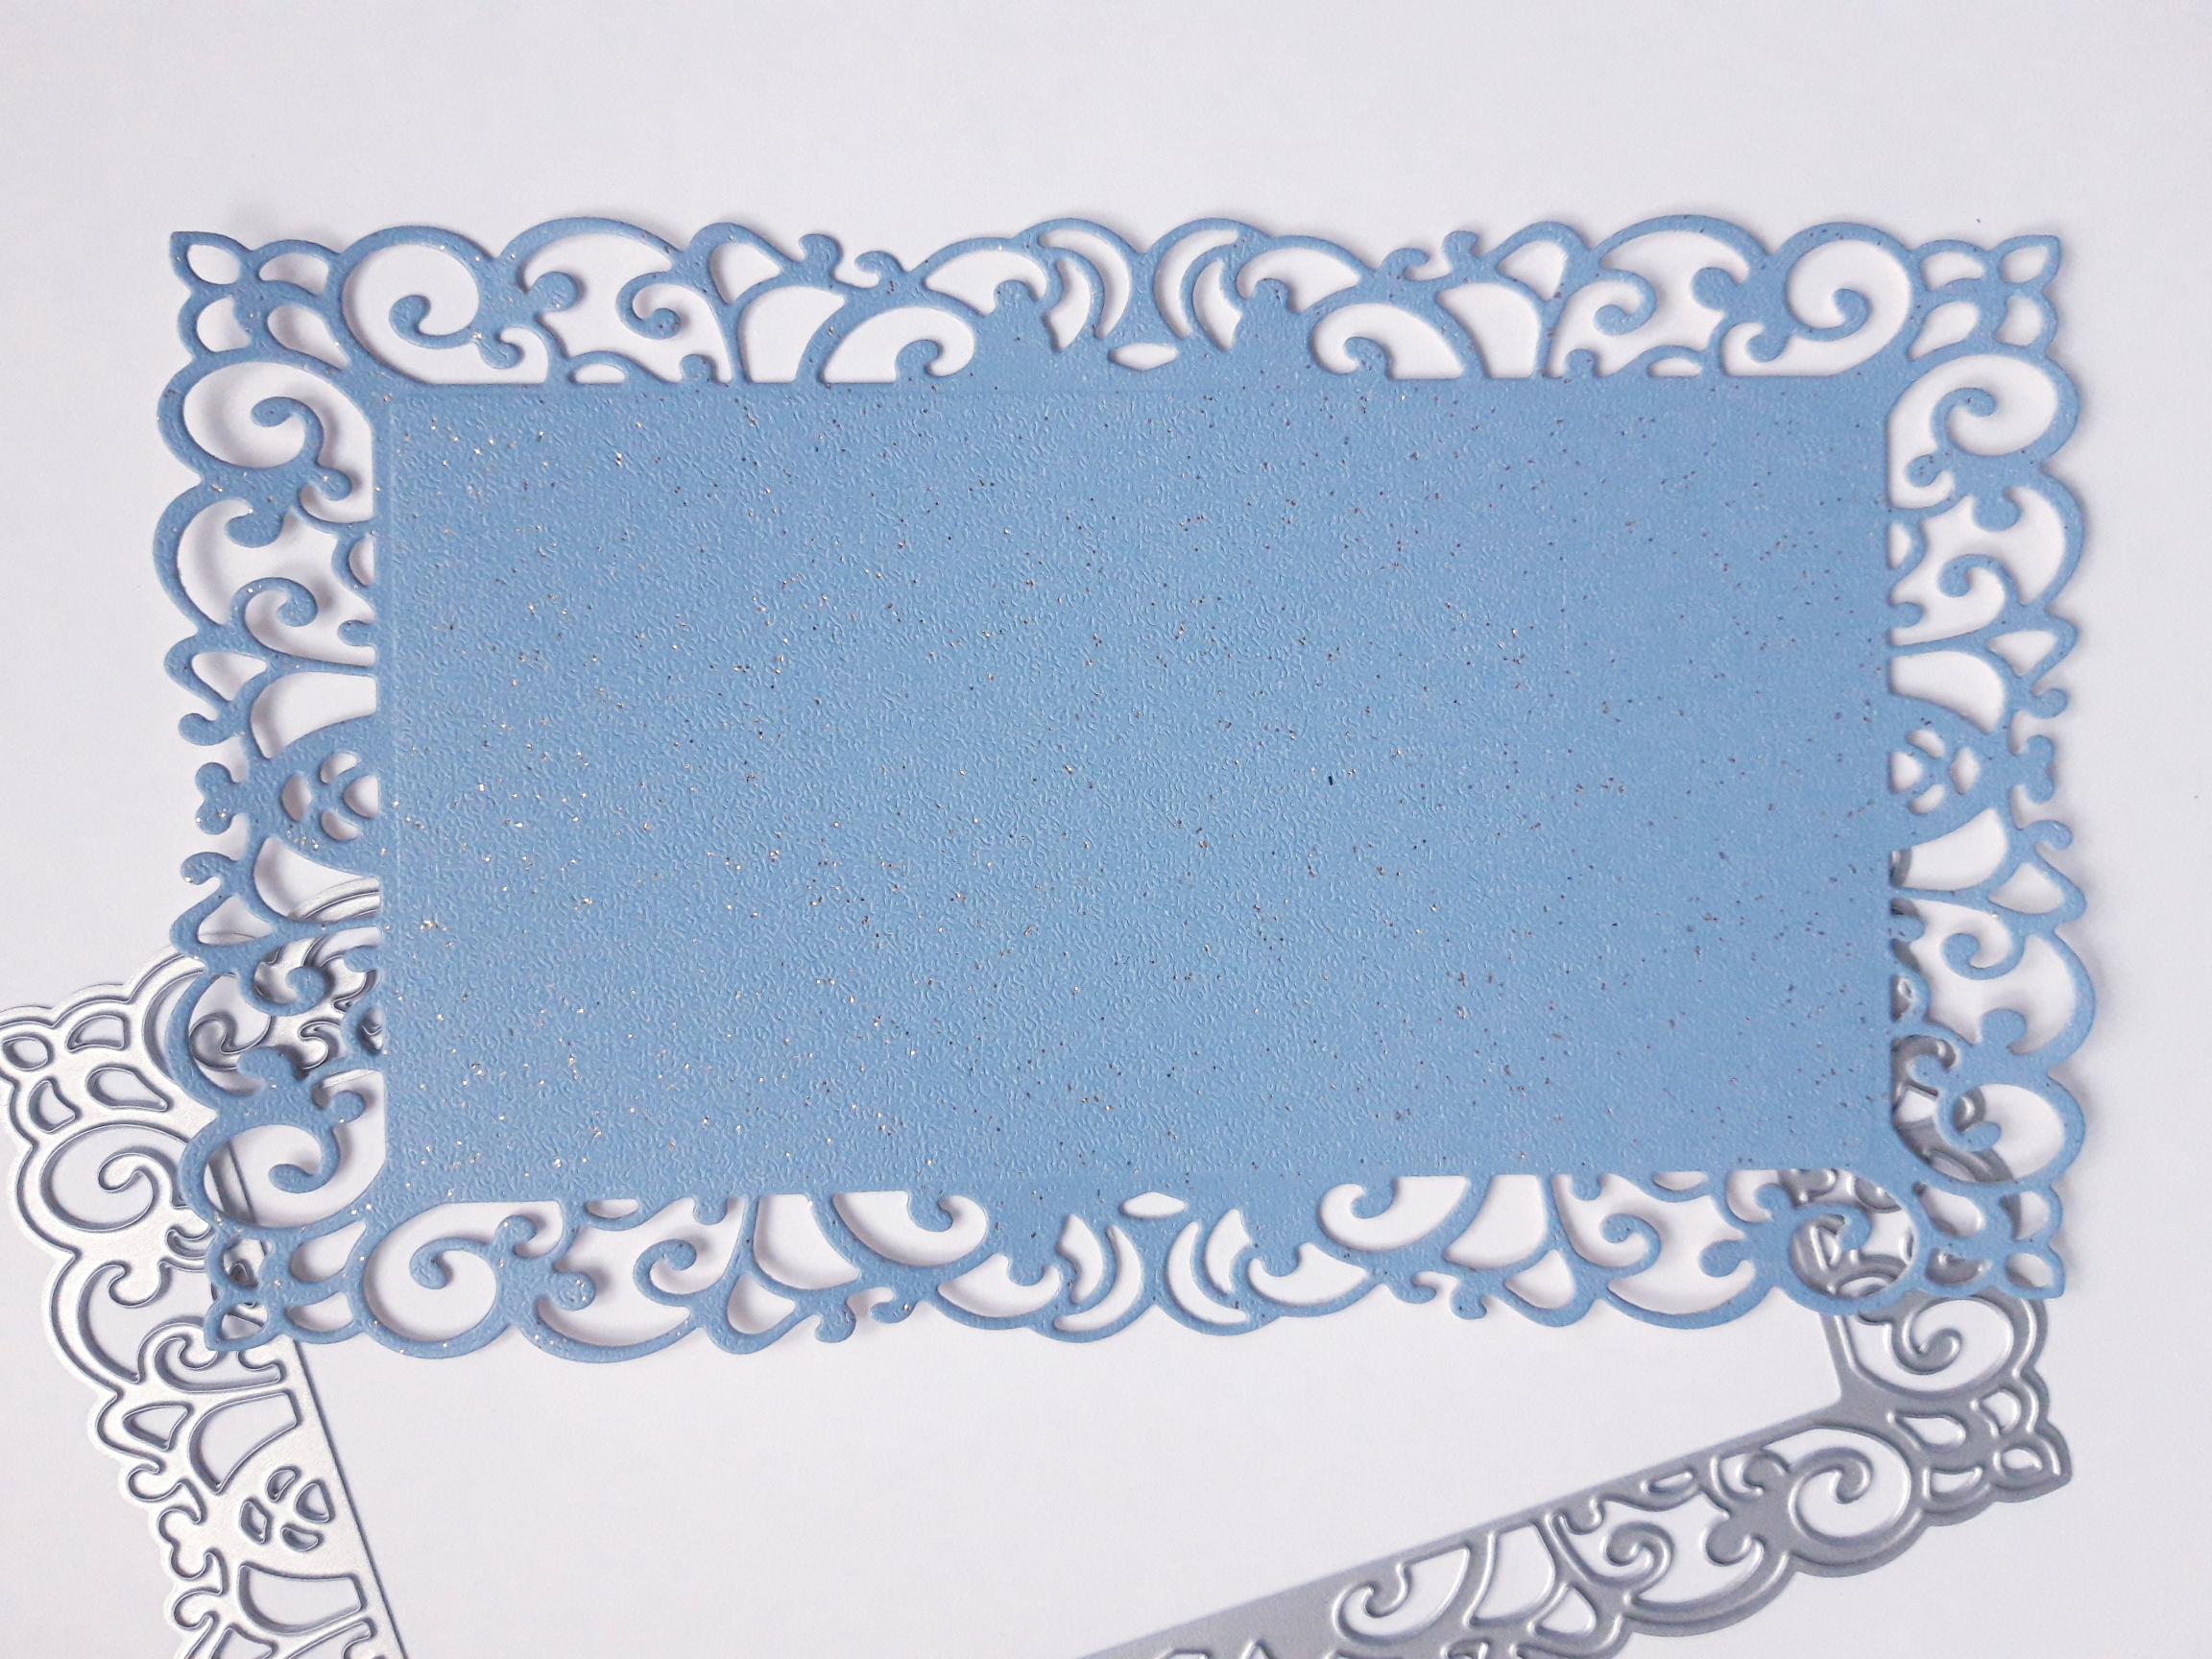
|
Place the layering frame die, from the Bonjour Slimline Stamp And Die Collection, on to the blue glitter card, and run it through your die cuttting machine. Put the remaining glitter card aside for later. |
|
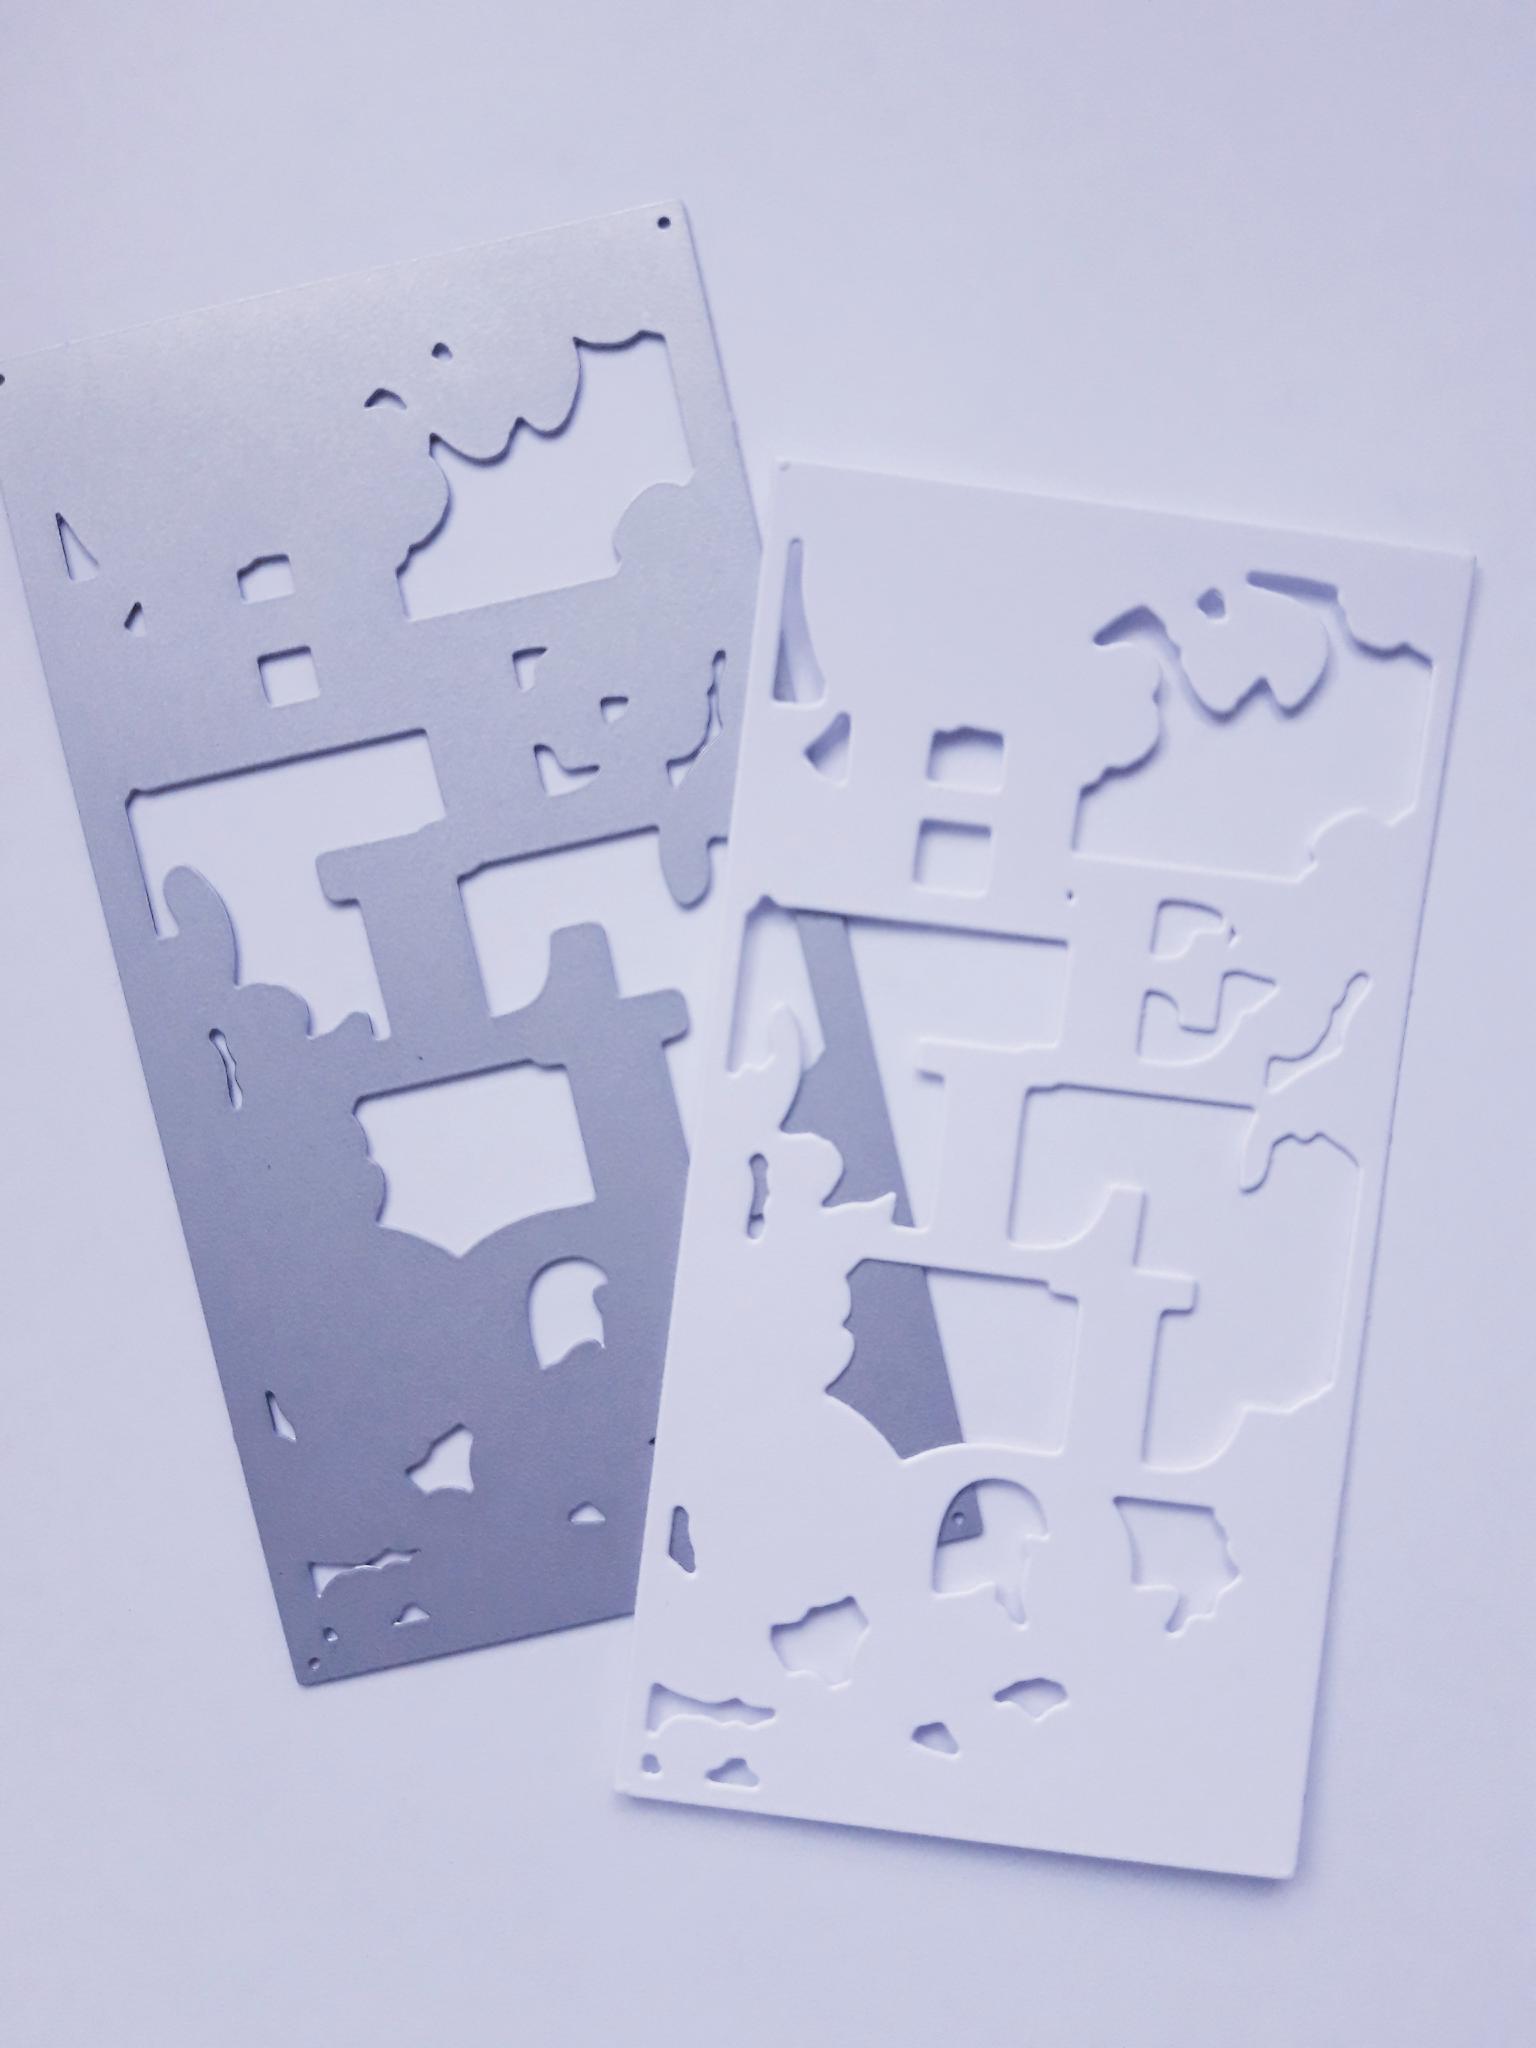
Lay the coordinating, solid die plate, from the same set, on to the white A4 card. Cut a piece off, bigger than your die, and set the remaining card aside. Run through your die cutting machine. Keep the "waste" that you have die cut this from to assist you with the next step. |
|
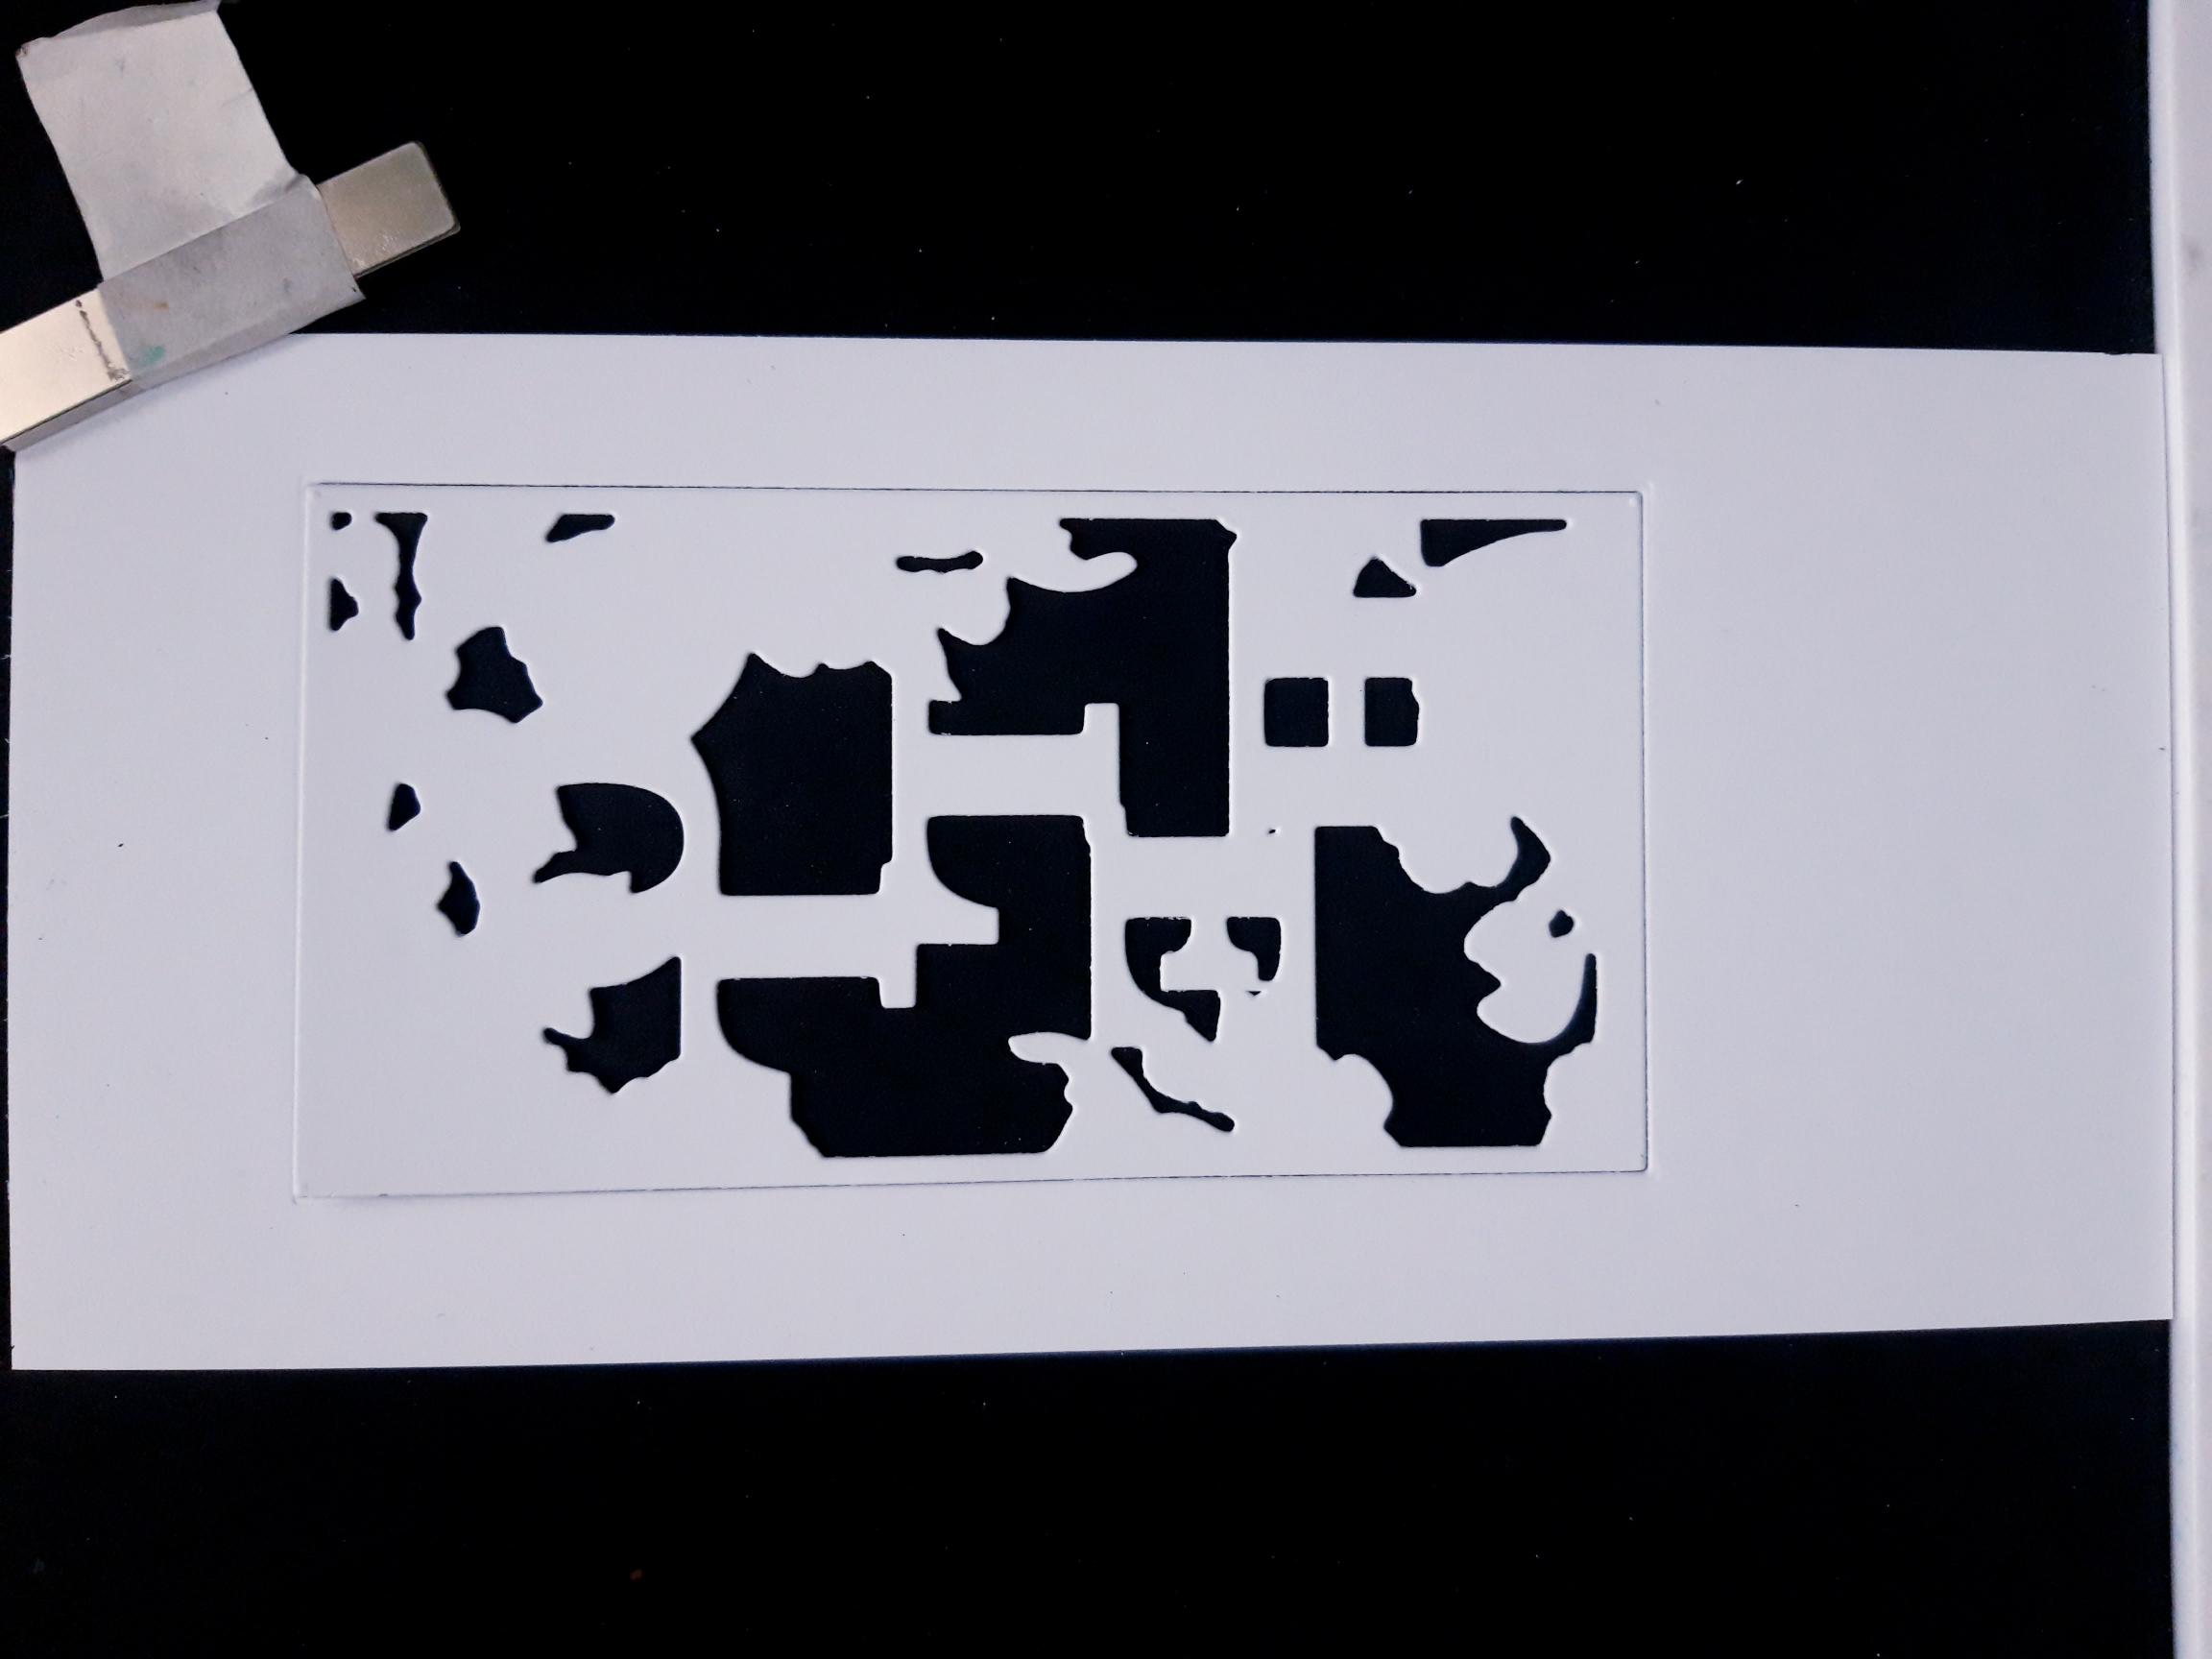
Place the die cut back in to the "waste", and place these in your Eureka, securing the "waste" in place, with the magnet. |
|
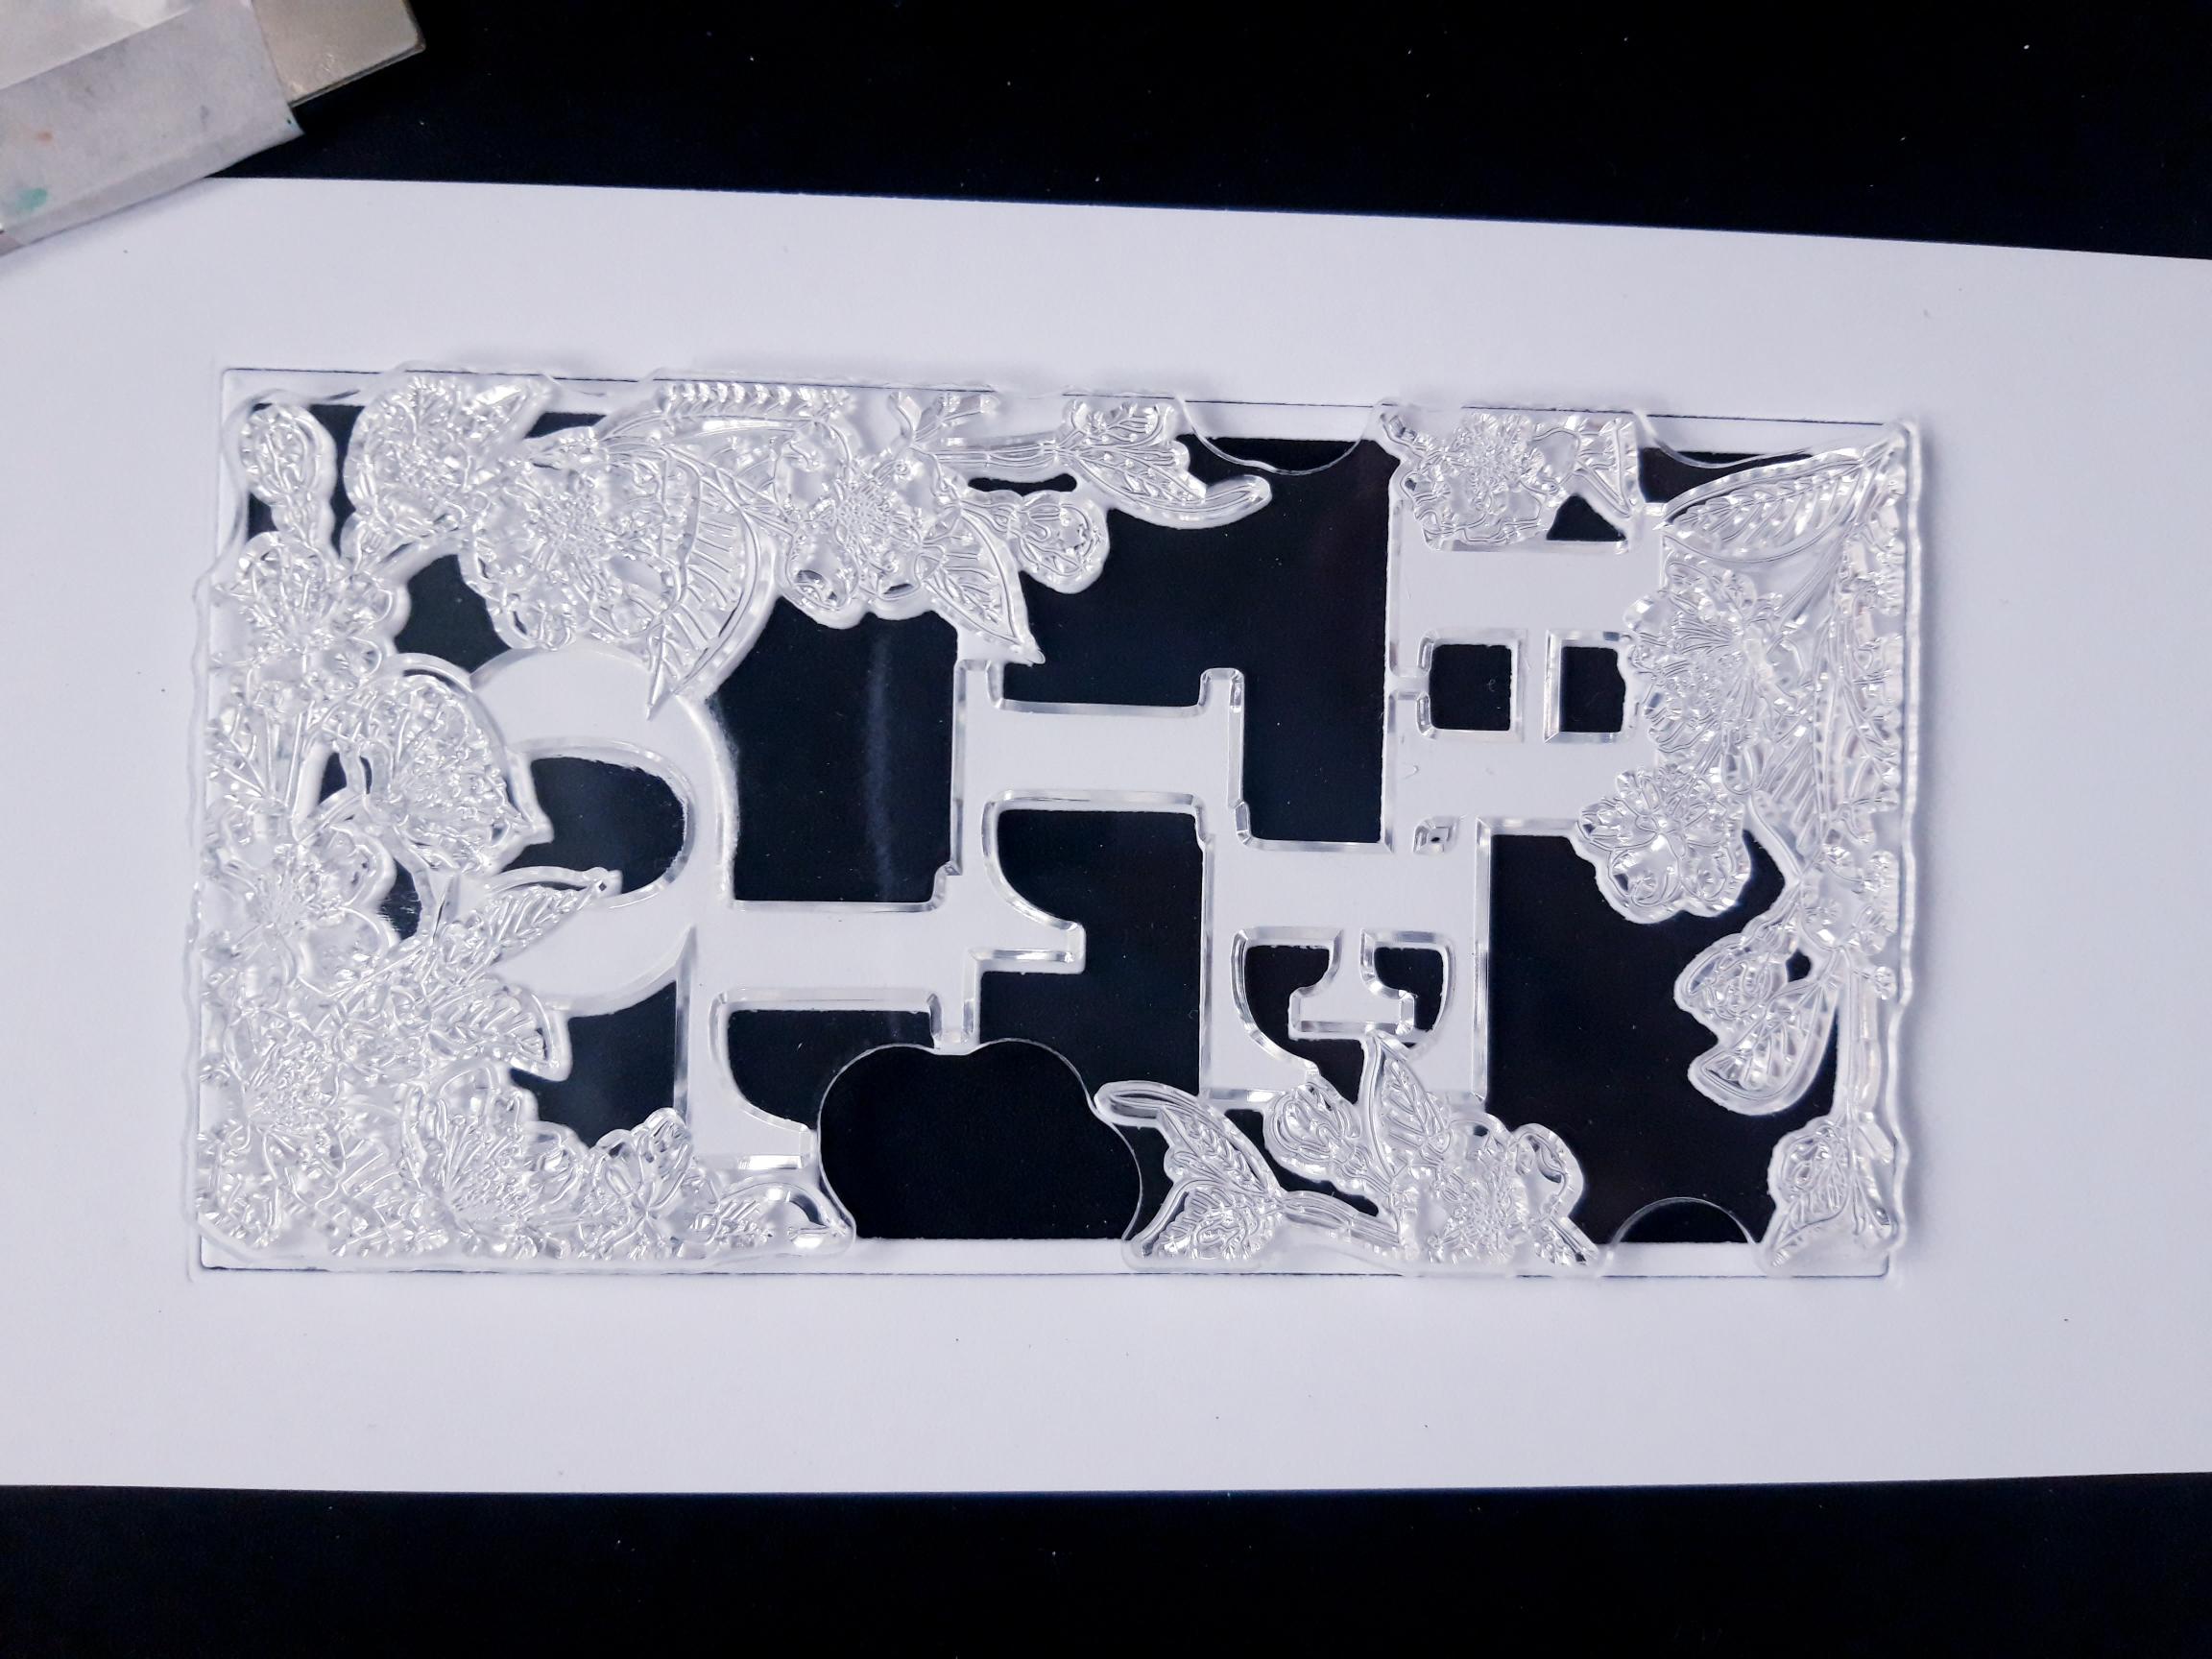
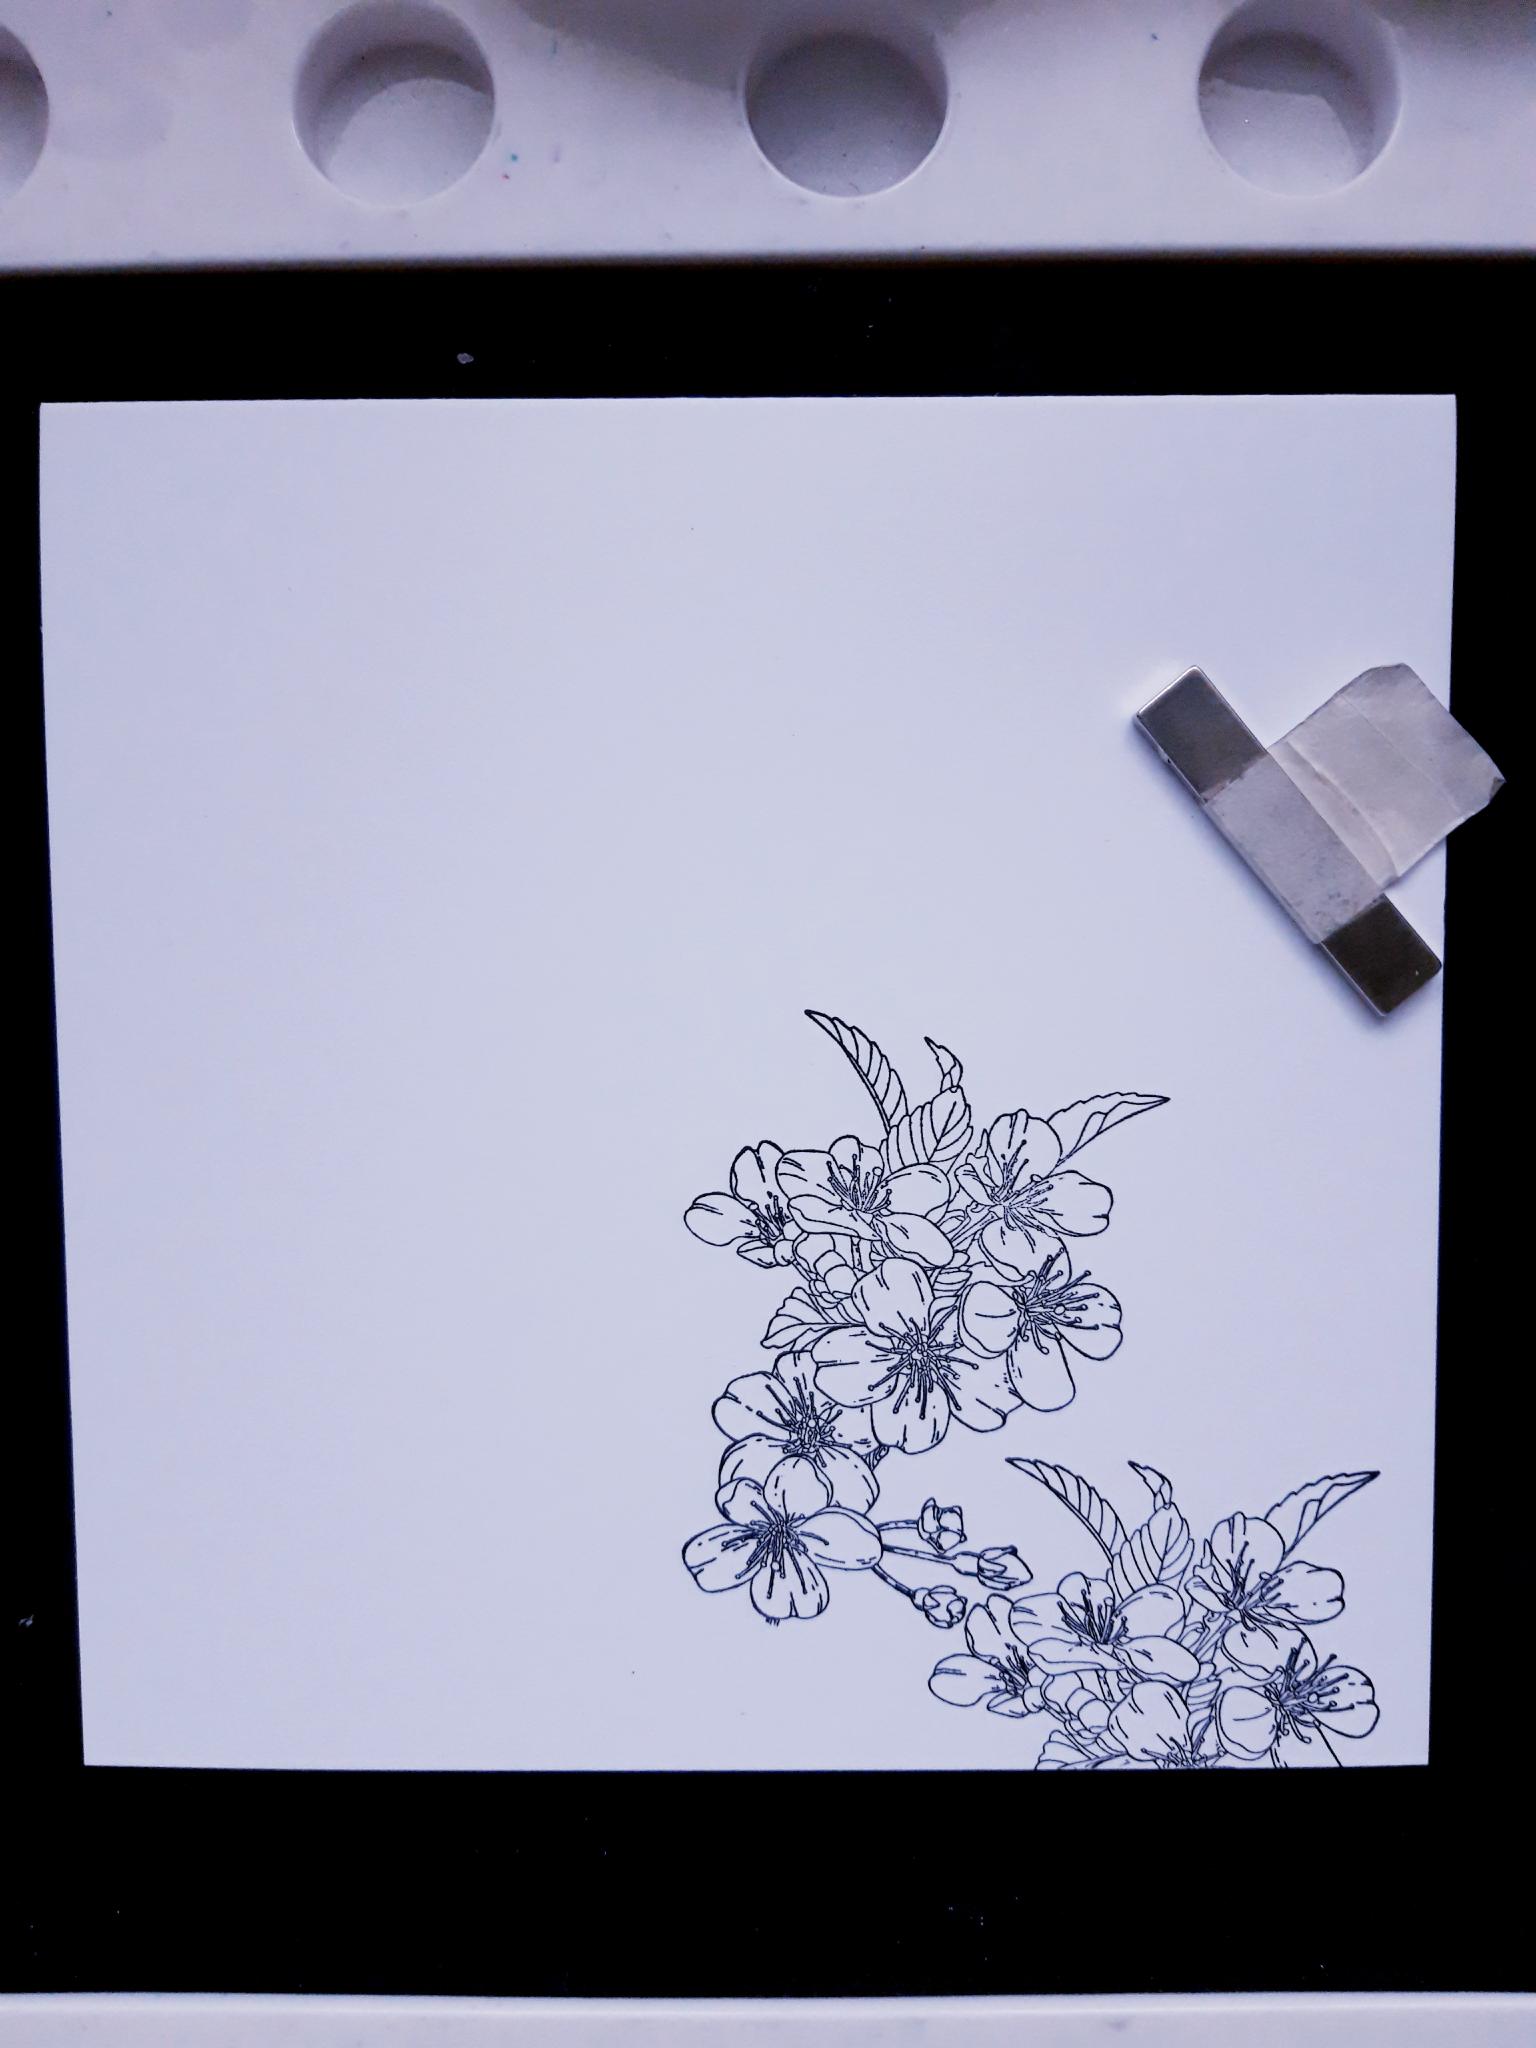
Place the coordinating stamp in place, on top of the die cut element, as shown in this photo. |
|
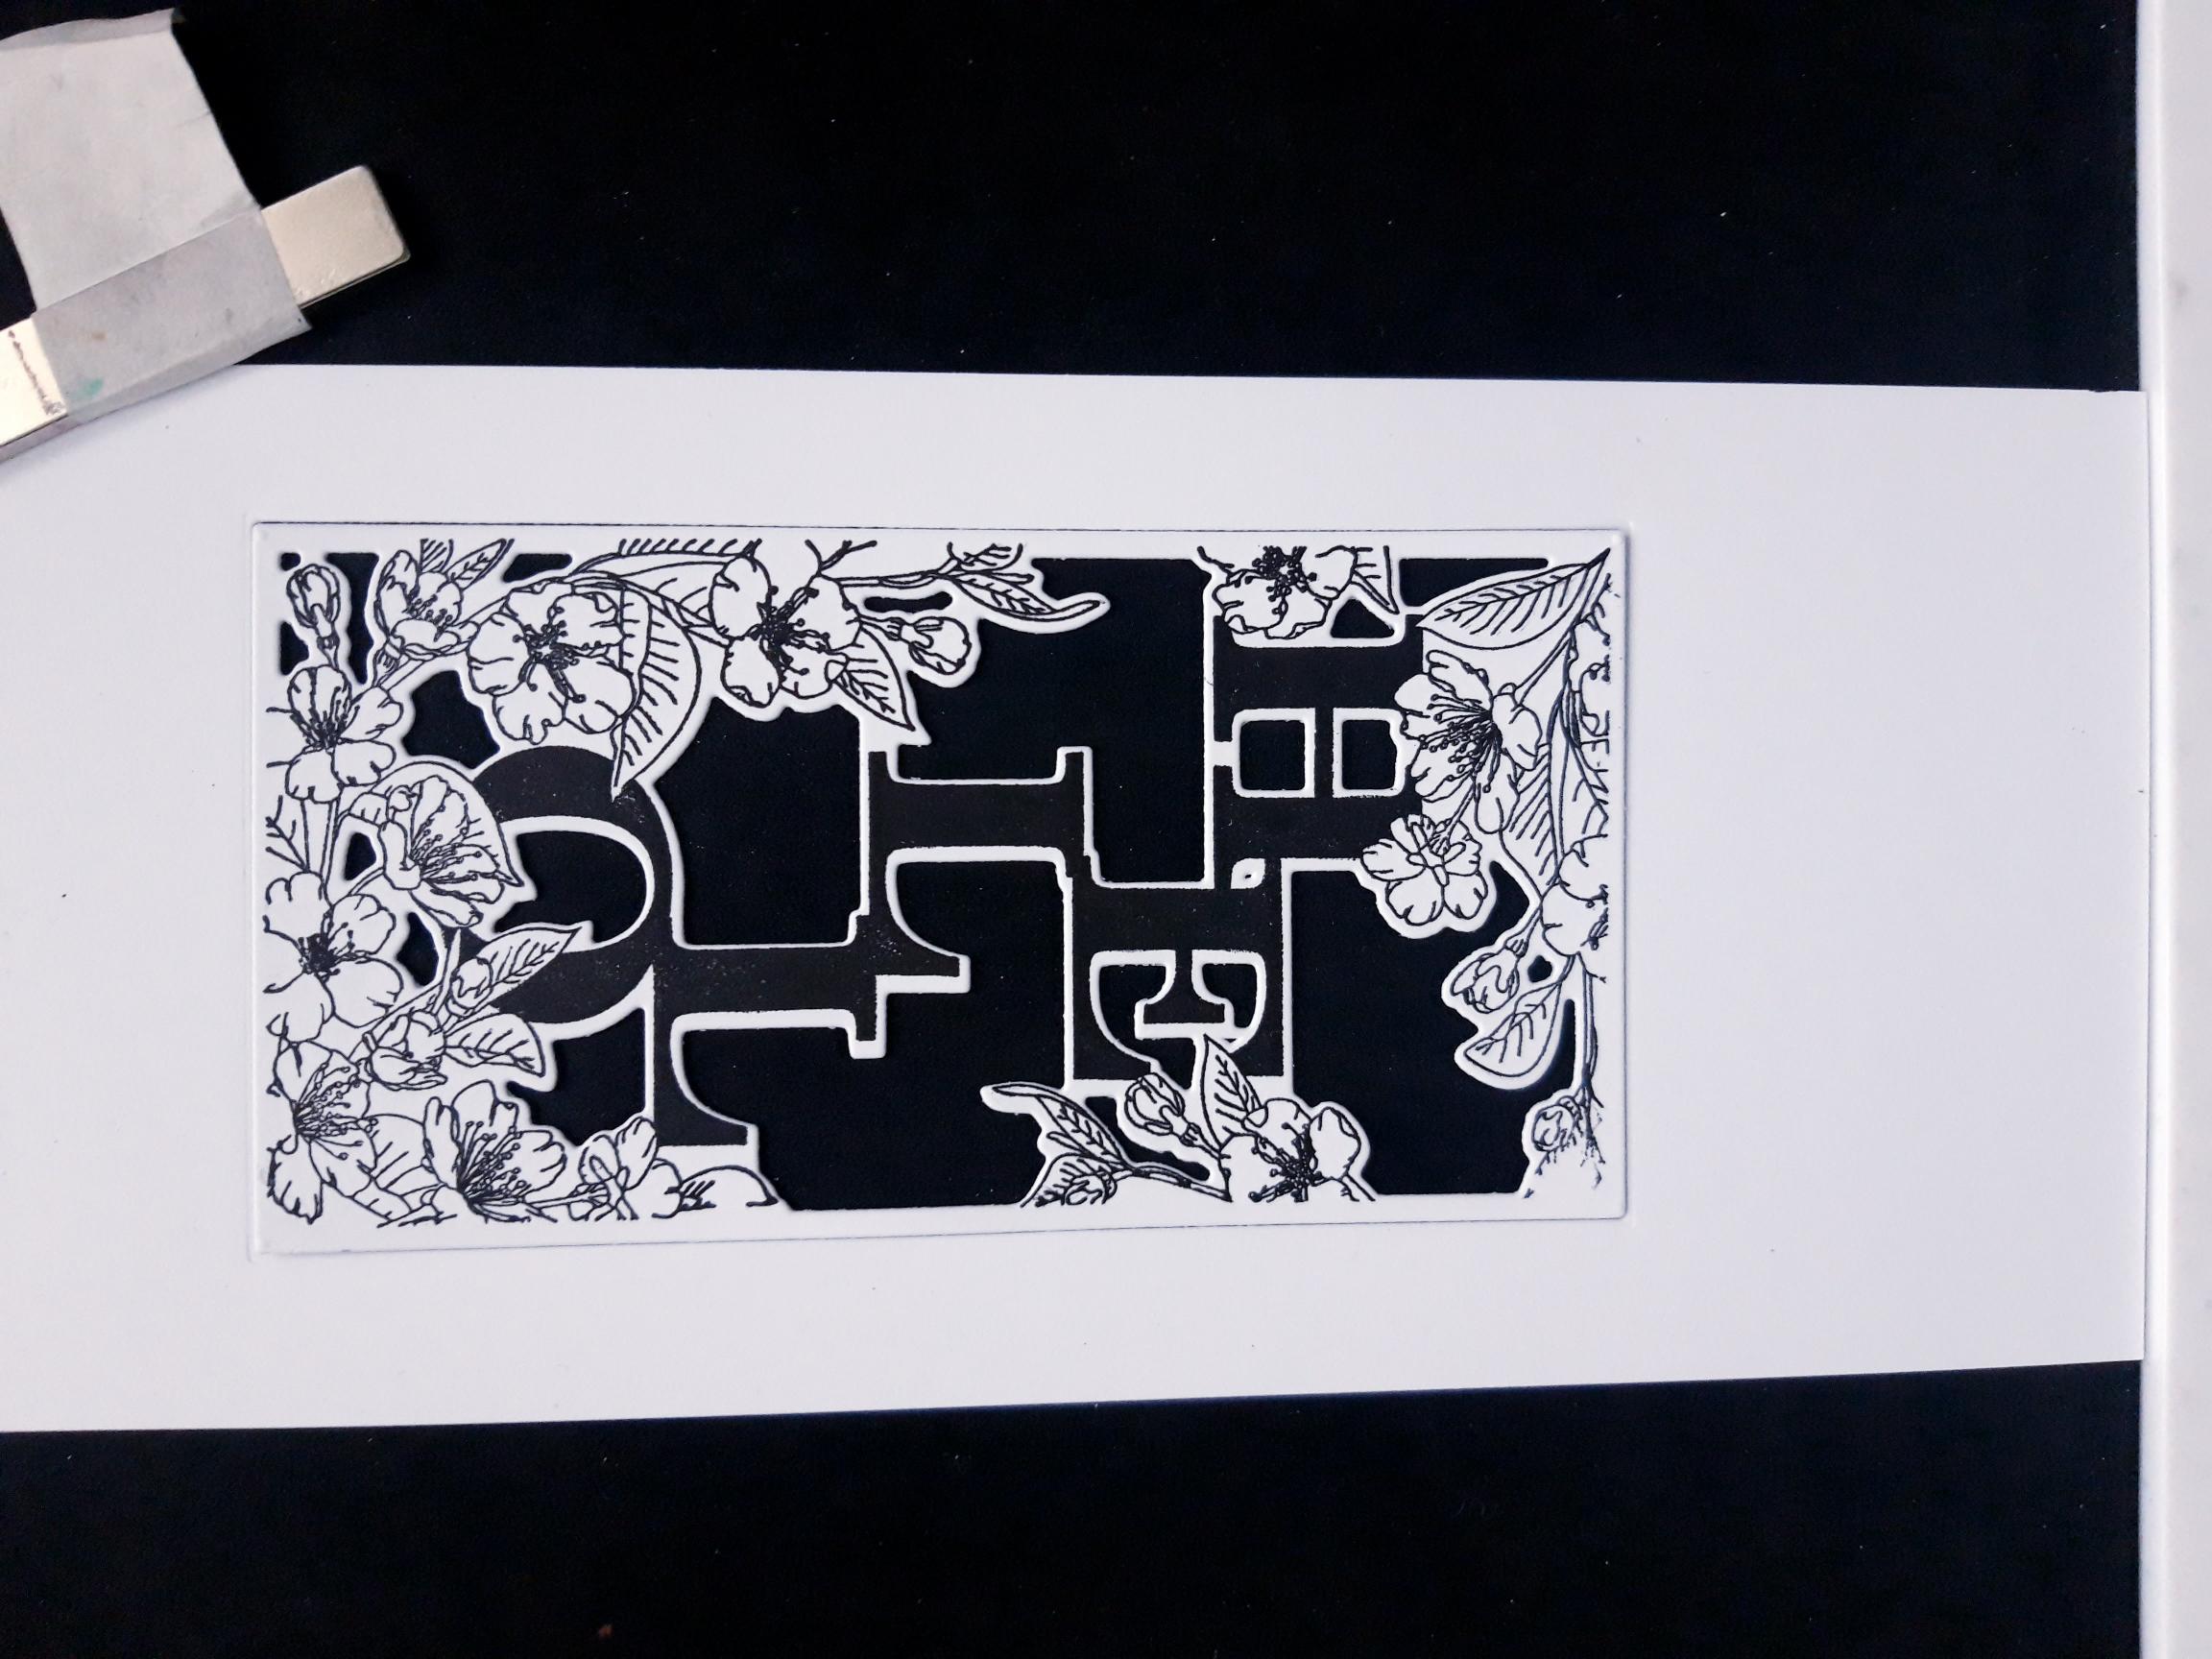
Ink up the stamp with the Versafine, and stamp it in place. You can now carefully remove the stamped die cut element from the "waste" card. |
|
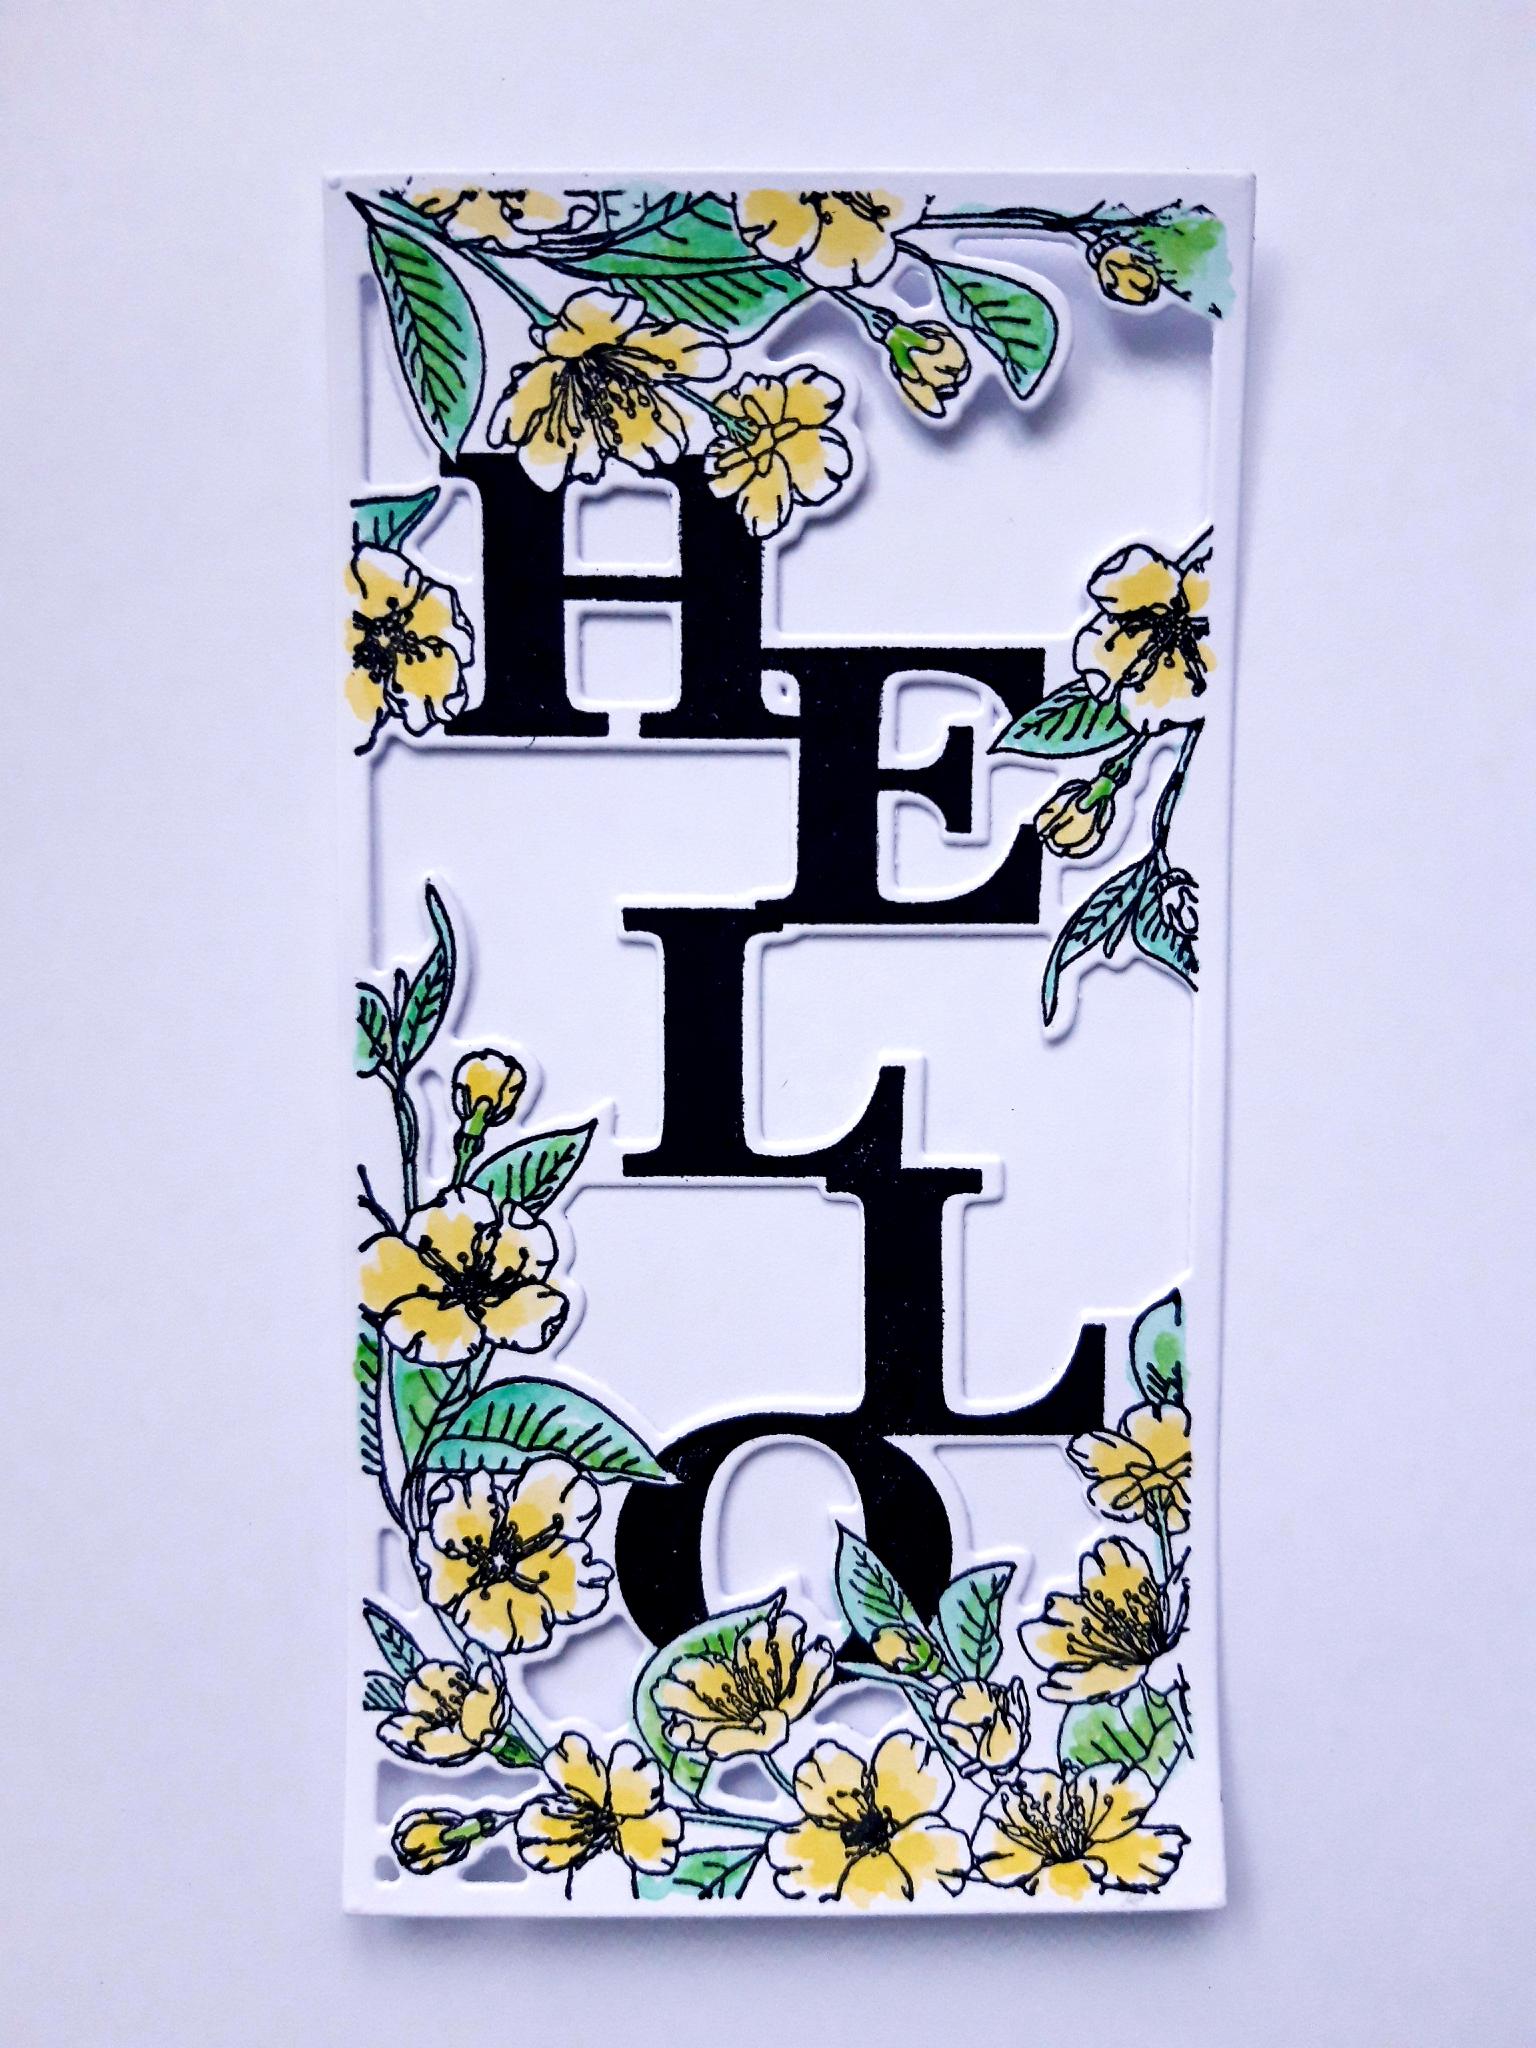
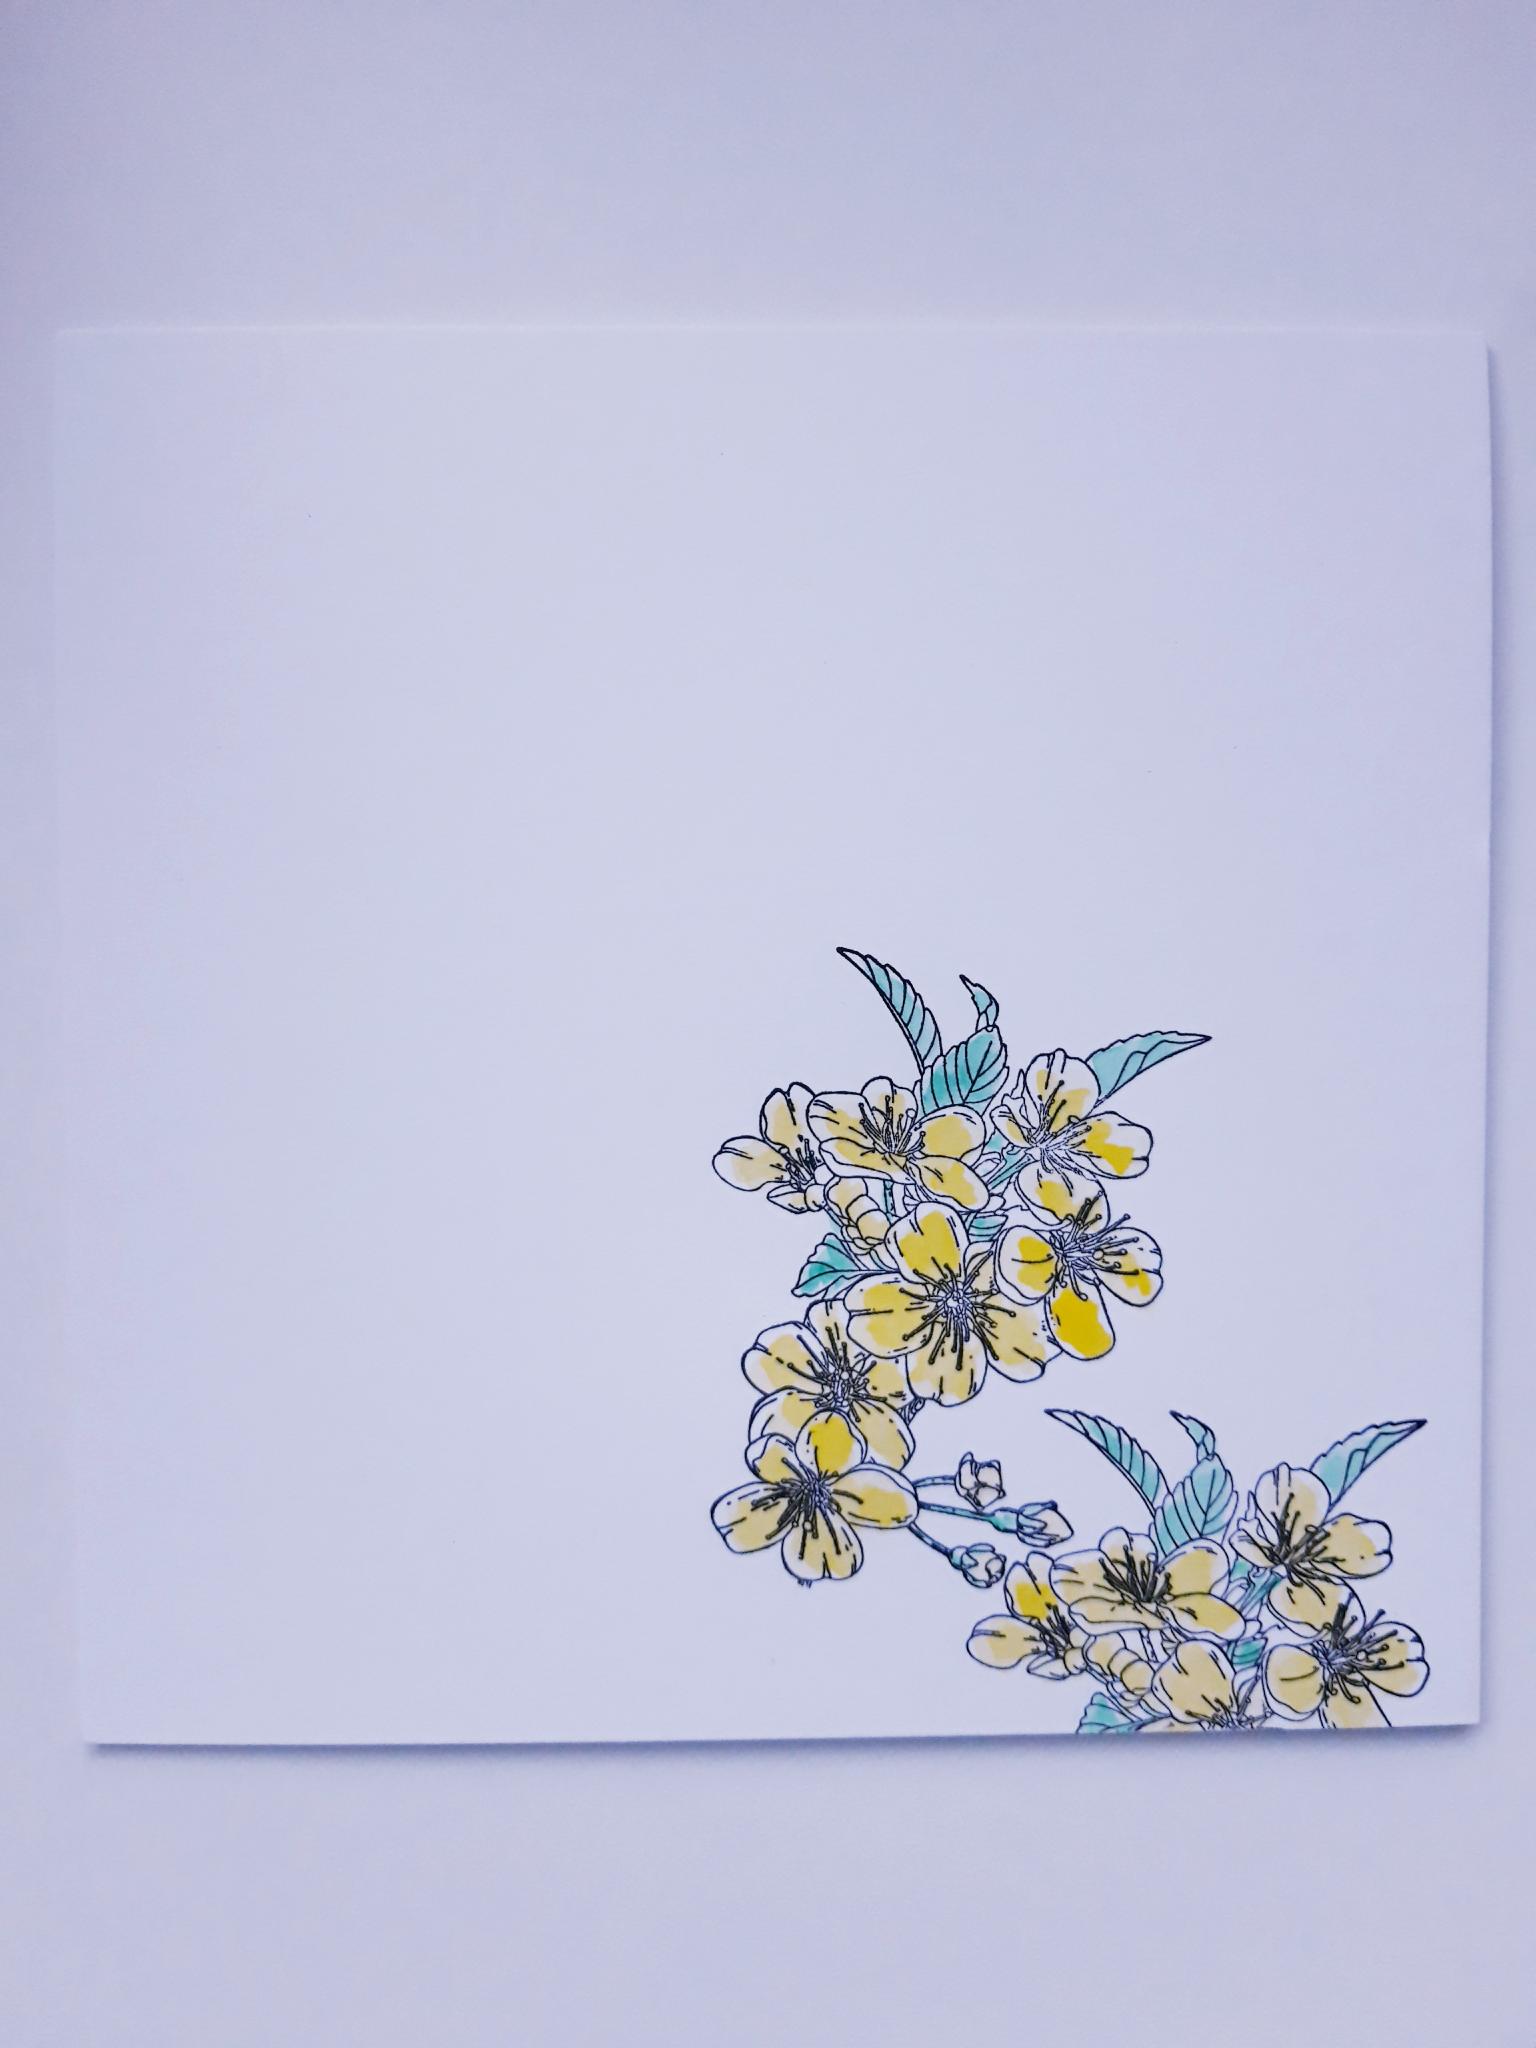
Use your watercolour paints to paint the images, as required. |
|
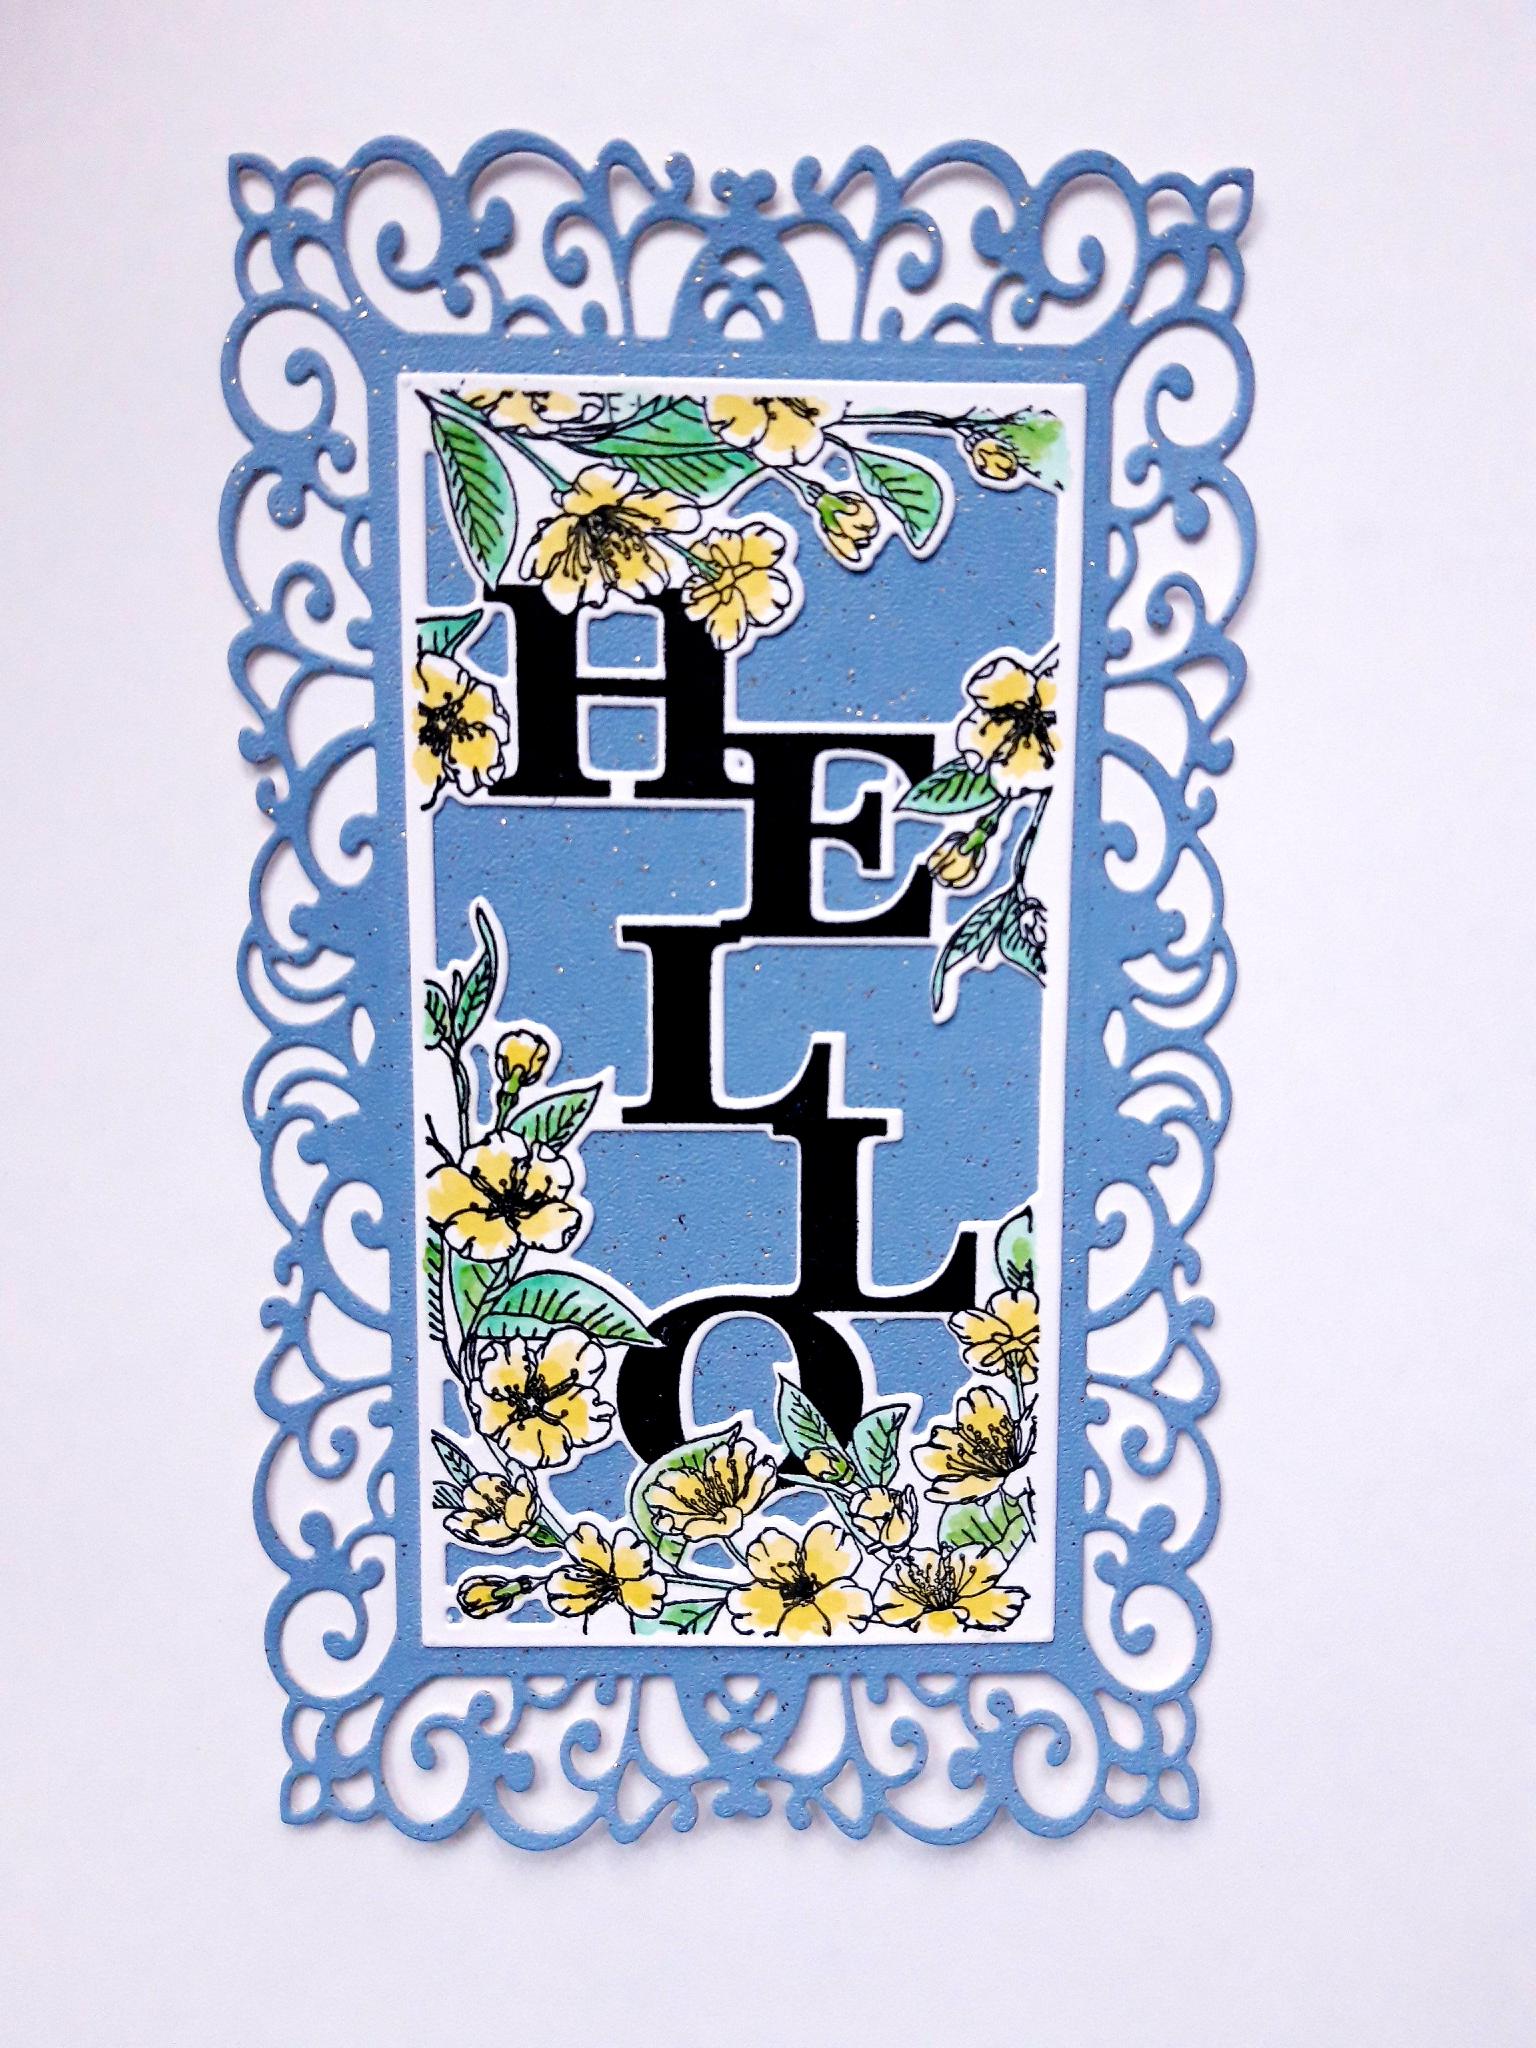
Once the paint is dry, mat this on to the glitter card decorative mat. Set this to one side. |
|
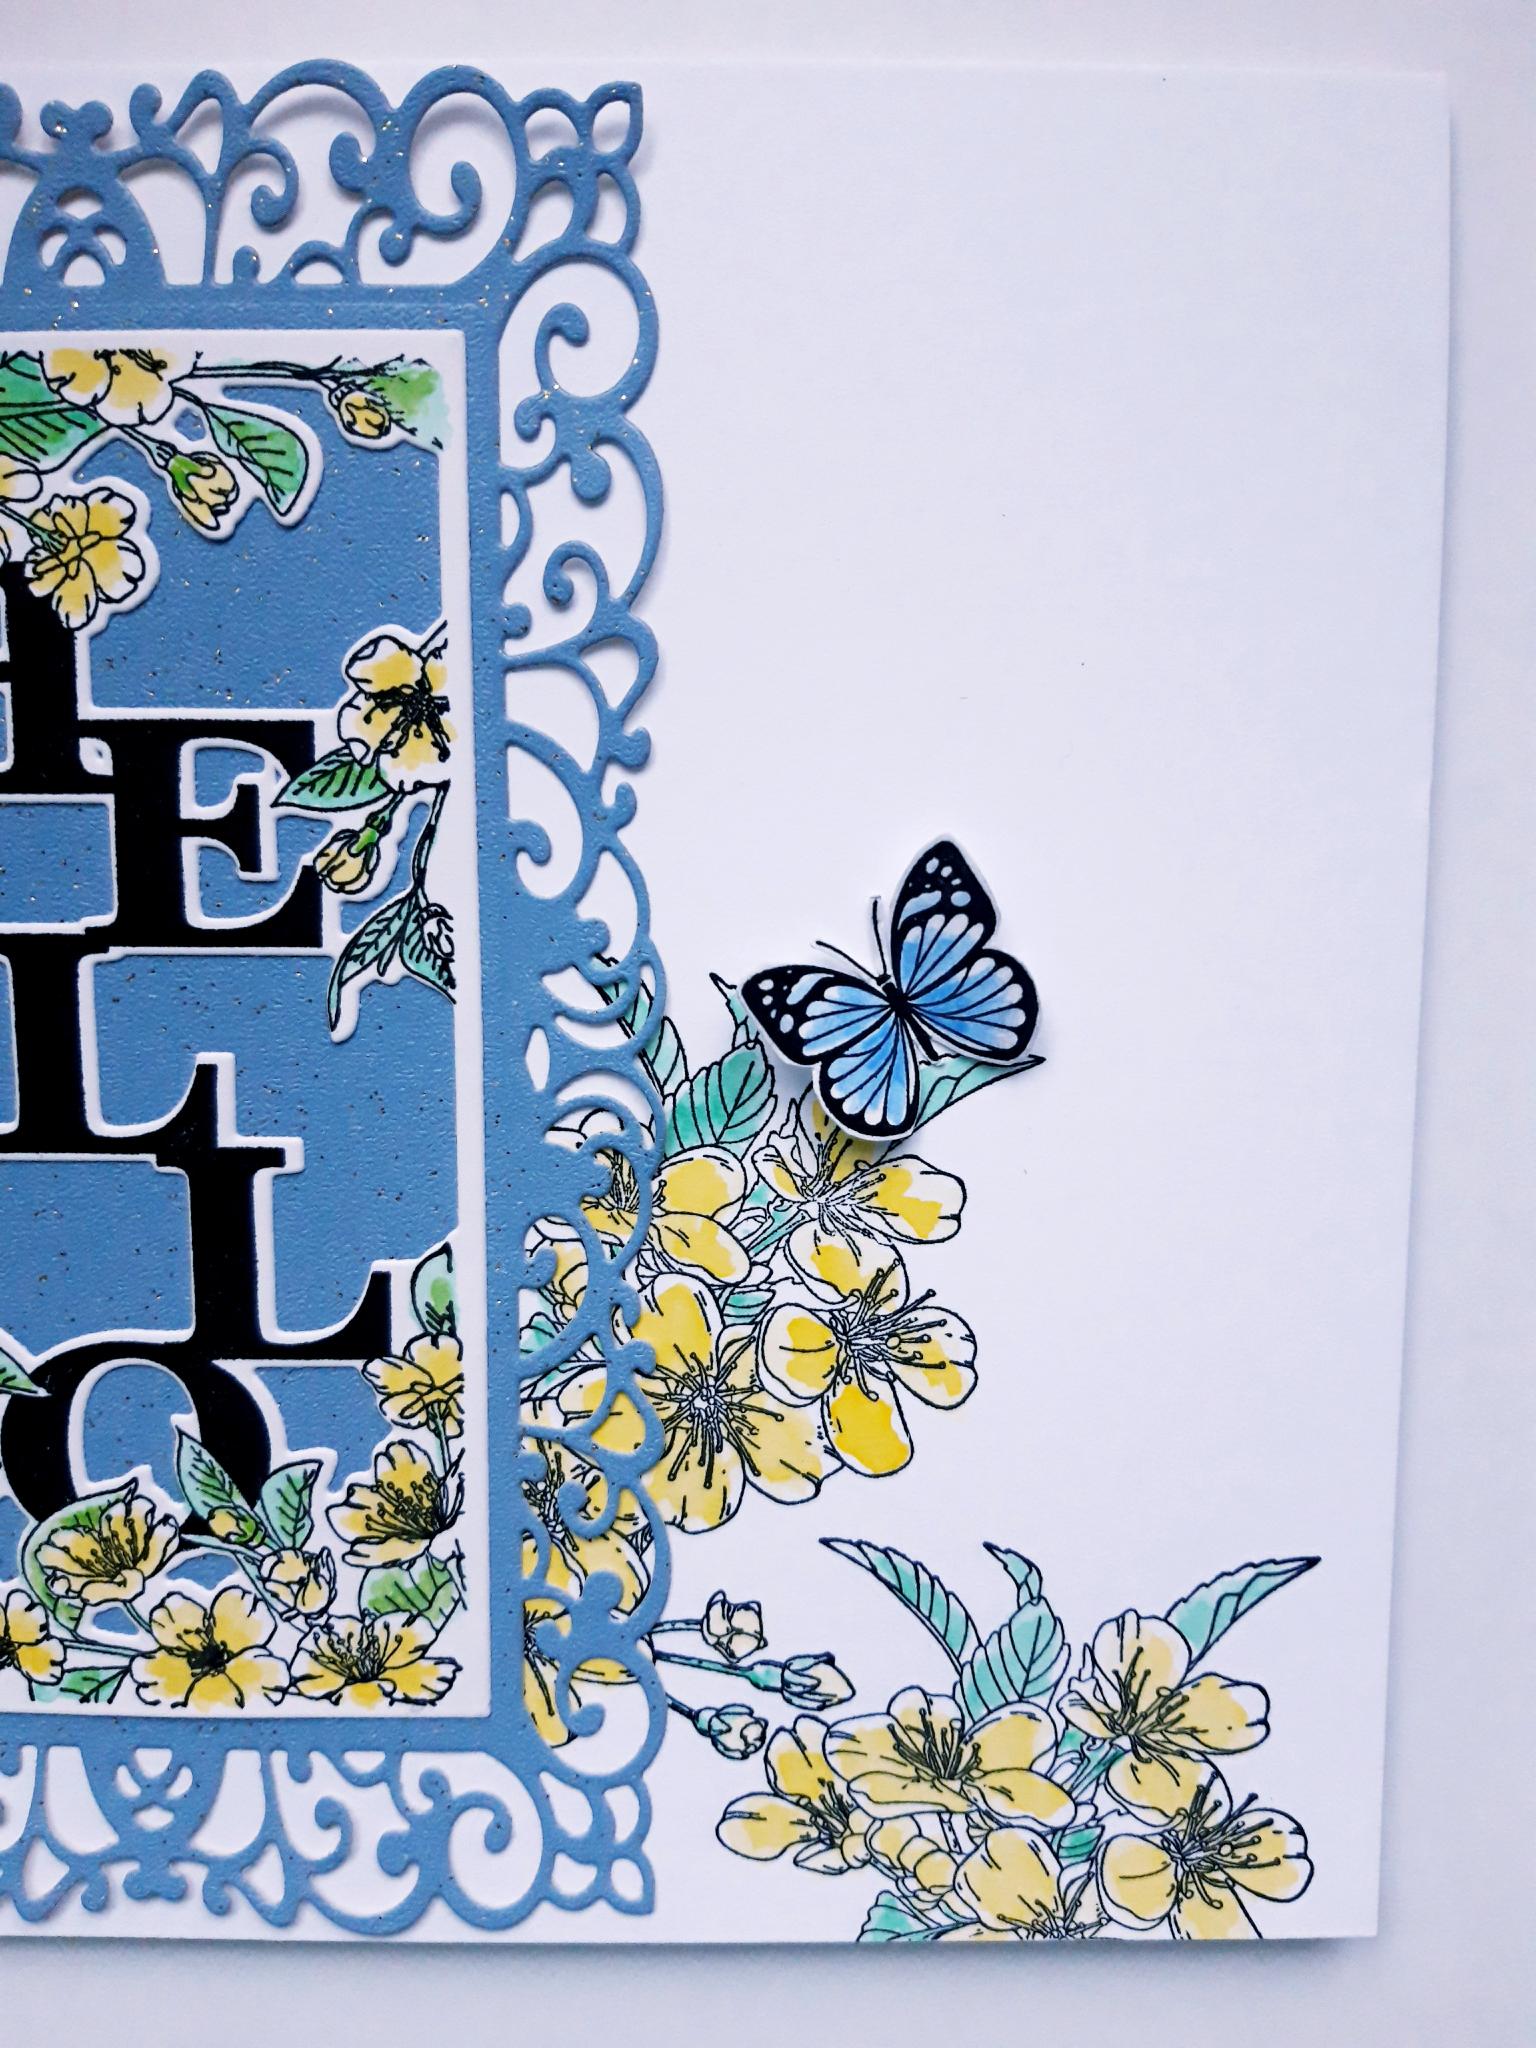
Ink up the small floral stamp, from the same set, with the Versafine. Using your completed stamped topper as a guide, stamp it in position, on the front of your card blank, so the floral image will peek out from behind the right hand side of the topper. Reink the same stamp, and stamp it just below the first stamped image, so it disappears off the bottom of the card blank. |
|
Paint with your watercolour paints, as before. Set to one side to dry. |
|
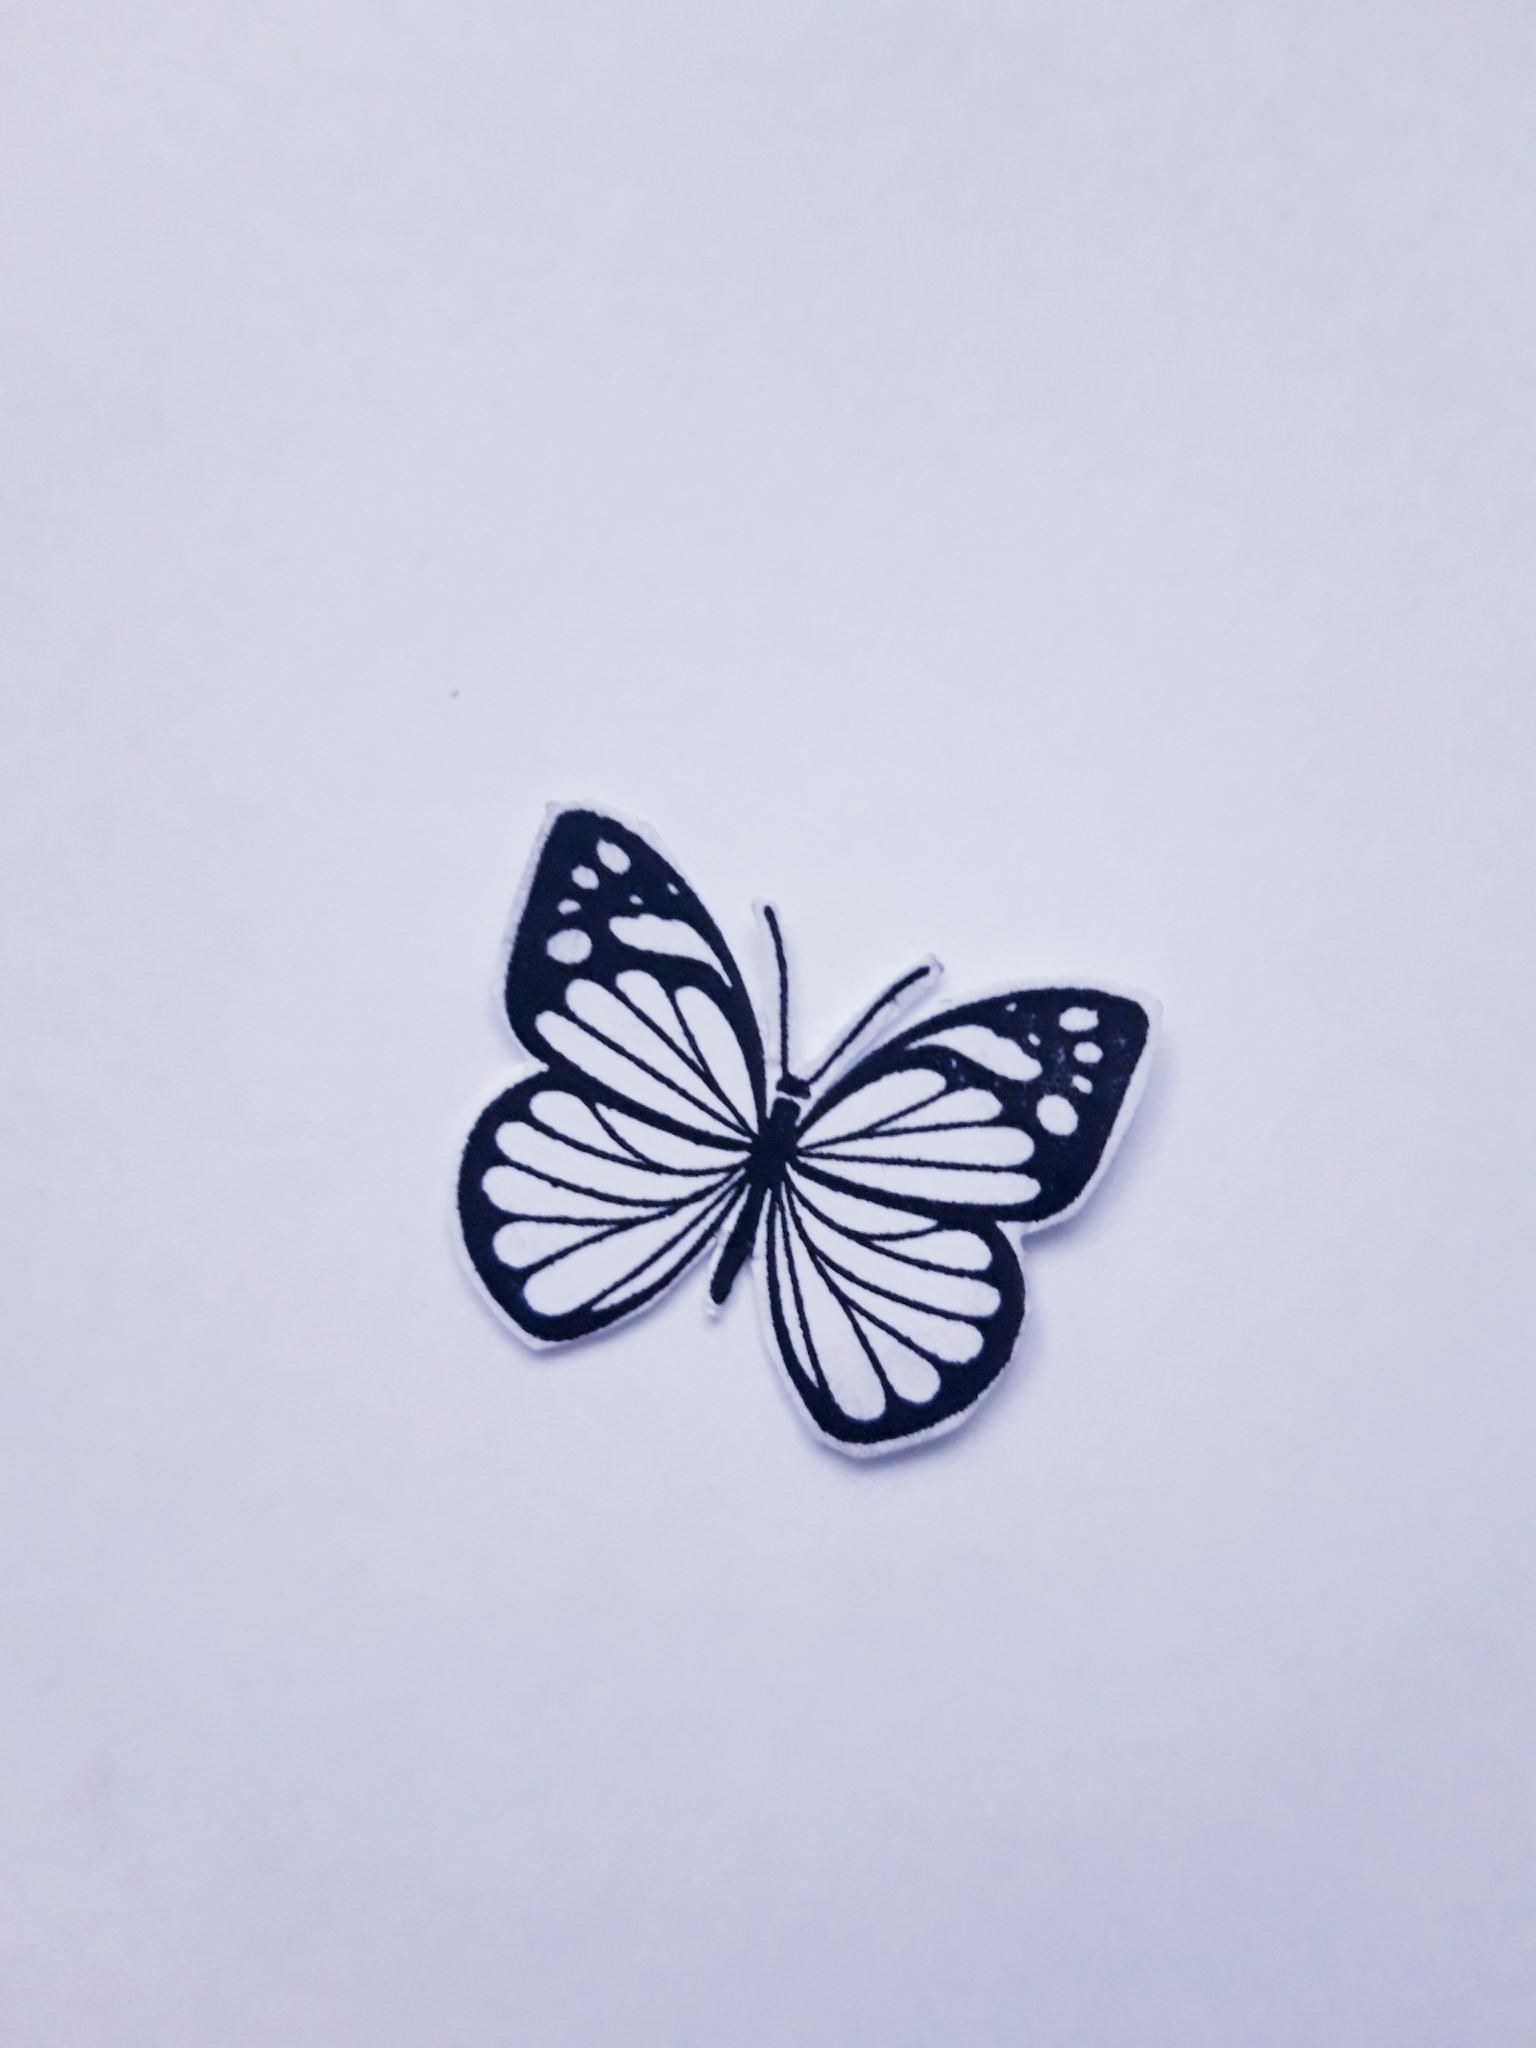
Ink up one of the butterflies, from the same set, with the Versafine, and stamp it on to the white card, set aside earlier. Cut it out and put the rest of the white card to one side. |
|
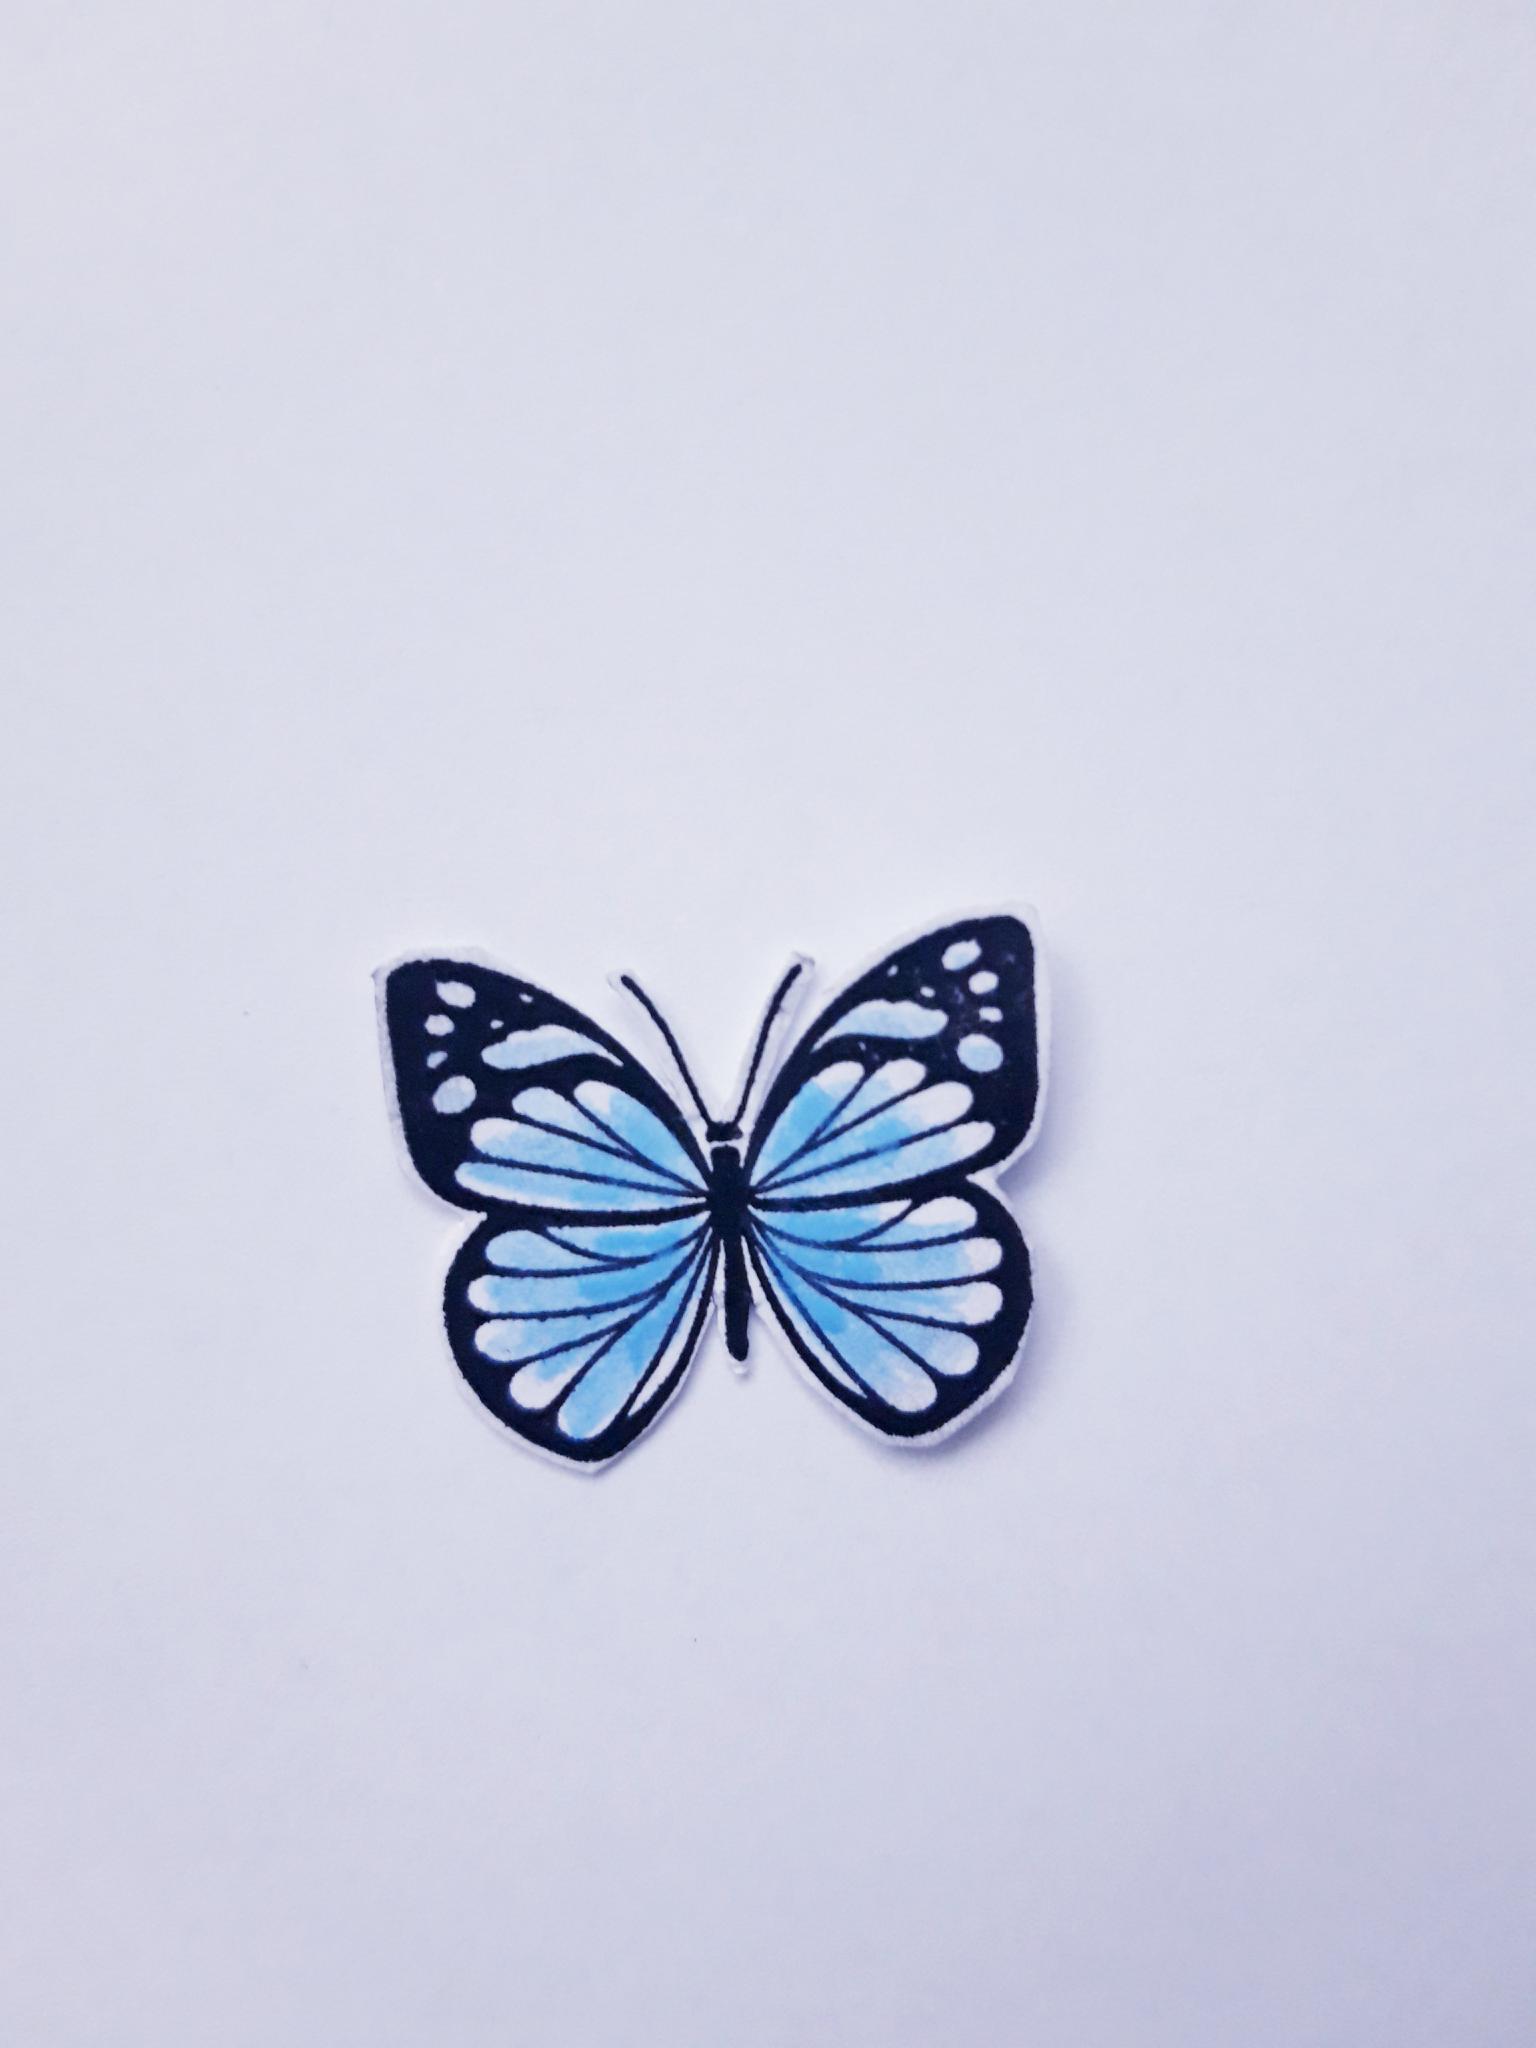
Paint your butterfly with the watercolour paints. Set to one side to dry. |

|
Glue the topper in place, on the left hand side of your stamped card blank. You can use wet glue, or foam pads to add more dimension. |
|
Shape the wings of the butterfly with your fingers, before gluing it in place on your artwork. Set your card to one side. |
|
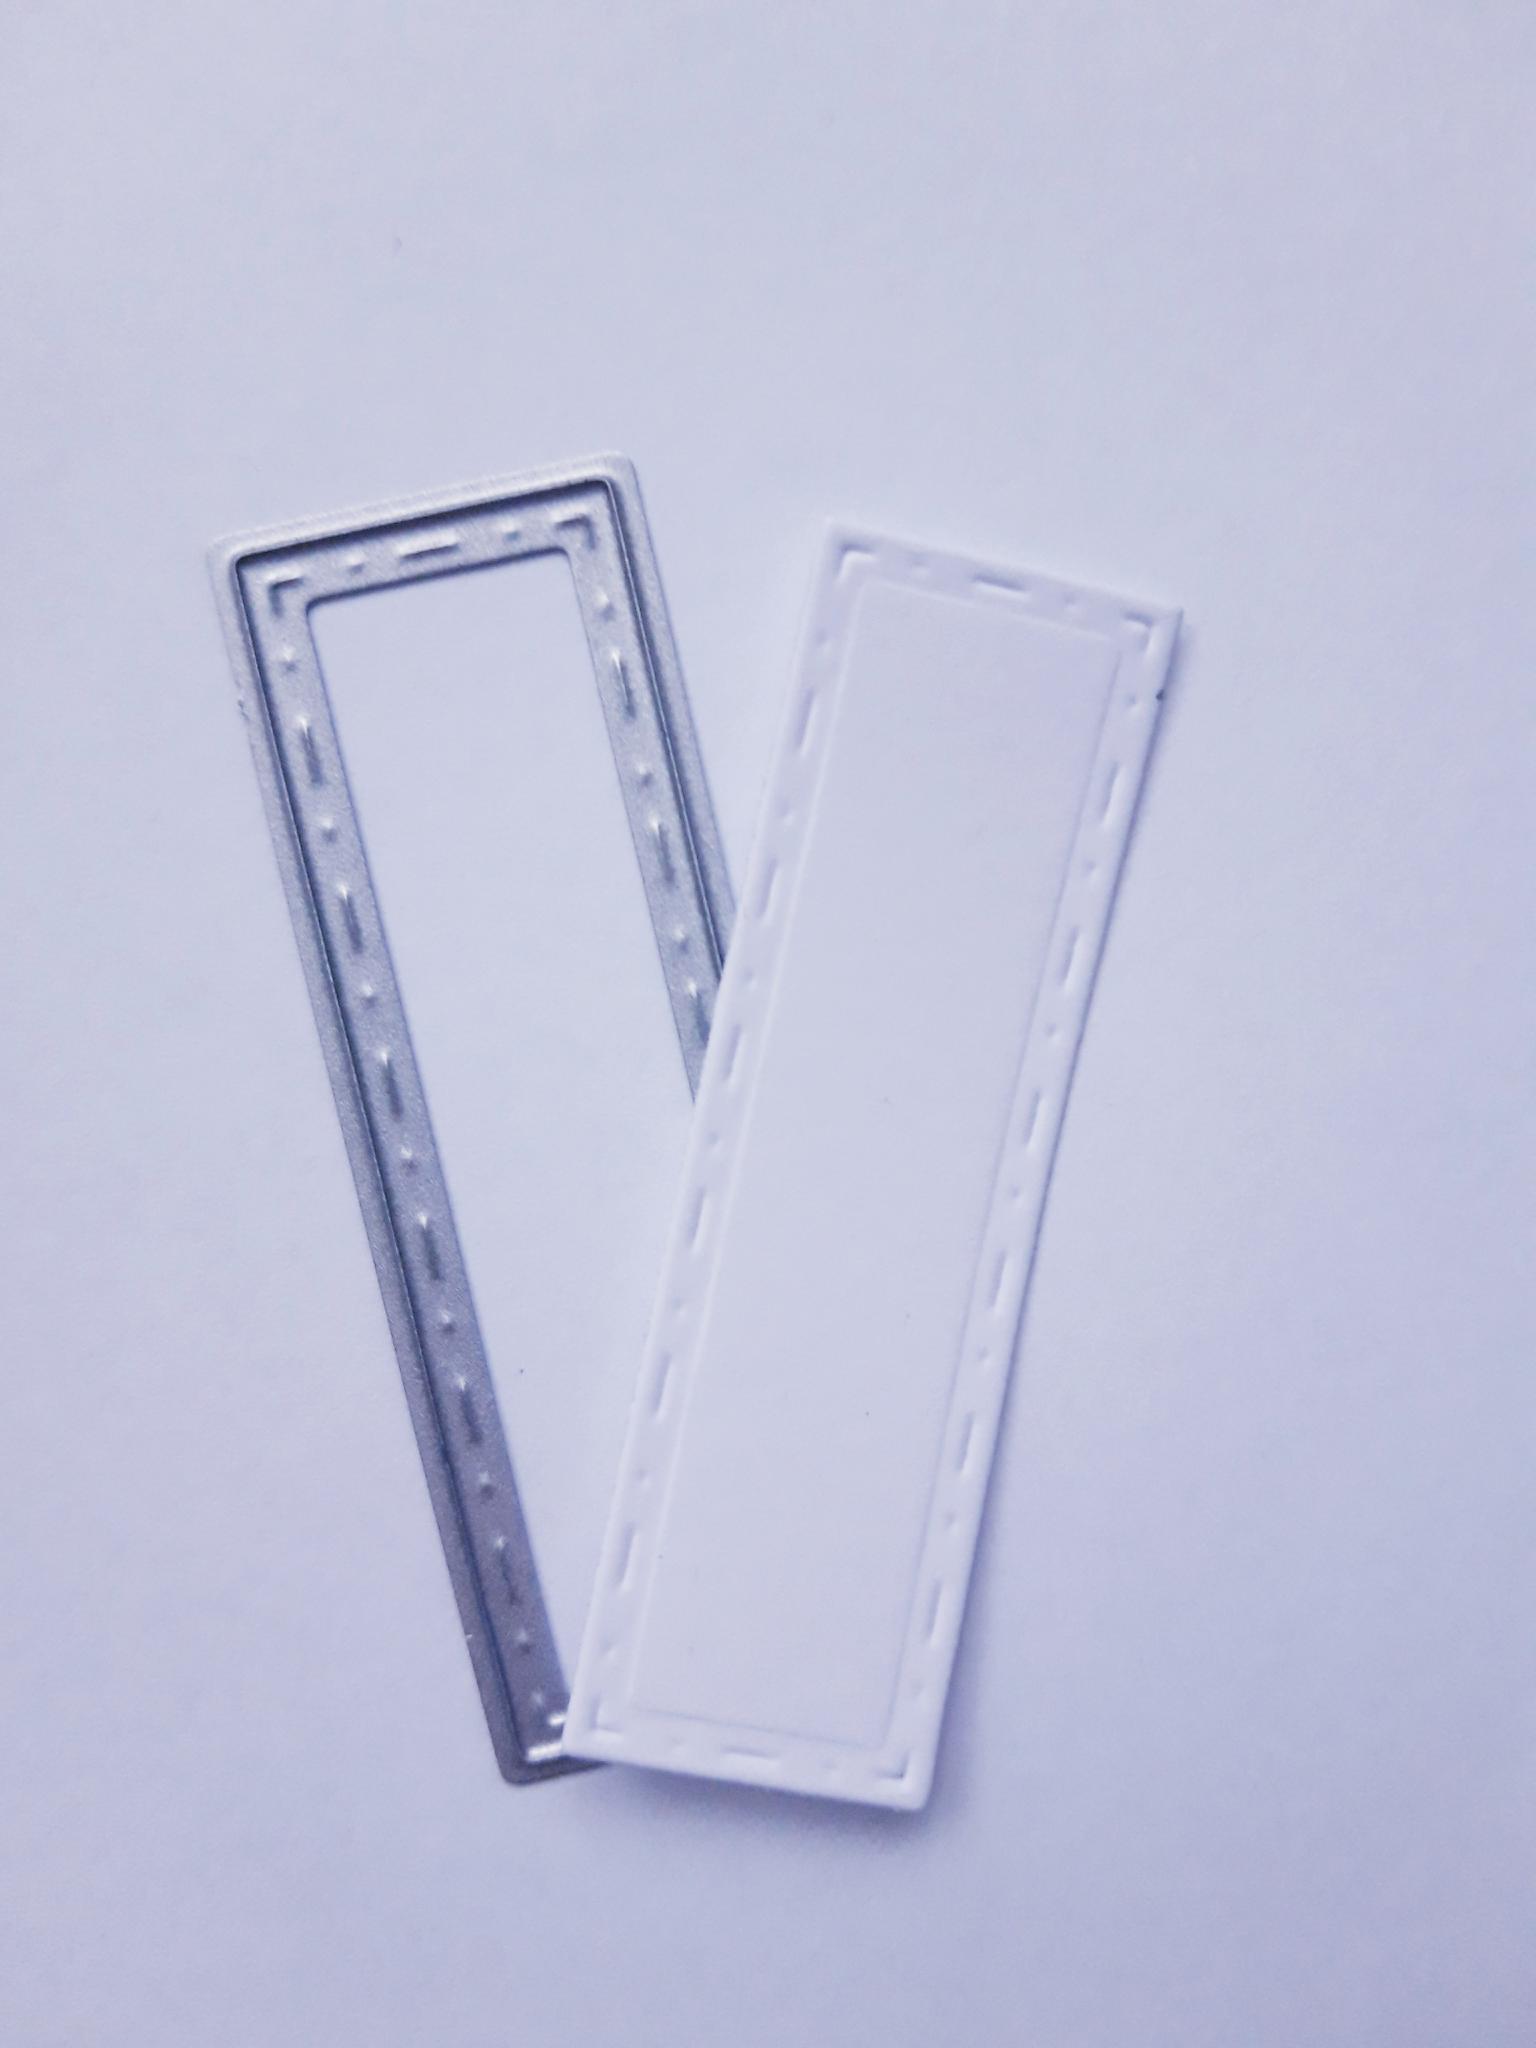
Having decided on your chosen sentiment, from the same stamp set, place the appropriate sized nesting die, from the Deboss Rectangle Nesting Dies Collection, on to the white card set aside earlier. Run this through your die cutting machine. |
|
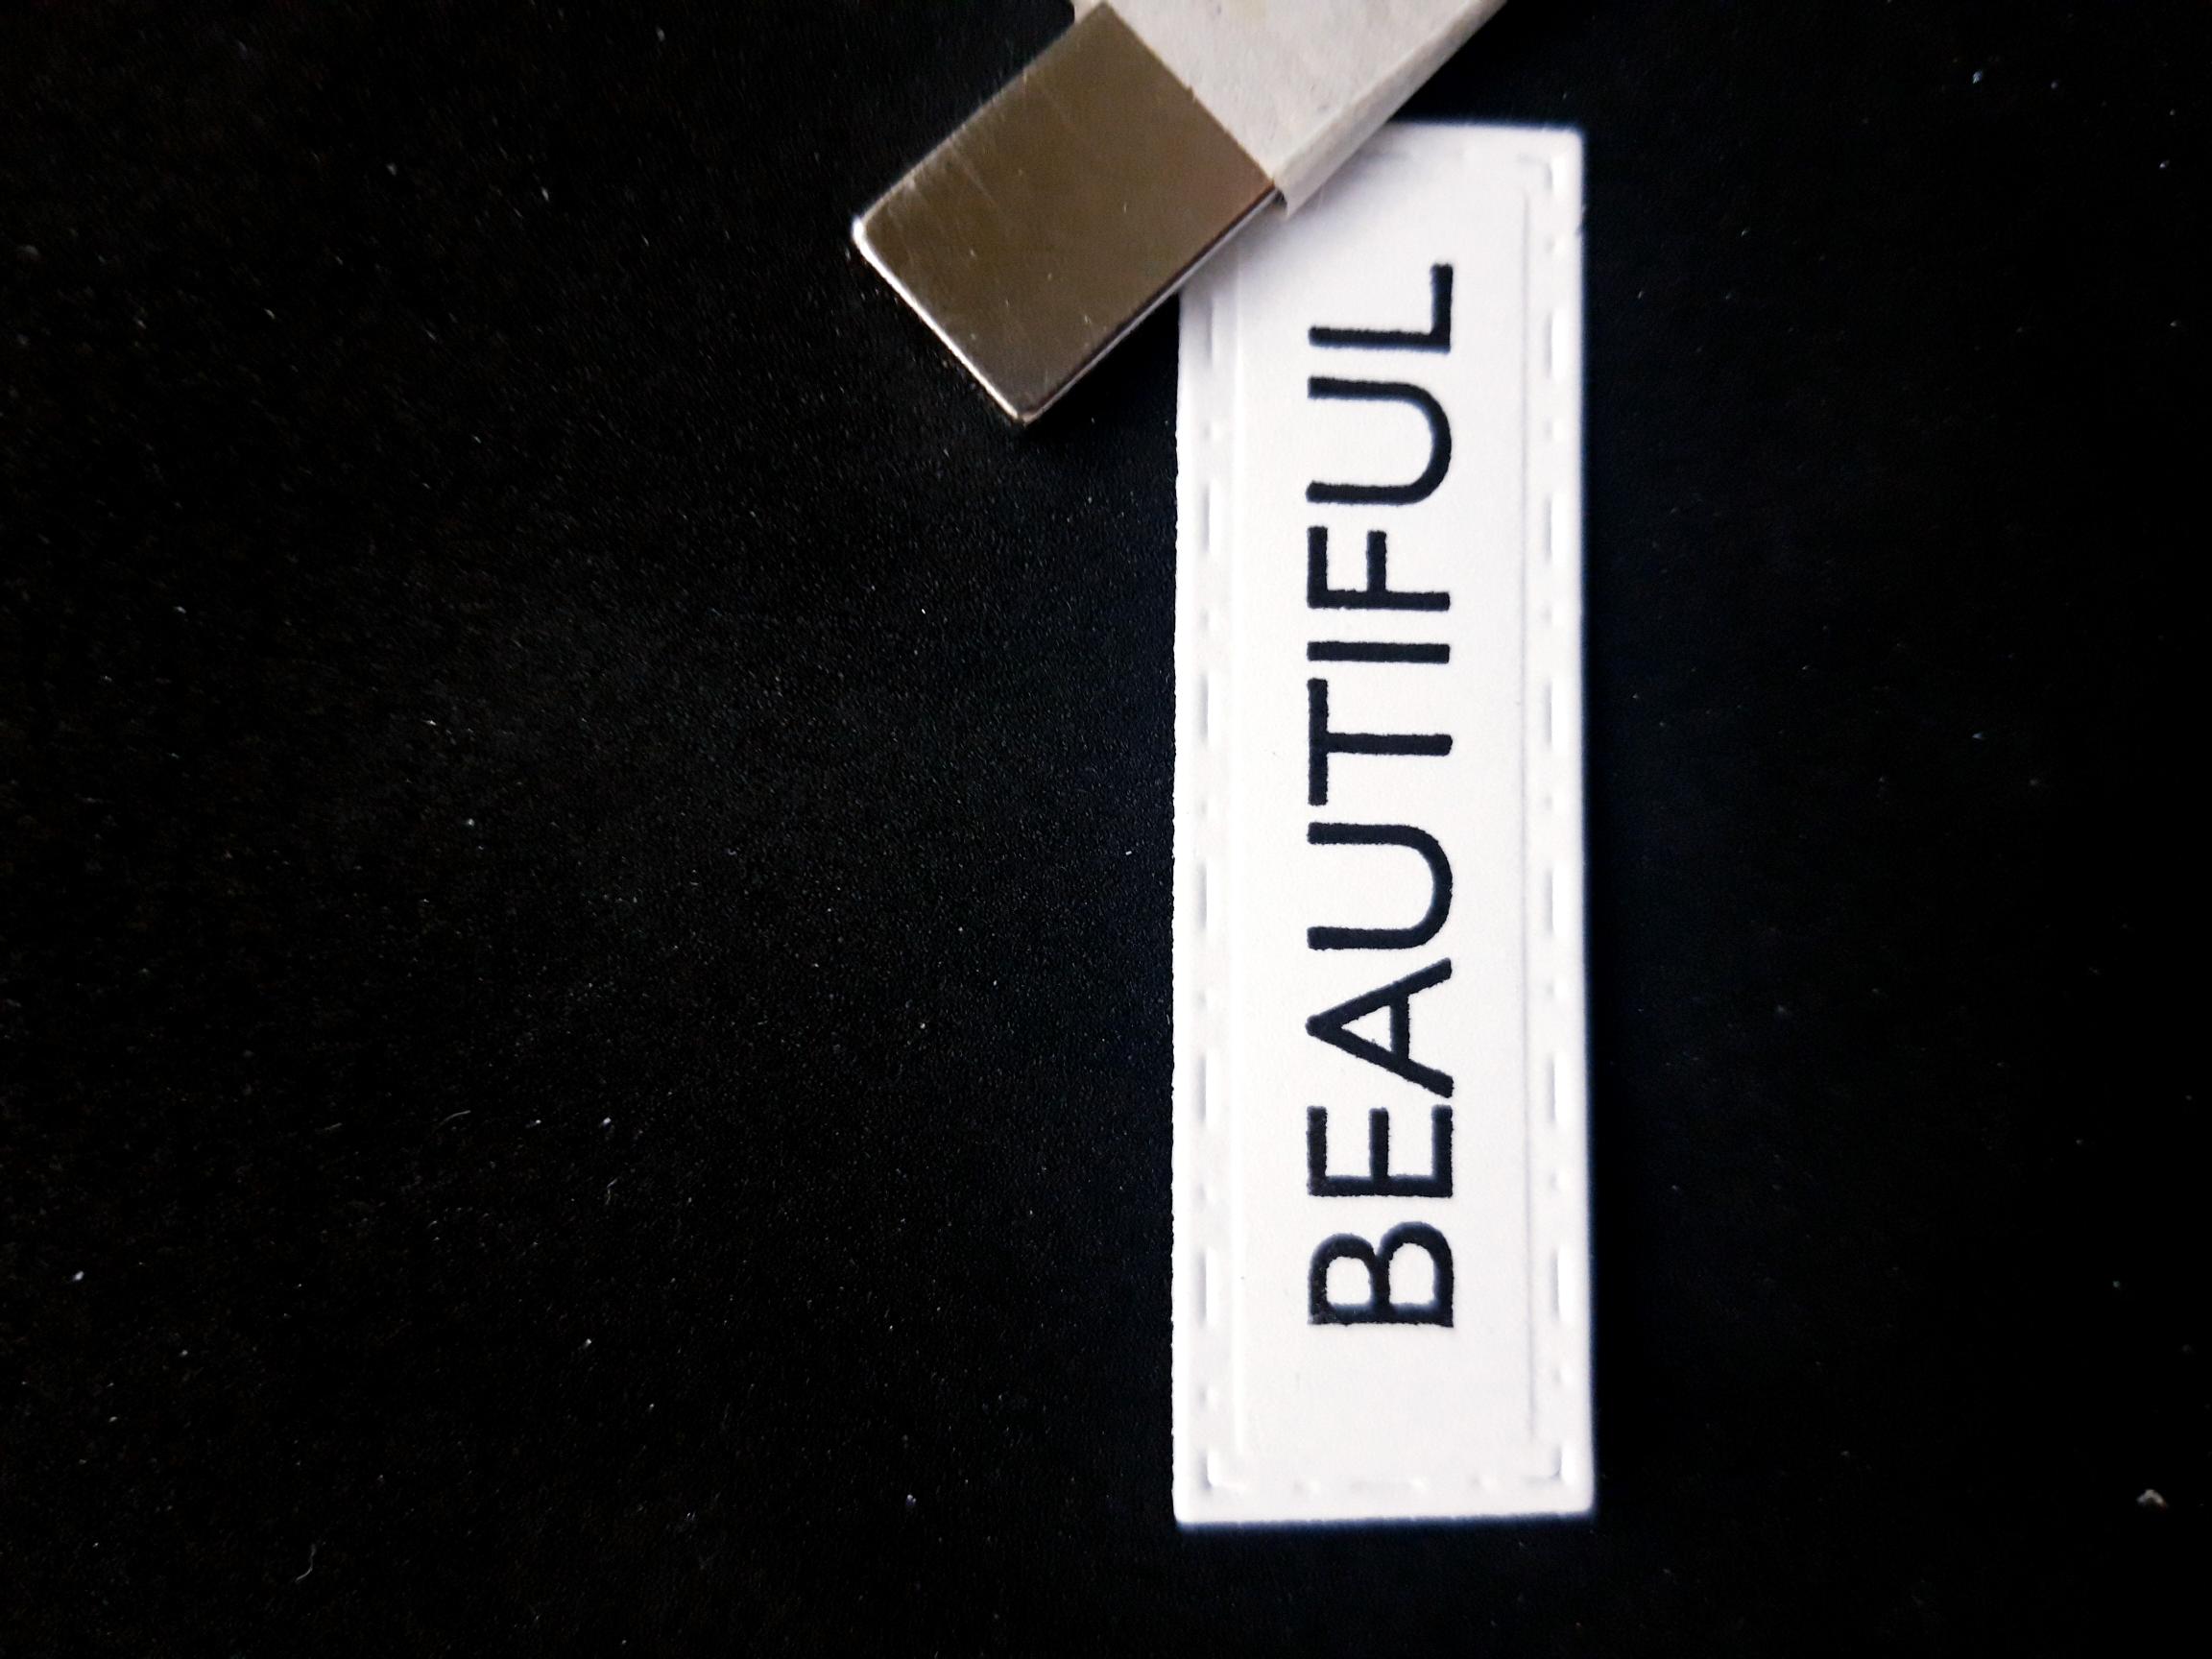
Ink up the sentiment, with the Versafine, and stamp on to the die cut white mat. |

|
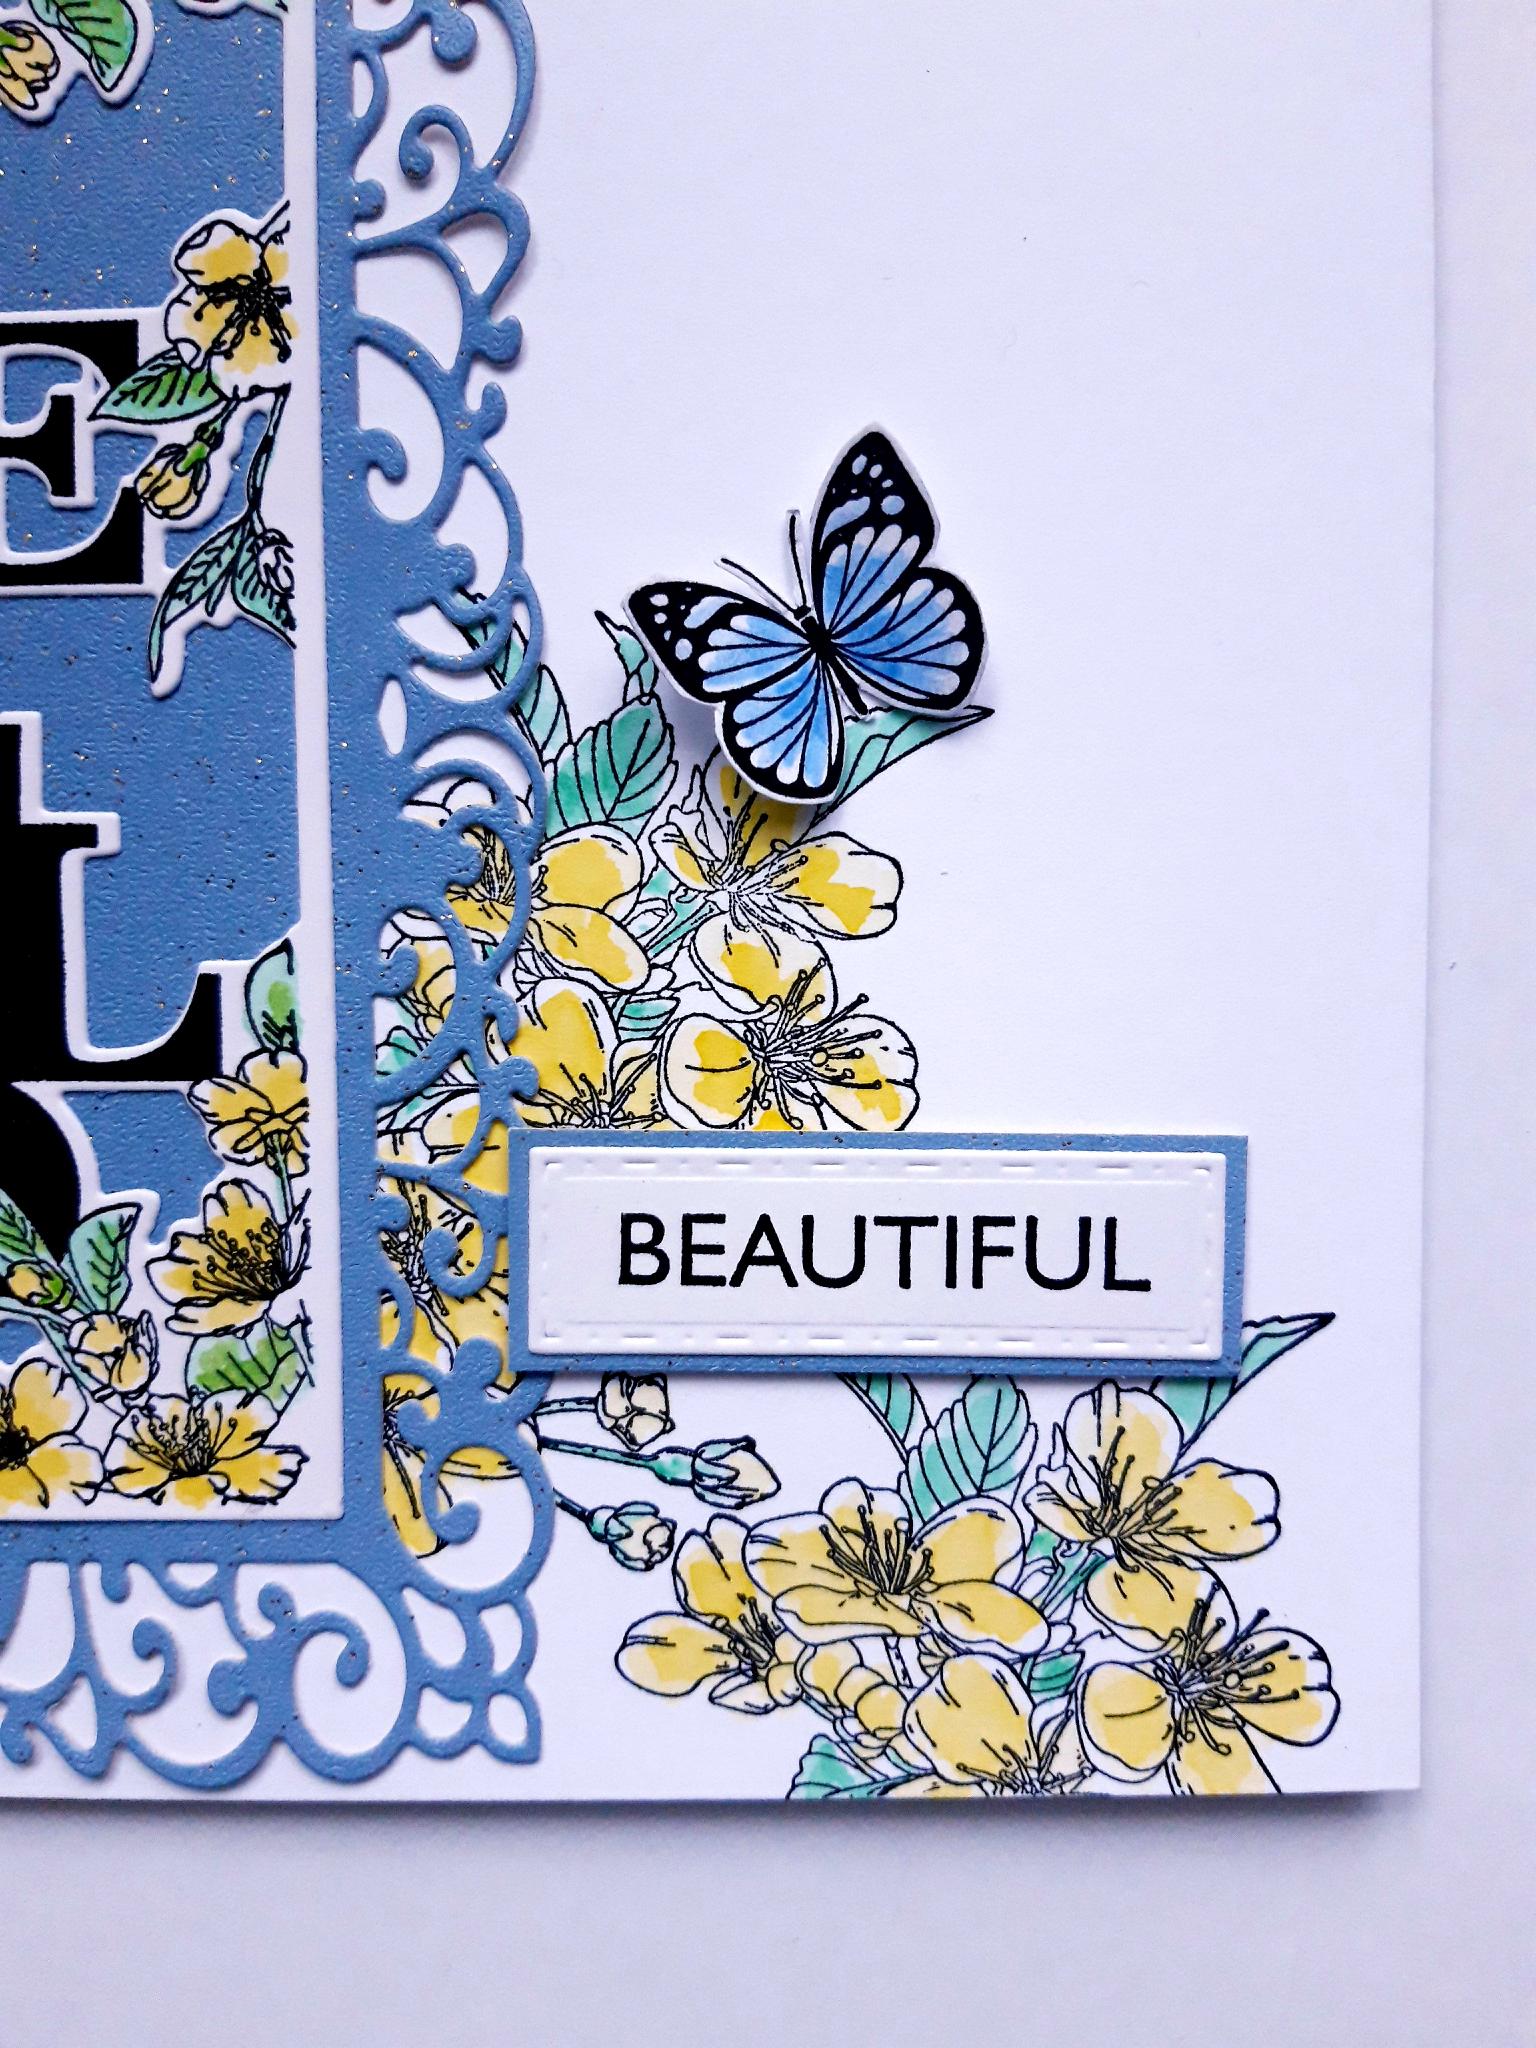
Glue this on to the blue glitter card, set aside earlier, and cut around the sentiment, to create a blue mat. |
|
To finish your card, adhere your sentiment in place, with foam pads. |