Give your friends $10 off their first order!
Refer a FRIEND


WHAT YOU WILL NEED:
Floral Dimensions Southern Magnolia Collection
Foliage Adornments Die Collection
Vintage Roses 7 x 7" Paper Pad
Radiant Poppies Stamp, Die and Stencil Collection
Floral Fusion Die set (trellis)
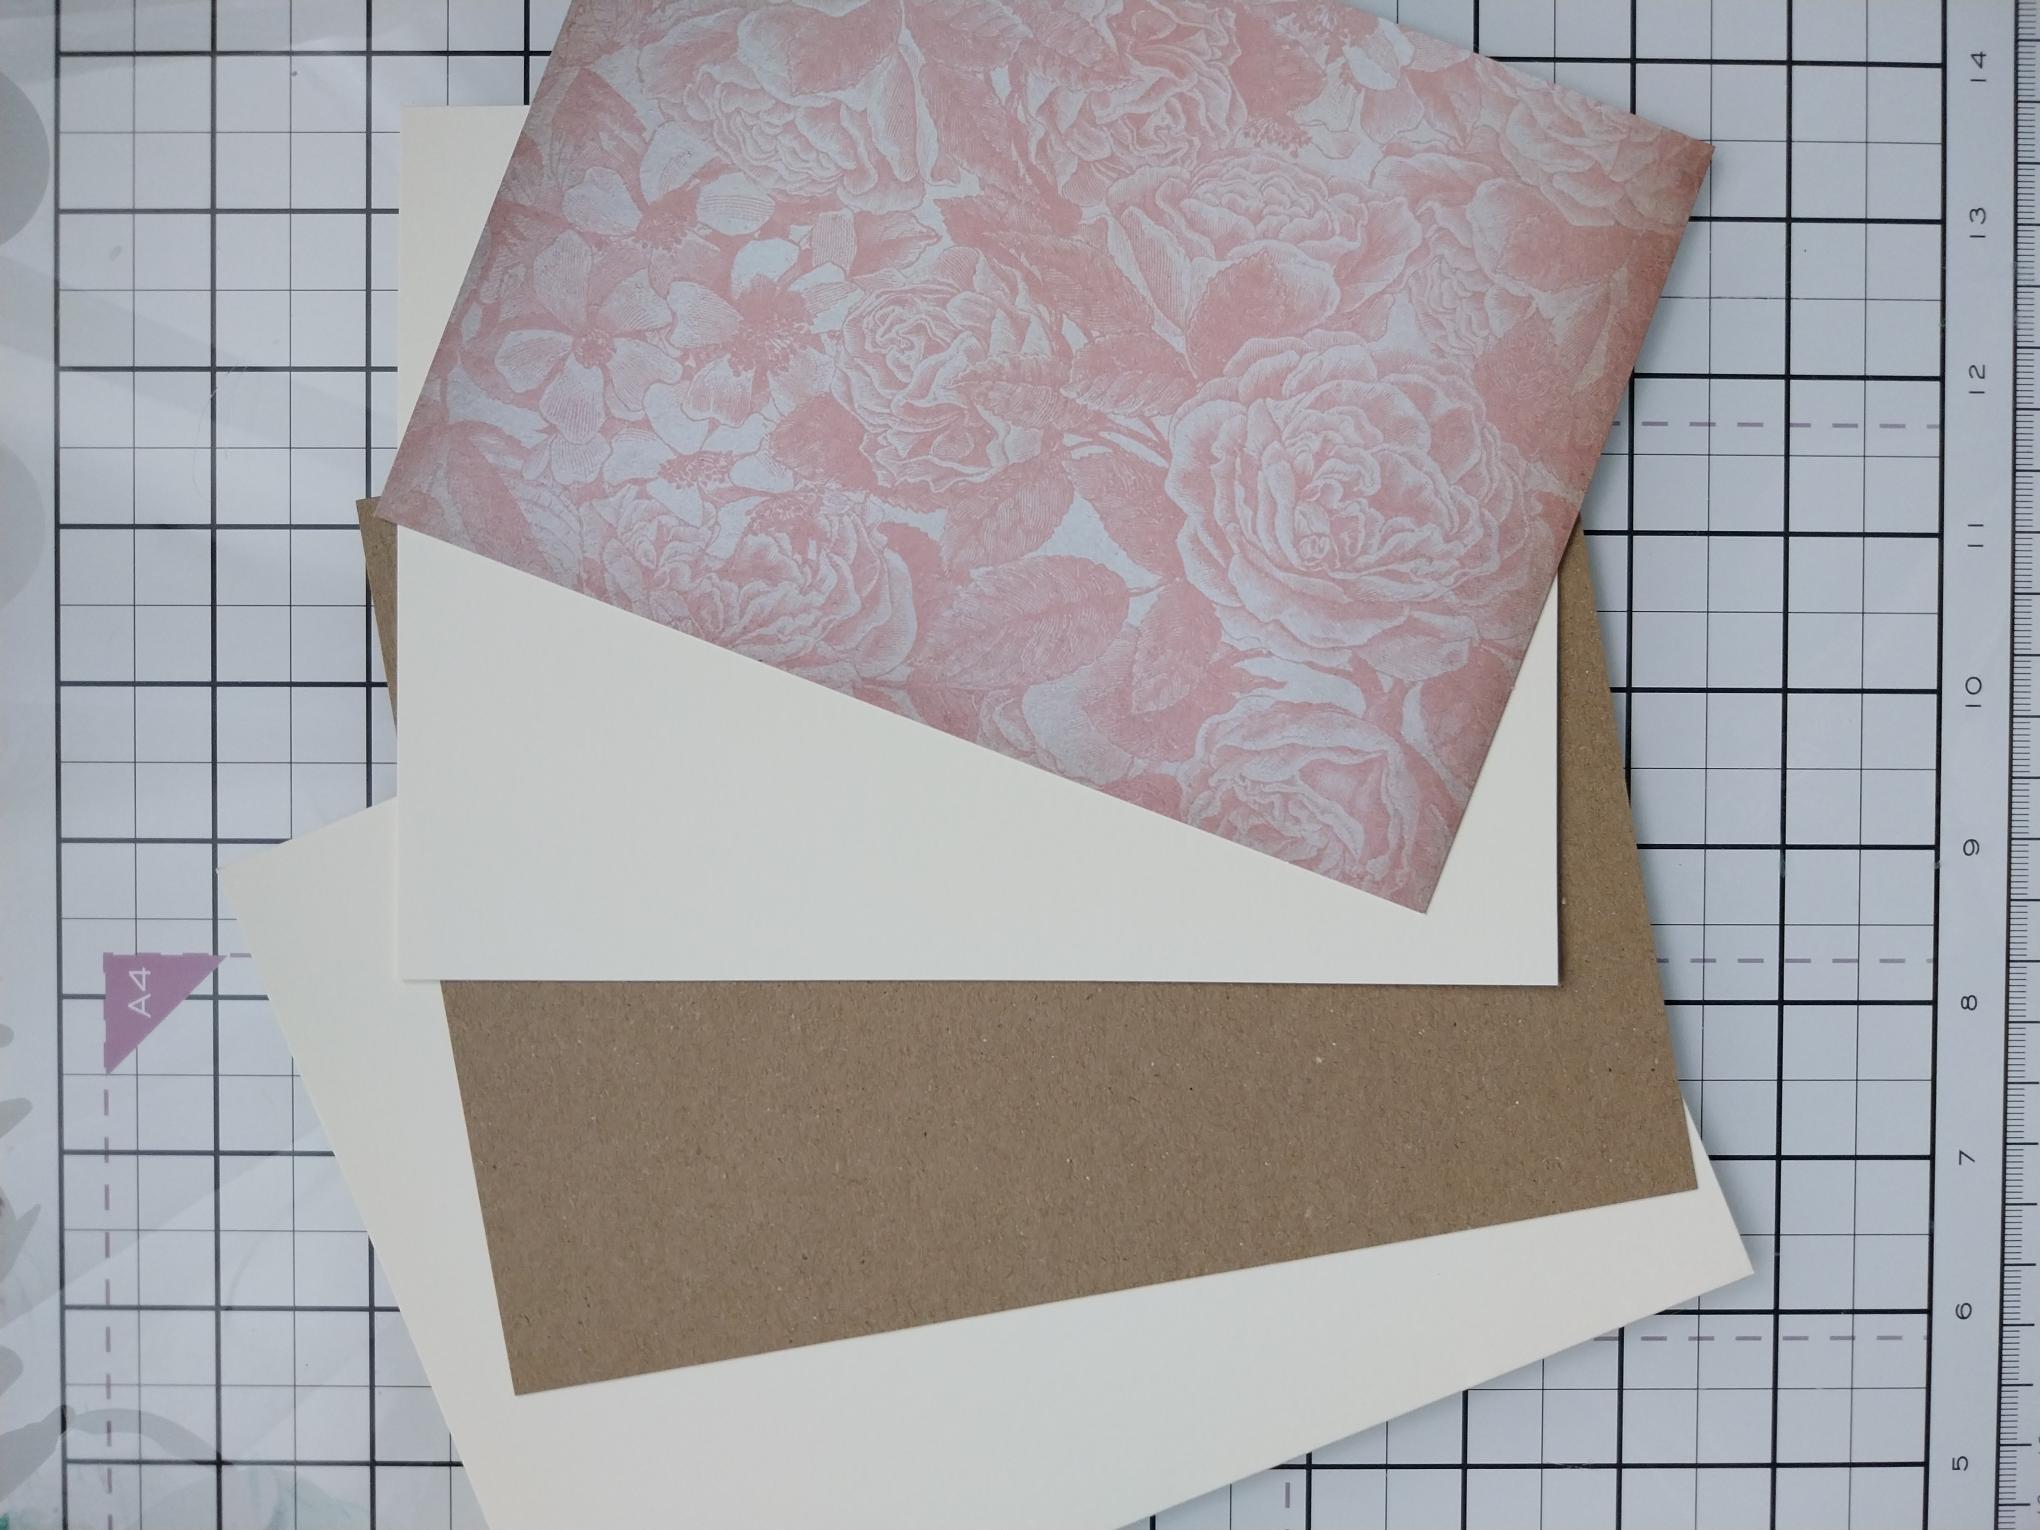
Cream Card blank 6 x 8"
Kraft/cream cardstock
Scraps of decorative, coloured papers
Vellum
Pokey tool
Stickles, glitter, sequins
SBM A3 Magnetic glass mat
Paper Trimmer
Glue, 3D glue gel, foam pads
Die Cutting machine
[click image to enlarge] 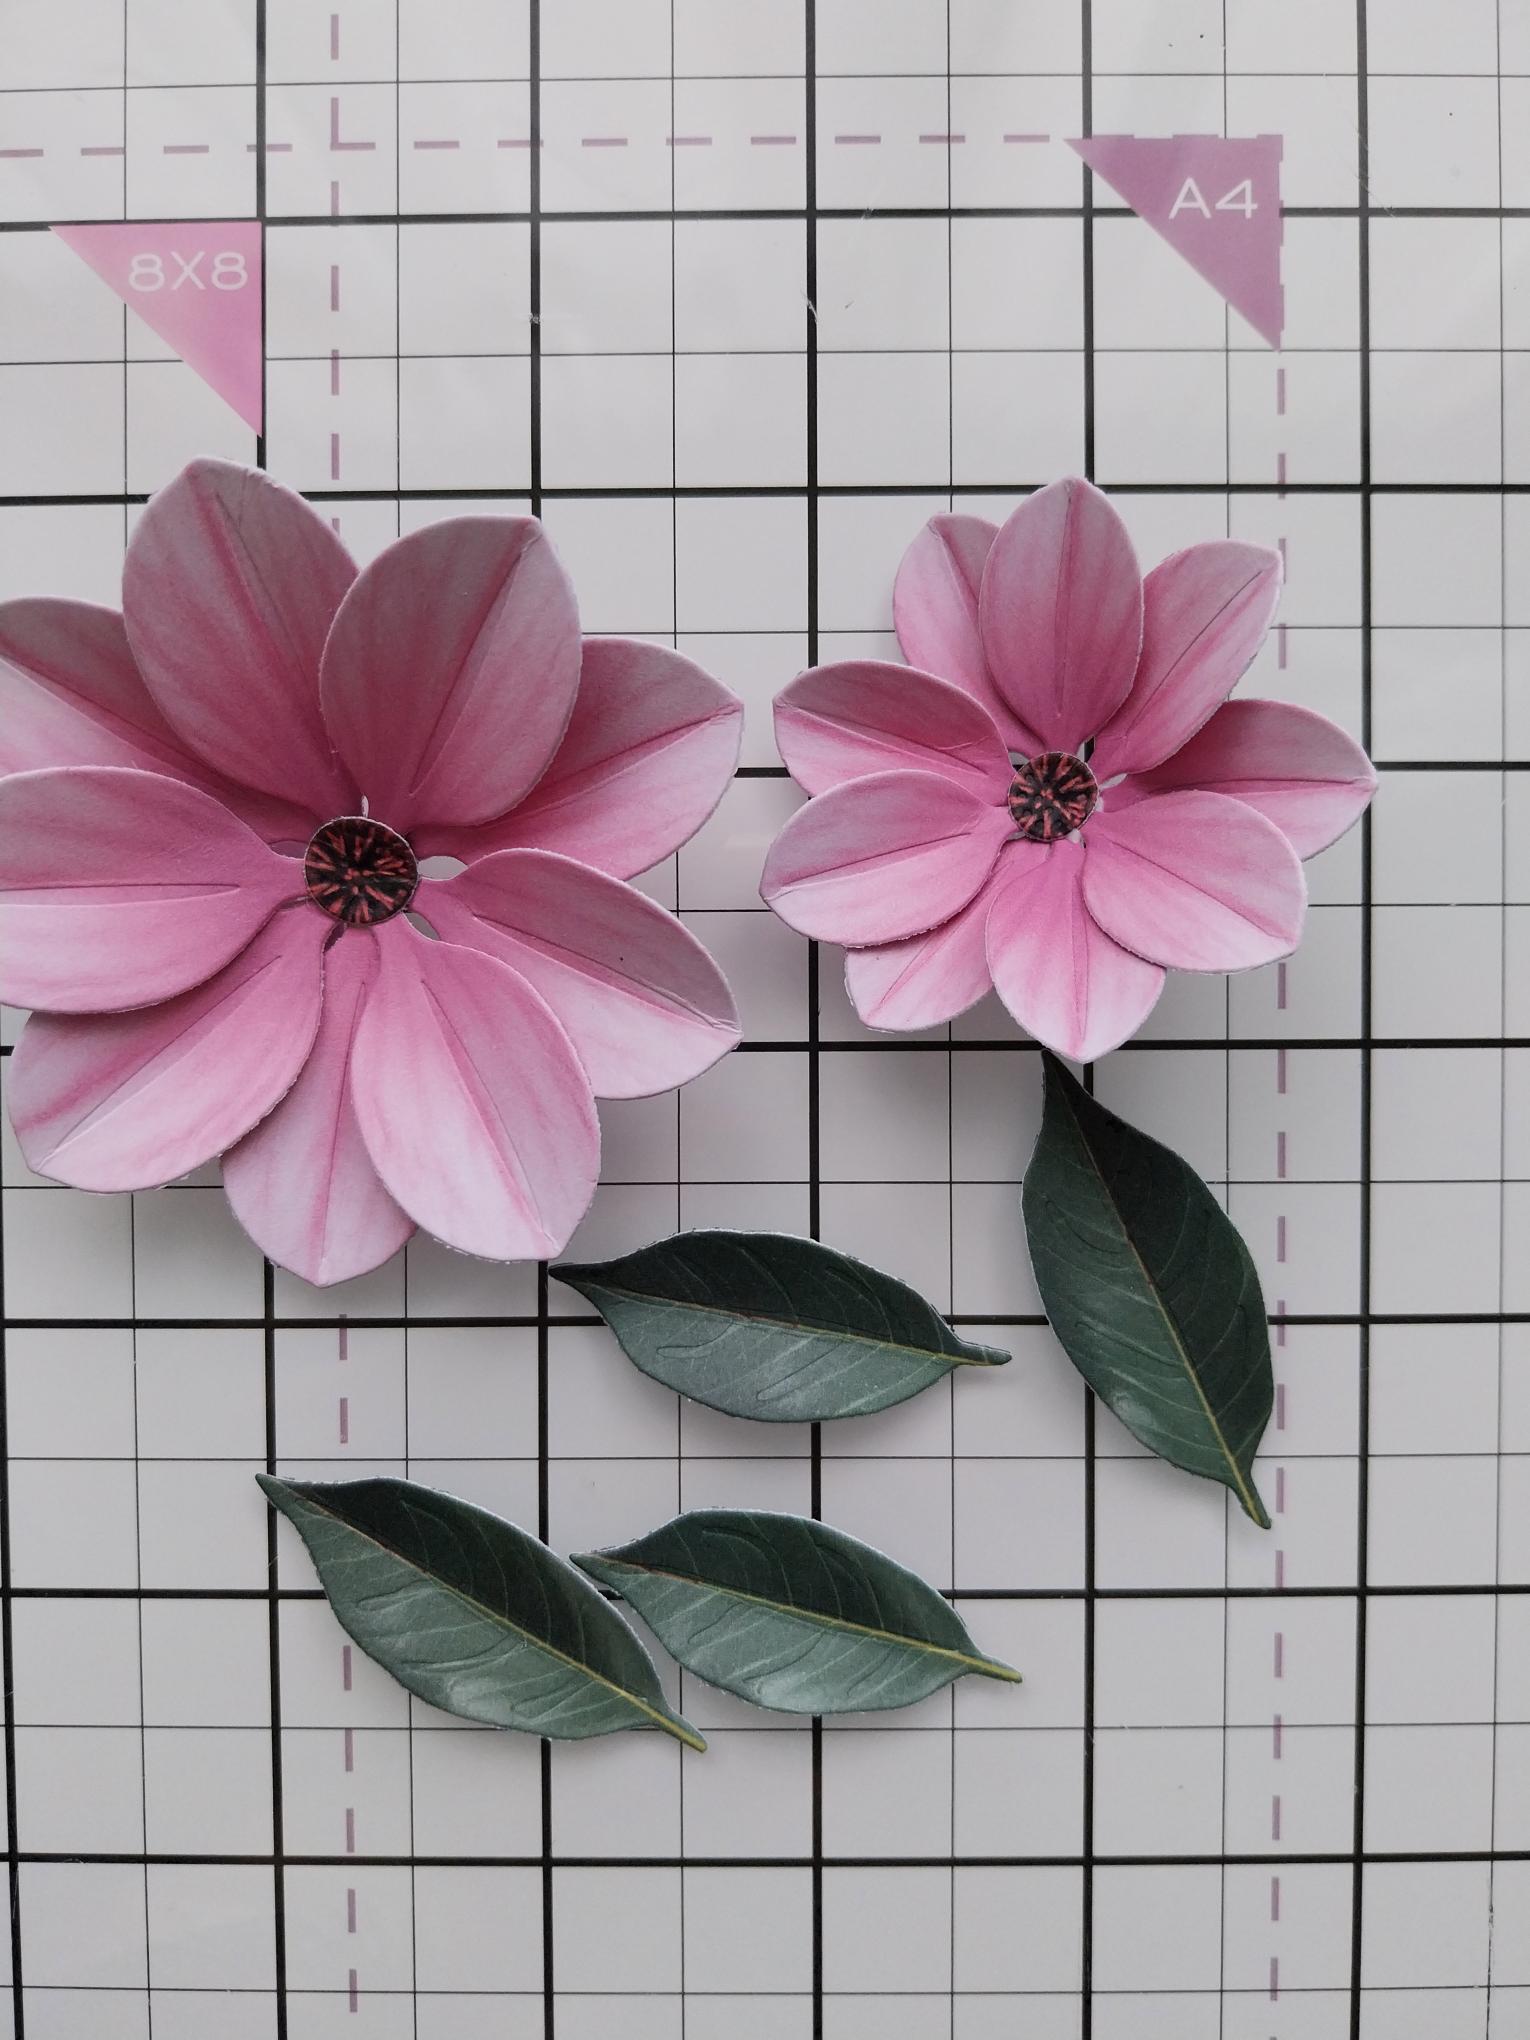
|
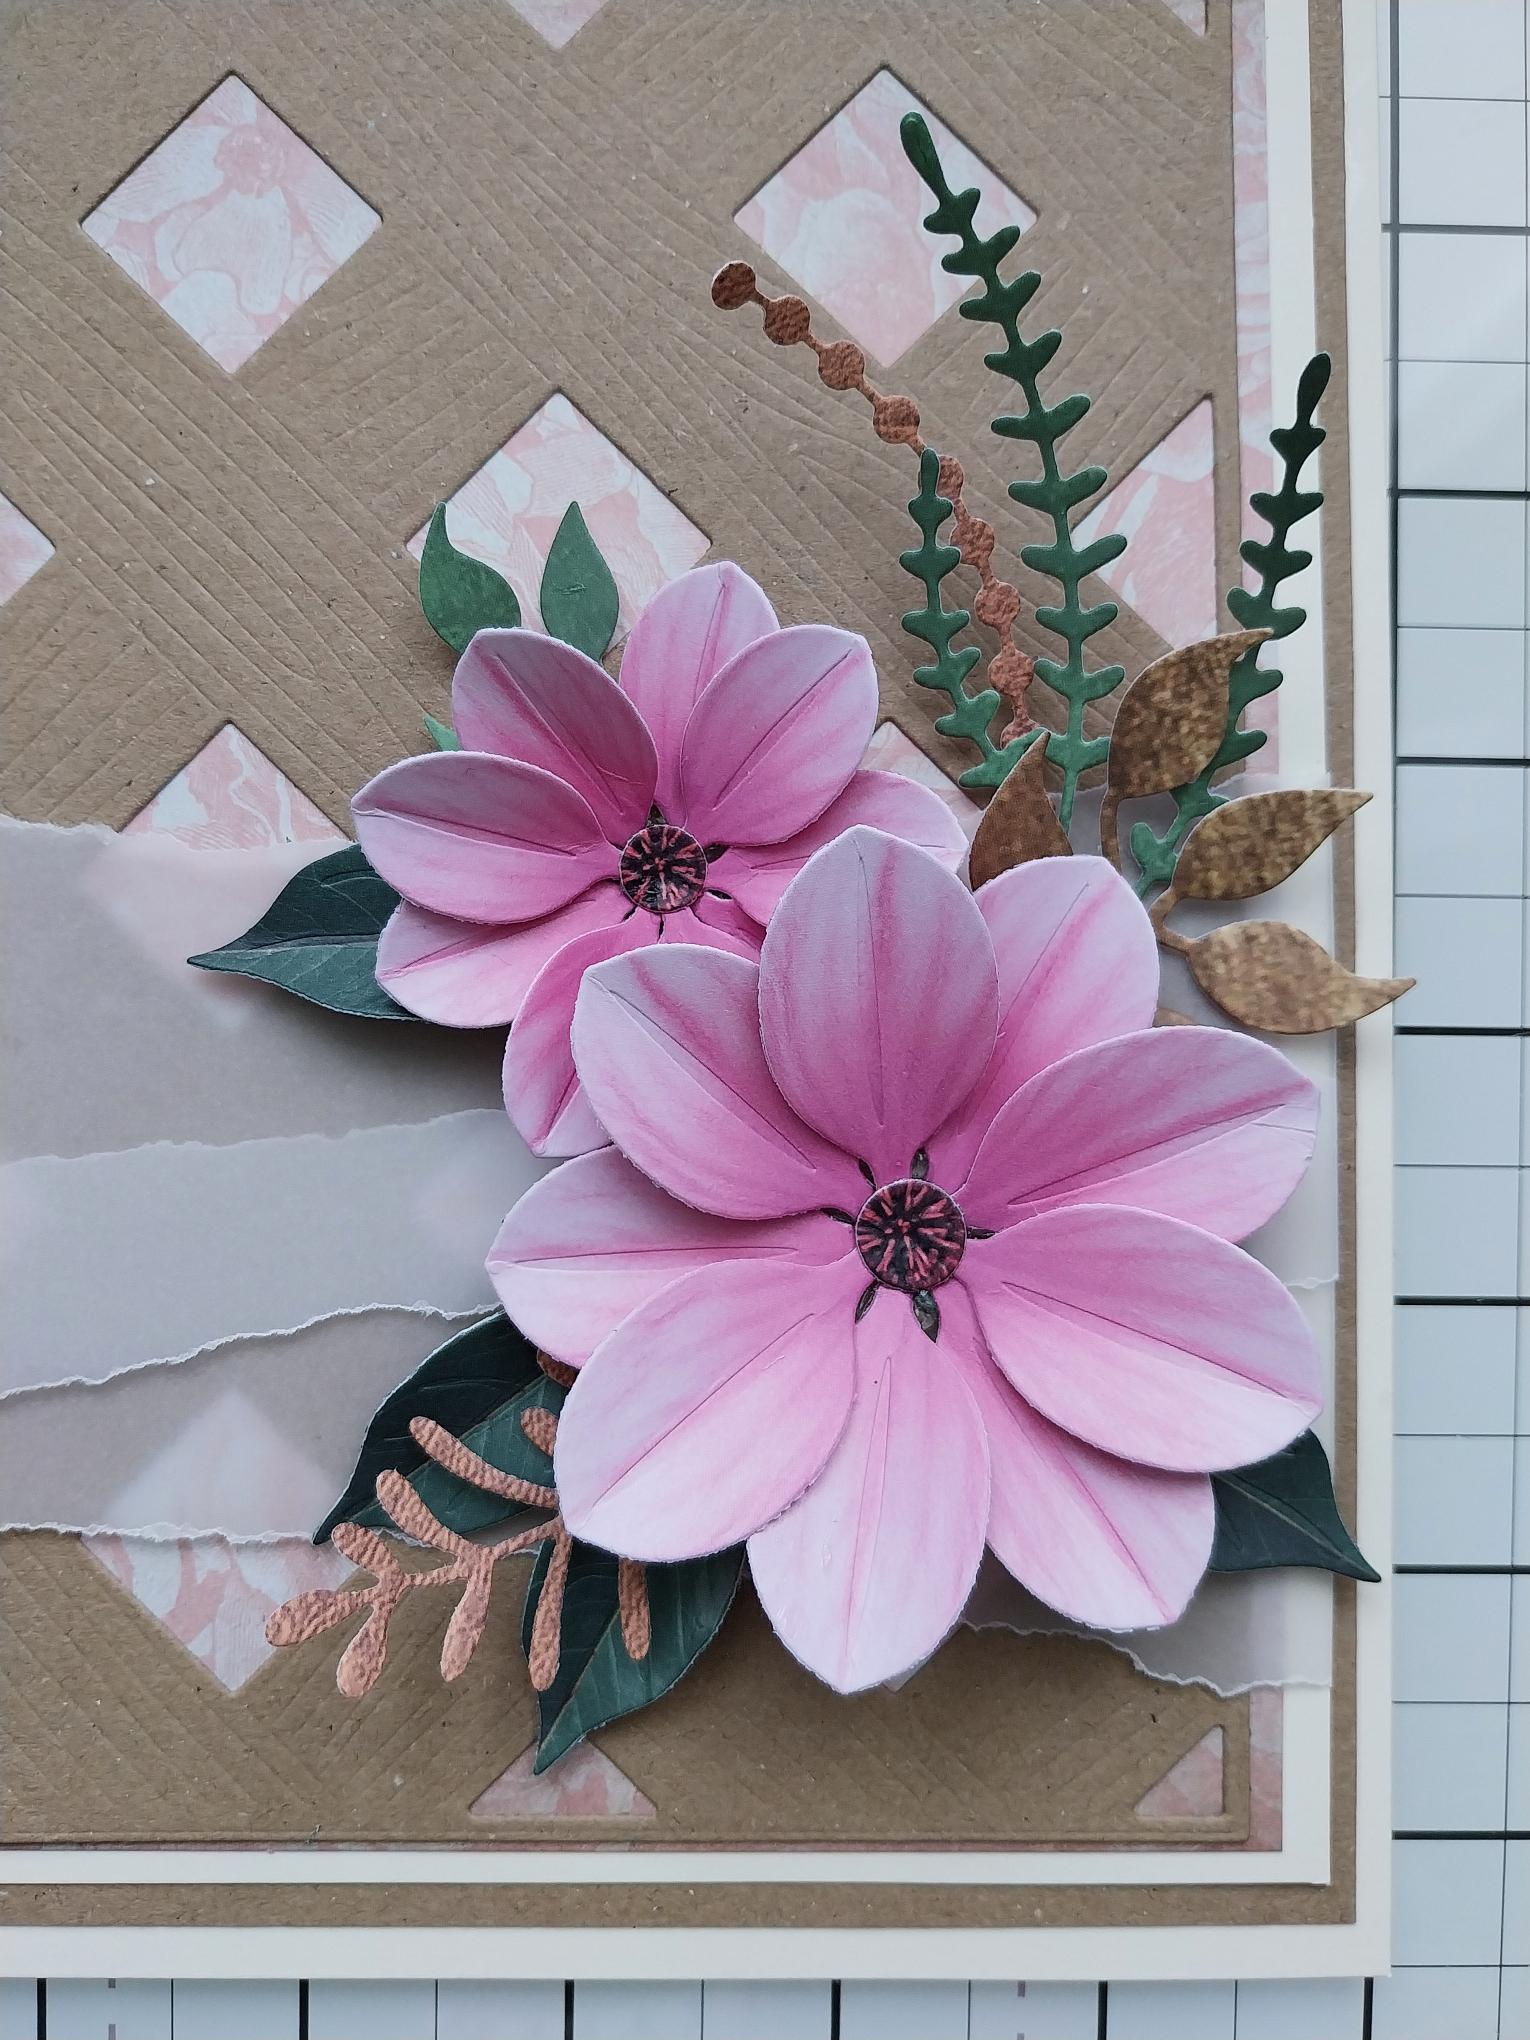
Die-cut the double-sided florals and foliage and adhere together to create two flowers. You can make them as small, full as you like by adding more petals. |
|
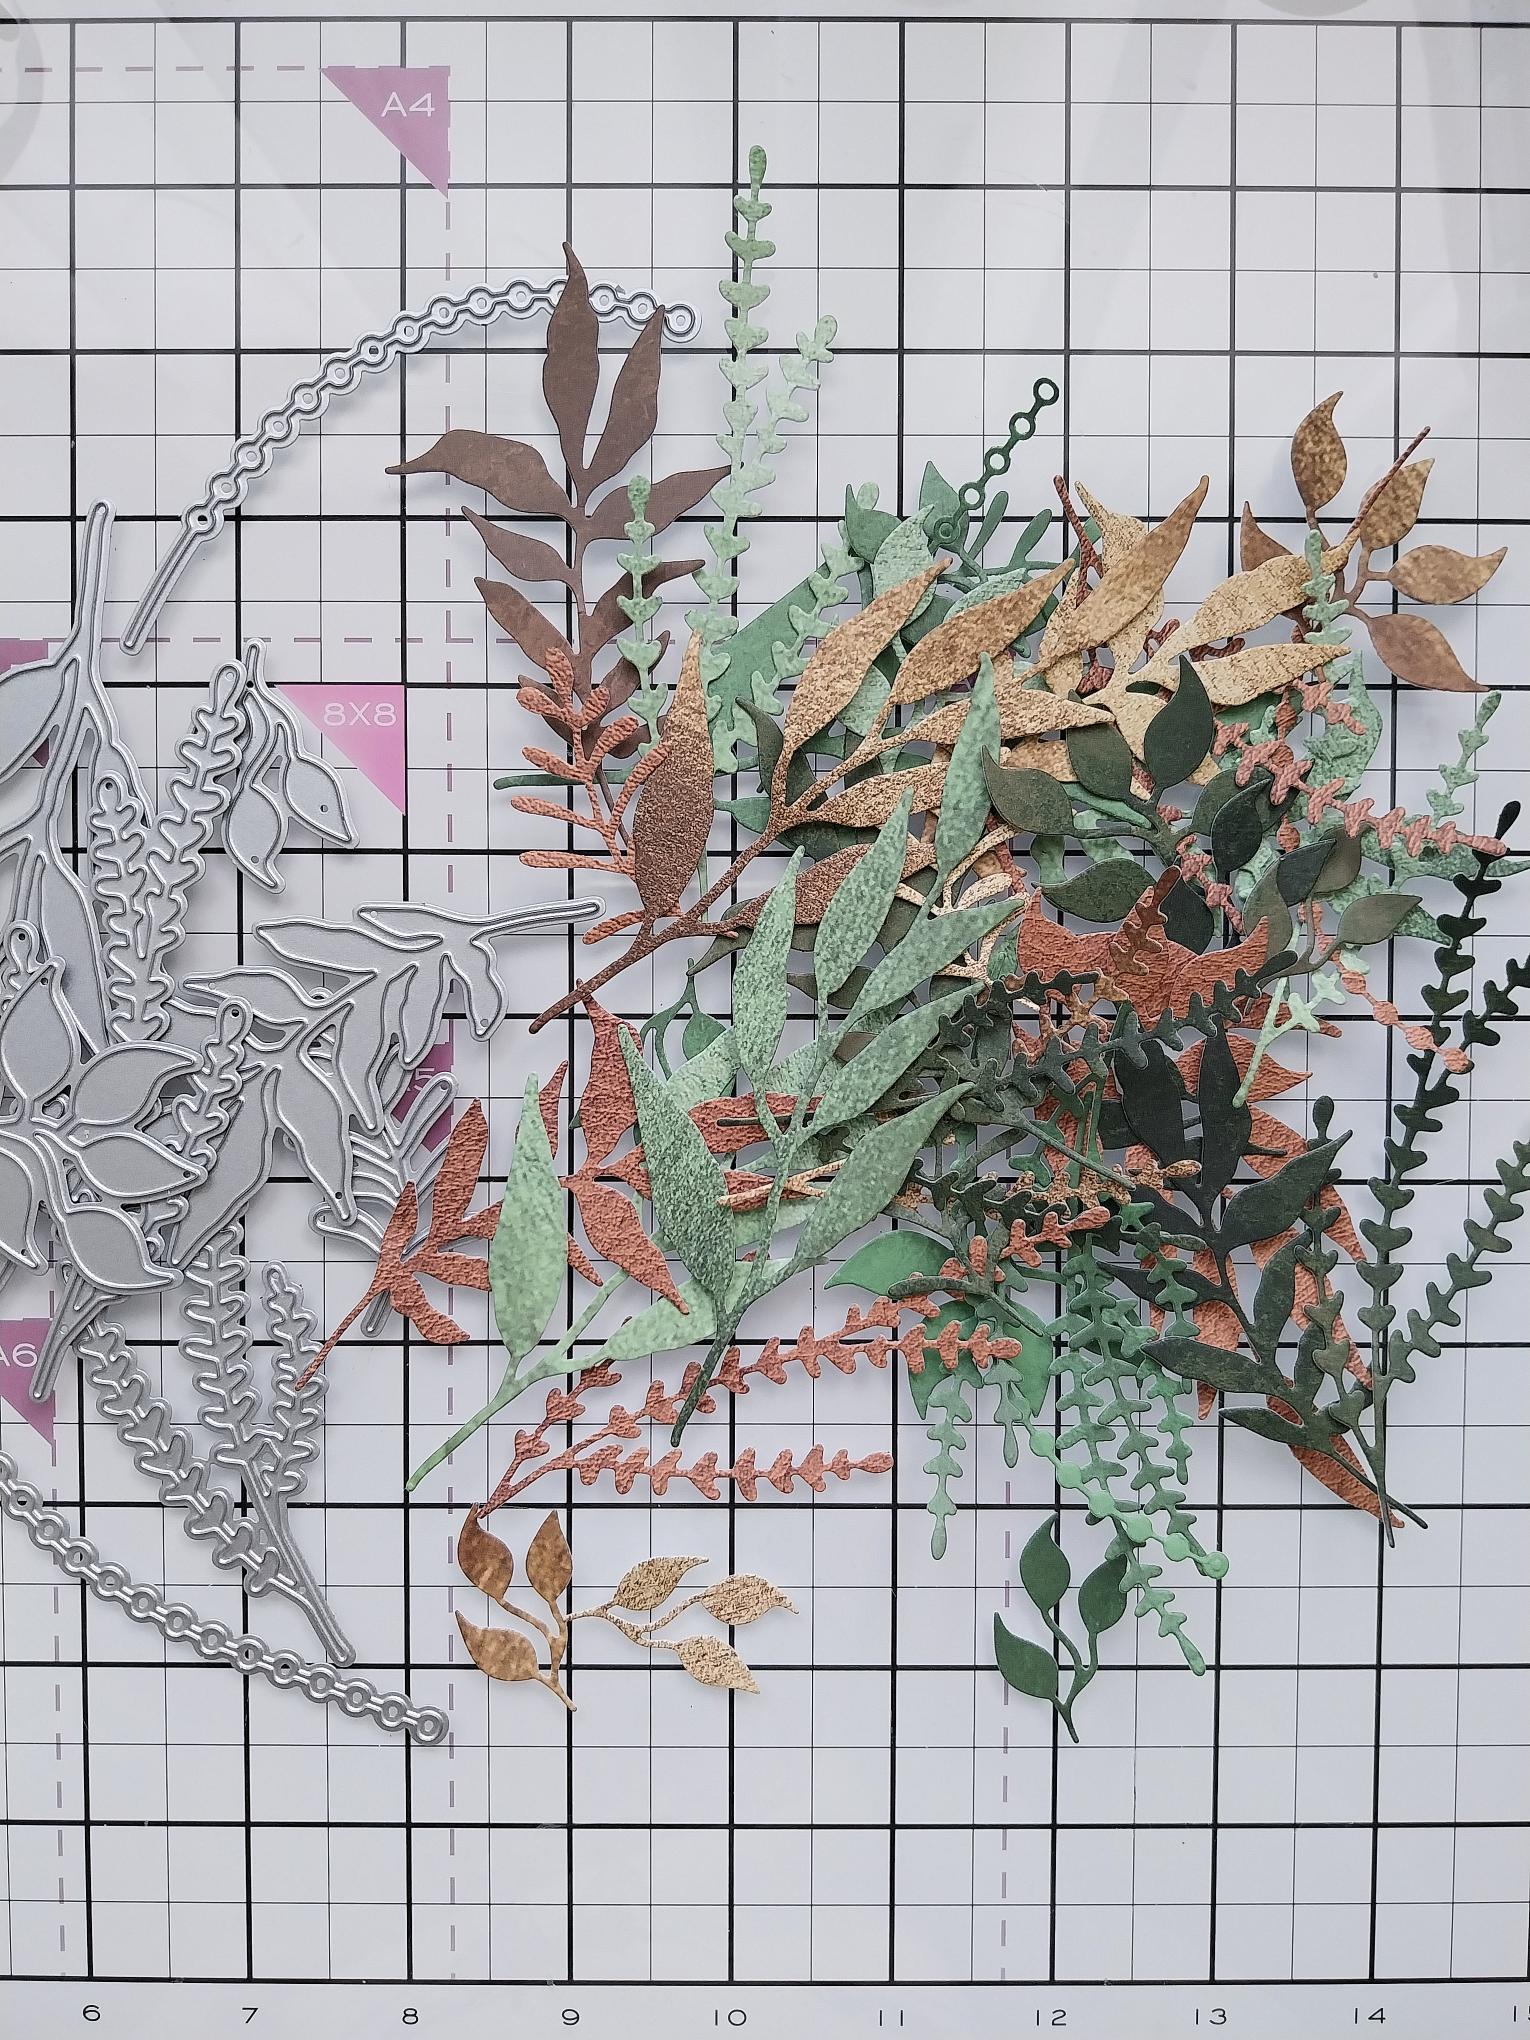
From the Foliage Adornemts set, die-cut the foliage from all your scraps of paper. I chose to die-cut lots and then put what i didn't use in a tub for future projects! |
|
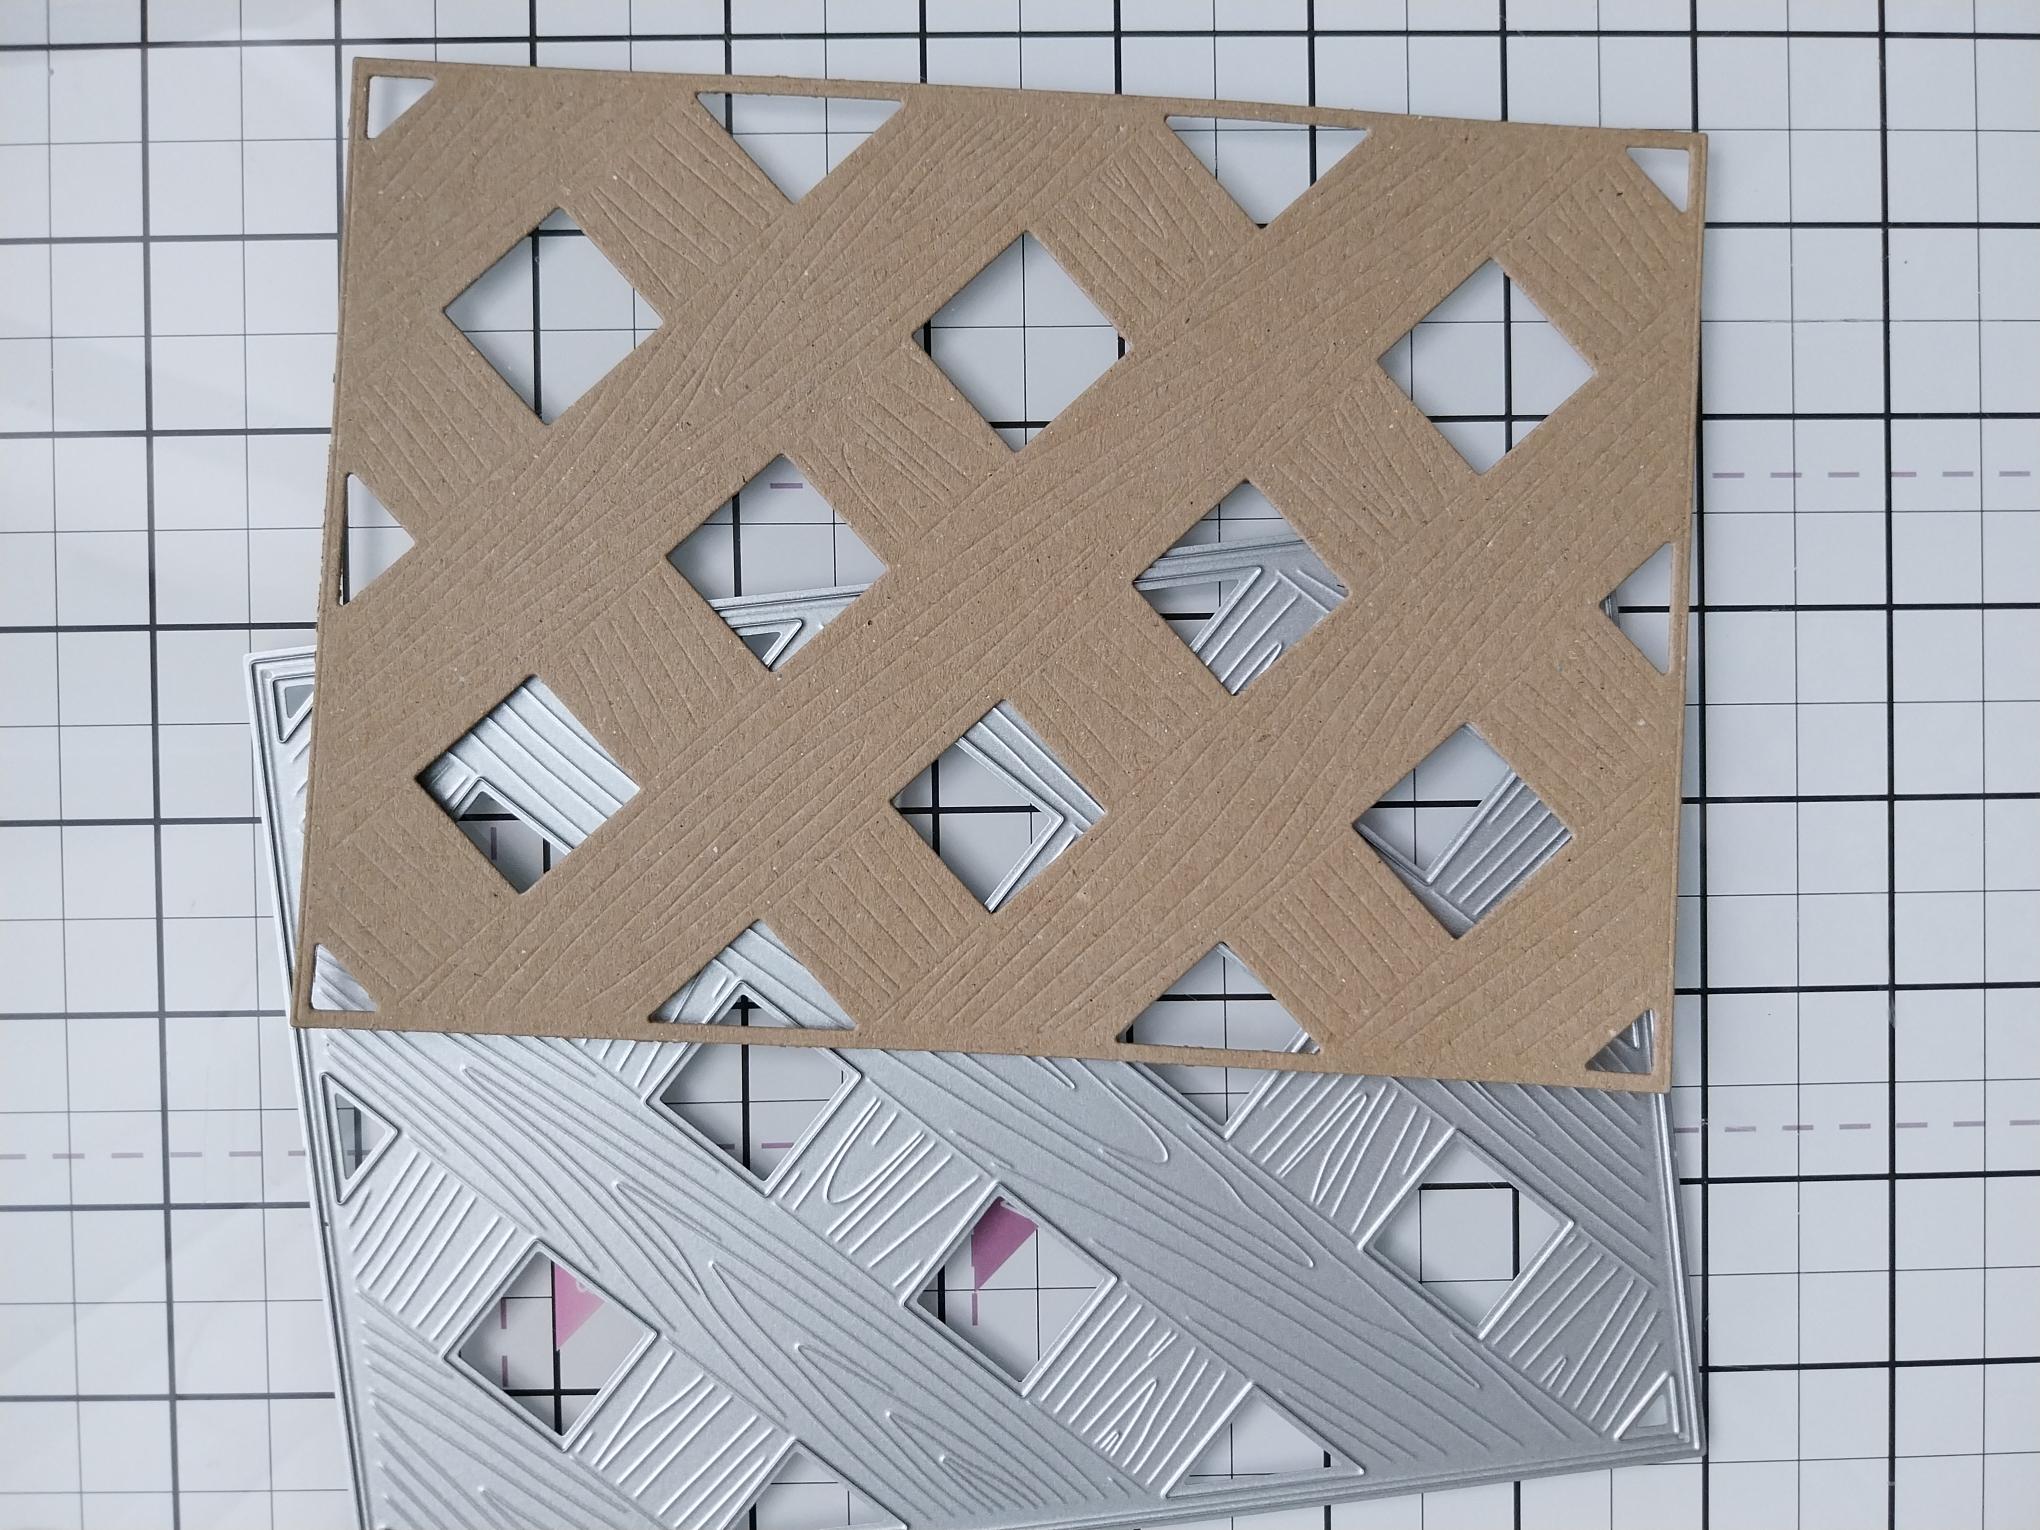
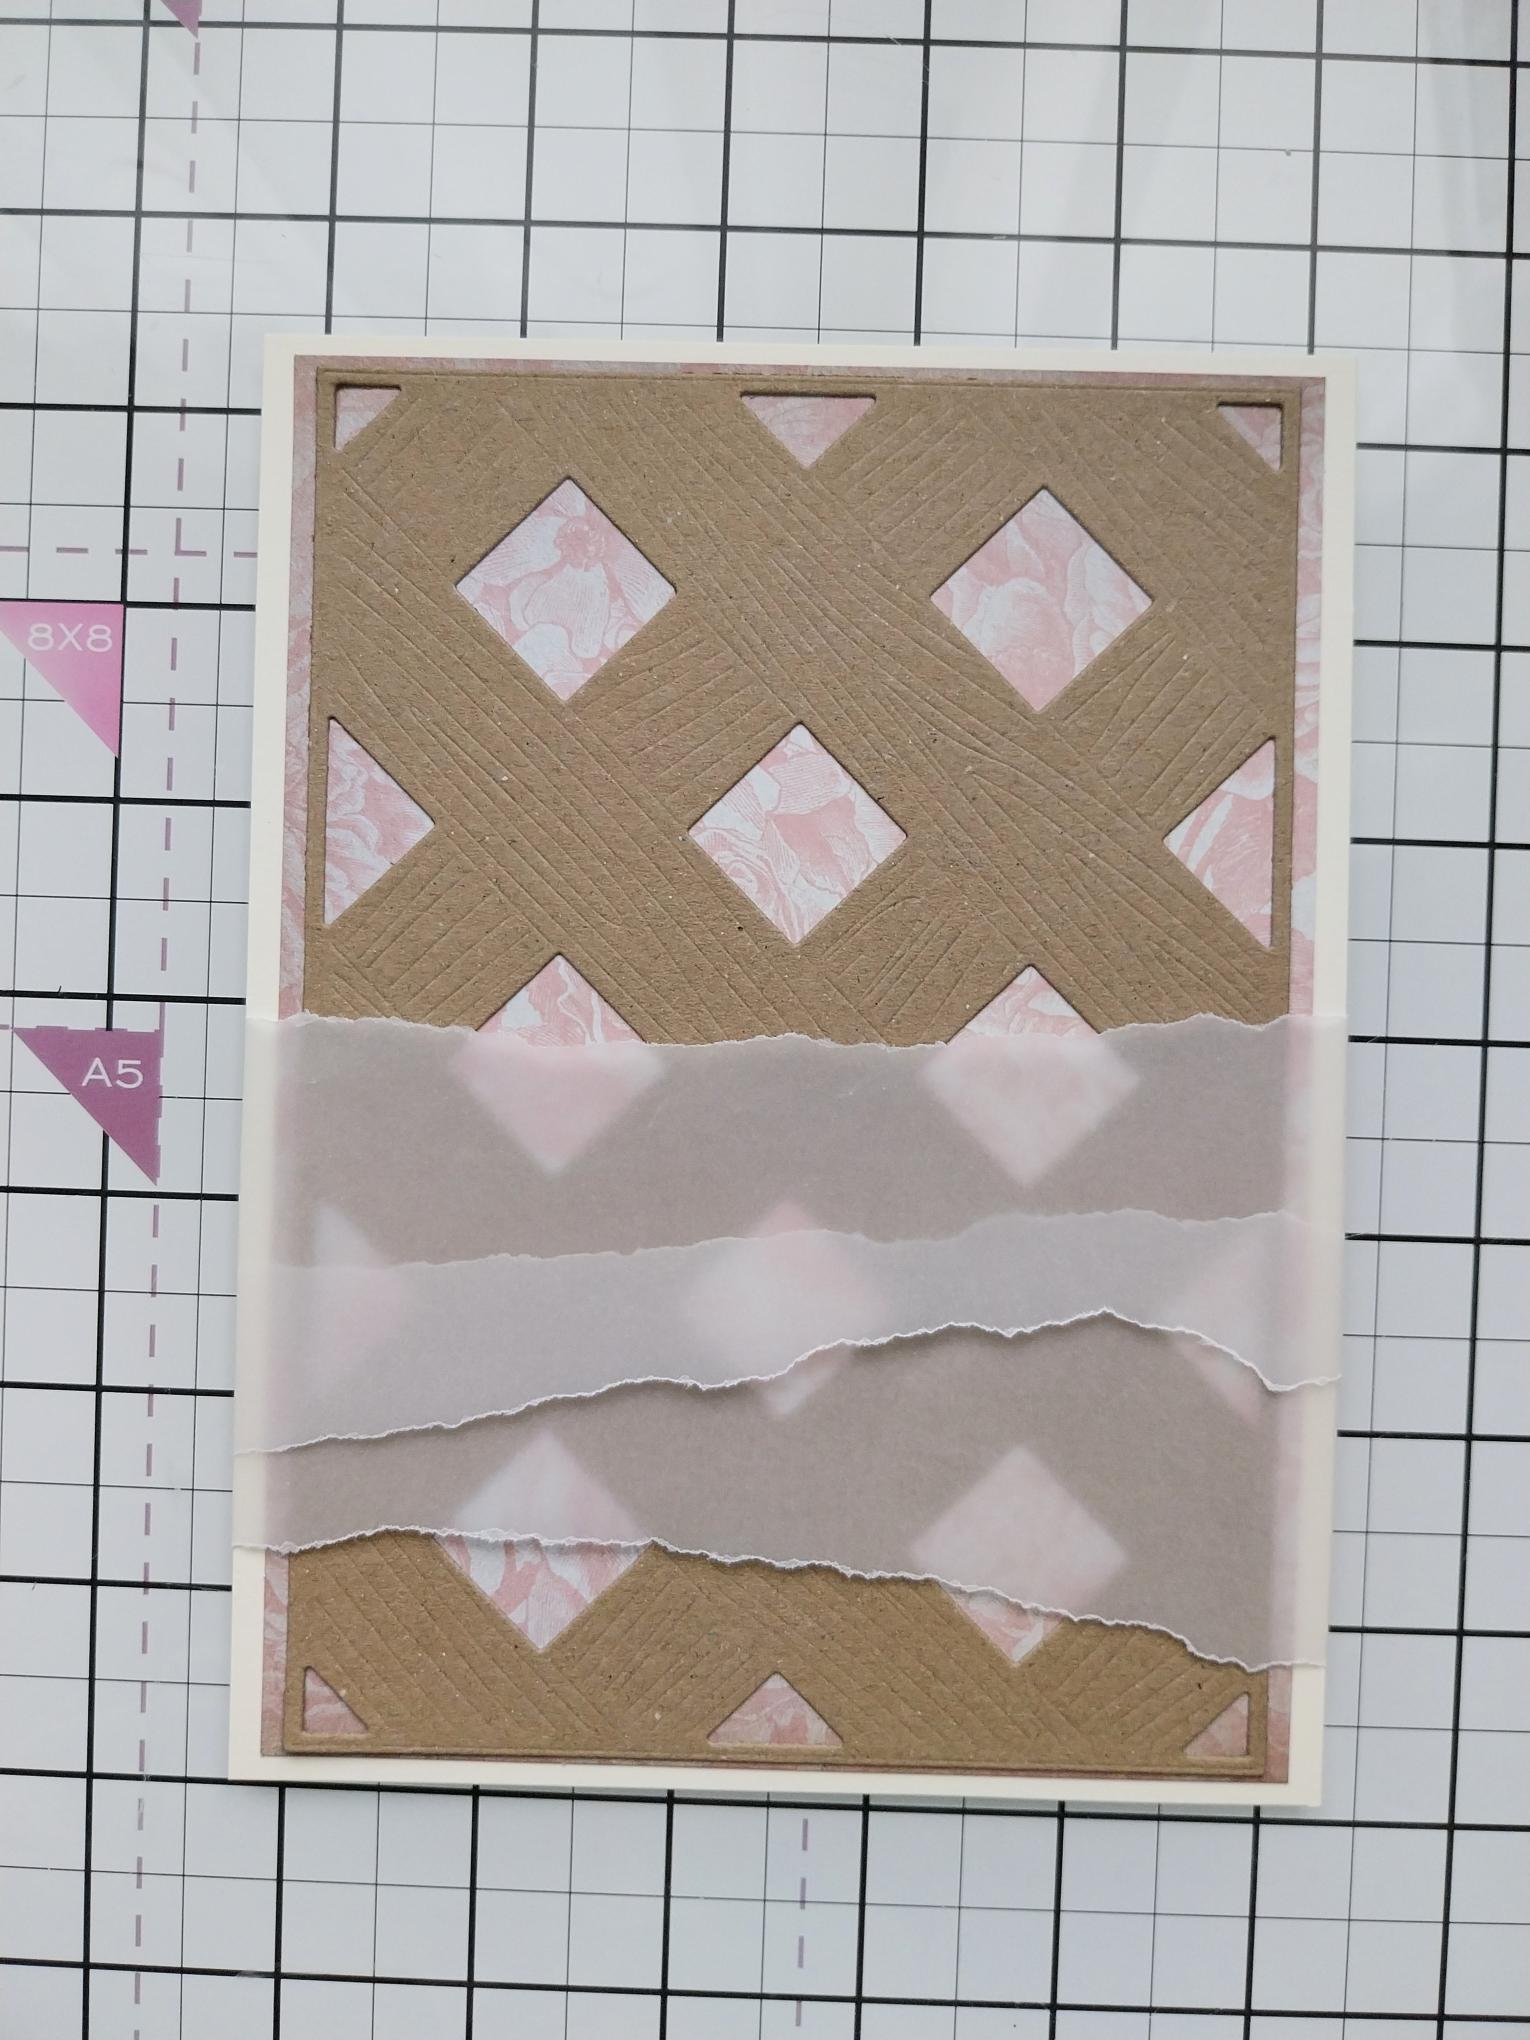
Die cut the Floral Fusion trellis from kraft card. |
|
You will need a cream 6 x 8" card blank. Kraft card cut to 5 3/4 x 7 3/4", cream card trimmed to 5 1/2 x 7 1/2" and a decorative sheet, from the Vintage Roses pack, trimmed to 5 x 7". |
|
Adhere the die-cut trellis to the Vintage Roses paper and then onto the cream cardstock. Tear several panels of vellum, wrap them across the lower half. Tuck the edges over and secure on the reverse with glue/tape runner, as shown here. |
|
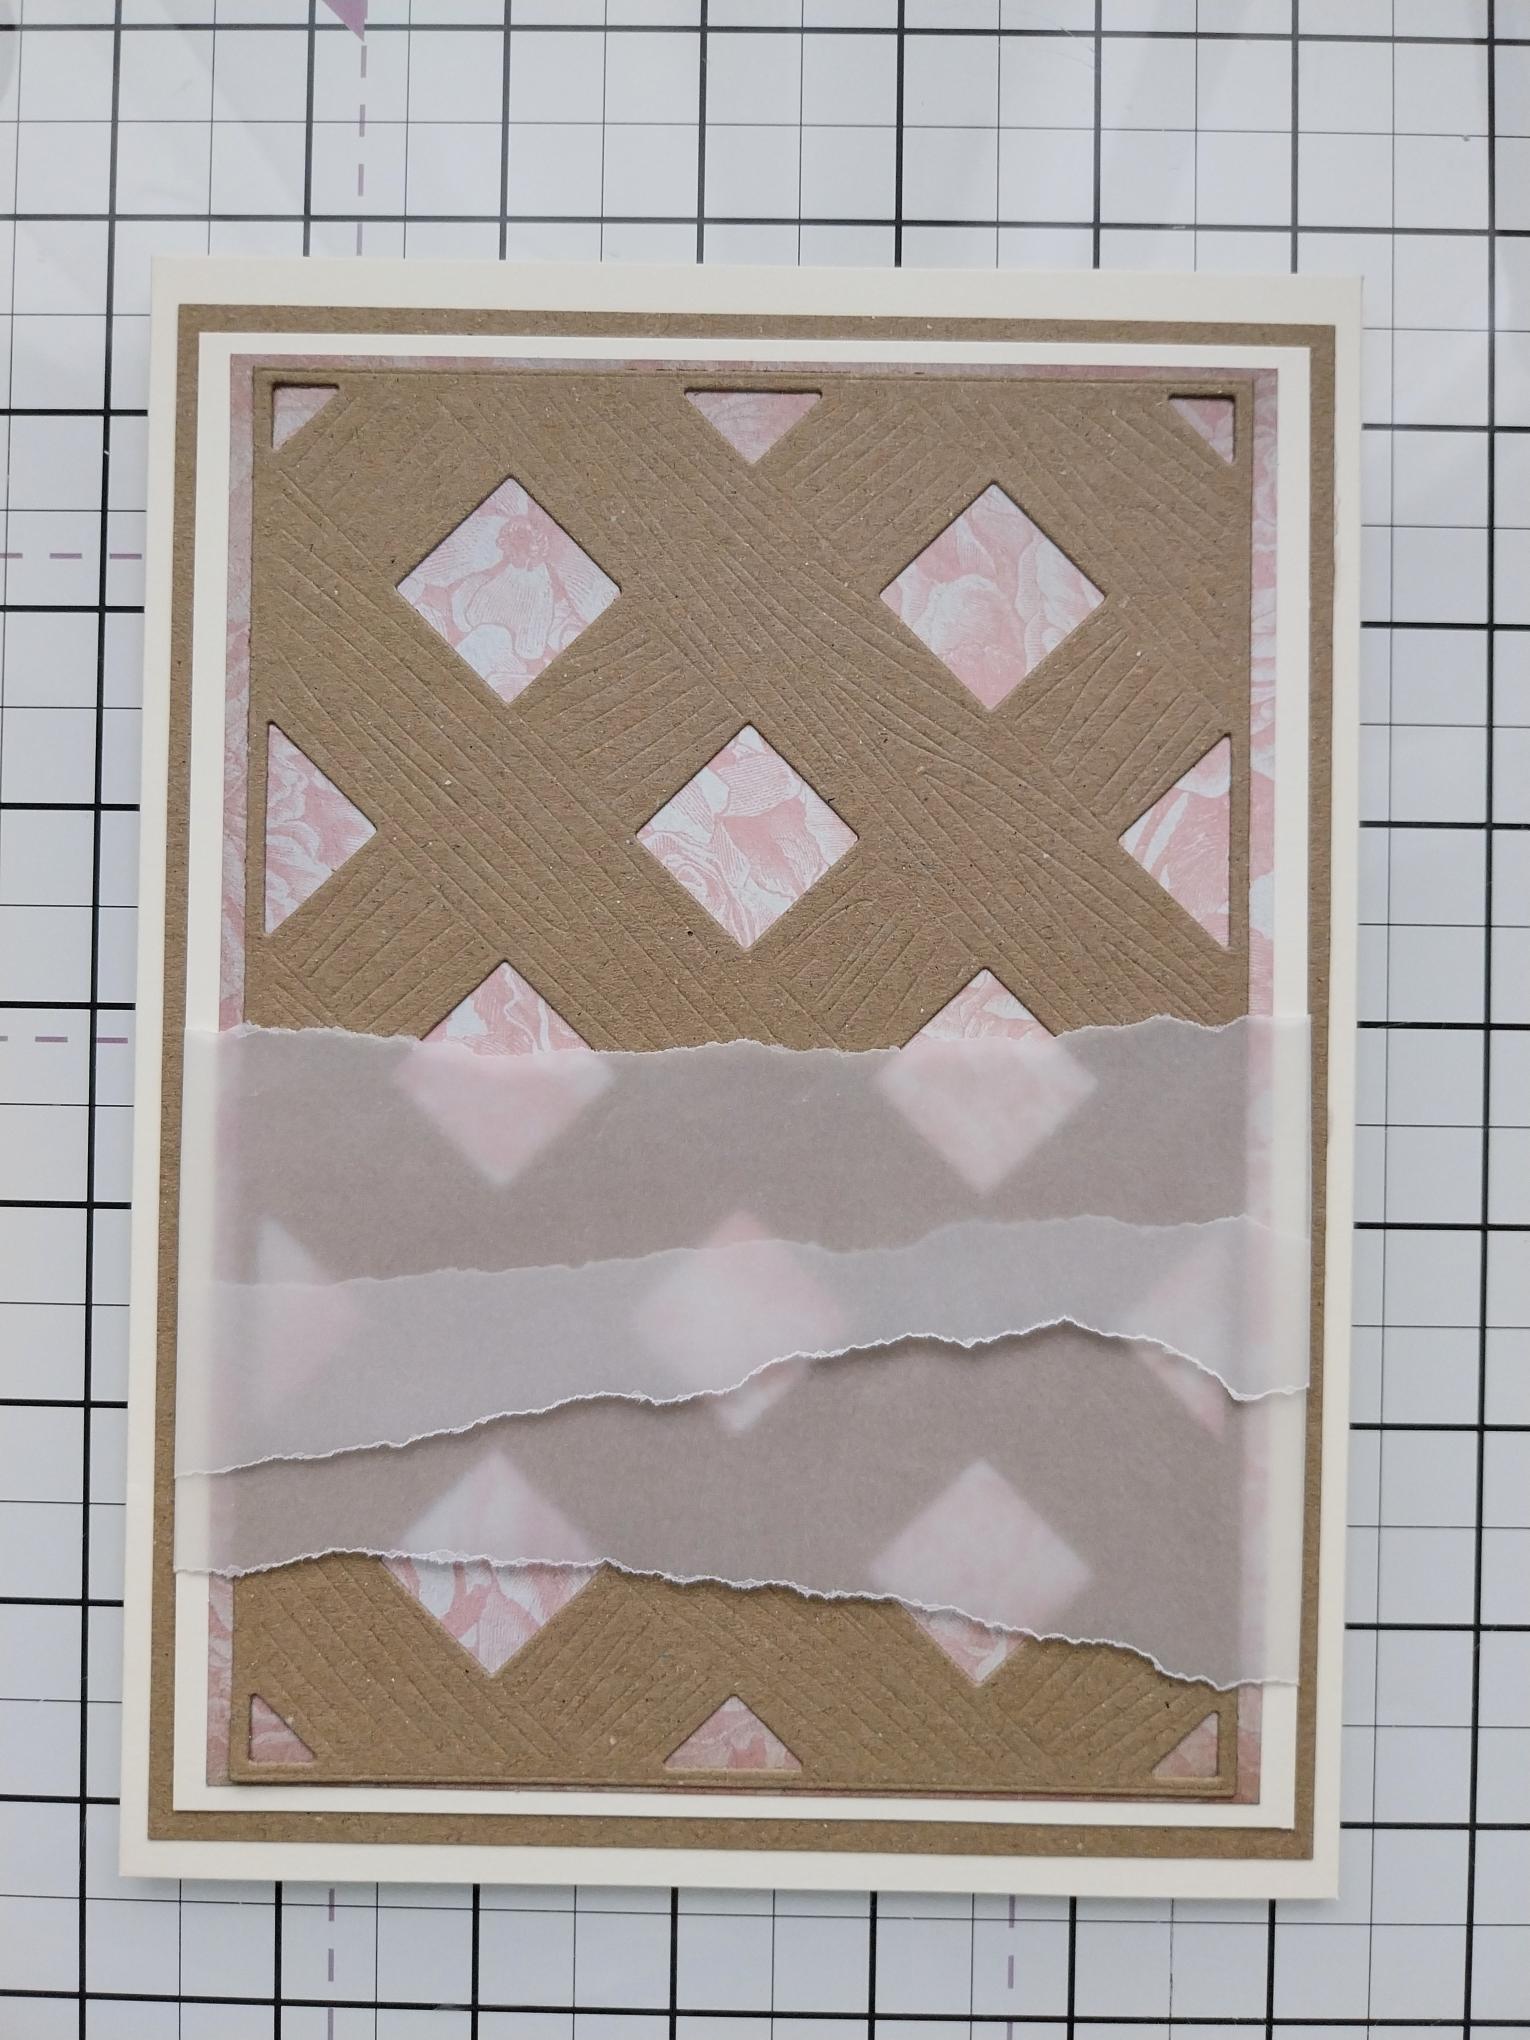
Adhere to the kraft card and finally onto the cream card blank. |
|
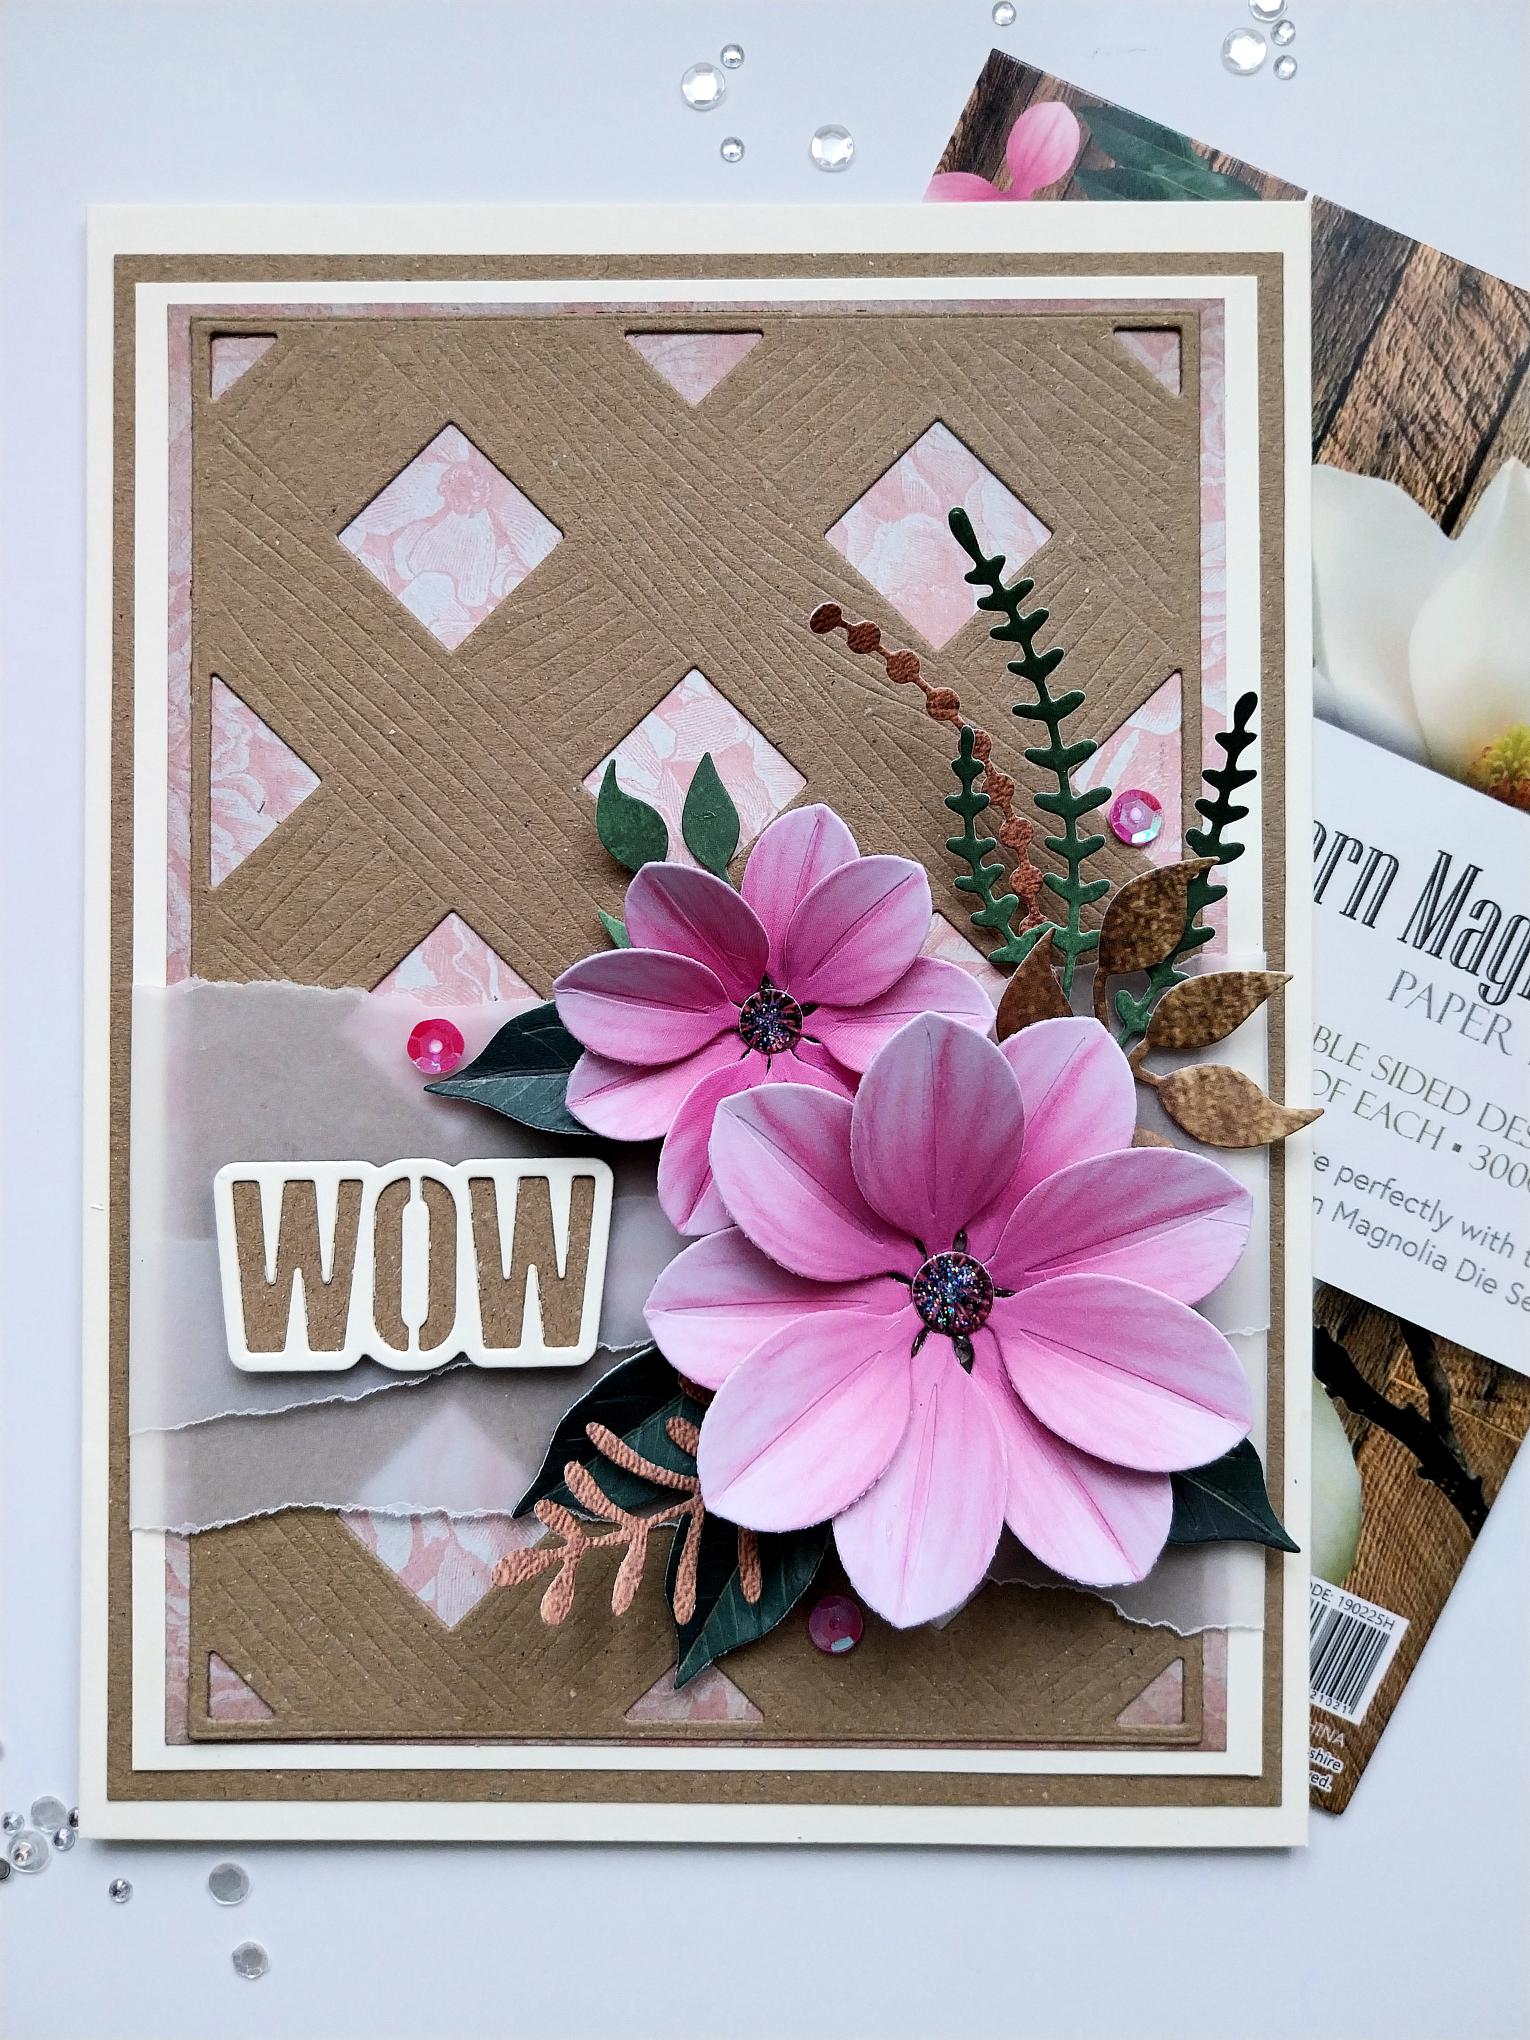
Adhere your 3D floral display over the vellum panel and curving around the bottom right of your card. I used 3D glue gel but you use your preferred adhesive. |
|
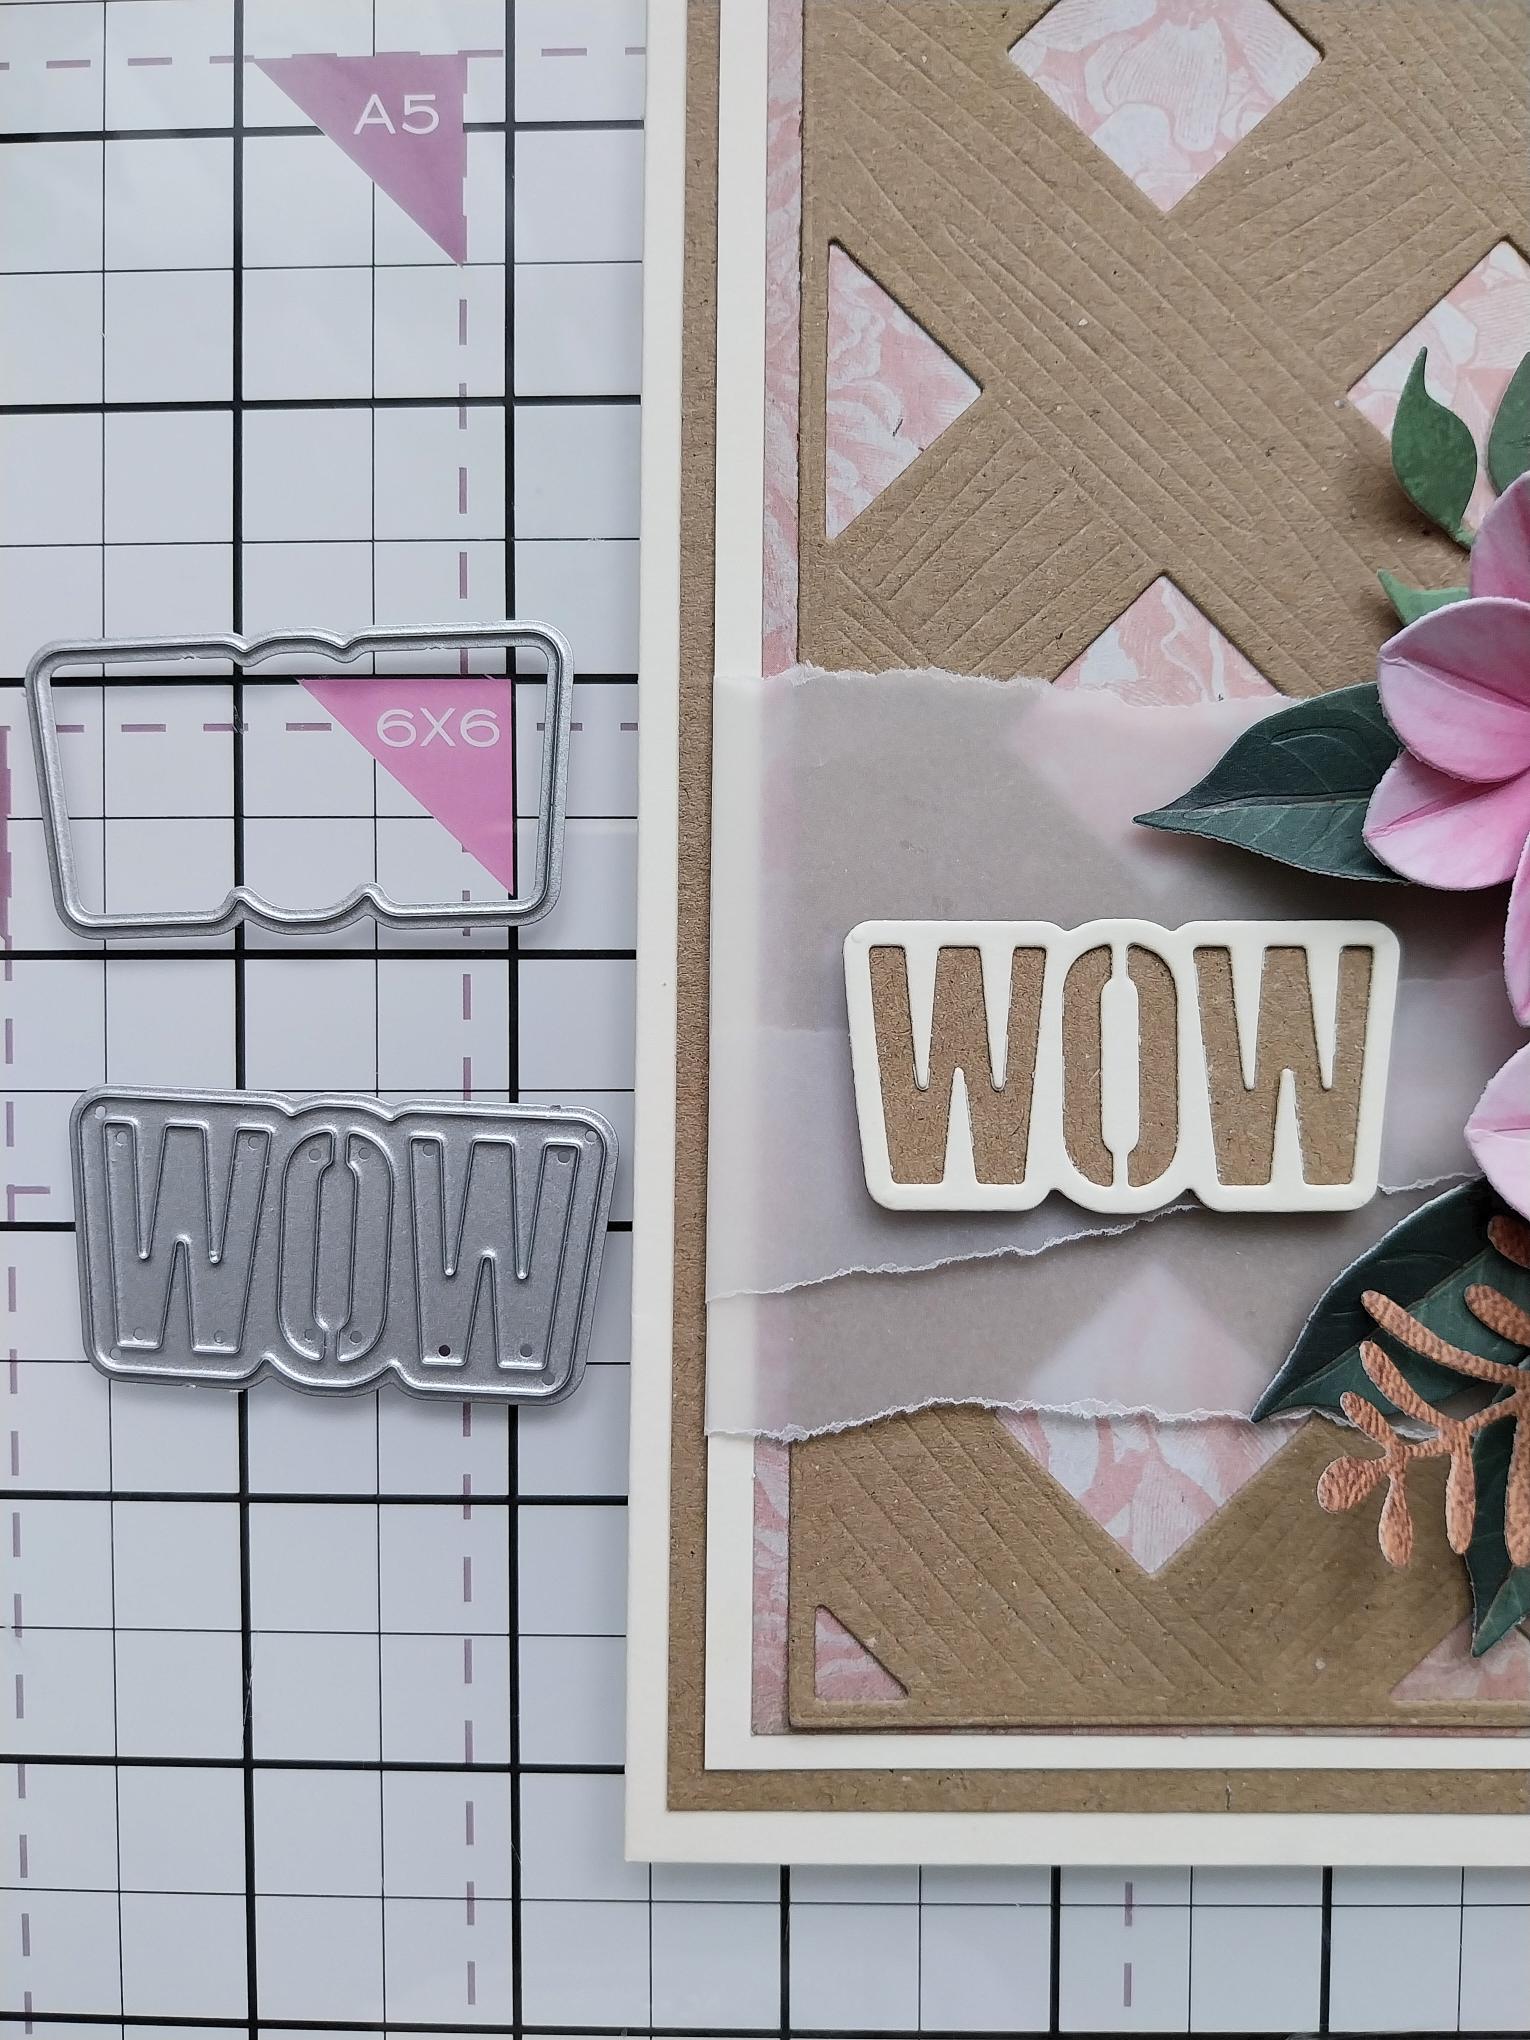
Using the WOW dies from the Radiant Poppies set, die cut the detailed die in cream card and the "mat" in kraft card. Adhere together and secure to the left of the floral display, across the torn vellum. |

|
Finally, use your Stickles and sequins to add a touch of sparkle to your card. |