Give your friends $10 off their first order!
Refer a FRIEND


WHAT YOU WILL NEED:
Floral Dimensions Hellebore Collection
Foliage Banner Die Collection
Look & See Die Set
Saying Hello Stamp & Die Set
Tailored Threads 8 x 8" Paper Pad
Tailored Threads 8 x 8" Foundation Pad
DL White Card blank (4 x 8 1/4")
White cardstock
SBM Hybrid Ink Pad: Midnight
Eureka 101 Watercolour Tablet
SBM A3 Magnetic glass mat
Paper Trimmer
Glue/3D gel/foam pads
Die Cutting machine
[click image to enlarge] 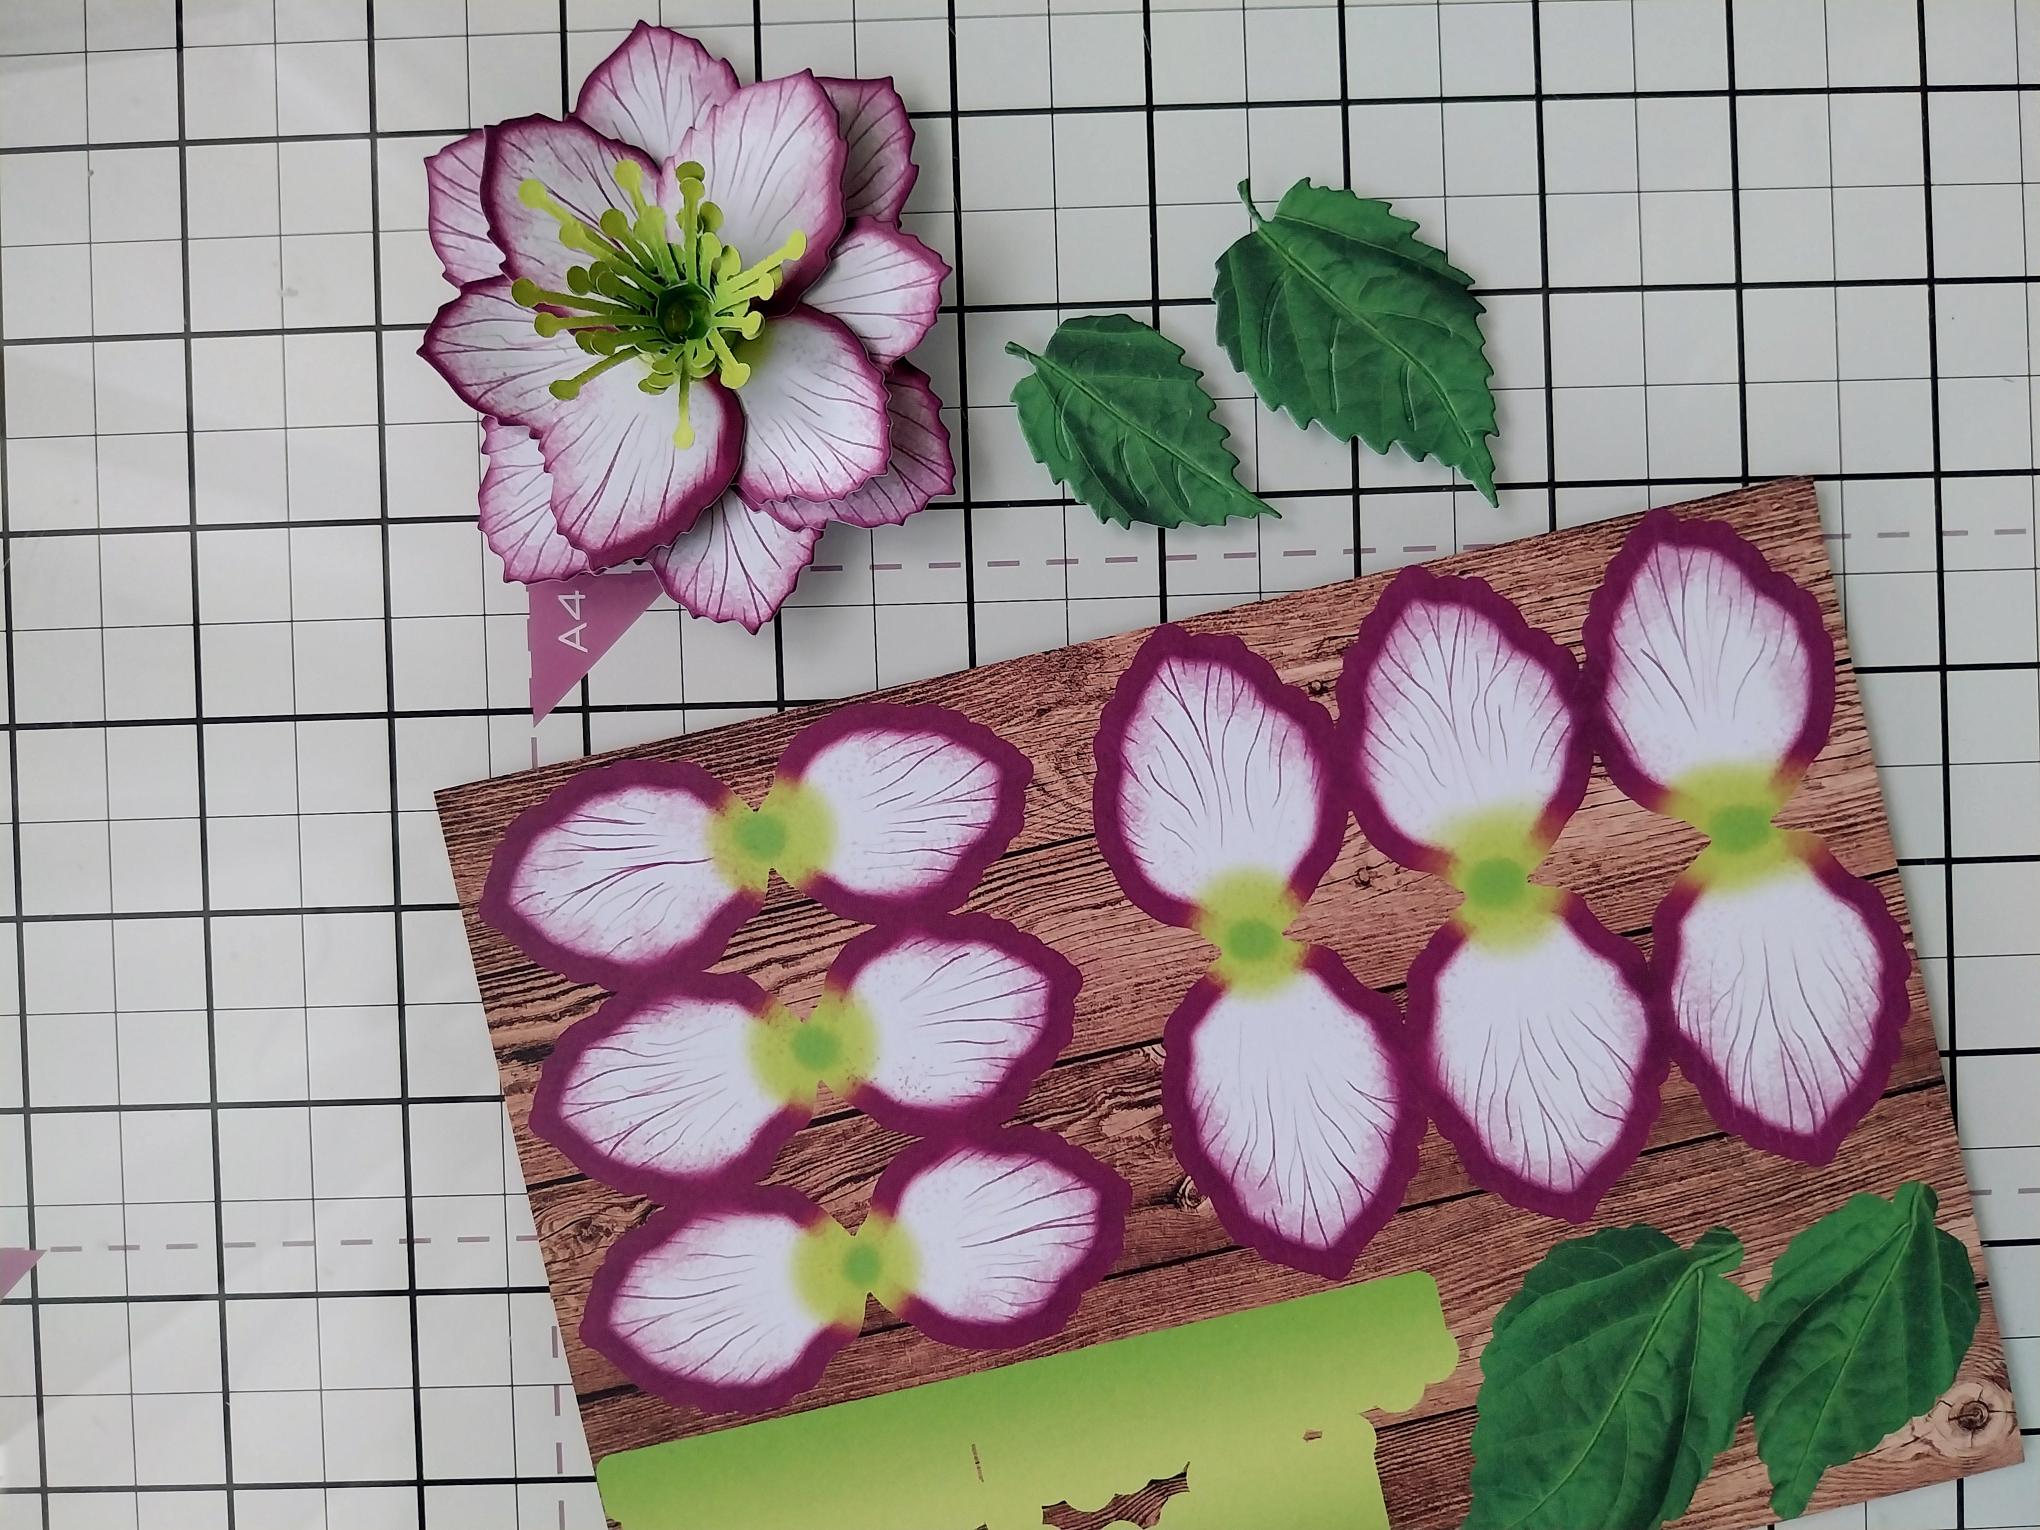
|
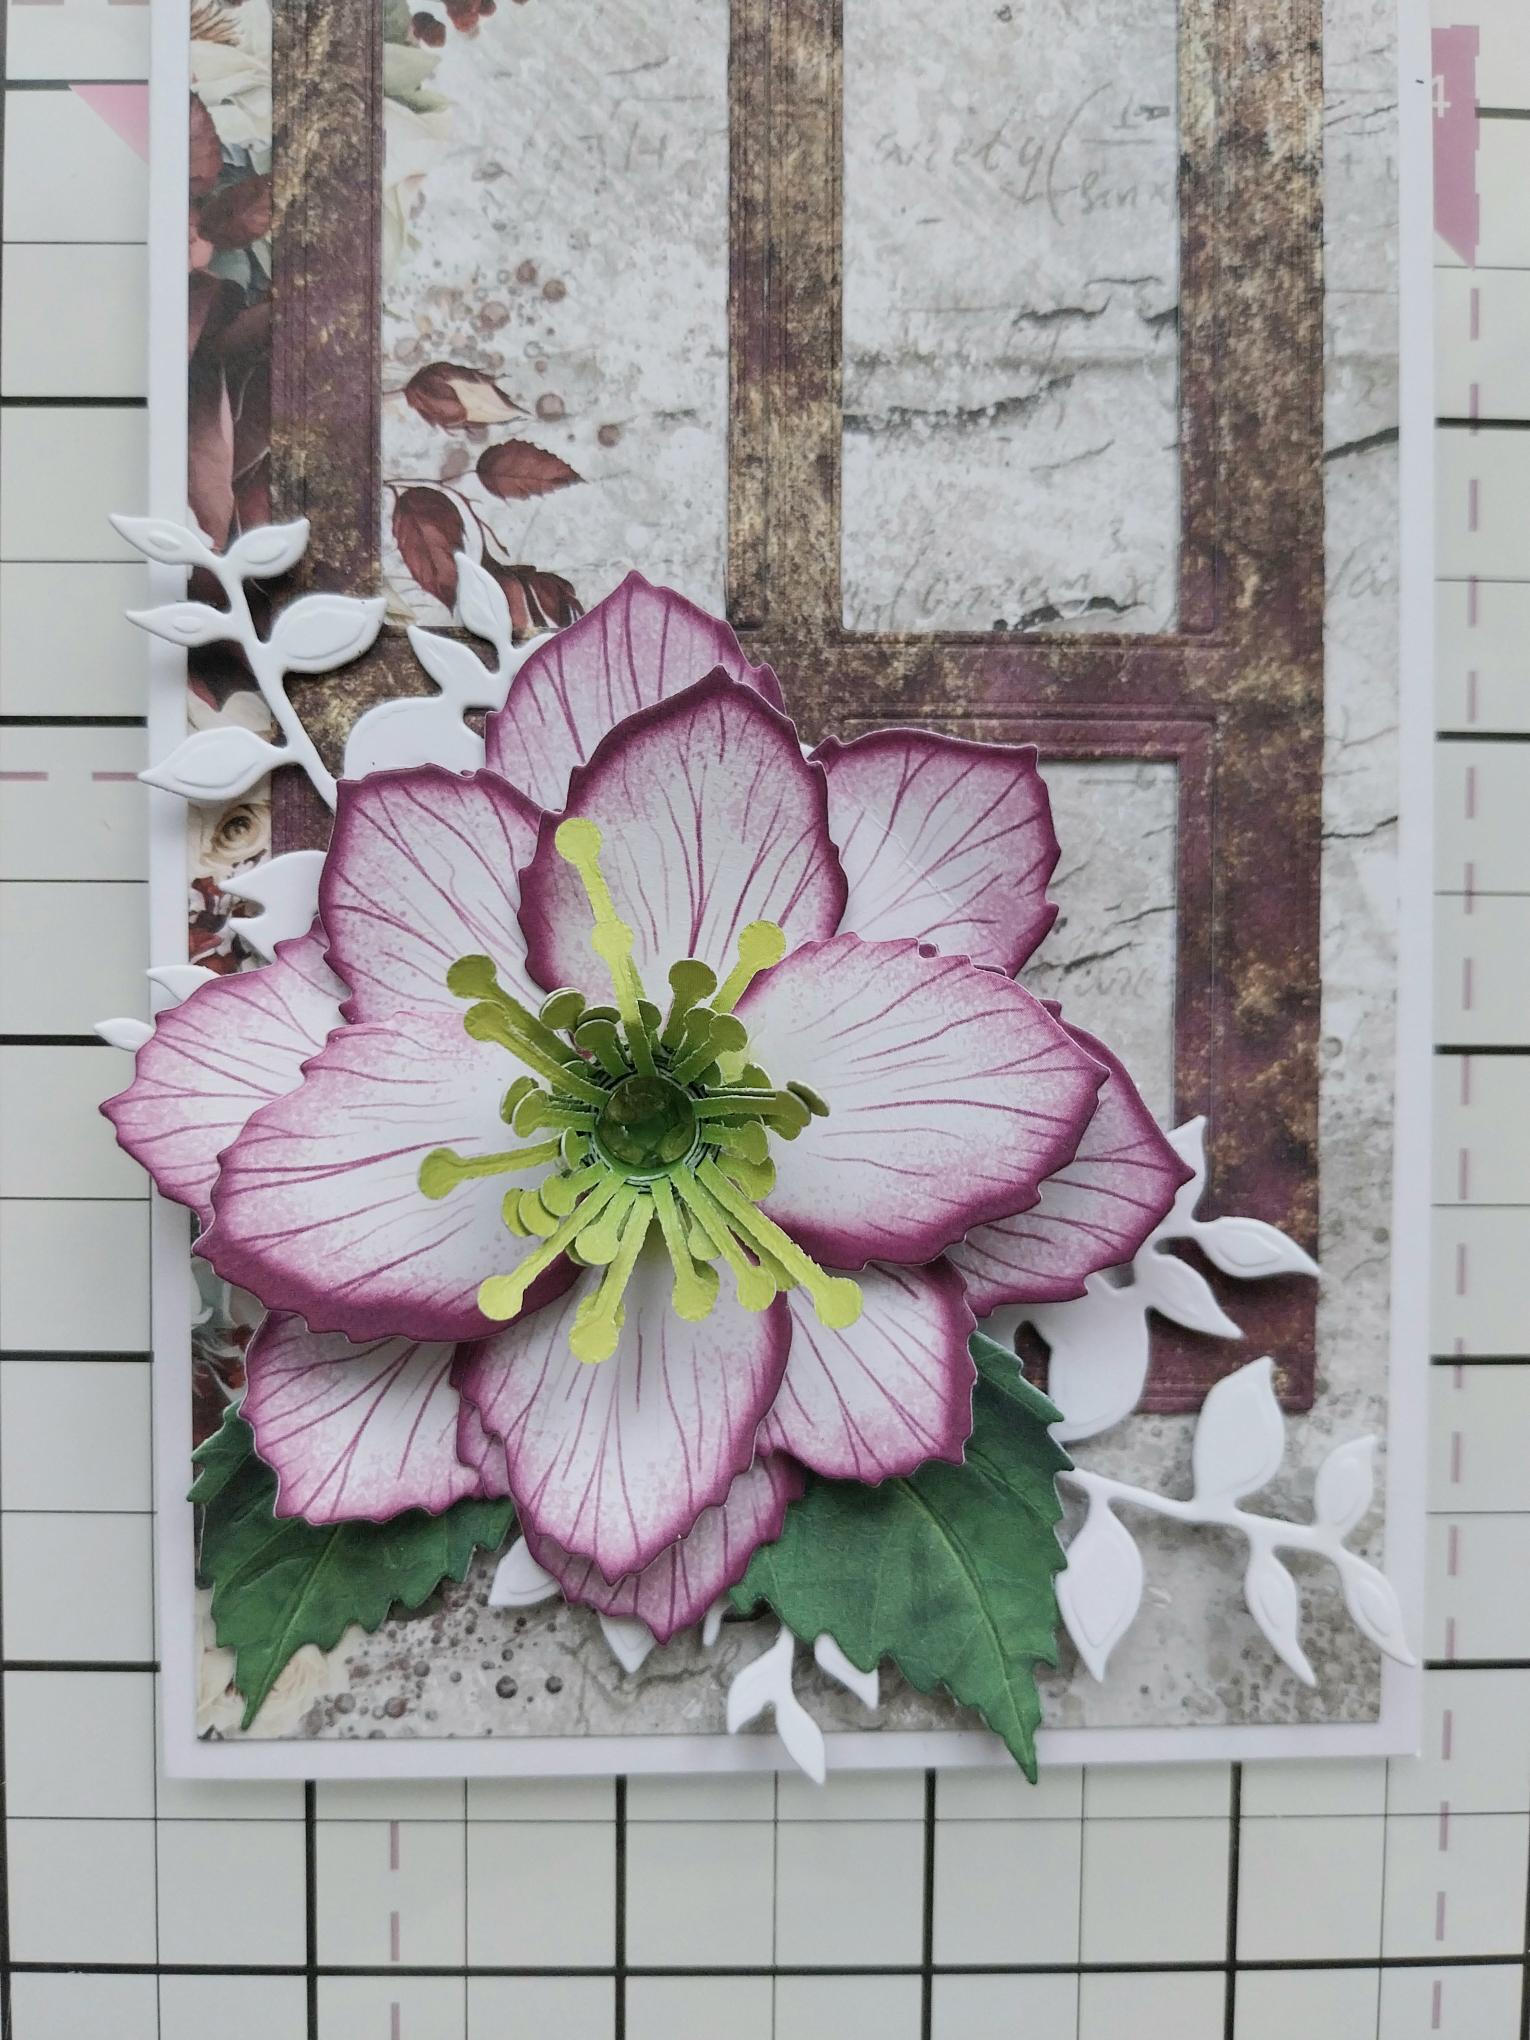
Die cut the double-sided Hellebore flowers and leaves and adhere together using wet glue/glue gel, as preferred. You can add as many petals as you want, to make the 3D flower as small or as big as required. |
|
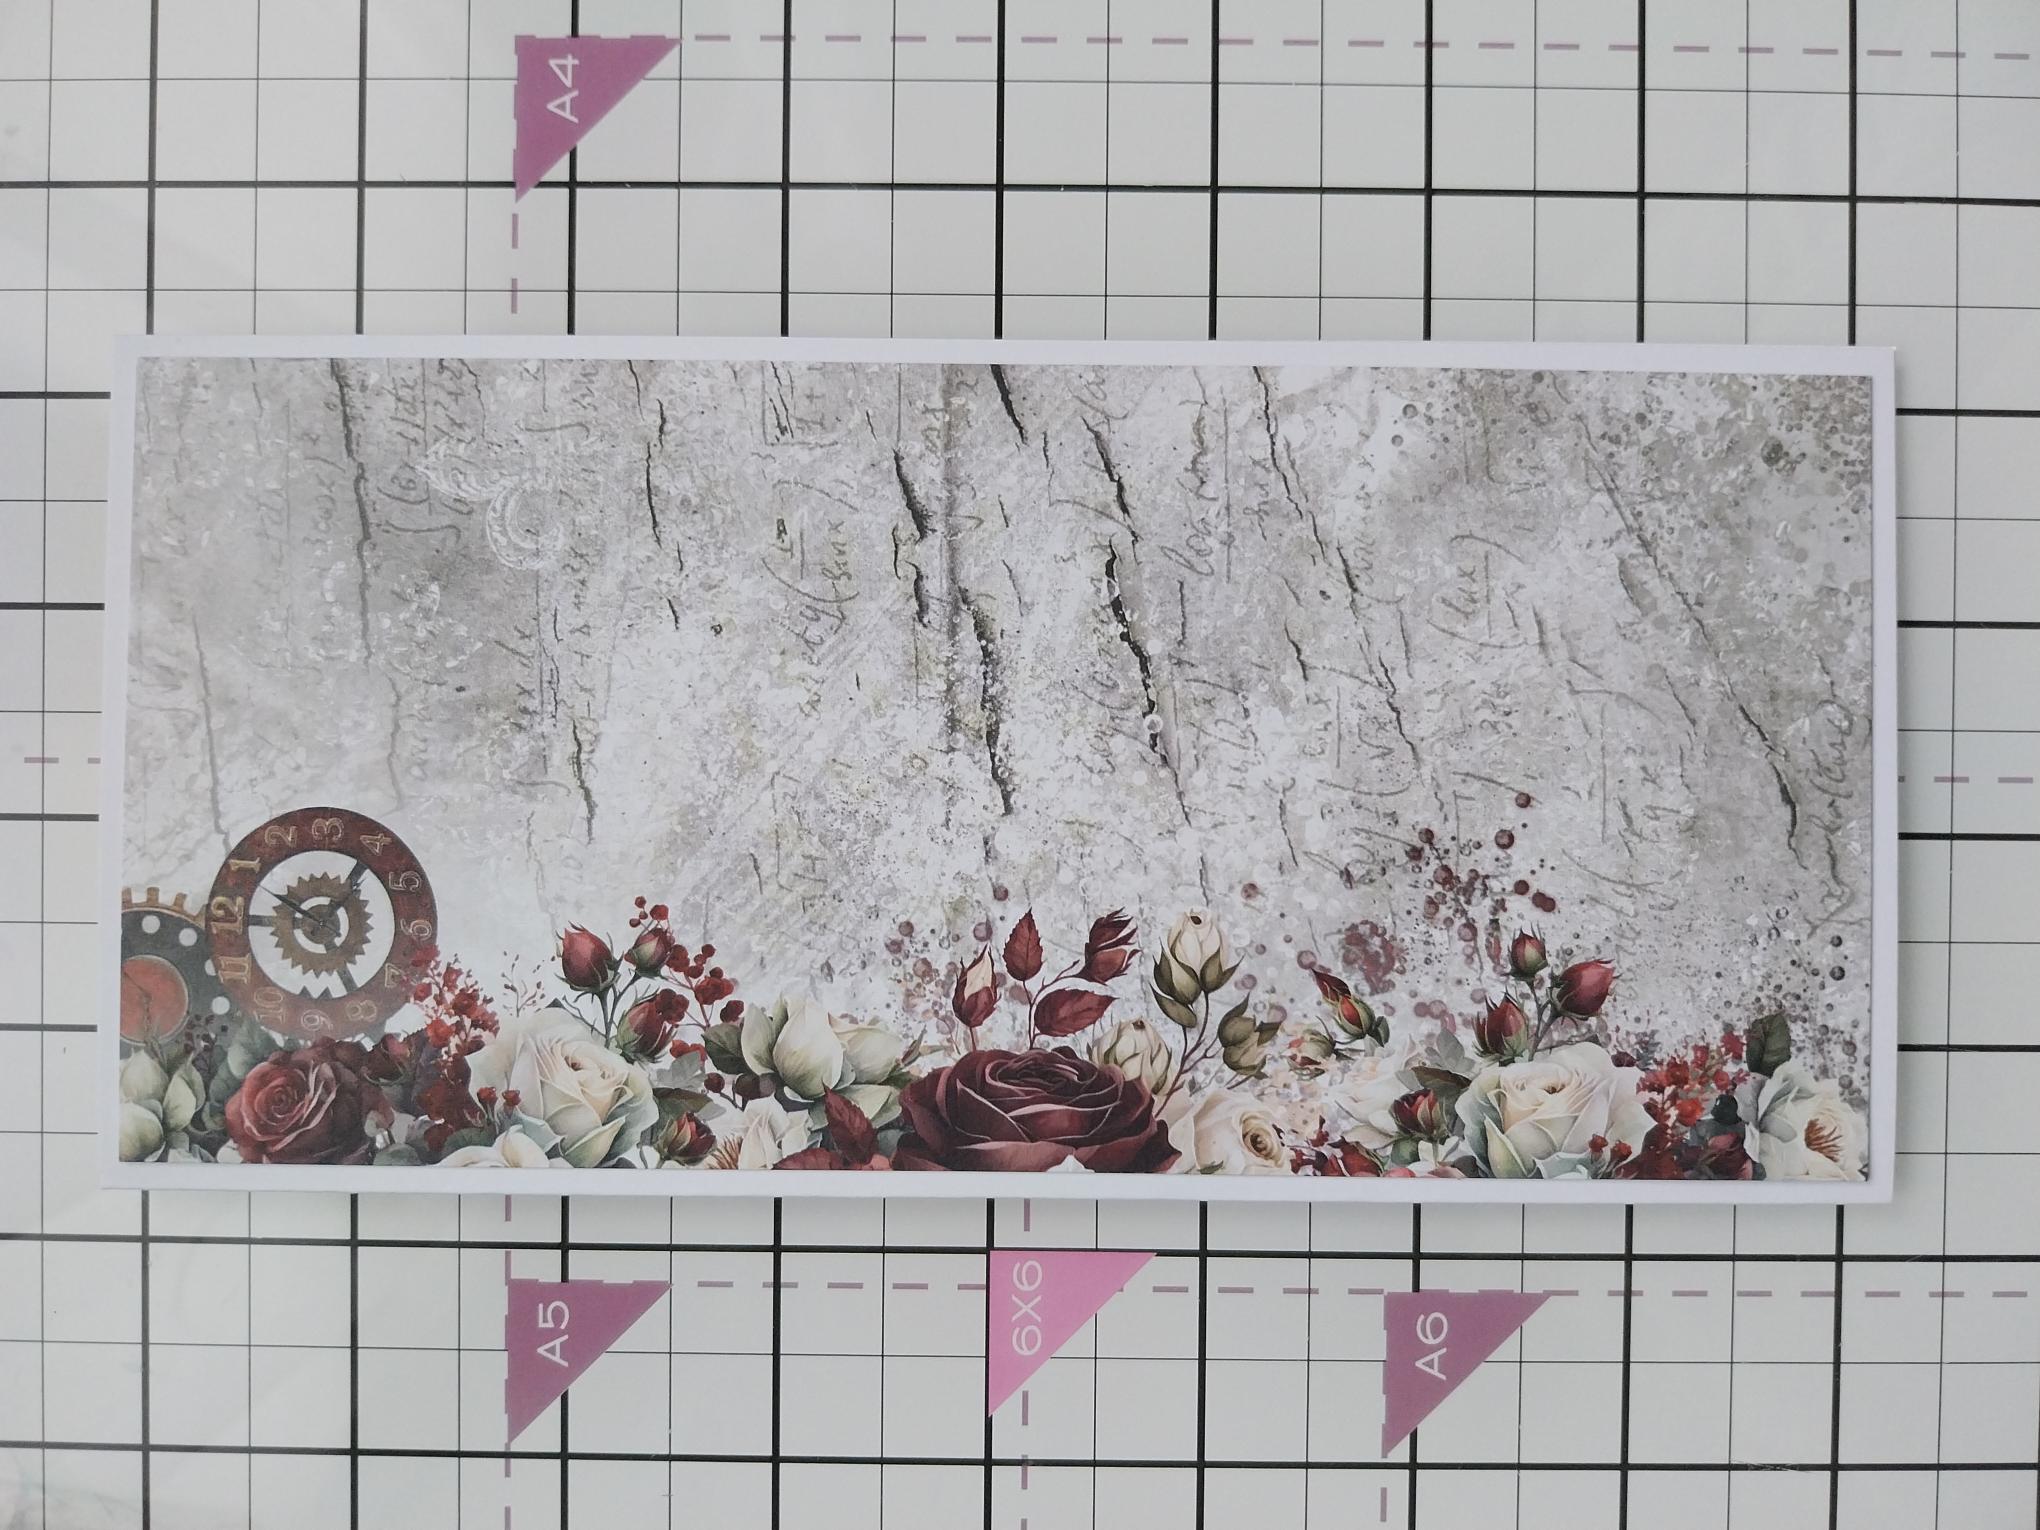
Trim a decorative sheet from the Tailored Threads paper pad, to 3 3/4 x 8". Adhere to front of your DL card blank. |
|
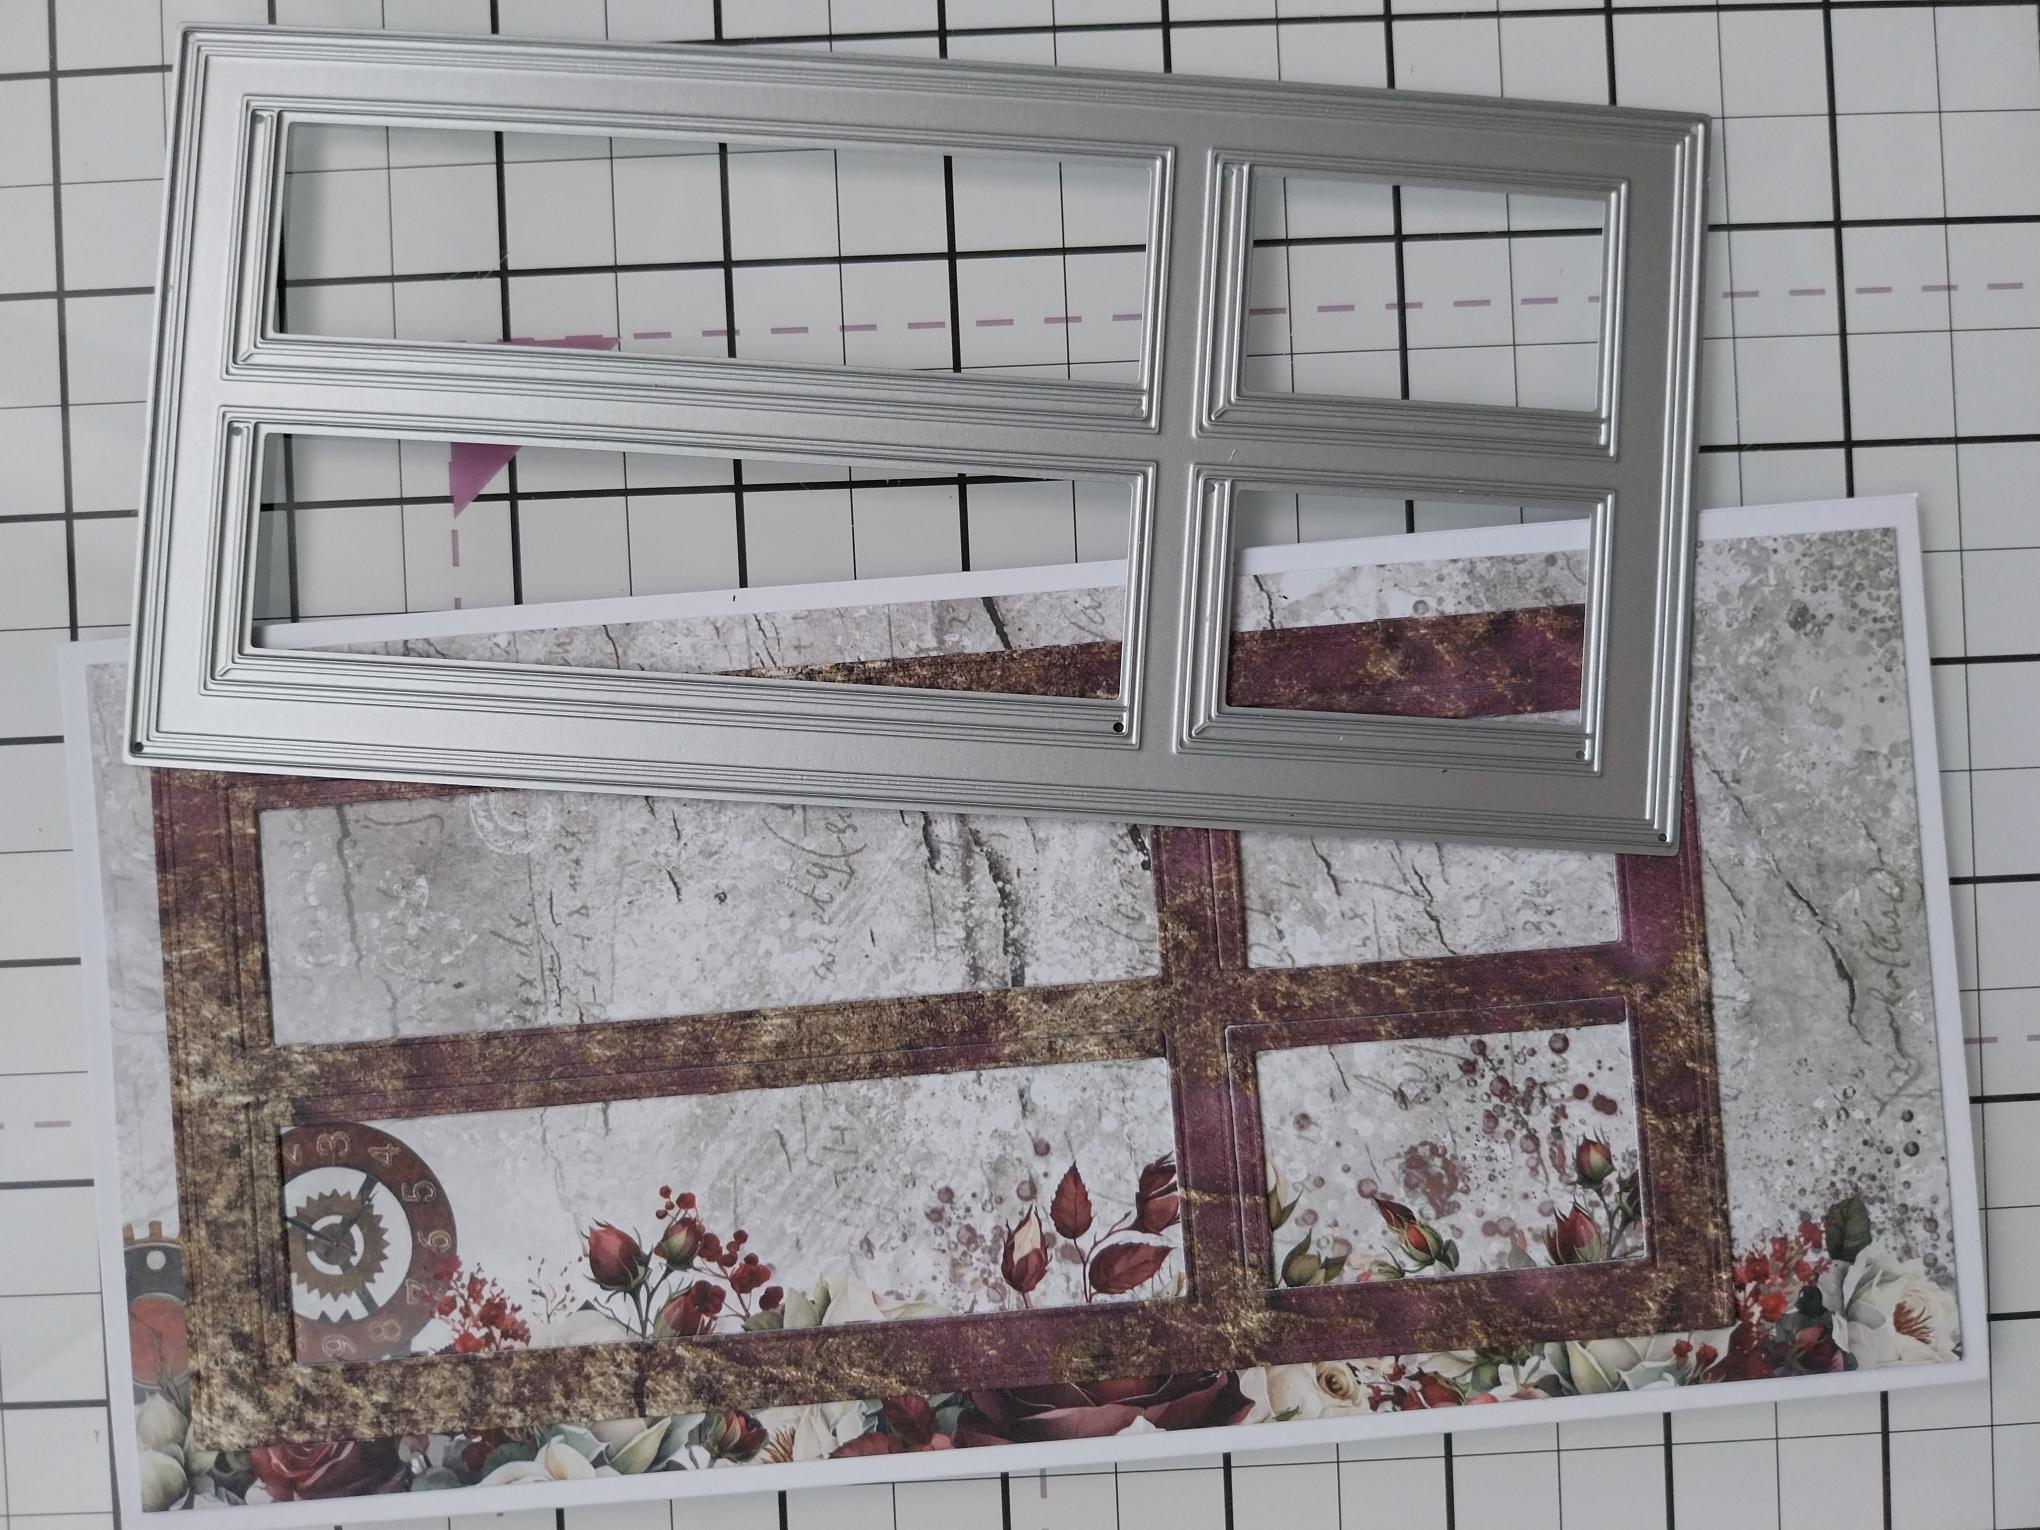
Die-cut the window from a coordinating sheet in the Foundation pad. Adhere to your card, positioning it near the top, leaving space below the window for your flower. Keep the left over paper for a coordinating sentiment "mat". |
|
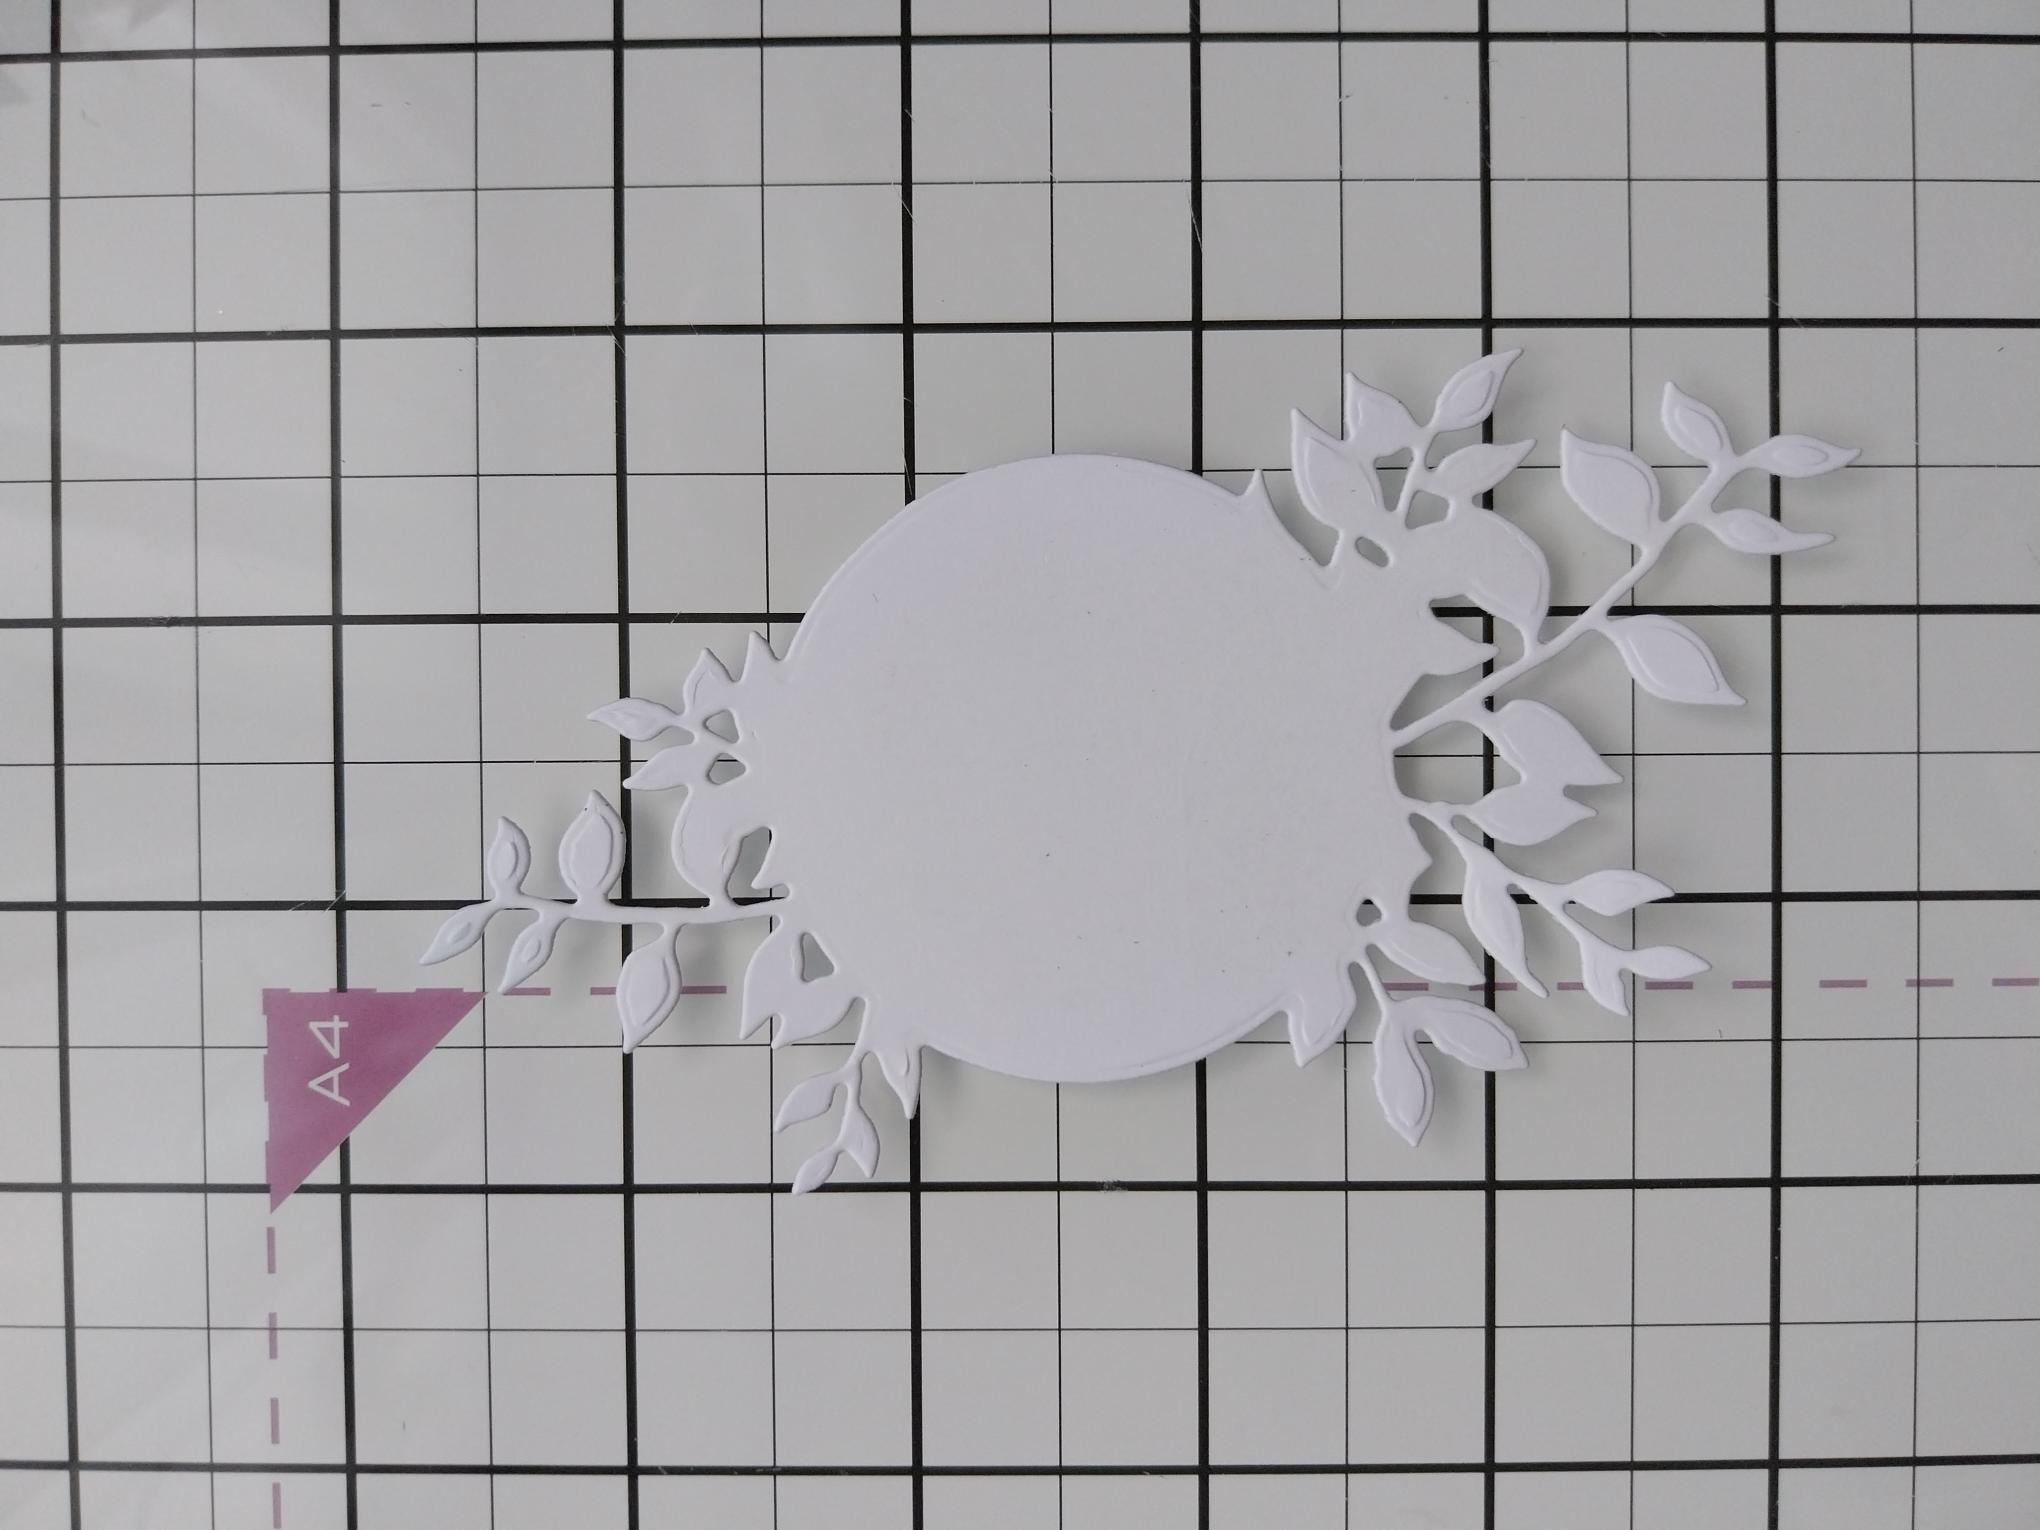
Die-cut a foliage banner from white cardstock. |
|
Adhere the foliage banner to the bottom left of the window, then adhere your 3D Hellebore and leaves, in place, using wet glue, foam pads or 3D glue gel. |

|
Using the Amazing You dies from the Saying Hello set, stamp the sentiment onto white card, using your Midnight ink. Die-cut with detailed die then adhere this to a die-cut mat from the left over coordinating scrap of paper used earlier, in the Tailored Threads set. |