Give your friends $10 off their first order!
Refer a FRIEND


WHAT YOU WILL NEED:
White Cardstock
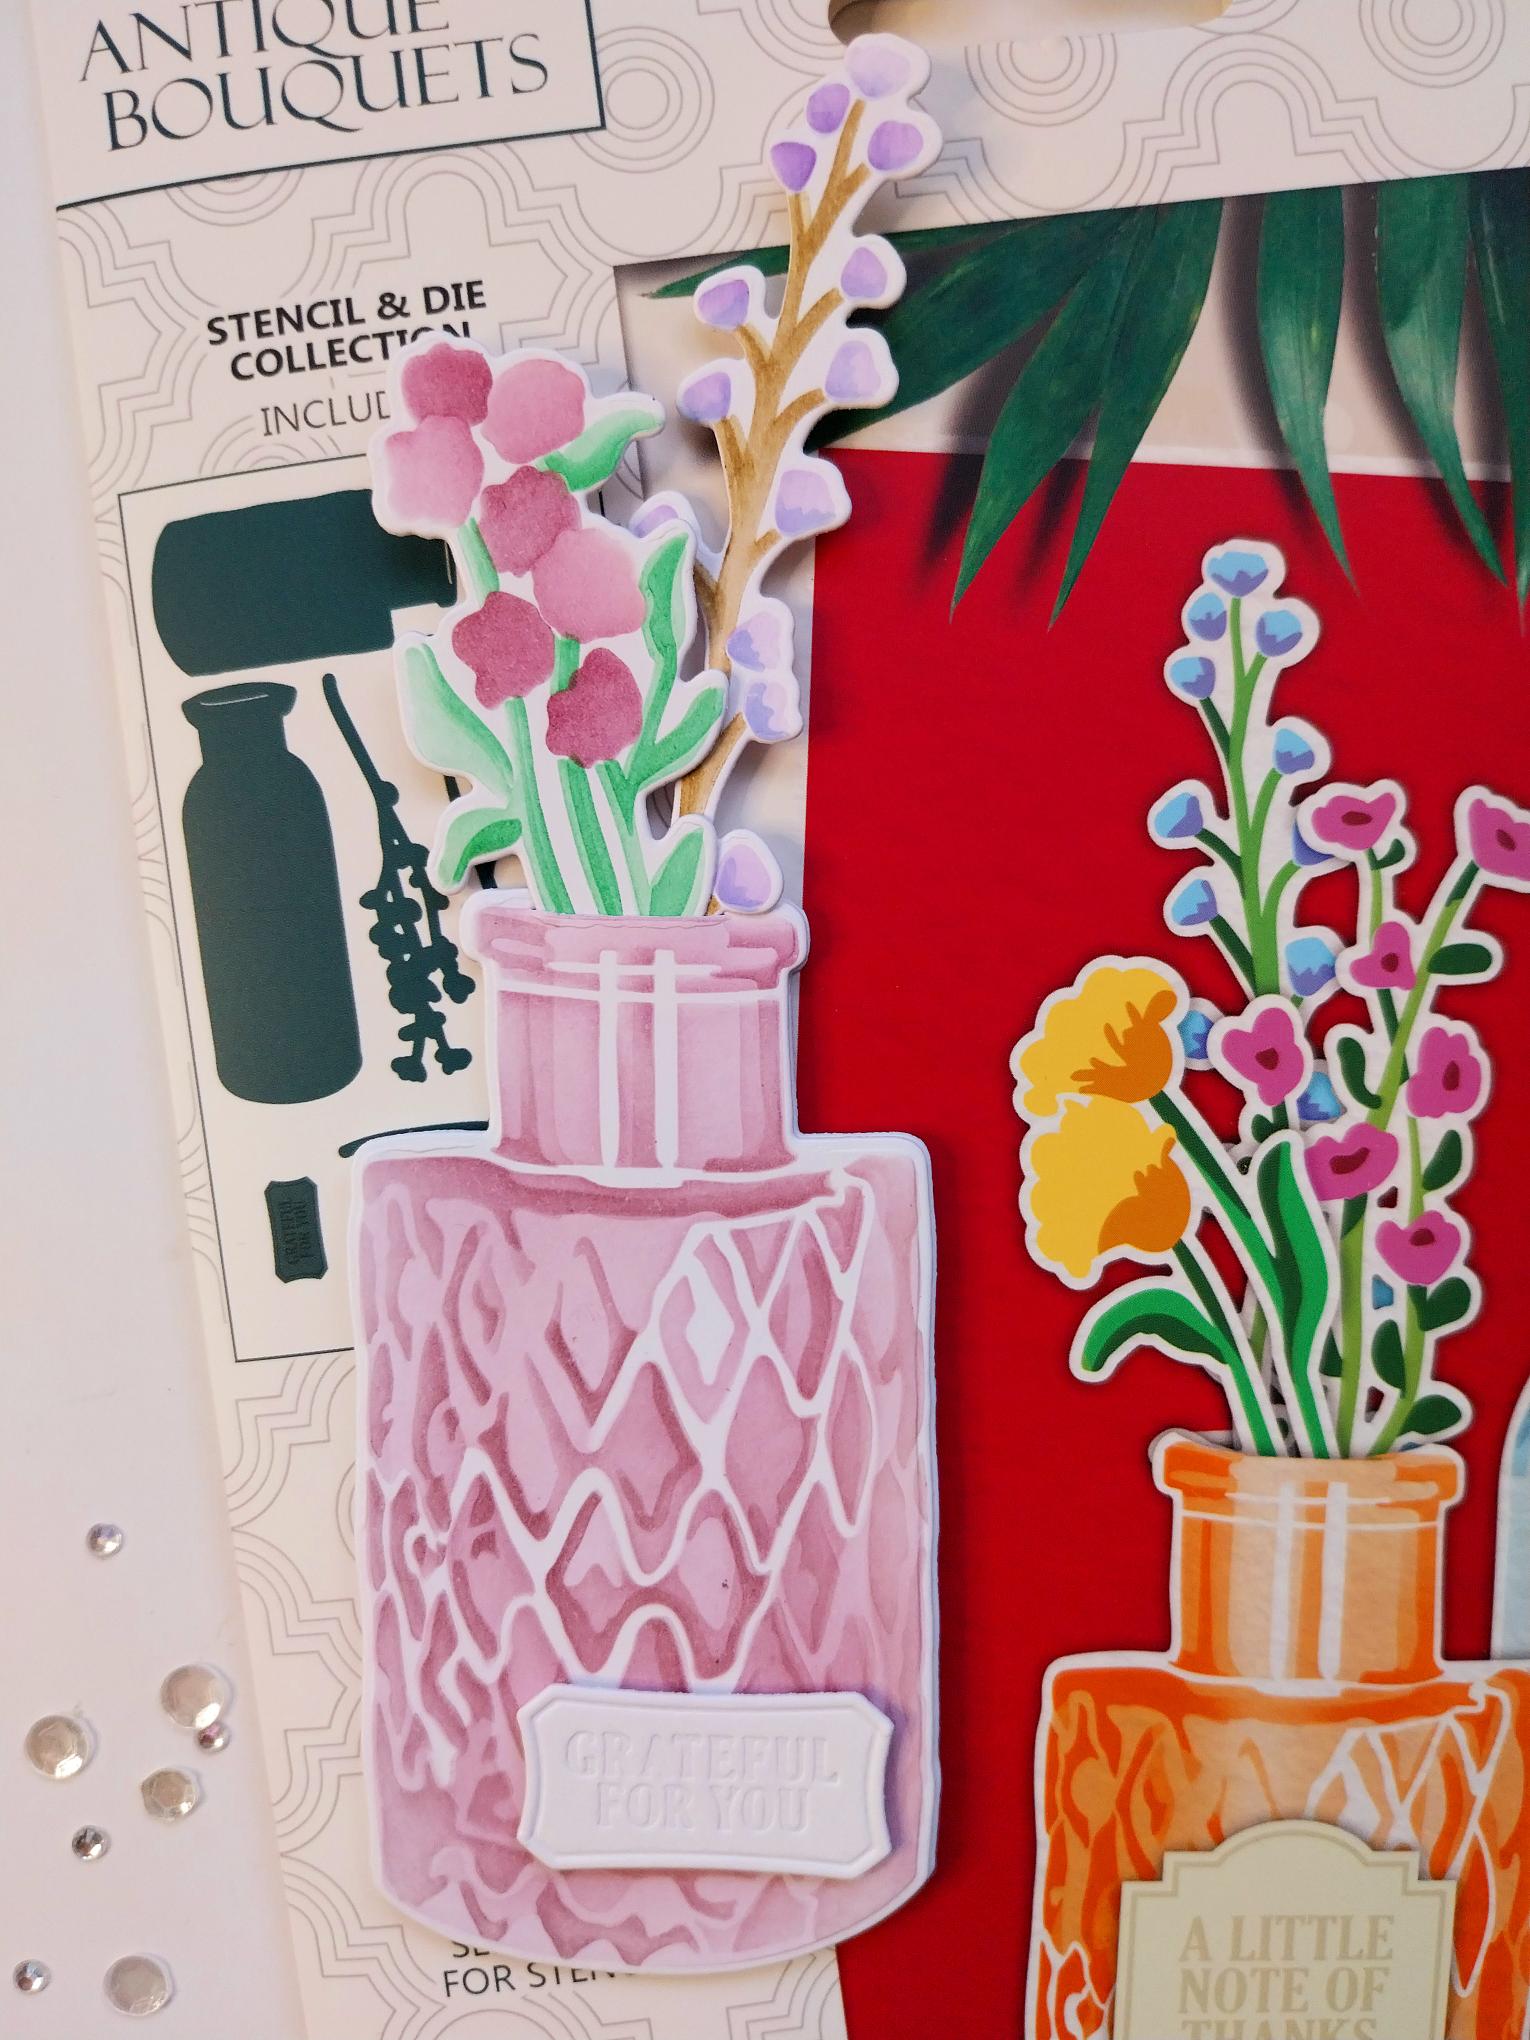
Antique Bouquets Layering Stencils and Dies
SBM Premium Dye Ink Pad: Heather, Indigo, Sherbet, Surfboard, Hedgerow, Tiffany
Distress Ink/Oxide Ink Pads: Frayed Burlap, Hickory Smoke
Blending brushes
SBM A3 Magnetic glass mat
Paper Trimmer/scoreboard and tool
Glue/foam pads/red liner tape
Die Cutting machine
[click image to enlarge] 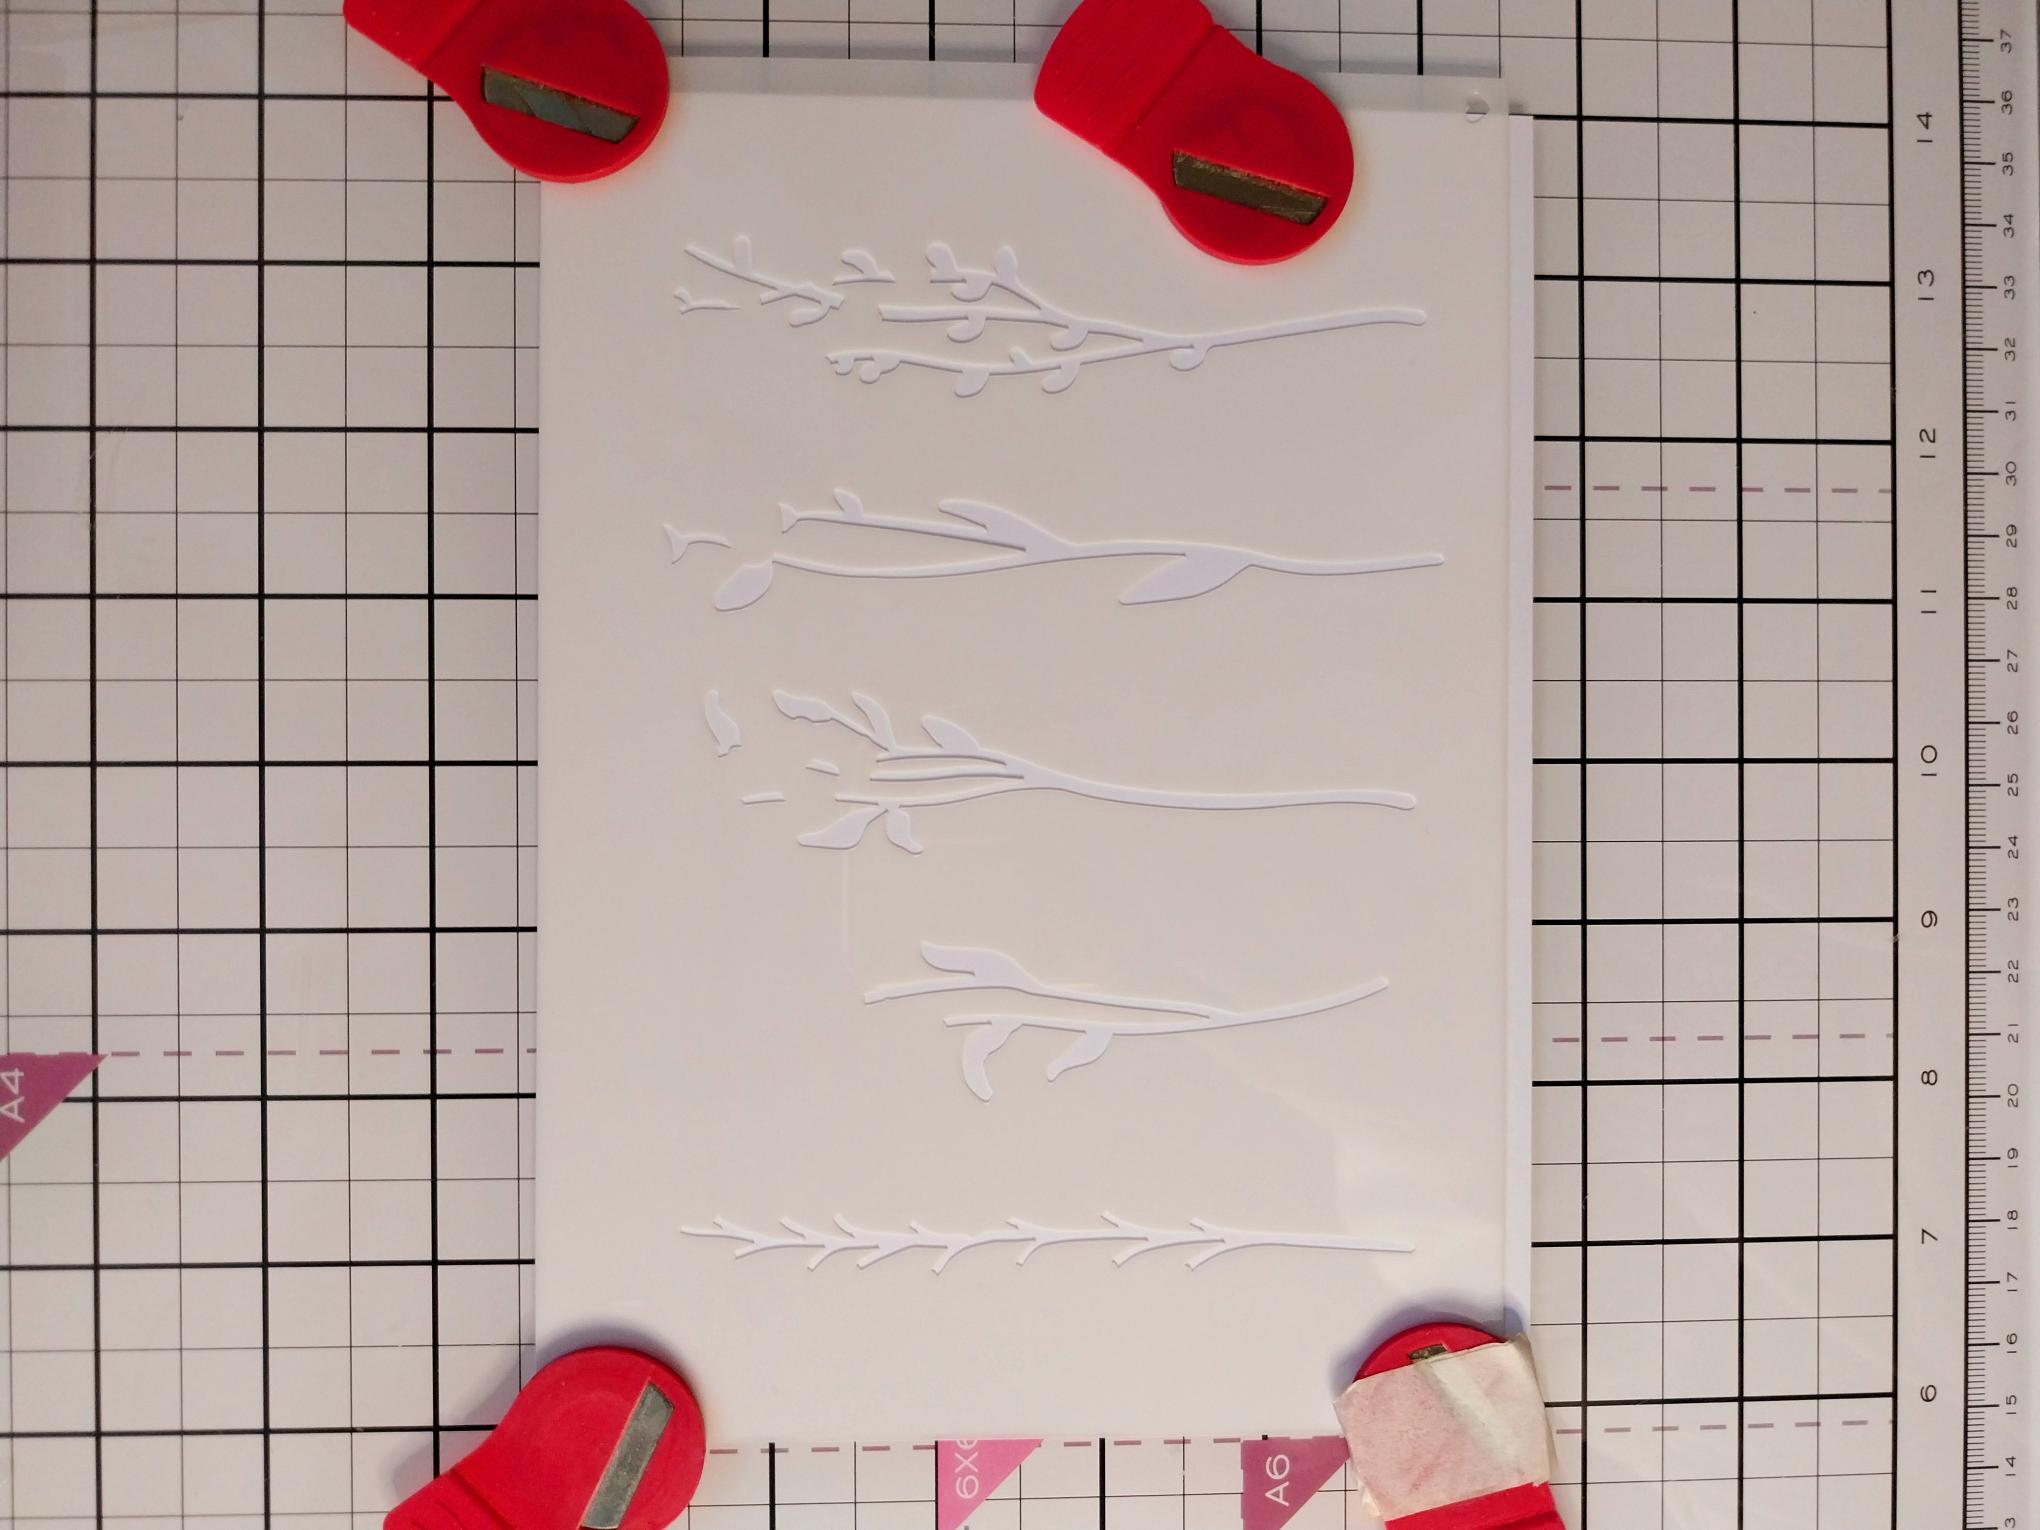
|
Cut a piece of white card same size as the floral stencils and secure stencil 1 in place. |
|
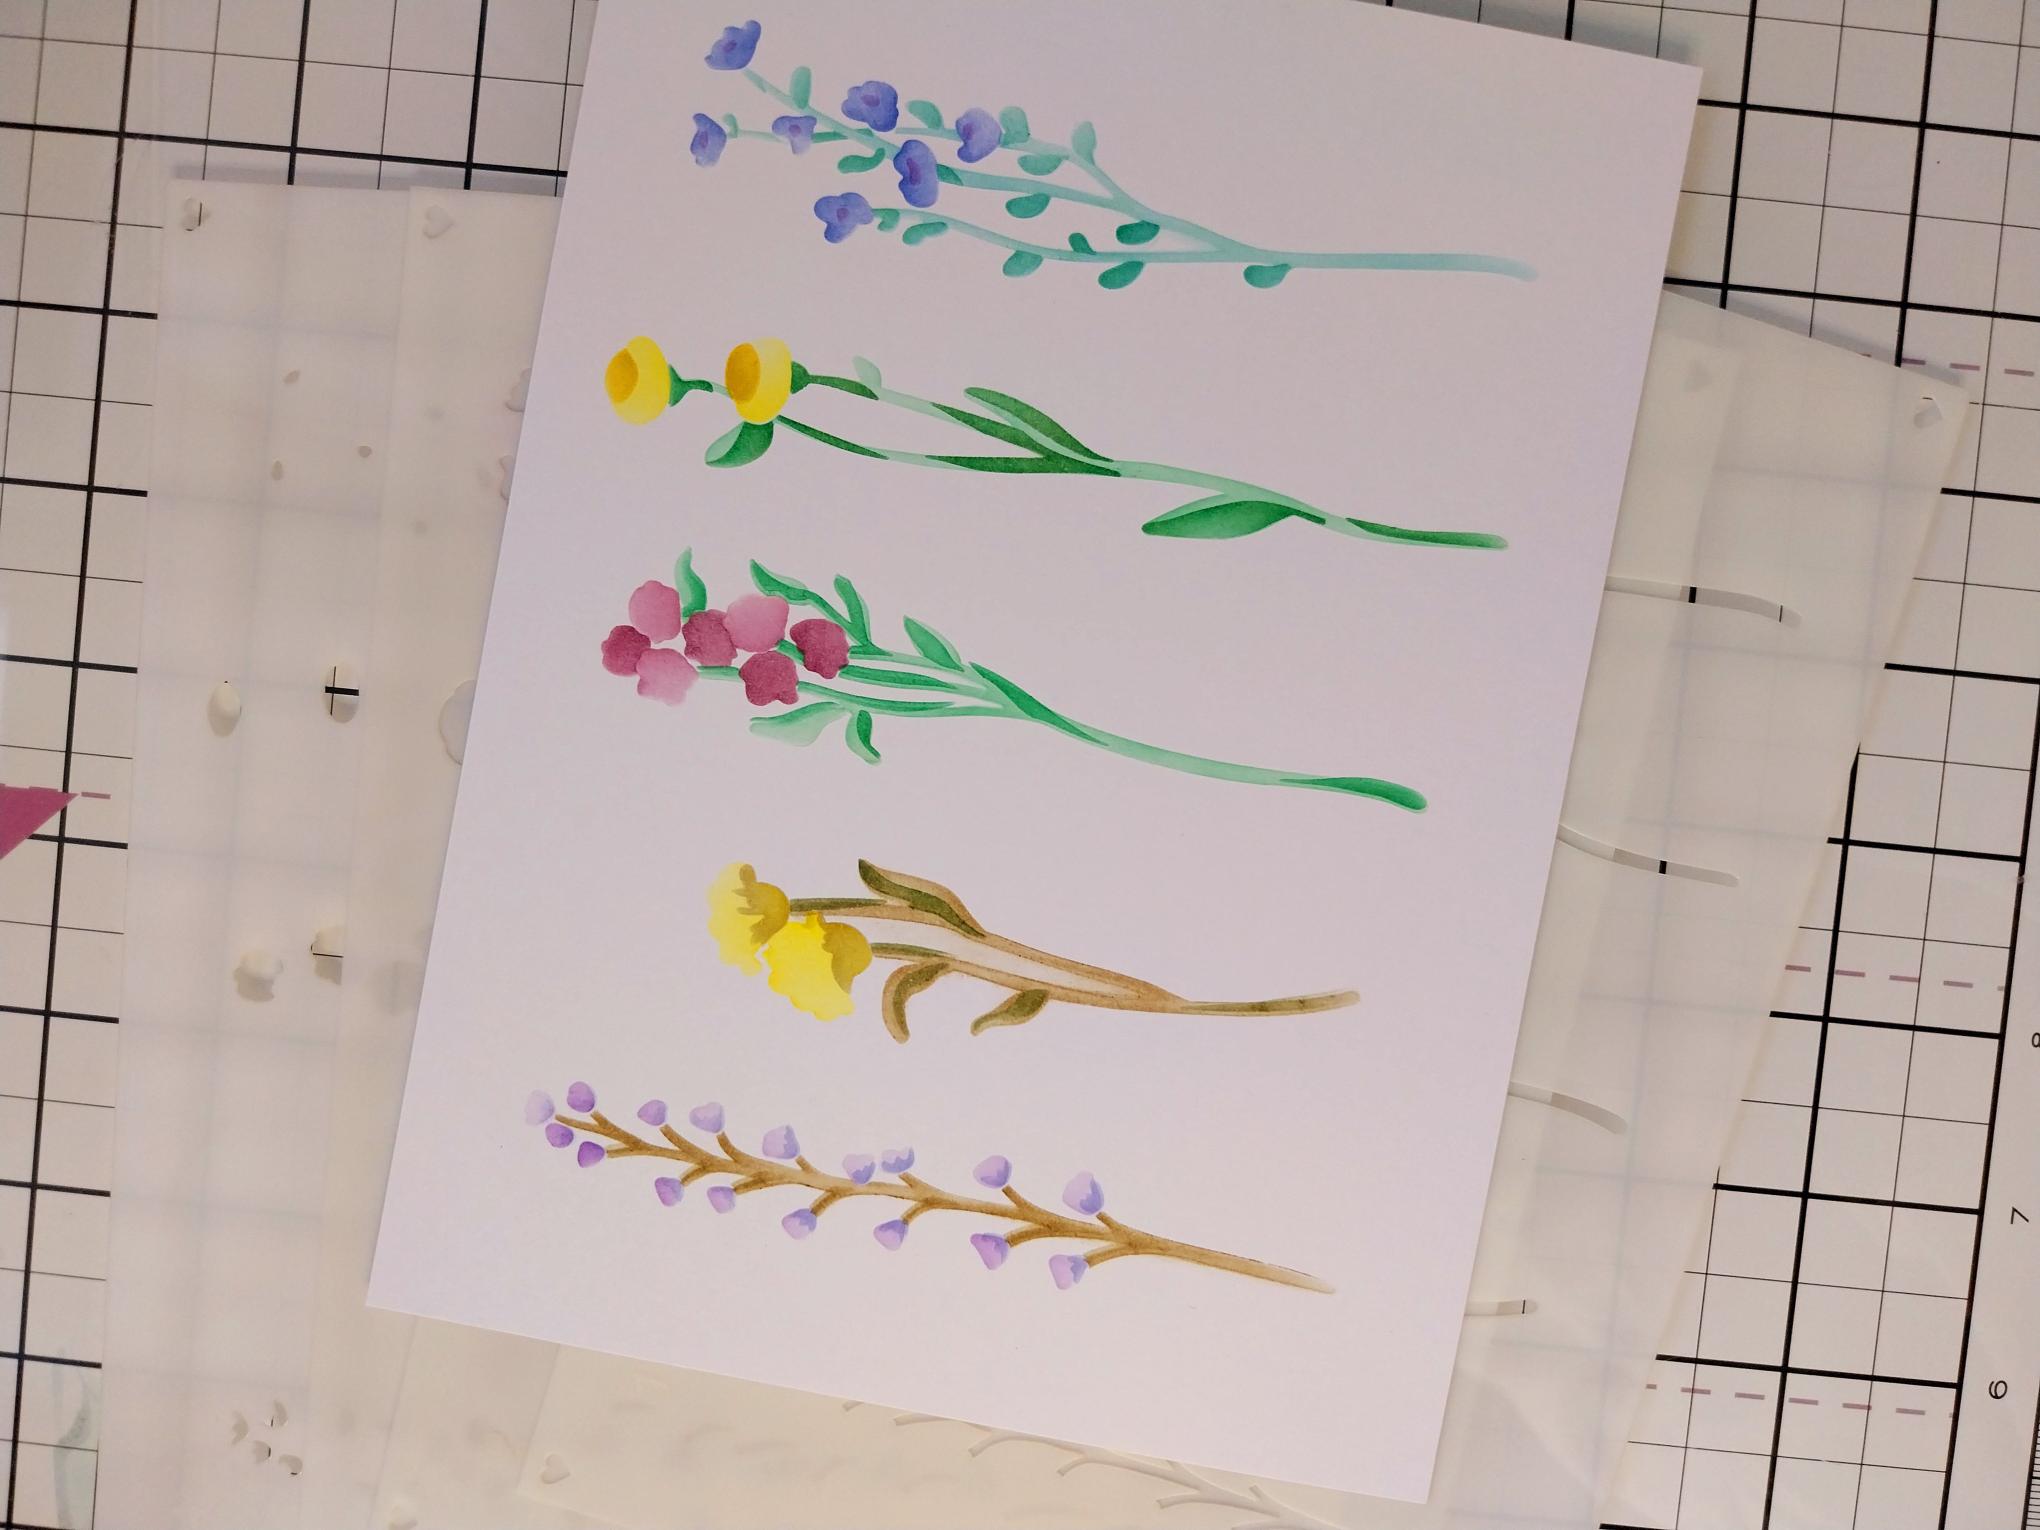
Blend your chosen coloured inks though stencil 1. Remove and line up each of the numbered stencils in order and blend with your inks, as required. |
|
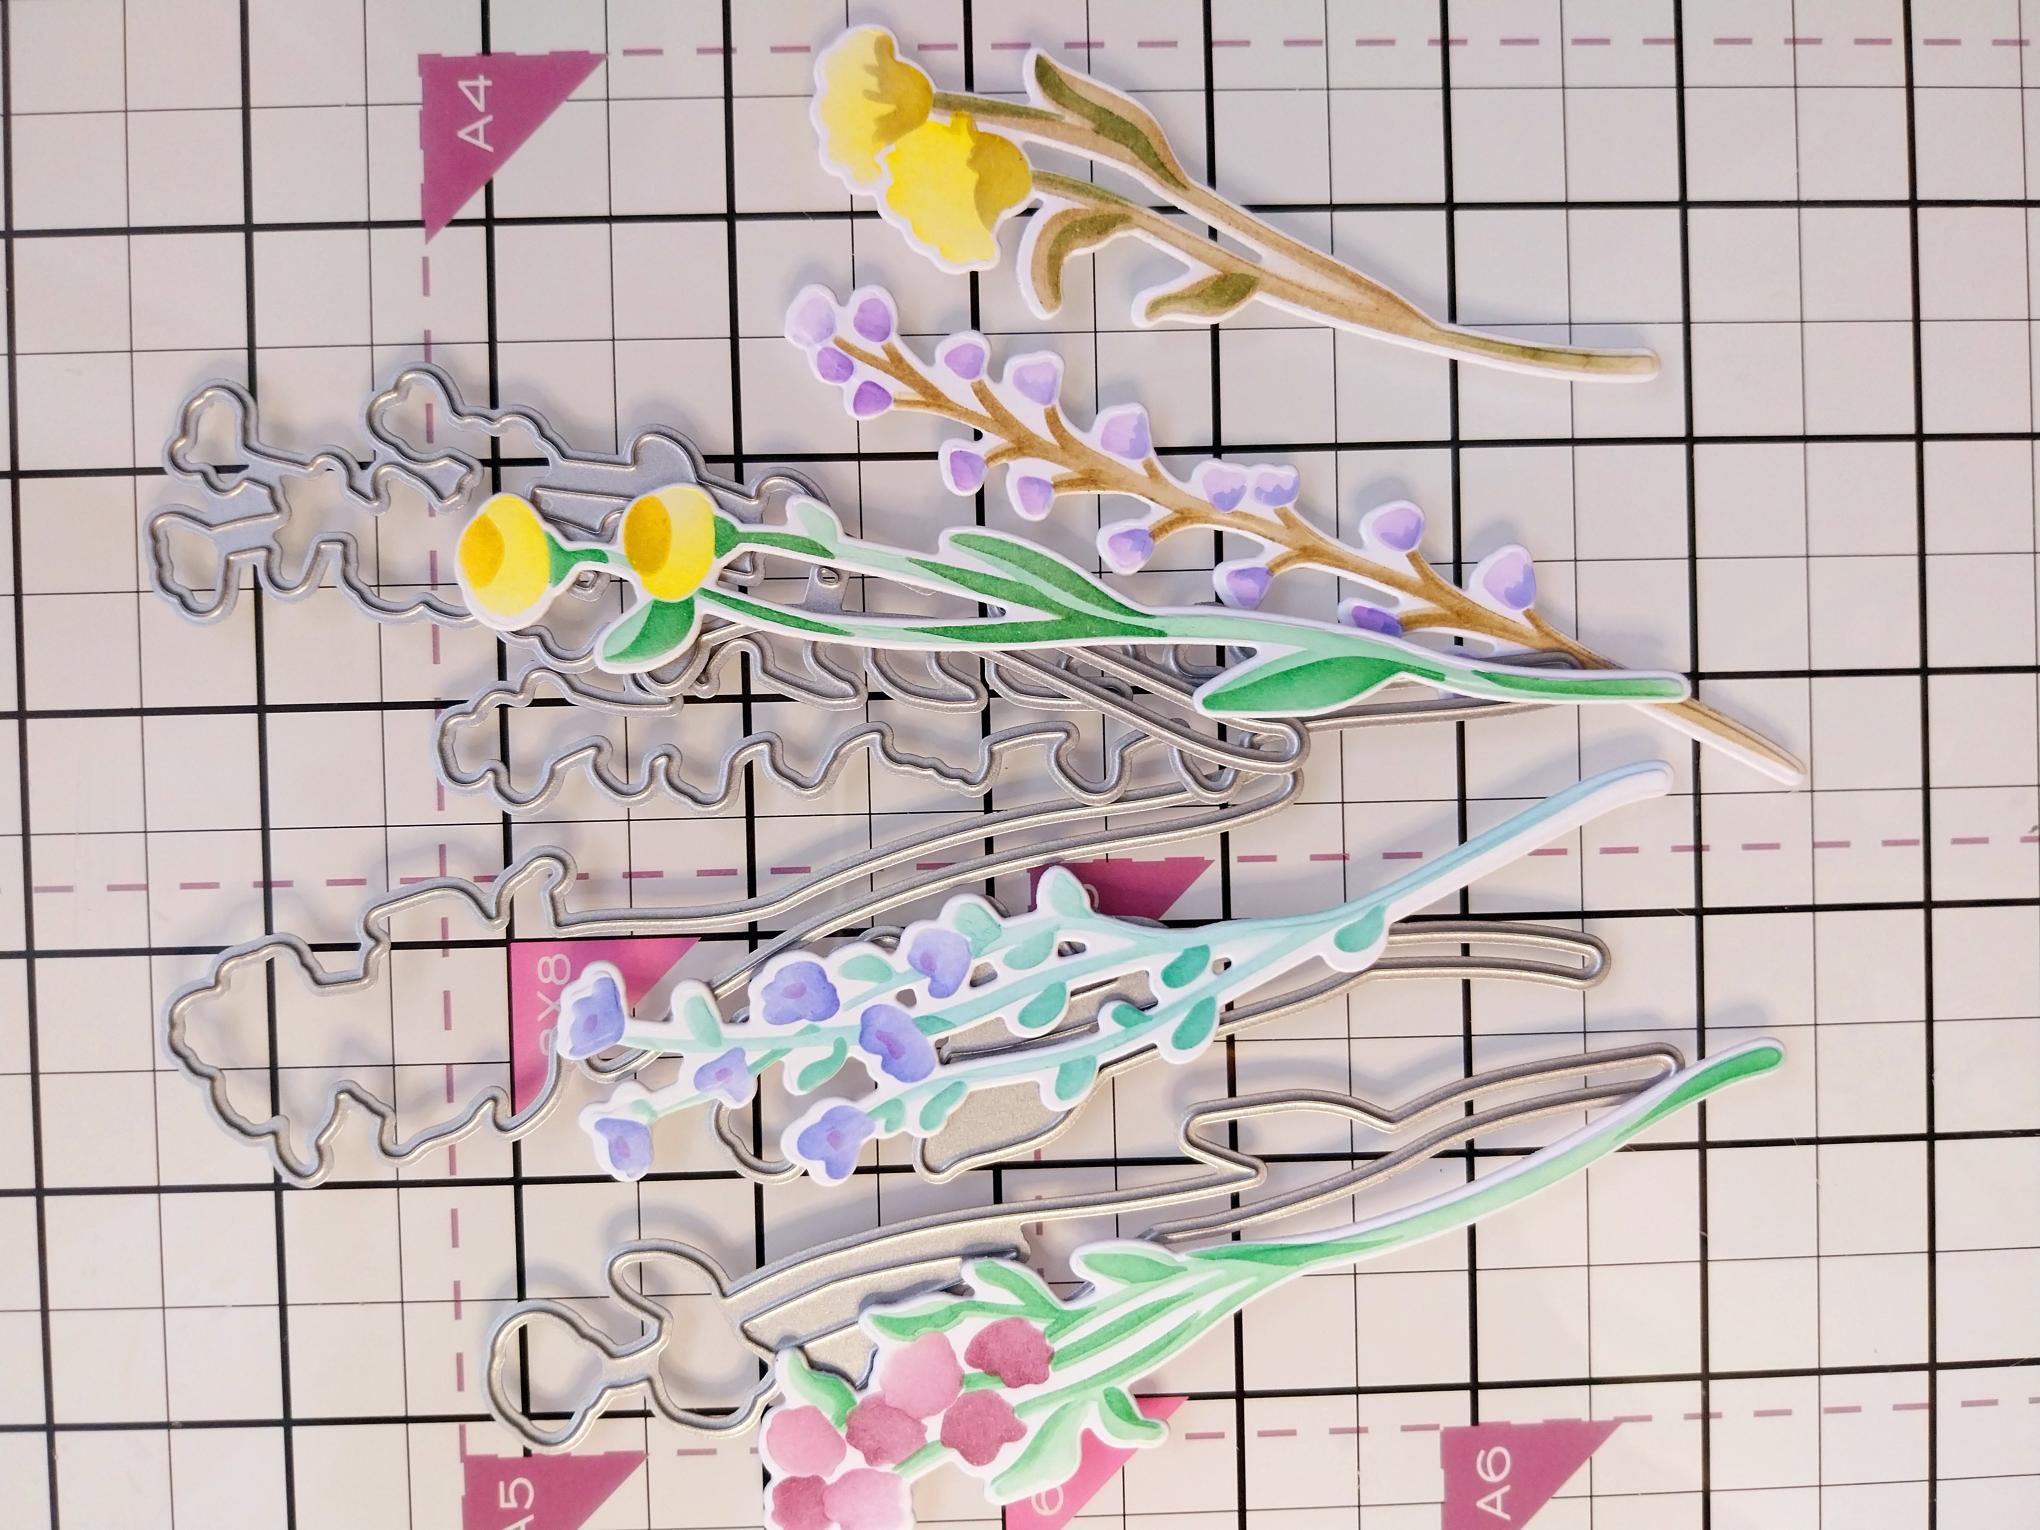
Use the coordinating dies to cut them out. |
|
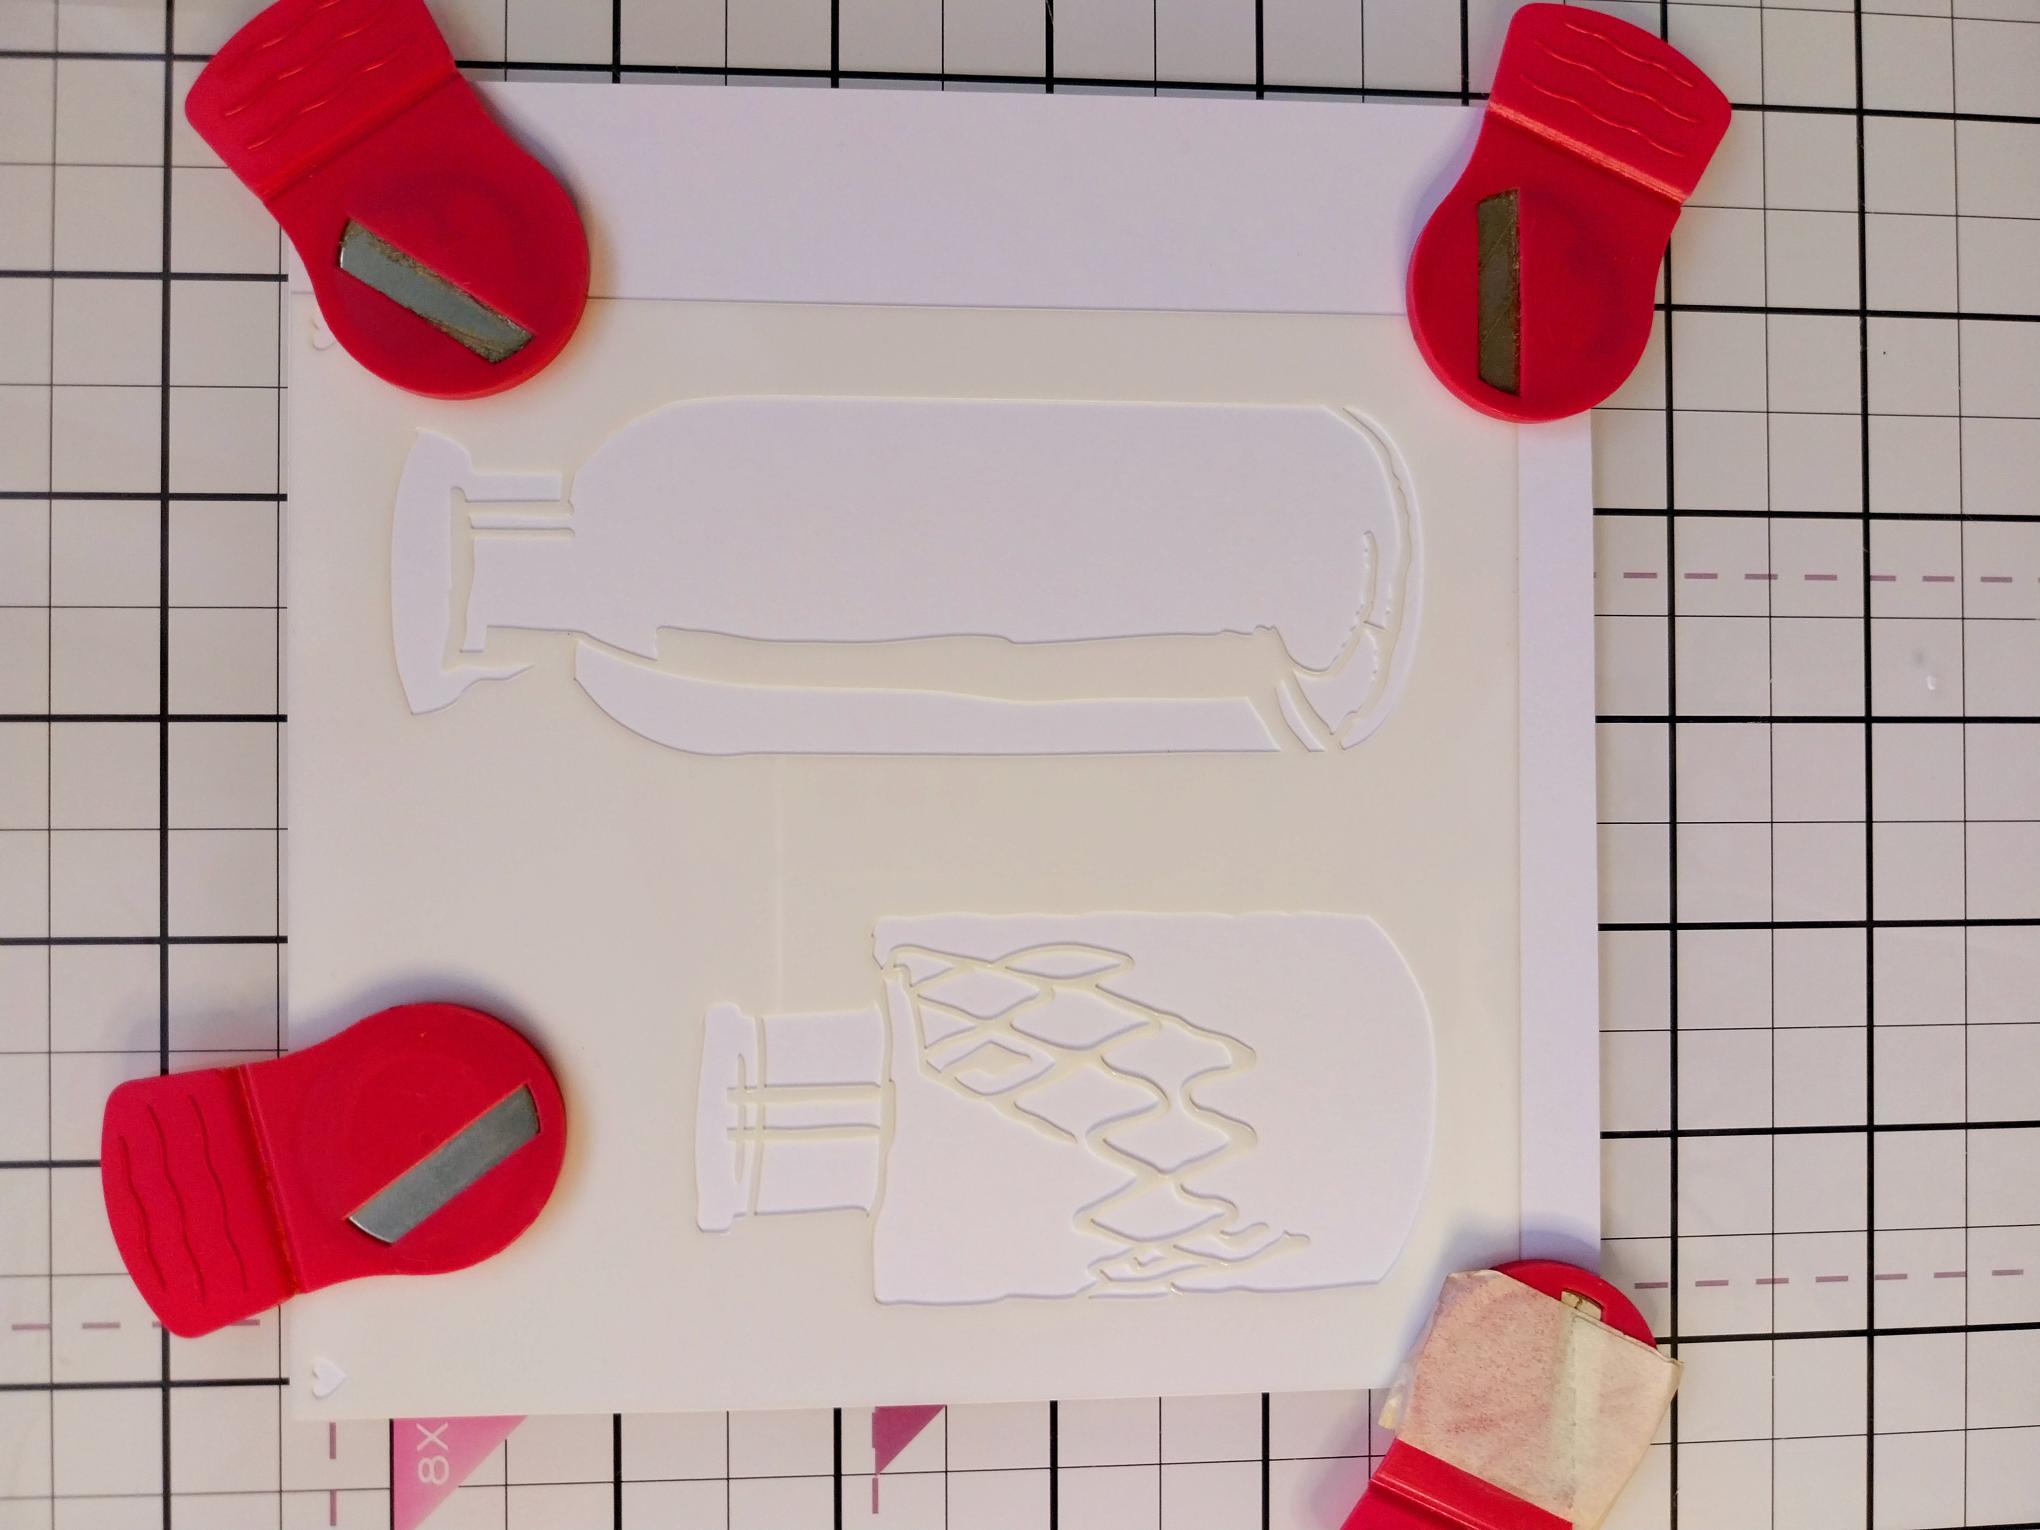
Cut another piece of white card same size as the vase stencils, then secure stencil 1 in place. |
|
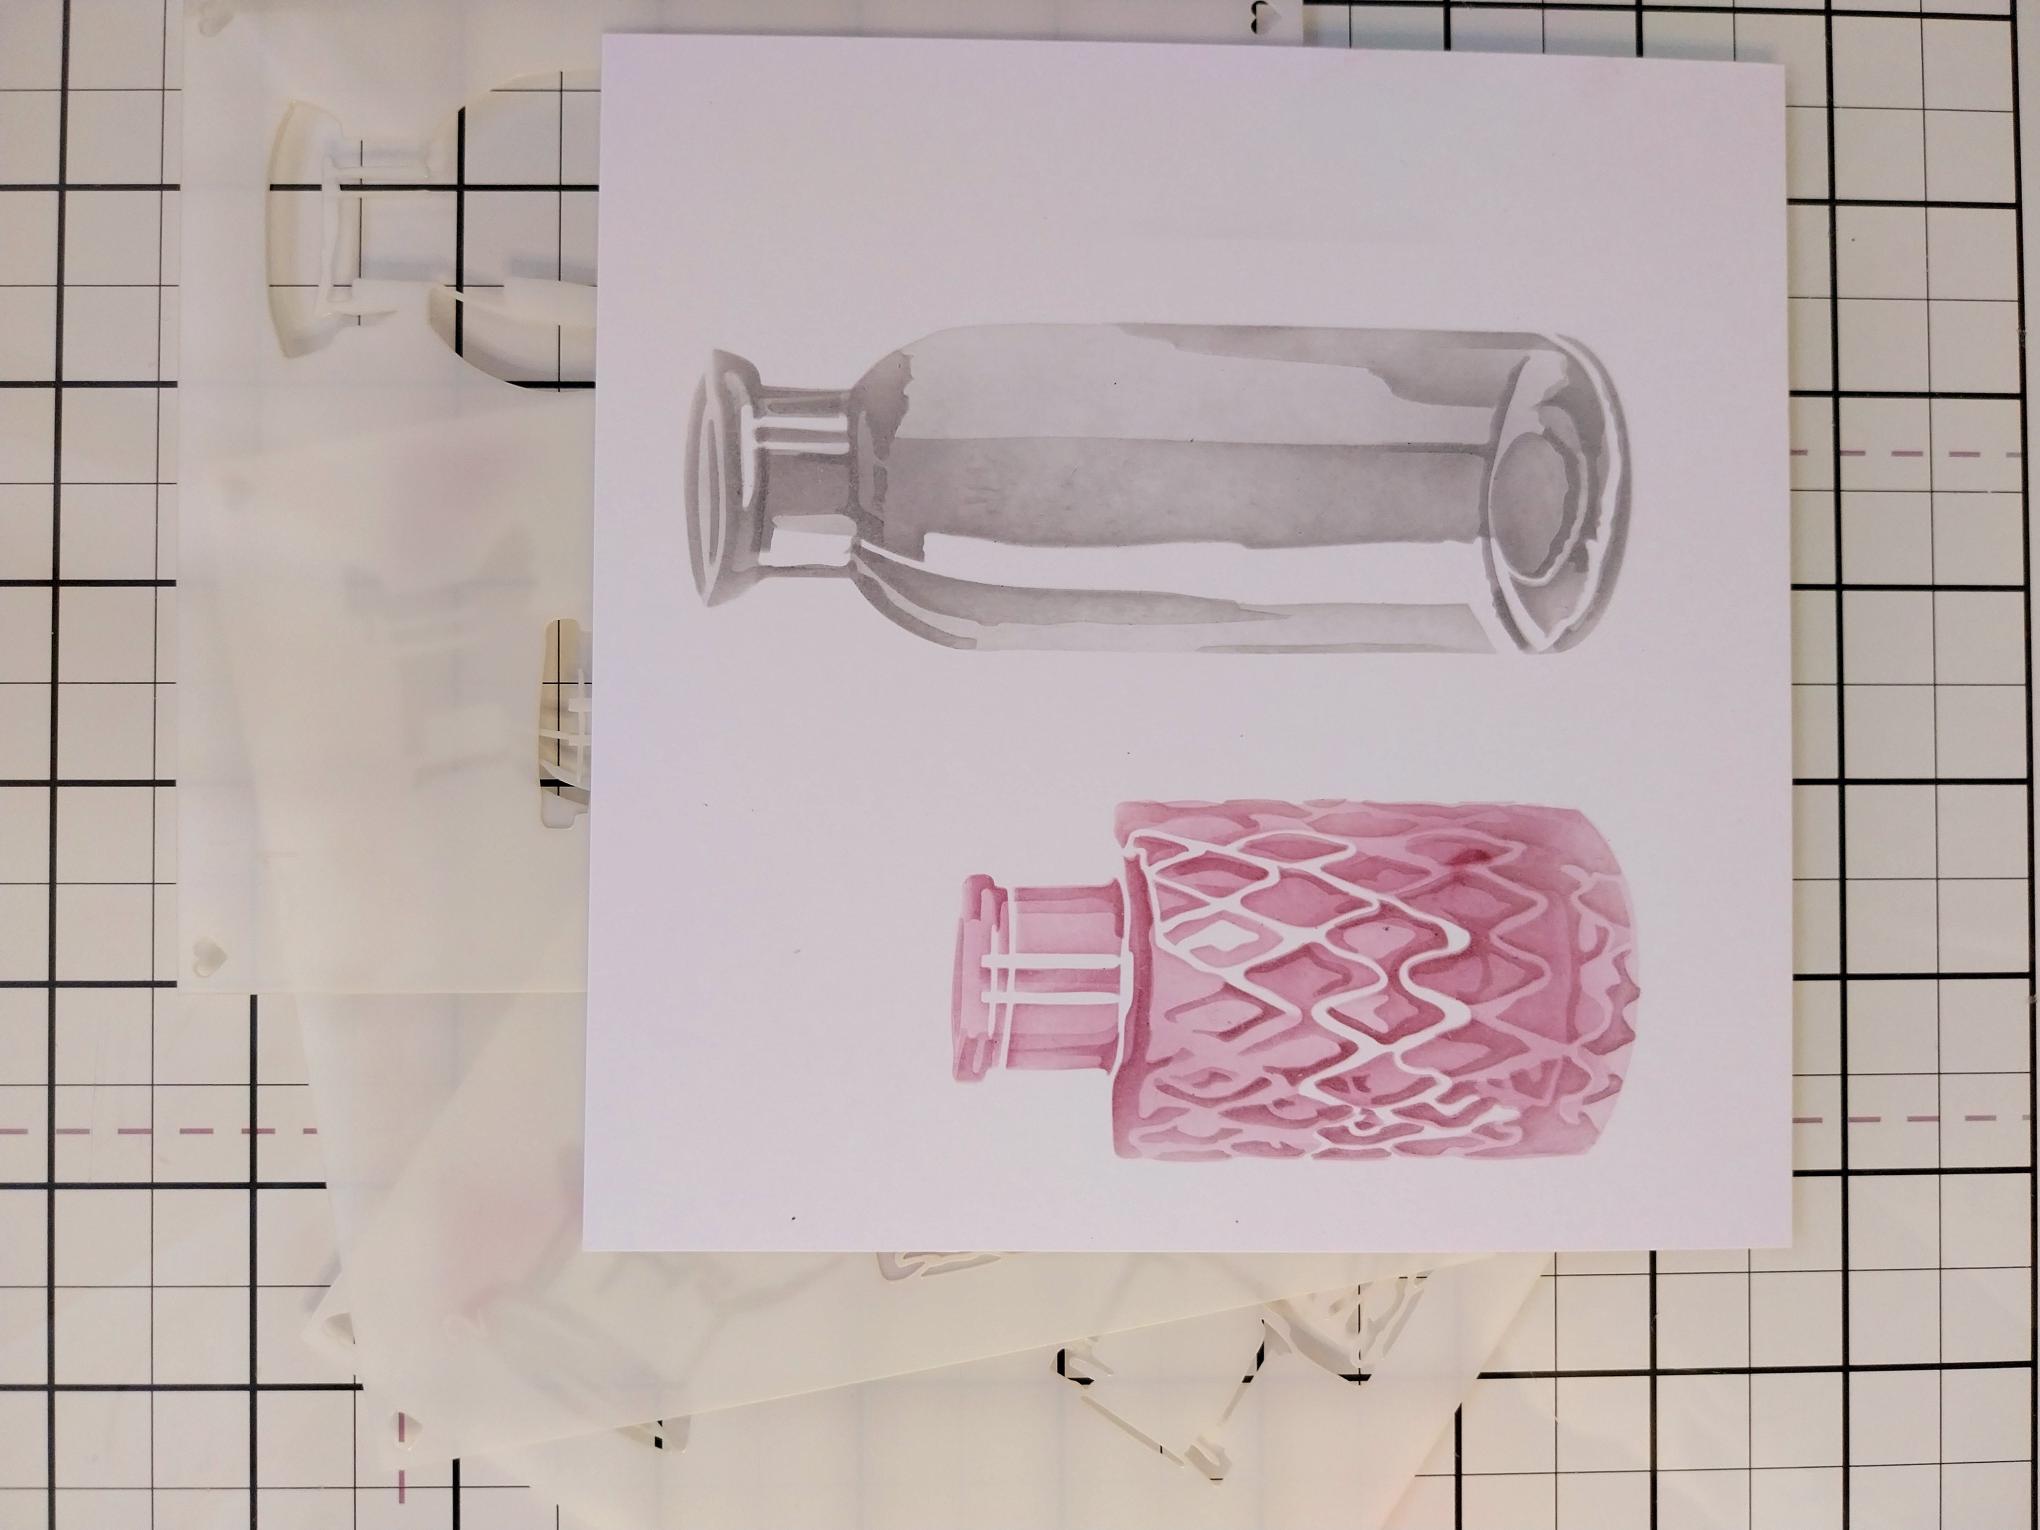
Blend your chosen inks through stencil 1 (you might as well do both vases, even though we are only using one for this card). Line up each stencil in number order and blend with your inks. I chose to use ONE ink pad for each vase, building up the intensity of the colour as I moved through each layer. |
|
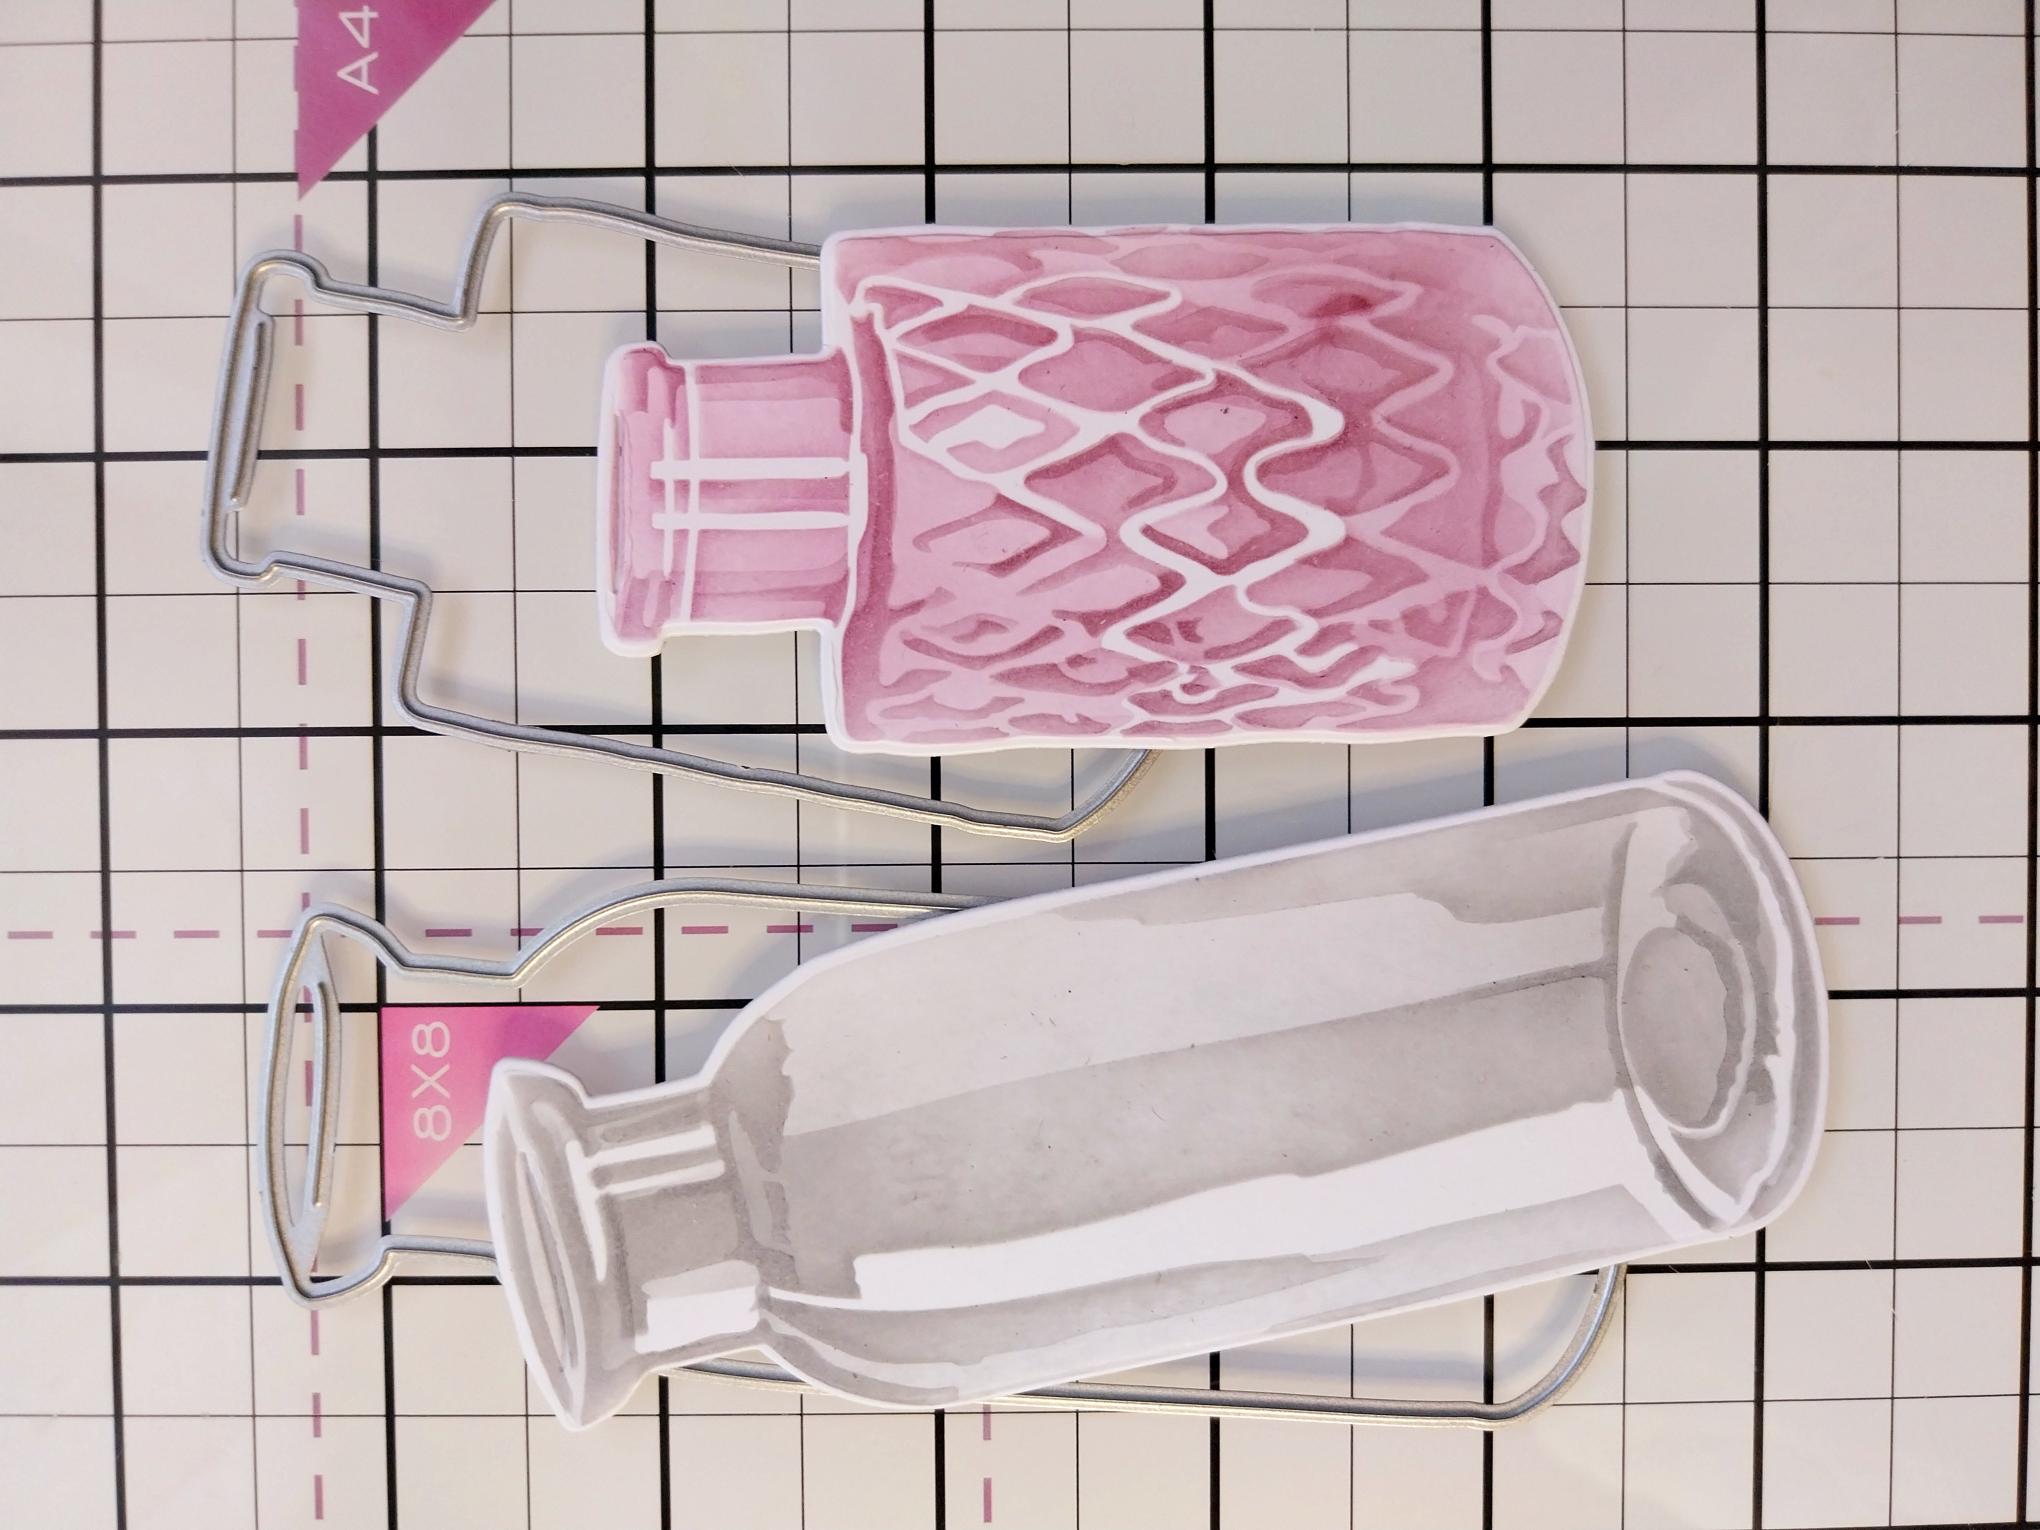
Die cut your vases and pop the taller one away for another project. Set aside the smaller vase. |
|
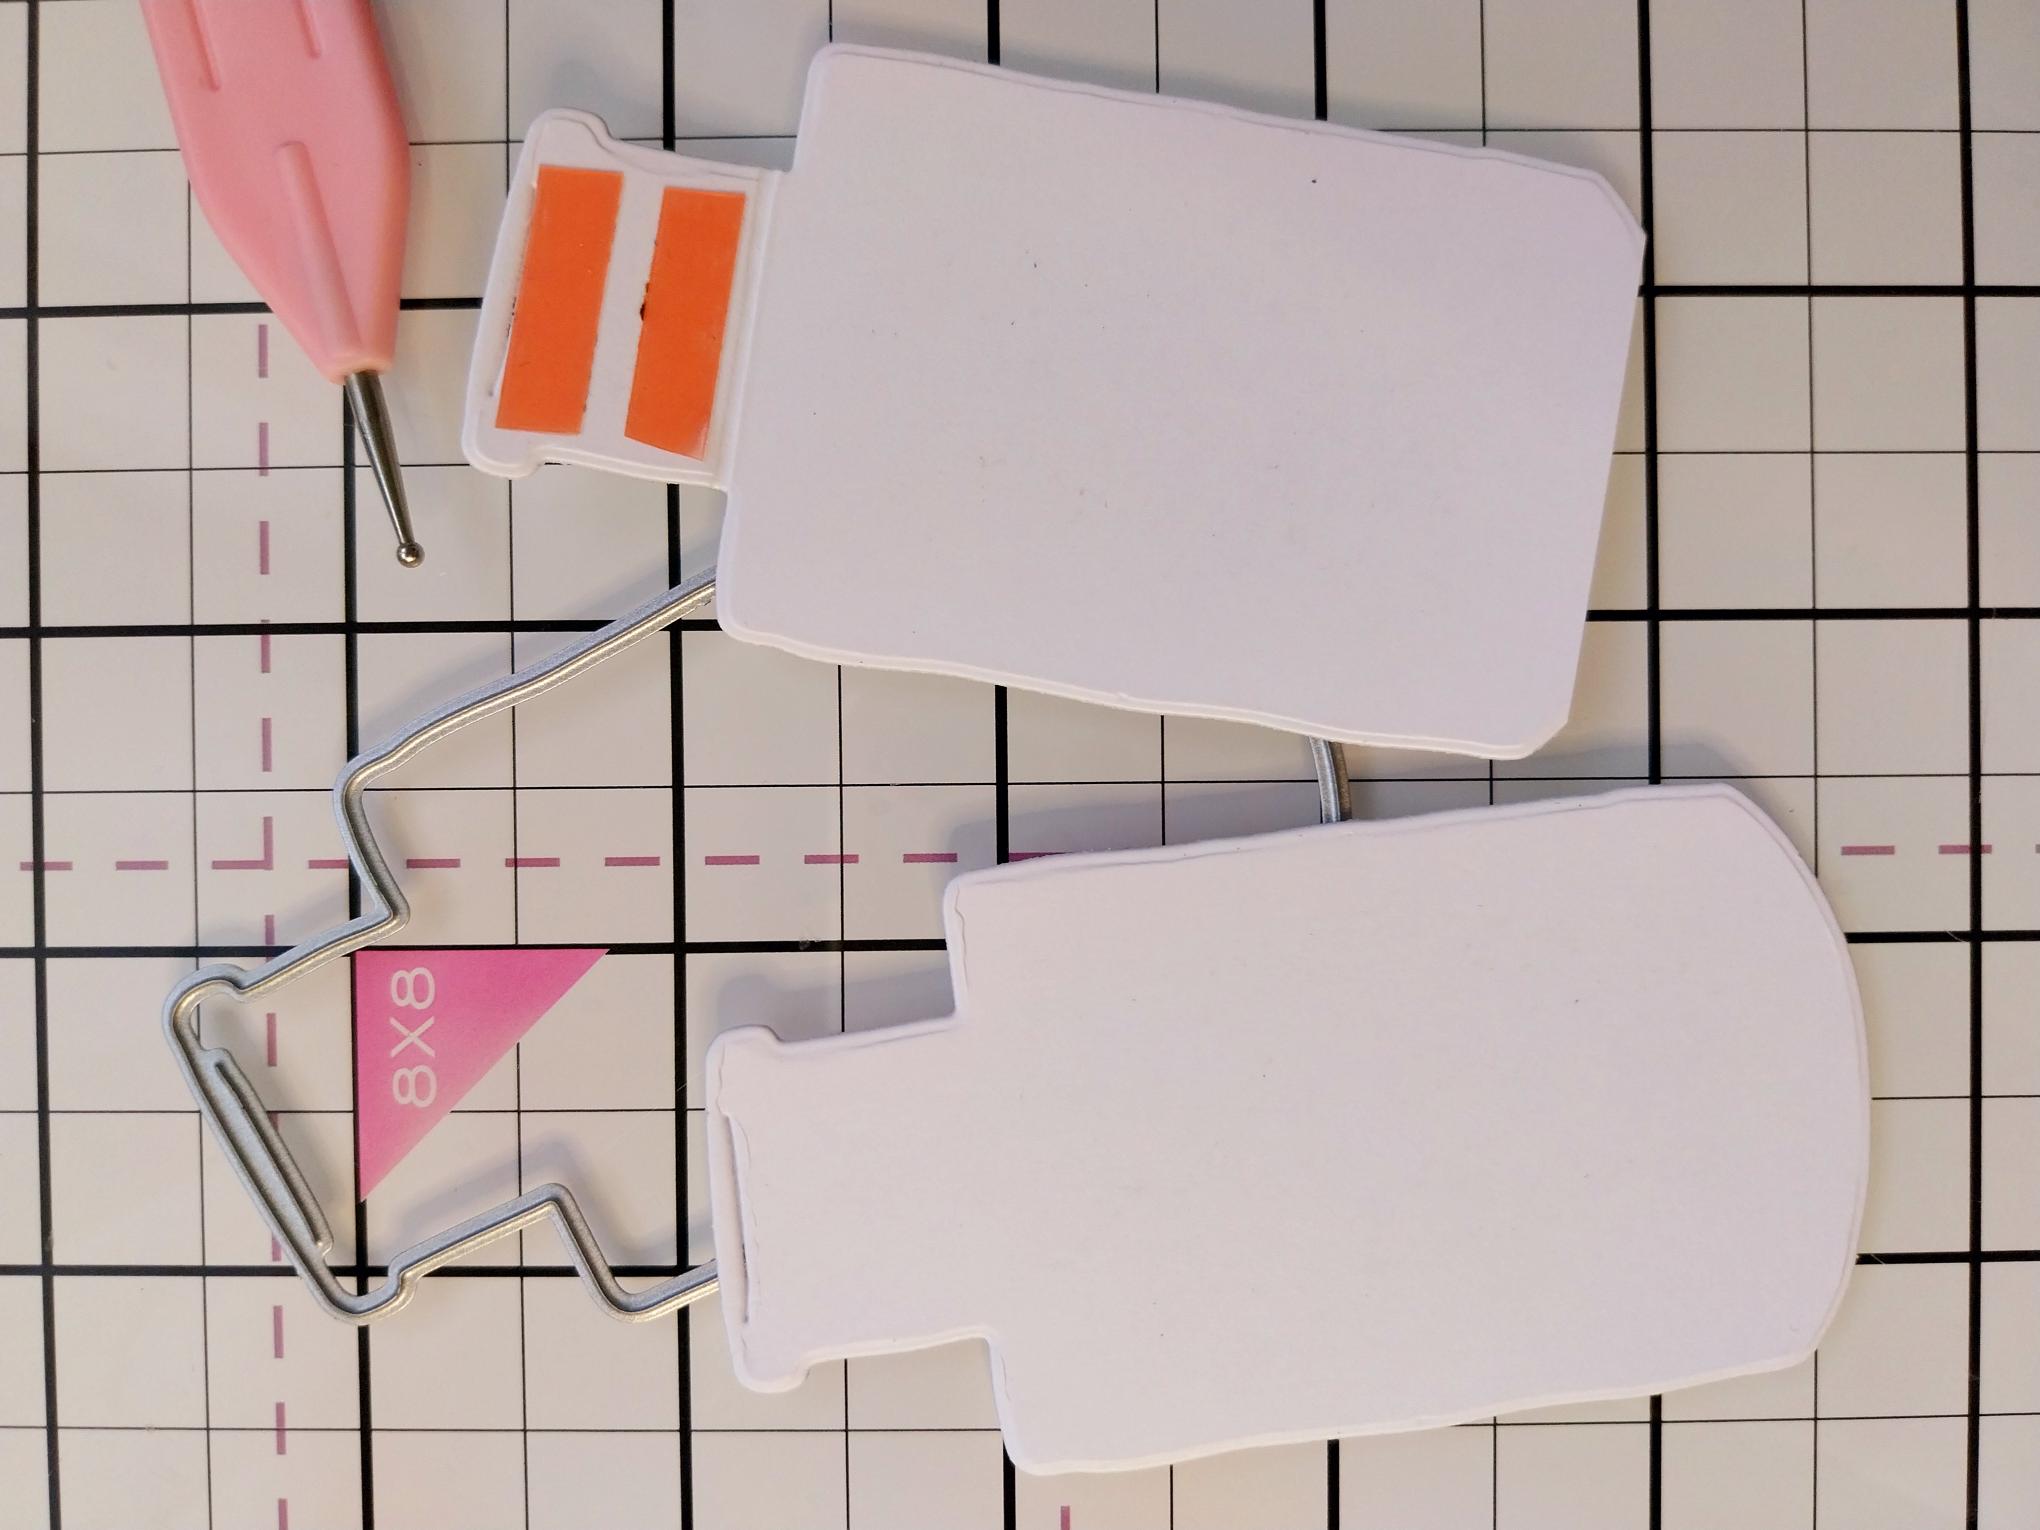
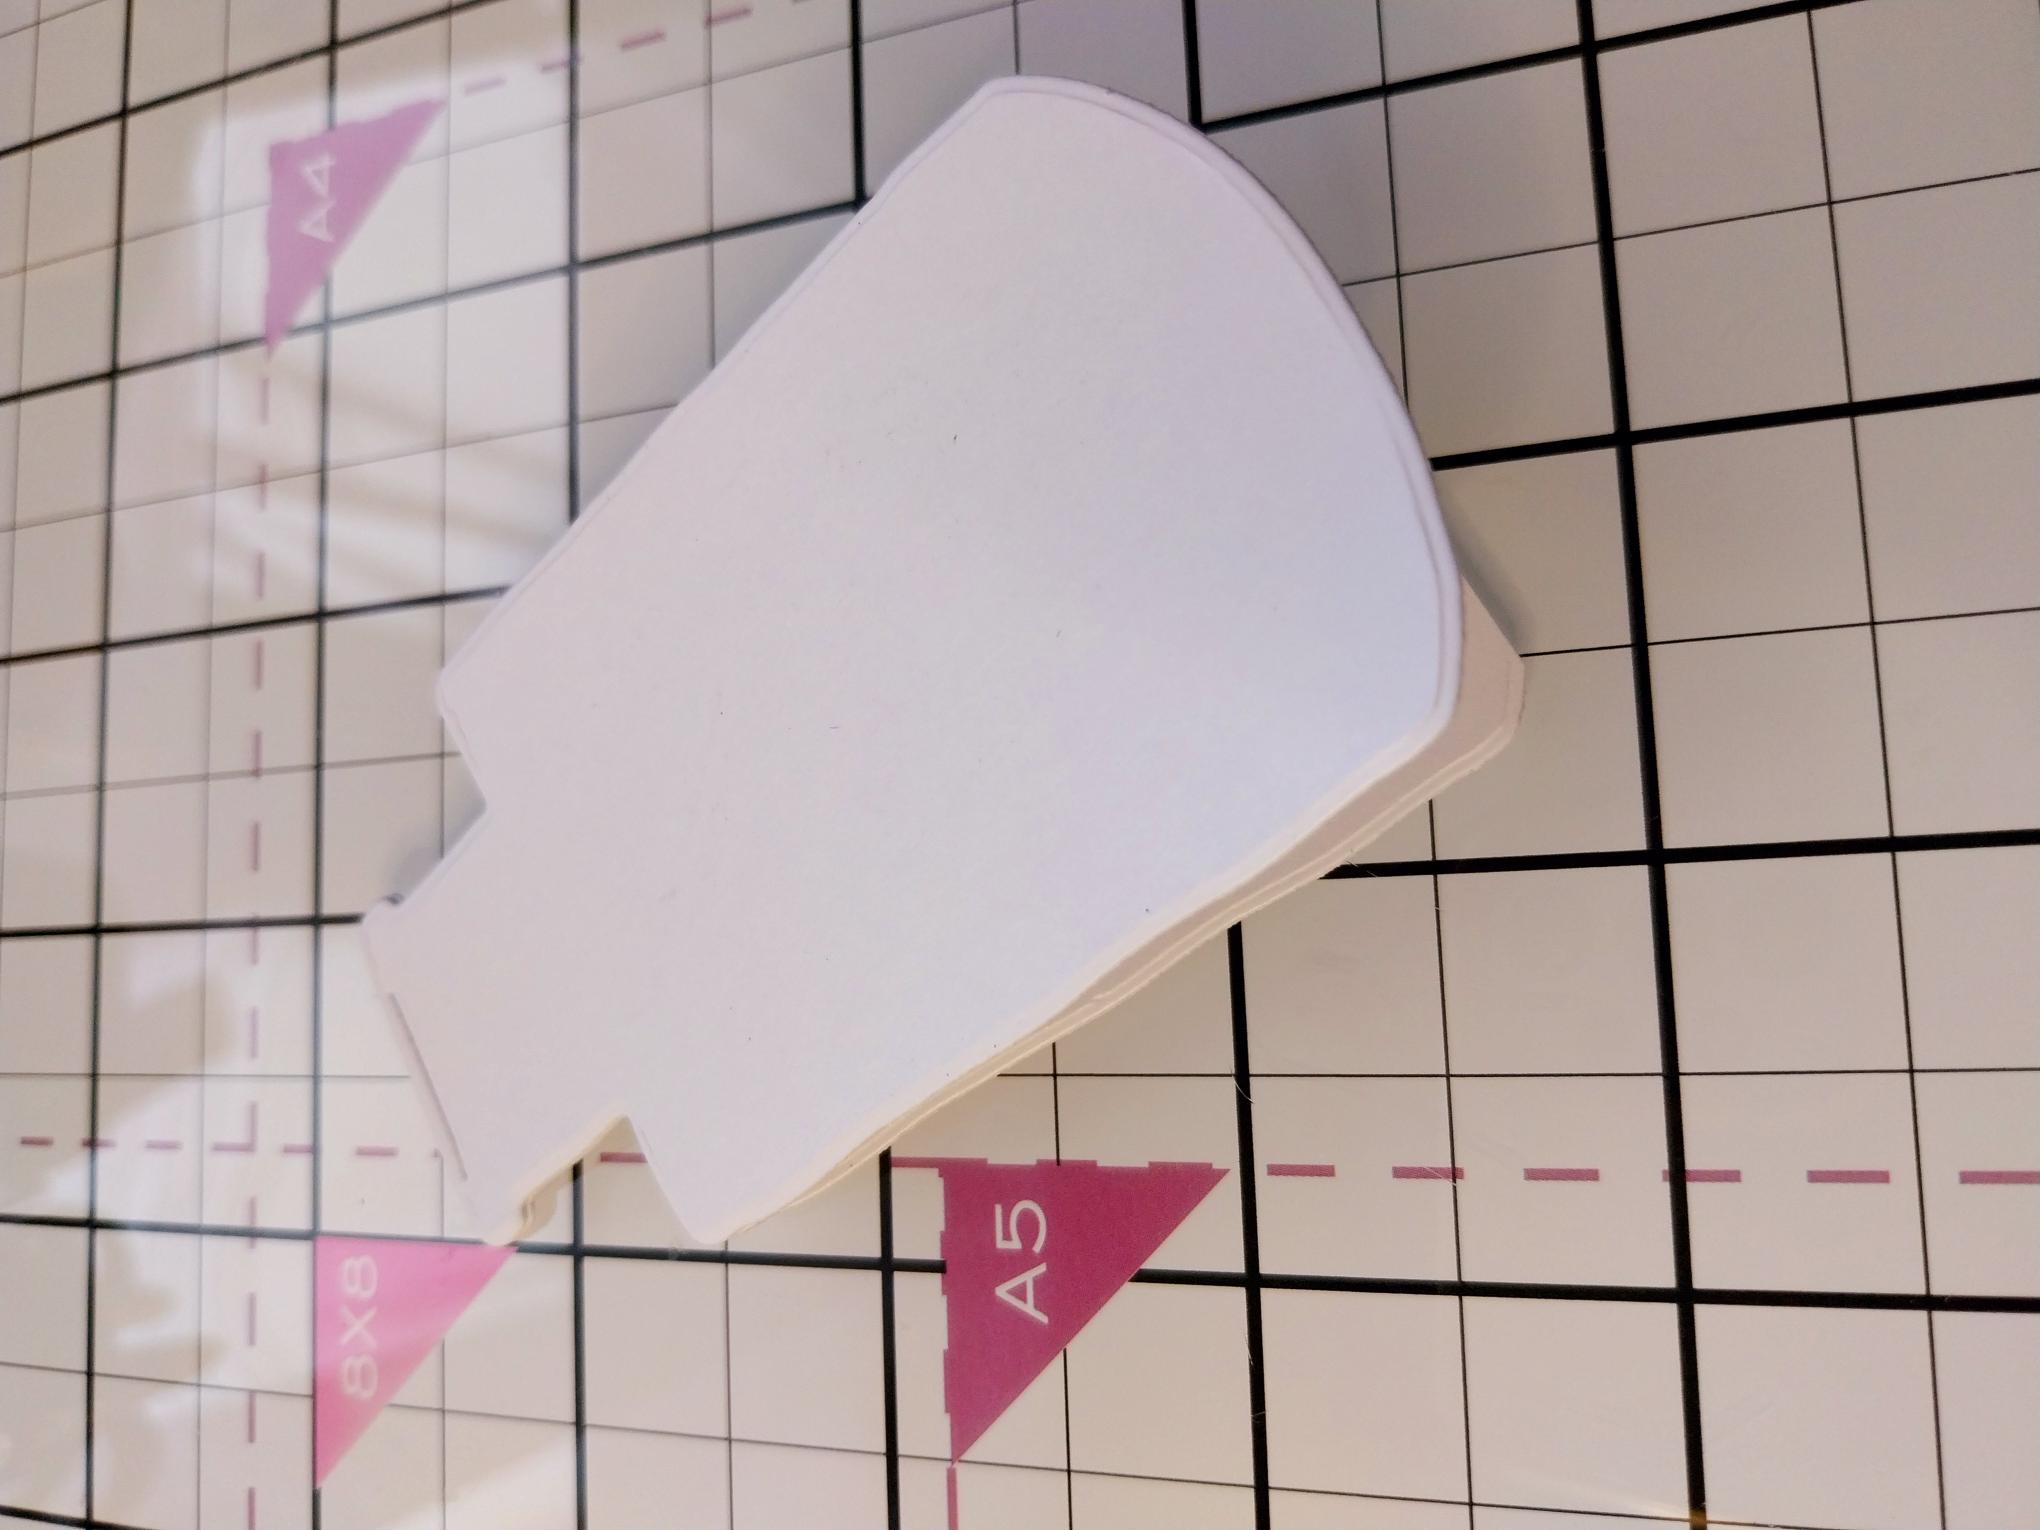
Use the smaller vase die to cut TWO panels, from white card. Score across the top of ONE and apply red liner tape above the score line. |
|
Line up and adhere the TWO panels together to create your vase-shaped card blank. |
|
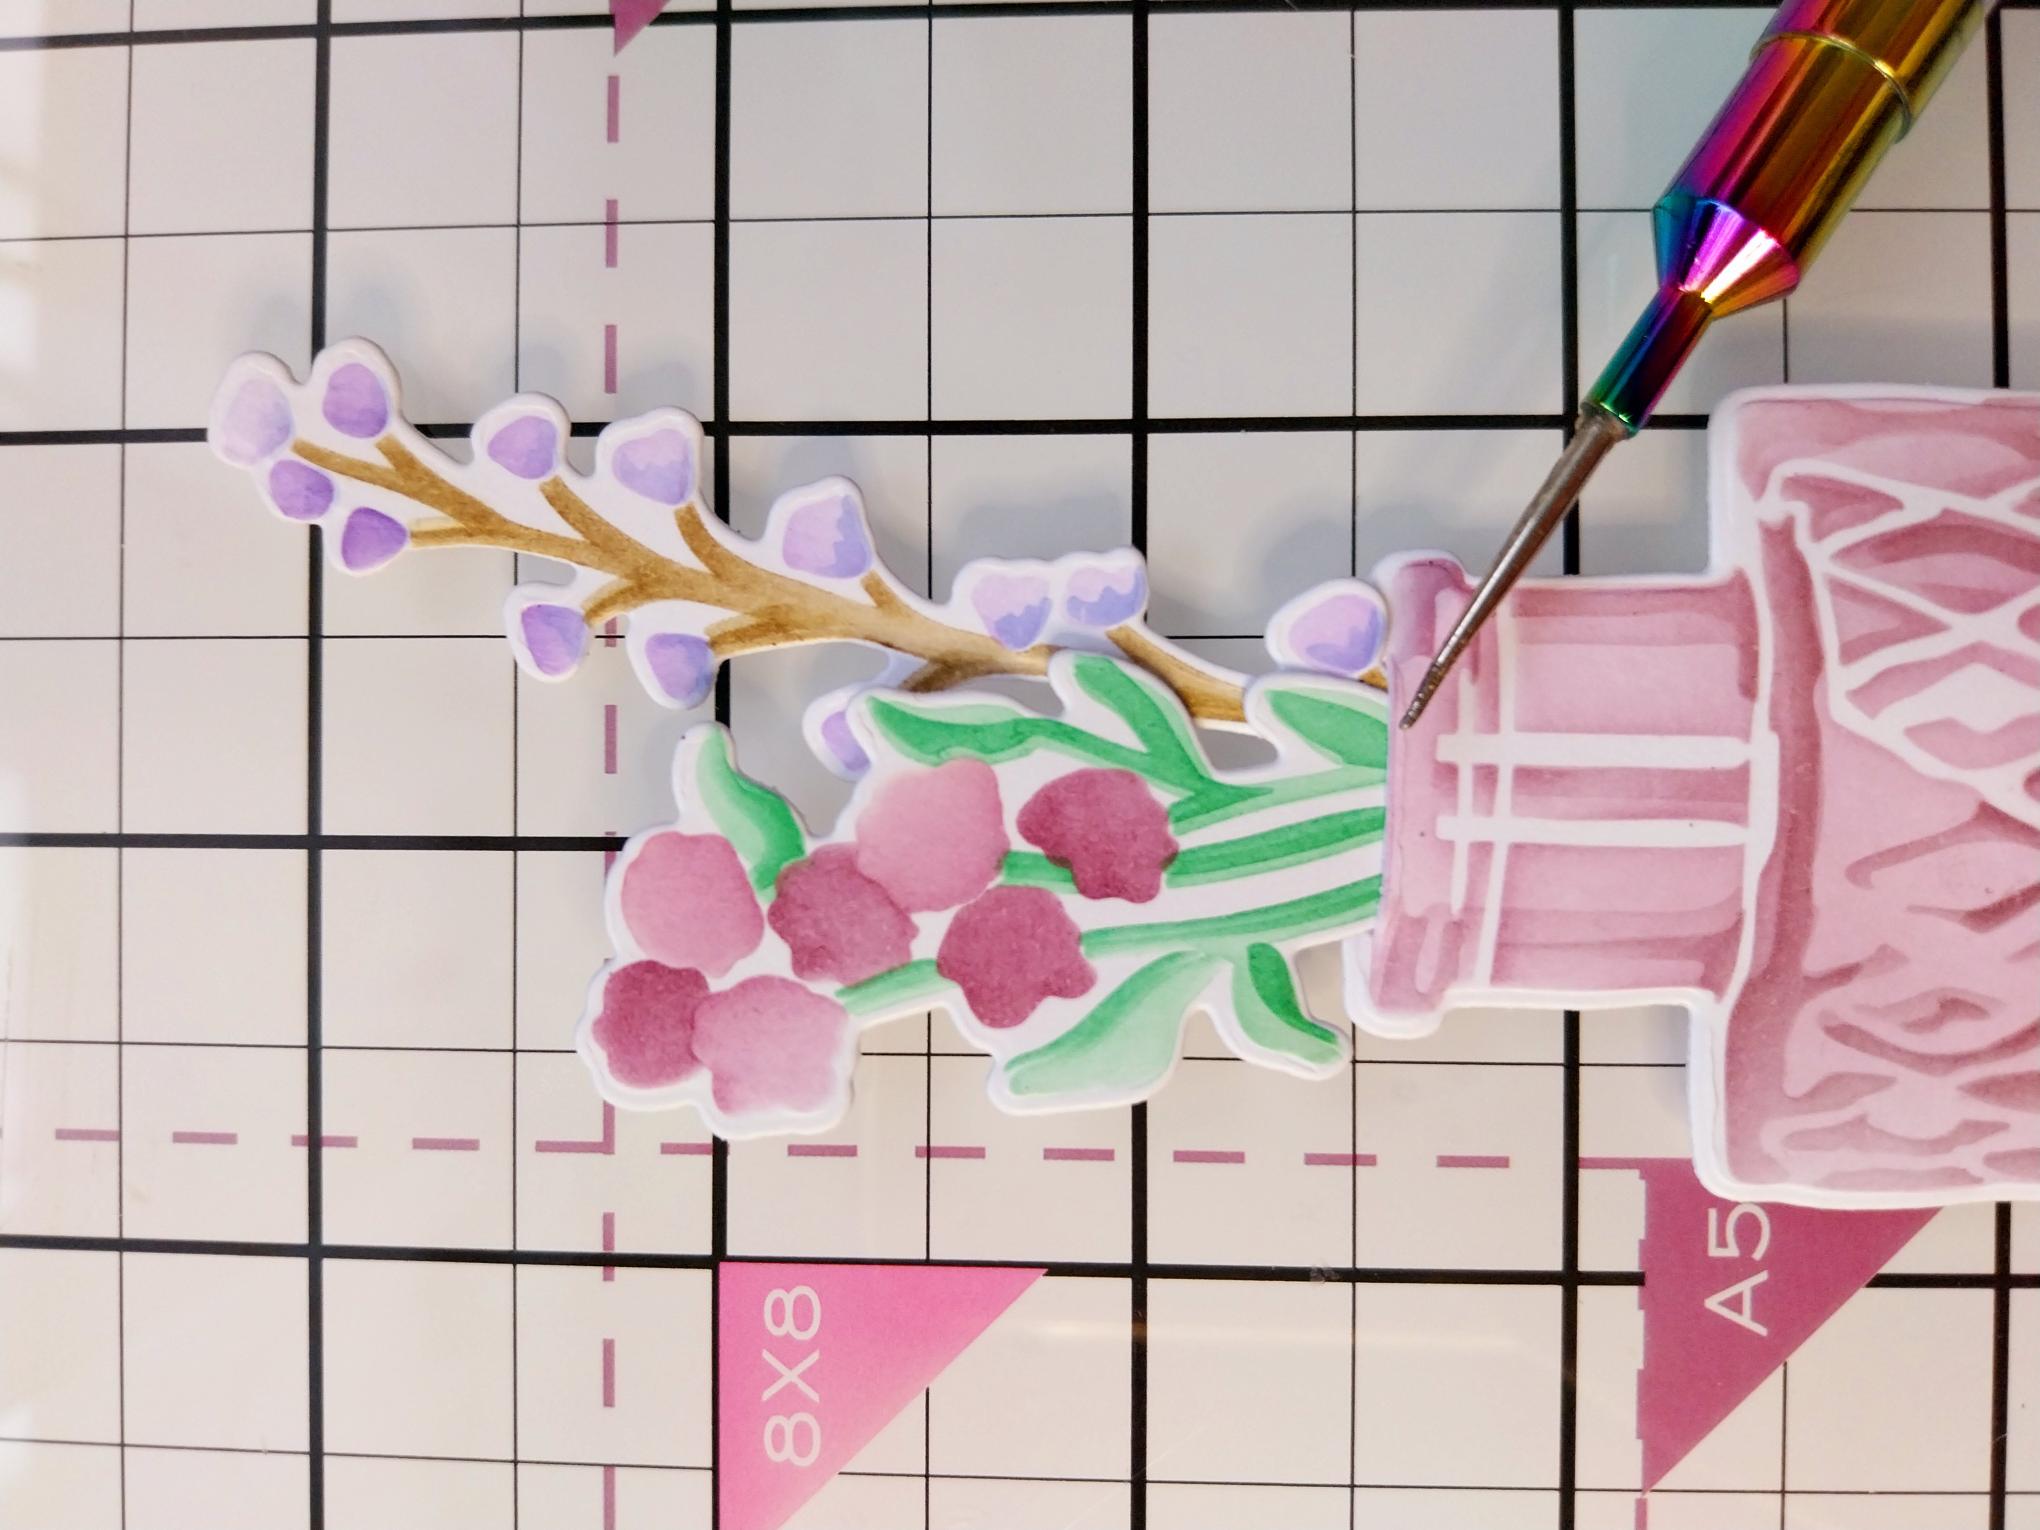
Position your chosen die-cut flowers through the die cut "slit", in the top of the inked vase die-cut. I secured the flowers in place with tape, on the reverse of the vase. |

|
Adhere your inked vase and flowers onto your shaped card blank. |
|
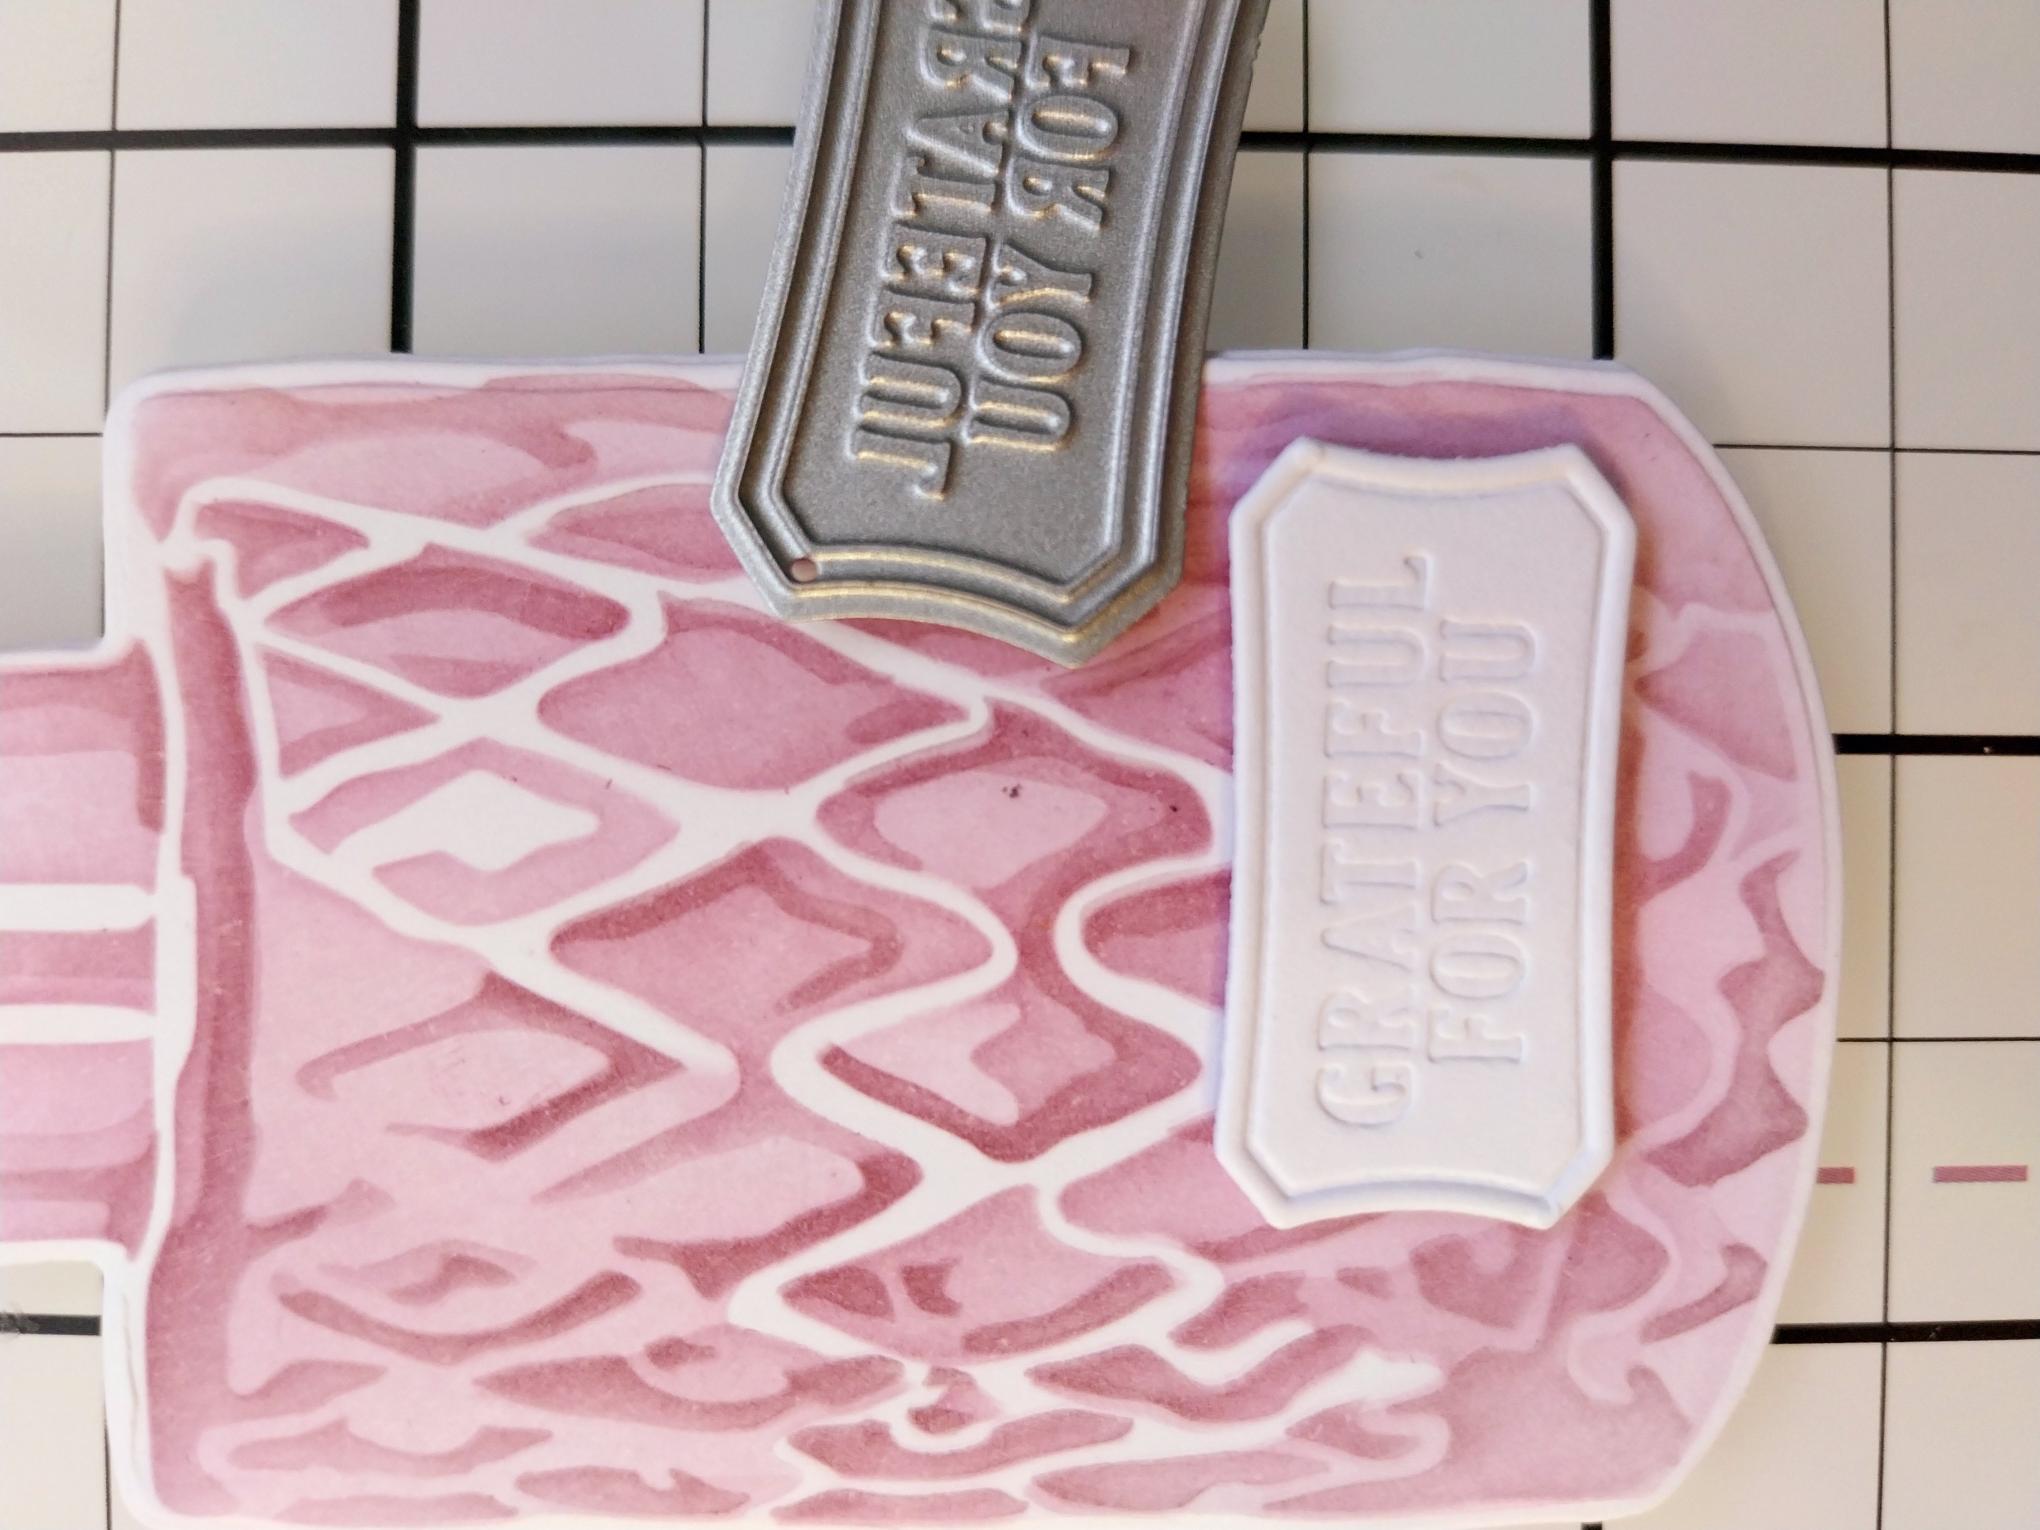
Place the embossed sentiment die onto a scrap of white card and run through your machine. Adhere to the bottom right with a foam pad, to complete your project. |