Give your friends $10 off their first order!
Refer a FRIEND


WHAT YOU WILL NEED:
Perfect Pine Cones Large Edition Die set
· 6 x 8 inch Cream Card Blank
· Holly & Berry 12 x 12 Paperpad
· Special Wishes stamp & die set
· Kraft Card
· Walnut Stain Distress Oxide ink pad
· Scorched Timber Distress Oxide spray
· Water Spritzer
· Blending brushes
· Paper towel
· Tacky glue
· Paper trimmer
A3 Magnetic glass mat
· Die cutting machine
[click image to enlarge] 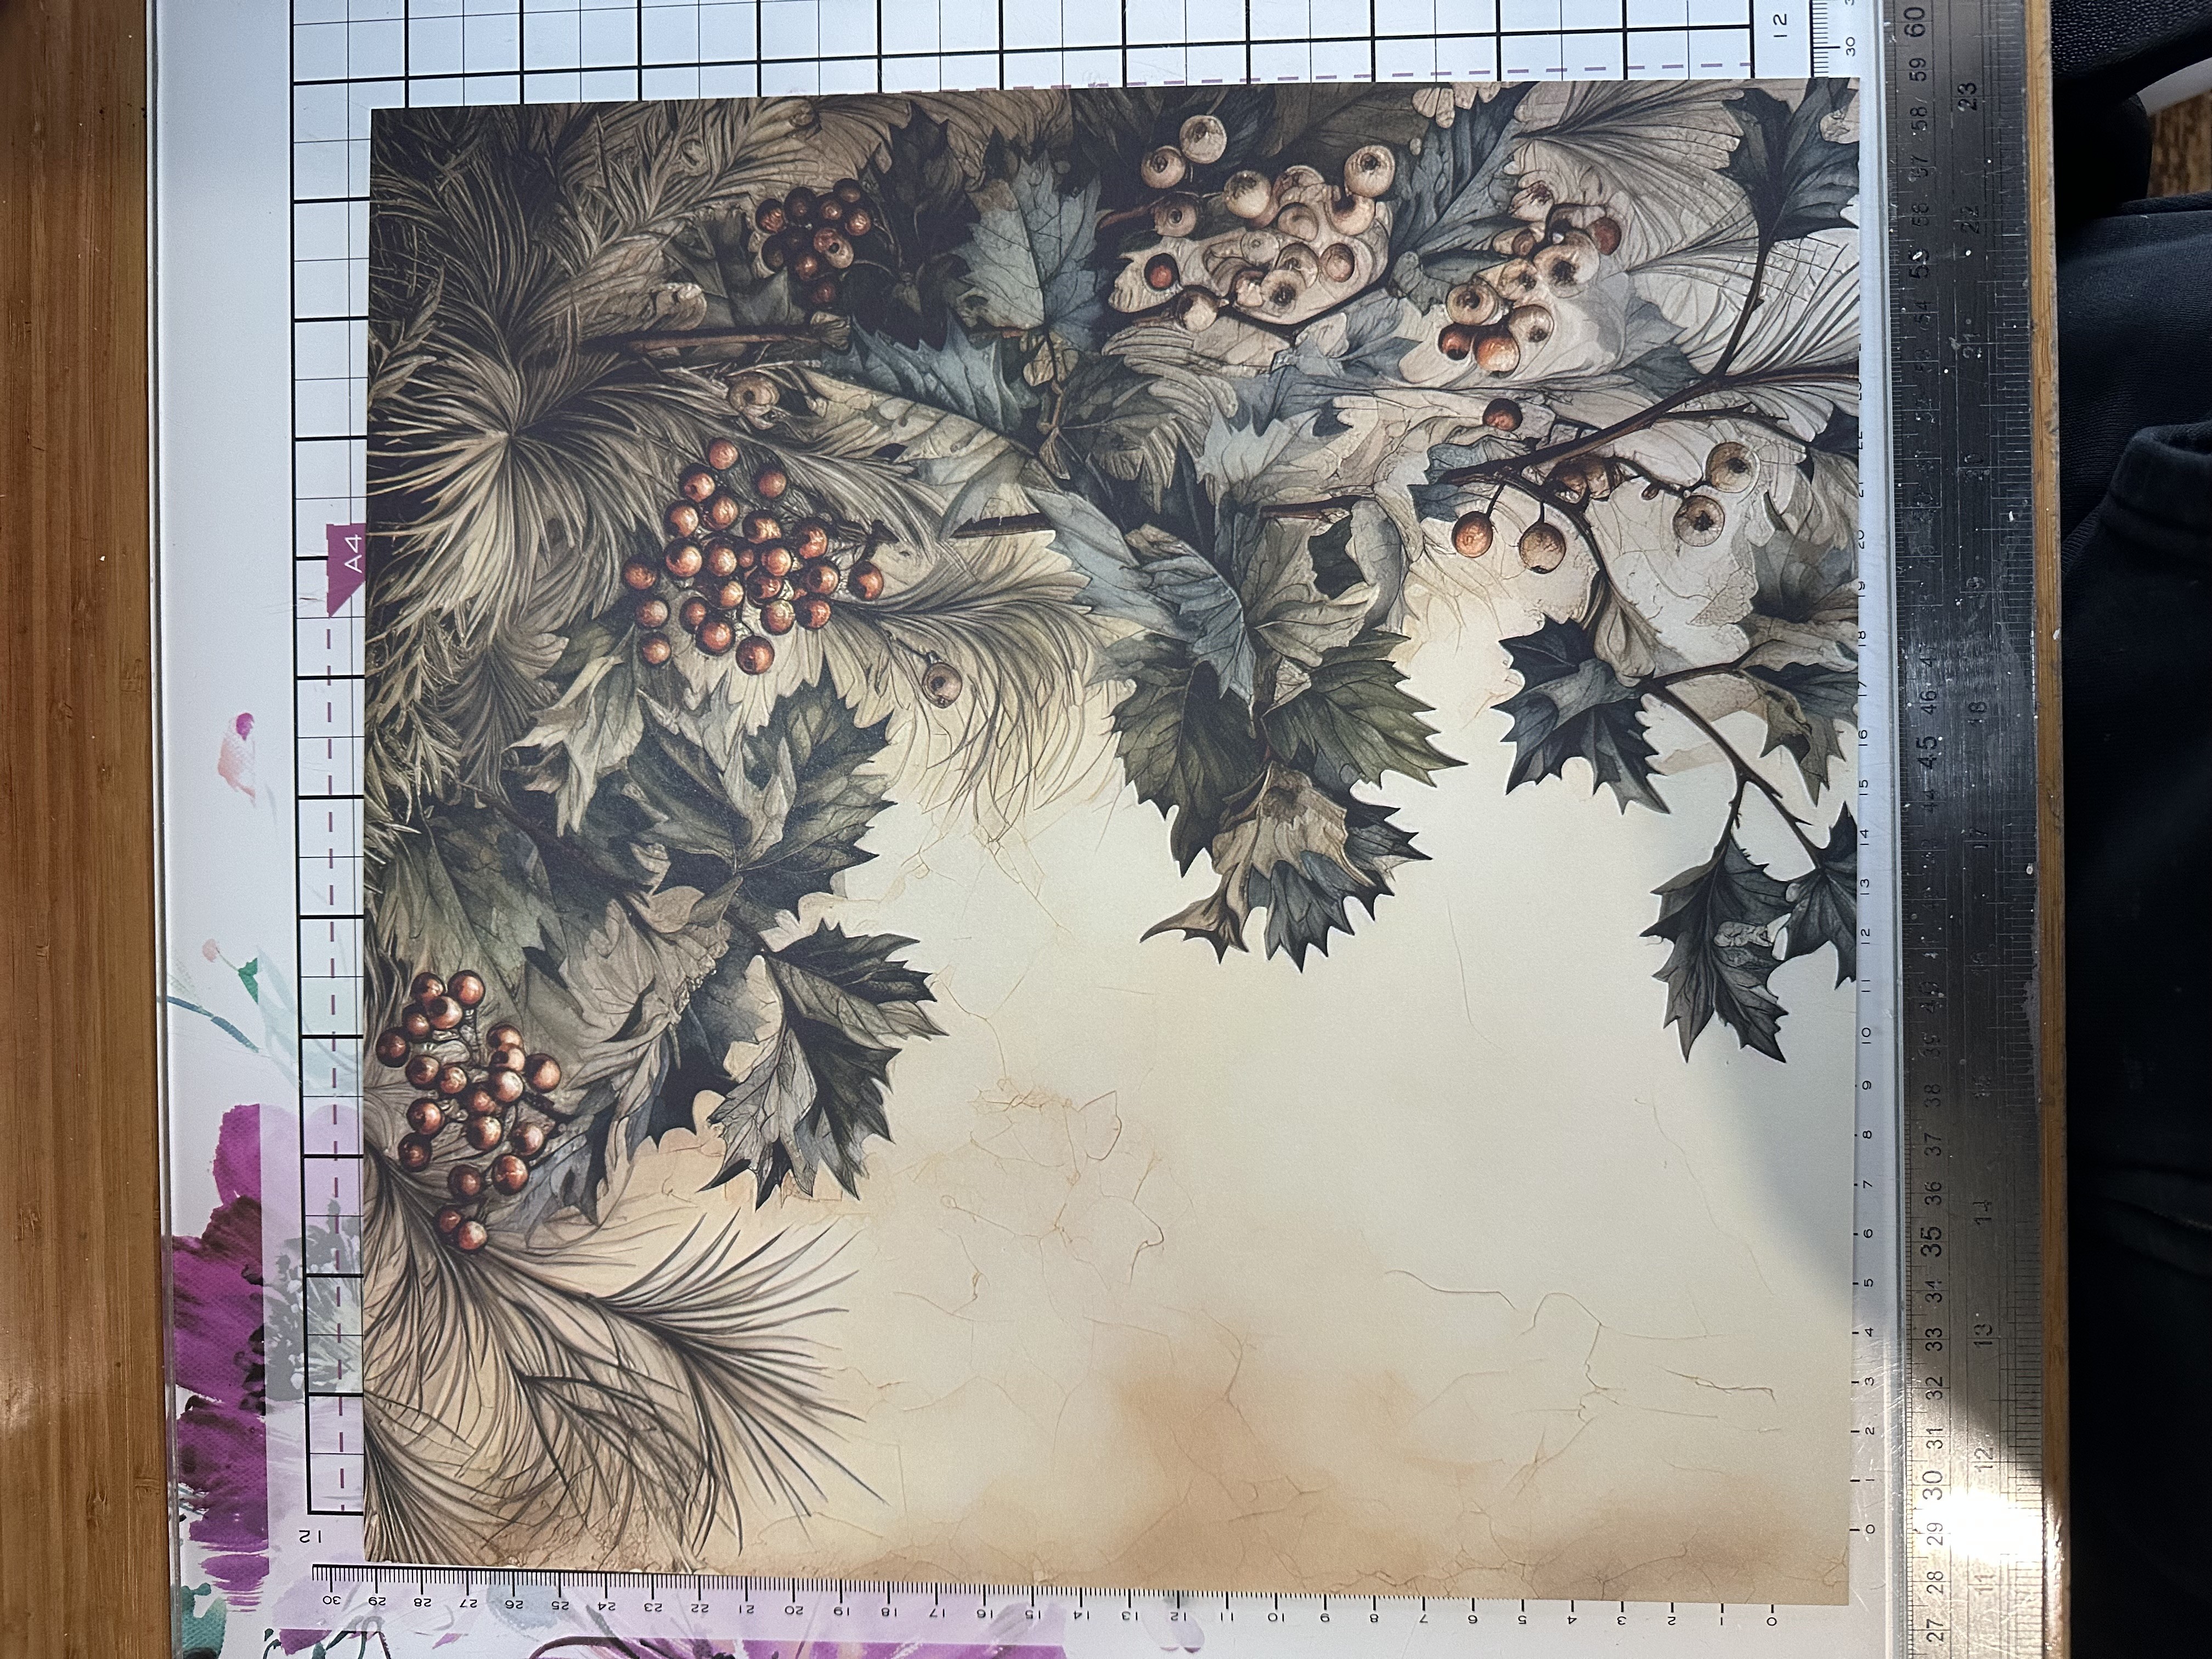
|
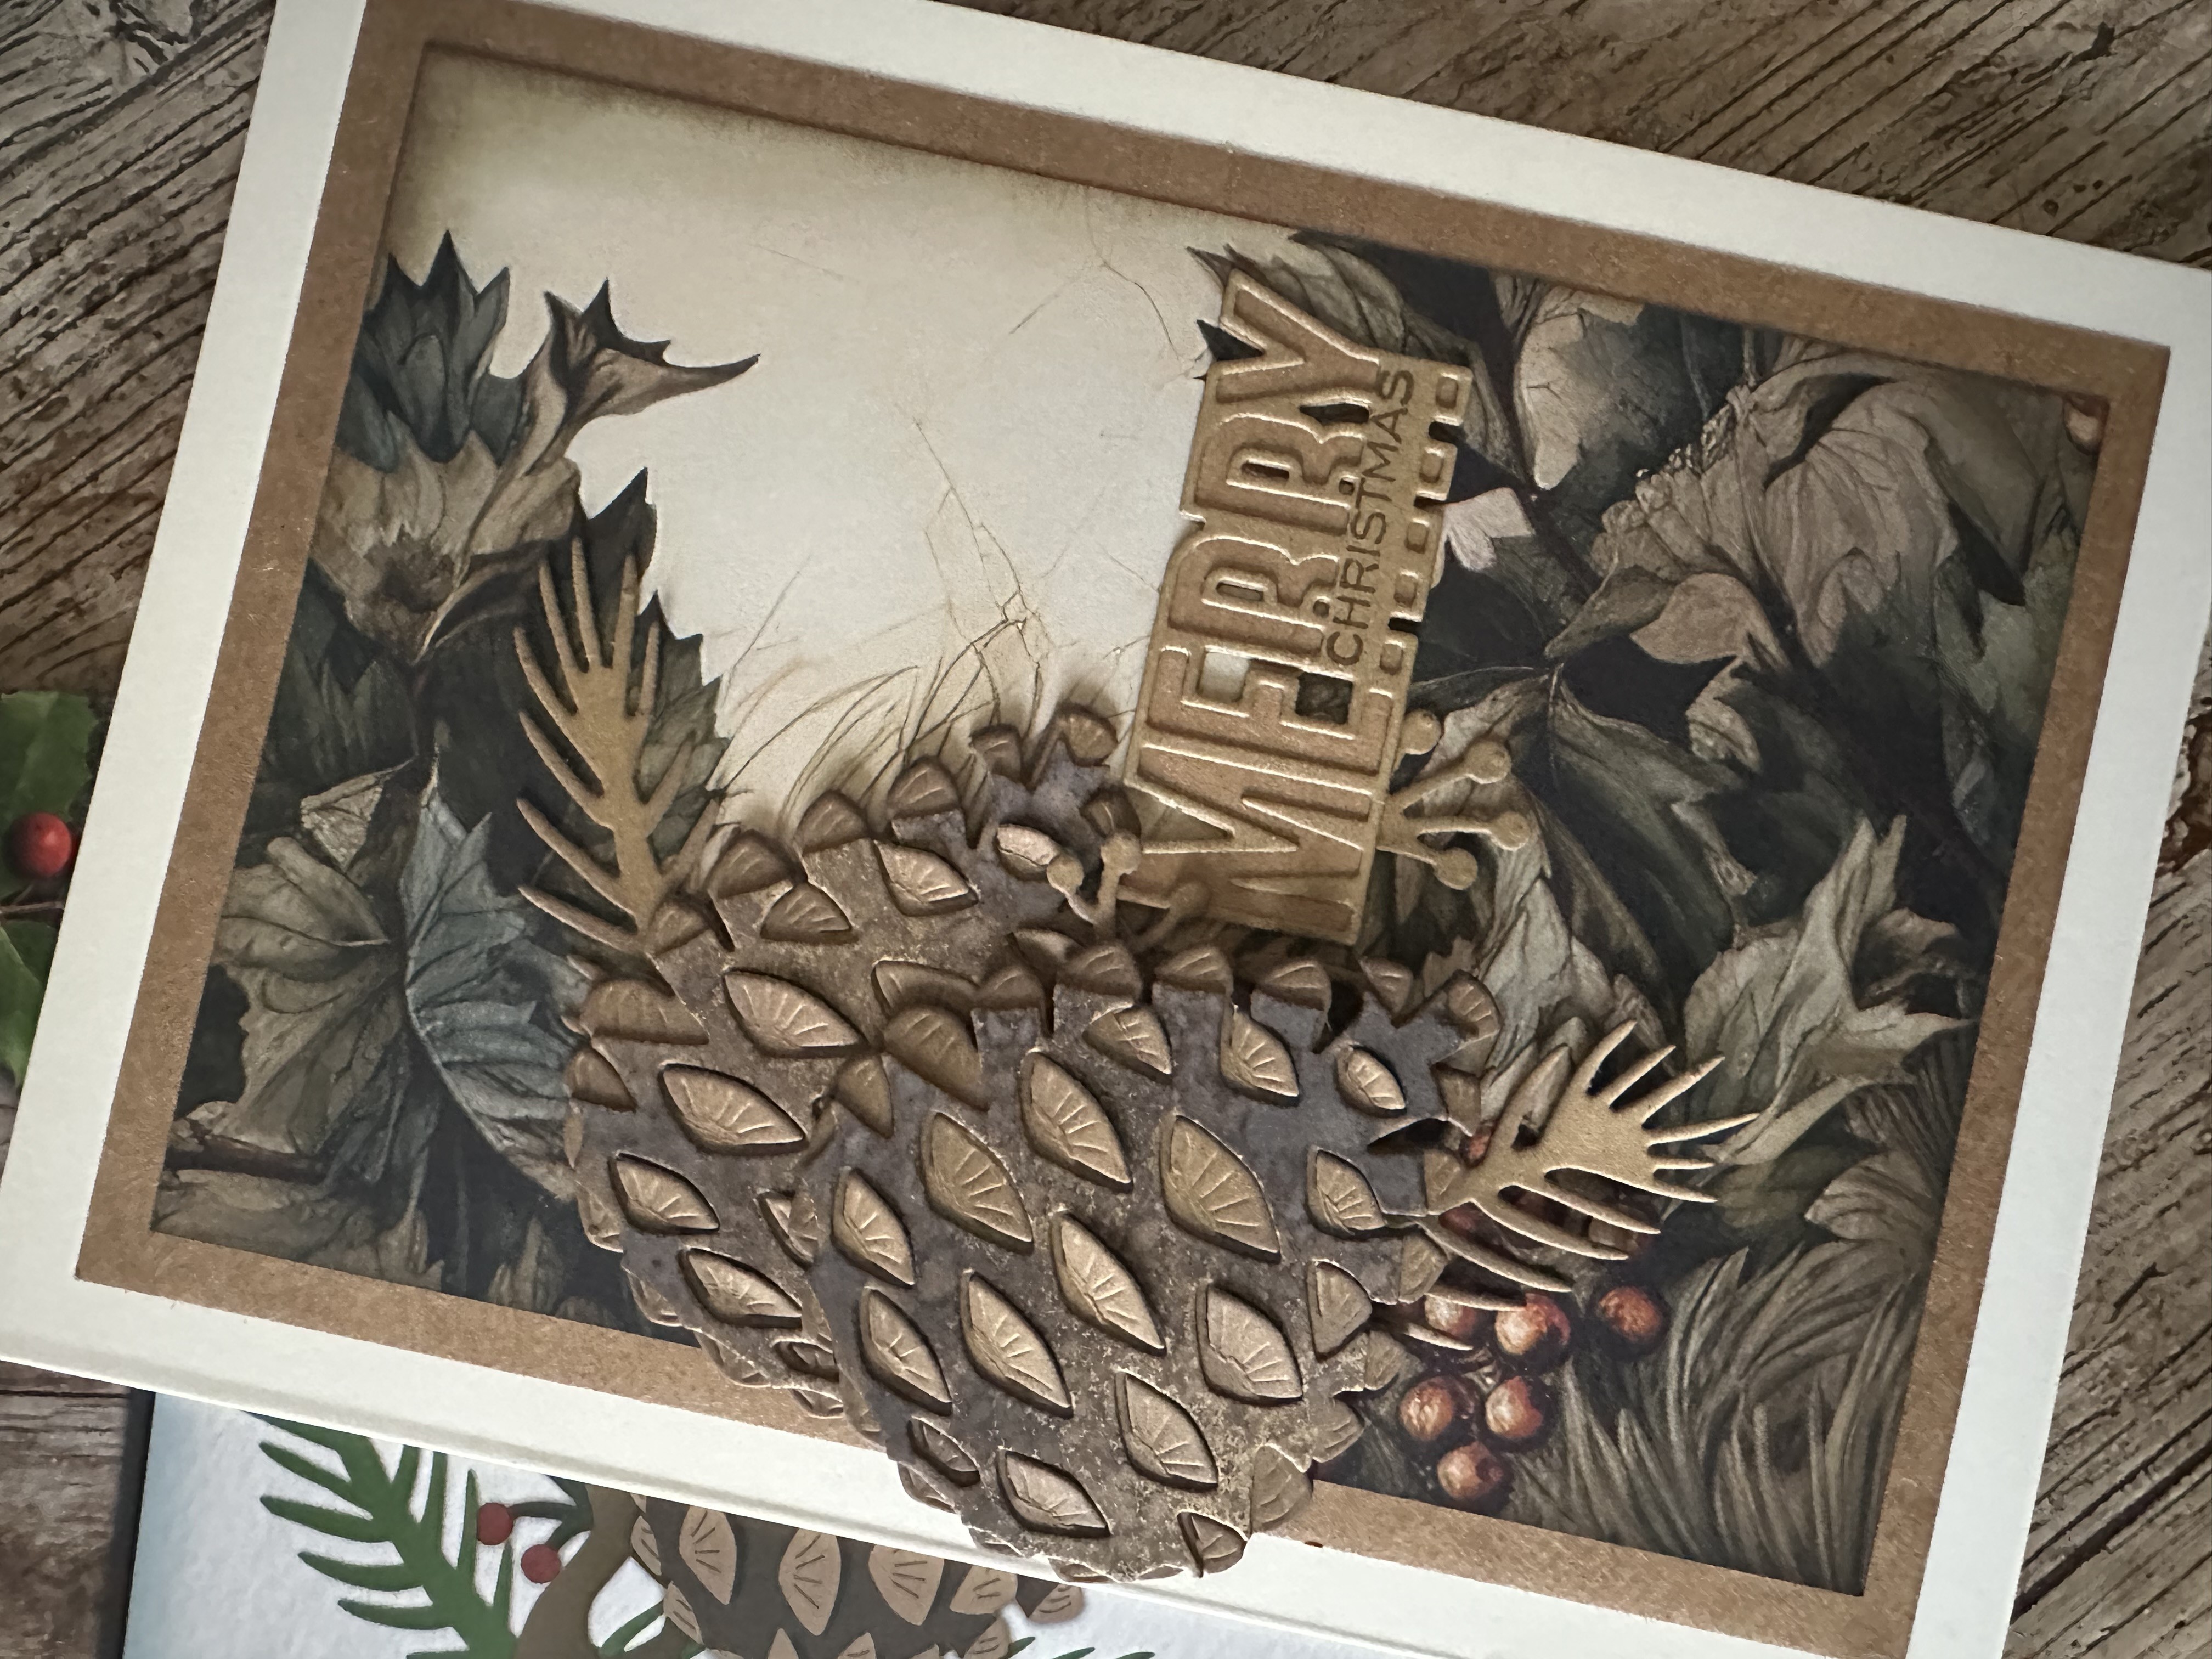
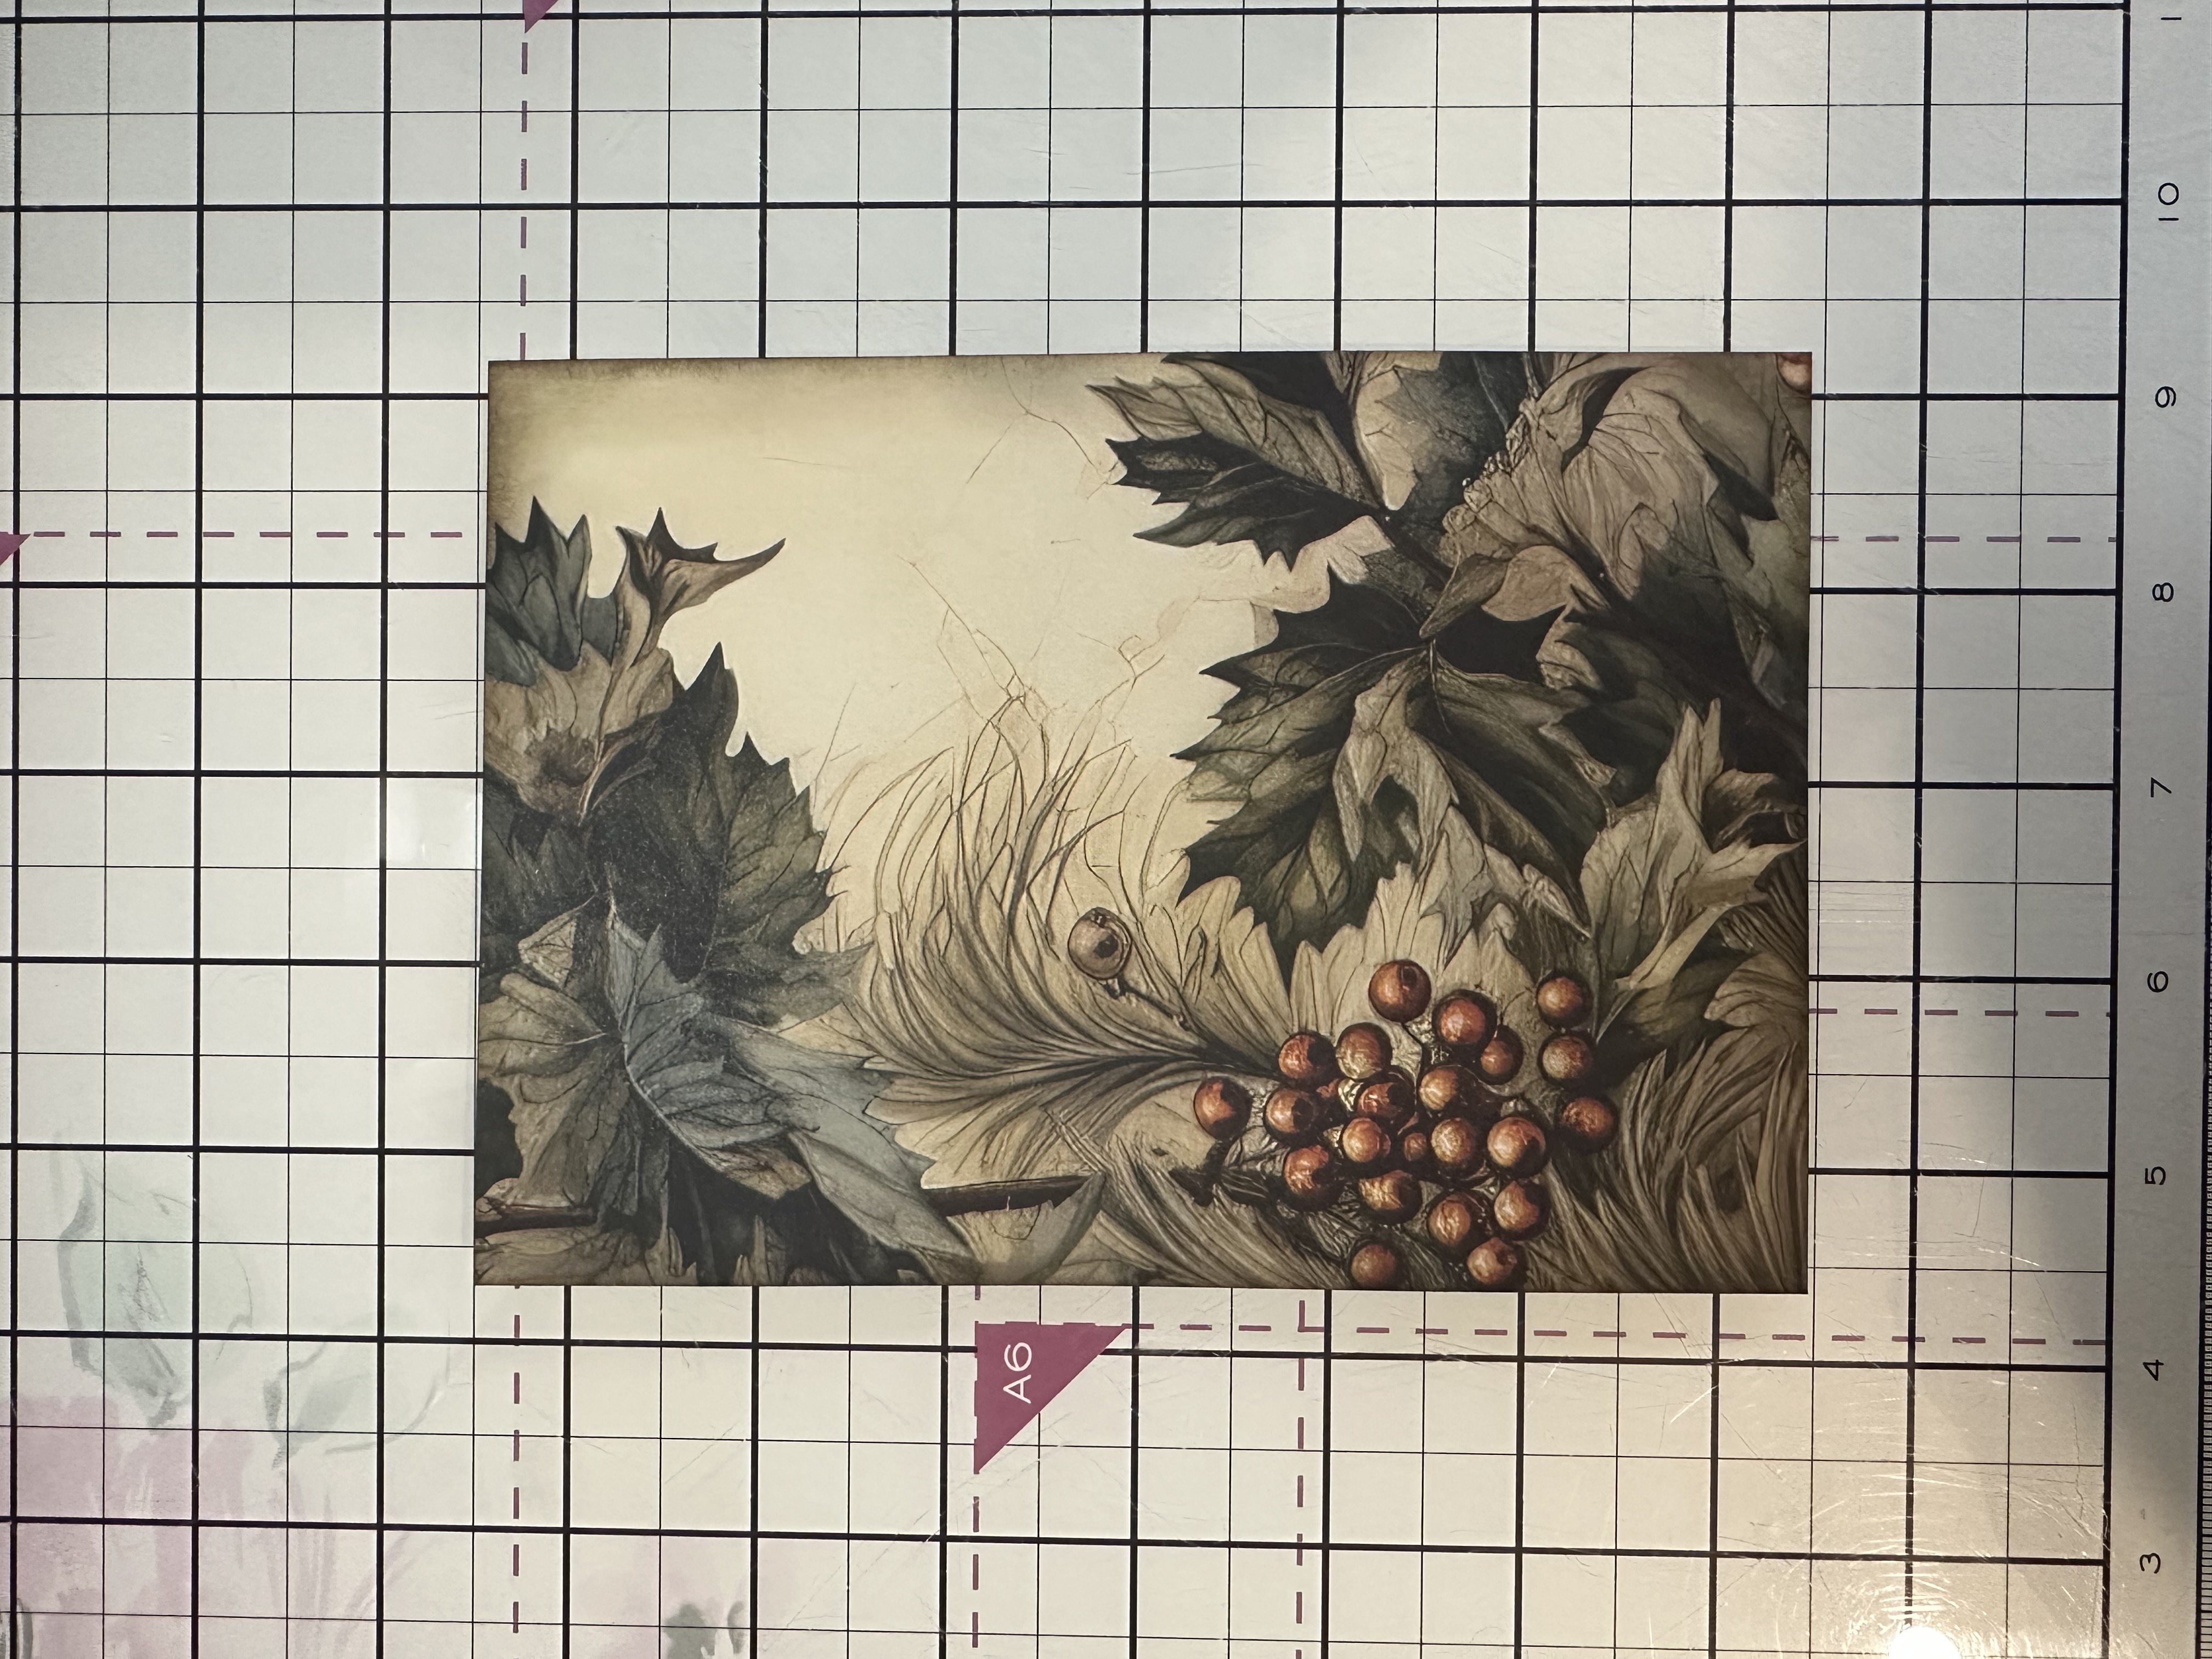
Pick a page from the Holly & Berry (or alternative) 12 x 12 paper pad and trim out an interesting piece measuring 5 x 7 inch. |
|
I’ve picked a piece that still has some blank space to build my foliage around. Add a Walnut Stain blend around the edges of the sheet. |
|
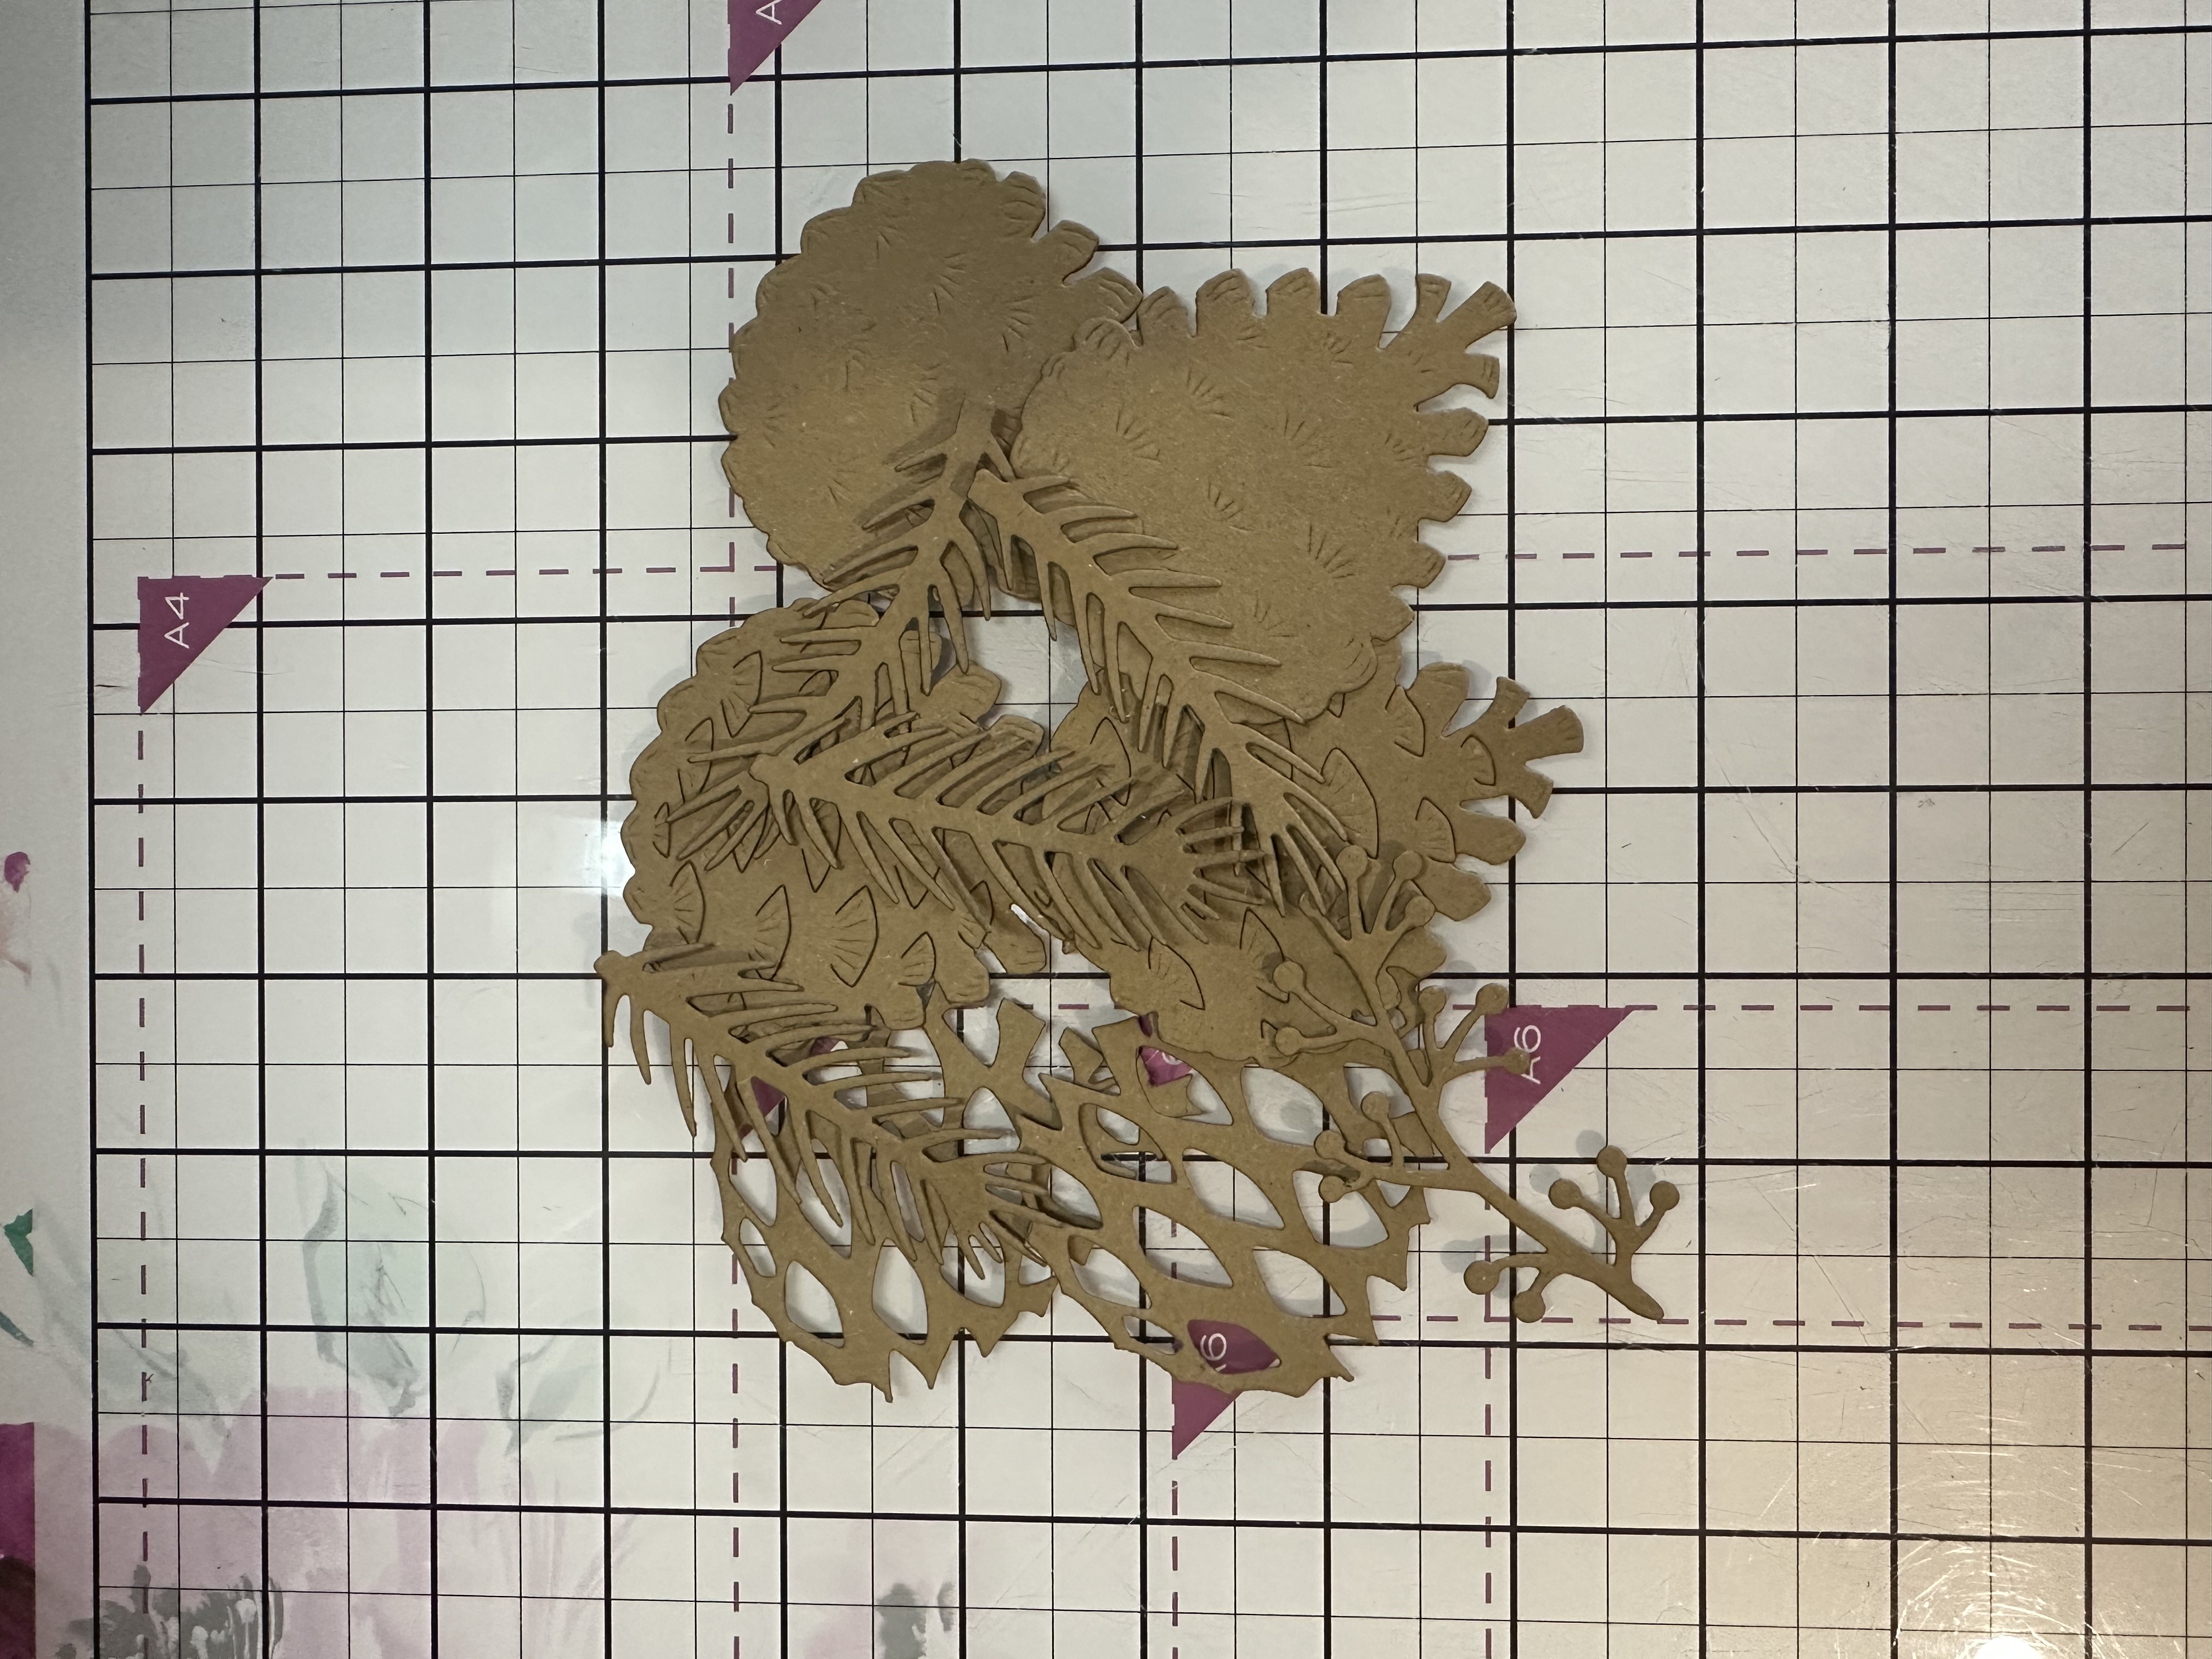
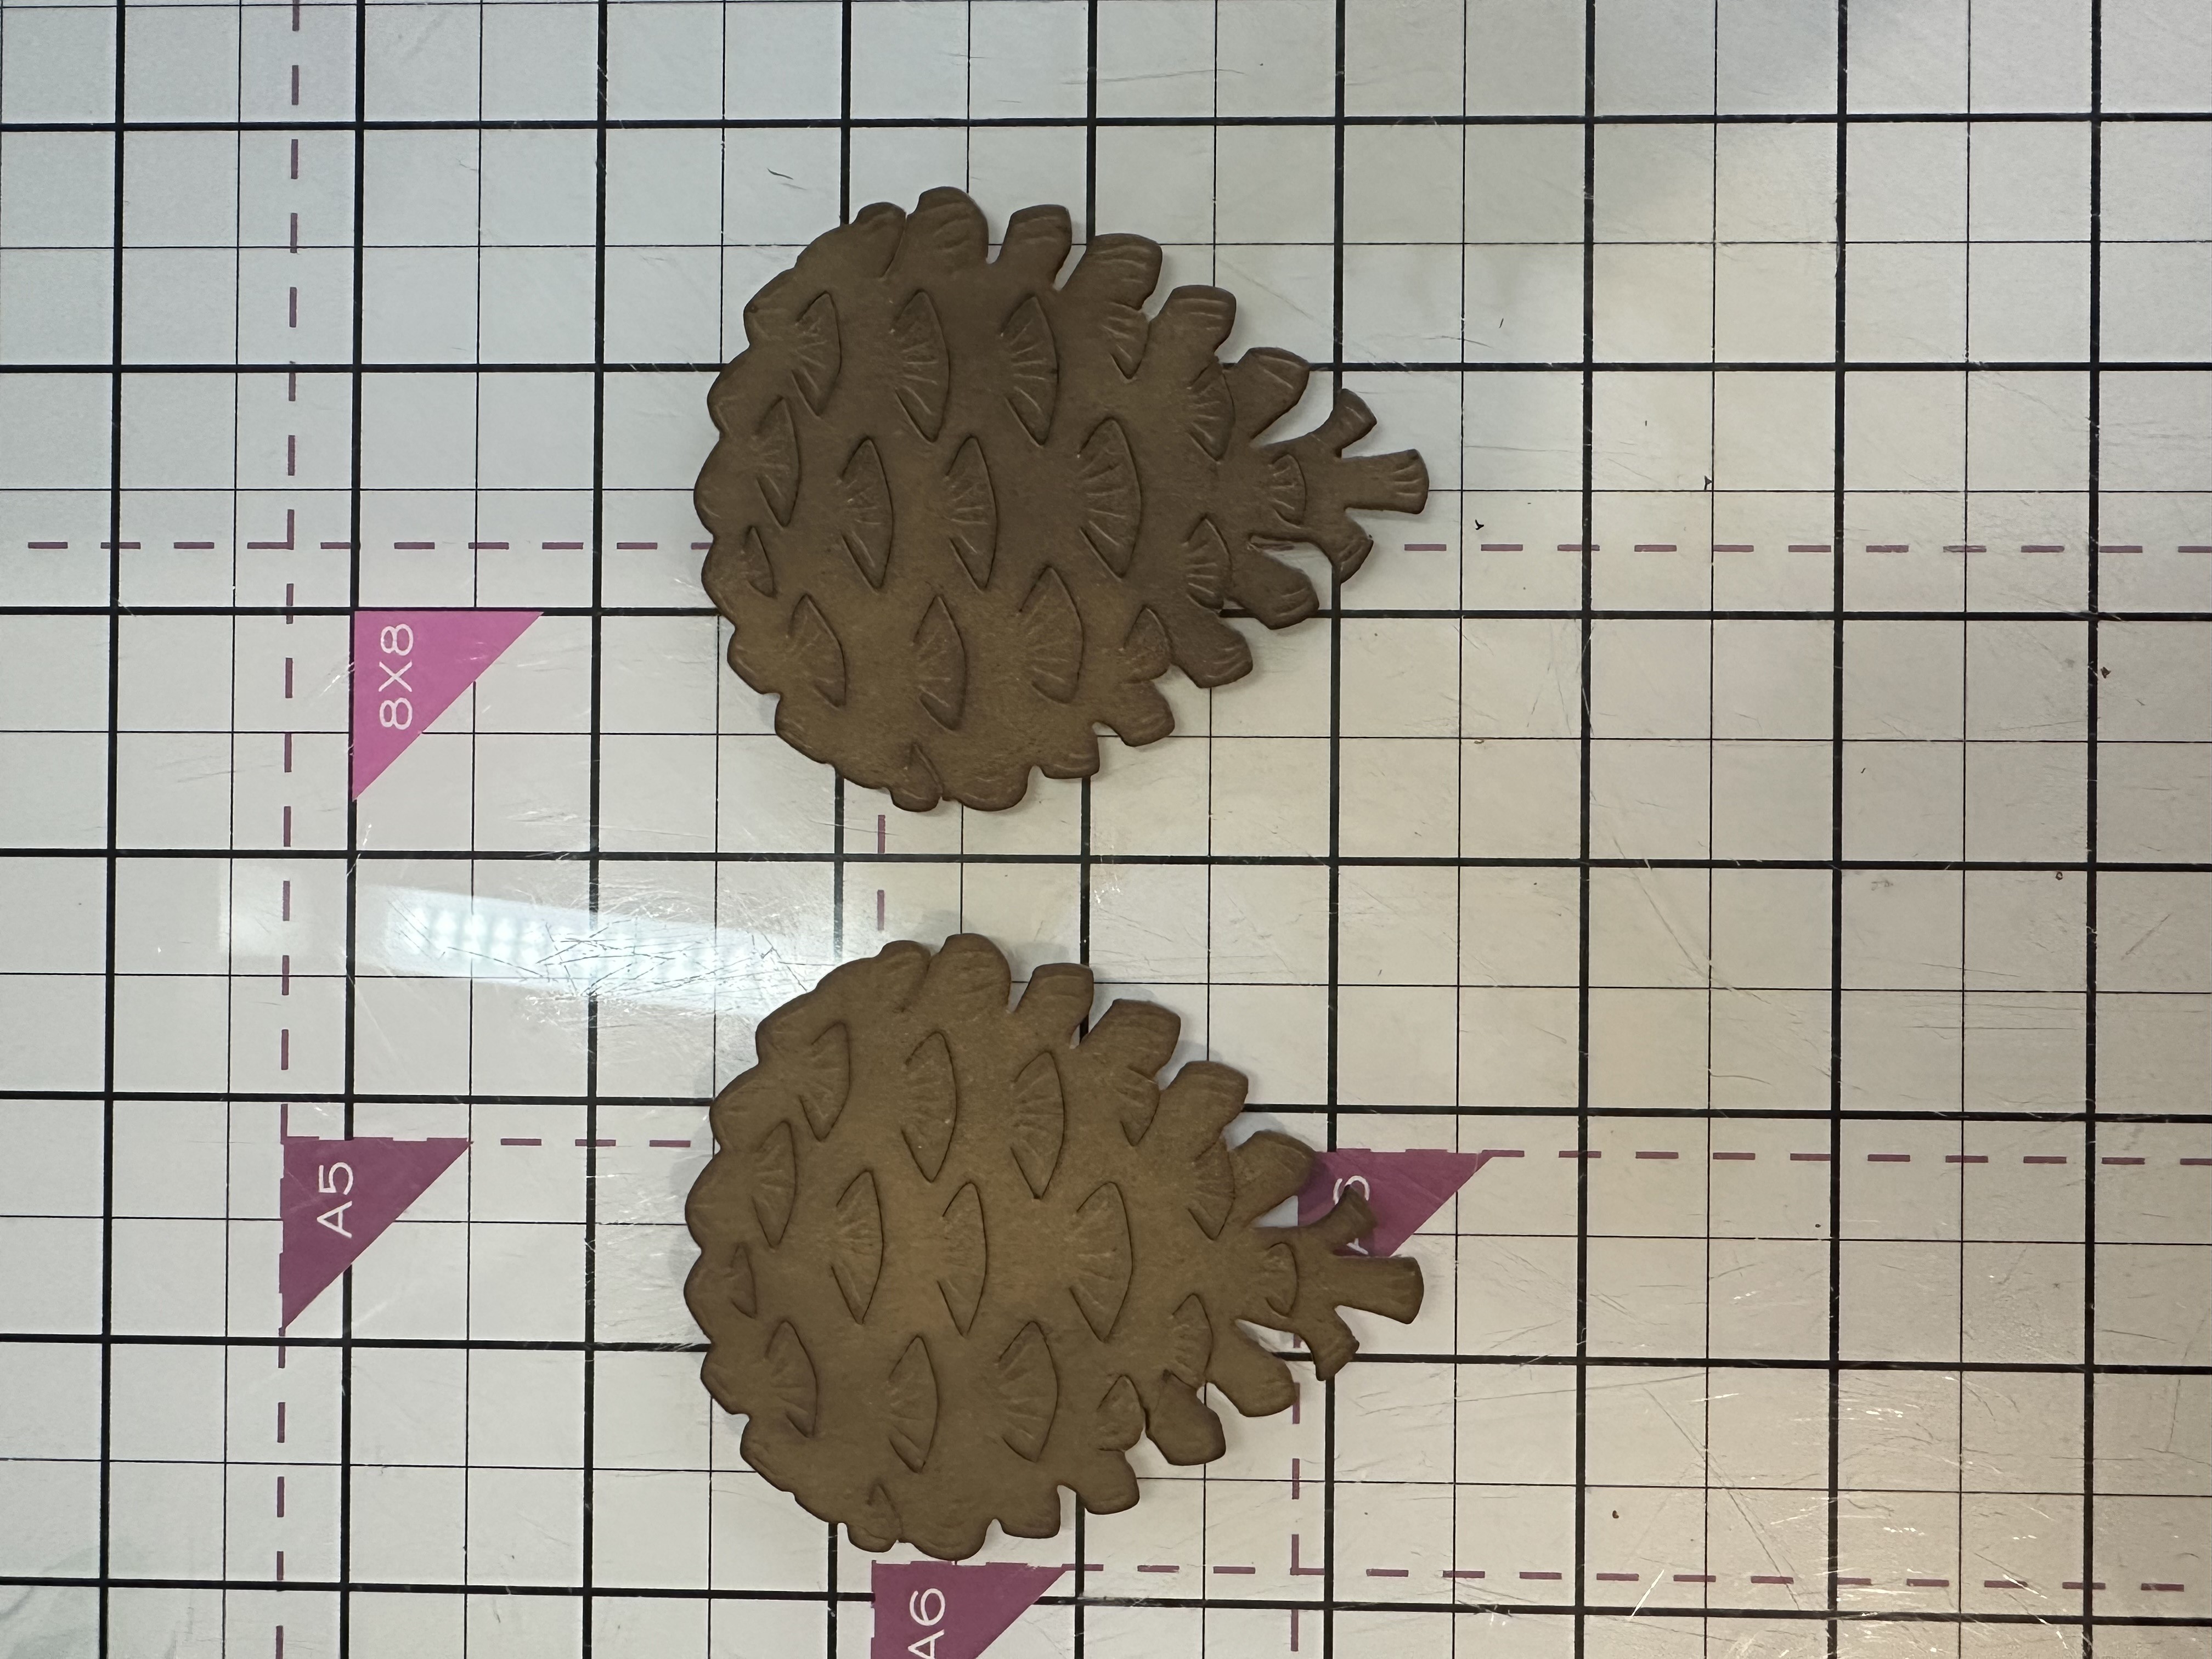
Die cut your elements out of kraft card. I have used two sets of pinecones and three out of the four available foliage pieces in the final piece, saving any left for my next project. Also cut, stamp and adhere your ‘Special Wishes’ chosen sentiment. |
|
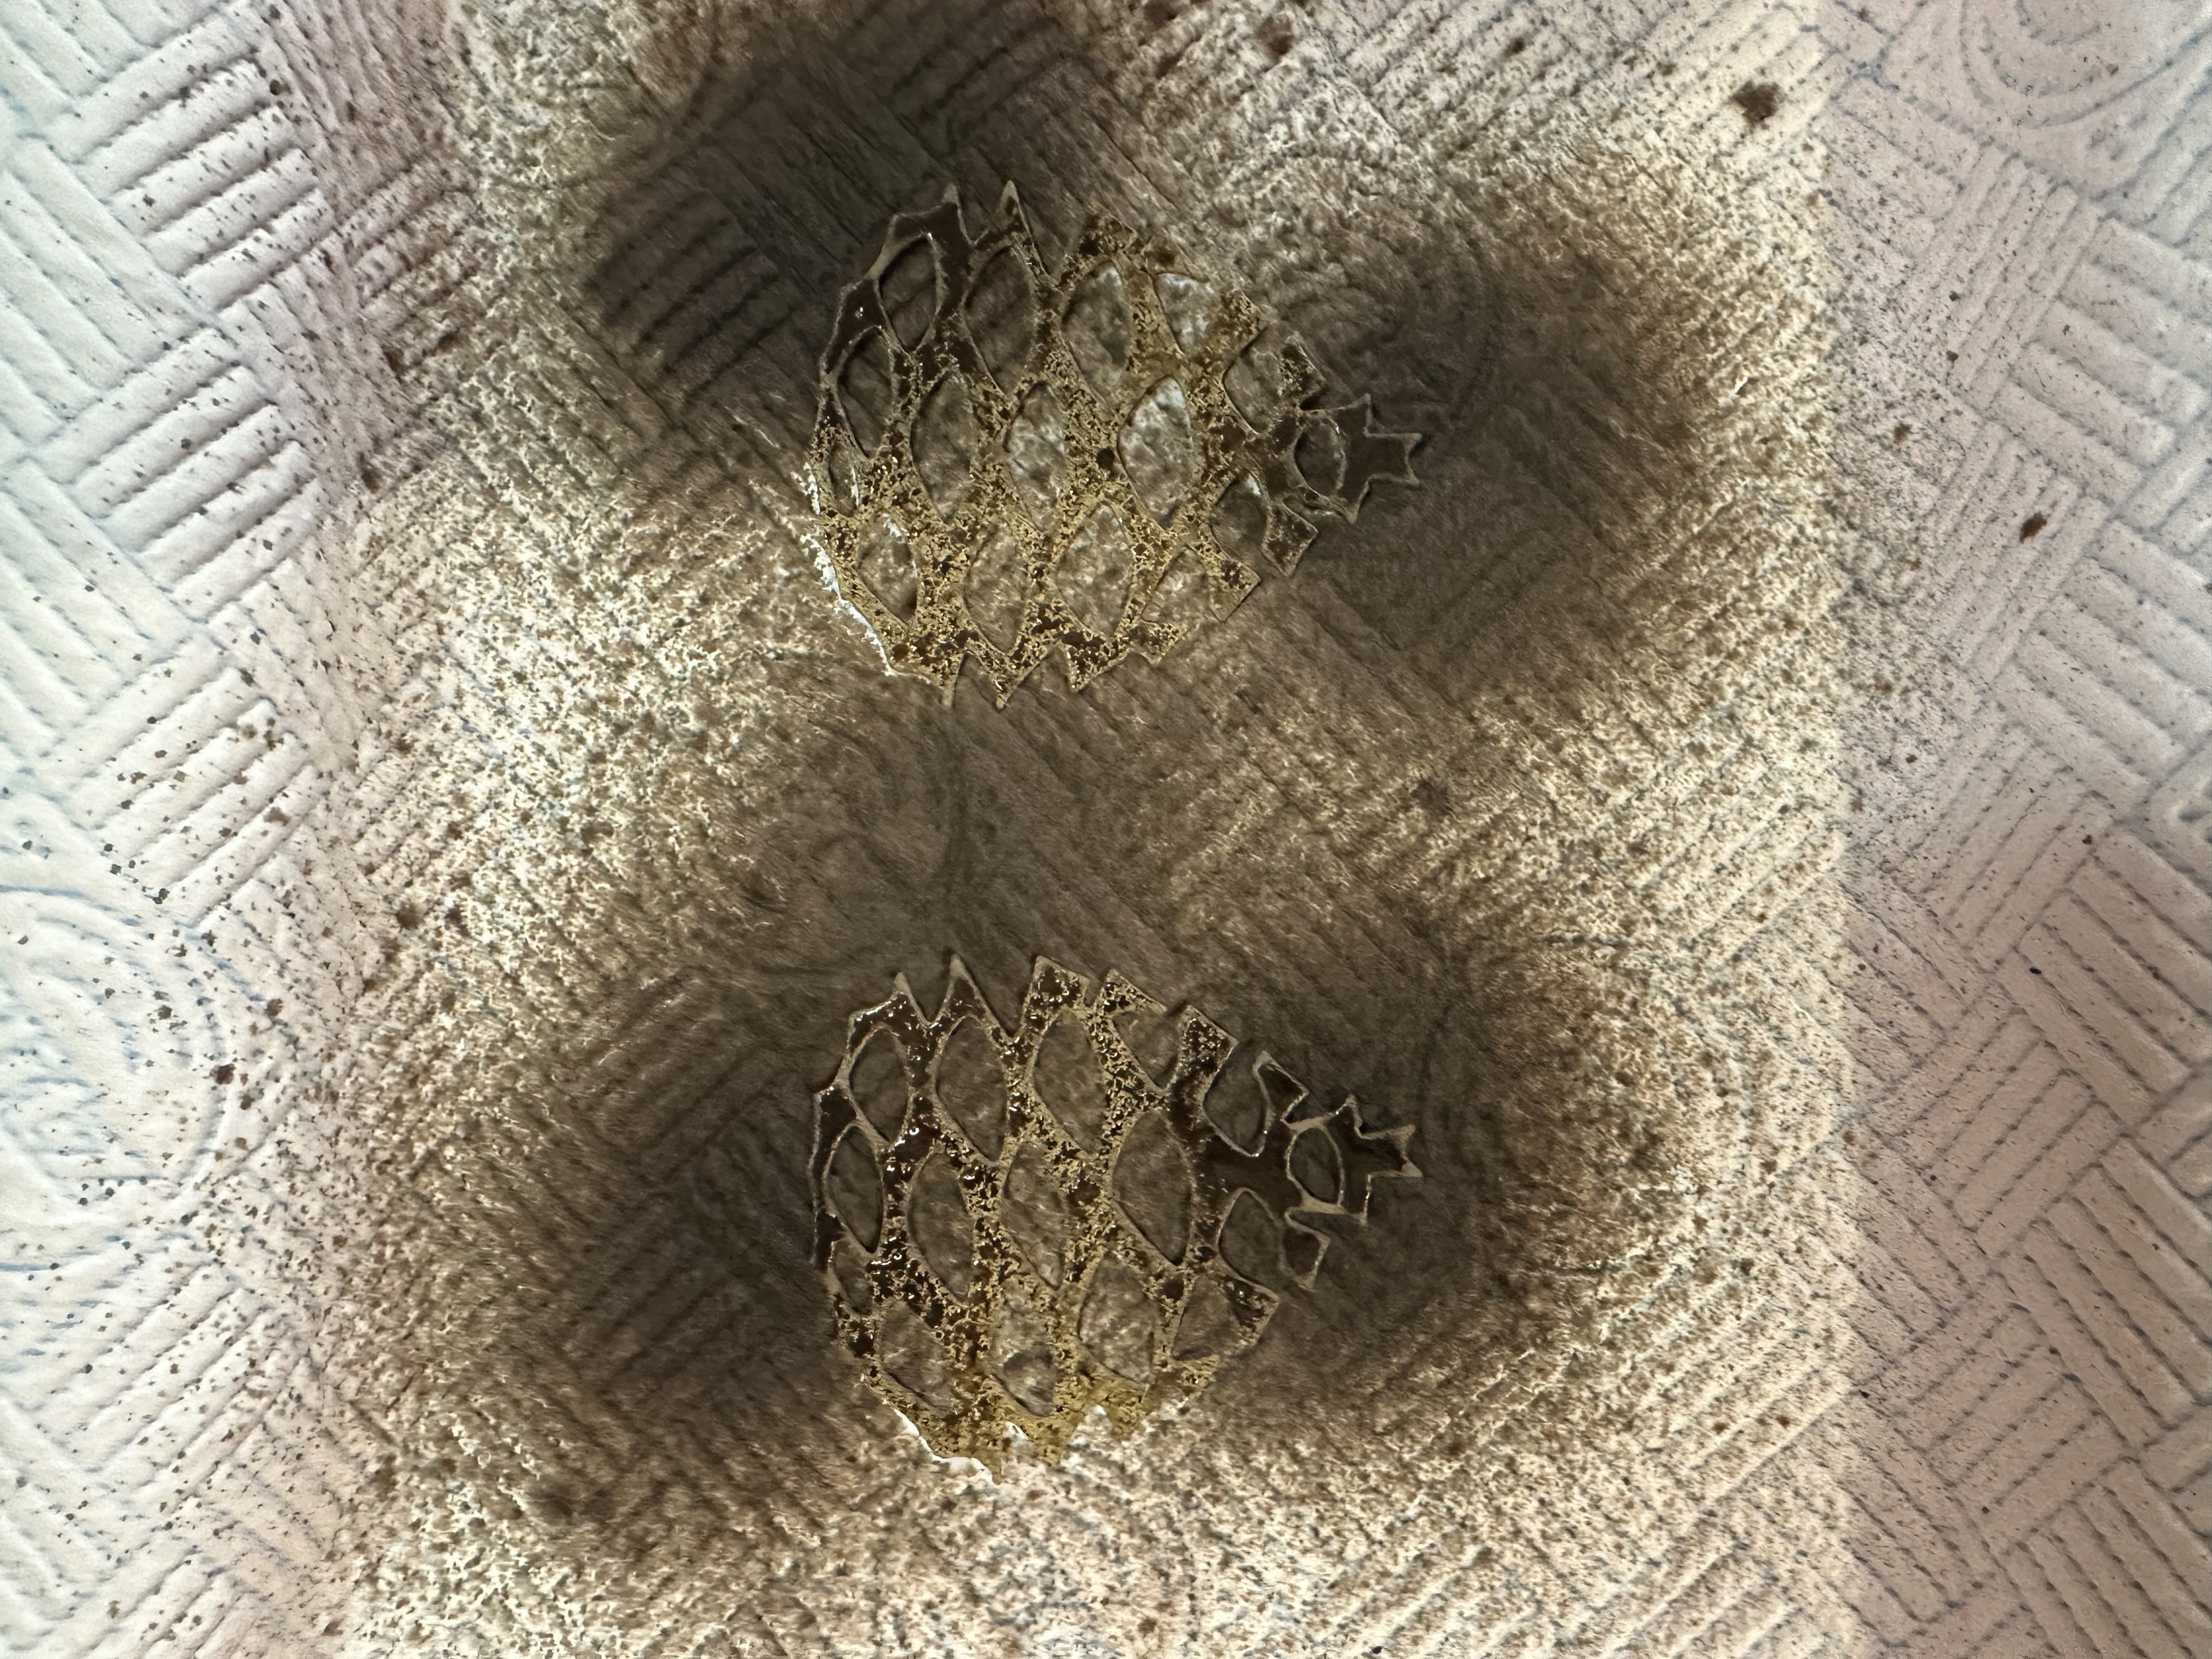
Spray the top layer of pine cone die cuts with a little water and then the Scorched Timber Distress spray. We are not looking to completely cover this layer to give a more natural look, a couple of off centre sprays per die cut is sufficient. |
|
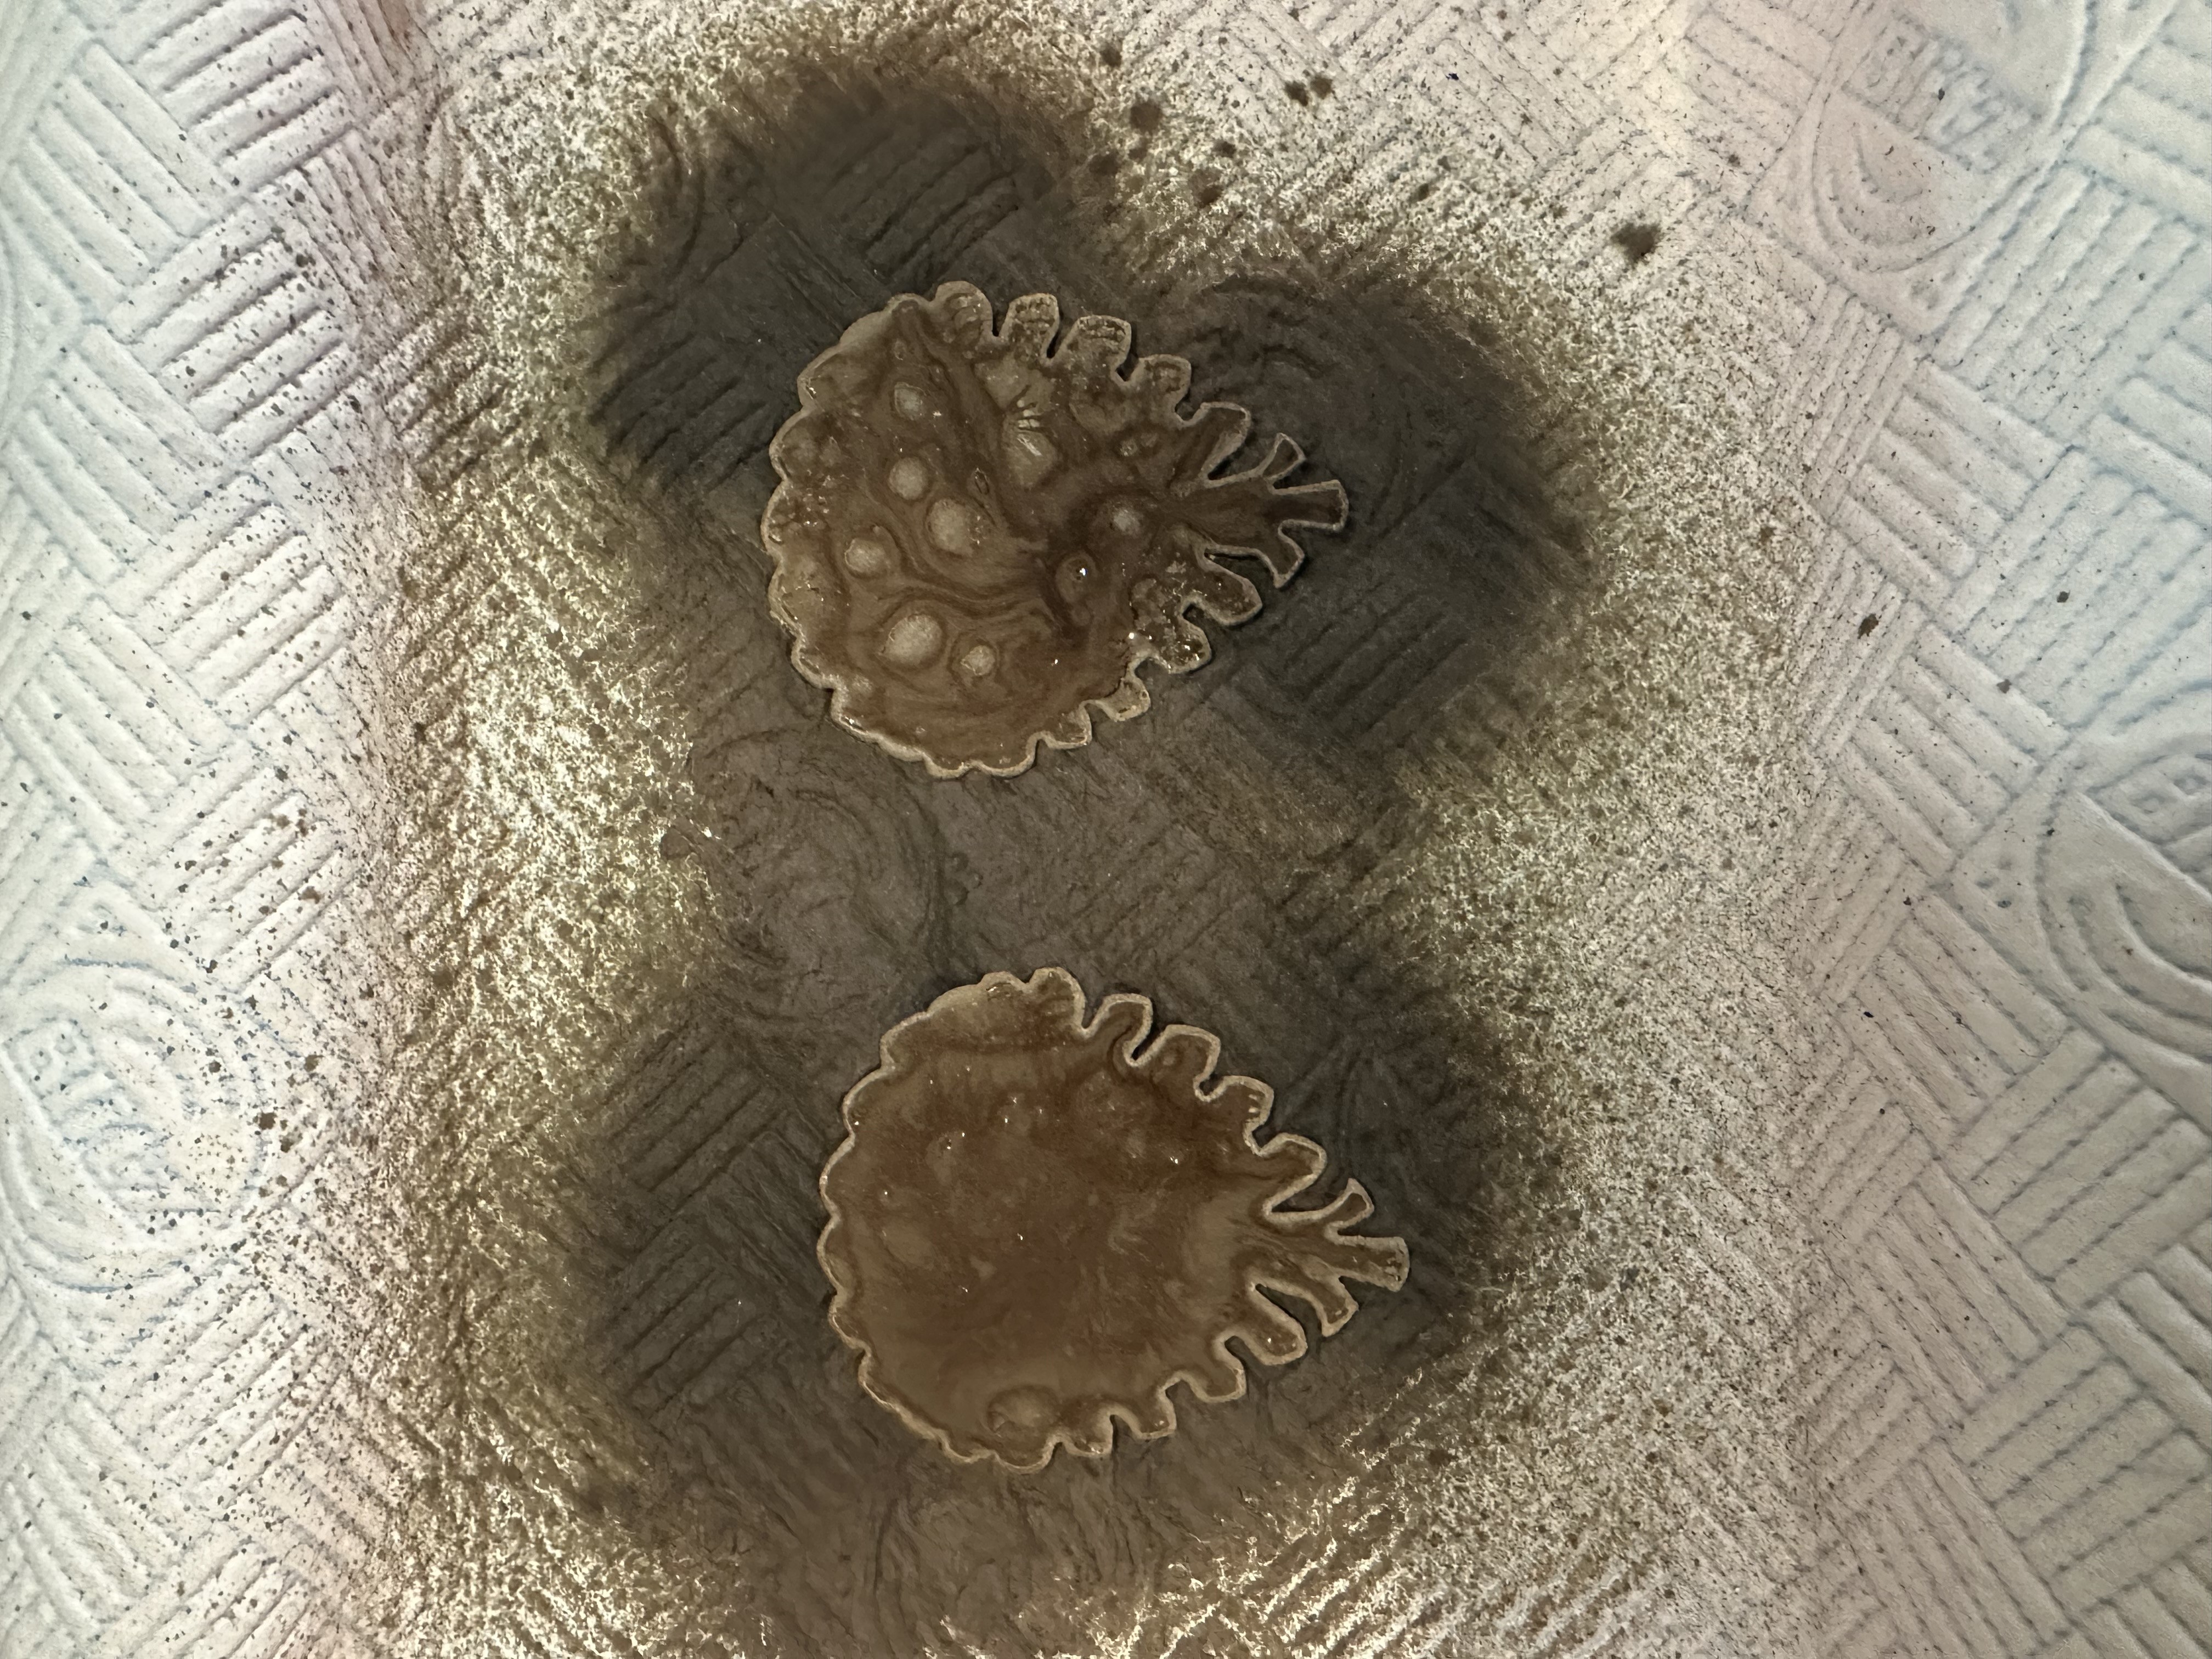
Take the bottom layer of the pinecone die cuts and spray with Scorched Timber. This time I have not sprayed water first and have completely covered the die cuts as these elements would be darker. Using the middle pieces of your die cut pinecones, gently blend the surface with Distress Oxide Walnut Stain Ink Pad. This should be the lightest layer. Repeat this on your foliage pieces. |
|
Now is the time to construct. Stick your pinecones together taking care not to glue the pieces that can be pulled through from layer two |

|
Play with the composition on your decorative paper, overlapping and rotating your pinecones and foliage before committing to glue. Once happy matt and layer onto a piece of 5 ¼ x 7 ¼ kraft card adhered to your card blank and add your sentiment. |