


Step 1 of 8
Ink up the beautiful lady, from the Imala Fashion stamp set, with the Onyx Black Versafine.
Stamp to the right hand side of the white cardstock.








Prices change straight away. Every language is our own translation, not Google.
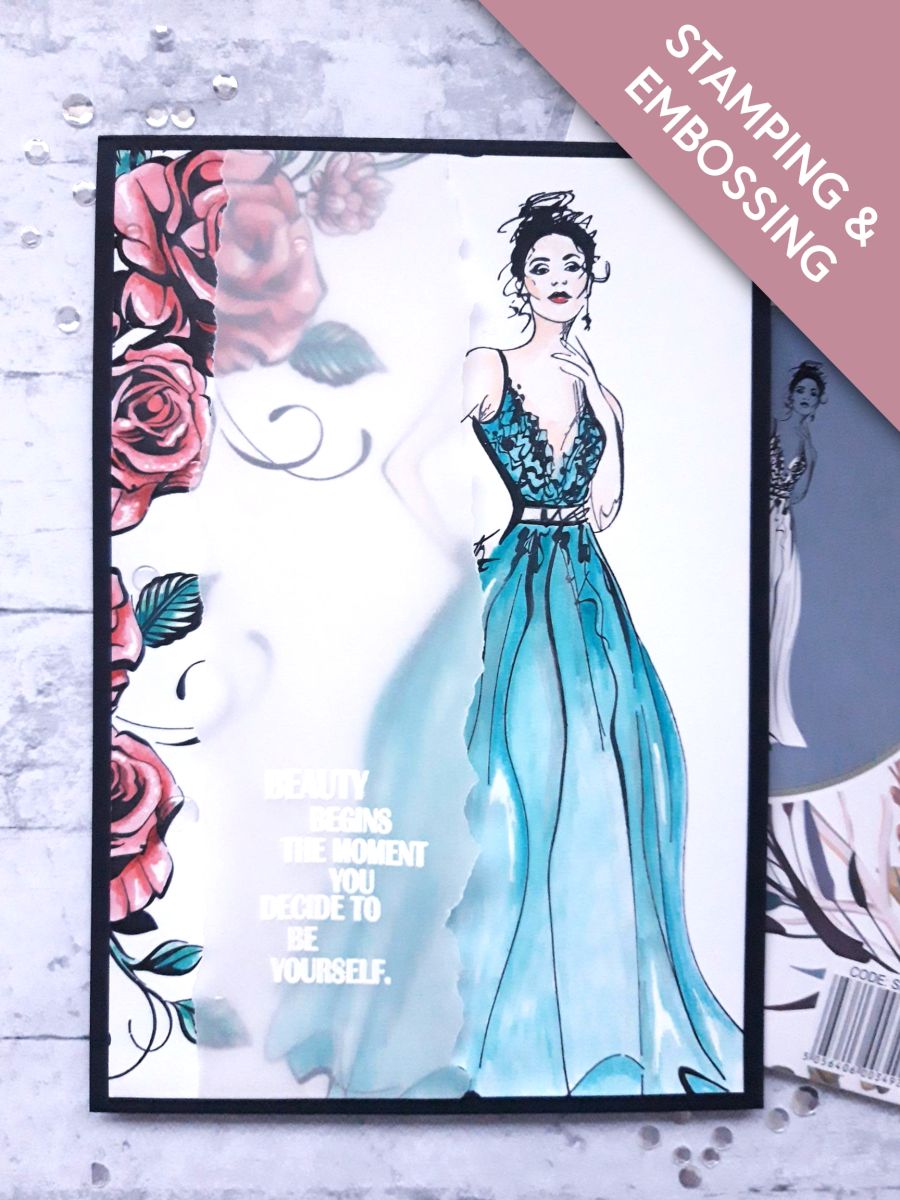
Ink up the beautiful lady, from the Imala Fashion stamp set, with the Onyx Black Versafine.
Stamp to the right hand side of the white cardstock.
Ink up the floral stamp from the Imala Rose Ornament stamp set, with the Versafine.
Stamp off the left hand edge of your card.
Paint your images using your watercolour paints.
Use your white gel pen to add accents and highlights to your images, once the paint has completely dried.
Set to one side.
Wipe over your torn vellum strip with the anti static bag, to remove any moisture or fingerprints.
Ink up the sentiment stamp, from the Be Yoursef Lamination Stamp Collection, with the Versmark sticky ink.
Stamp on to the bottom of your vellum strip. (You may want to place your vellum strip over your artwork first, to decide where you want to stamp the sentiment).
Apply the white embossing powder over your stamped sentiment, then heat set with your heat gun. Make sure you heat the gun up first, until its hot, before moving it over the vellum, and as soon as the powder starts to turn move your gun quickly. This will help to avoid the vellum warping or burning.
Place your vellum in position over your stamped artwork, securing the ends on the reverse of the card, with double sided tape.
Adhere your artwork on to the front of your black top folding card blank.
To finish, adhere clear, adhesive gems, where required.
Share your make with the Stamps By Me community - and keep this guide for next time.
Prefer the previous layout? Open the old page.



