Give your friends $10 off their first order!
Refer a FRIEND


WHAT YOU WILL NEED
Cream Card blank 6 x 8"
Kraft cardstock
Southern Magnolia Floral Dimensions
Foliage Adornments Die Collection
Dotty Framework Die Collection
Spring Bloom Paper Pad
Radiant Rose Stencil & Die Collection
Distress ink/Oxide Ink Pad: Walnut Stain, Frayed Burlap
Twine
Stickles/glitter
Eureka 101 Watercolour Tablet
SBM A3 Magnetic glass mat
Paper Trimmer
Glue
Foam pads/3D silicon gel glue
Die Cutting machine
[click image to enlarge] 
|
Place the coordinating dies over the printed floral sheets and run through your machine. If you find the dies do not line up properly, turn the paper over! You can die-cut out as many sheets as you want depending on how many flowers you want, what size flowers etc and pop any you don't use in a tub for another day. I decided to grunge my petals up with the Distress inks but you can leave yours if you prefer. |

|
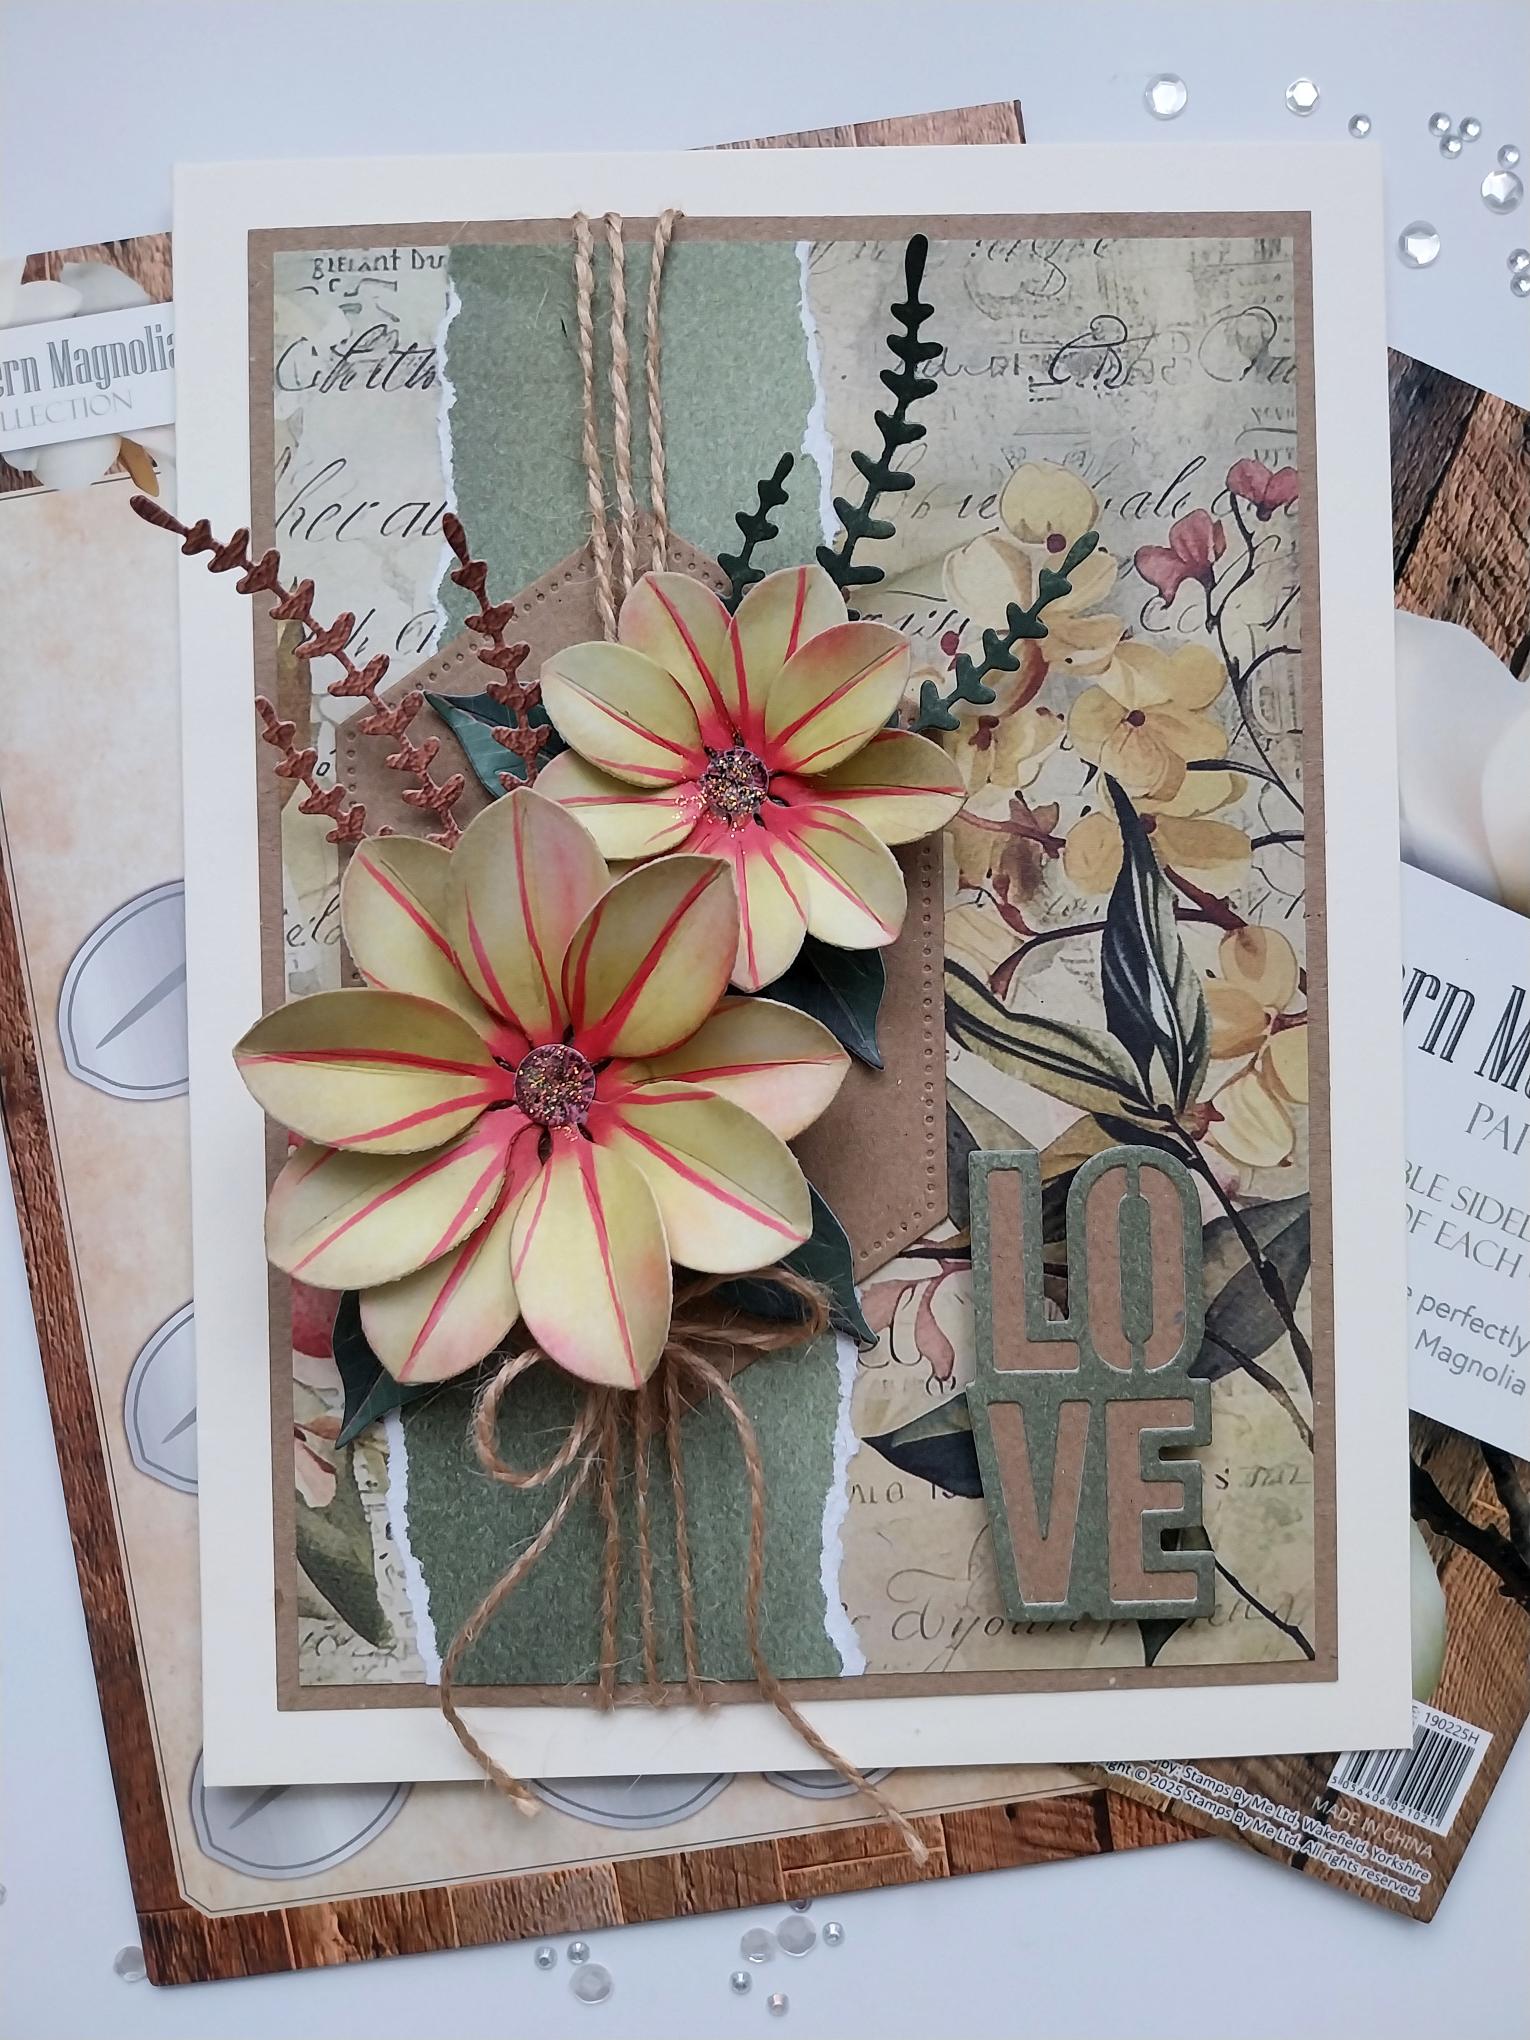
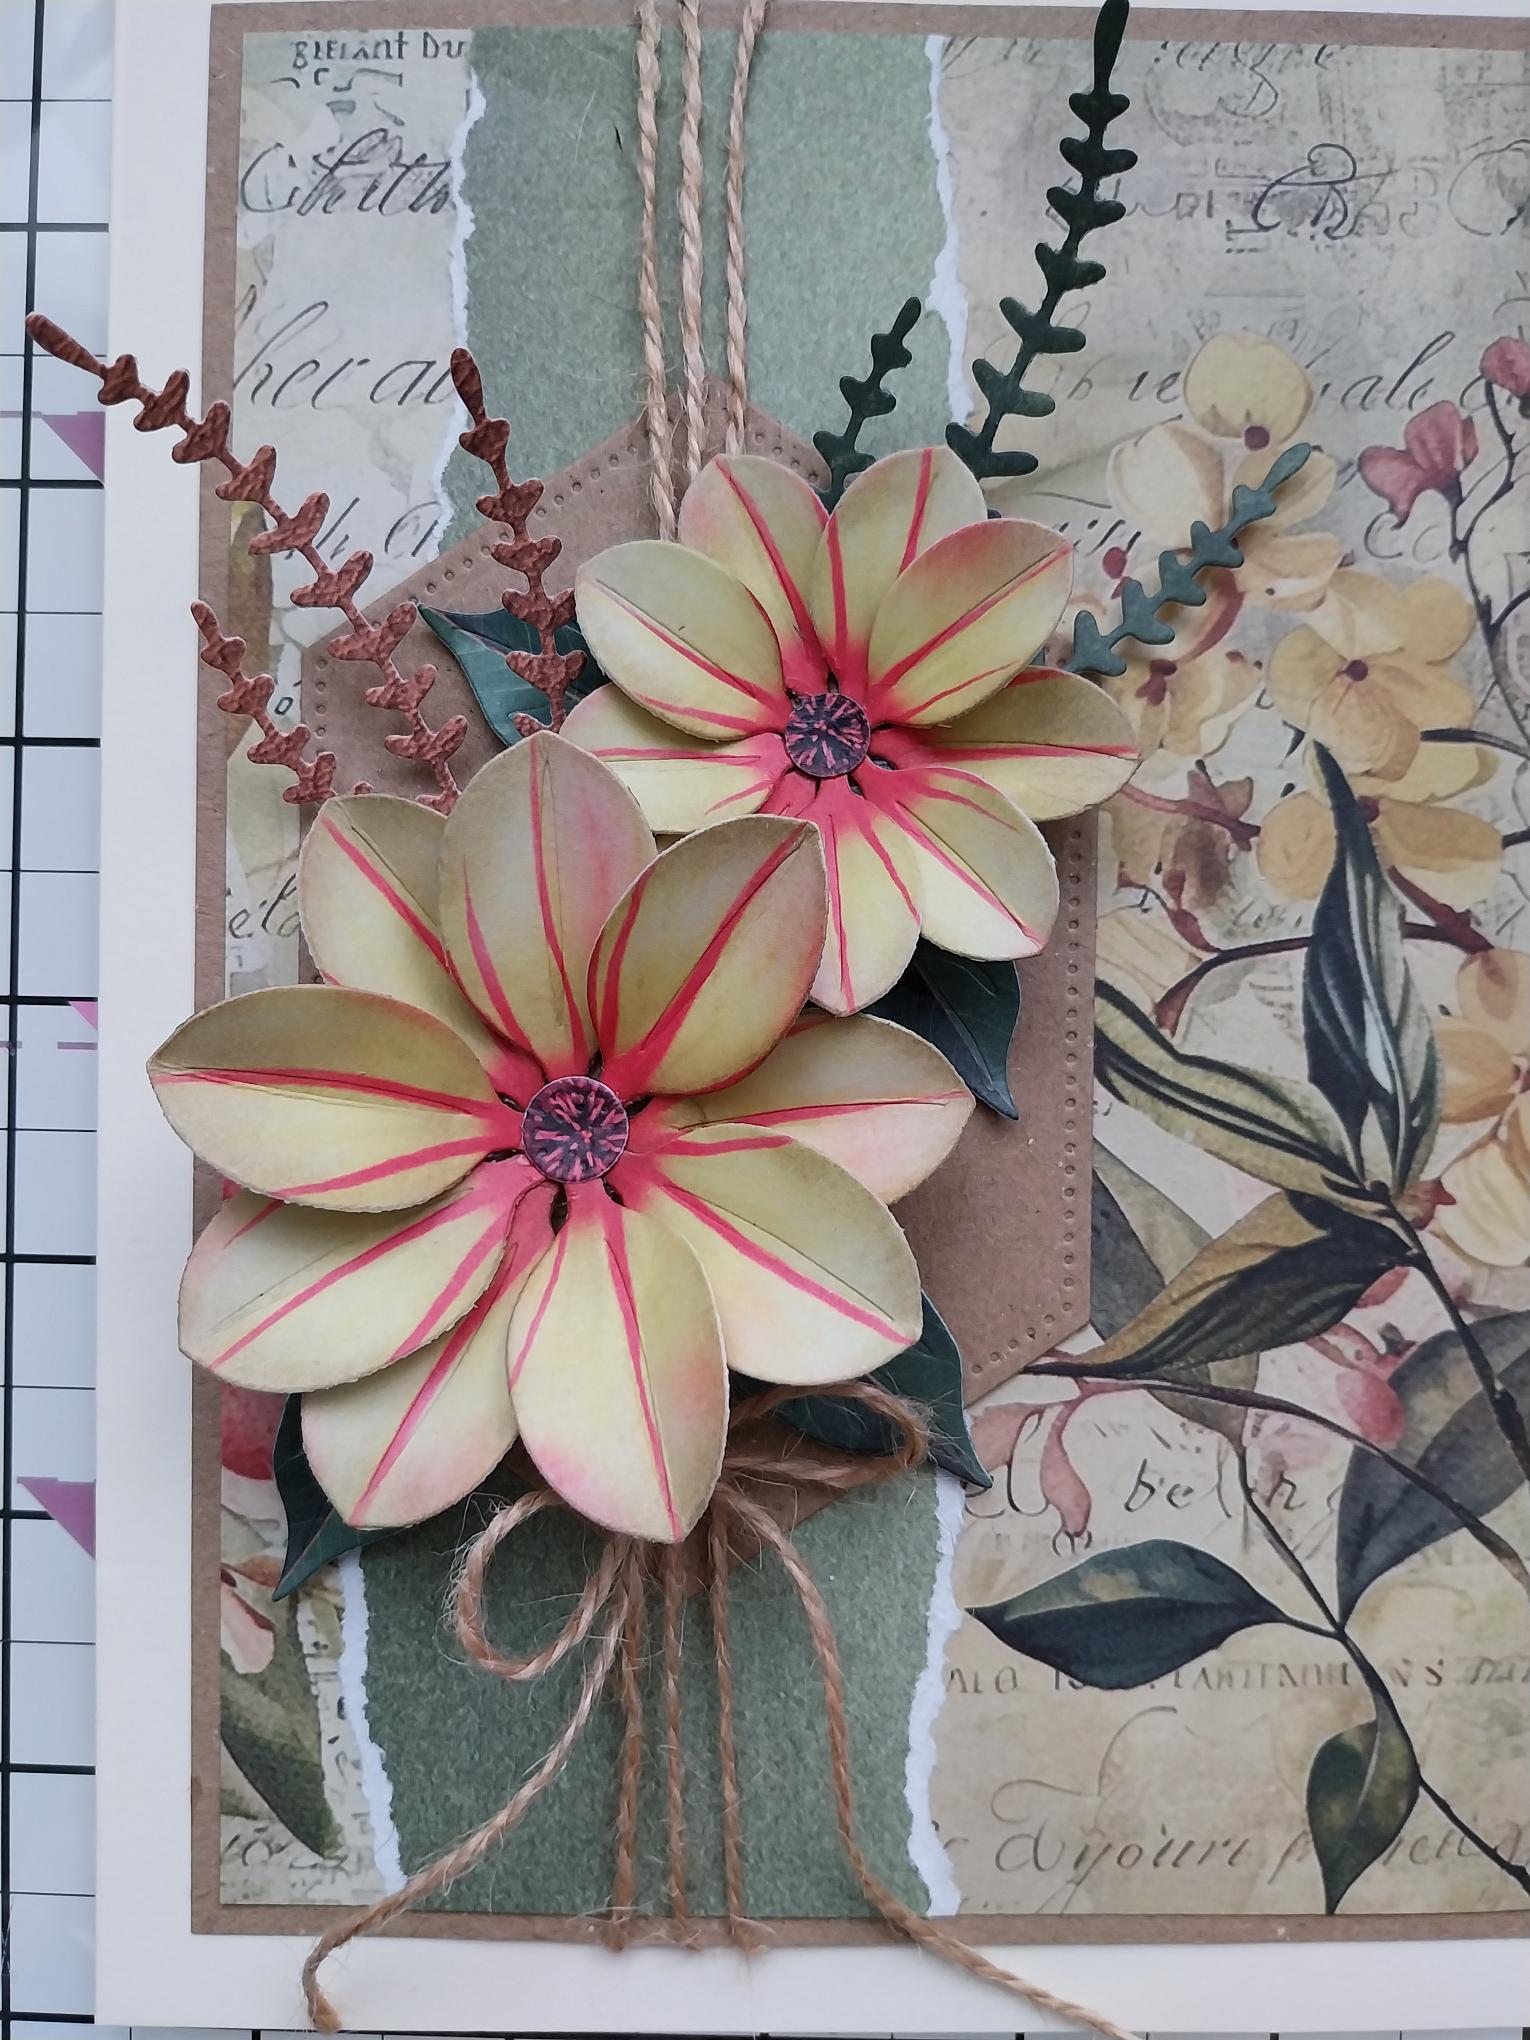
Mould the leaves and petals and adhere together to create two 3D Magnolias. |
|
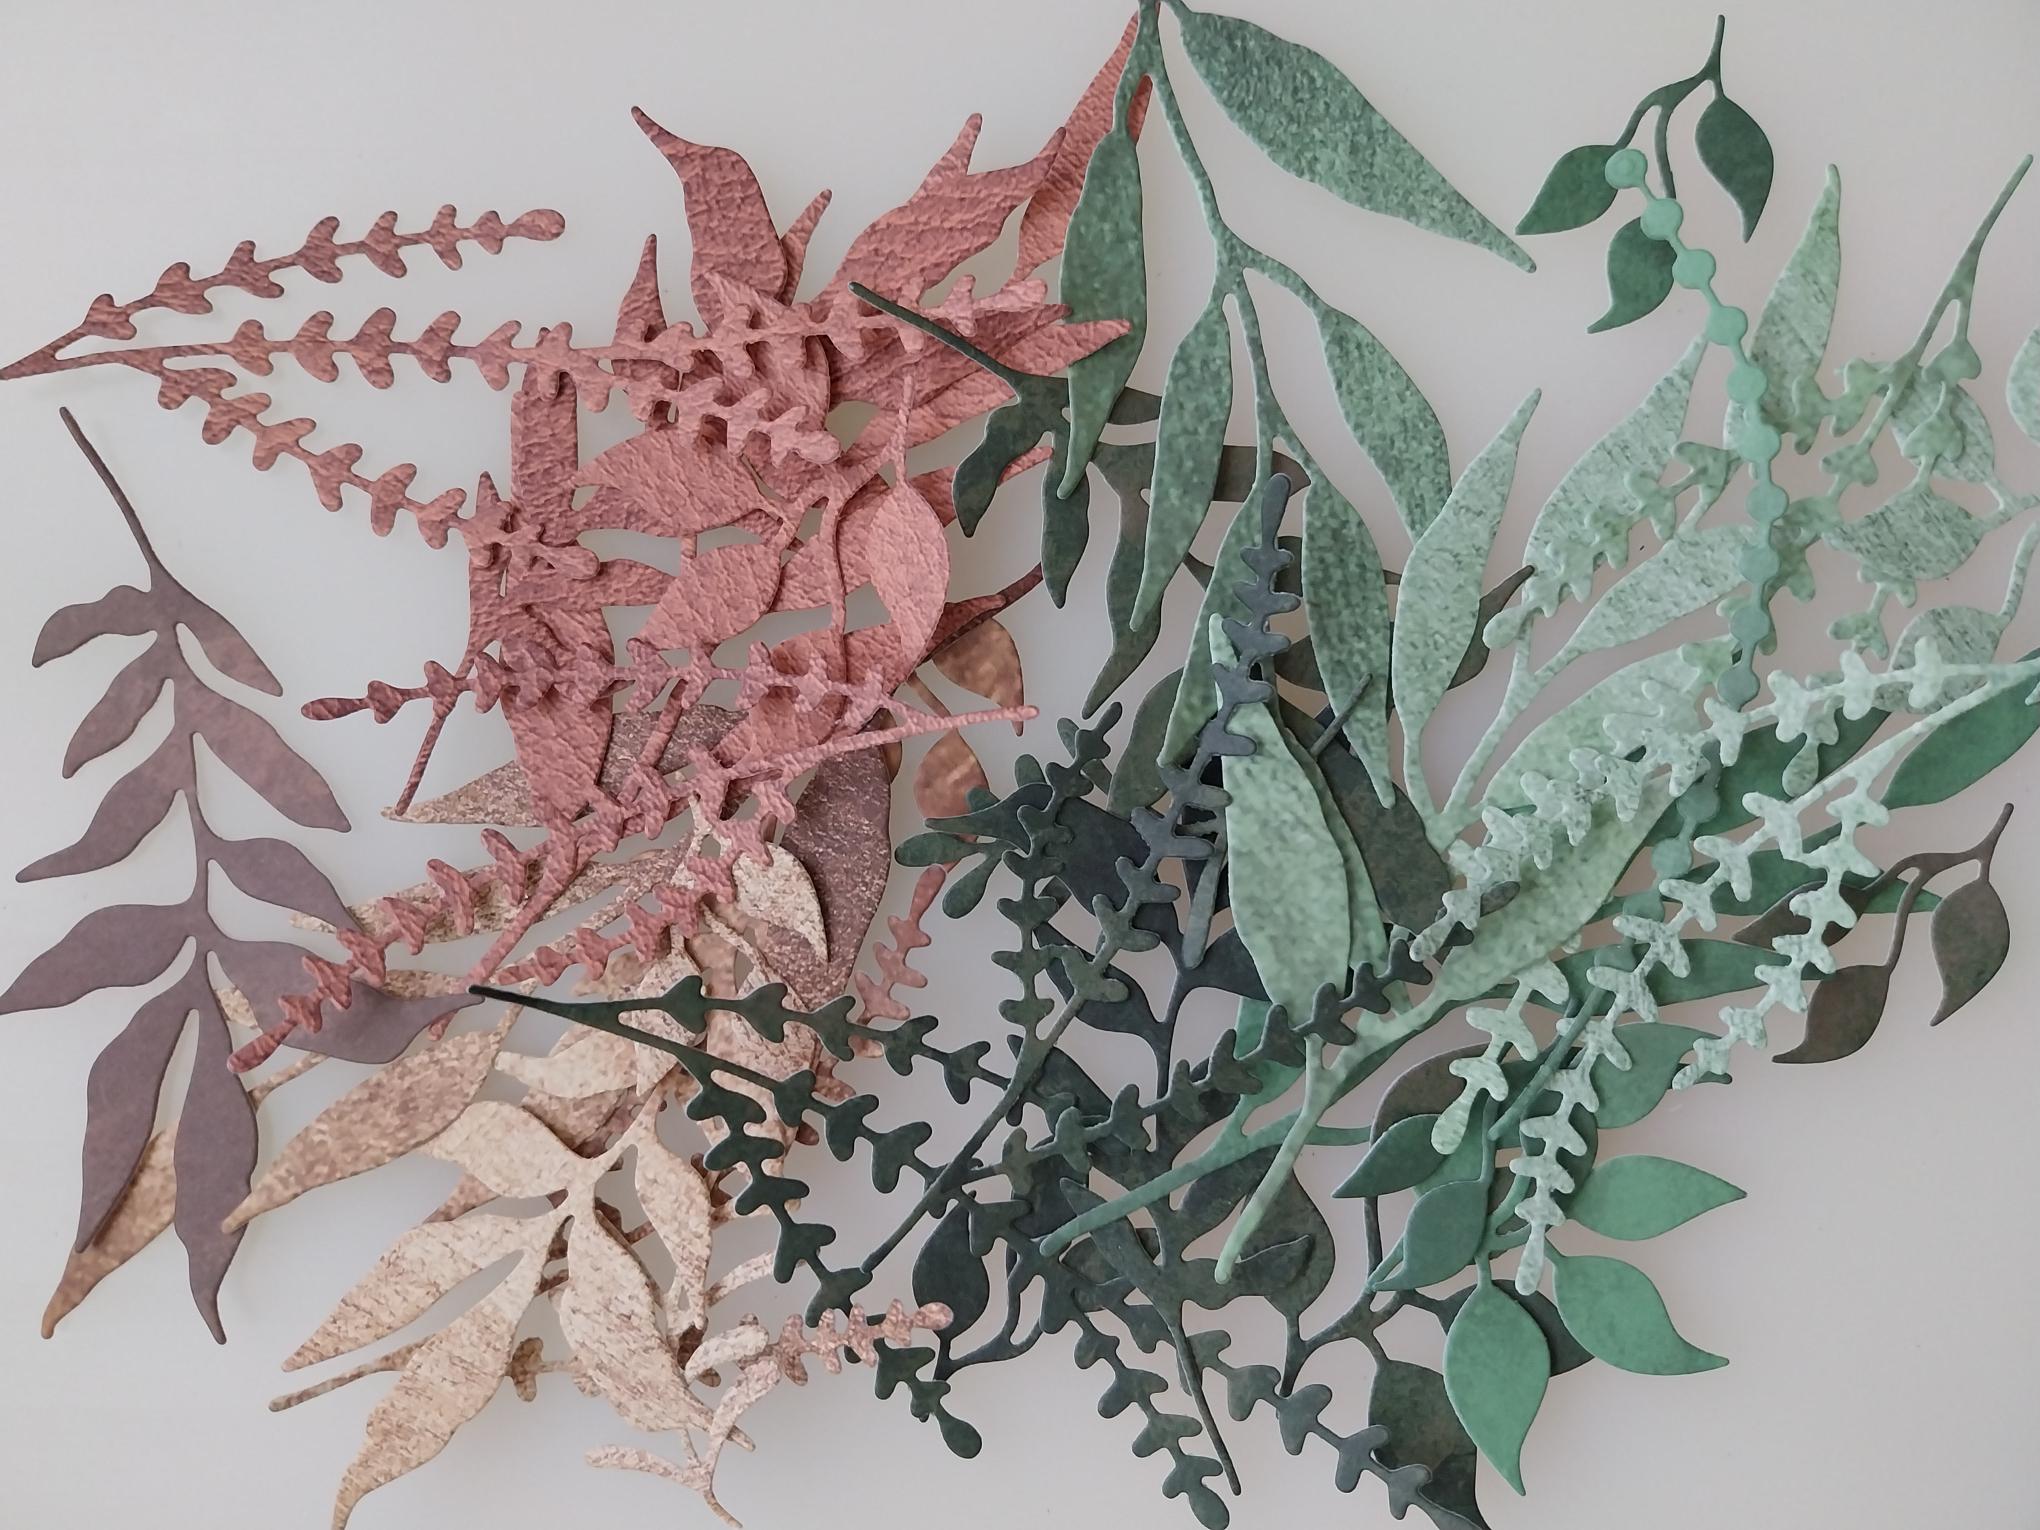
Die-cut the Foliage Adornments from coordinating papers in your crafty stash. I decided to die-cut lots in different colours, papers, effects and pop them all in a tub for future use!! |
|
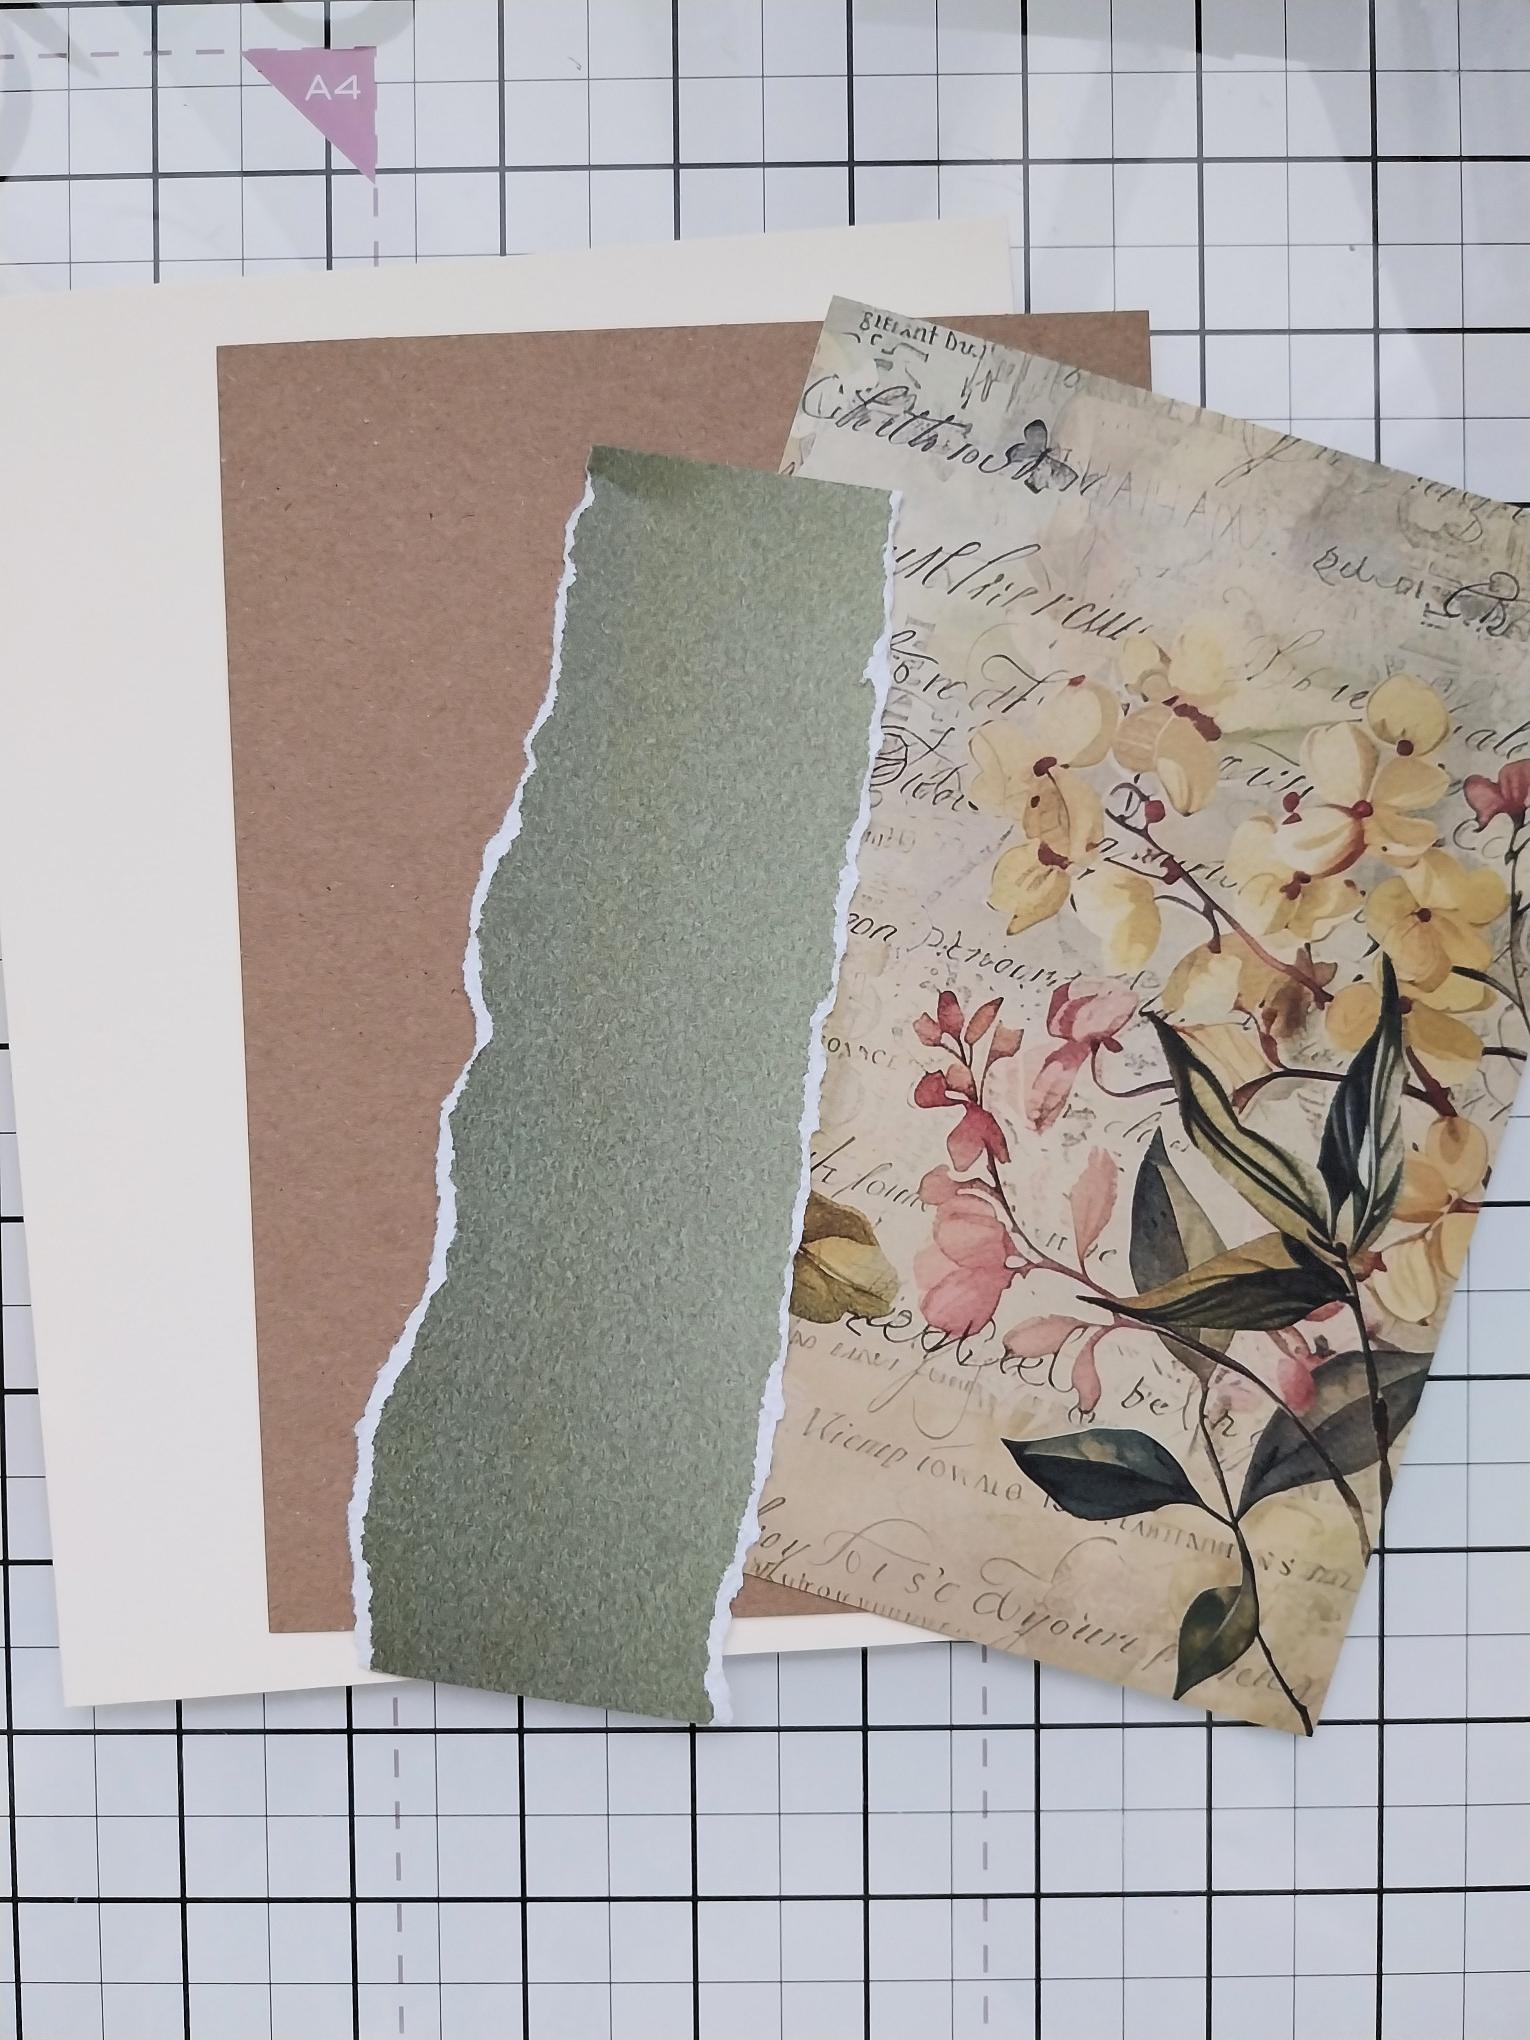
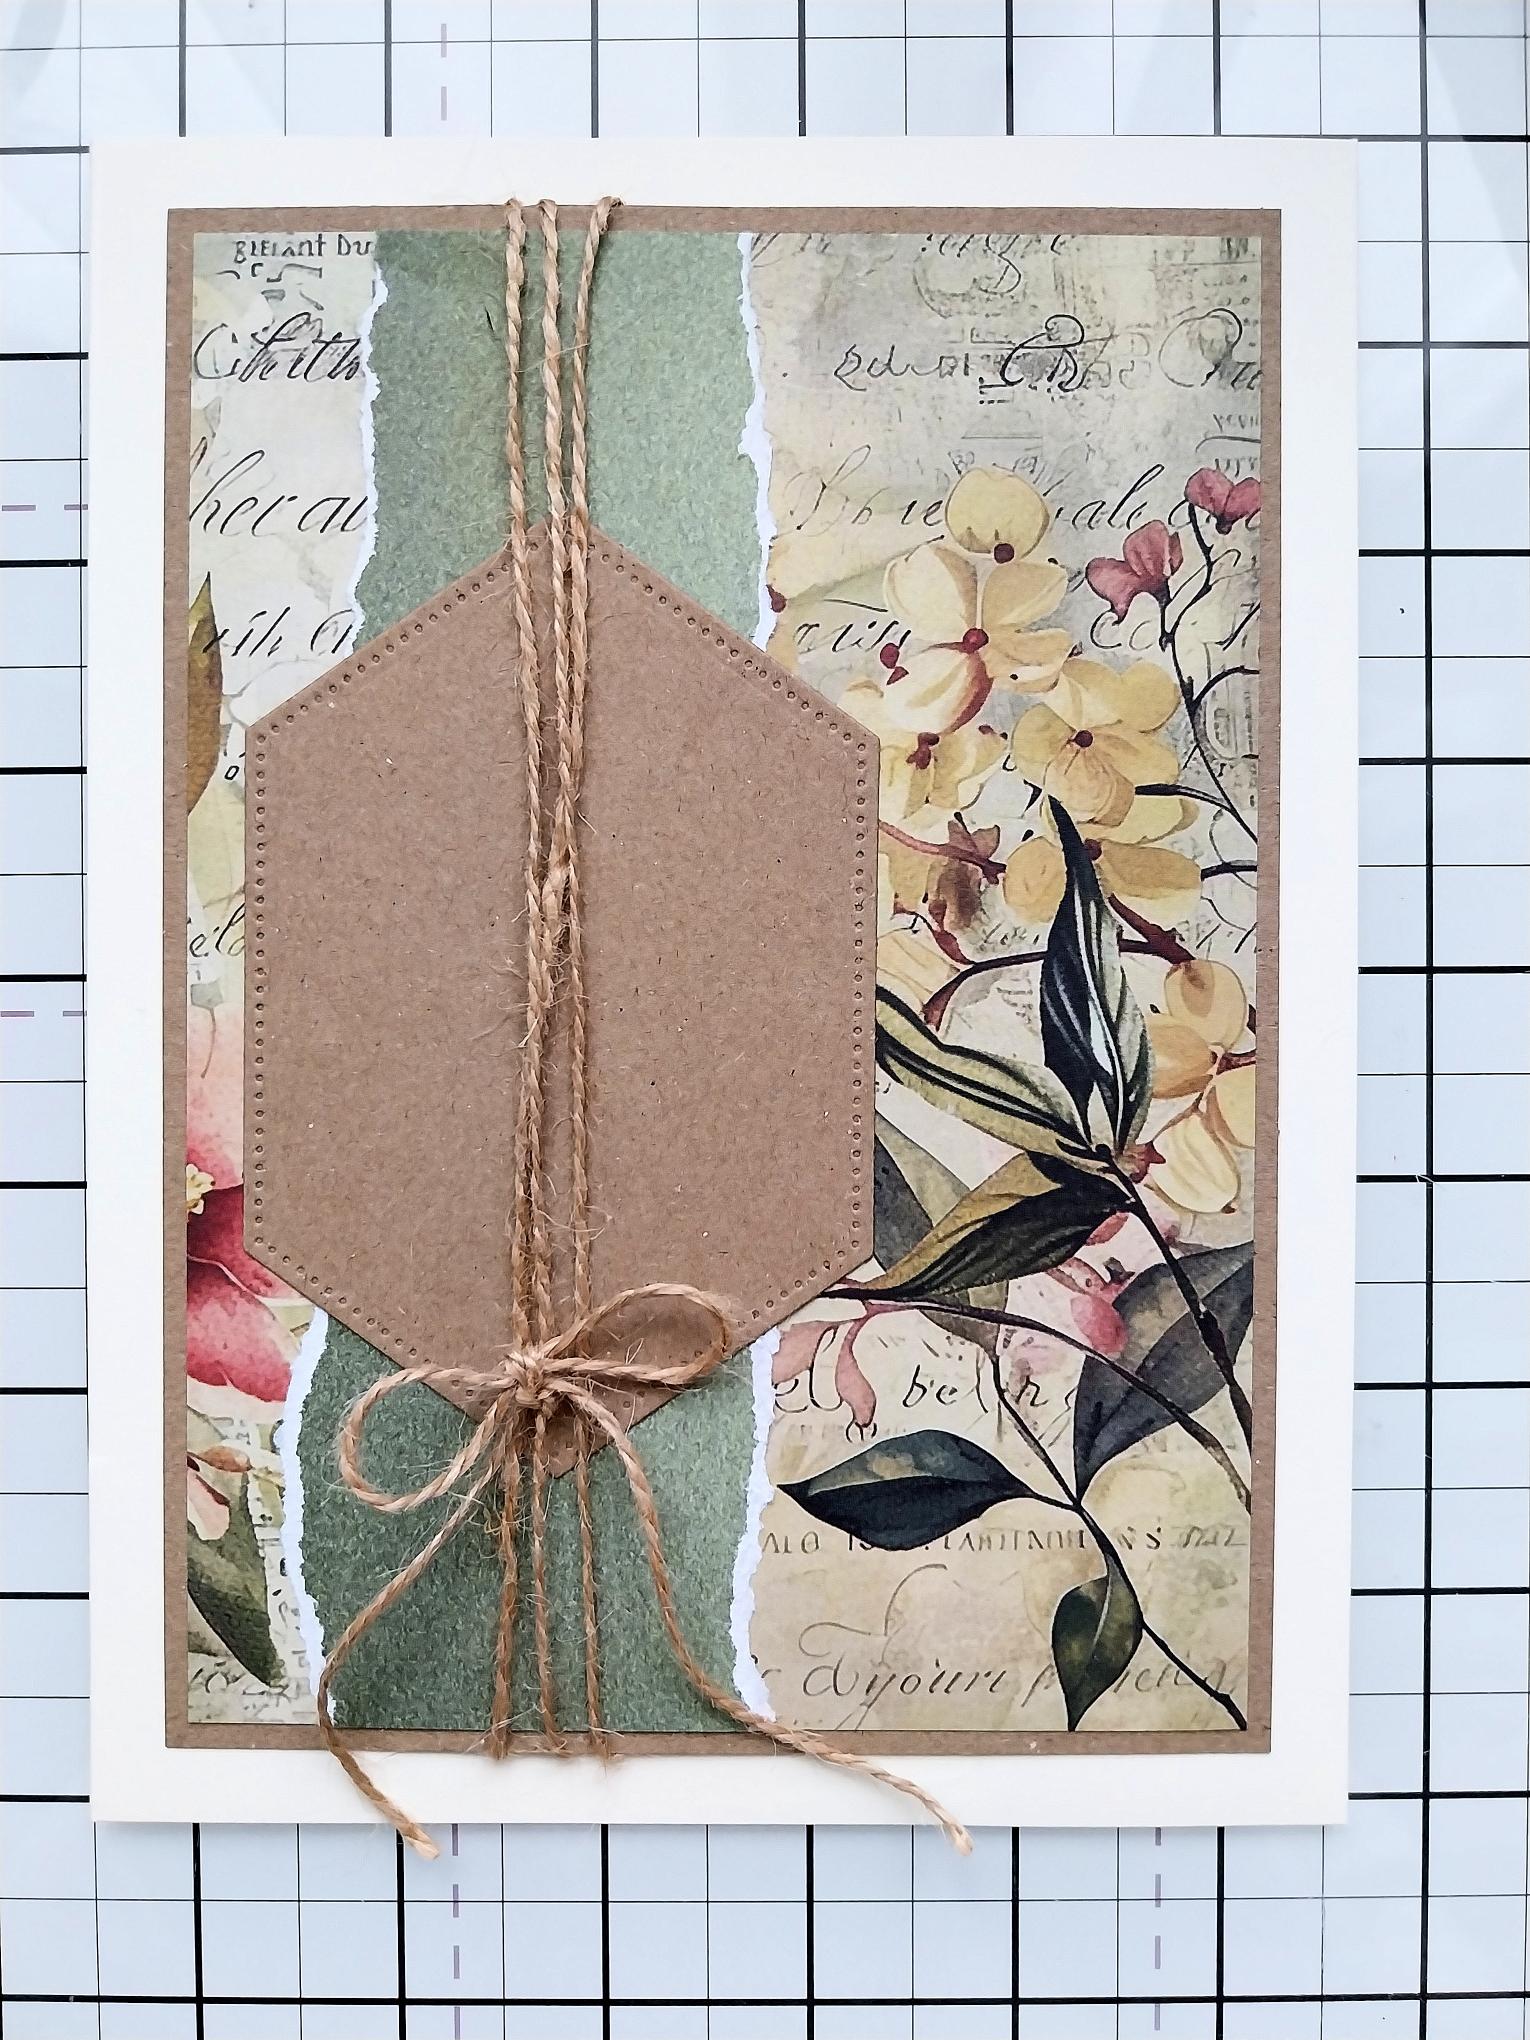
You will need a cream card blank 6 x 8", kraft card cut to 5 1/4 x 7 1/4" and your chosen decorative paper from Spring Blooms, trimmed to 5 x 7". Also tear a solid, cordinating panel from the Spring Blooms, 7" in height and your required width. |
|
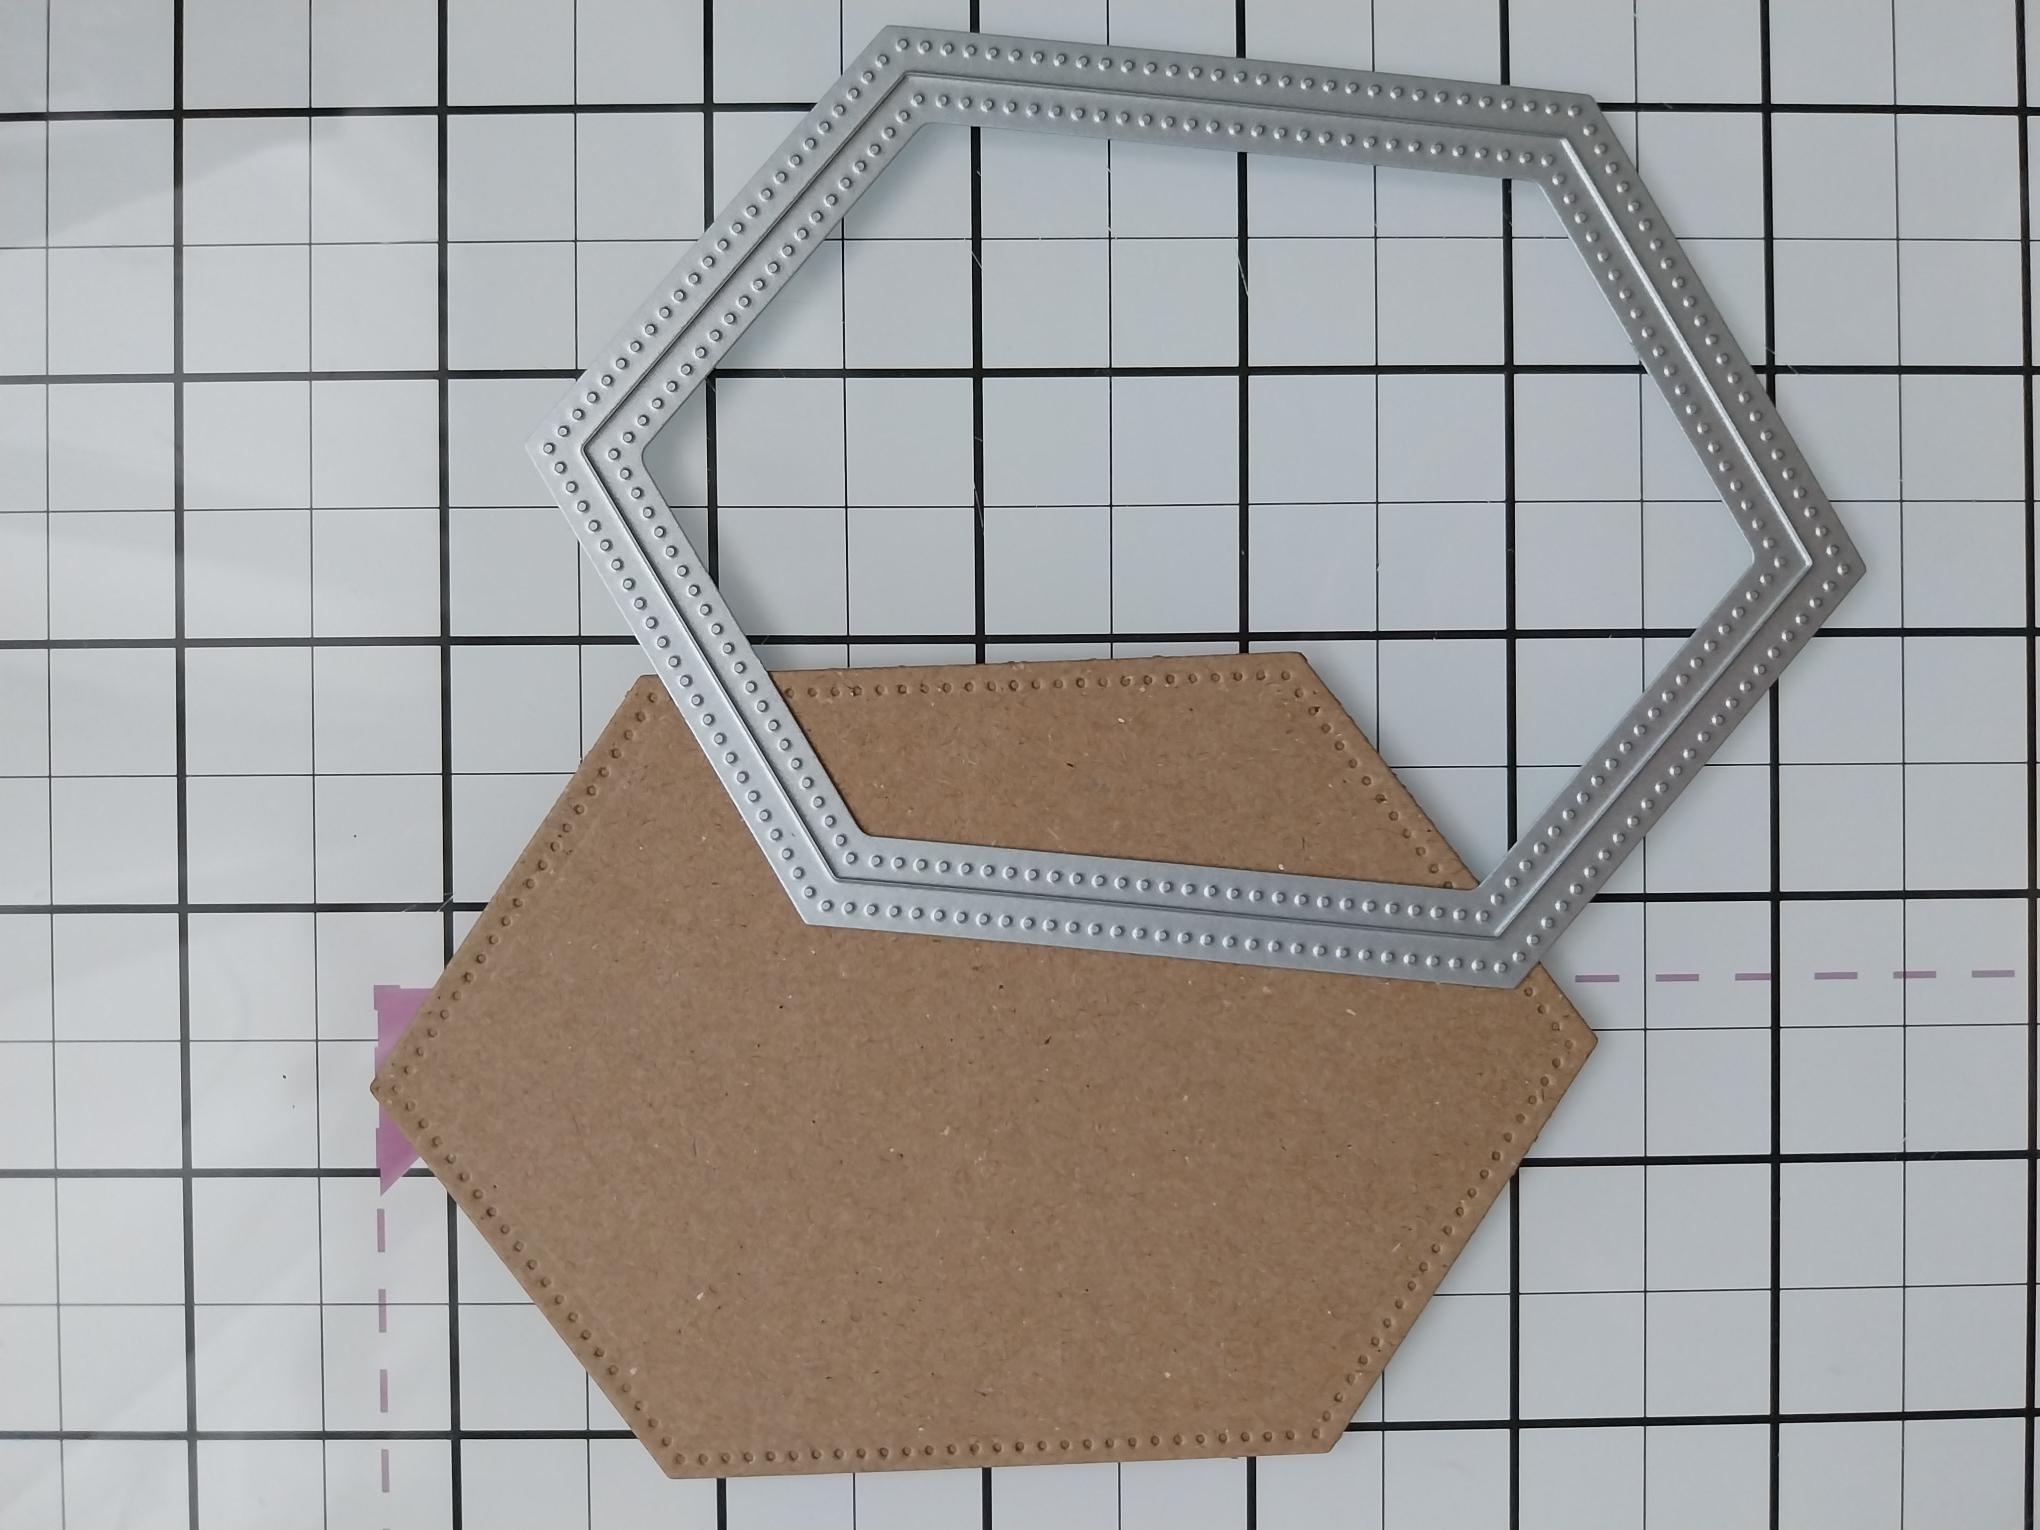
Die cut a mat from kraft card, using the Dotty framework nesting dies. |
|
Adhere the patterned paper onto the kraft card and the torn paper panel down the left side. Adhere the die-cut panel down the centre of the torn panel and then wrap twine around your artwork and secure in a bow at the base of the kraft panel. Adhere to your cream card blank. |
|
Use foam pads or 3D glue gel to create and adhere your floral 3D display onto the panel, allowing the twine bow to peek out from below. |
|
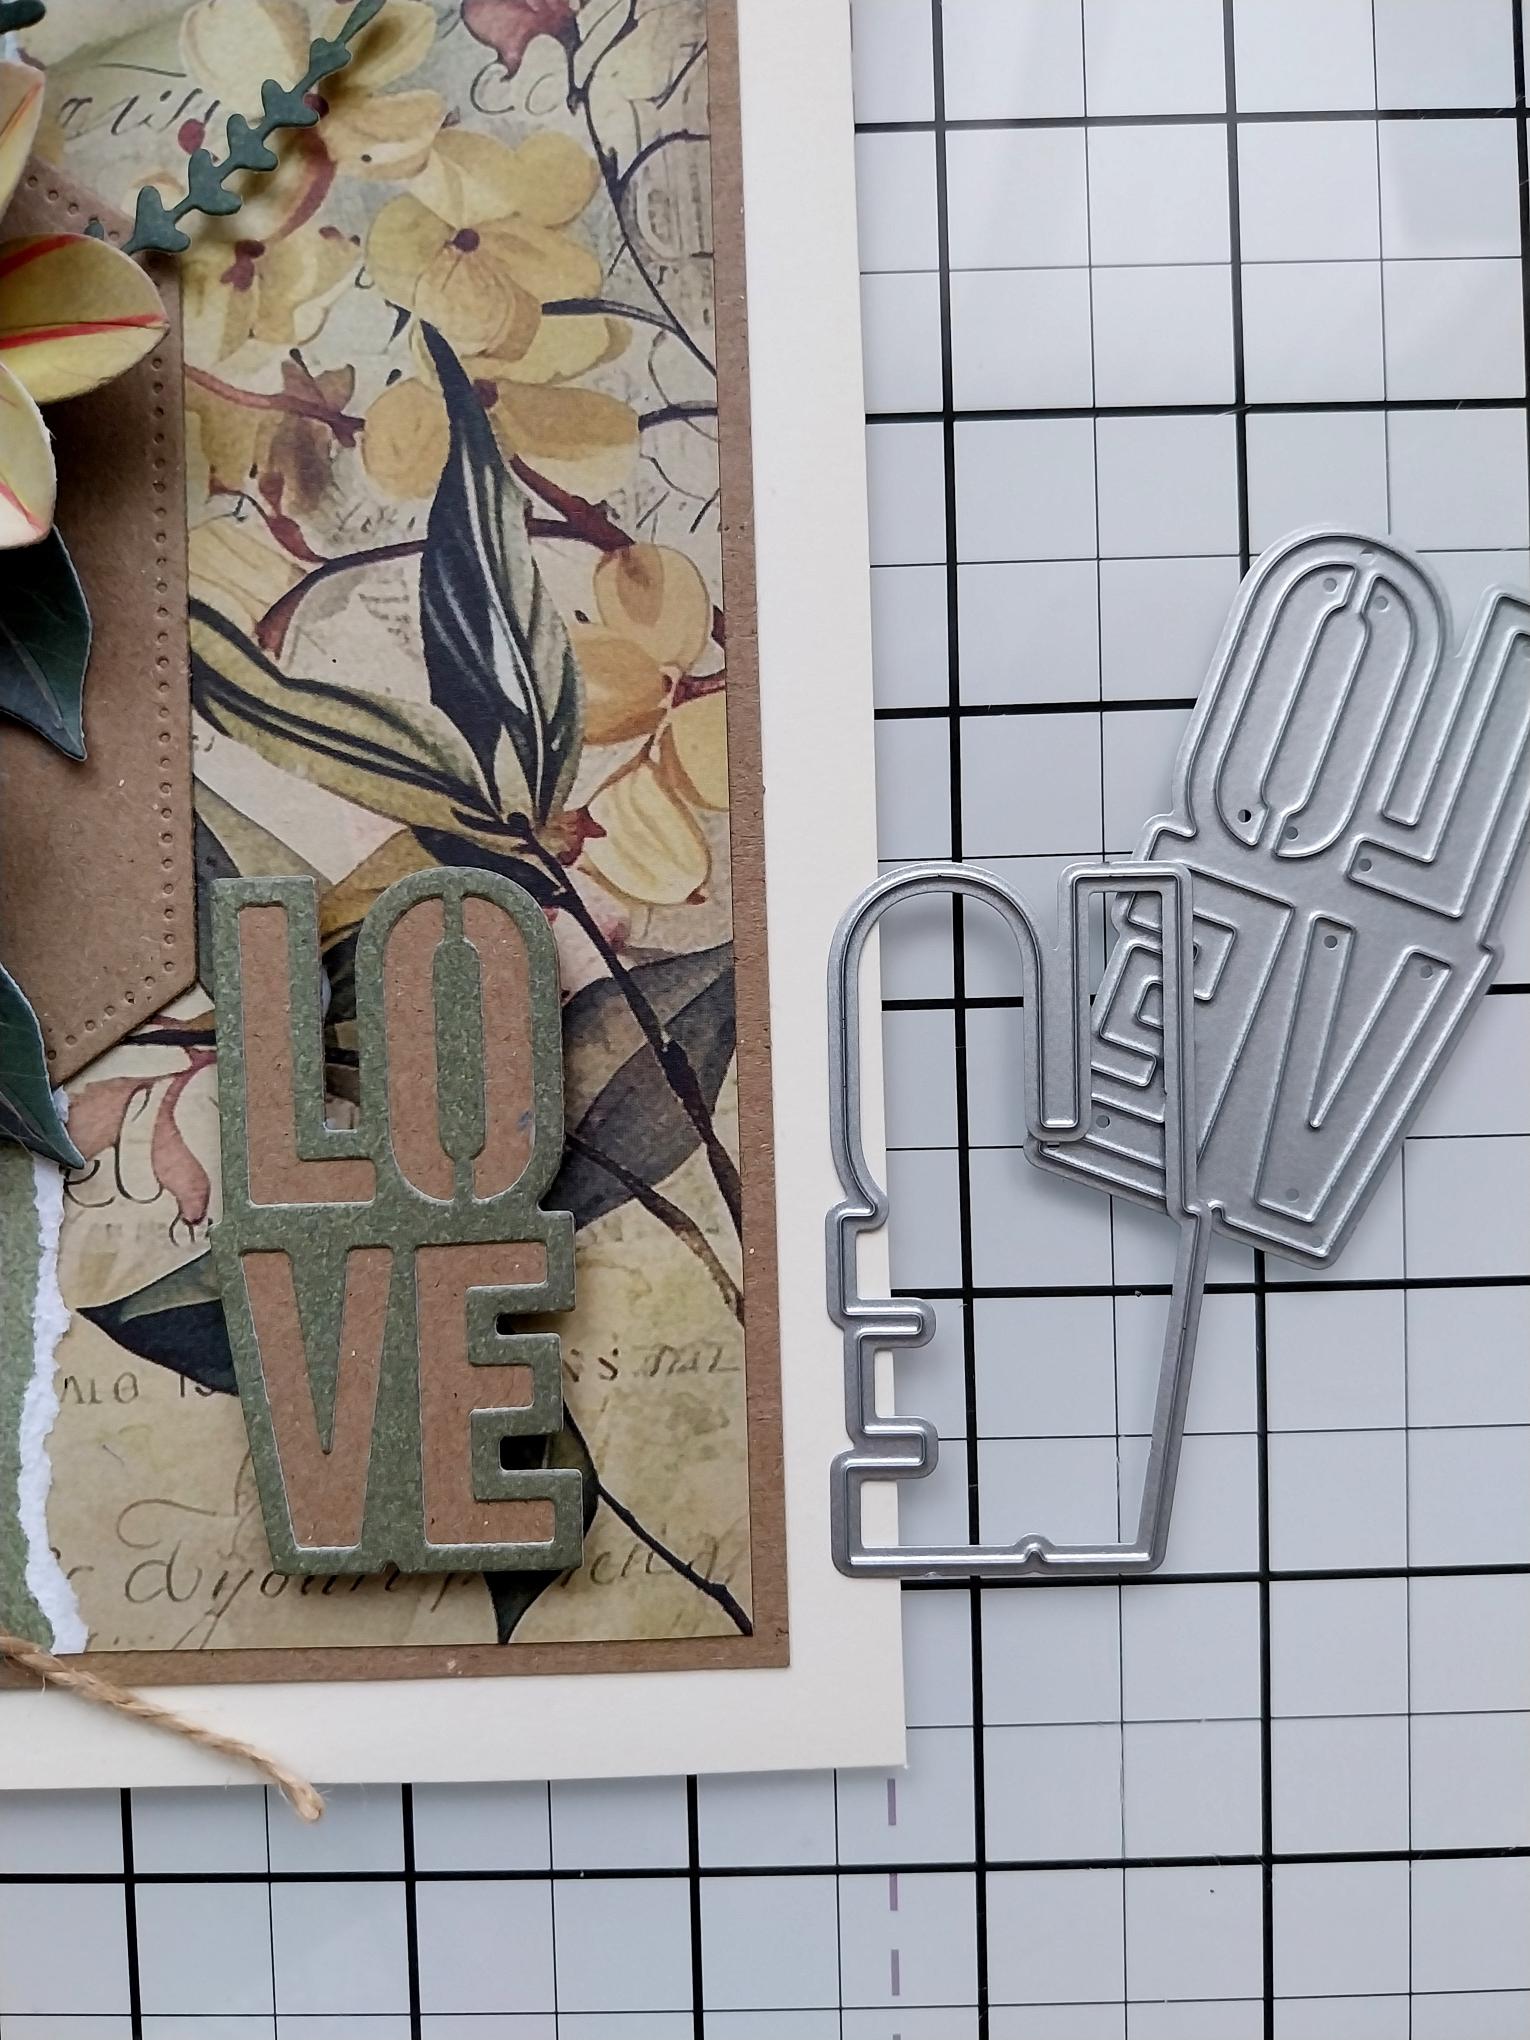
Die-cut the LOVE from the Radiant Rose Collection, from kraft card and the coordinating plain paper you used for the torn panel. Adhere together and secure to the bottom right of your card. |
|
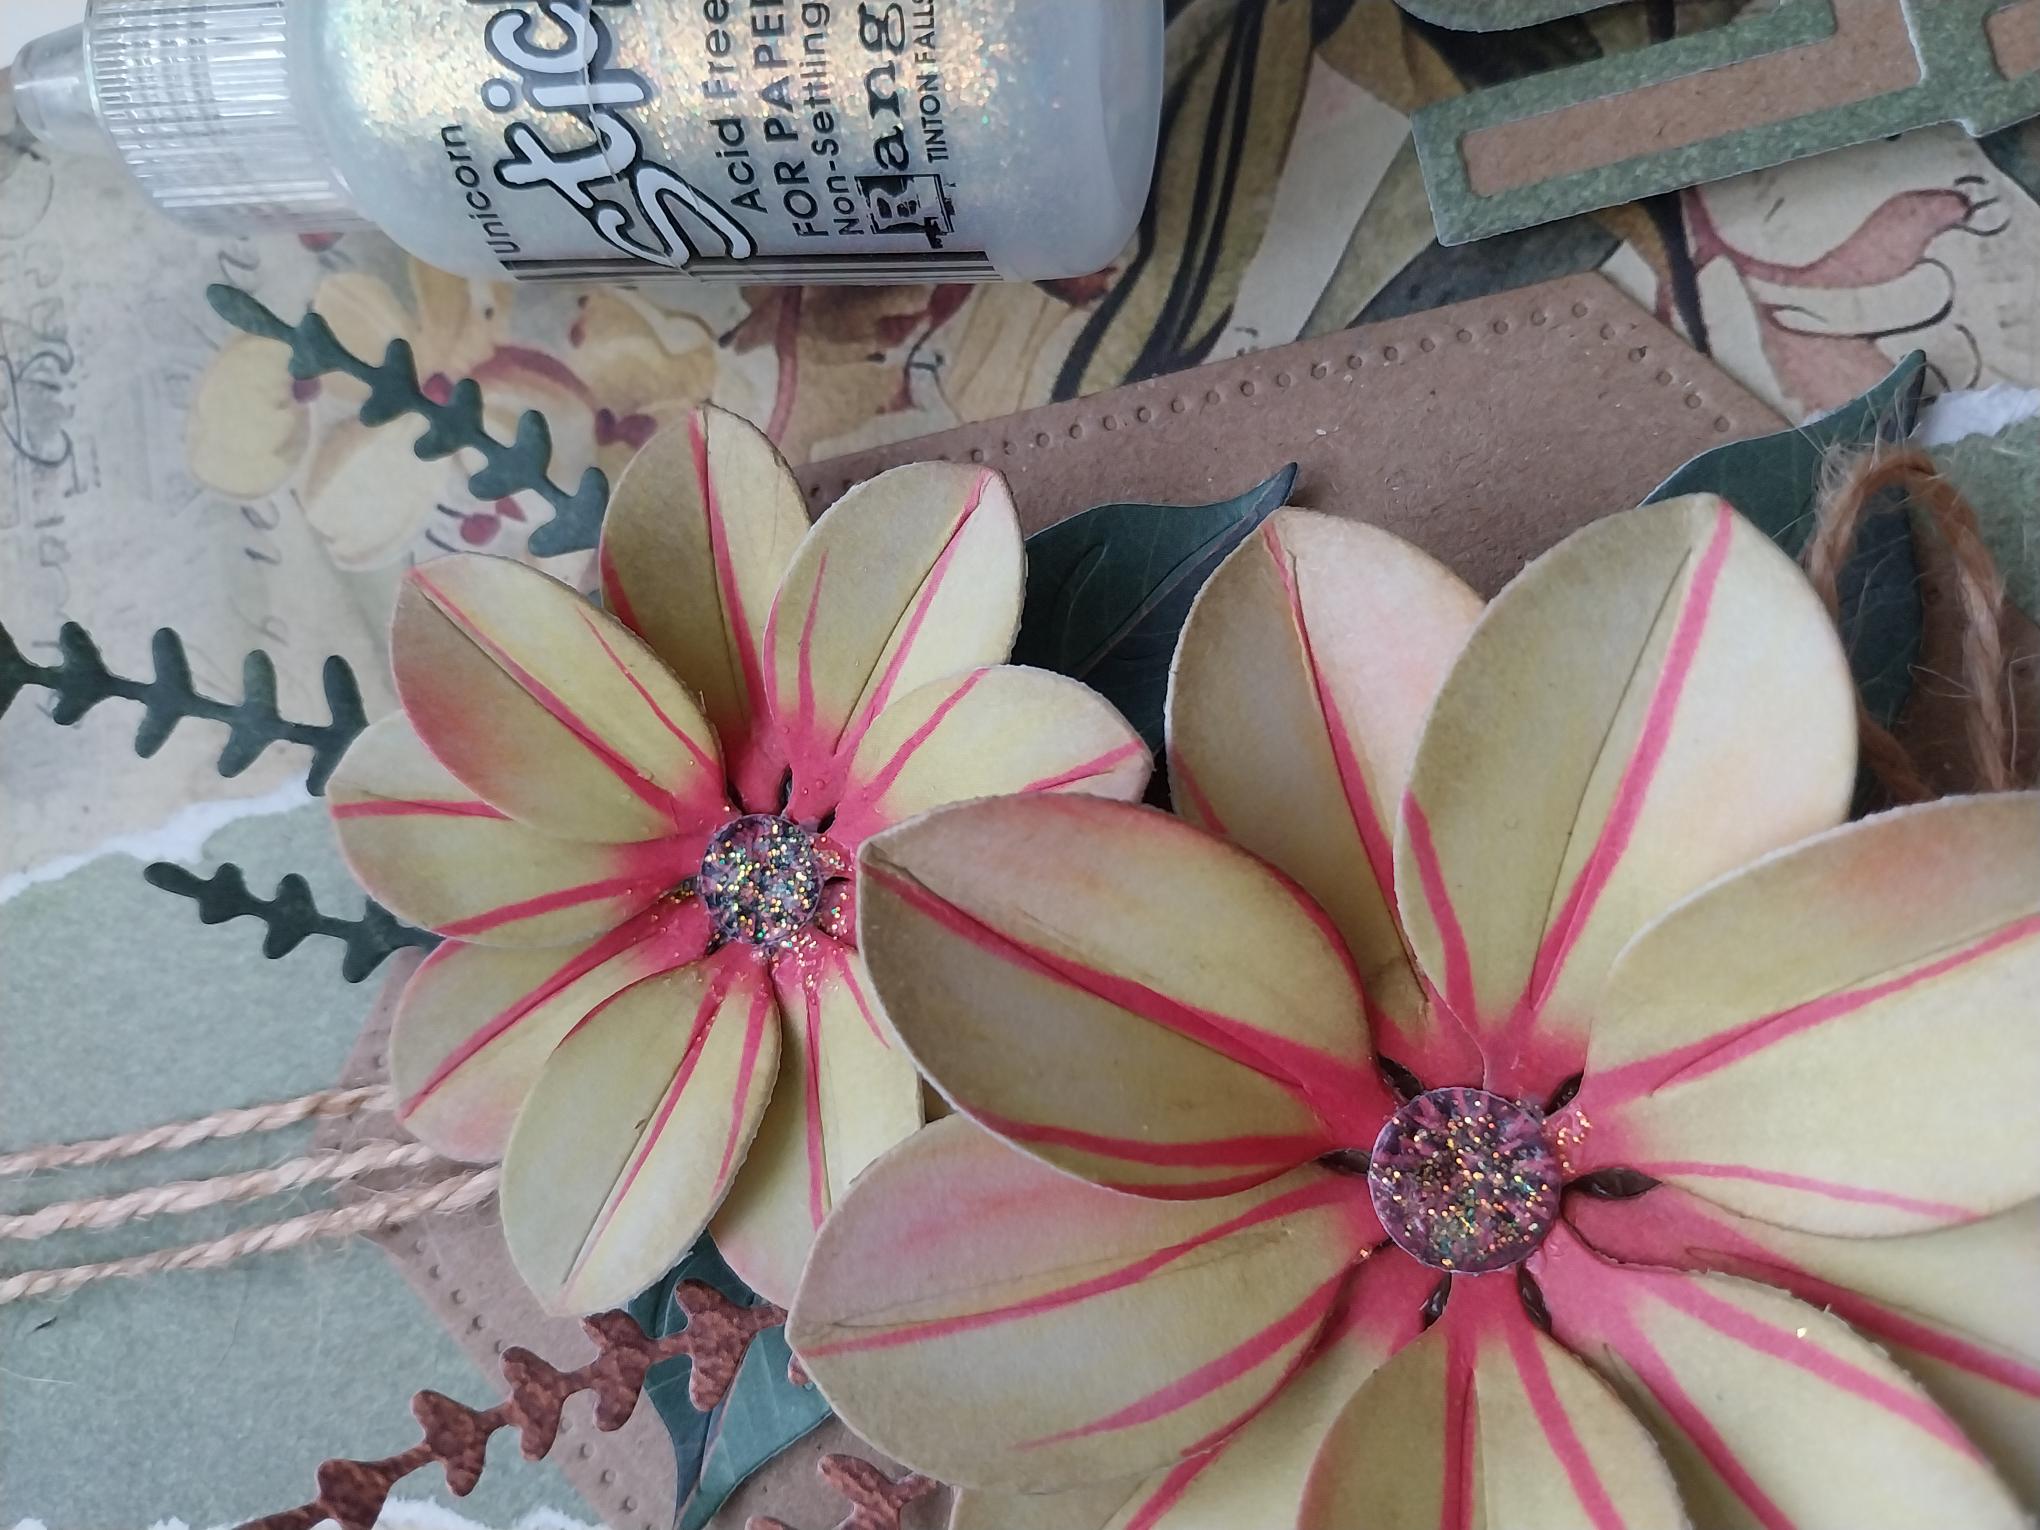
Use the Stickles to add a touch of sparkle to your flowers, as required. |