Give your friends $10 off their first order!
Refer a FRIEND


WHAT YOU WILL NEED:
White Card blank 5 x 7
Black/white cardstock
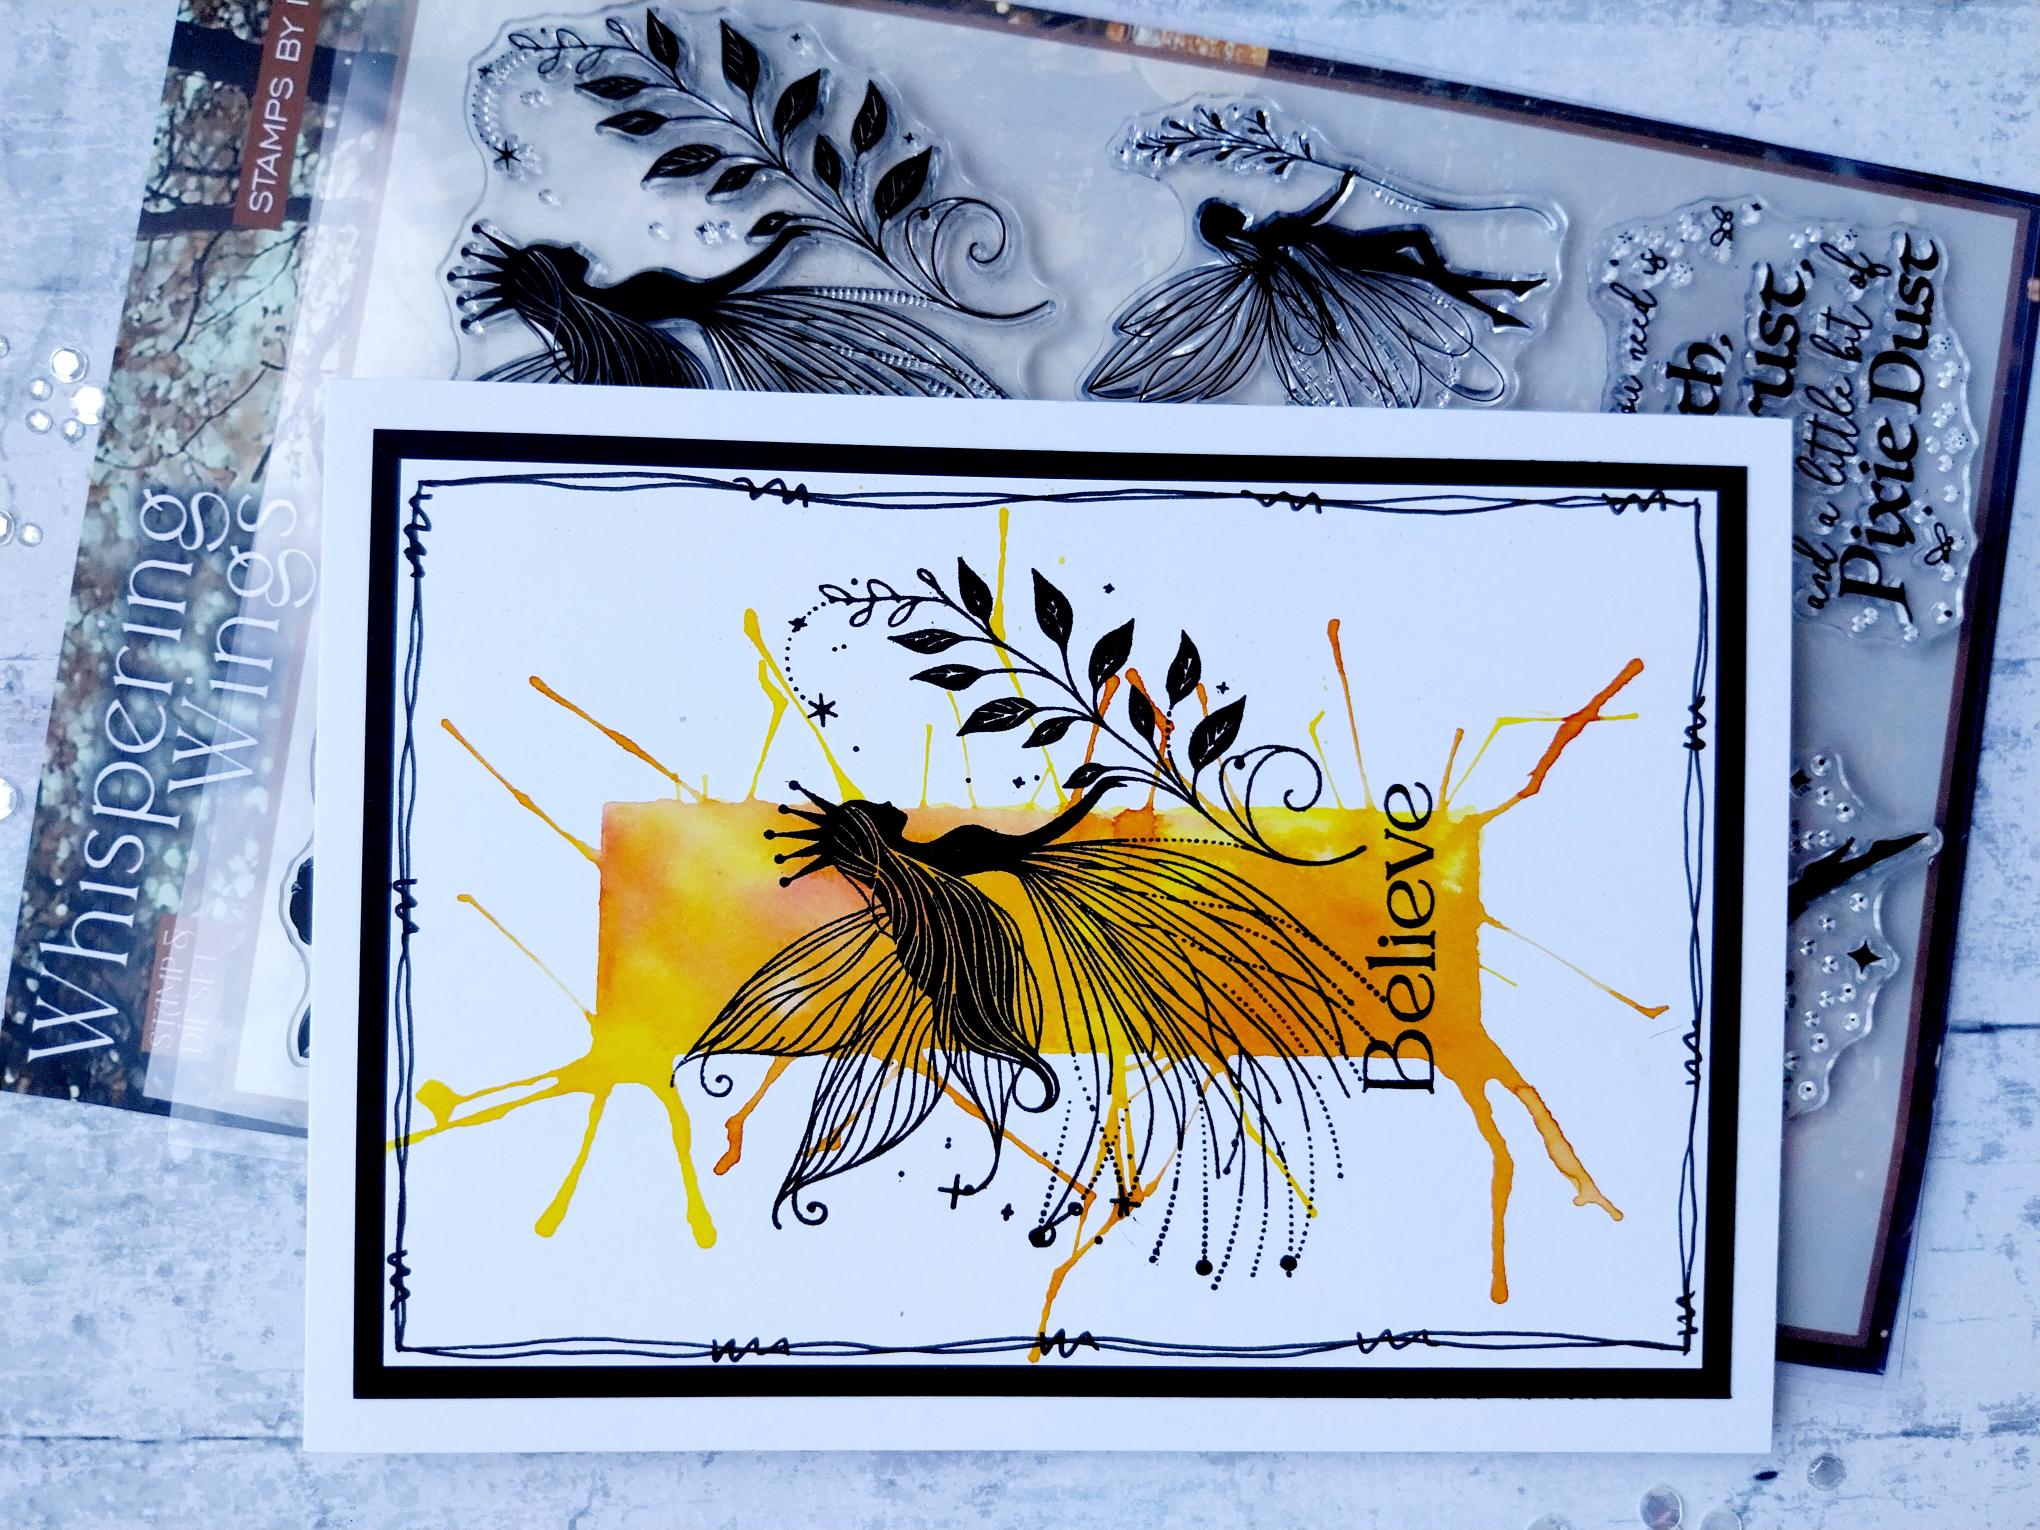
Whispering Wings Stamp & Die Set
Rectangle acrylic block
Straw/blow tool
SBM Hybrid Ink Pad: Midnight
SBM Dye Ink Pad: Sherbet, Redwood
Water spray bottle
Black pen
Eureka 101 Watercolour Tablet
SBM A3 Magnetic glass mat
Paper Trimmer
Glue
[click image to enlarge] 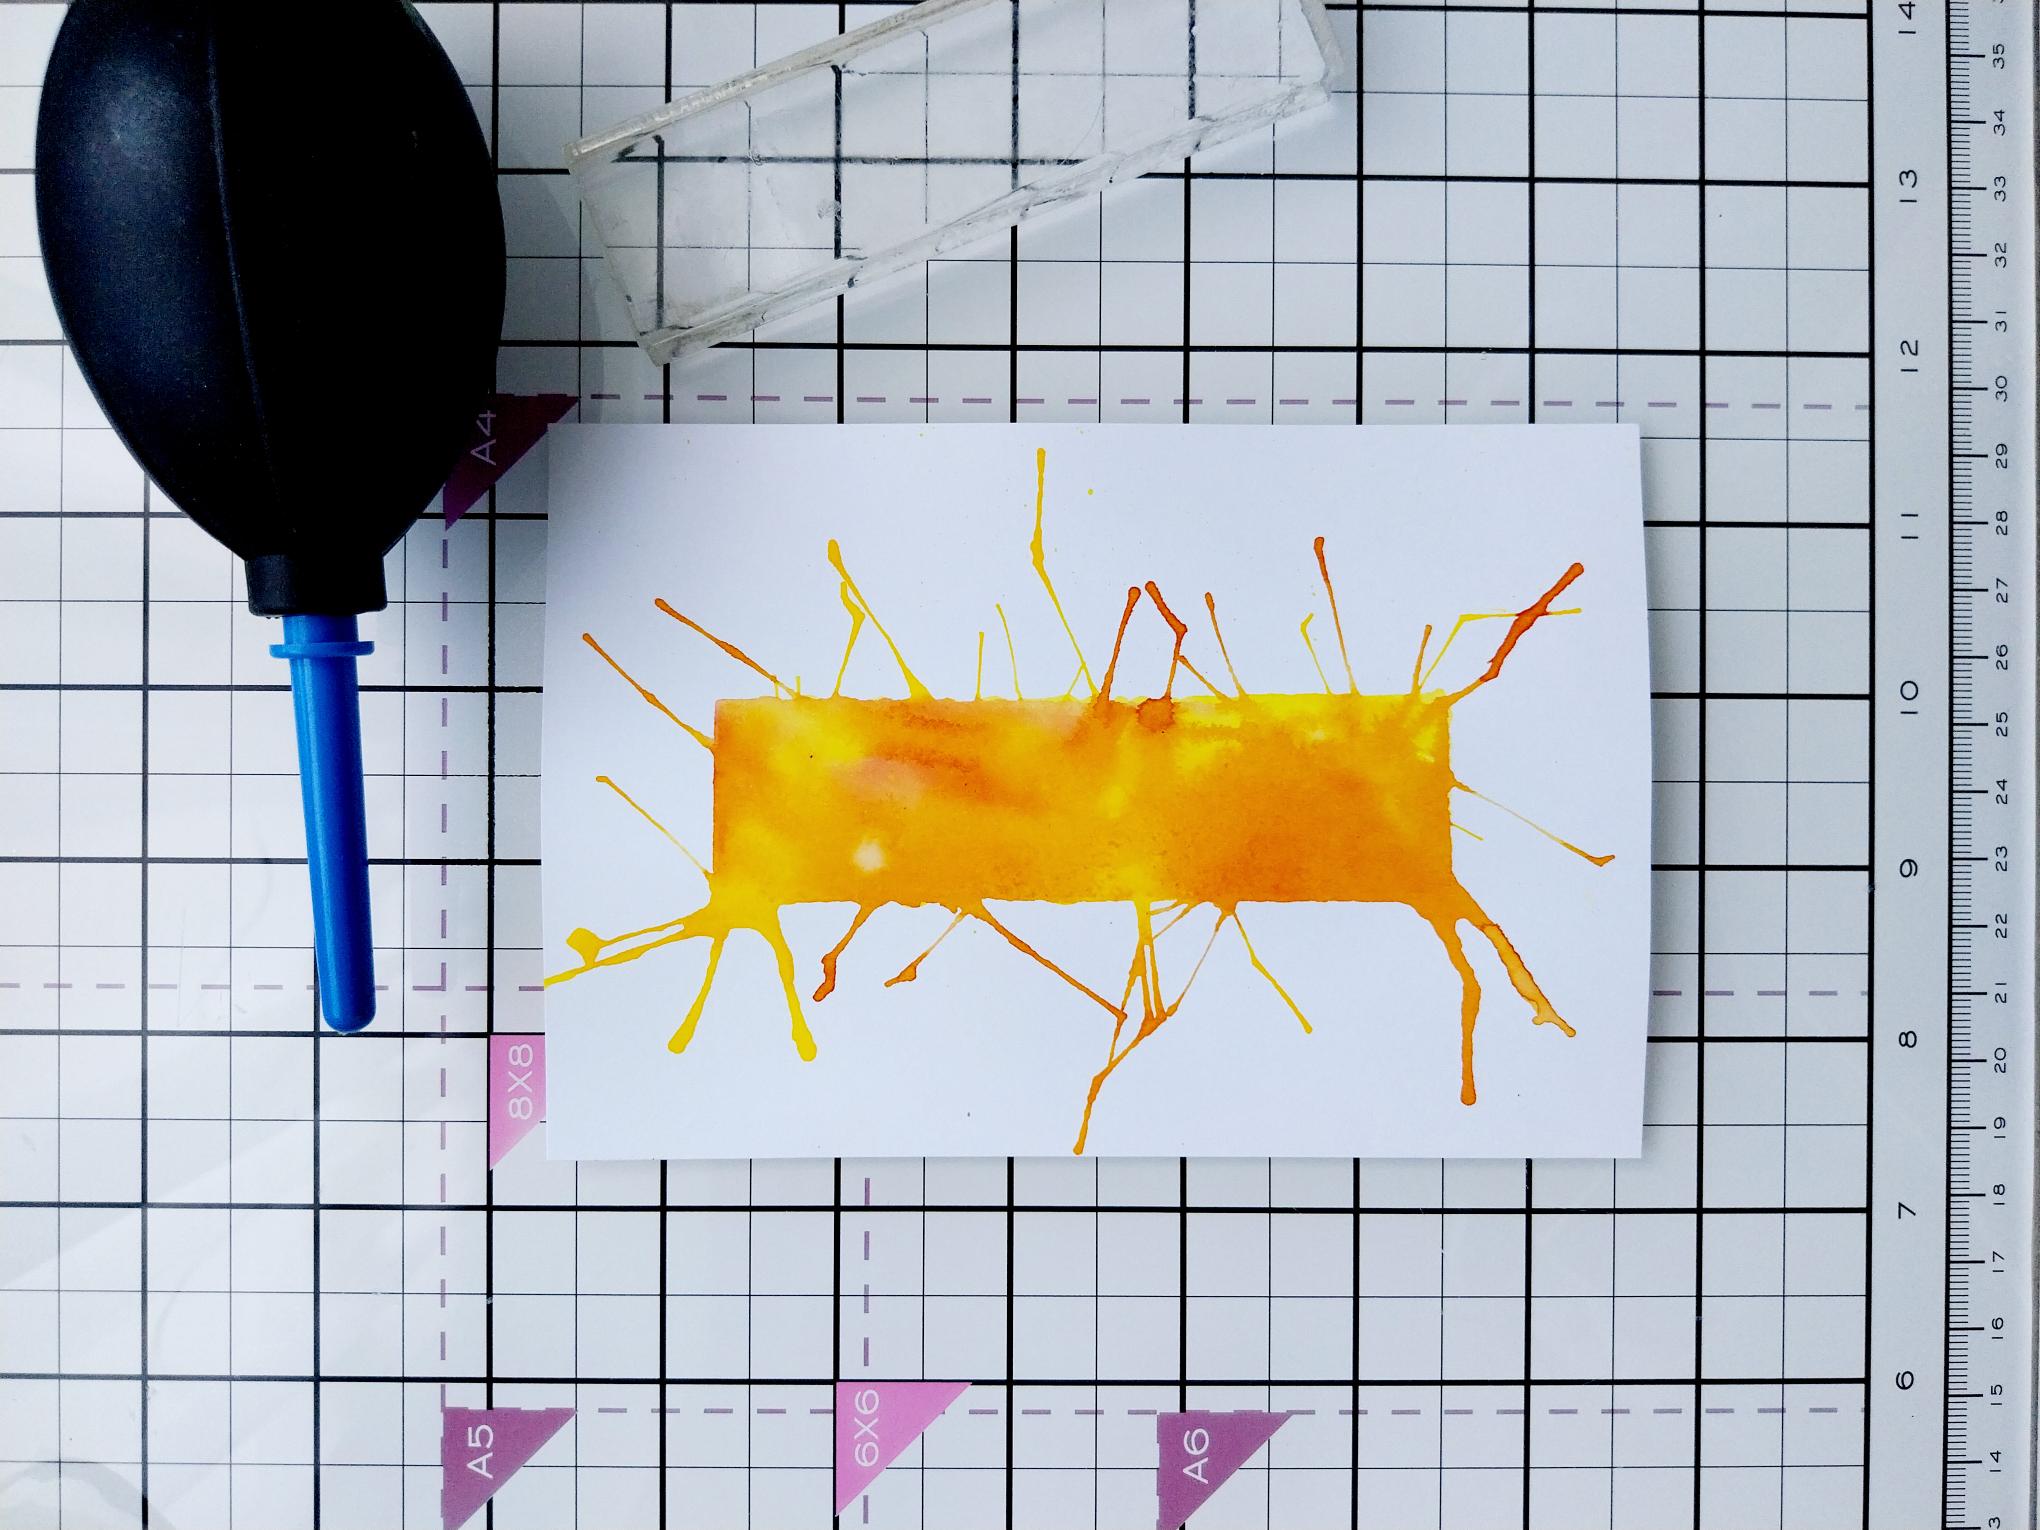
|
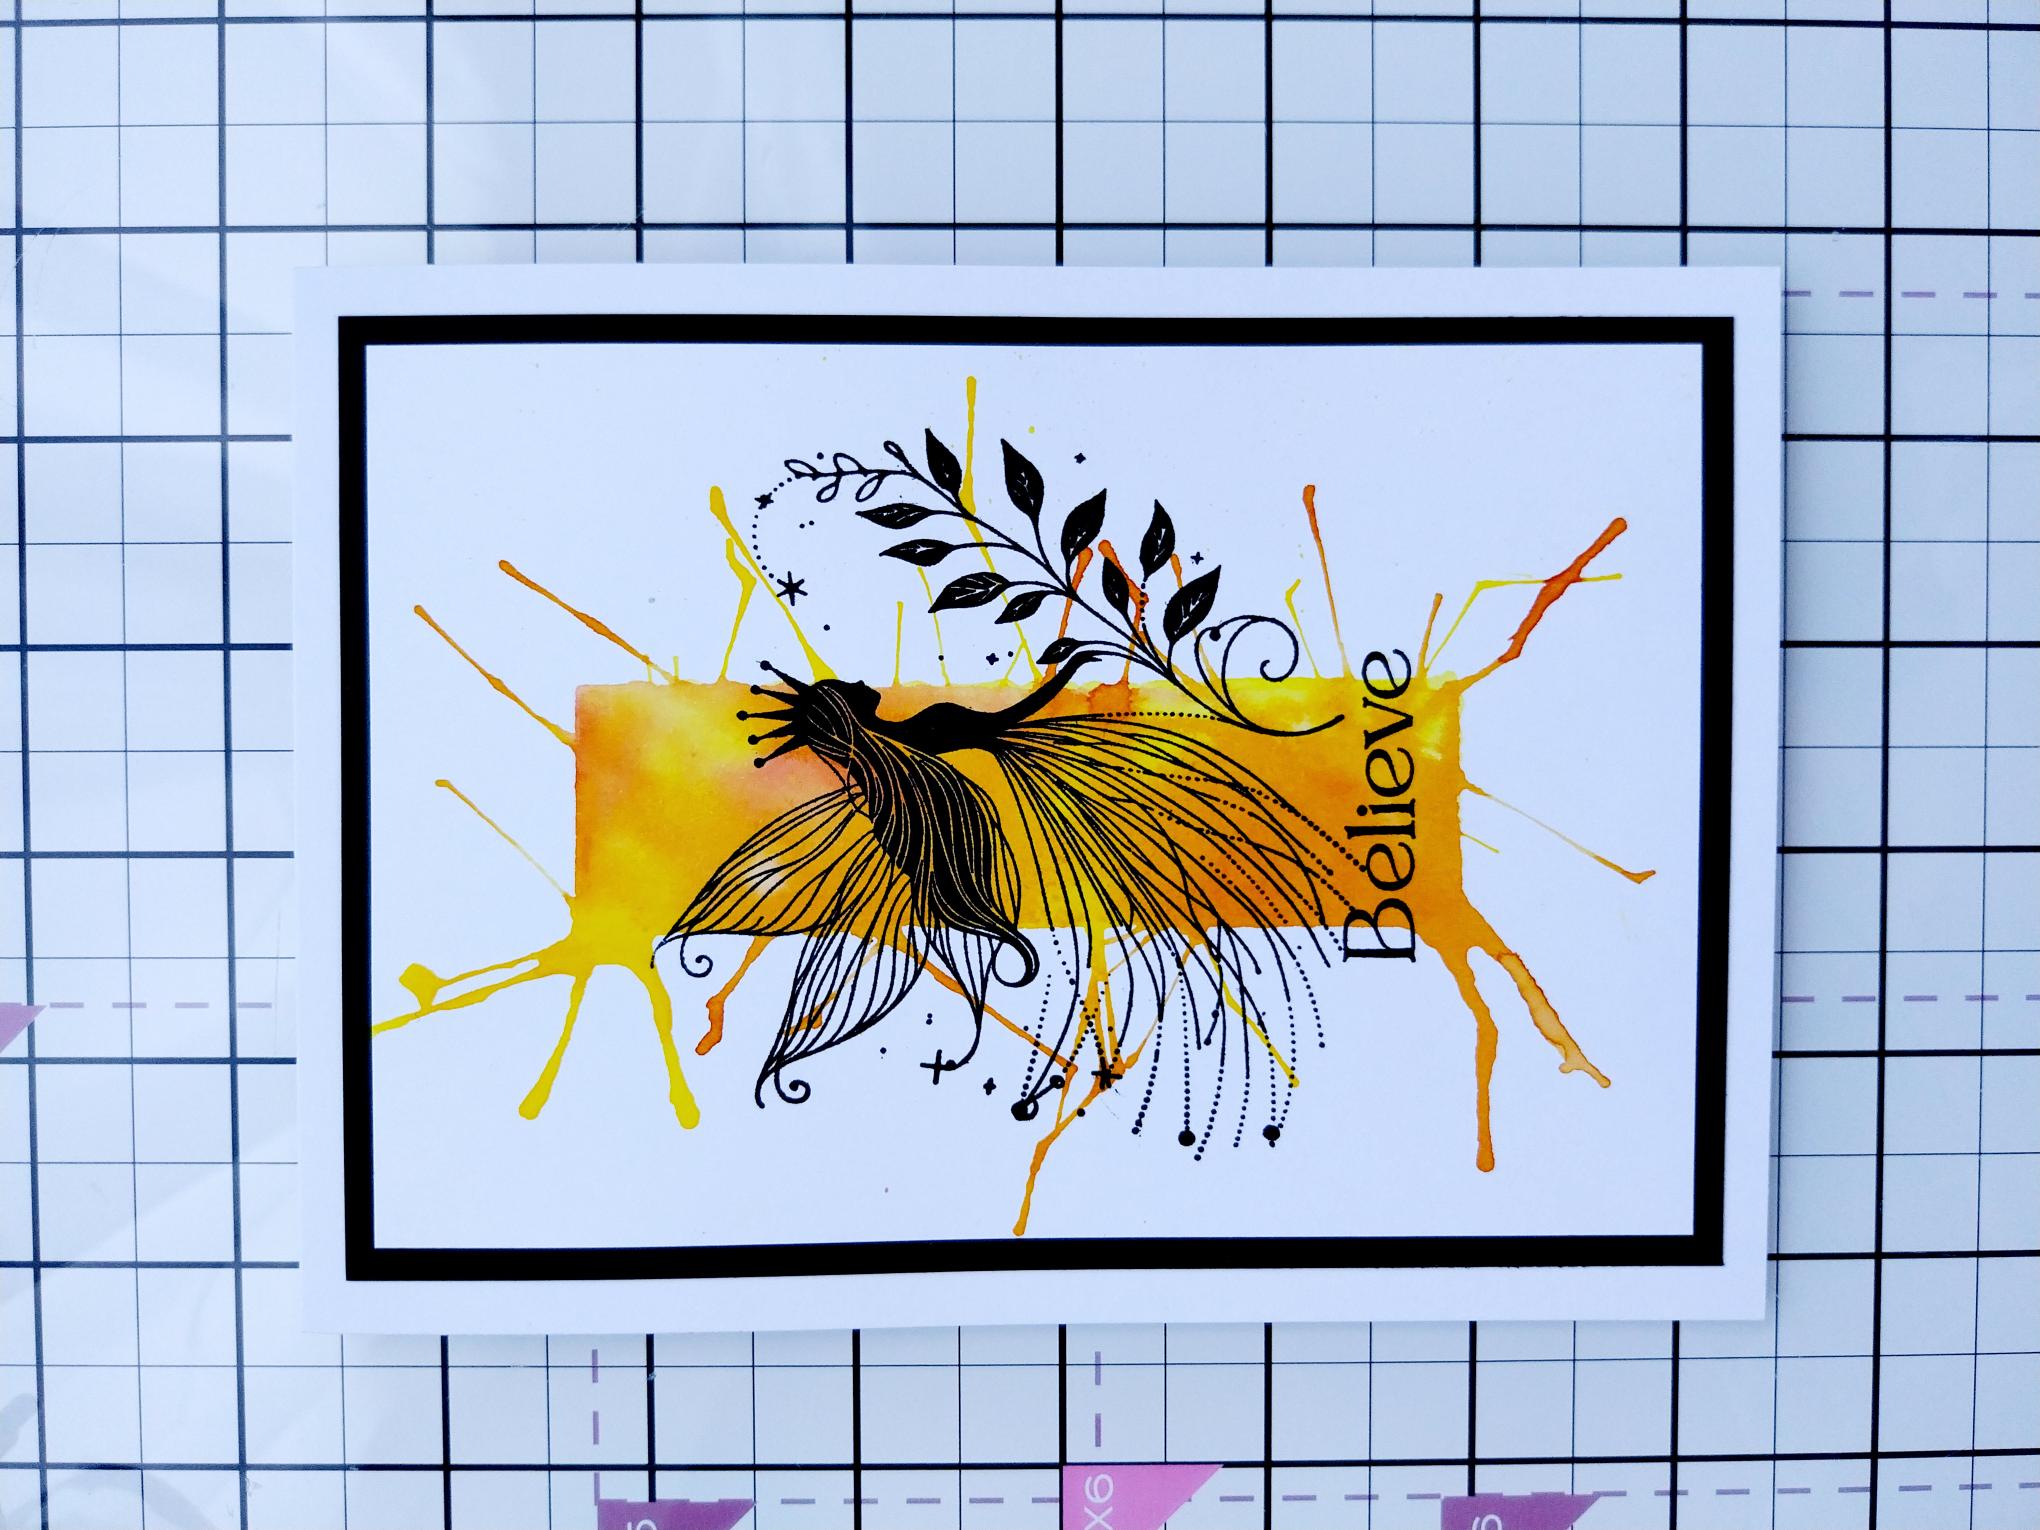
Trim a piece of white card to 4 1/4 x 6 1/4". Lightly apply the dye inks randomly, onto the acrylic block. Spritz with water then place the block ink-side down in the centre of the white card. Wait a few seconds to allow the card to drink the ink then carefully lift up the block. Whilst the ink is wet/puddled, use your straw or blow tool to blow the ink out from the centre, until you are happy with the effect. If you find the ink is not wet enough to move, reapply ink to the block, spritz and line up on top of the panel, as before. |
|
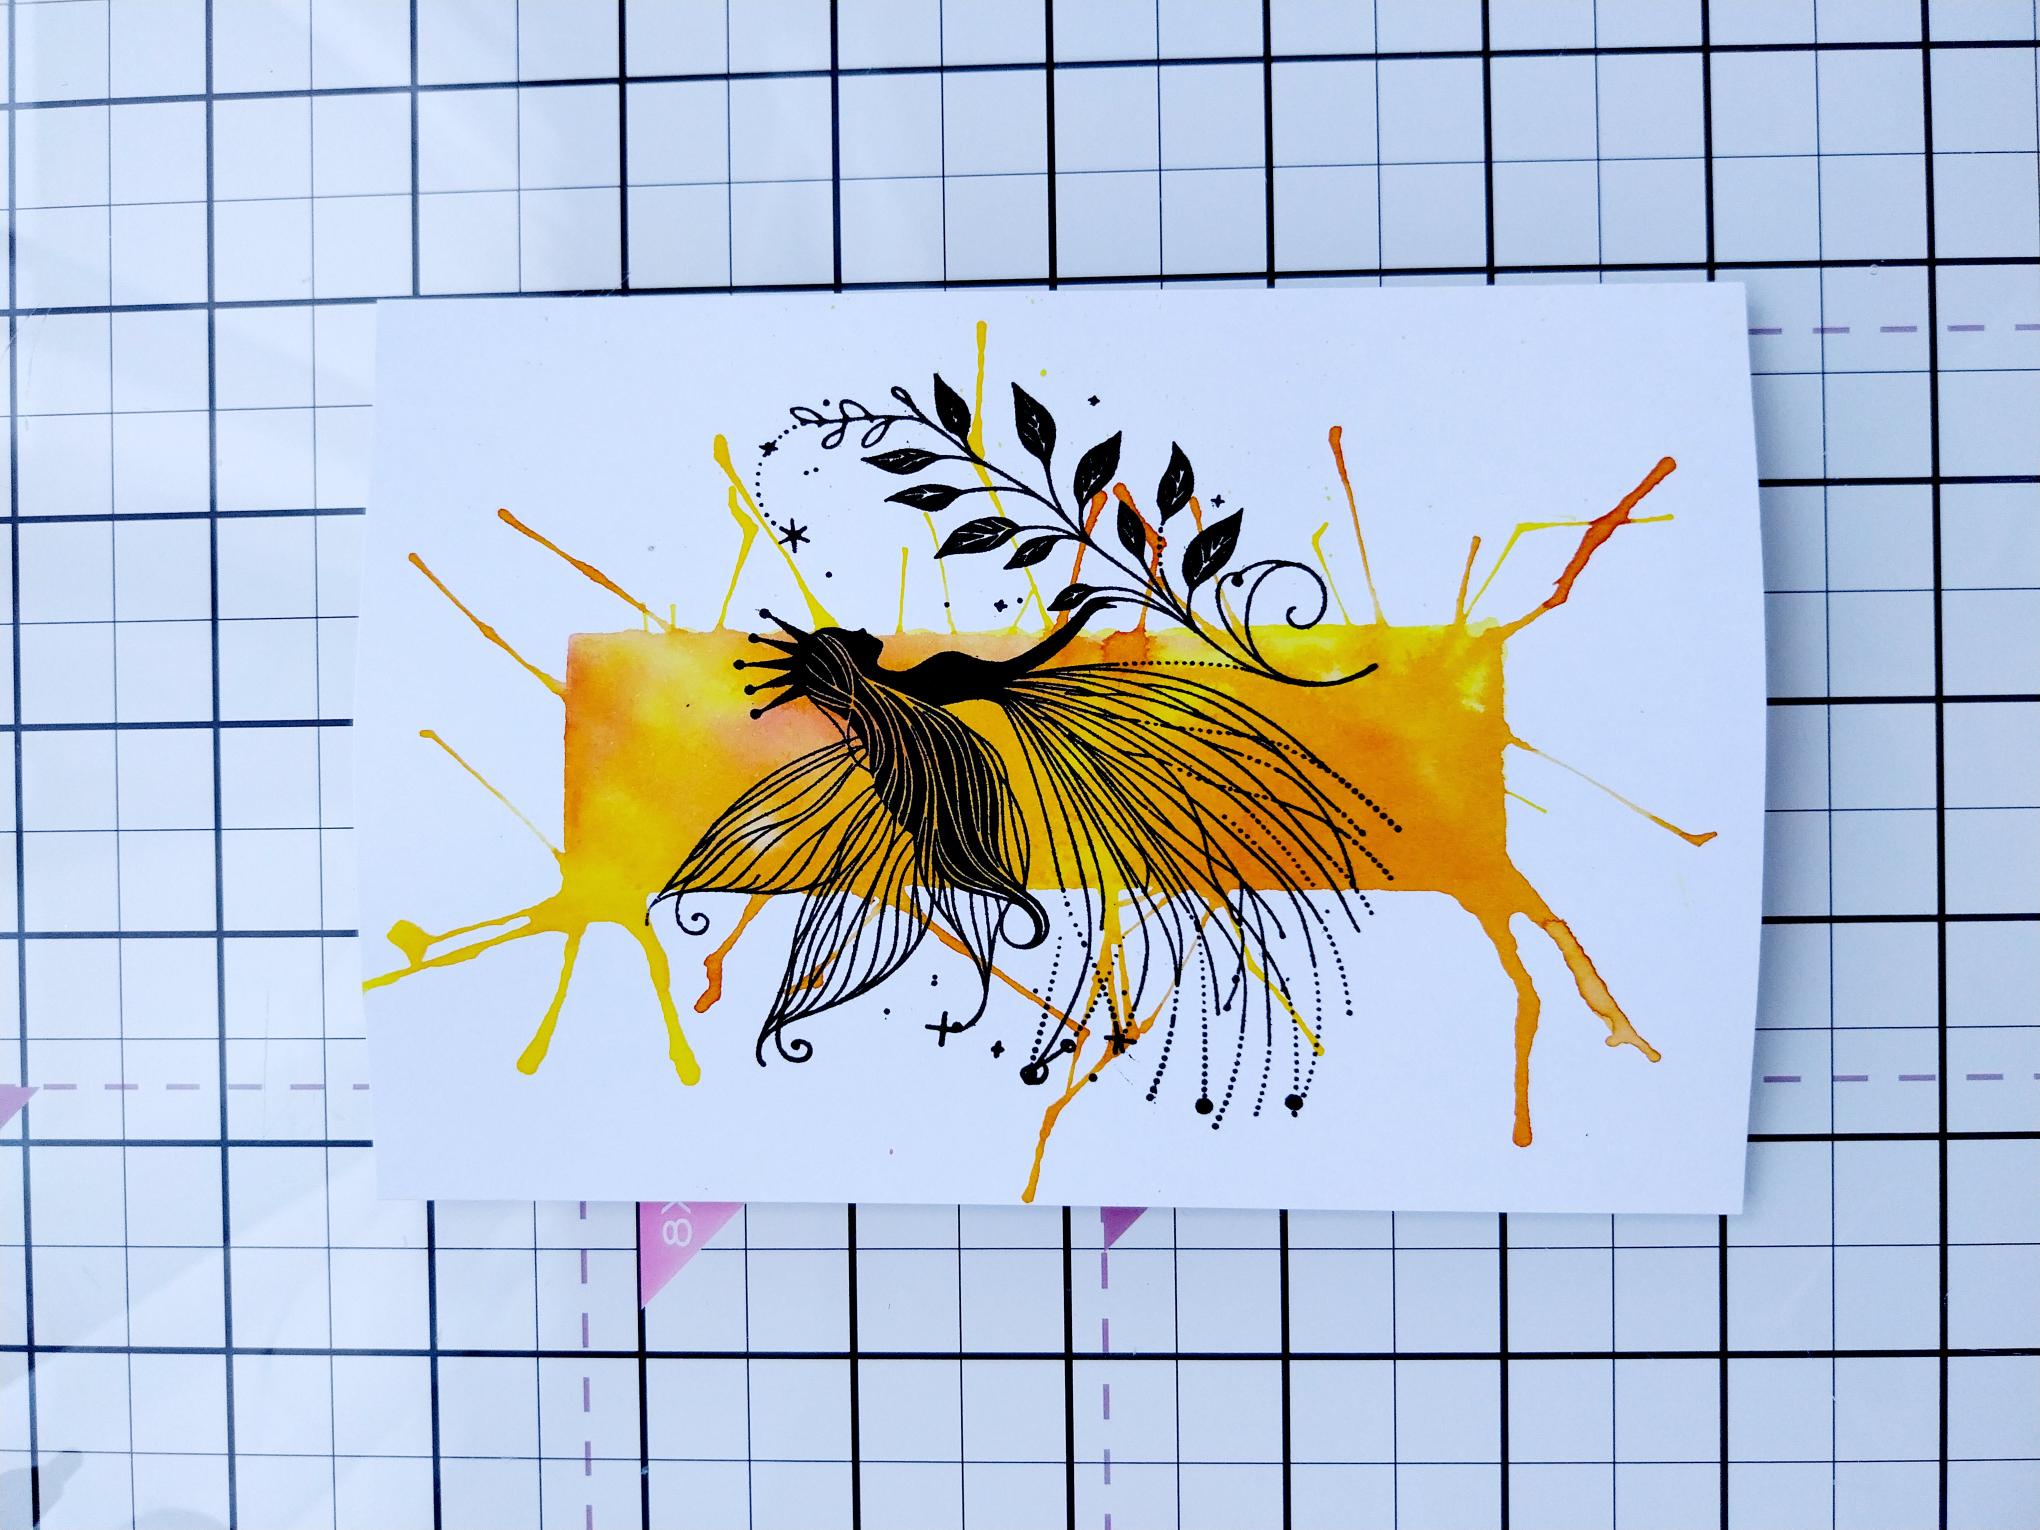
Once the ink is completely dry, stamp the fairy across the inked panel, with the Midnight ink. |
|
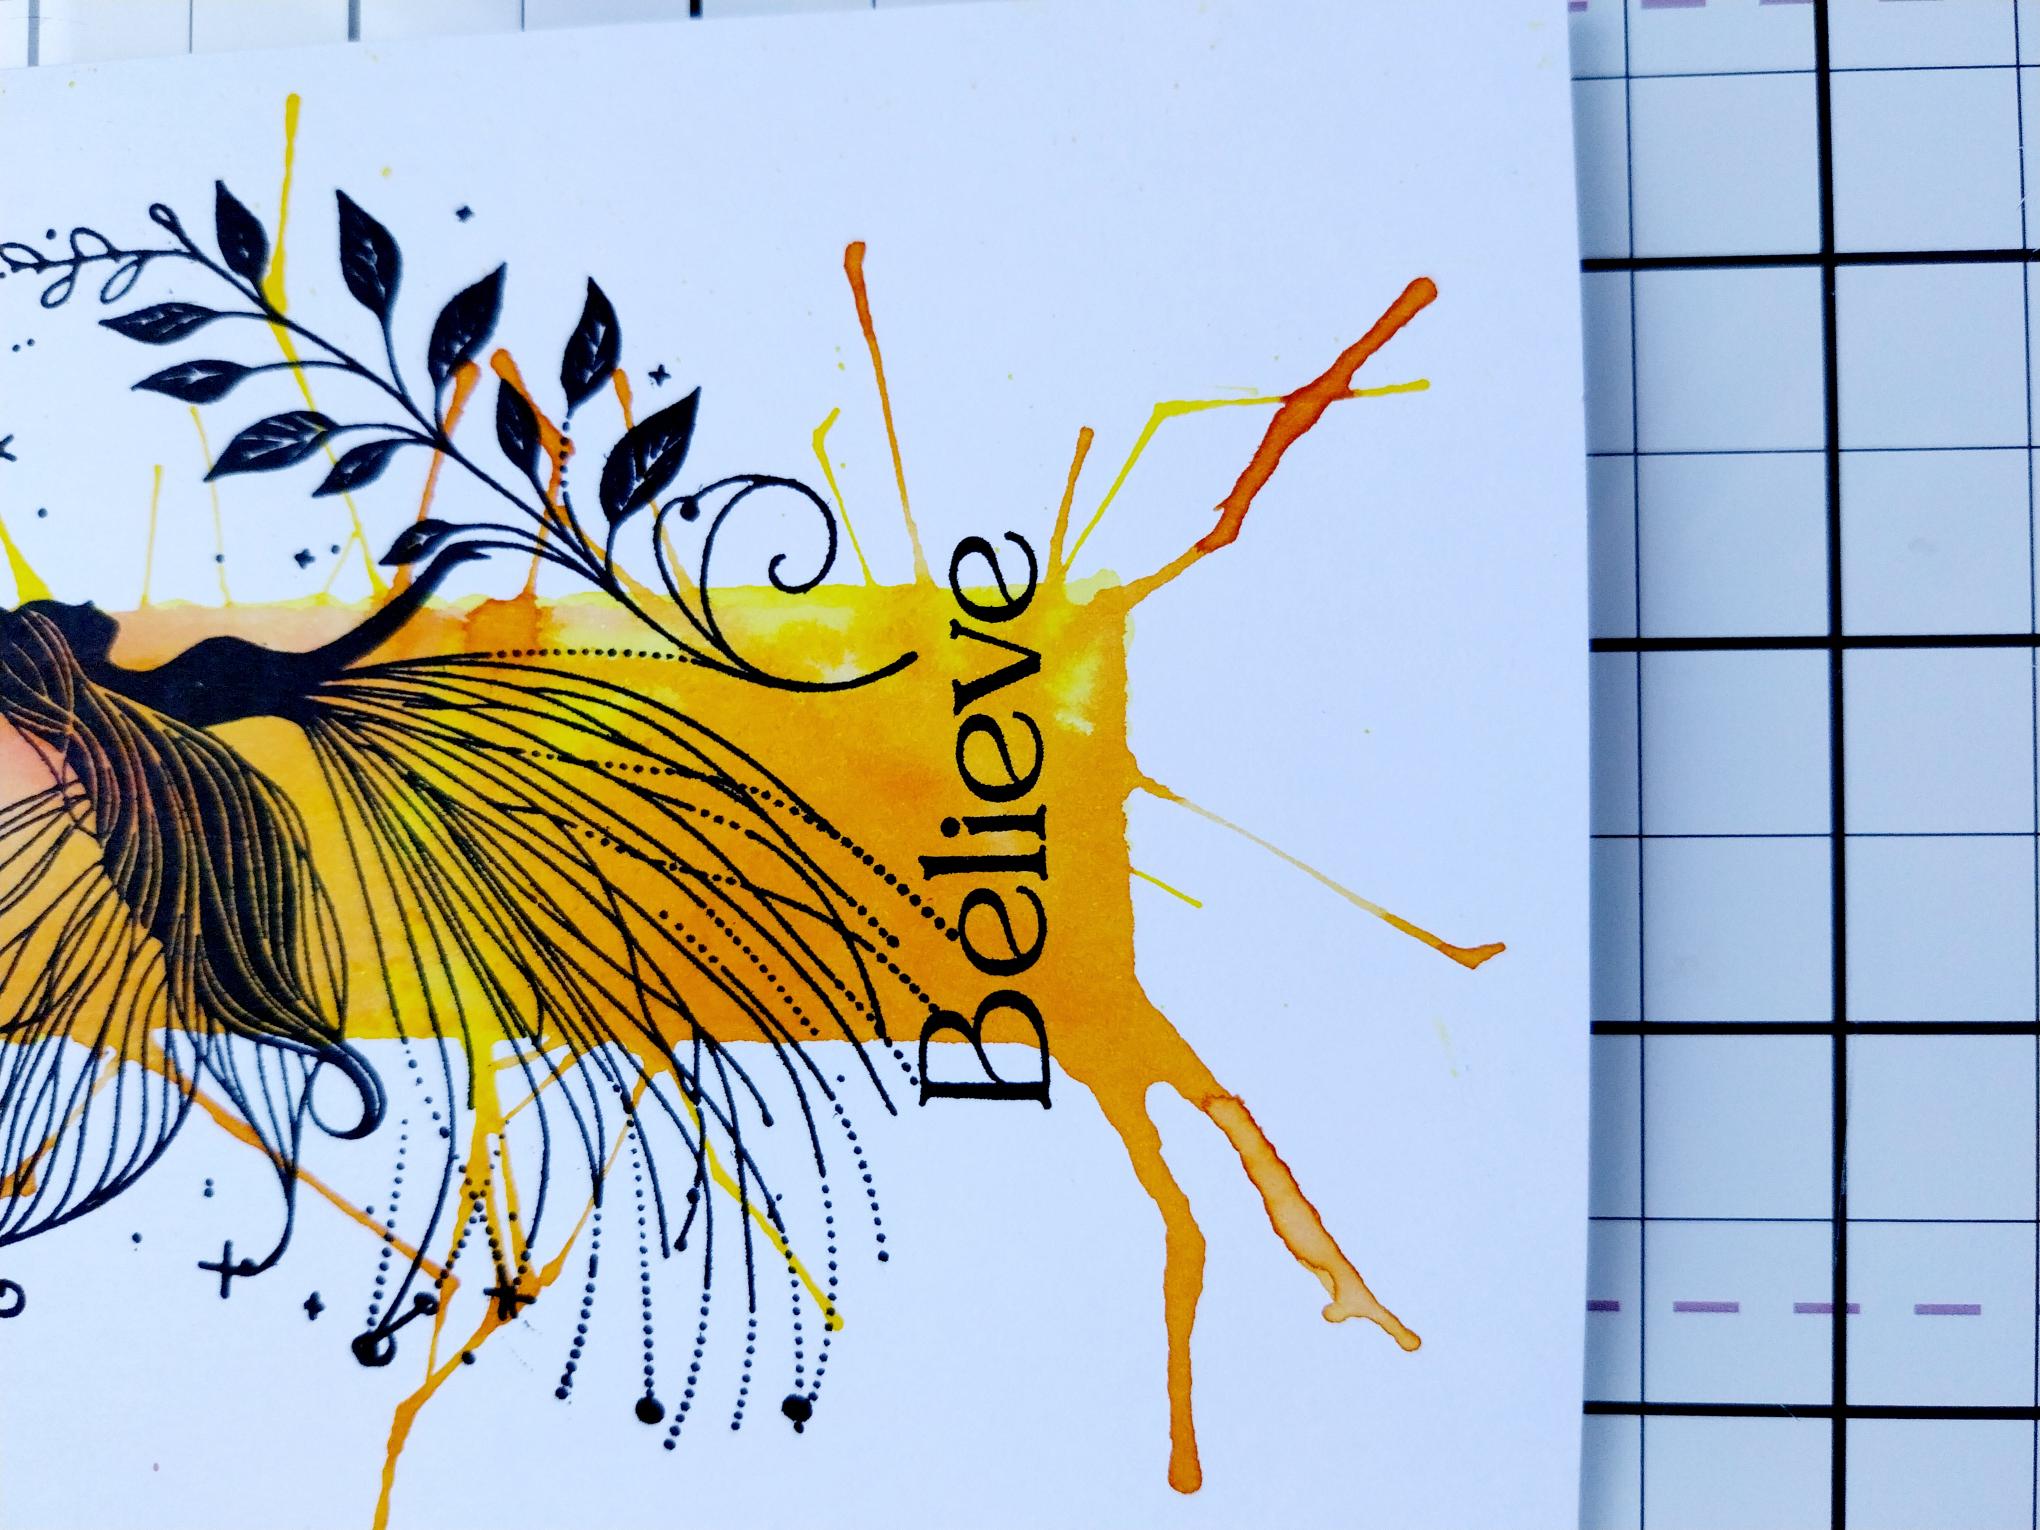
Stamp the sentiment underneath the fairy. |
|
Mat your artwork onto black card cut to 4 1/2 x 6 1/2" and then onto your card blank. |
|
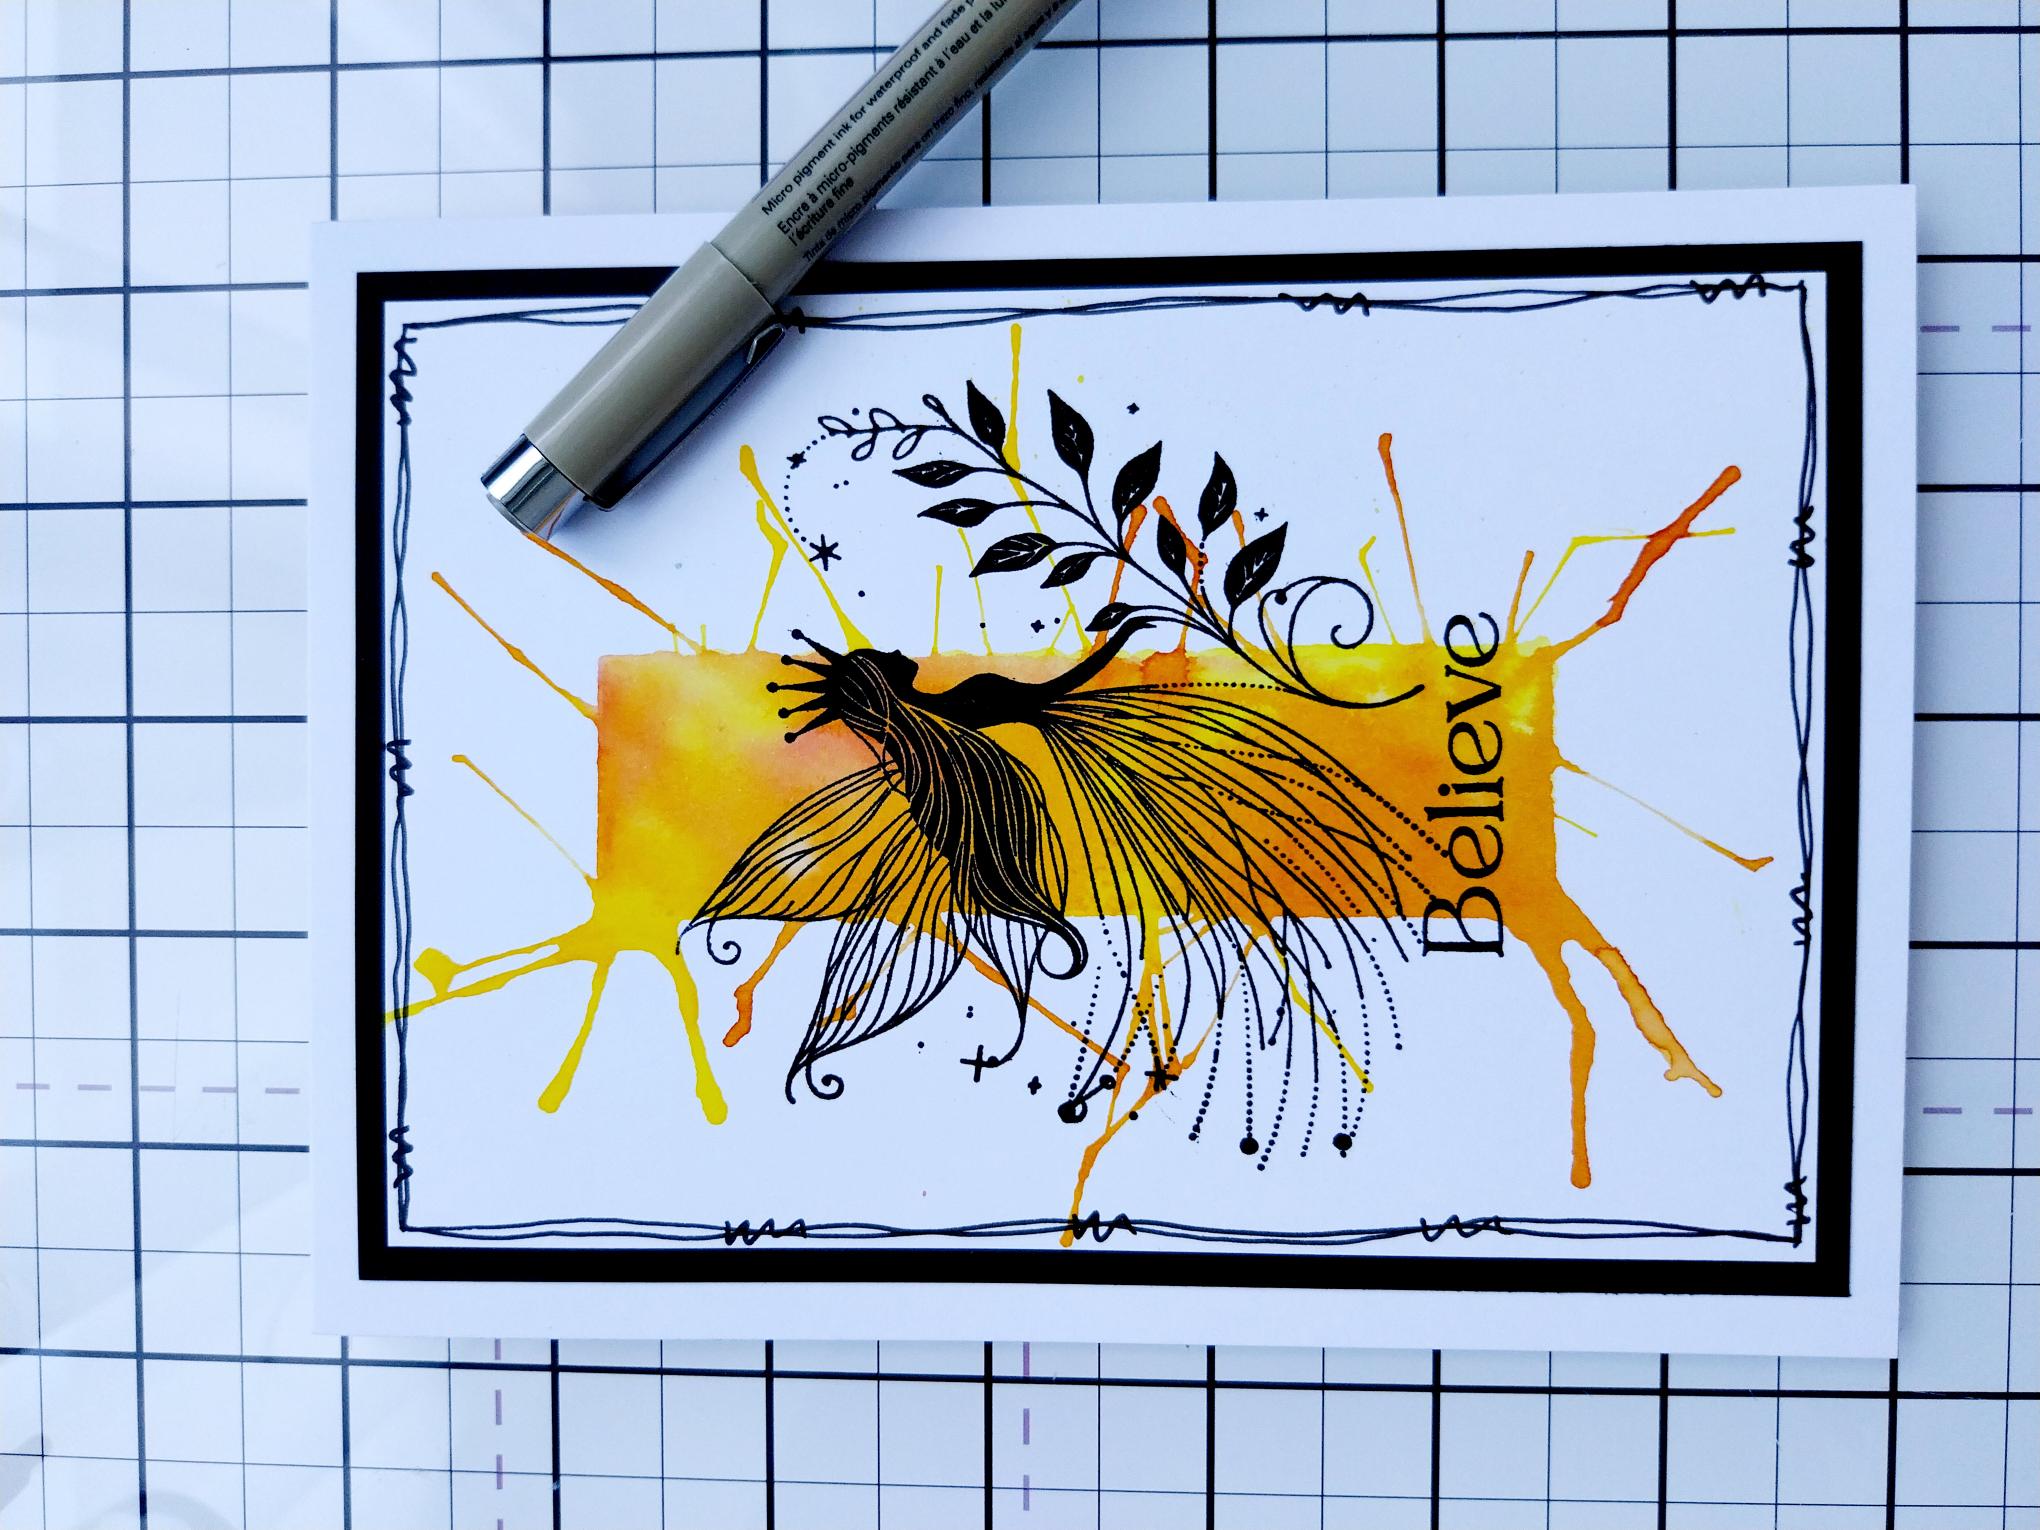
To finish, use a black pen to draw a wiggly frame around the white card. |