Give your friends $10 off their first order!
Refer a FRIEND


WHAT YOU WILL NEED:
White card blank 6 x 8"
White cardstock
Slice Of Joy Lamination Stamp Set
Sweet Serenity 7 x 7 Paper Pad
Sweet Serenity 5 x 7 Vellum
Classic Oval Die Set
Holly & Berry Foliage and Poinsettia Die Sets
Distress Ink Pad: Hickory Smoke, Kitsch Flamingo
Versafine ink Pad: Smokey Grey
Blending brush
Paint brush
Water spray bottle
Enamel dots, sequins or gems
Eureka 101 Watercolour Tablet
SBM A3 Magnetic glass mat
Paper Trimmer
Glue
Die Cutting machine
[click image to enlarge] 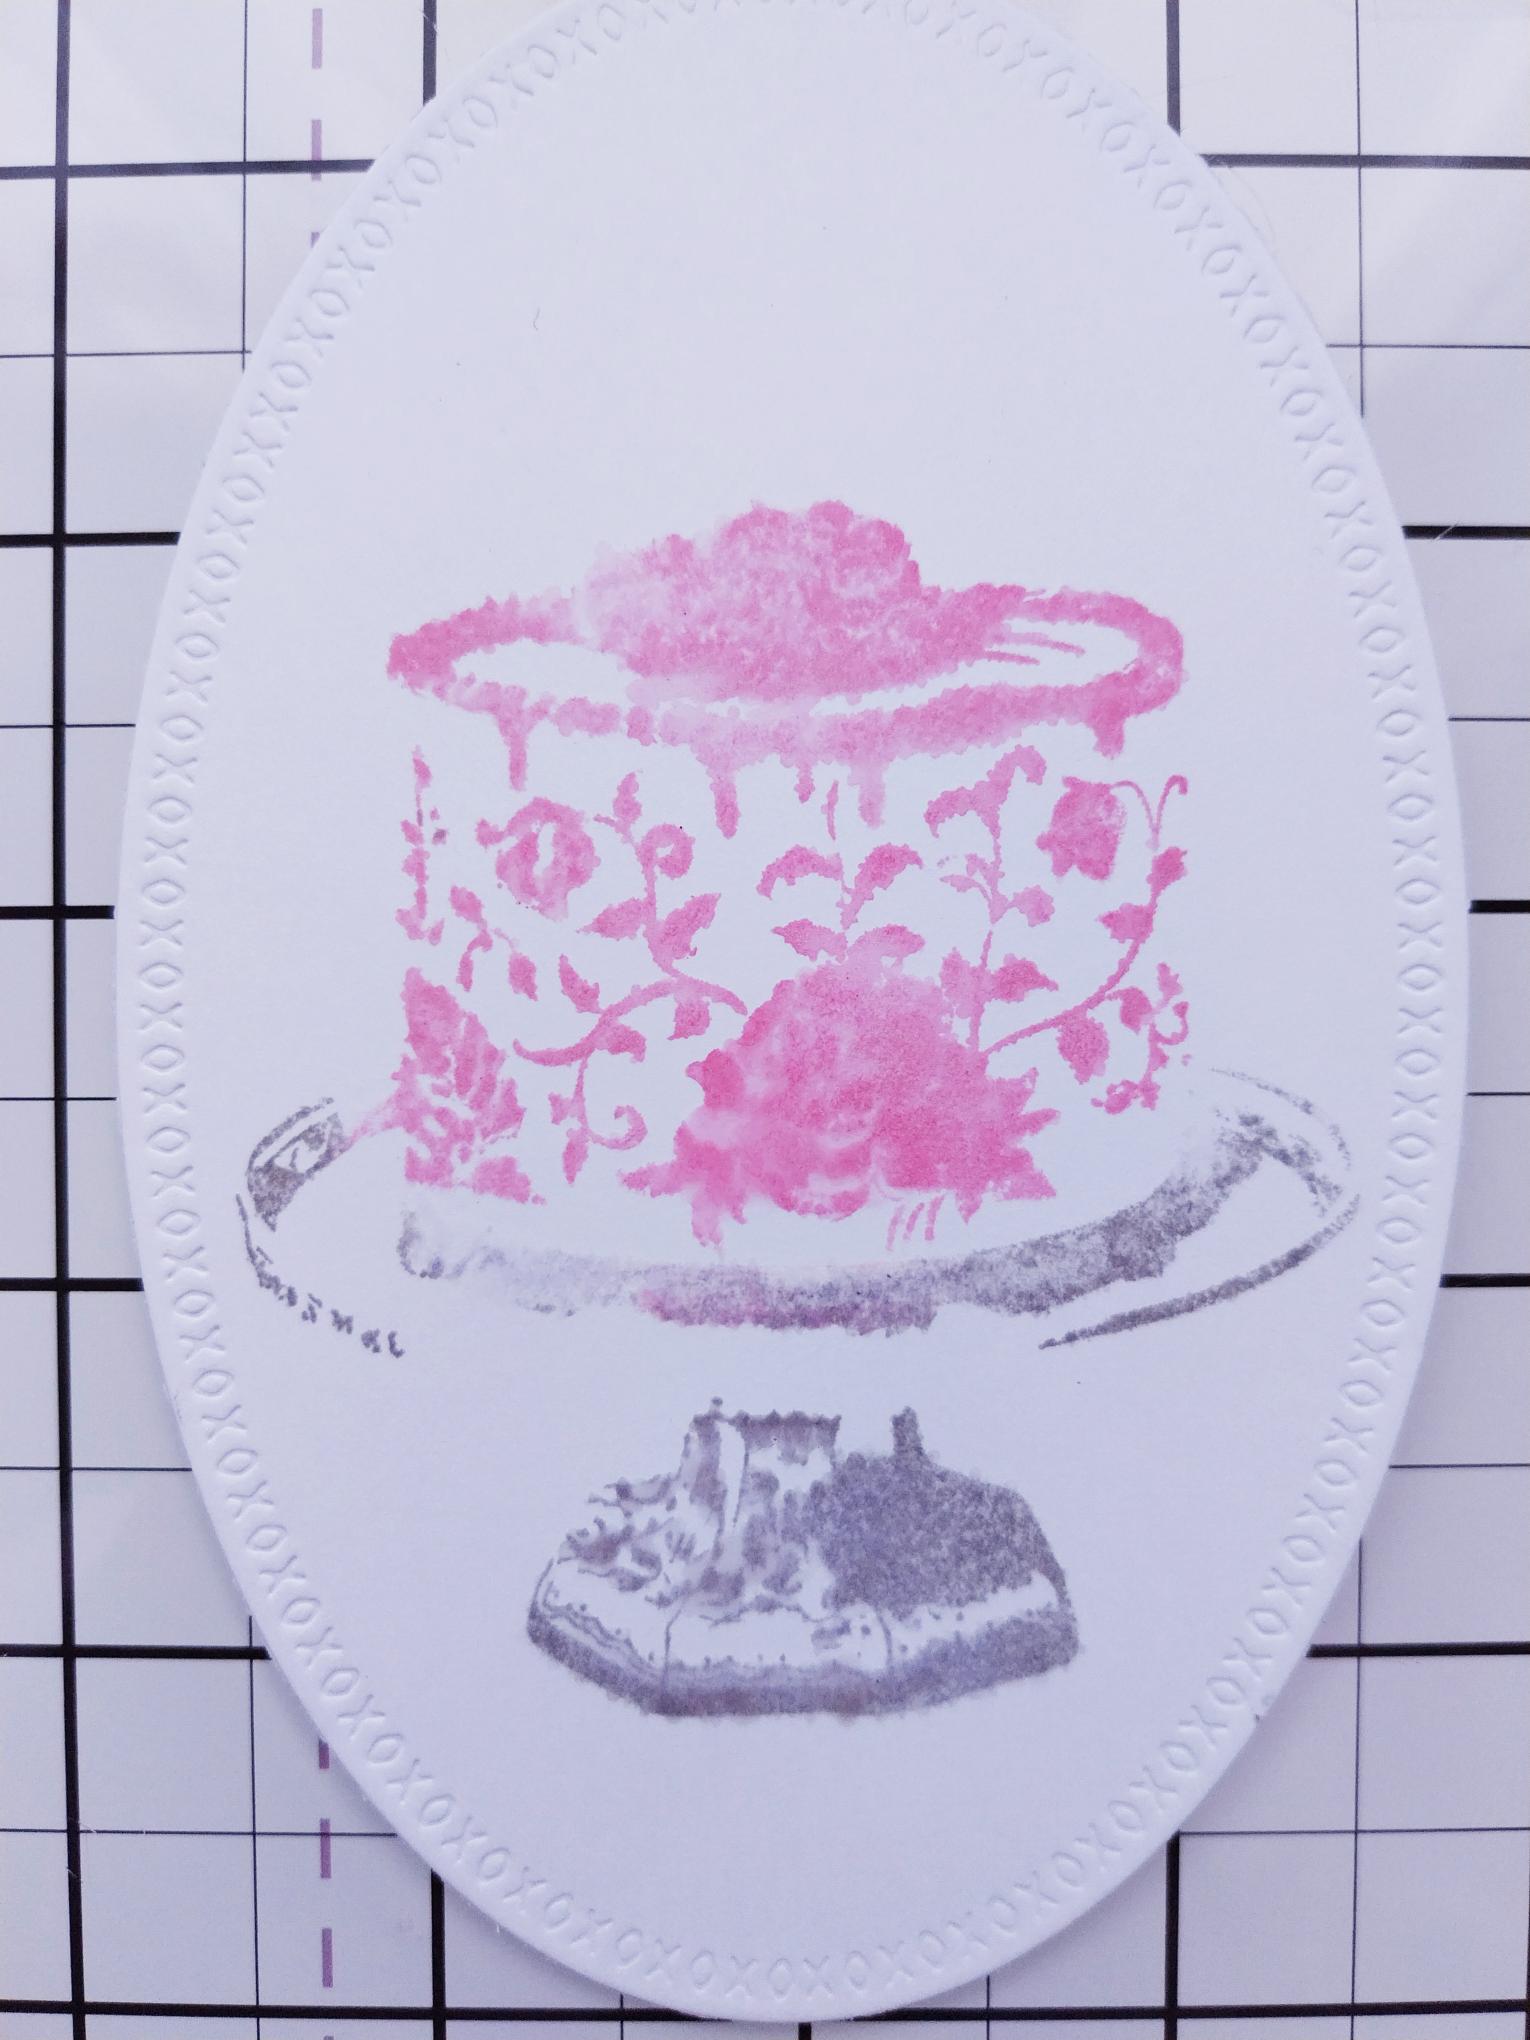
|
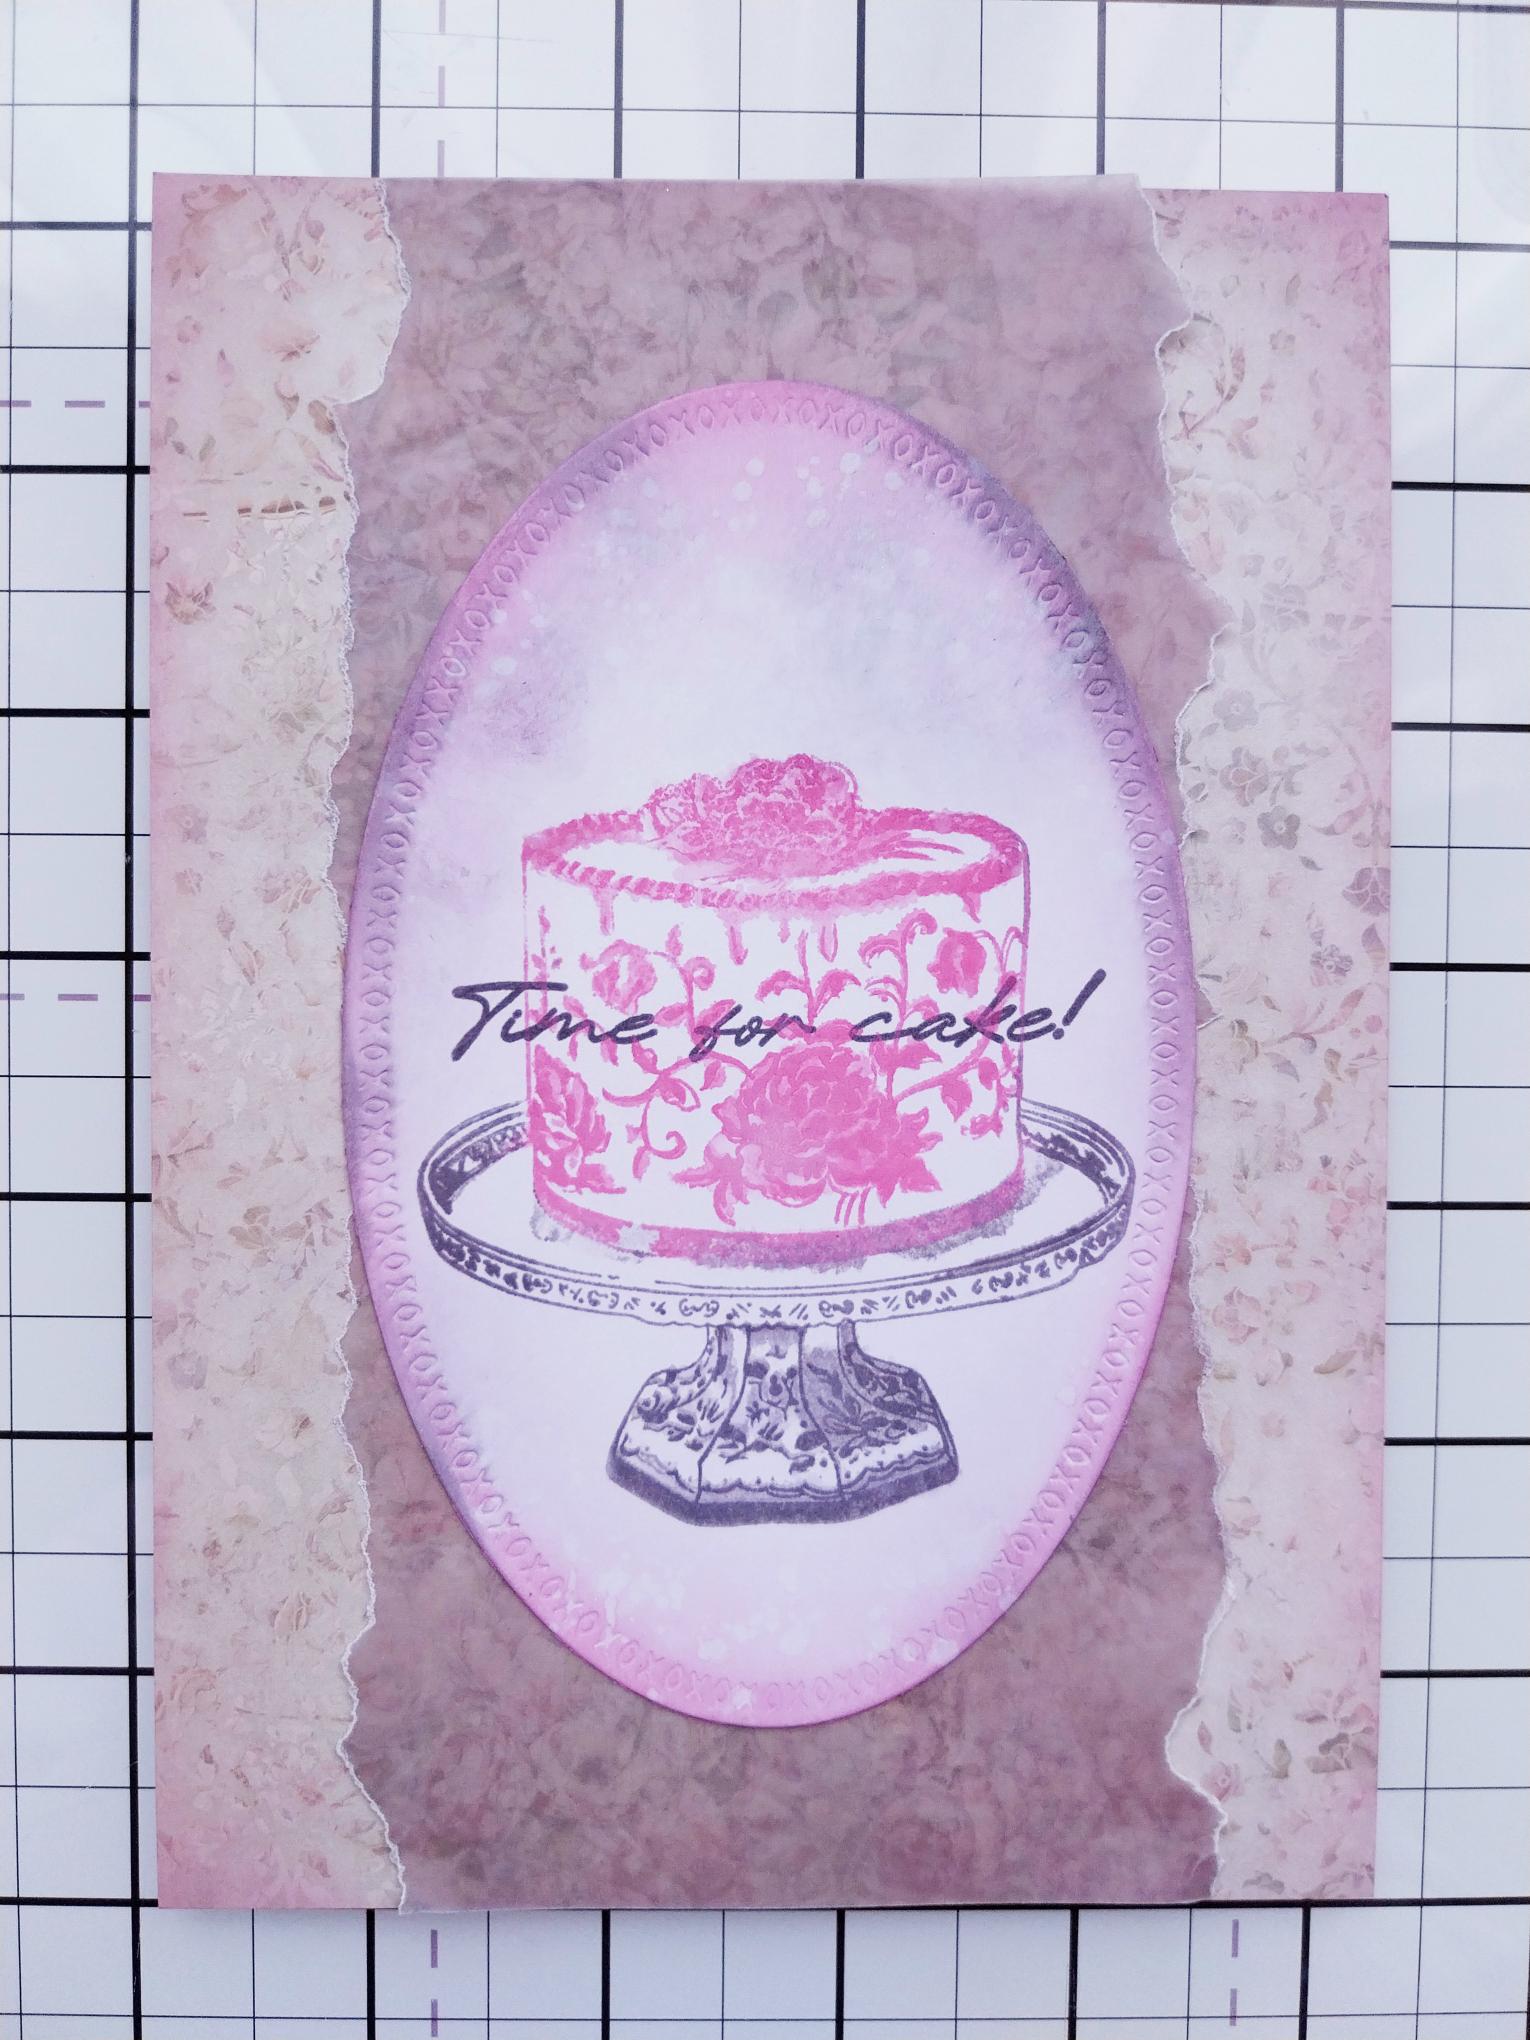
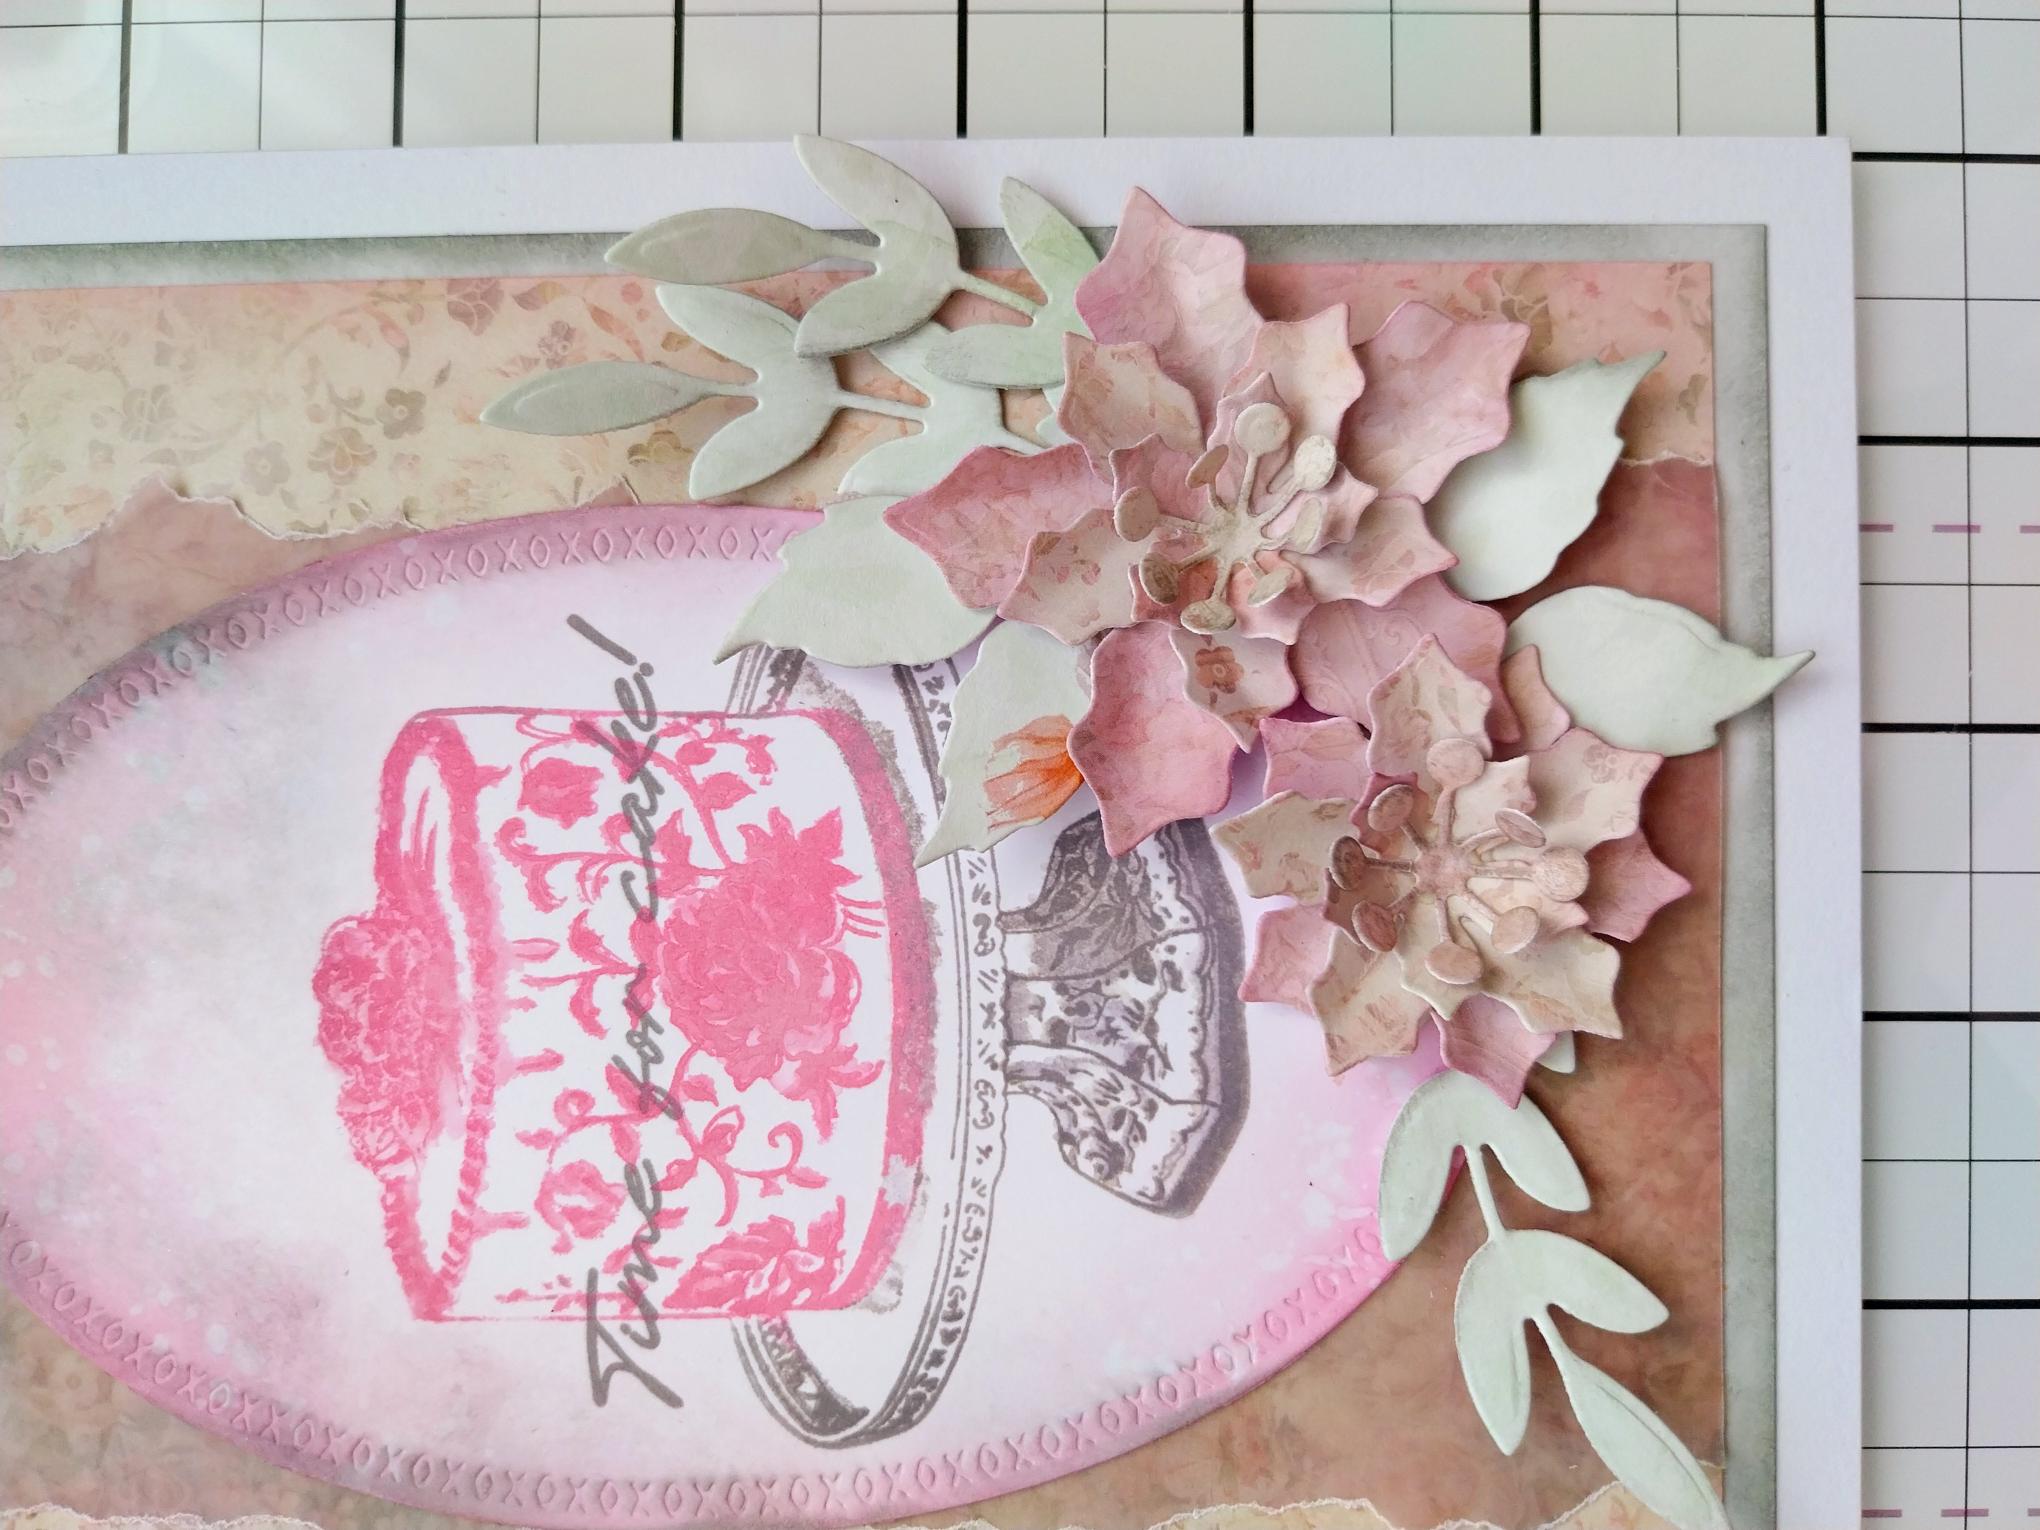
Die cut an oval from white card, large enough to stamp the cake on to. Ink up the solid stamp in the Distress inks, Kitsch Flamingo for the cake element and Hickory Smoke for the cake stand. Spritz lightly with water and stamp onto the oval. |
|
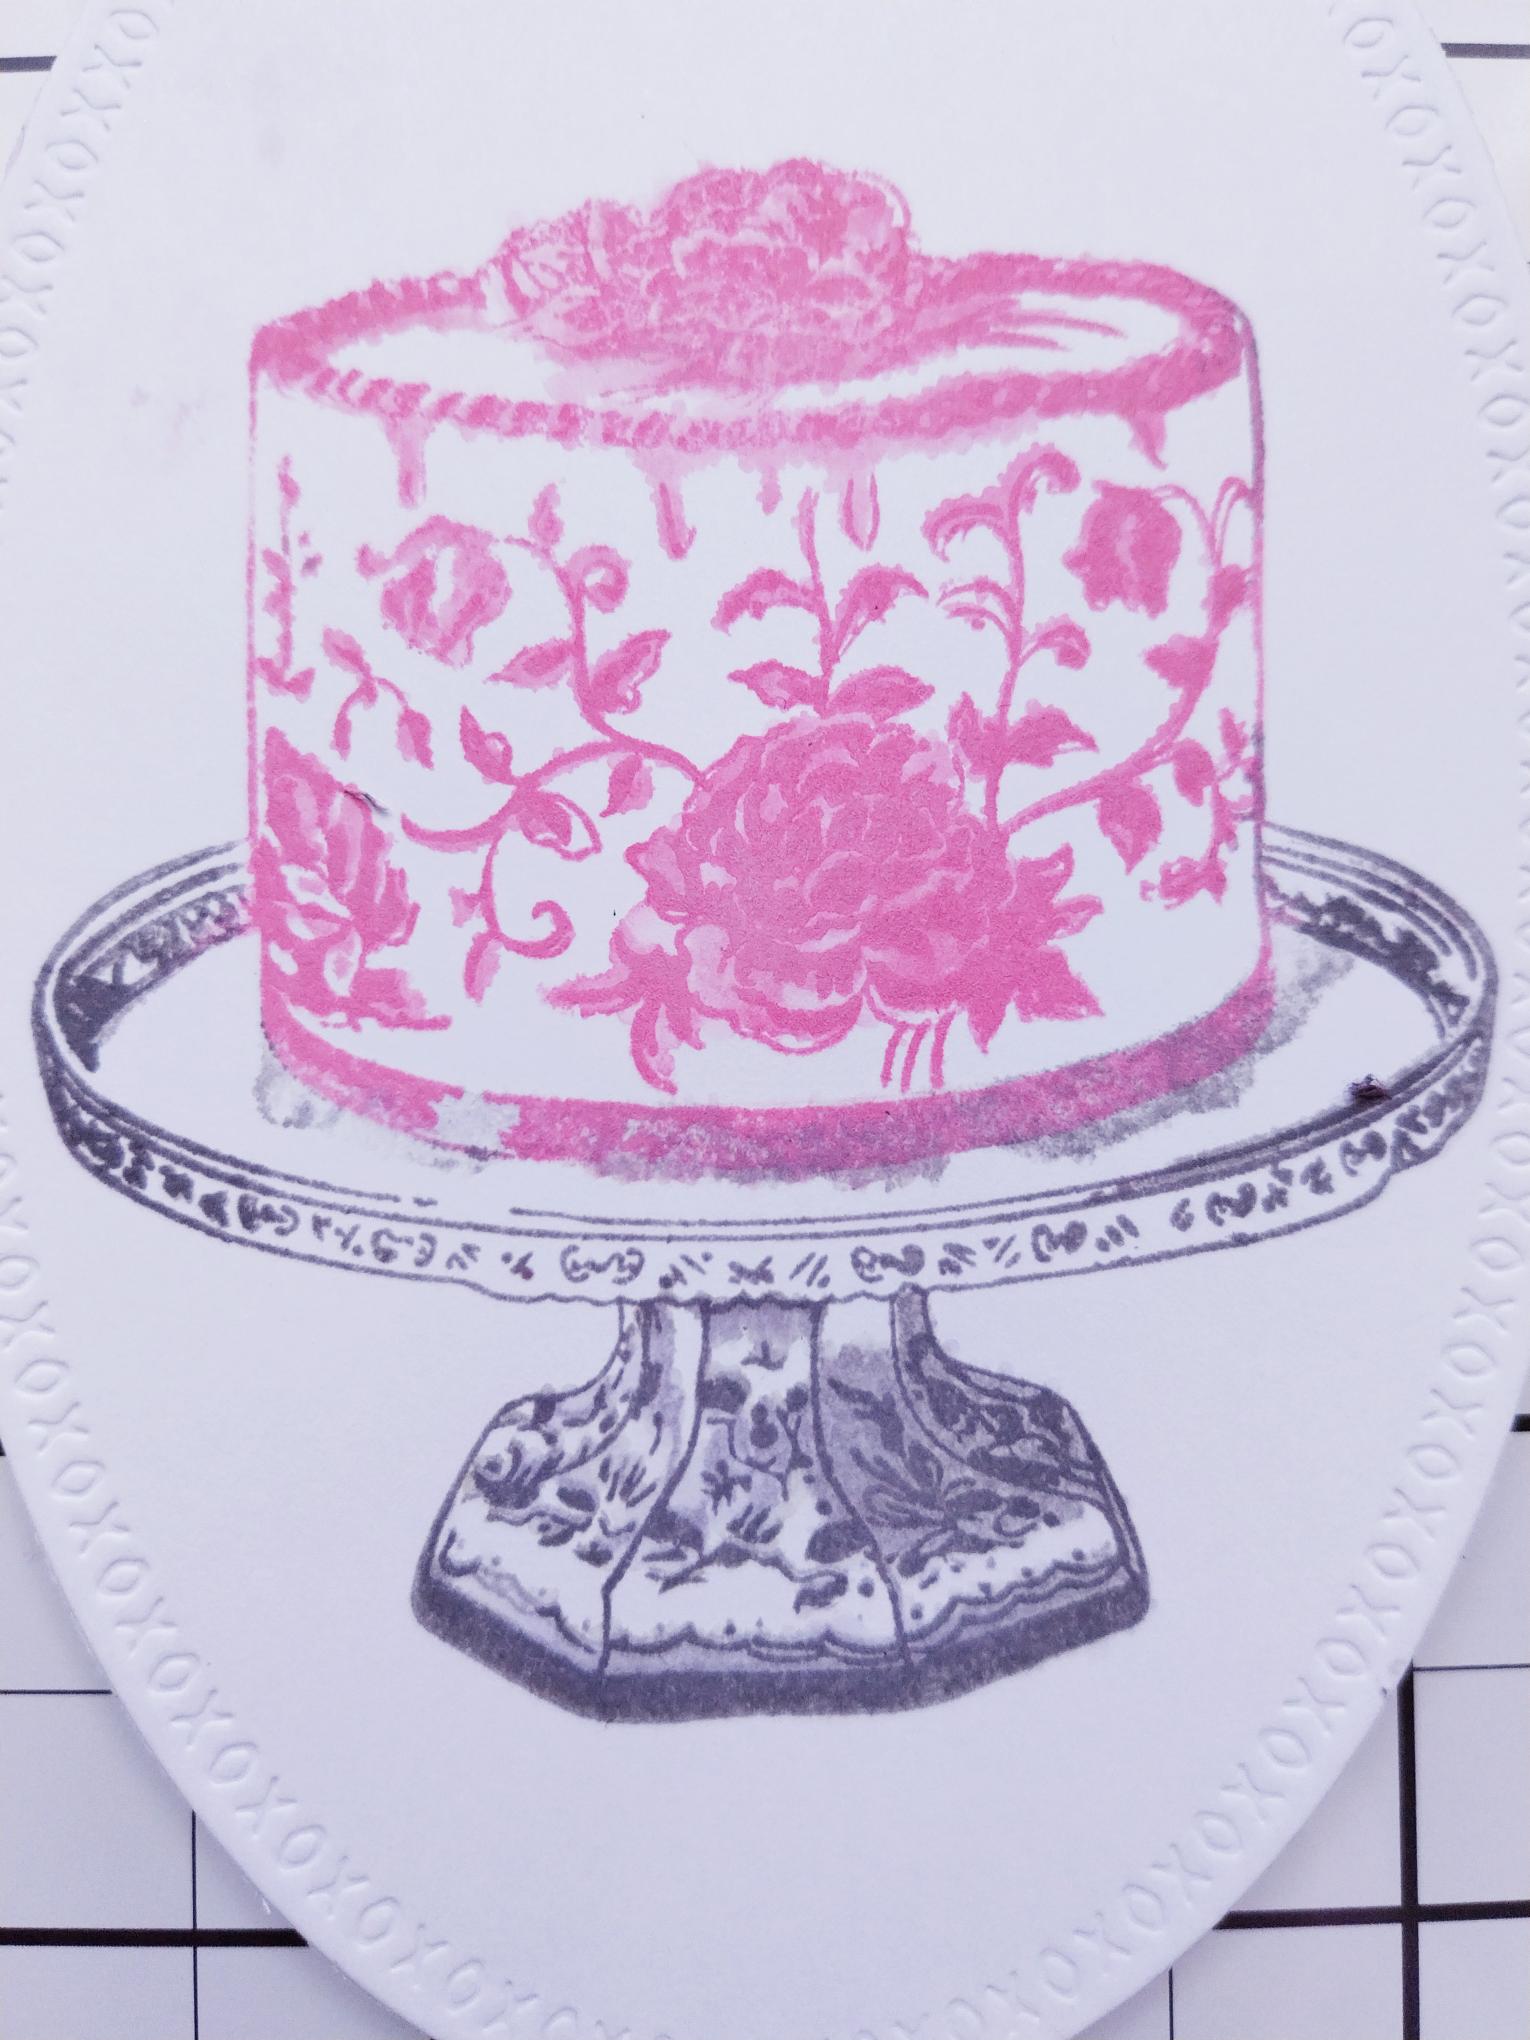
Ink up the detailed stamp with the same inks and stamp over your solid image. You may need to stamp a couple of times to get the detail clear and crisp. |
|
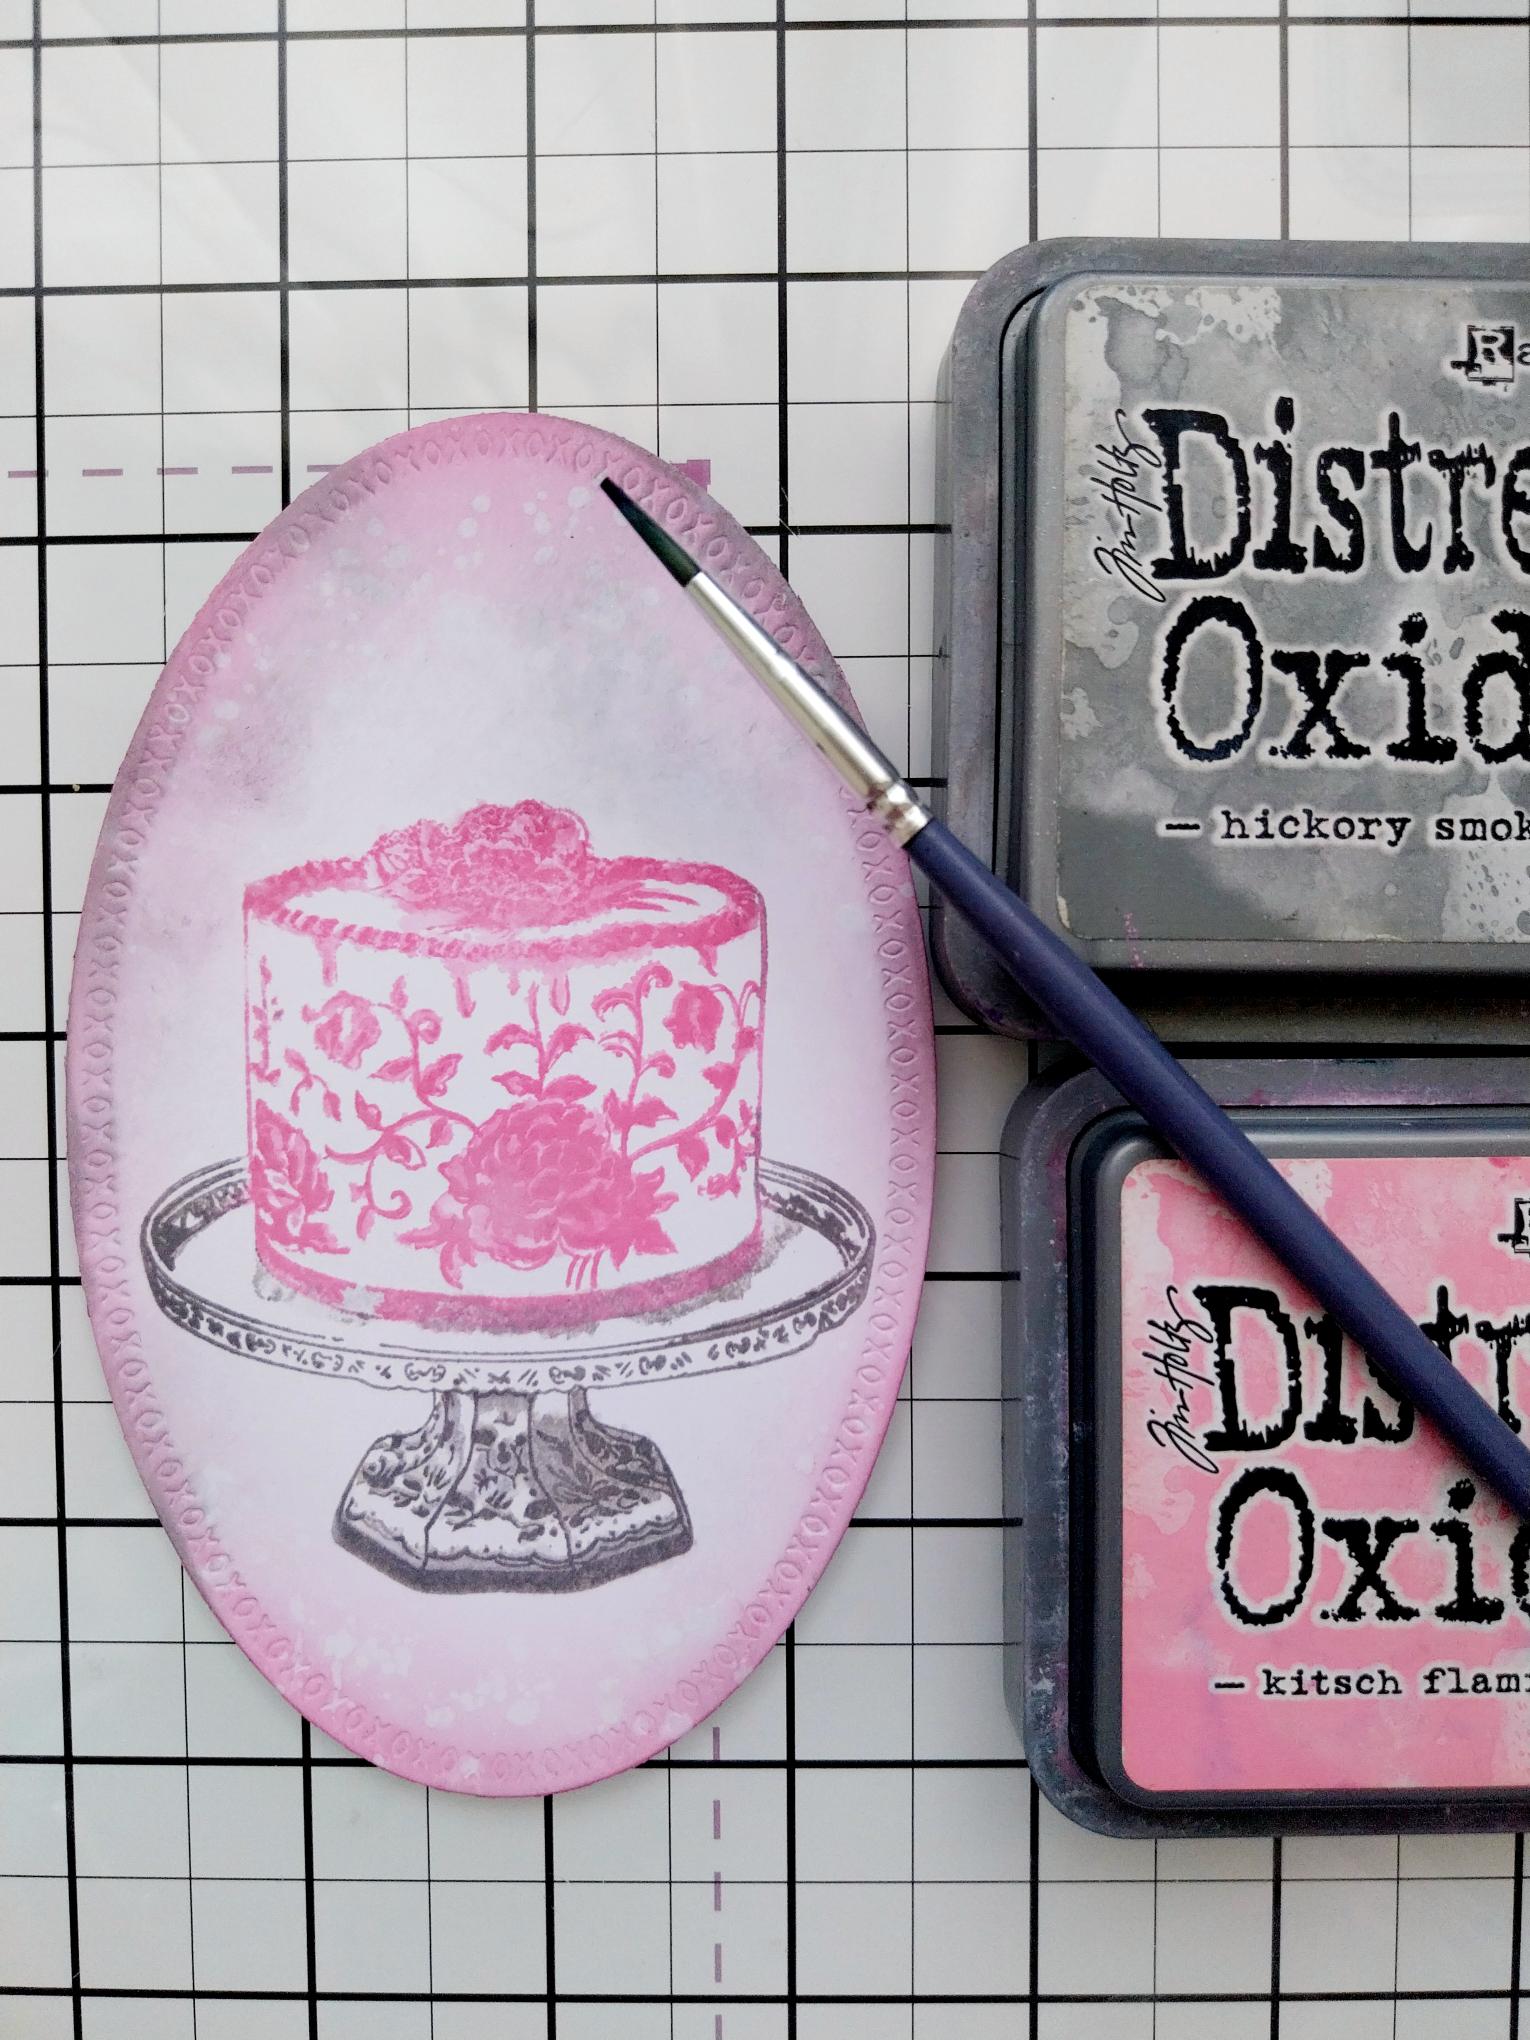
Blend around the edges of the stamped oval with your inks, splatter lightly with water and mop up the excess ink with a paper towel. |
|
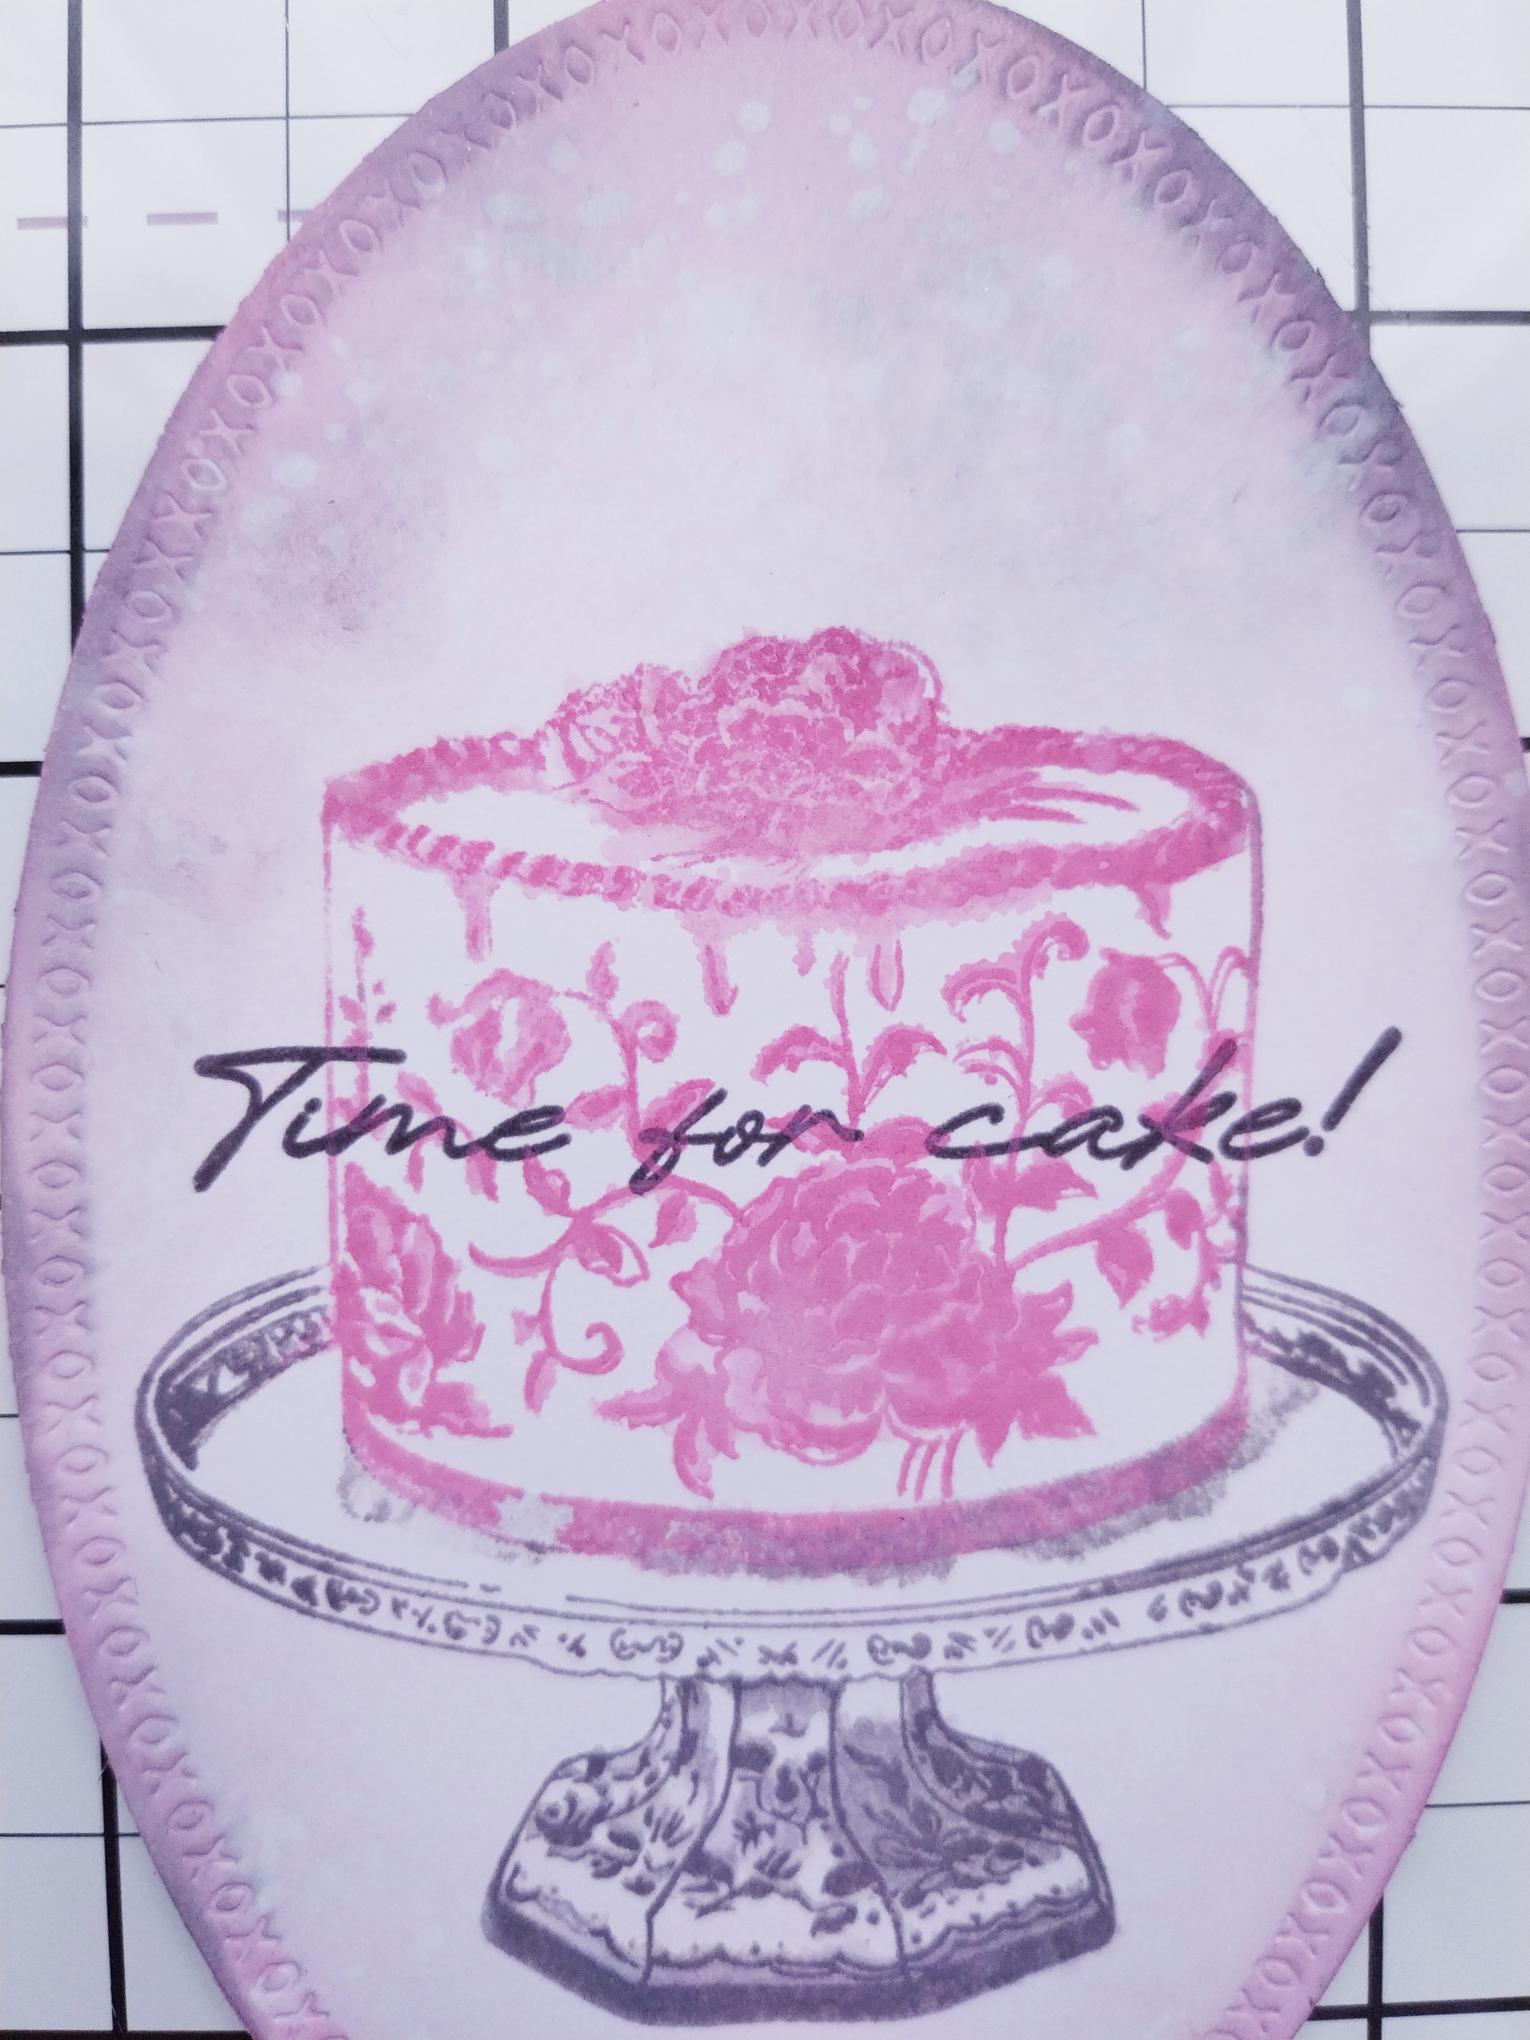
Stamp your sentiment across the centre of the cake, with the Versafine. |
|
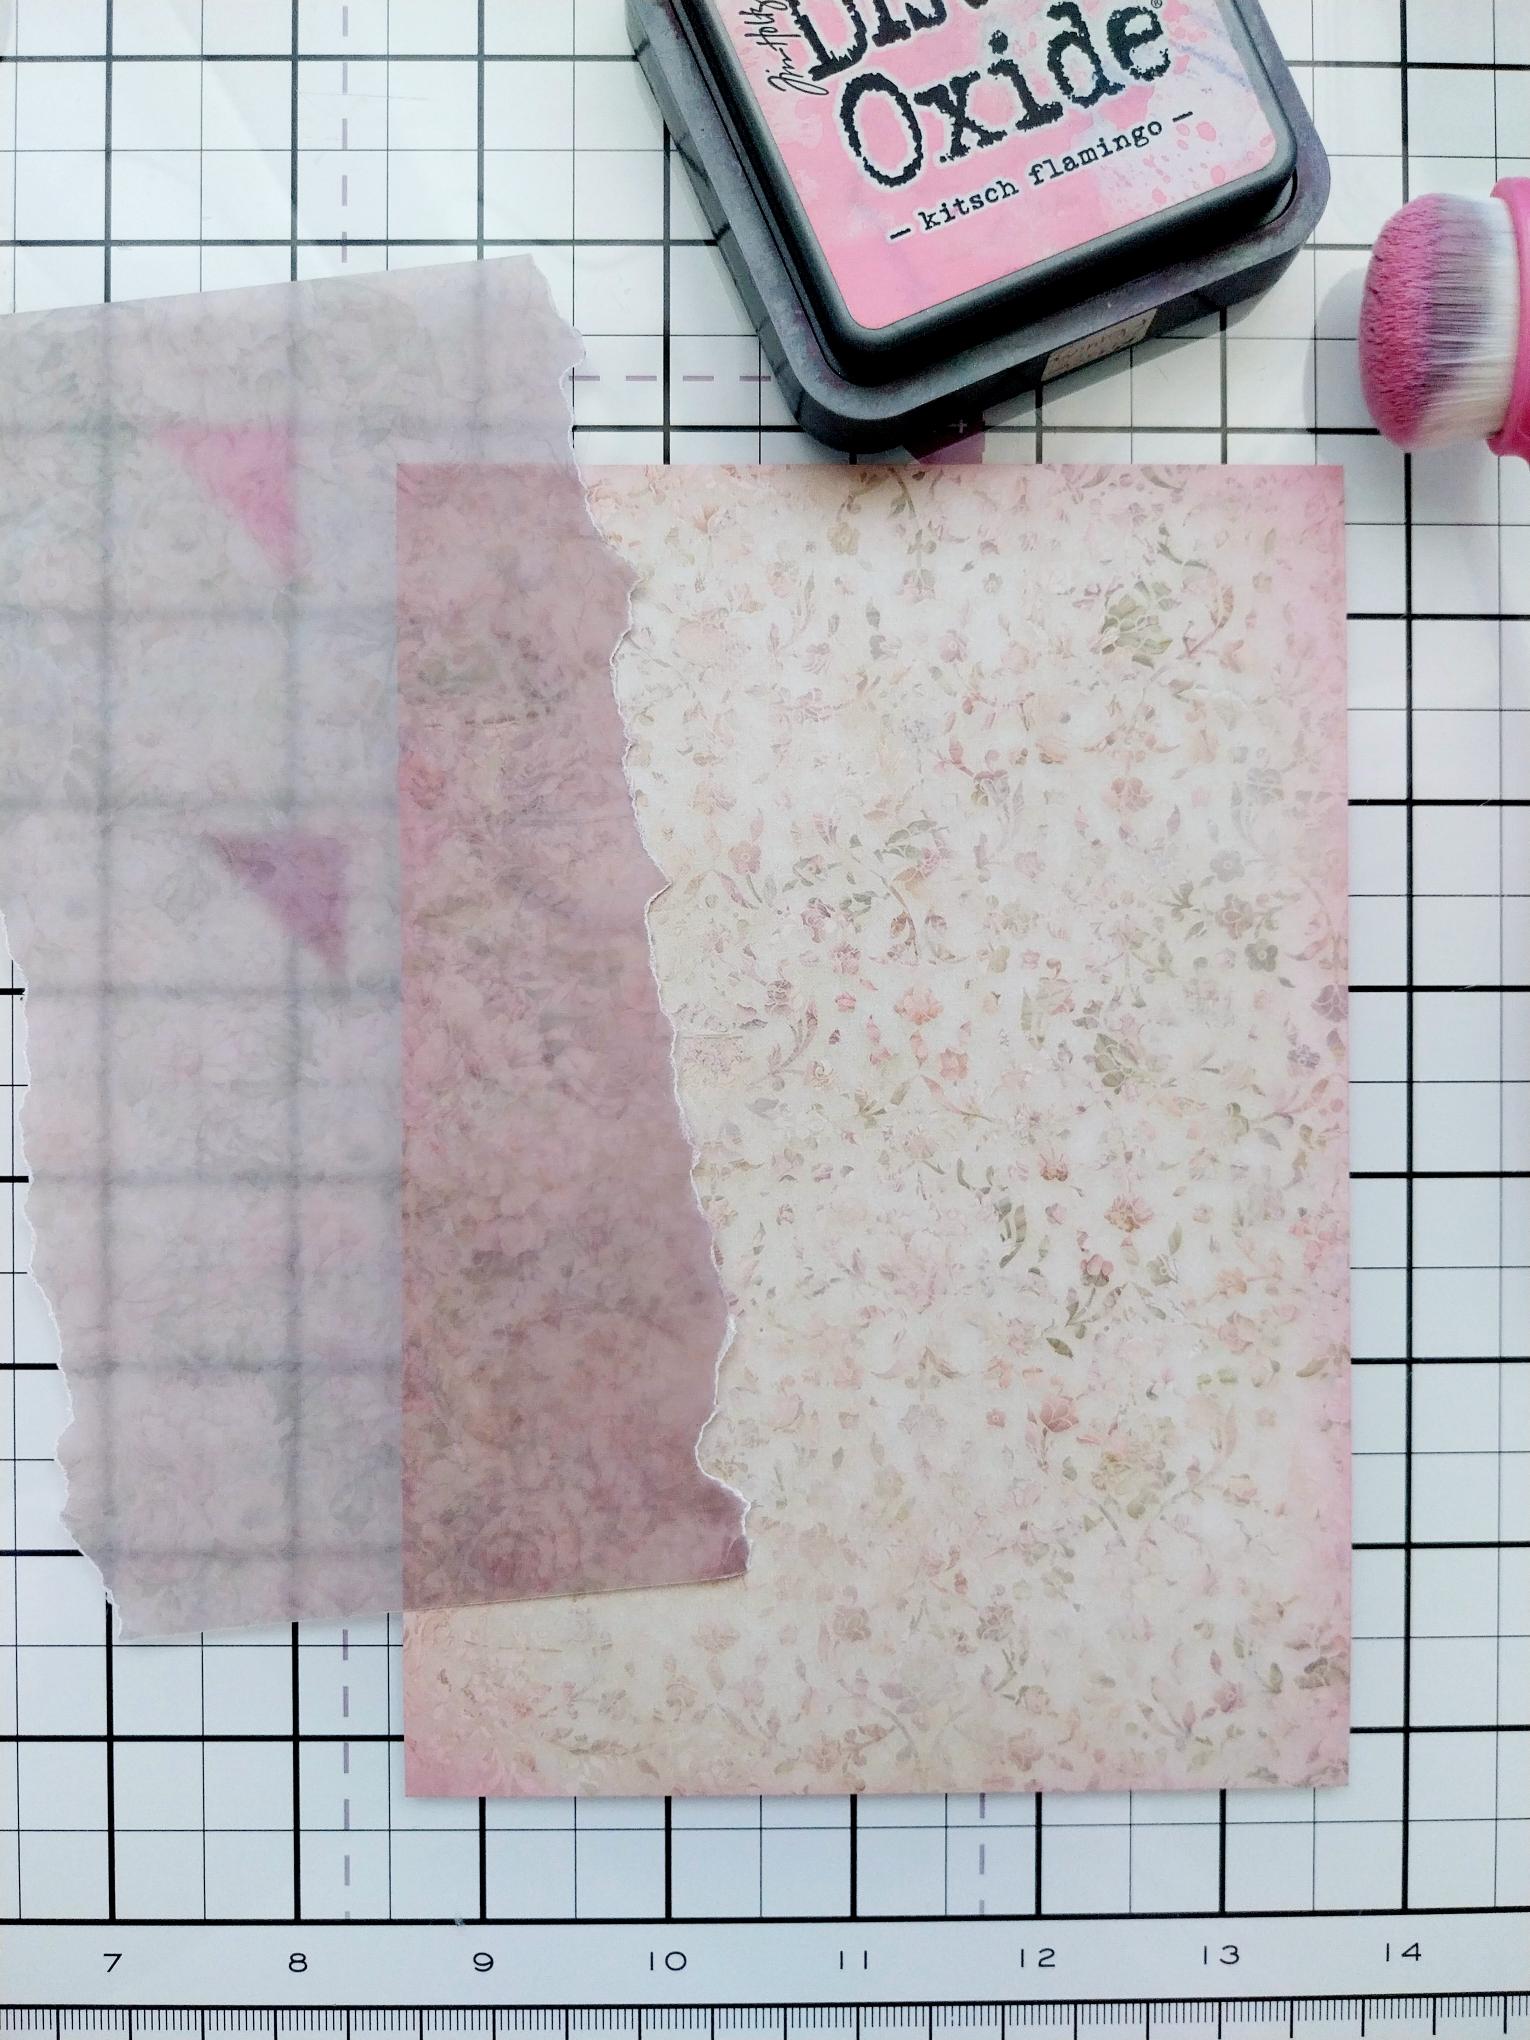
Trim a sheet of Sweet Serenity paper to 5 x 7" and blend around the edges with the Kitsch Flamingo. Tear a panel of the Sweet Serenity coordinating vellum. |
|
Adhere the vellum panel down the centre of the paper and then the stamped oval in the centre of the vellum. |
|
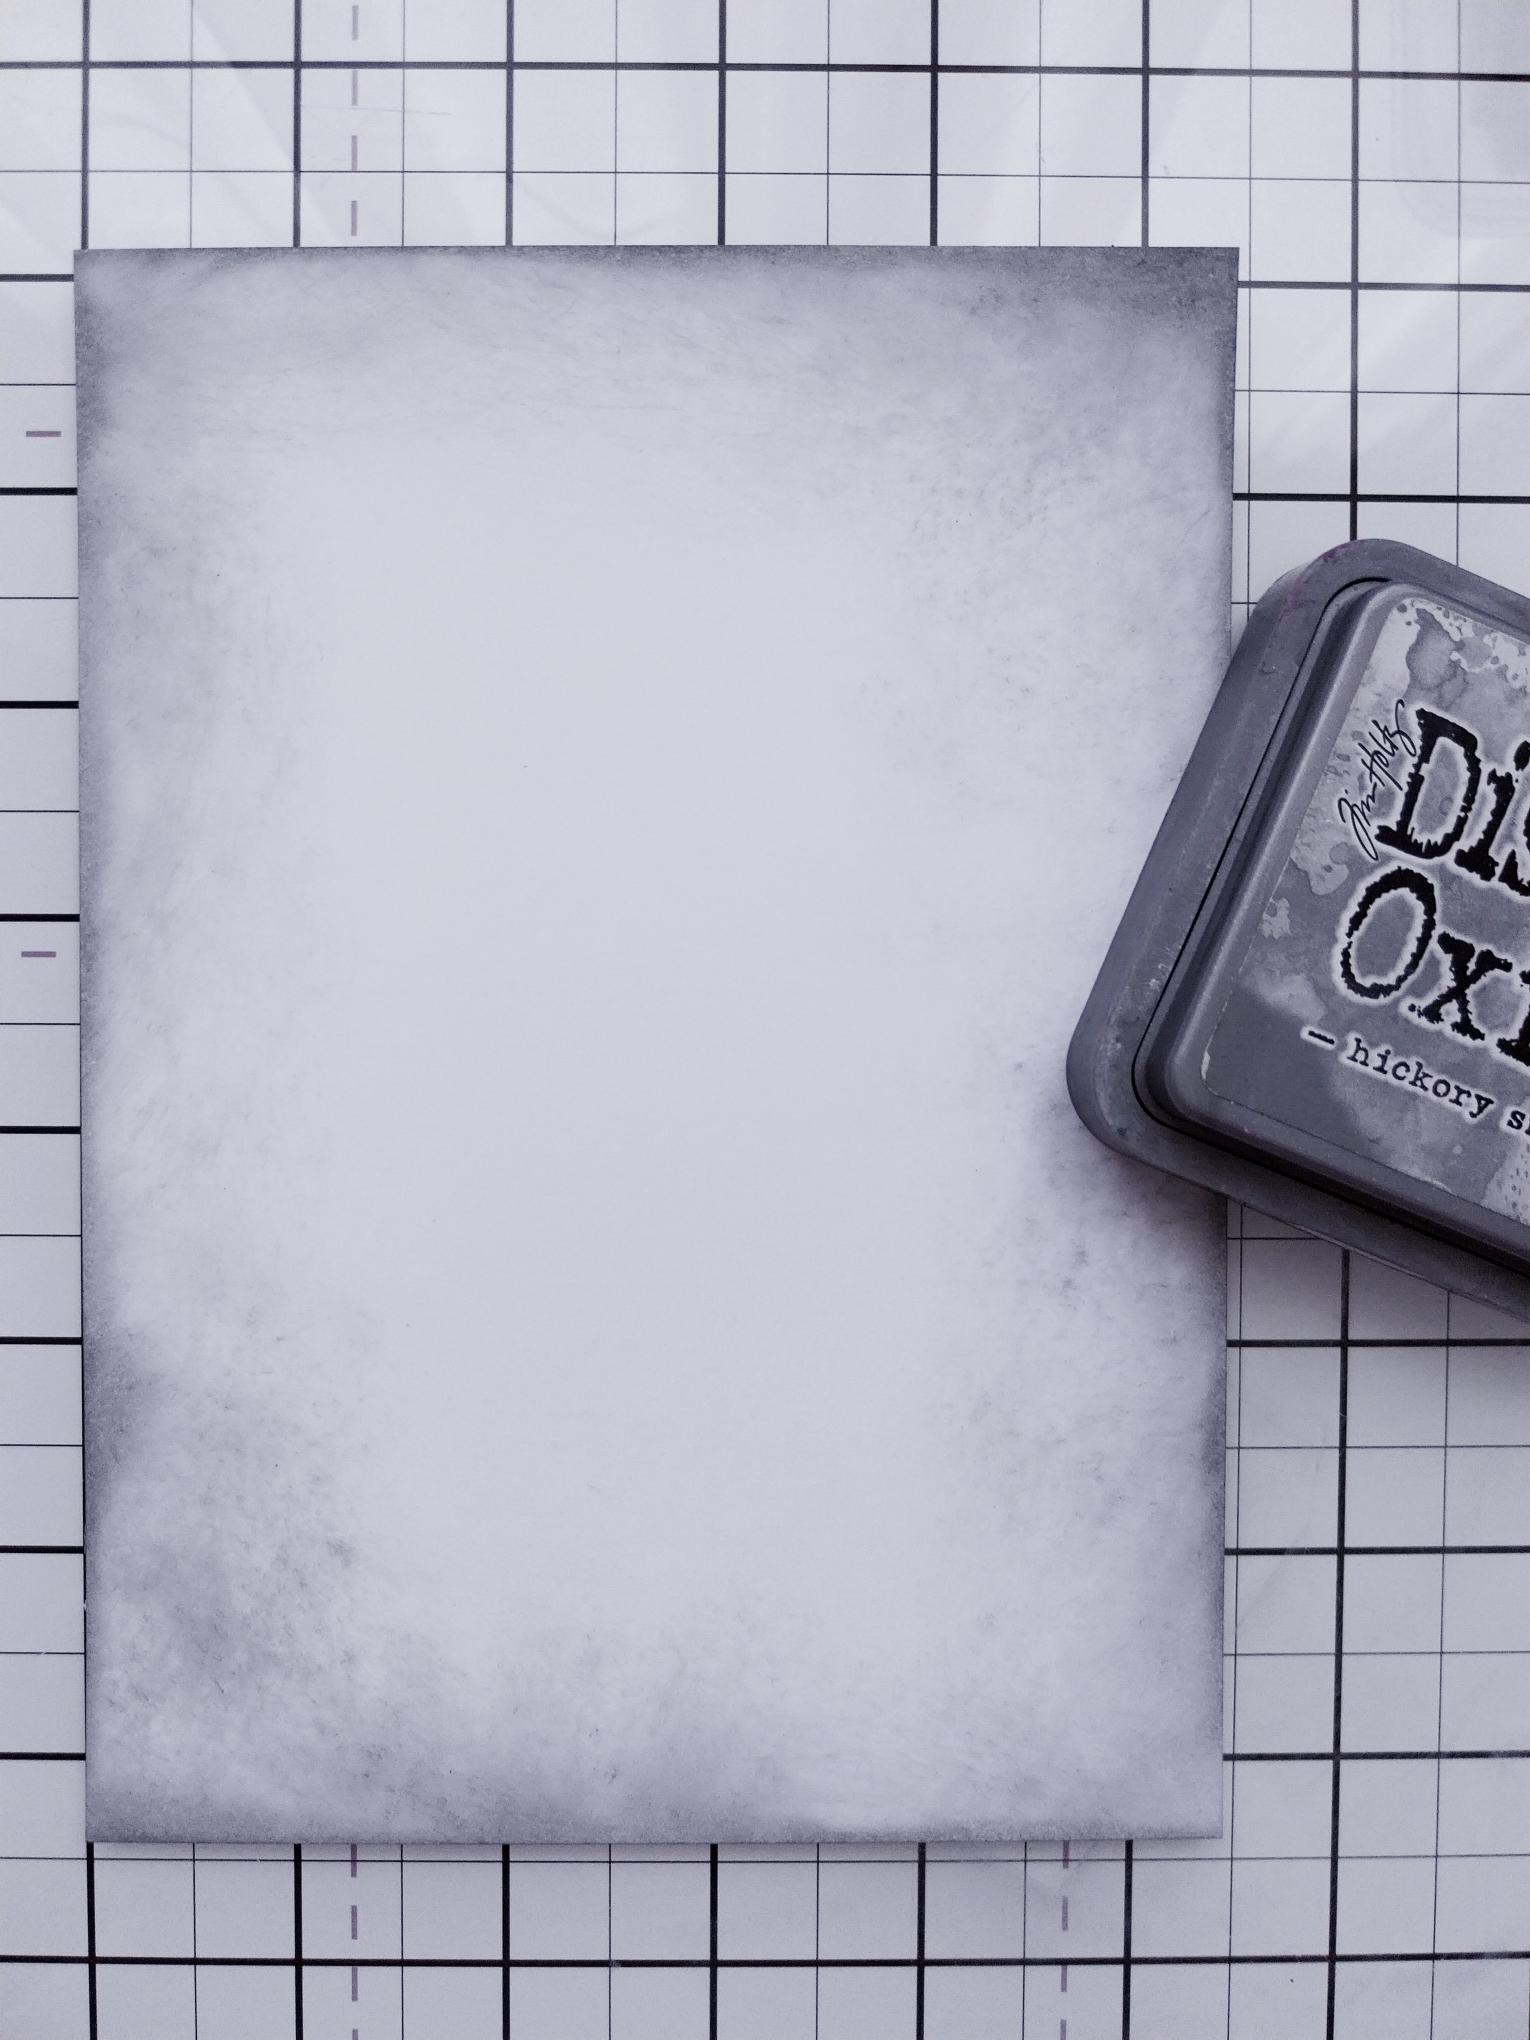
Cut a piece of white card to 5 1/4 x 7 1/4" and blend around the edges with Hickory Smoke, to create a coordinating "mat". |
|
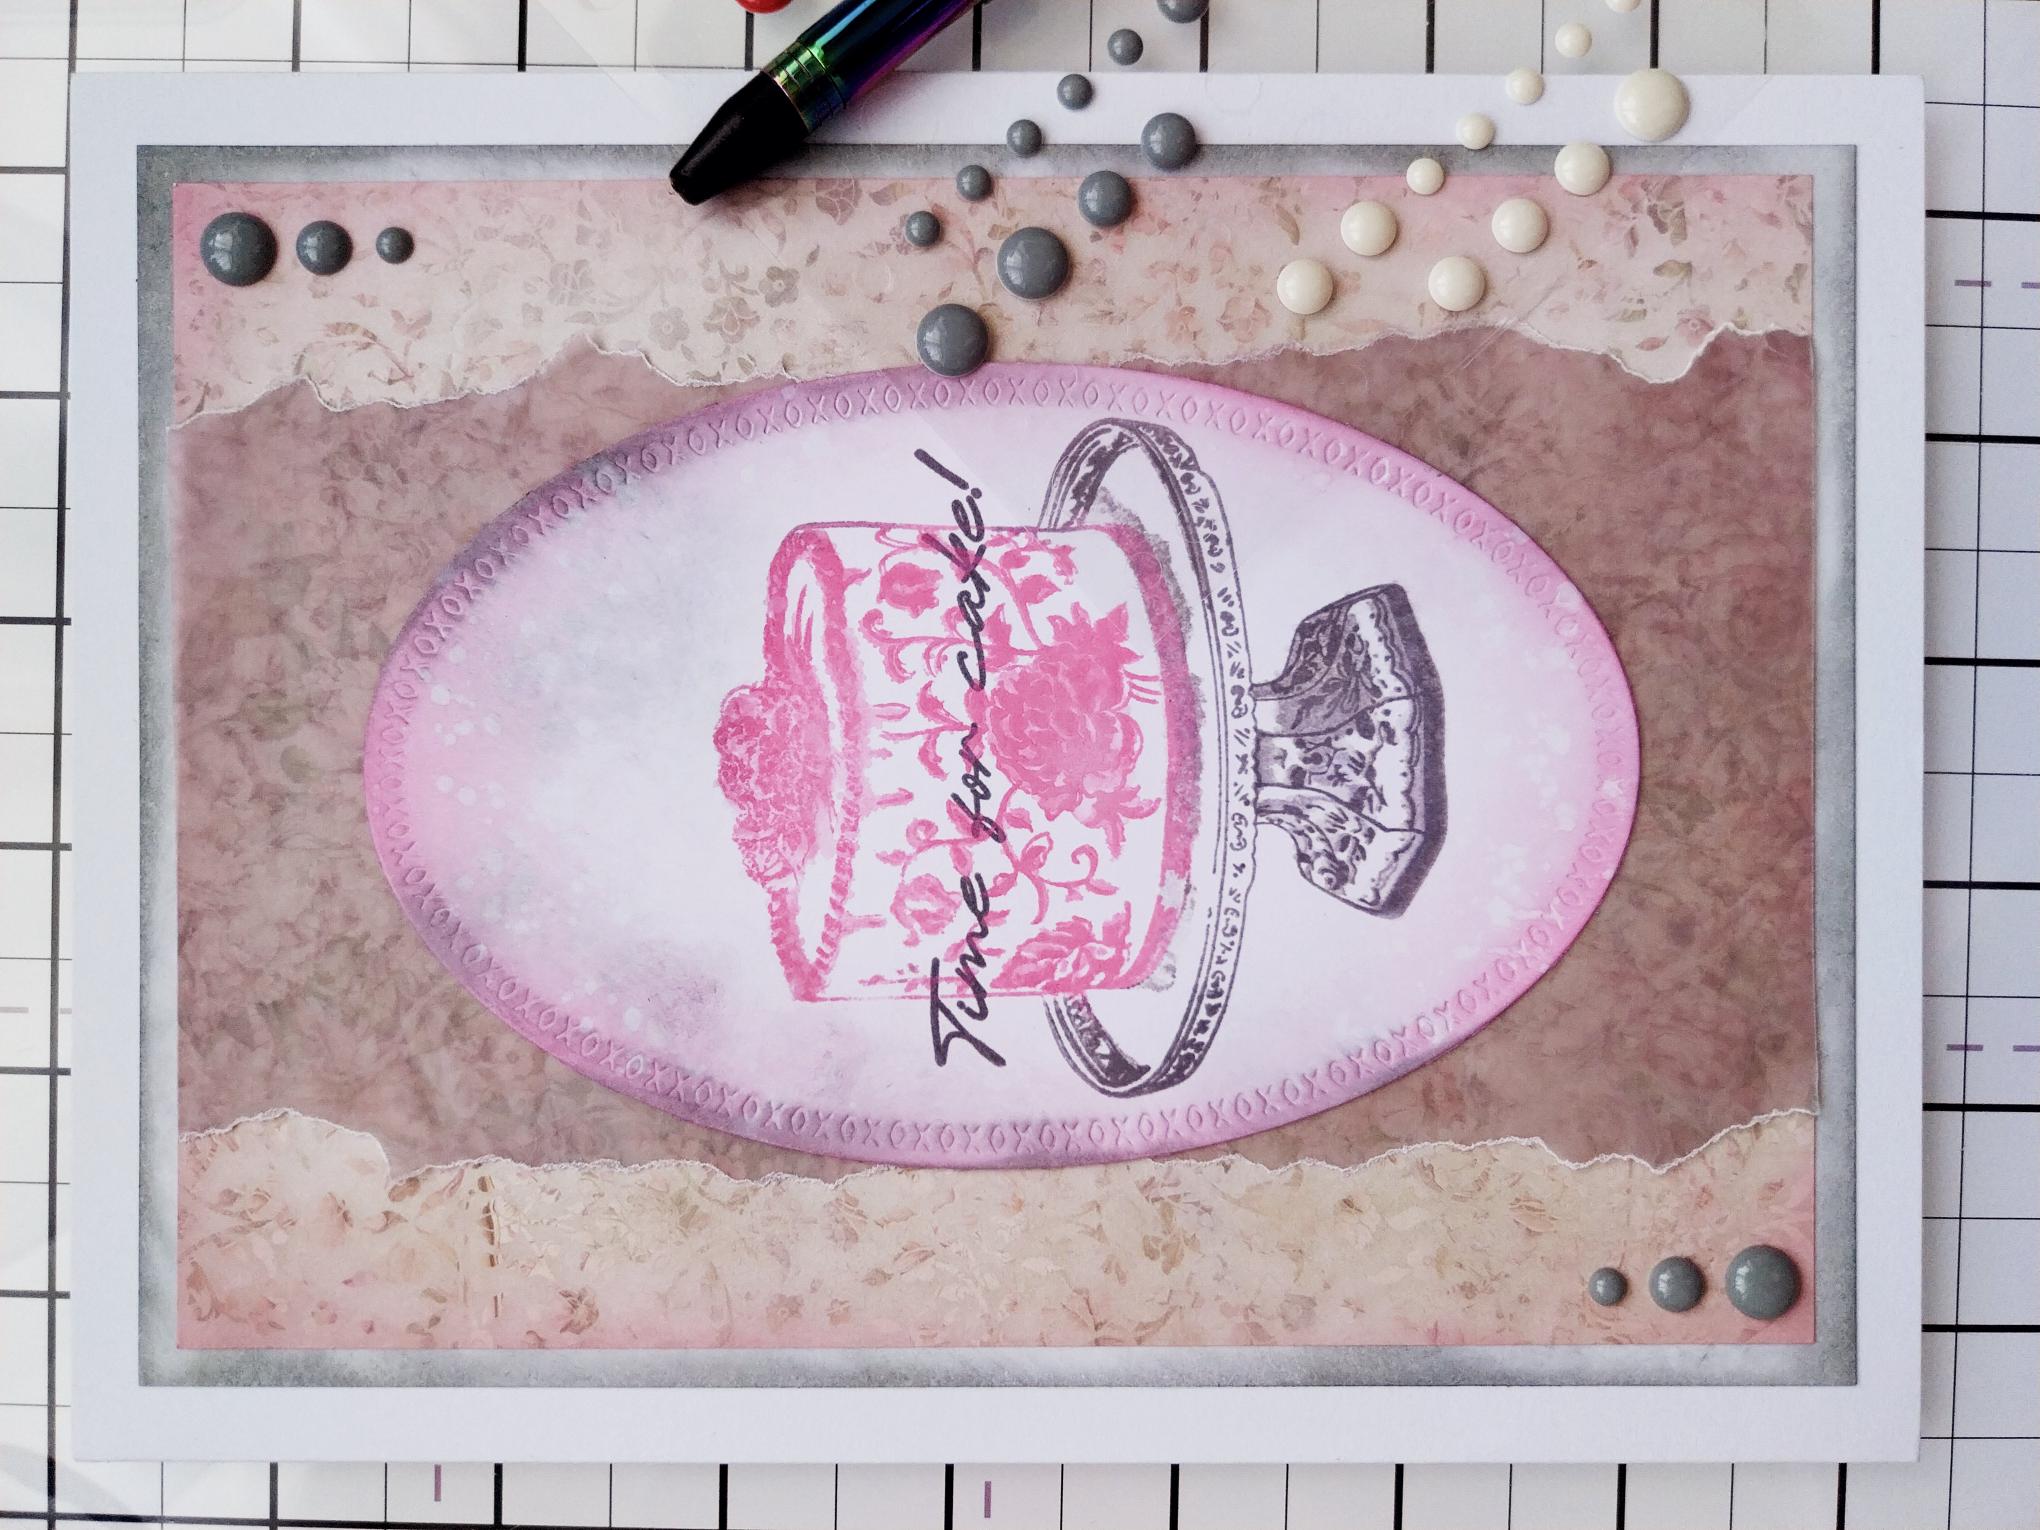
Adhere your artwork onto the inked "mat" and then onto your card blank. Add enamel dots bottom left and top right. |
|
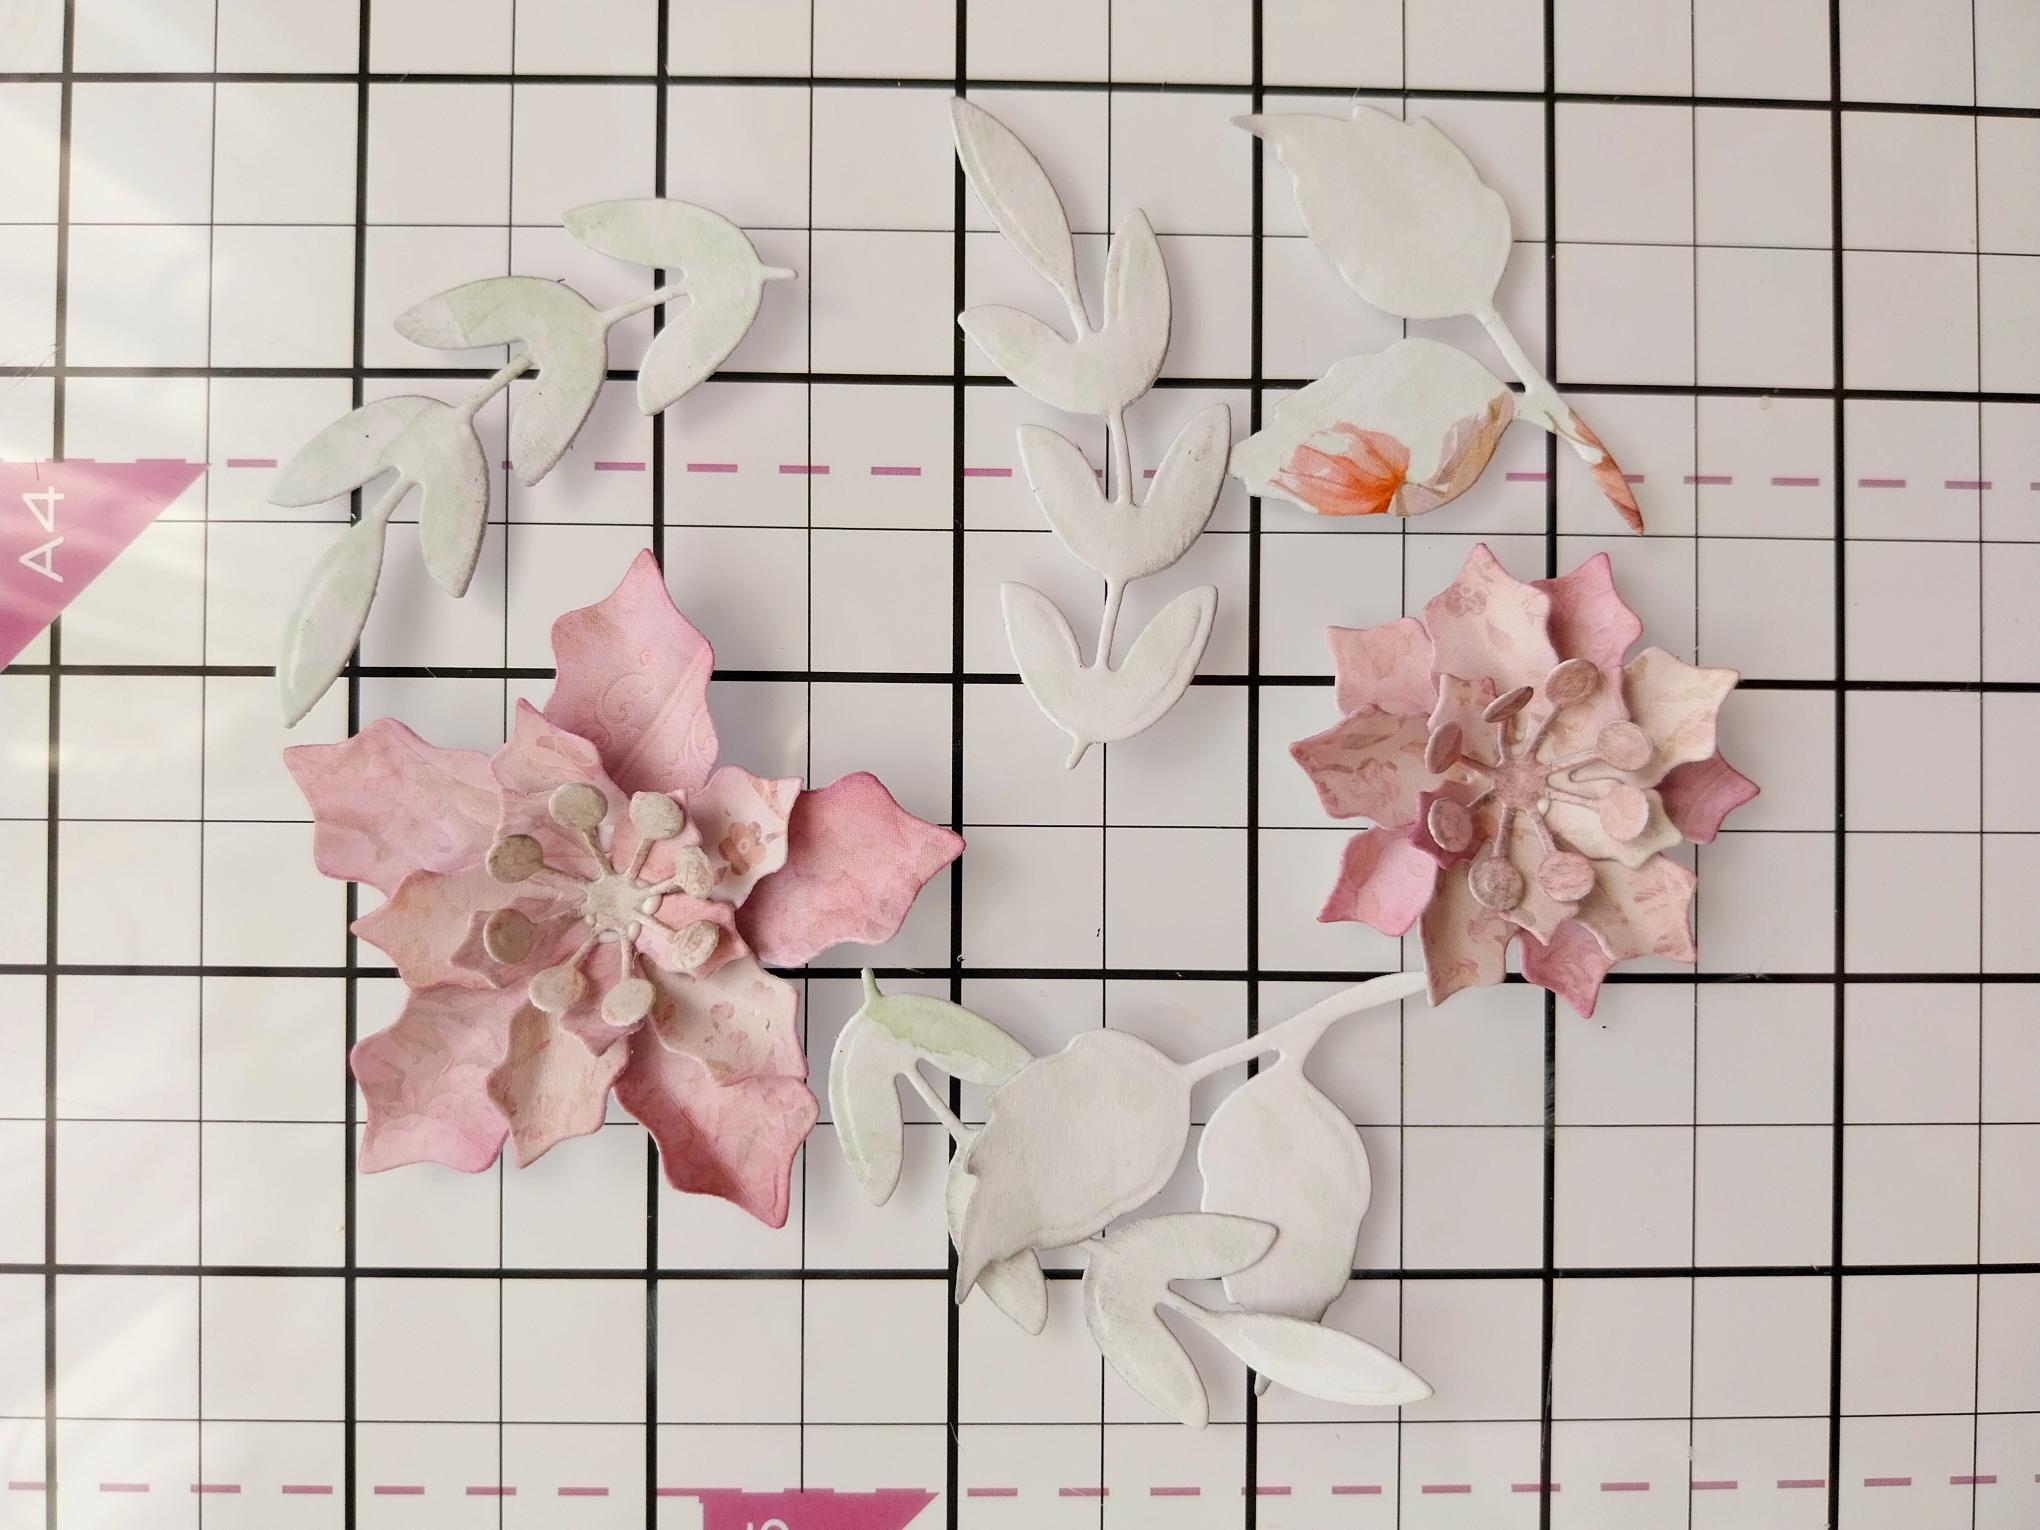
Using your Holly & Berry dies, cut out a selection of flowers and foliage from coordinating Sweet Serenity papers. |
|
Adhere your die cut elements to create your 3D display, around the bottom right curve of the stamped oval. |