Give your friends $10 off their first order!
Refer a FRIEND


WHAT YOU WILL NEED:
Teal Card blank (trim to 5 1/2 x 6 1/2")
White cardstock
Decorative Brooches Die Set
Love, Hope & Joy Die Set
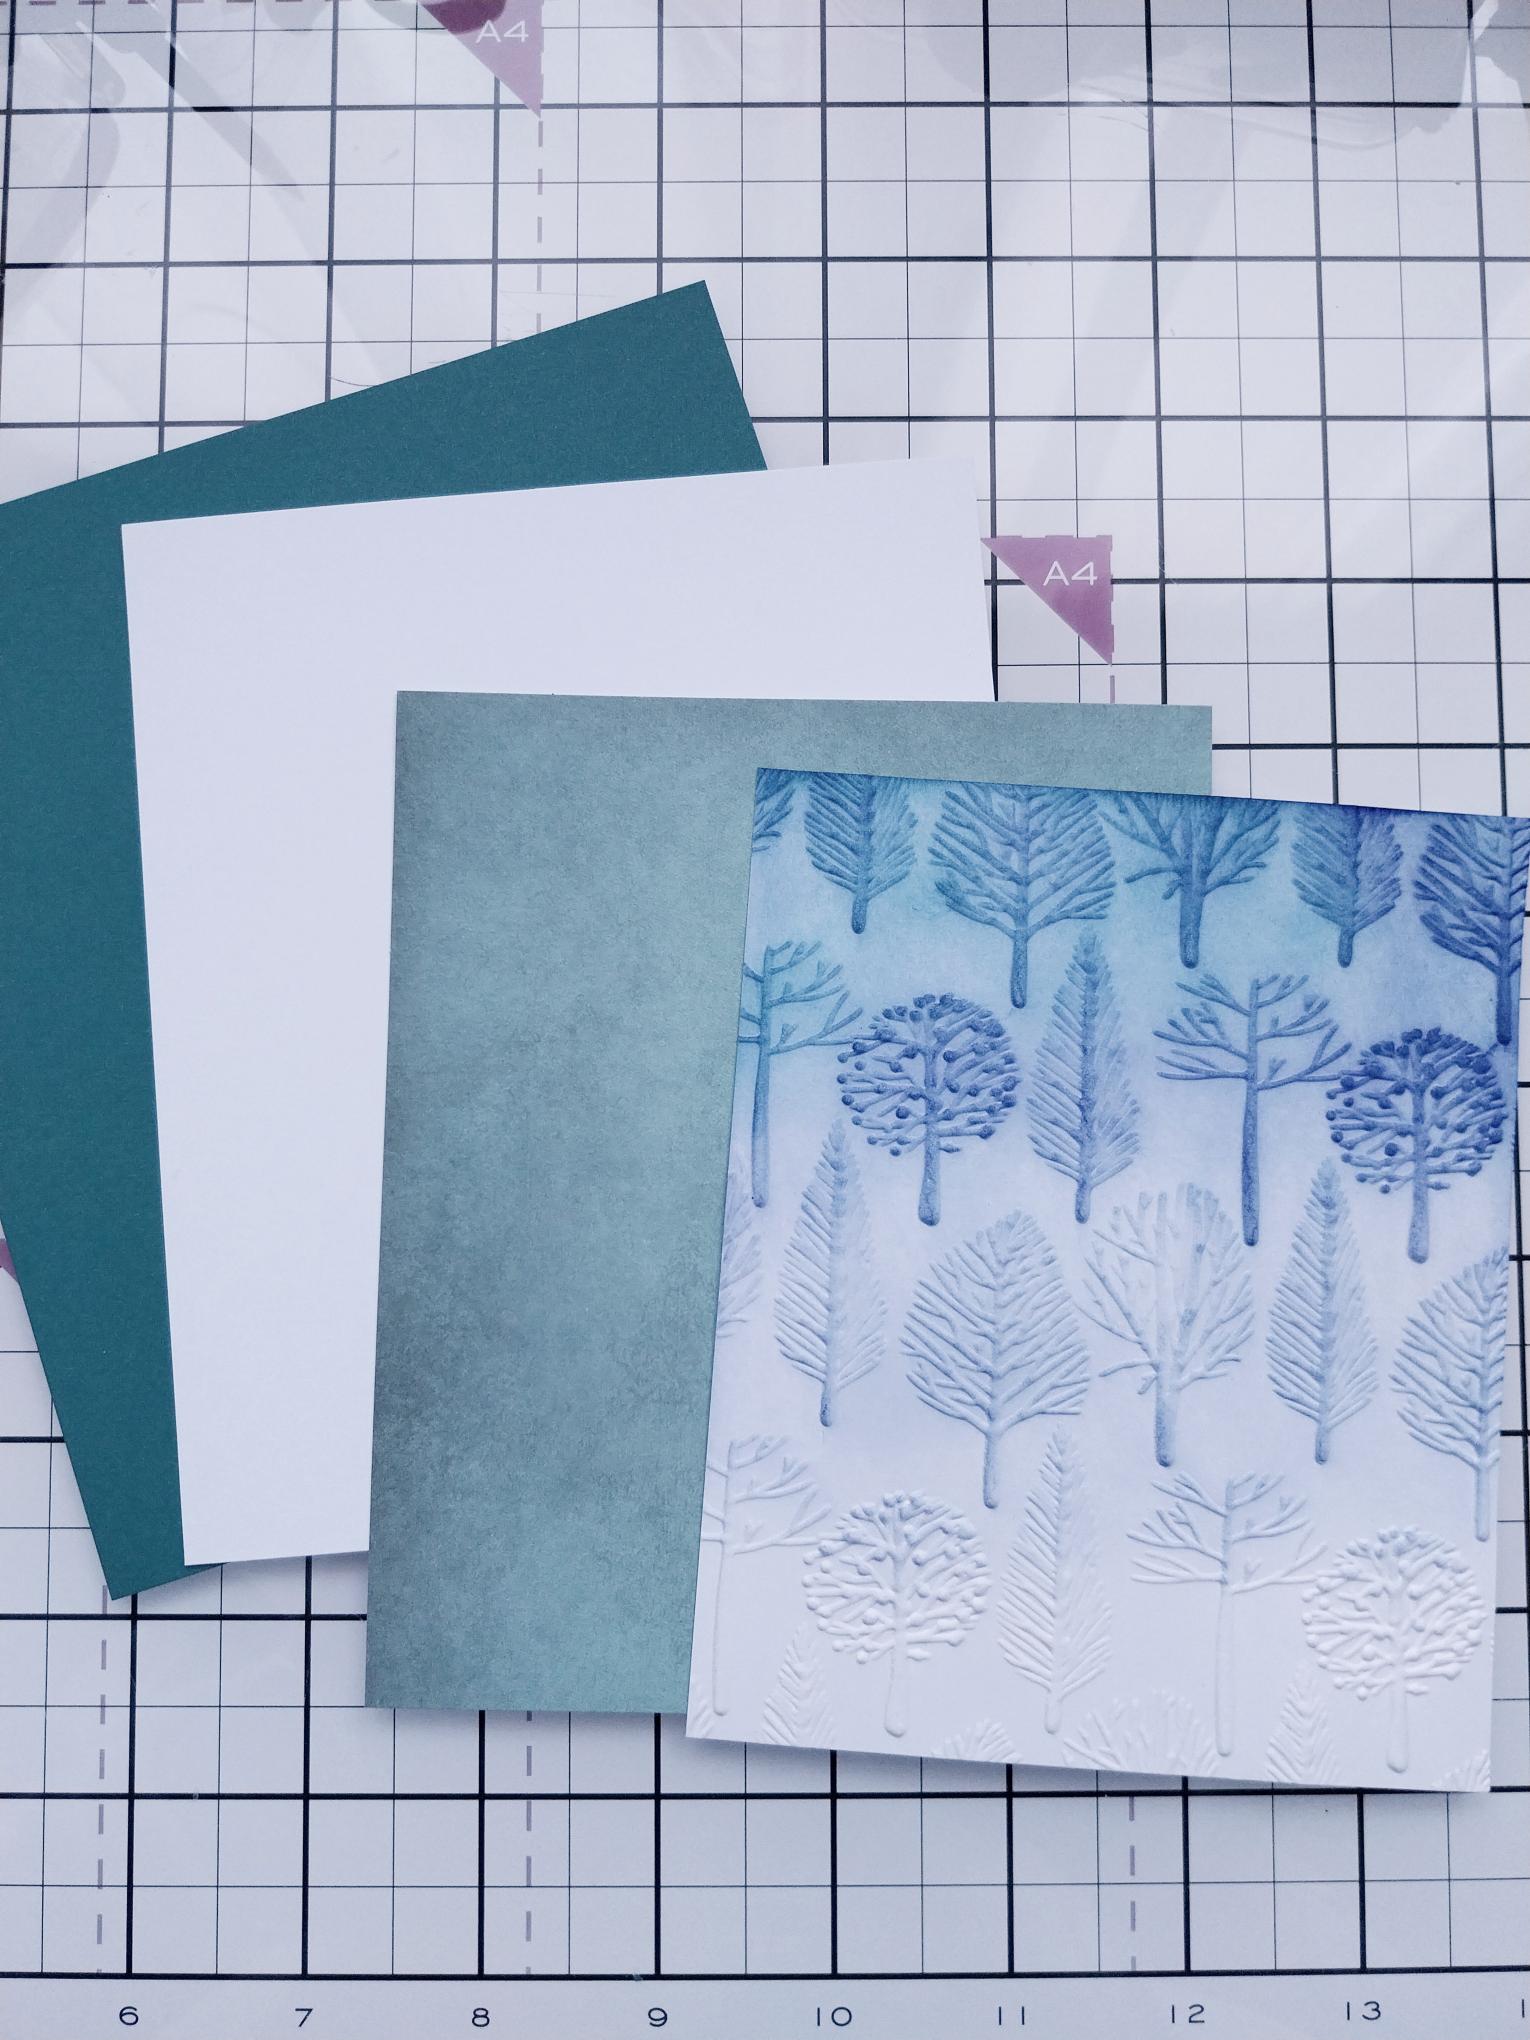
Autumn Breeze Embossing Folder
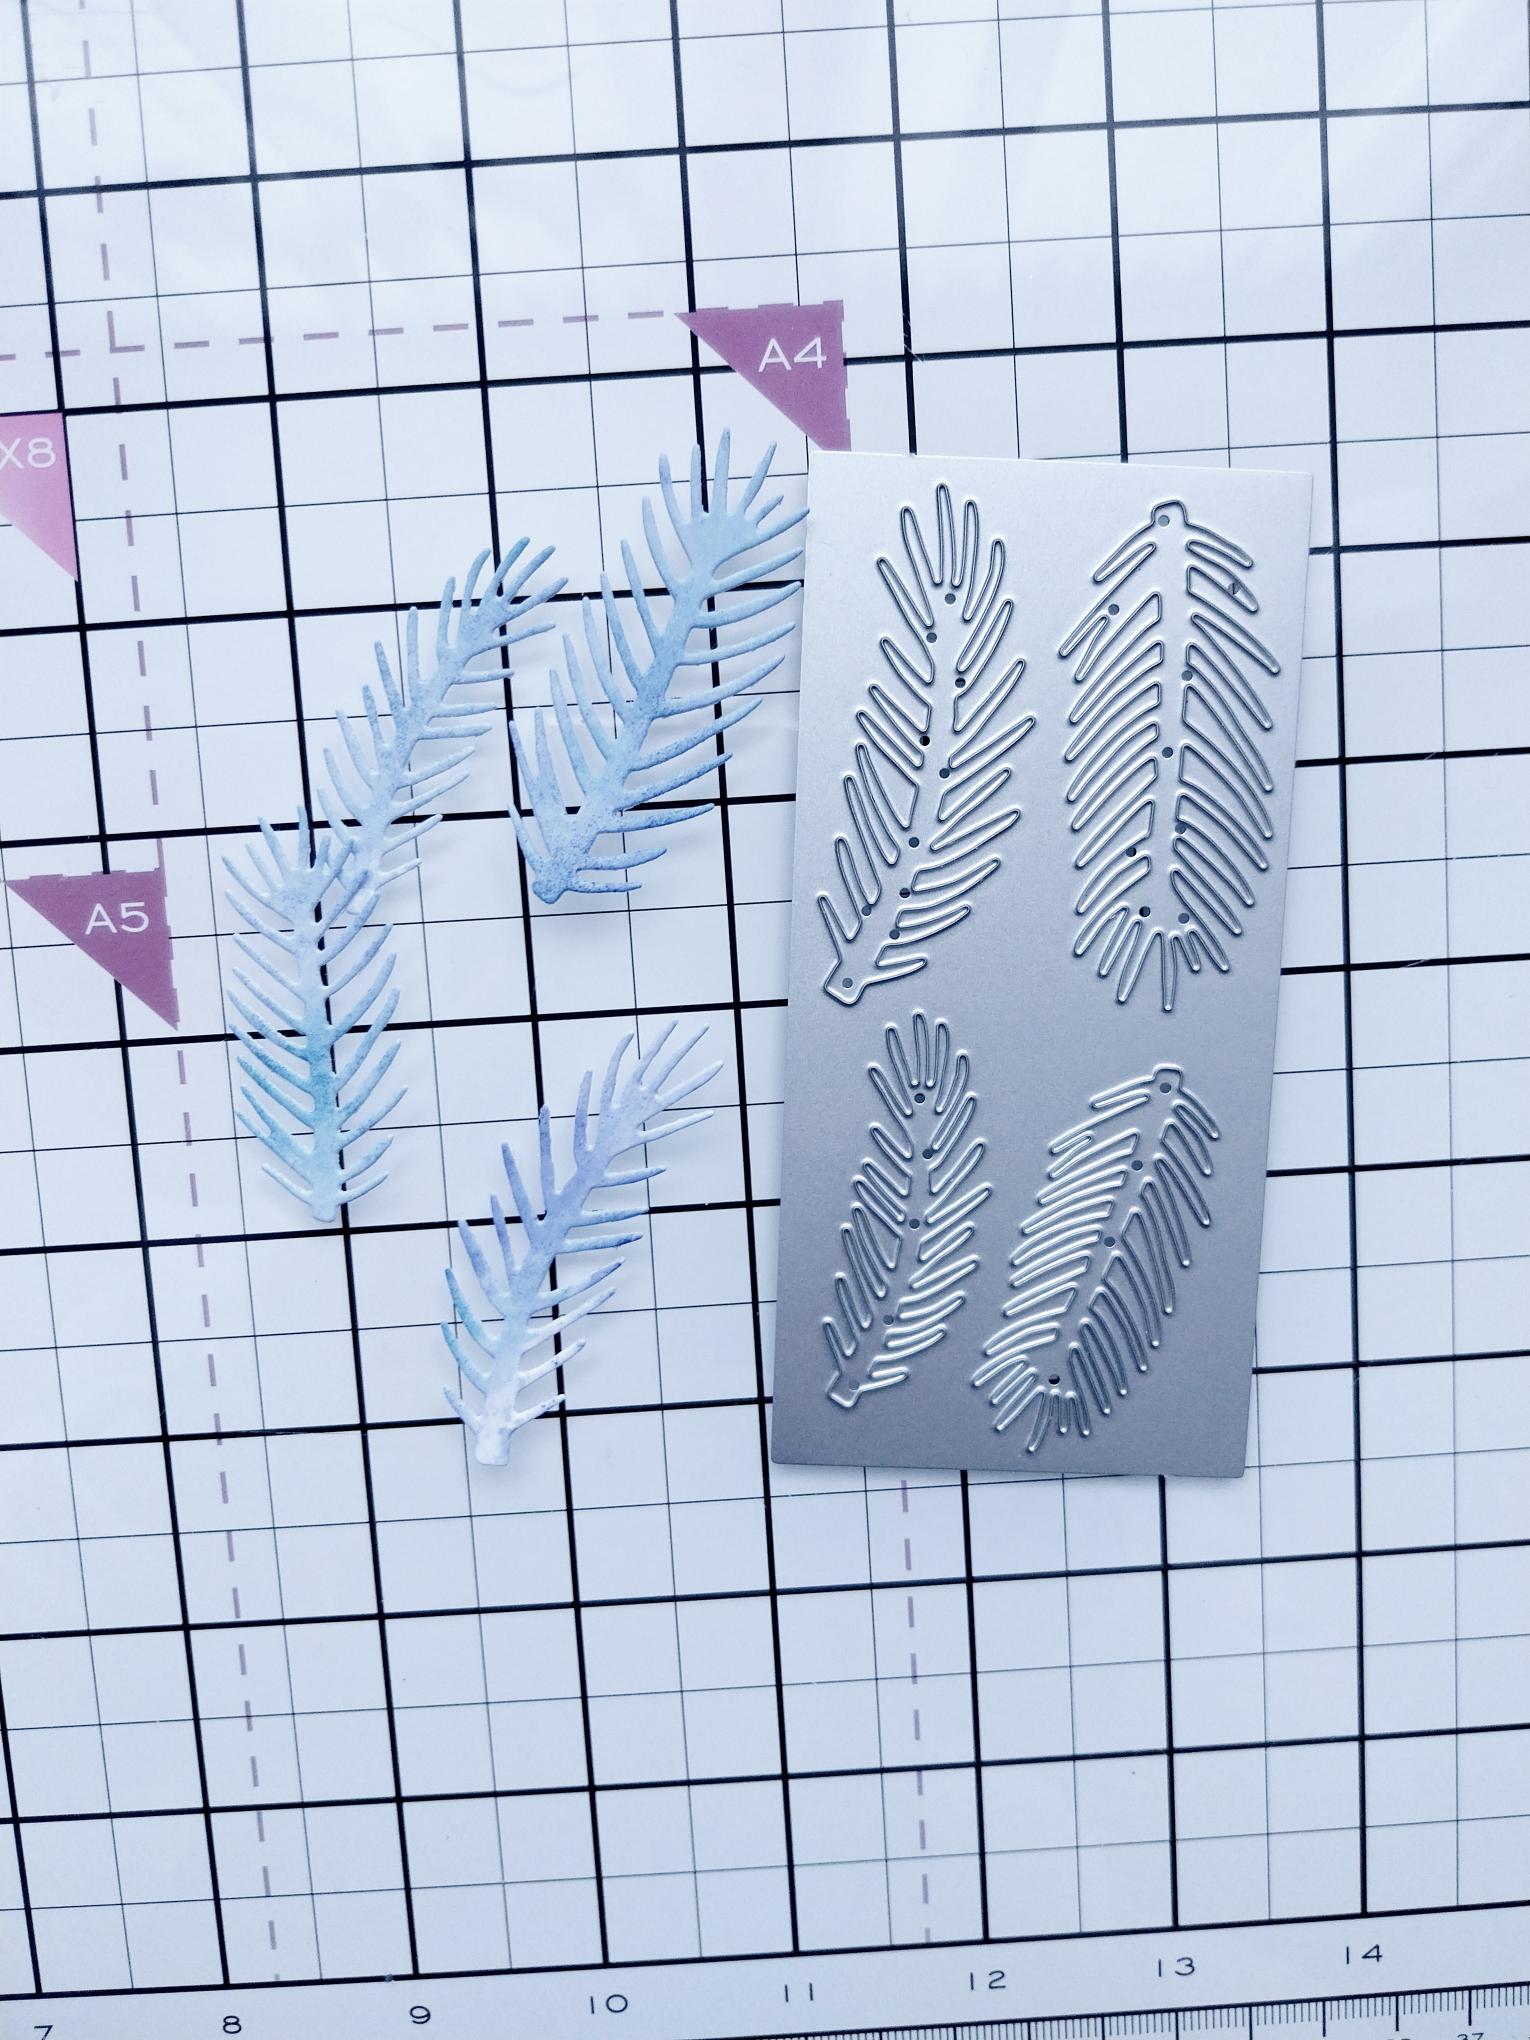
Perfect Pinecones Die Collection
Shabby Chic 7 x 7 Paper Pad
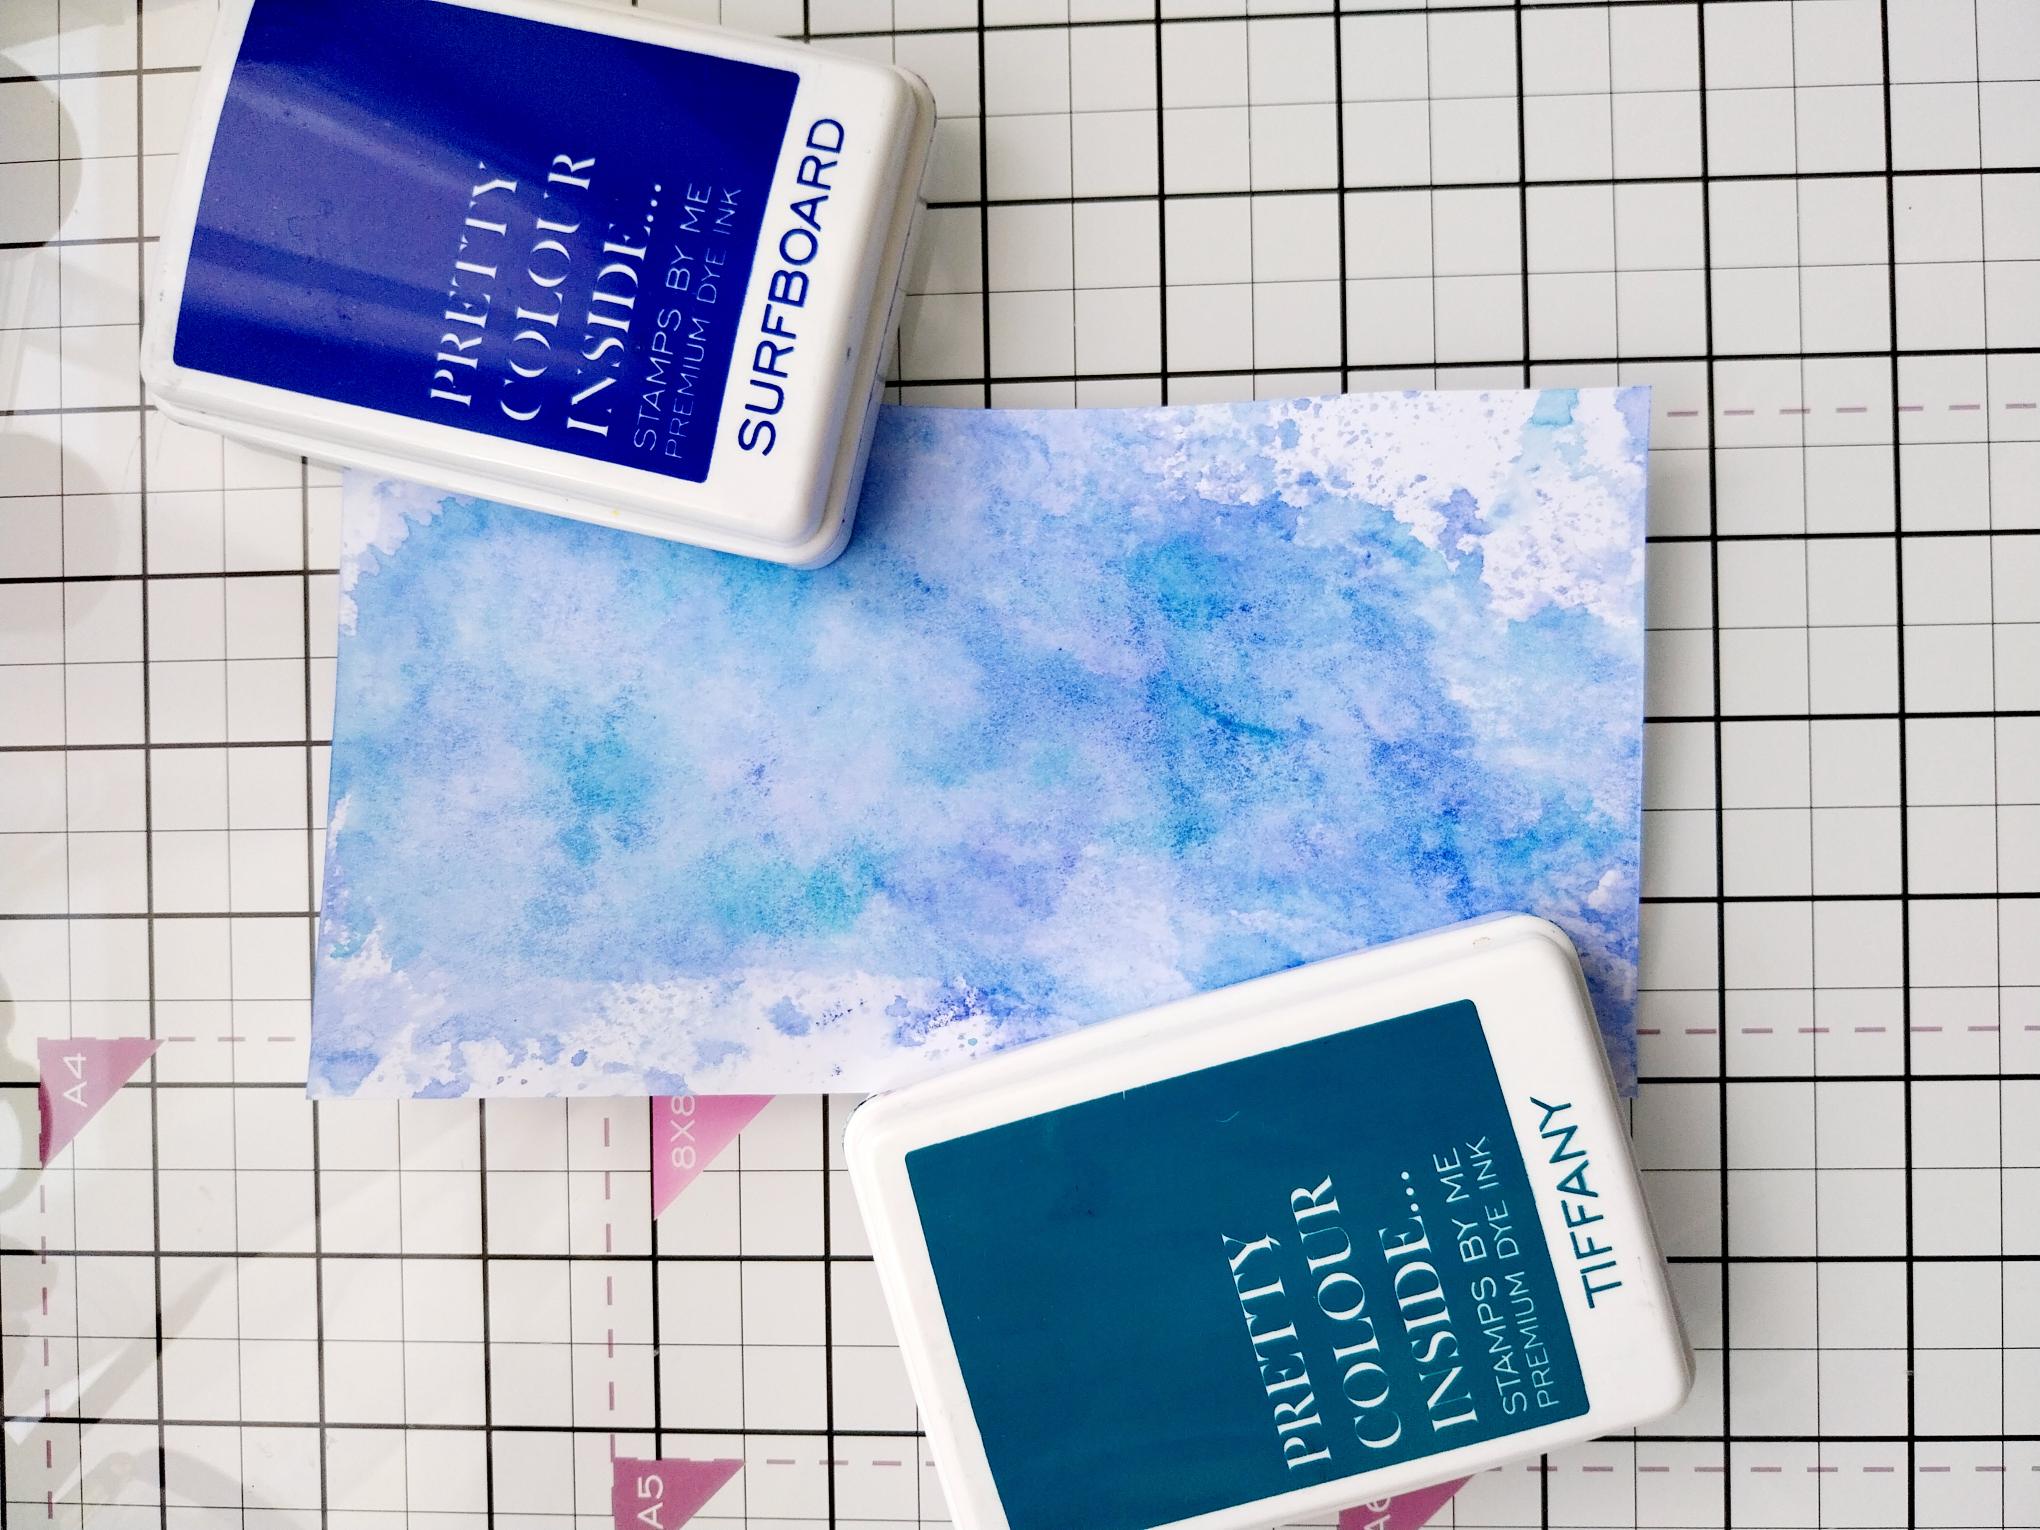
SBM Dye Ink Pad: Surfboard, Tiffany
Water spray bottle
Blending brush
Stickles/glitter
SBM A3 Magnetic glass mat
Paper Trimmer
Glue
Die Cutting machine
[click image to enlarge] 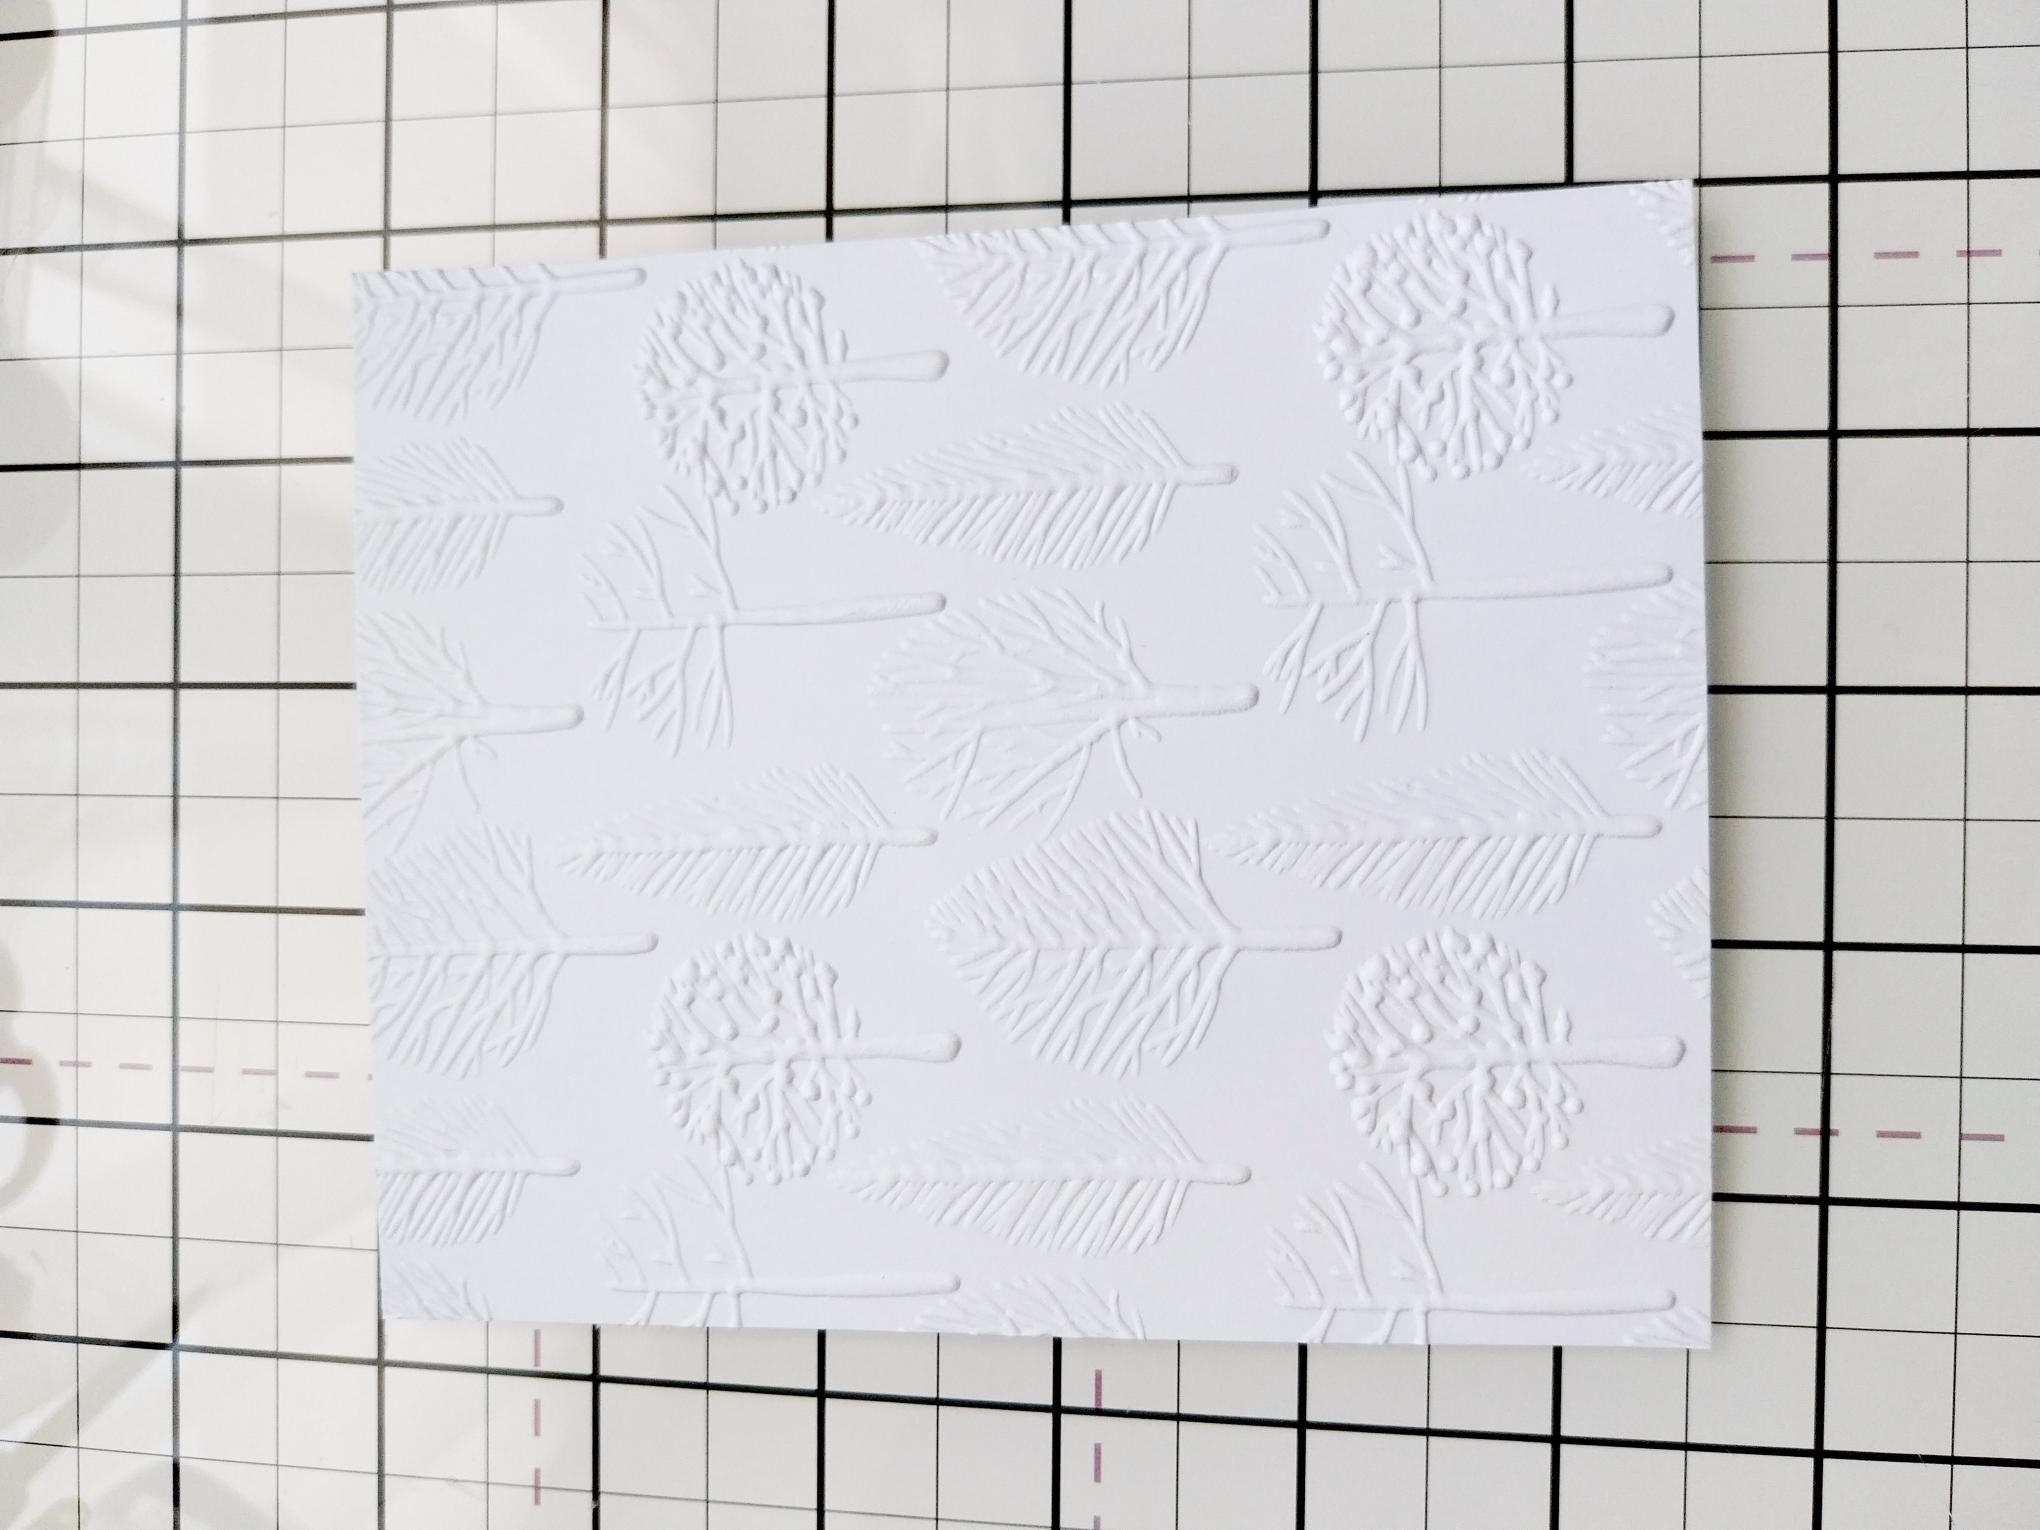
|
Trim white card to 4 1/2 x 5 1/2", place inside the Autumn Breeze embossing folder and run it through your machine. |
|
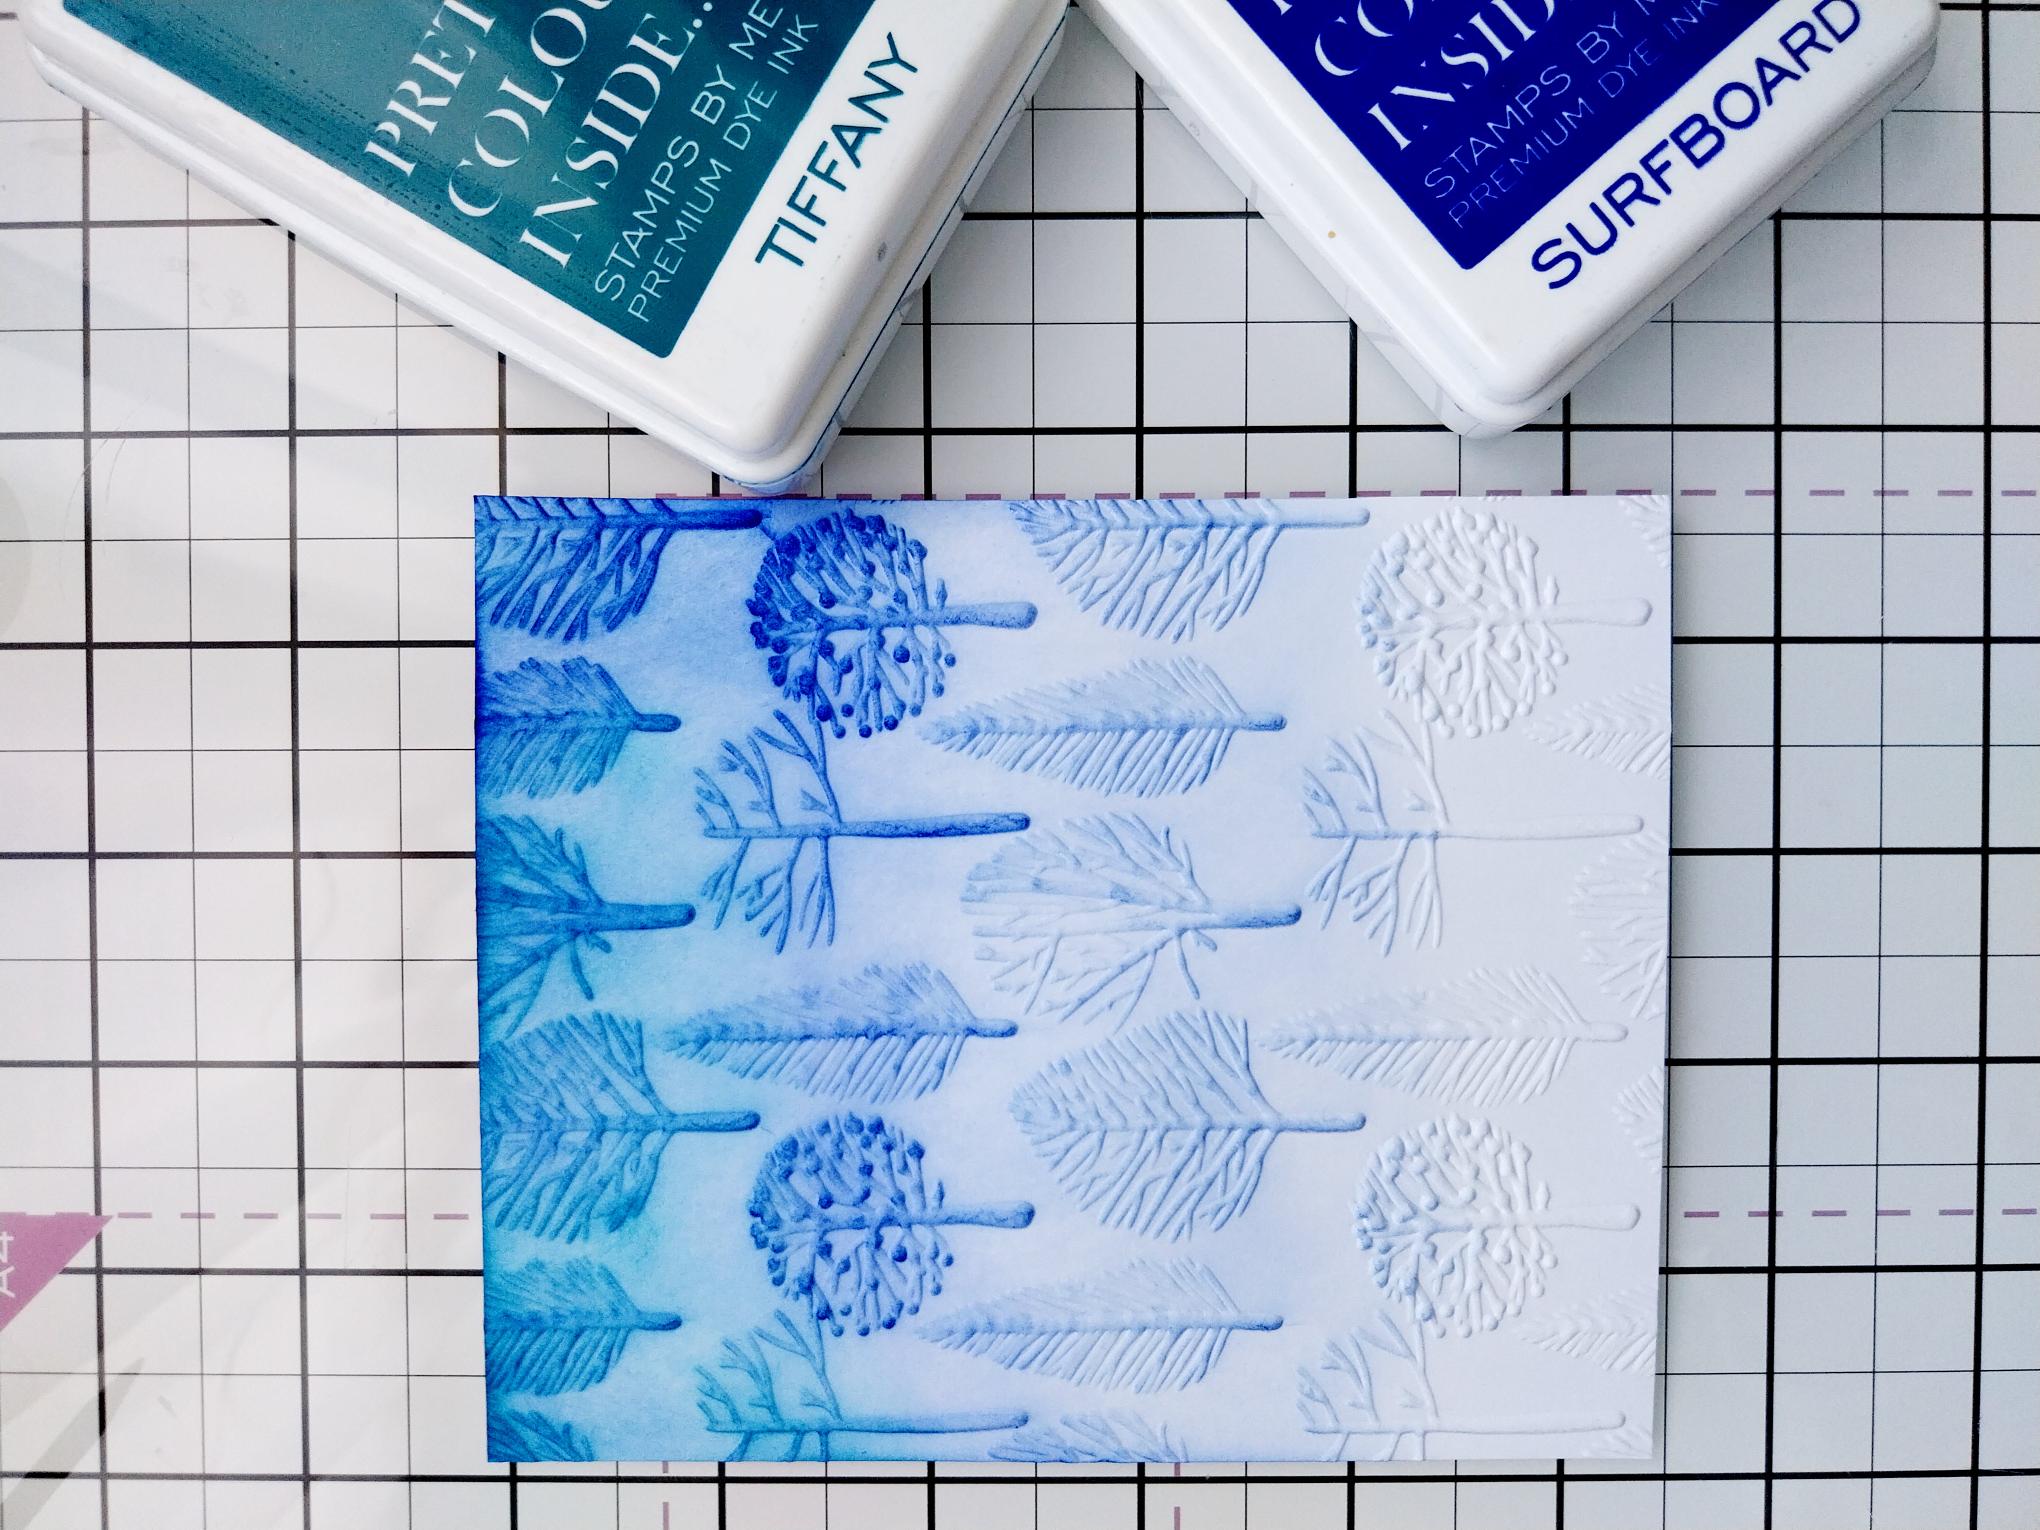
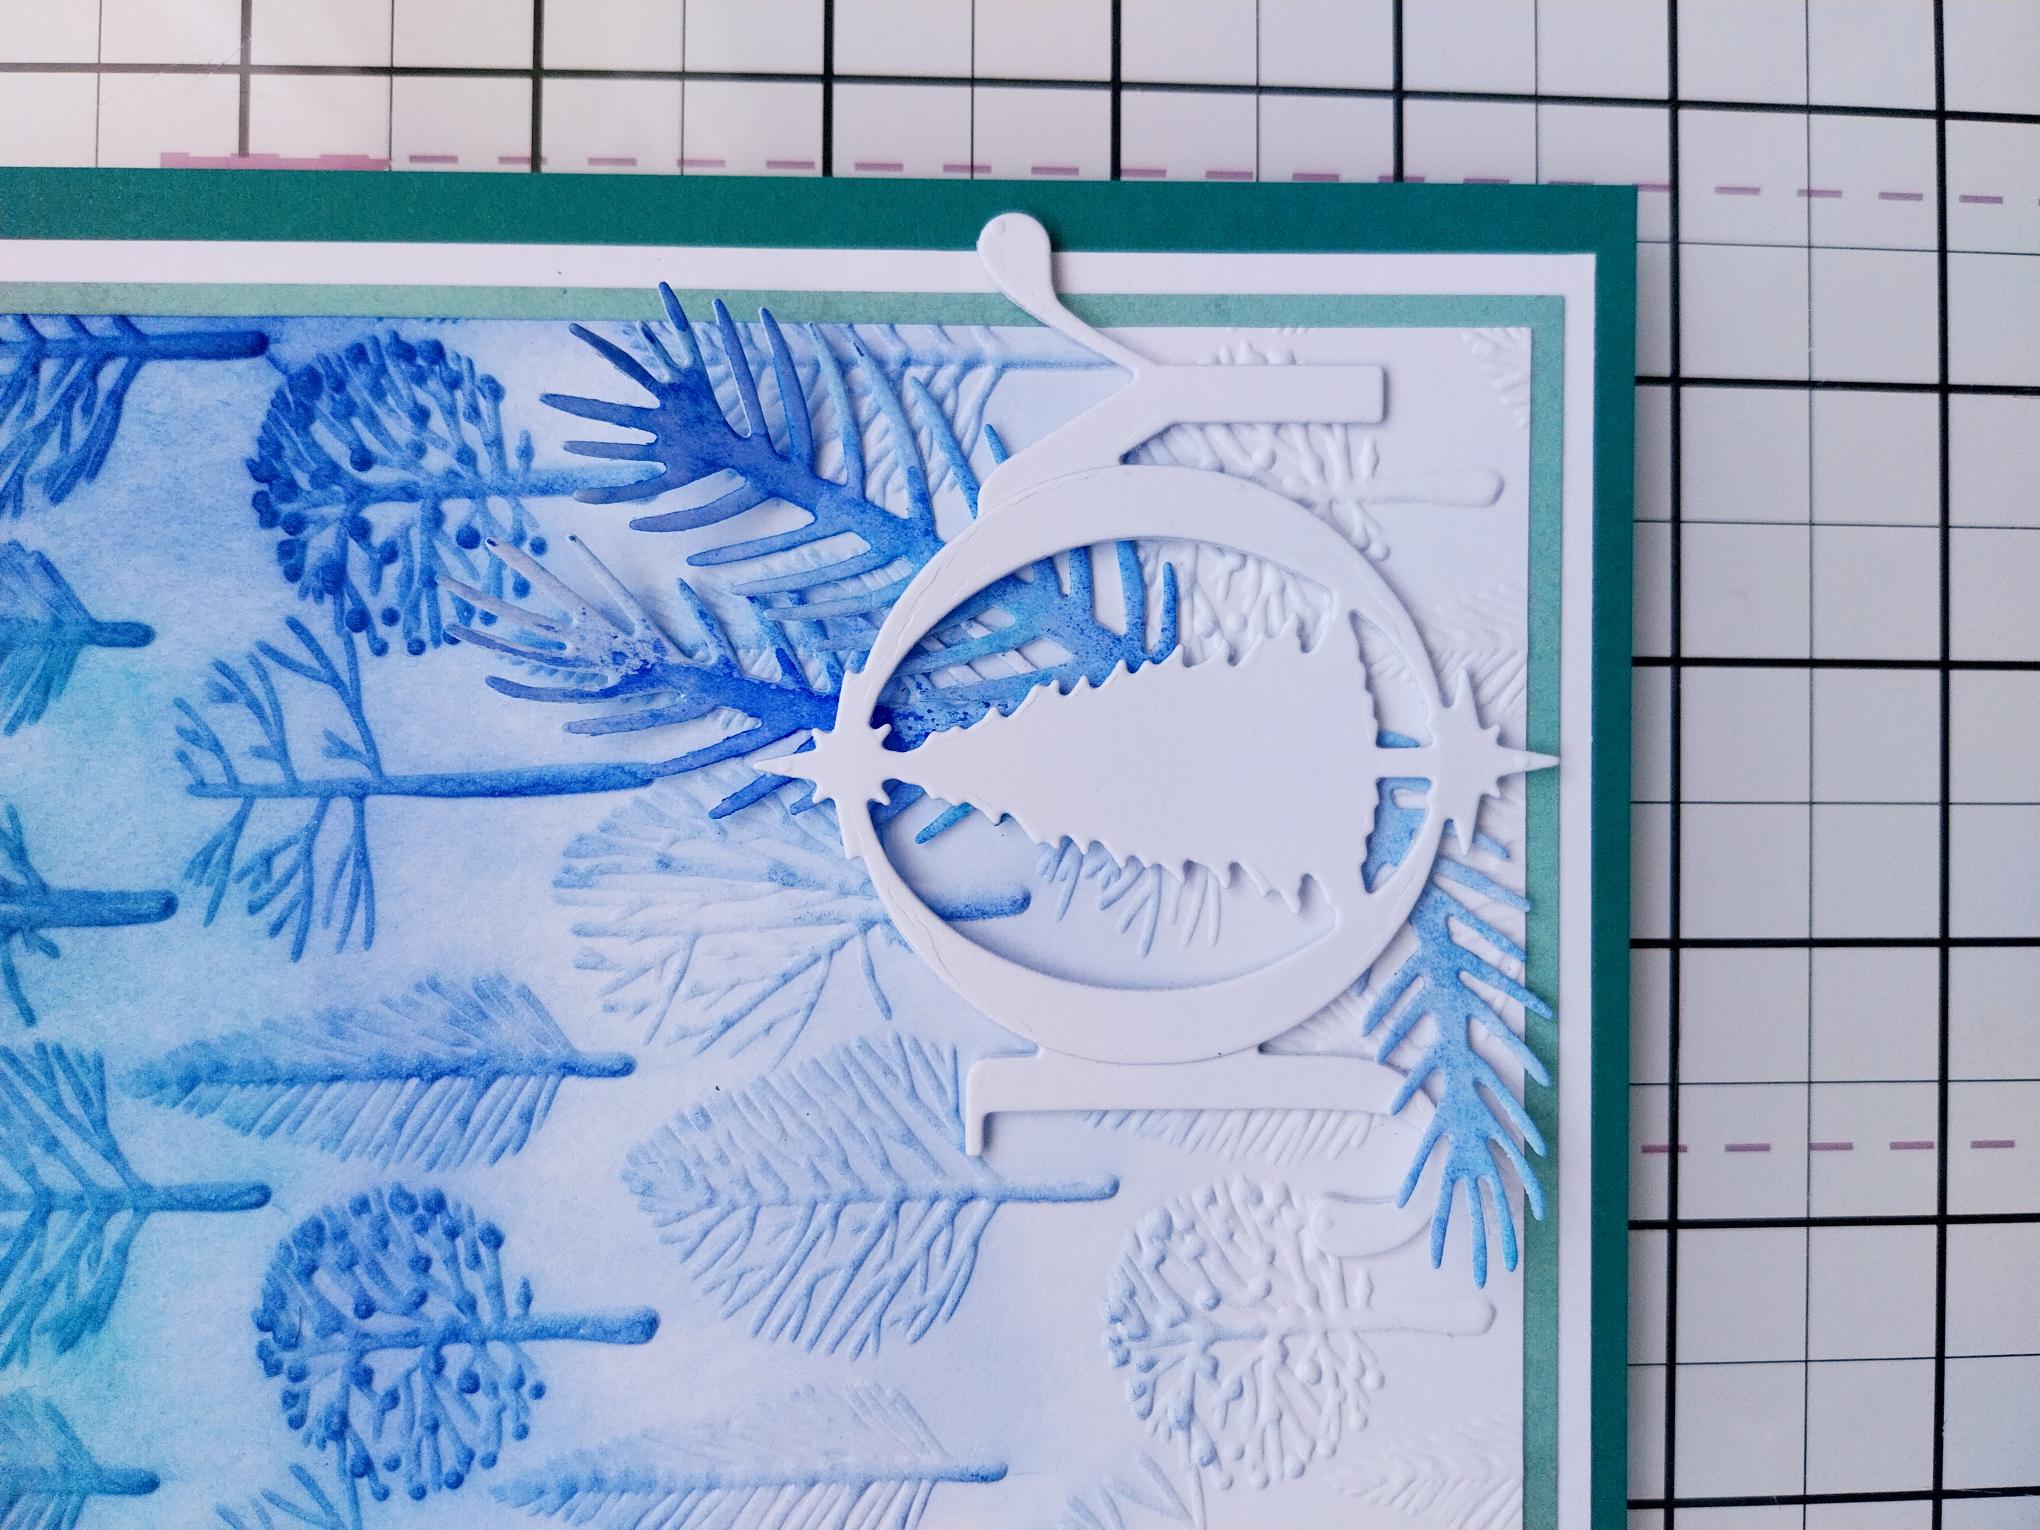
Working from the TOP of the embossed card, blend with the Surfboard and Tiffany, fading out the ink as you move down, to create an ombre effect. |
|
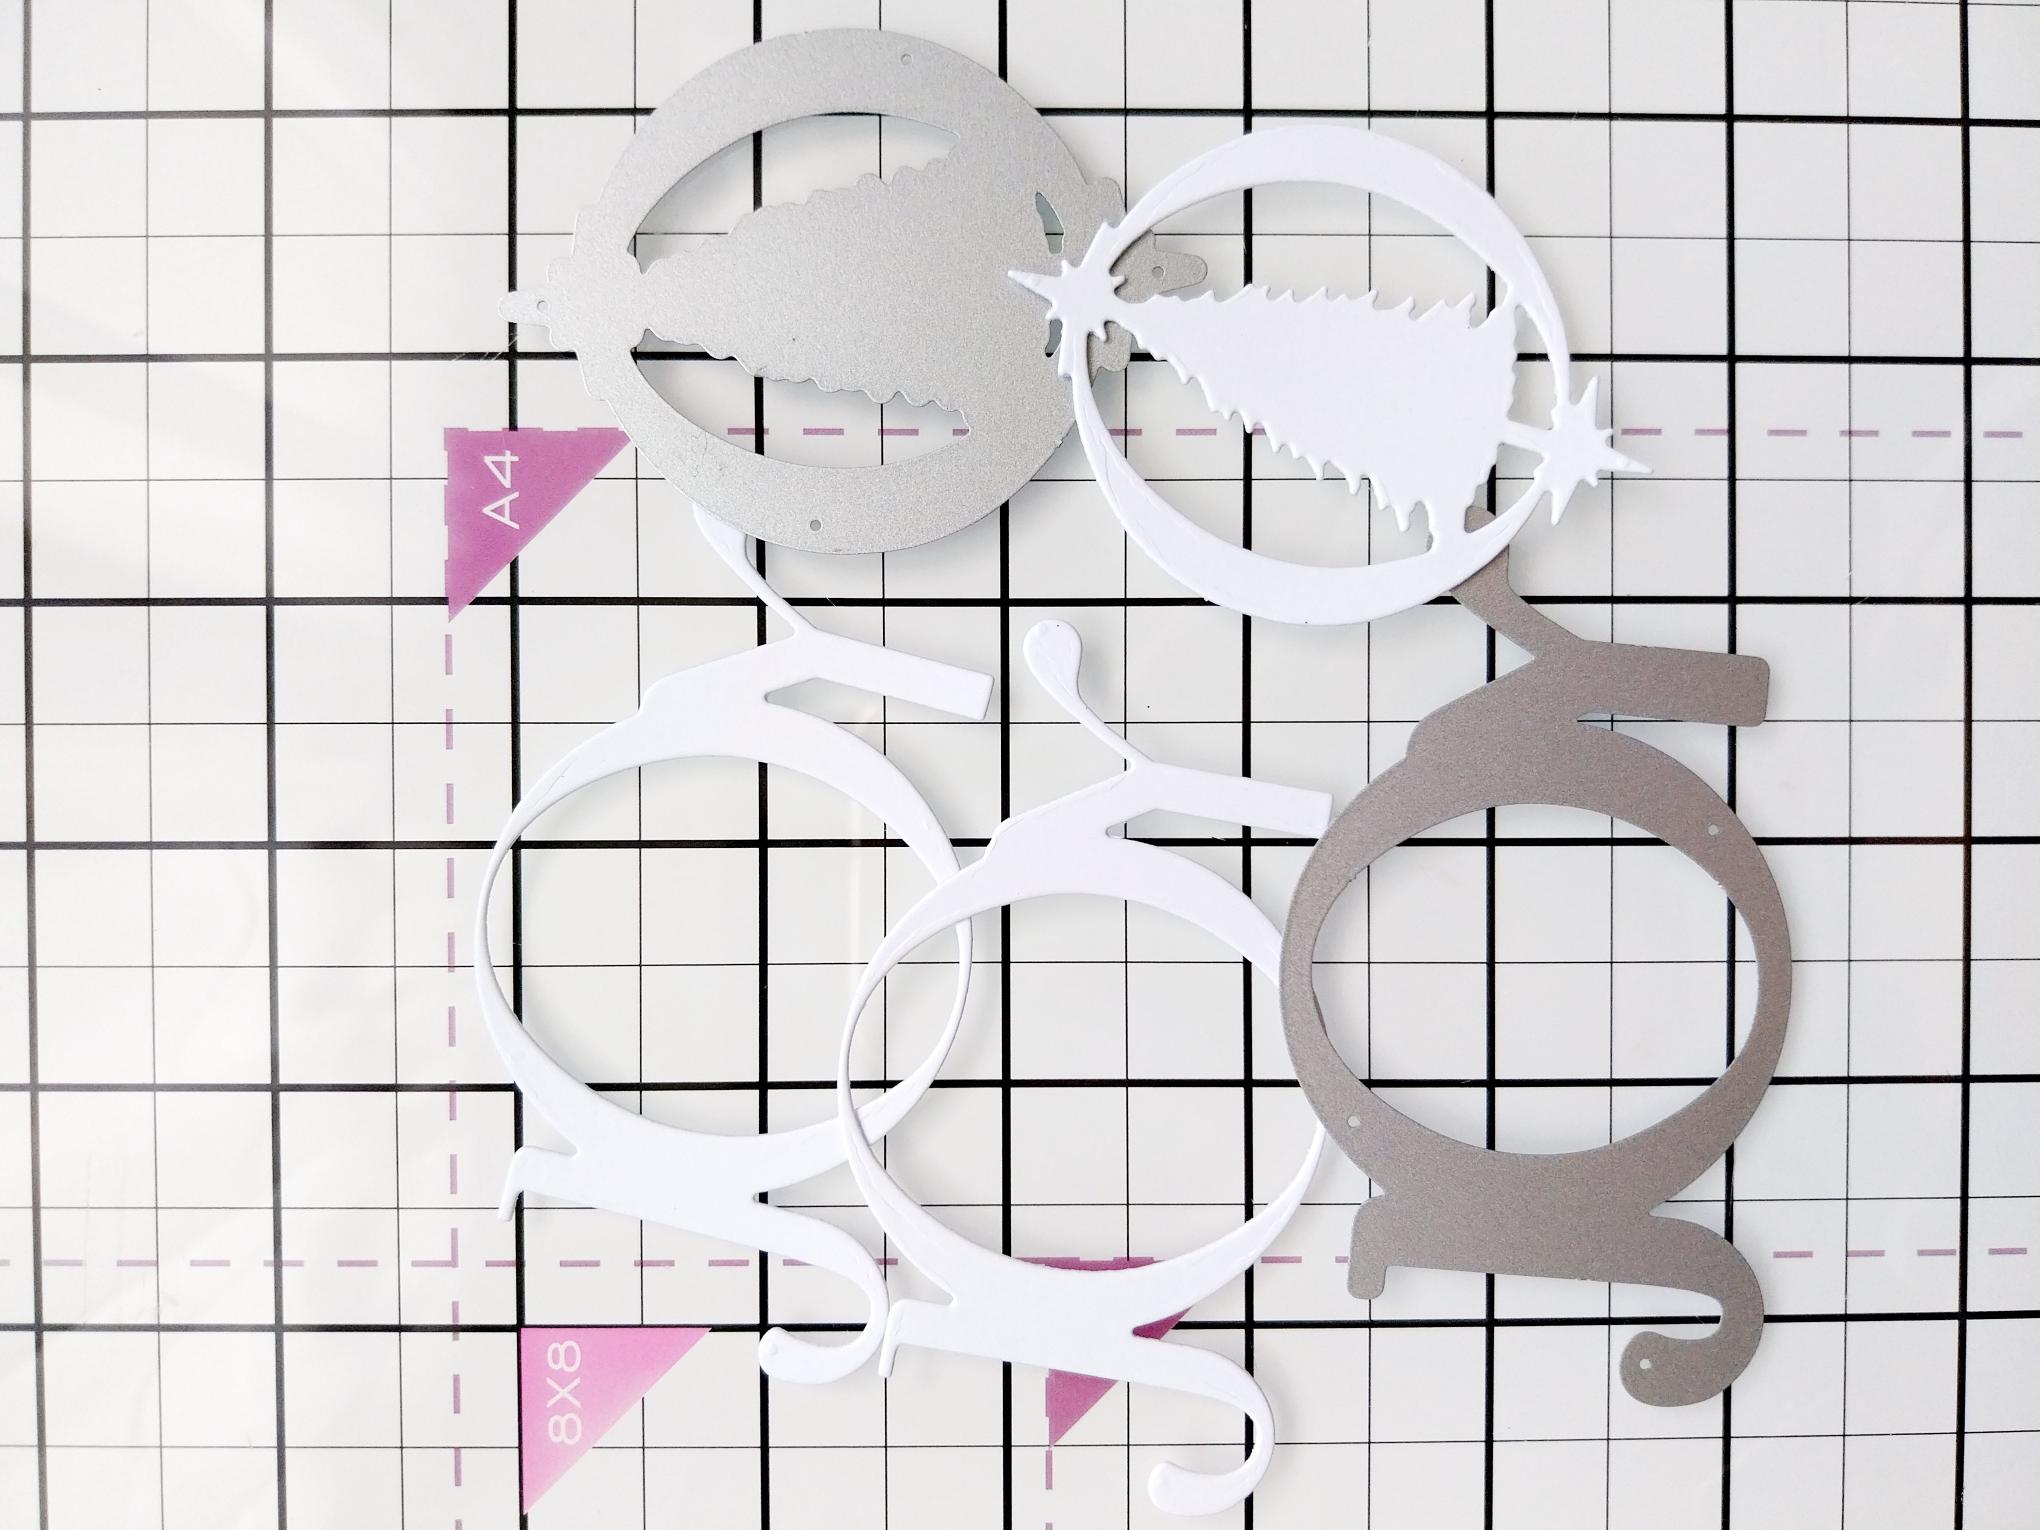
Use the die to cut TWO "JOY" sentiments and tree brooch, from white cardstock. Adhere together to create your 3D embellishment. |
|
On a scrap piece of white card (big enough to die cut the foliage die-plate from the Perfect Pinecones), smoosh the Surfboard and Tiffany onto your glass mat, add water and smoosh the white card into the ink. |
|
Once the ink is dry, place the plate onto the inked card and run it through your machine. |
|
Trim a piece of coordinating paper from the Shabby Chic pad to 4 3/4 x 5 3/4" and a piece of white card to 5 x 6". |
|
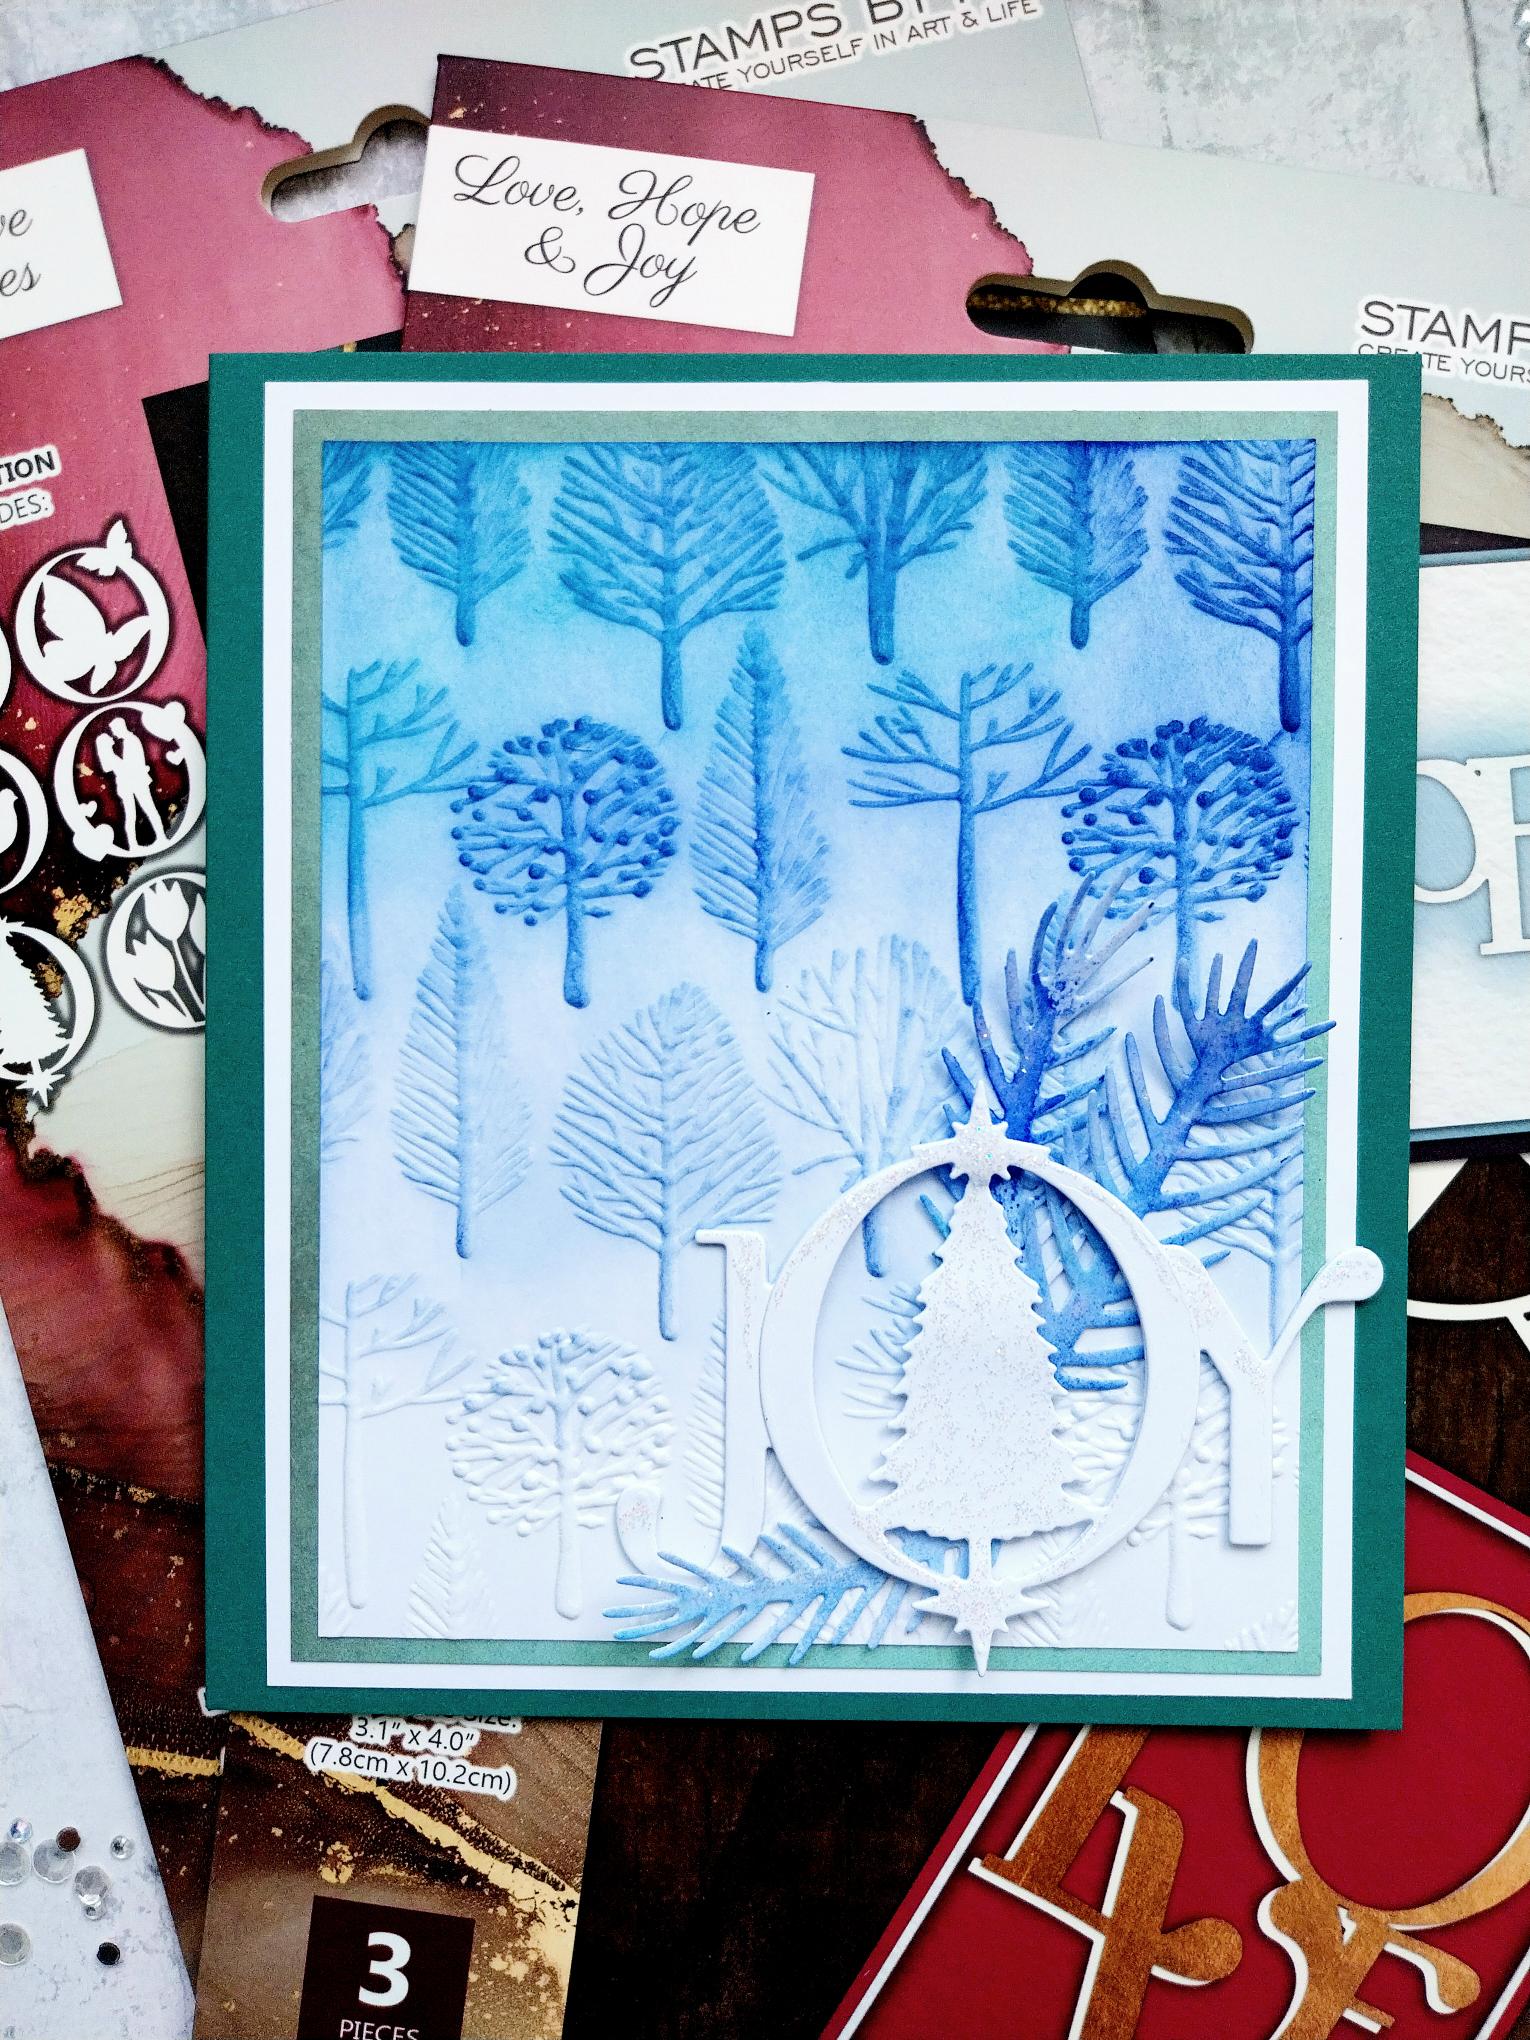
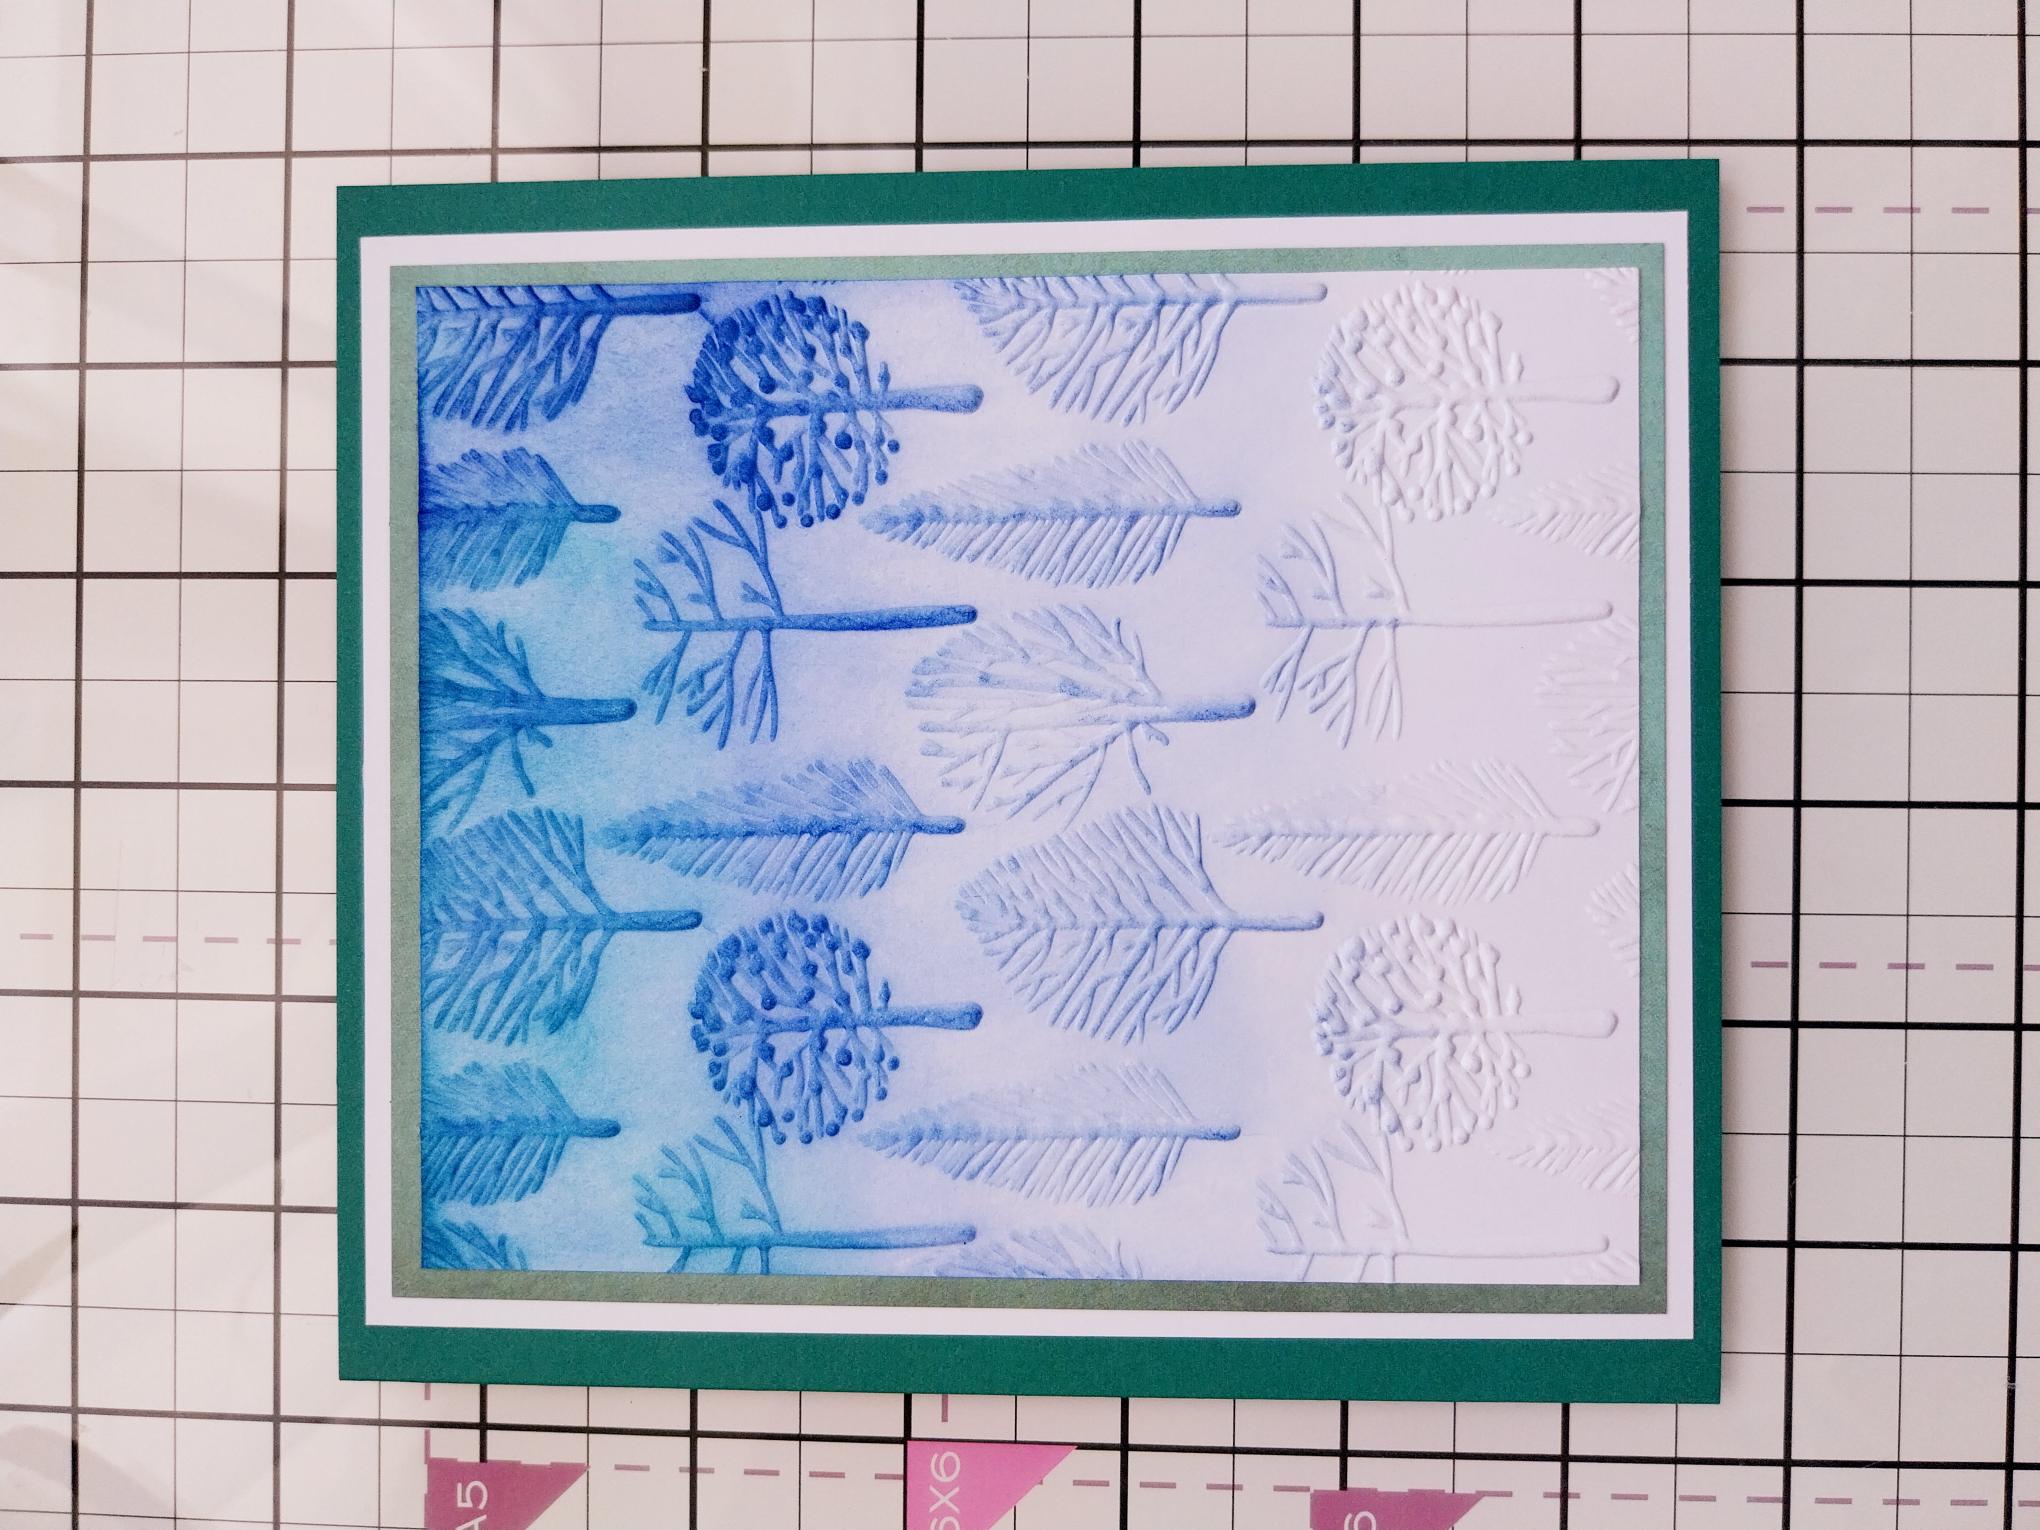
Assemble your card as shown here. |
|
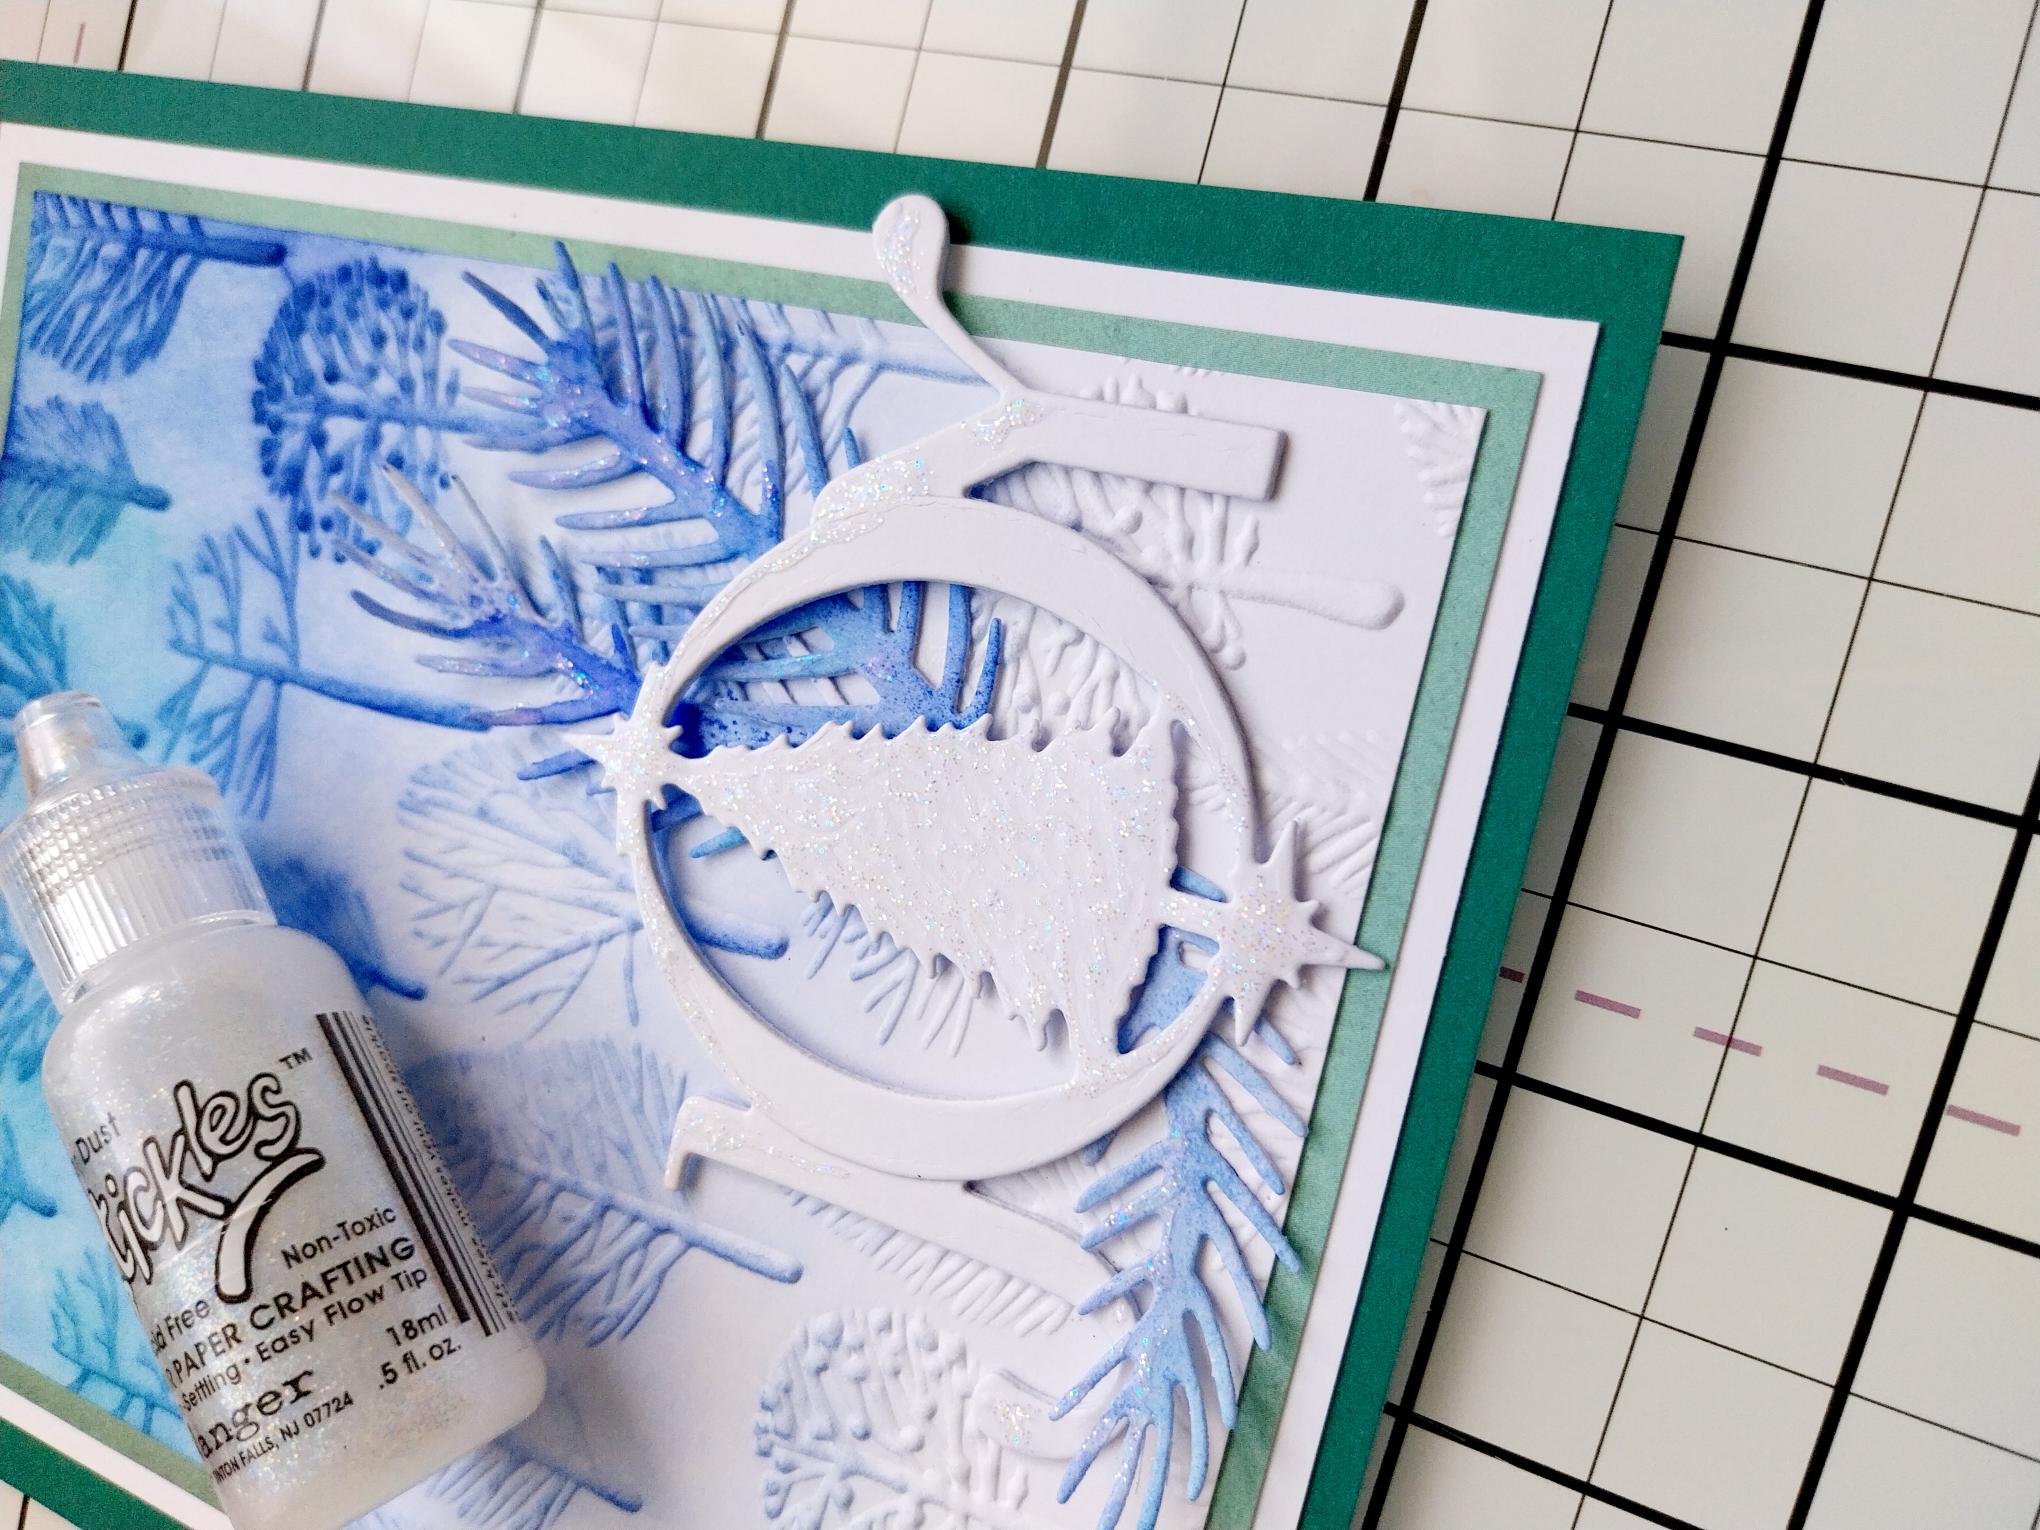
Adhere the foliage and JOY 3D embellishment to the bottom right of the card. |
|
To finish, use the Stickles to add a touch of sparkle to the brooch. |