Give your friends $10 off their first order!
Refer a FRIEND


WHAT YOU WILL NEED:
Cream Card blank 6 x 8"
Black/white cardstock
Holly & Berry Painted Mounts
All Surfaces Evergreen 8 x 8 Paper Pad
Oak Slices Die Collection
Special Wishes Stamp & Die Collection
SBM Hybrid Ink Pad: Midnight
Distress Ink/Oxide Ink Pad: Frayed Burlap
Blending brush
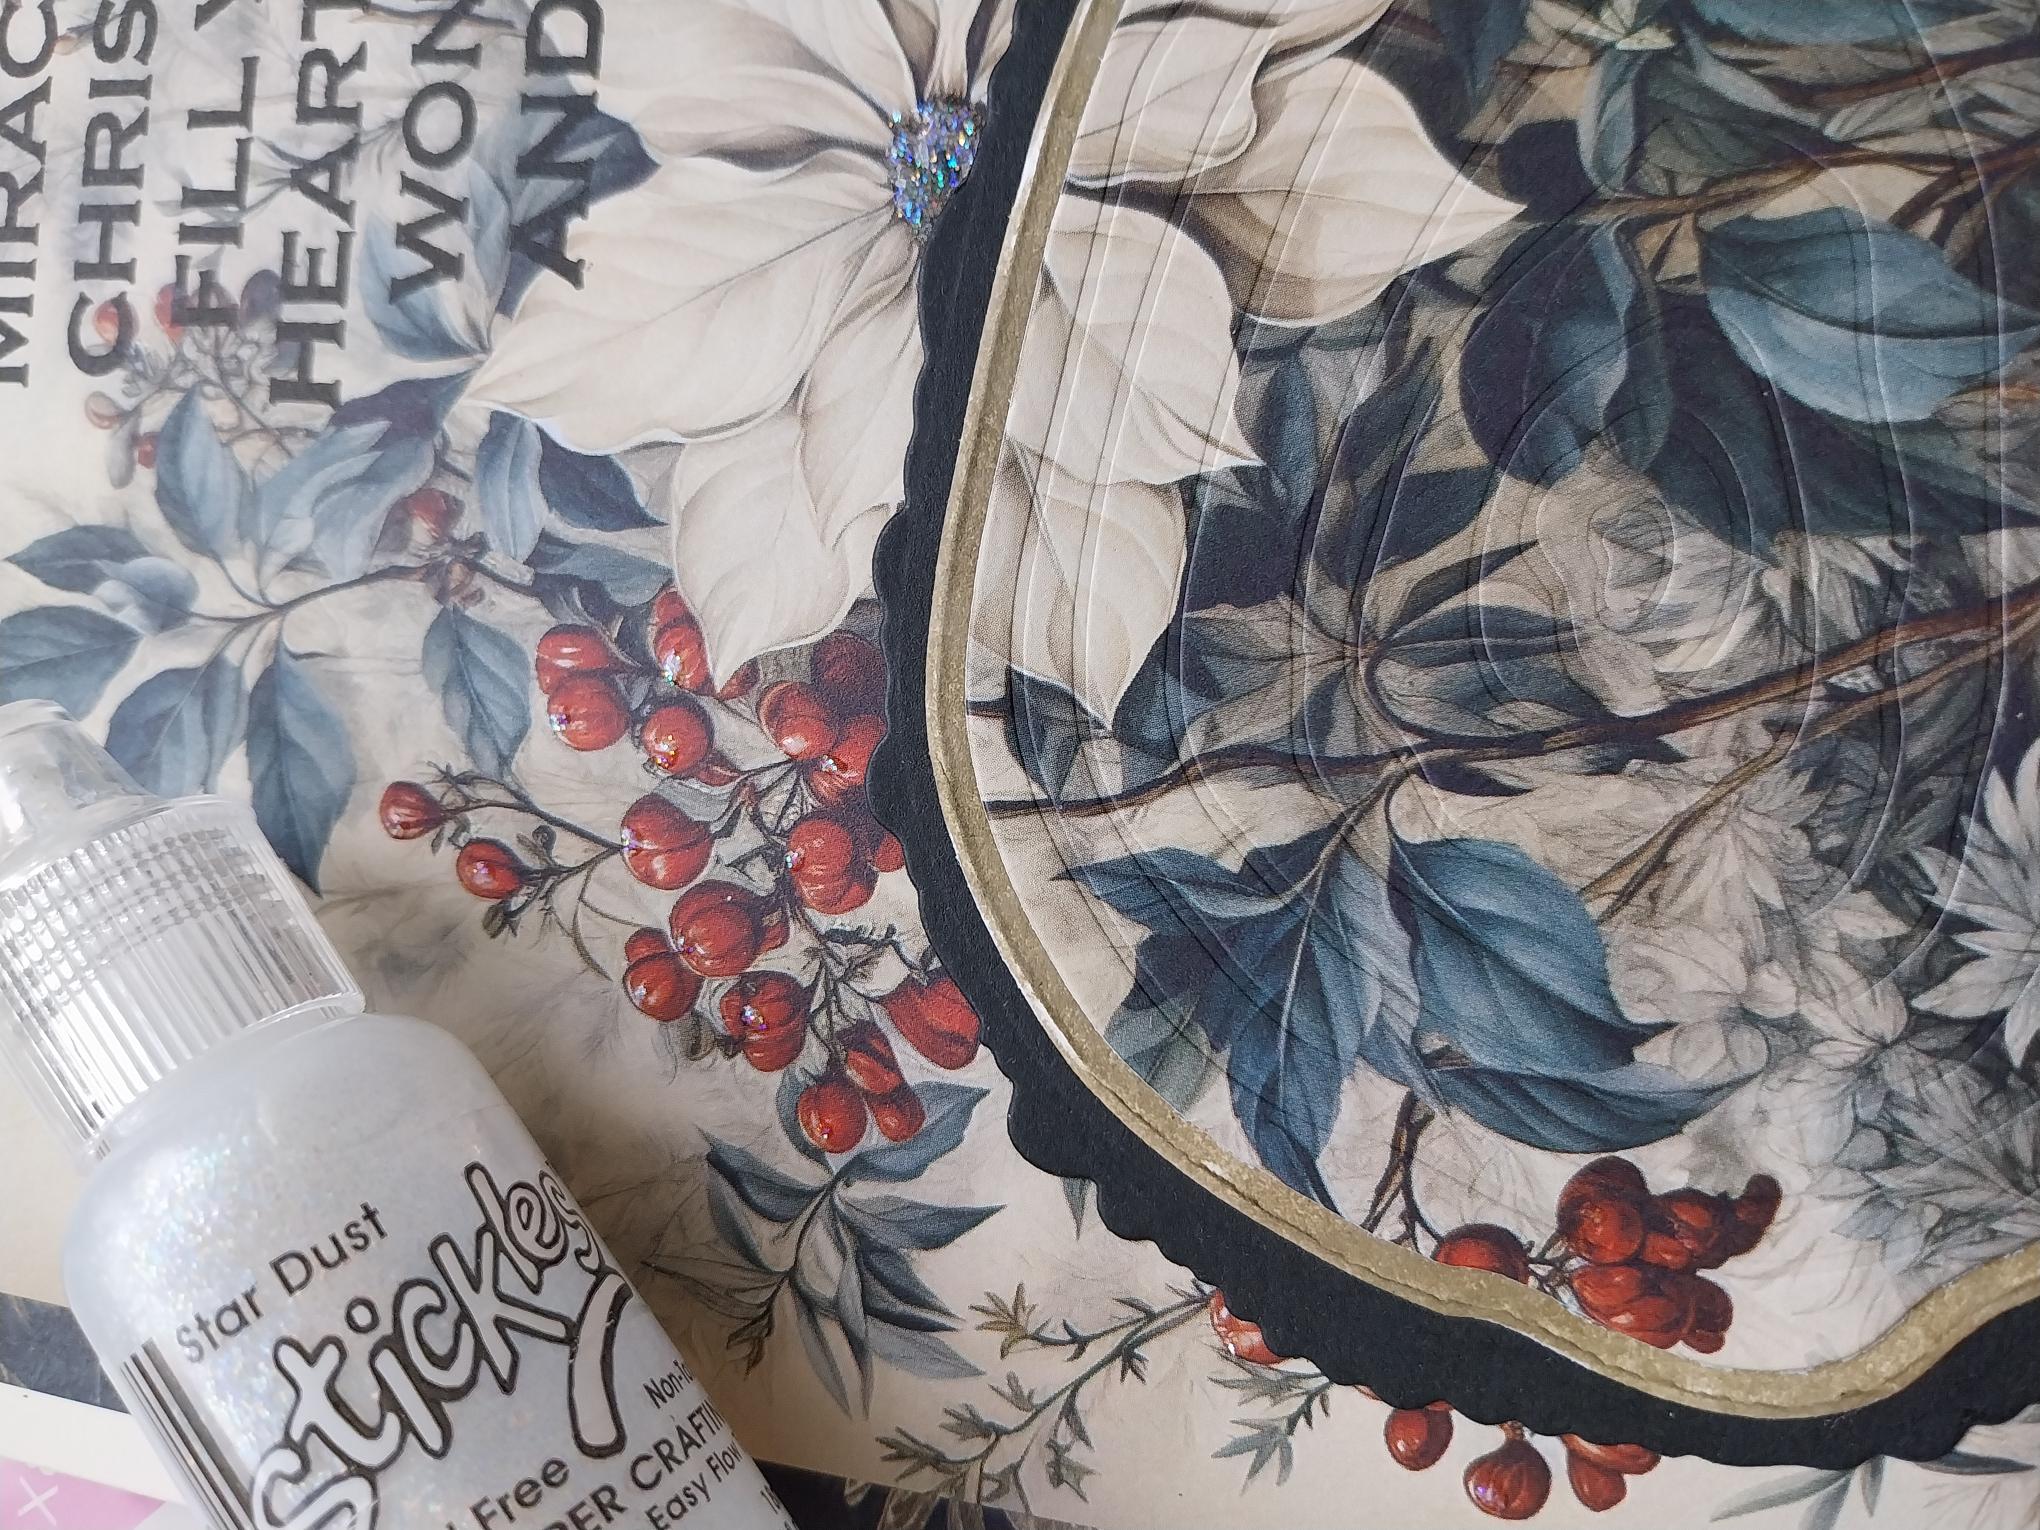
Stickles/glitter
Eureka 101 Watercolour Tablet
SBM A3 Magnetic glass mat
Paper Trimmer
Glue
Die Cutting machine
[click image to enlarge] 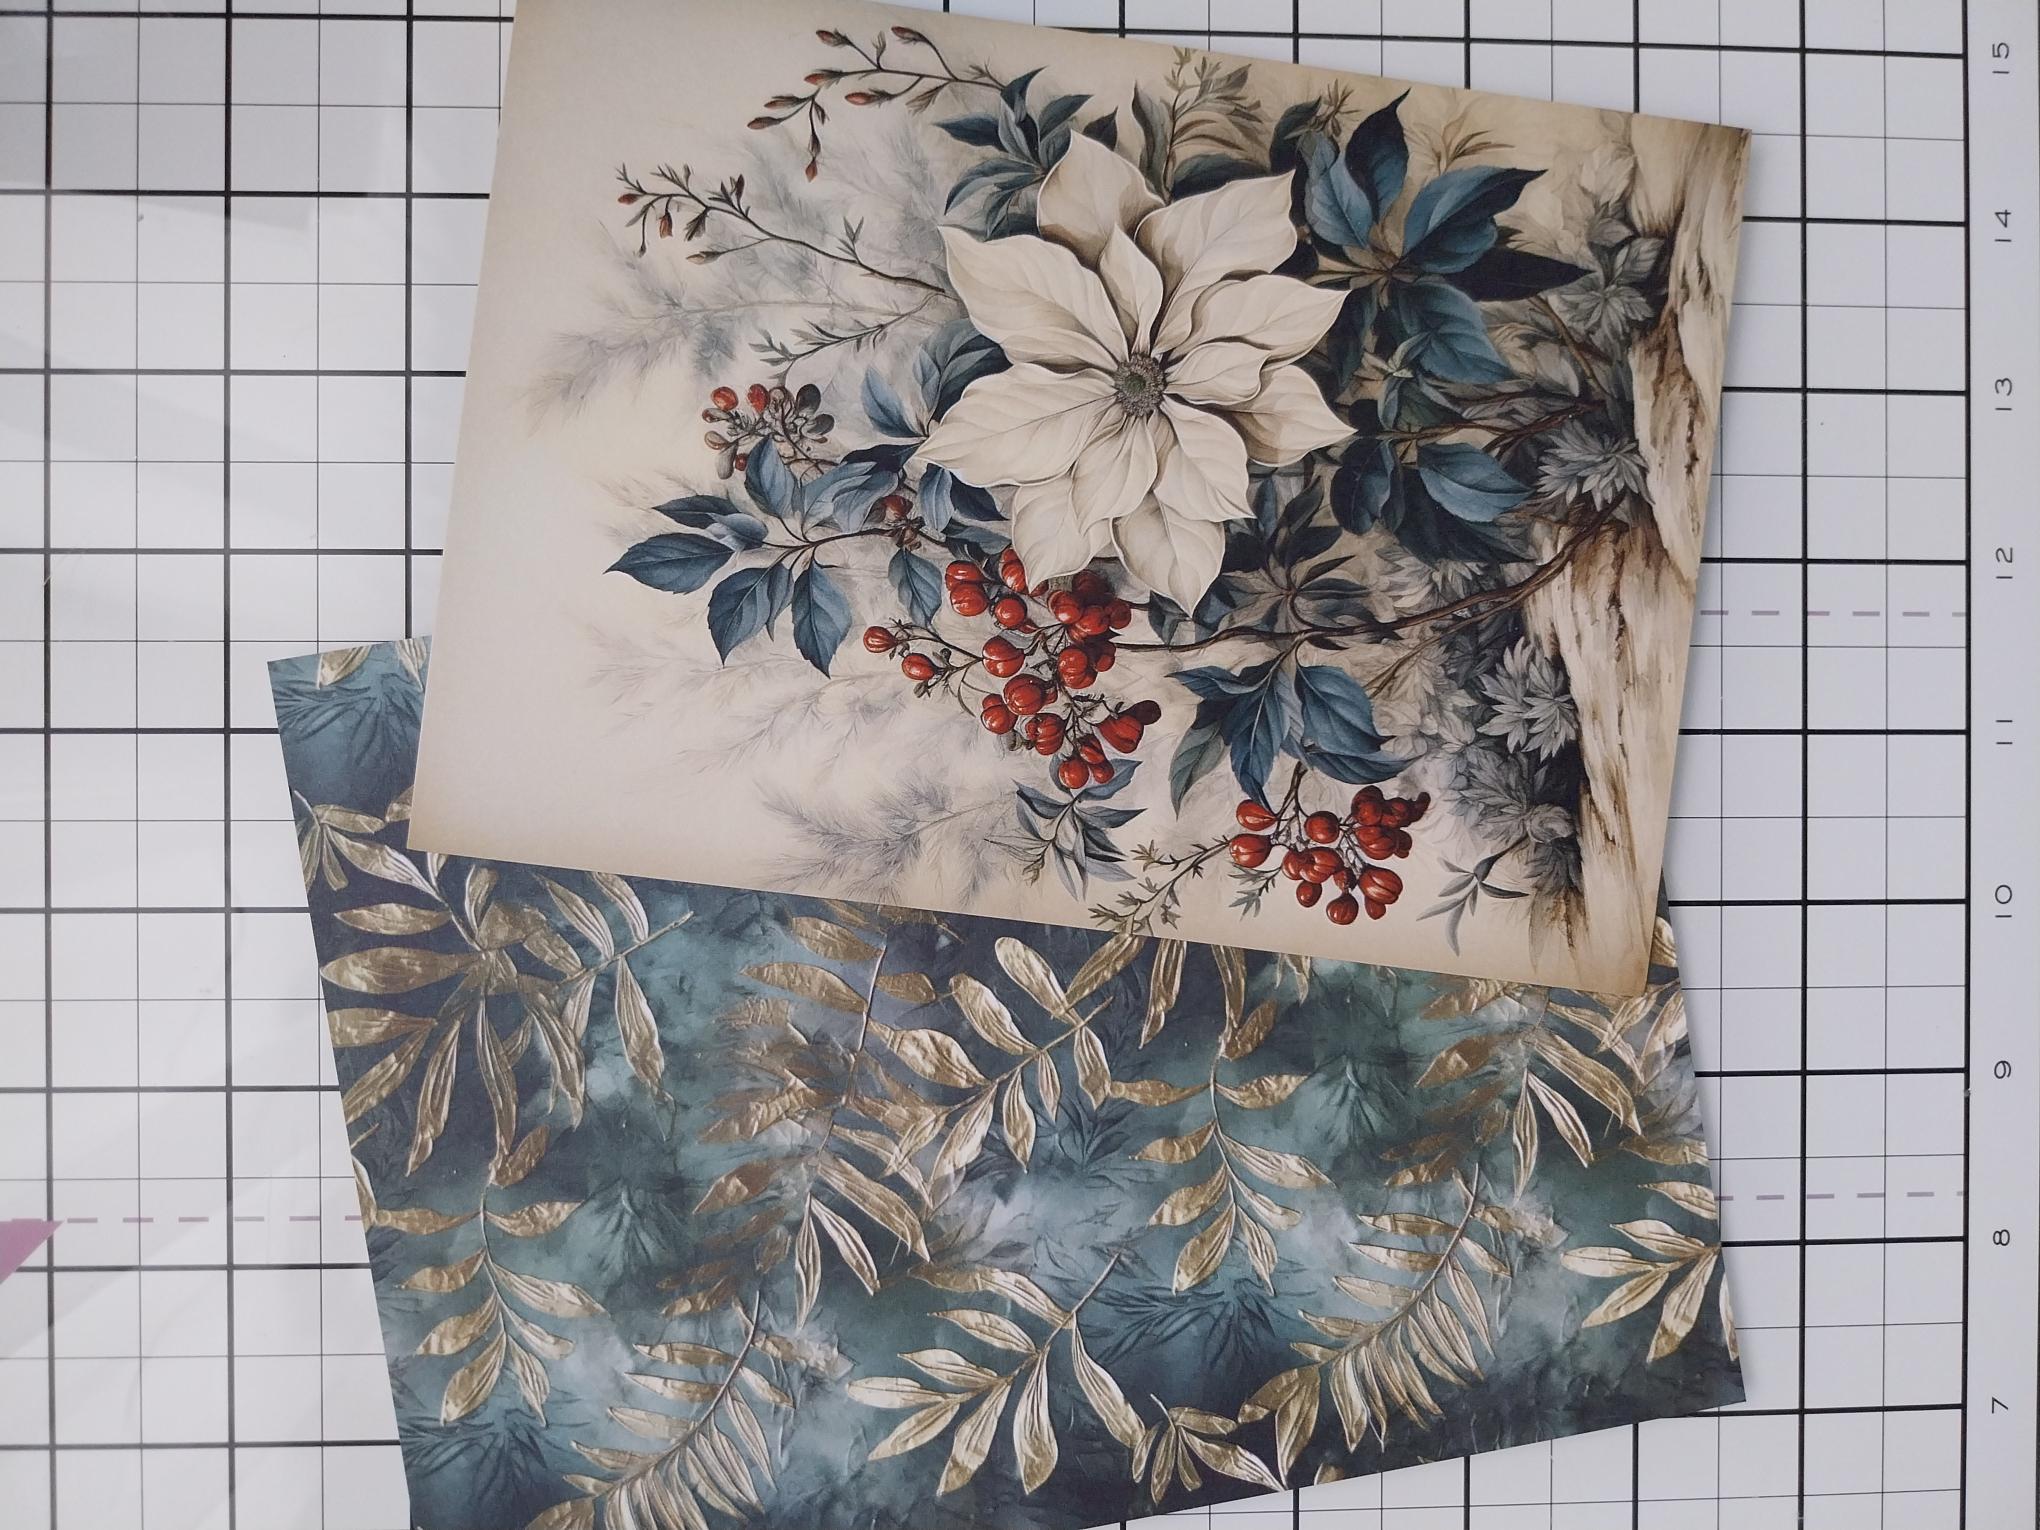
|
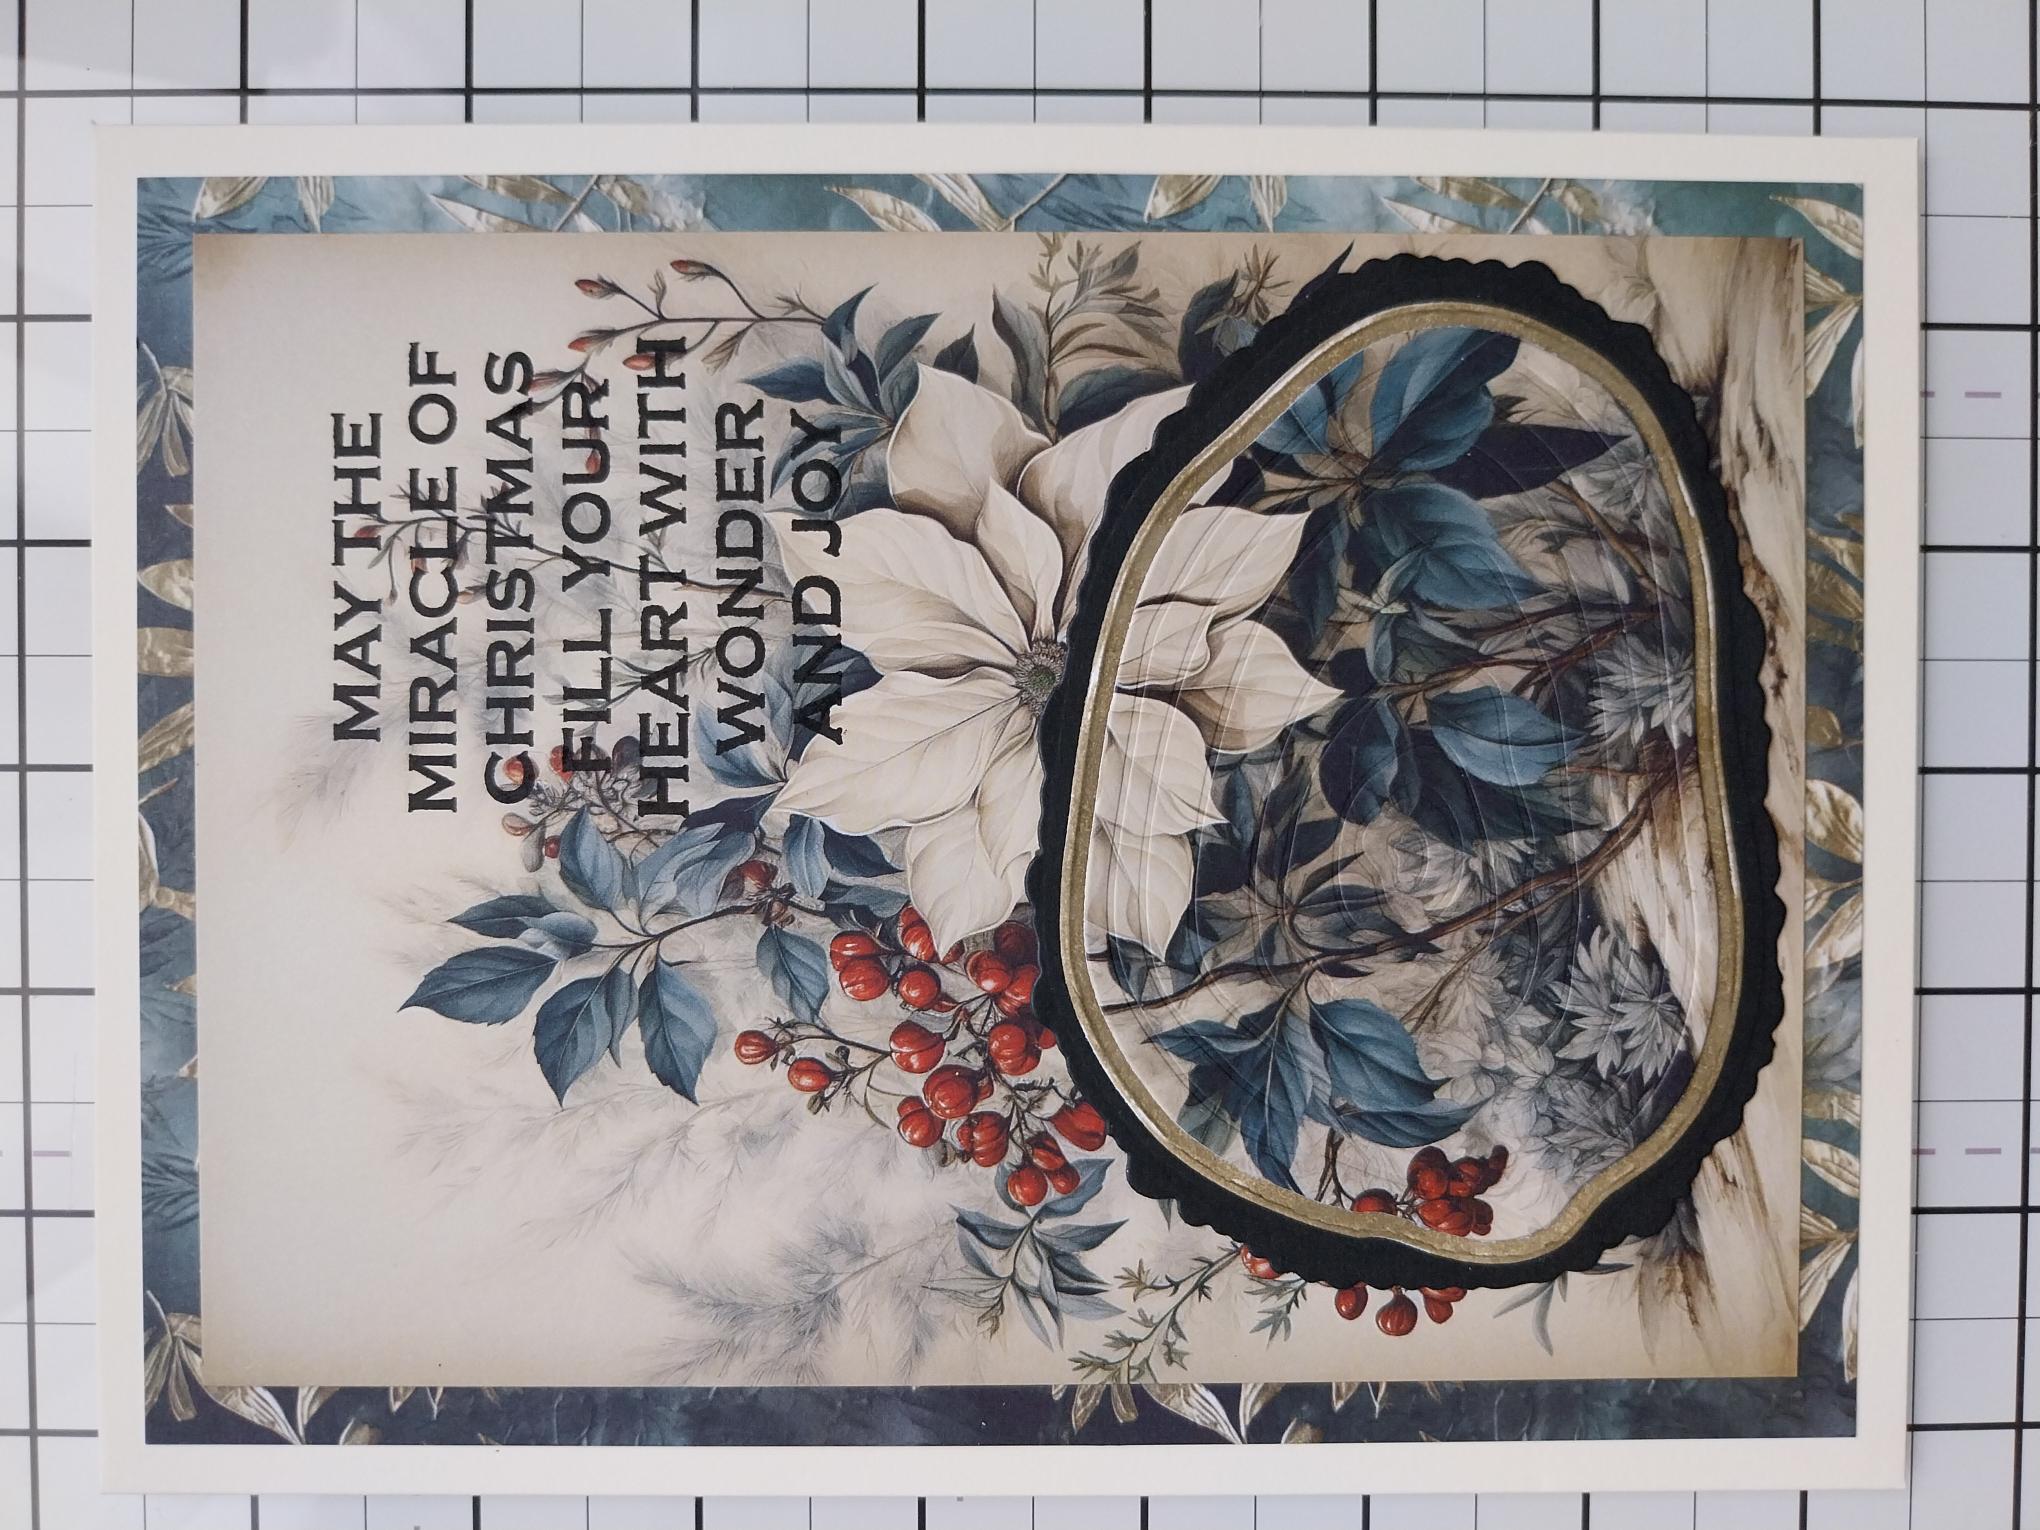
Choose a coordinating paper from the Evergreen pack, to go with this Holly & Berry painted mount. Trim the paper to 5 1/2 x 7 1/2". |
|
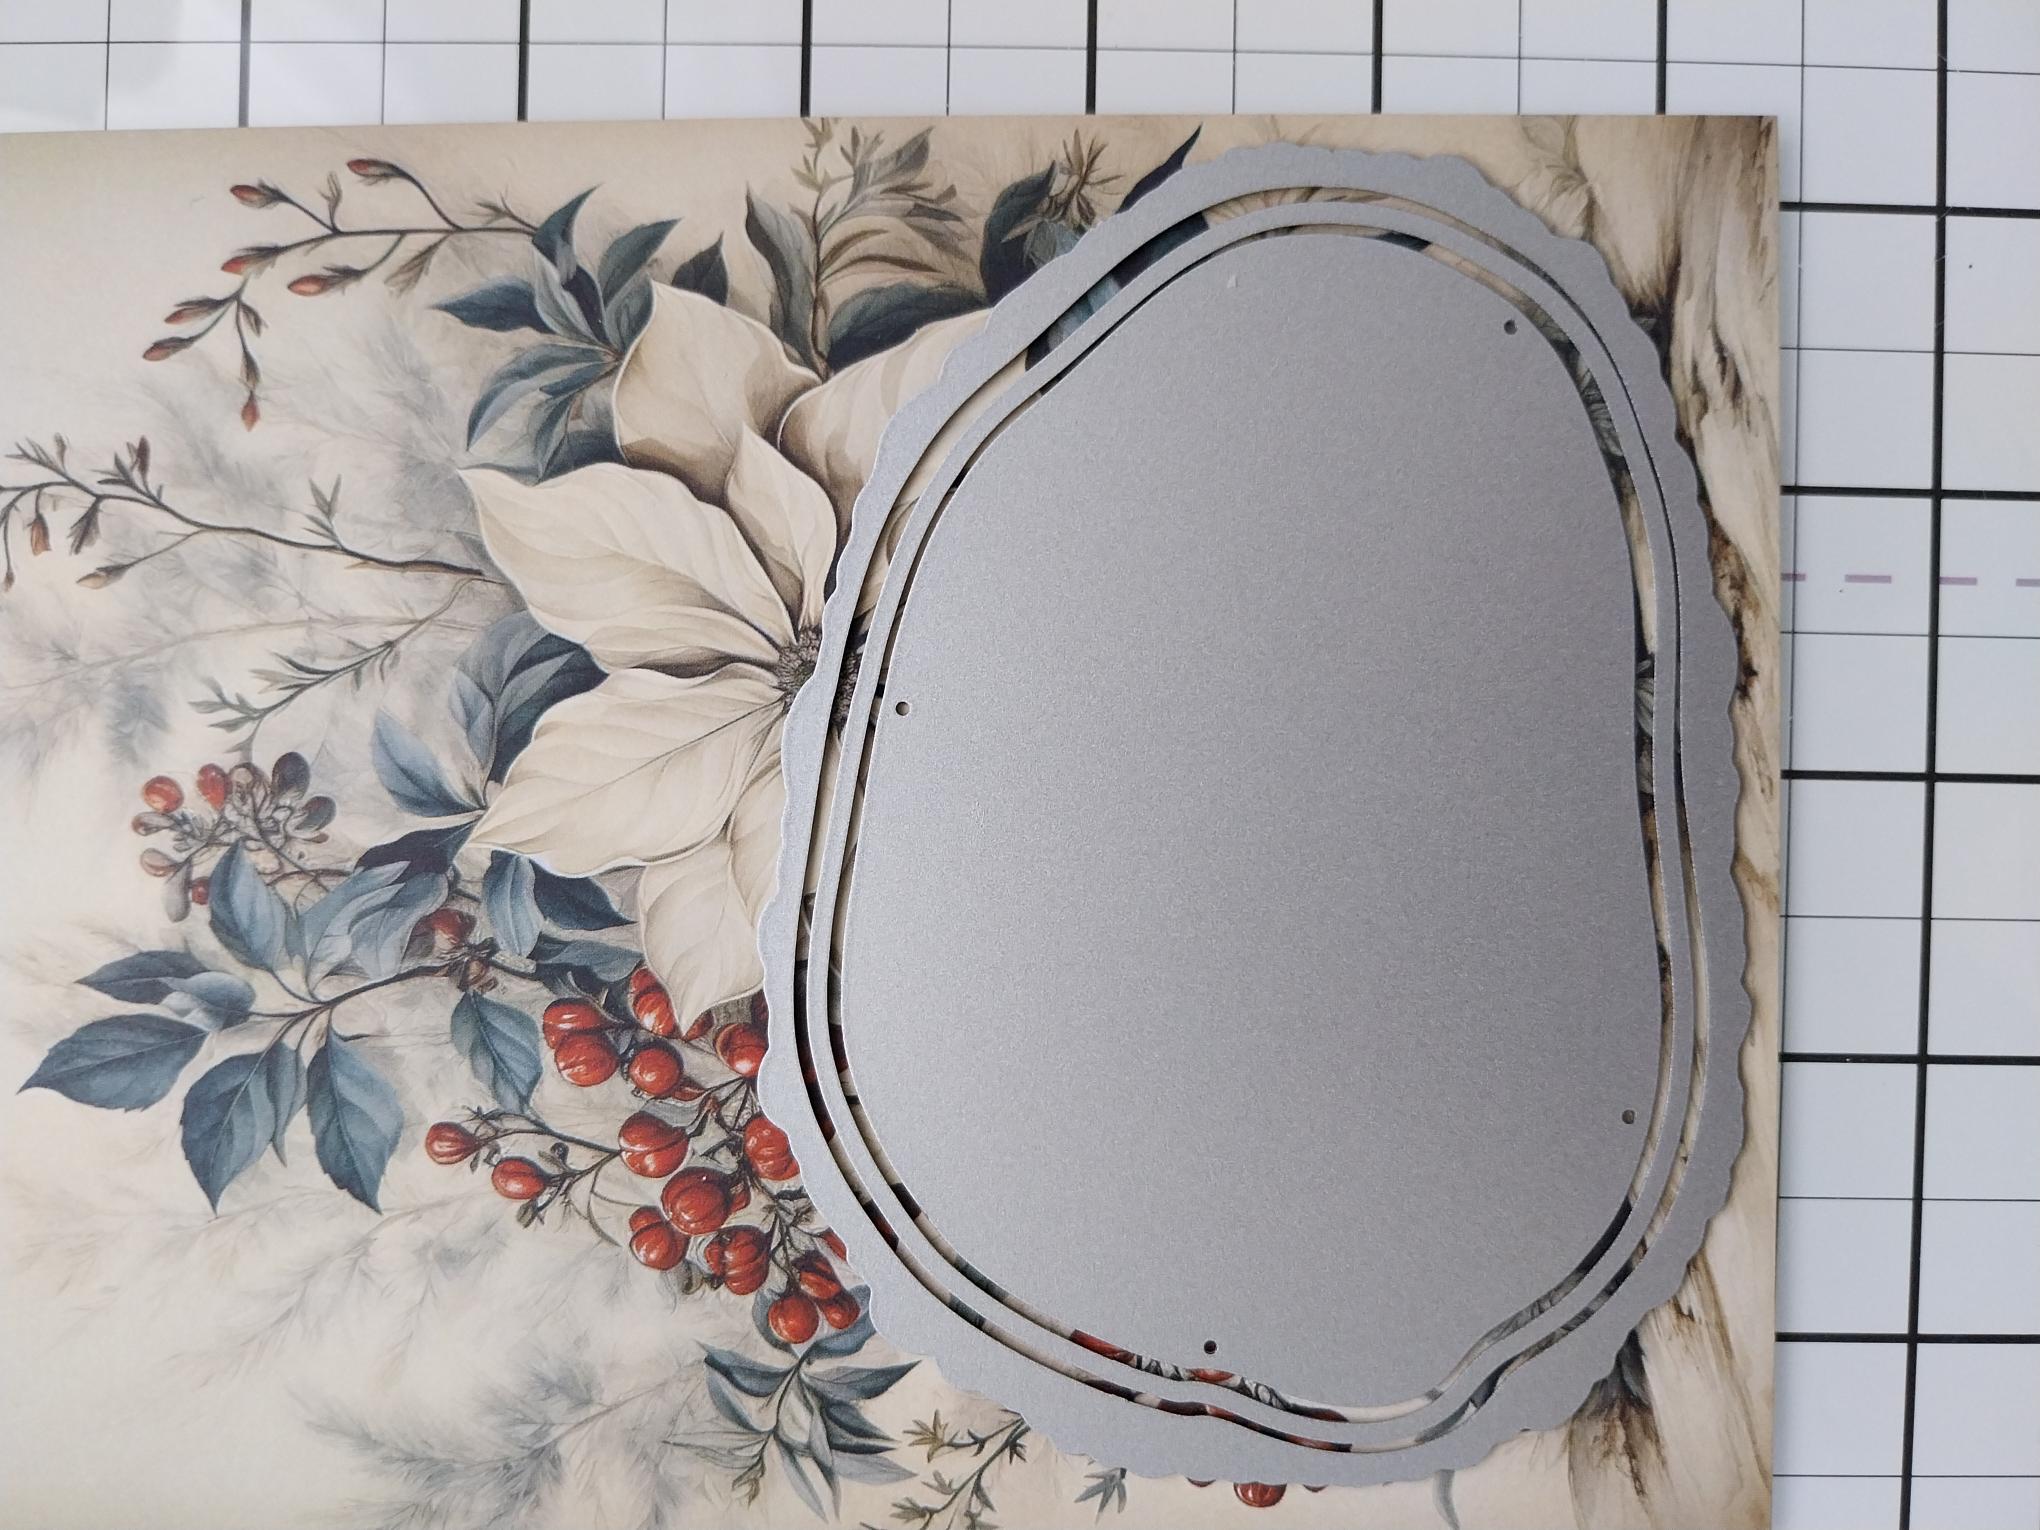
Position the 3 Oak Slices dies onto this area of the painted mount (to ensure they all fit), then carefully remove the 2 outer dies, secure the centre solid die in place and run through your die machine. |
|
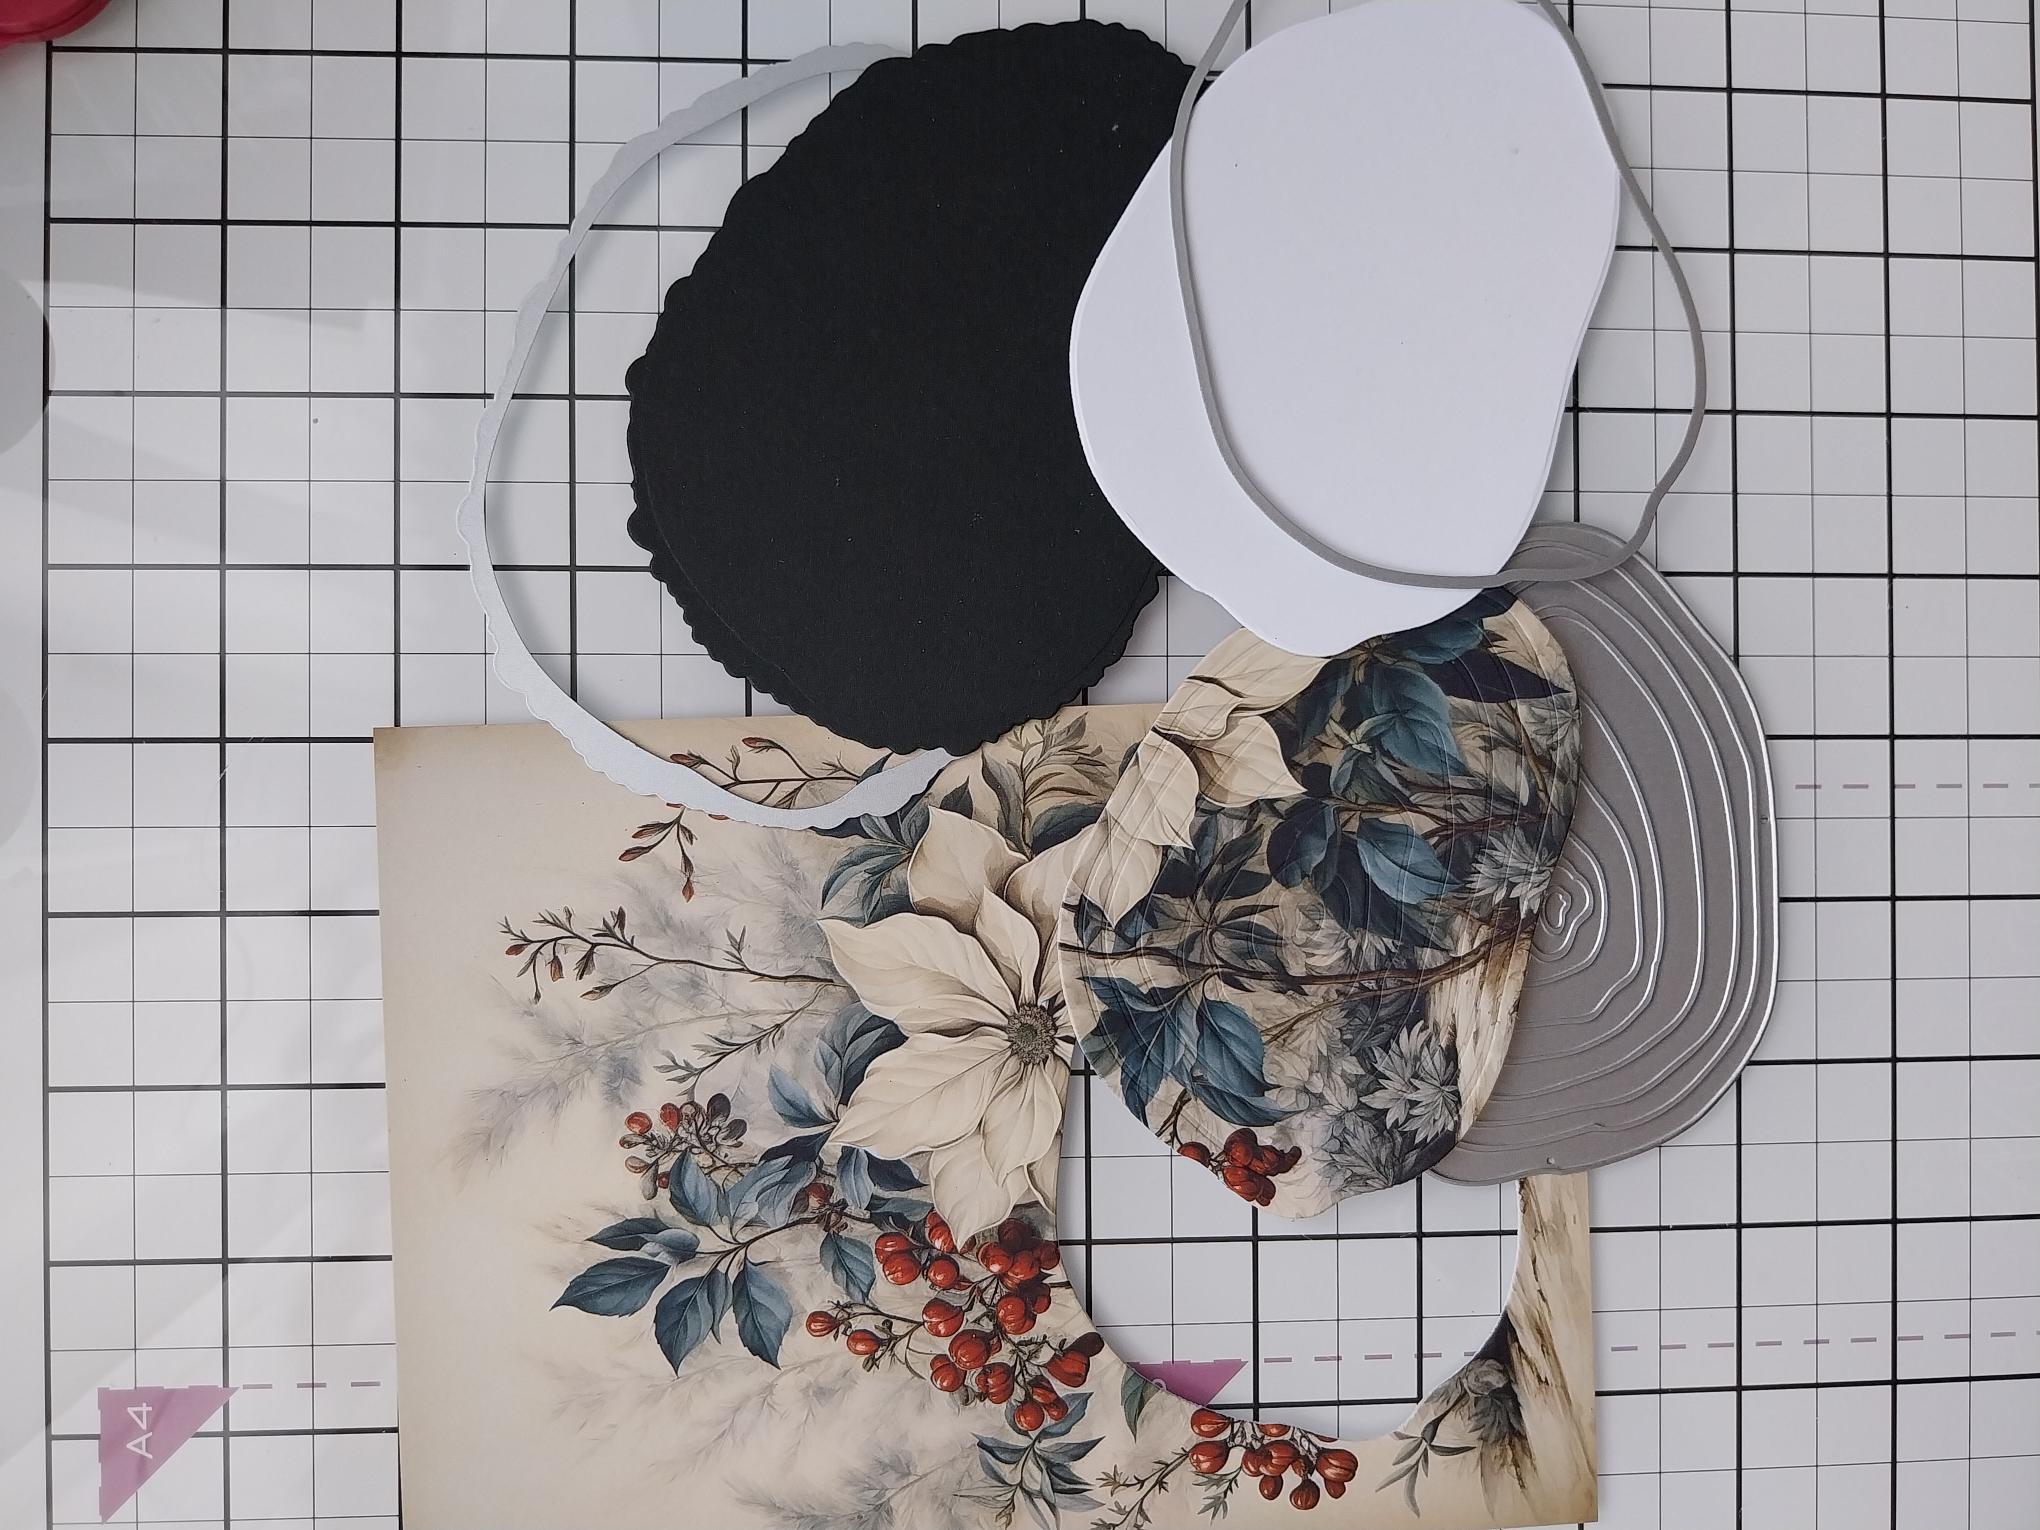
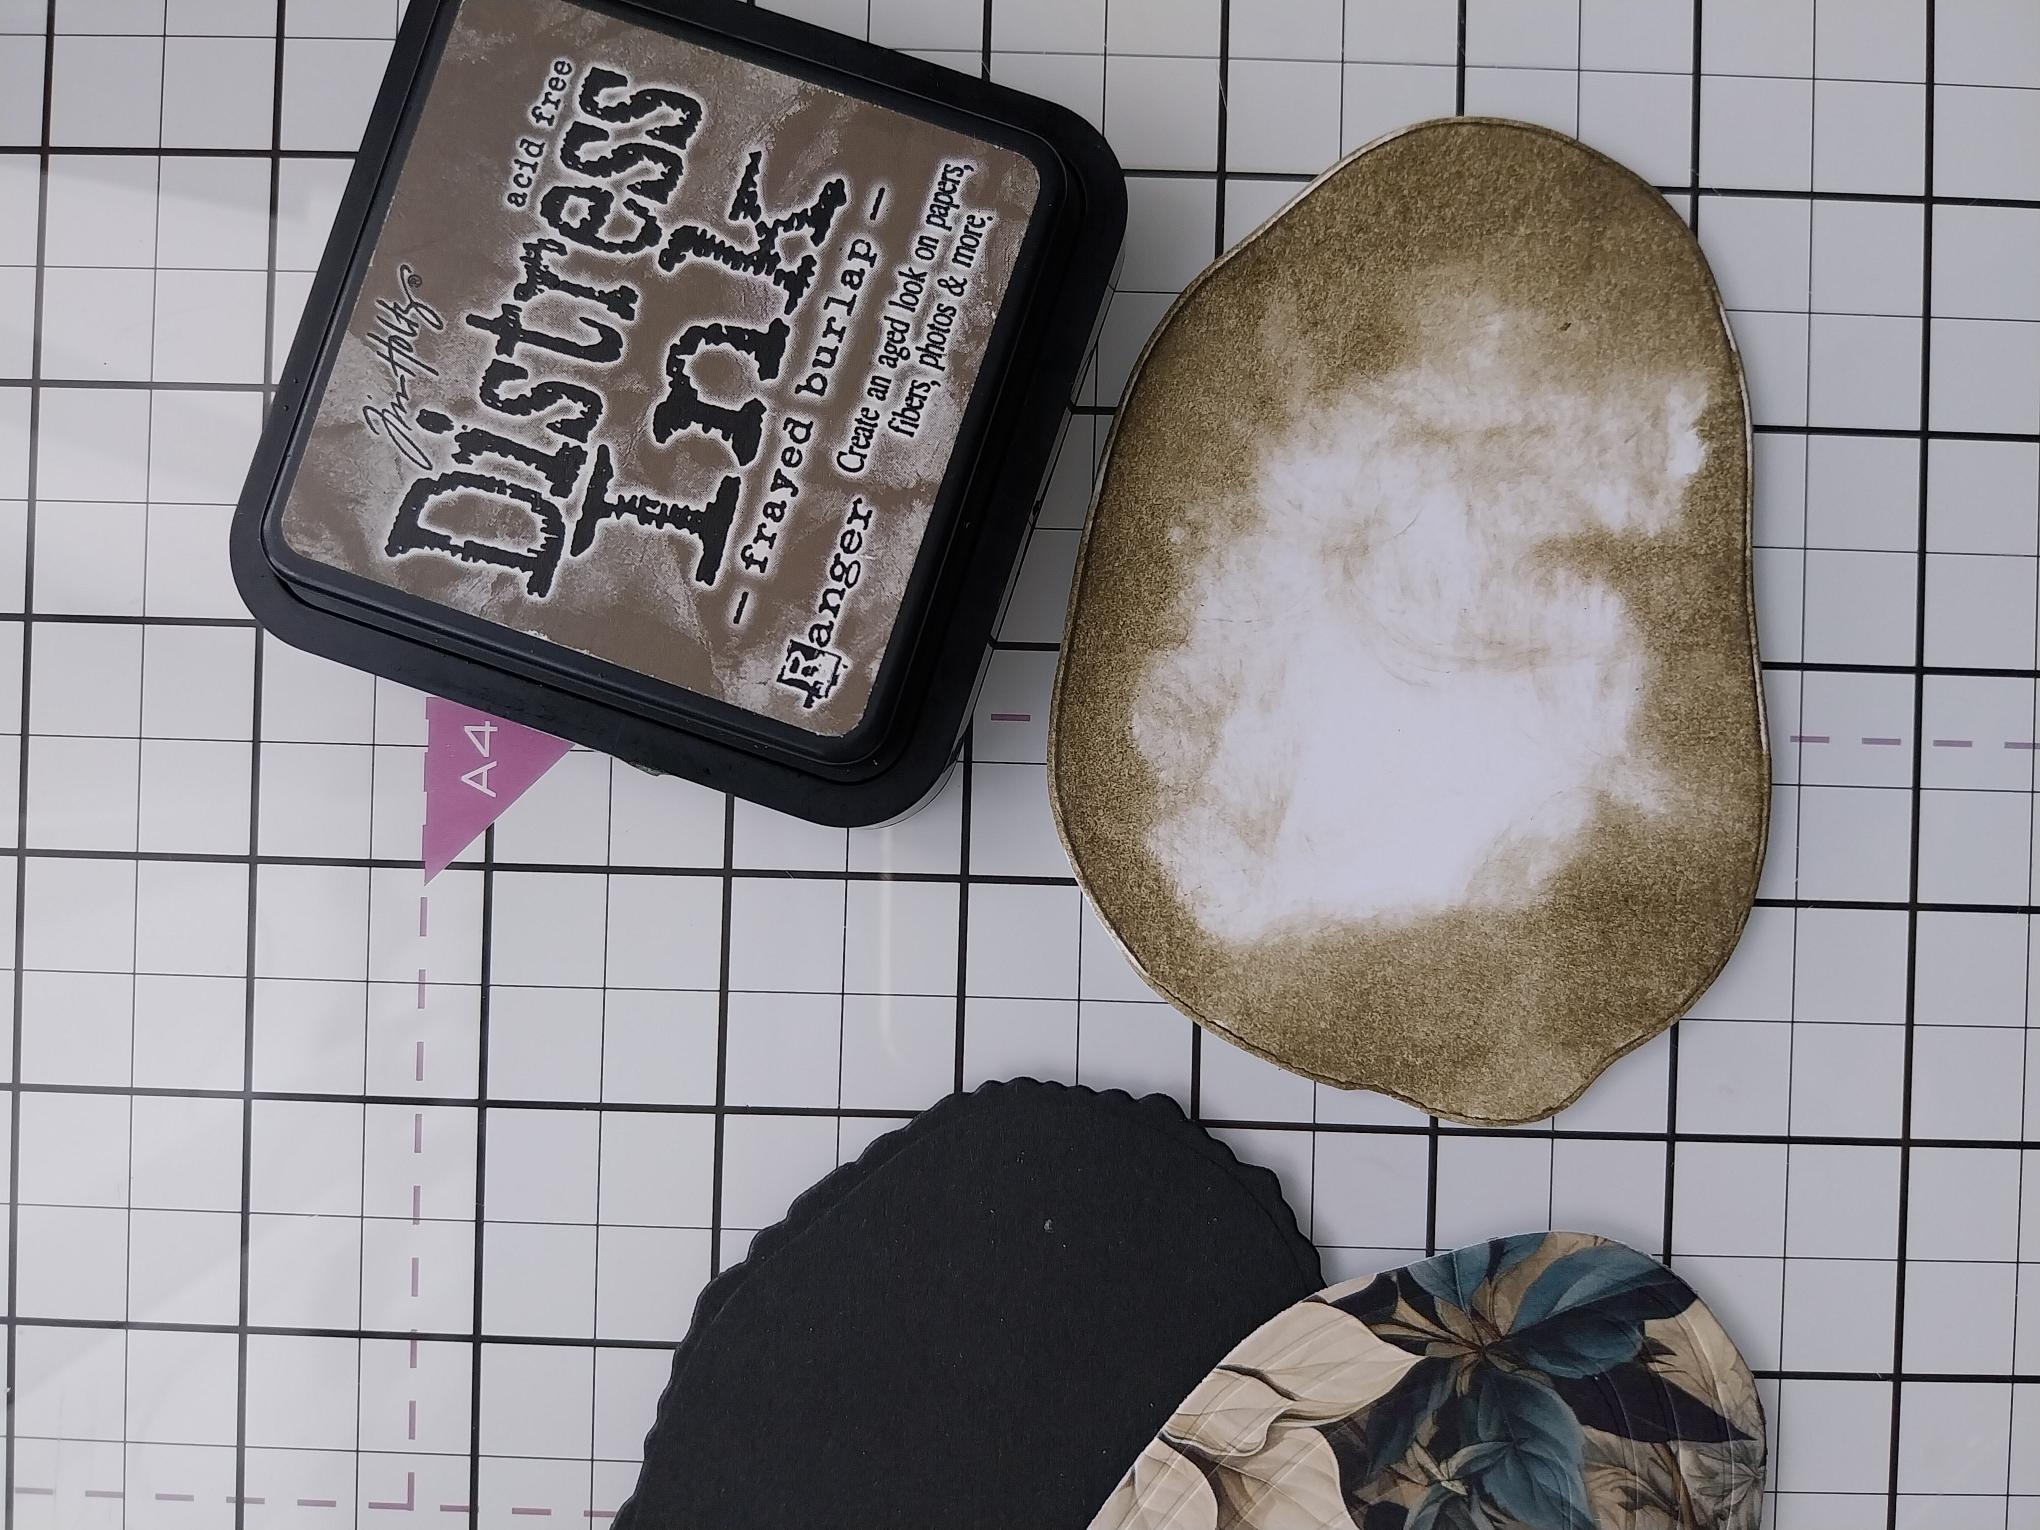
Now die cut the outer die in black cardstock and the middle die from white cardstock, as seen here. |
|
Blend the Frayed Burlap onto the white Oak slice. You don't need to cover it all as your painted mount Oak slice will cover most of it up. |
|
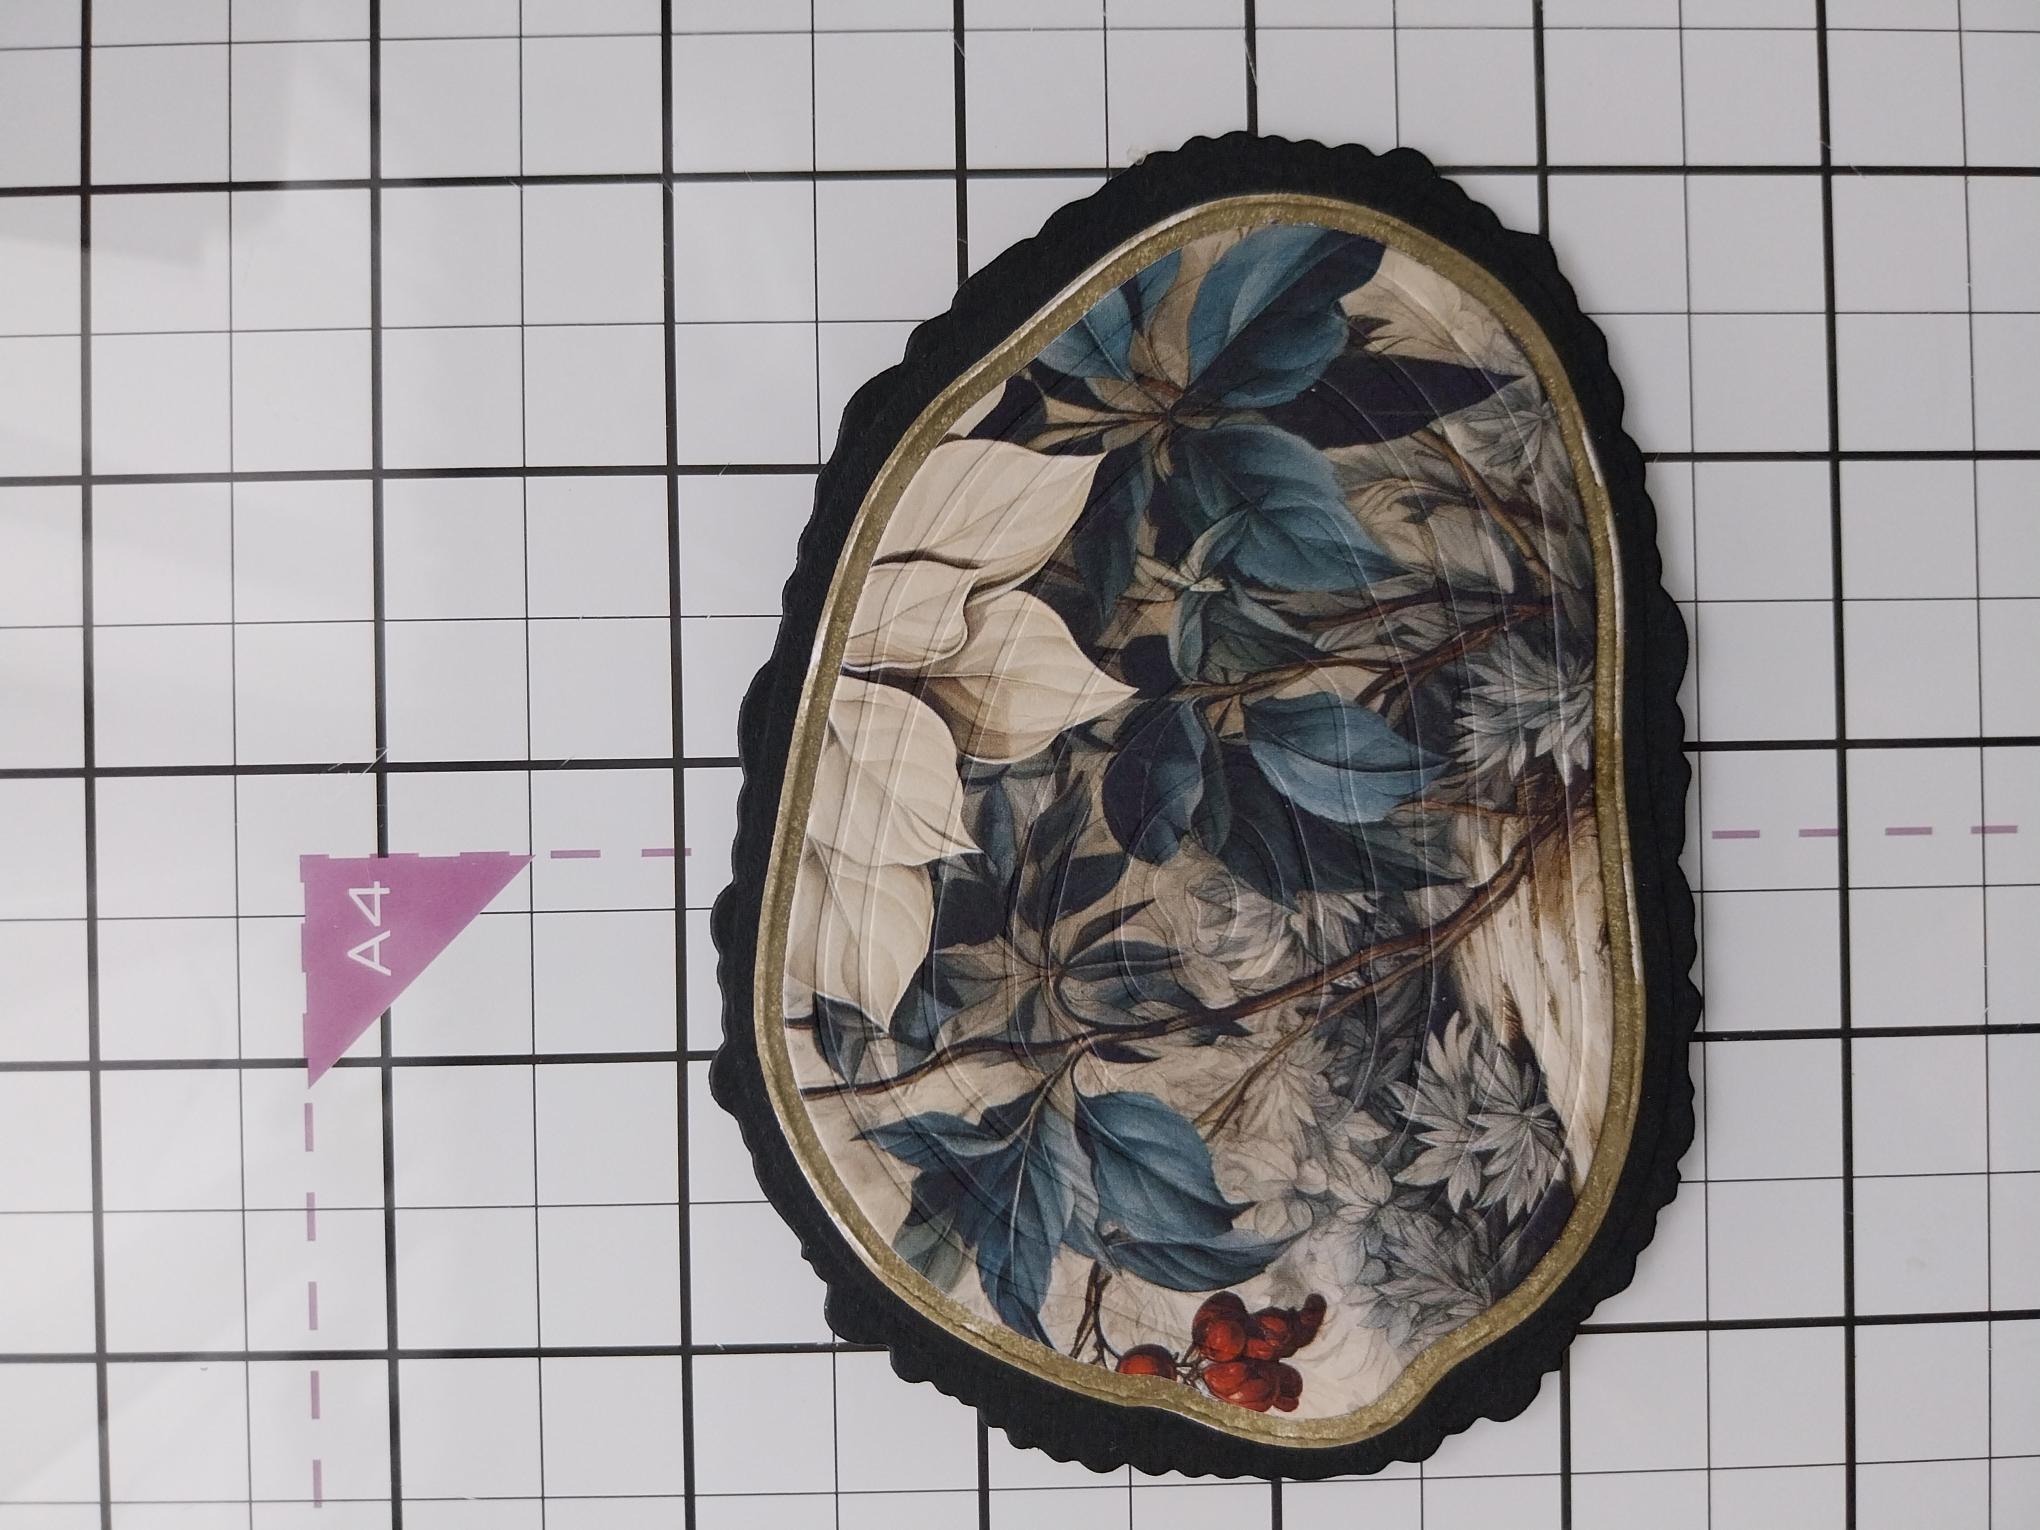
Adhere the 3 die cut Oak slices together. |

|
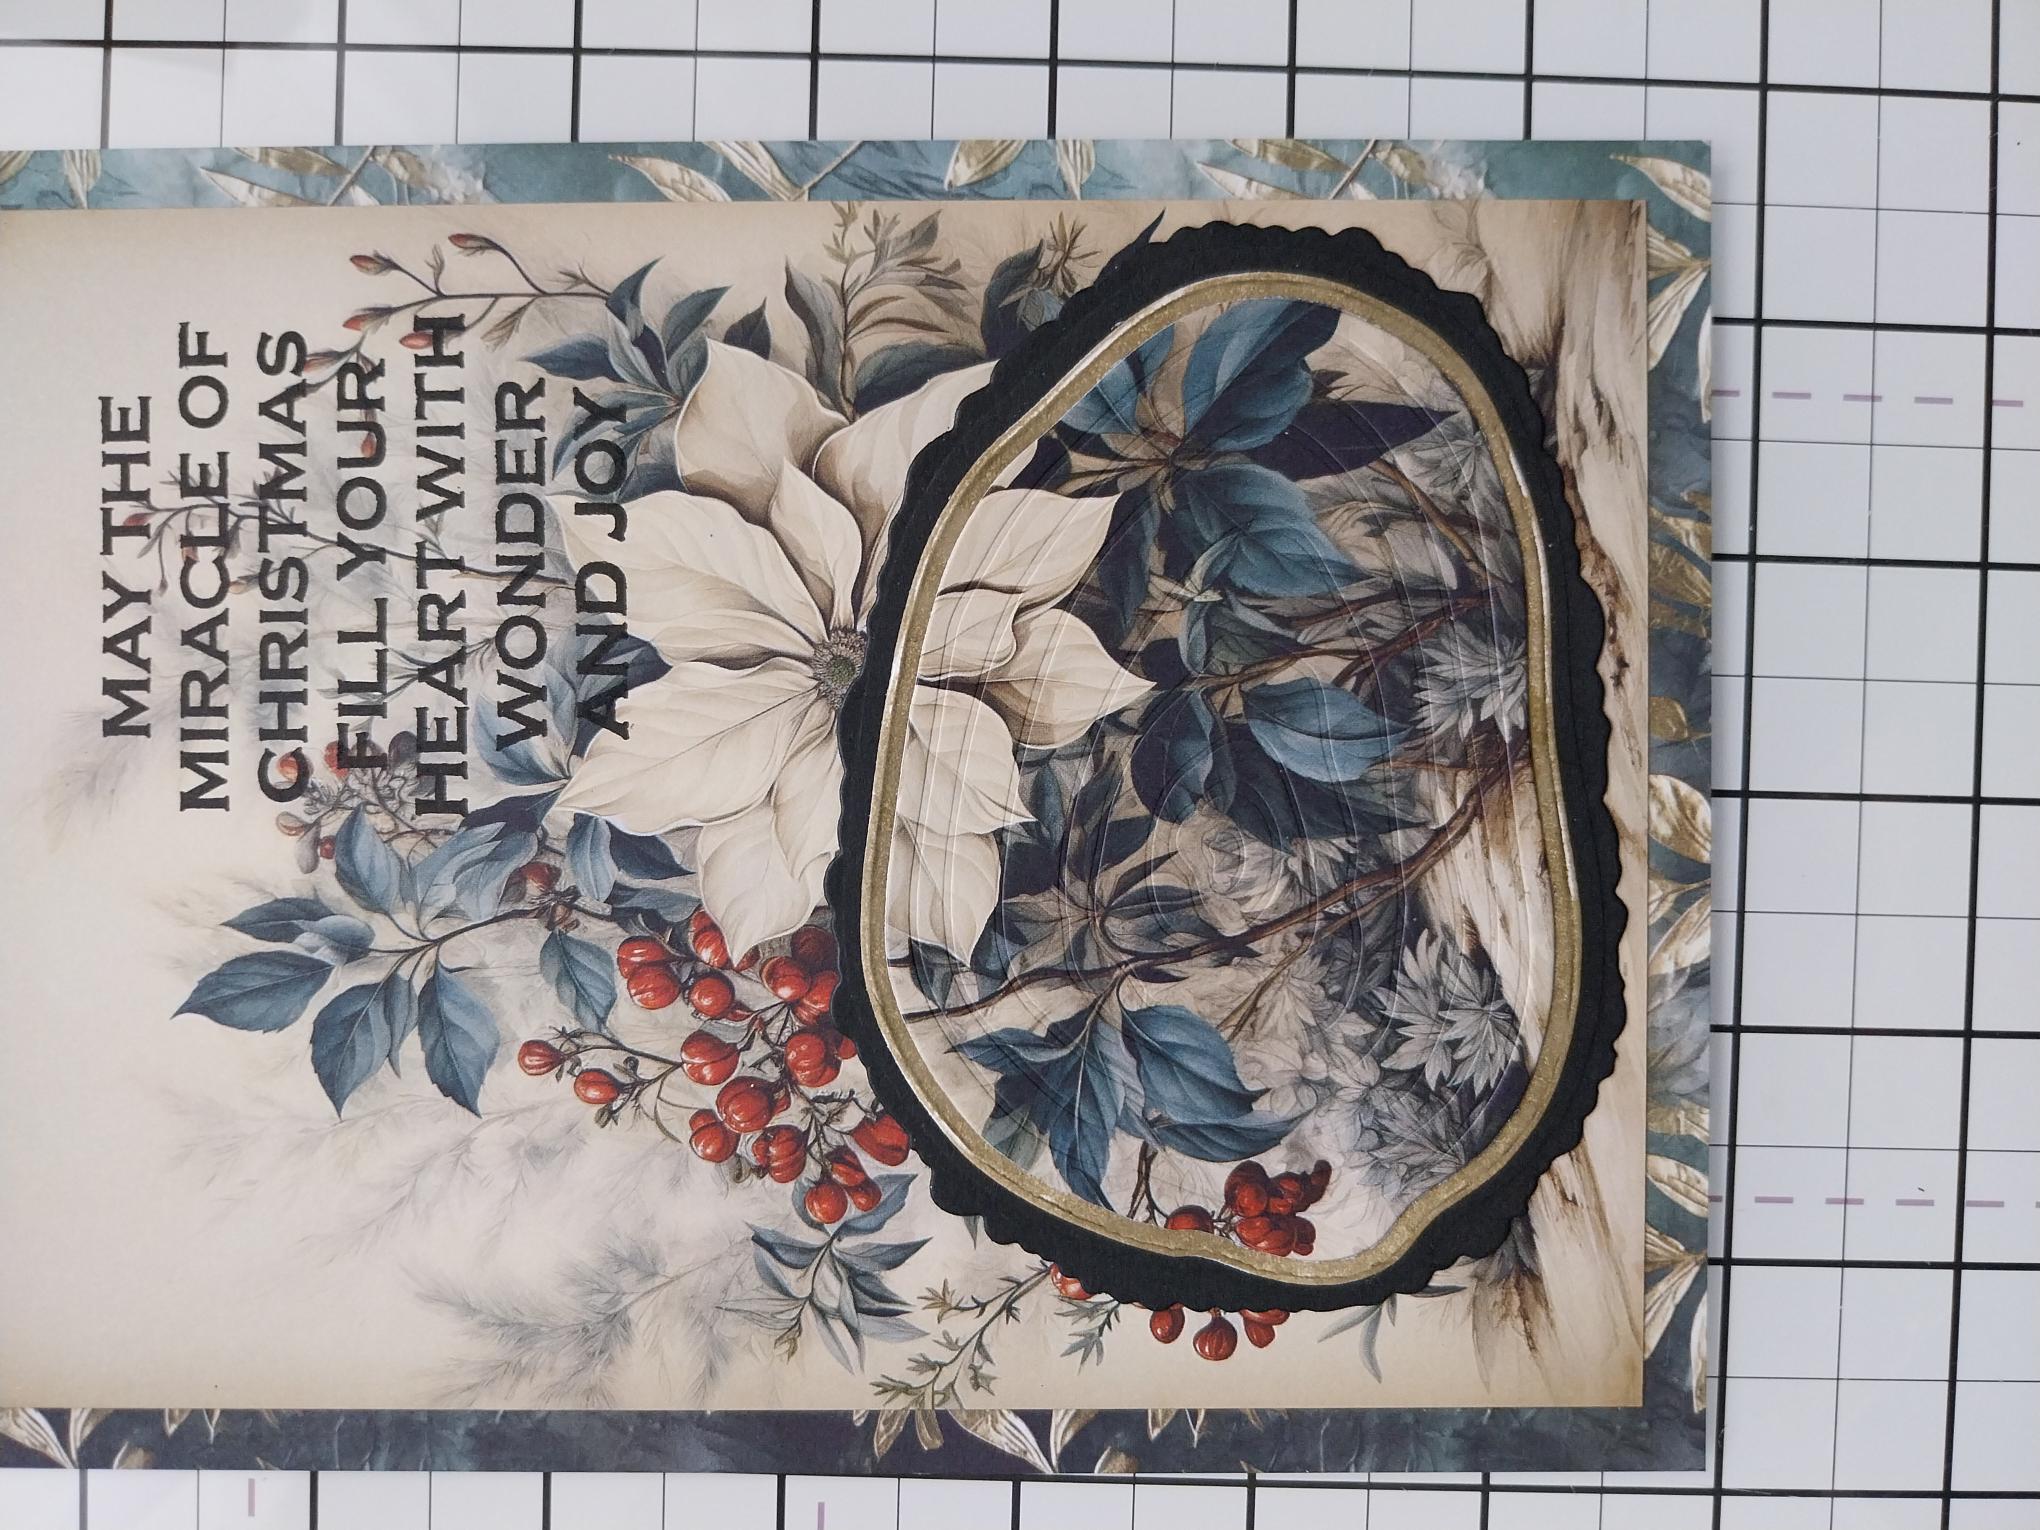
Adhere the die-cut paper onto the background paper. |
|
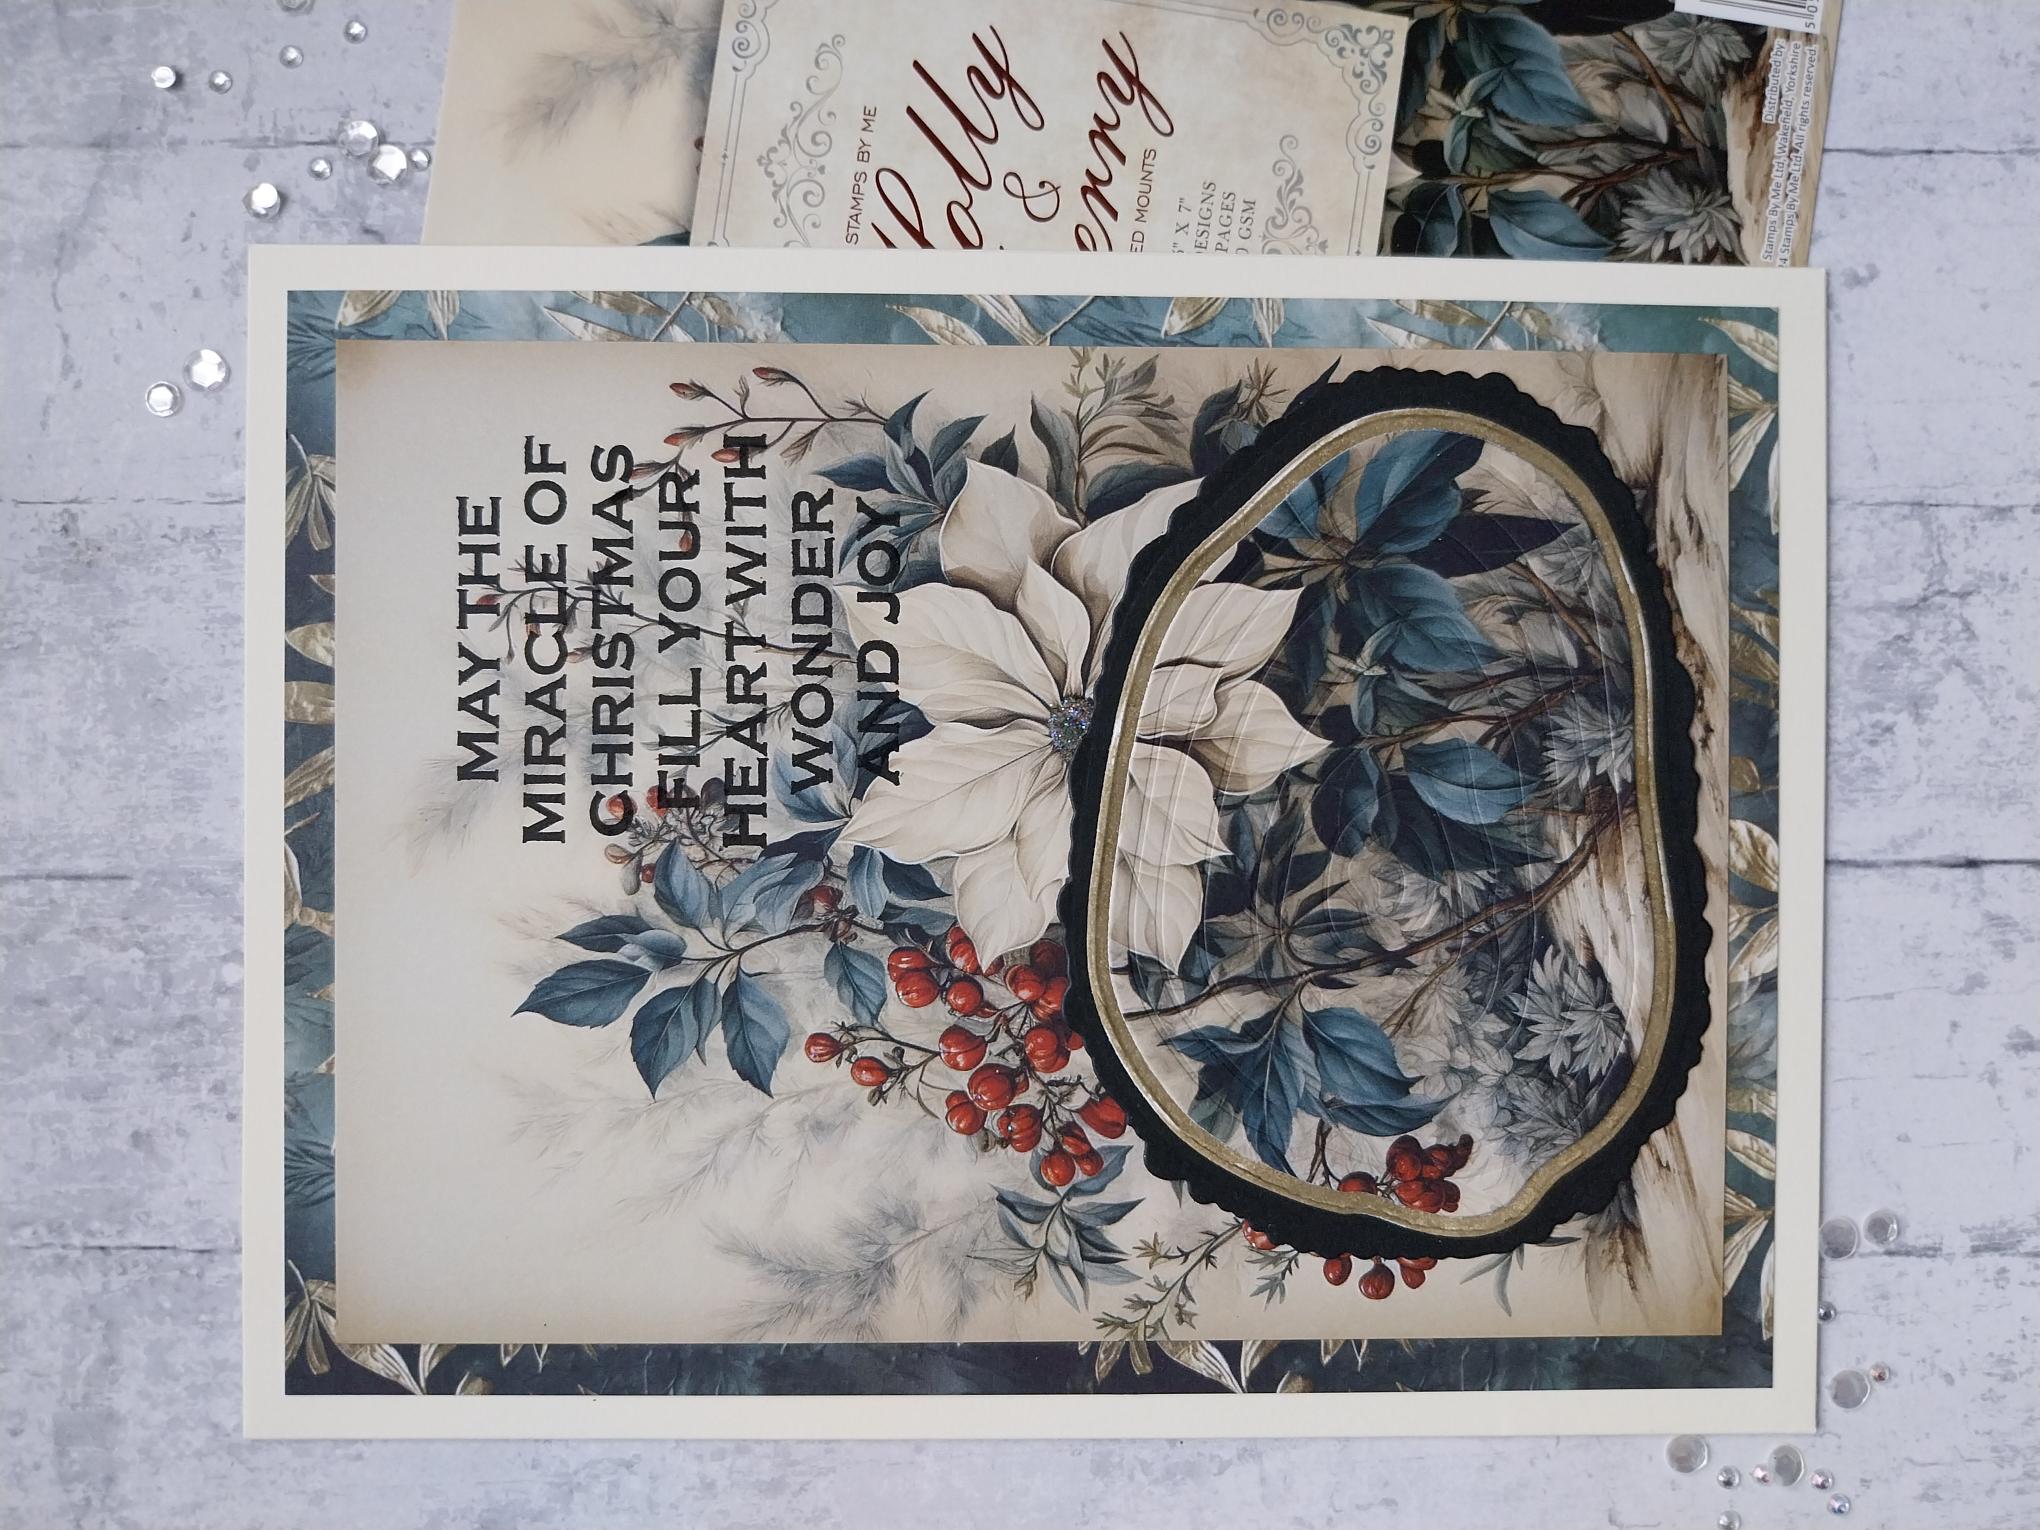
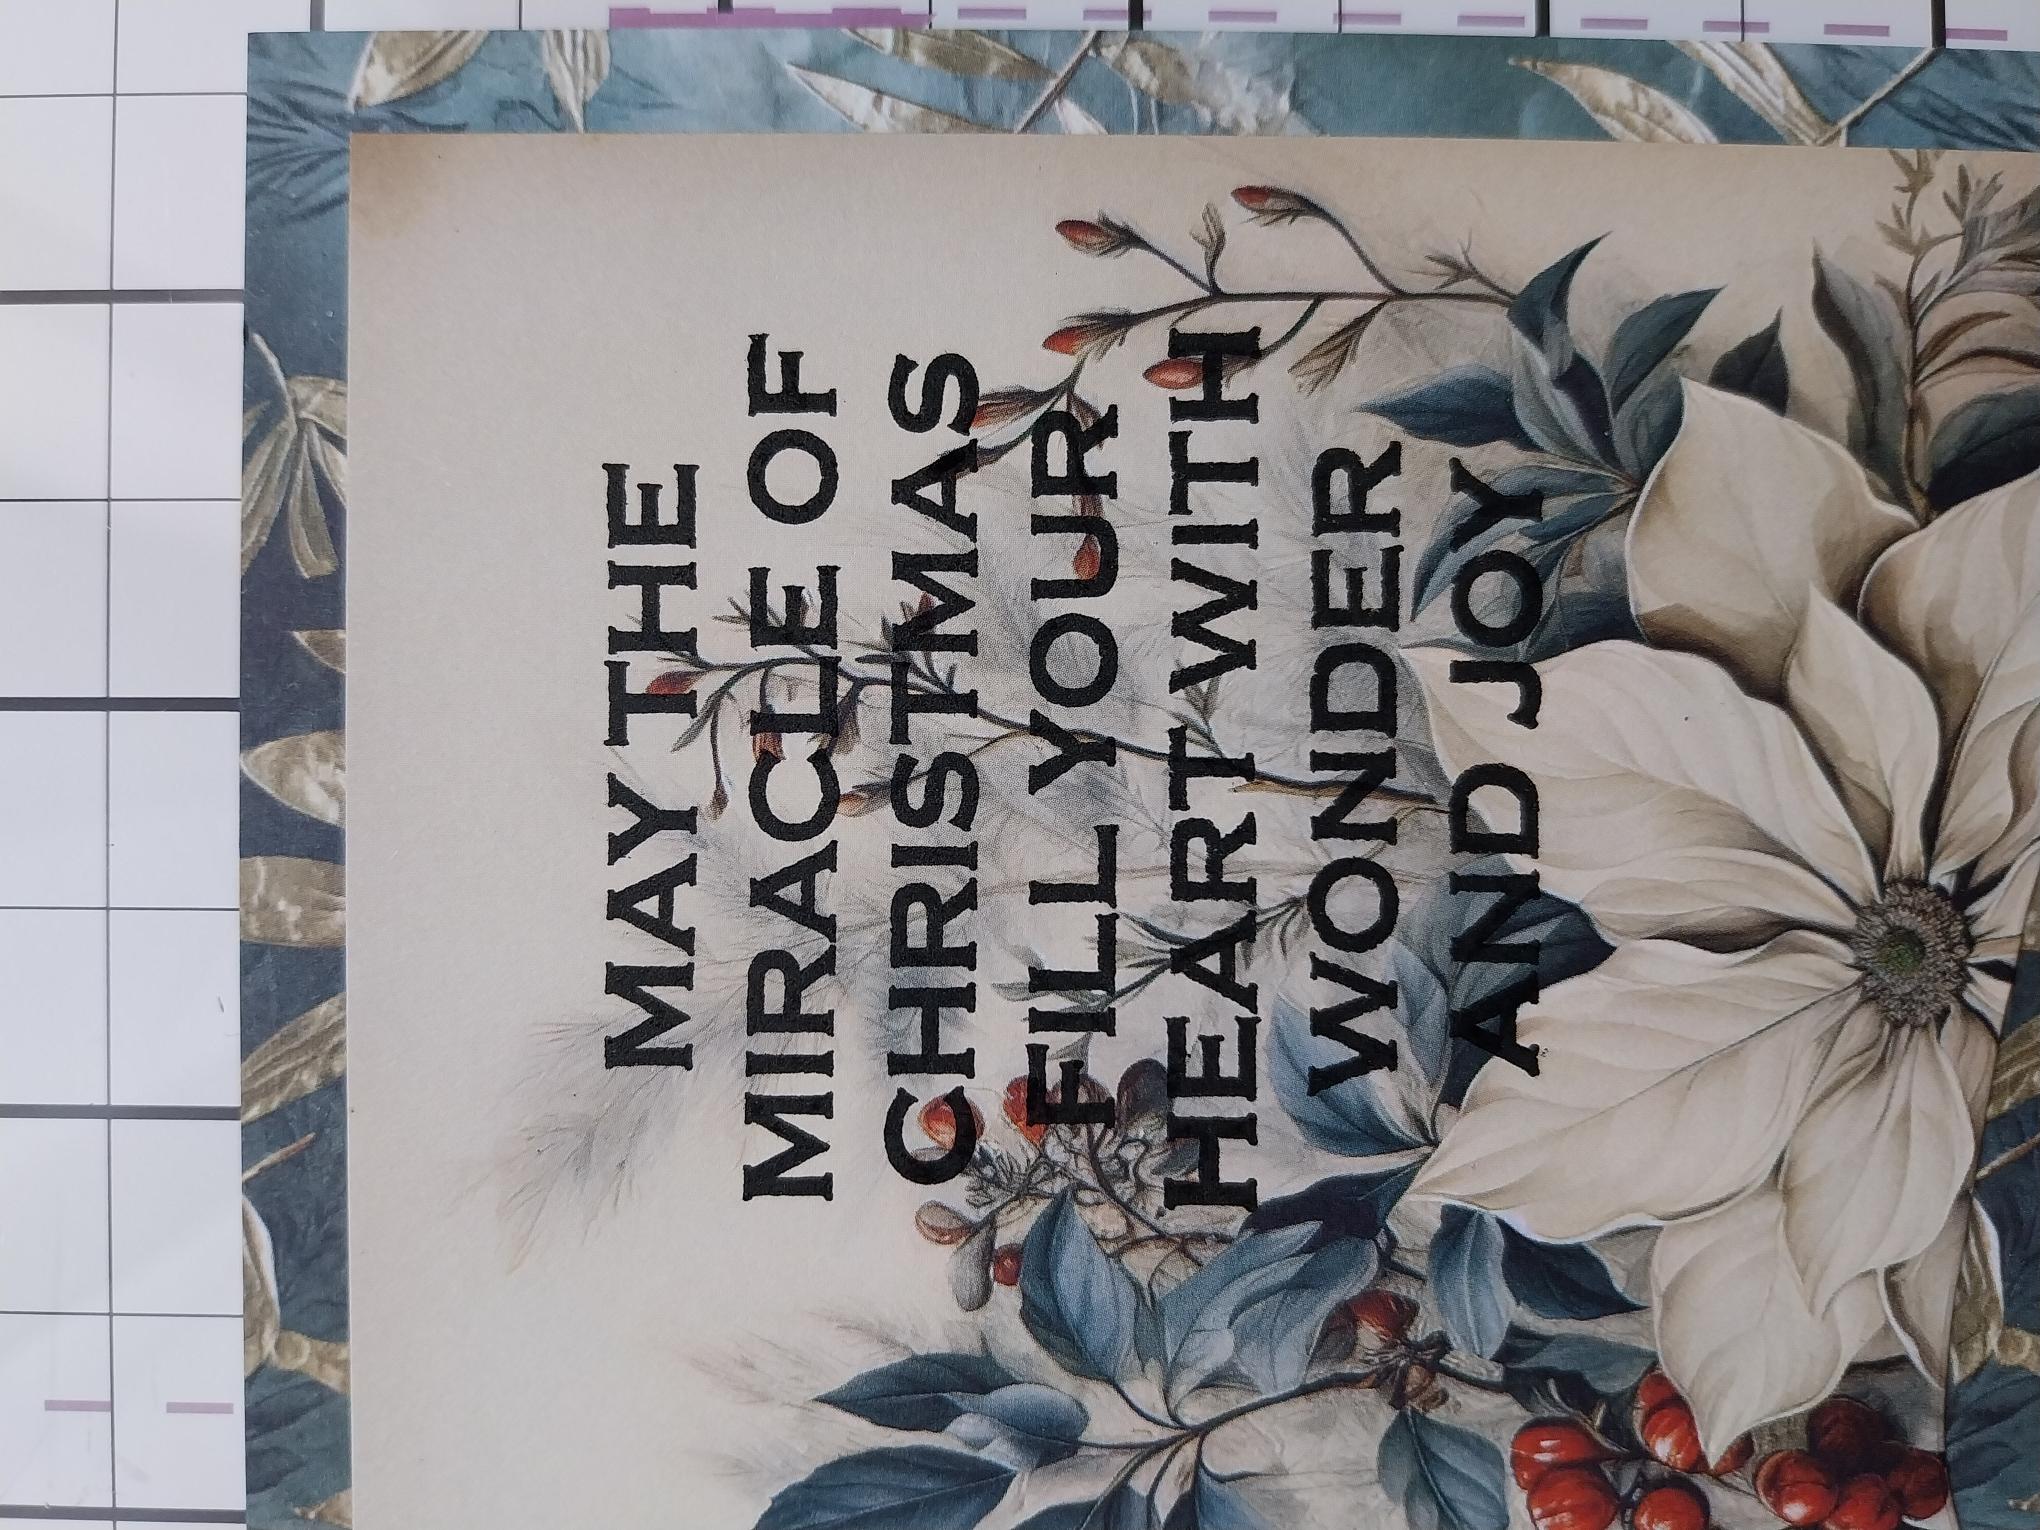
Stamp your chosen sentiment in Midnight, to the top right of the painted mount. I chose my sentiment from the Special Wishes Stamp & Die Collection. |
|
Adhere your die-cut Oak slice back in place, ensuring you match up the printed design. This technique is known as the " spotlight" or "eclipse" technique. |
|
Adhere your artwork onto your card blank. |
|
To finish, use your Stickles to add a touch of sparkle where required. |