Give your friends $10 off their first order!
Refer a FRIEND


WHAT YOU WILL NEED:
White Cardstock
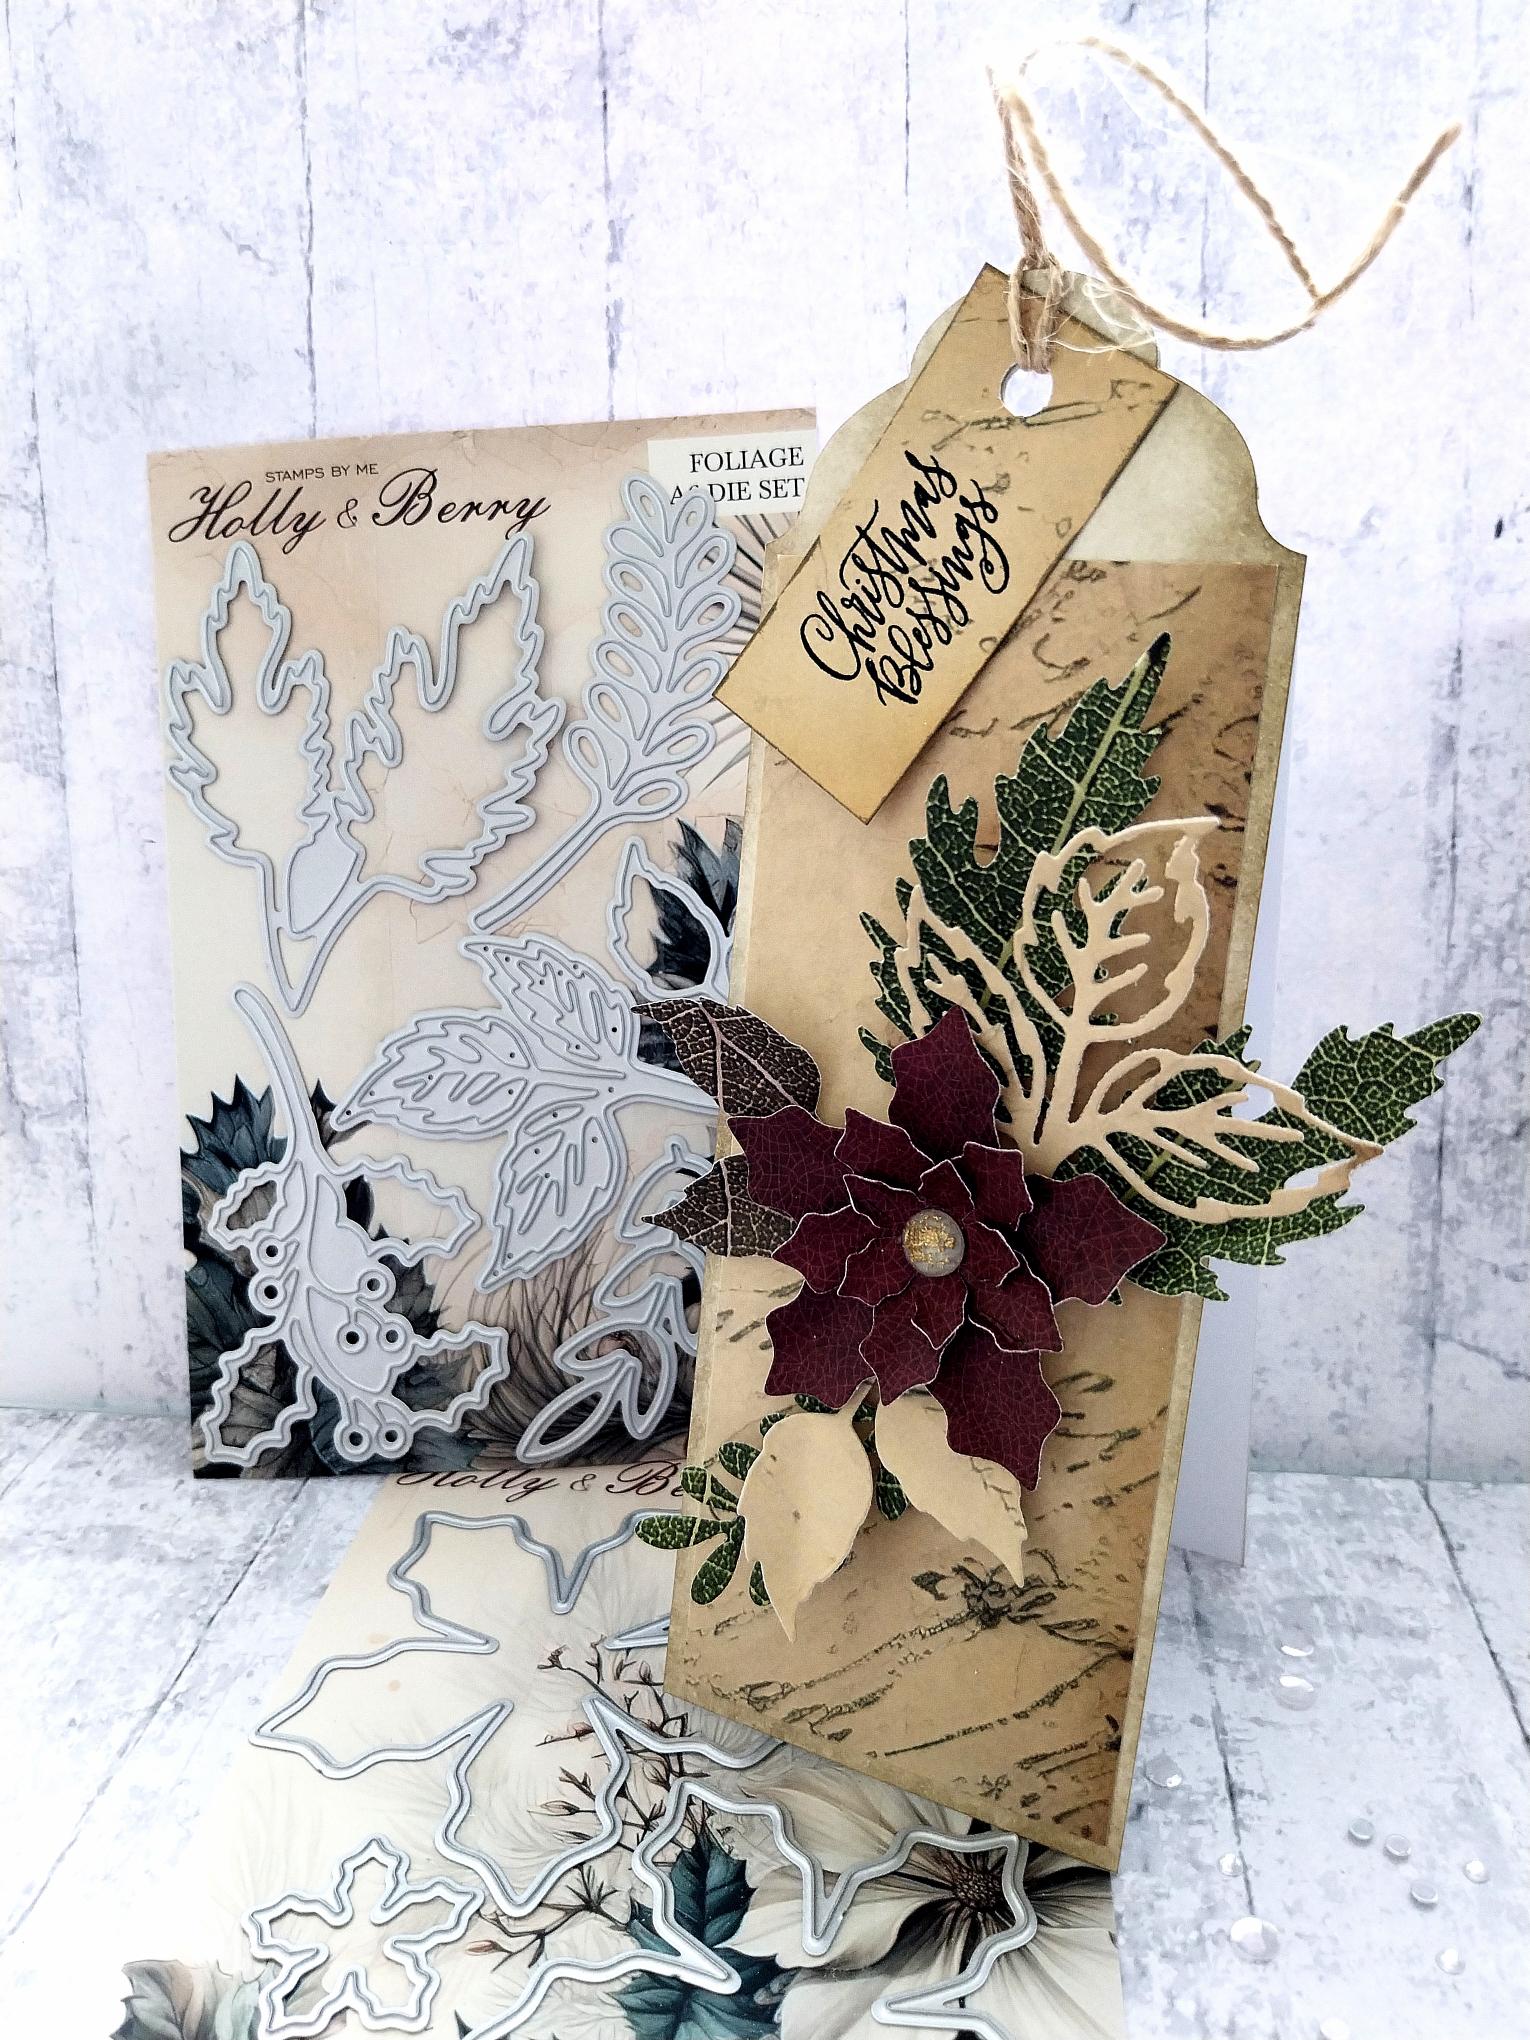
Holly & Berry Die Collection
Holly & Berry Texture Paper Collection
Holly & Berry 12 x 12 Paper Collection
Banner punch
Hole punch
SBM Hybrid Ink Pad: Midnight
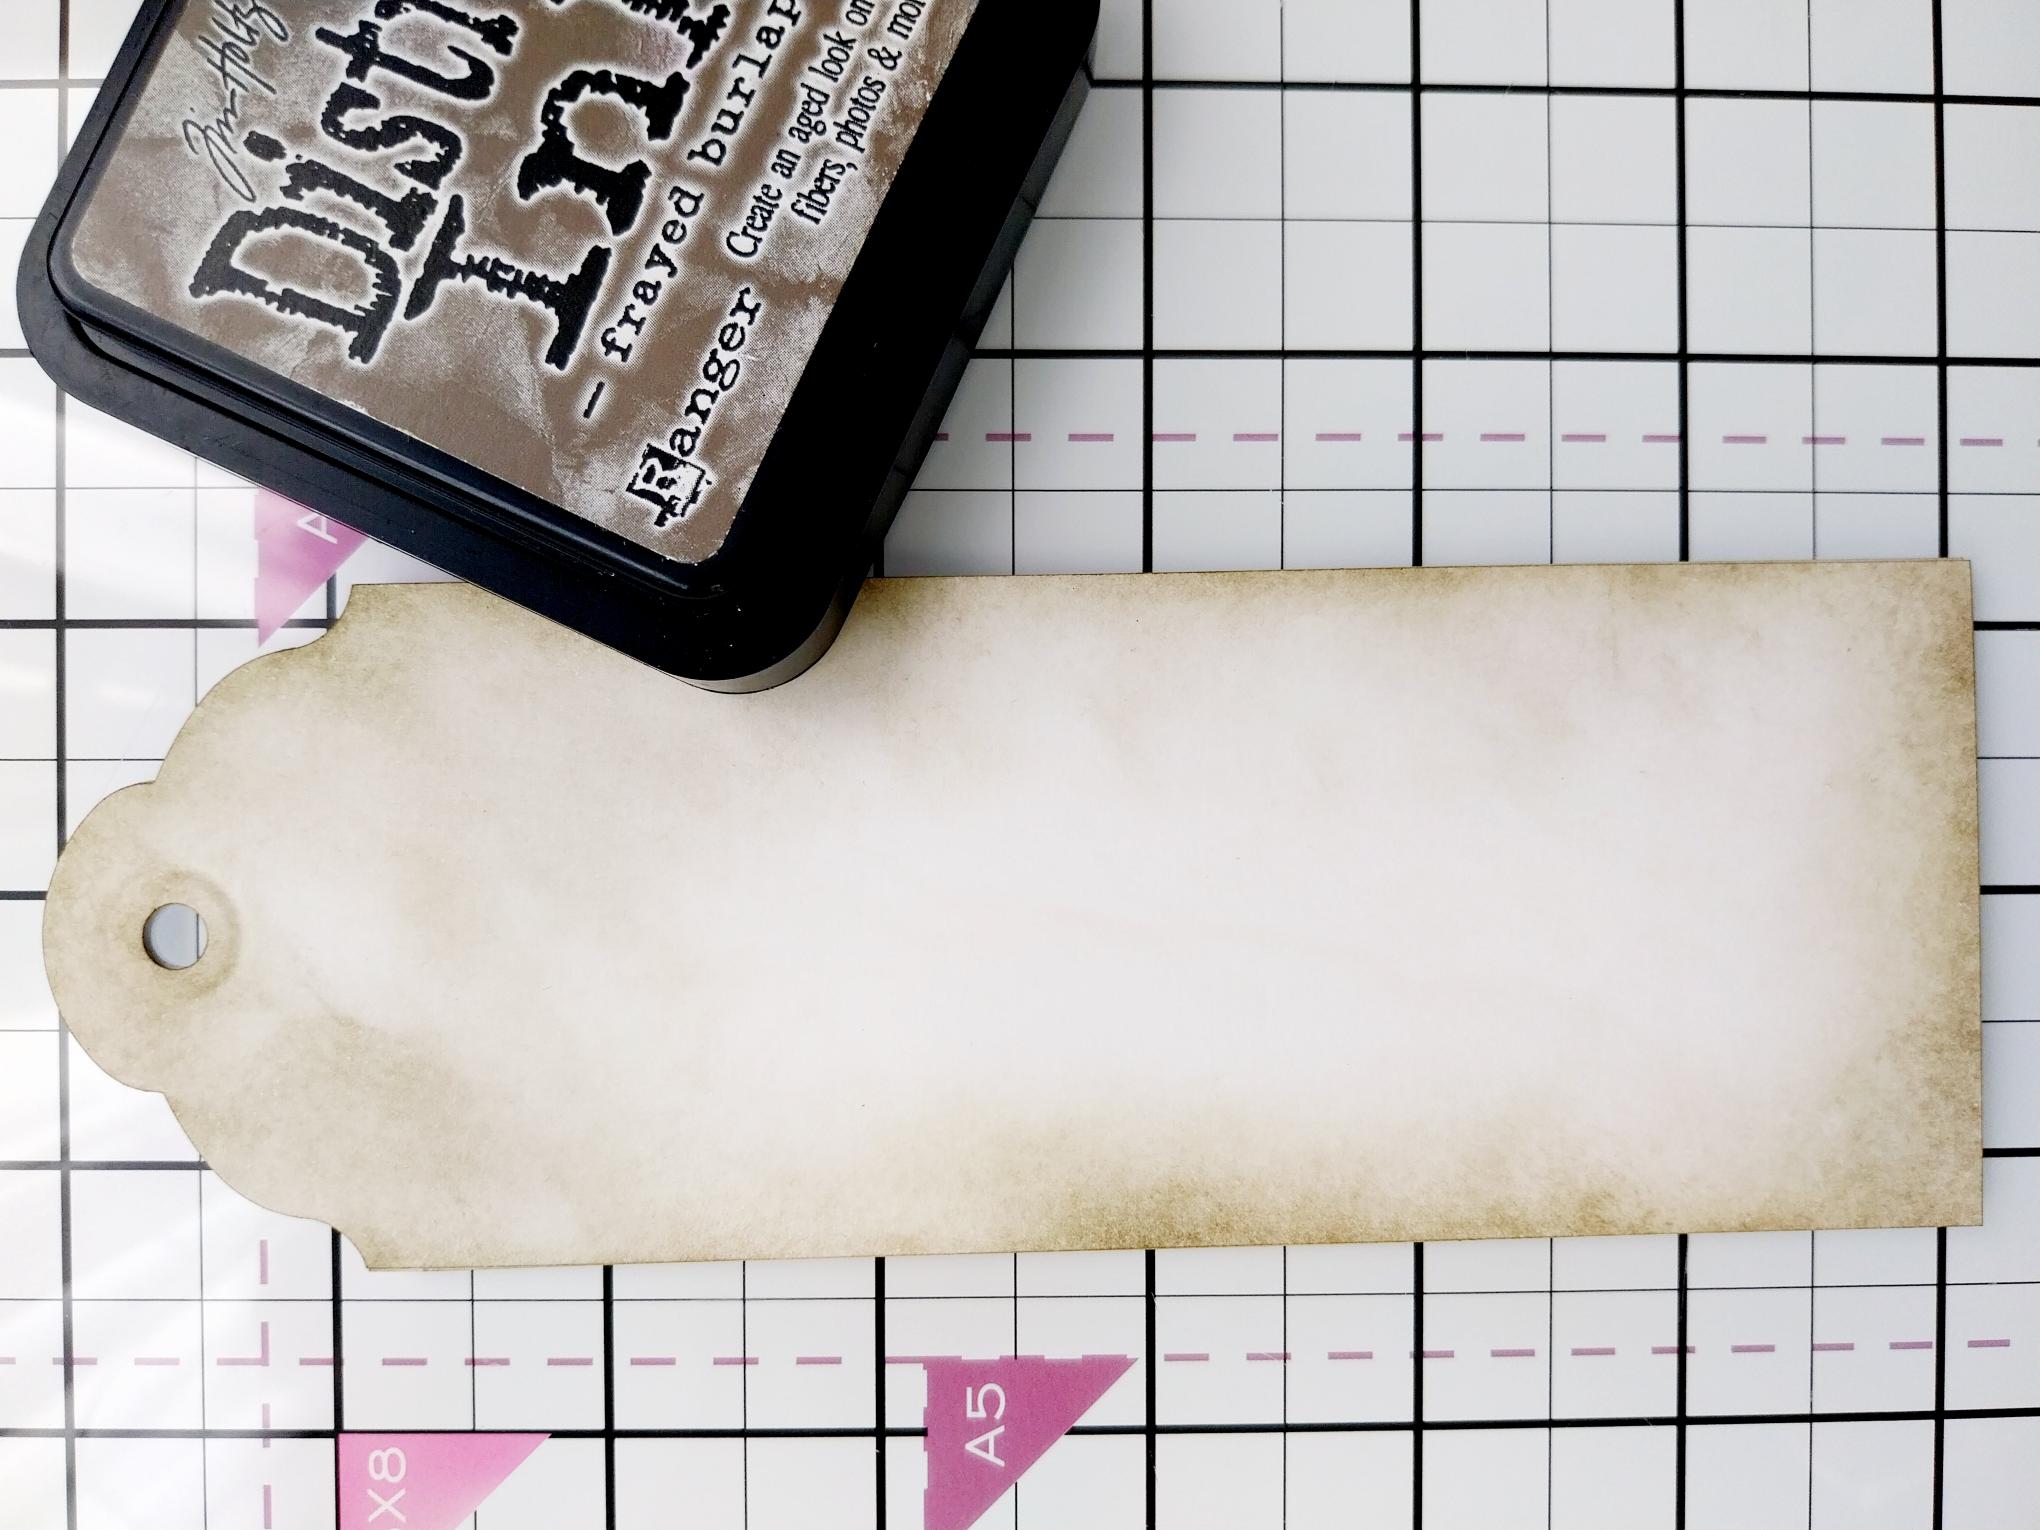
Distress Ink Pad: Frayed Burlap
Blending Tool
Twine
Gems
Eureka 101 Watercolour Tablet
SBM A3 Magnetic glass mat
Paper Trimmer
Scoreboard/tool
Glue/red liner tape/3D silicon gel
Die Cutting machine
[click image to enlarge] 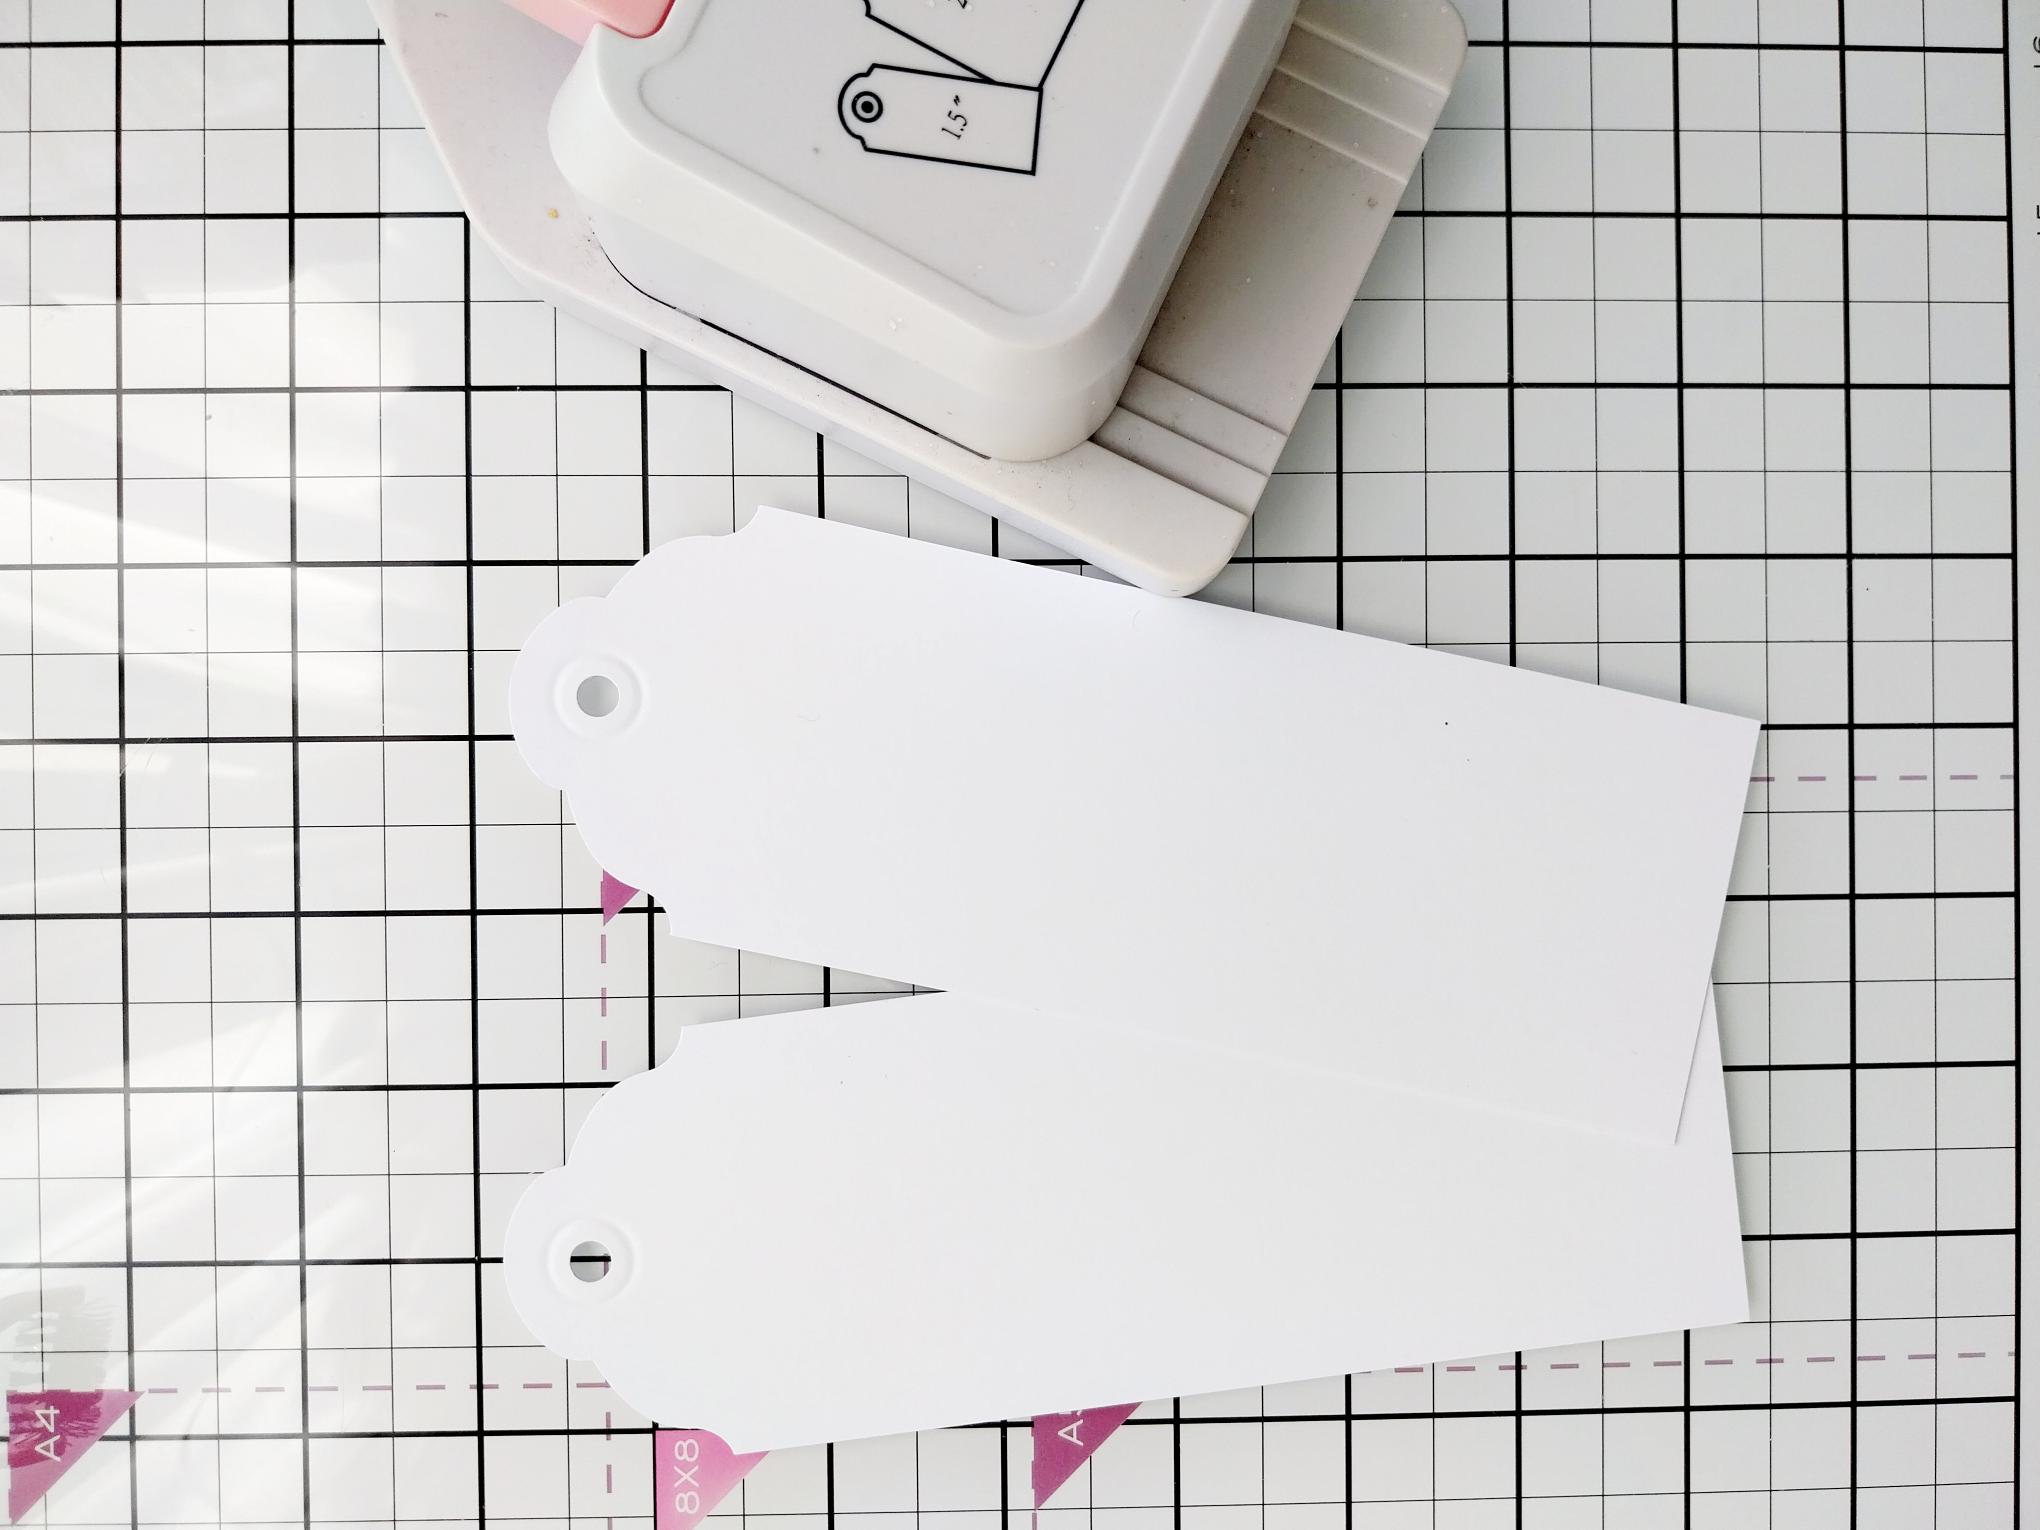
|
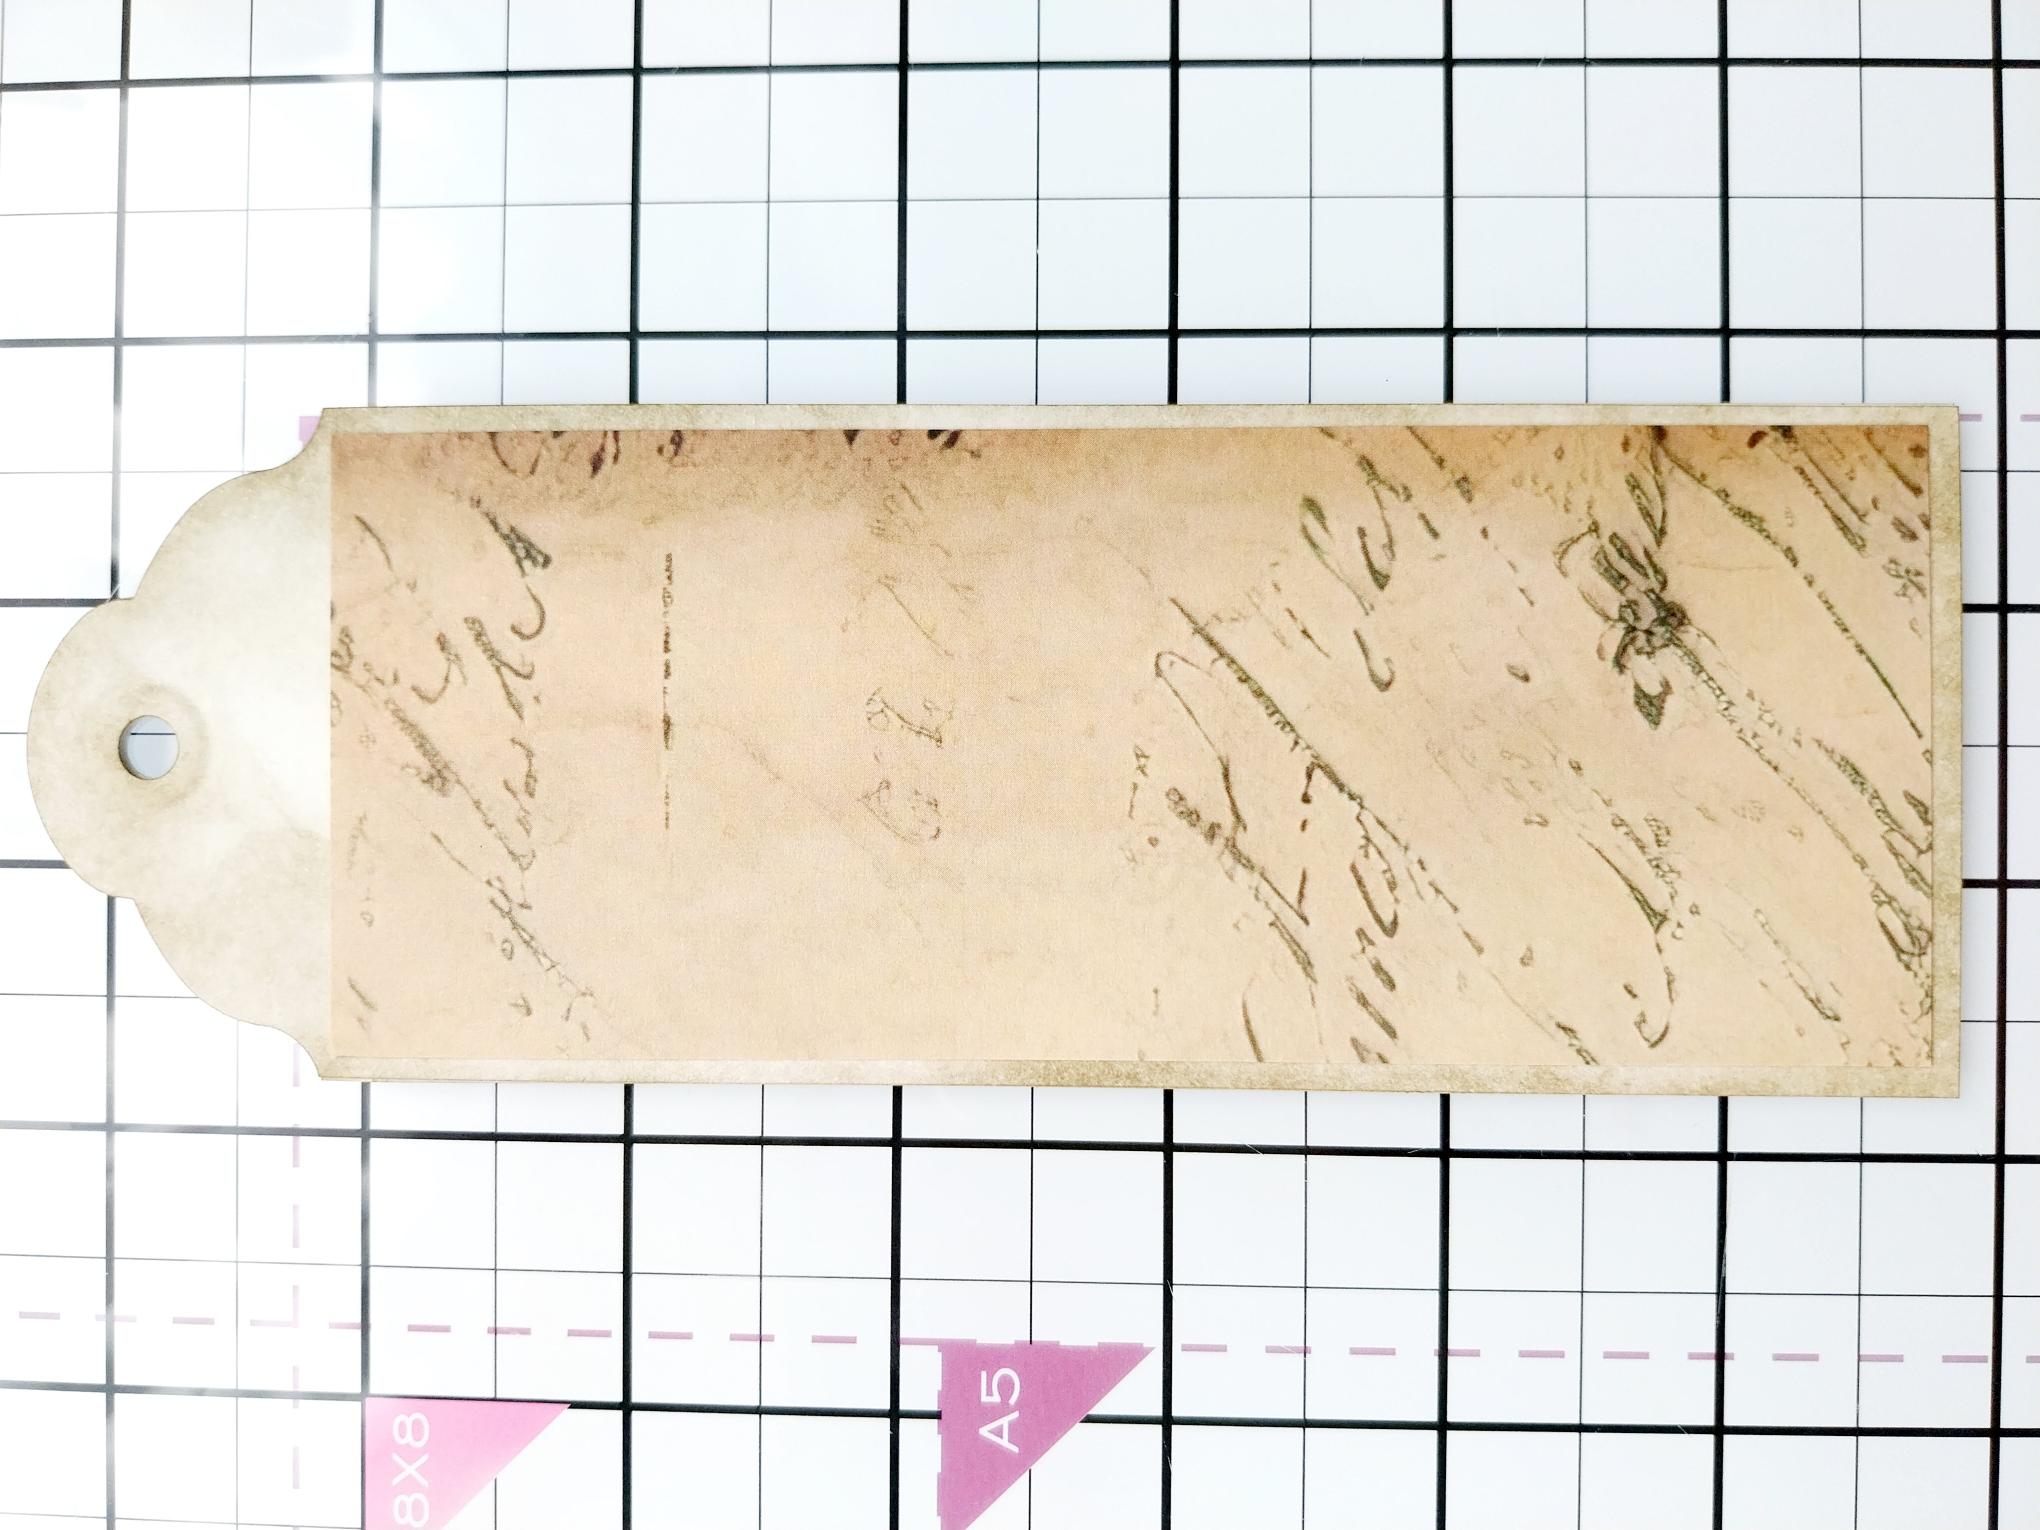
Use your banner punch to cut TWO tags , each measuring approx 2 1/2 x 7 1/2". |
|
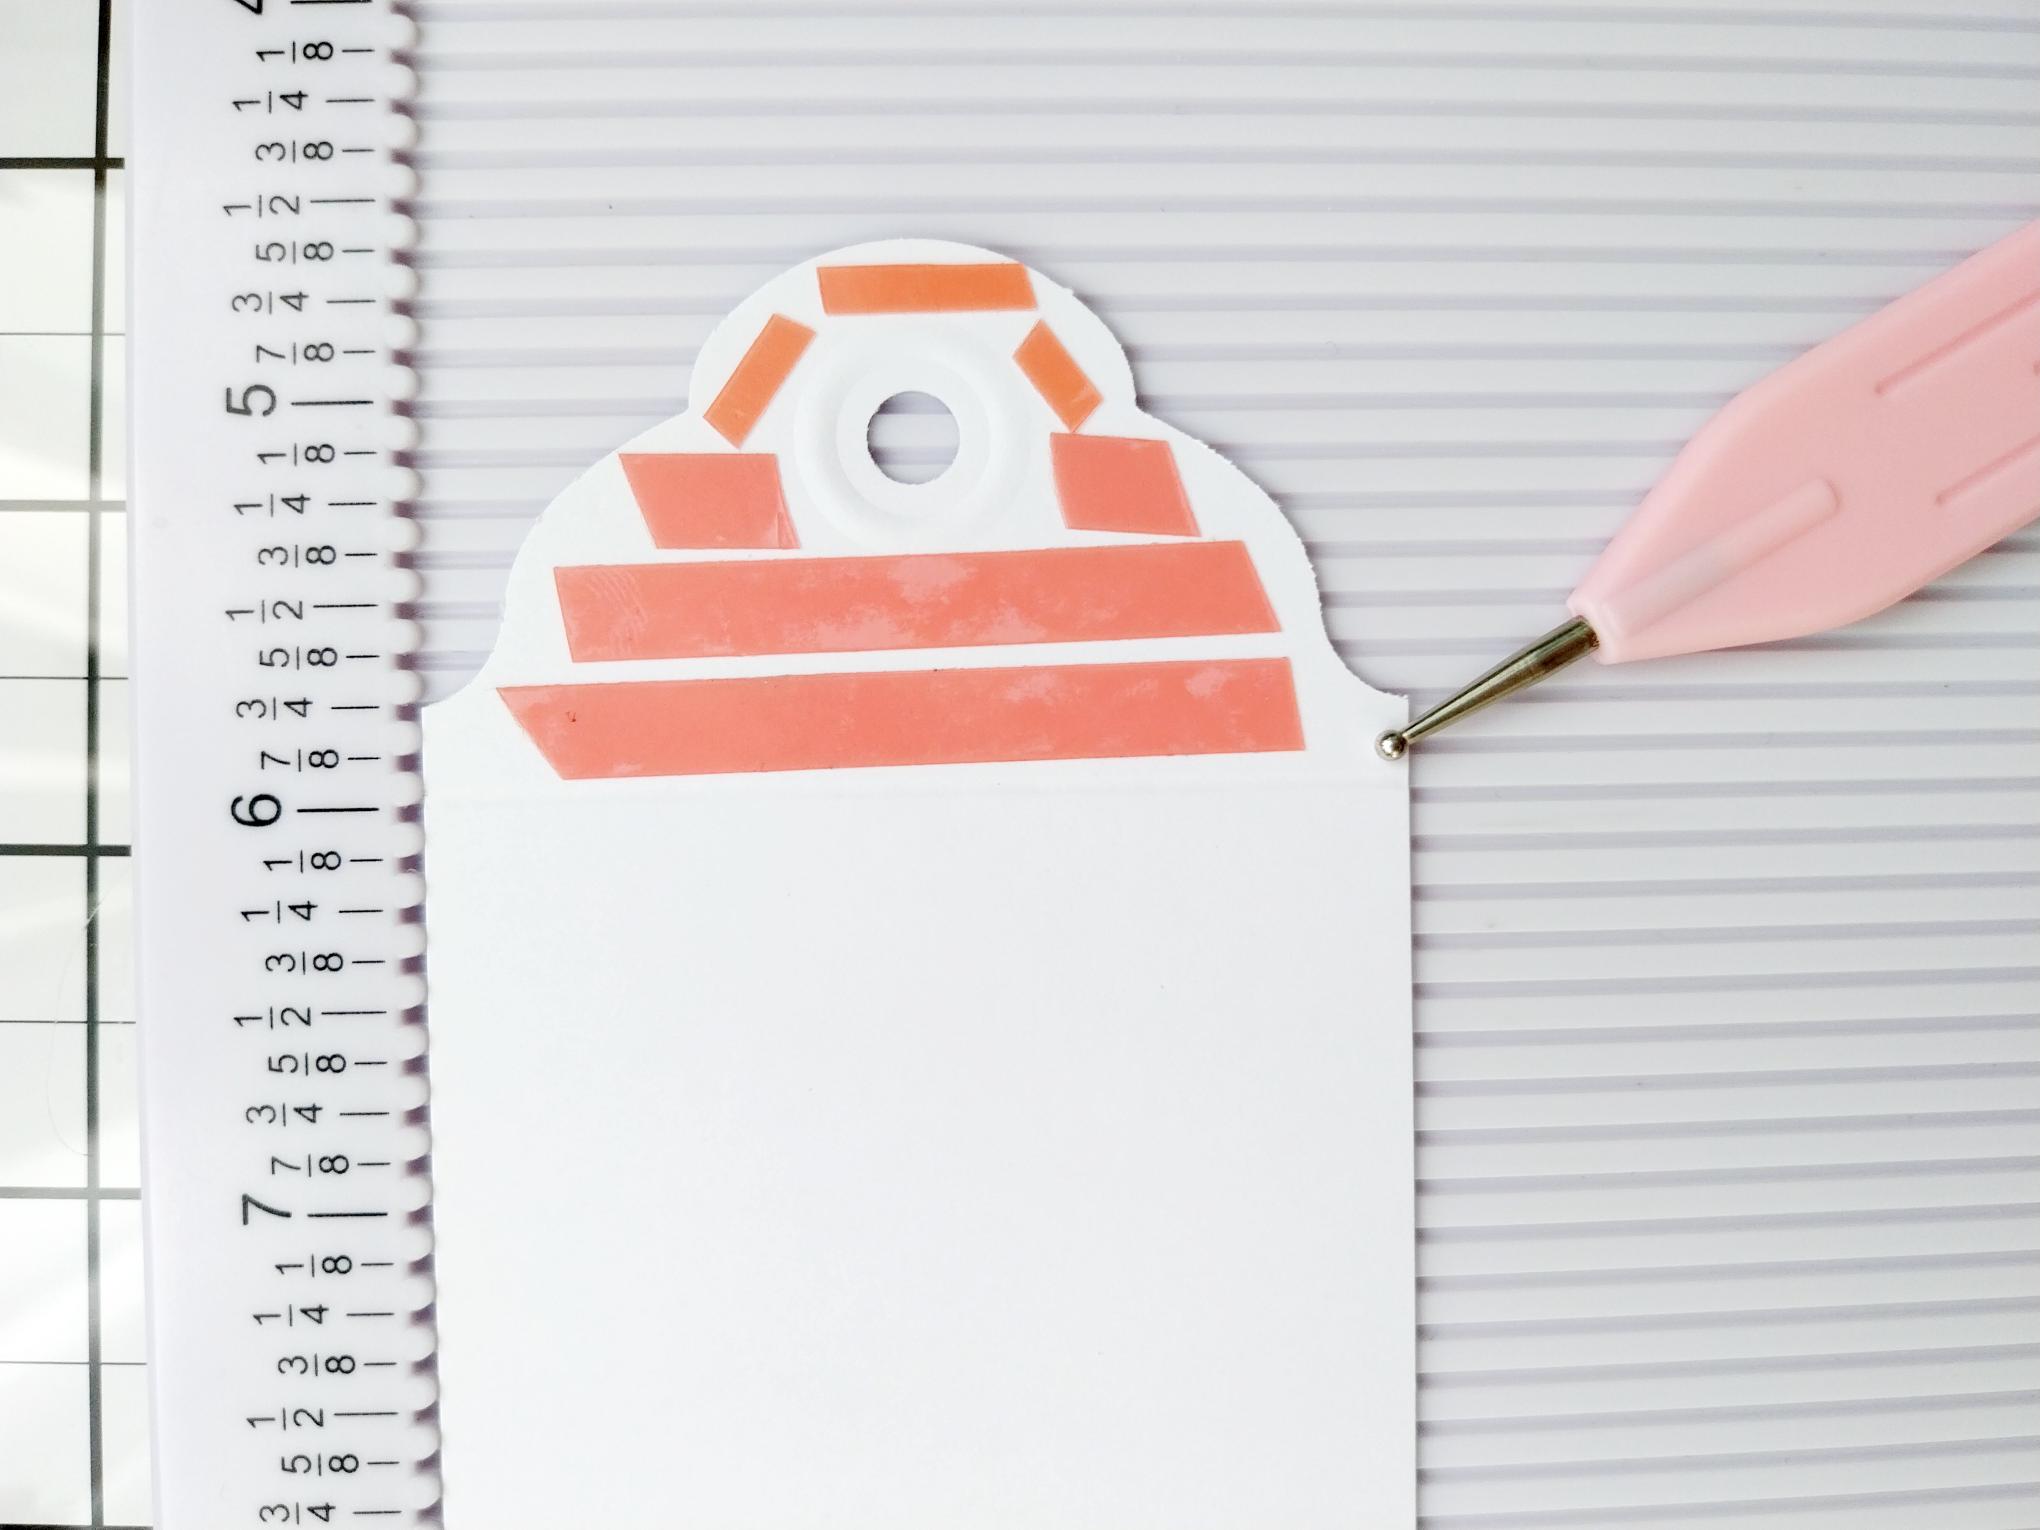
Score ONE across the top, as seen here and apply red liner tape ABOVE the score line. Remove tape backing and adhere tags together, with the scored one at the back, to create a tag-shaped card. |
|
Ink around the edges with the Frayed Burlap. |
|
Cut this decorative script paper, from the collection, slightly smaller than the tag and adhere in place. Blend the Frayed Burlap around the edges. |
|
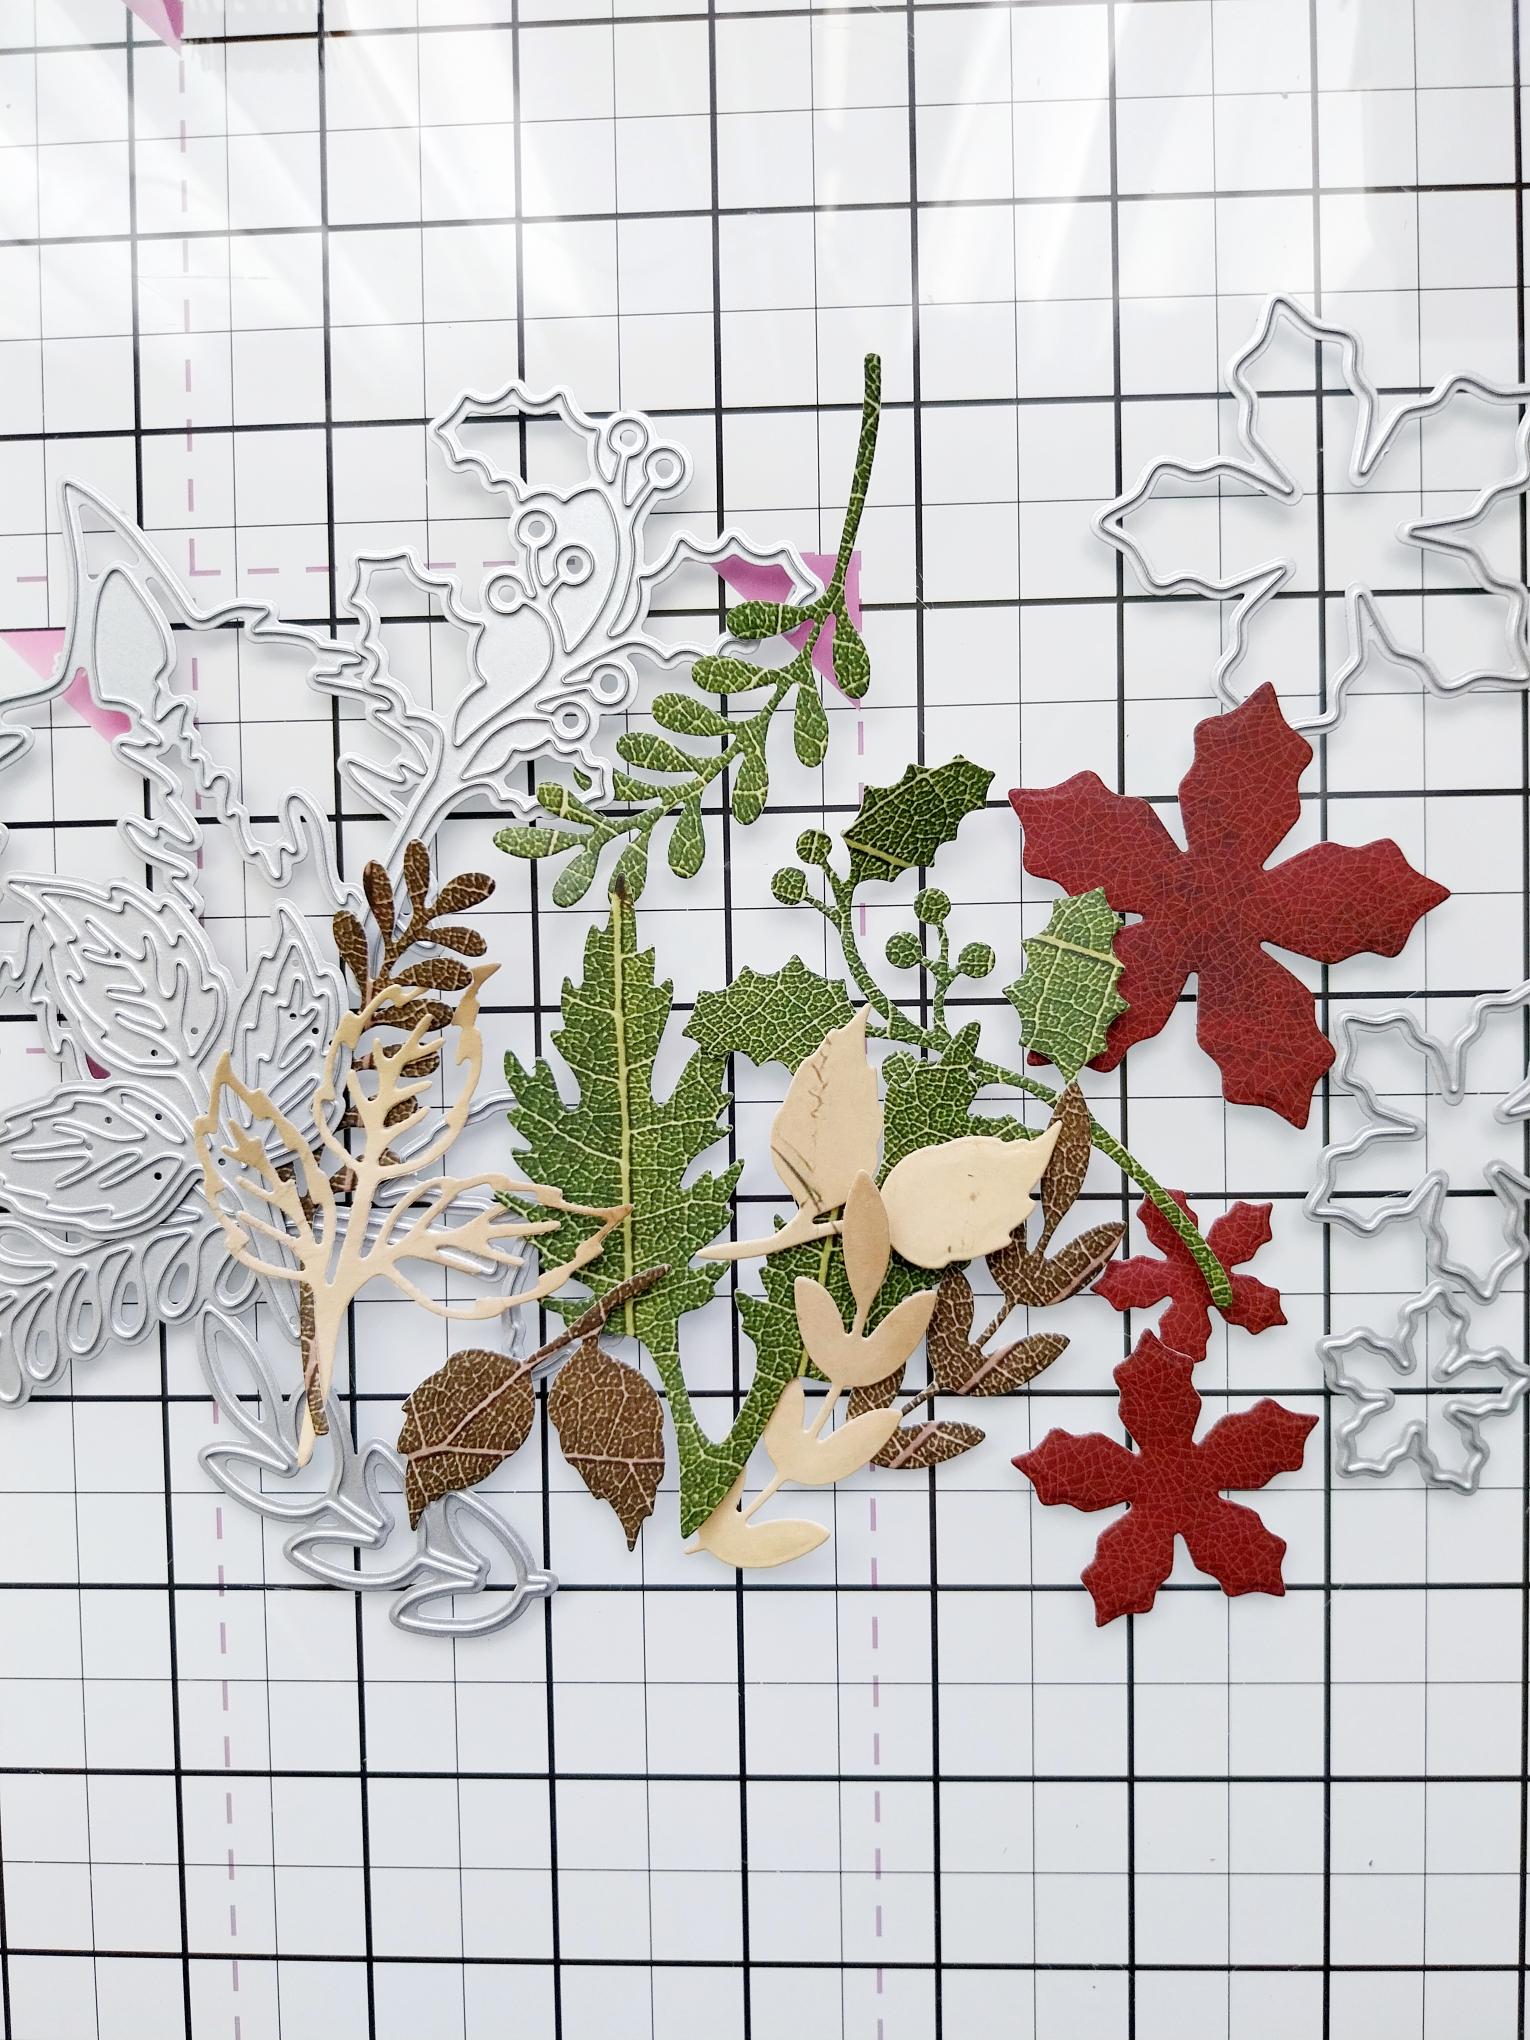
Die cut a selection of florals and foliage from the papers. |
|
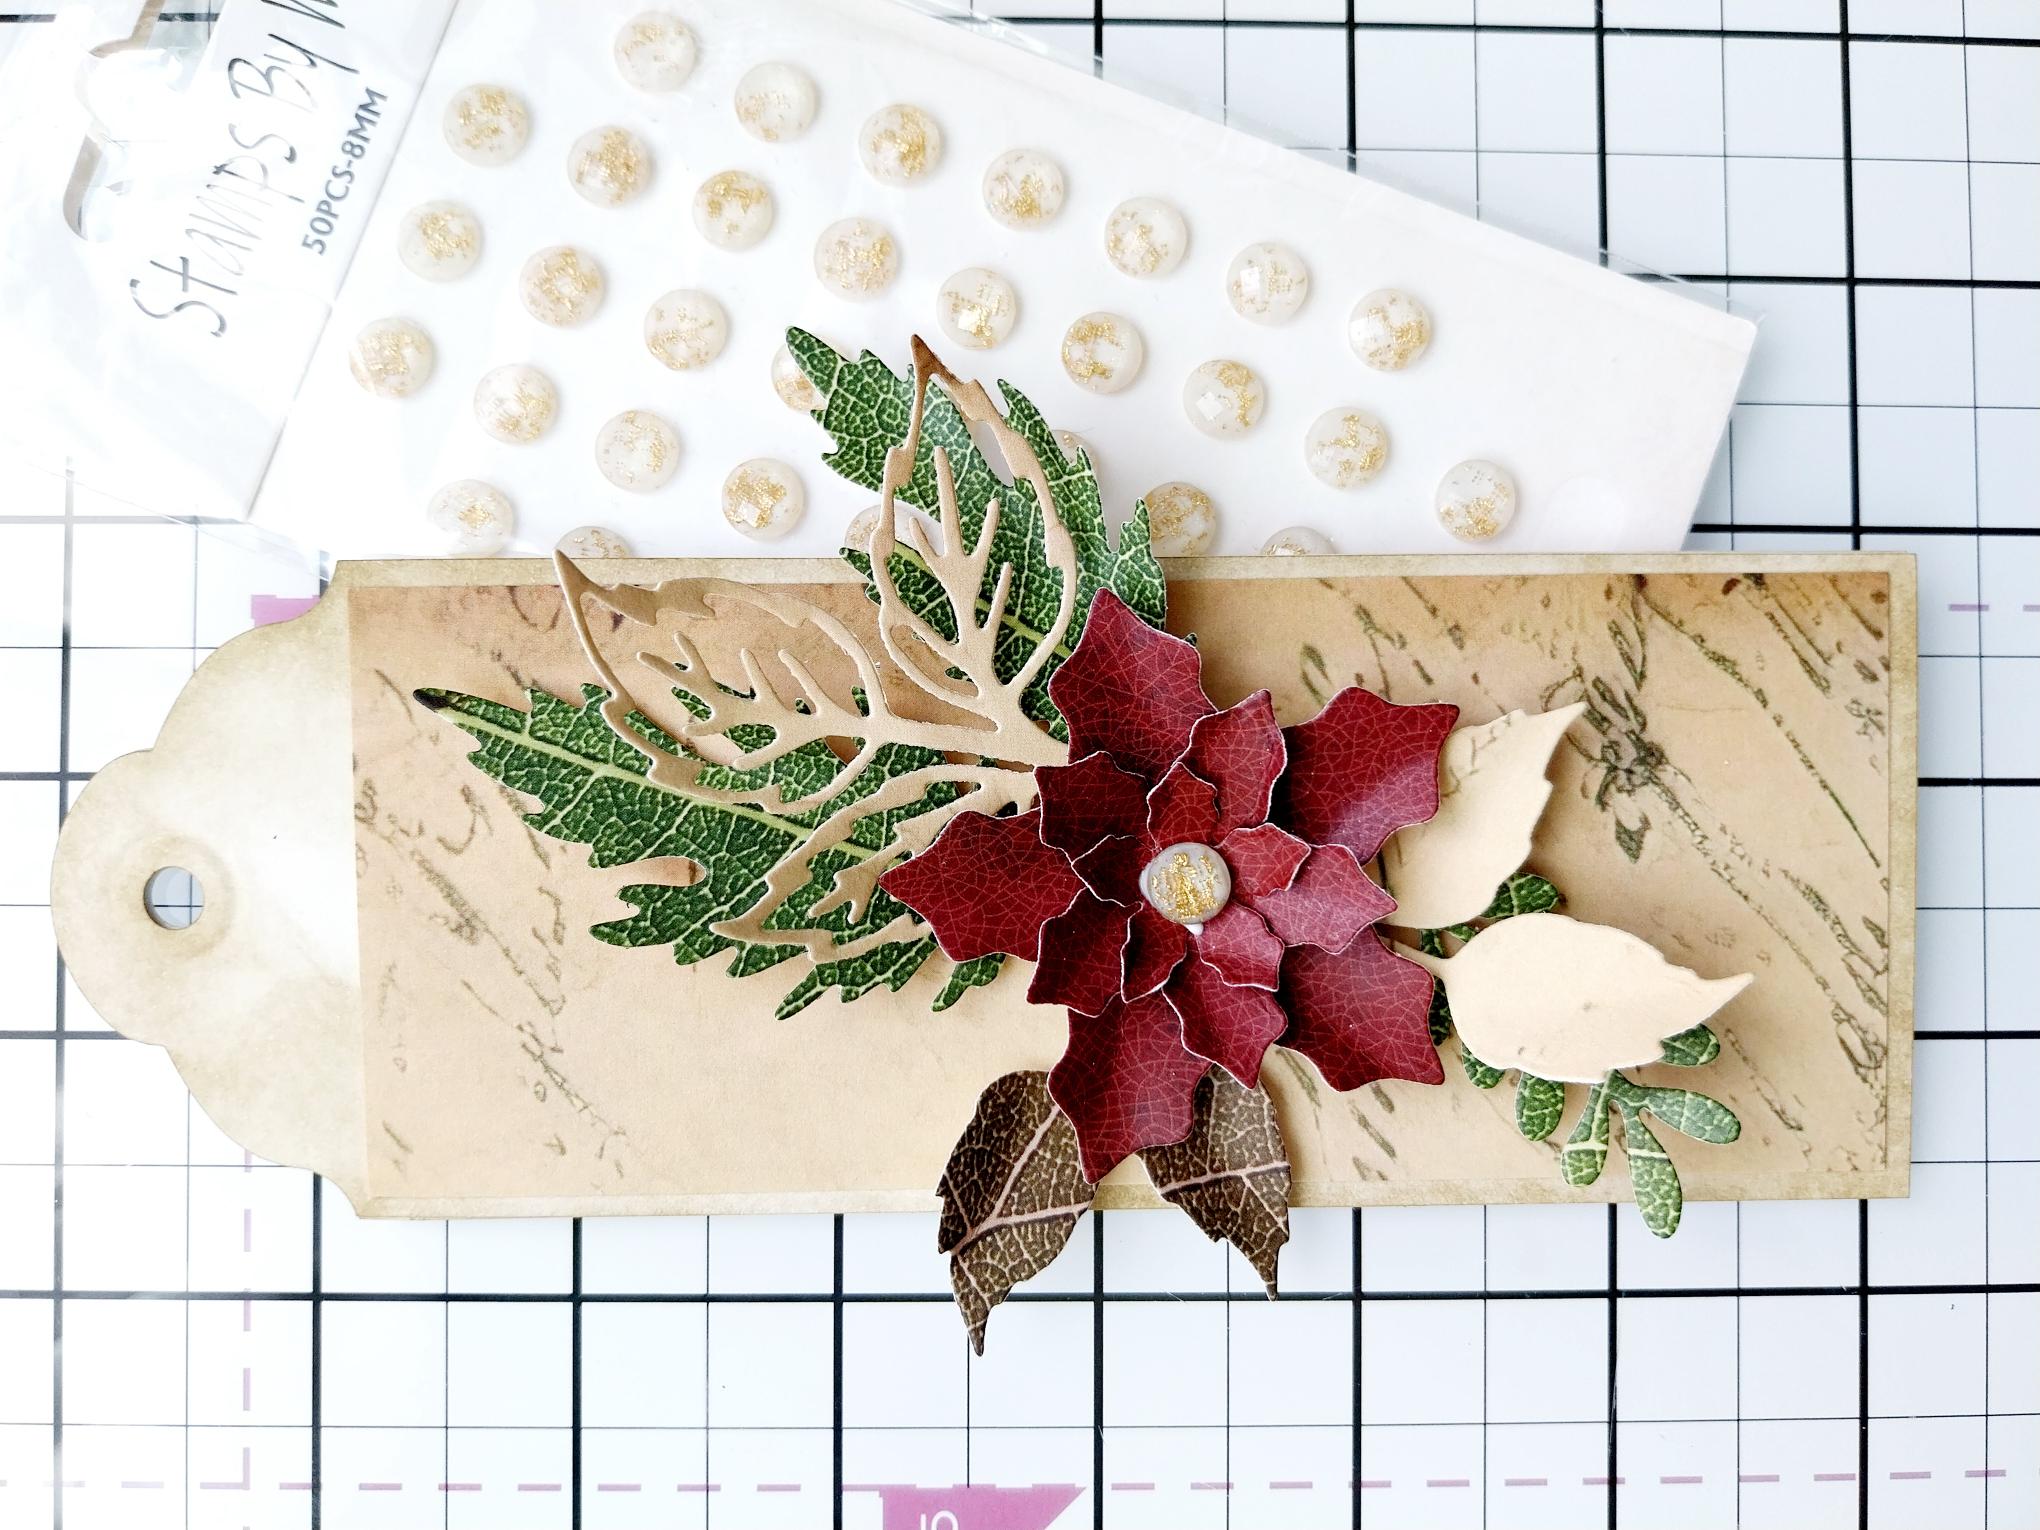
Use the 3D gel to adhere your floral design onto your tag card and add a few sequins/gems where required. |
|
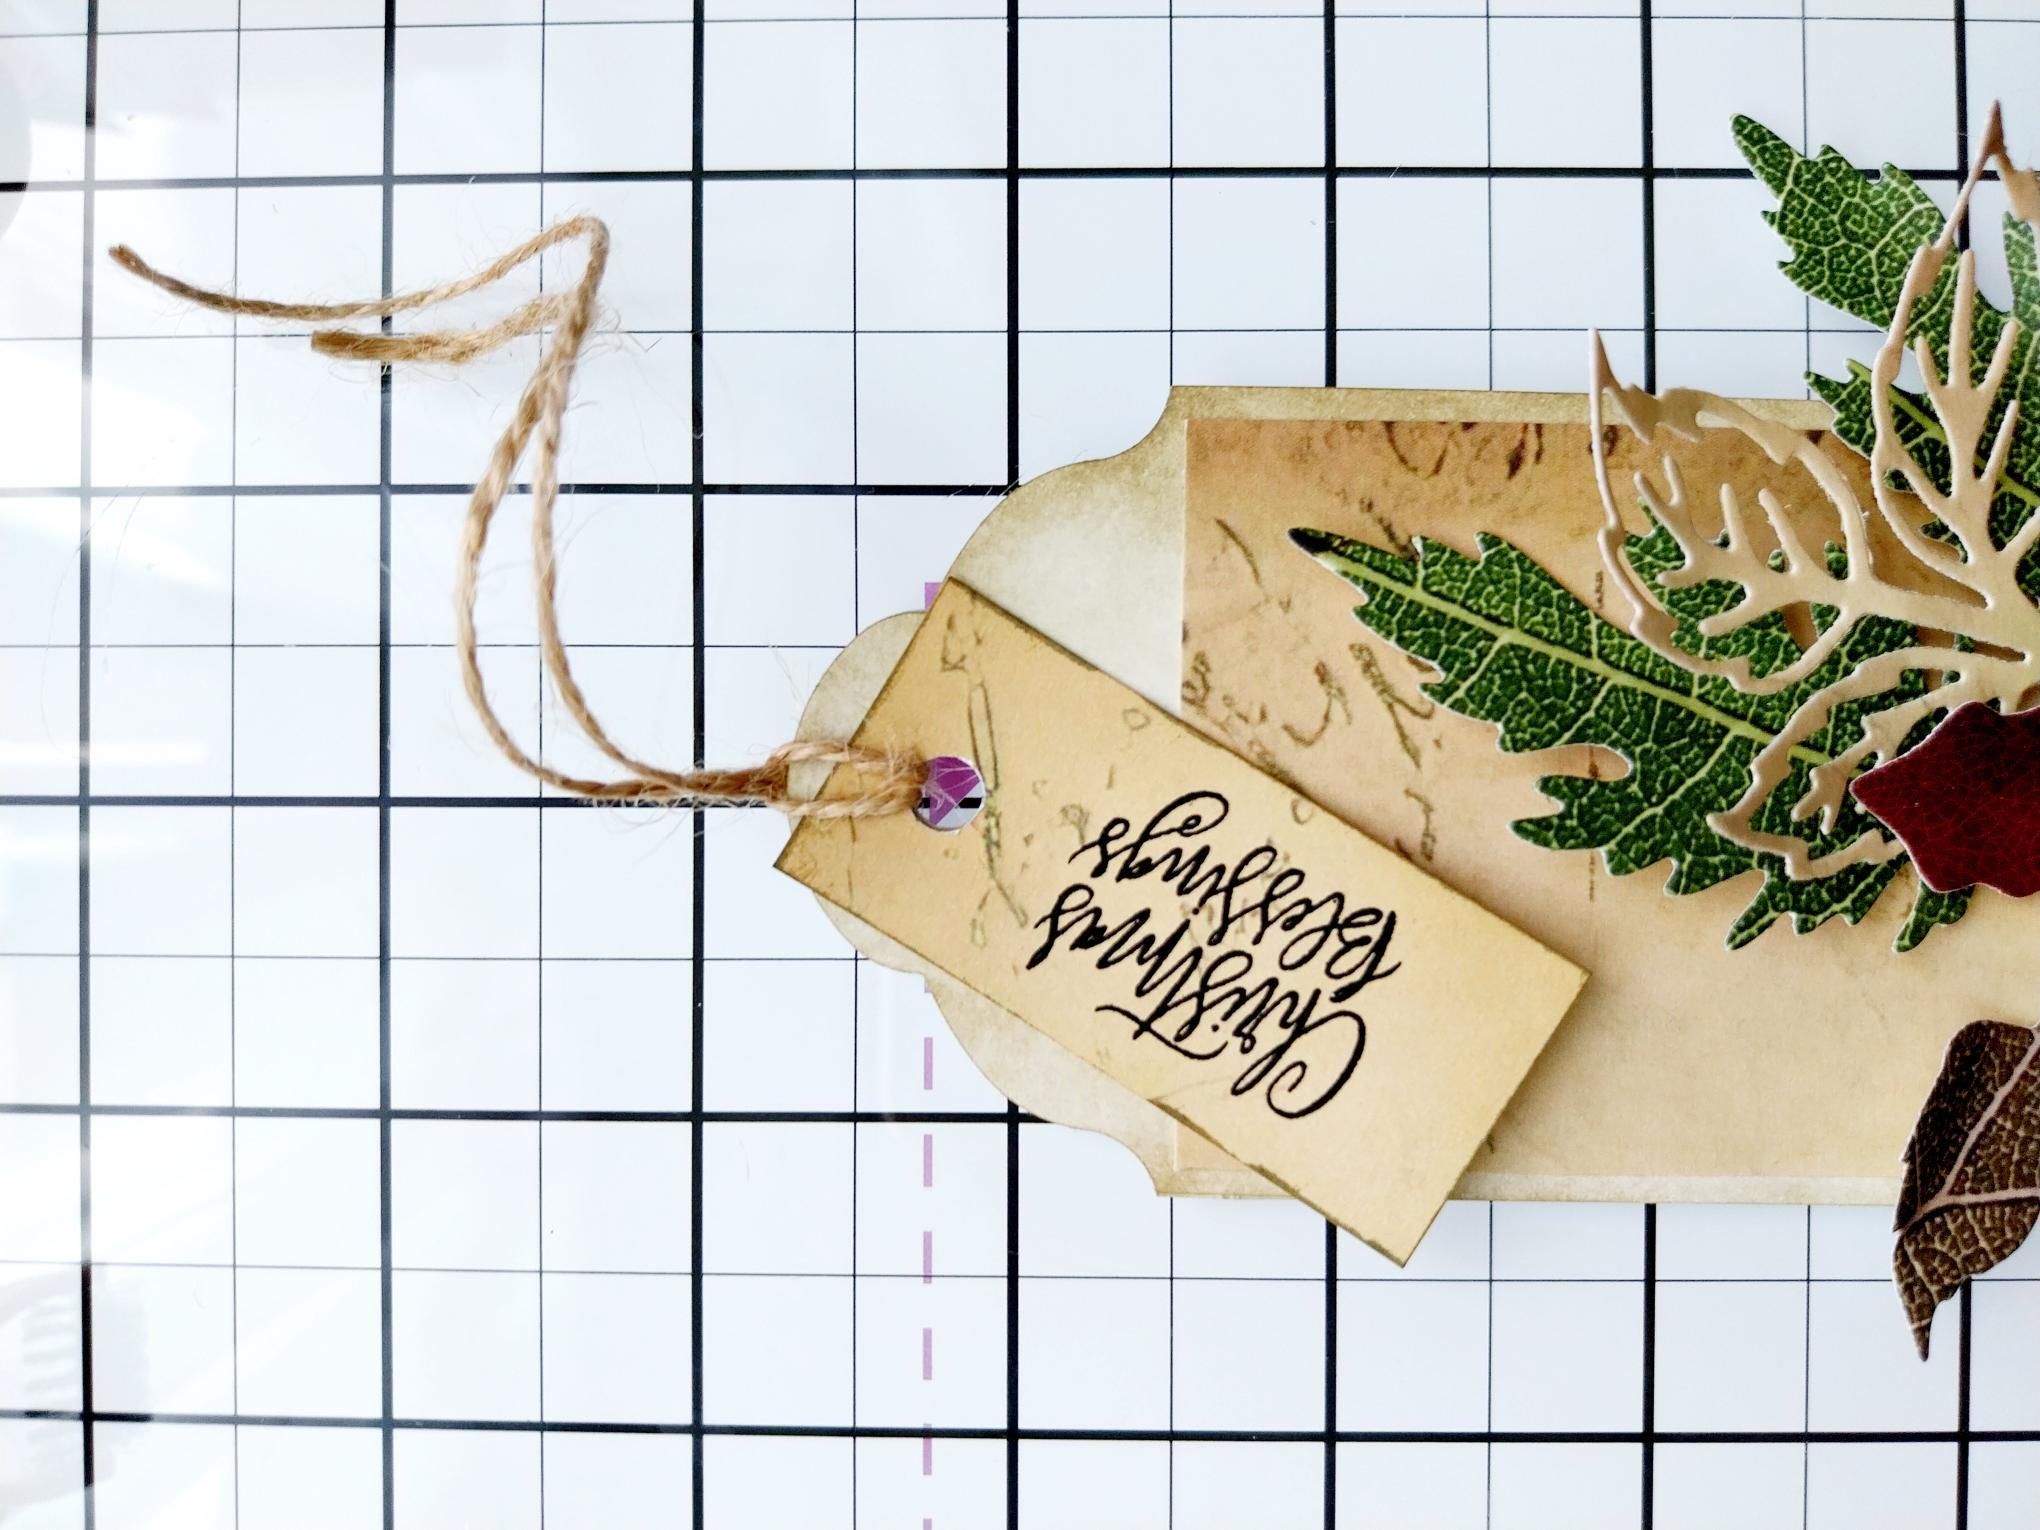
Cut a little tag/label from the script paper, ink around edges as before and stamp your chosen sentiment in the Midnight ink. Punch a hole in your tag and secure in place with twine, to finish your card. |