Give your friends $10 off their first order!
Refer a FRIEND


WHAT YOU WILL NEED:
White Card blank 7 x 7
White card
Vellum
Poetic Pansies The Complete Collection
SBM Premium Dye Ink Pad: Sherbet, Indigo, Fandango, Magenta, Hedgerow, Tiffany
Distress Ink/Oxide Ink pad: Black Soot
Blending brush
Embossing Ink pad
White Embossing powder
Heat Tool
Anti-static bag
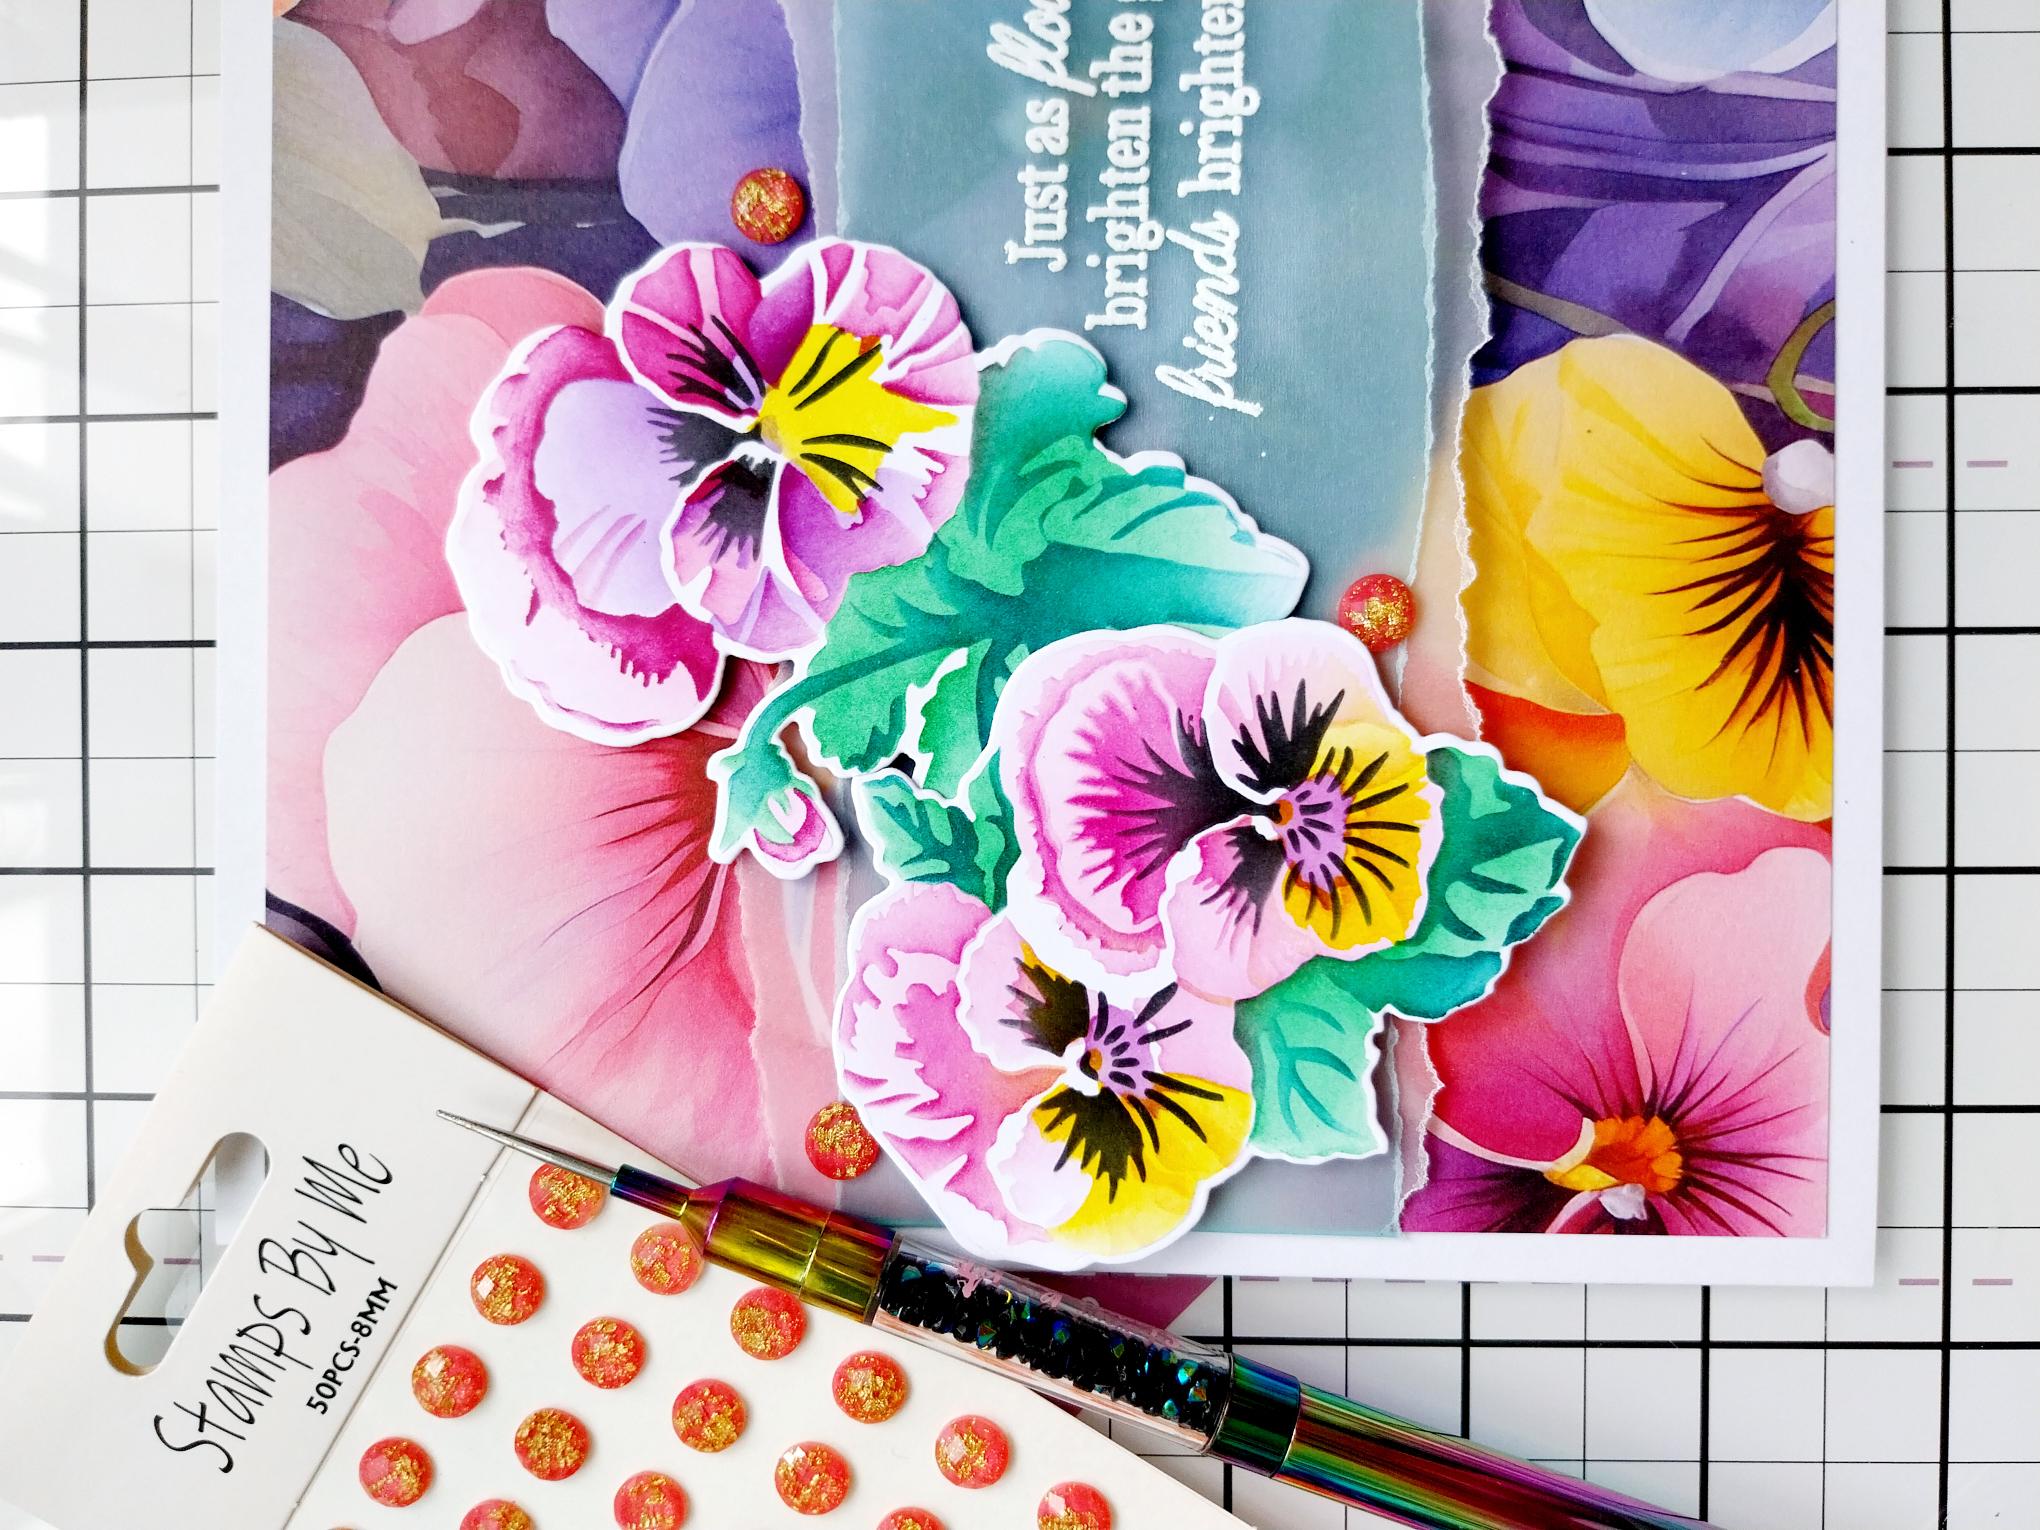
Sequins/gems
Pick up pokey tool
Eureka 101 Watercolour Tablet
SBM A3 Magnetic glass mat
Paper Trimmer
Glue
Foam pads
Double-sided tape/tape runner
Die Cutting machine
[click image to enlarge] 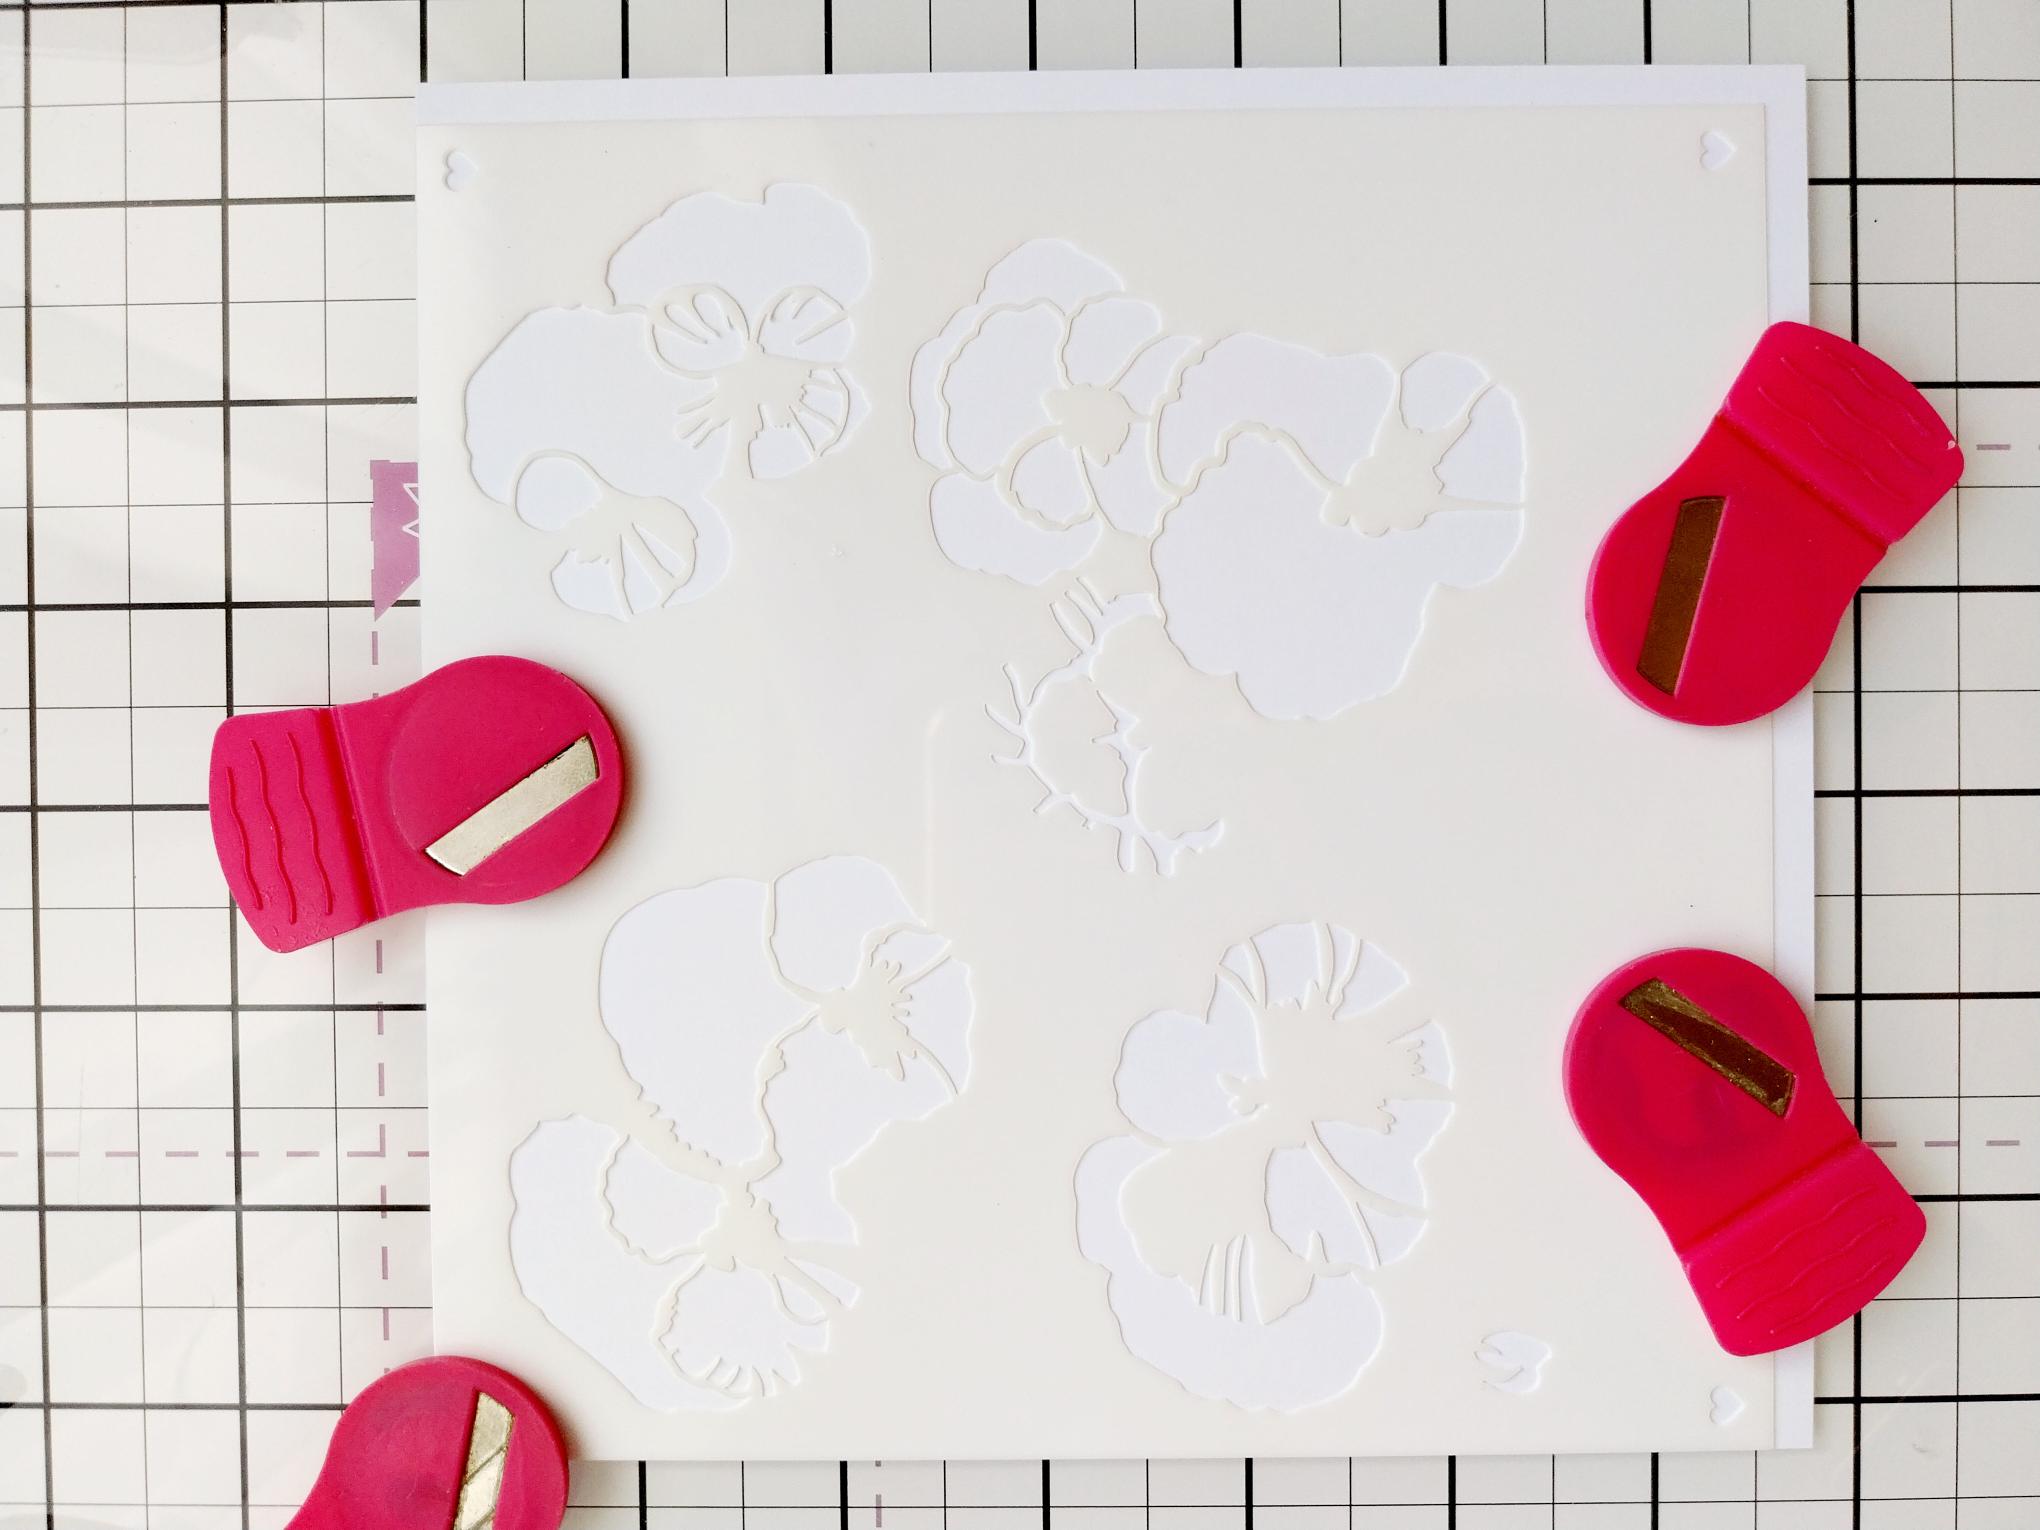
|
Trim a piece of white card to 6 1/2 x 6 1/2" and secure stencil 1 in place. |
|
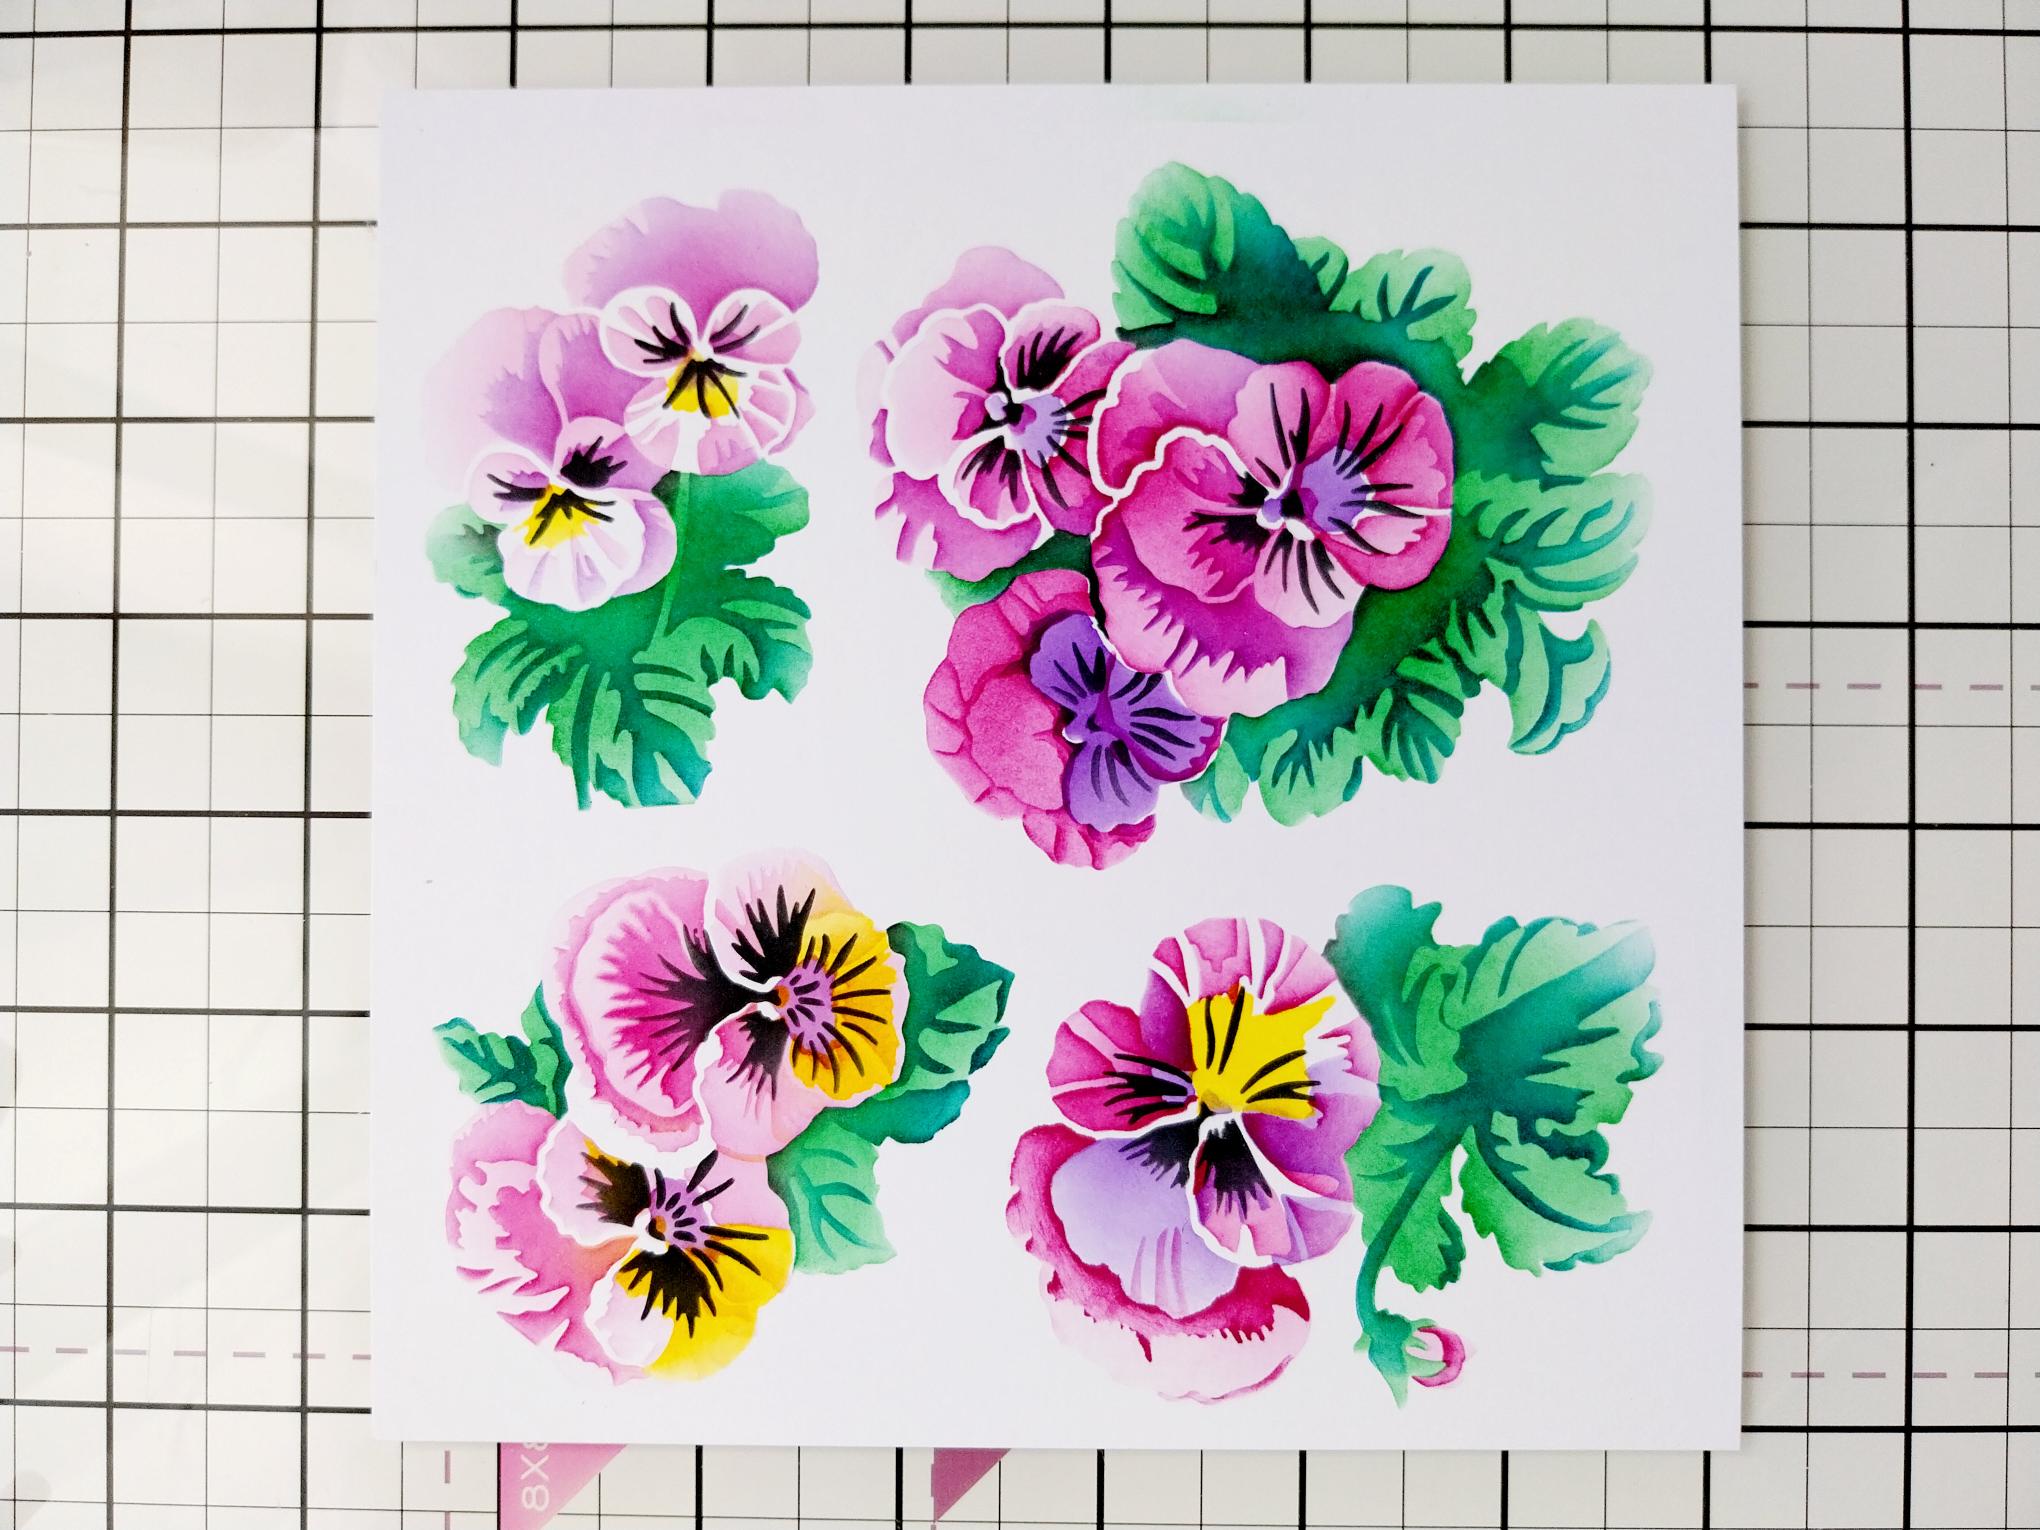
Blend the Magenta and Fandango lightly through stencil 1. Line up each of the stencils in number order and blend the inks where required for each flower head. You can of course, choose your own mix of colours but these are a suggestion. Vary the intensity and depth of colours as you blend them: Stencil 2: Magenta, Sherbet, Indigo Stencil 3: Sherbet, Indigo, Magenta Stencil 4: Sherbet, Magenta, Indigo Stencil 5:Hedgerow Stencil 6:Tiffany (leaves), Black Soot (centre of flowers) |
|
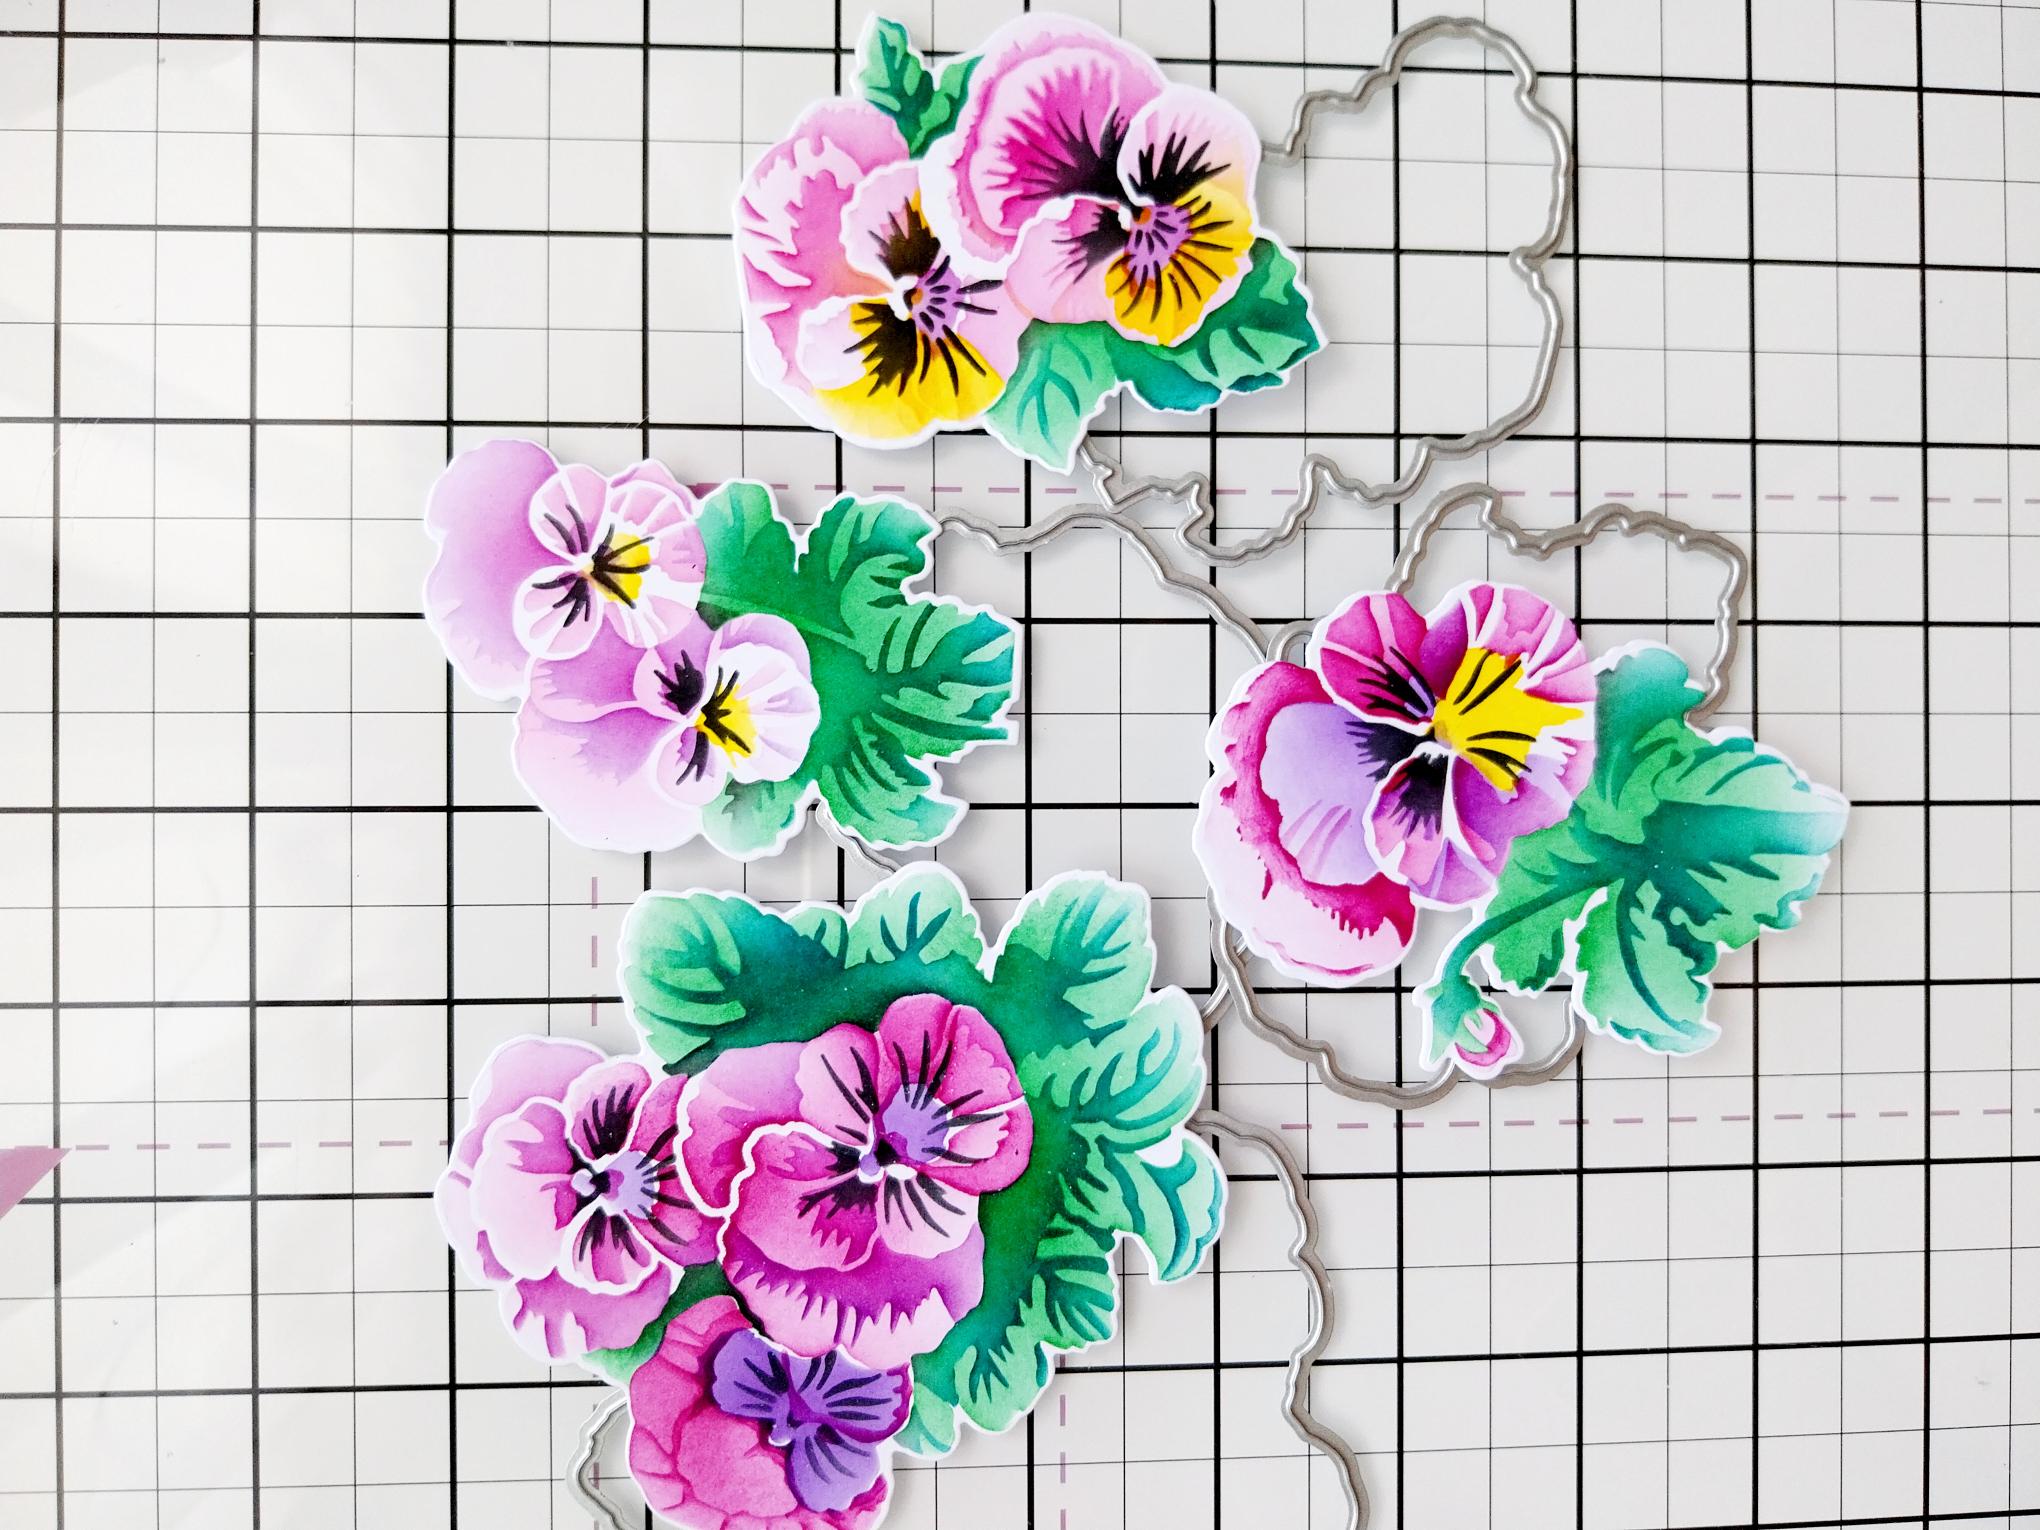
Use the coordinating die to cut them out. |
|
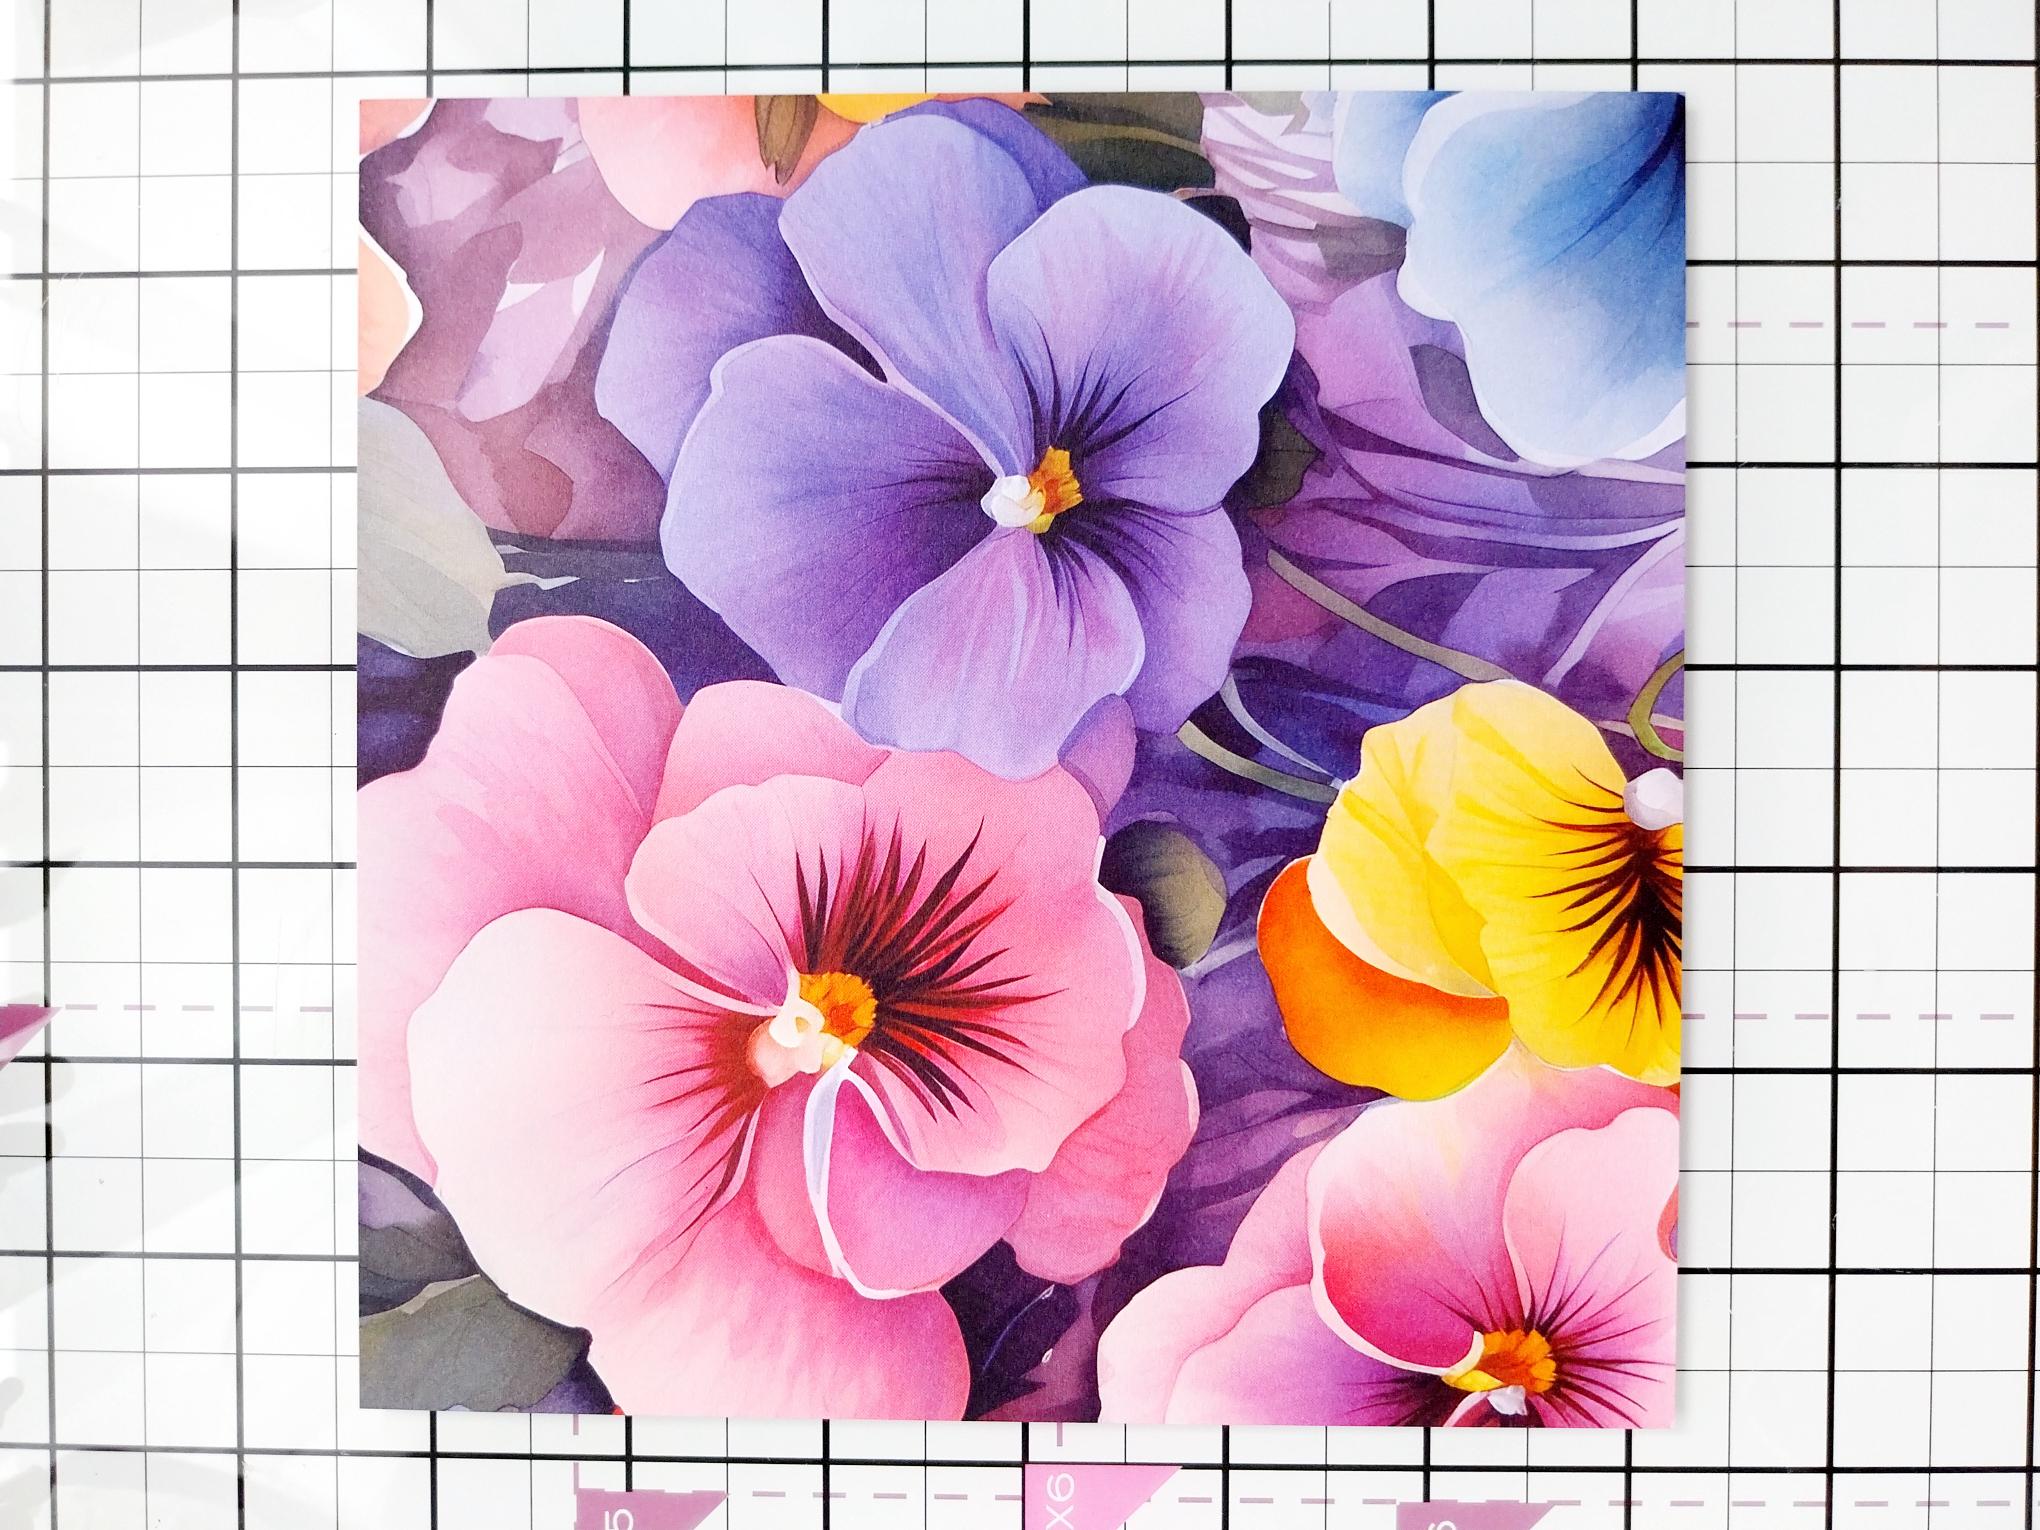
Cut your chosen paper to 6 1/2 x 6 1/2". |
|
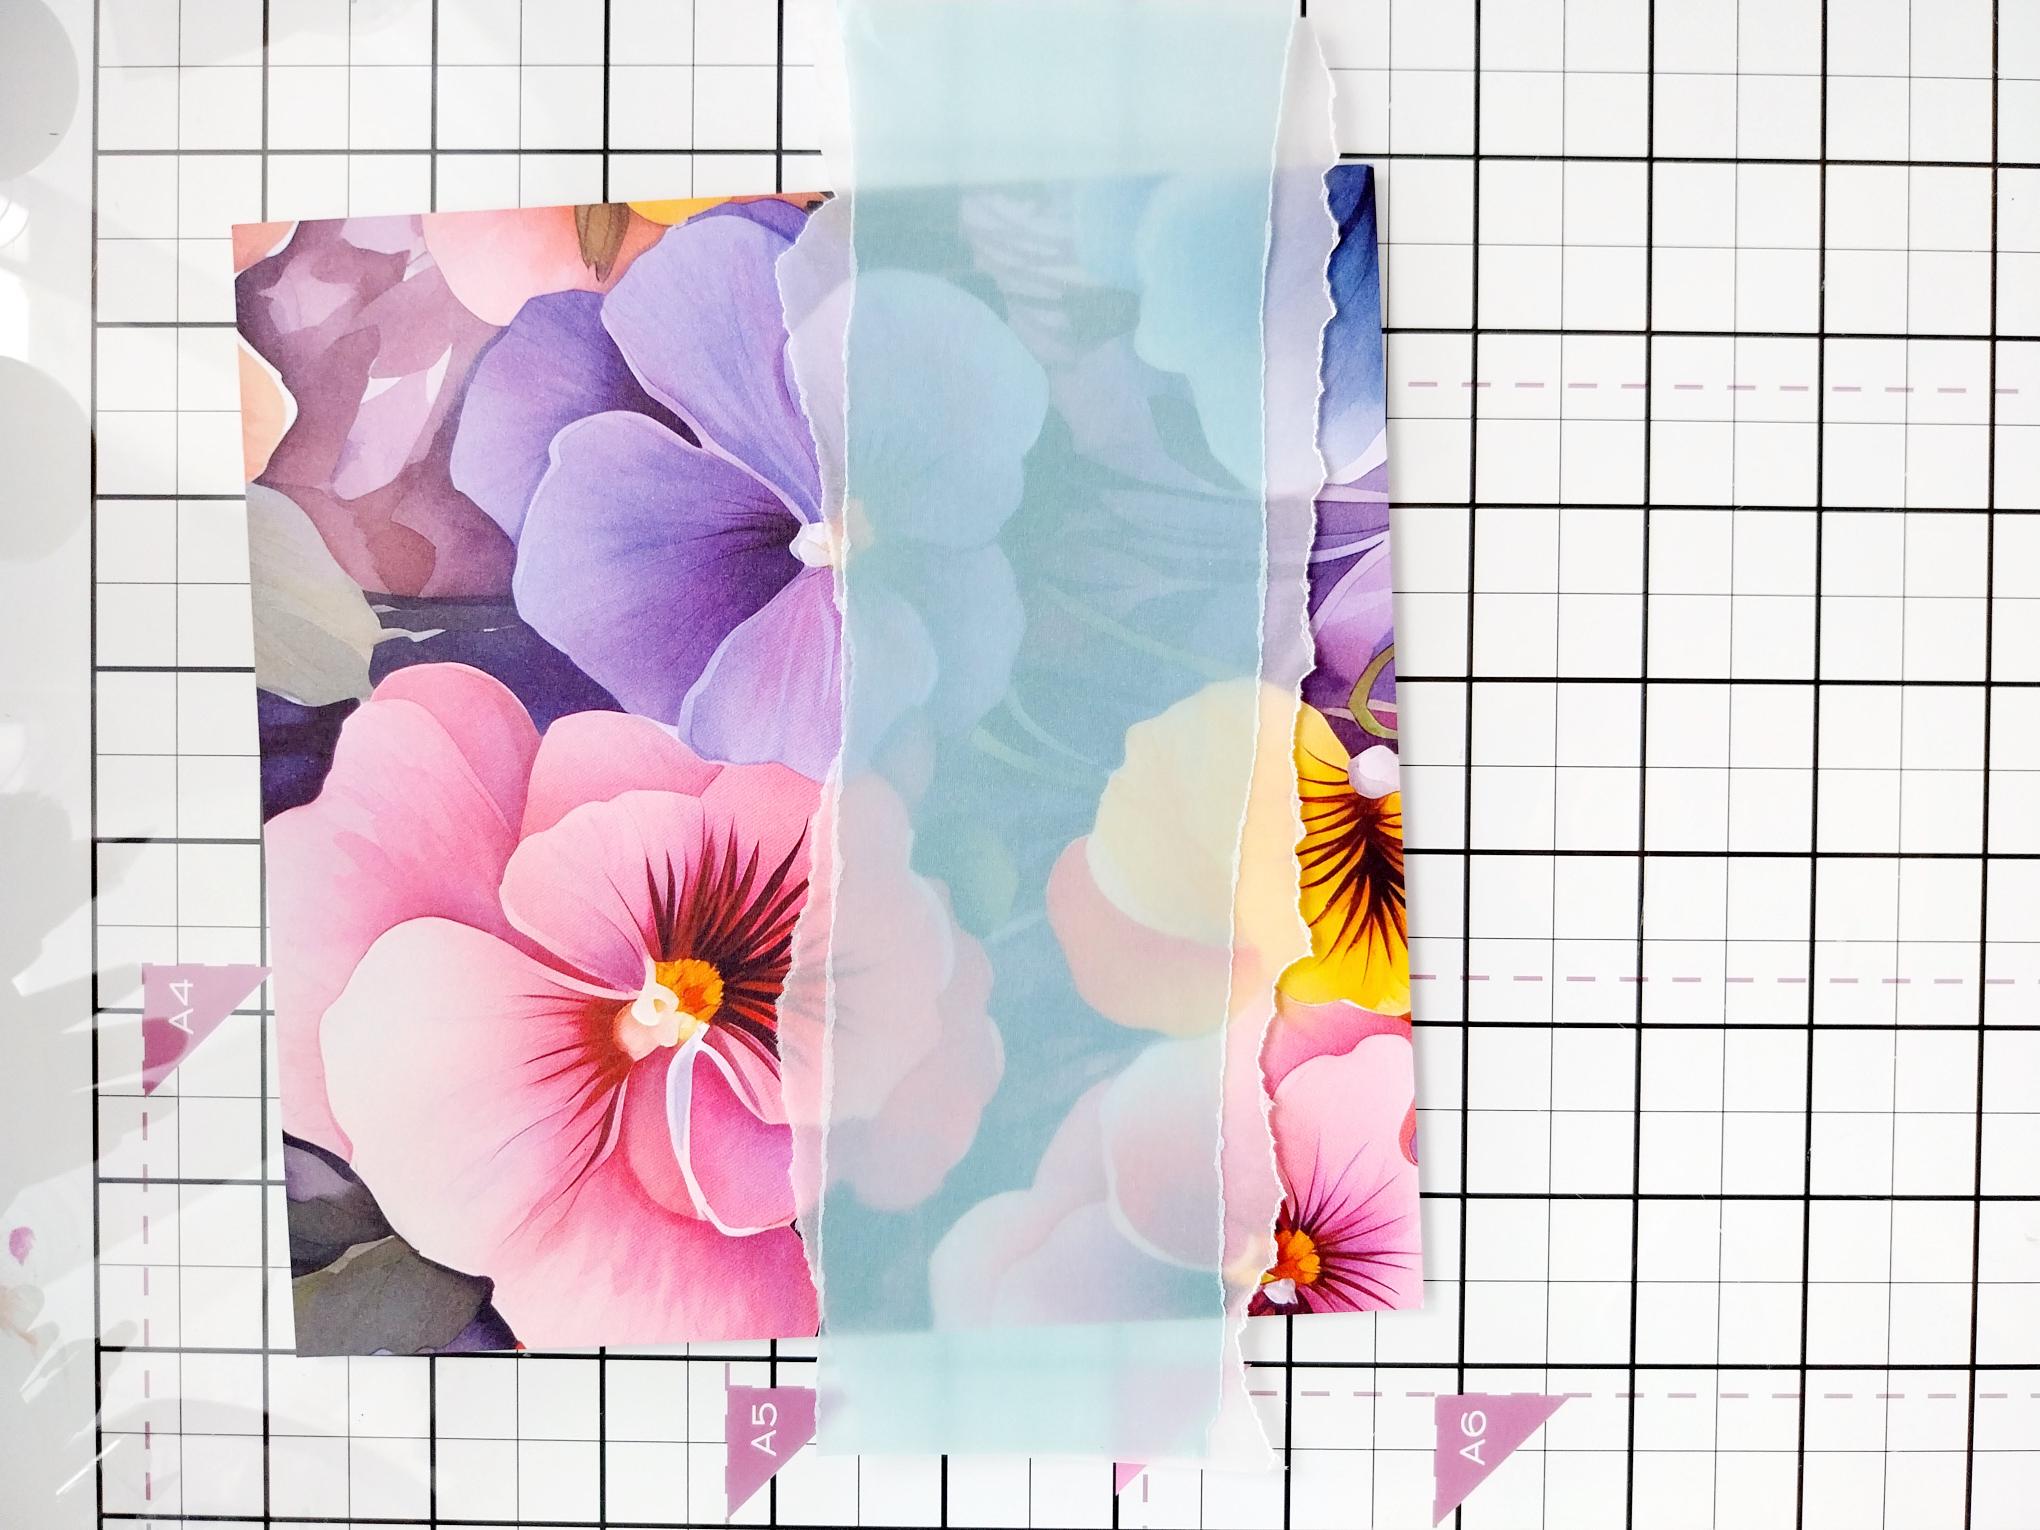
Tear a panel of vellum wider than the paper and deep enough to stamp your chosen sentiment. |
|
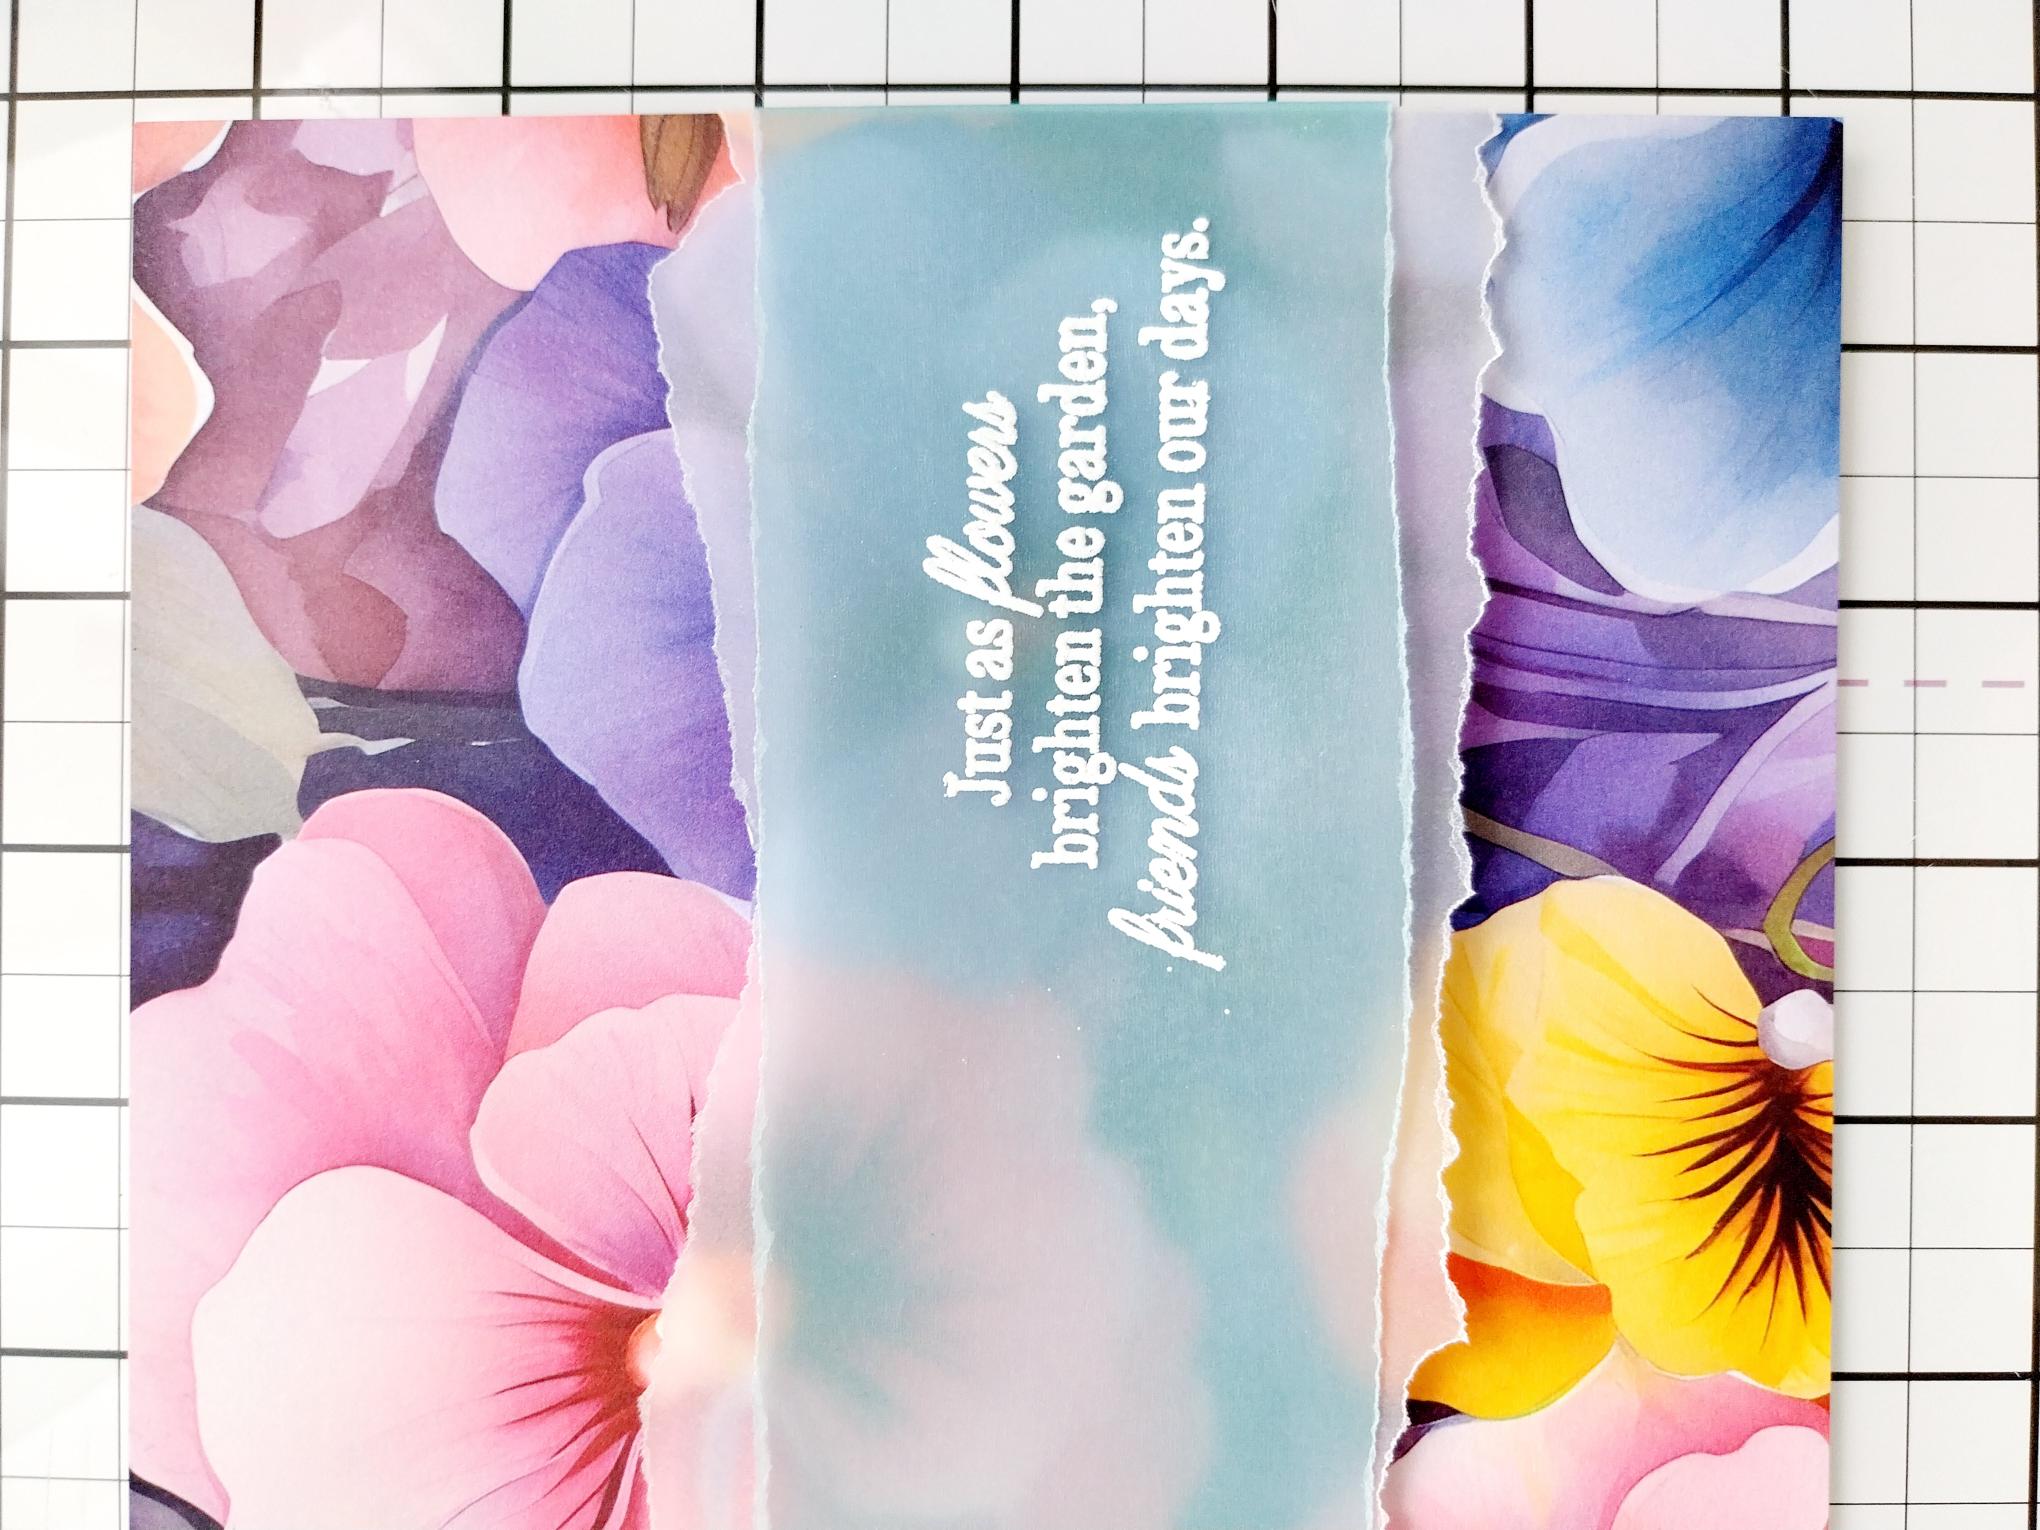
Having wiped over the vellum with your anti-static bag, stamp your sentiment in the sticky embossing ink, keeping the sentiment to the right of the vellum (as shown here). Apply the white embossing powder over the stamped sentiment, shaking off the excess powder and decanting it back into the pot. Once your heat tool is hot, heat set the powder ensuring you move the tool as soon as the powder starts to turn. This will minimise burning the powder and warping the vellum. |
|
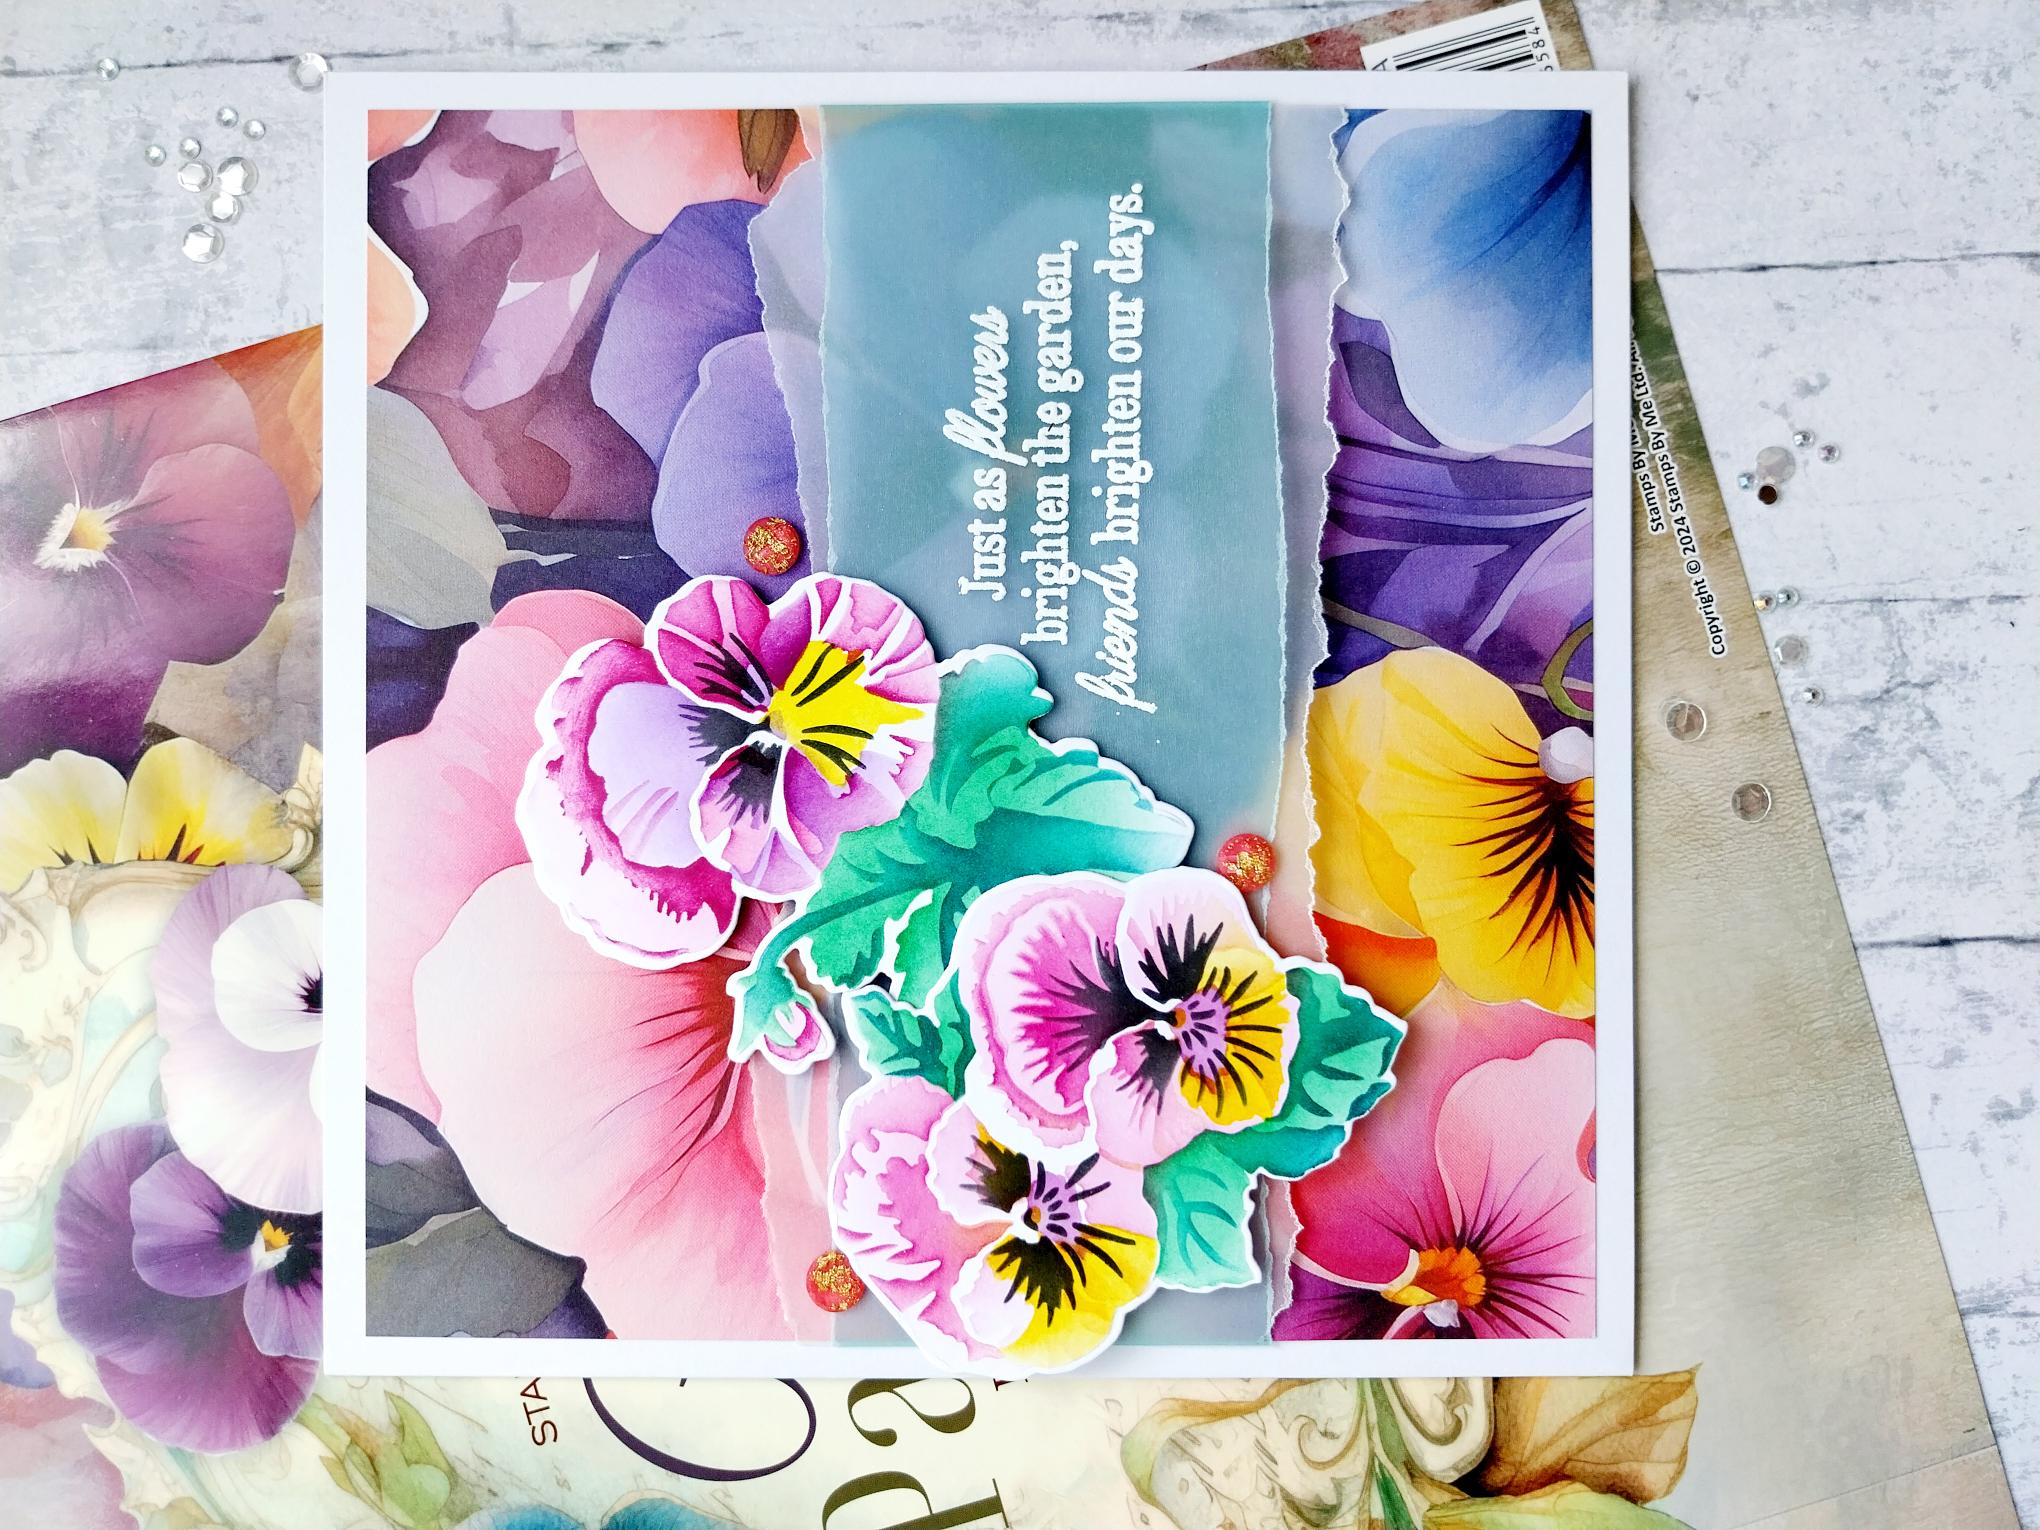
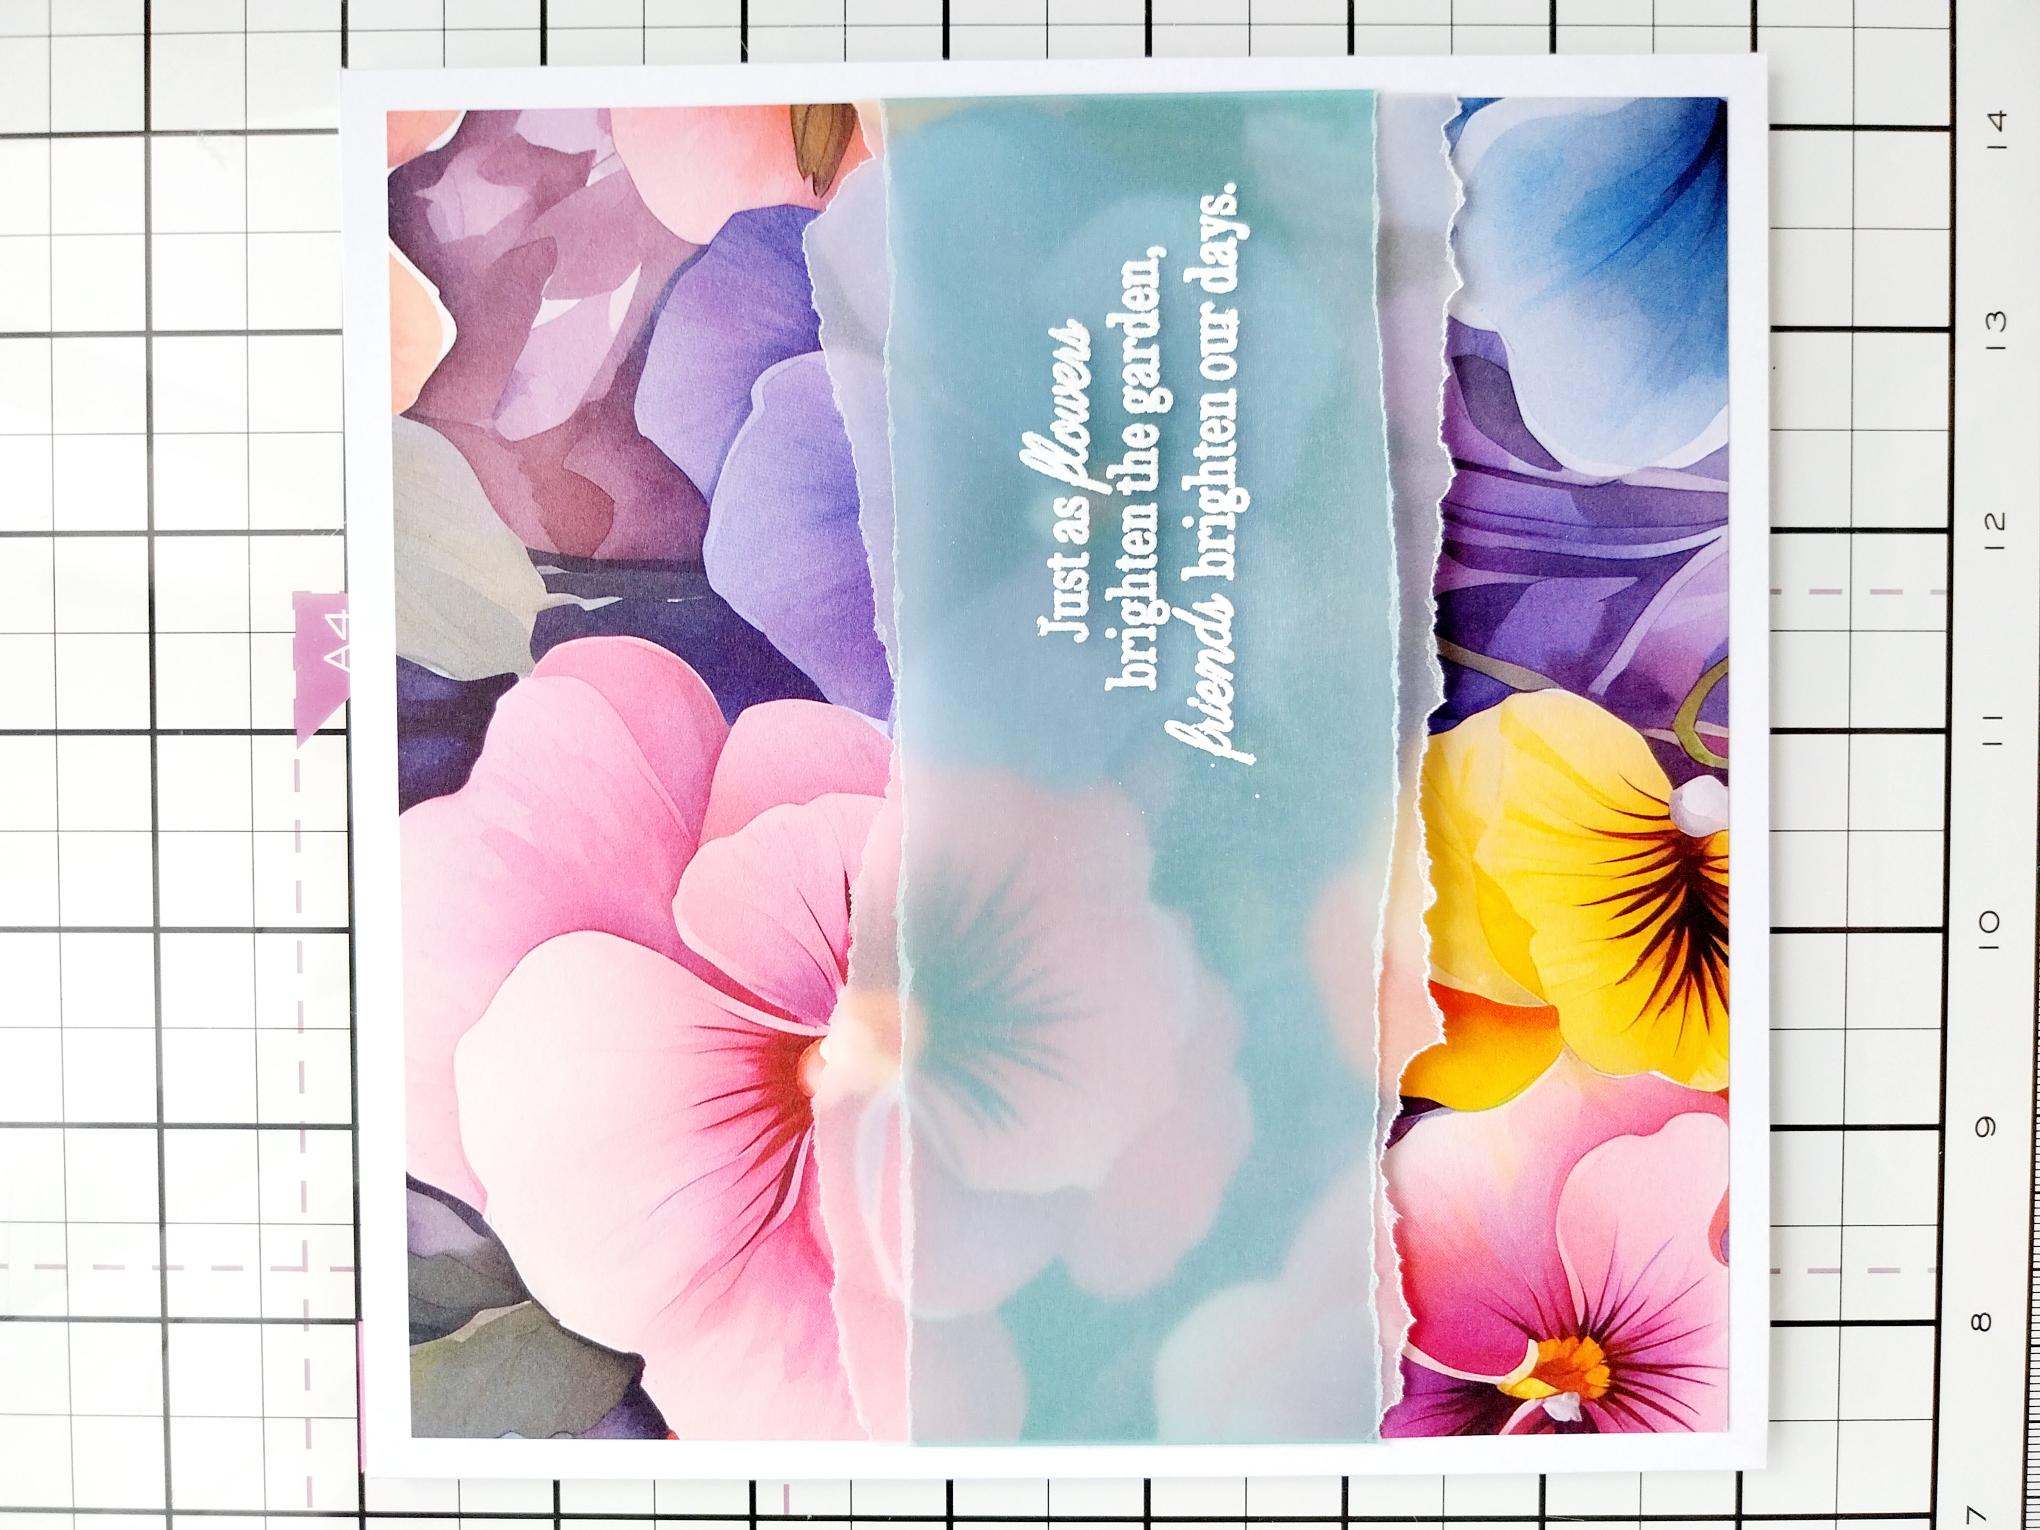
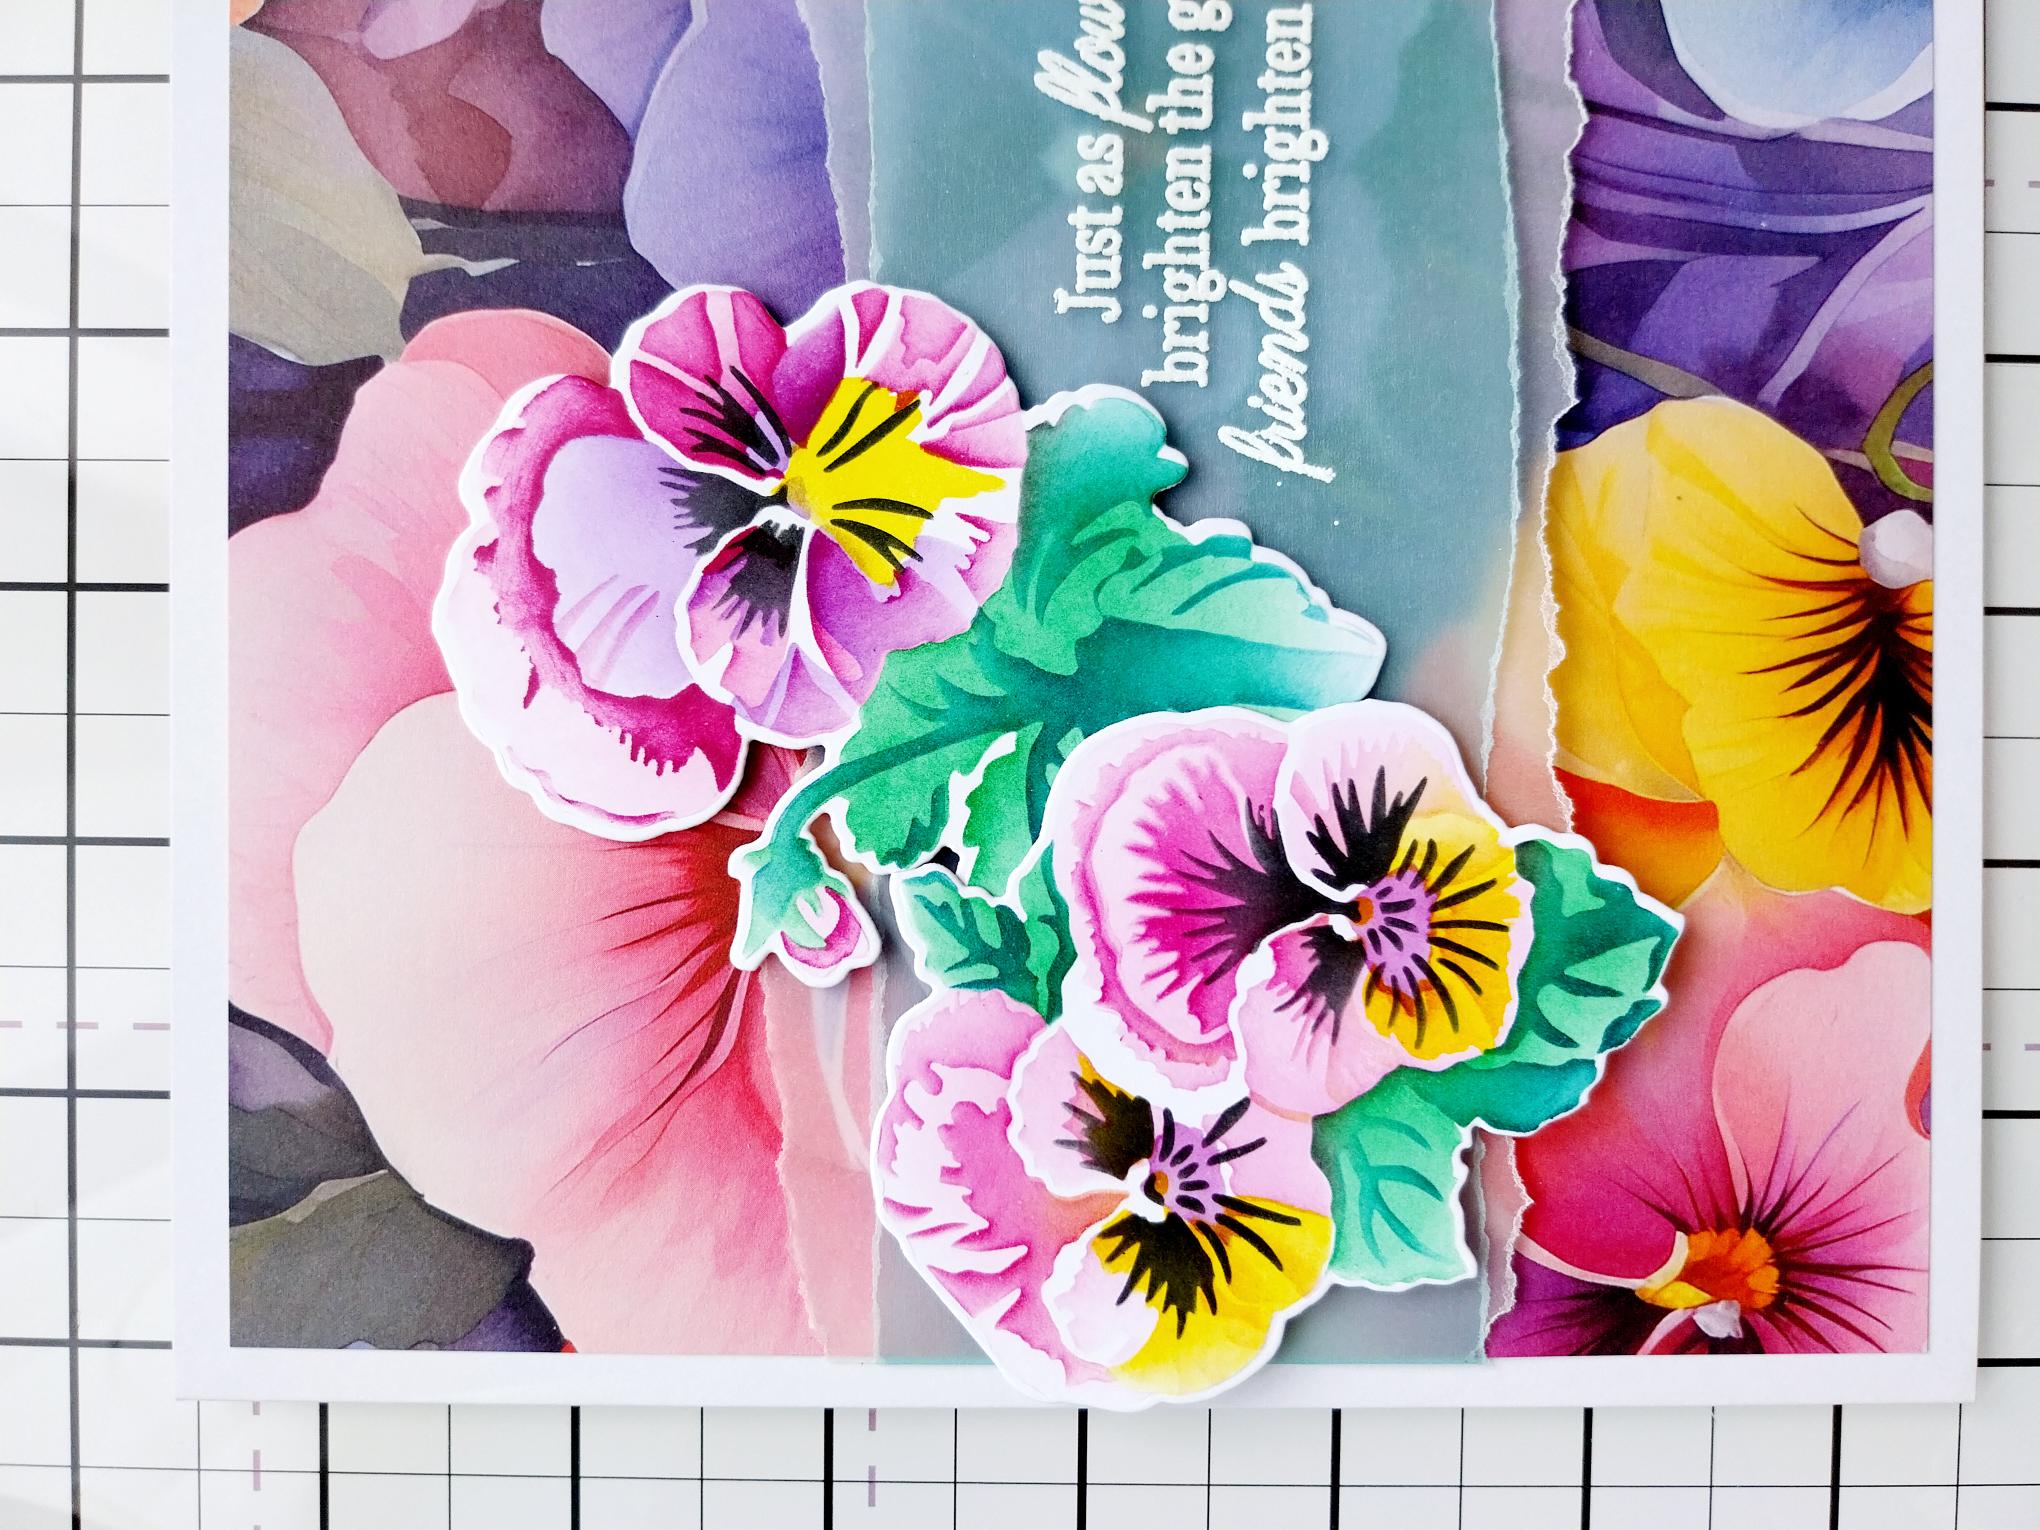
Place your embossed vellum across the centre of the decorative paper, tuck over the edges of the vellum and secure on the reverse. Adhere to the front of your card blank. |
|
Use foam pads to adhere your die cut Pansies across the embossed vellum, as required. |
|
To finish, add gems or sequins around and tucked under your 3D floral display. |