Give your friends $10 off their first order!
Refer a FRIEND


WHAT YOU WILL NEED:
White Card blank 7 x 7"
Vellum
Stamp & Emboss Bundle: Warm Embrace and Elegant Rose Embossing Folder & Stamp Set
Creative Watercolours 6 x 6 Paper Pack
Shabby Chic 7 x 7" Paper Pad
SBM Hybrid Ink Pad: Midnight
Embossing Ink Pad
Funky Fossil Blackberry Embossing Powder
Heat Tool
Anti-static bag
Gold Gilding wax
Eureka 101 Watercolour Tablet
SBM A3 Magnetic glass mat
Paper Trimmer
Glue/tape runner/double-sided adhesive tape
Die Cutting machine
[click image to enlarge] 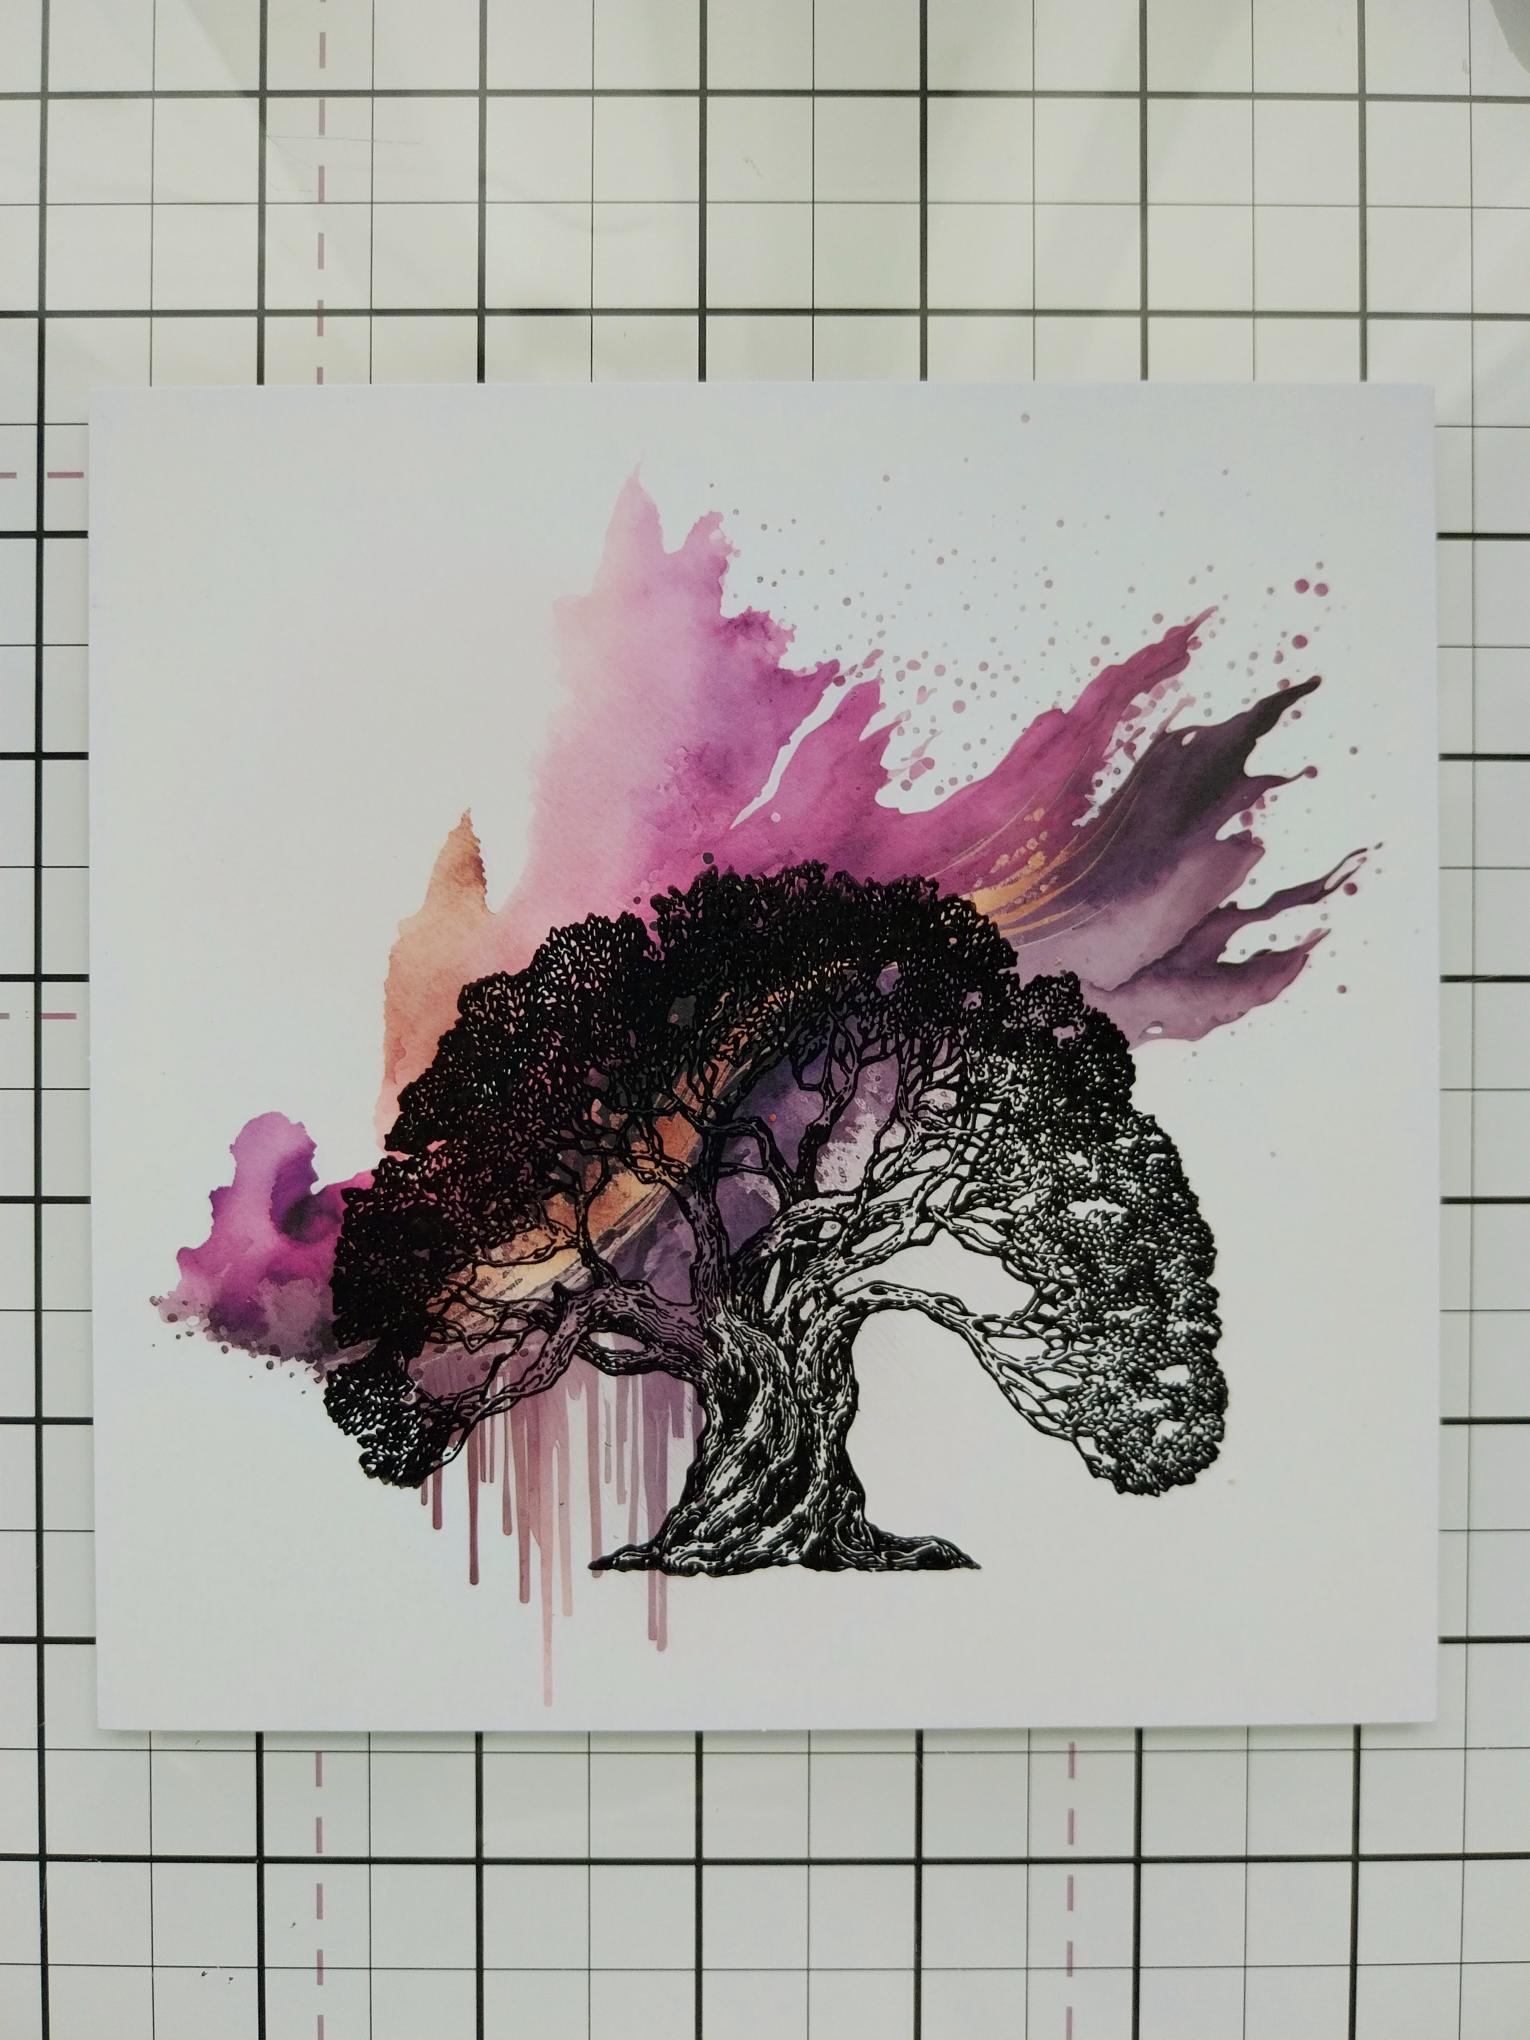
|
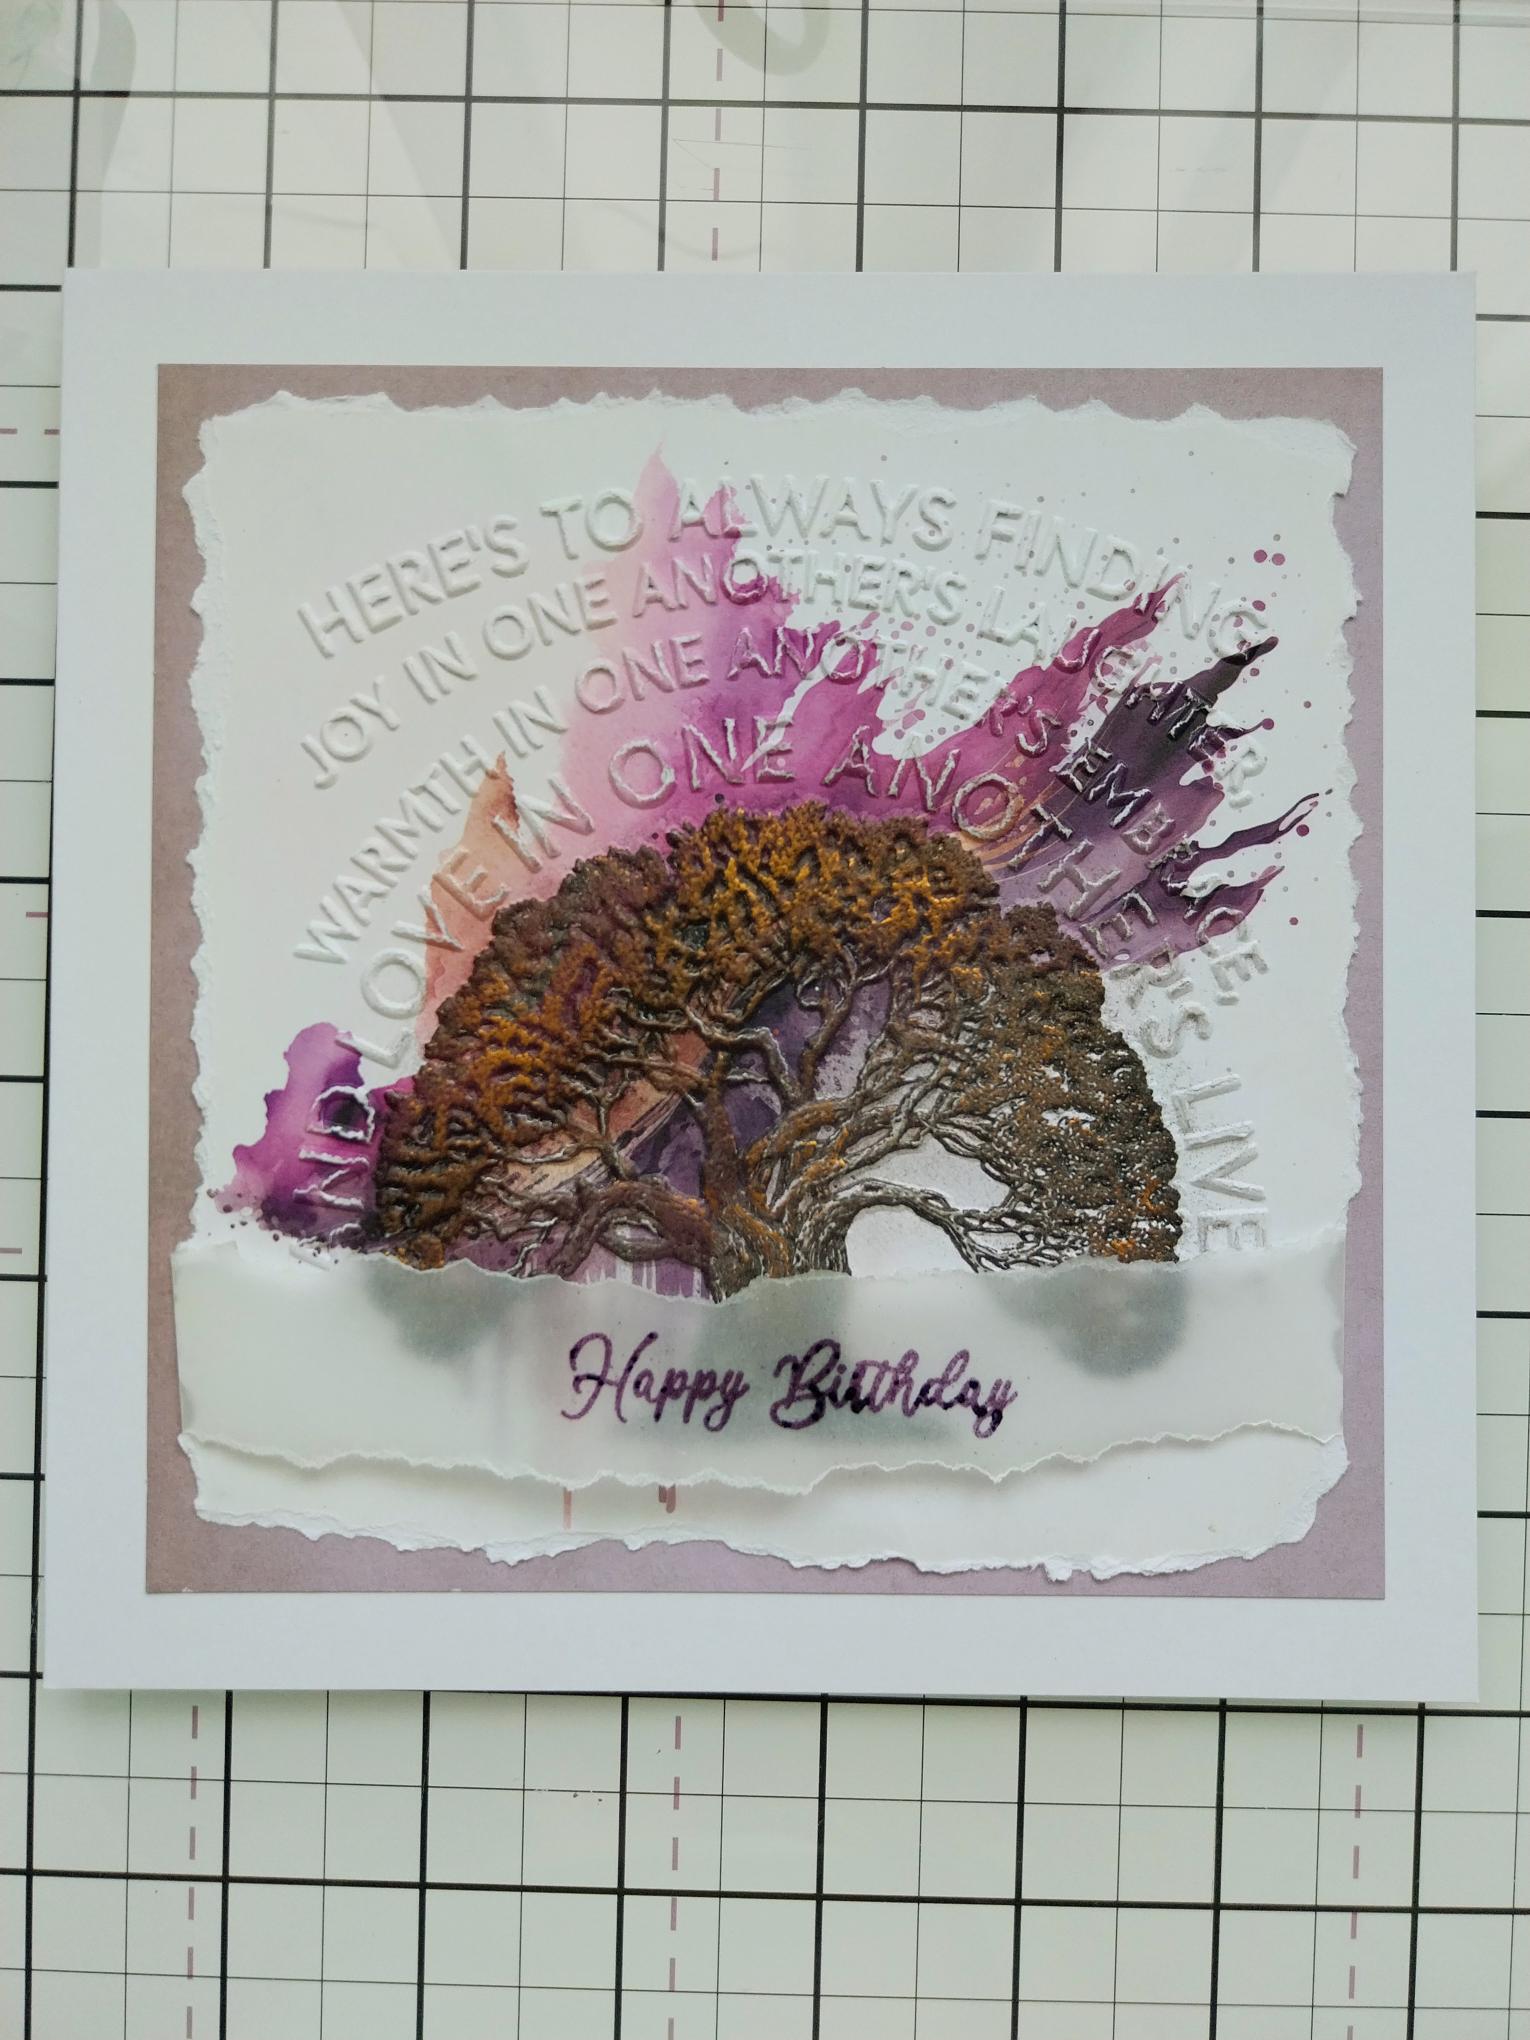
Having chosen your paper from the Creative Watercolours pack and using the folder as a positional guide, stamp the tree with the Midnight ink and blast dry with heat tool. |
|
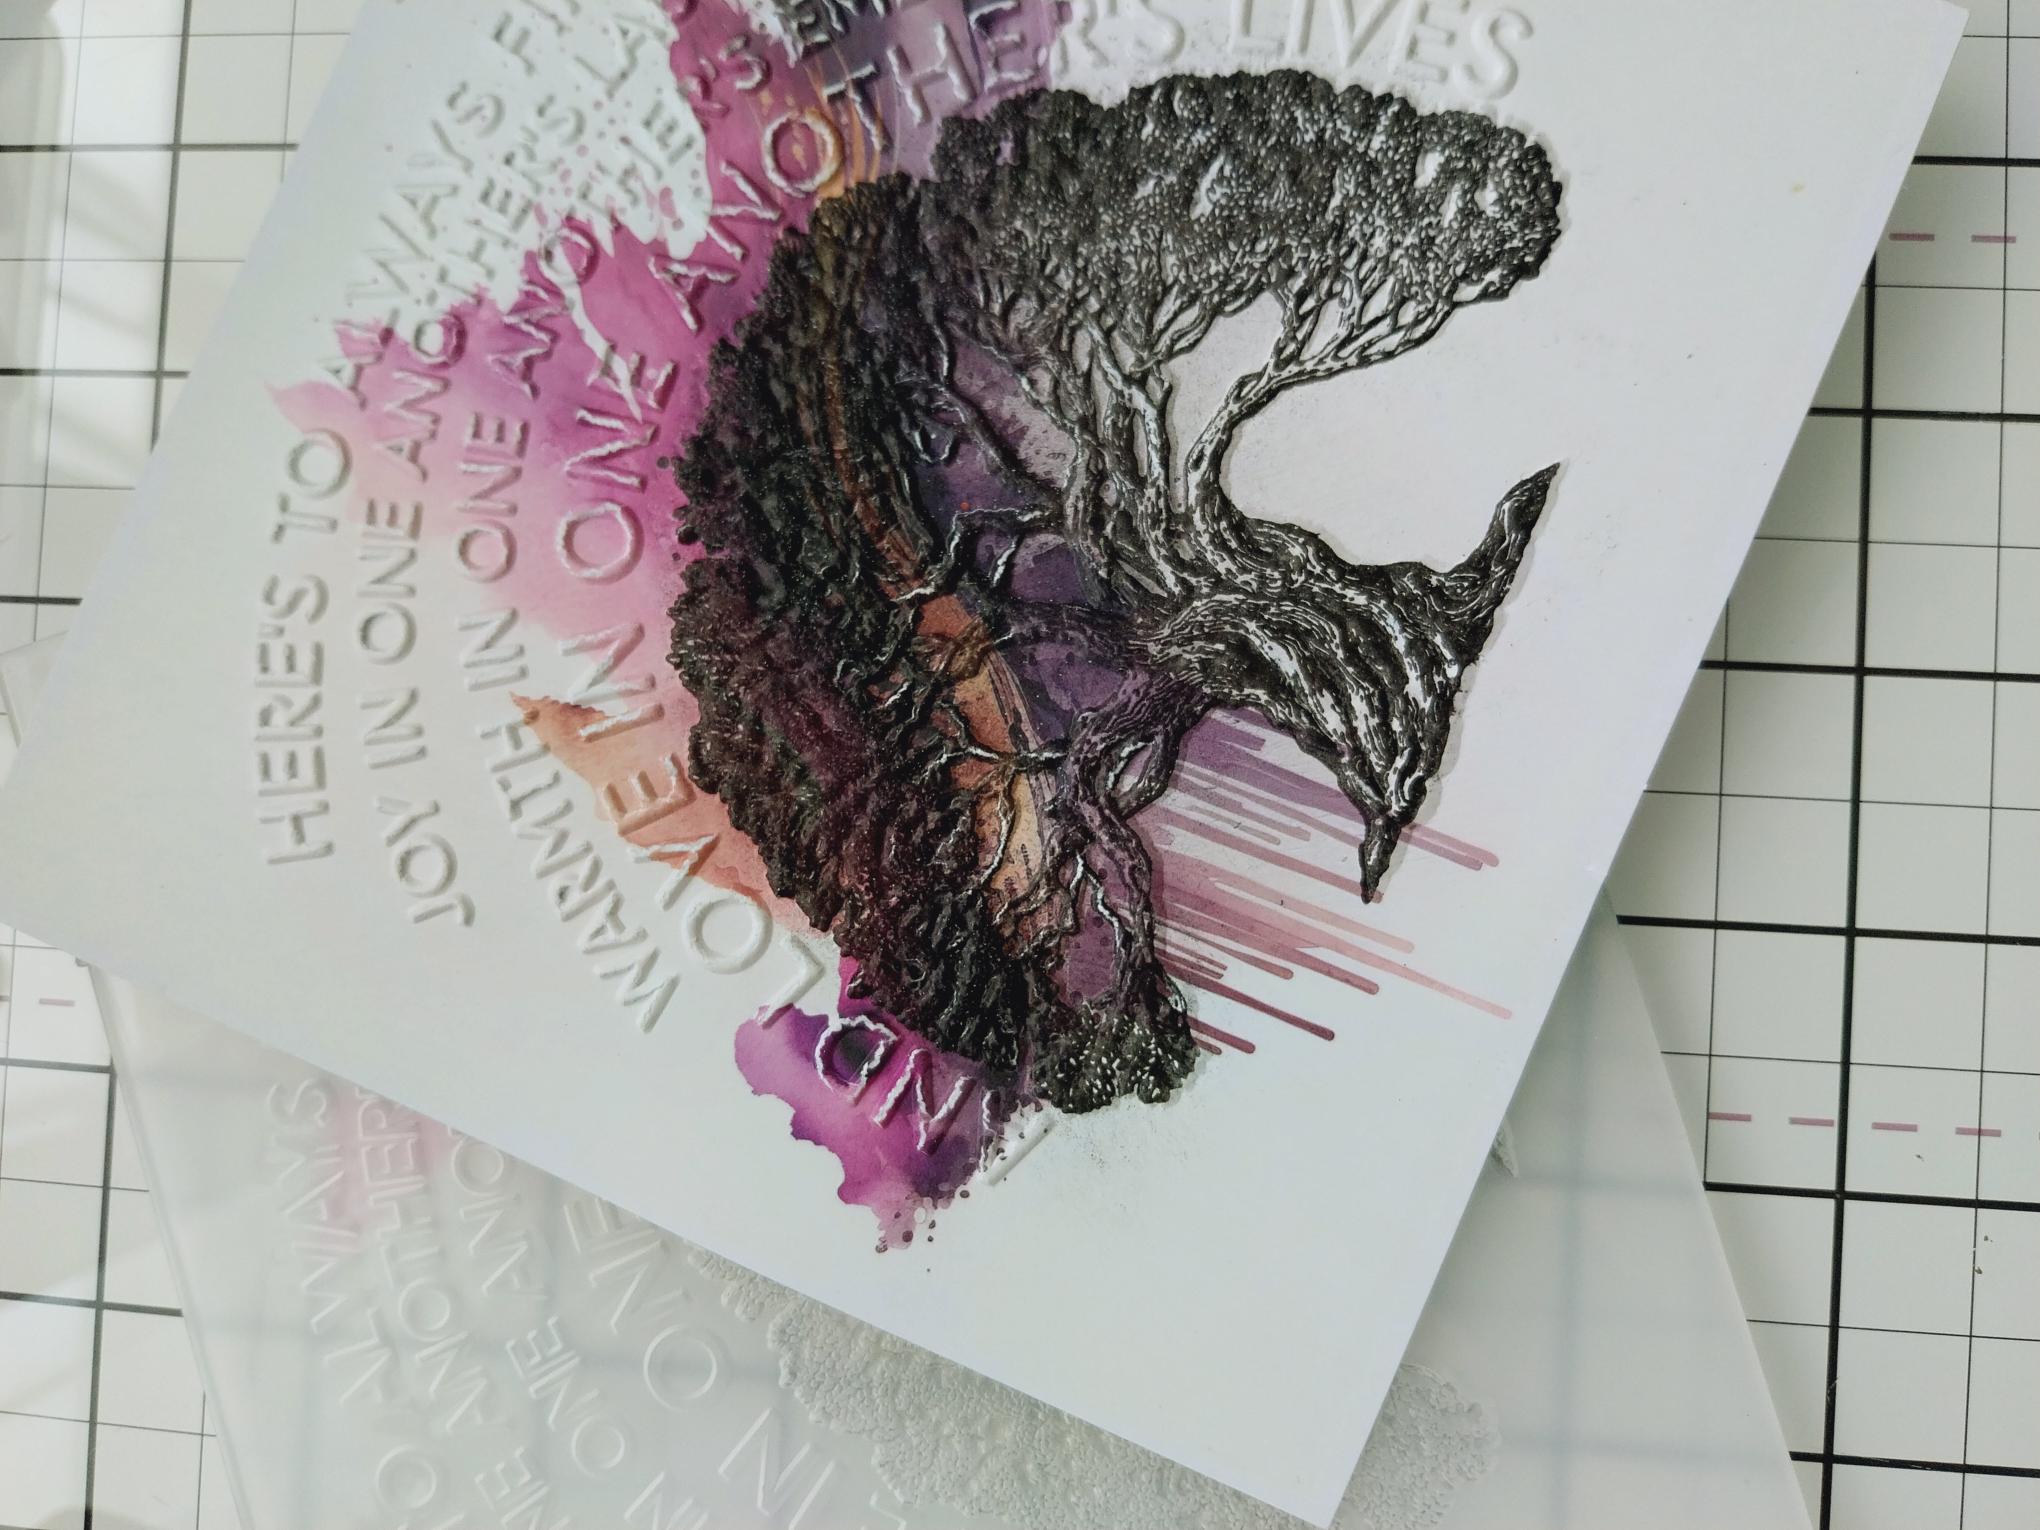
Place inside the embossing folder, line up the tree and run it through your machine. |
|
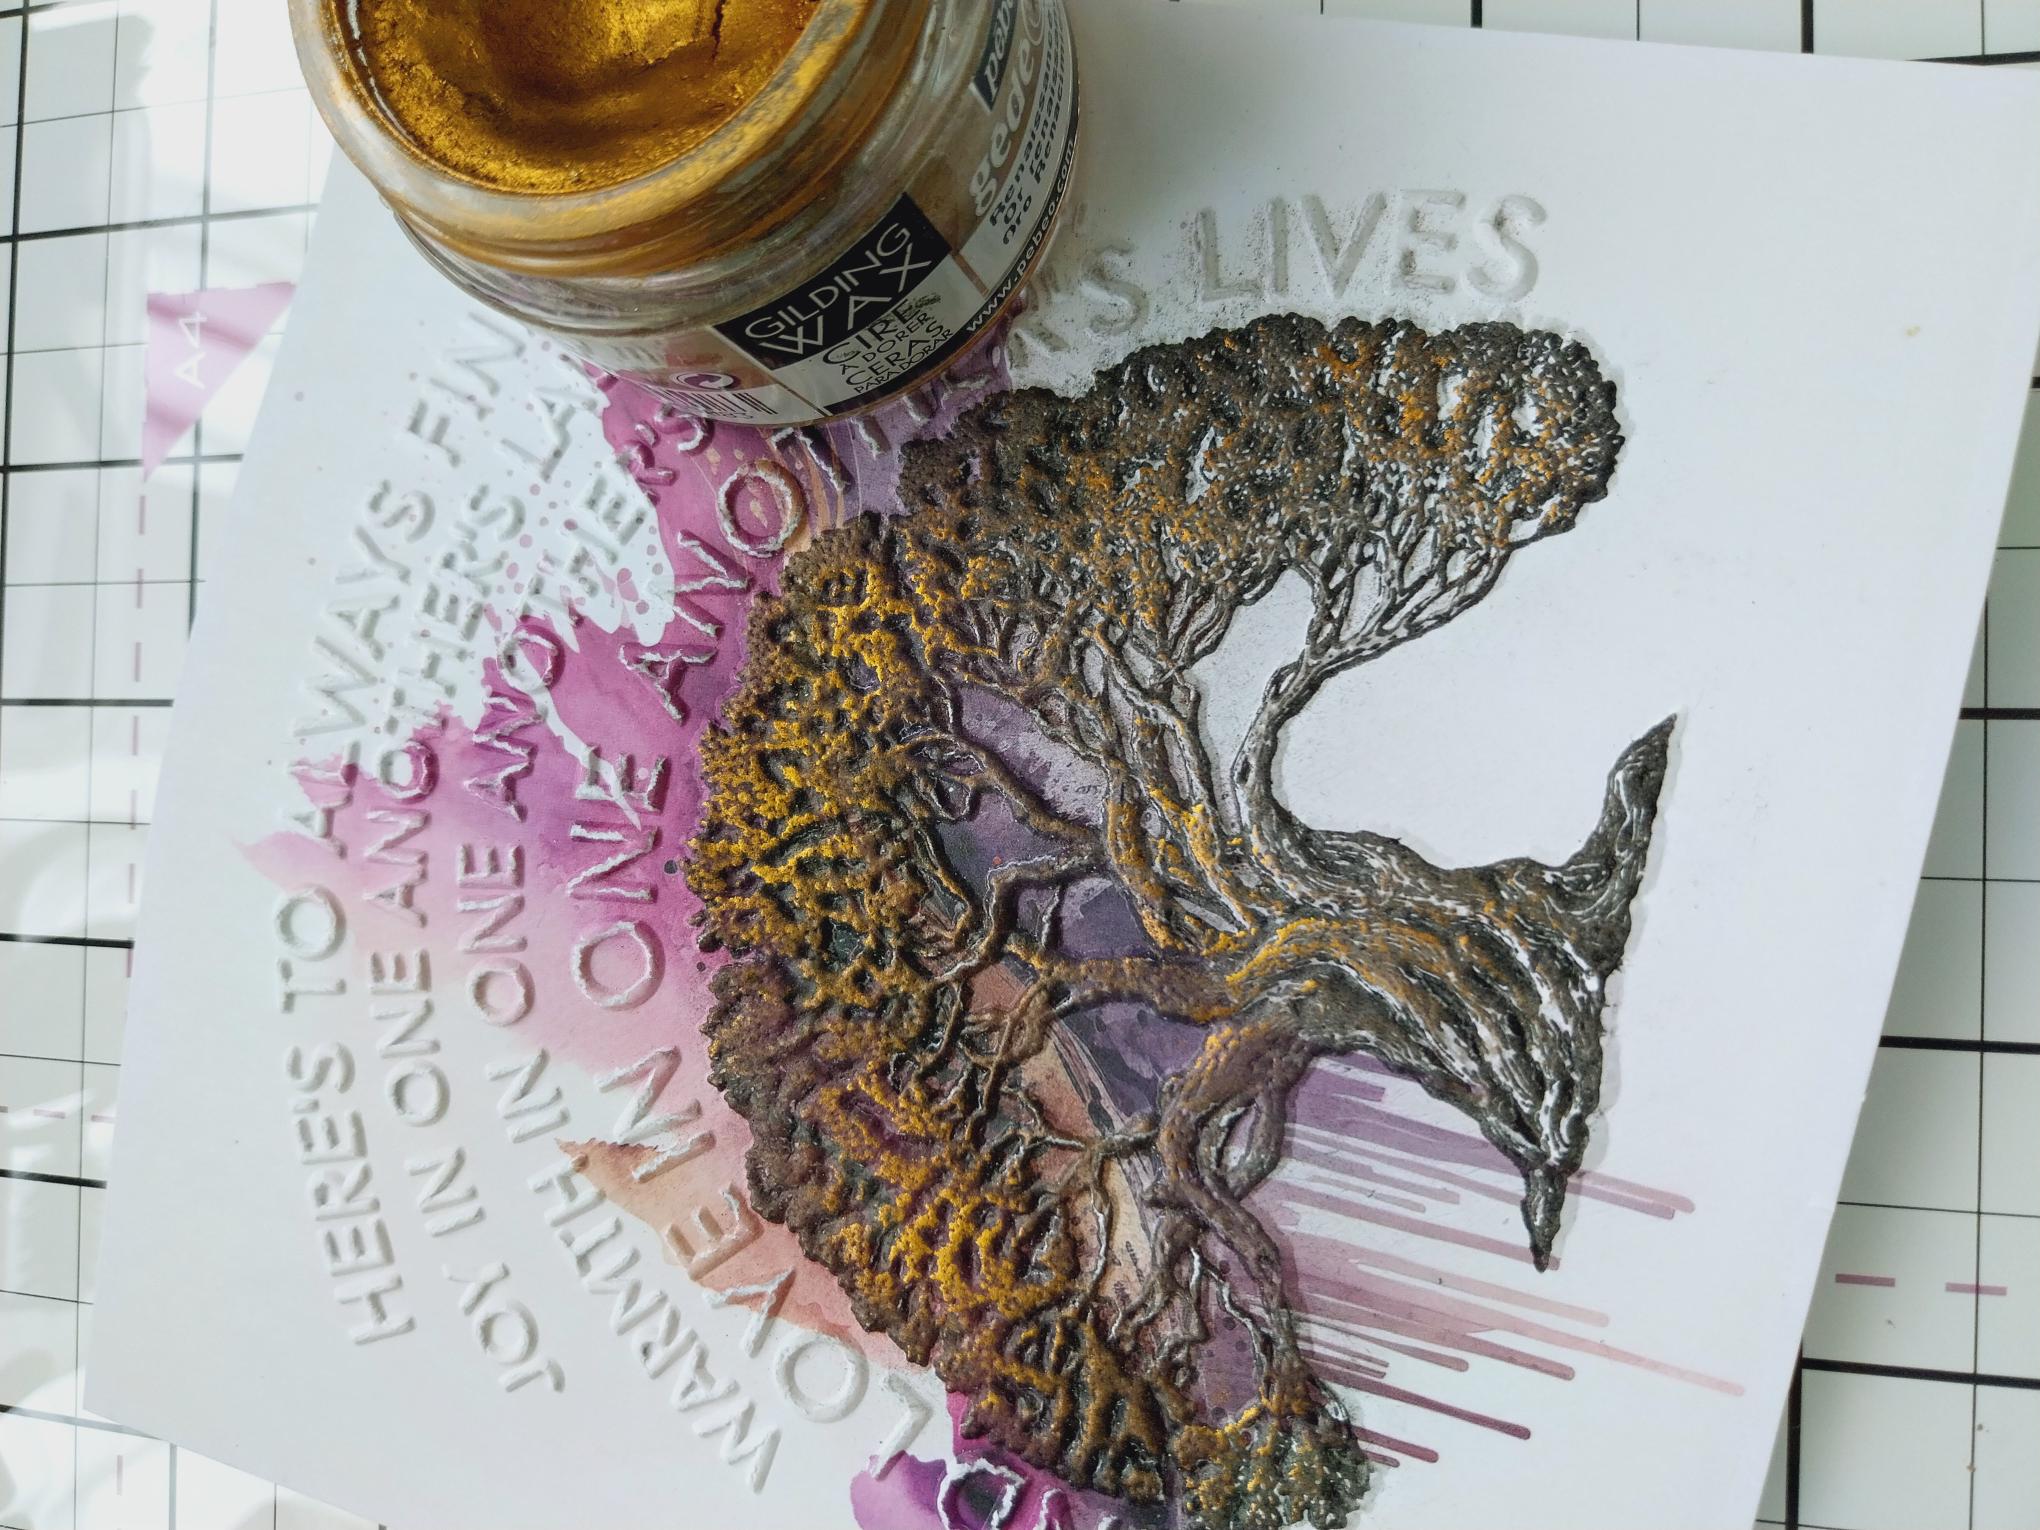
Randomly apply Gold gilding wax over the embossed tree, remembering to buff it with a soft cloth to enhance the shine. |
|
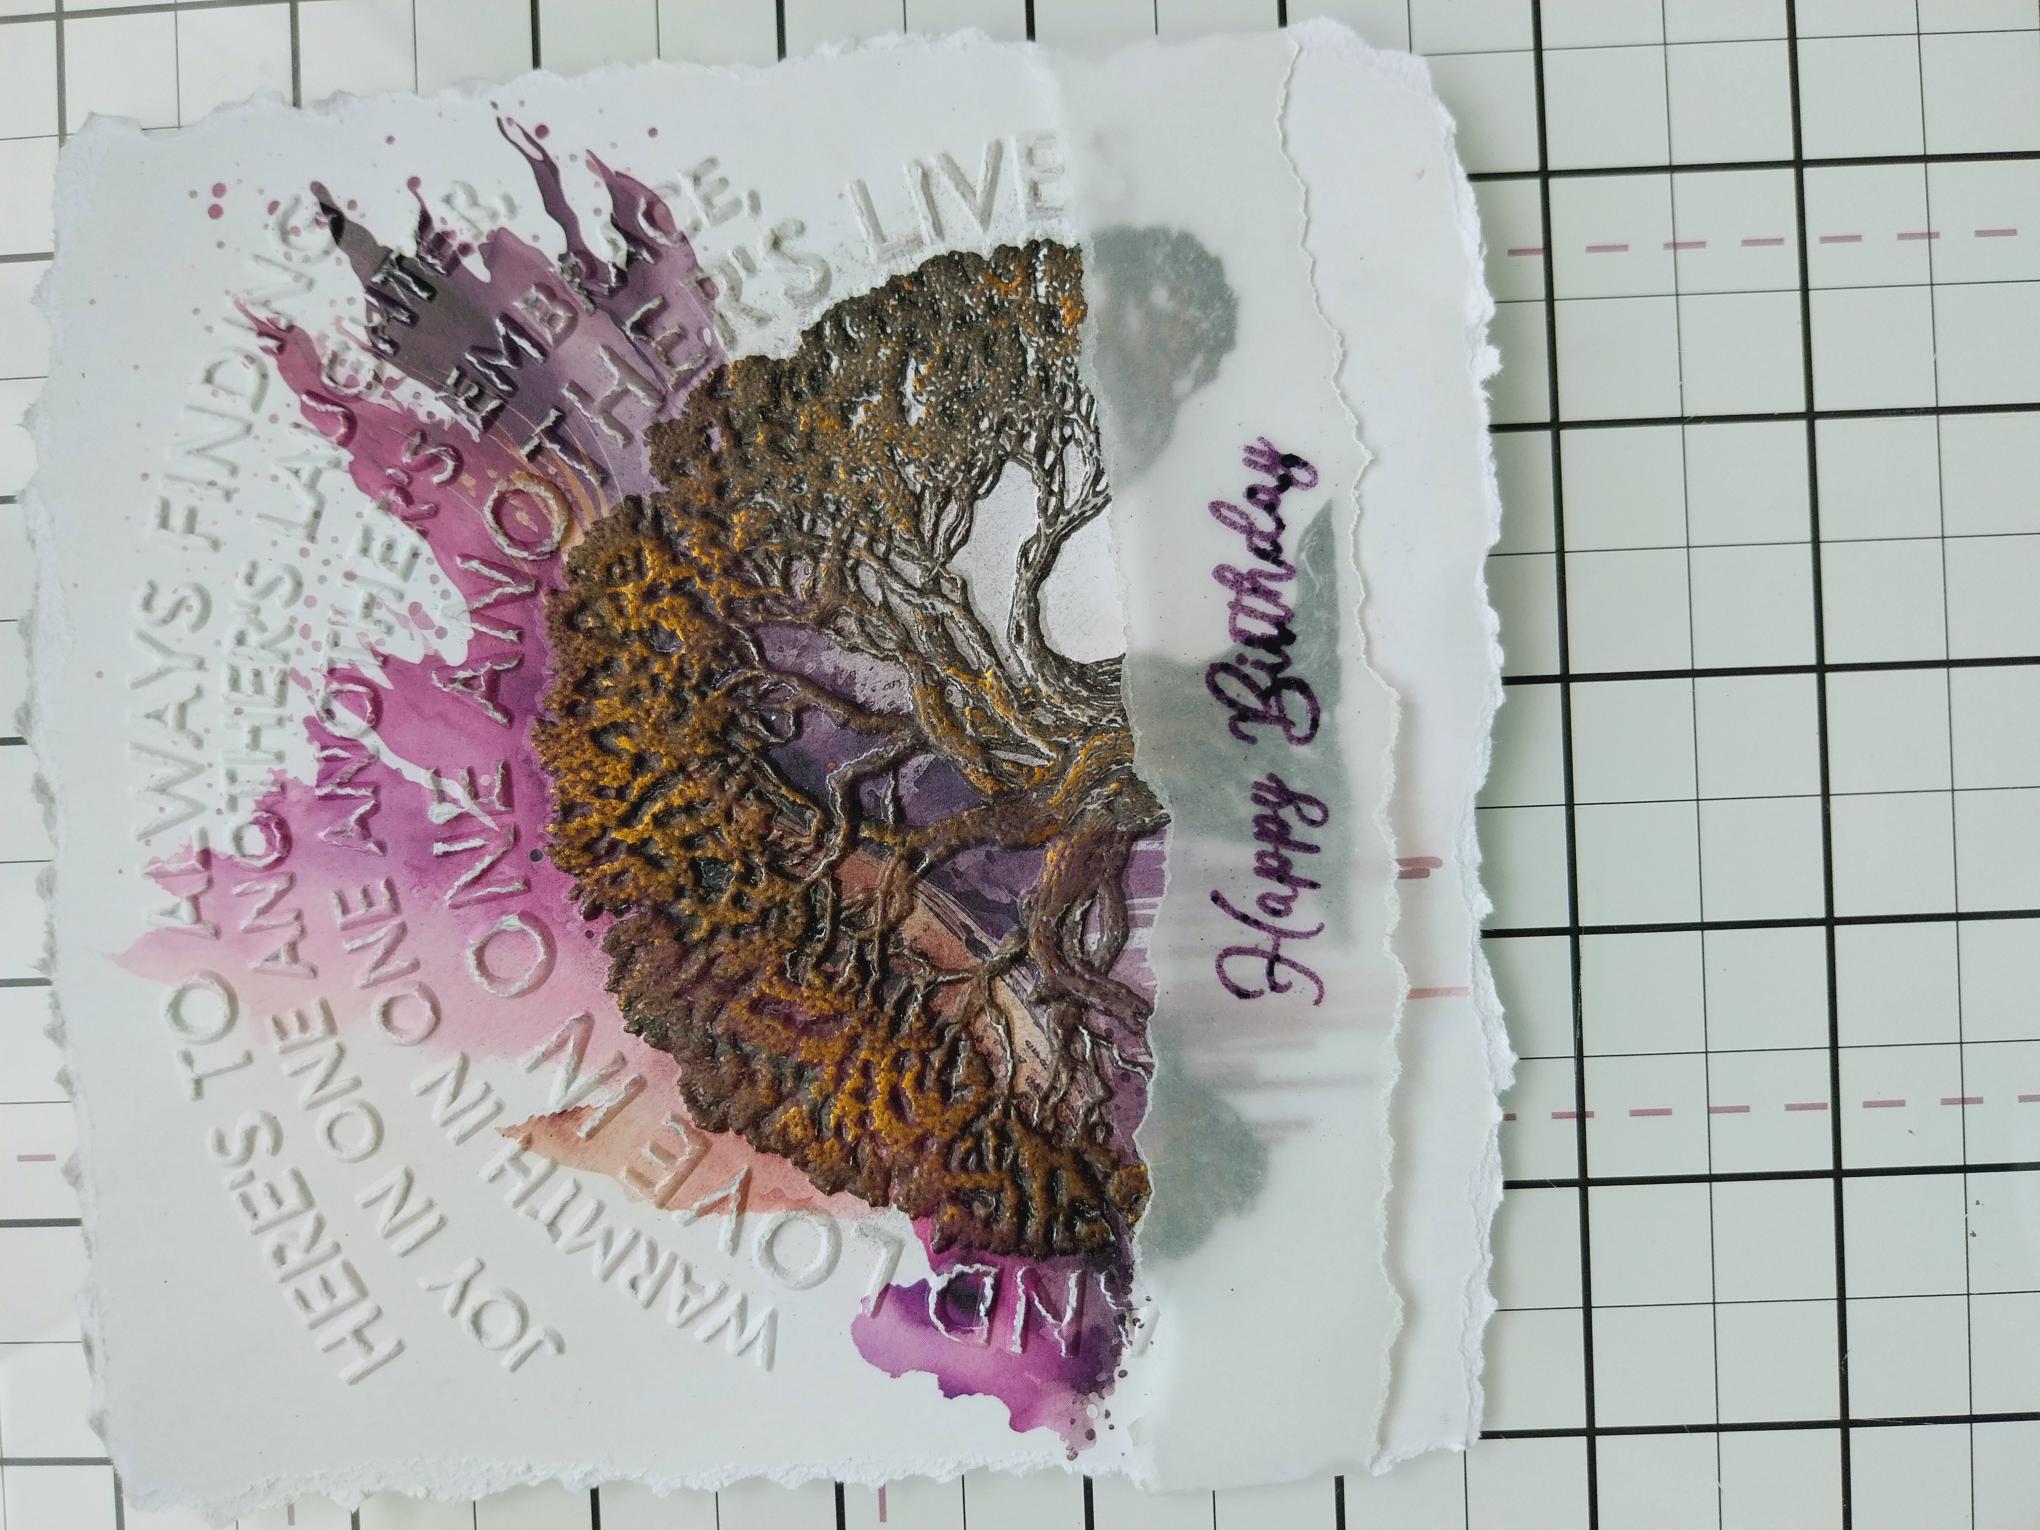
Tear around the edges of the embossed paper or distress the edges with the edge of your scissors. Pop it to one side. Tear a panel of vellum wider than the width of the paper and deep enough to stamp your chosen sentiment (I took mine from the Elegant Rose set). Wipe over the vellum with an anti-static bag before stamping your sentiment with the sticky embossing ink. Apply the Blackberry embossing powder over the top, shaking off the excess powder and decanting back in the pot. Once your heat tool is hot, heat set the powder. Place the embossed vellum across the lower half of the embossed paper, tuck over the edges and secure on the reverse with your tape runner or double-sided adhesive tape. |
|
Choose a coordinating paper from the Shabby Chic pack and trim to 6 x 6". Adhere your artwork onto the paper and then onto your card blank to finish. |