Give your friends $10 off their first order!
Refer a FRIEND


WHAT YOU WILL NEED:
Tailored Threads 8 x 8 Foundation Paper Pack
Tailored Threads Bundle (Ctreate Together Club)
Family First Reflection Set (sentiment)
Whispering Leaves Stamp, Die & Stencil Set (sentiment)
SBM Hybrid Ink Pad: Midnight
Distress Ink/Oxide Ink Pad: Hickory Smoke, Black Soot
Blending Brush
Corner Punch
Eureka 101 Watercolour Tablet
SBM A3 Magnetic glass mat
Paper Trimmer
Glue/red liner tape/foam pads
Die Cutting machine
[click image to enlarge] 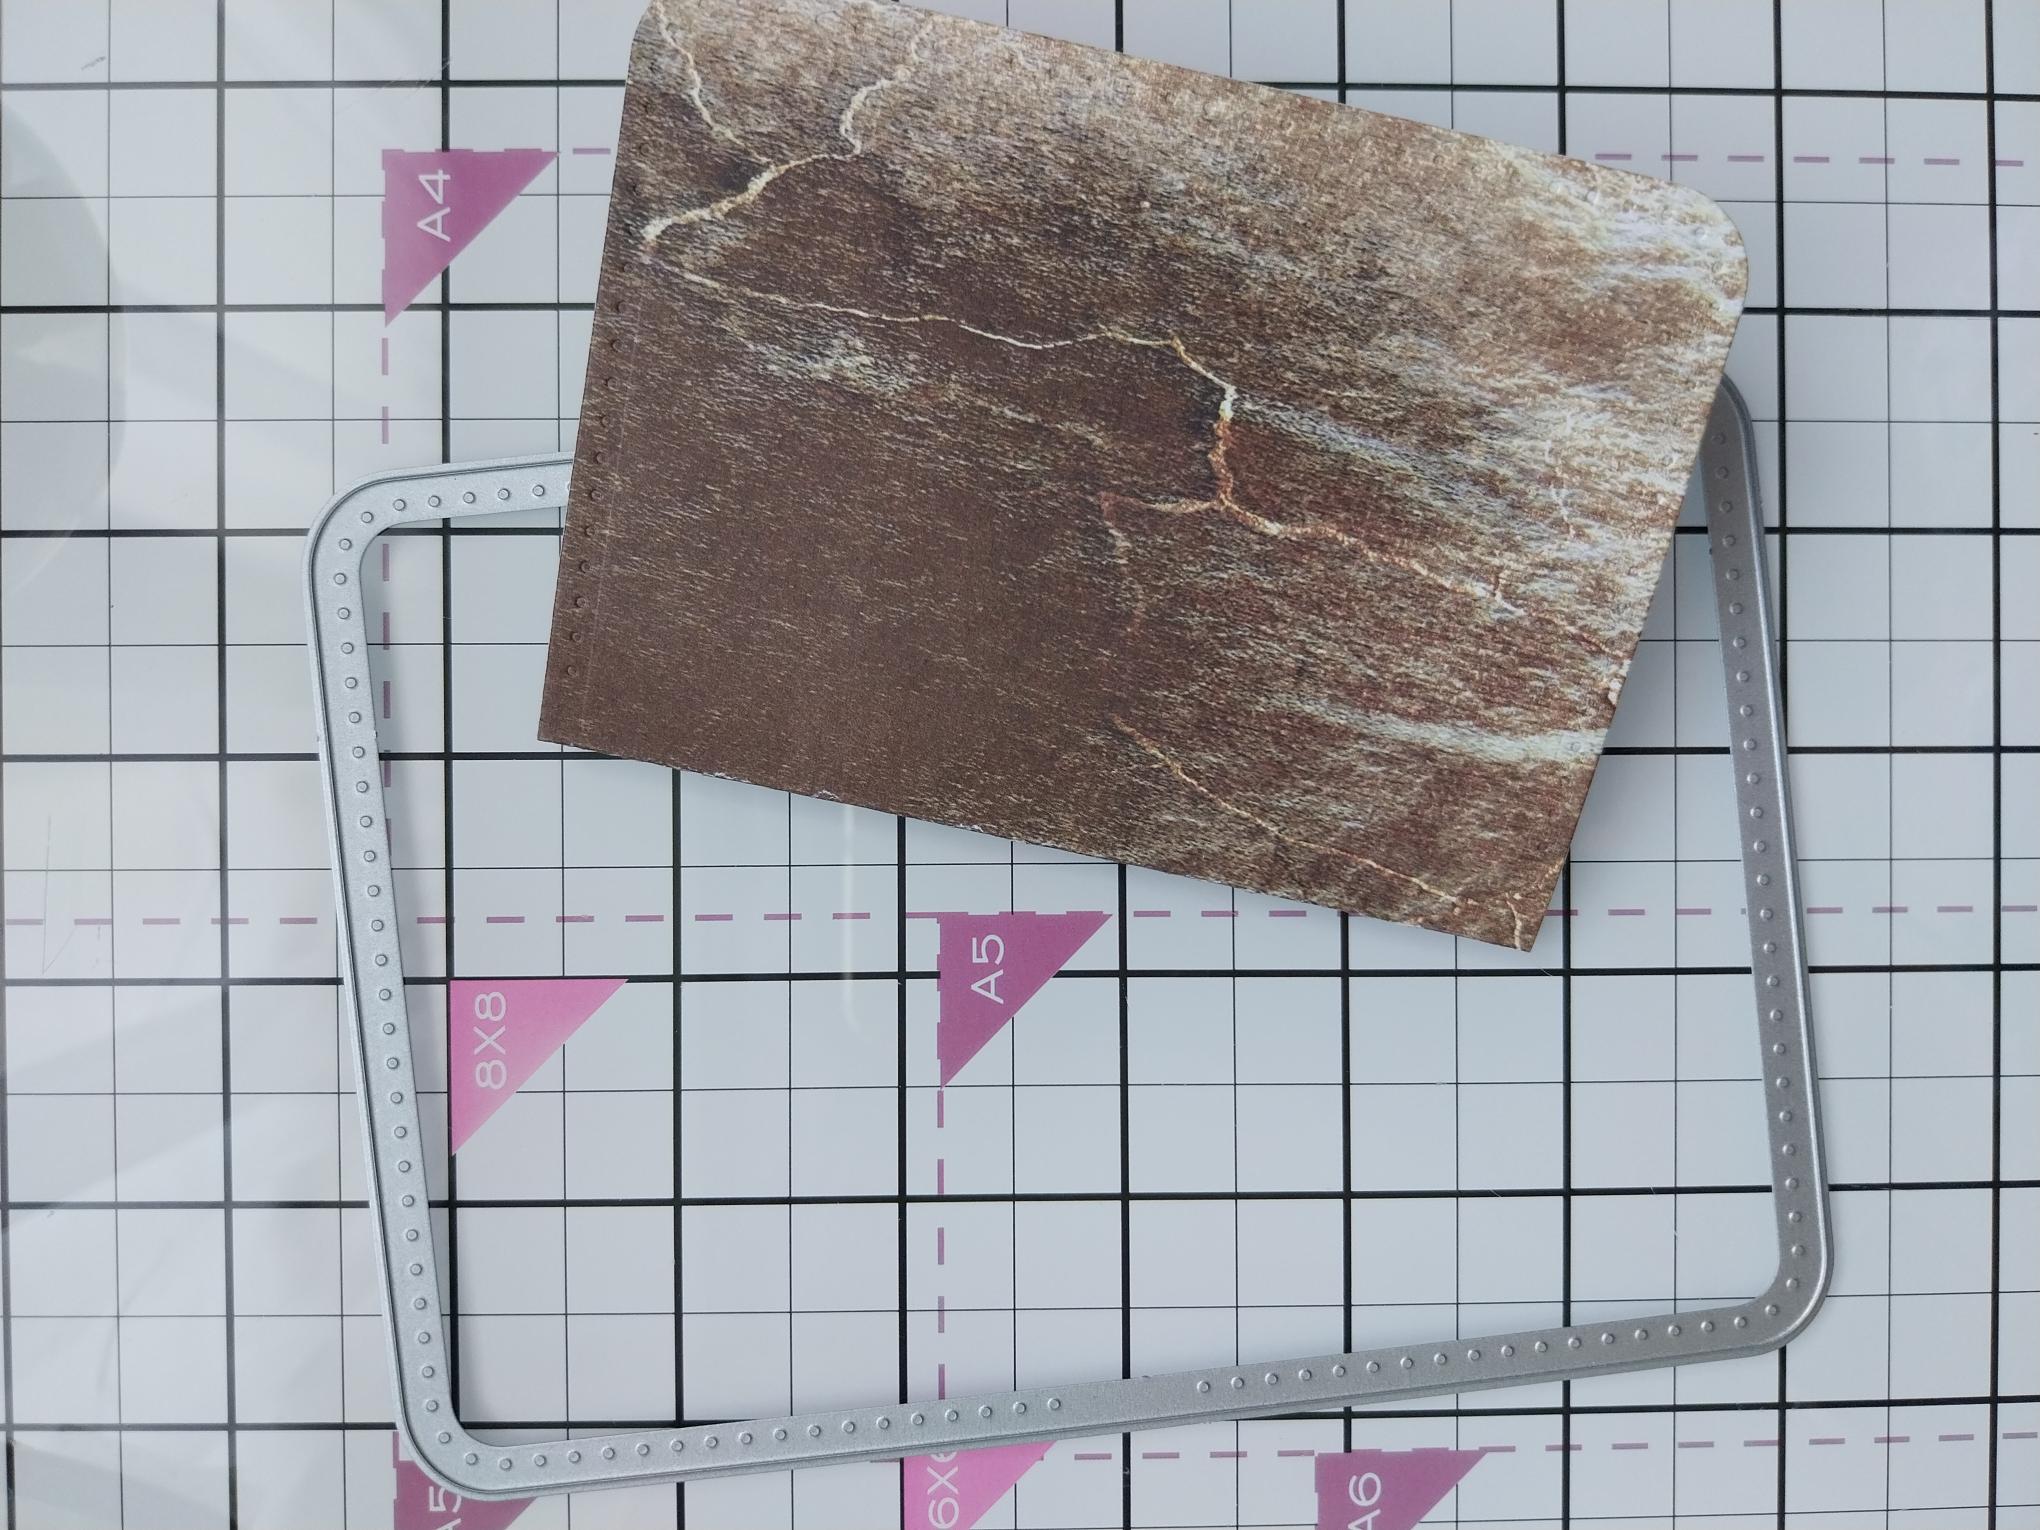
|
Use this die to cut out the base of your wallet from your chosen paper in the Foundation pack. |
|
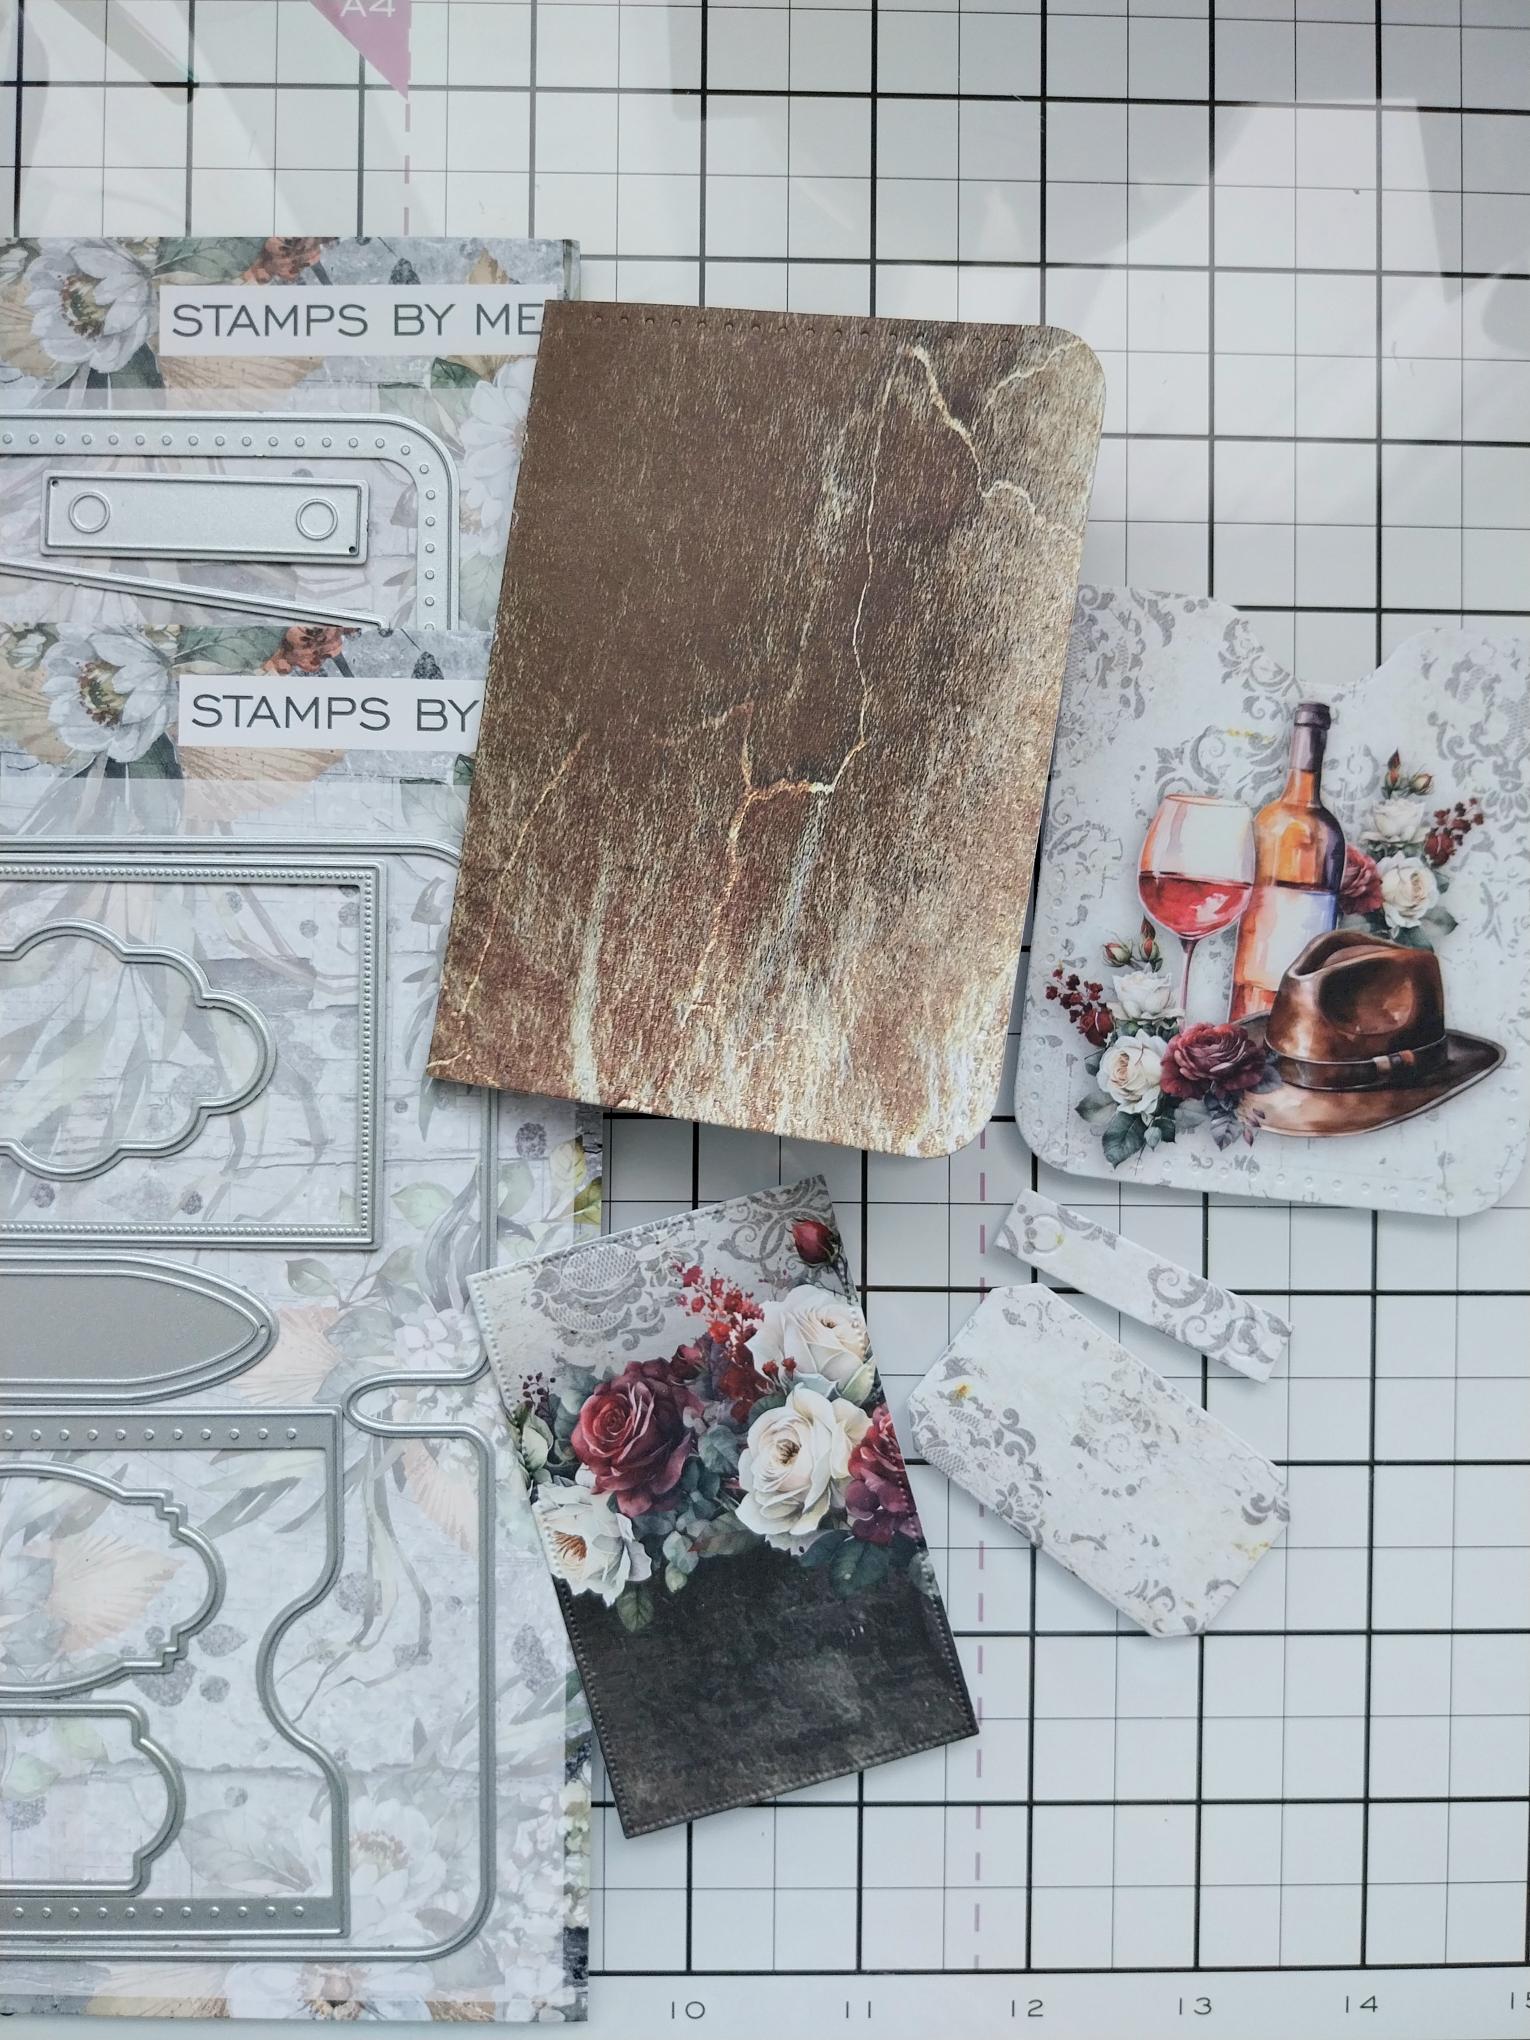
From the decorative papers, die cut a selection of tags, toppers, pockets and sentiment panels. Ensure any tags/toppers you want to pop inside a pocket, are trimmed to the correct sizes, as required for your wallet project. |
|
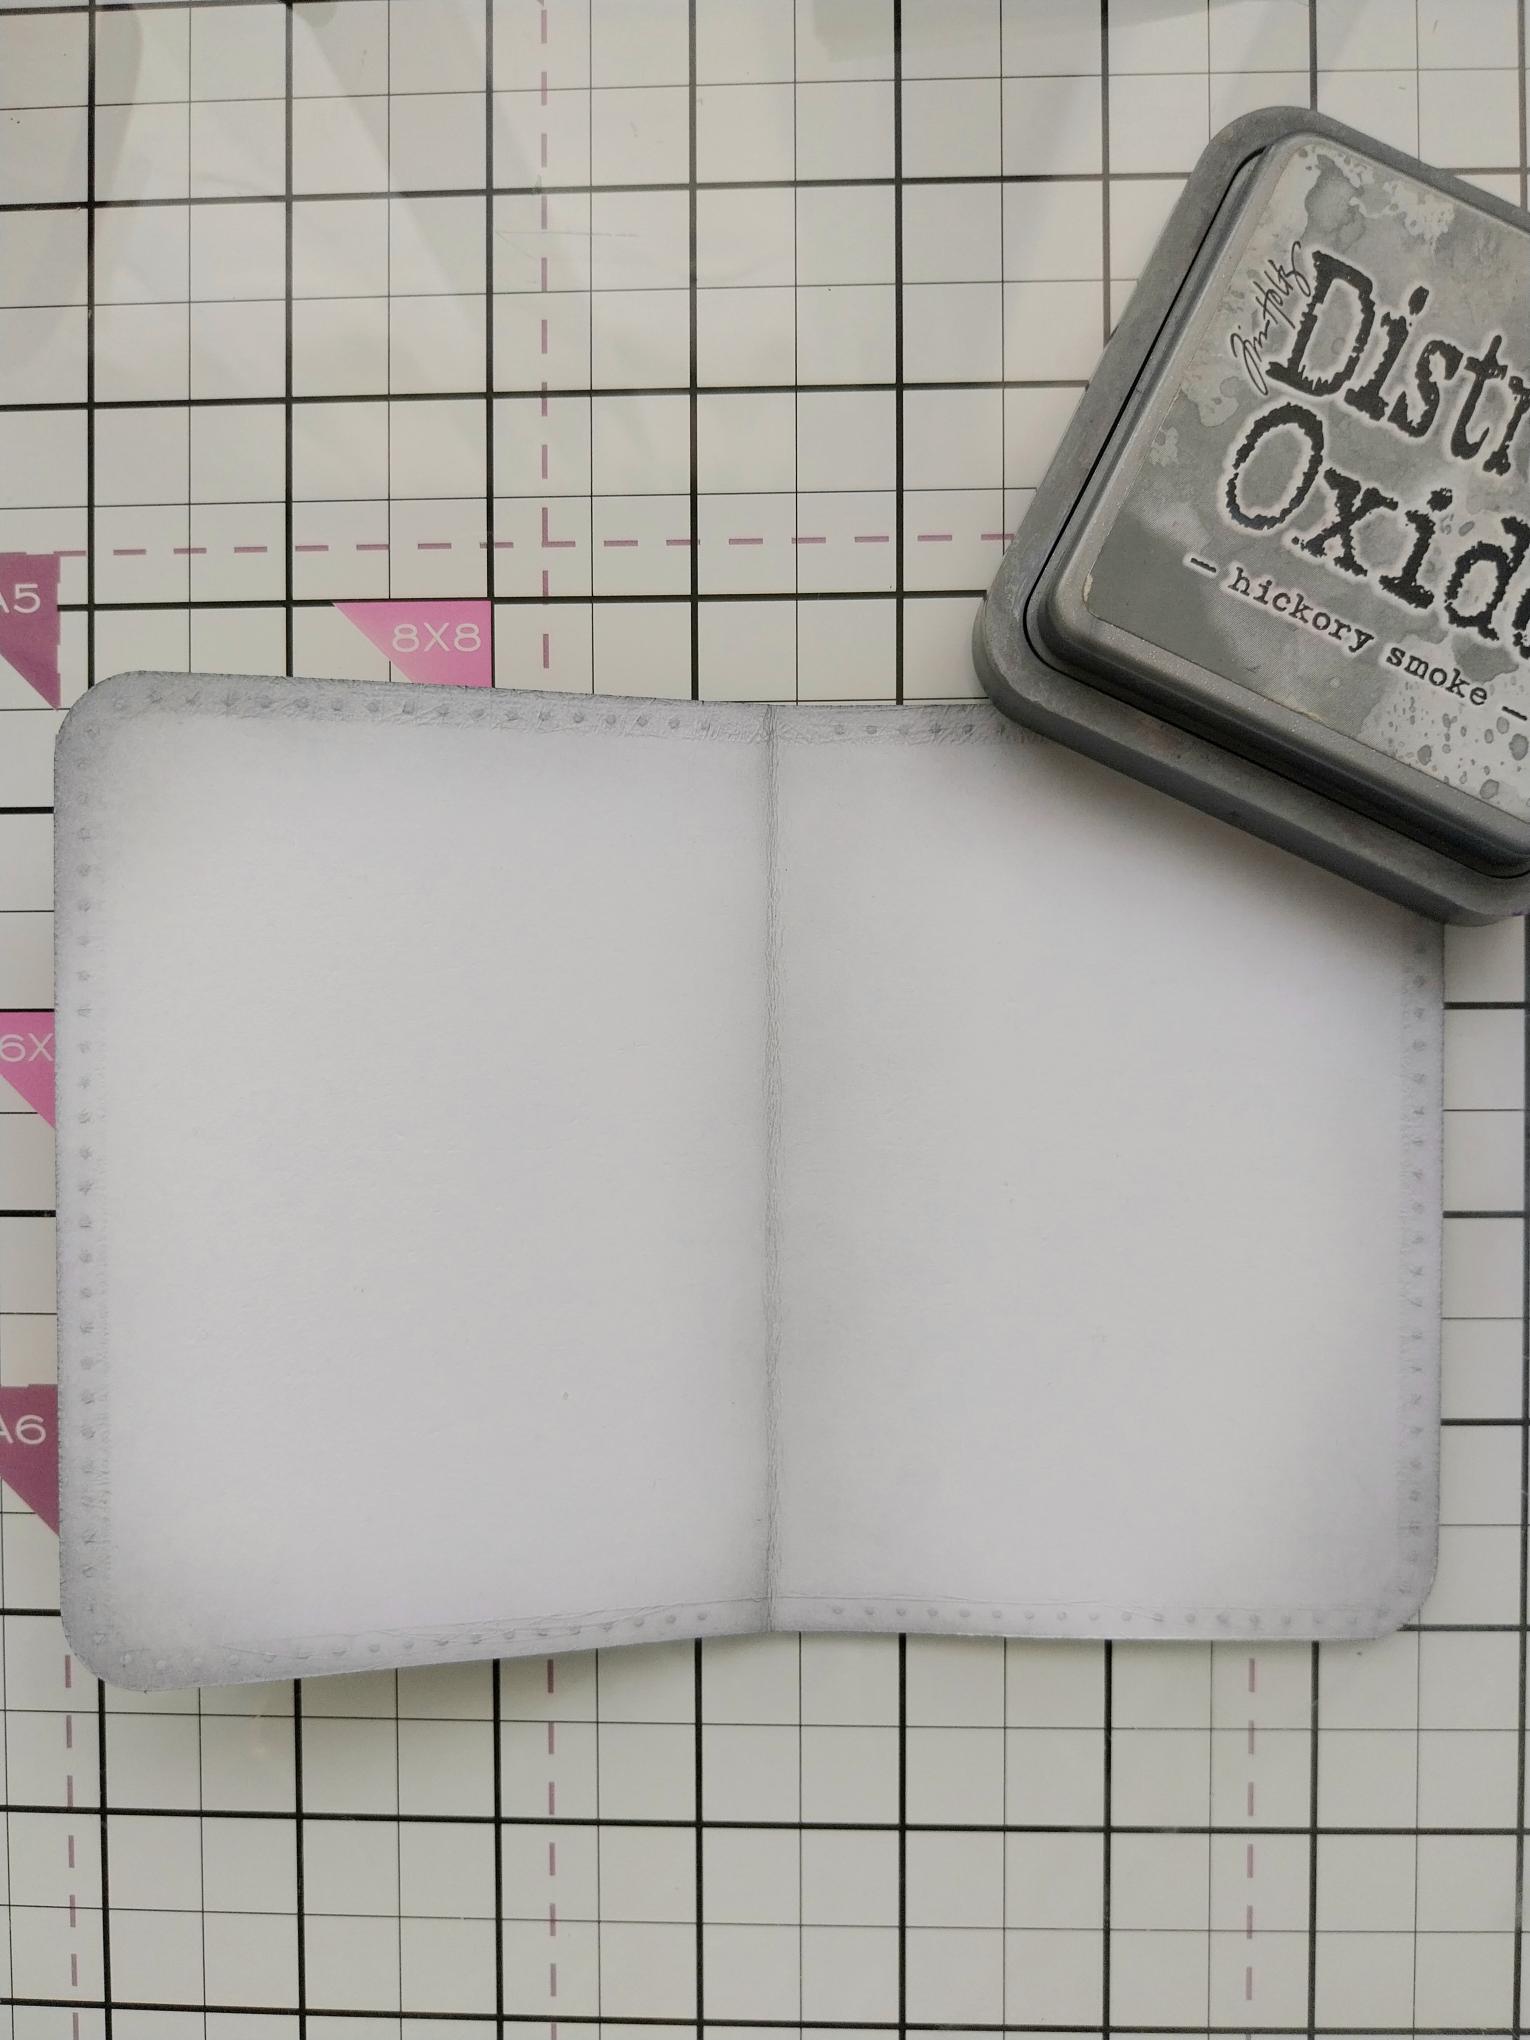
Ink around the edges inside your wallet, with Hickory Smoke Distress Oxide. Alternatively you can die cut a inner cover from the papers, using the other main die in the collection. |
|
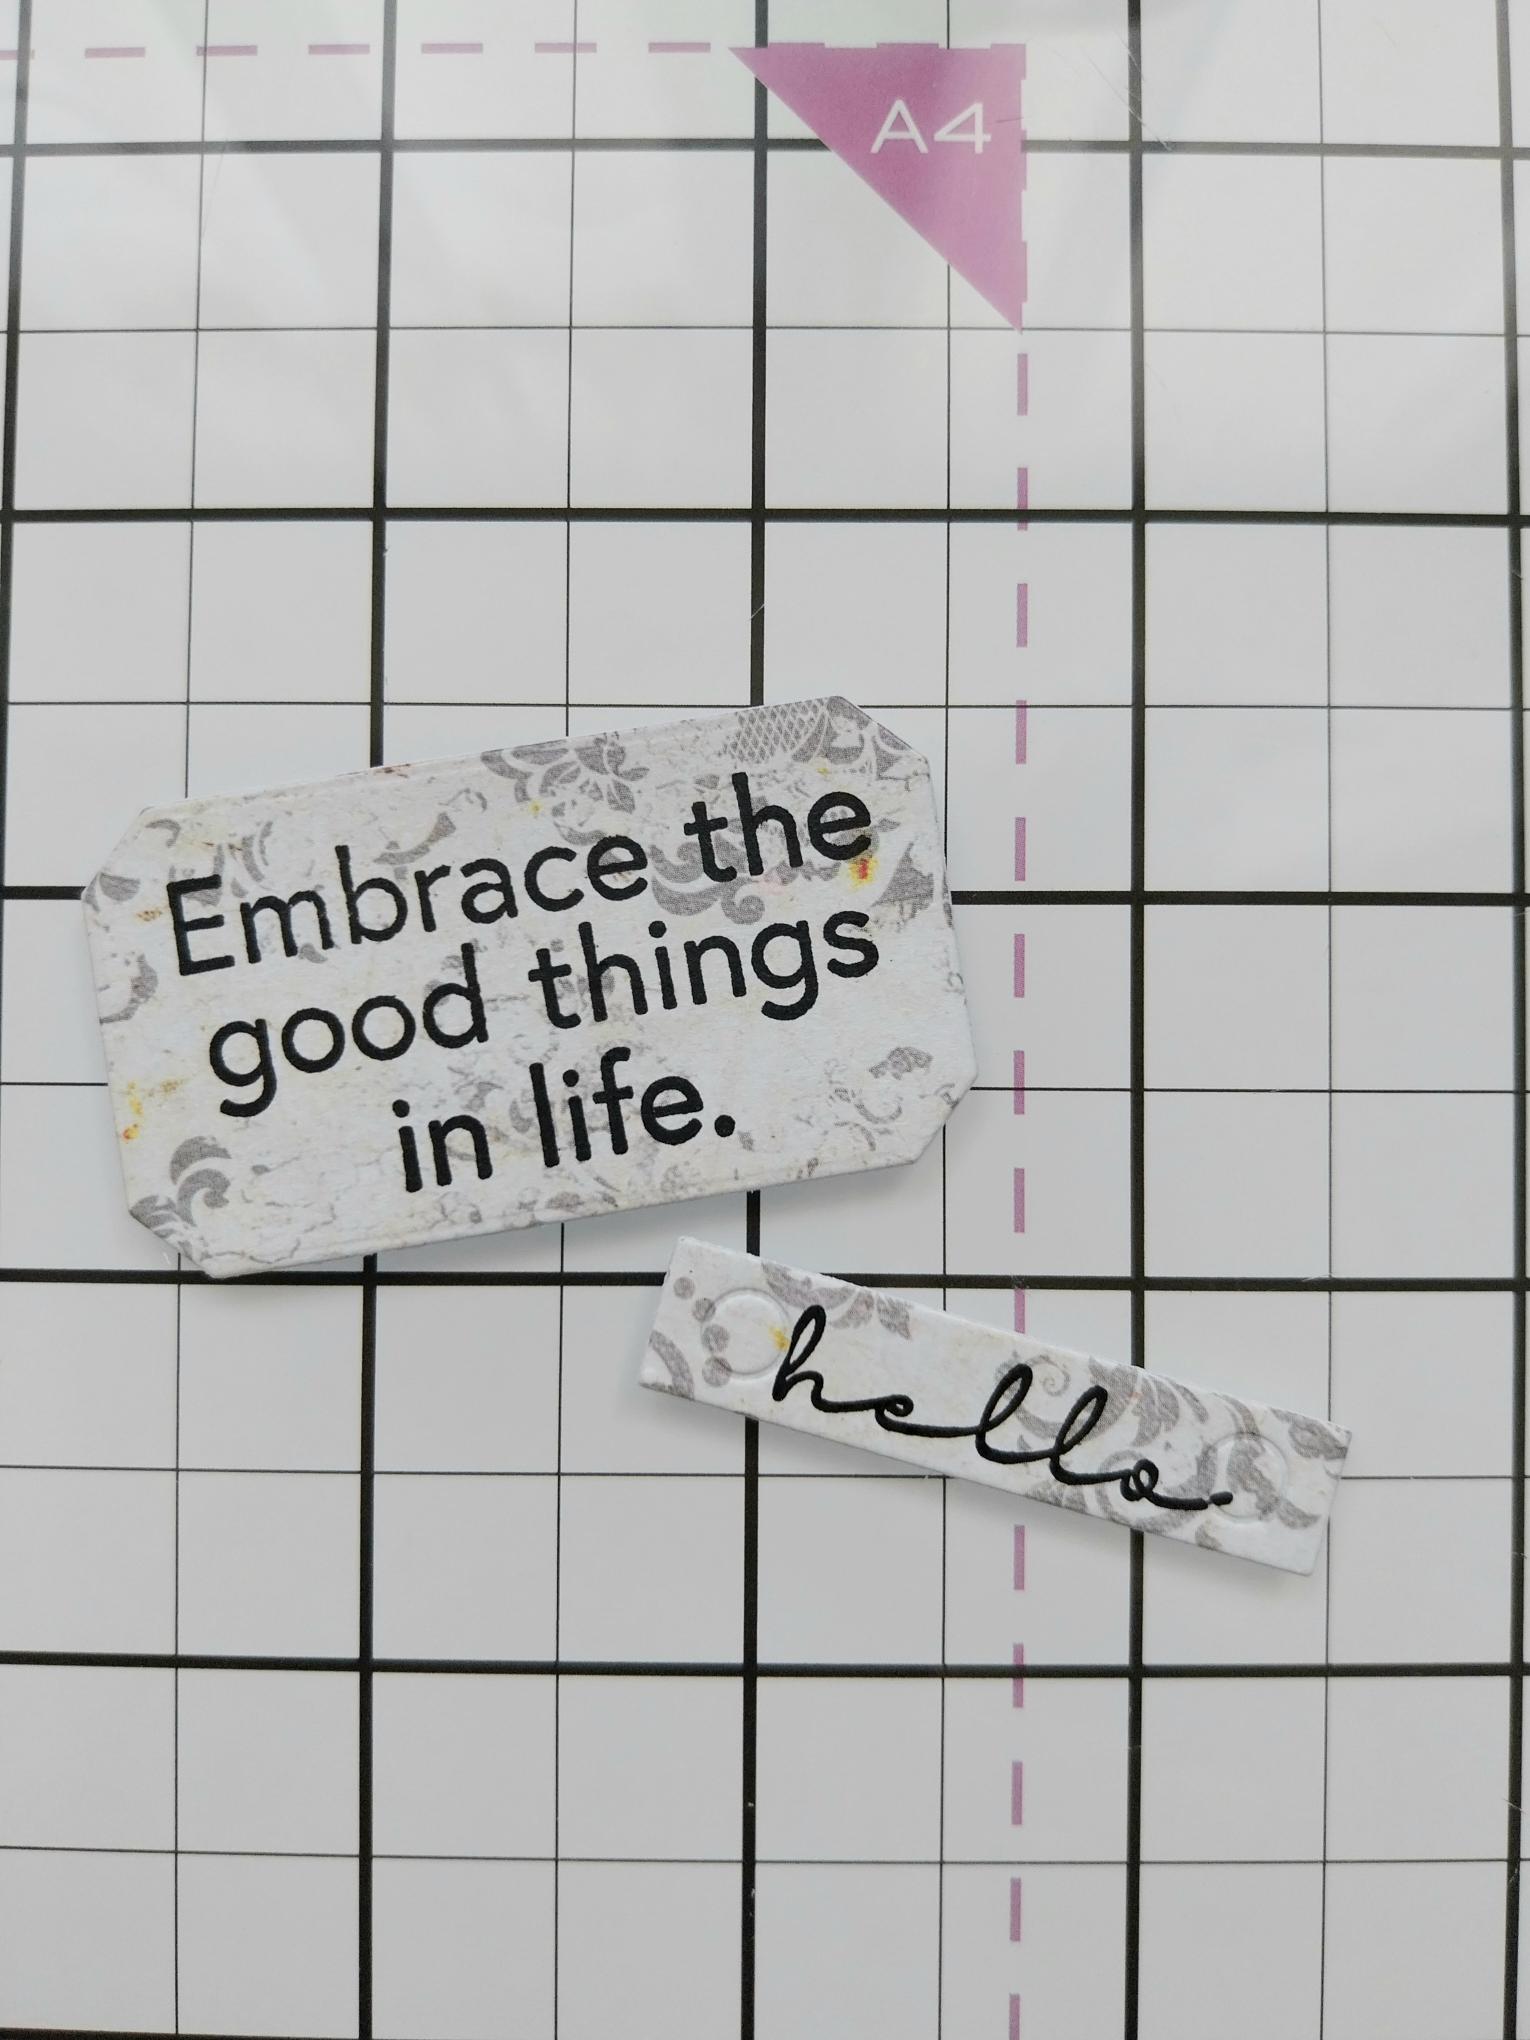
Stamp your chosen sentiments on the die-cut sentiment label tabs. |
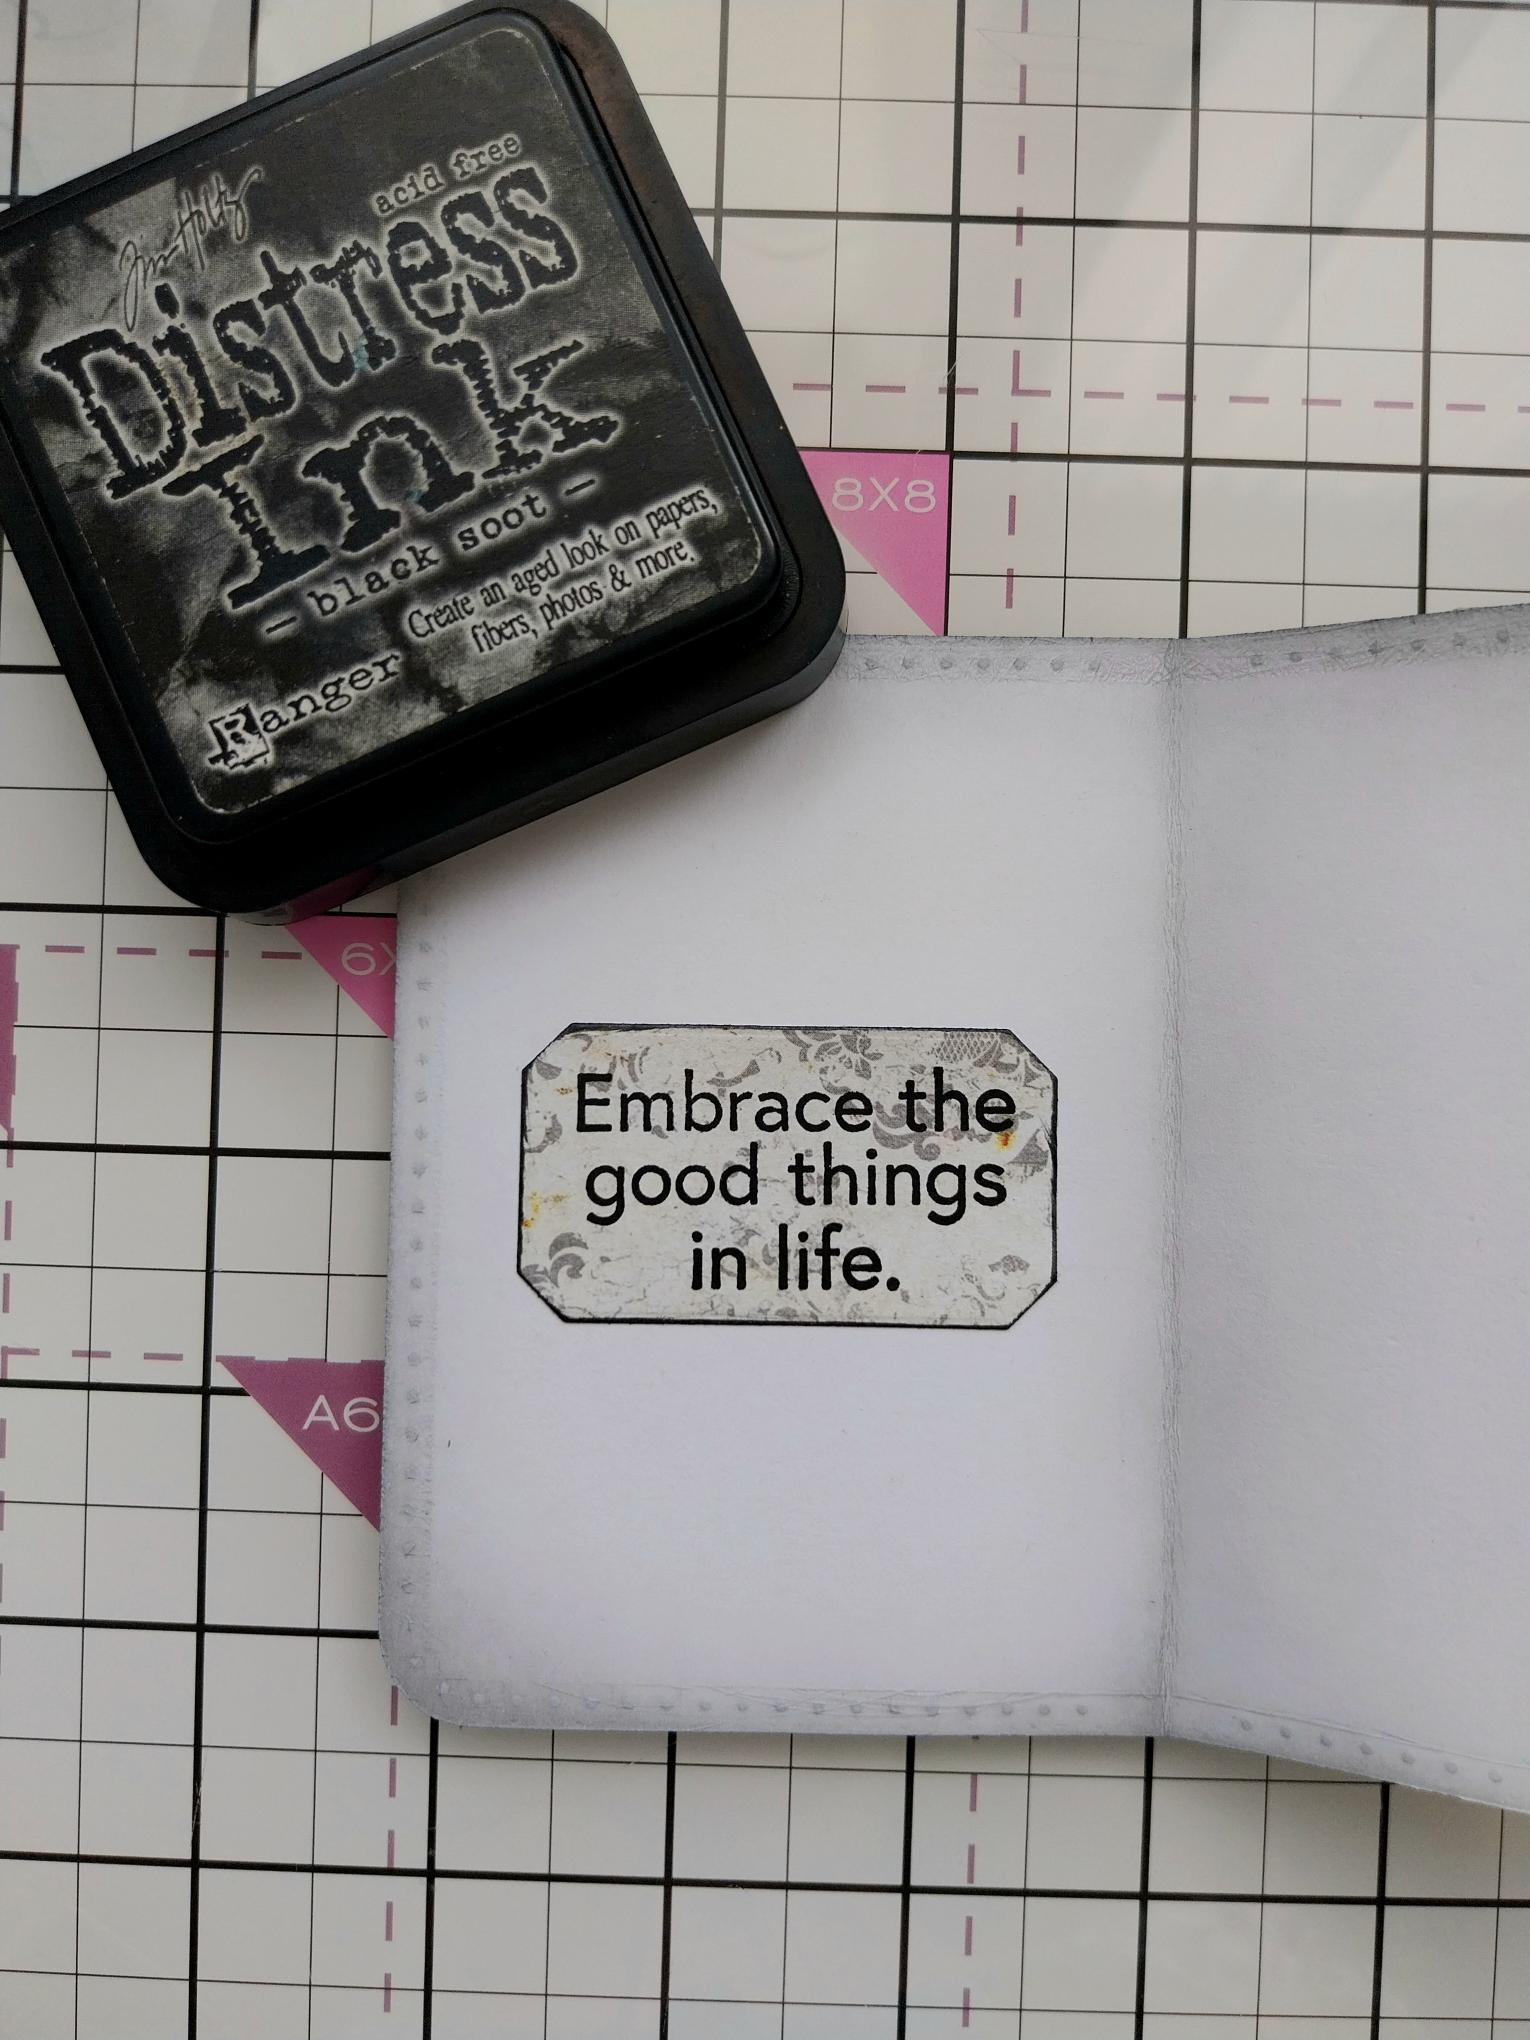
|
Ink around the edge with Black Soot before adhering one of the sentiment labels on the left-hand inner page. |
|
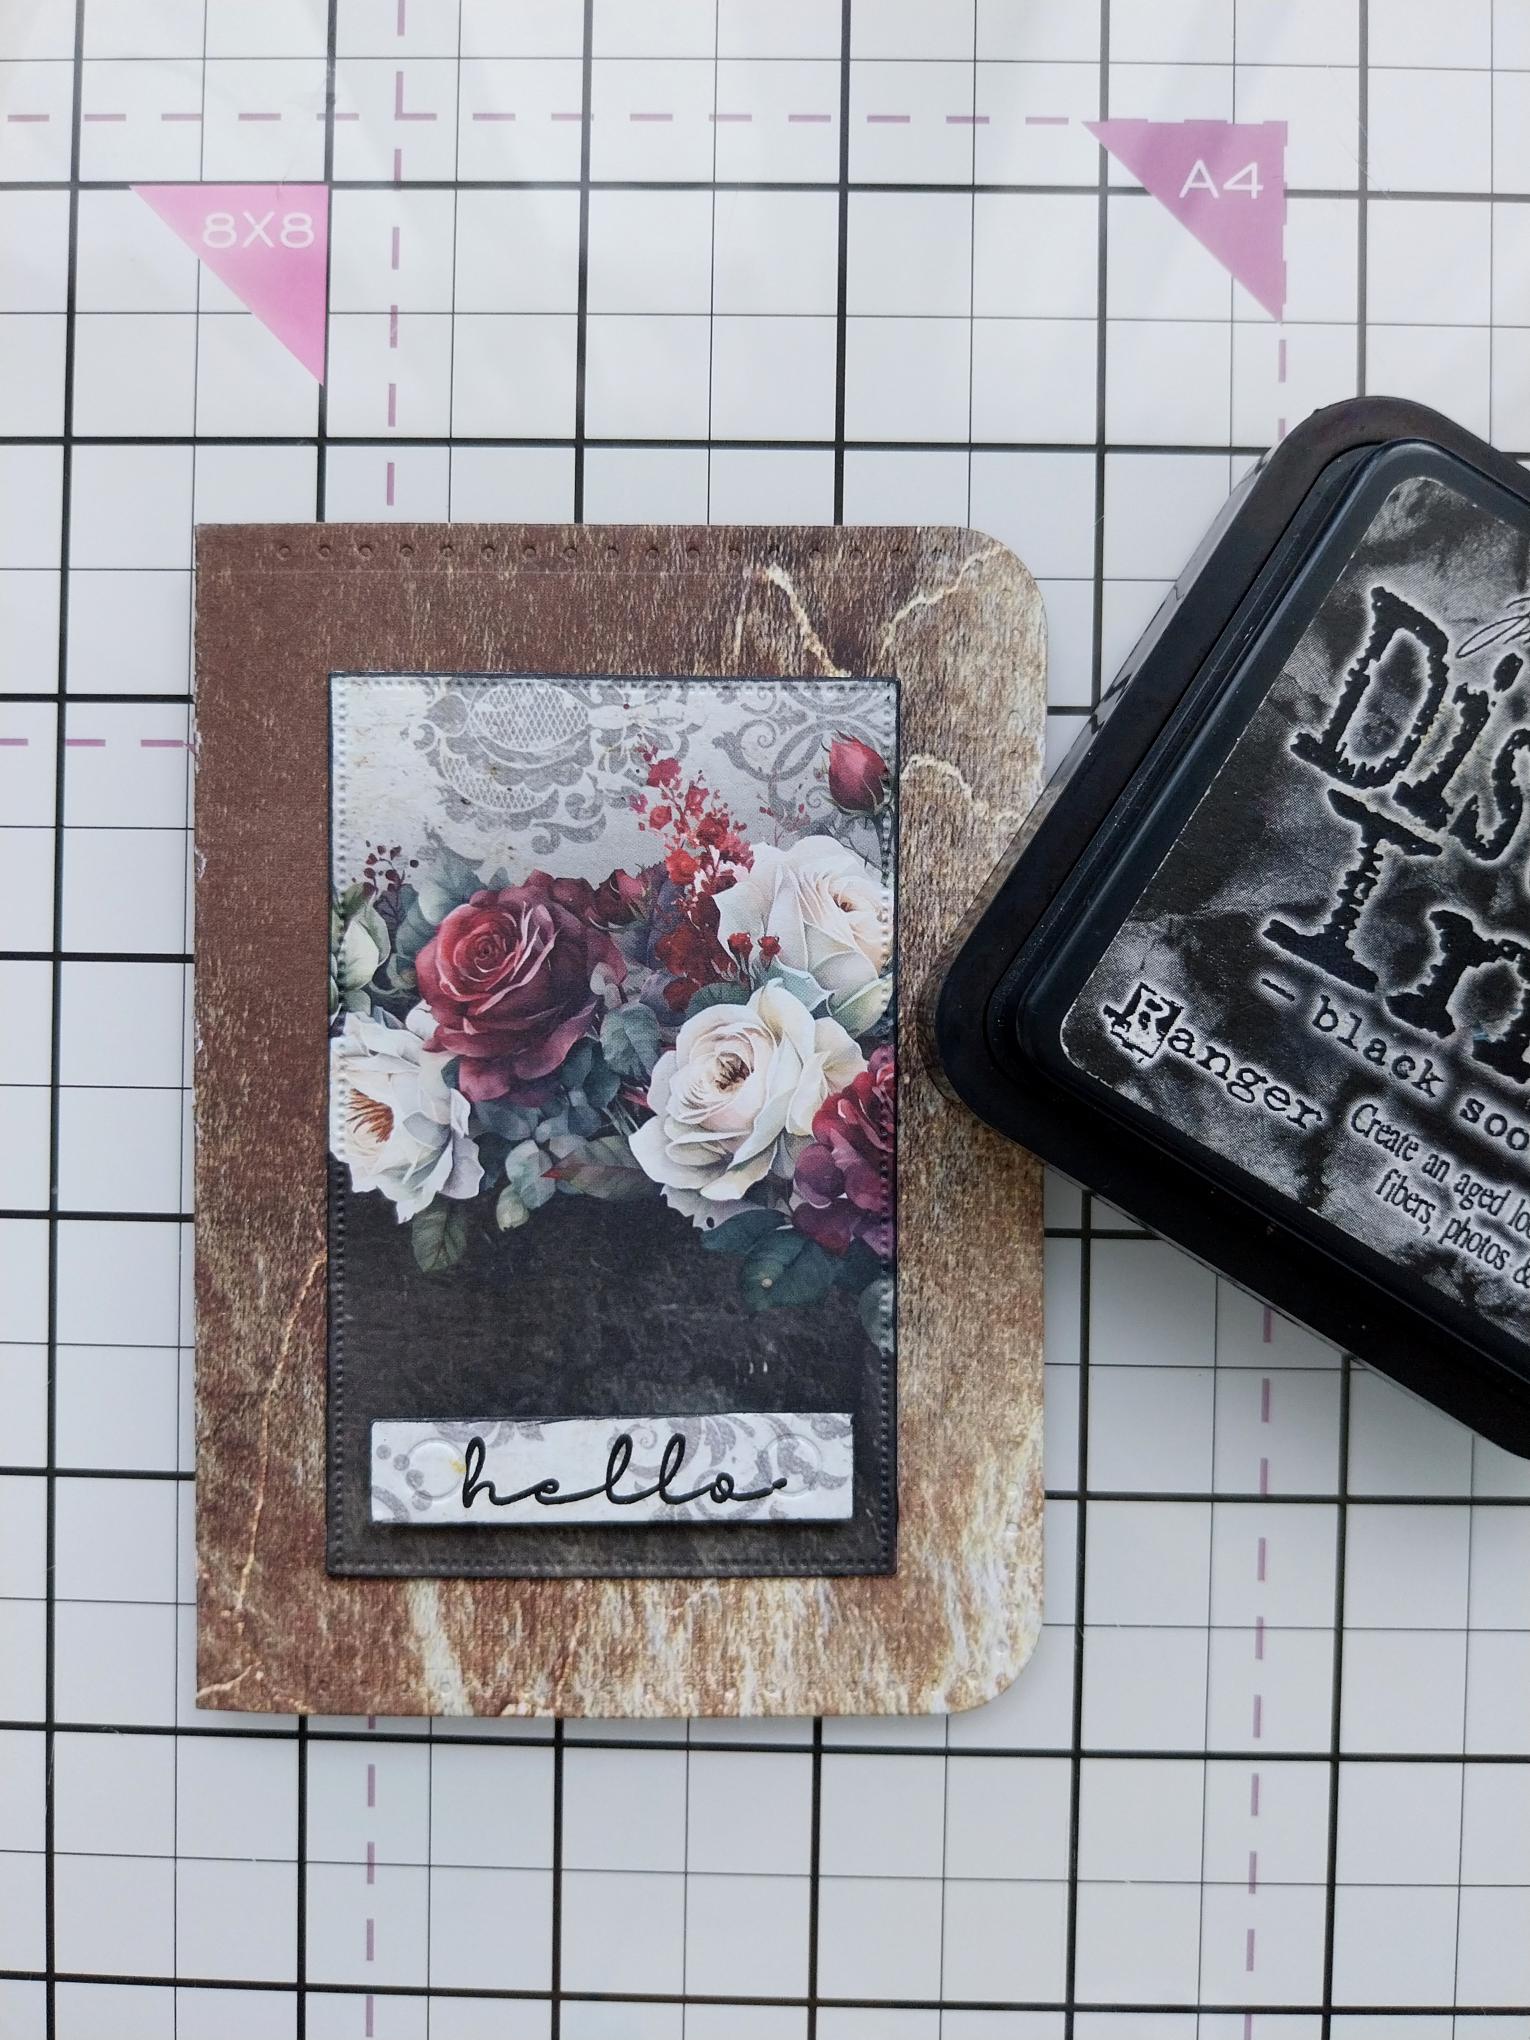
Ink around the edges of a cut out floral topper before adhering to the front of your wallet. Glue another sentiment tab on top. |
|
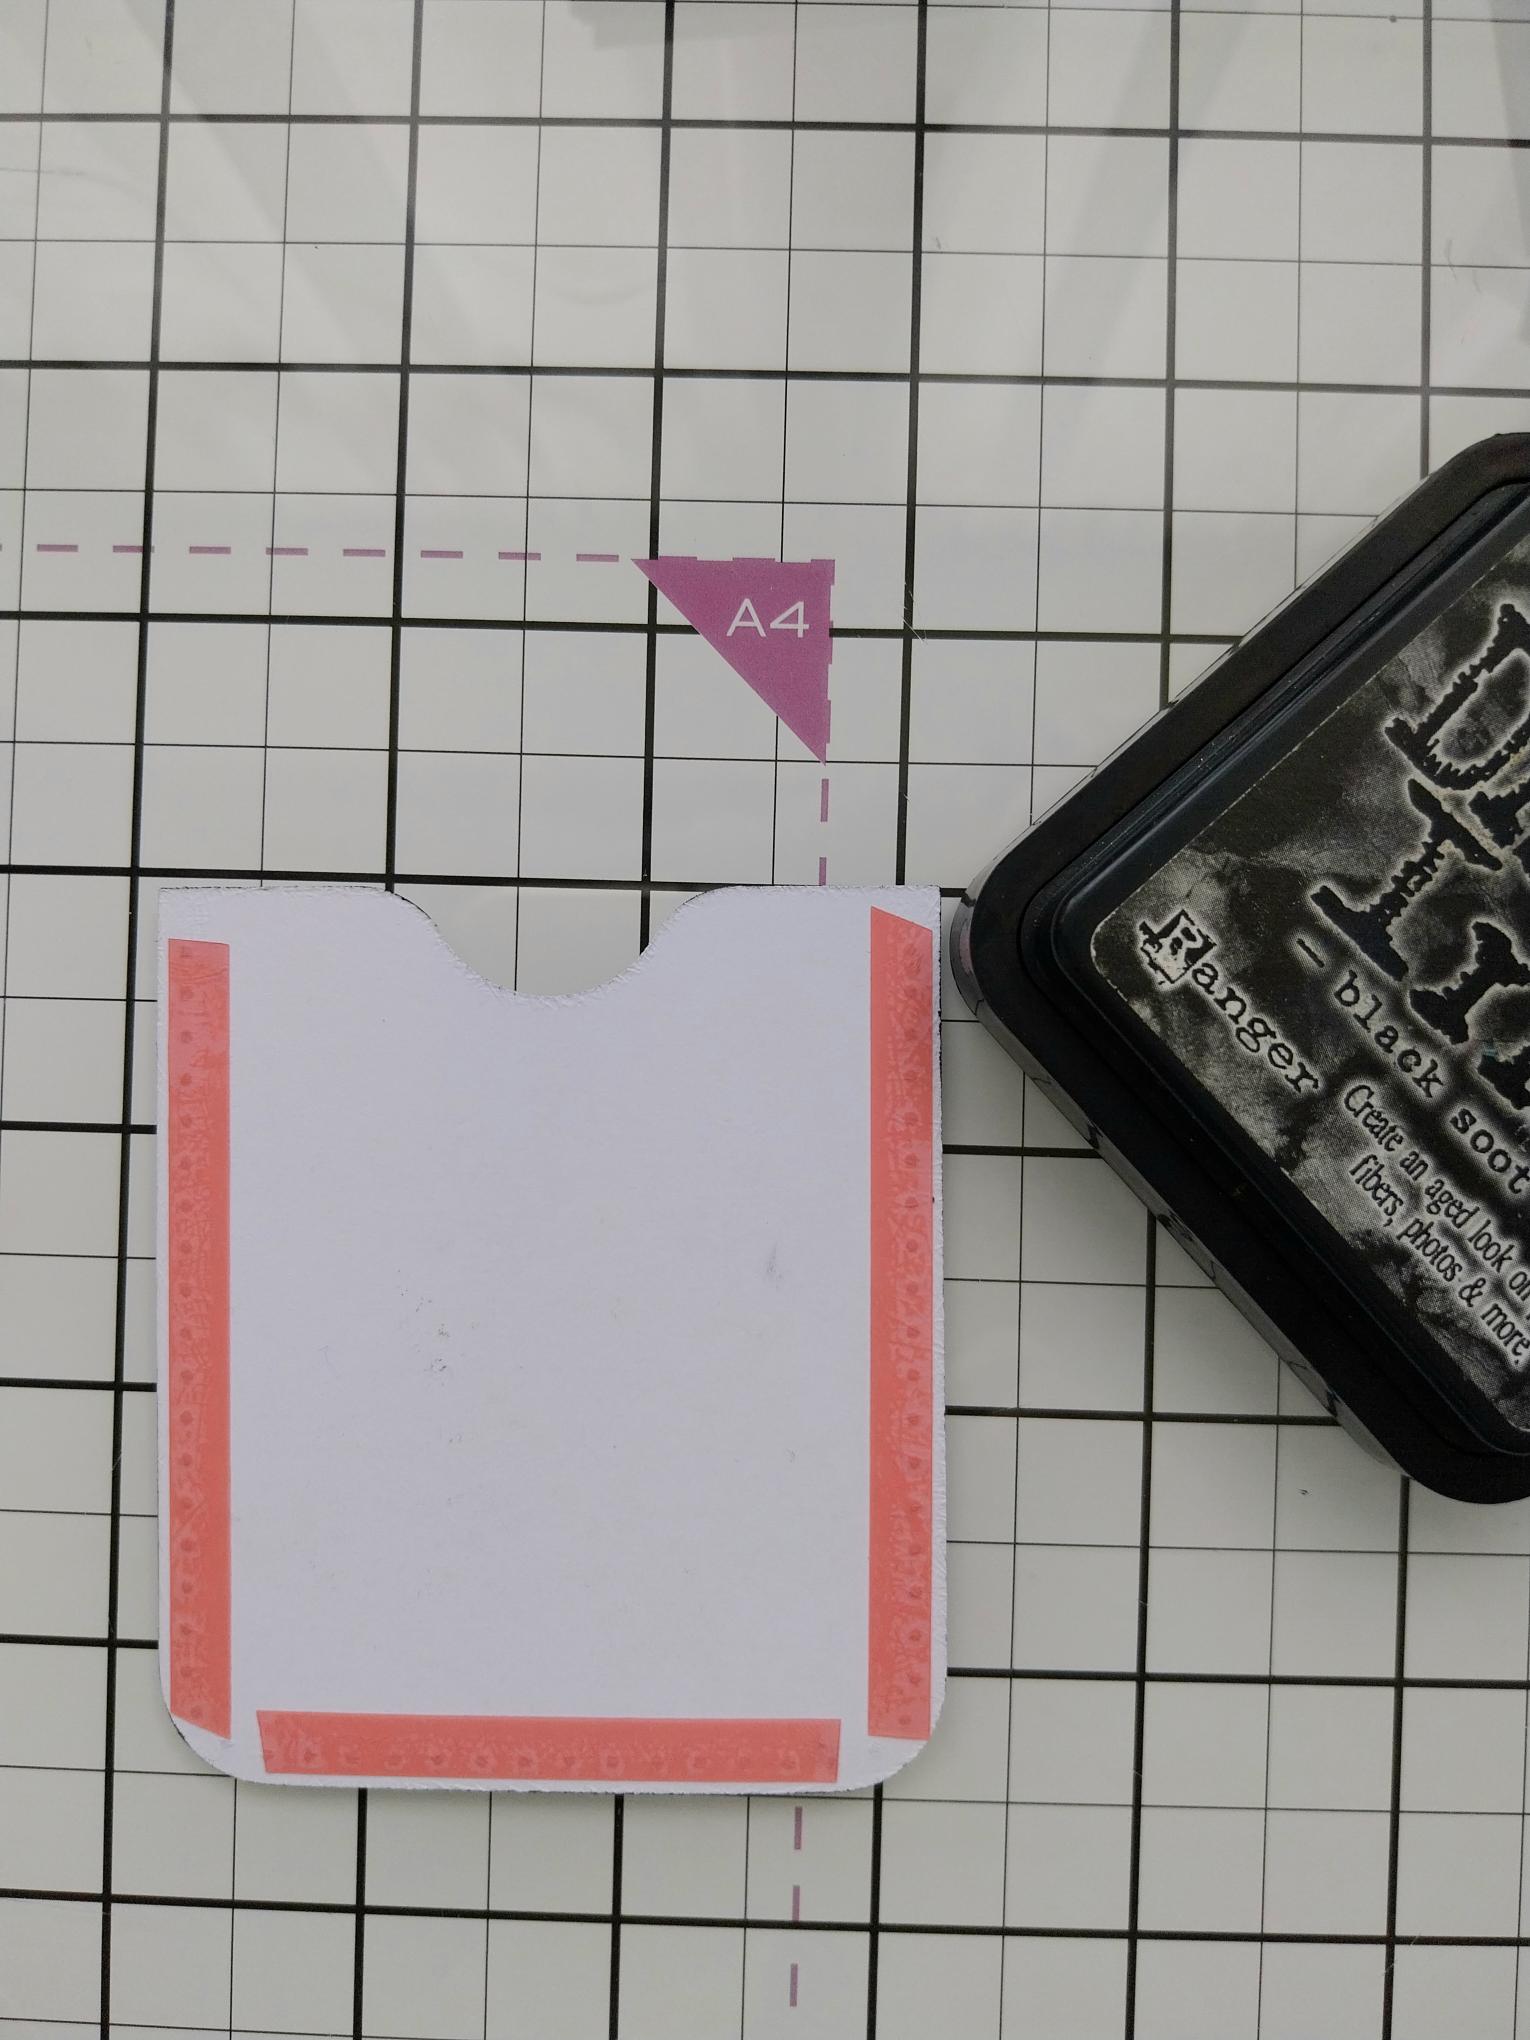
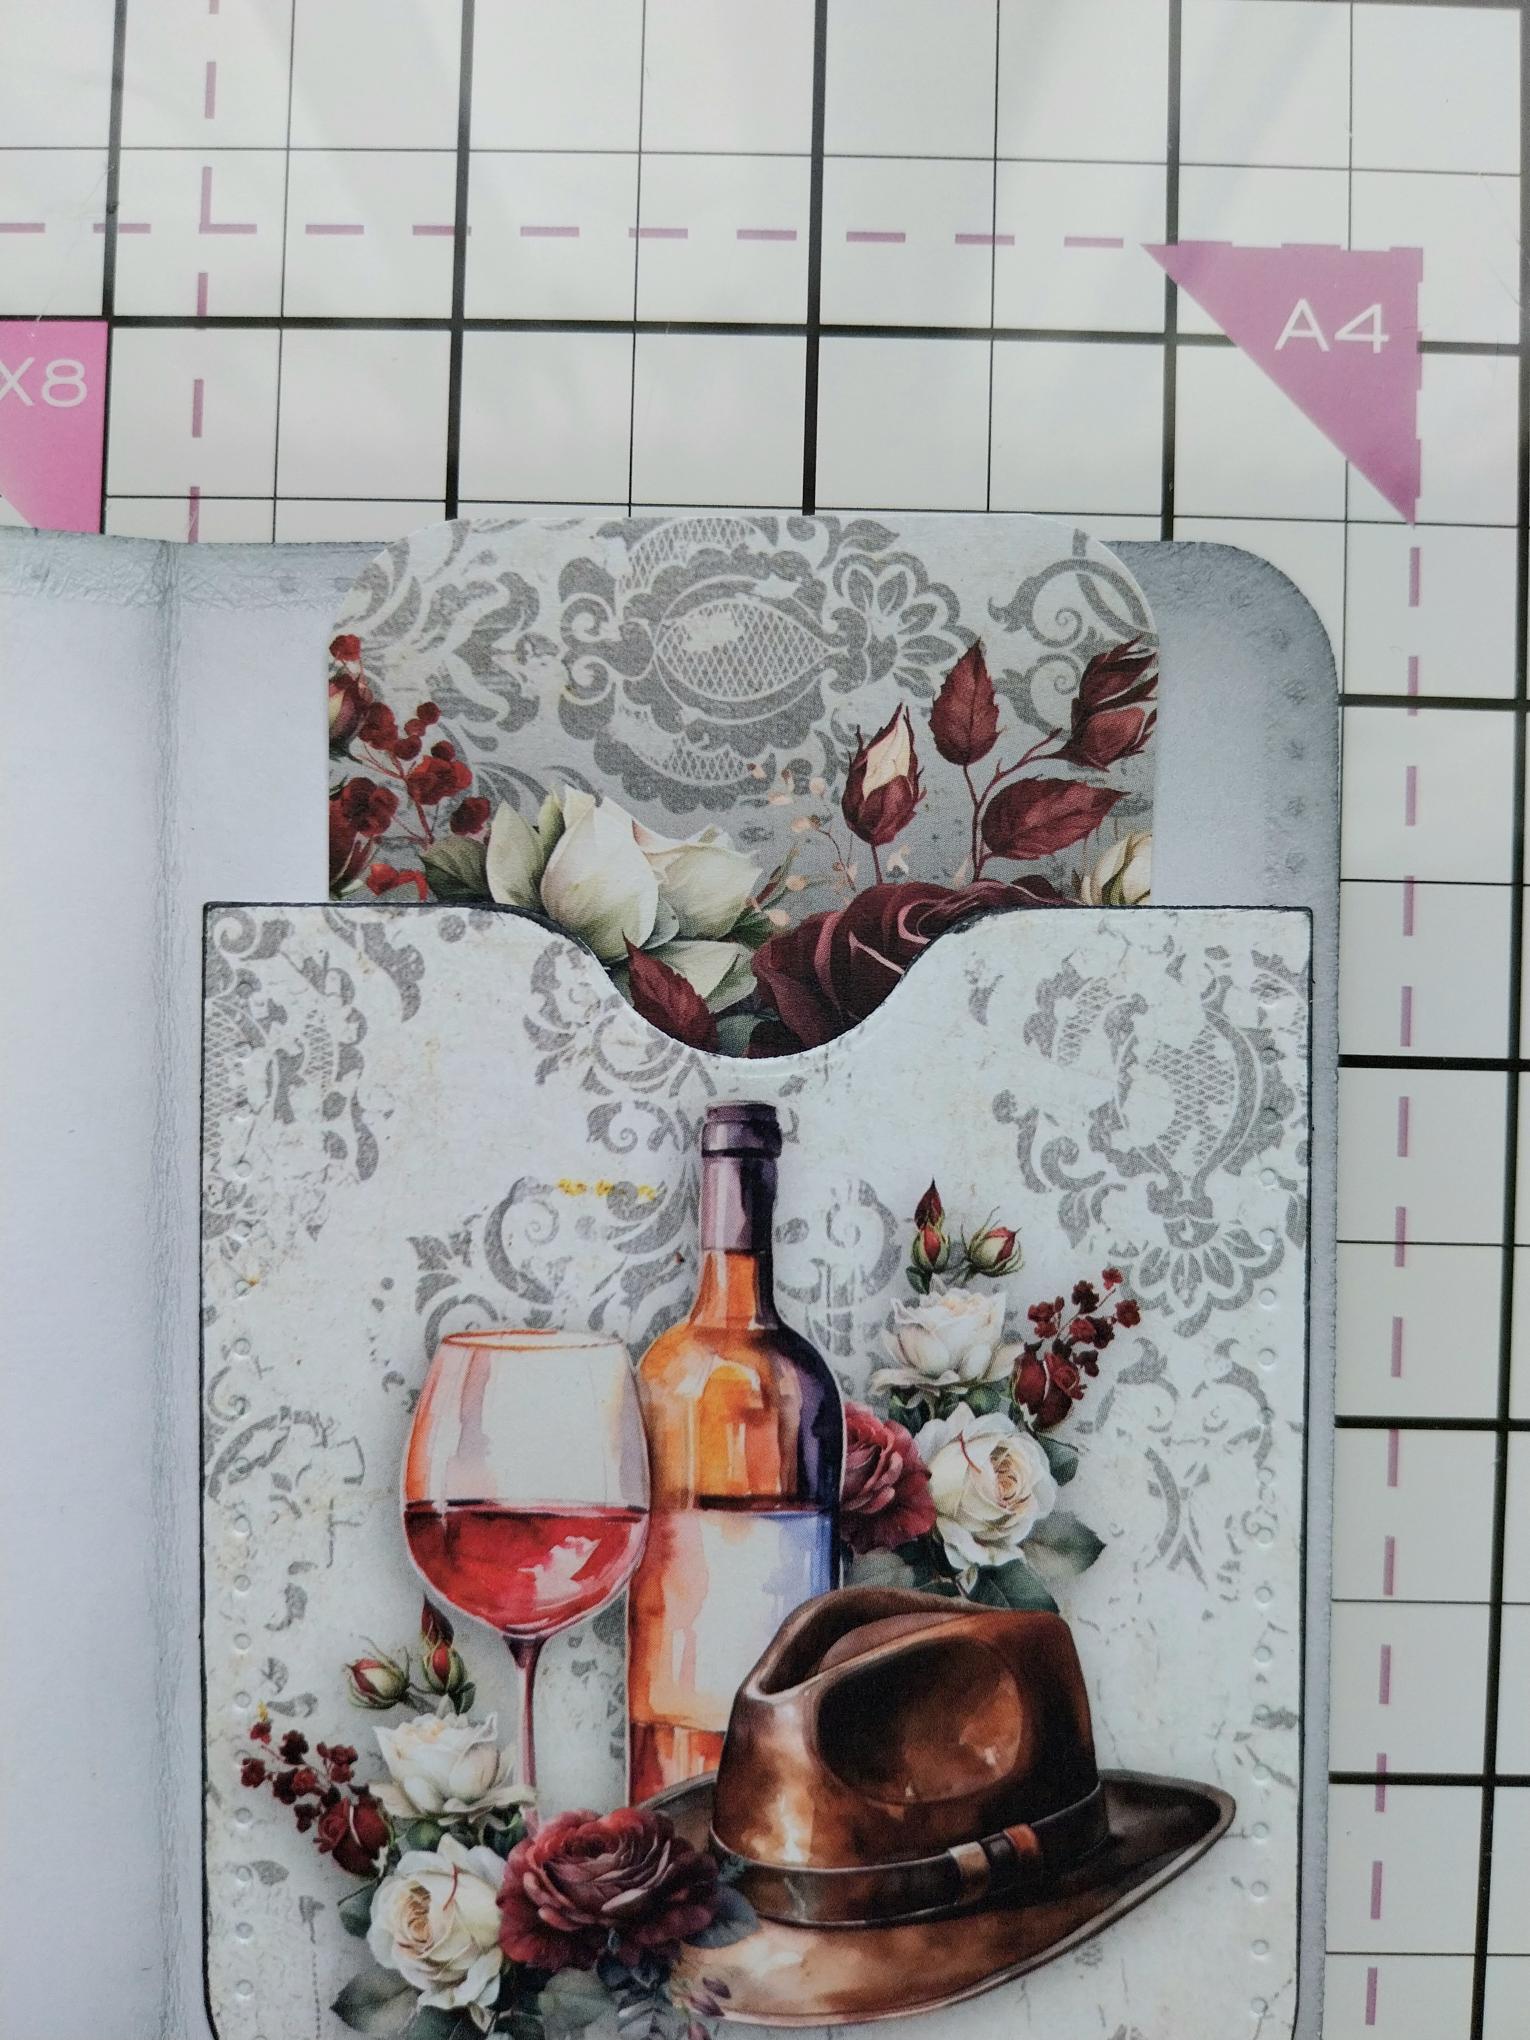
Ink around the edges of a die-cut pocket before adding red liner tape along the bottom and down both sides. |
|
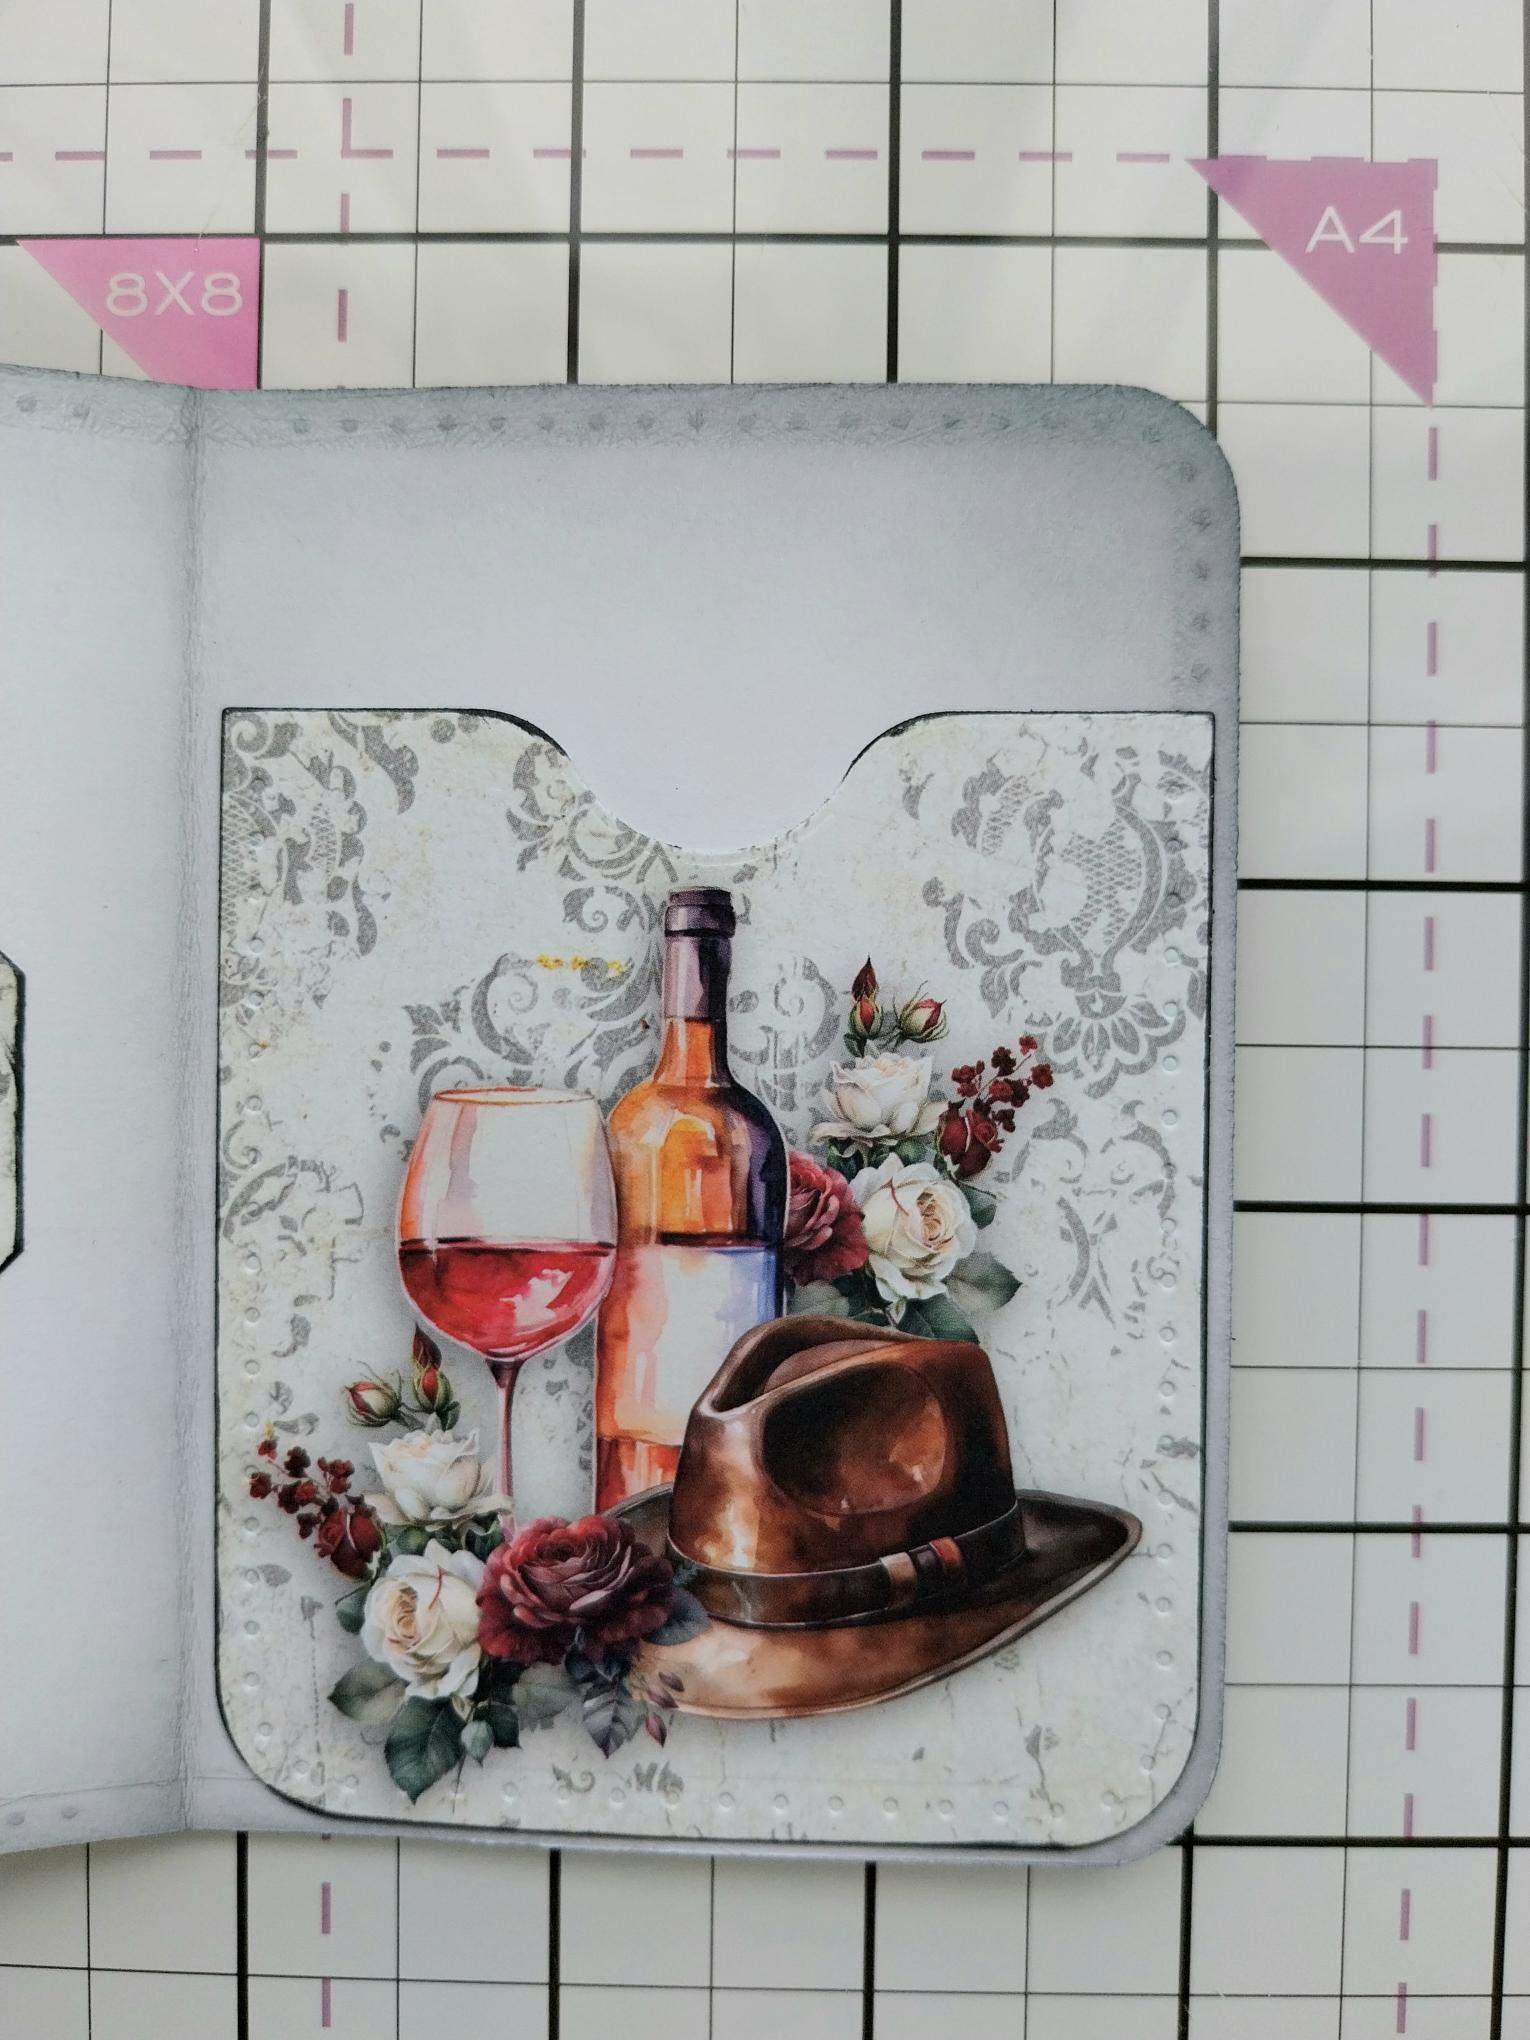
Adhere the pocket to the bottom of the inner right page. |
|
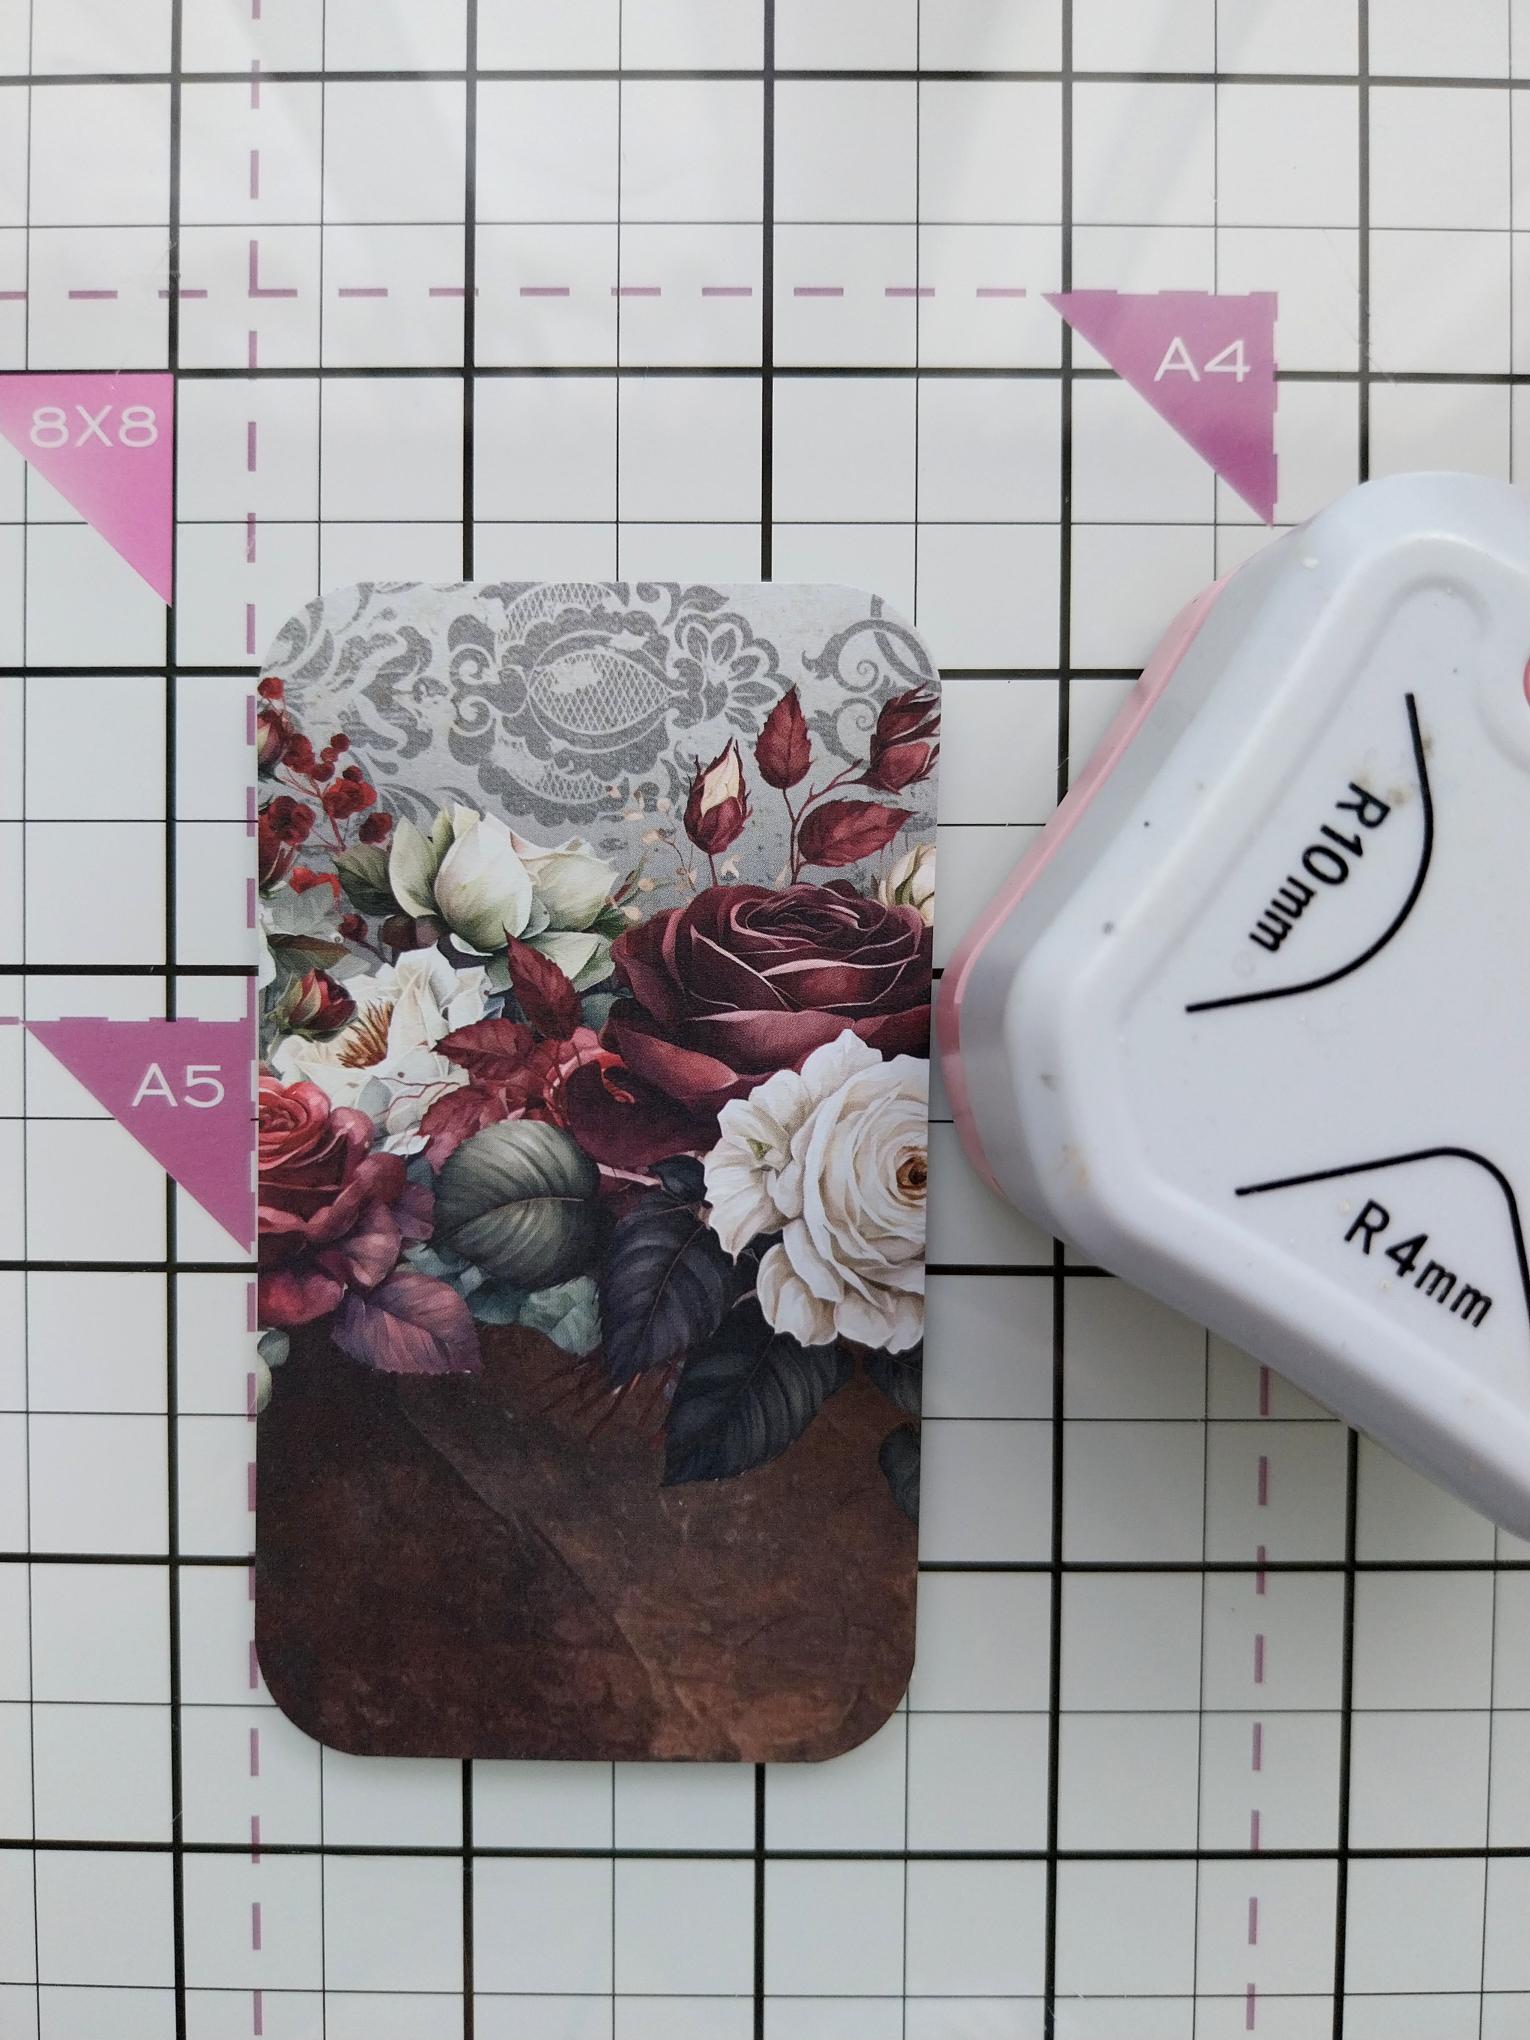
Use a corner punch on a cut out topper, ink around the edges. You can also add a sentiment on here if you so wish. |
|
Your topper can now be popped inside your pocket. |
|
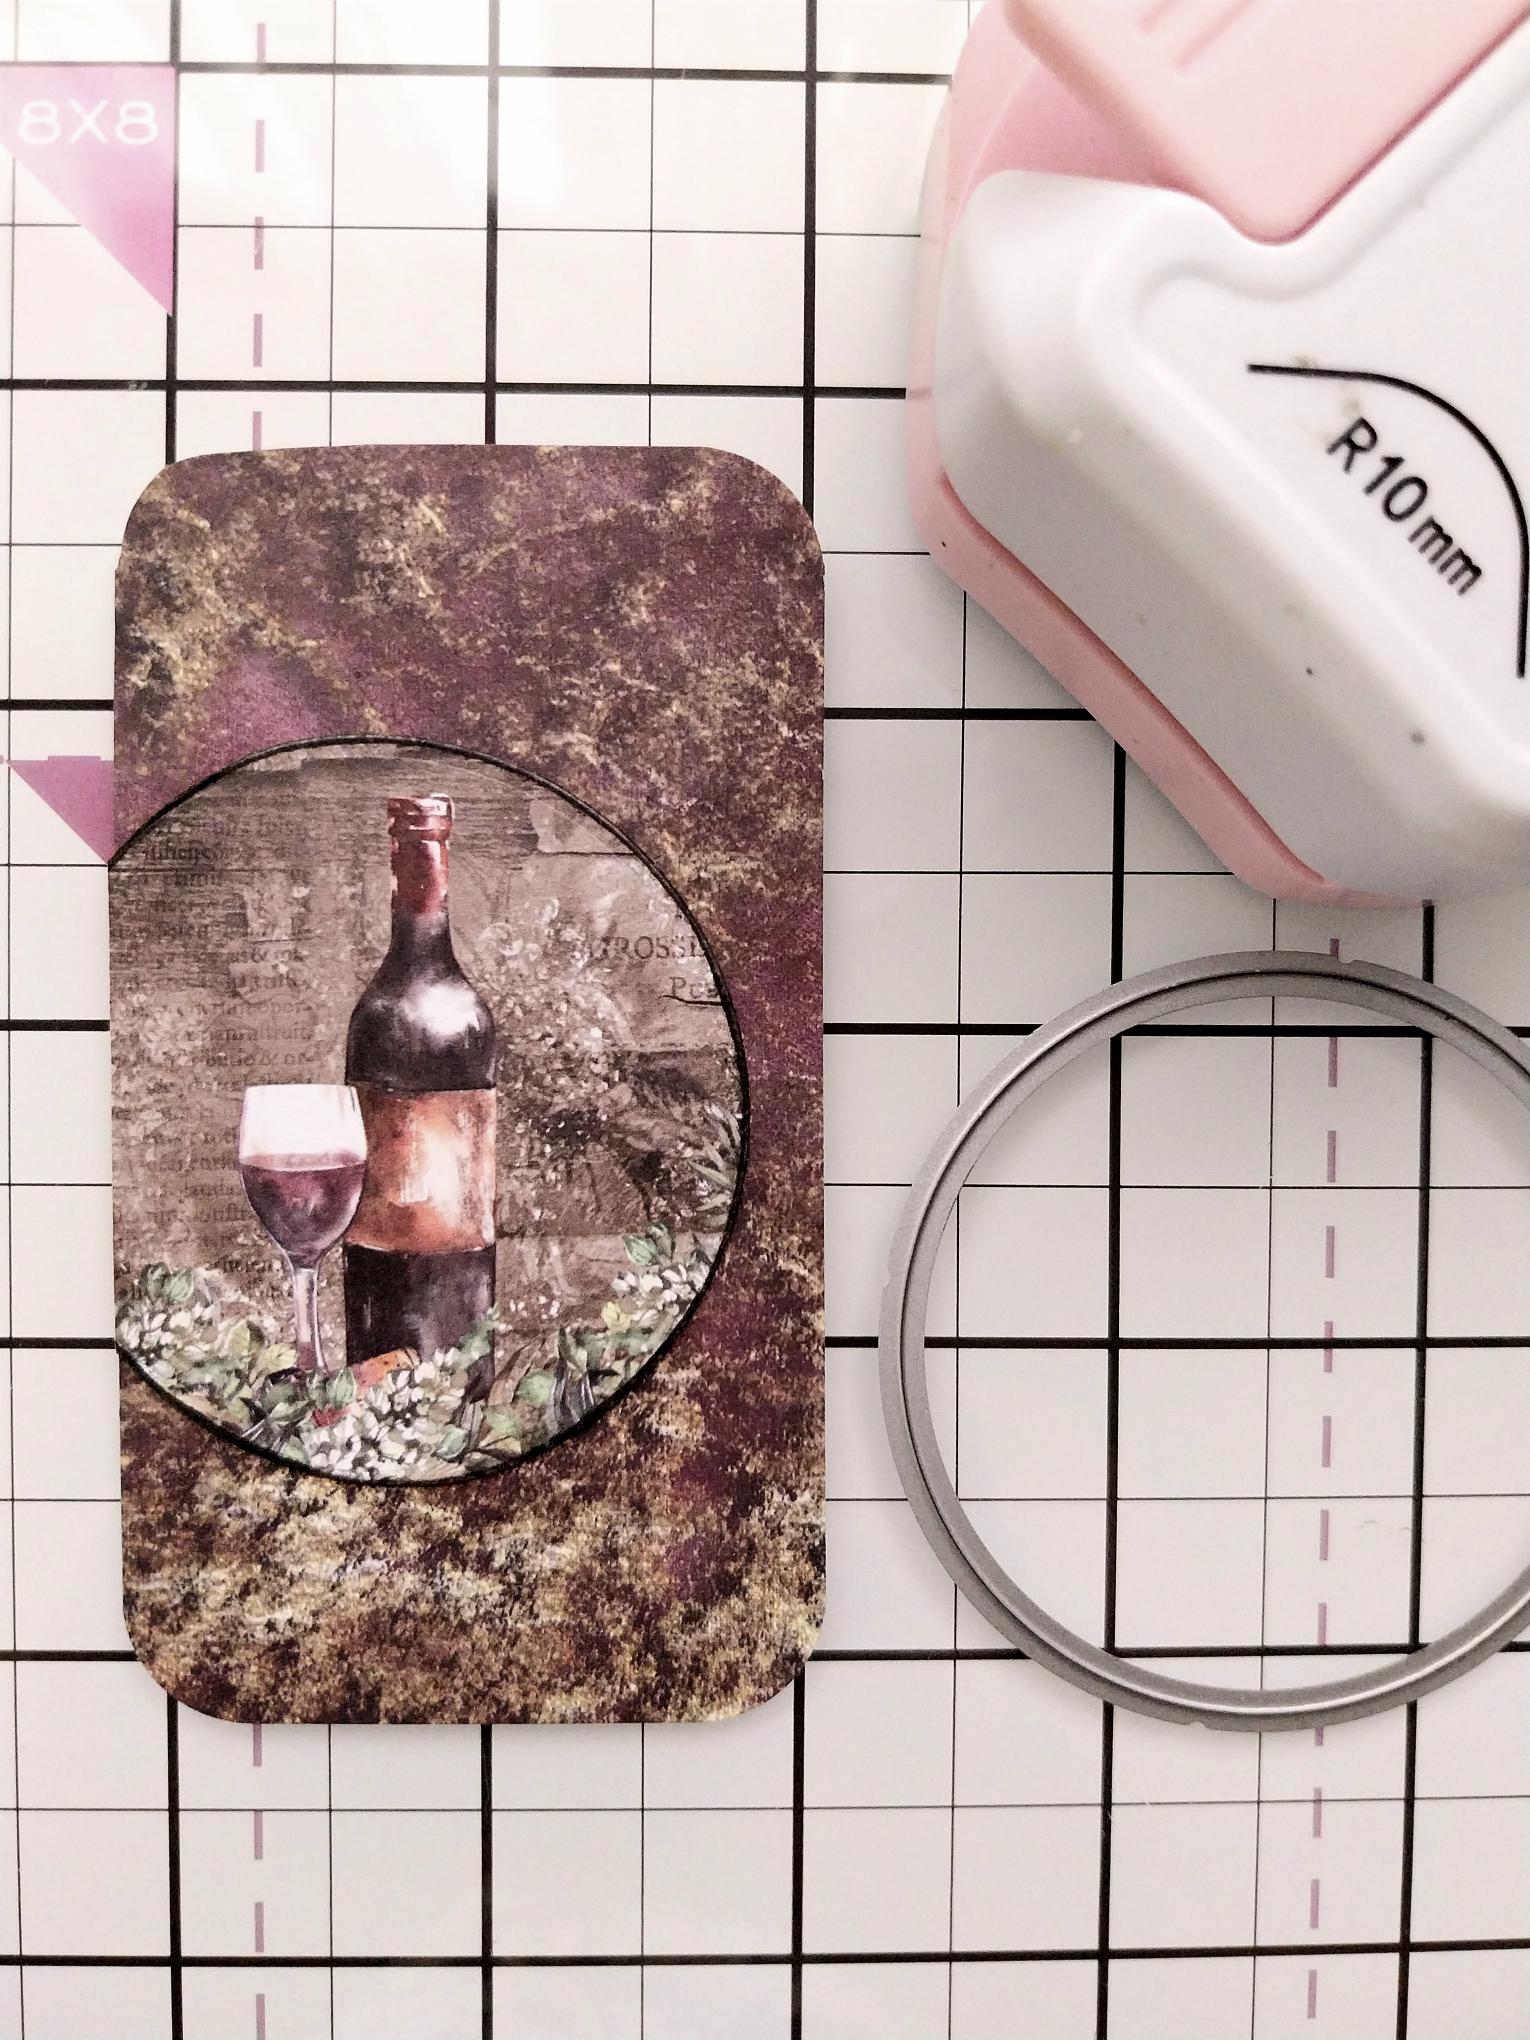
Here is another topper with corners punched and inked around the edges. I die cut a circle around this printed image and adhered to front of my topper, trimming off the excess. This can also be popped in pocket with an added sentiment, as required. |

|
You can create as many tag and toppers as you require to complete your gift wallet. Alternatively, you could pop a gift card, money or any other giftable inside the pocket. |