Give your friends $10 off their first order!
Refer a FRIEND


WHAT YOU WILL NEED:
White Card blank 5 x 7"
Vellum - blue/clear
Patchwork Palette Paper Pad
Wild & Beautiful HD3D Embossing Folder
Radiant Poppies Stamp, Stencil & Die Collection (sentiment)
SBM Pigment Ink Pad: Cotton
Distress Ink/Oxide Ink Pad: Vintage Photo
Confetti Ink: White Lace
Paint brsuh
Blending tool
Water spray bottle
Sticky embossing ink pad
Gold Embossing powder
Heat tool
Anti-static bag
Eureka 101 Watercolour Tablet
SBM A3 Magnetic glass mat
Paper Trimmer
Glue/double-sided adhesive tape
Die Cutting machine
[click image to enlarge] 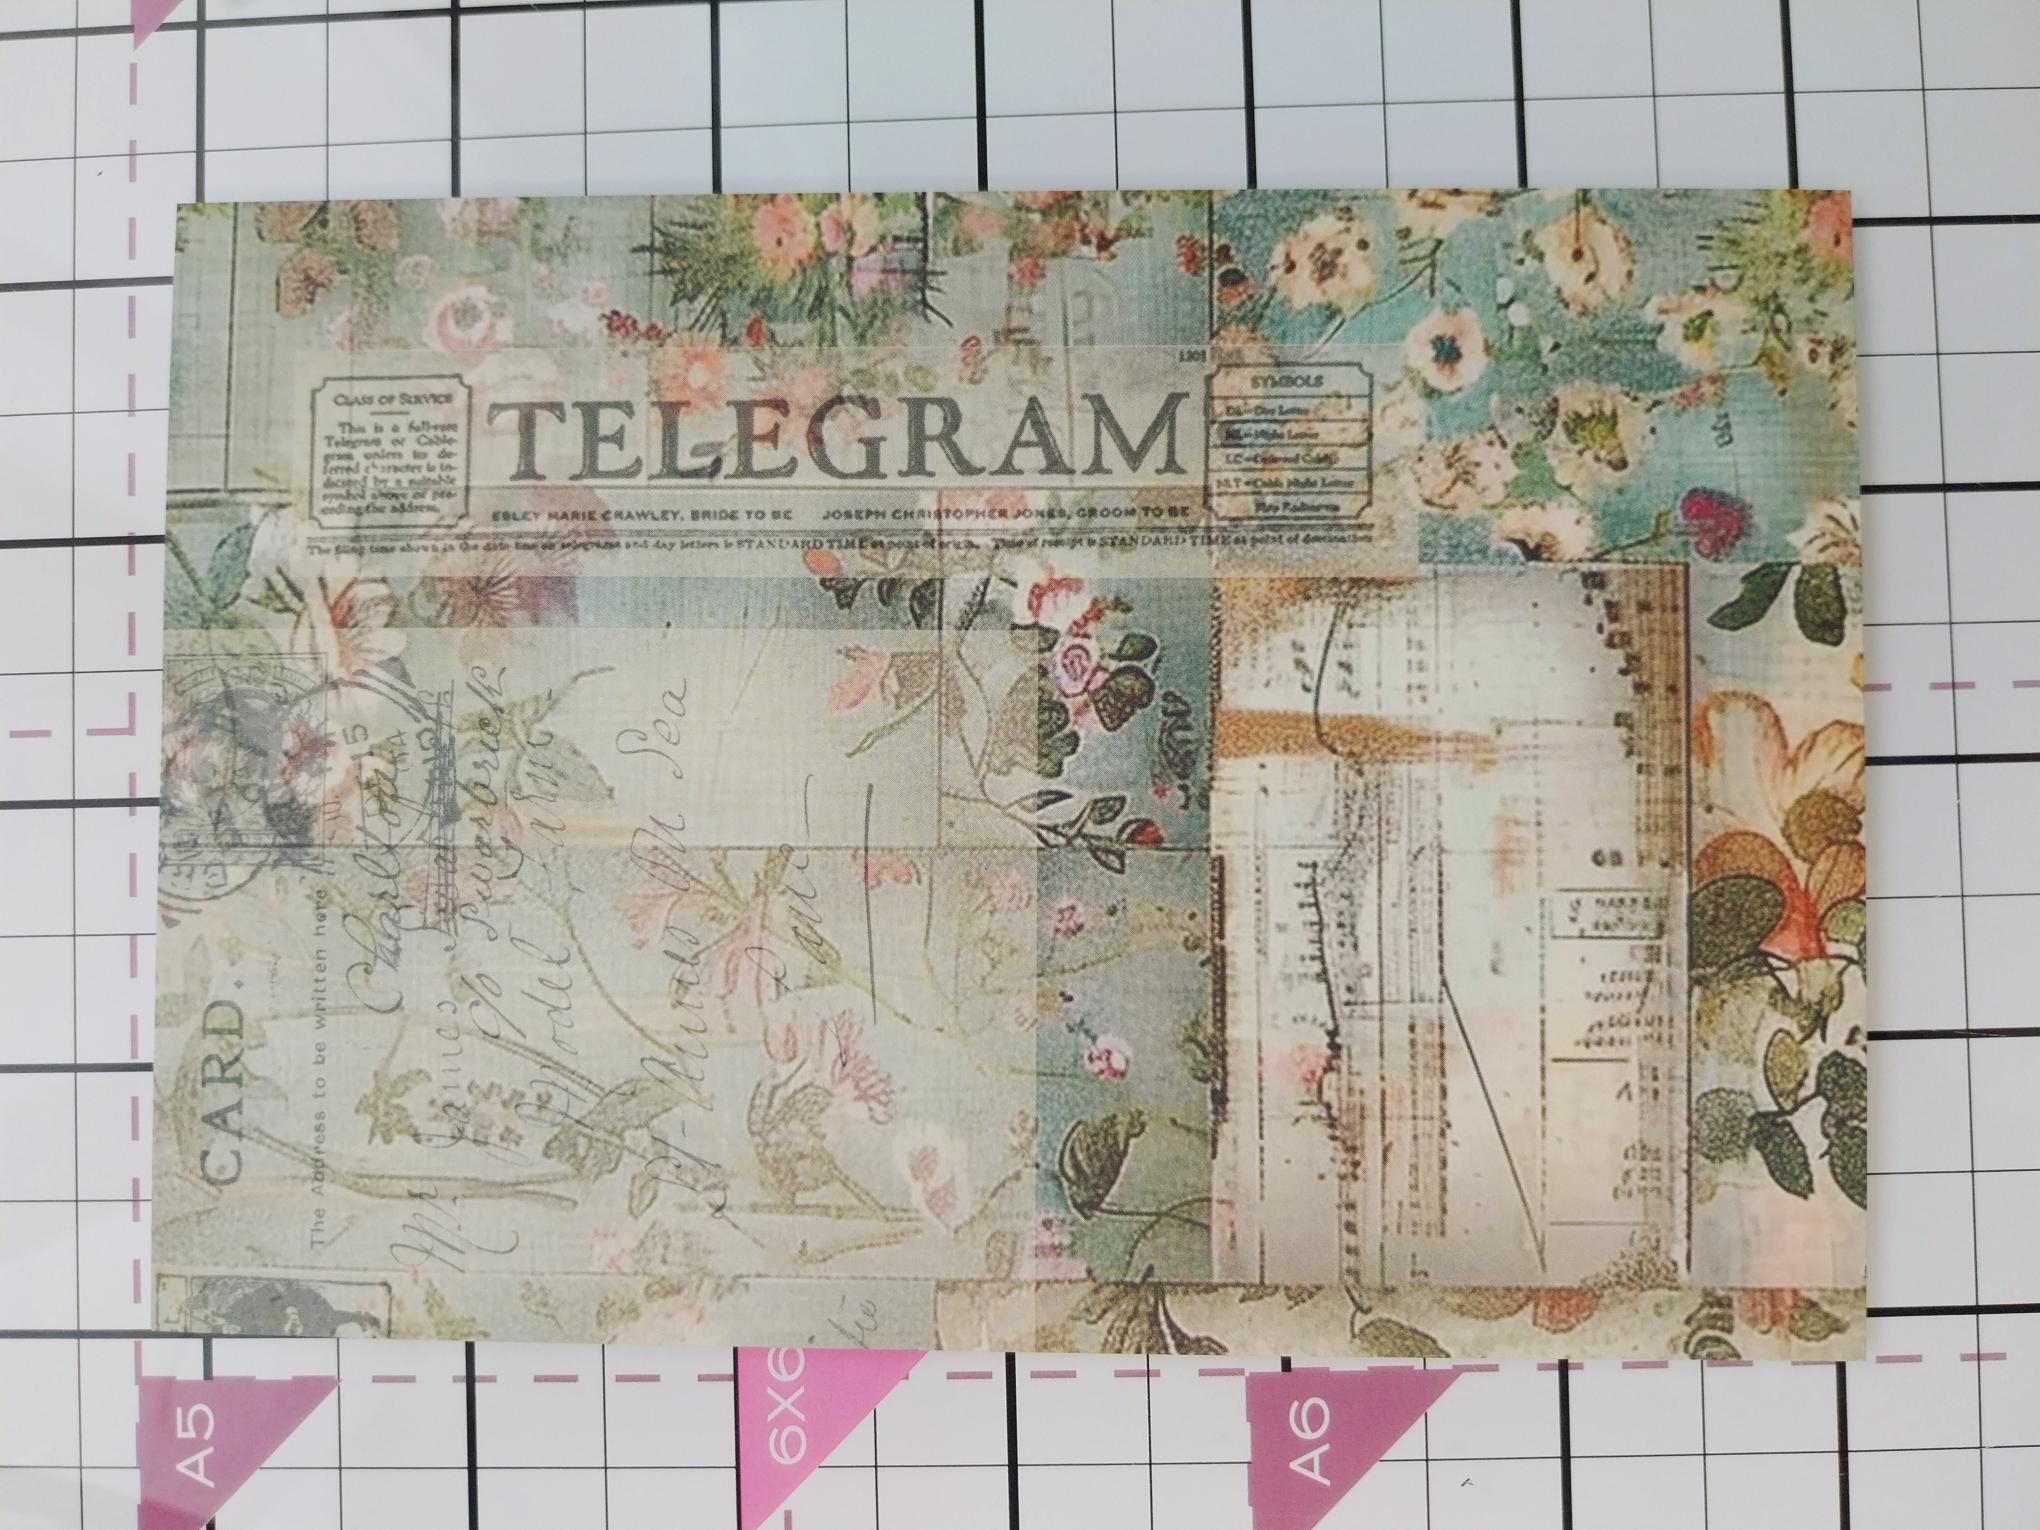
|
Choose your paper from the Patchwork Palette Collection and trim to 4 1/4 x 6 1/4". |
|
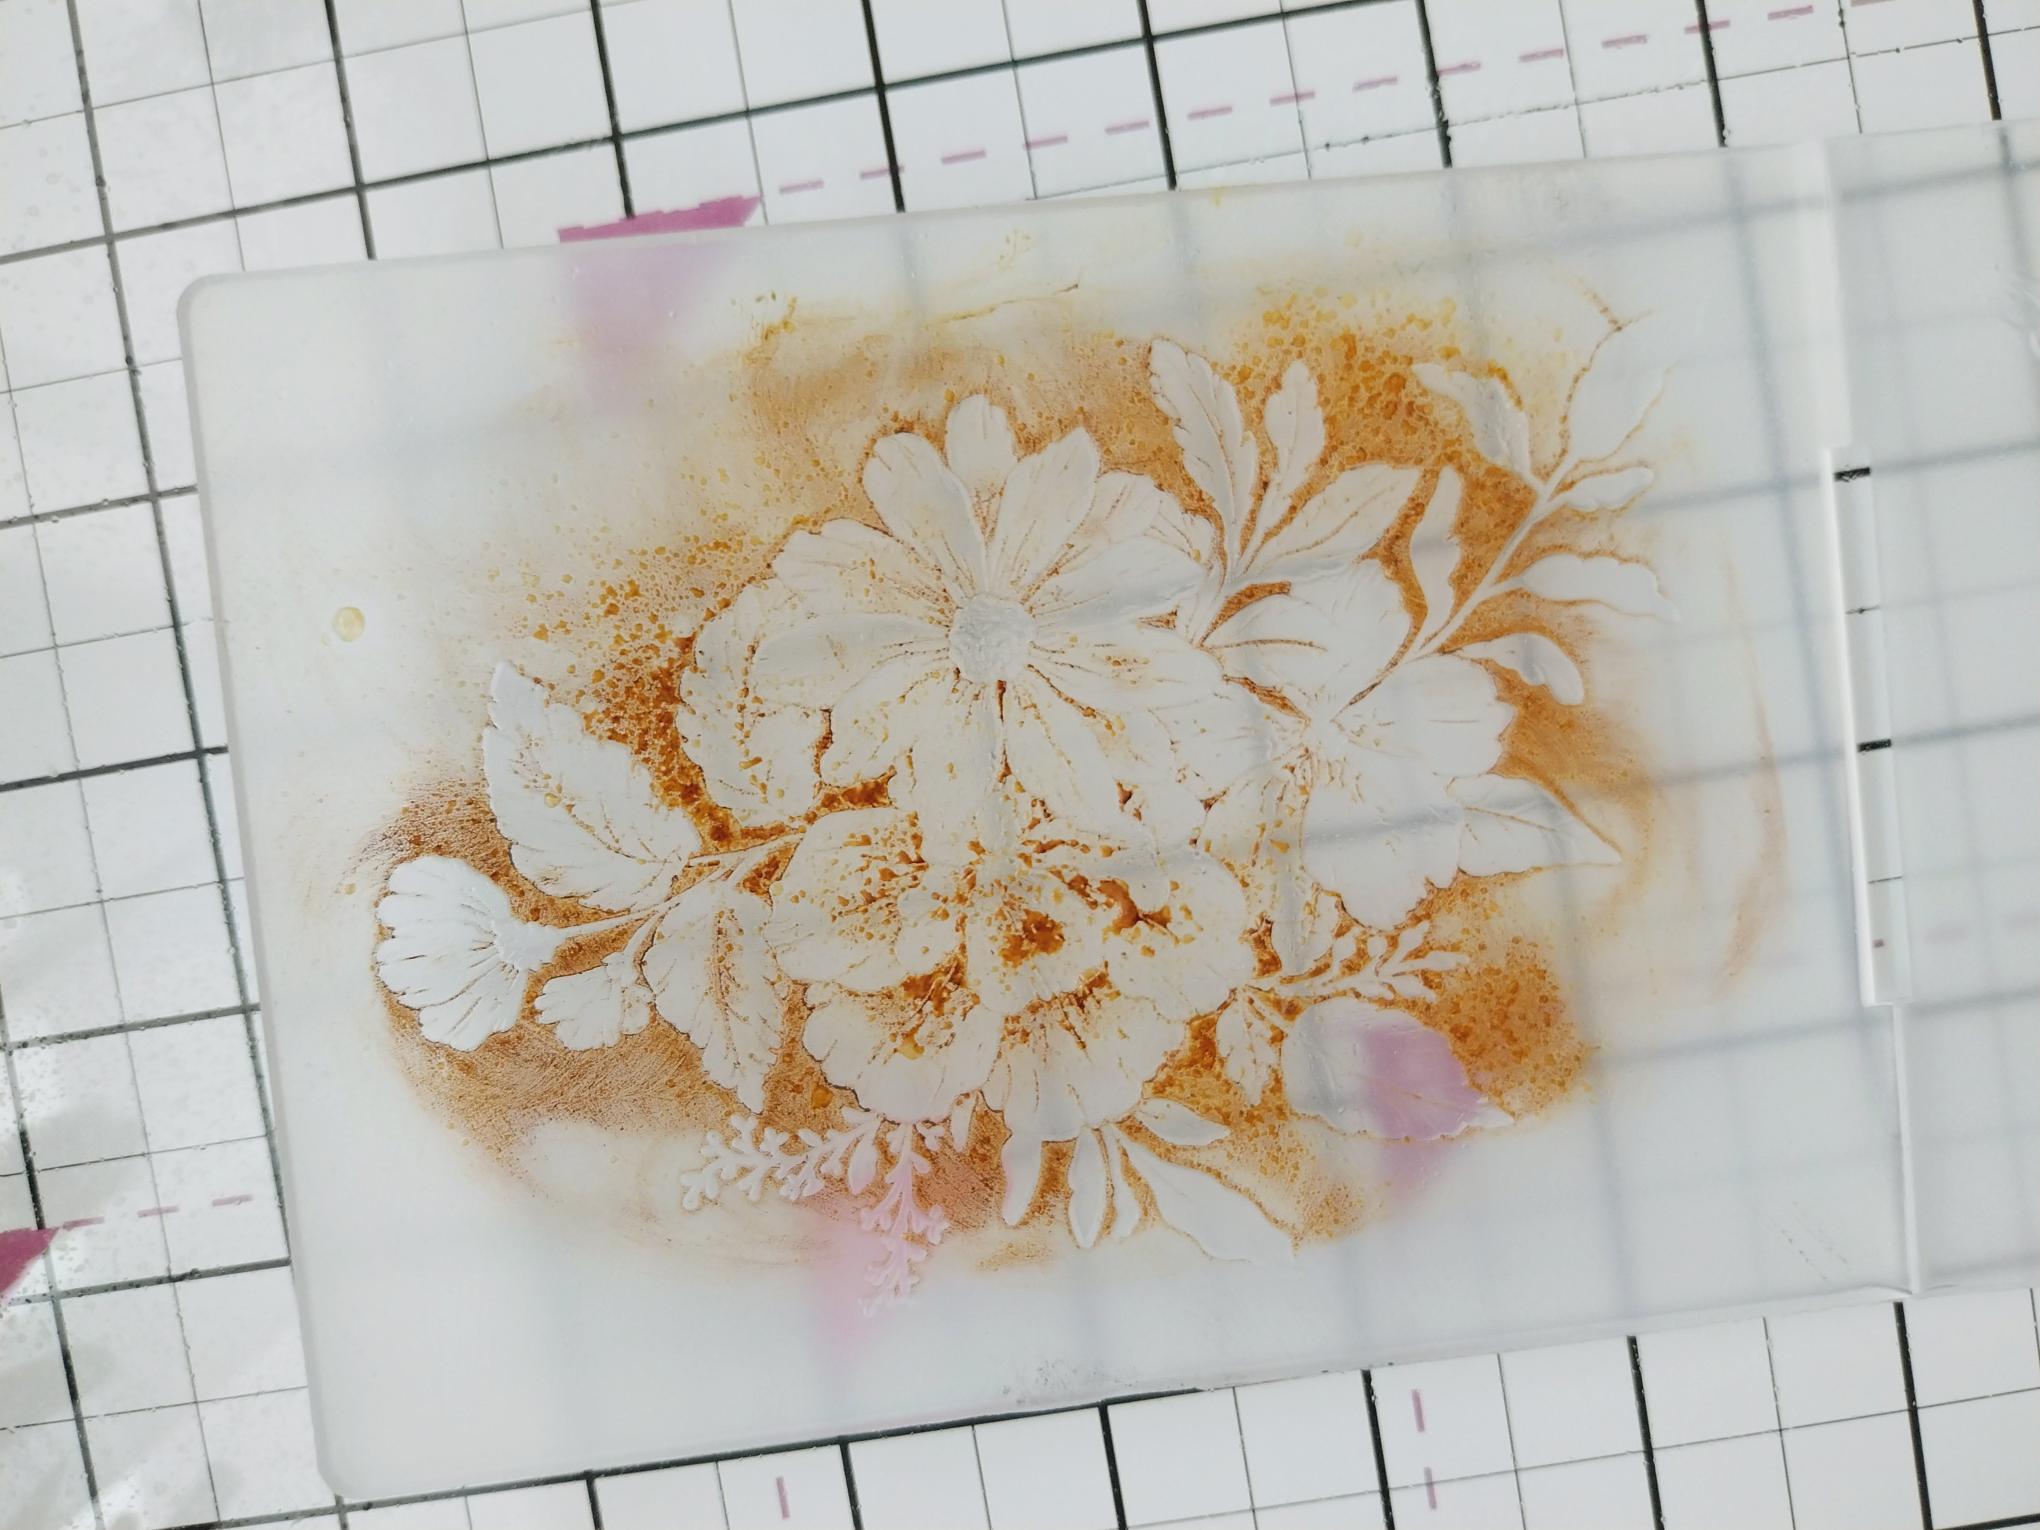
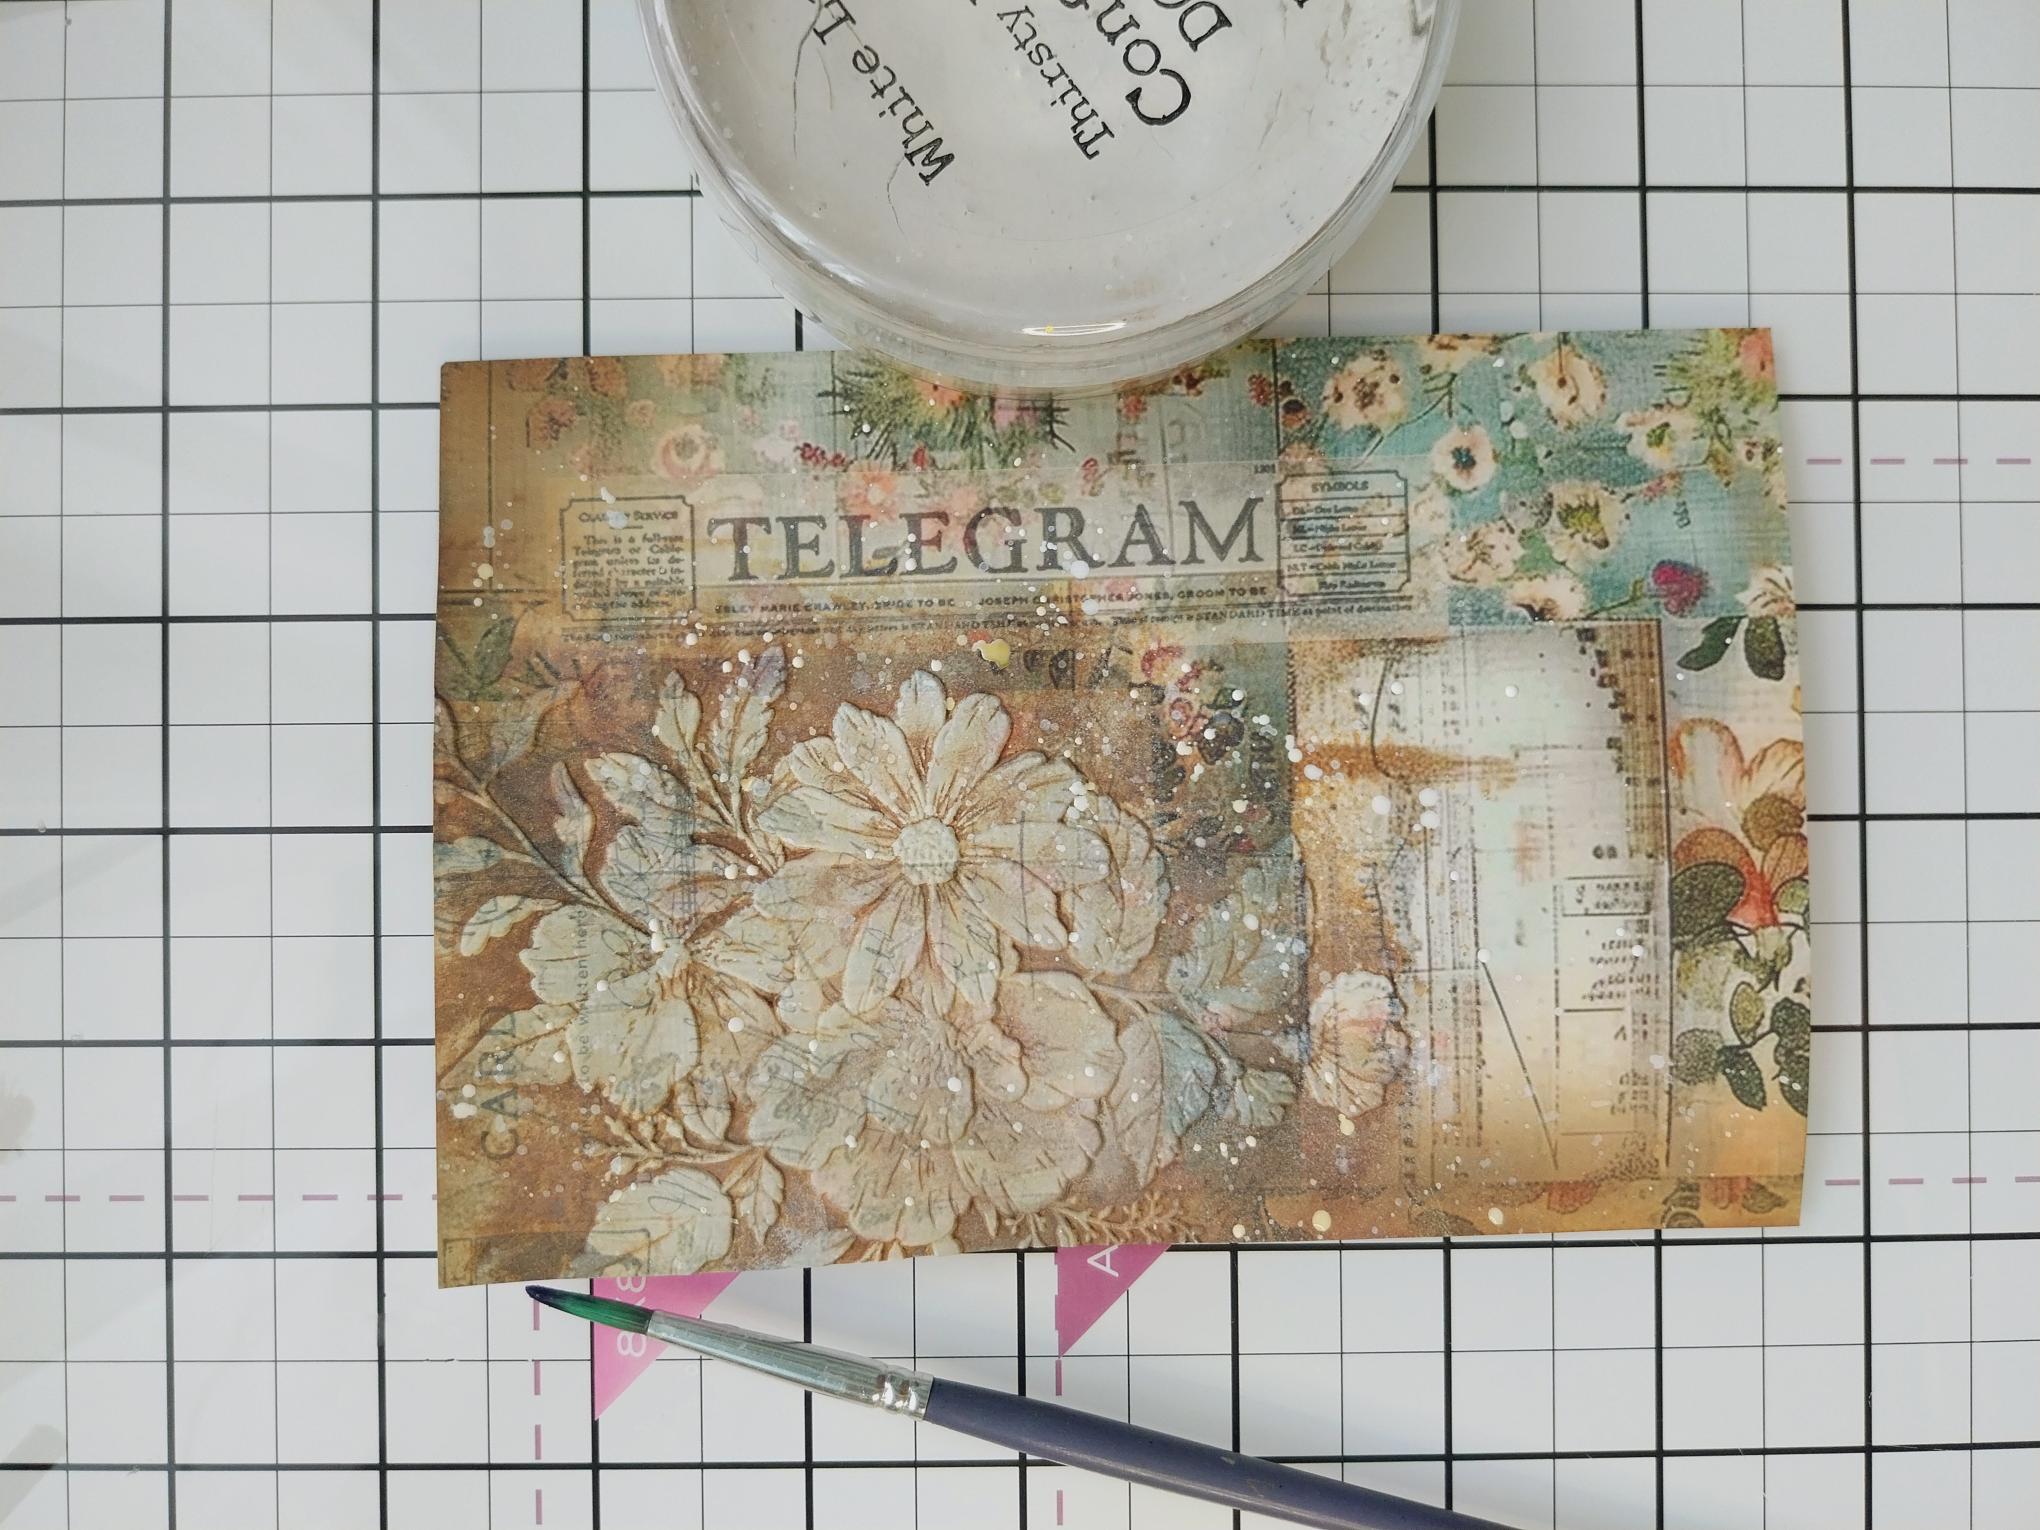
Ink the DEBOSSED side of the Wild & Beautiful embossing folder with the Vintage Photo Distress ink. Spritz lightly with water. |

|
Place the Patchwork Palette paper inside the folder, with the inky side on top. Position so the floral element is across the top left corner of the paper, then run it through your machine. |
|
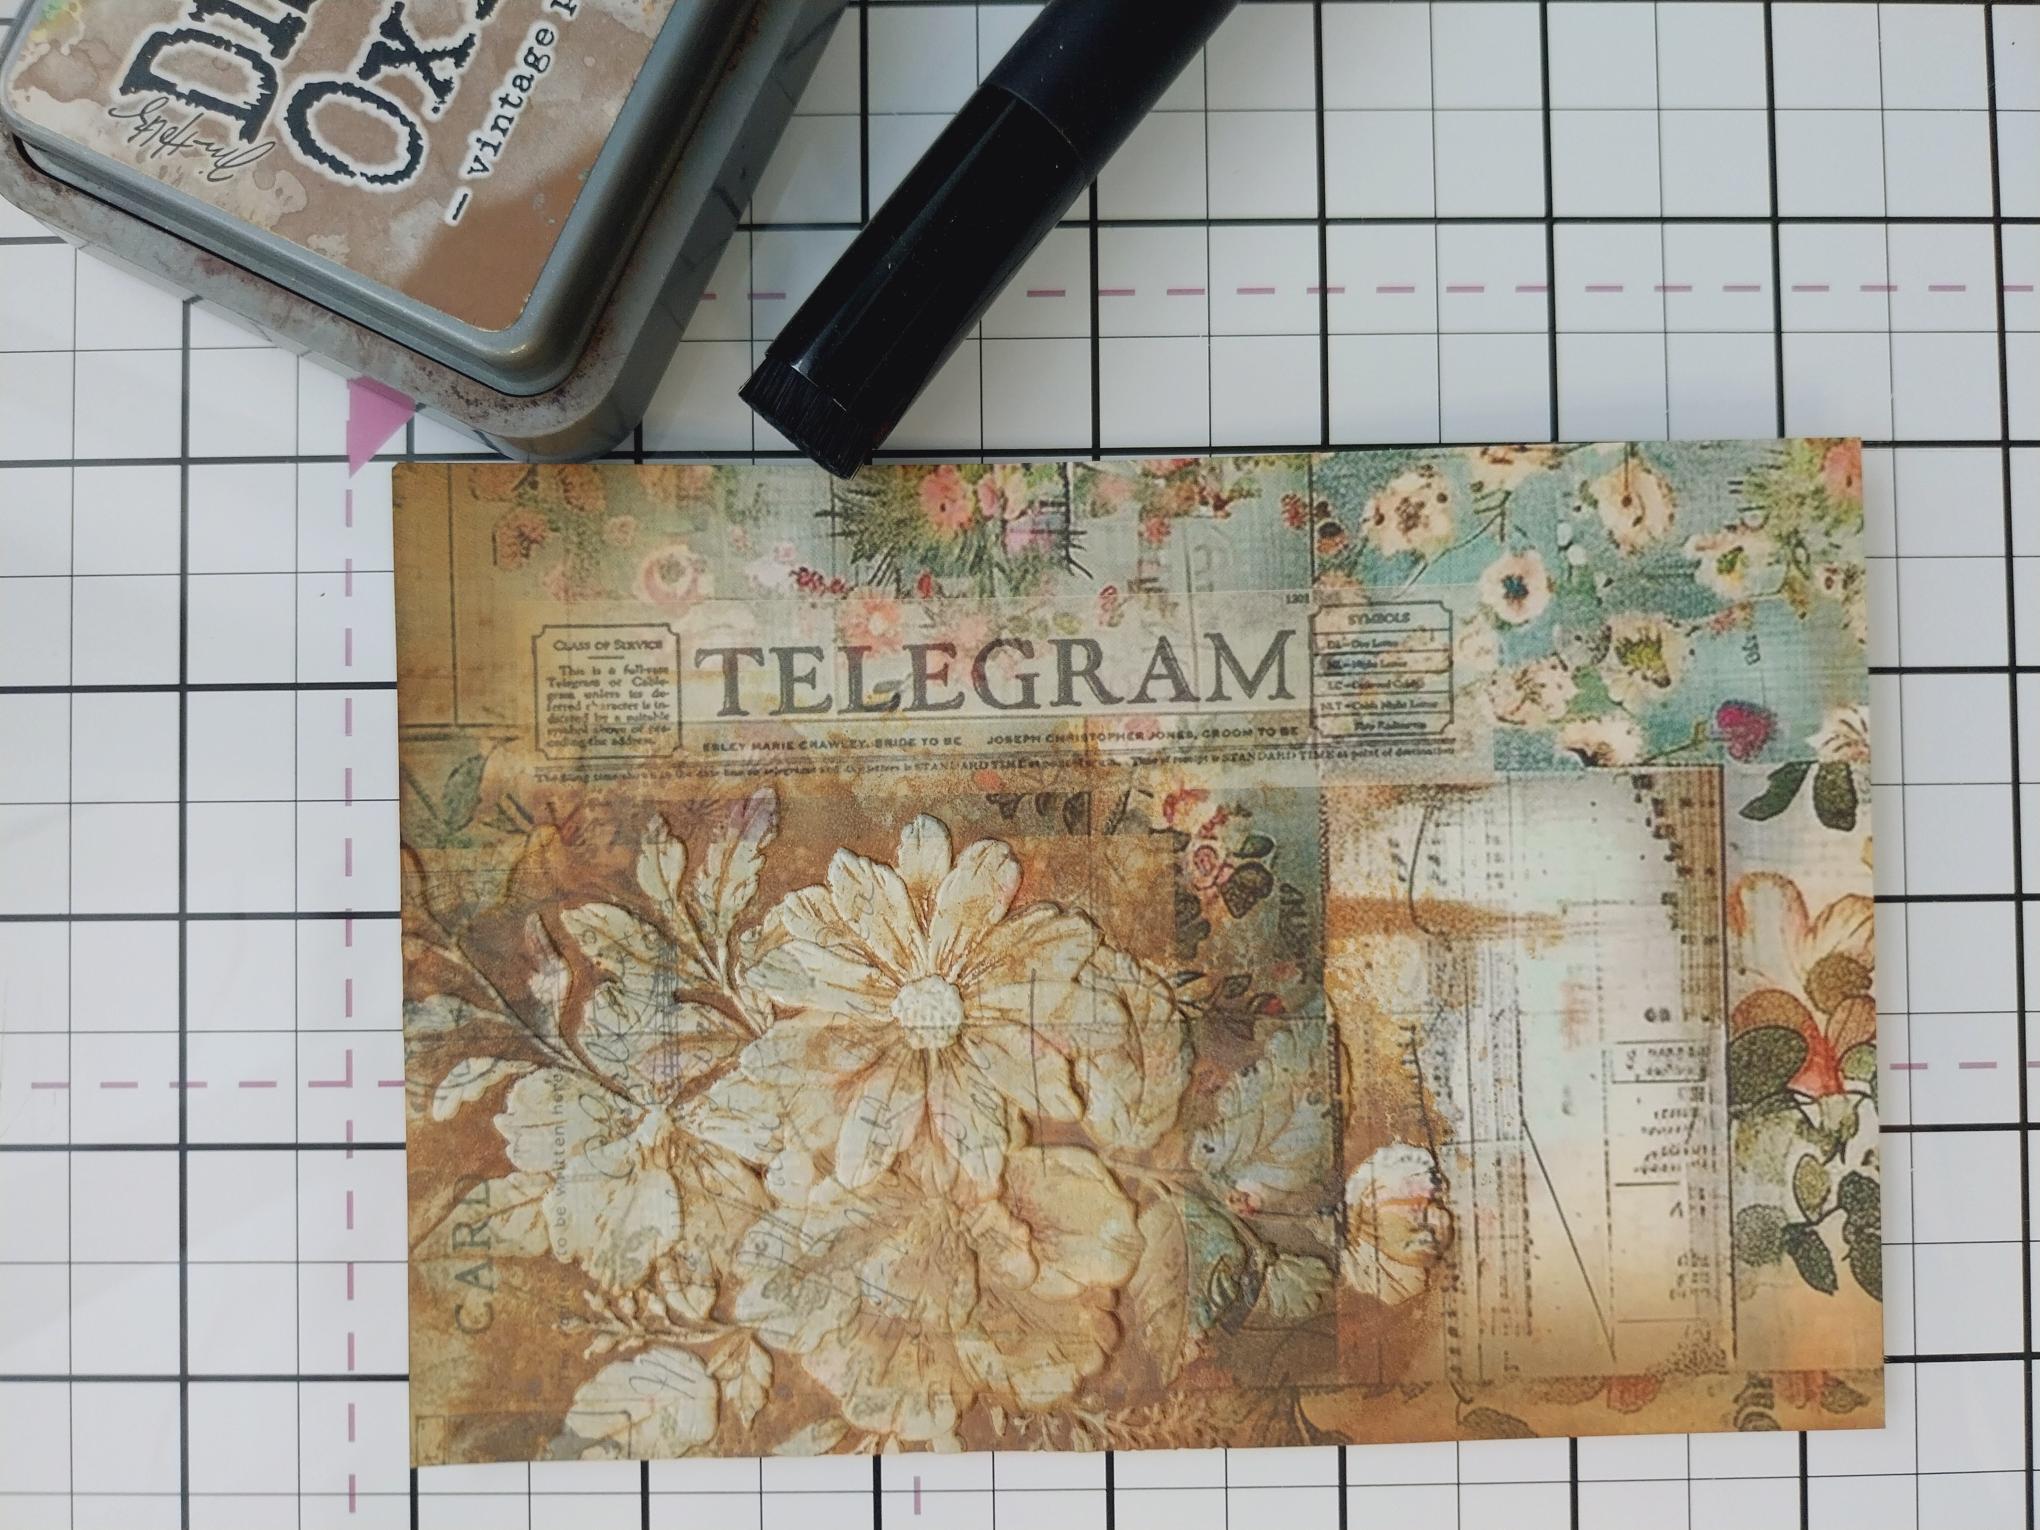
Blend around the edges with the Distress ink and blend out any harsh edges from the embossed element. |
|
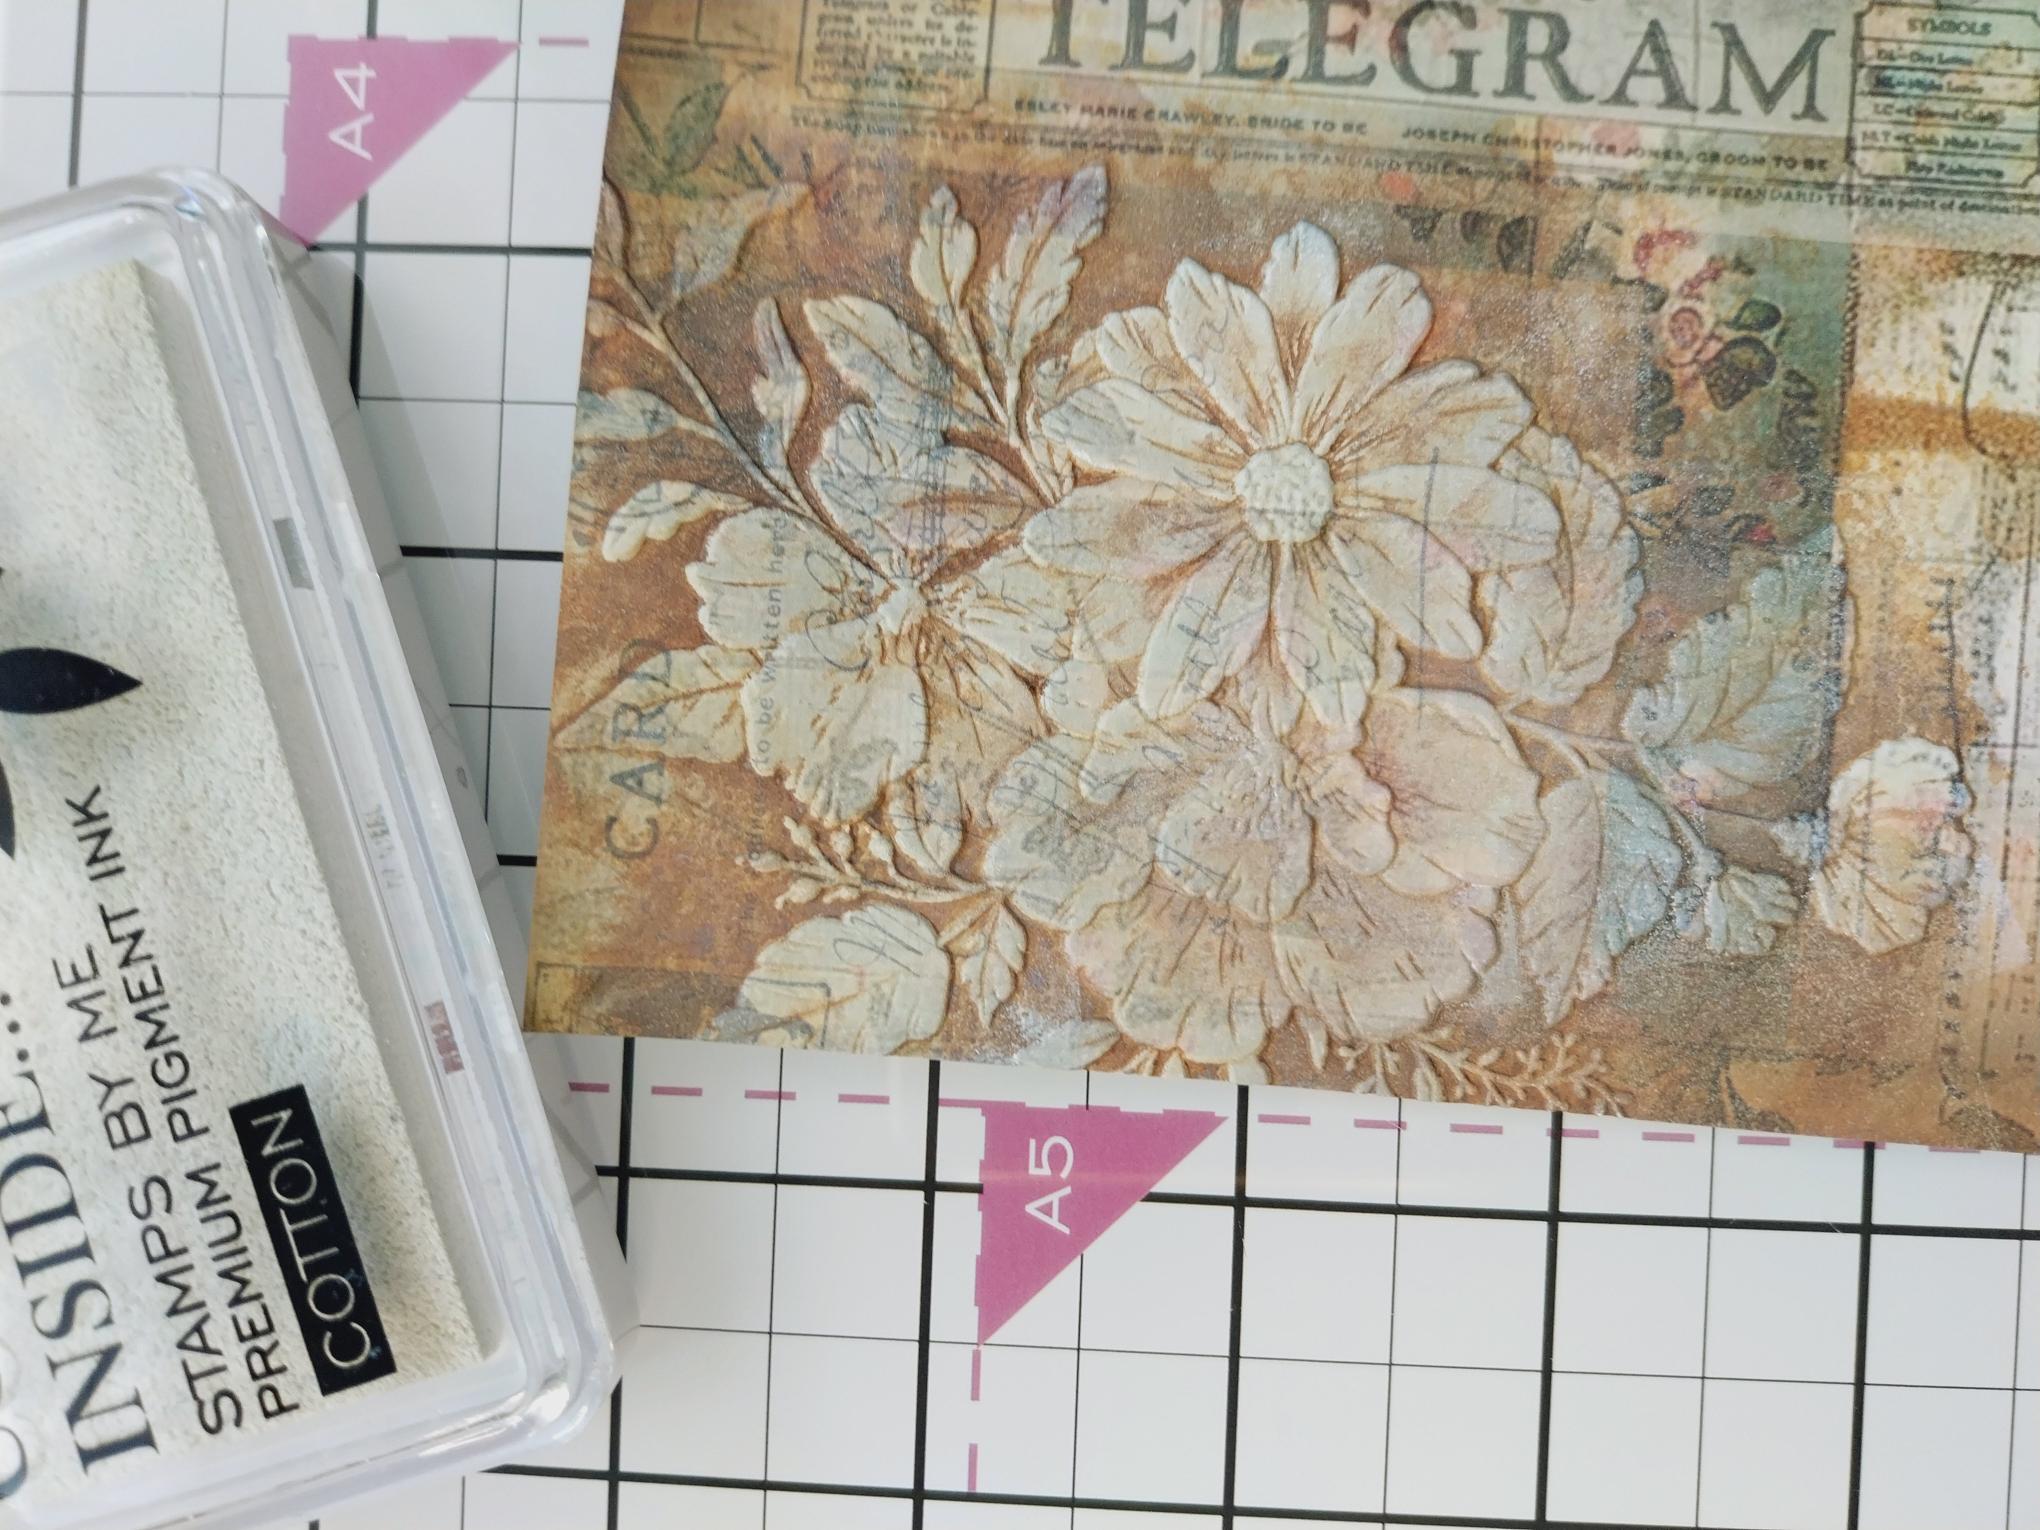
Once the ink is dry, dab the Cotton ink pad over the raised embossed flower. |
|
Splatter White Lace Confetti paint over your artwork, then dry with a heat tool as the Cotton ink is very slow drying and will smudge!! |

|
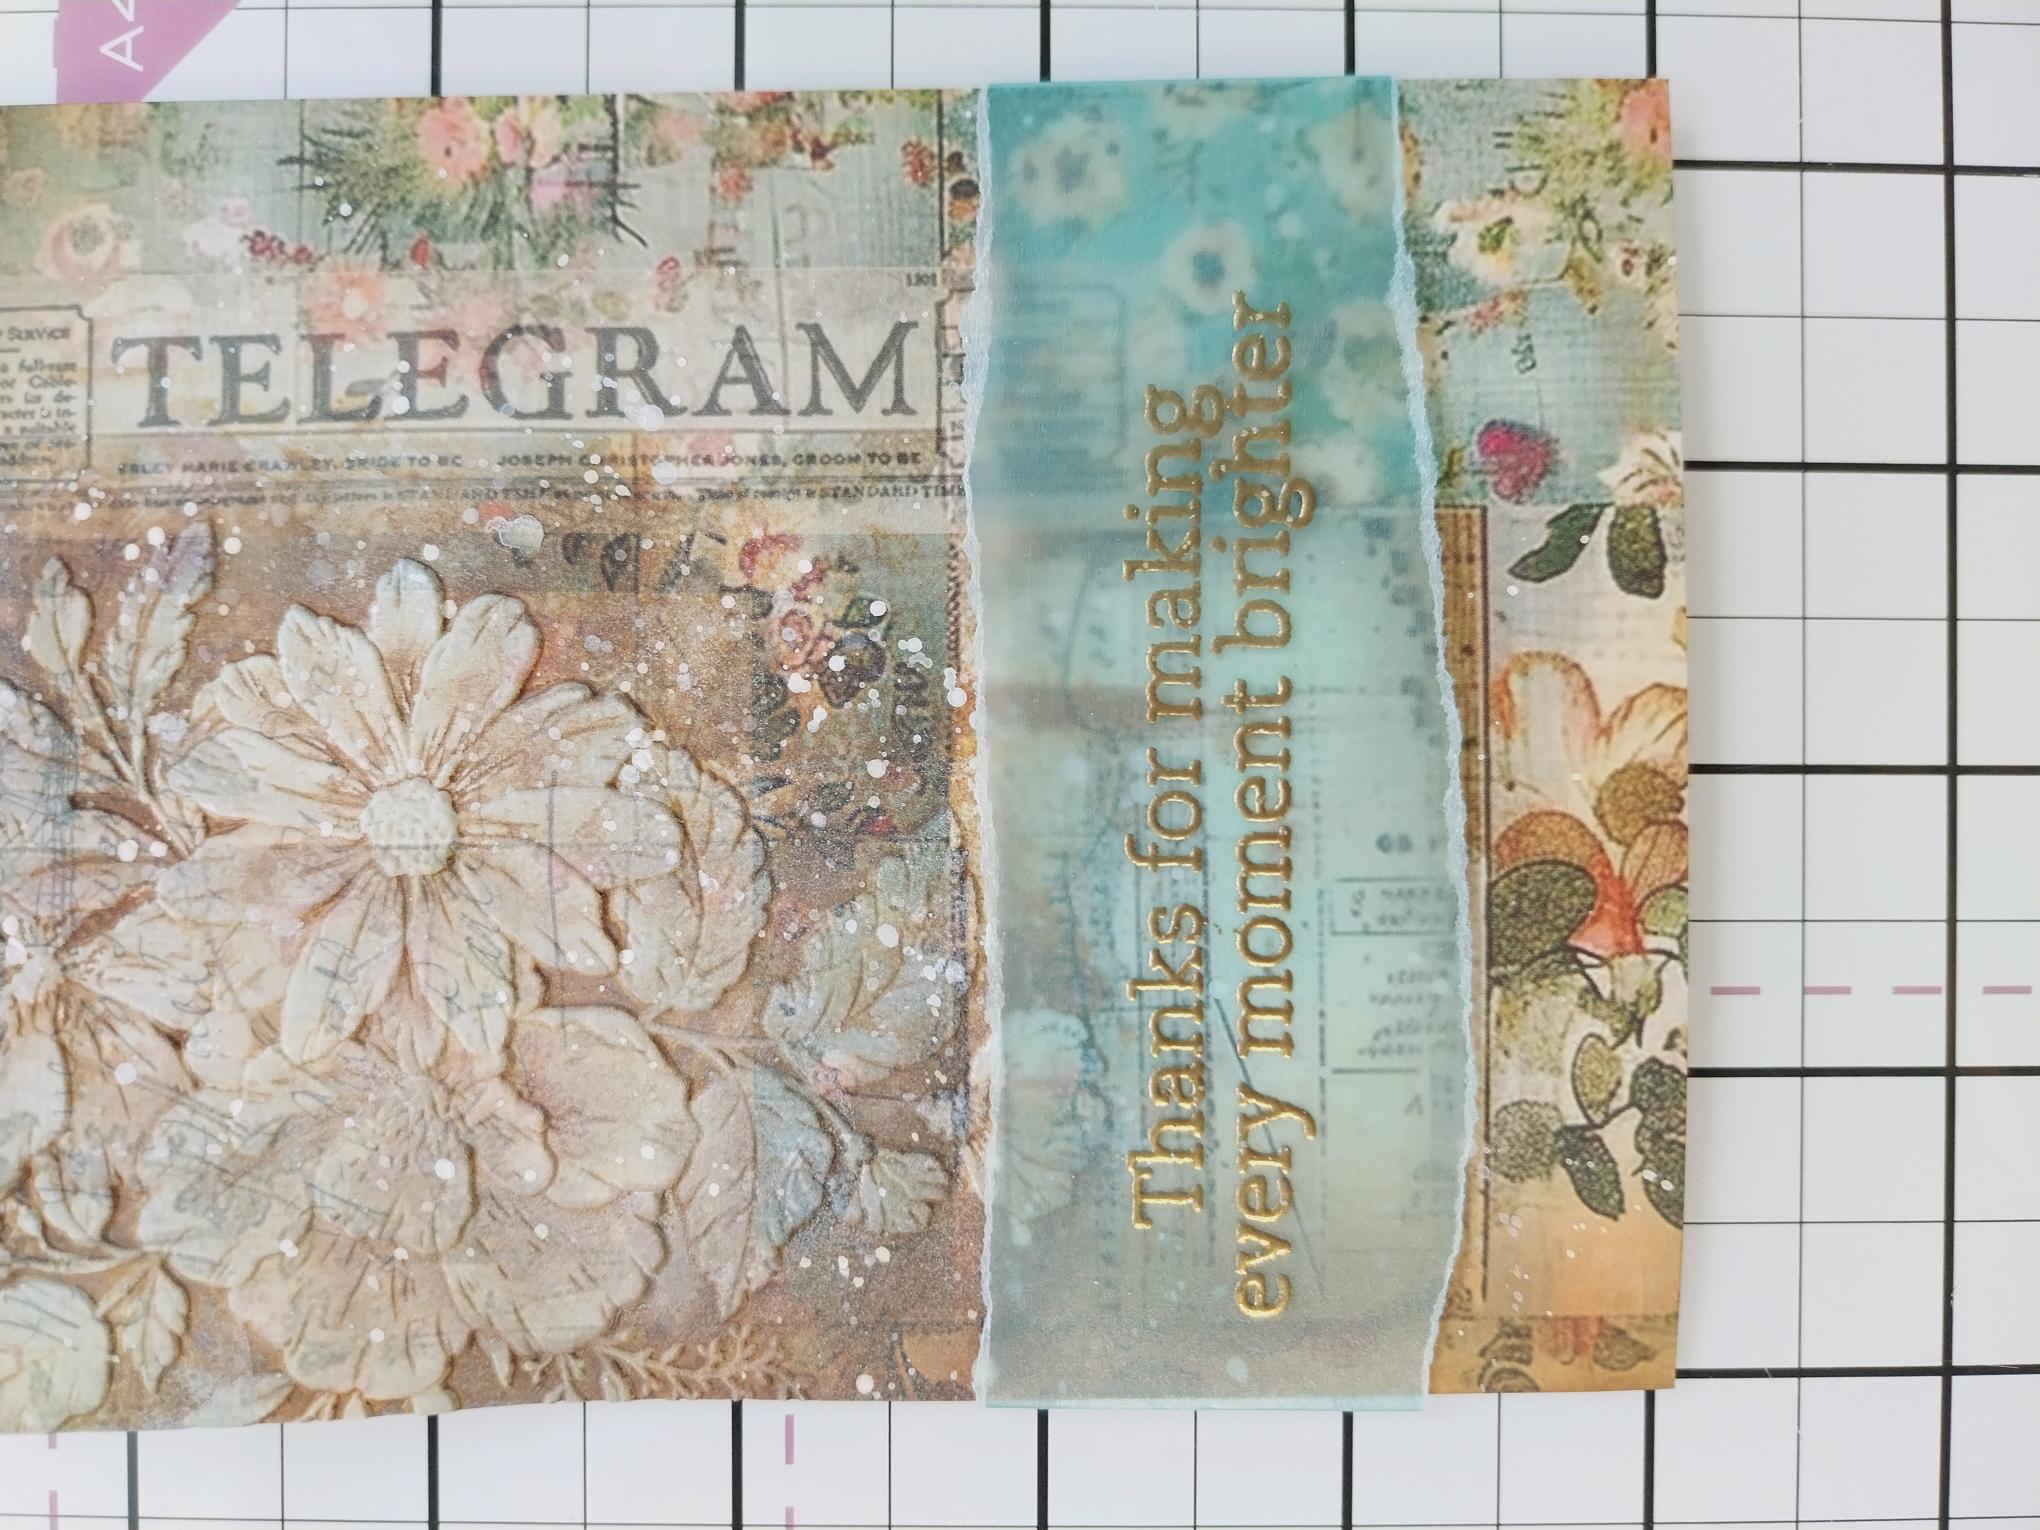
Tear a panel of blue (or clear) vellum wider than your paper and deep enough for your chosen sentiment. Wipe over the vellum with your anti-staic bag before stamping your sentiment in the sticky embossing ink. Apply the Gold embossing powder over the sticky ink, shake off the excess and decant back into the pot. Get your heat tool HOT then heat set the powder, moving the heat tool as soon as the powder starts to turn. This will minimise any warping or burning of vellum and powder.
|
|
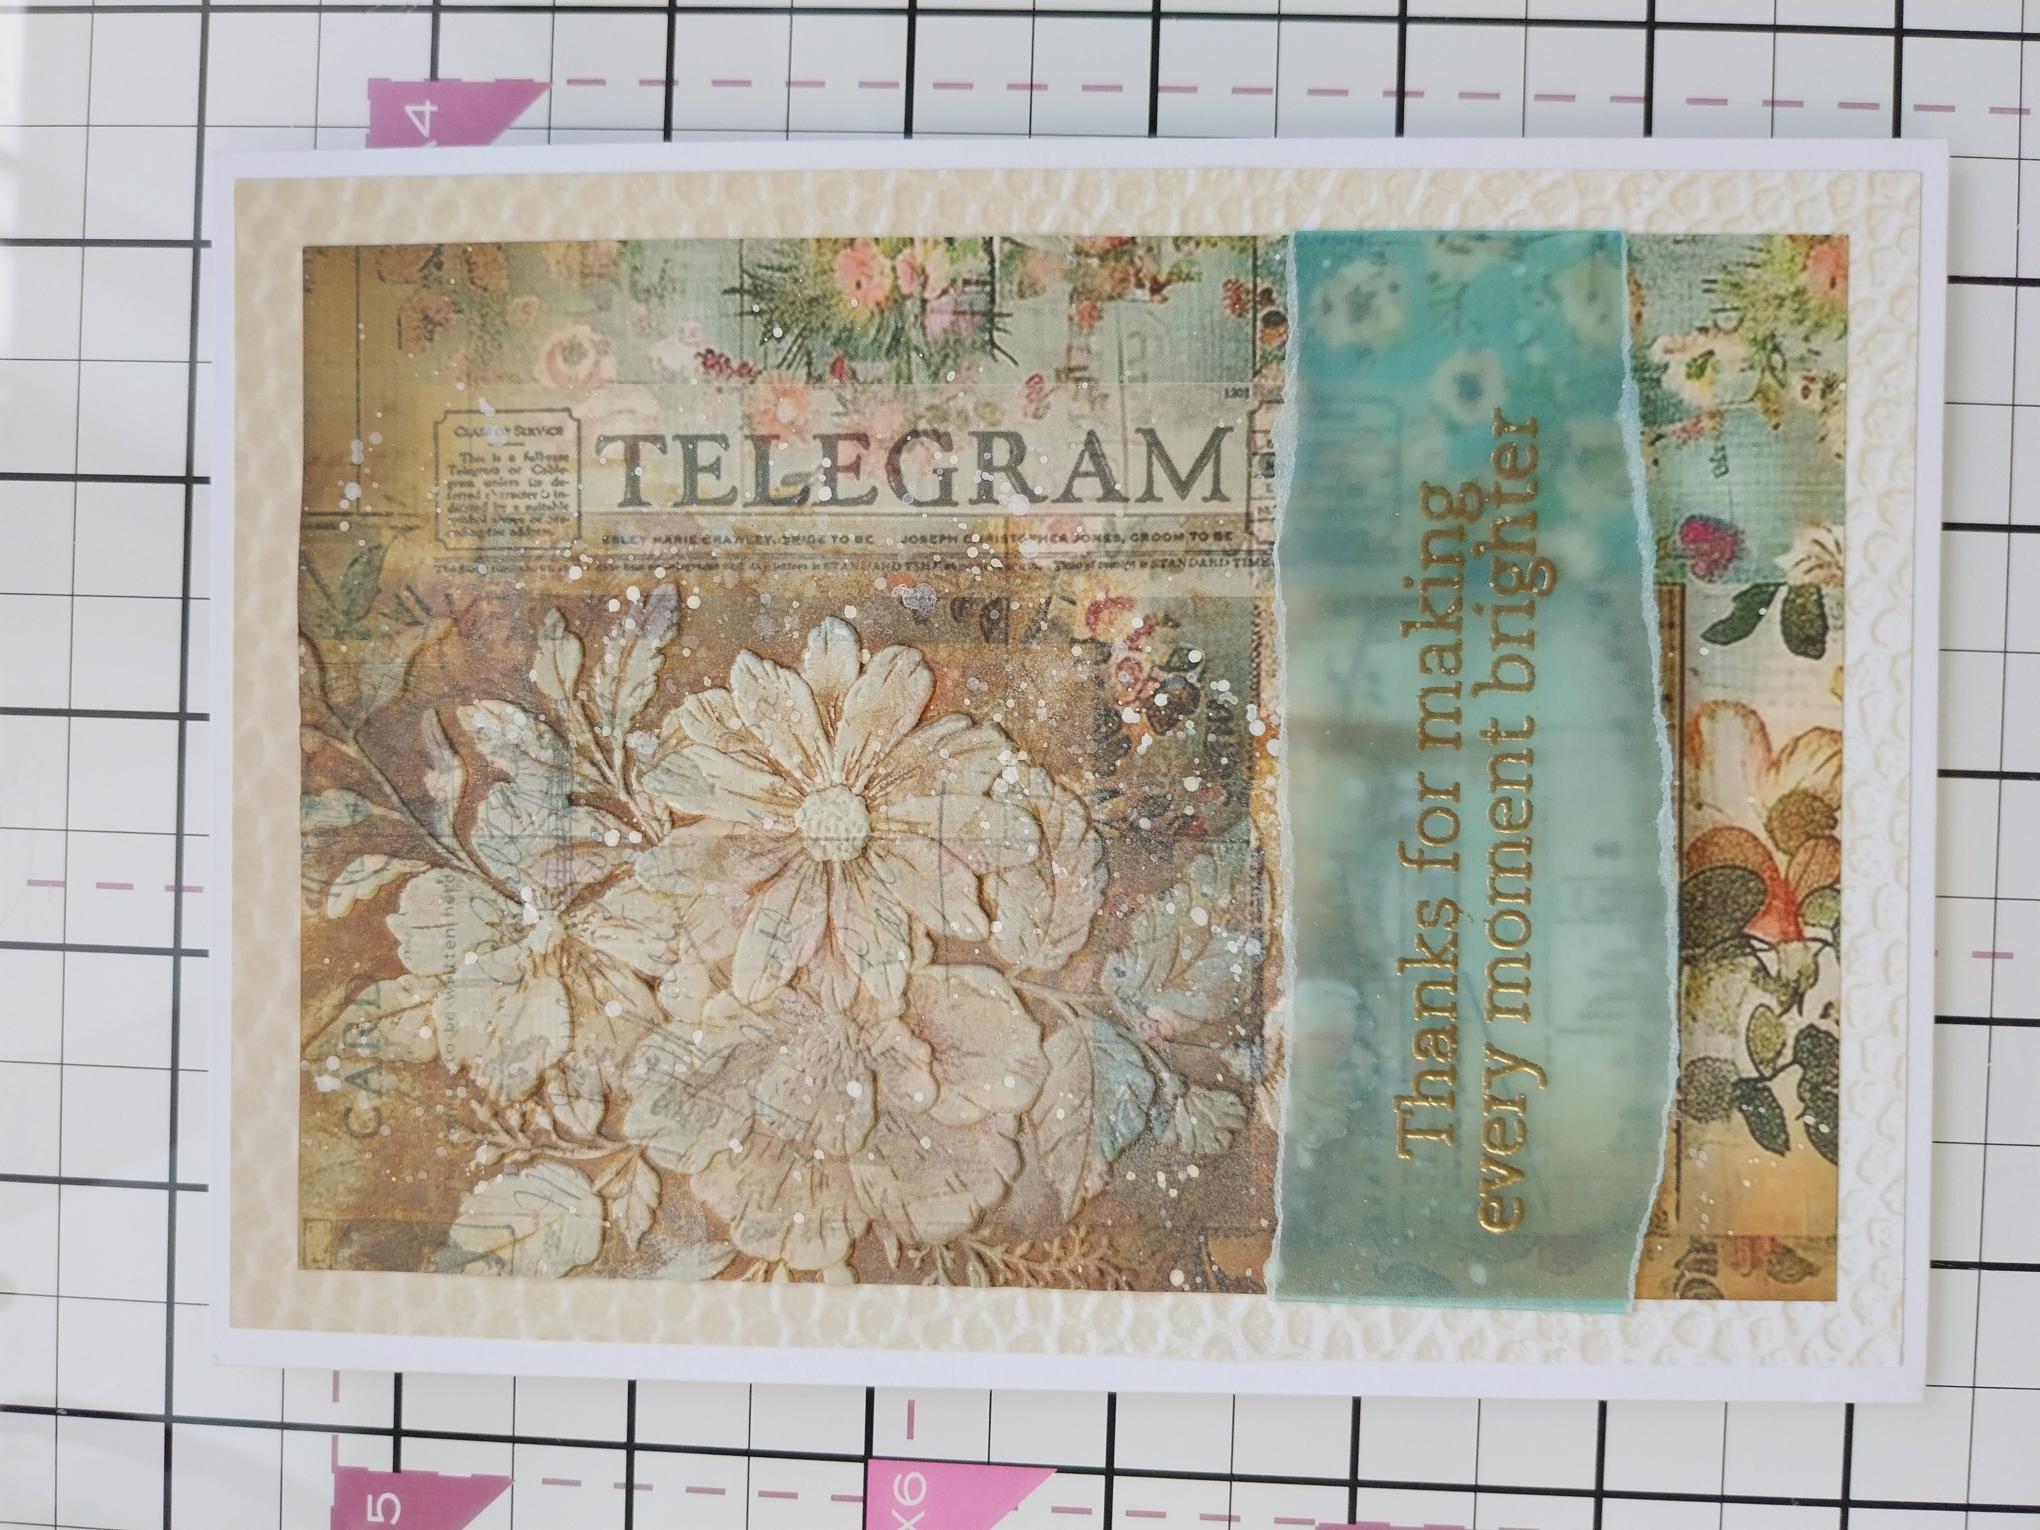
Lay the embossed vellum across the lower half of the embossed paper, tuck the edges over the sides and secure on the reverse with your double-sided tape. |
|
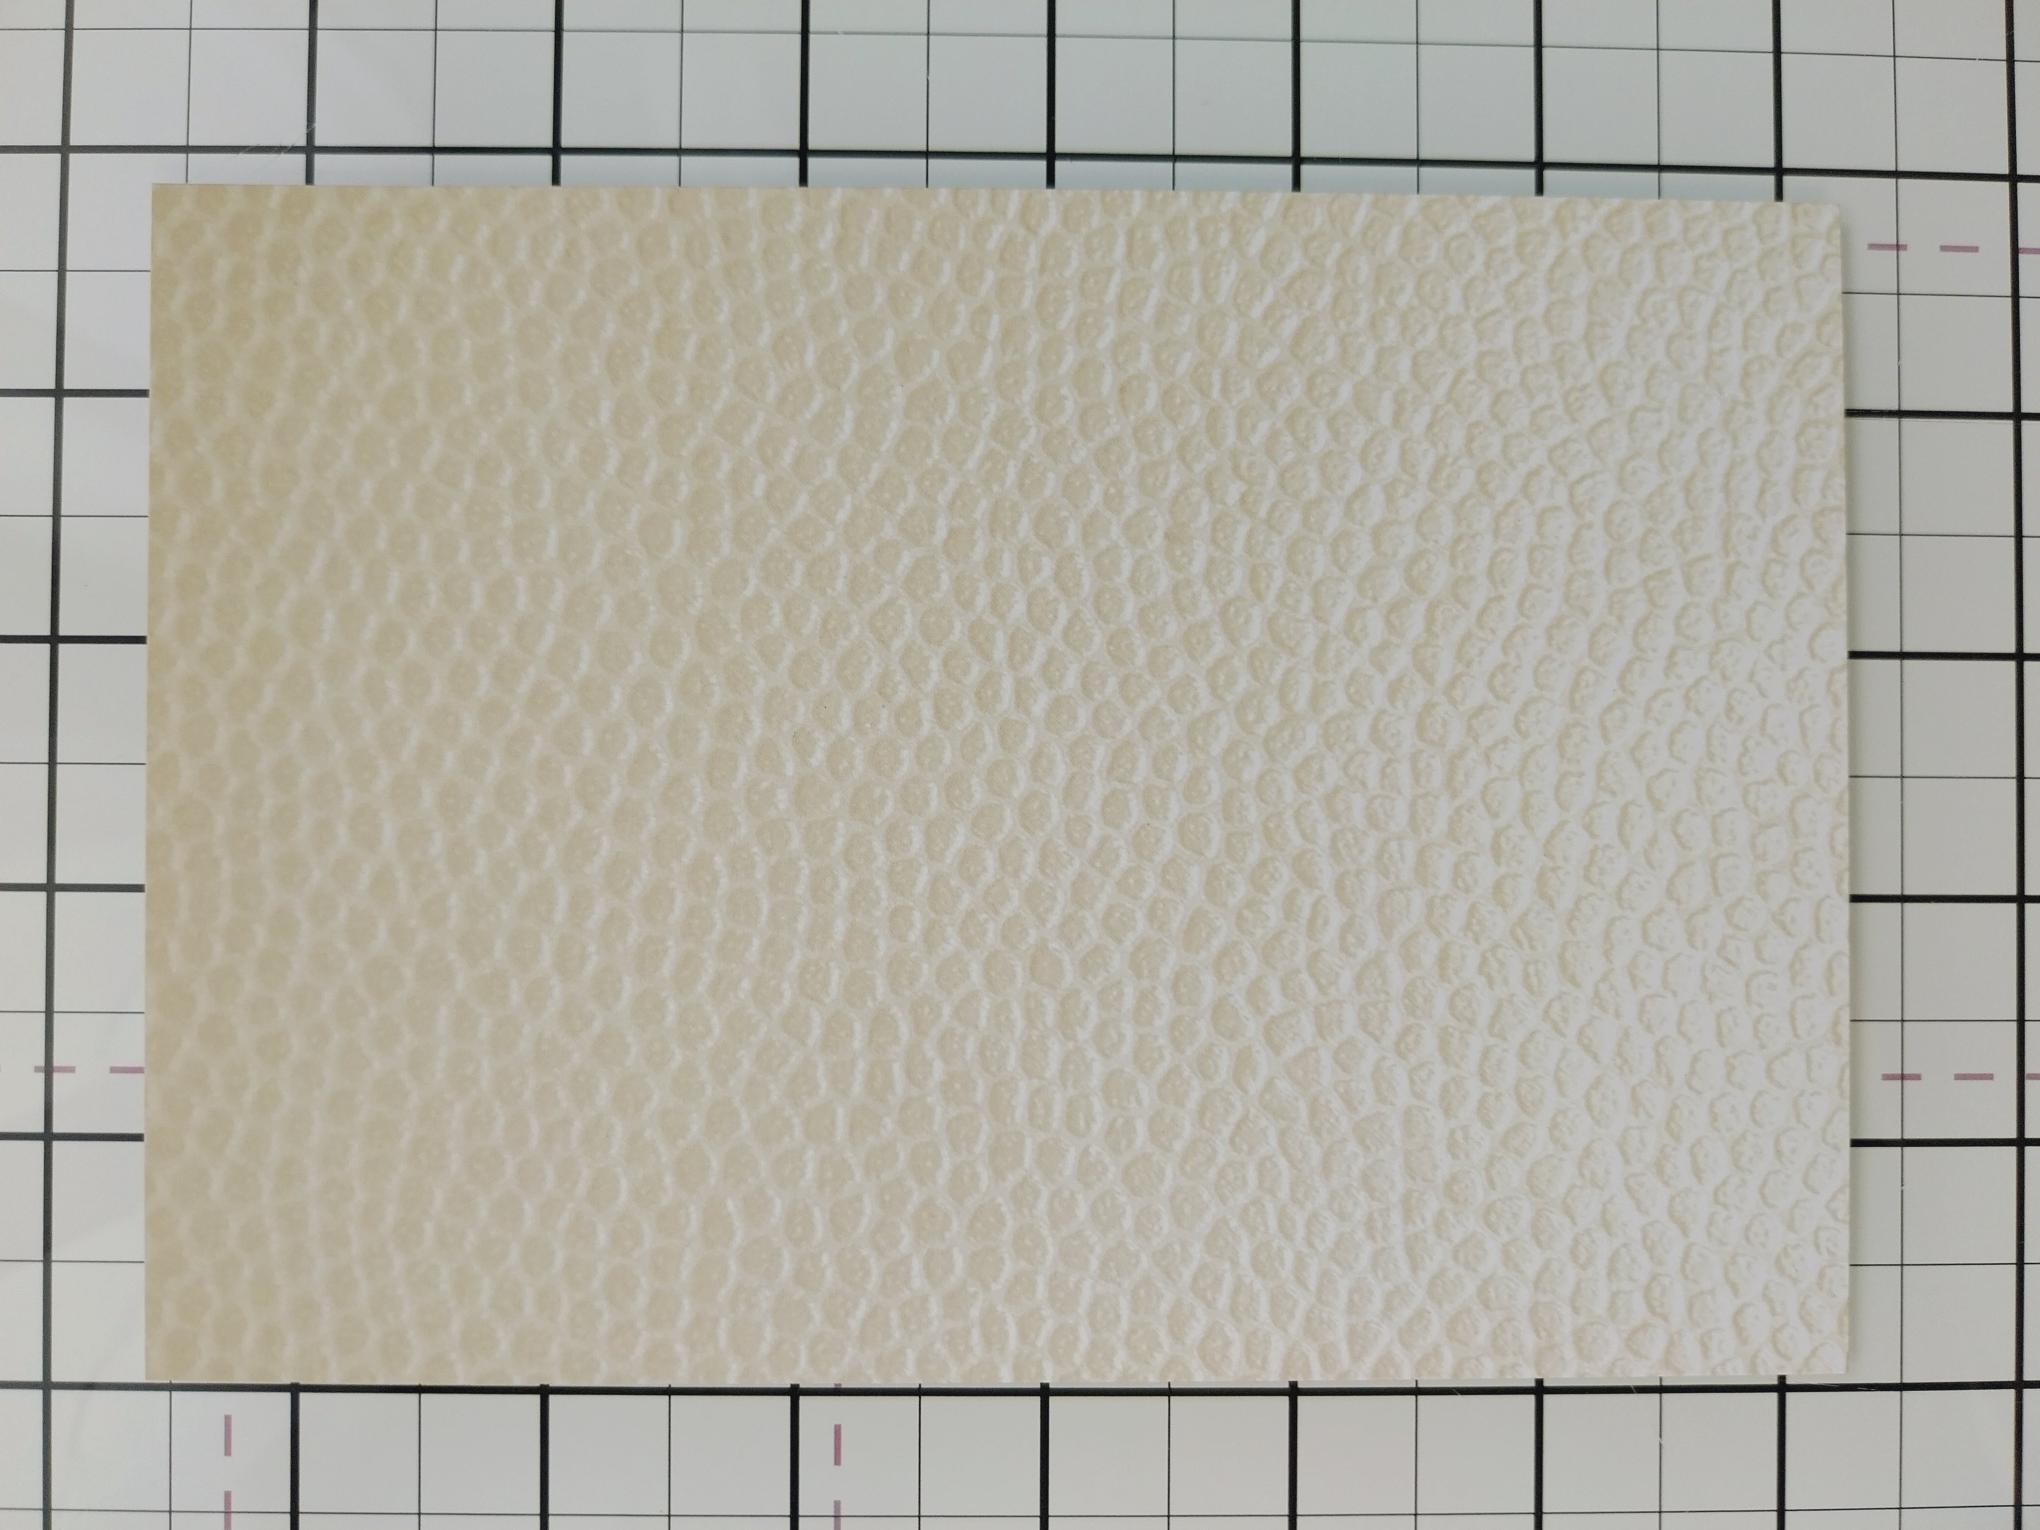
Cut a coordinating sheet of Patchwork Palette paper to 4 3/4 x 6 3/4". |
|
Assemble your card by adhering embossed paper onto background paper and then onto your card blank. |