Give your friends $10 off their first order!
Refer a FRIEND


WHAT YOU WILL NEED:
Whimsical Chapters 7 x 7 Pad
Whimsical Chapters 12 x 12 Pad
Whimsical Chapters 6 x 6 Vellum
A Beautiful Place To Be Reflection Collection
Distress Ink/Oxide Ink Pad: Vintage Photo
Blending brush
Banner punch
Tag Punch
Ribbon
Hole punch
Corner punch
Eureka 101 Watercolour Tablet
SBM A3 Magnetic glass mat
Paper Trimmer
Glue/red liner tape/tape runner
[click image to enlarge] 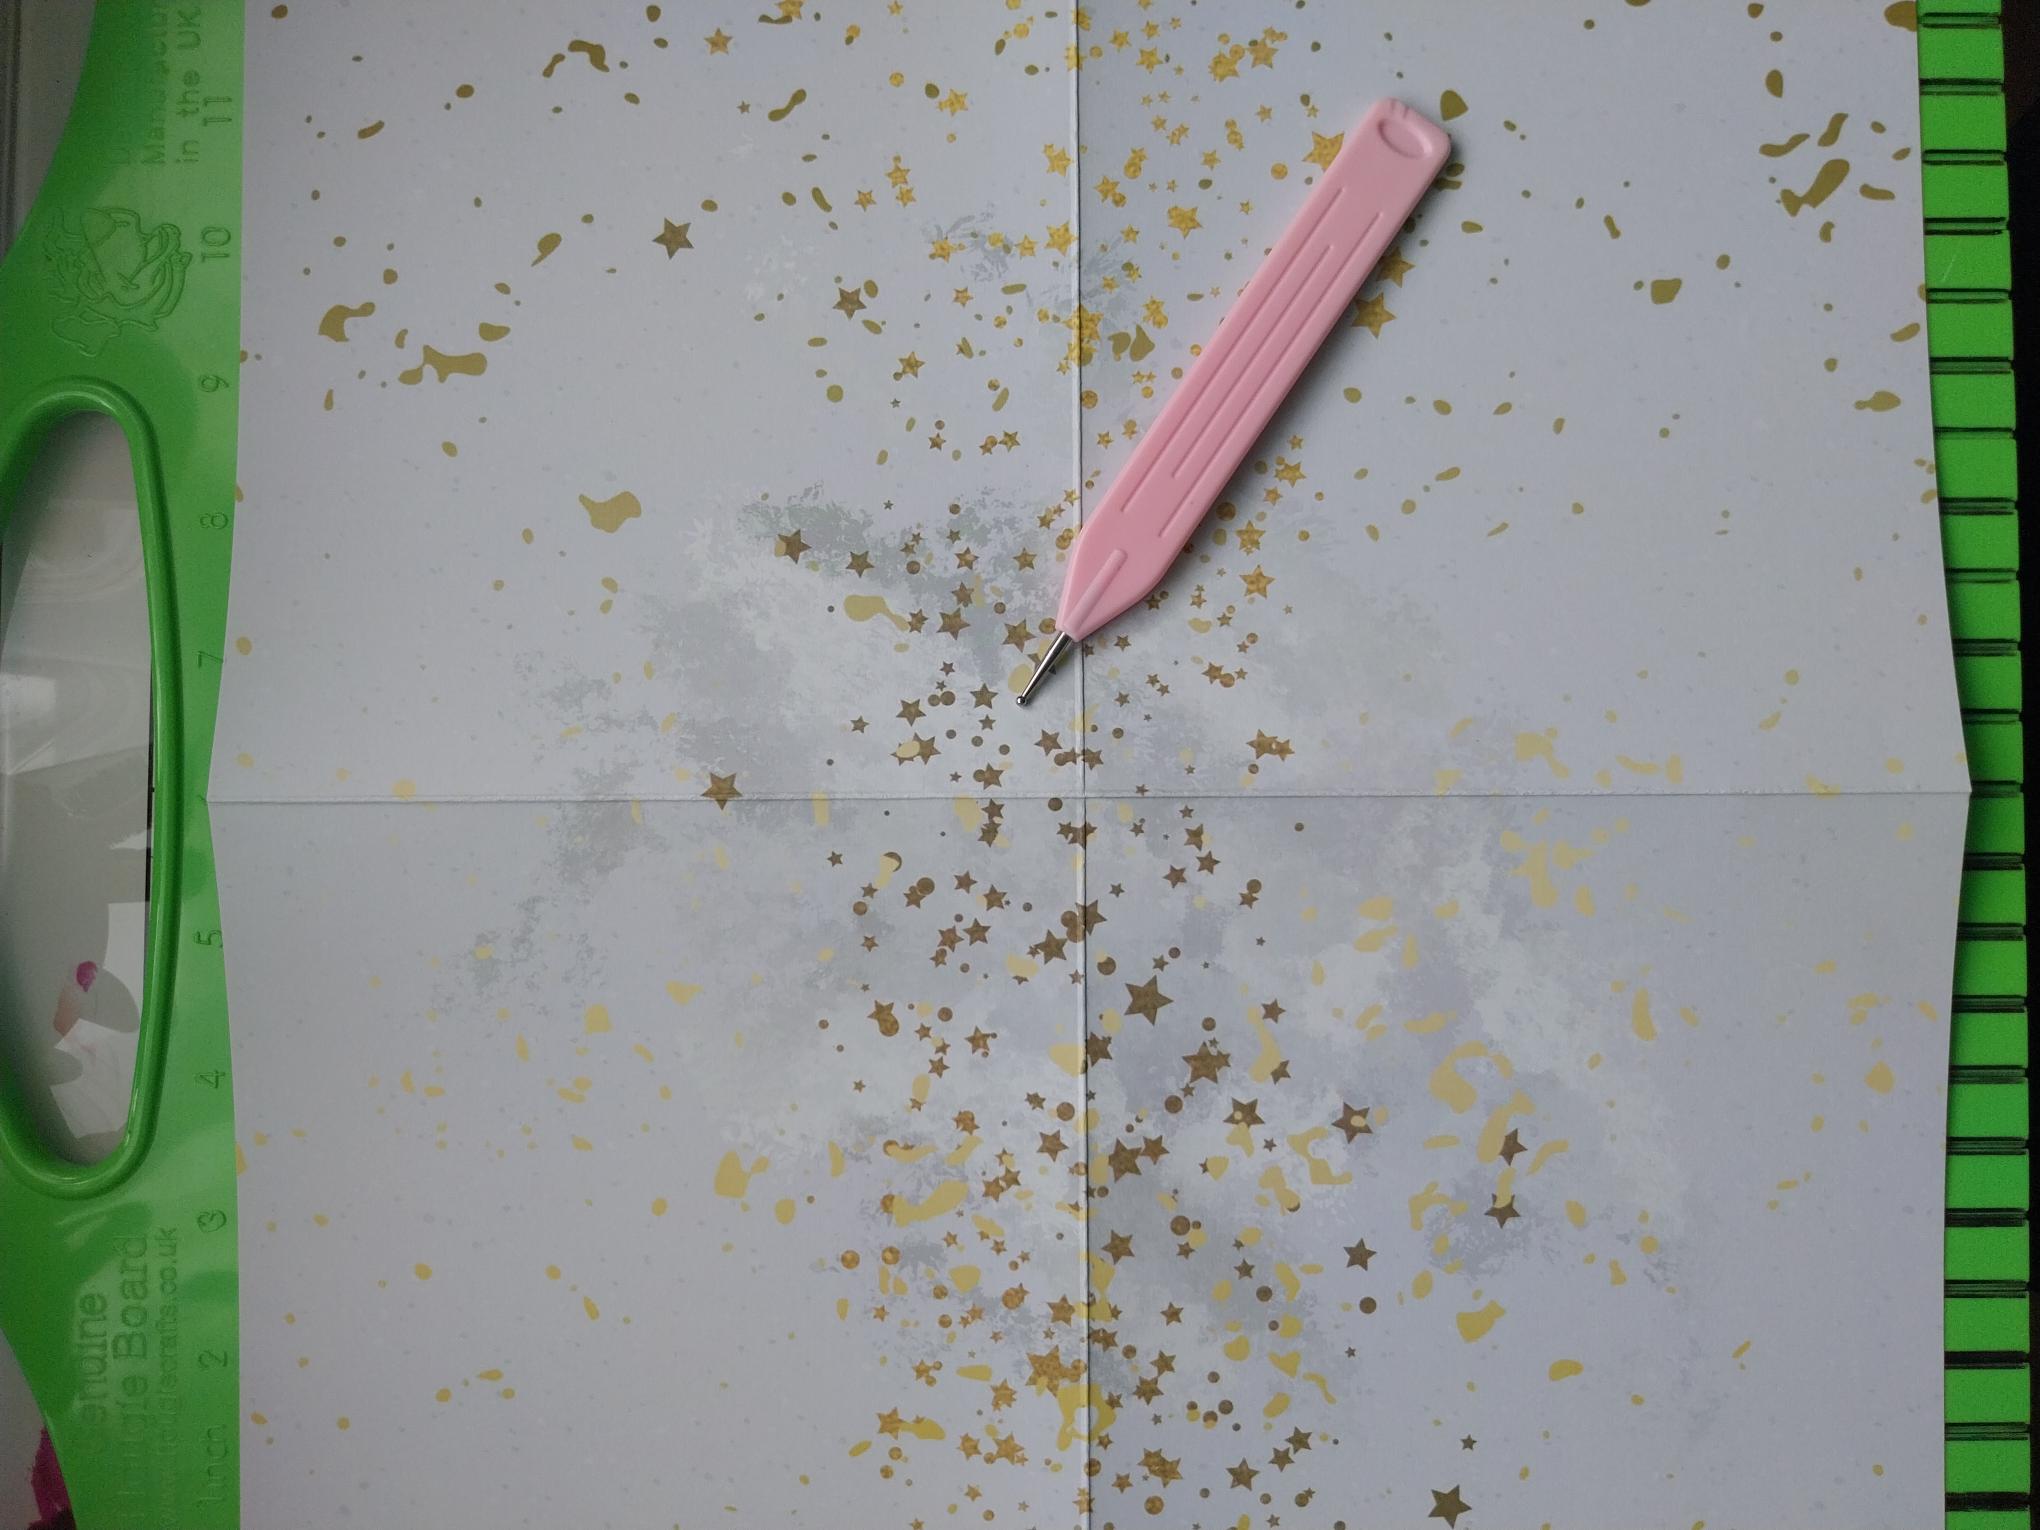
|
Choose your "stars" 12 x 12 paper from the pack. Using your scoreboard and tool, score at 6", rotate 90 degrees and score at 6". Fold and burnish along score lines with tool. |
|
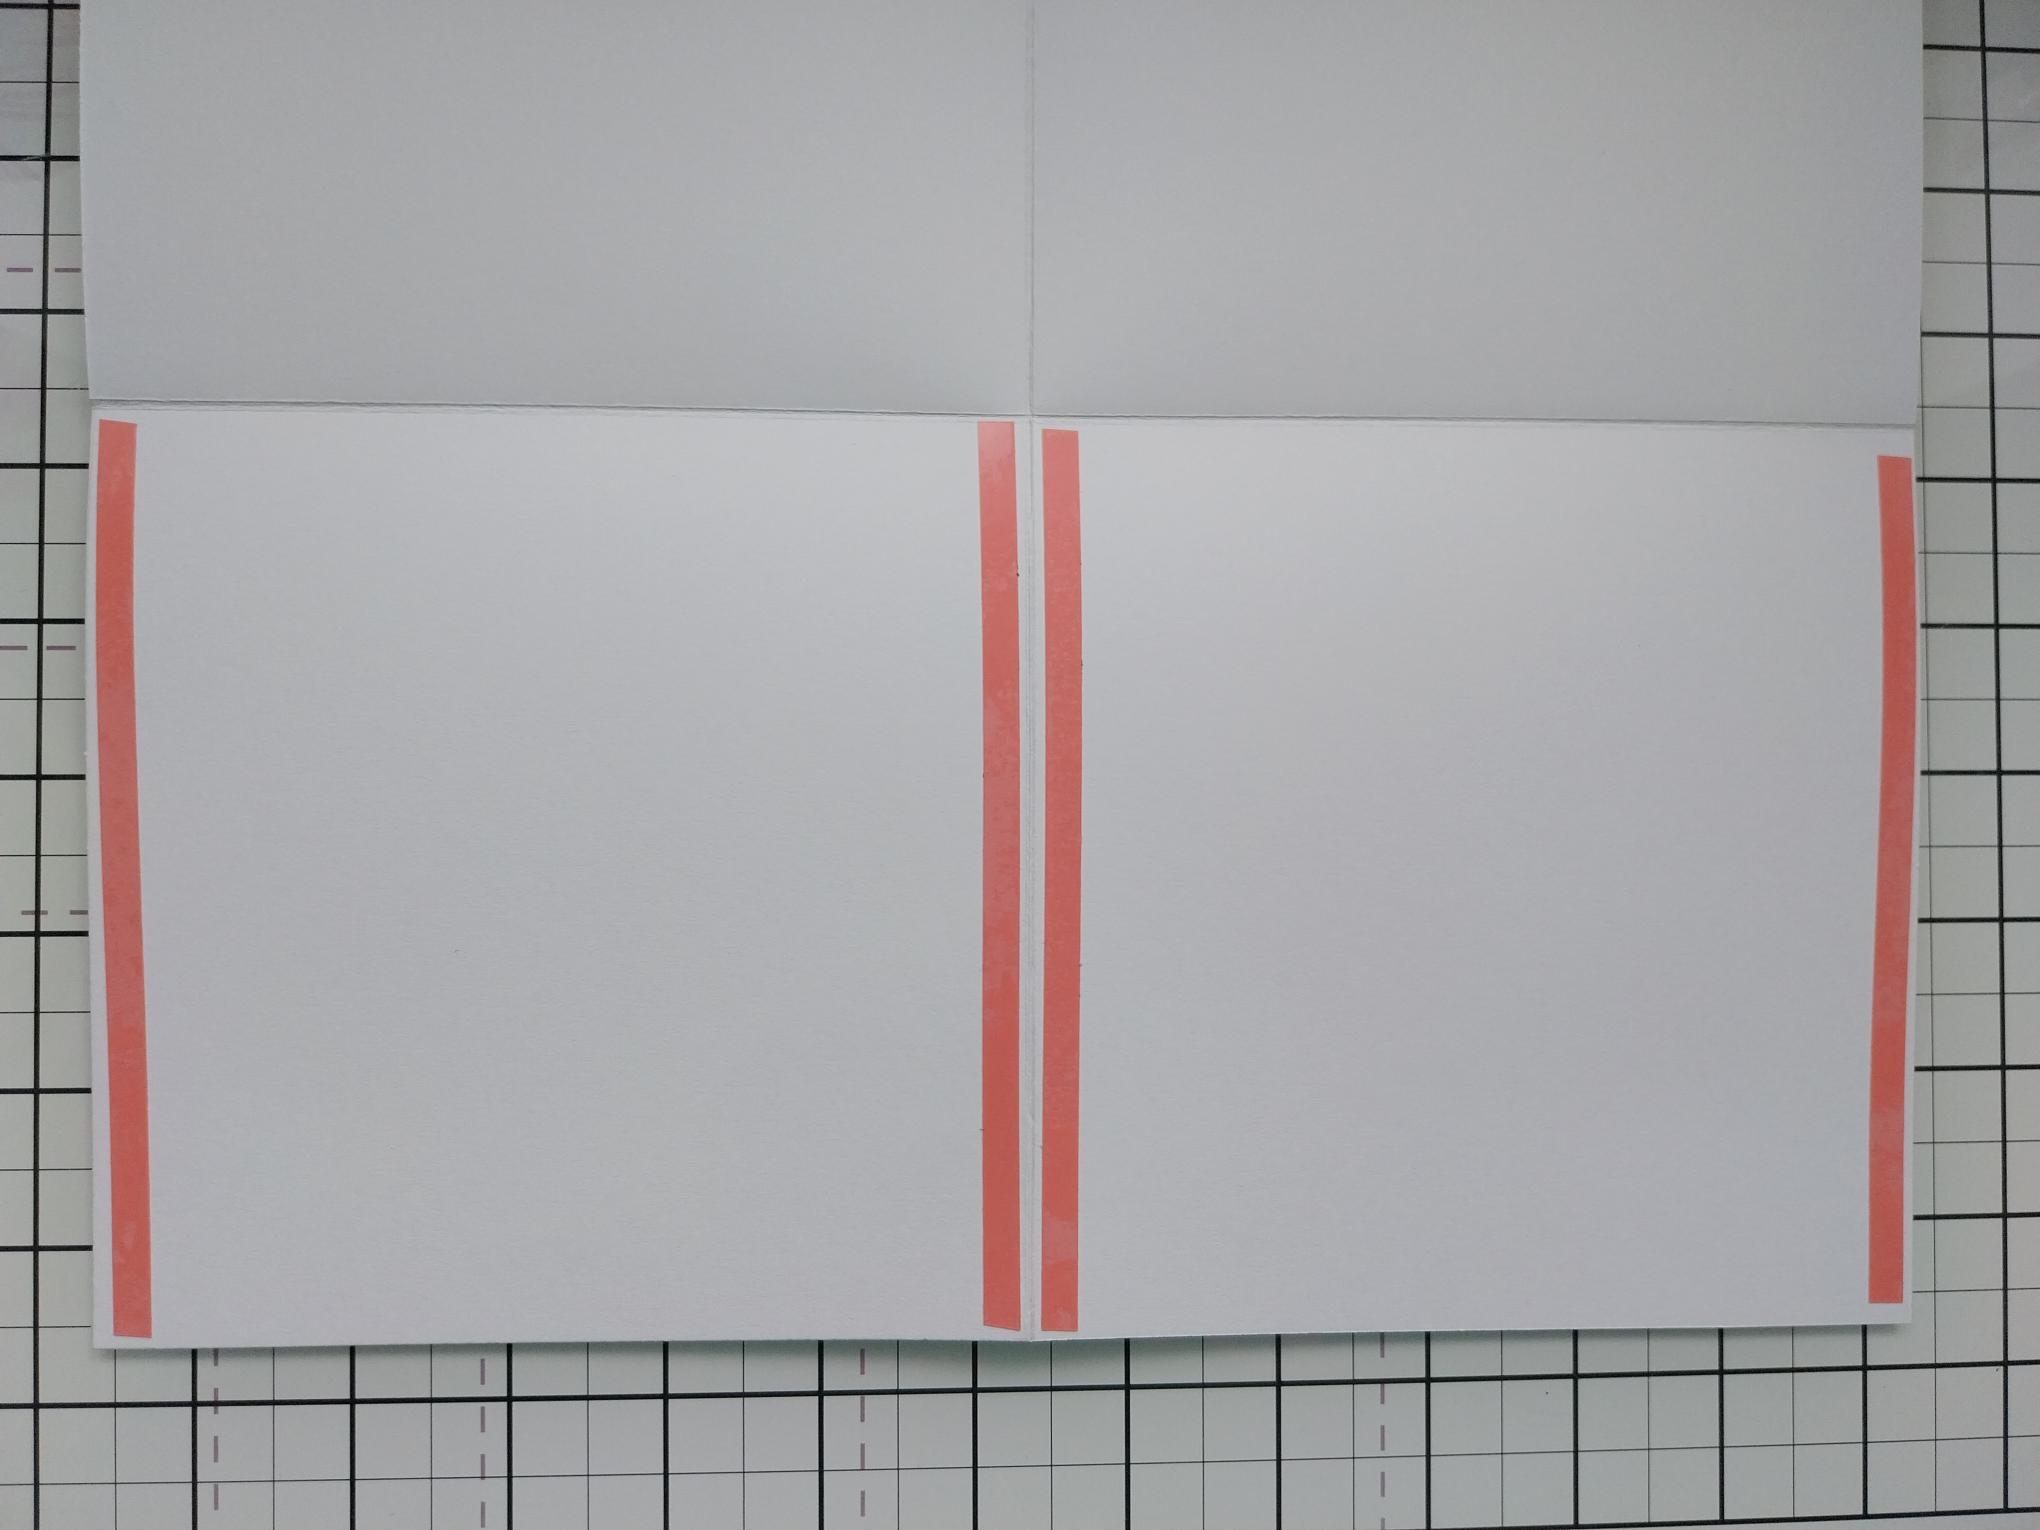
Turn the paper over and apply red liner tape down the 4 vertical sides of the bottom 2 scored panels, as seen here. |
|
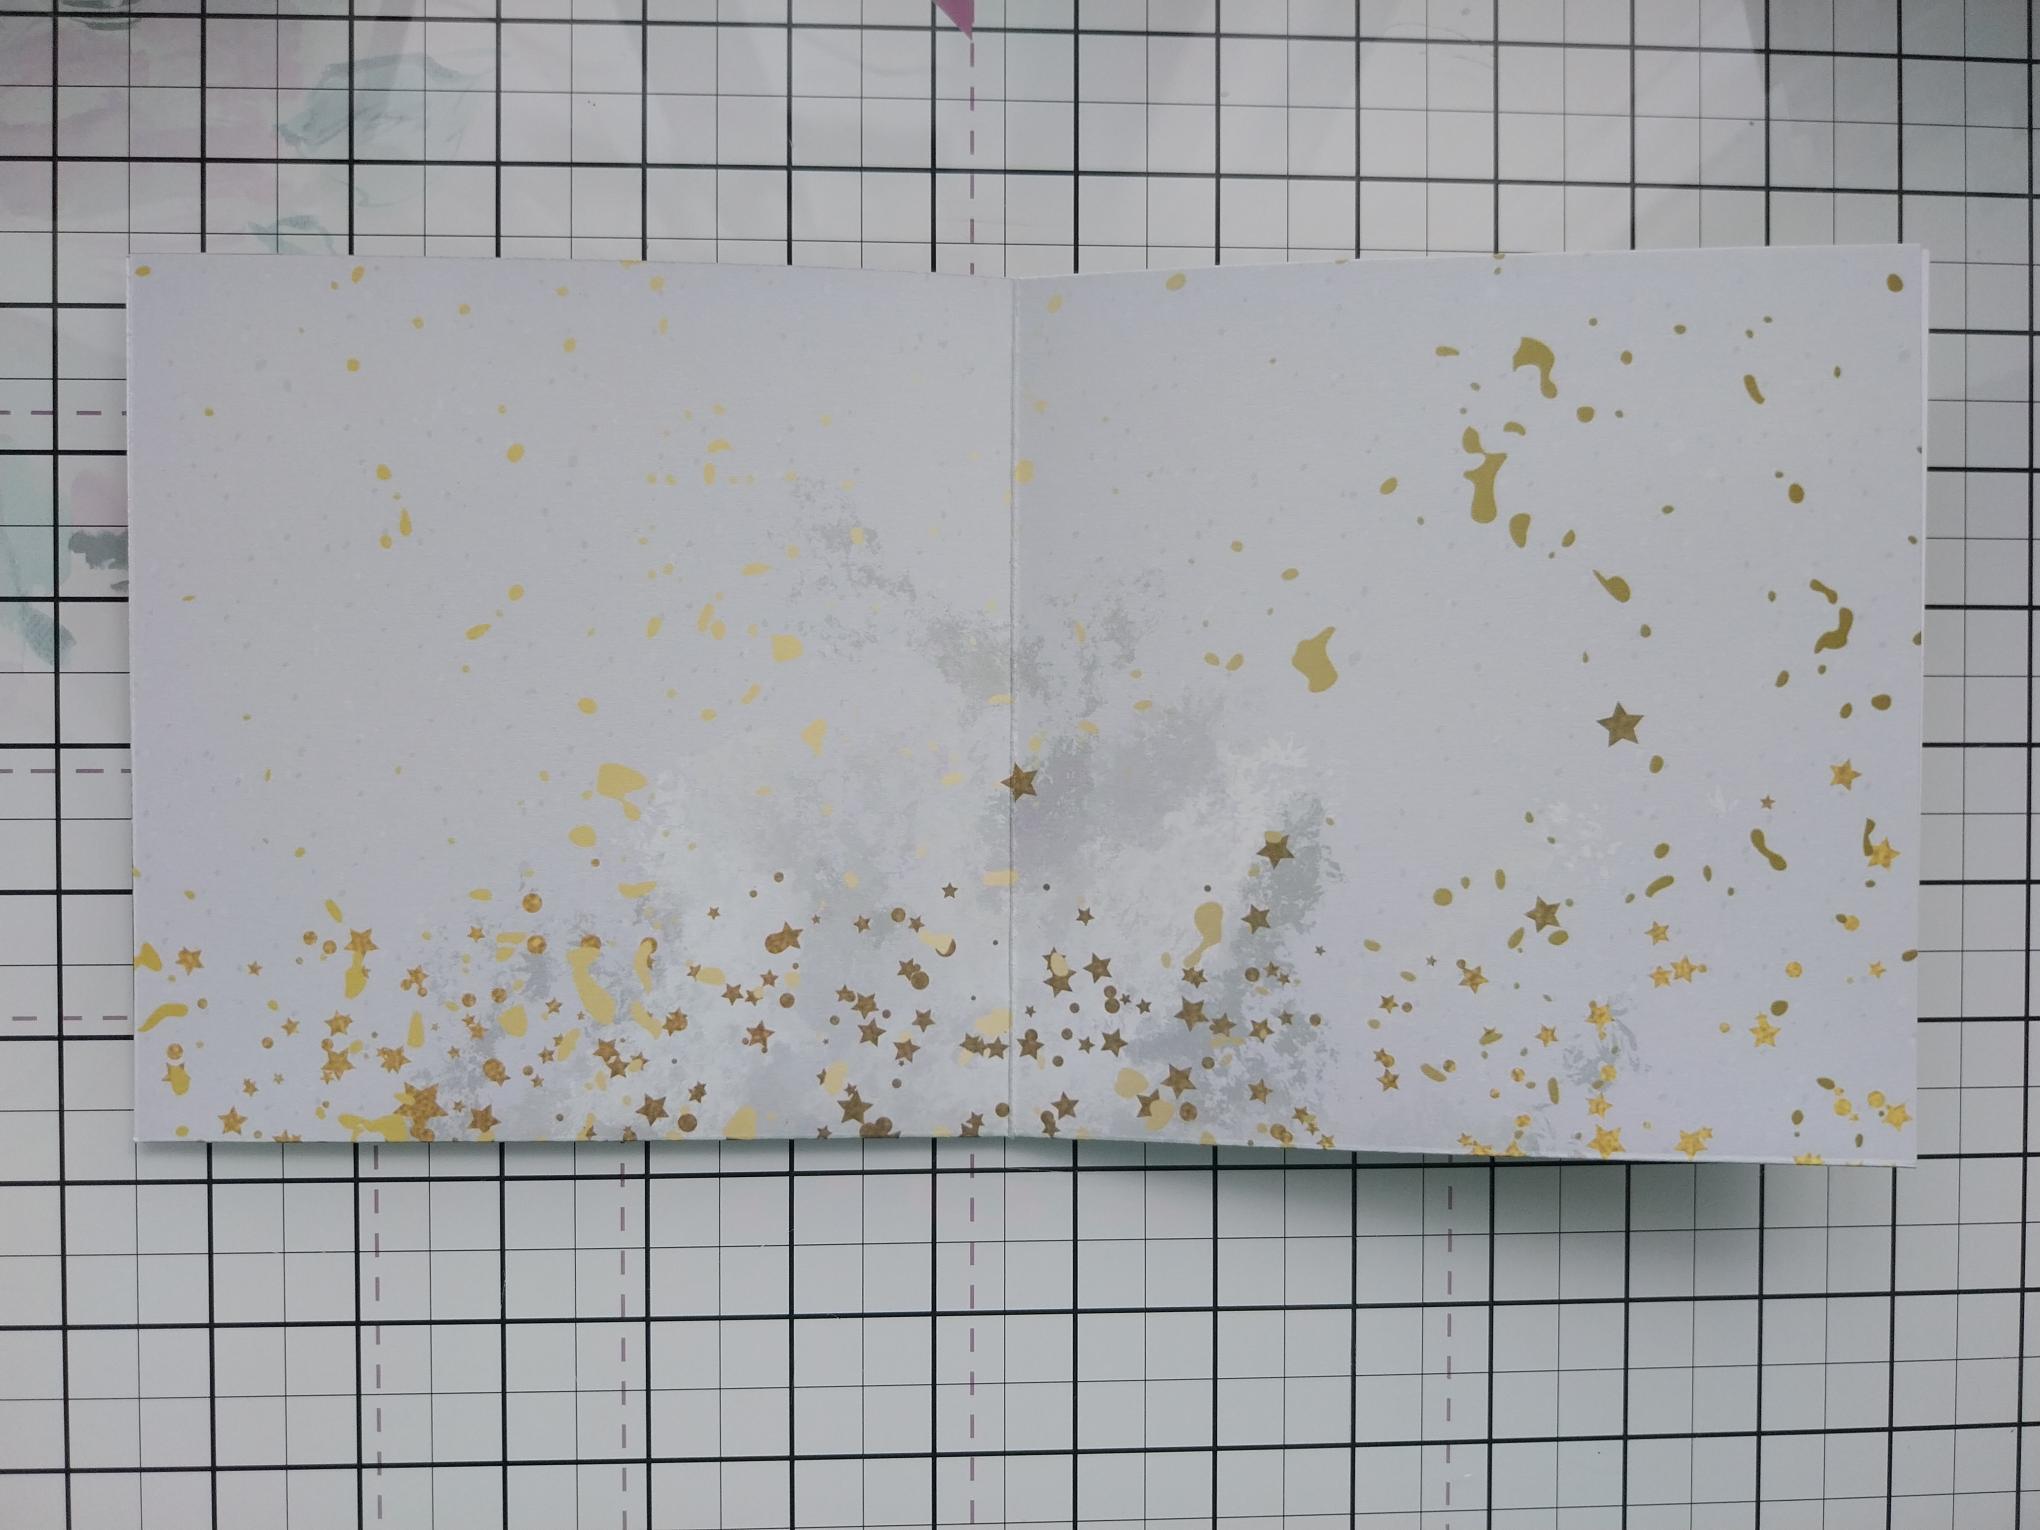
Remove the backing and fold over, burnishing the tape. You now have your wallet with 2 open pockets at the top. |

|
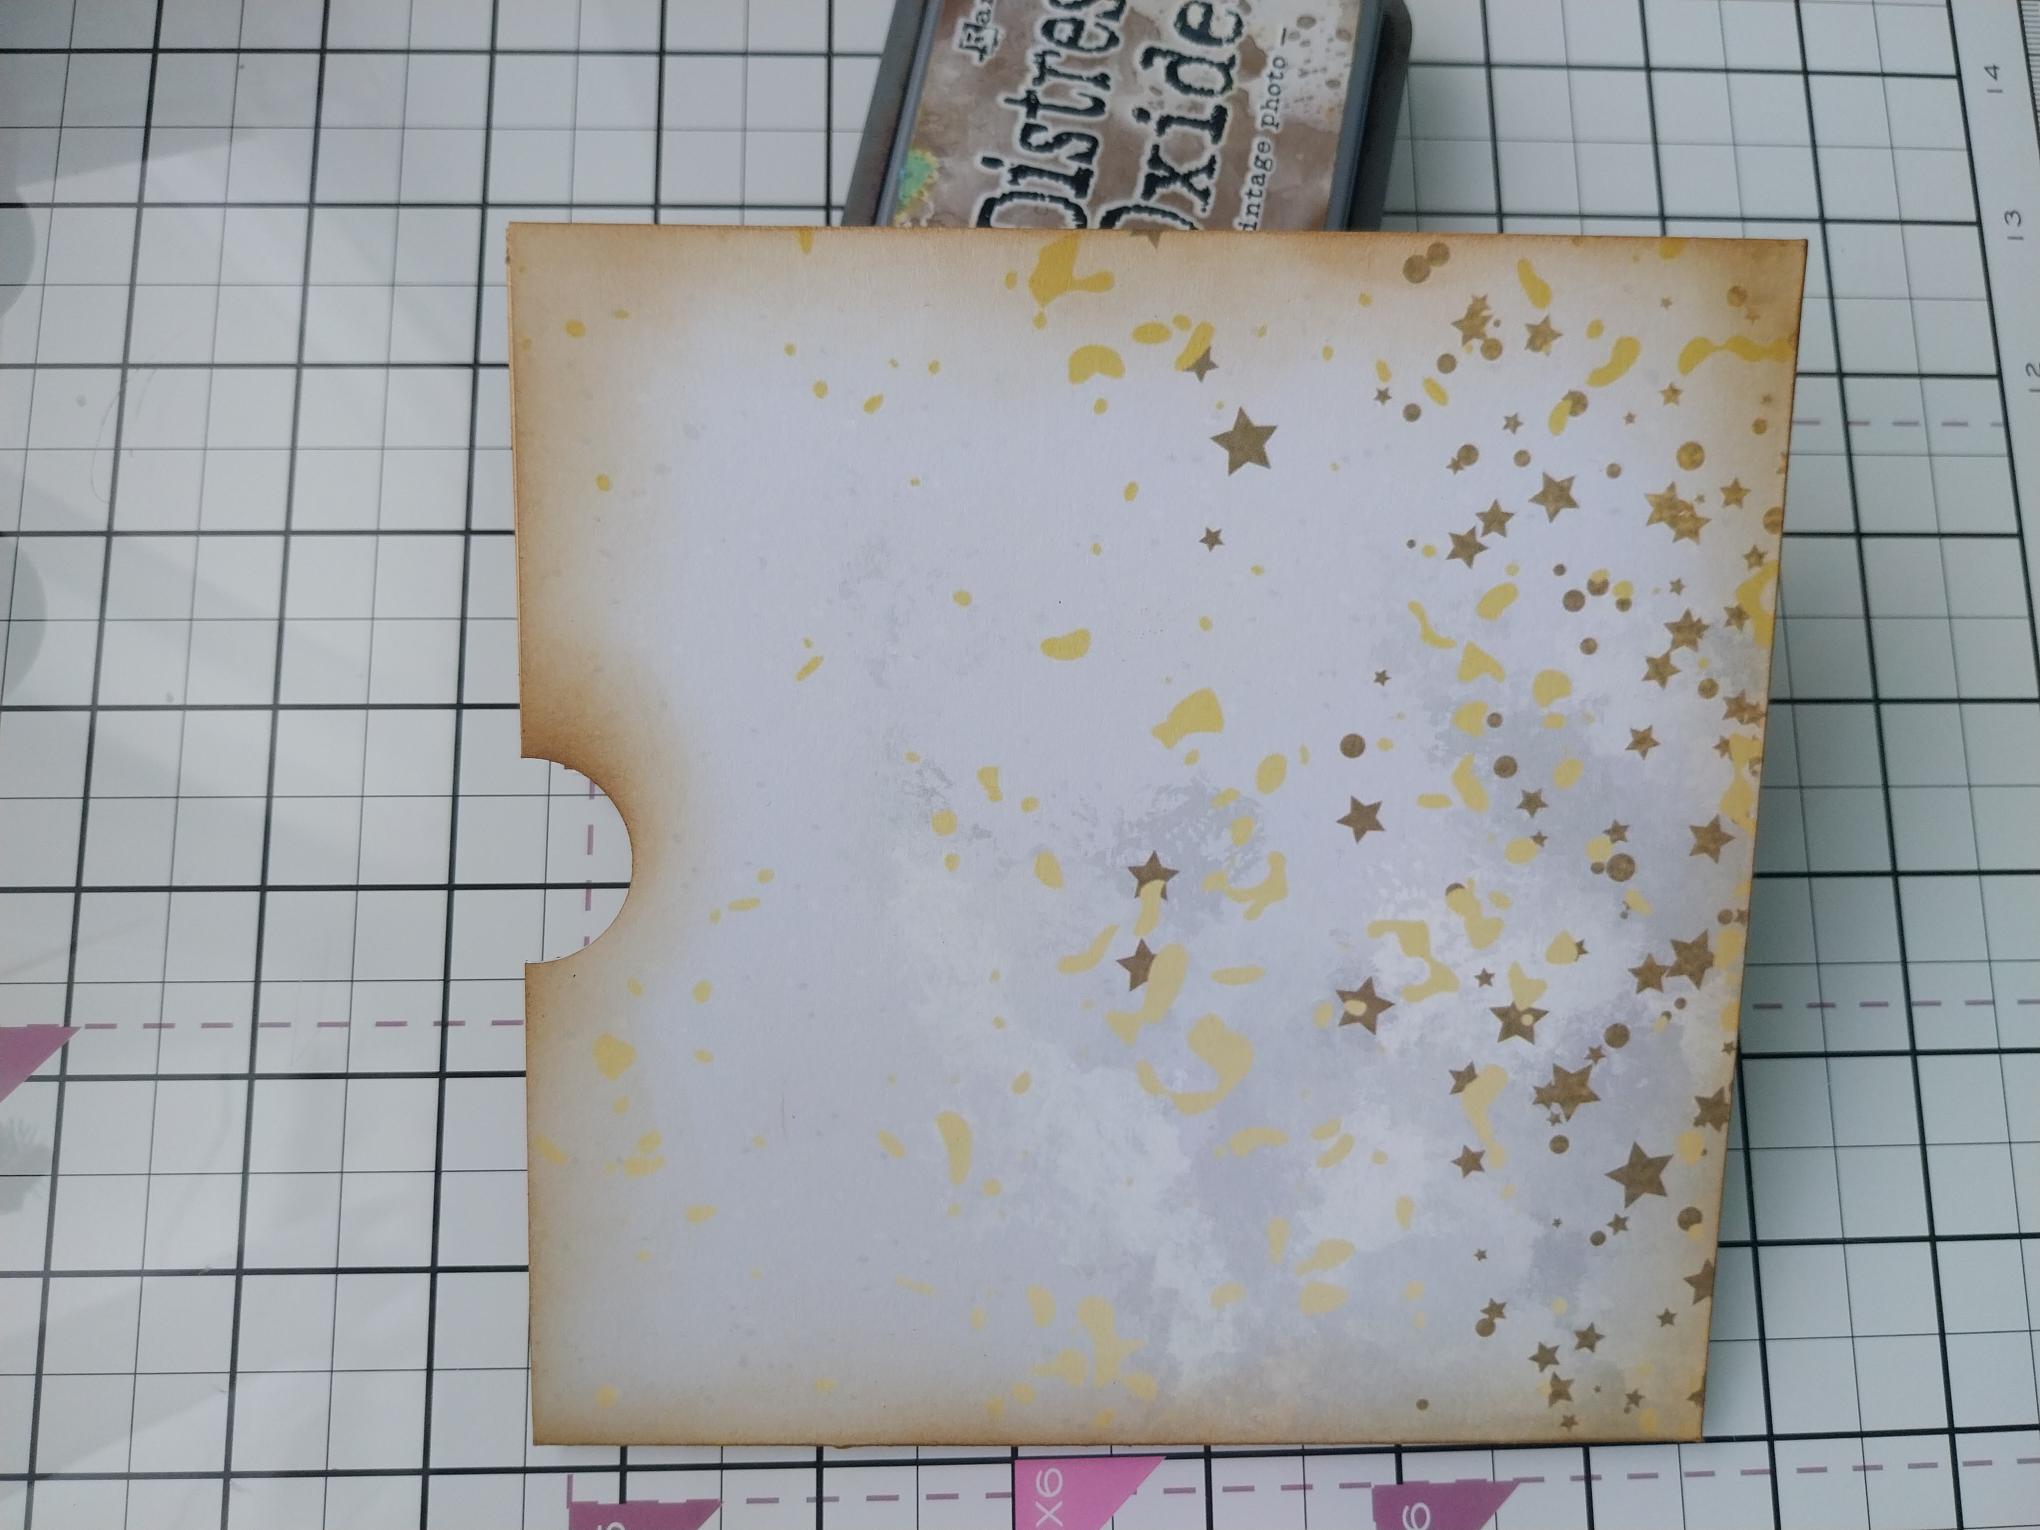
Use the corner punch to punch out half circles, top centre of the 2 open pockets, as shown here. |
|
Blend around all the edges of your gift wallet, including the inside and back, with the Vintage Photo Distress Ink. |

|
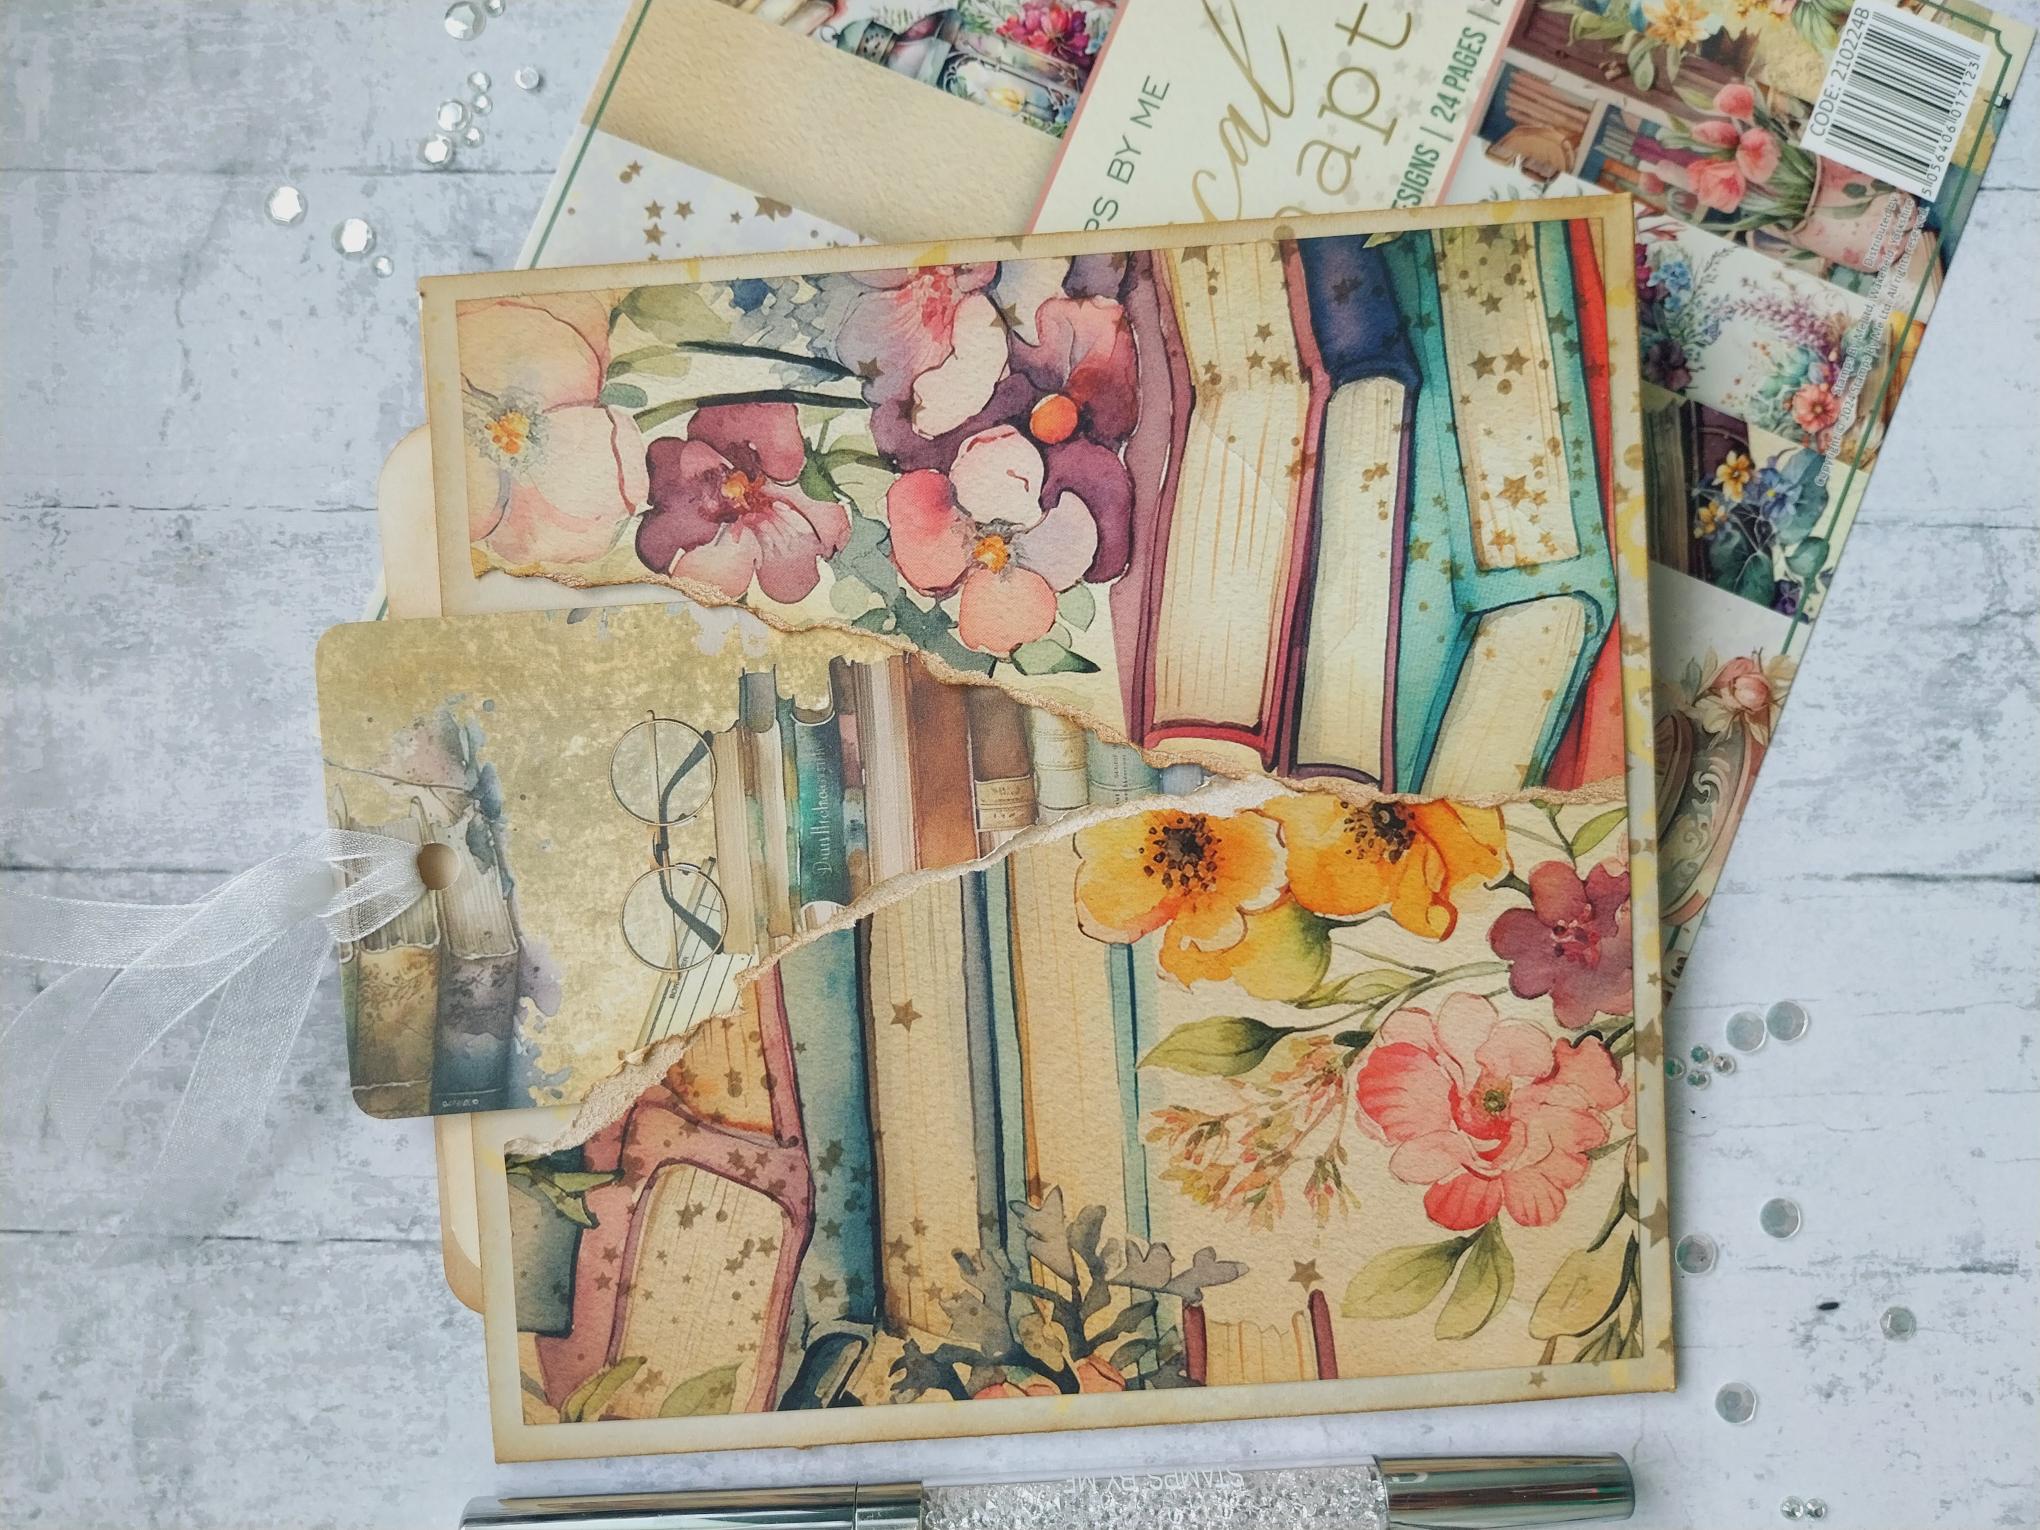
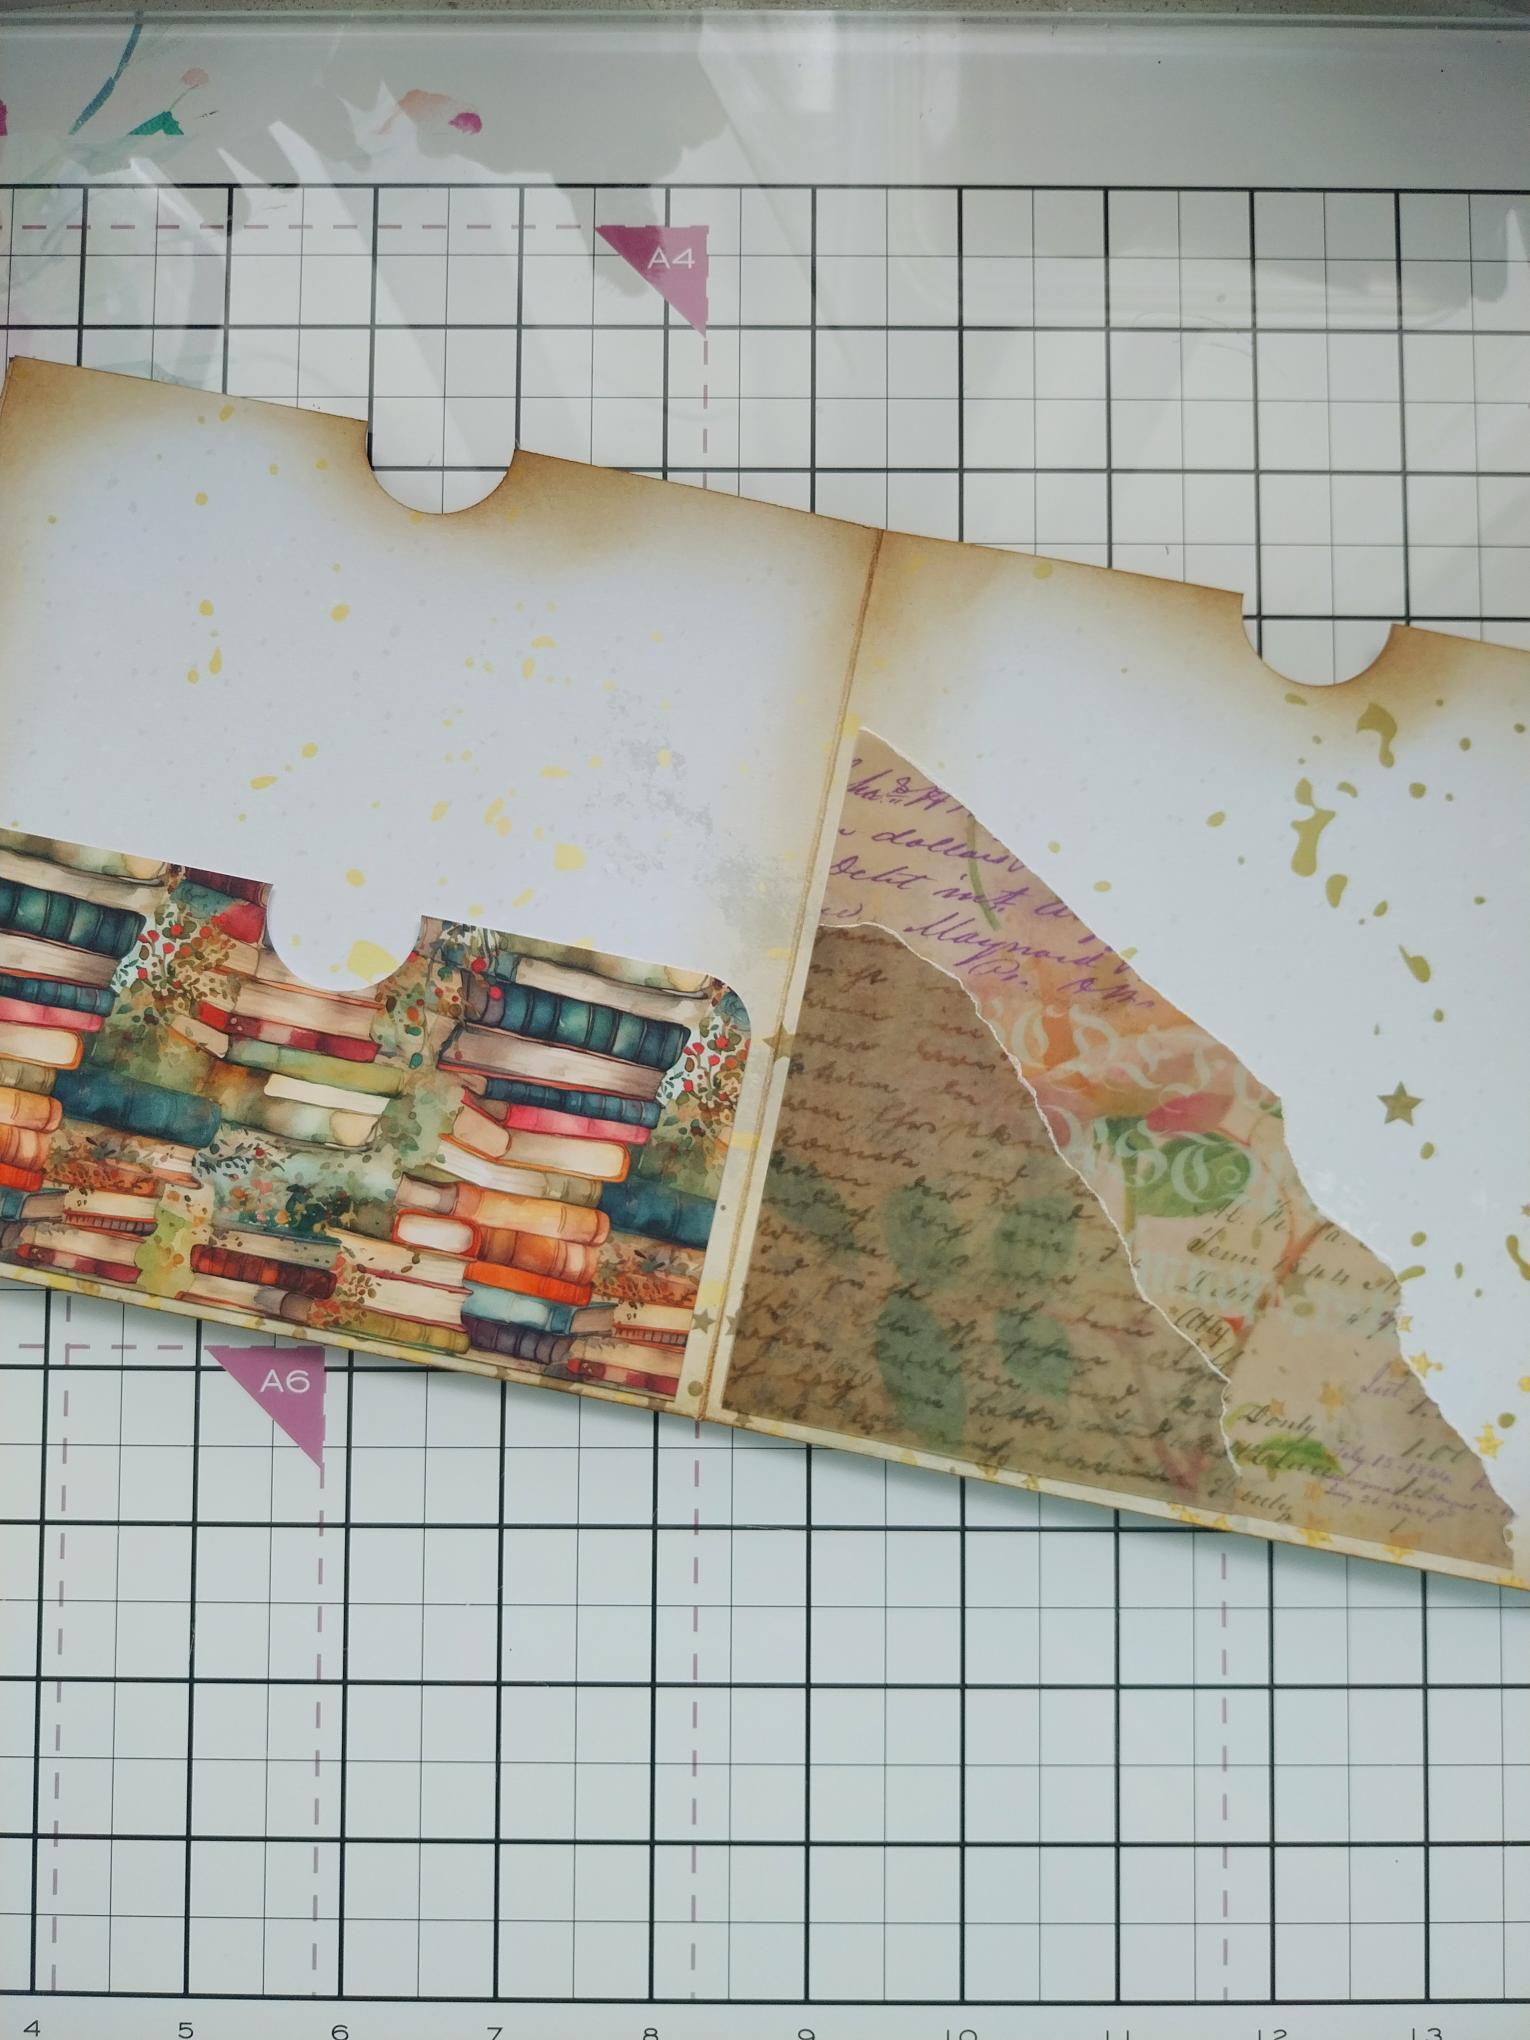
Tear and adhere some random pieces of script vellum on the front of the wallet, thinking about where they will be visible when your create your front paper pocket. Tear a sheet of your chosen decorative paper into 2 triangular shaped panels. Applying tape down the sides and bottom ONLY, you need to adhere to the front of the wallet so the 2 panels overlap slightly at the bottom, thus creating a torn pocket as shown here (the tool has been placed inside the pocket to show you the finished result). |
|
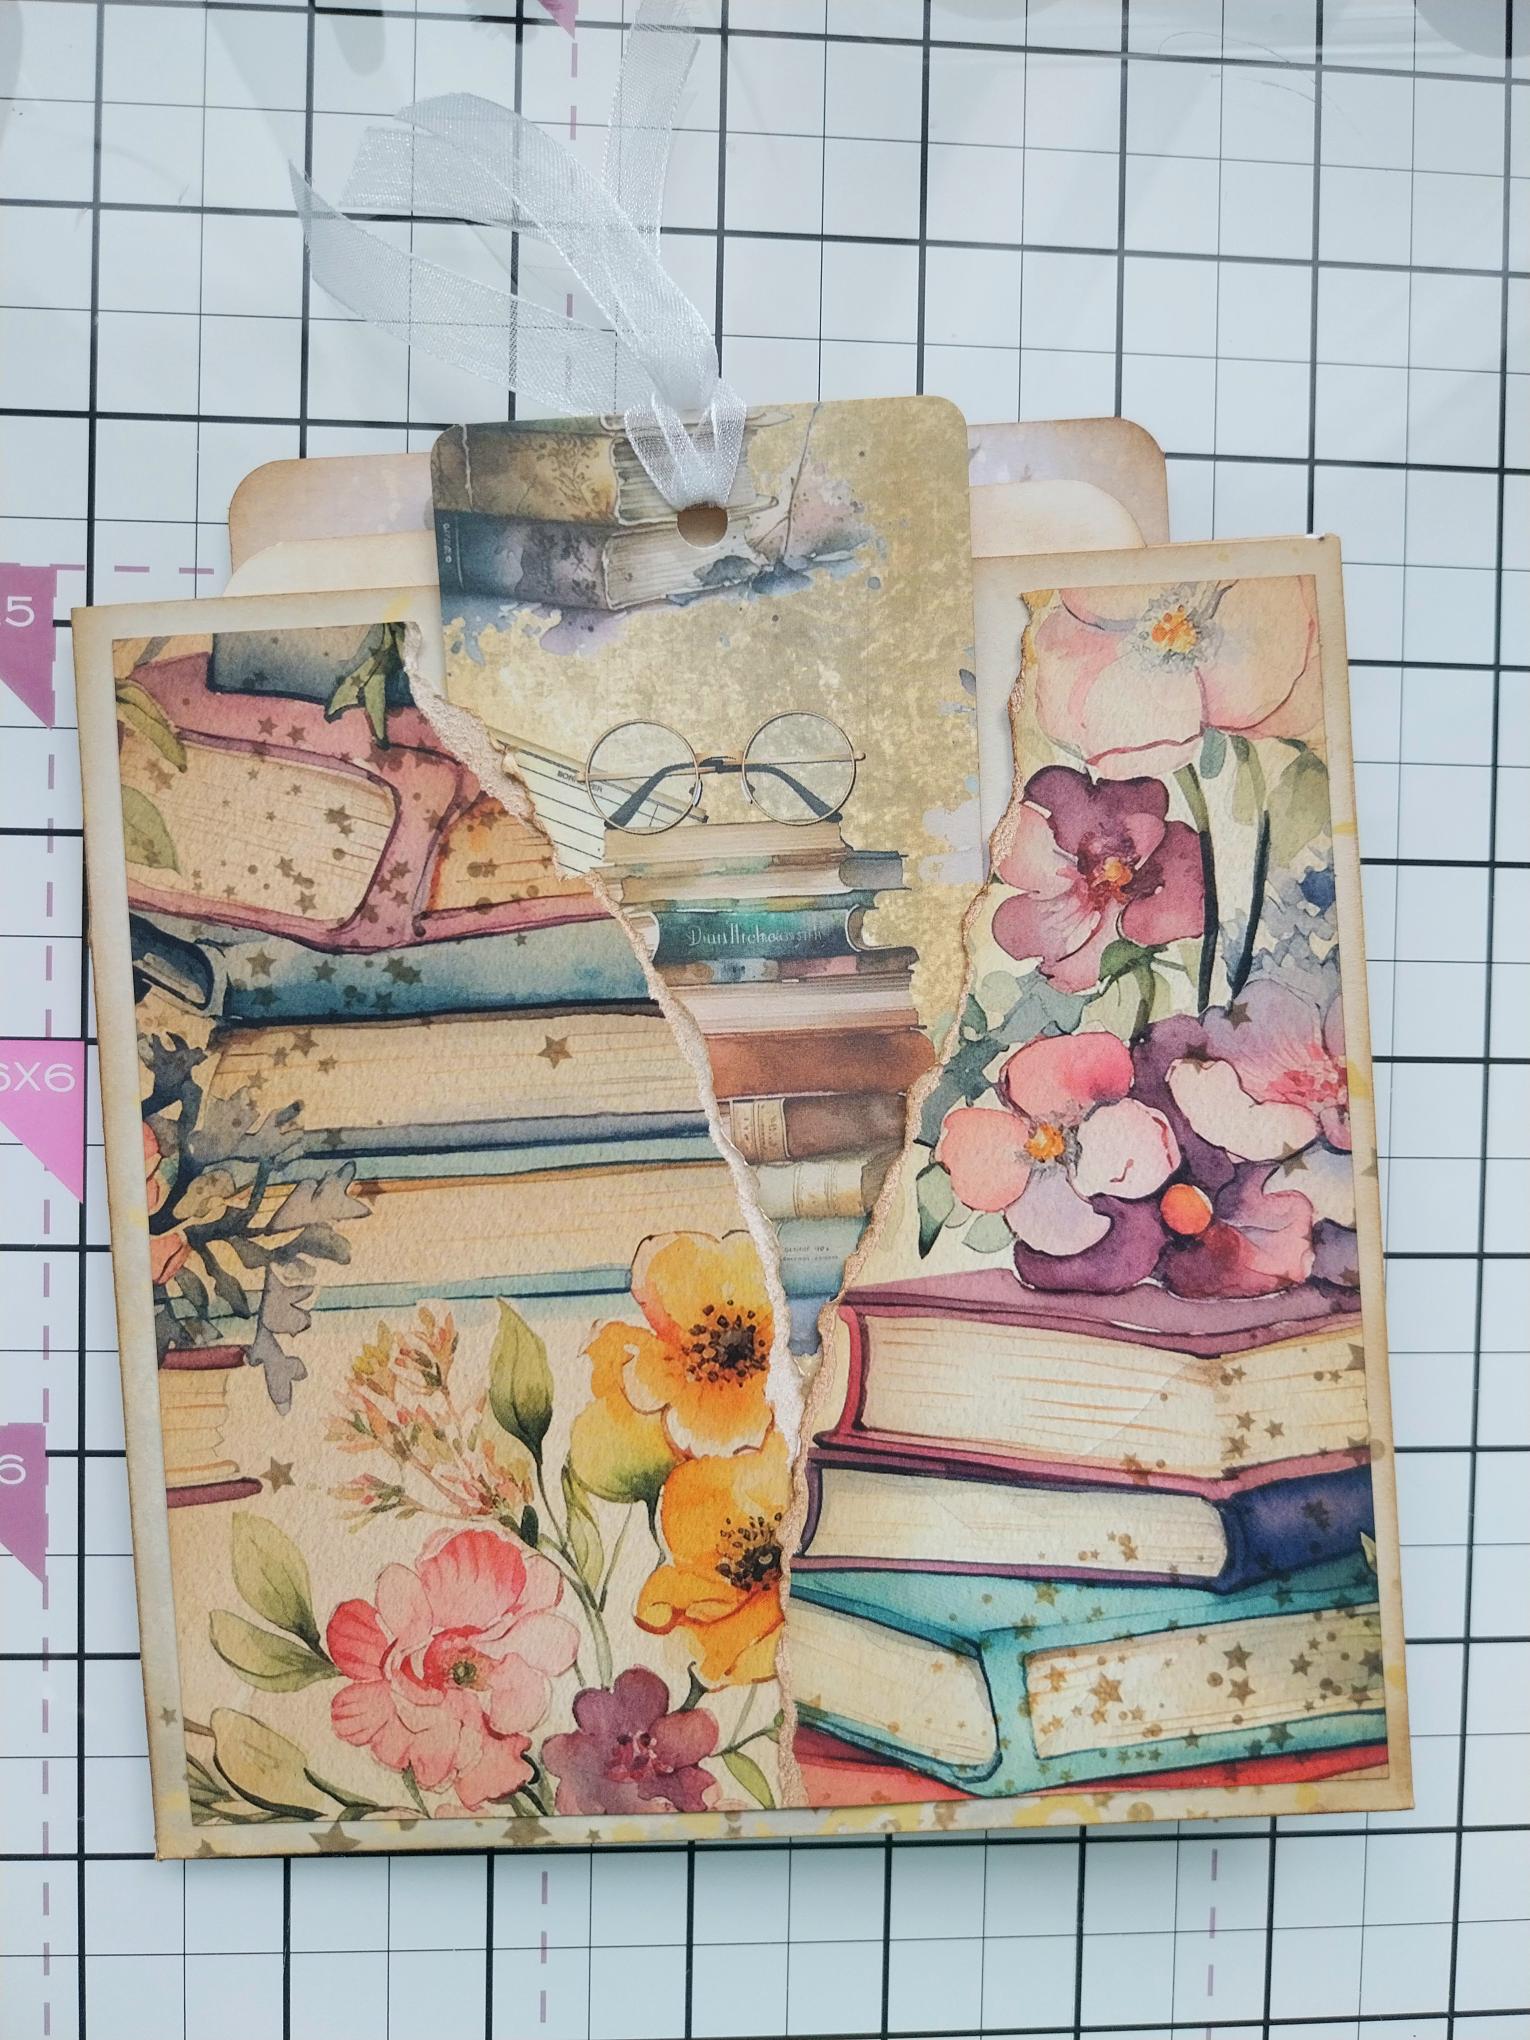
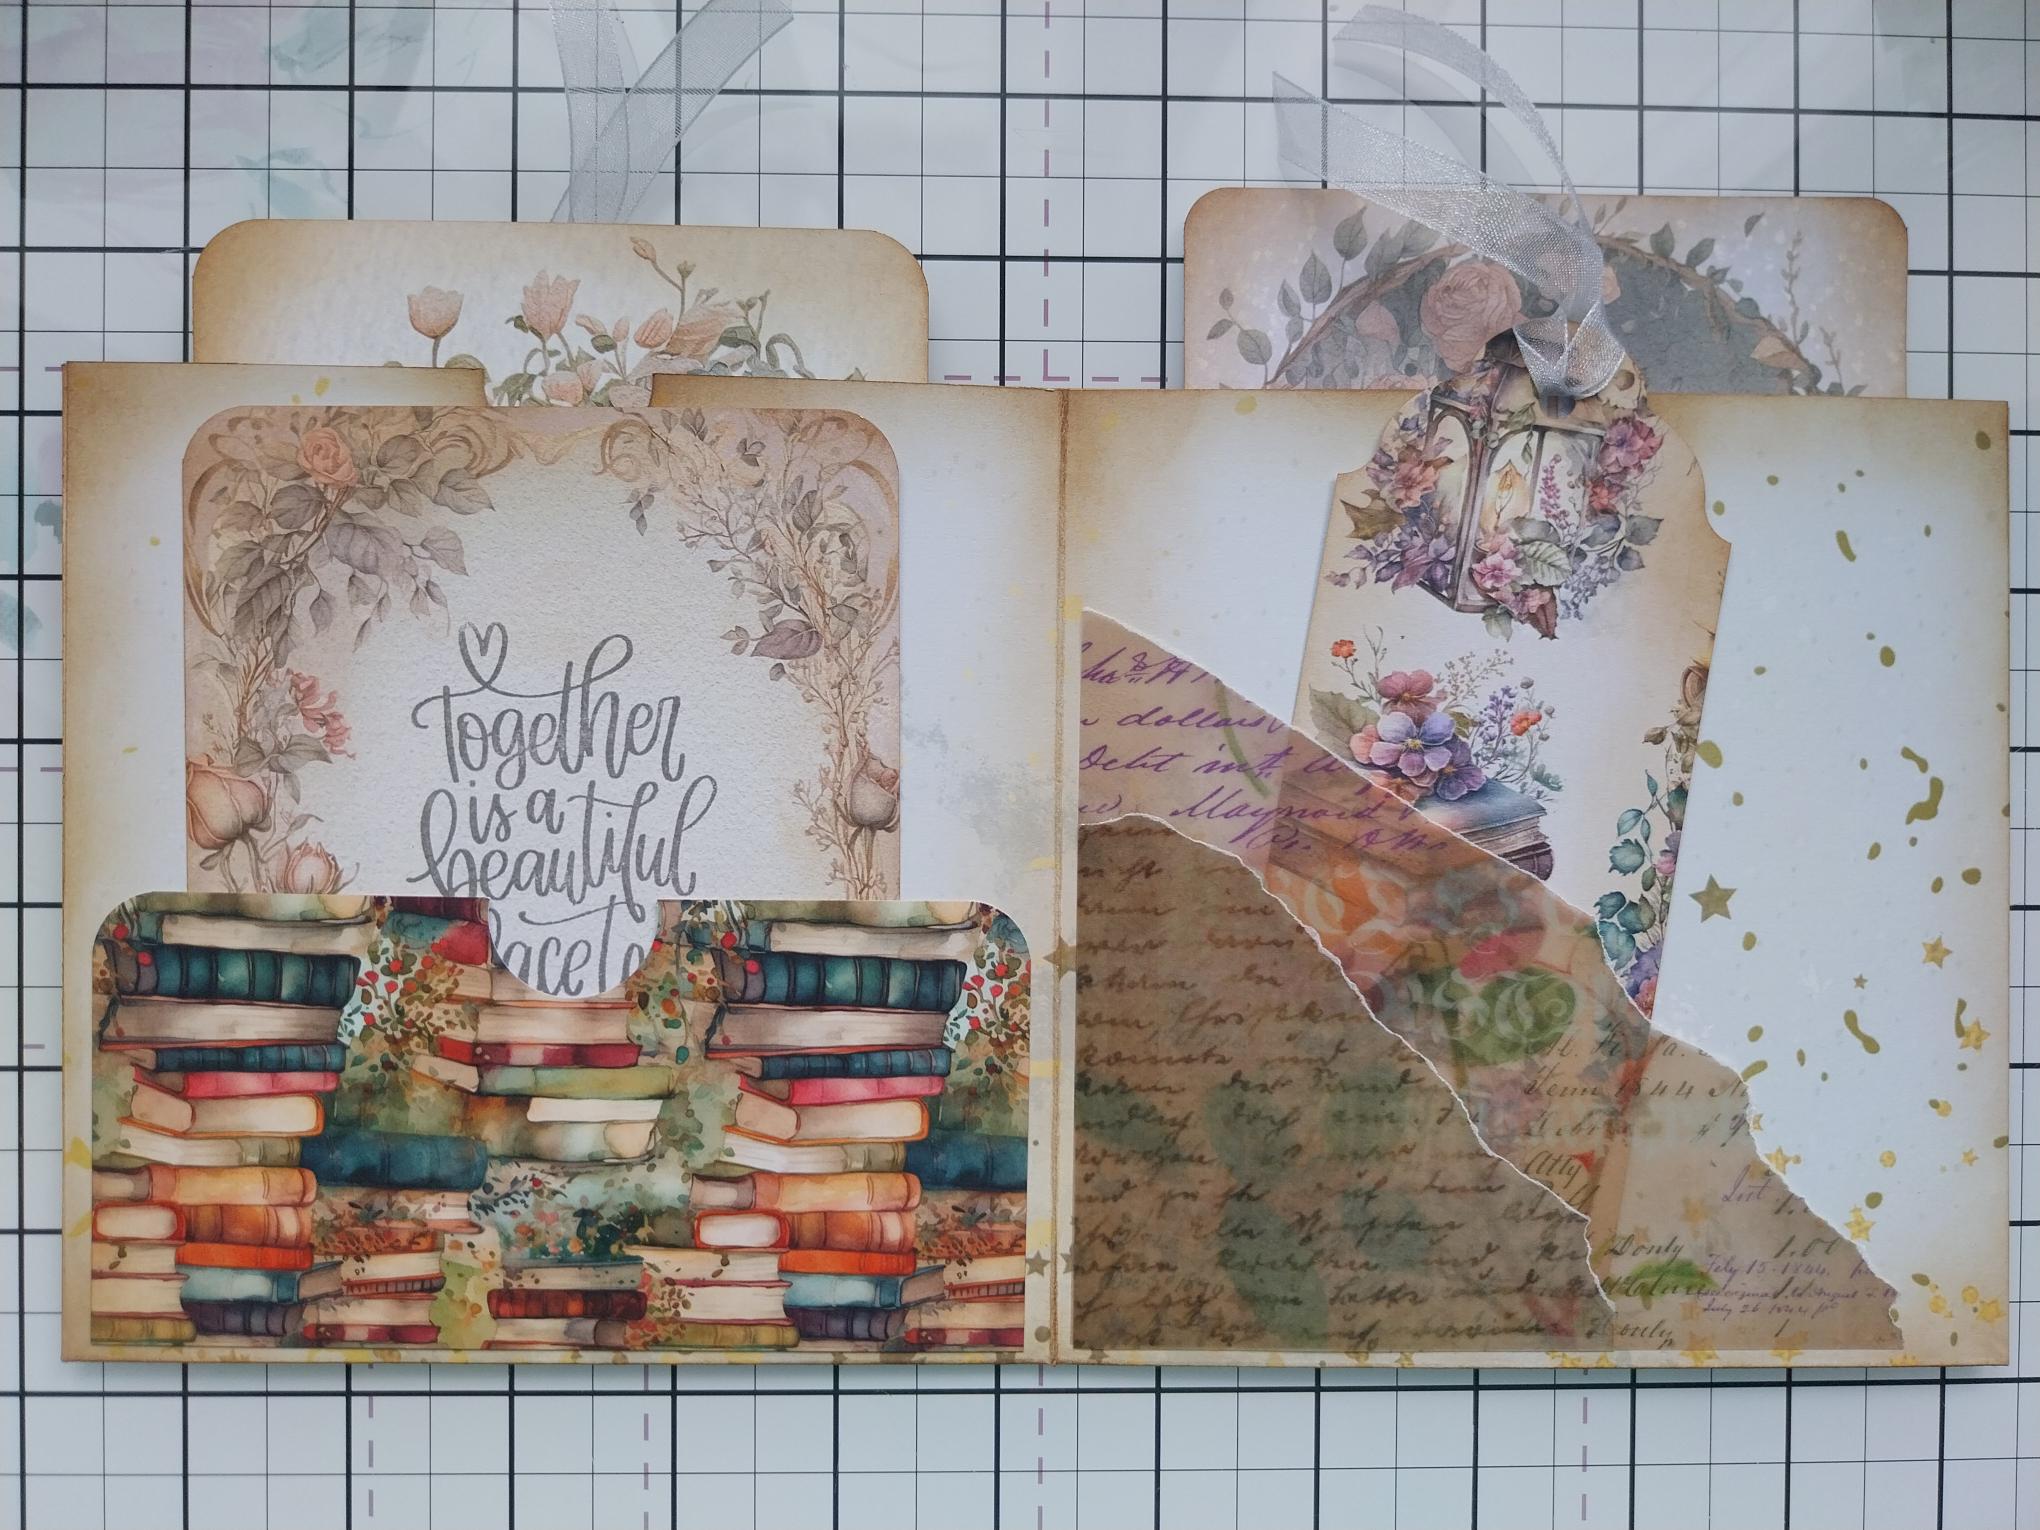
Use your papers and vellum to create pockets on the inner pages of your wallet. |
|
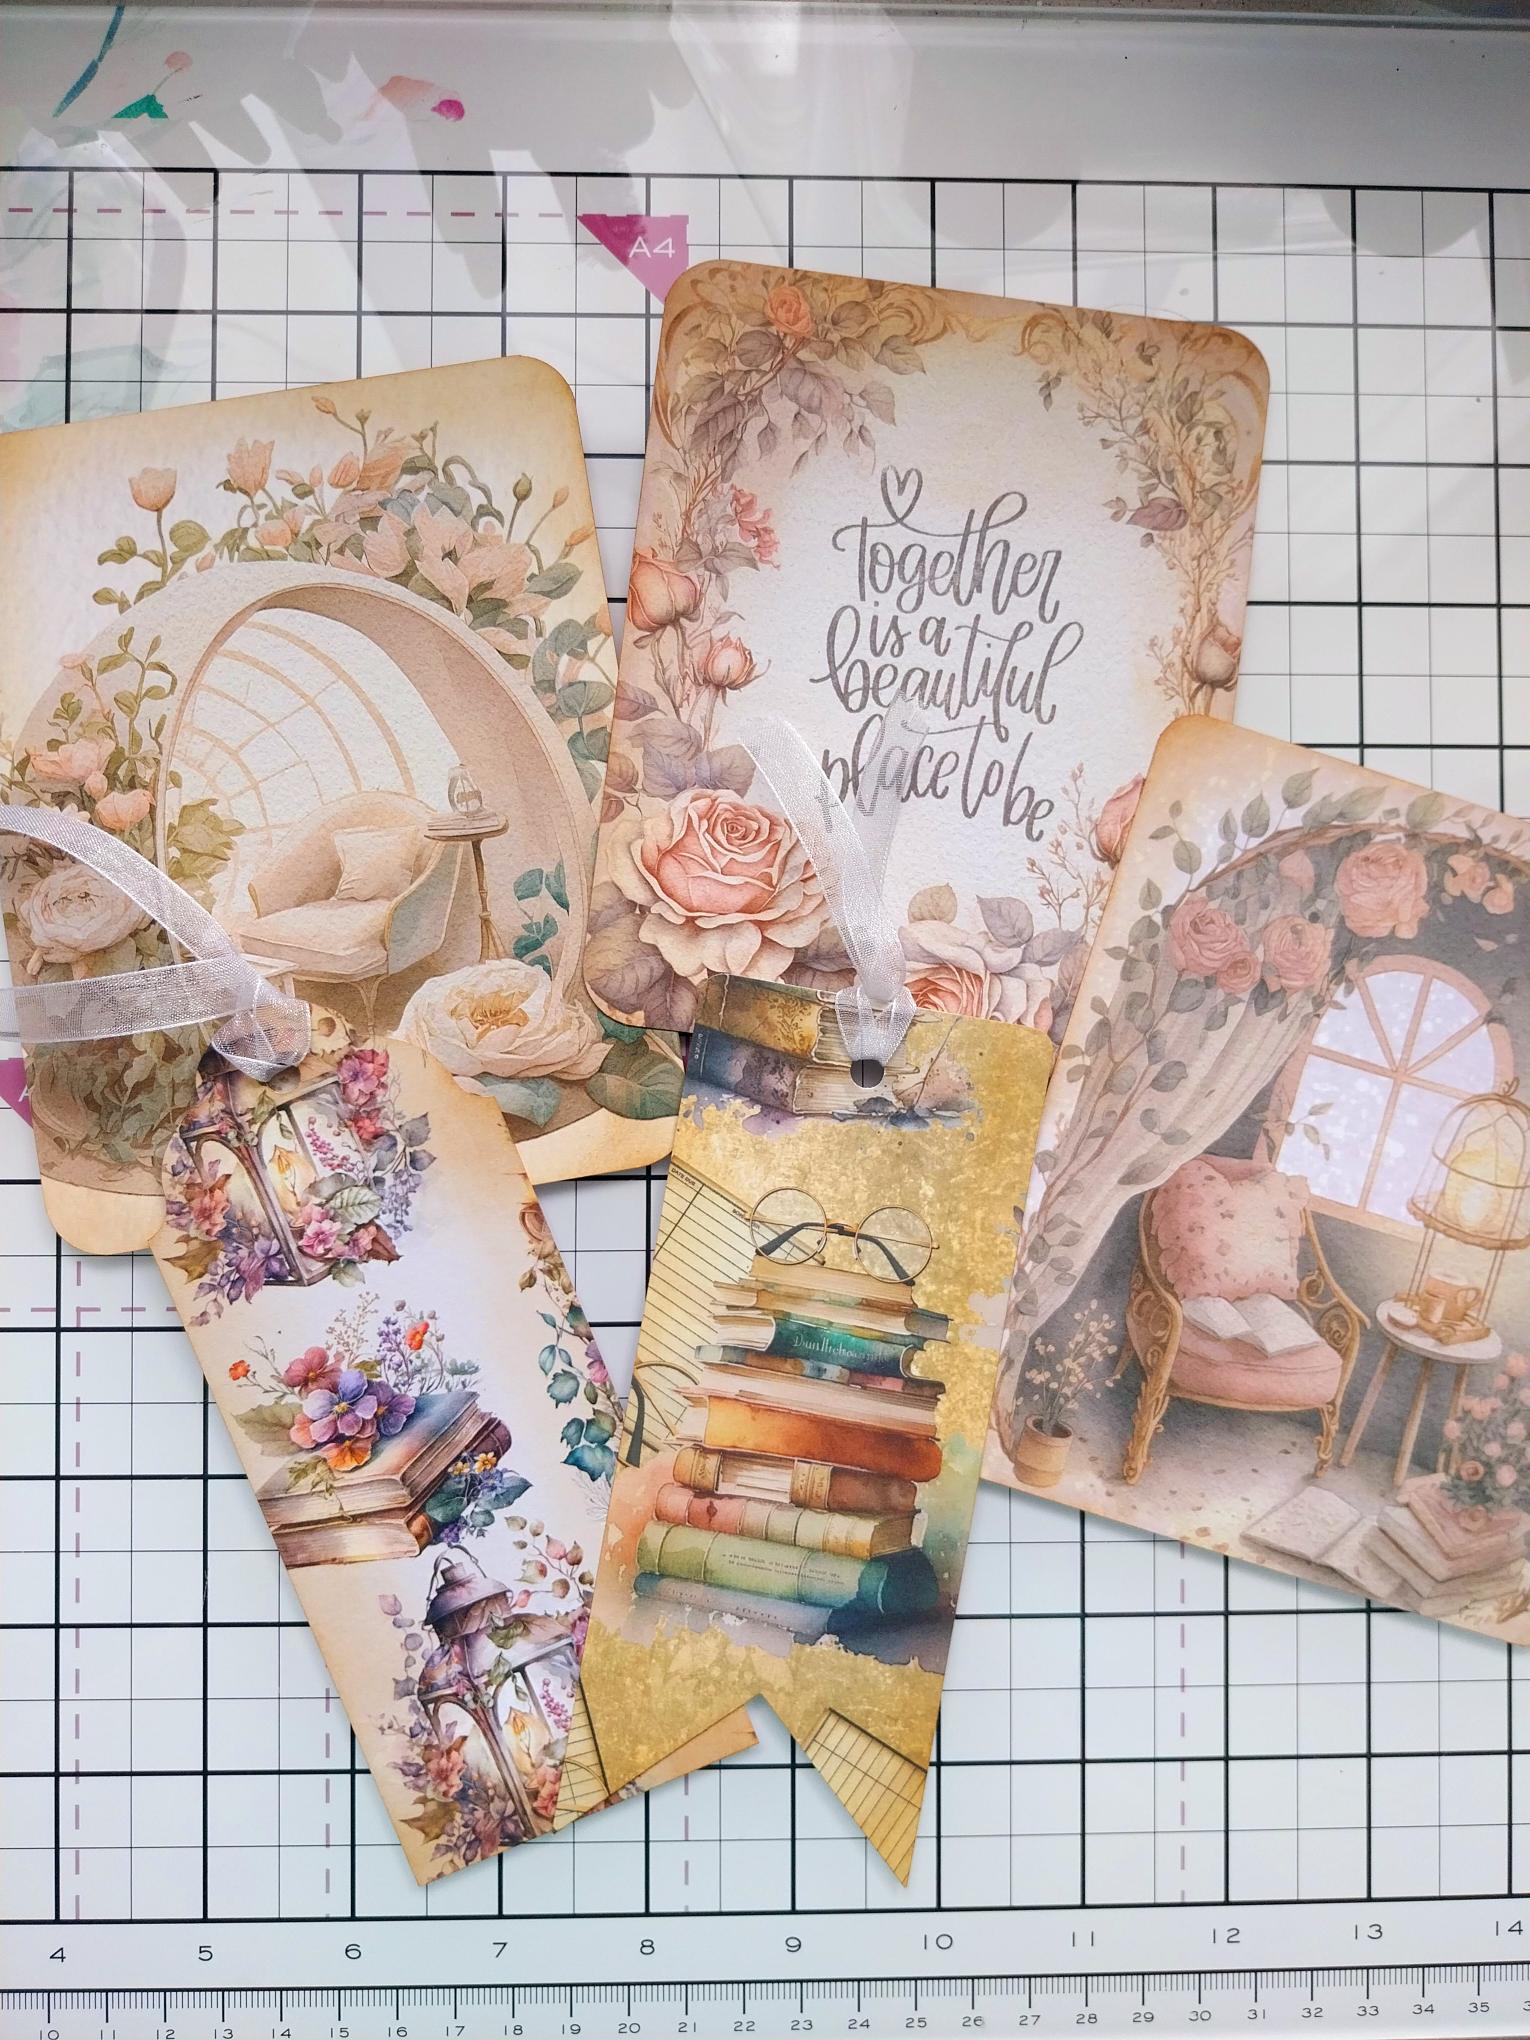
Now have fun creating toppers, tags and bookmarks to go inside your pockets. Use your punches, twine, ribbon as required, blending all around the edges of the papers with the Vintage Photo. Stamp or adhere sentiments where you wish, to fit the occasion! |
|
One of the bookmarks can be placed inside the front pocket of your wallet. |
|
The other toppers, tags and bookmarks can be placed inside the inner pockets and voila!! A beautiful giftable for a loved one or friend. |