Give your friends $10 off their first order!
Refer a FRIEND


White card blank 6 x 6"
White cardstock
Shabby Chic Paper Collection
Floral Fusion Die Set
SBM A3 Magnetic glass mat
Paper Trimmer
Glue
Die Cutting machine
[click image to enlarge] 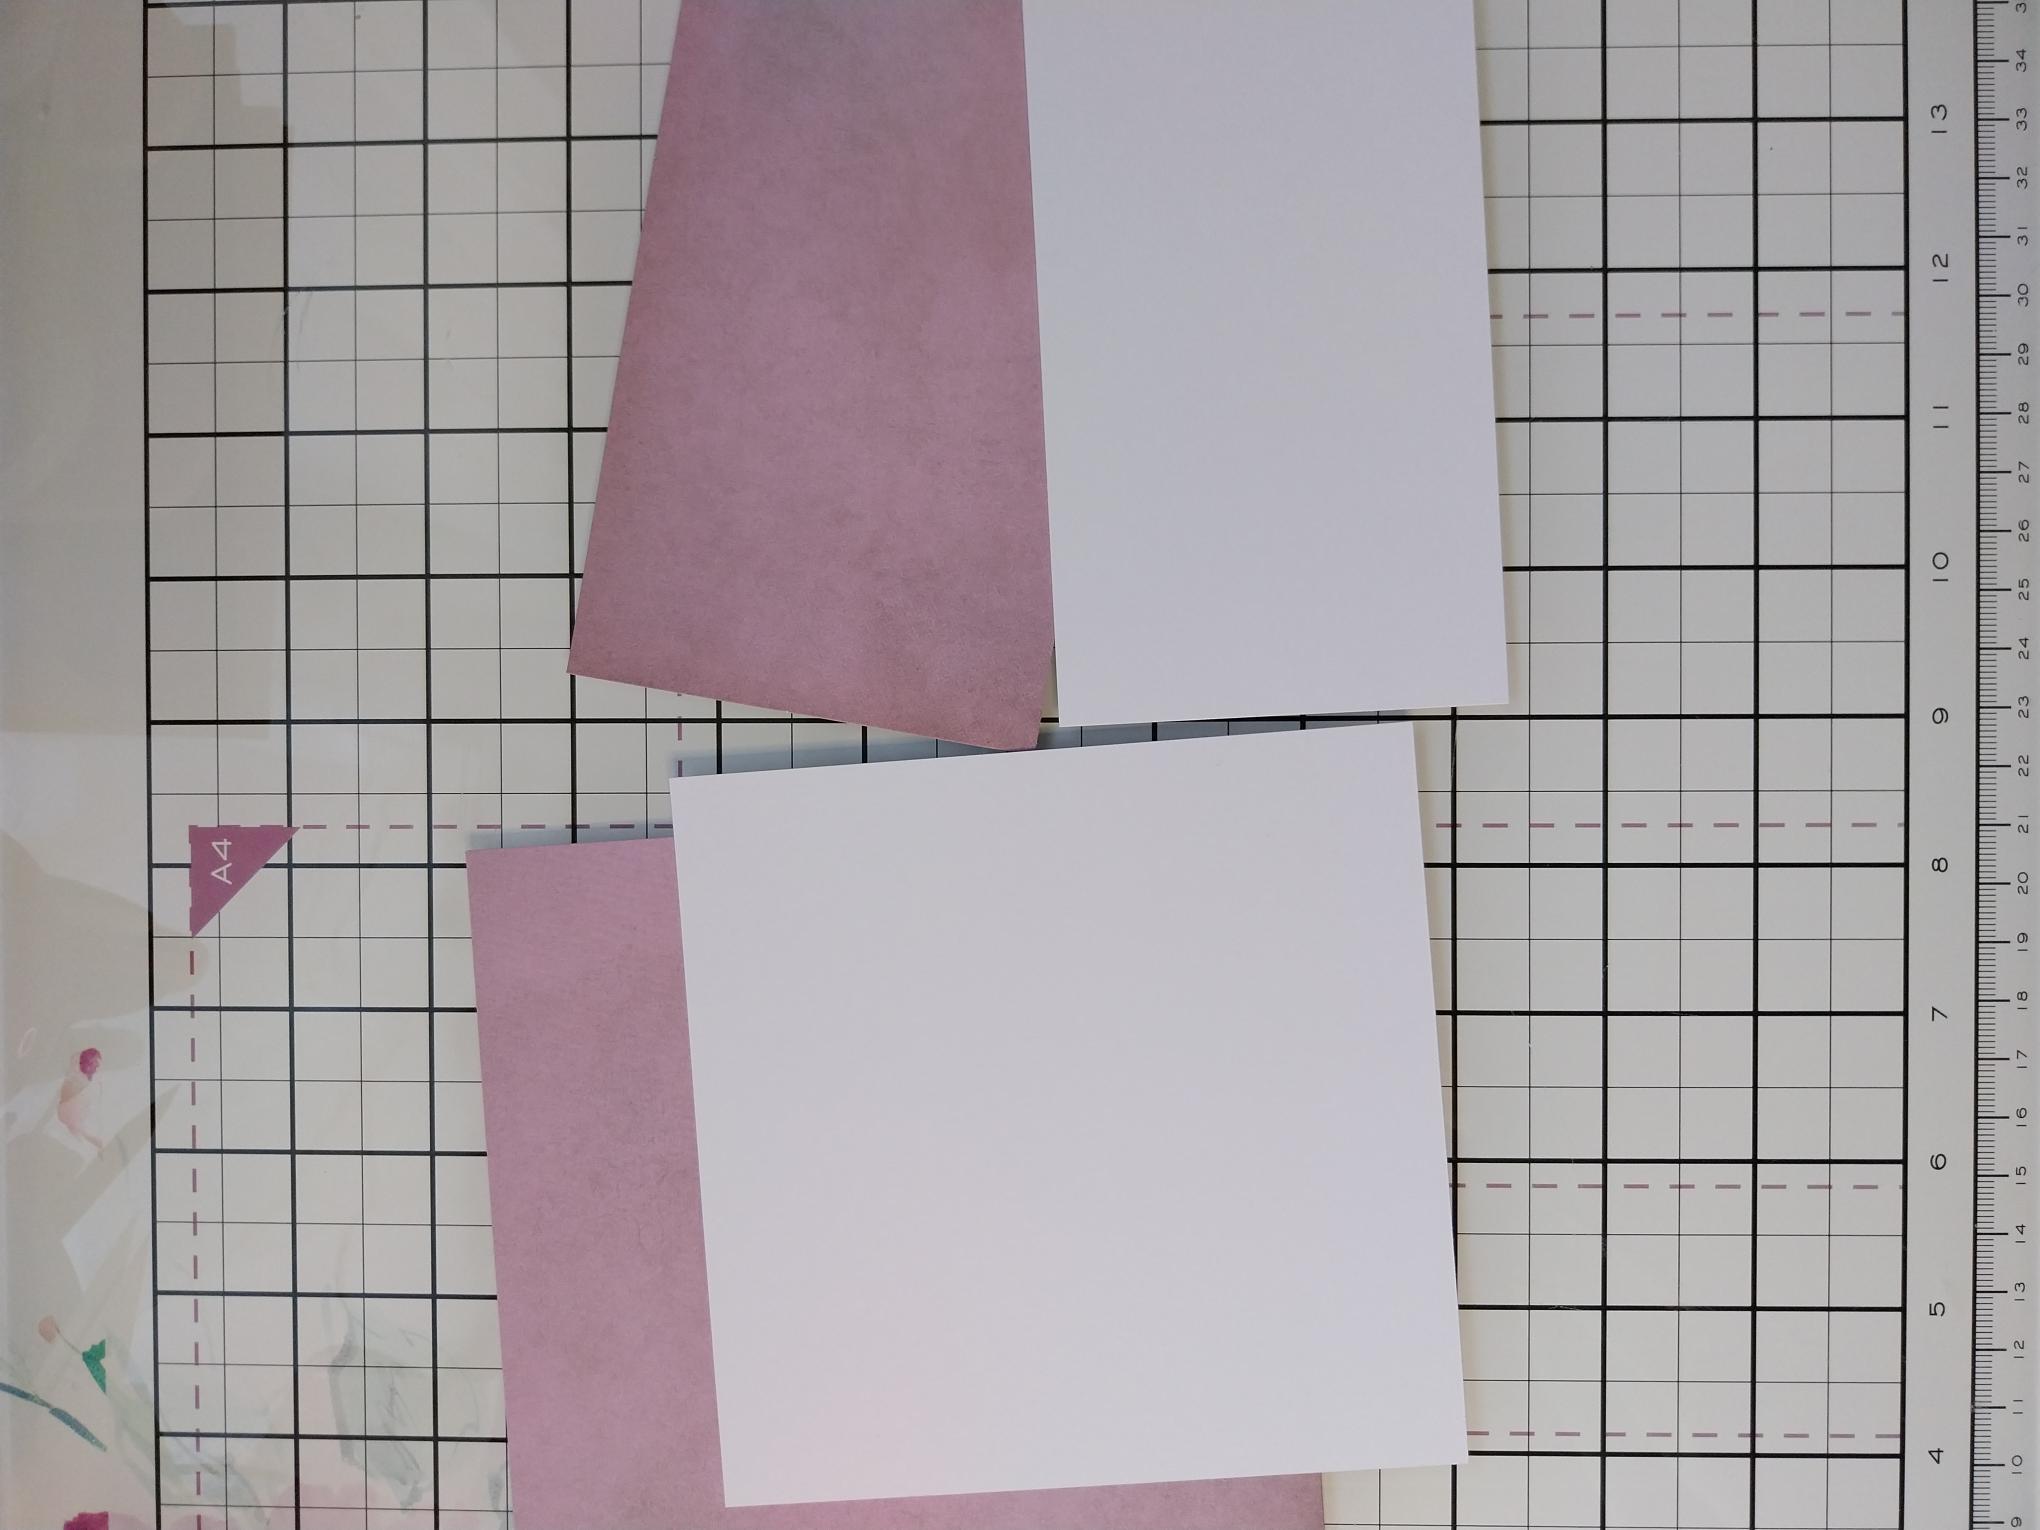
|
Cut two pieces of white card, 5" square and 3 x 5". Cut two pieces of your chosen plain paper from the collection, 5 1/2" square and 3 1/4 x 5". |
|
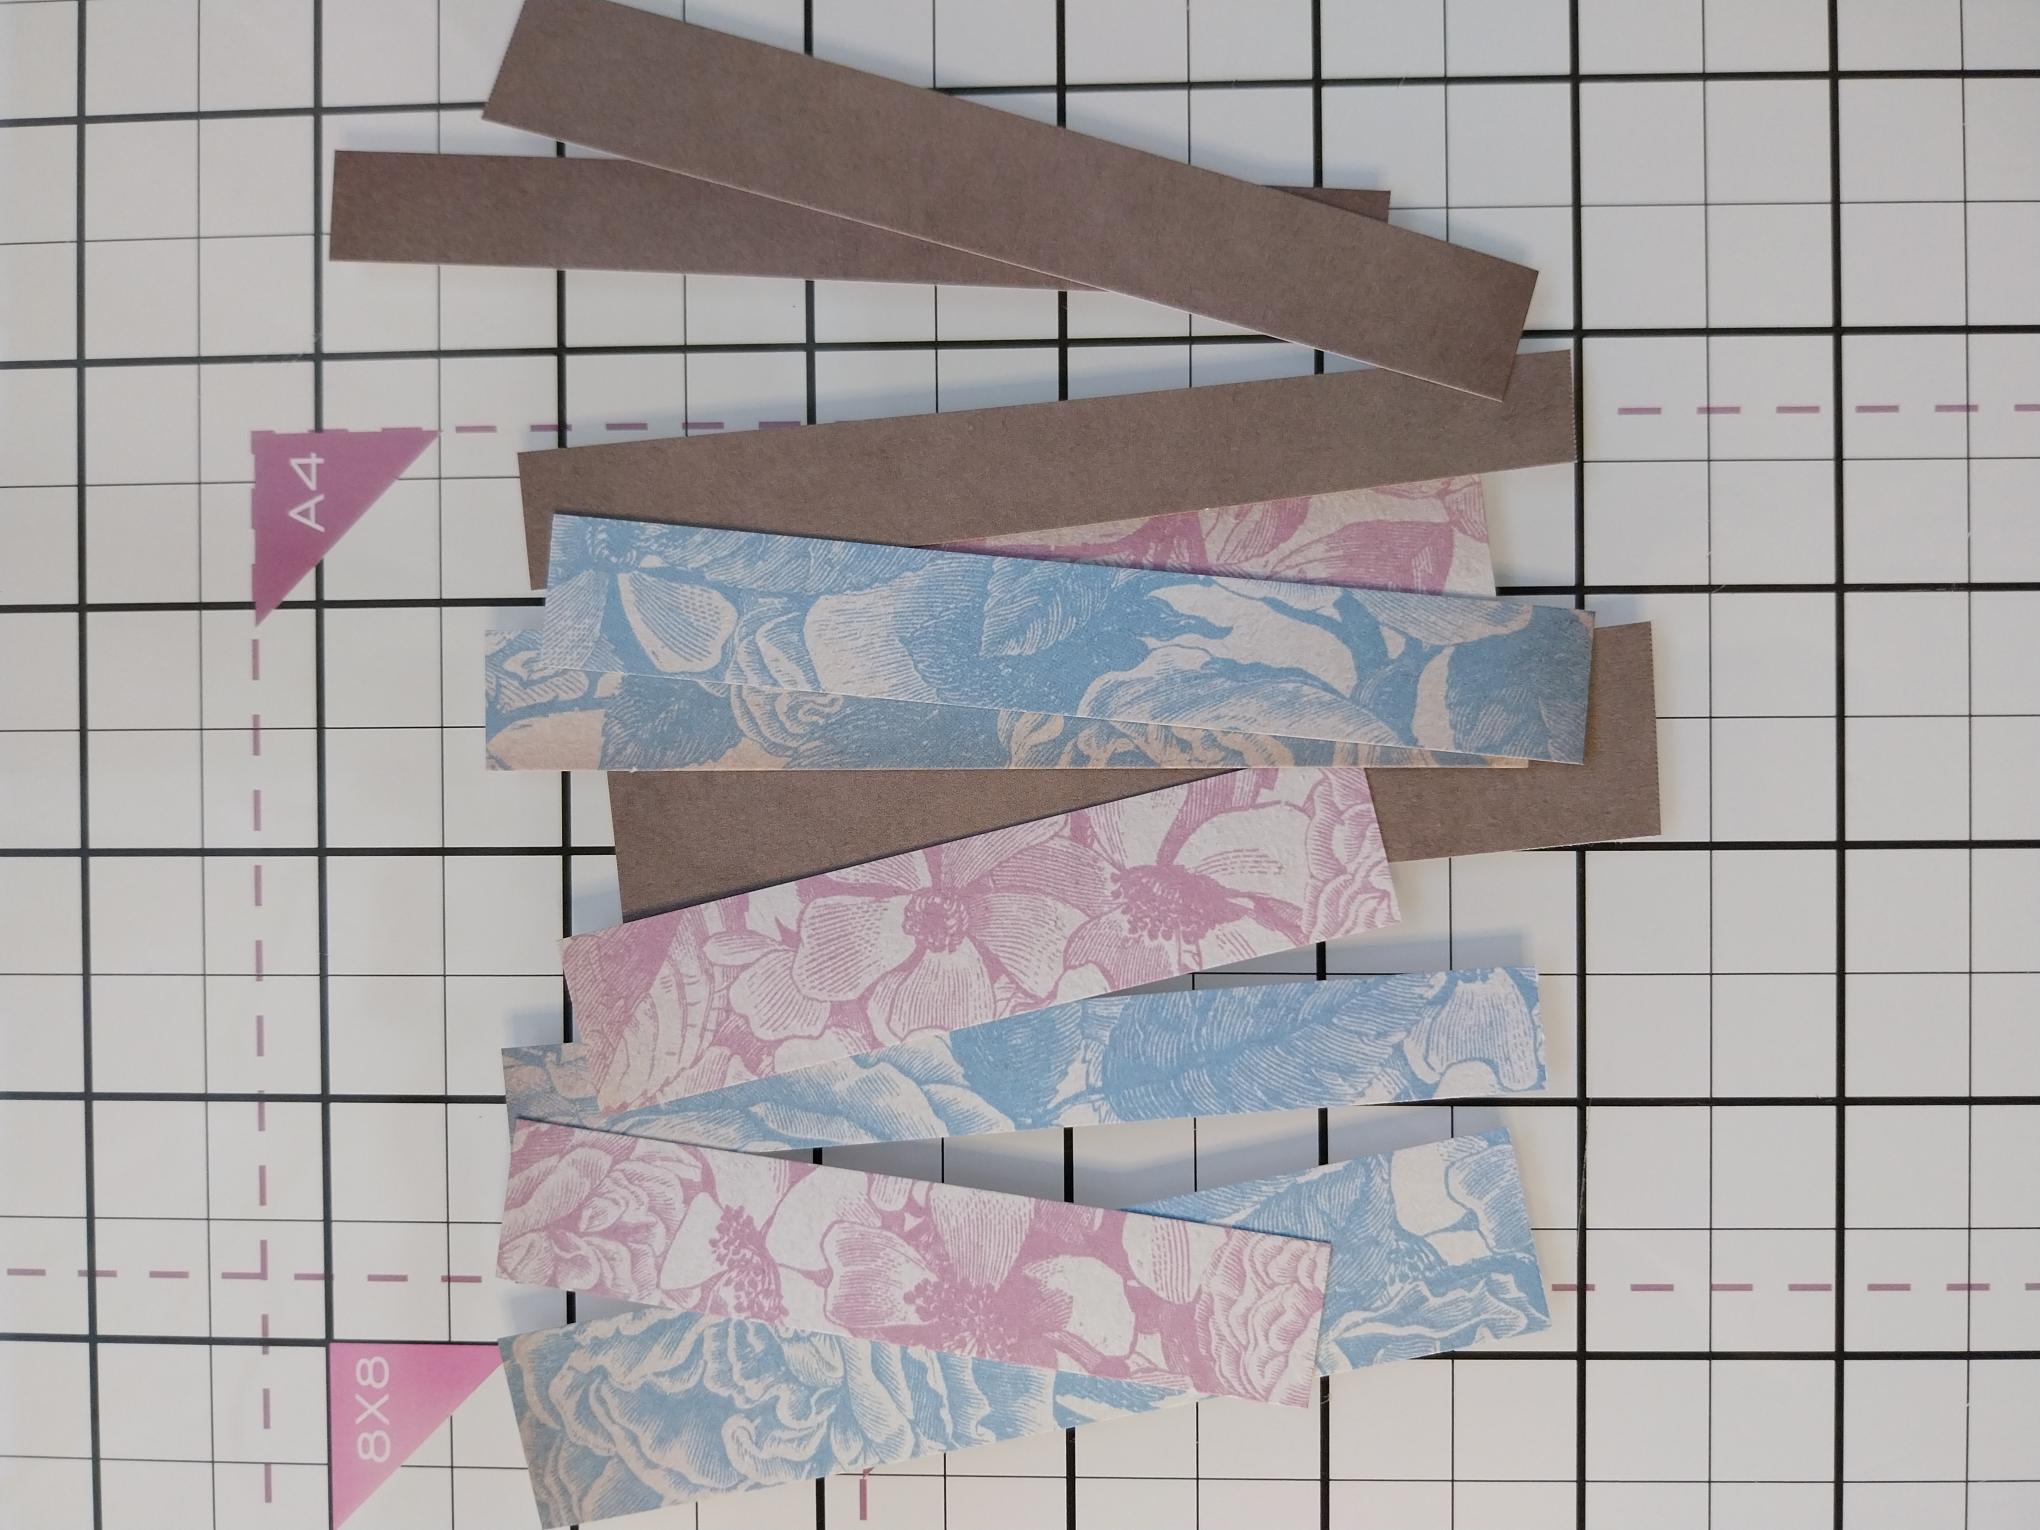
Cut strips from all three of the paper packs, in various widths and about 3 1/2" in length....a great way to use up all your off-cuts!!! |
|
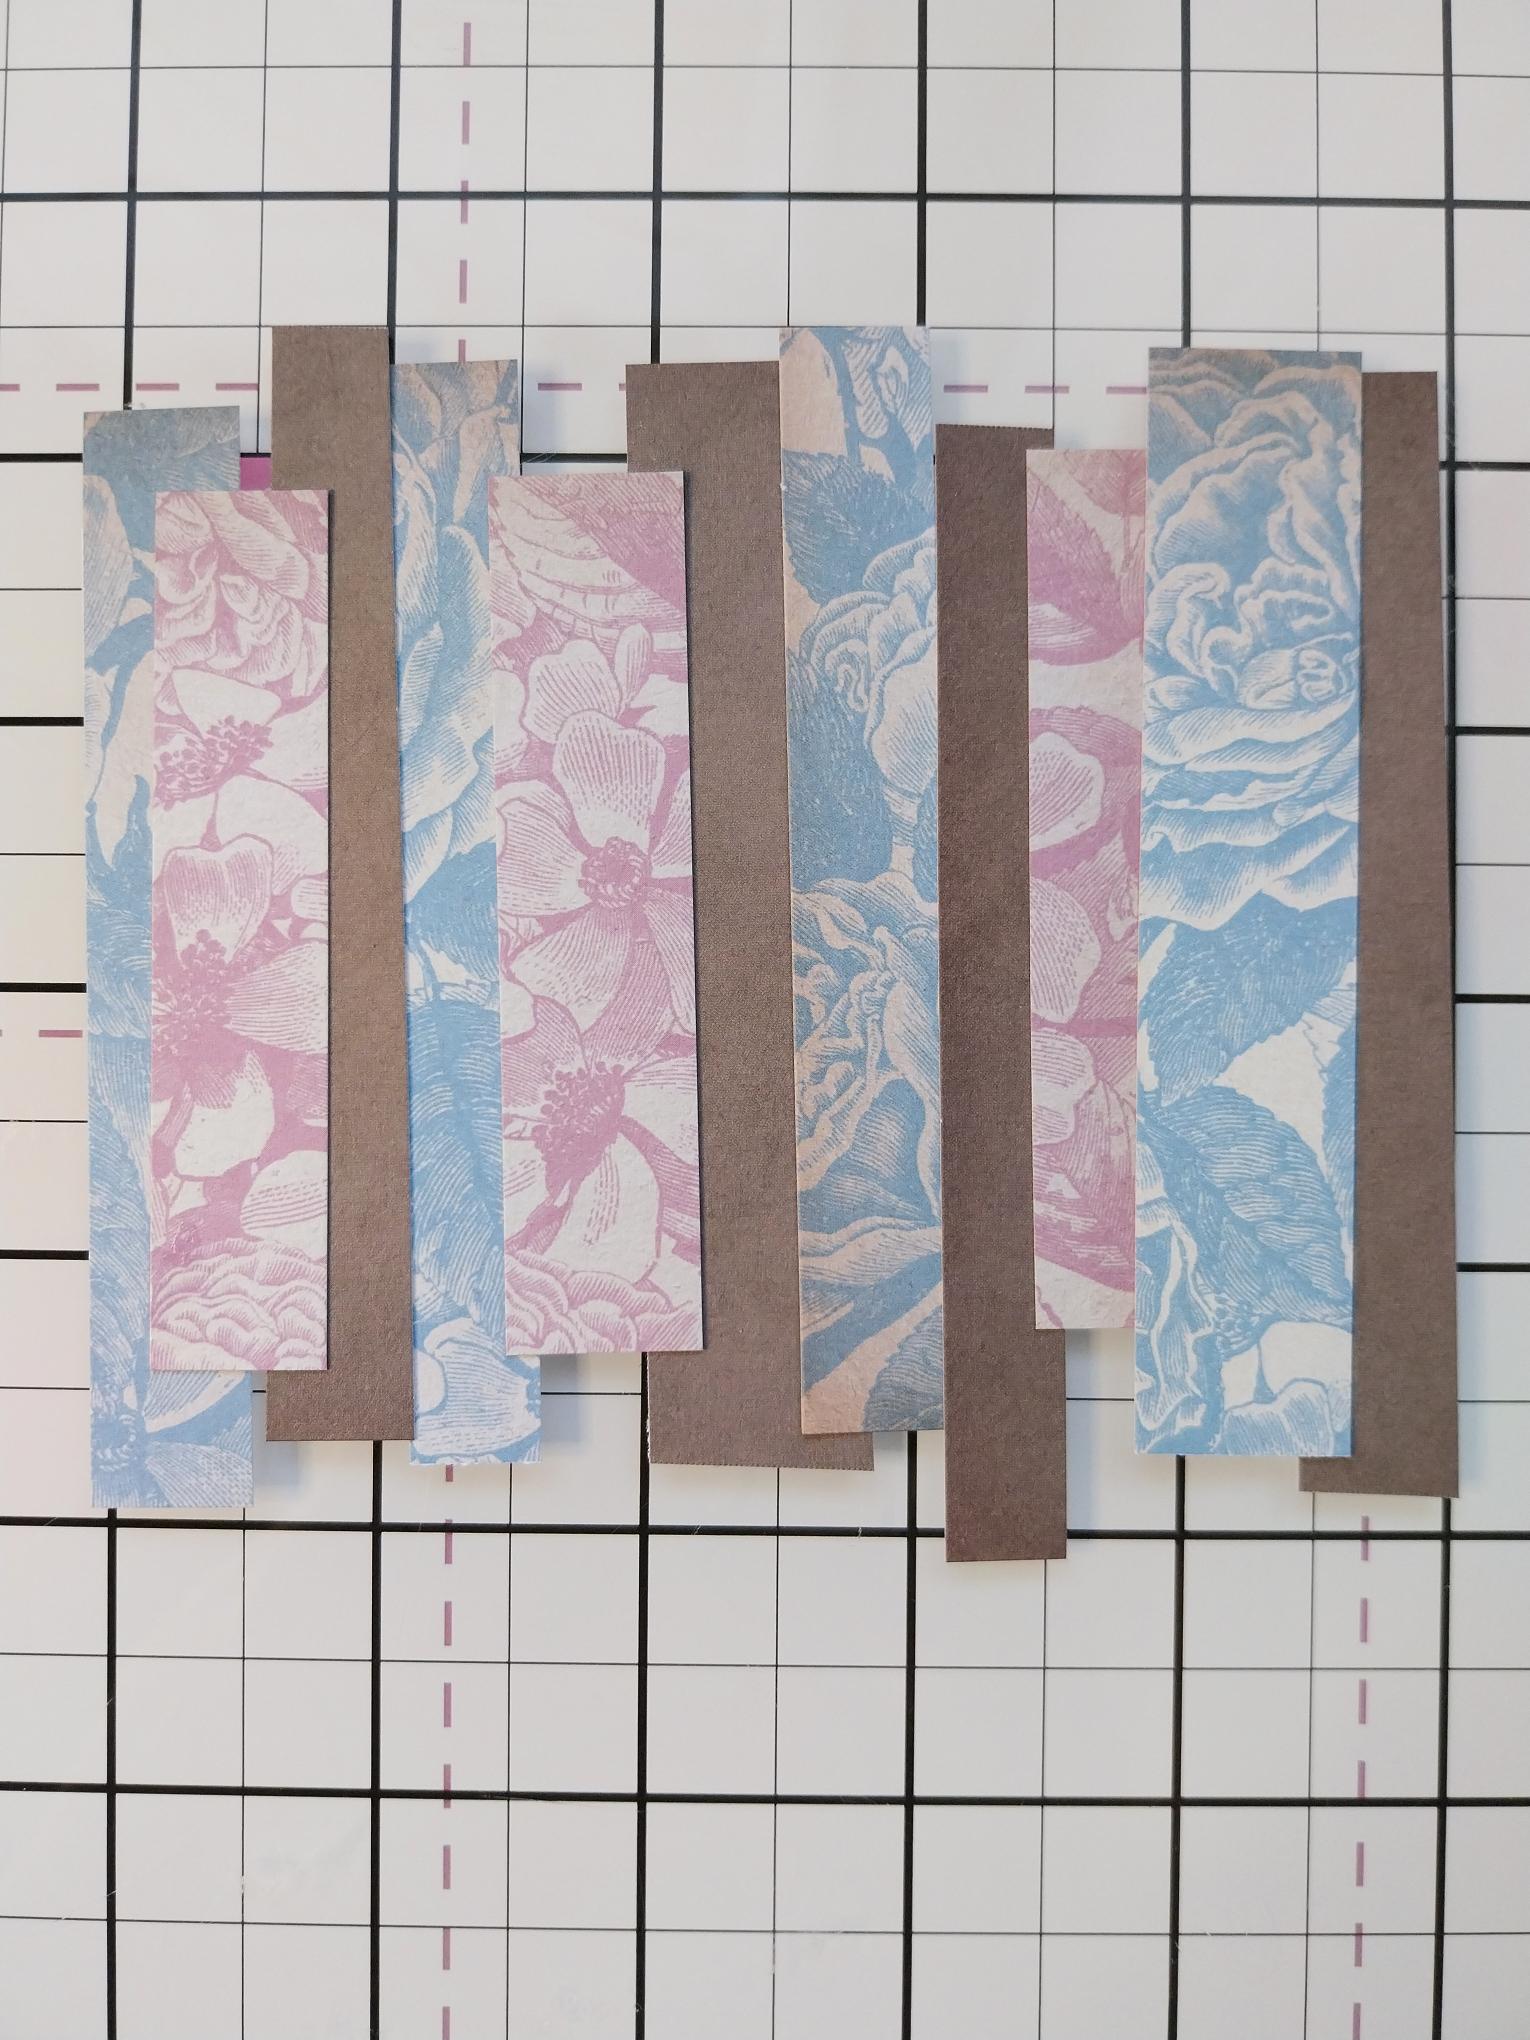
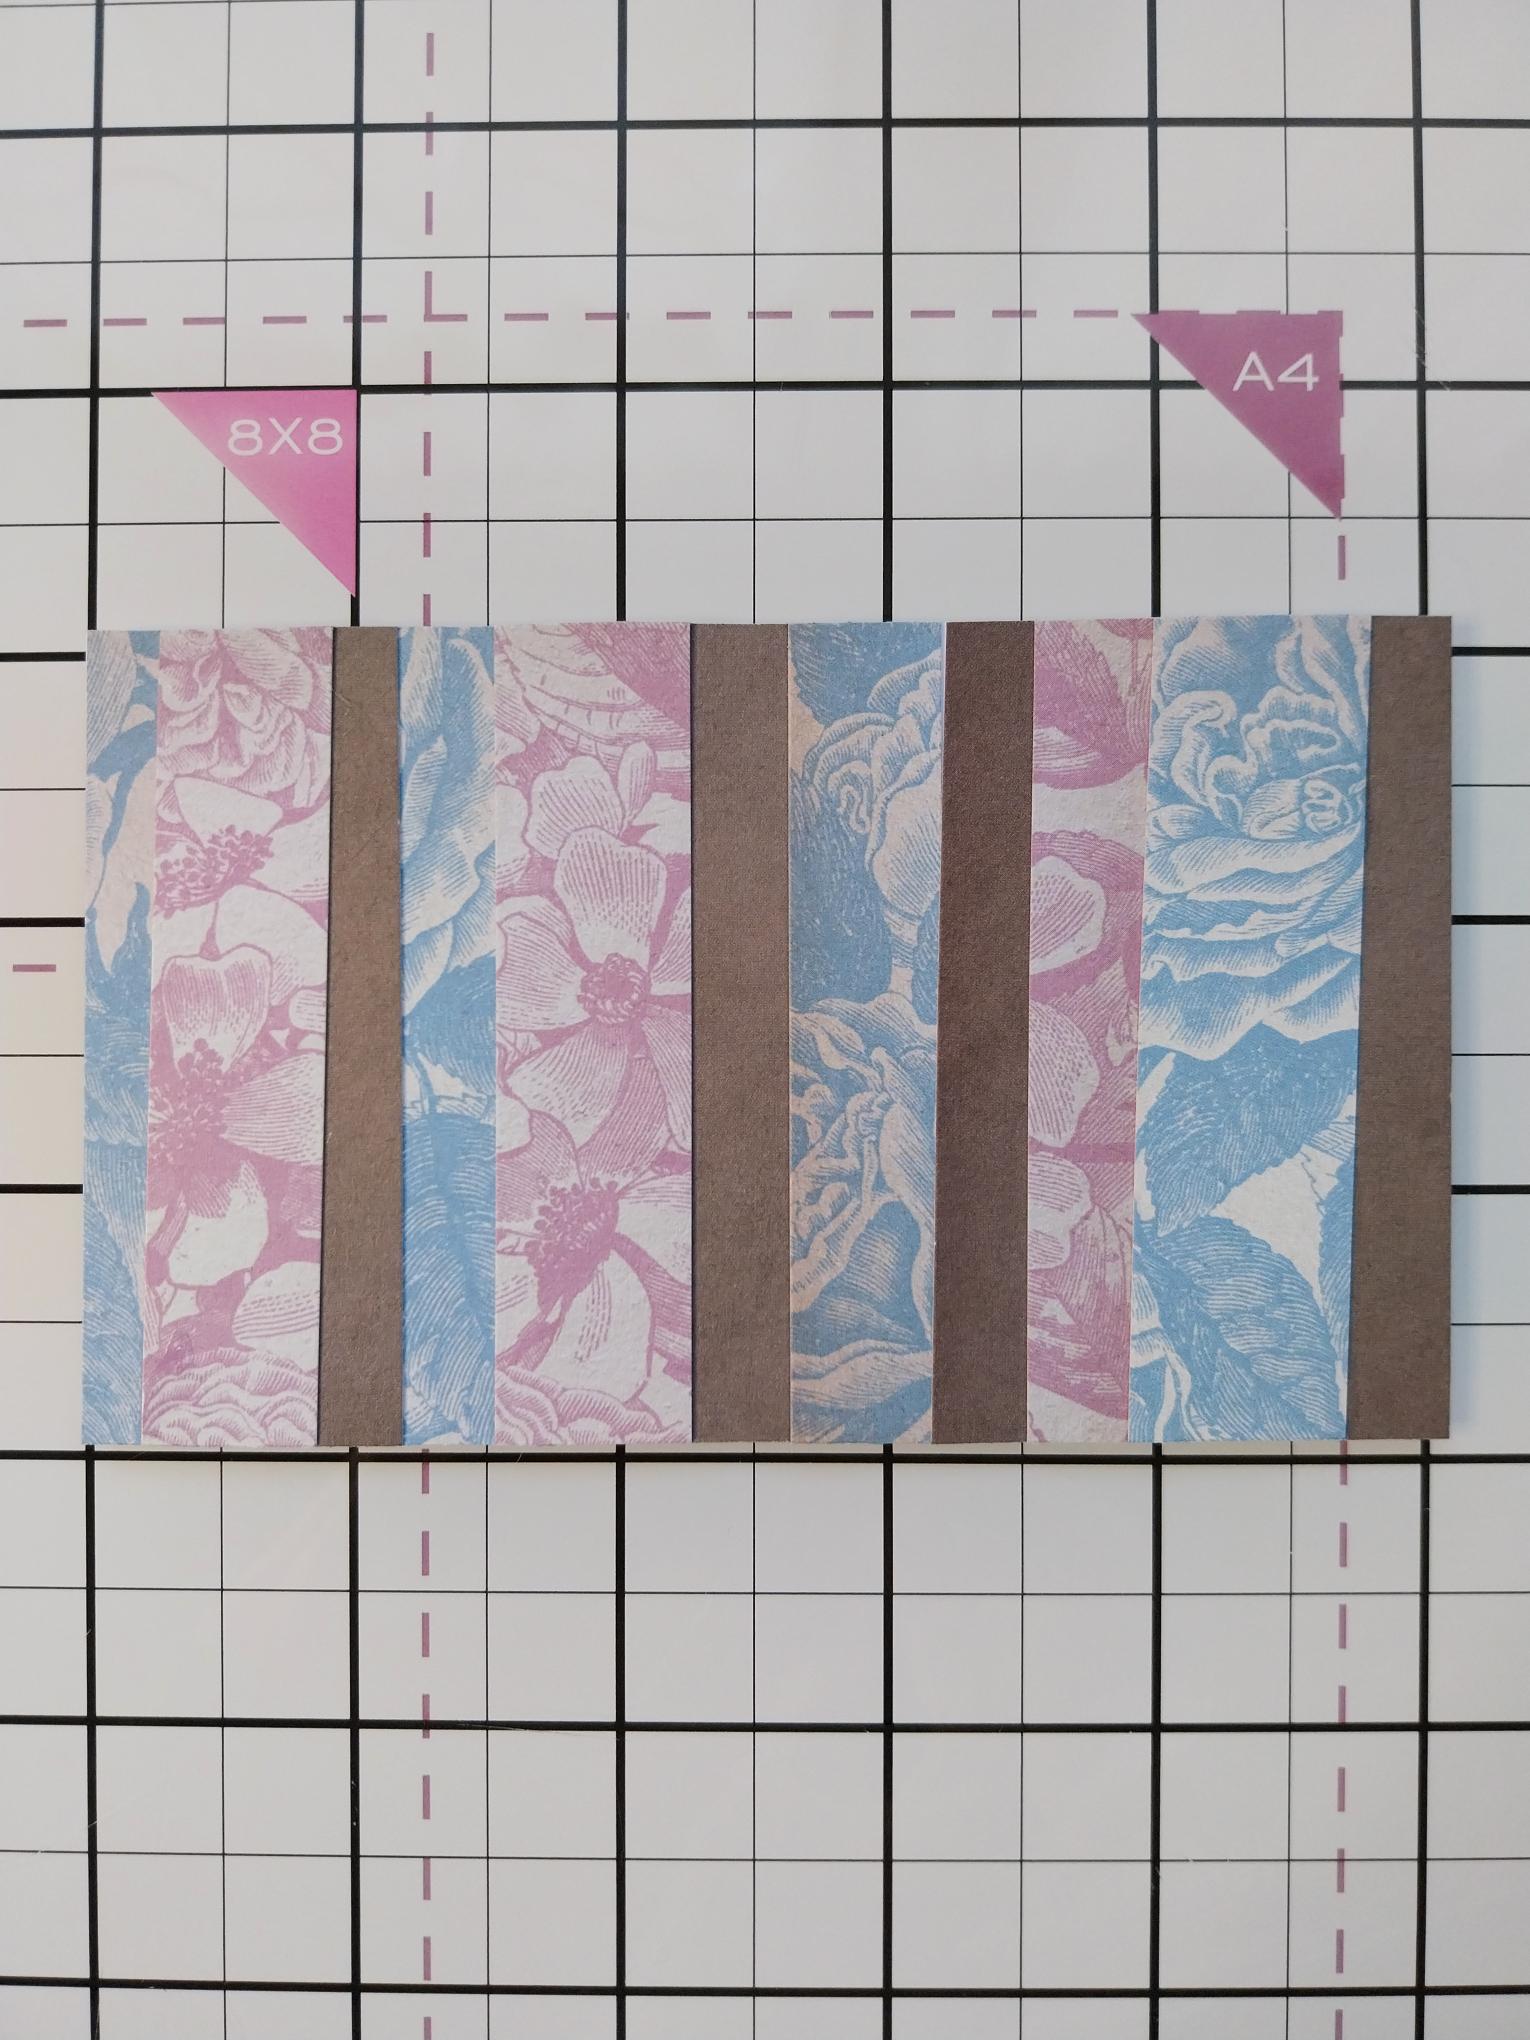
Place the white 3 x 5" card onto your glass mat and randomly adhere the paper strips vertically onto your white panel (don't worry about overhangs). |
|
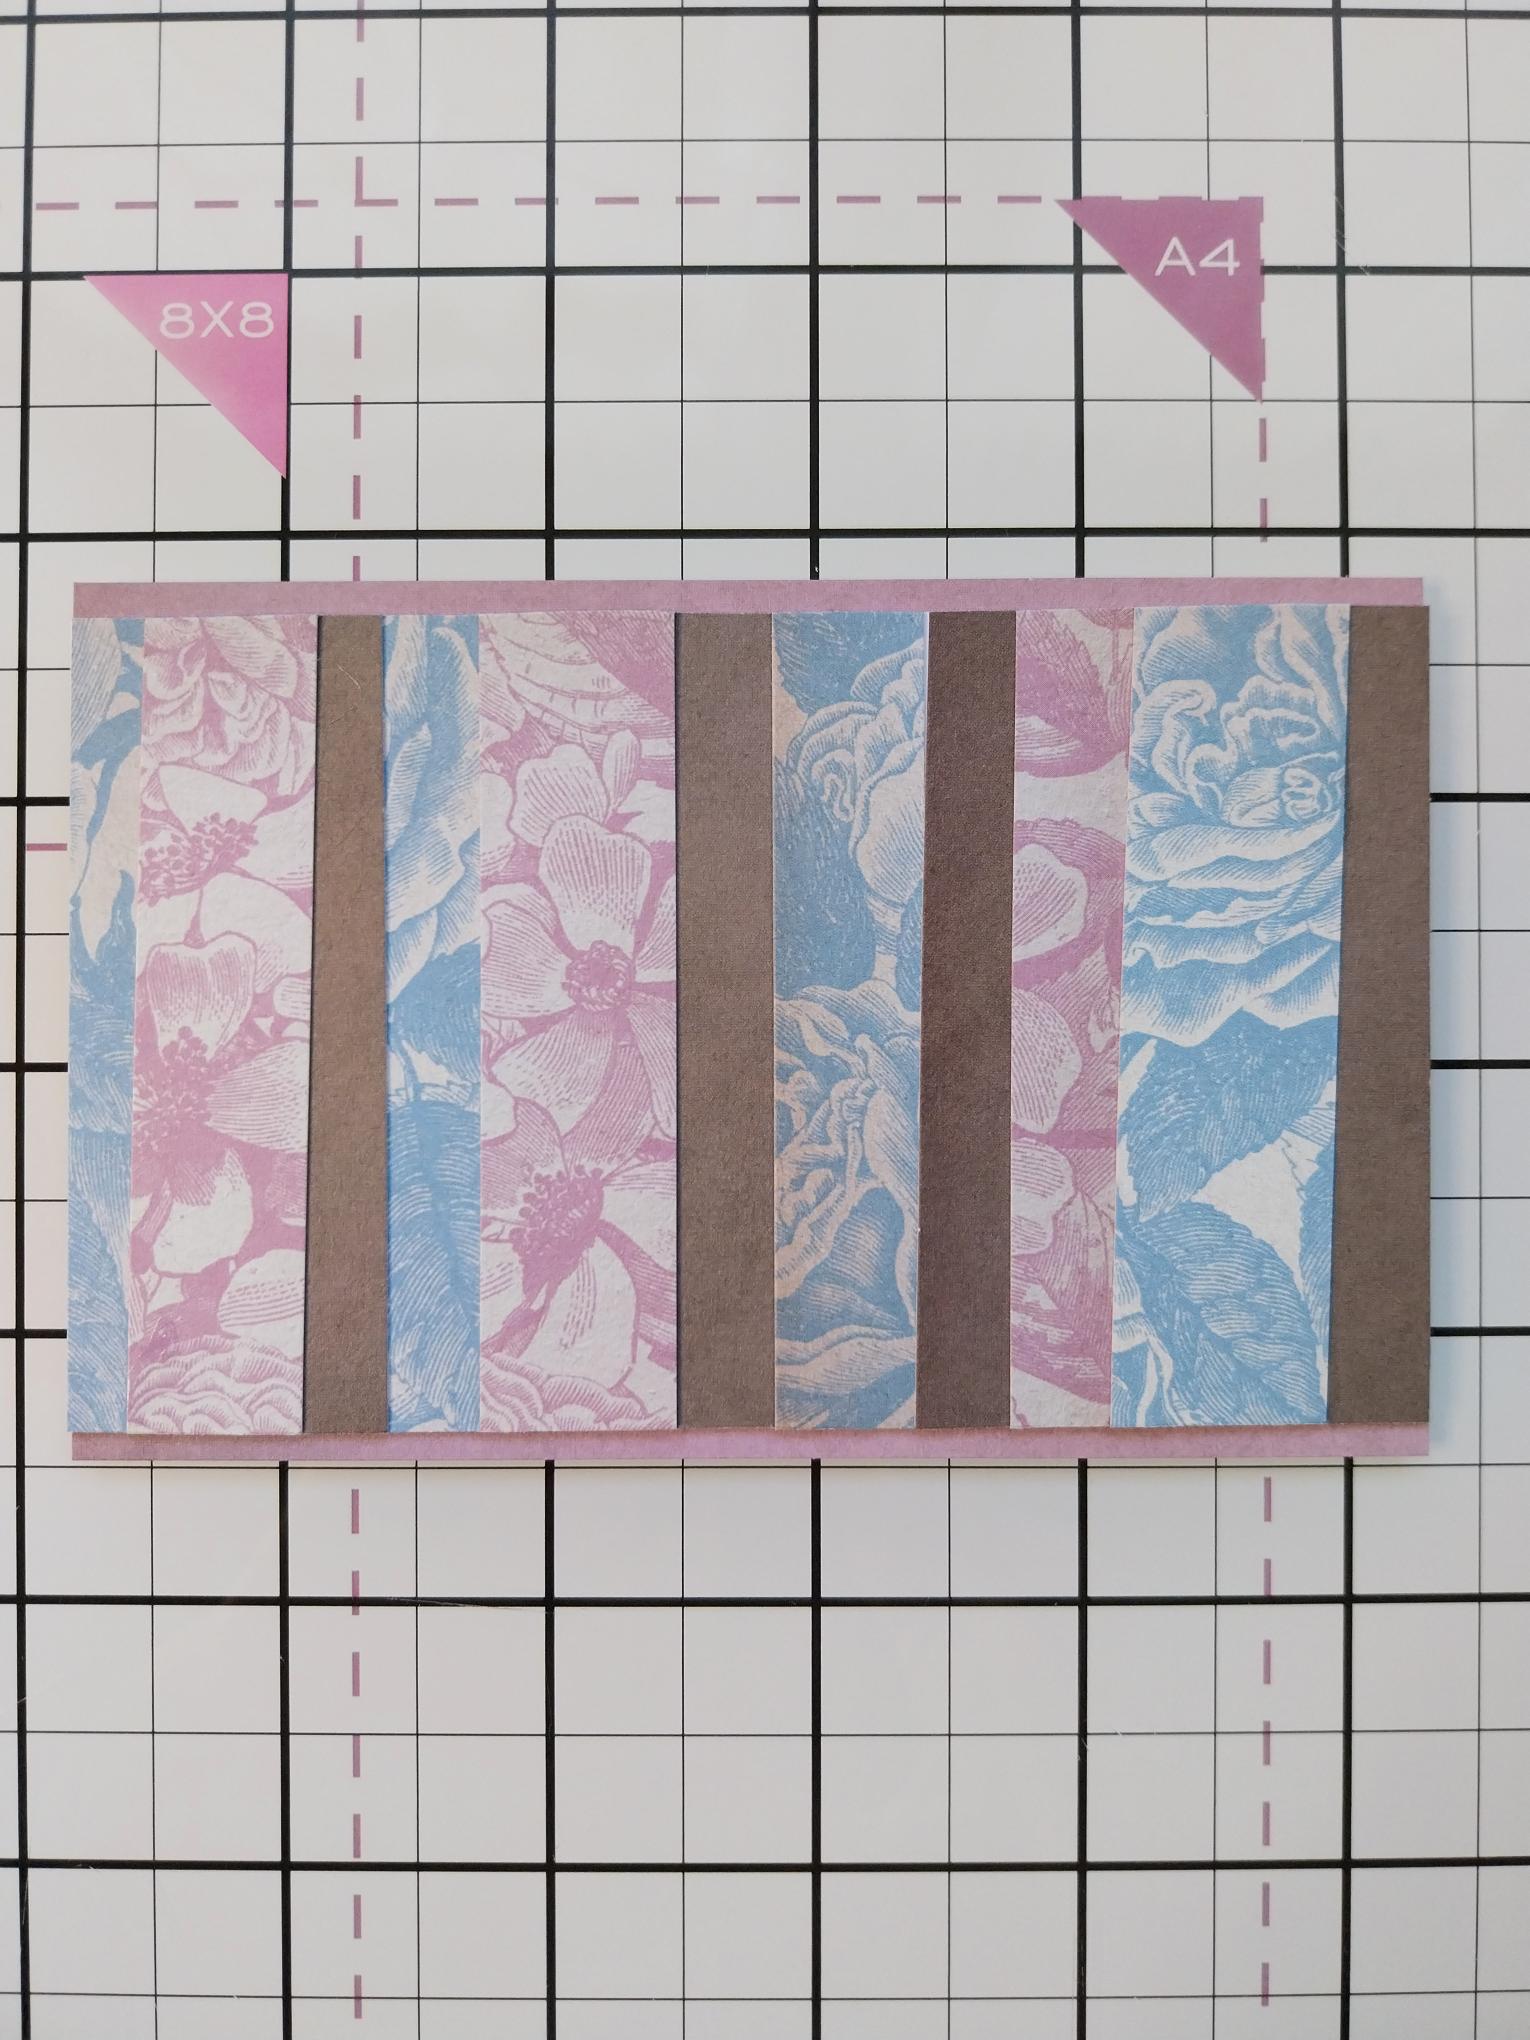
Once the panel is completely covered, you can trim off all the overhanging paper to reveal your patterned panel, as seen here. |
|
Mat your covered panel onto the coordinating paper panel you cut earlier, ensuring the two side edges are flush and an equal amount of paper is visible top and bottom. |
|
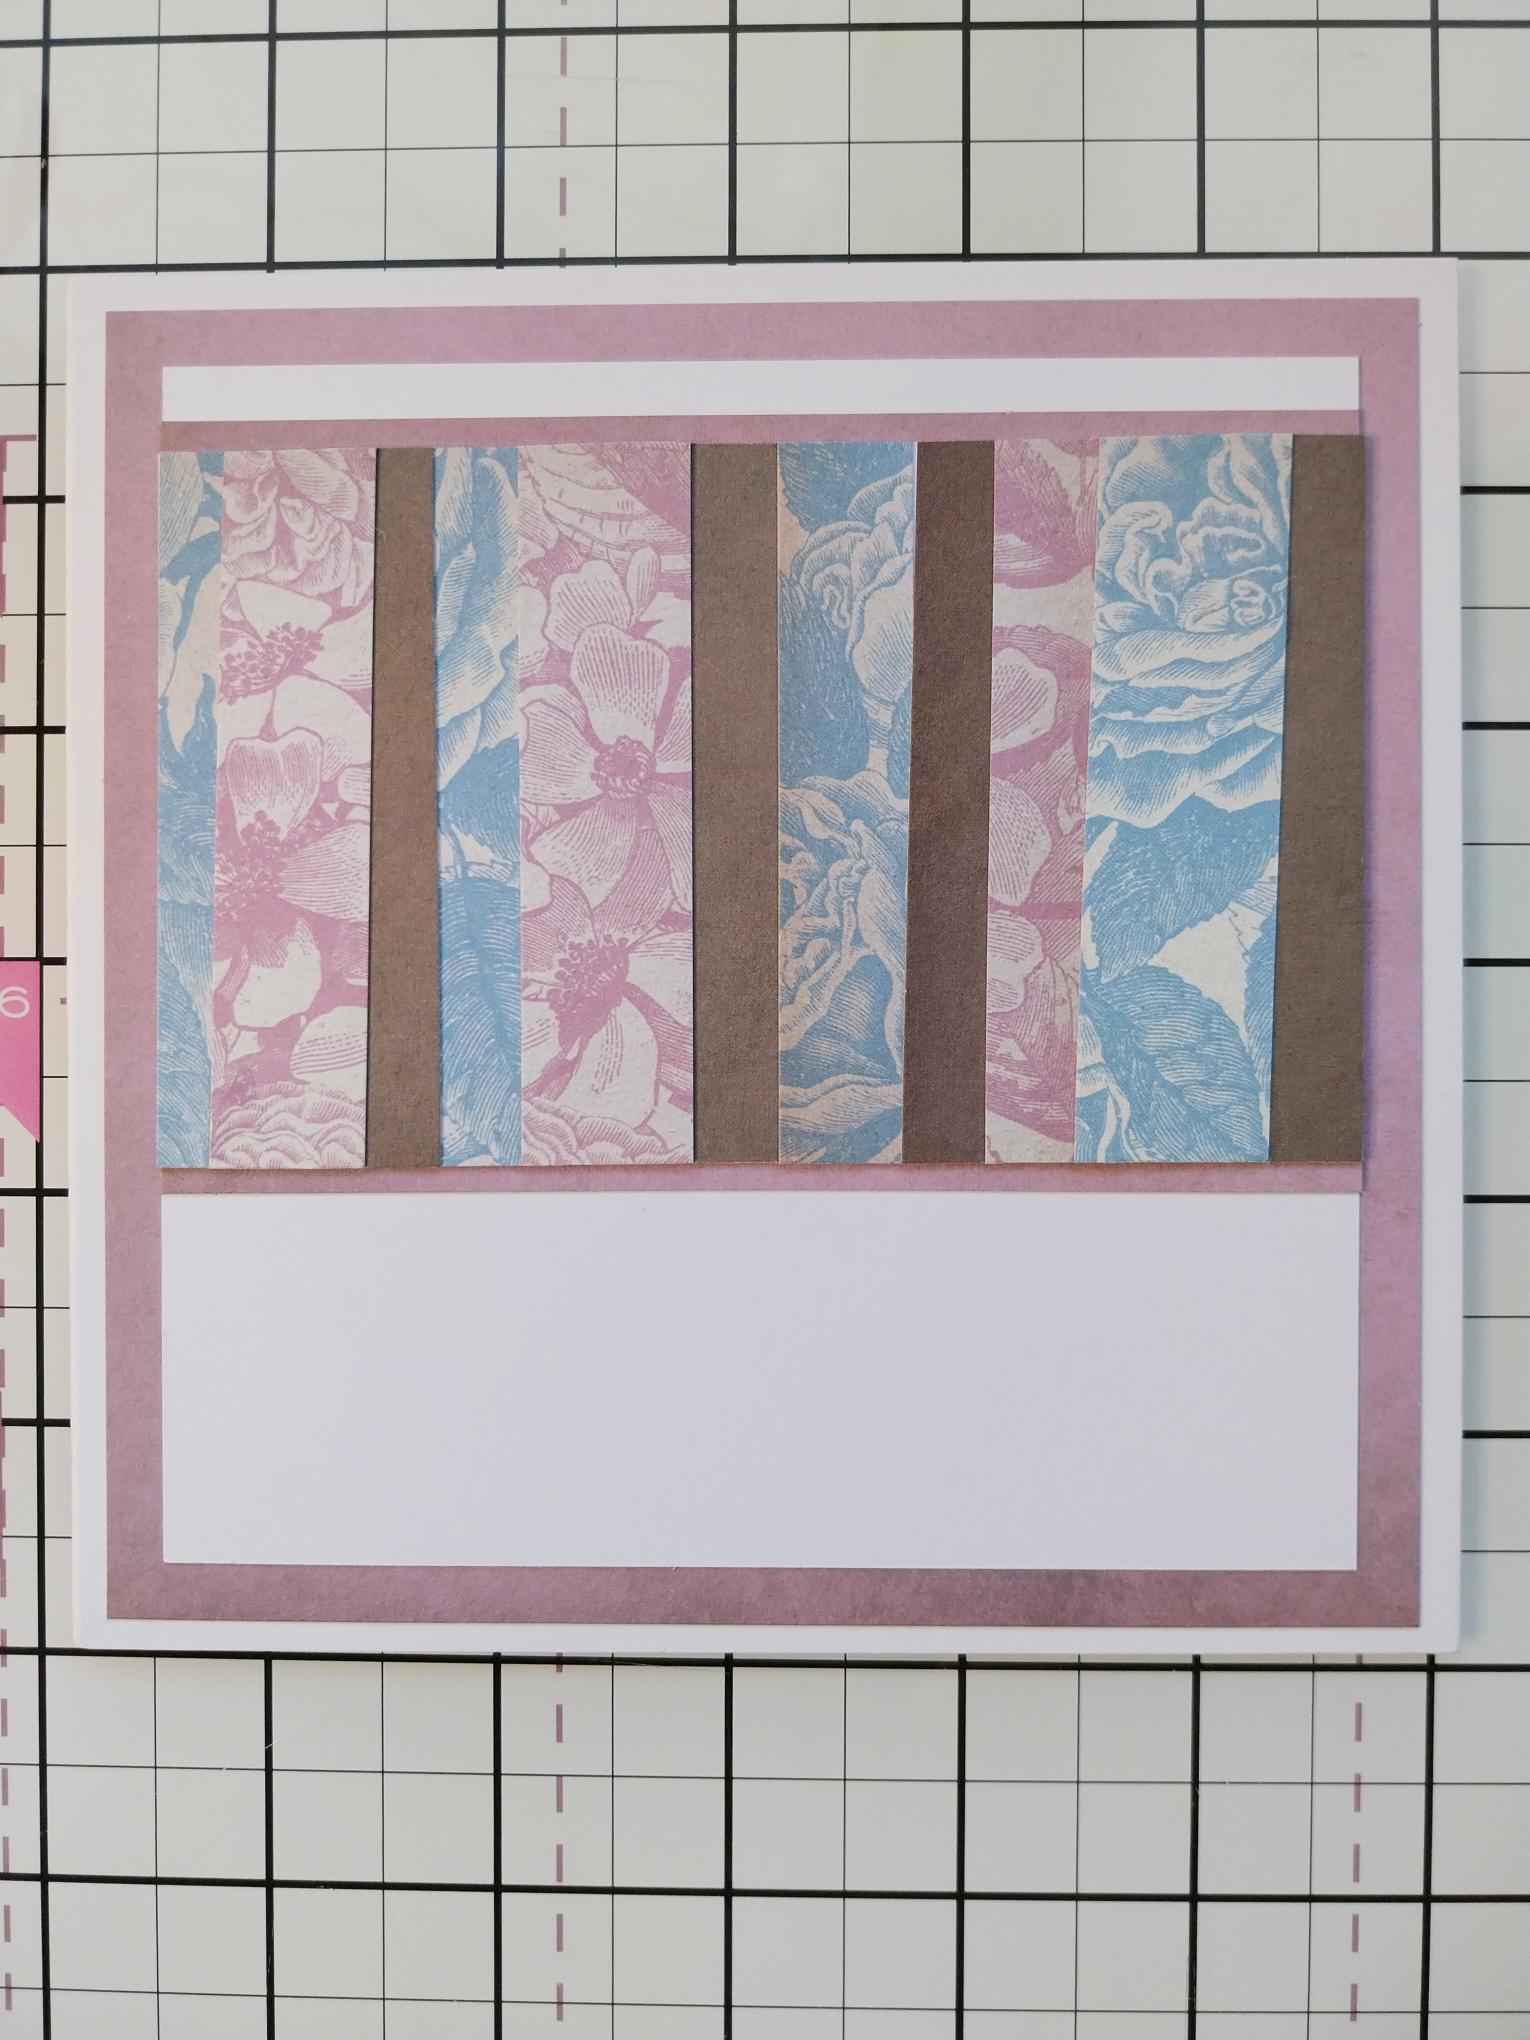
Adhere this near the top of a piece of white card cut to 5" square. Adhere to the 5 1/2" panel of paper you cut earlier and then secure to the front of your card blank. |
|
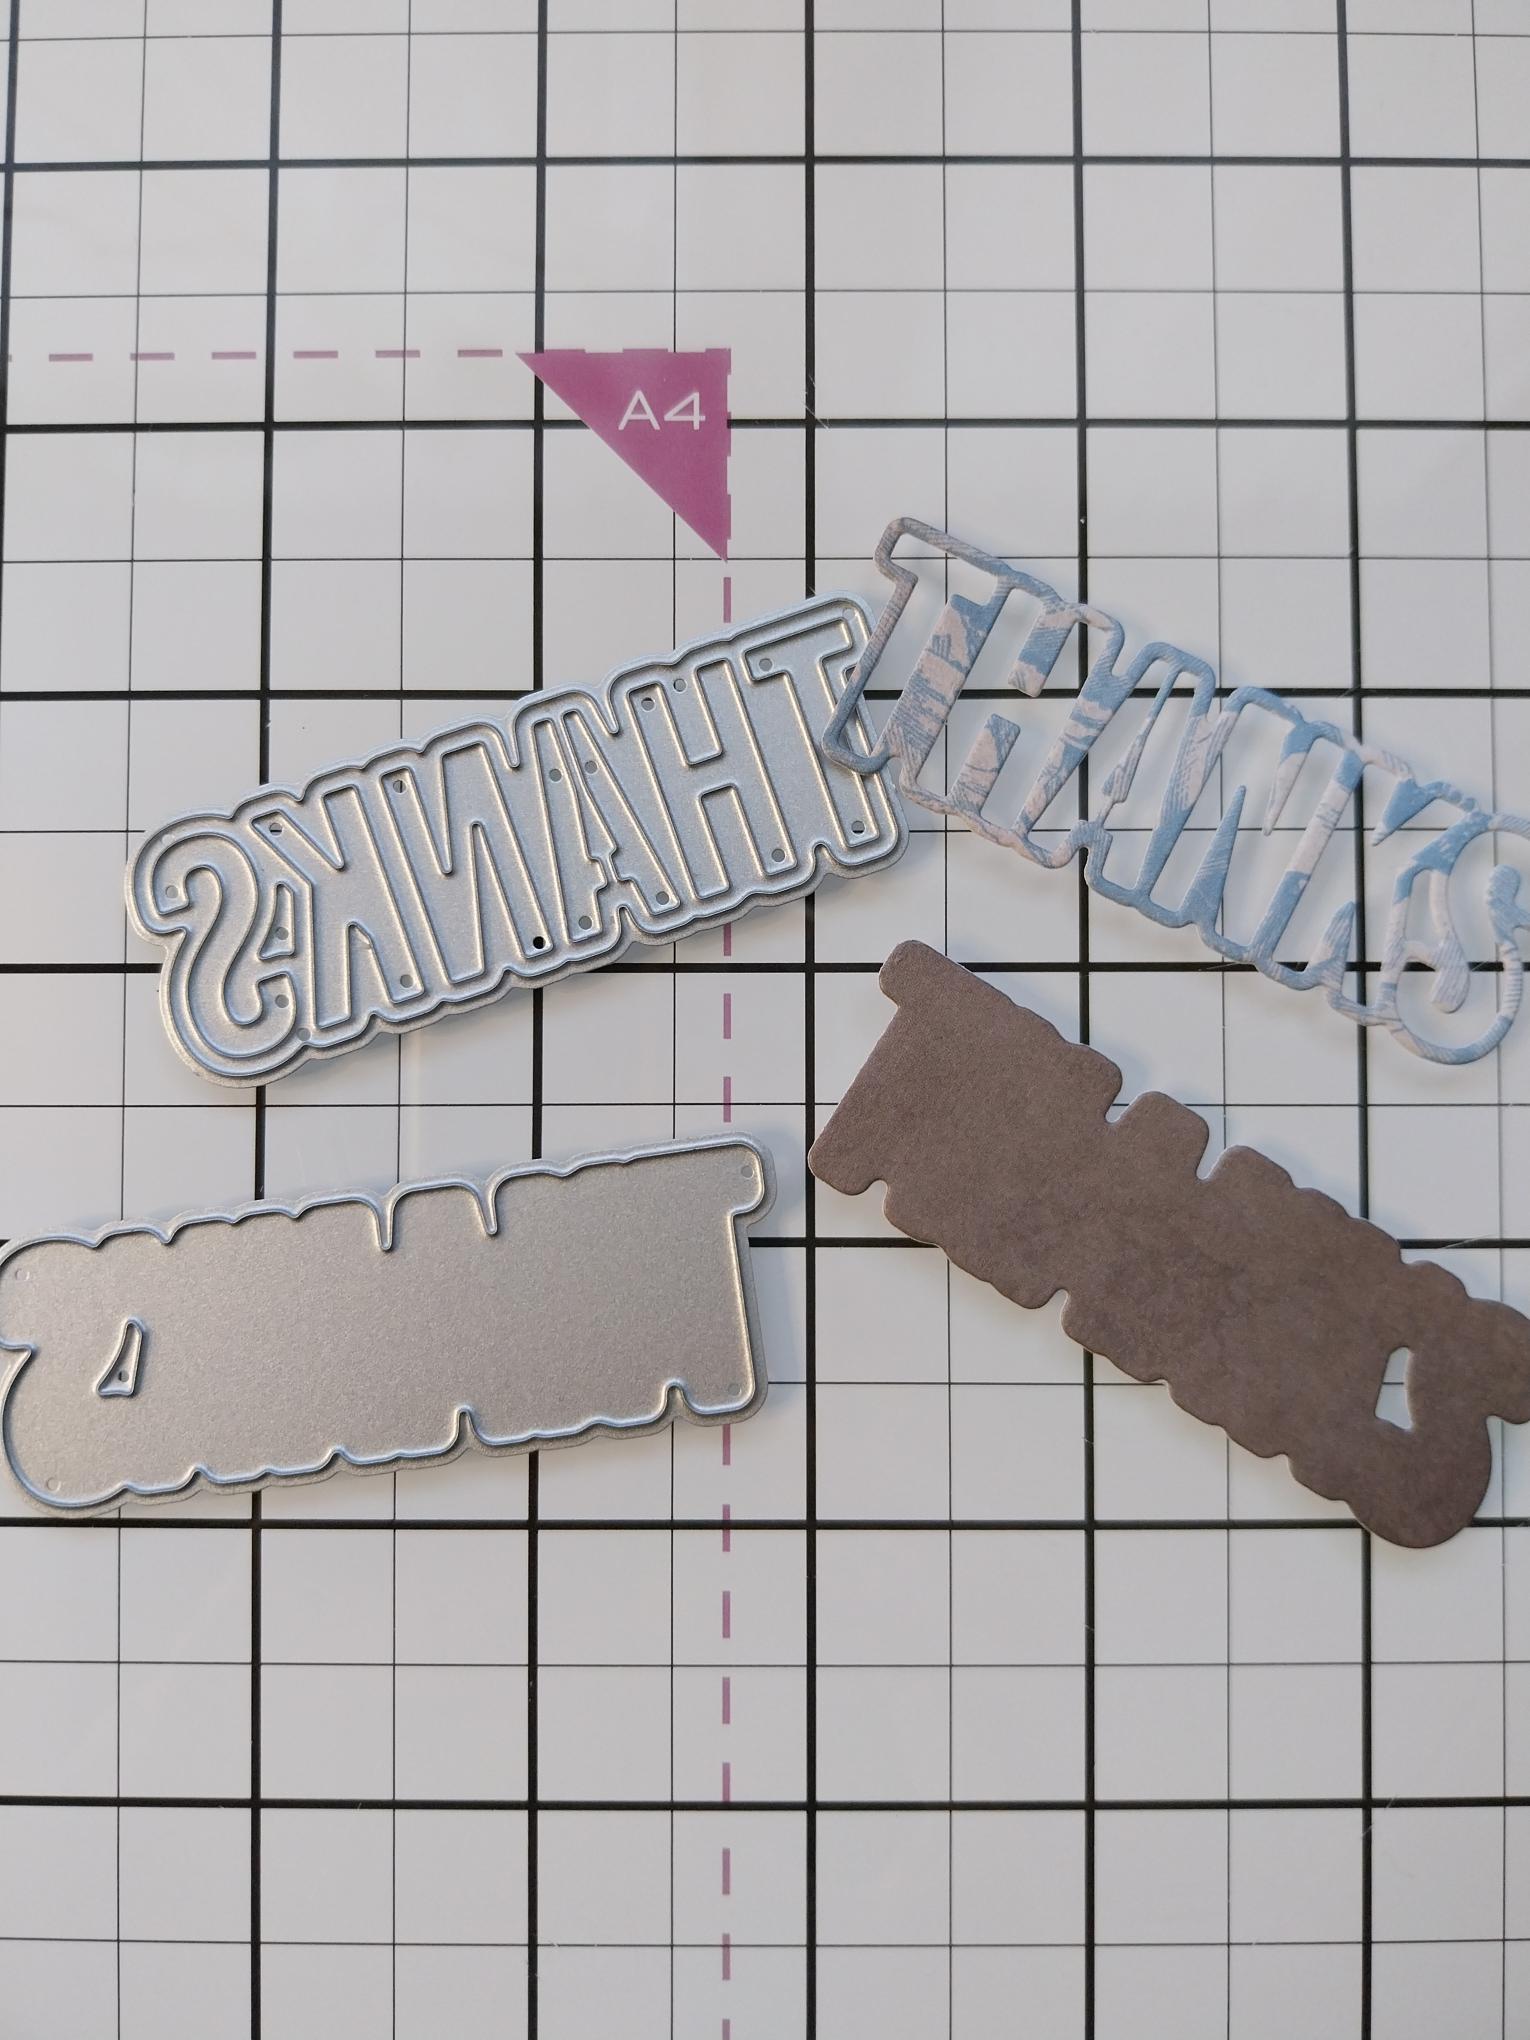
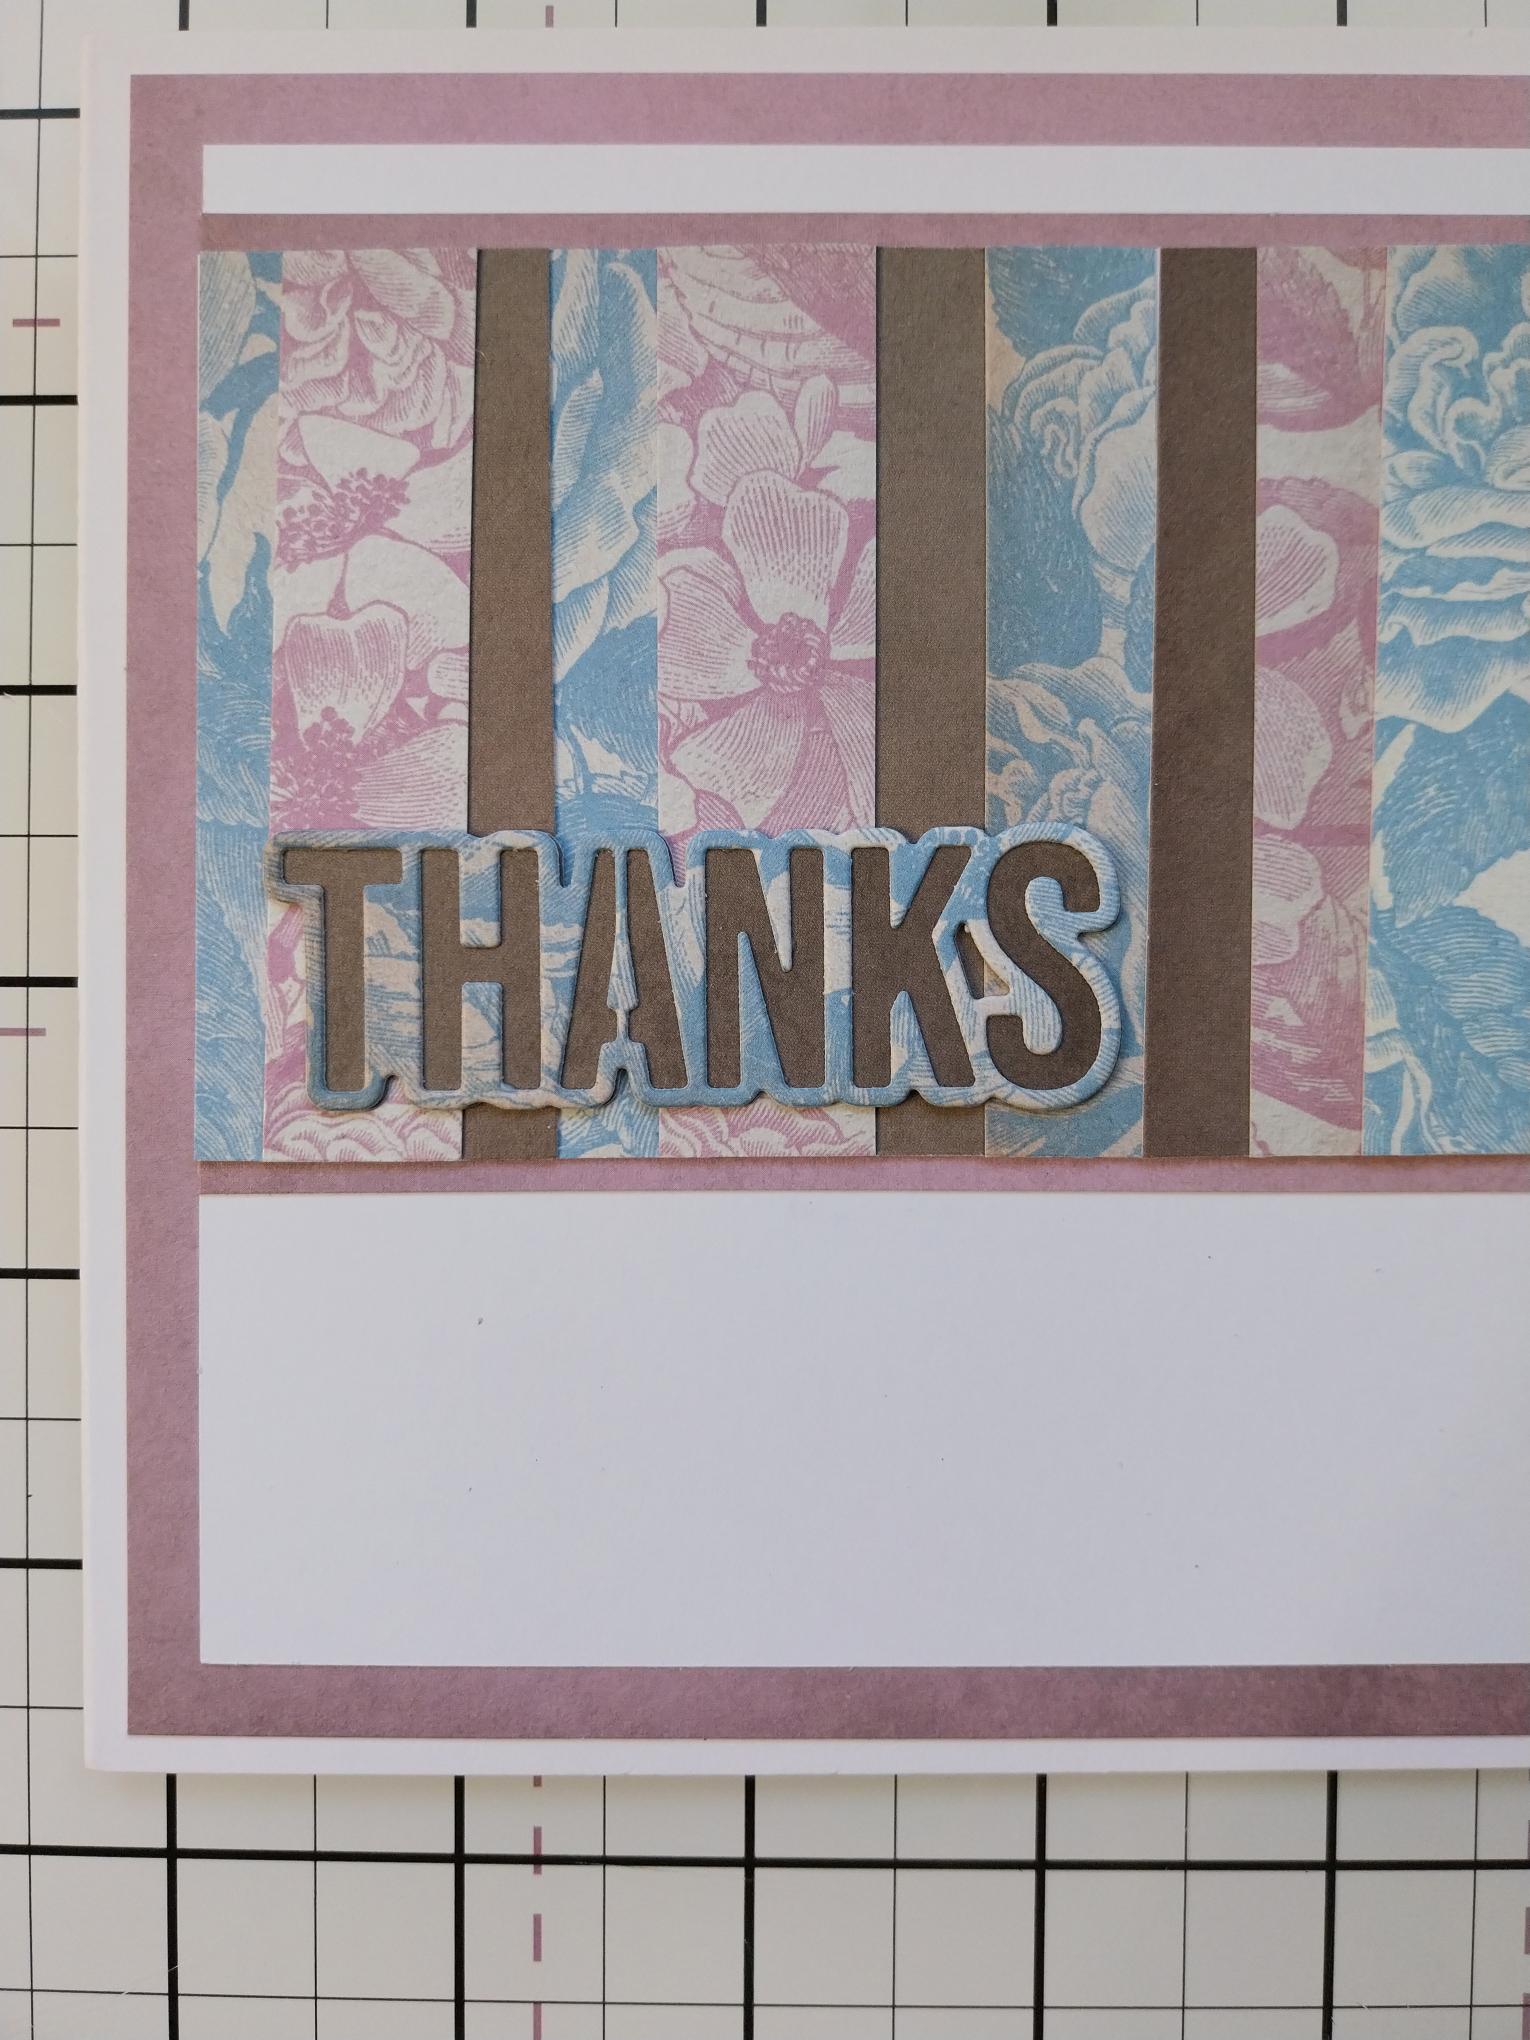
Die cut the detailed sentiment die and the layer die, from coordinating papers. |
|
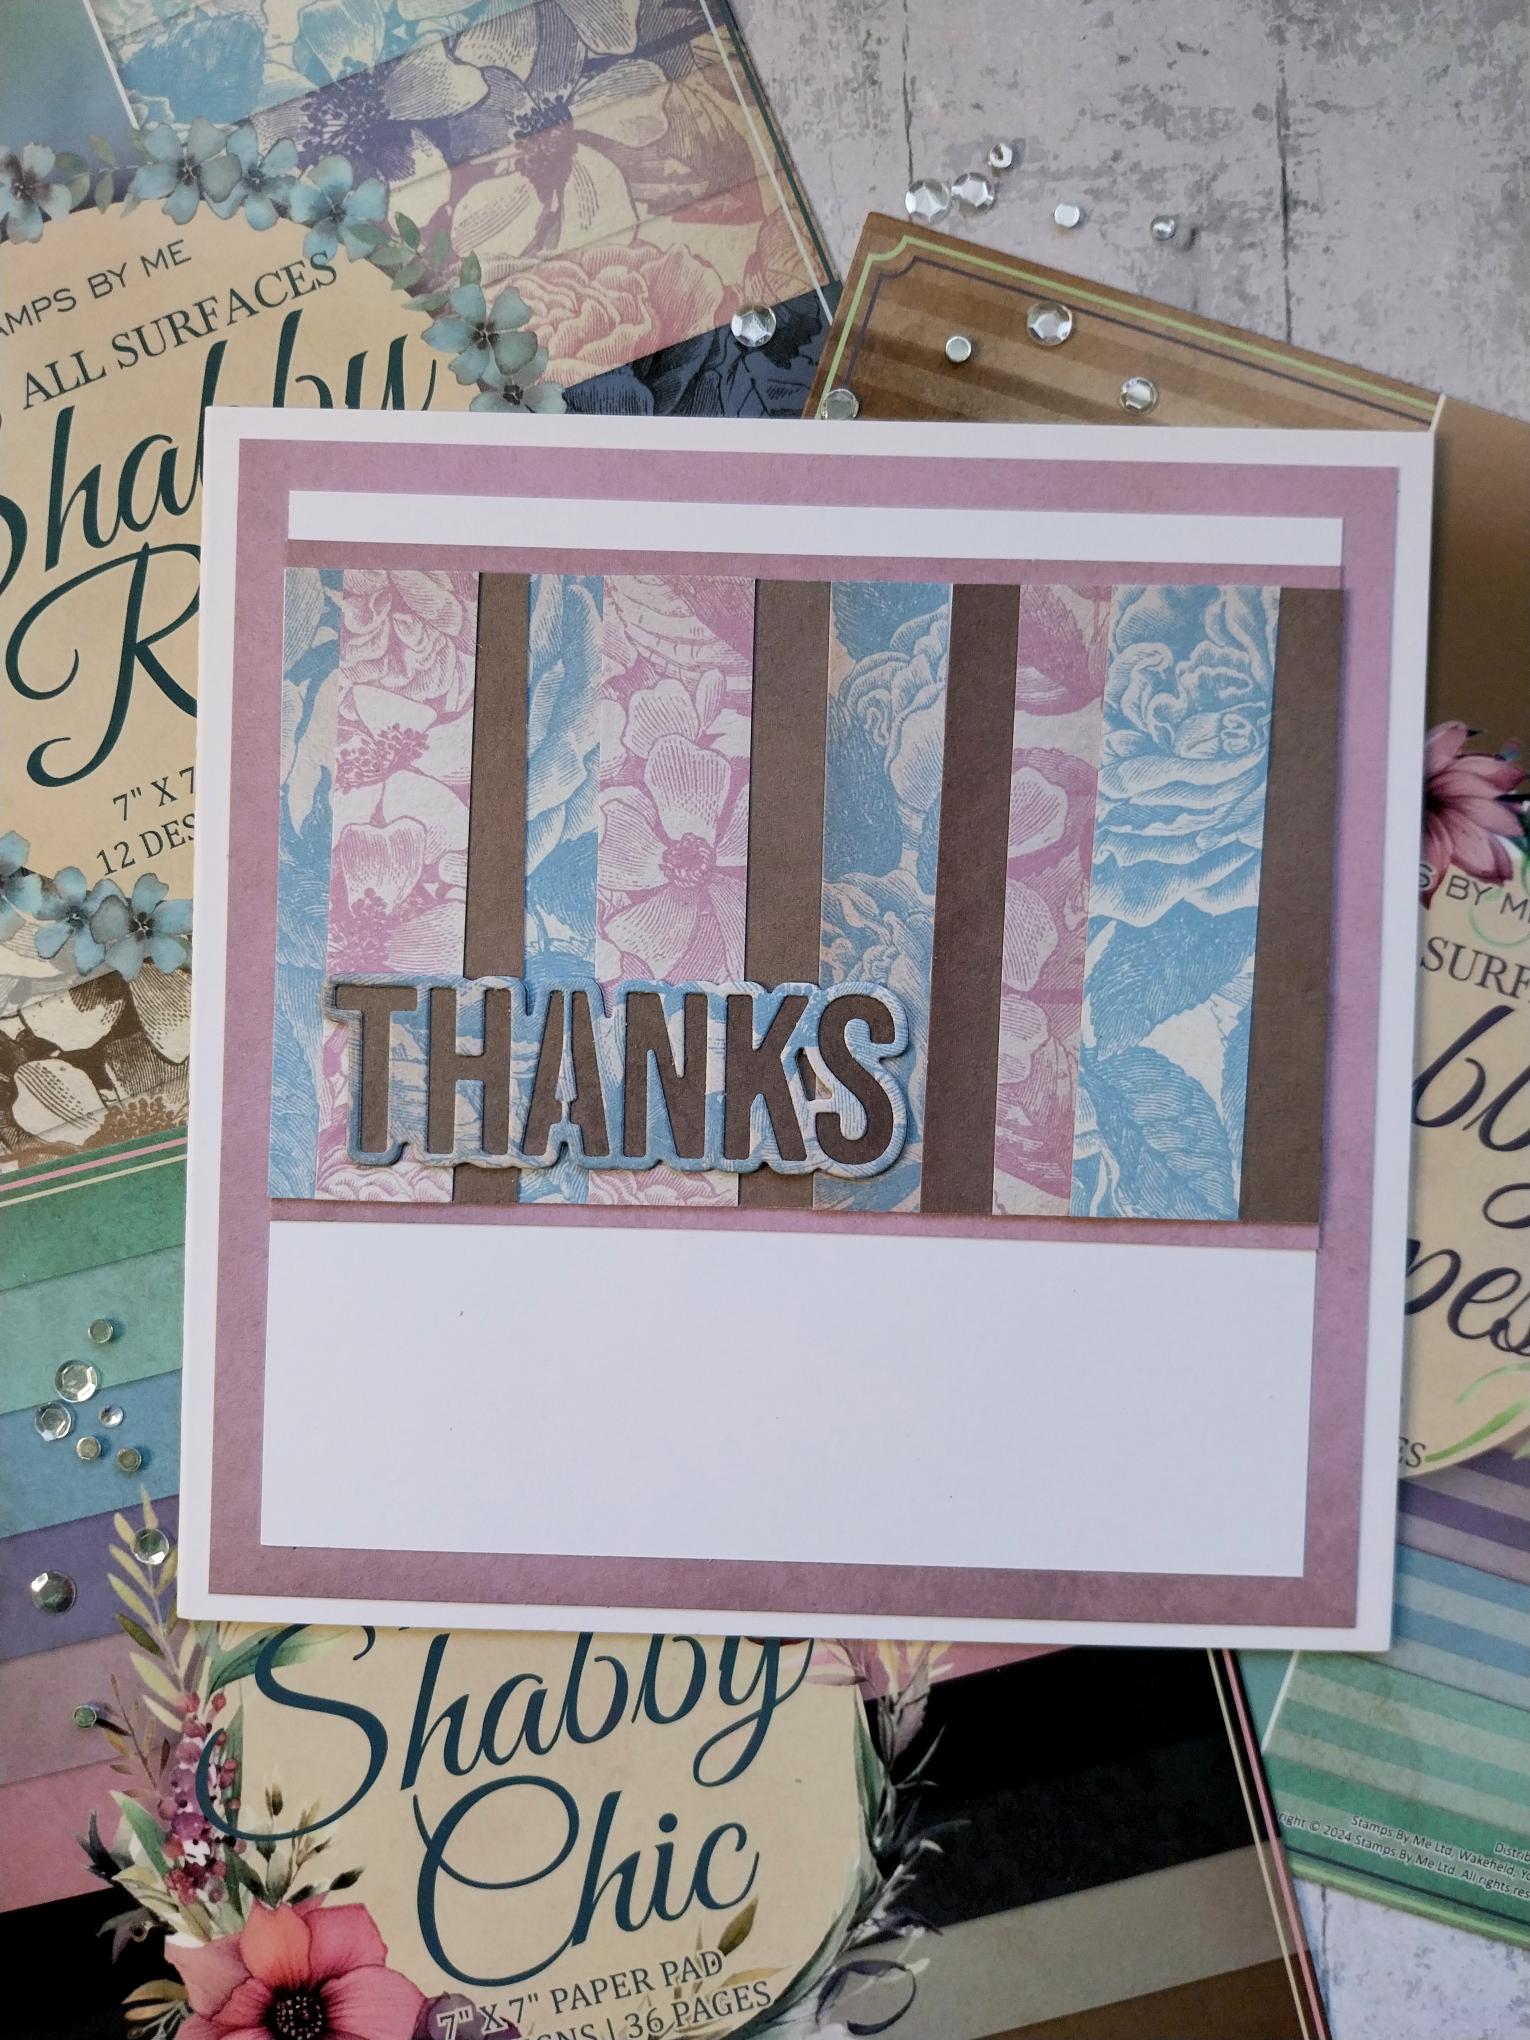
Adhere the die-cut sentiment together and glue across the bottom left of the covered panel, to finish your card. |