Give your friends $10 off their first order!
Refer a FRIEND


White card blank 6 x 6"
White cardstock
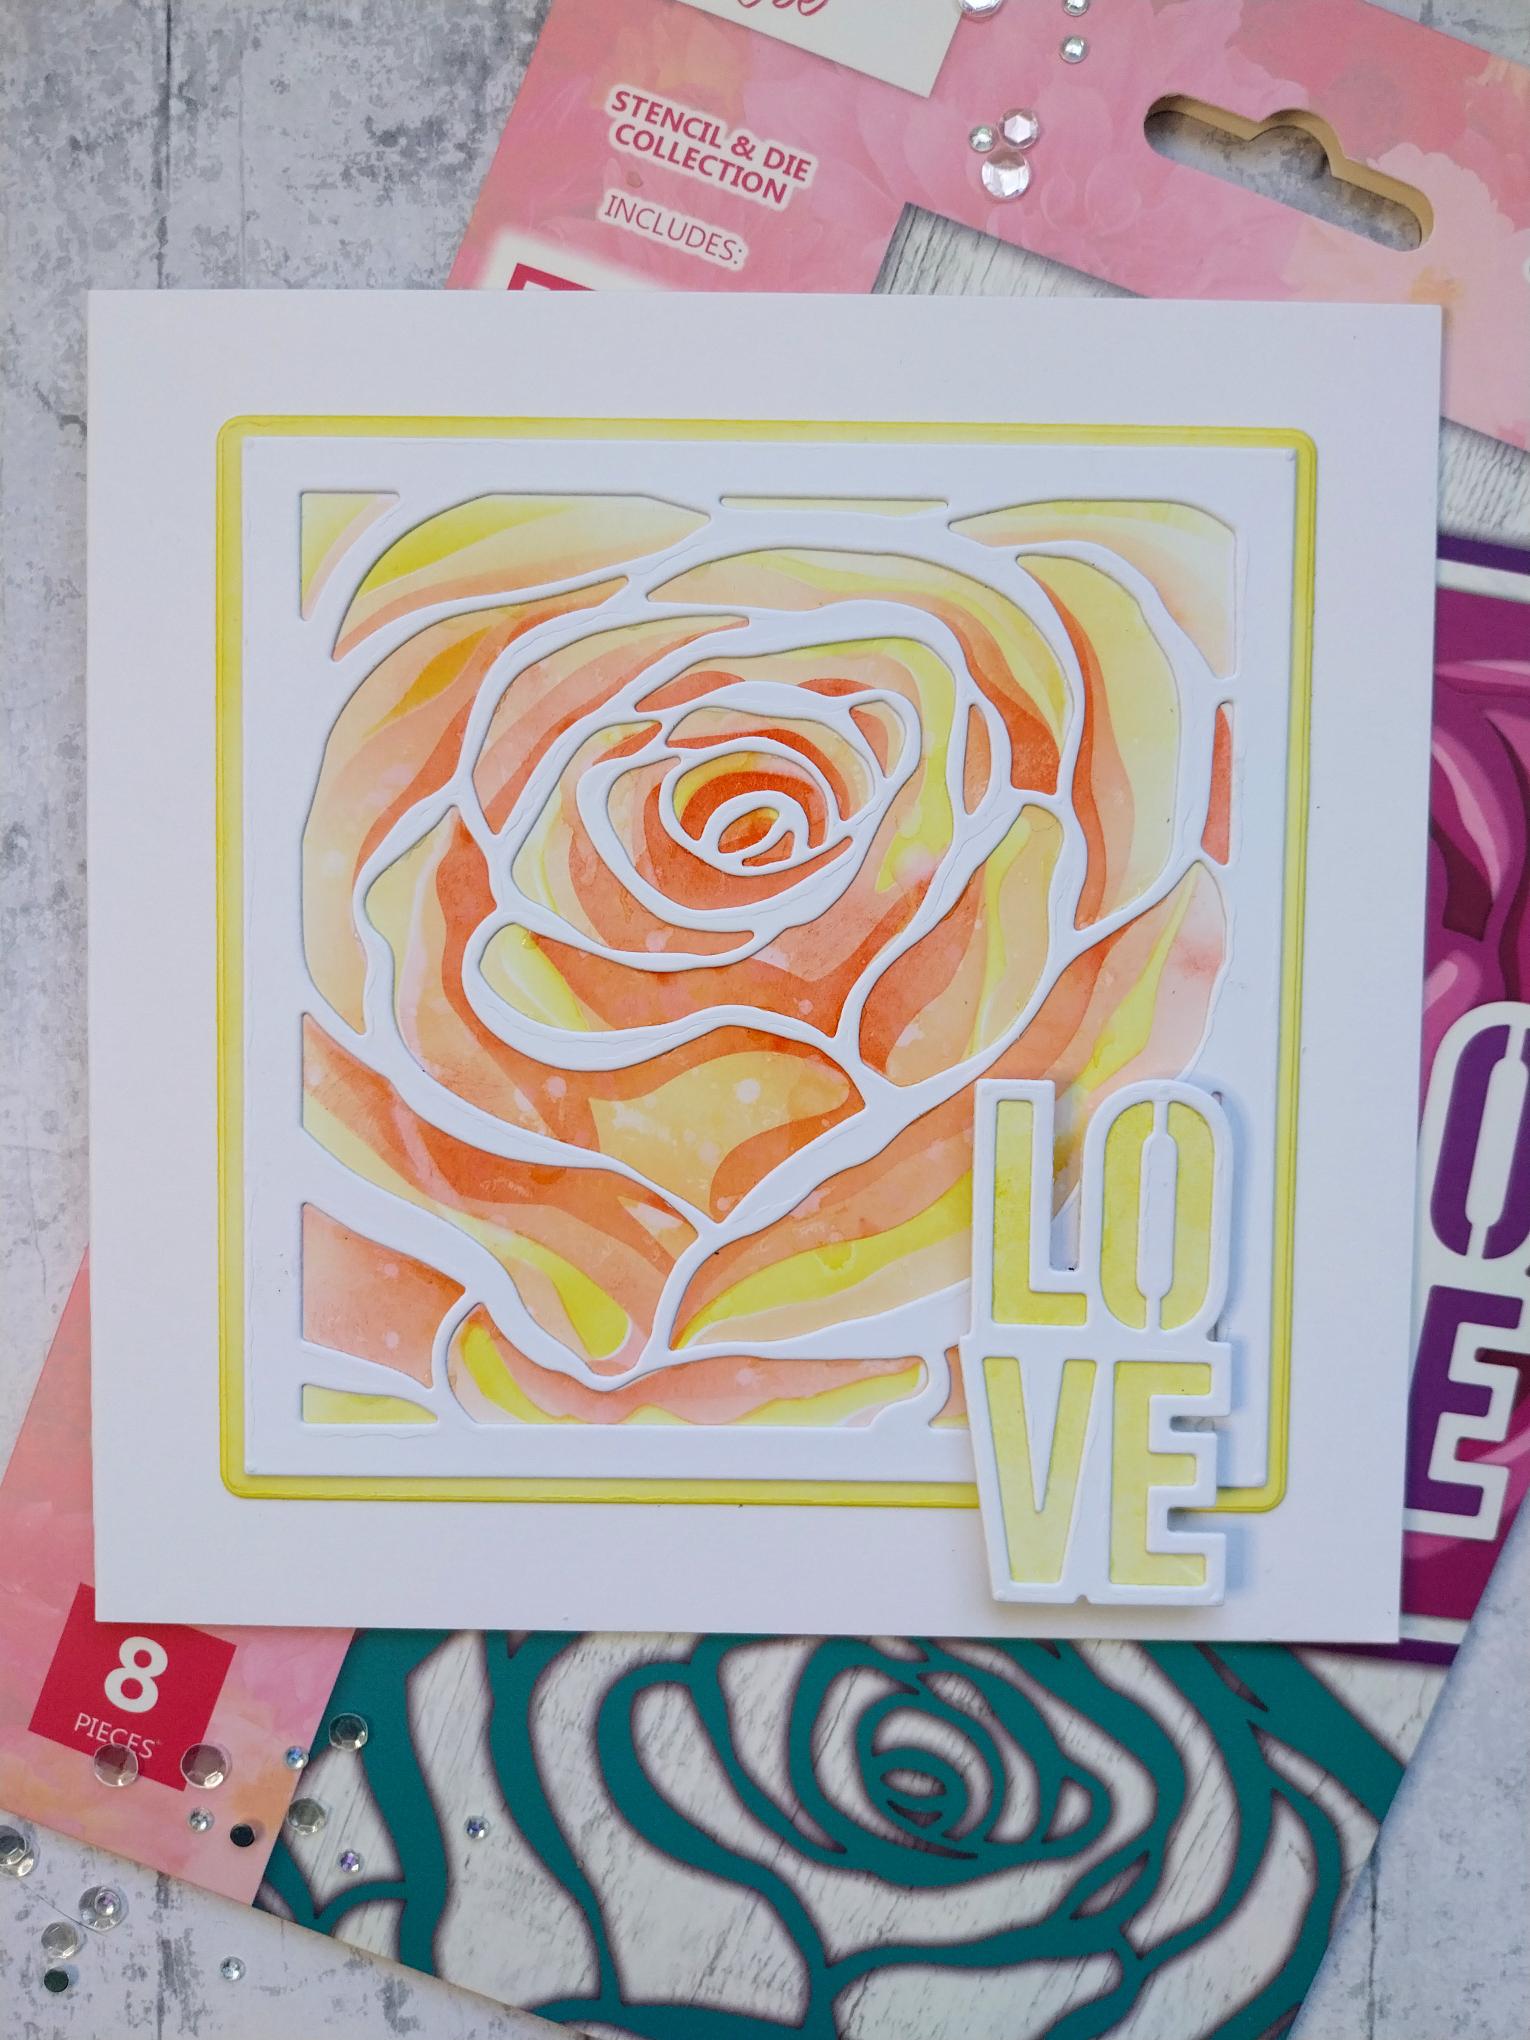
Radiant Rose Stencil & Die Set
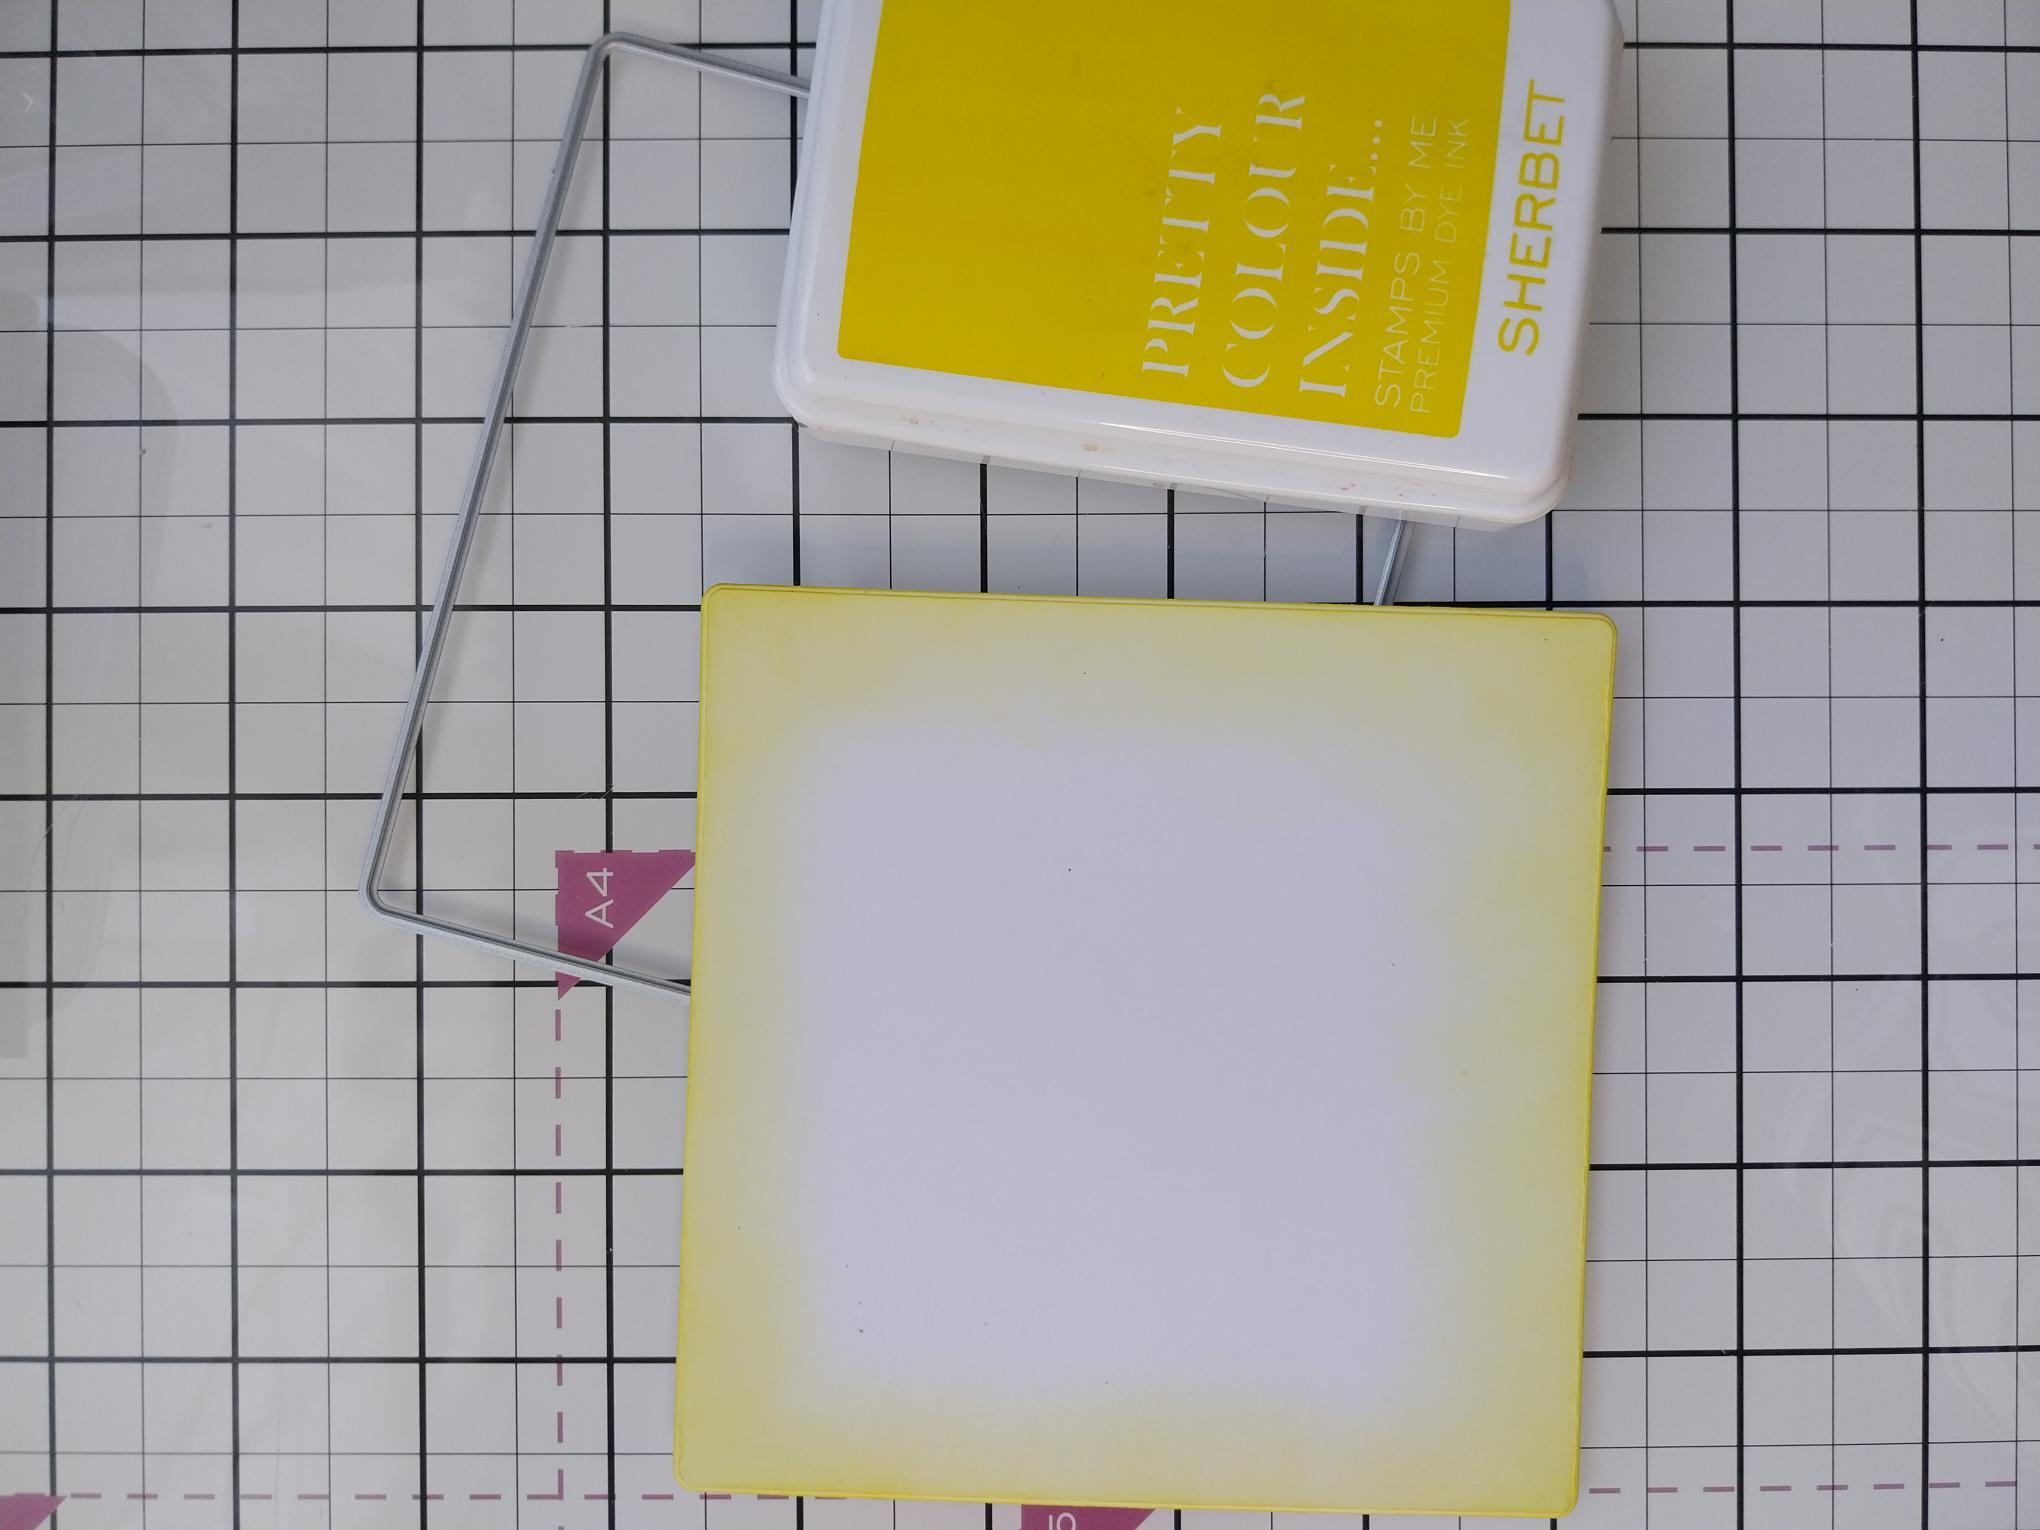
SBM Dye Ink Pad: Sherbet, Bittersweet
Blending brush
Paint brush
SBM A3 Magnetic glass mat
Paper Trimmer
Glue/foam pads
Die Cutting machine
[click image to enlarge] 
|
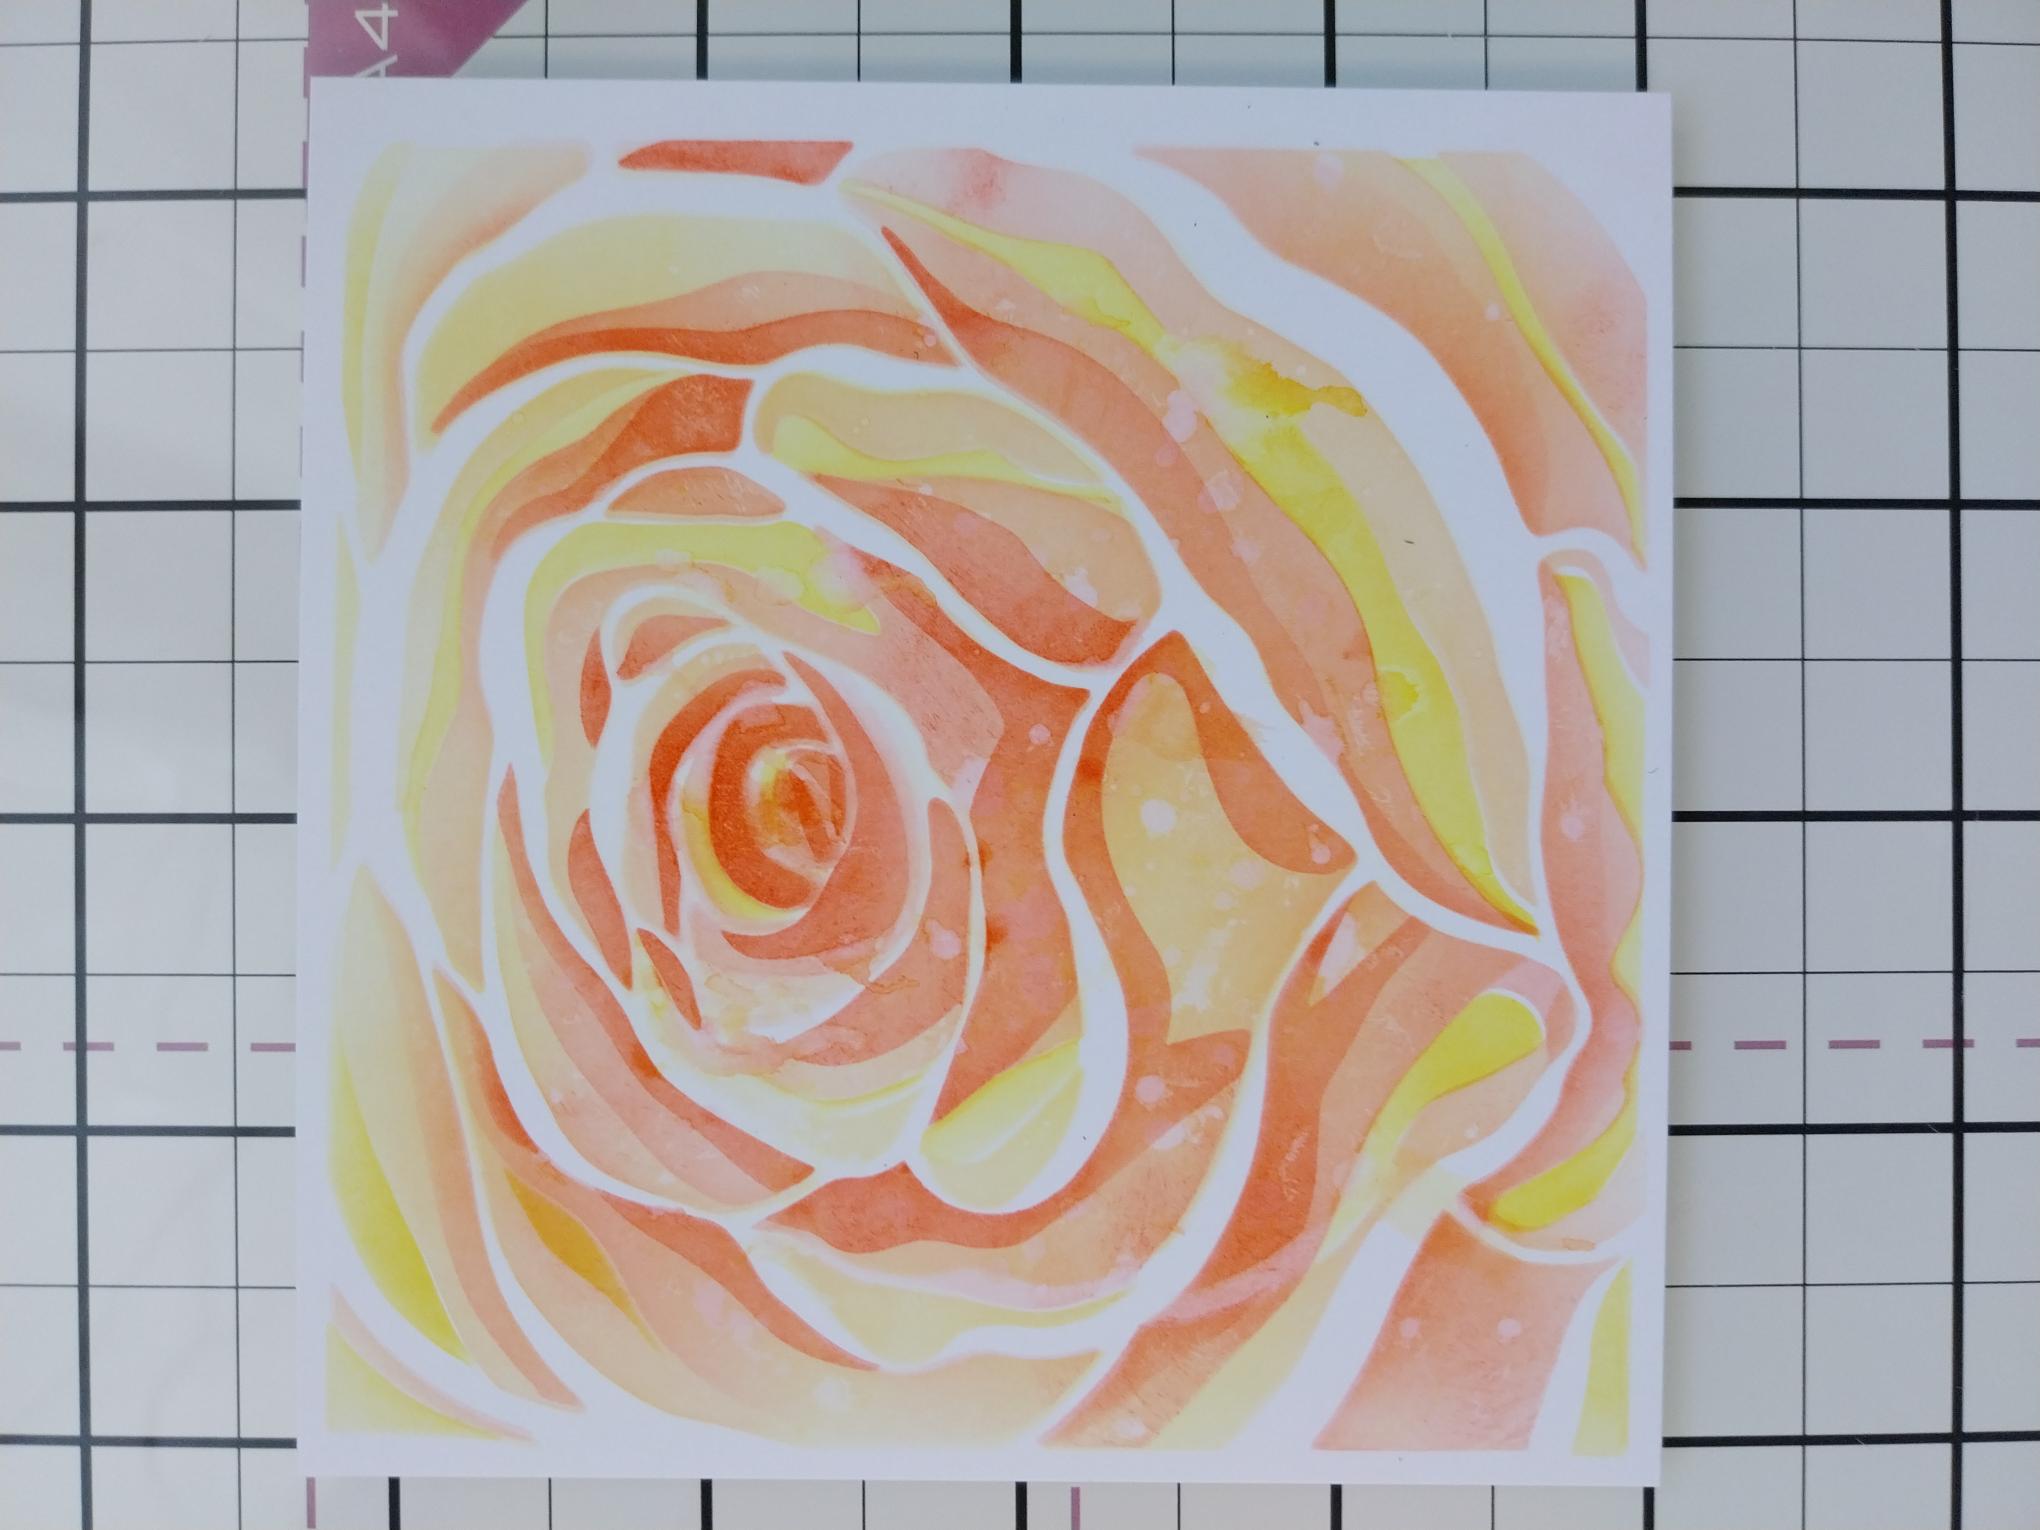
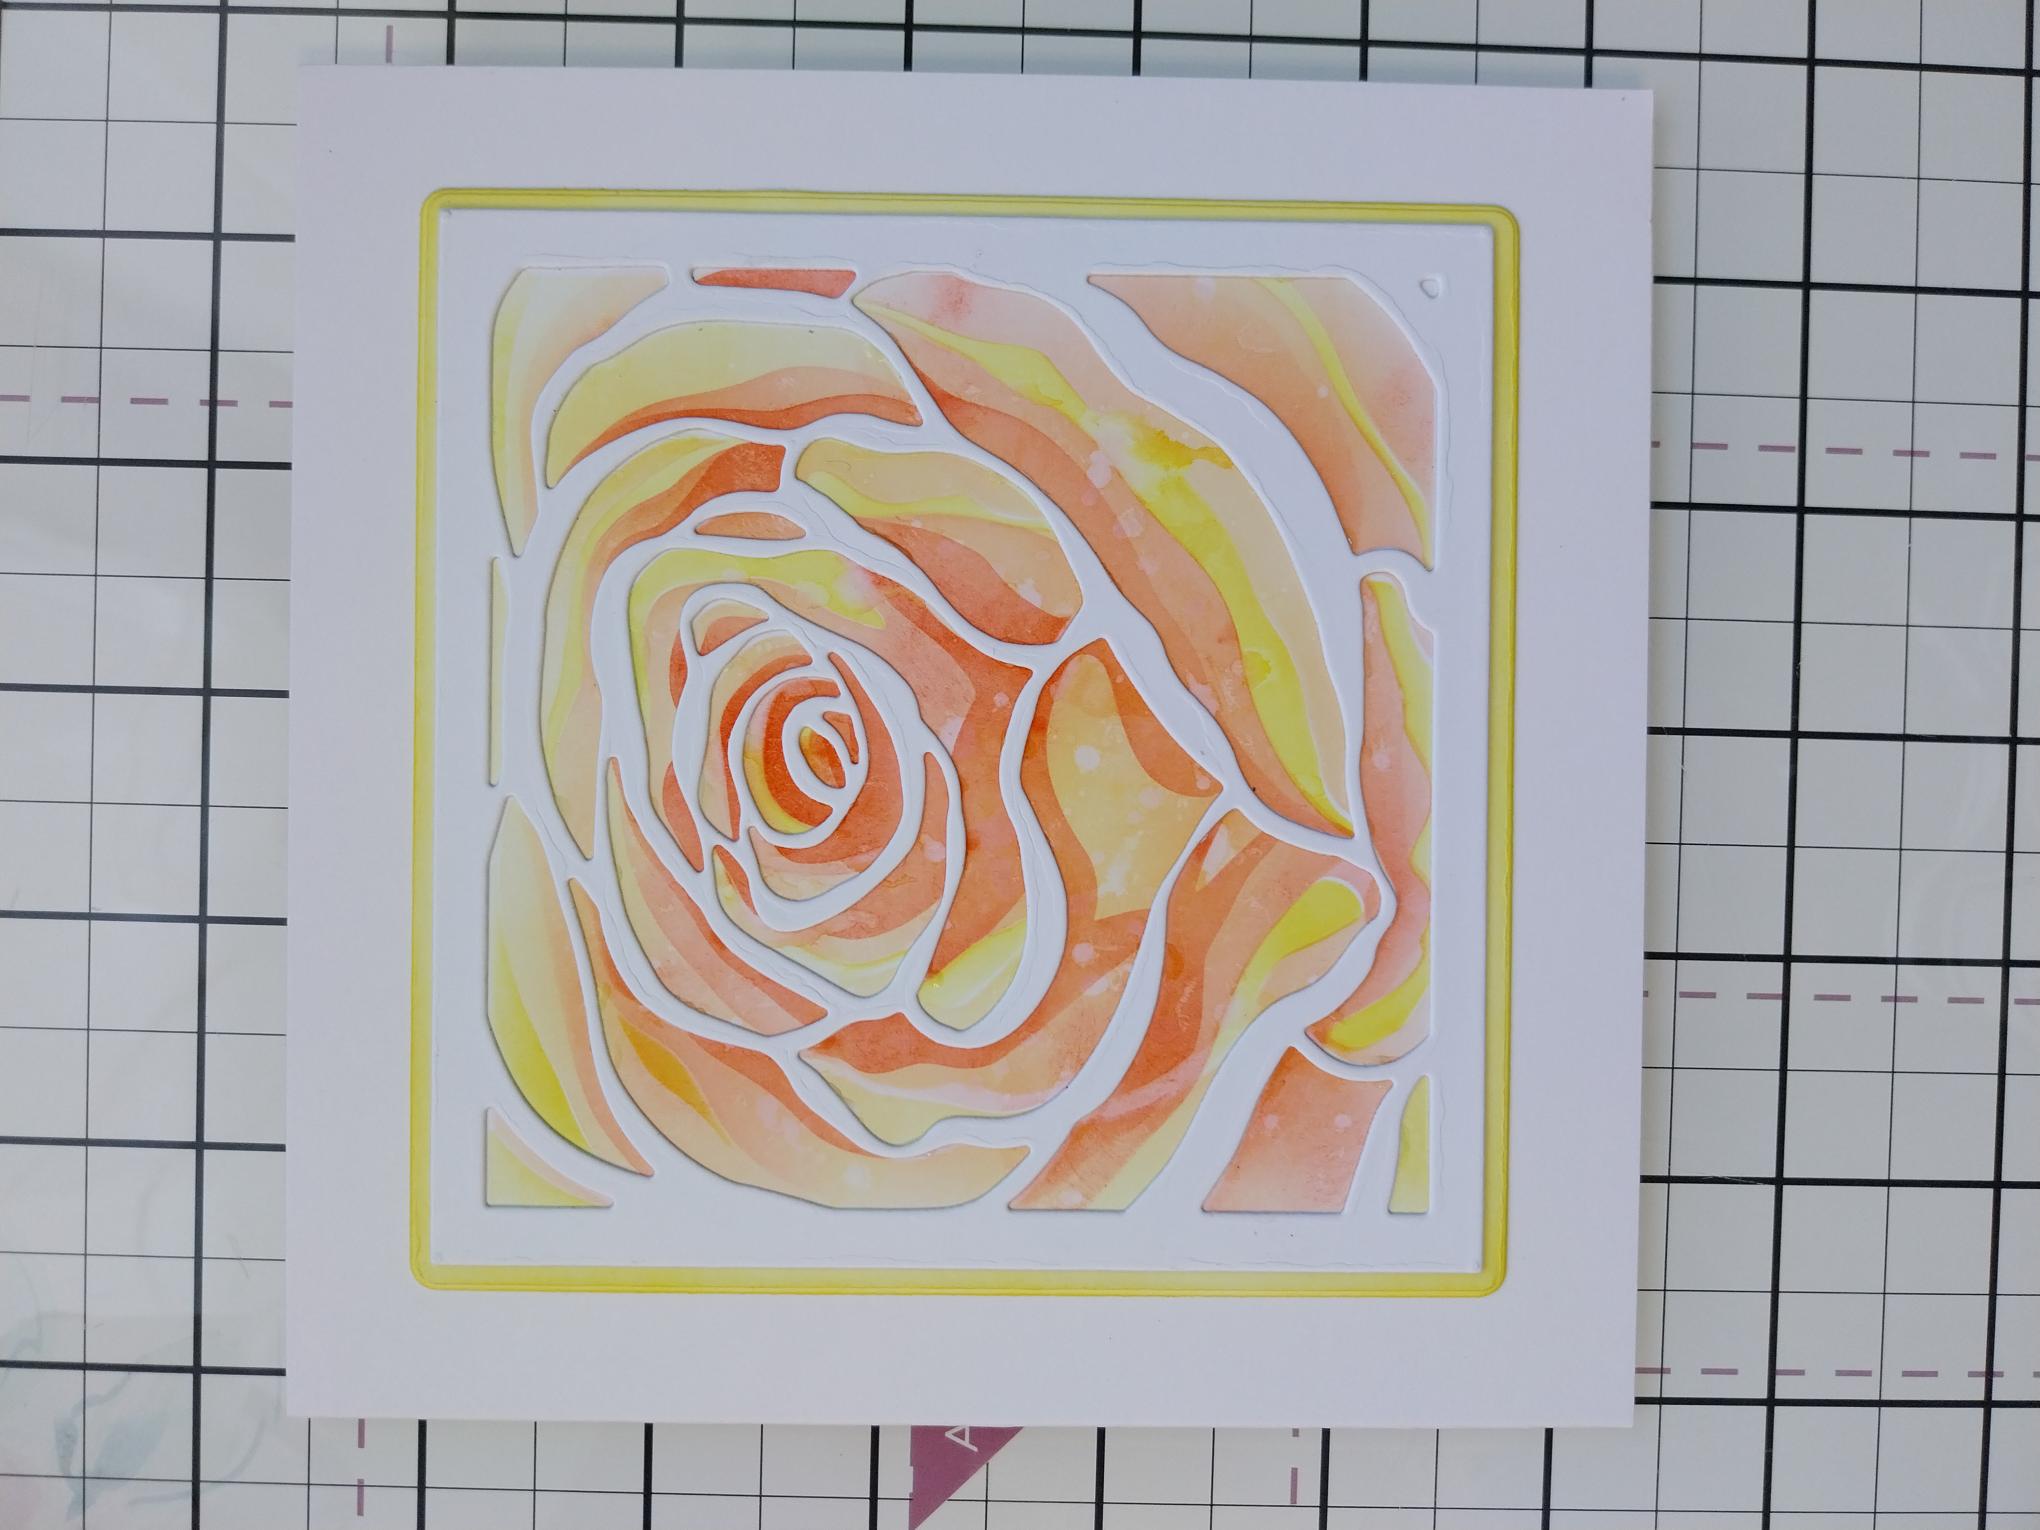
Cut a piece of white card to 4 1/2" square. Secure stencil 1 in place and blend with the Sherbet ink. Line up stencil 2 and blend with the Sherbet and Bittersweet inks. Line up stencil 3 and blend with both colours again but with more intensity this time. Line up stencil 4 and apply more Bittersweet. |
|
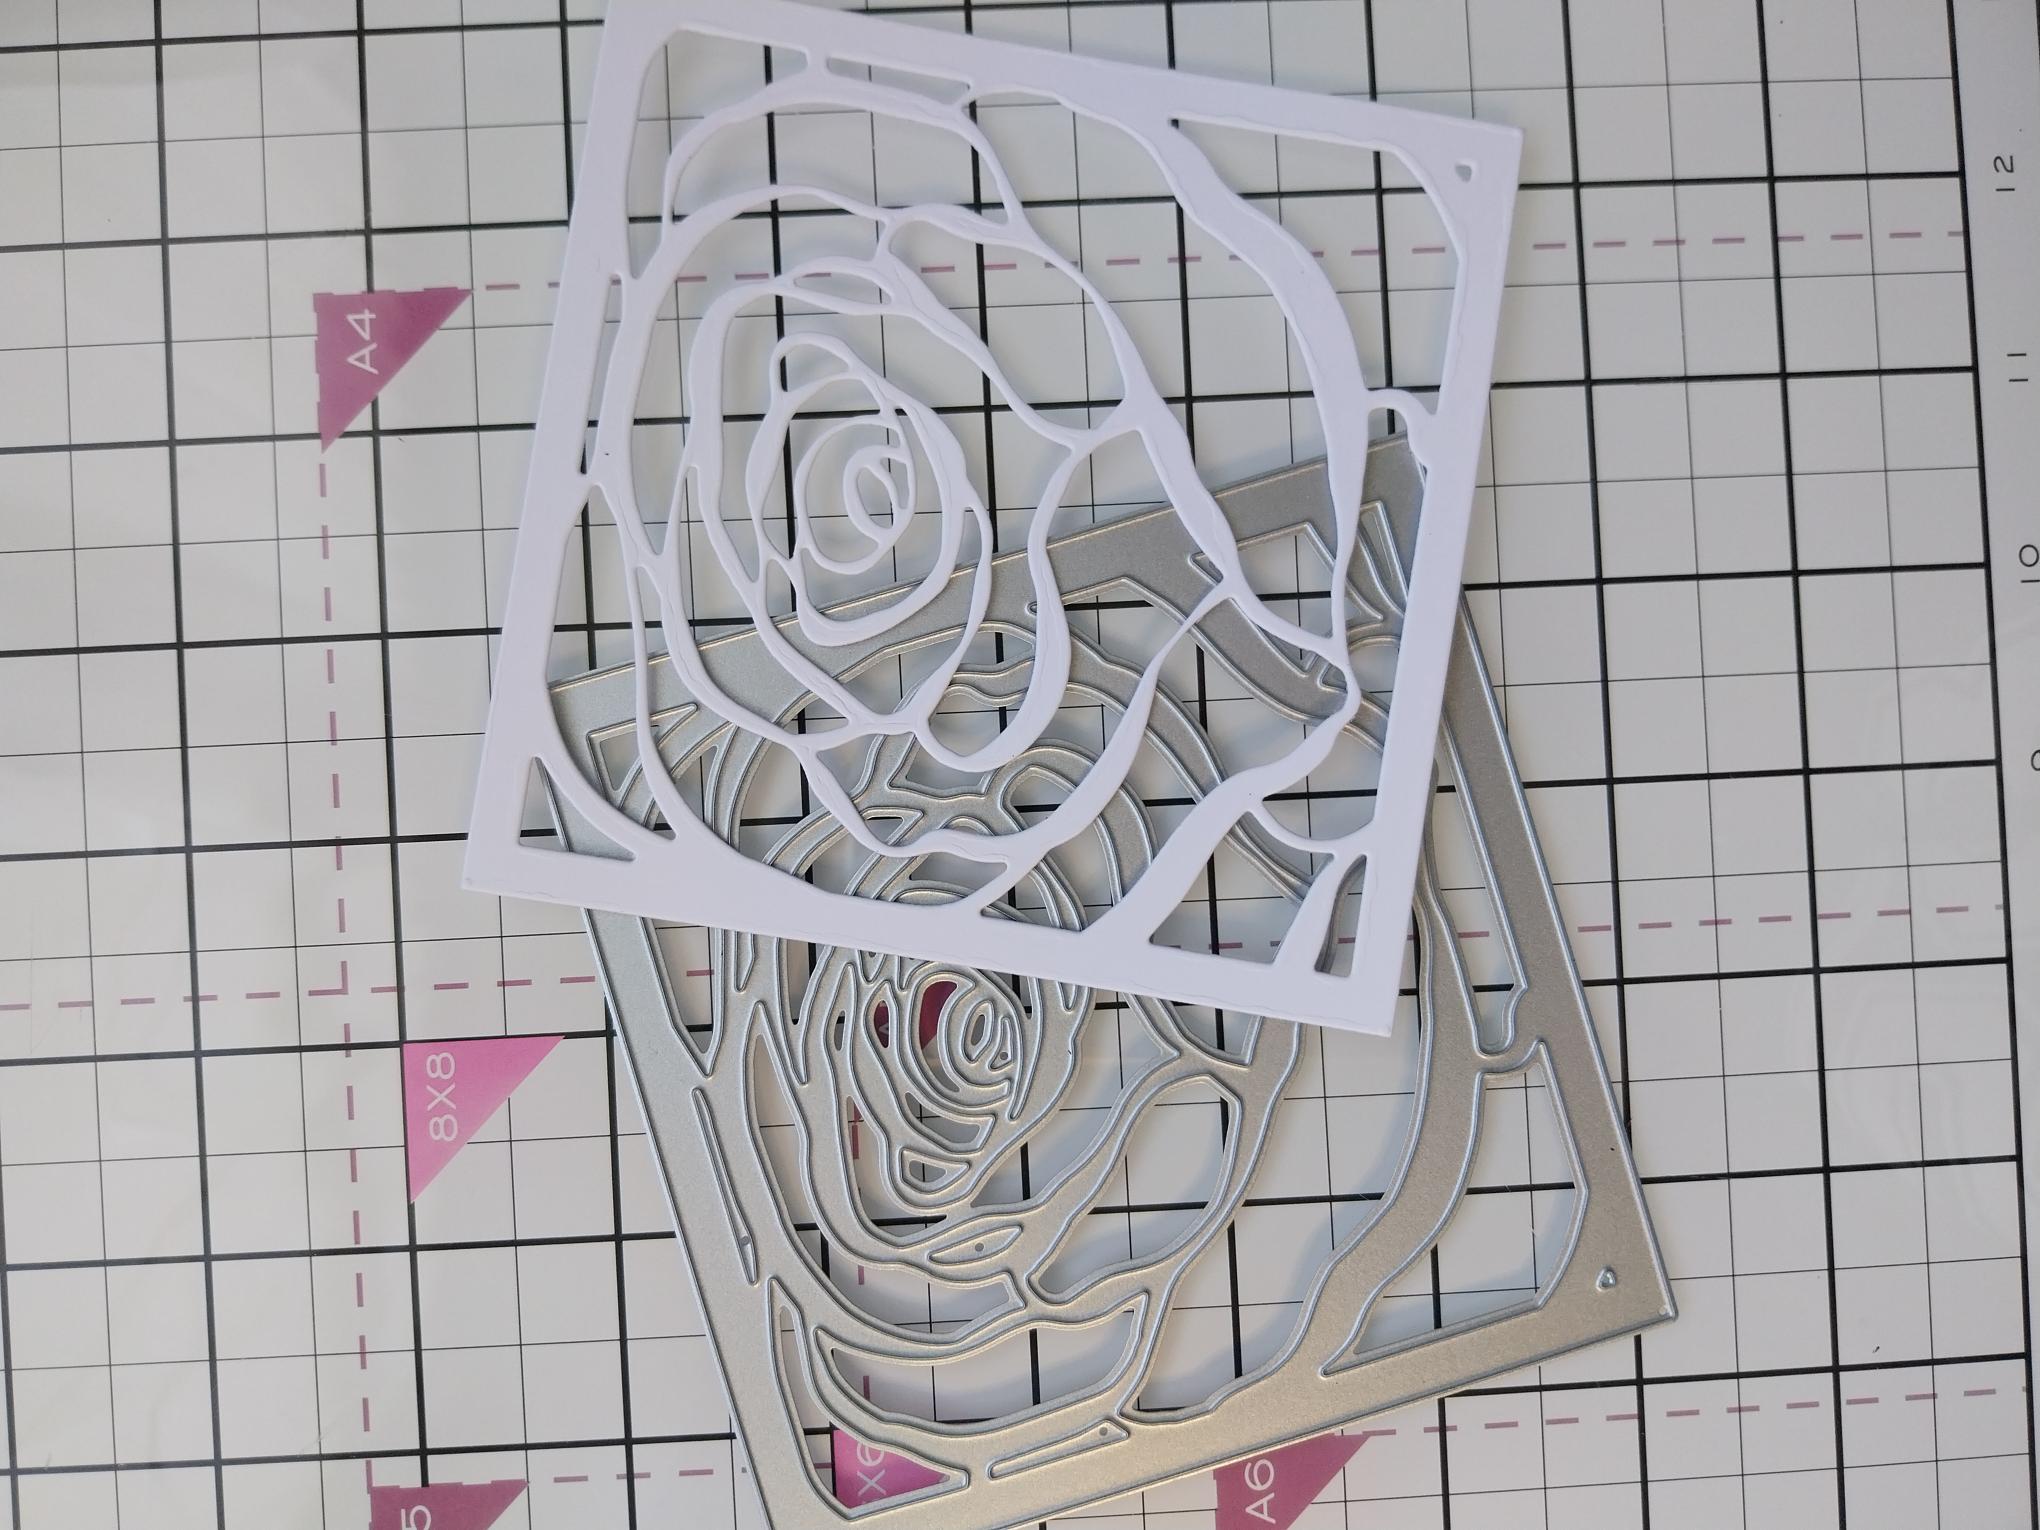
Die cut the coordinating frame from white cardstock. |
|
Splatter water over your stencilled Rose, wait a few seconds then lift up the ink with a paper towel. |

|
Adhere your die cut frame in place over your stencilled image. |
|
Use the outline die to cut your mat, then ink around the edges with the Sherbet ink. This is a great way to match up a coordinating "mat", if you haven't got the appropriate coloured cardstock. |
|
Adhere the die cut Rose onto the Sherbet inked mat and then onto your card blank. |
|
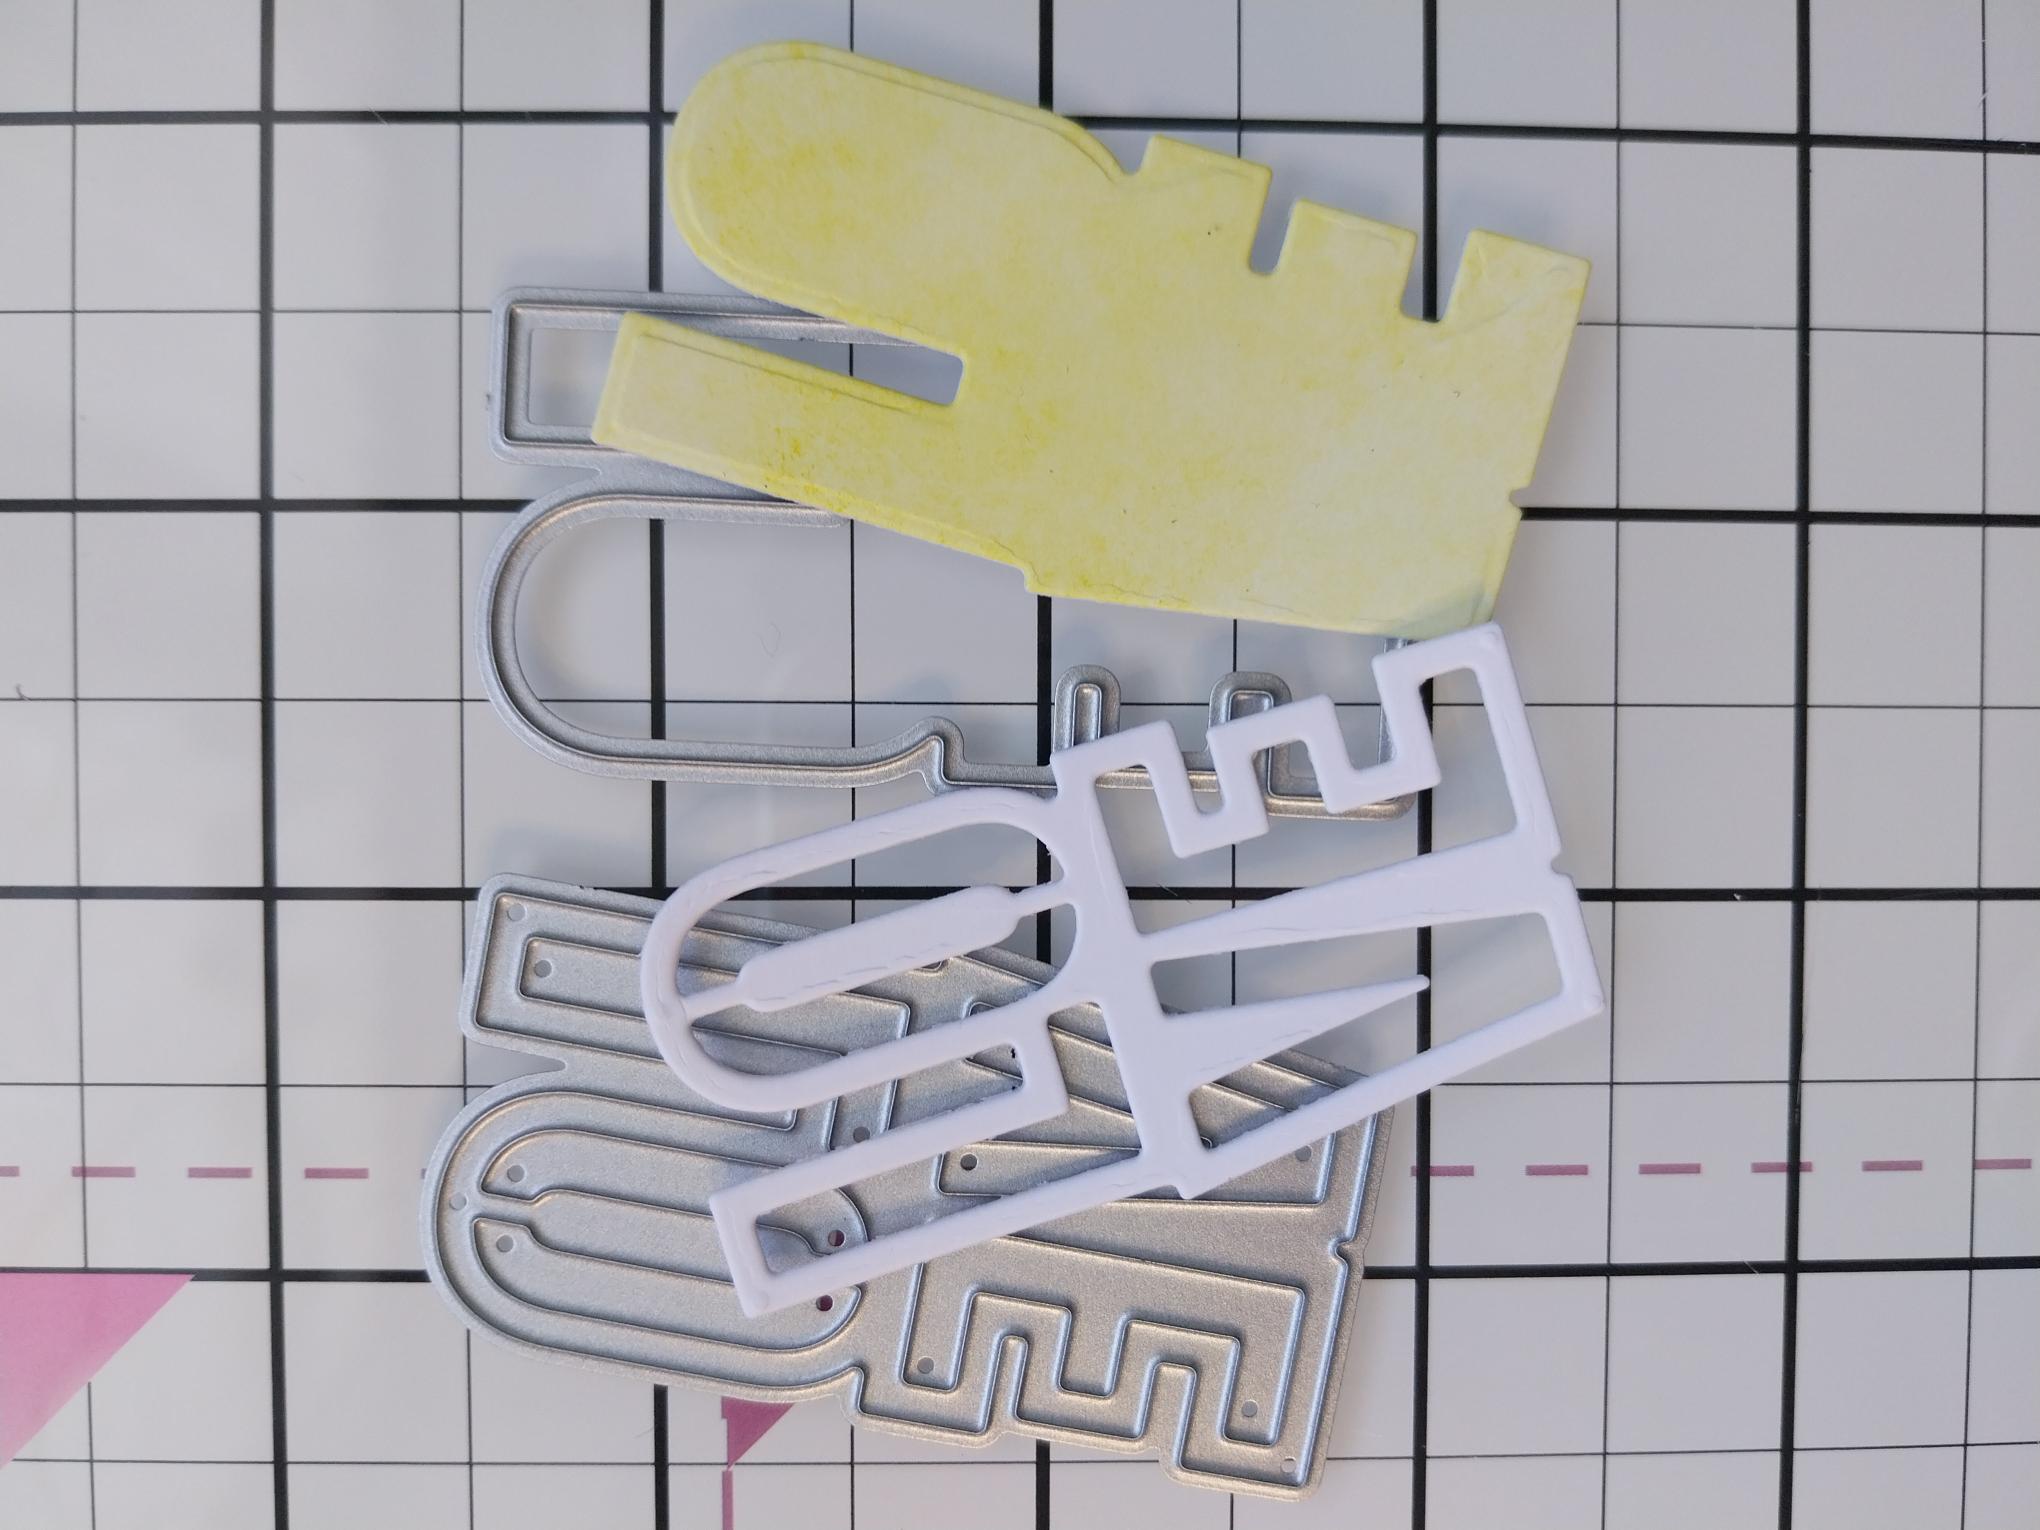
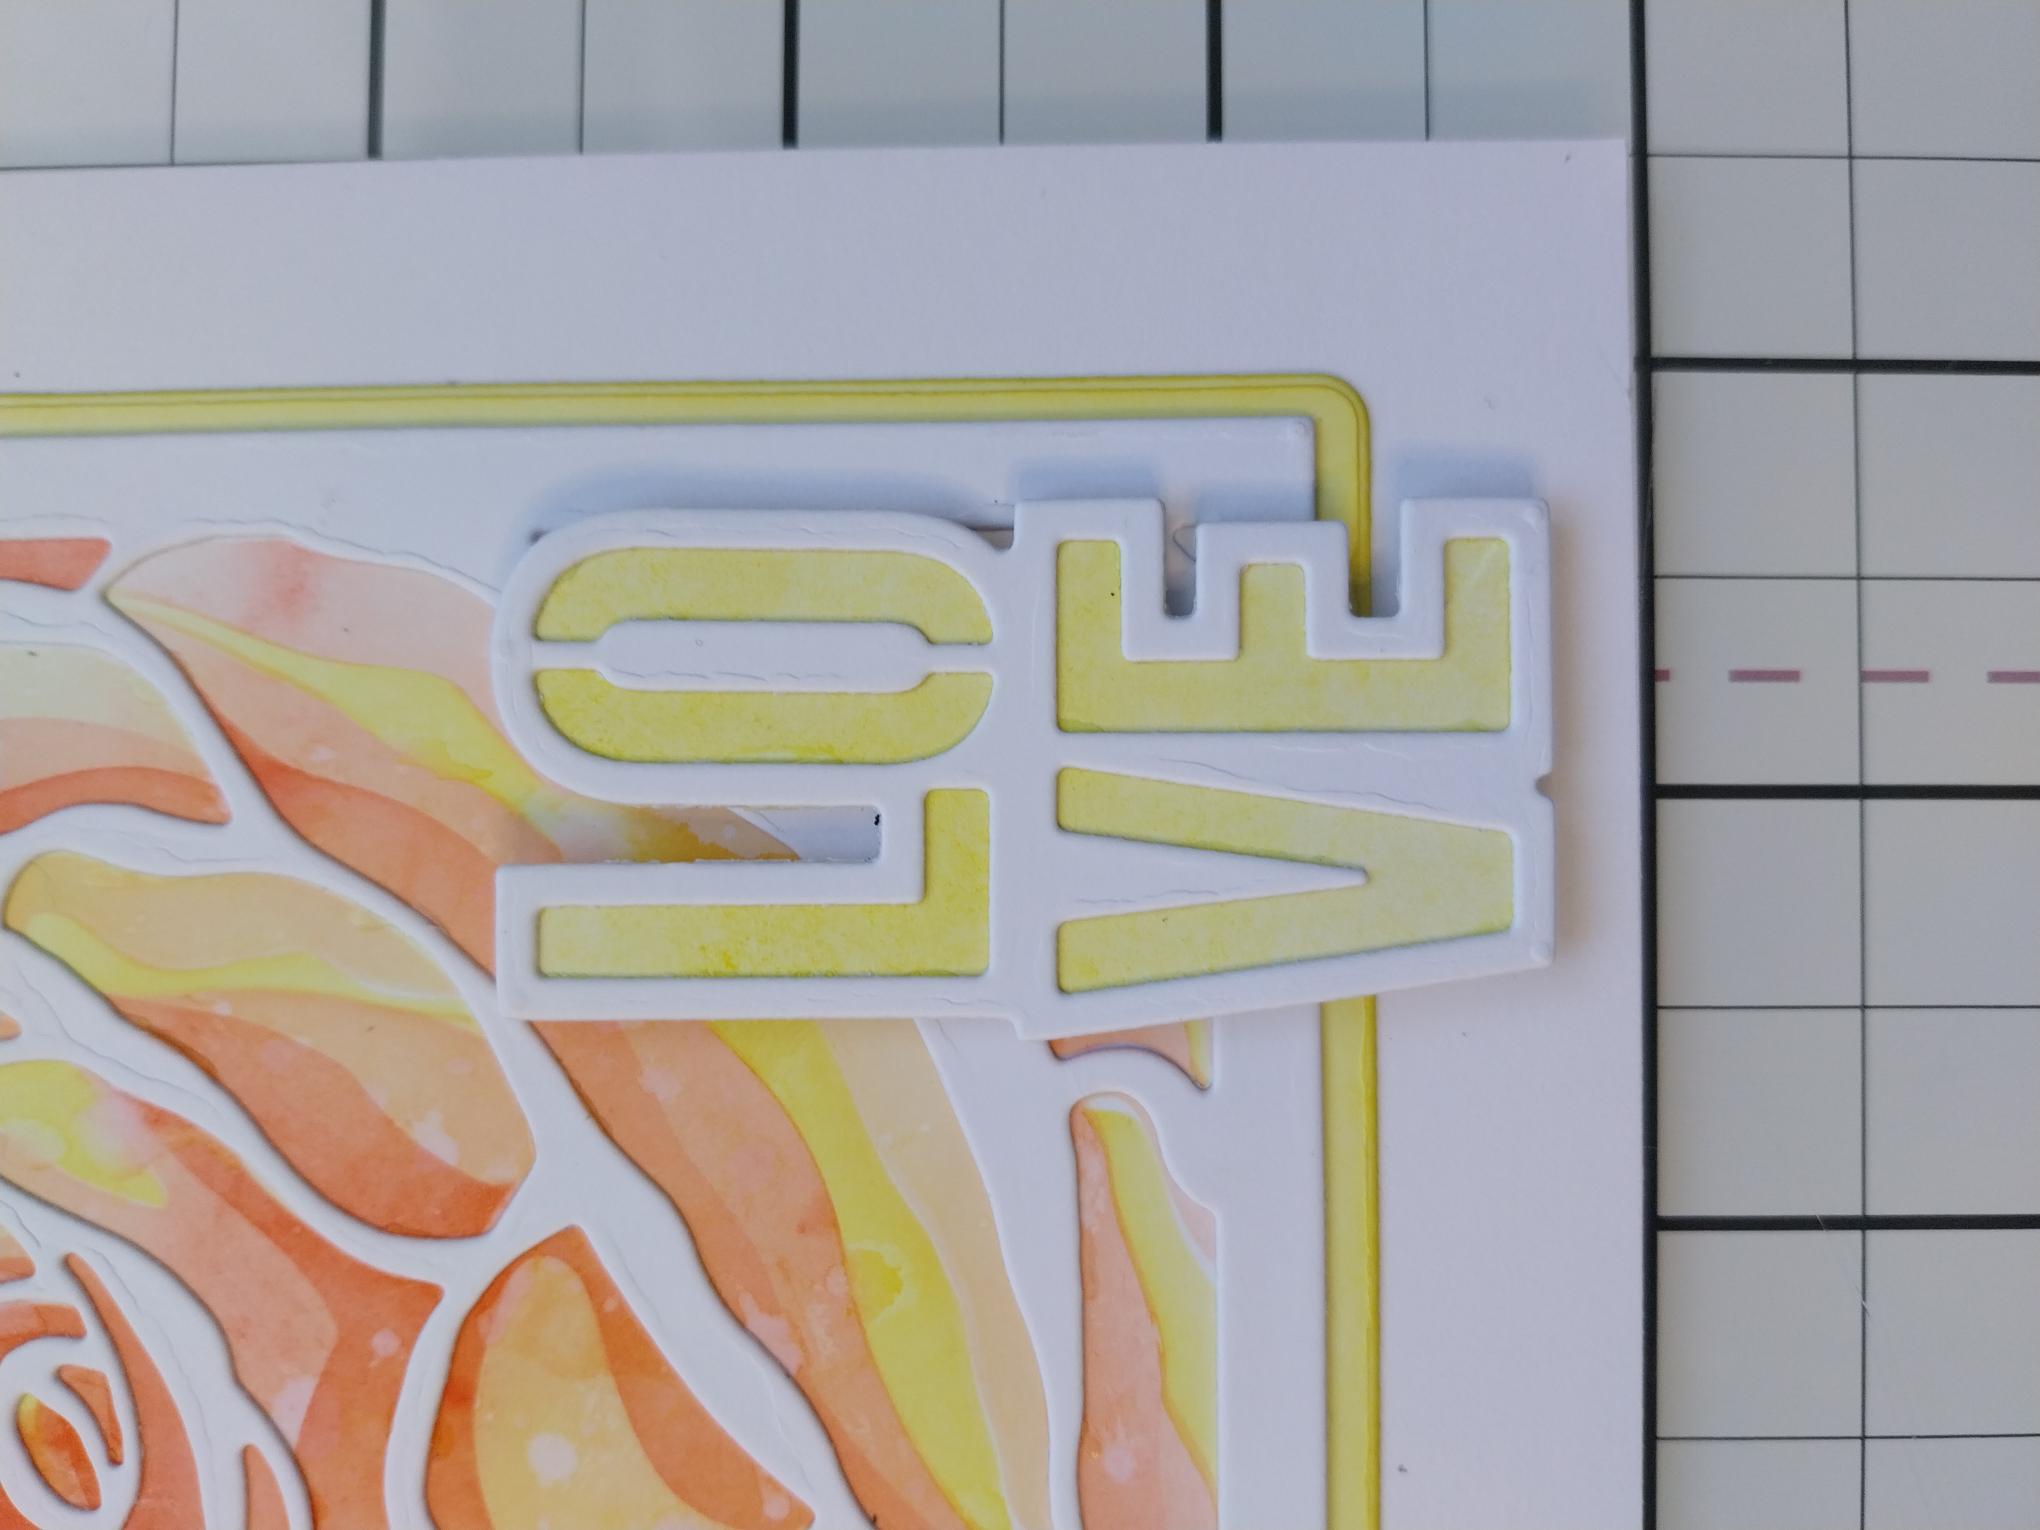
Use the Sherbet to colour a scrap piece of card before die-cutting the solid LOVE die and then die-cut the detailed die from white card. |
|
Adhere the sentiment die-cuts together before using foam pads to secure them in the bottom right corner of your finished card. |