Give your friends $10 off their first order!
Refer a FRIEND


WHAT YOU WILL NEED:
Black top folding card blank (8 1/4 x 5 3/4")
White card (7 3/4 x 5 1/4")
Black Card (7 1/2 x 5")
White card (6 x 3")
White card (2 x 2")
Stamps from Thirsty Brush UnLtd Buttercup Bubbles Creative Stamps
Stamps from Thirsty Brush UnLtd No Rules Creative Stamps
Stamps from Thirsty Brush UnLtd Winged Dreams Creative Stamps
Dies from Thirsty Brush UnLtd Tagged Creative Dies
Versafine Ink Pad: Onyx Black
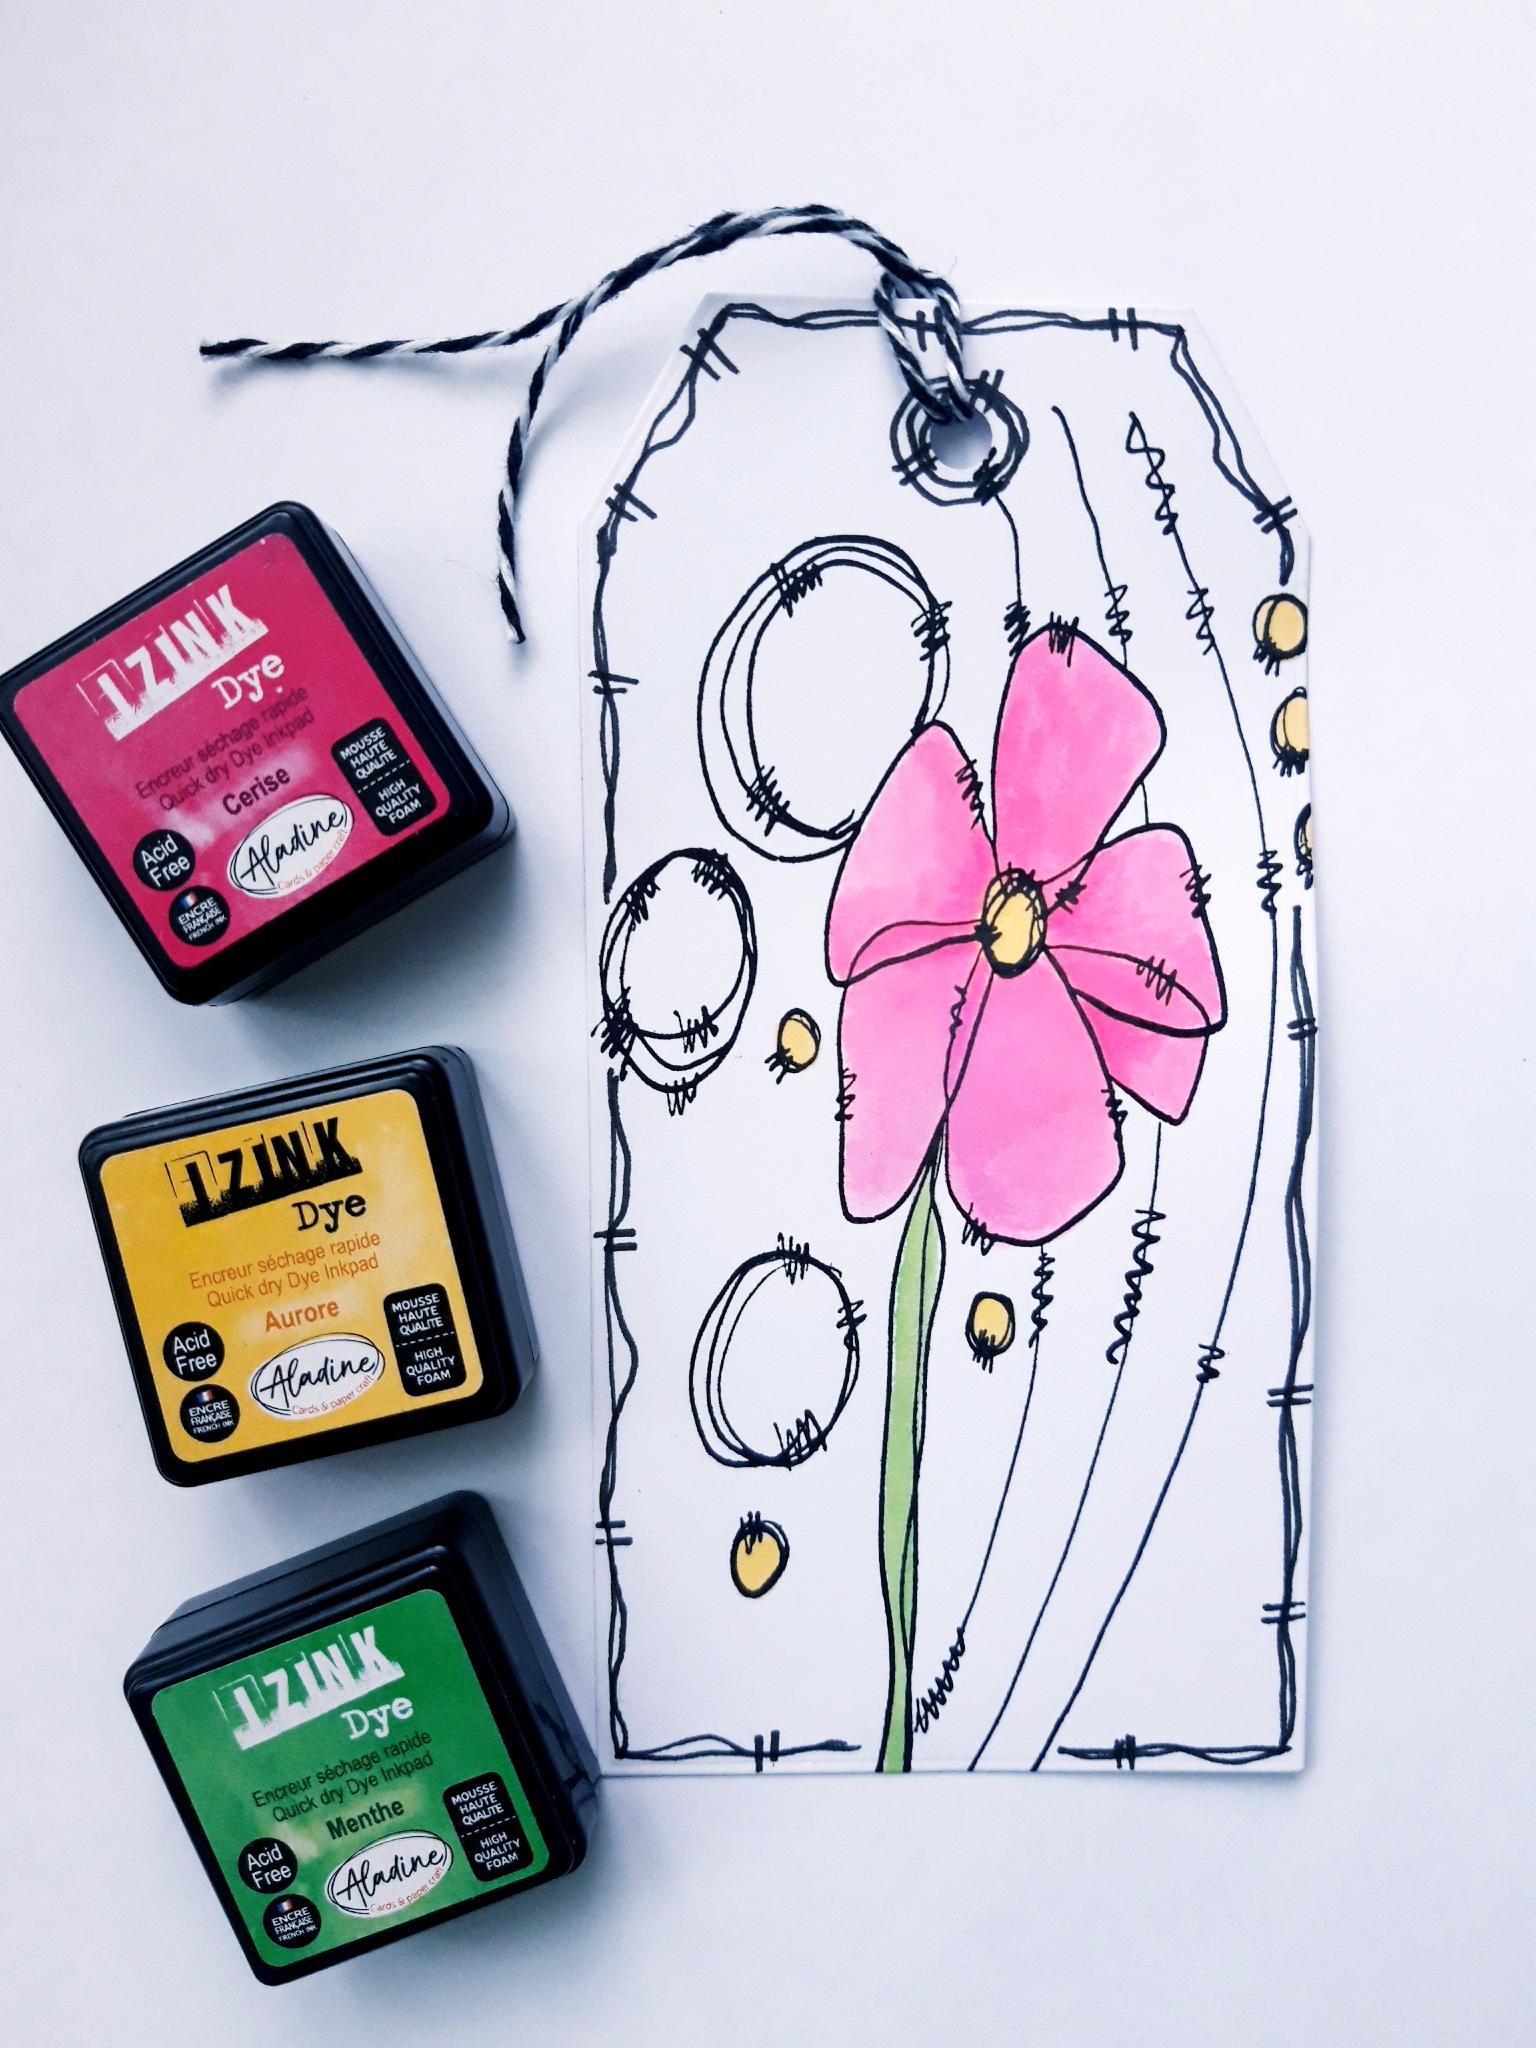
Izink Dye ink Pad: Menthe, Cerise, Aurore
Izink Pigment Embossing Ink Pad: White
White gel pen
Black pen
Bakers Twine
Eureka 101
Paper Trimmer
Perfect Together Glue
Hole Punch
Die Cutting machine
[click image to enlarge] 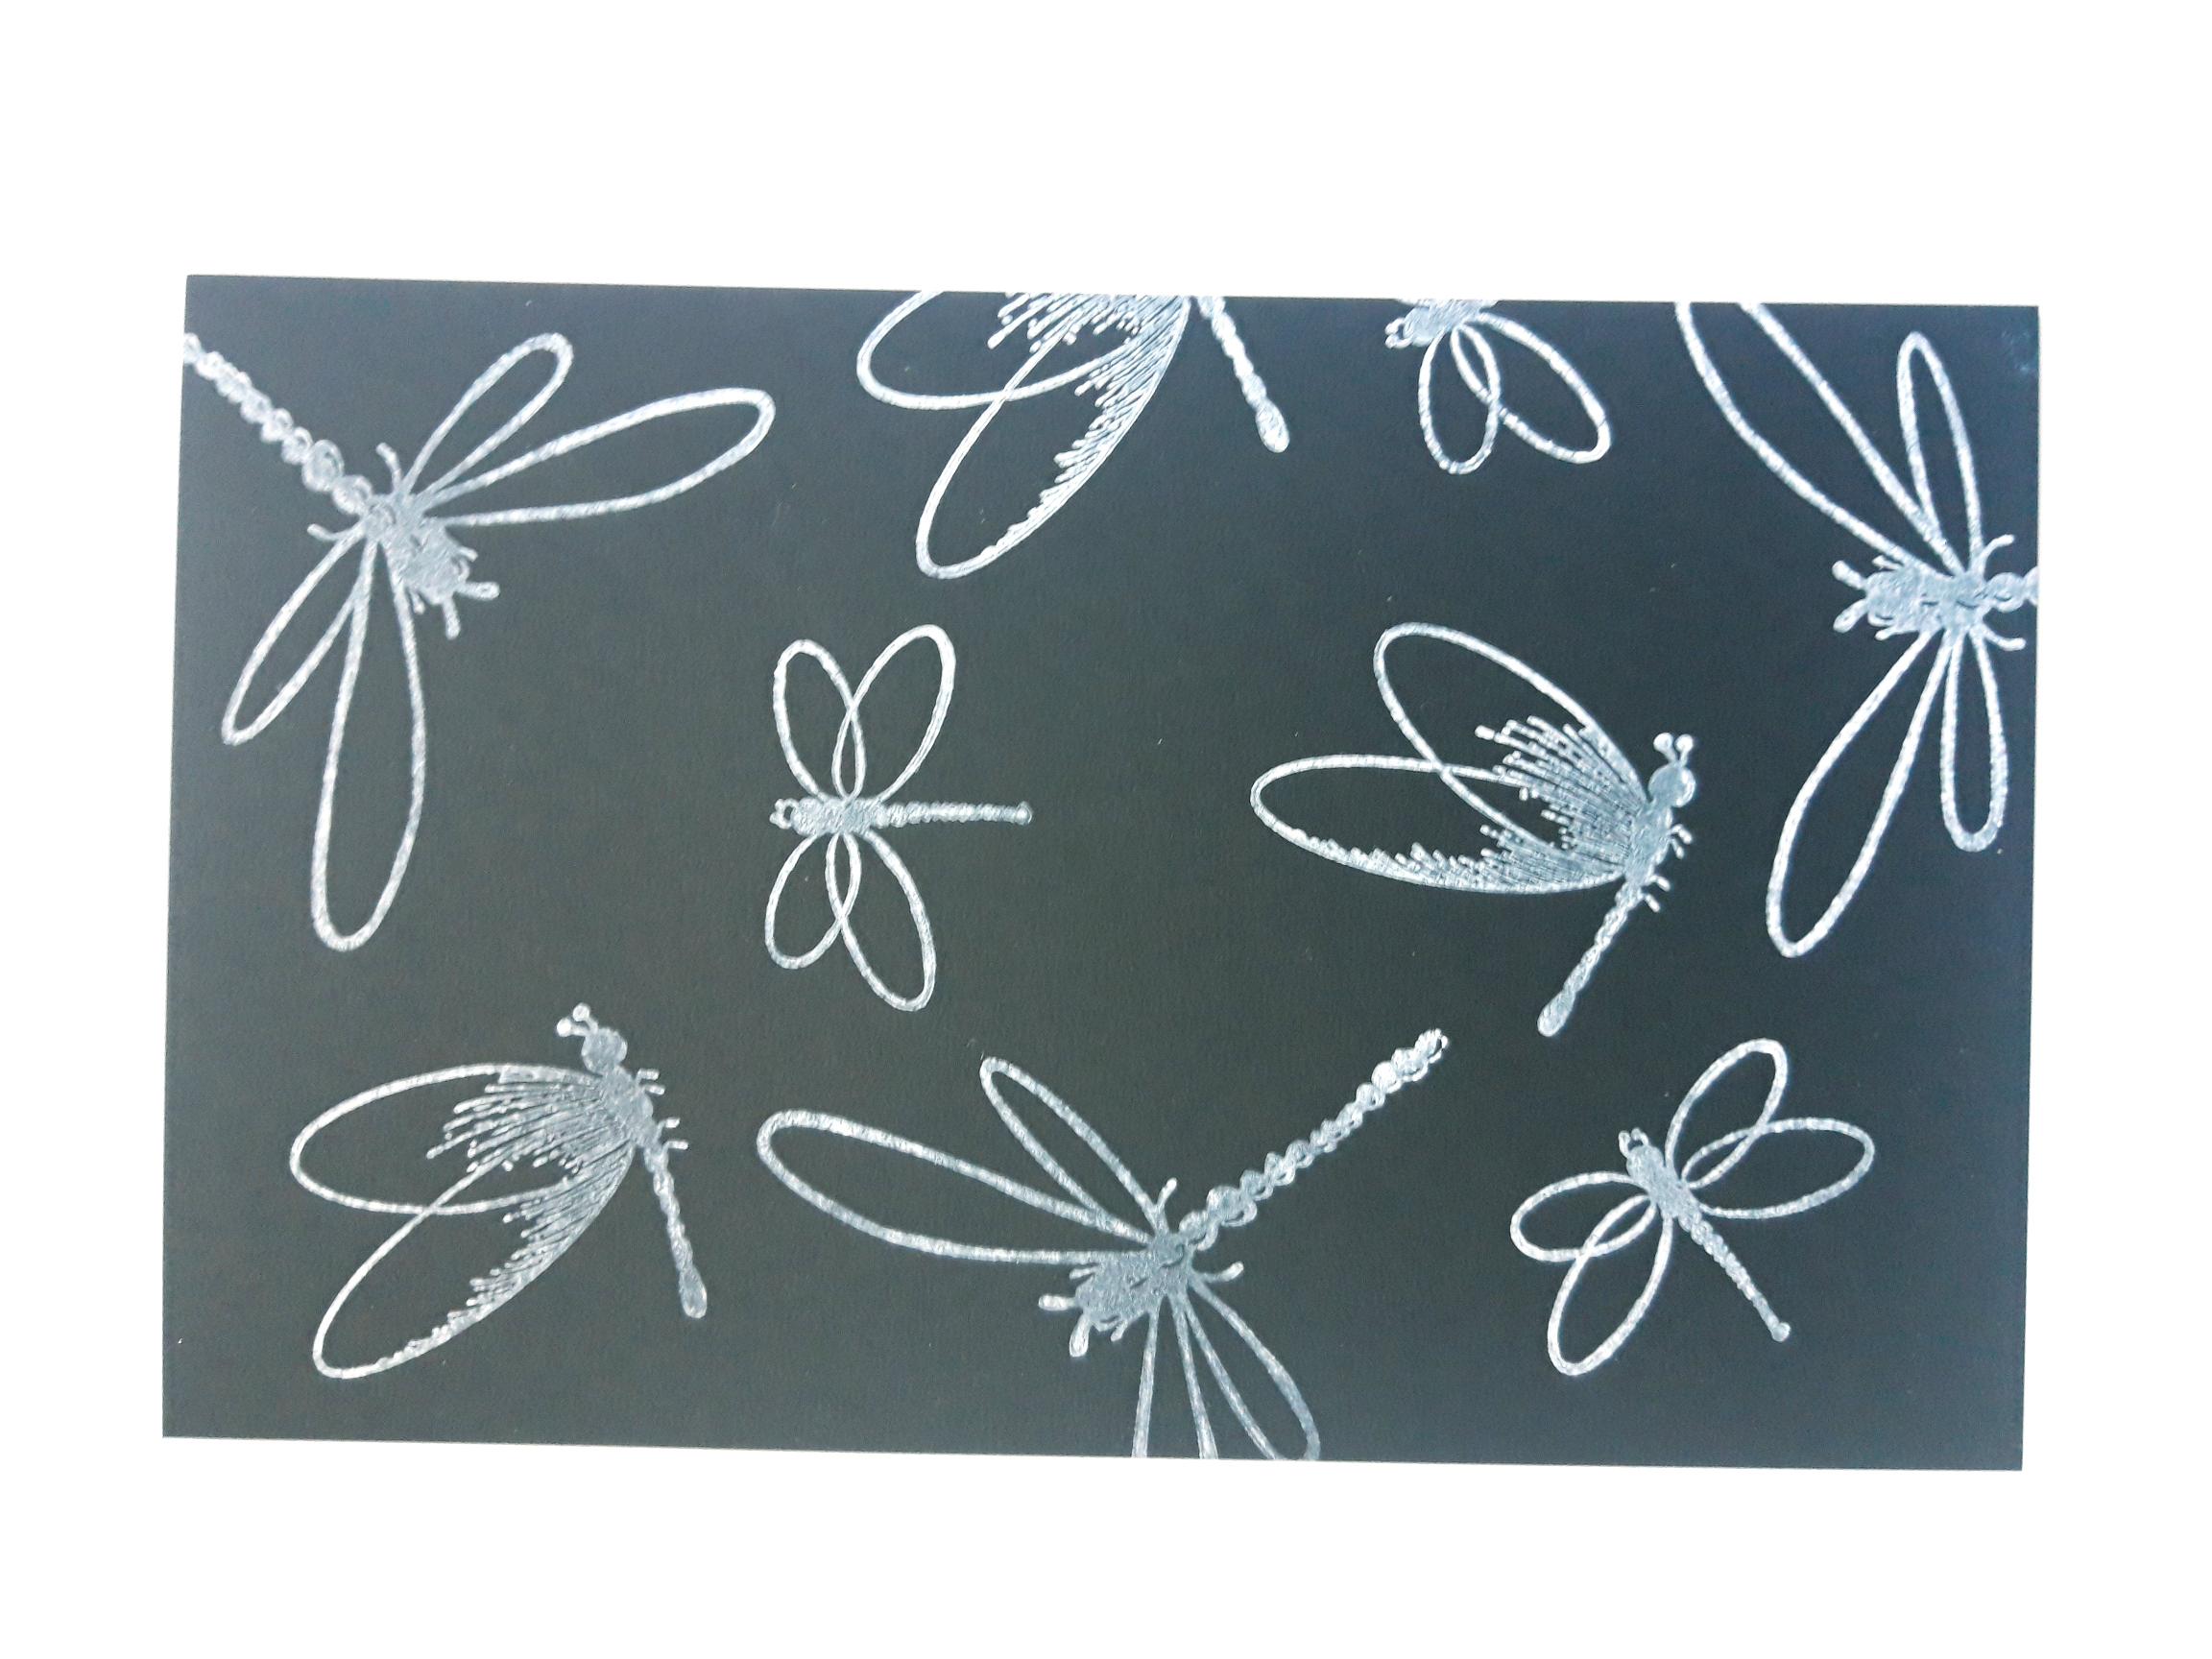
|
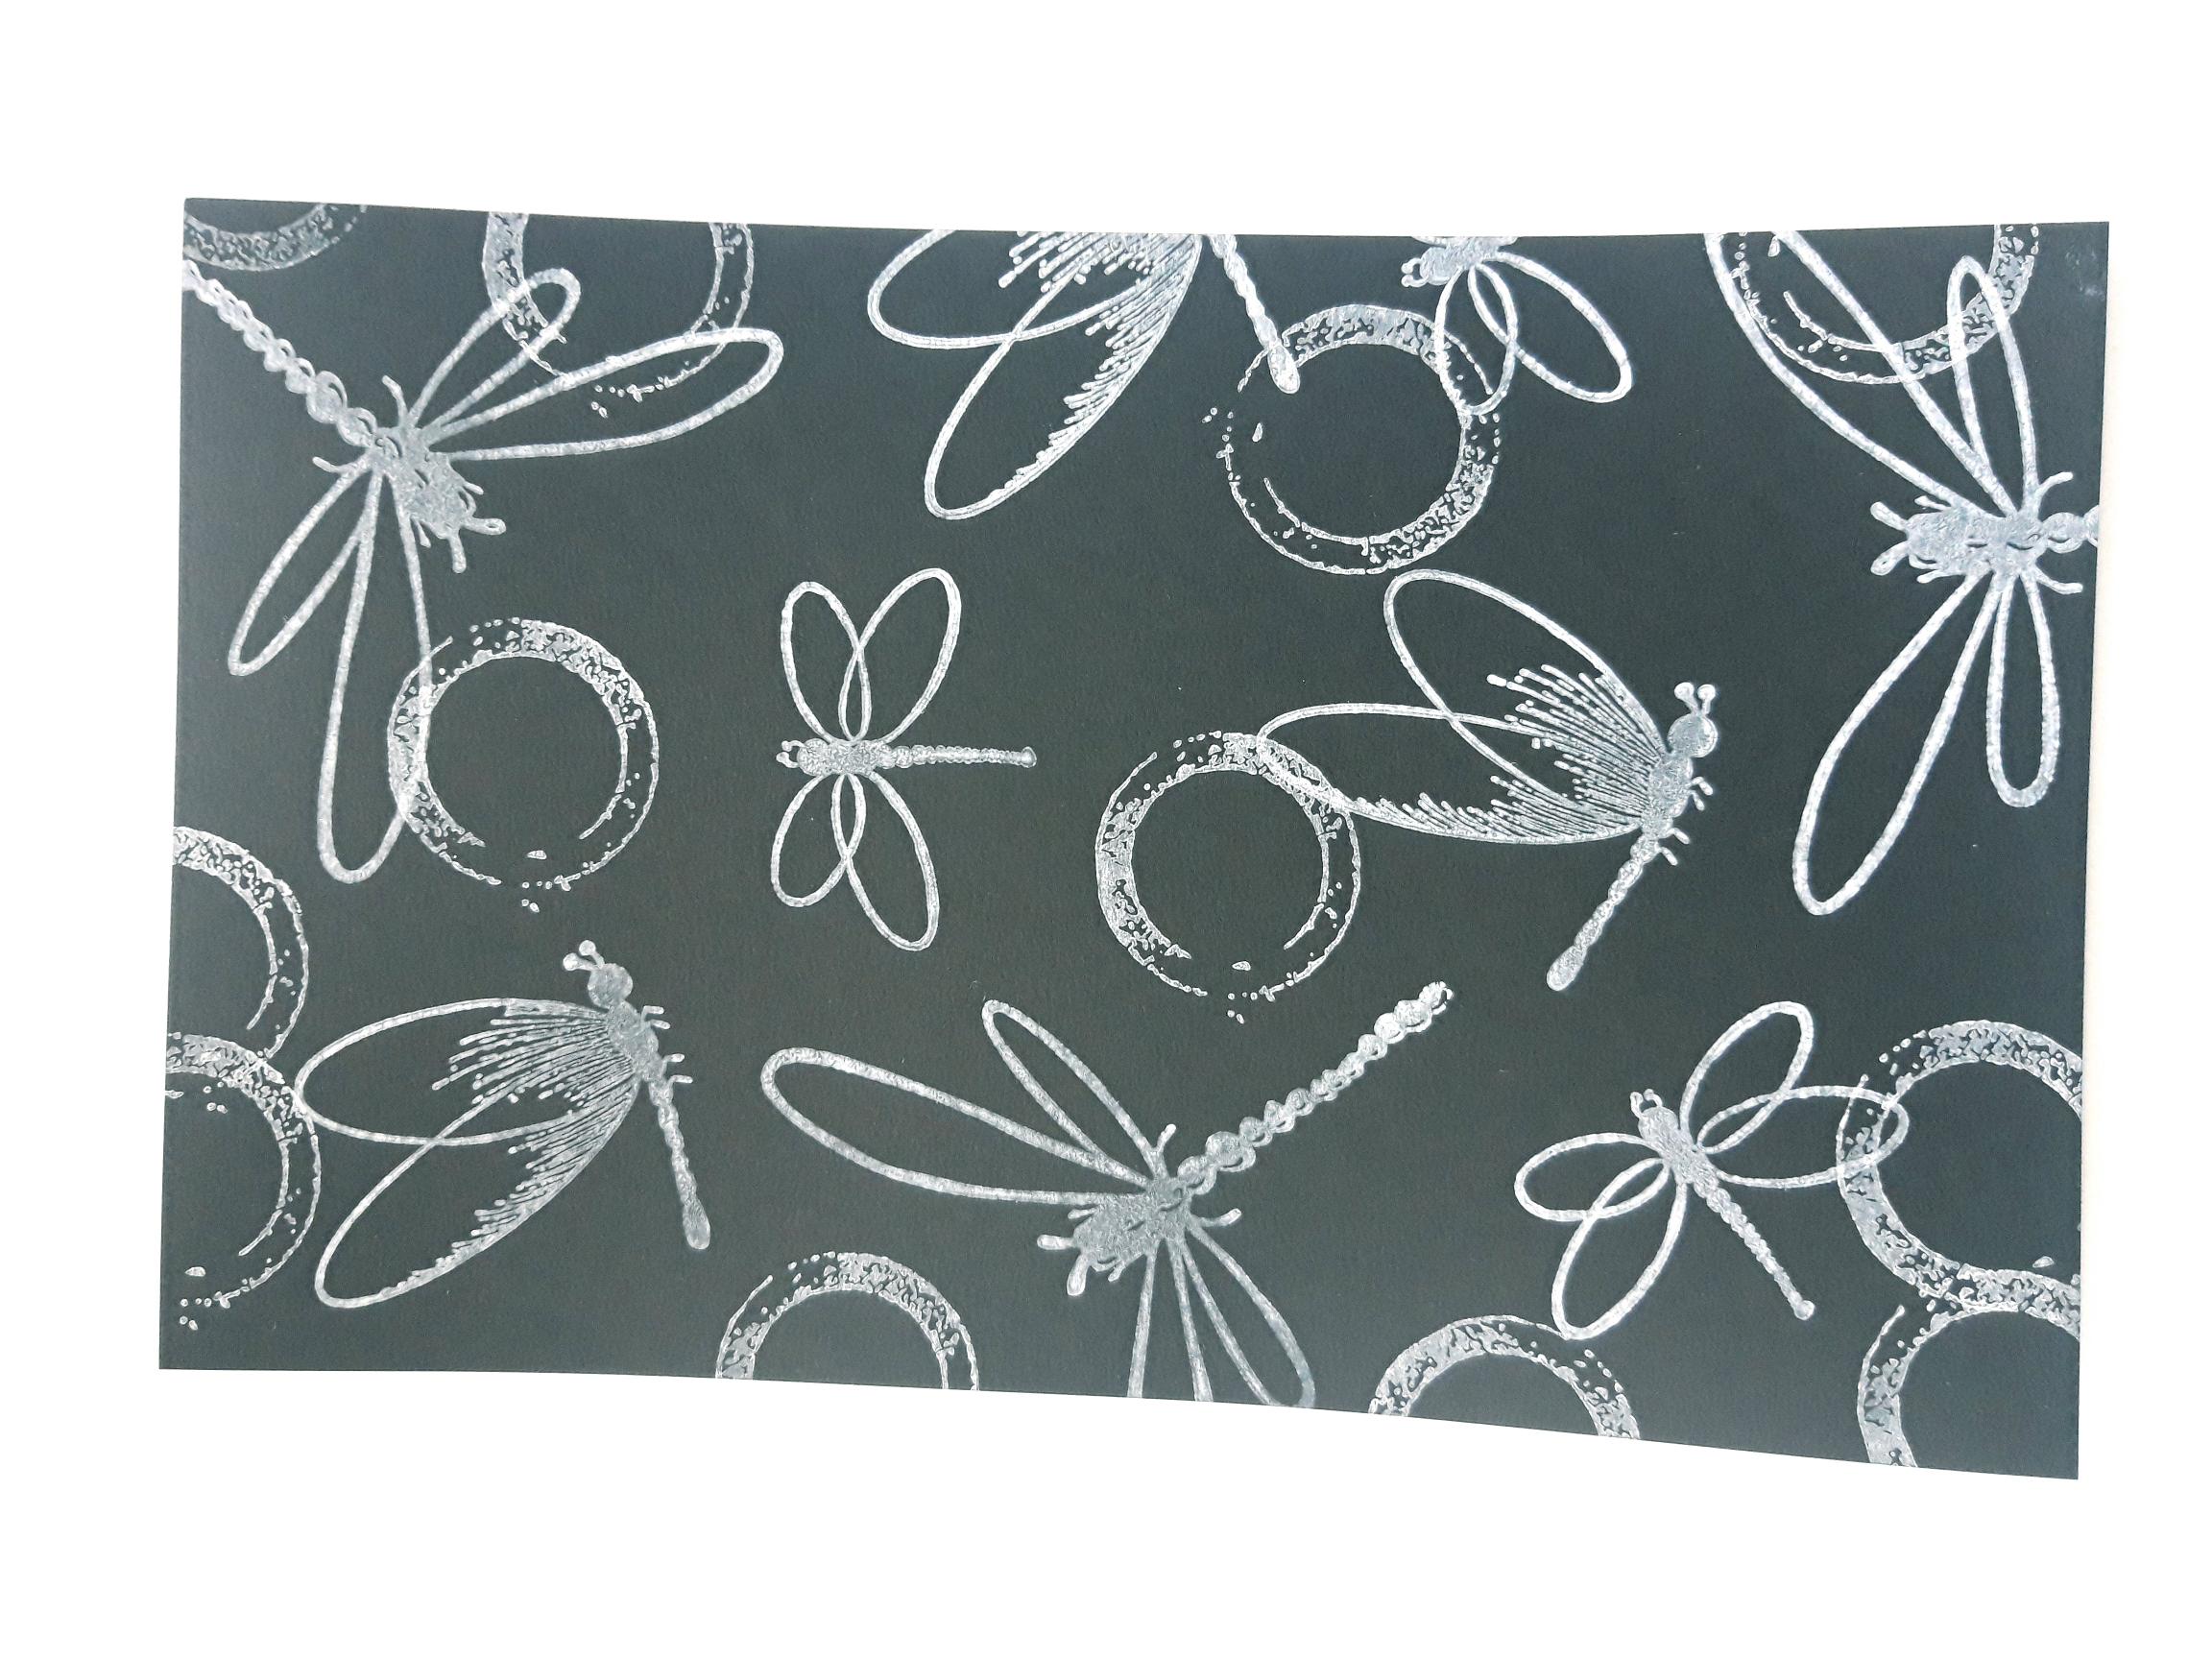
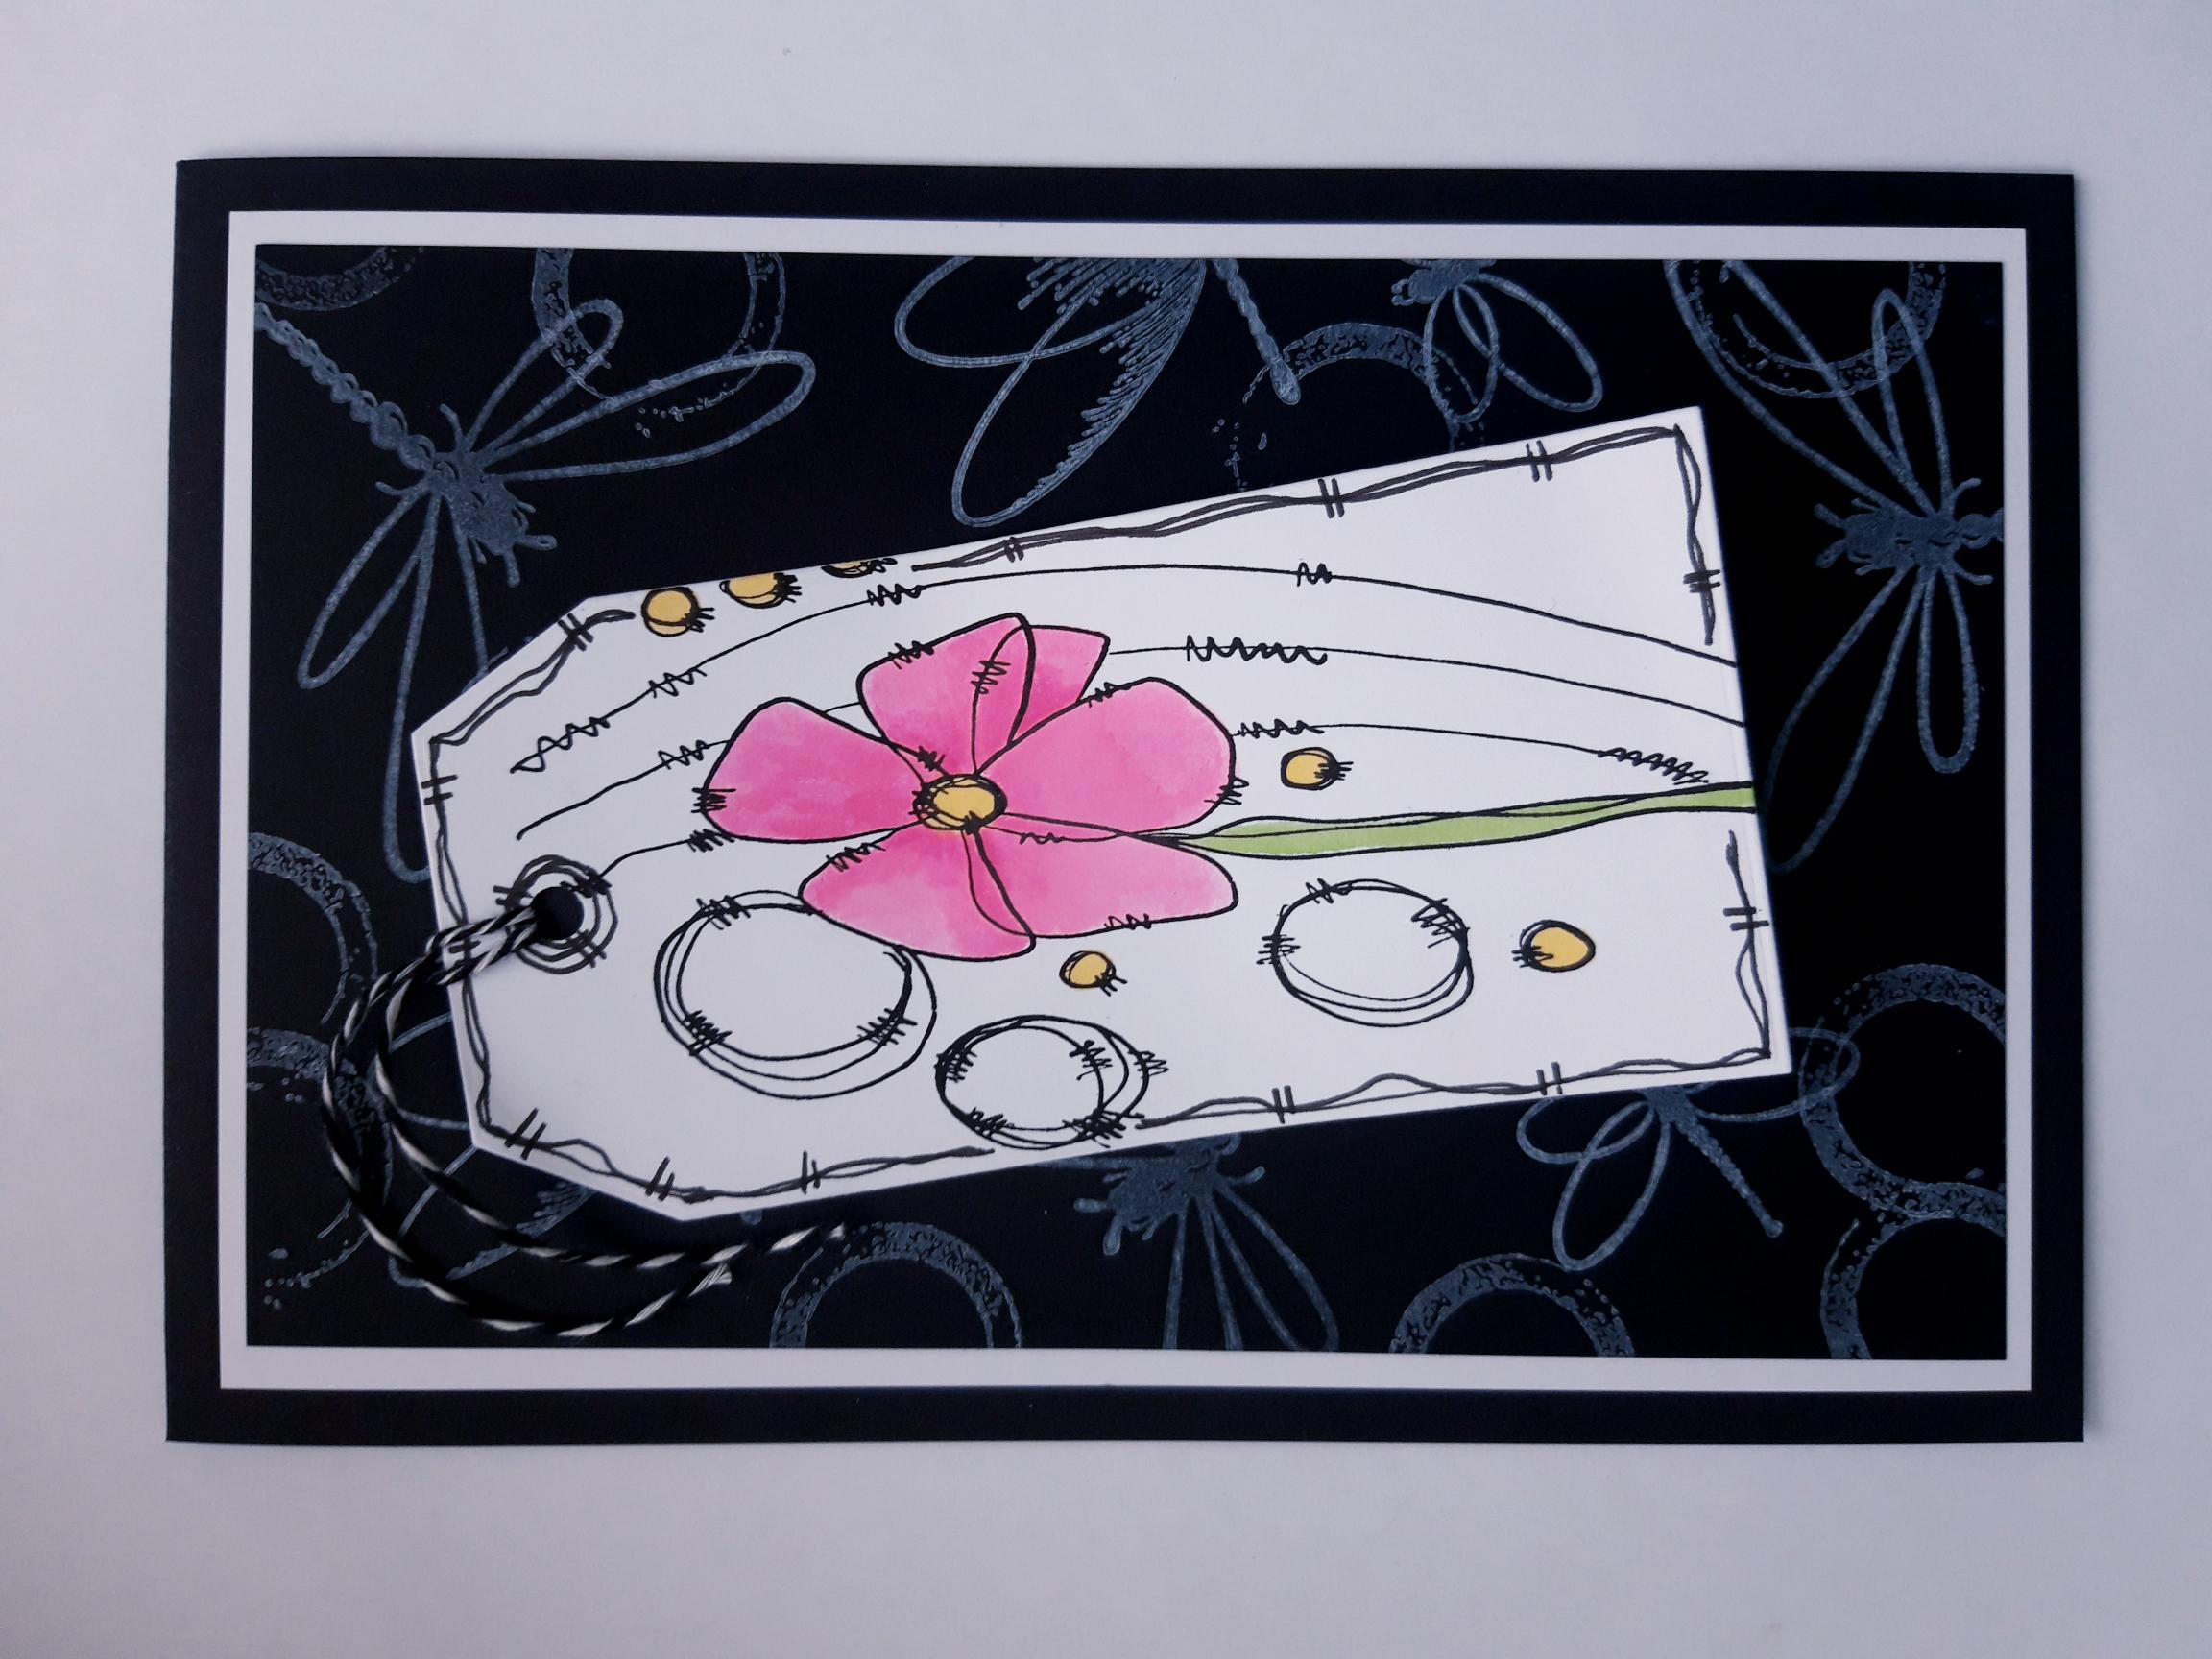
Ink up a selection of the Dragonfly stamps, from the Winged Dreams Creative Stamps, with the Izink Pigment white ink. Stamp randomly on to the black card (7 1/2 x 5"), taking some of them off the edges of your card, to create your background. |
|
Ink up one of the texture circle stamps, from the No Rules Creative Stamps, with the white ink, and stamp randomly on to your background, ensuring some are stamped off the edges of the card. |
|
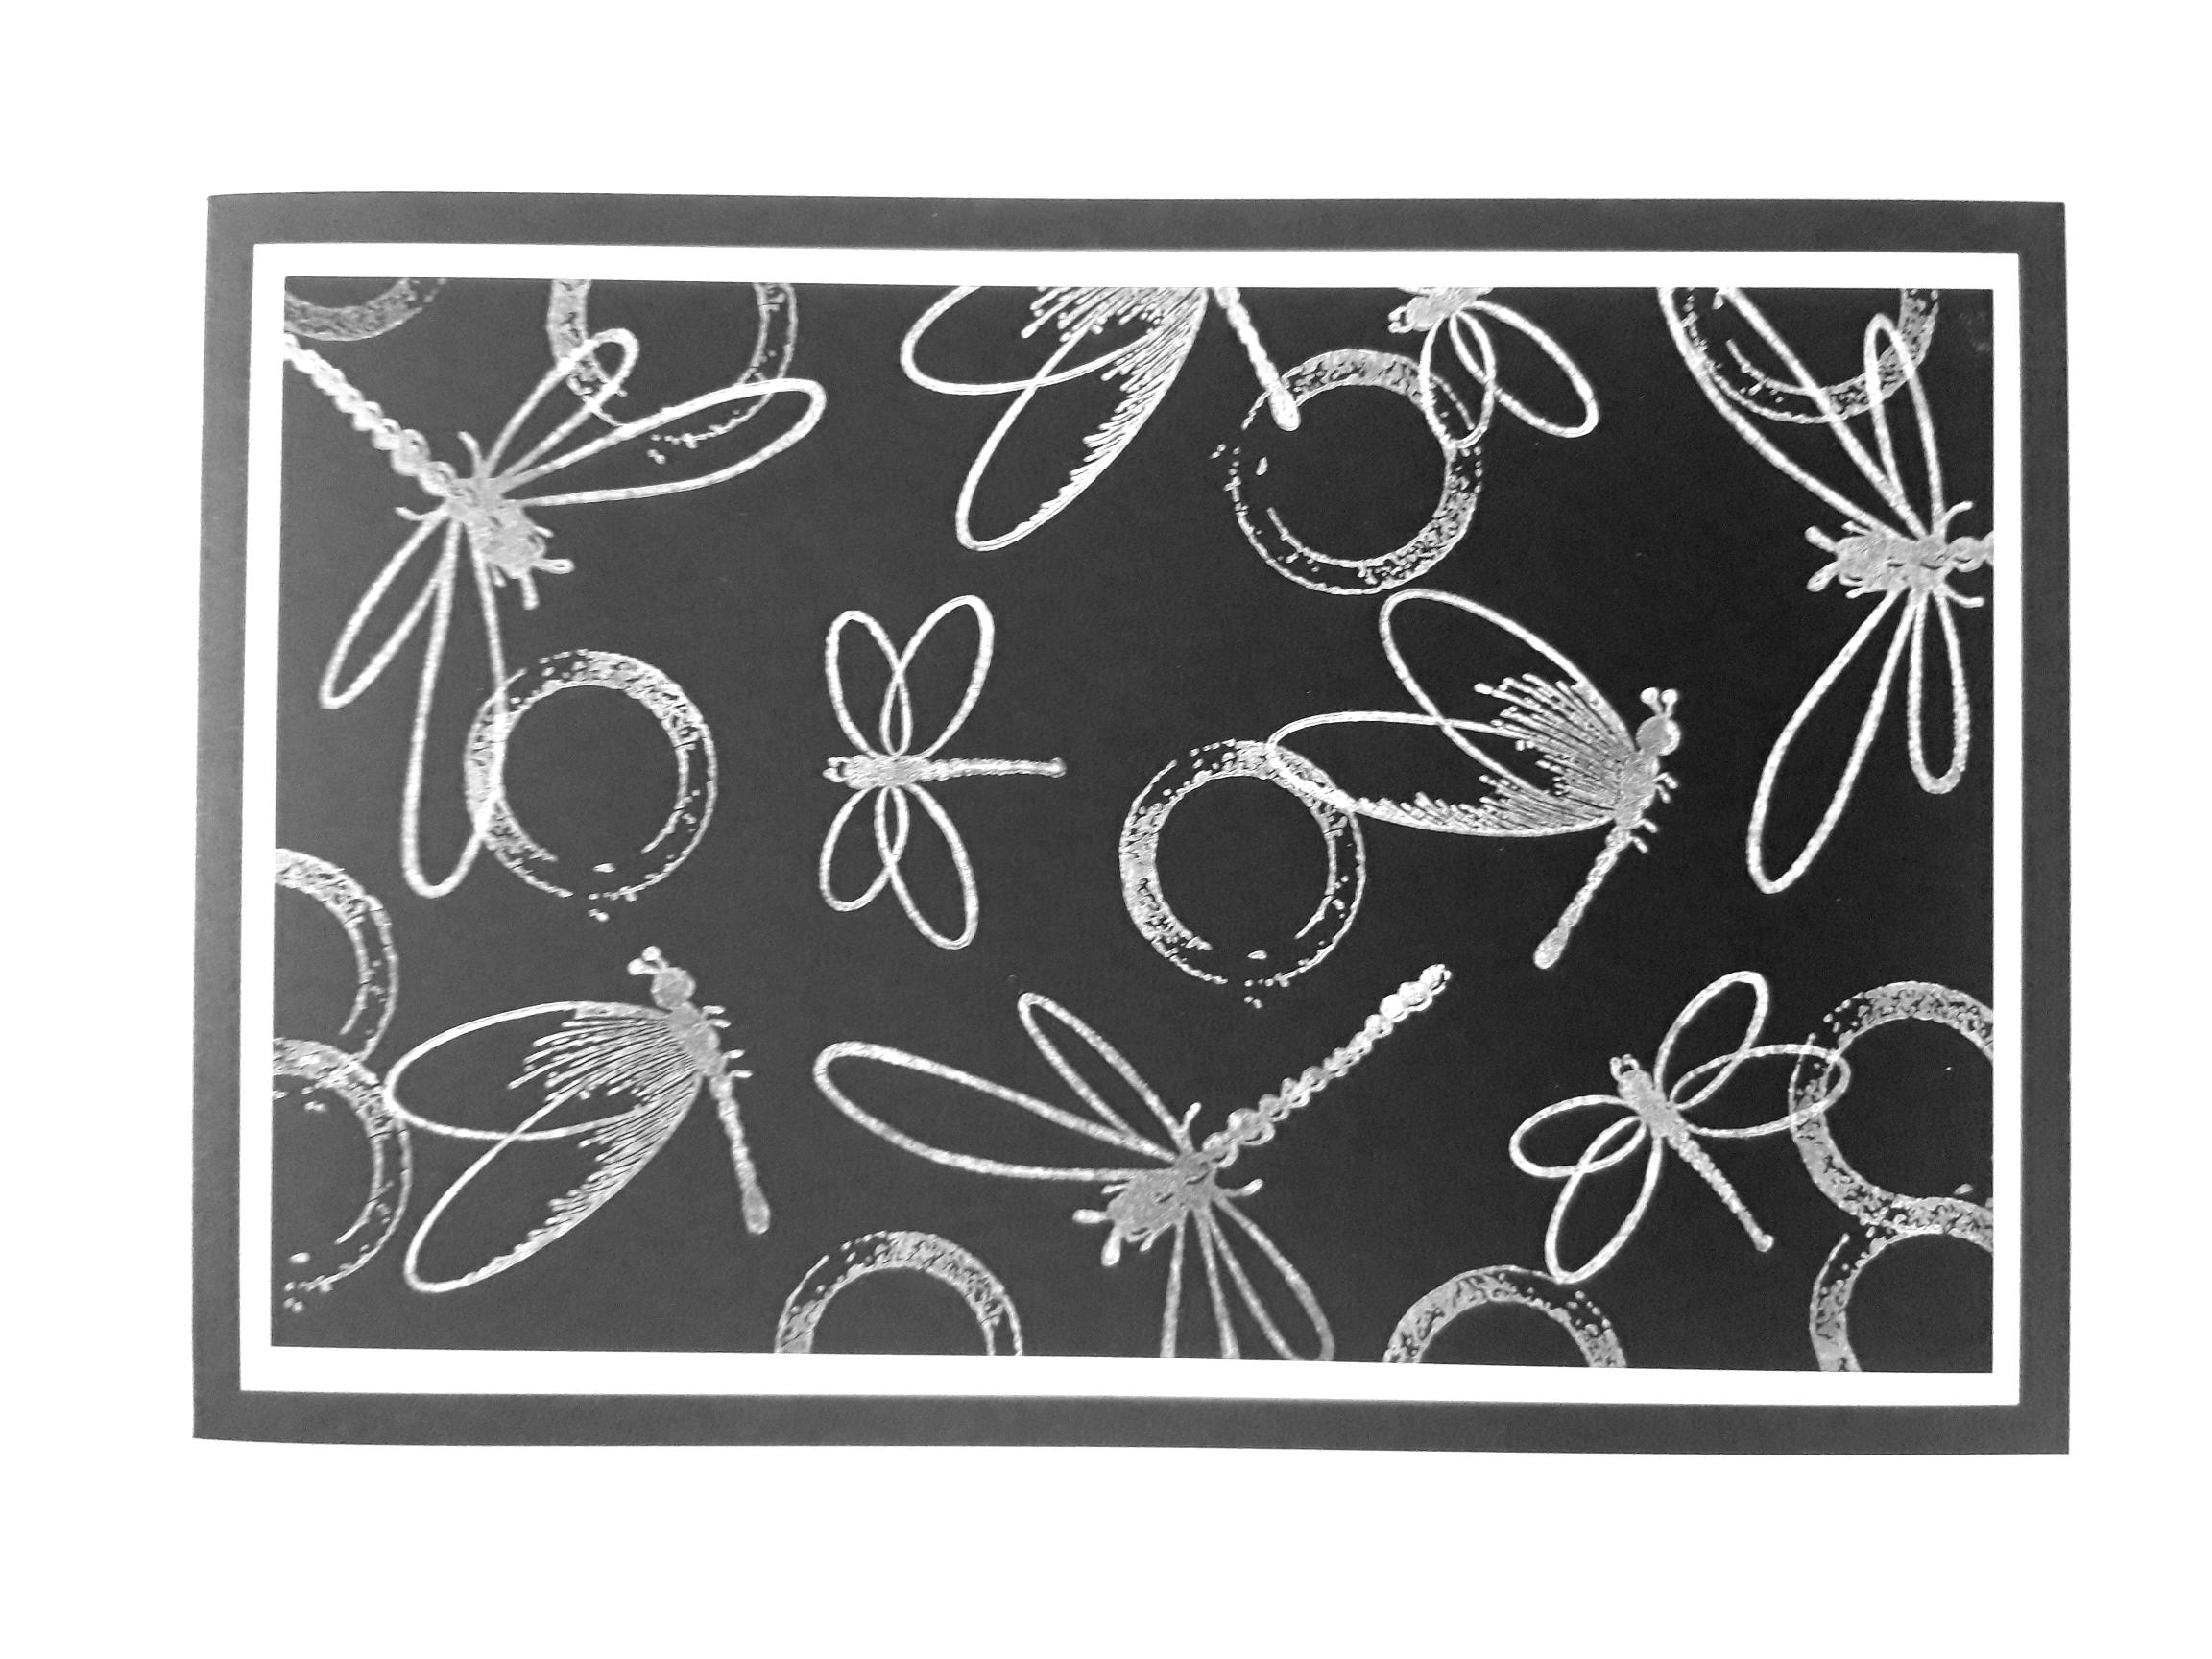
Once all the ink is dry, mat your background on to the white card (7 3/4 x 5 1/4"). Mat this on to the front of your black top folding card blank. Set to one side. |
|
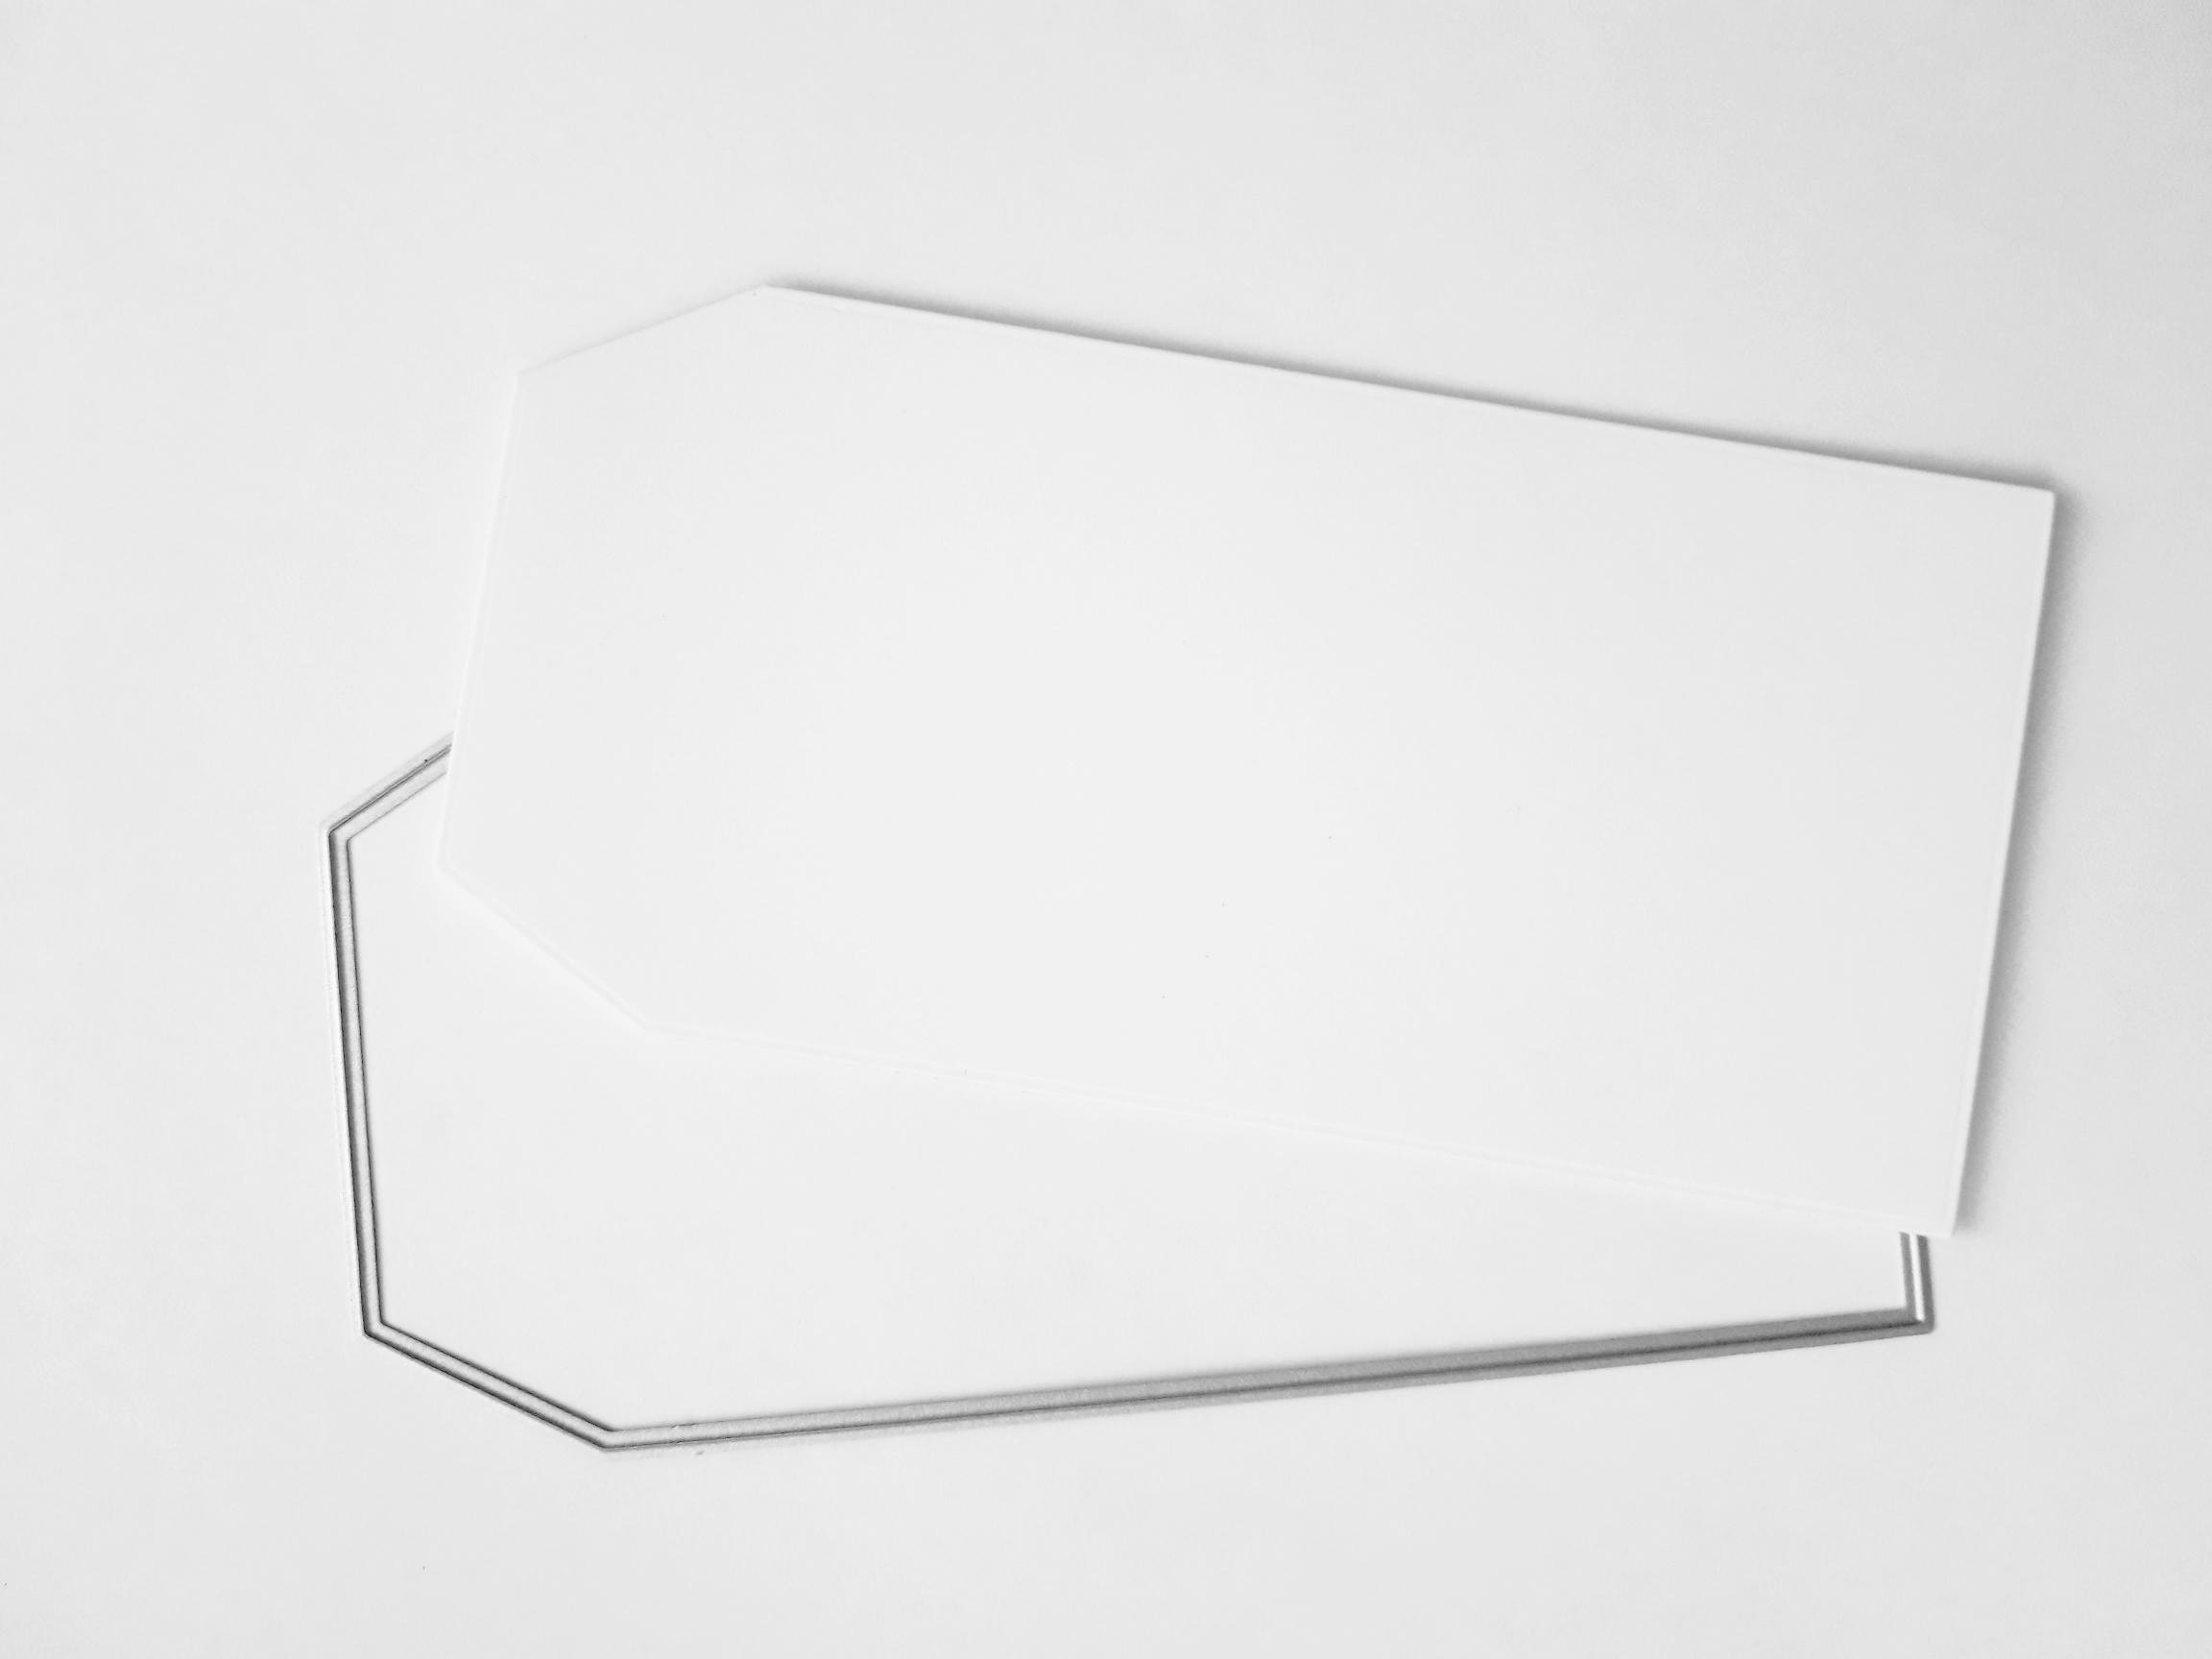
Place the tag die, that measures approx 5 1/2 x 2 3/4", from the Tagged Creative Dies, on to the white cardstock (6 x 3"). Run this through your die cutting machine. |
|
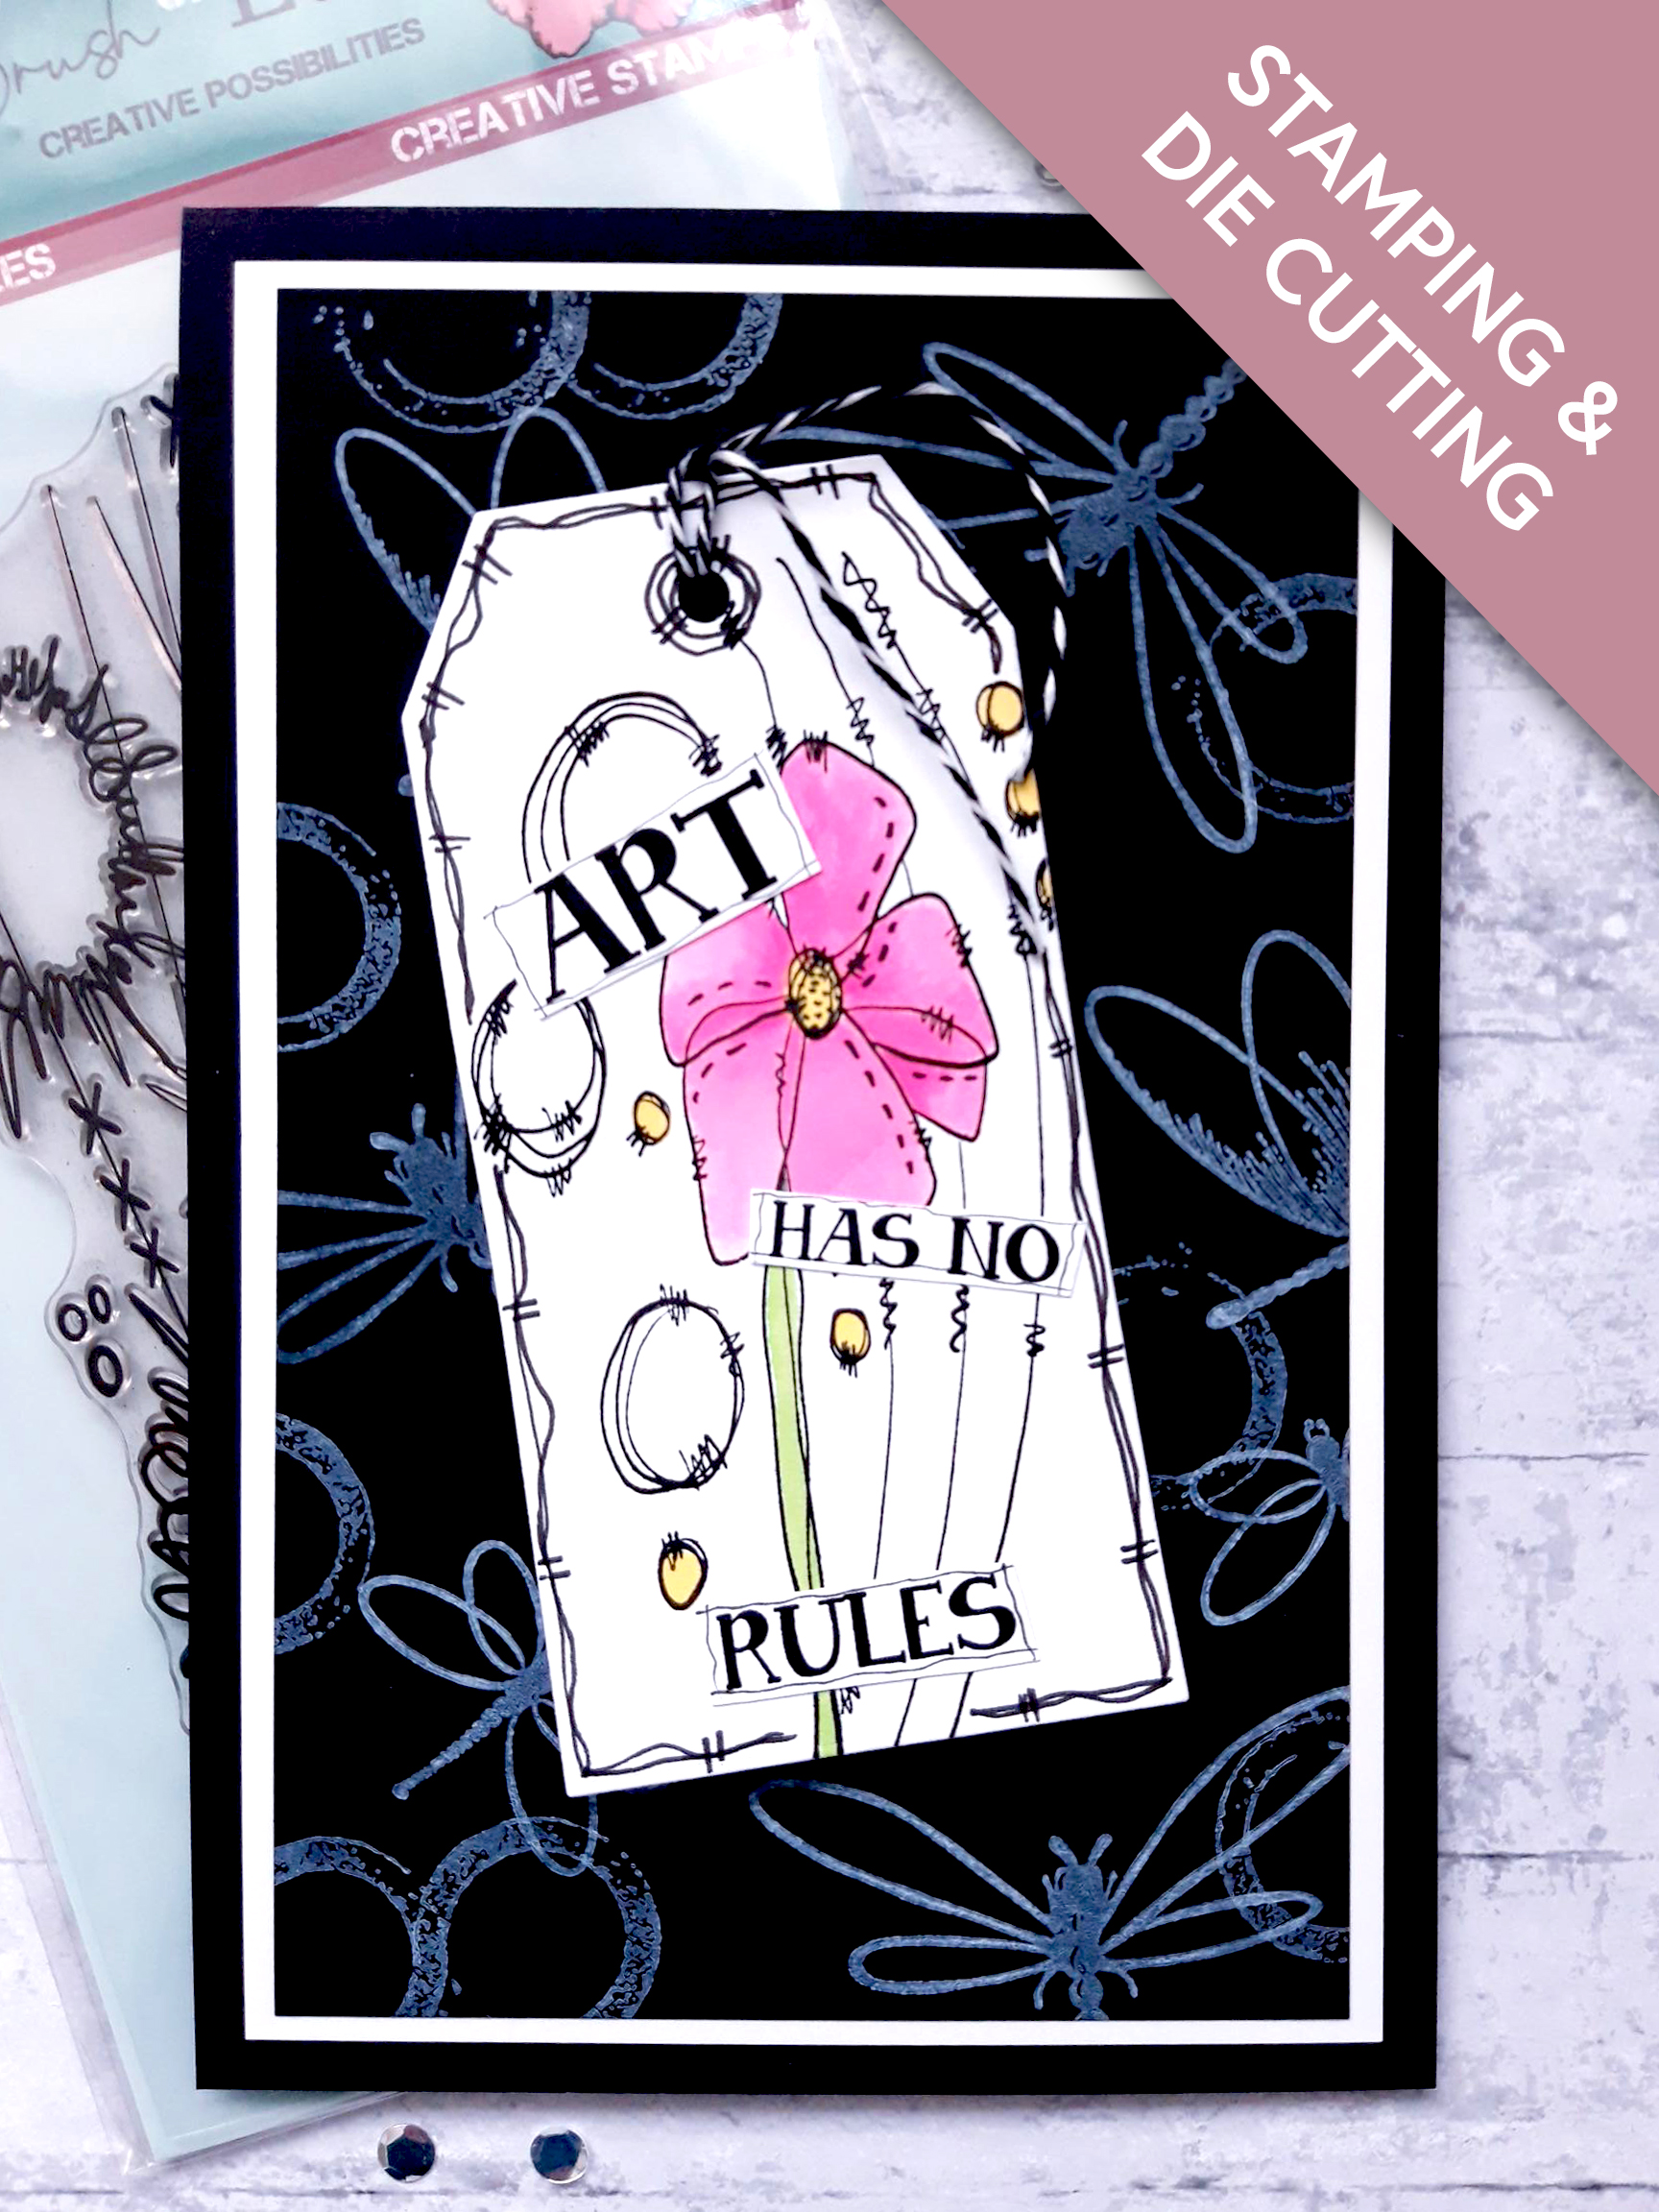
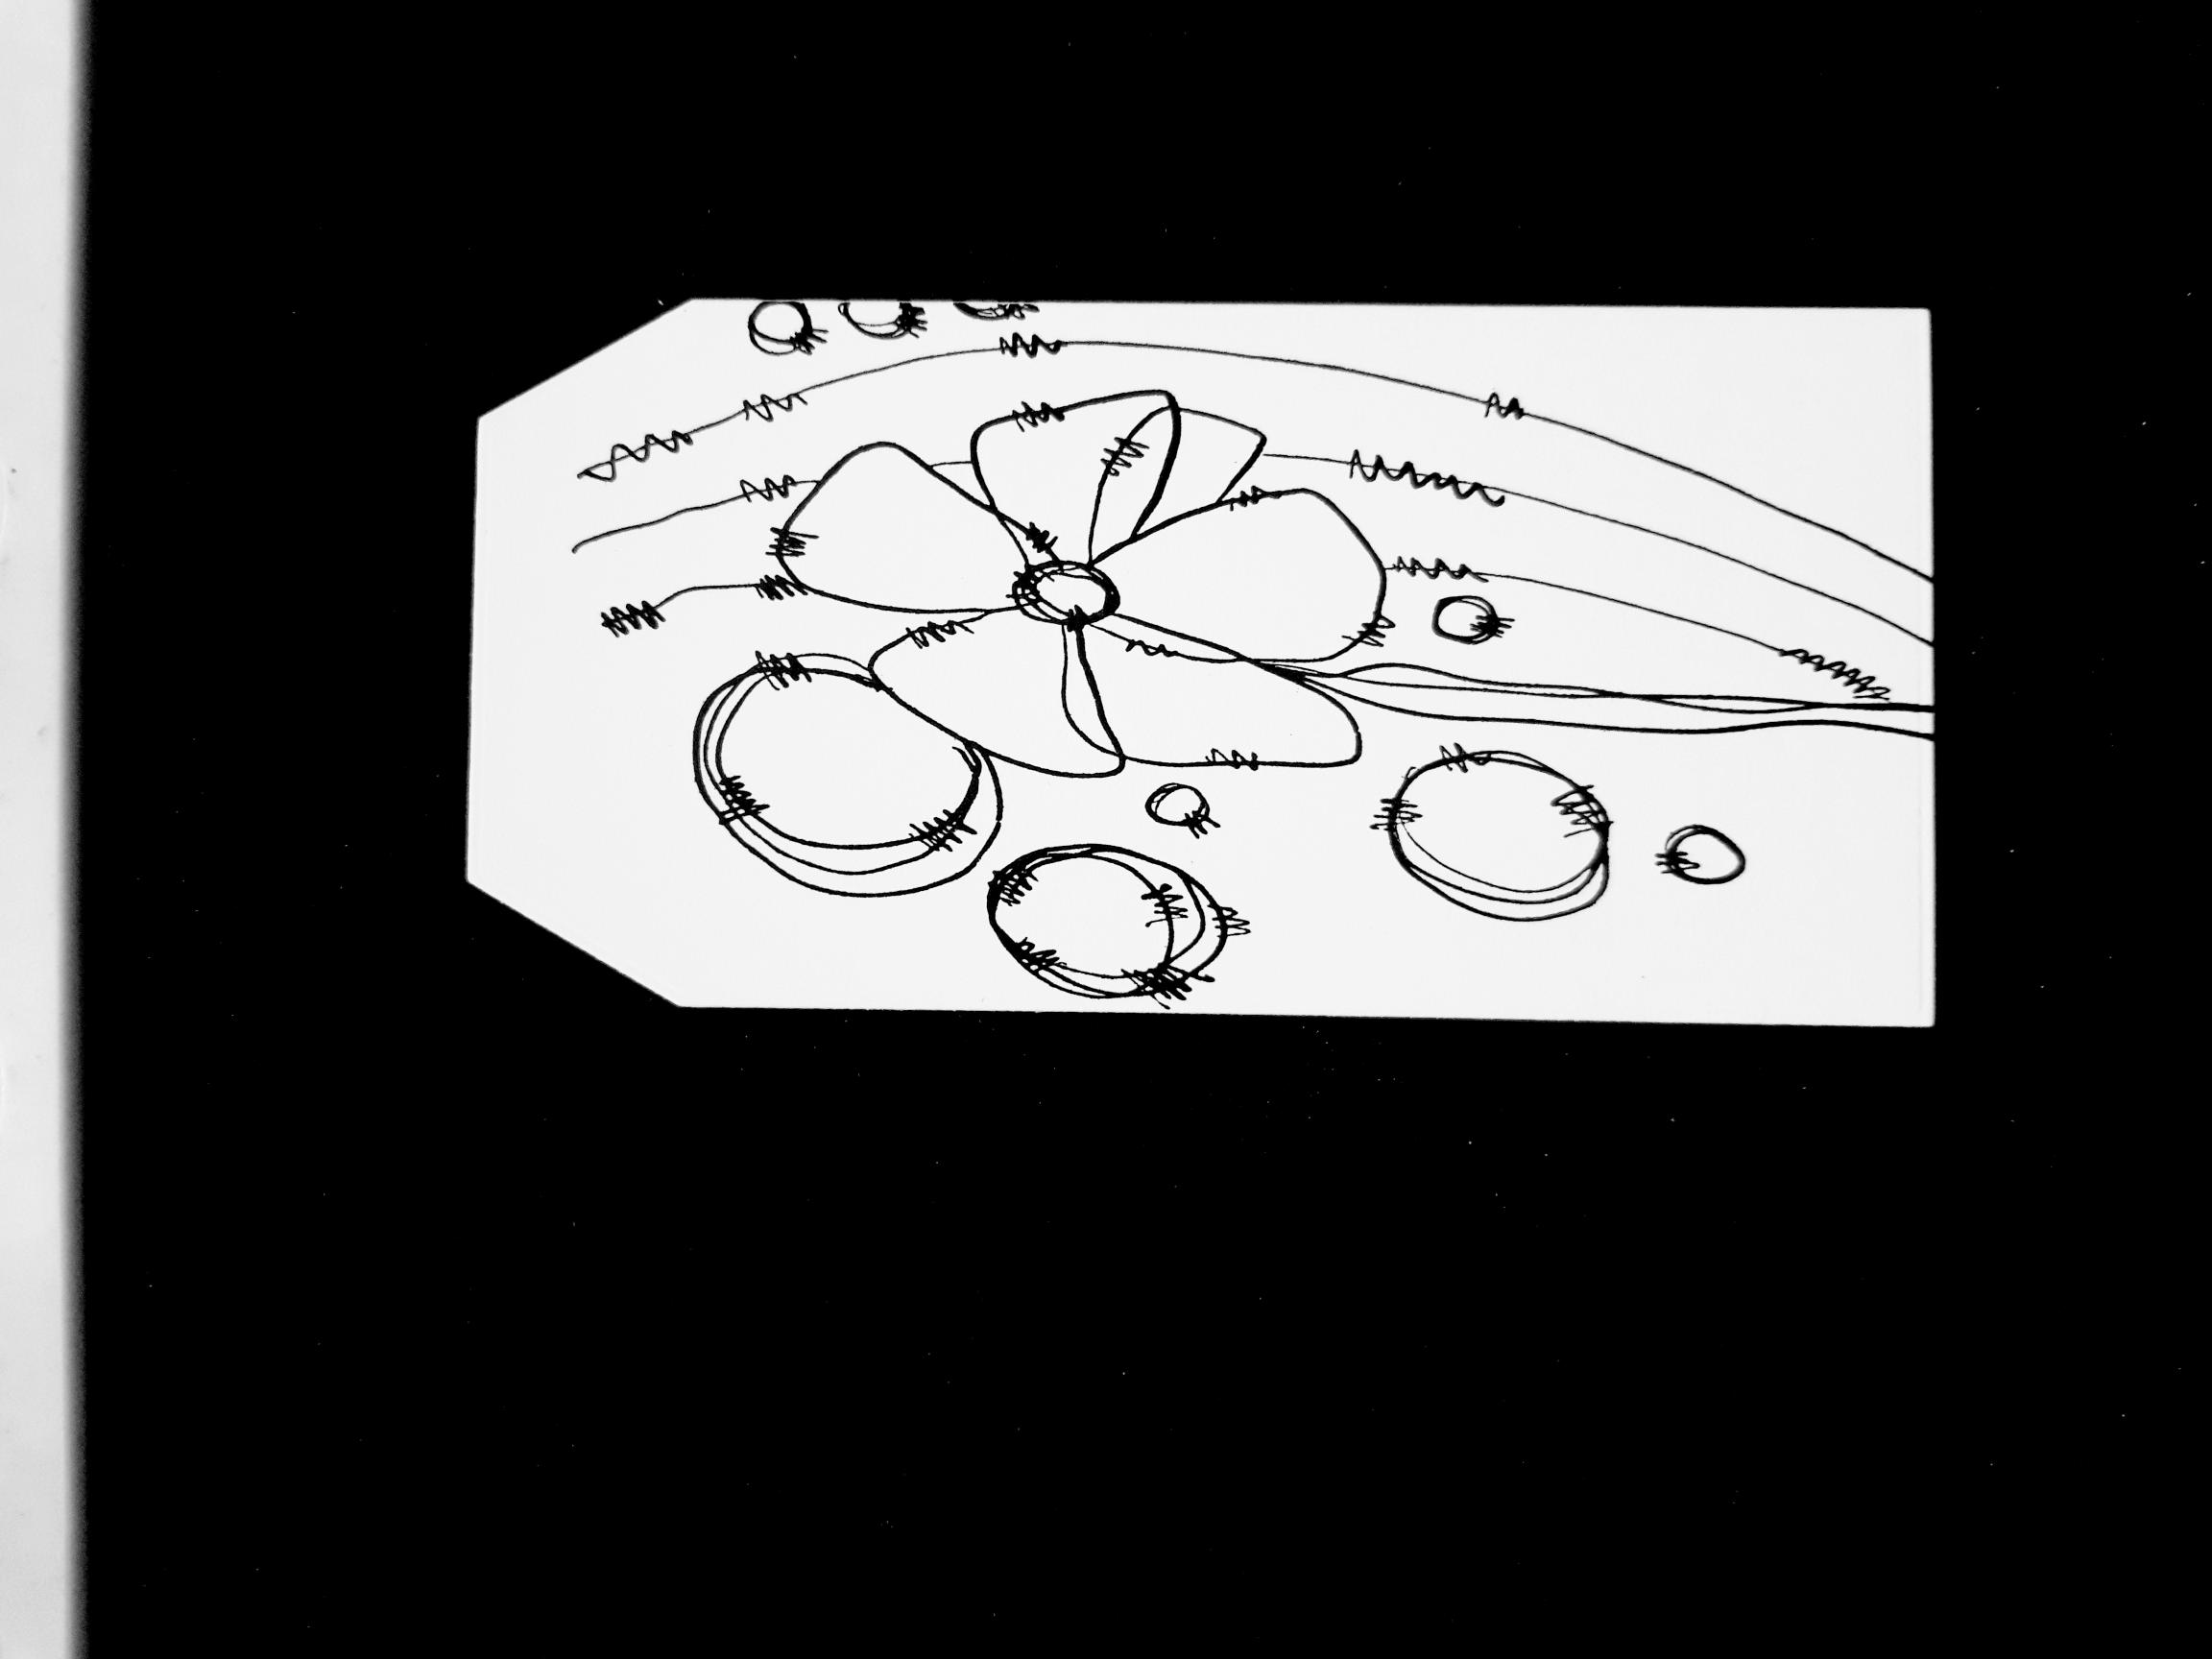
Ink up the floral stamp, from the Buttercup Bubbles Creative Stamps, with the Onyx Black Versafine. Stamp on to your tag. |
|
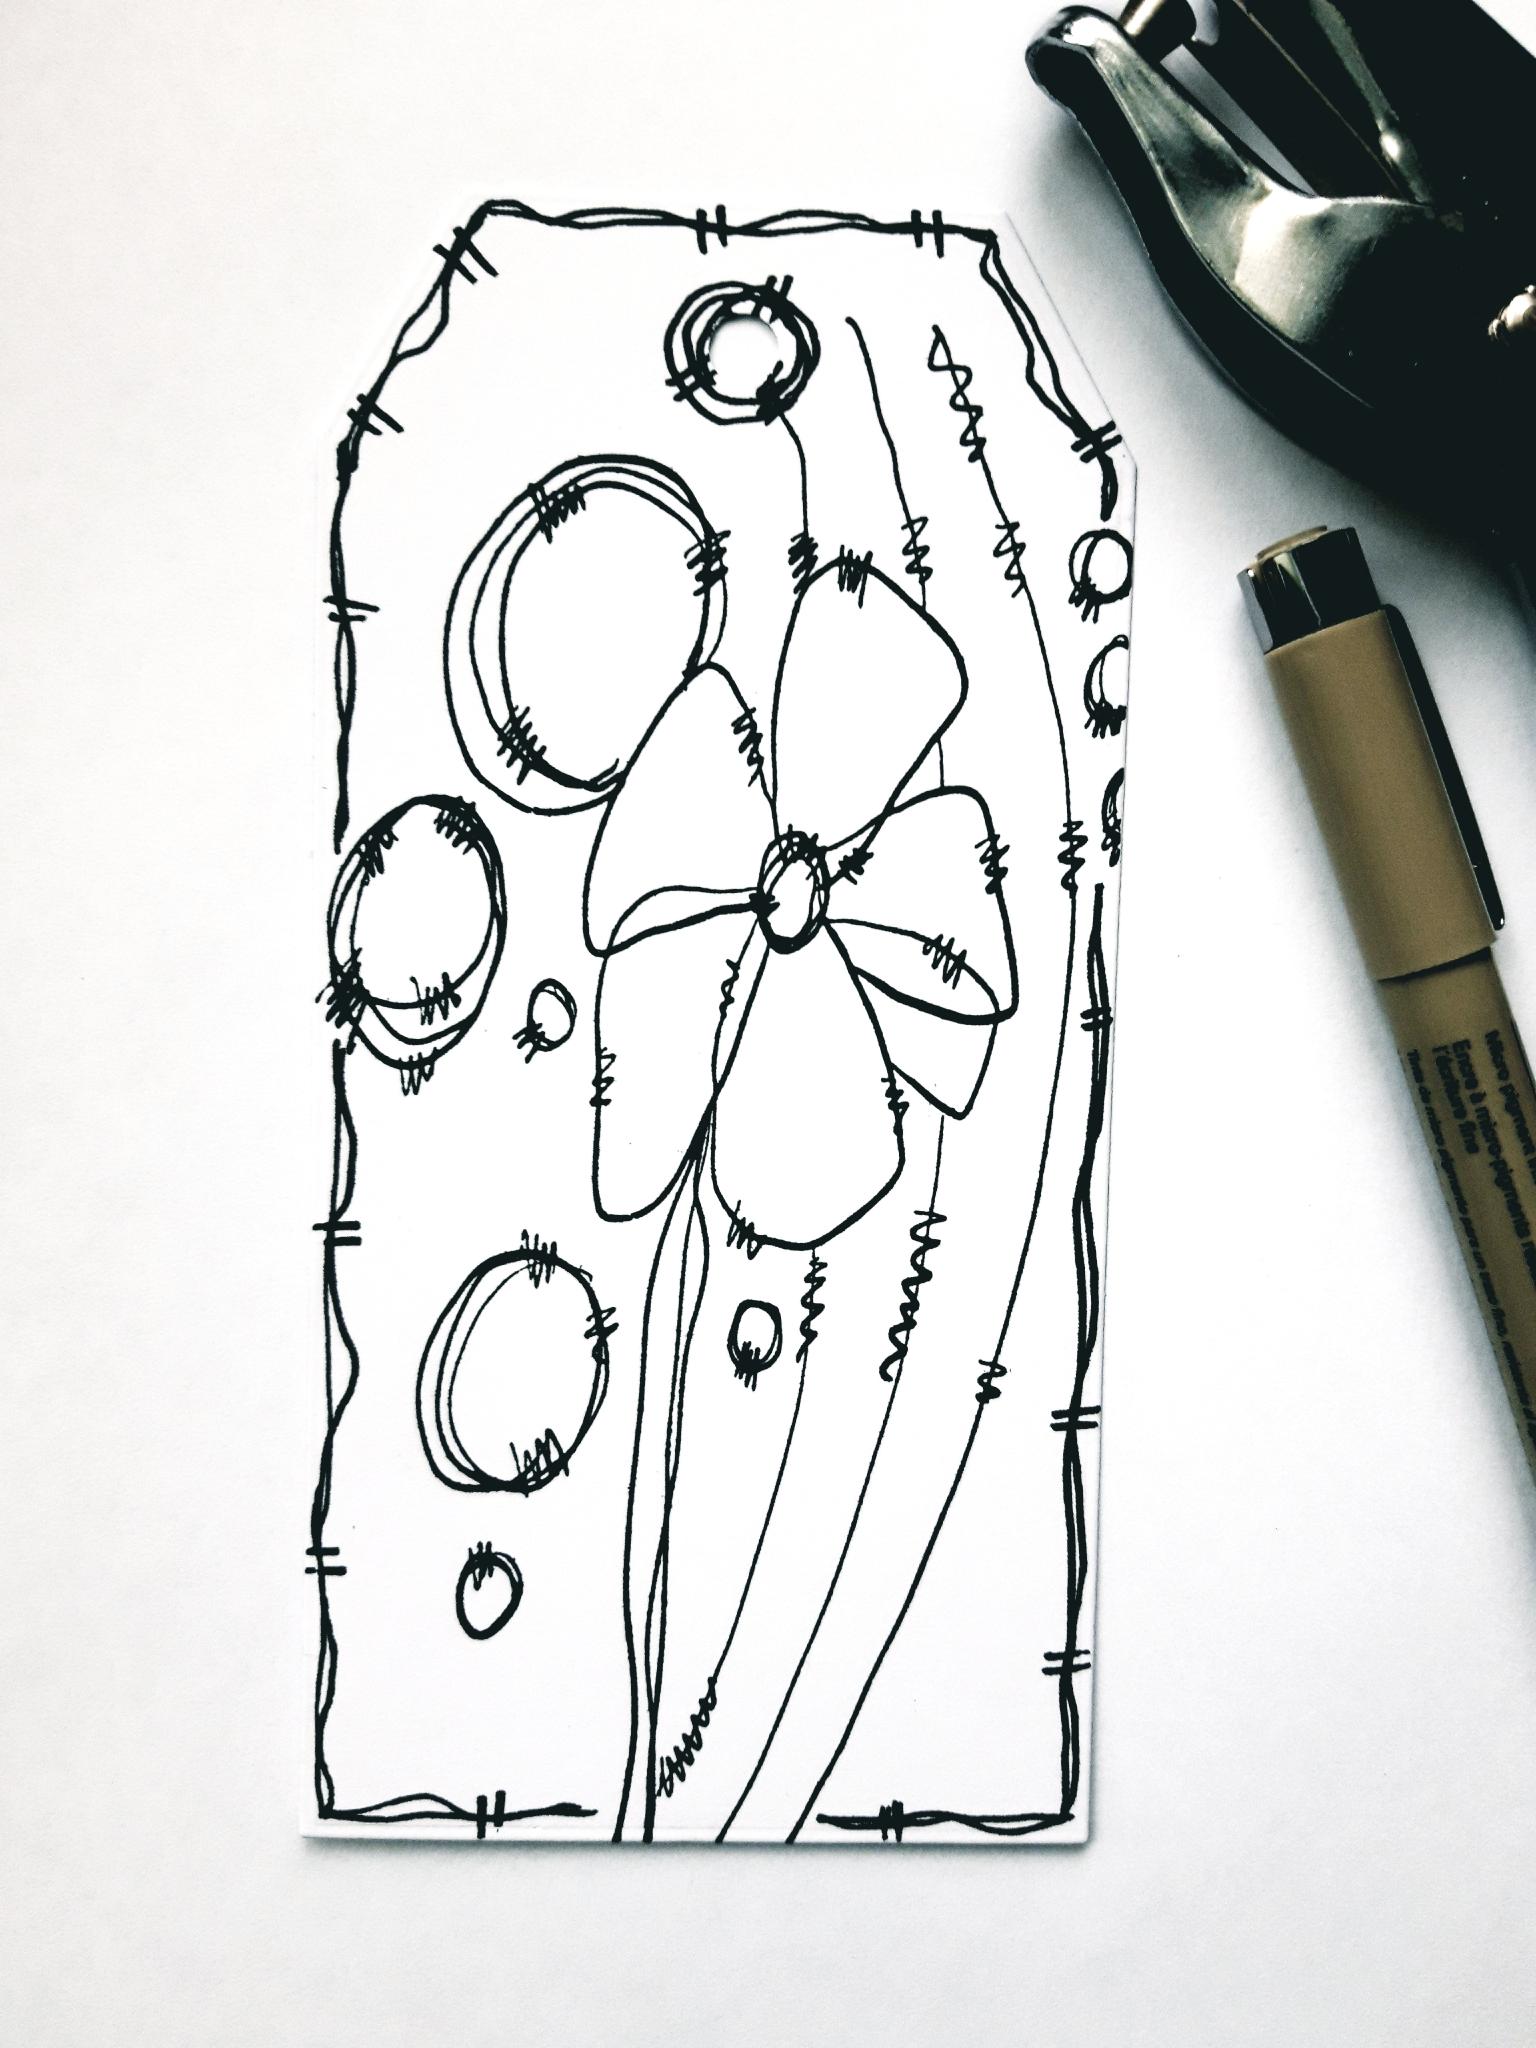
Punch a hole in the top of your tag, using a hole punch, or one of the little dies in the Tagged Creative Dies set. Use a black pen to draw a decorative, wiggly frame around the tag, and punched hole. |
|
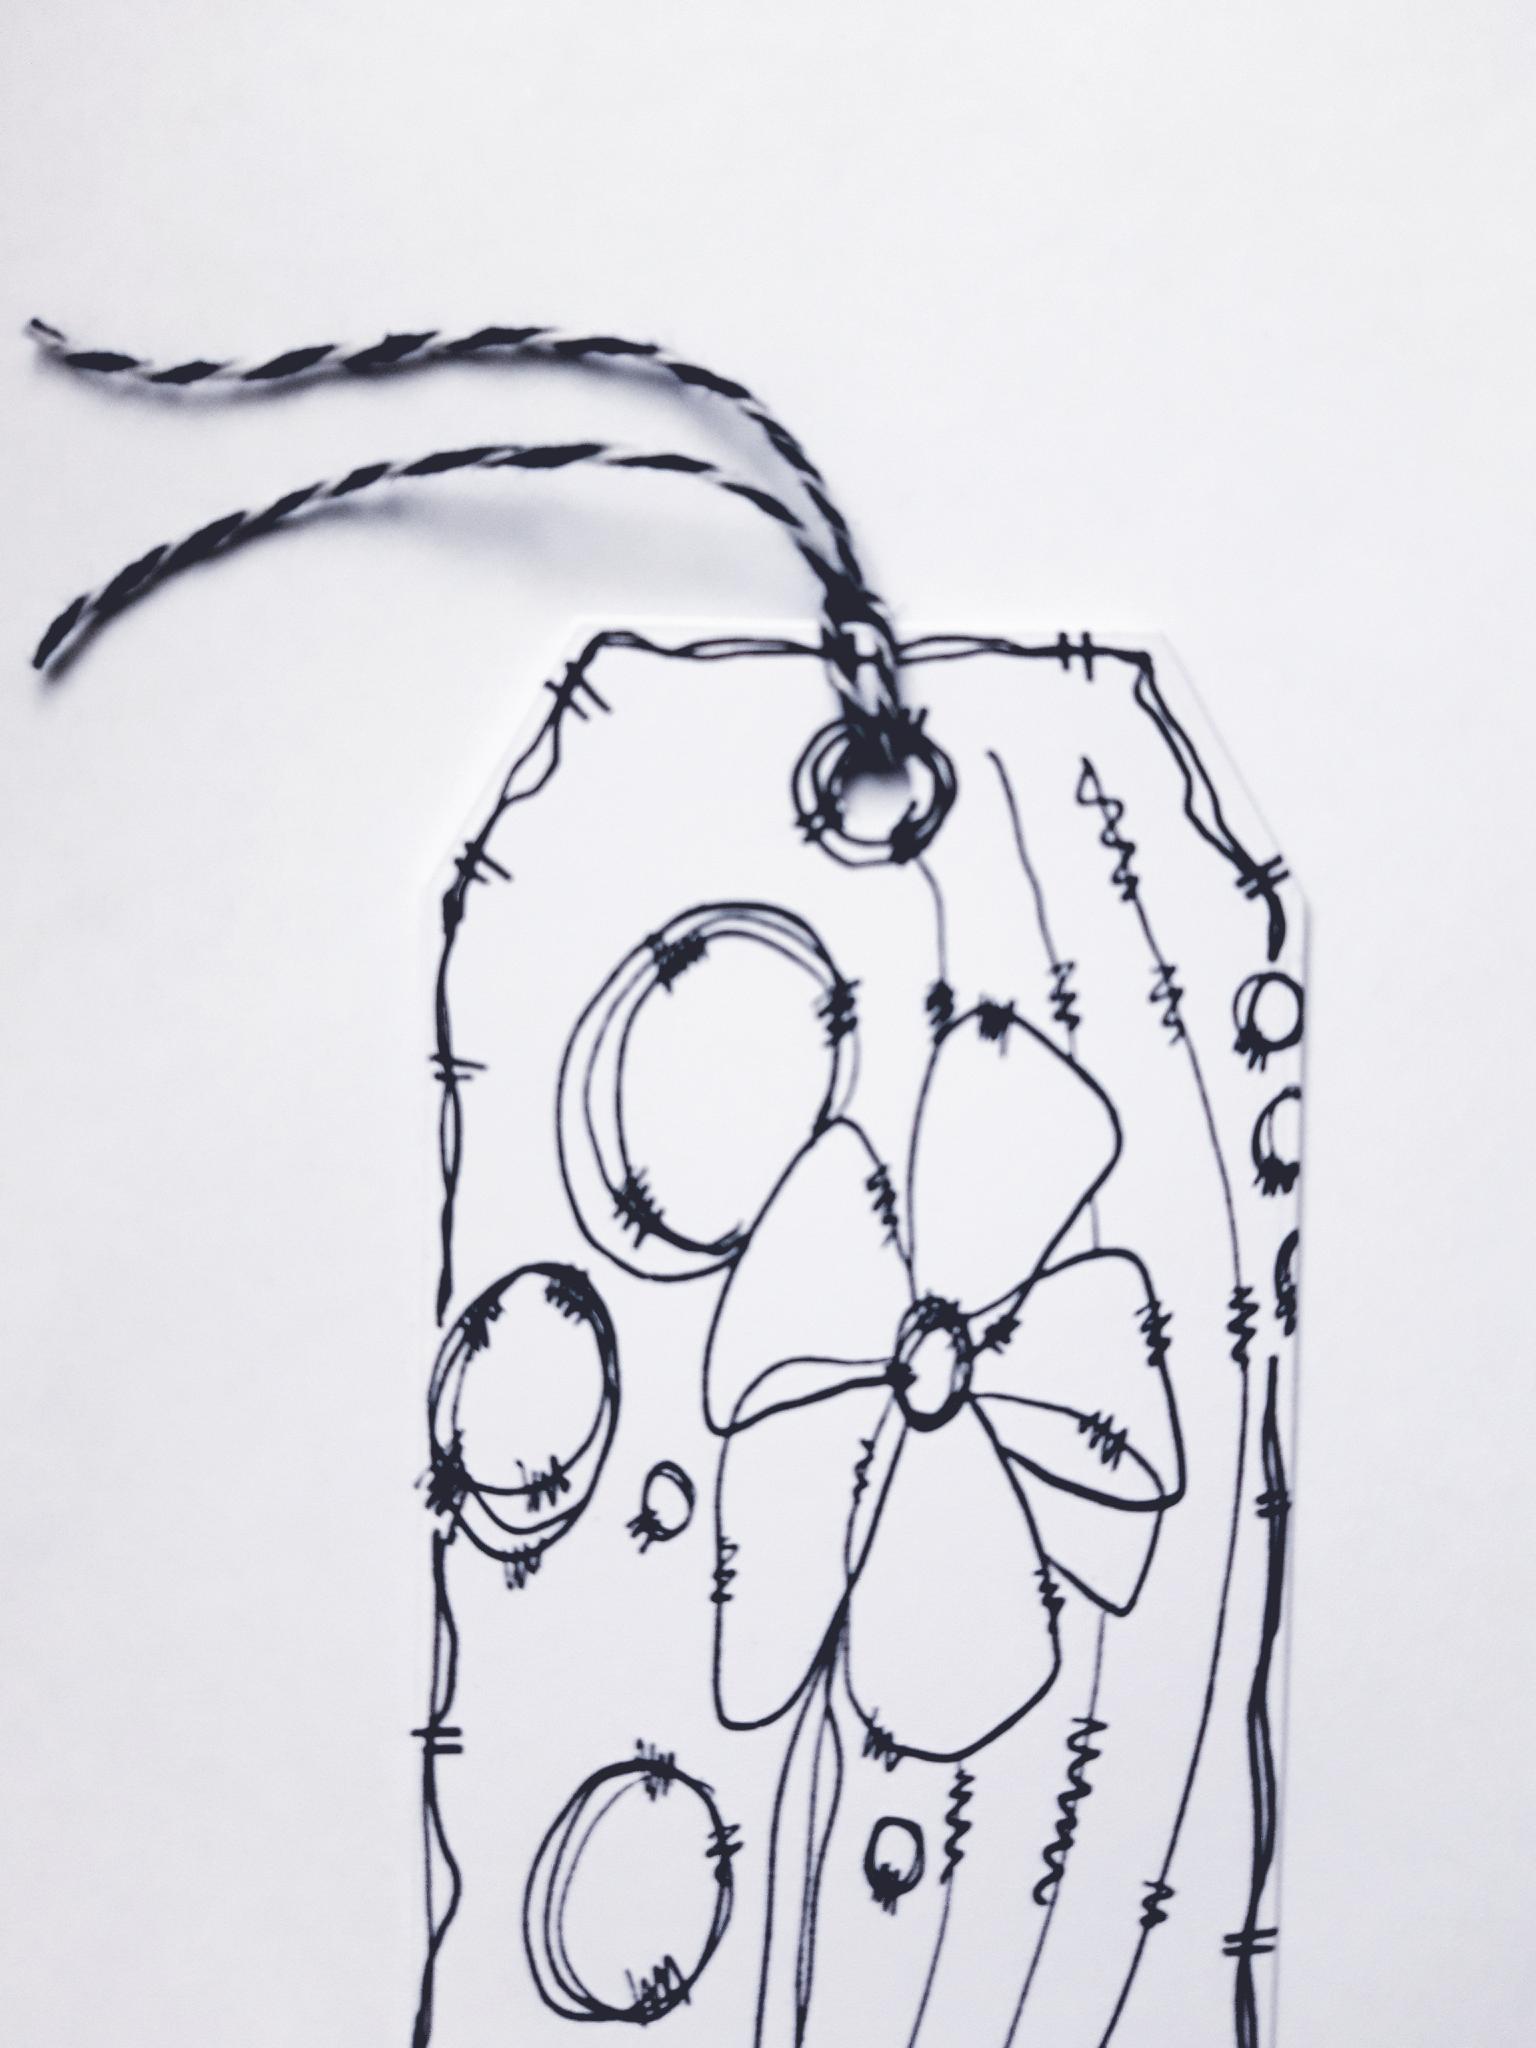
Tie Bakers Twine through the punched hole. |
|
Apply the Izink Dye ink pads on to a glass, or craft mat. Spritz with water then use a paintbrush to colour in your stamped image. |
|
Apply glue to the top of your tag, and adhere it on to your background. Set to one side. |

|
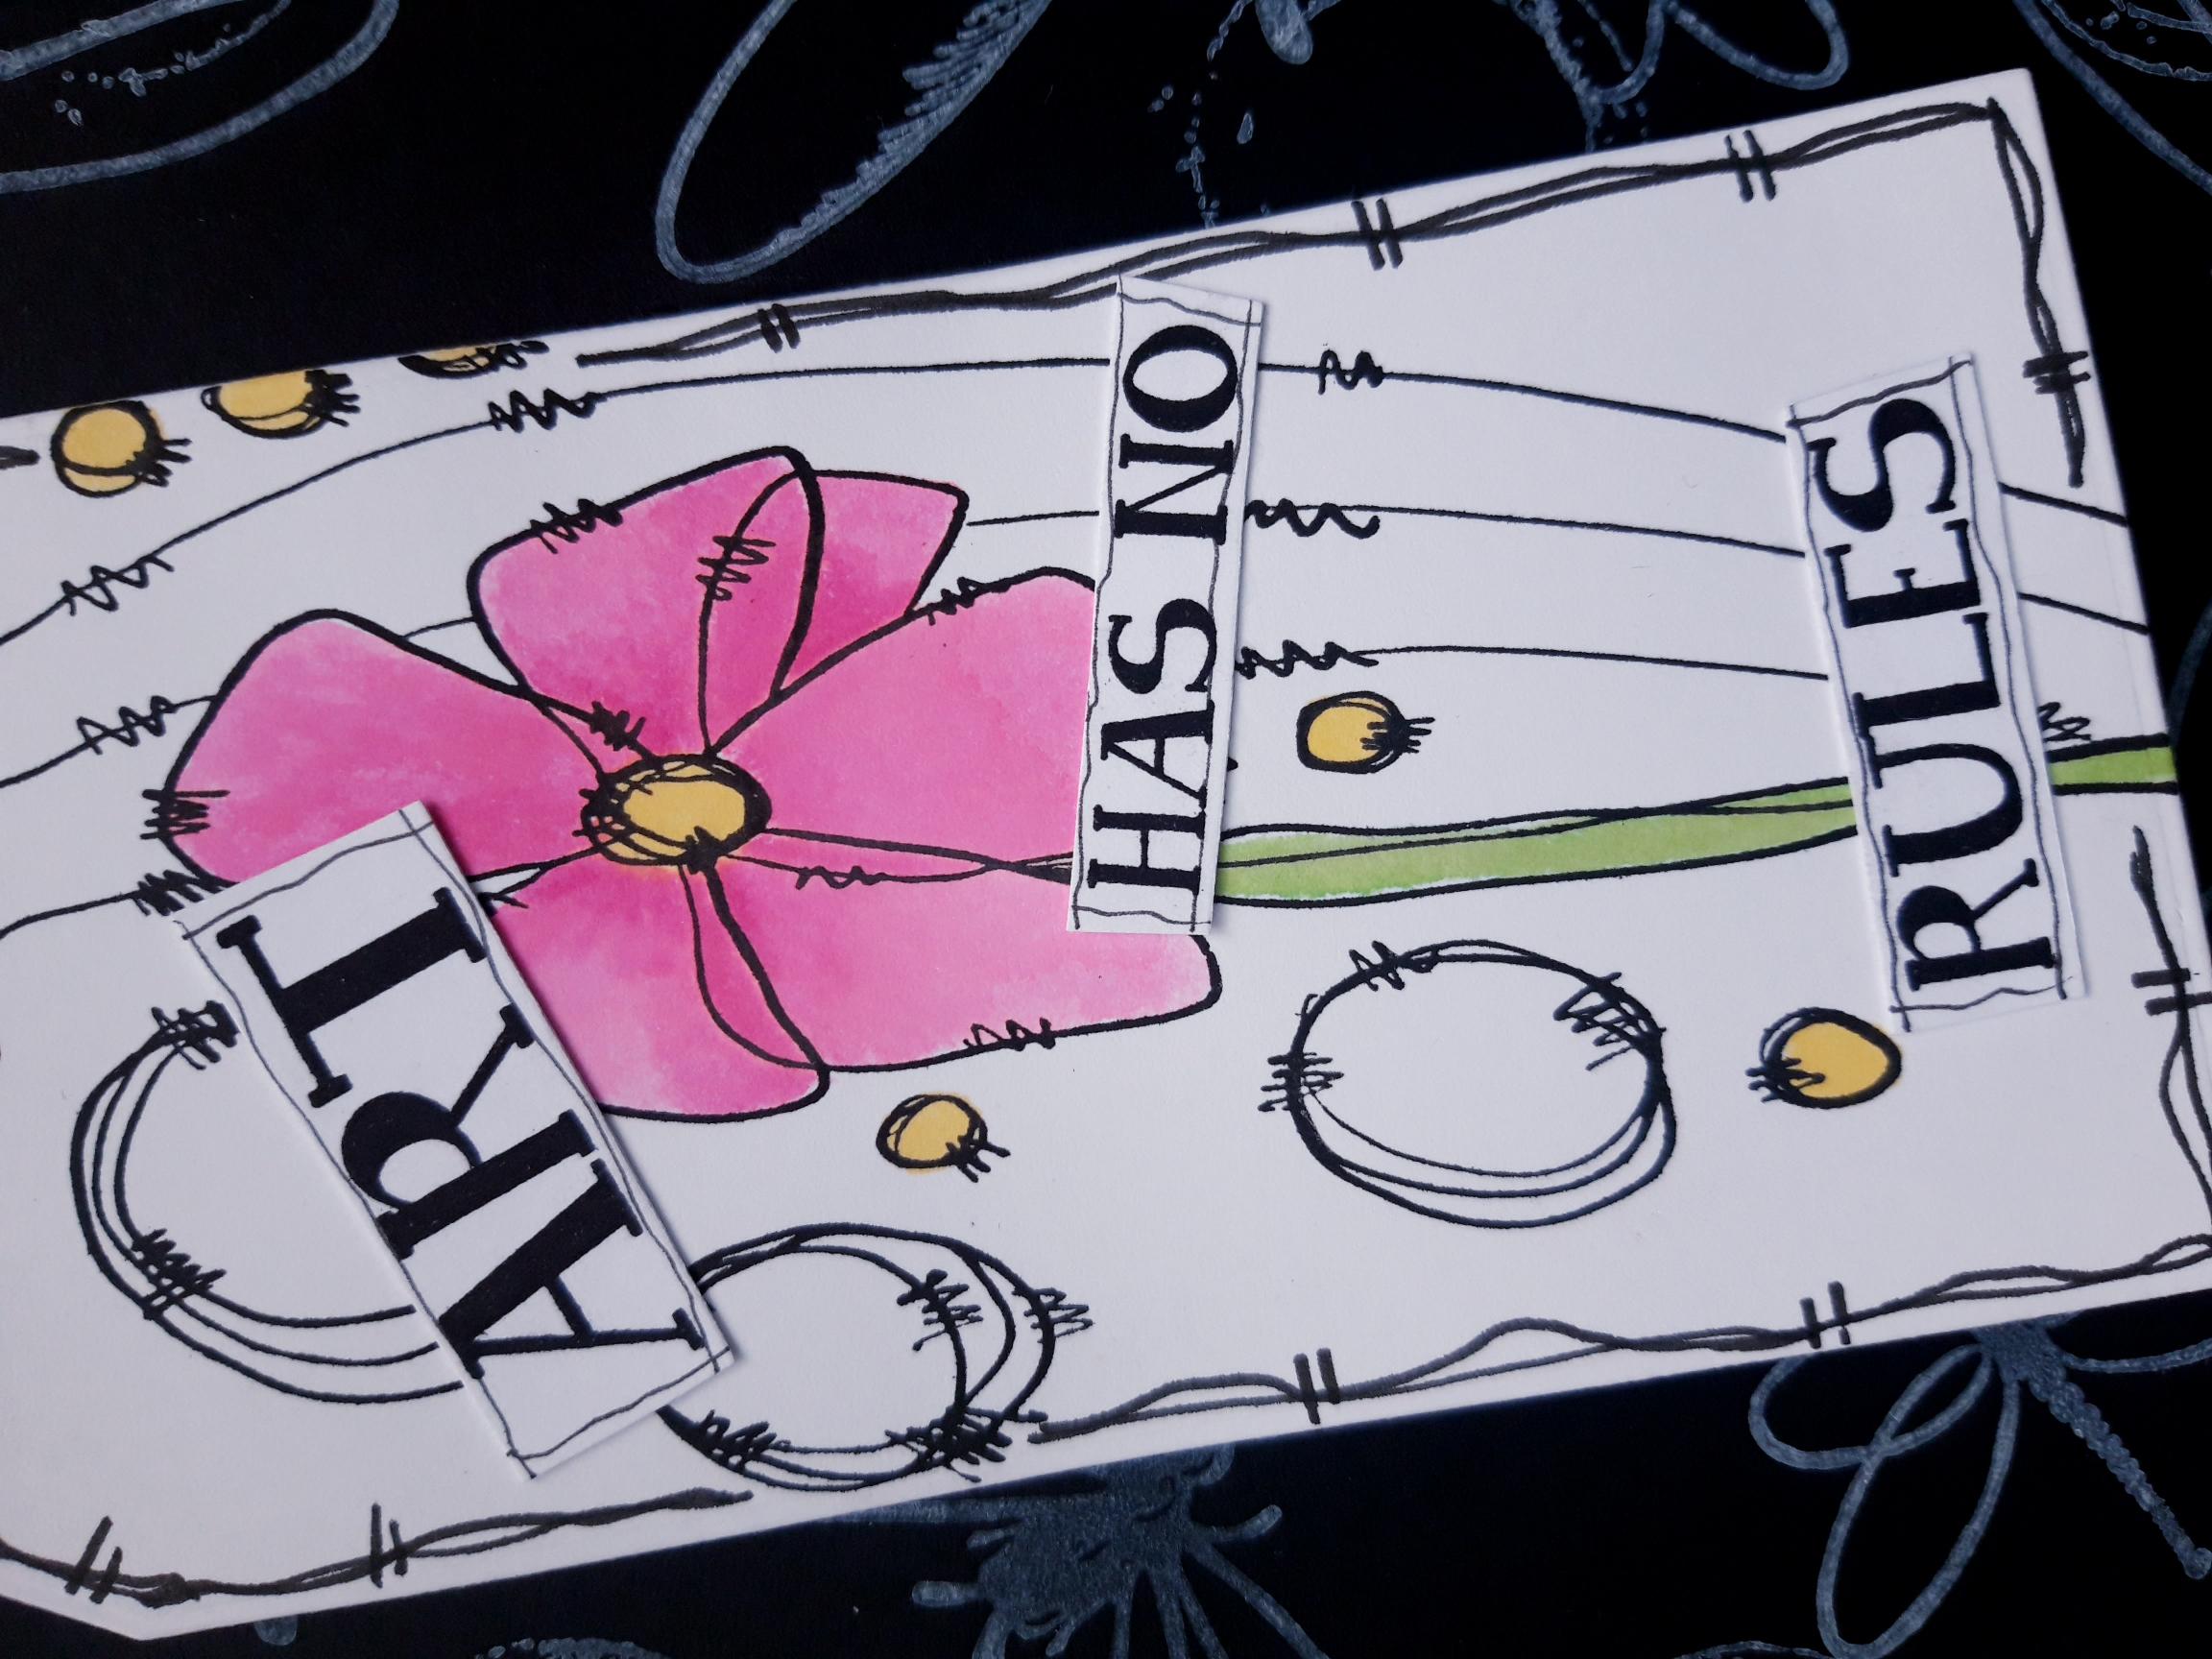
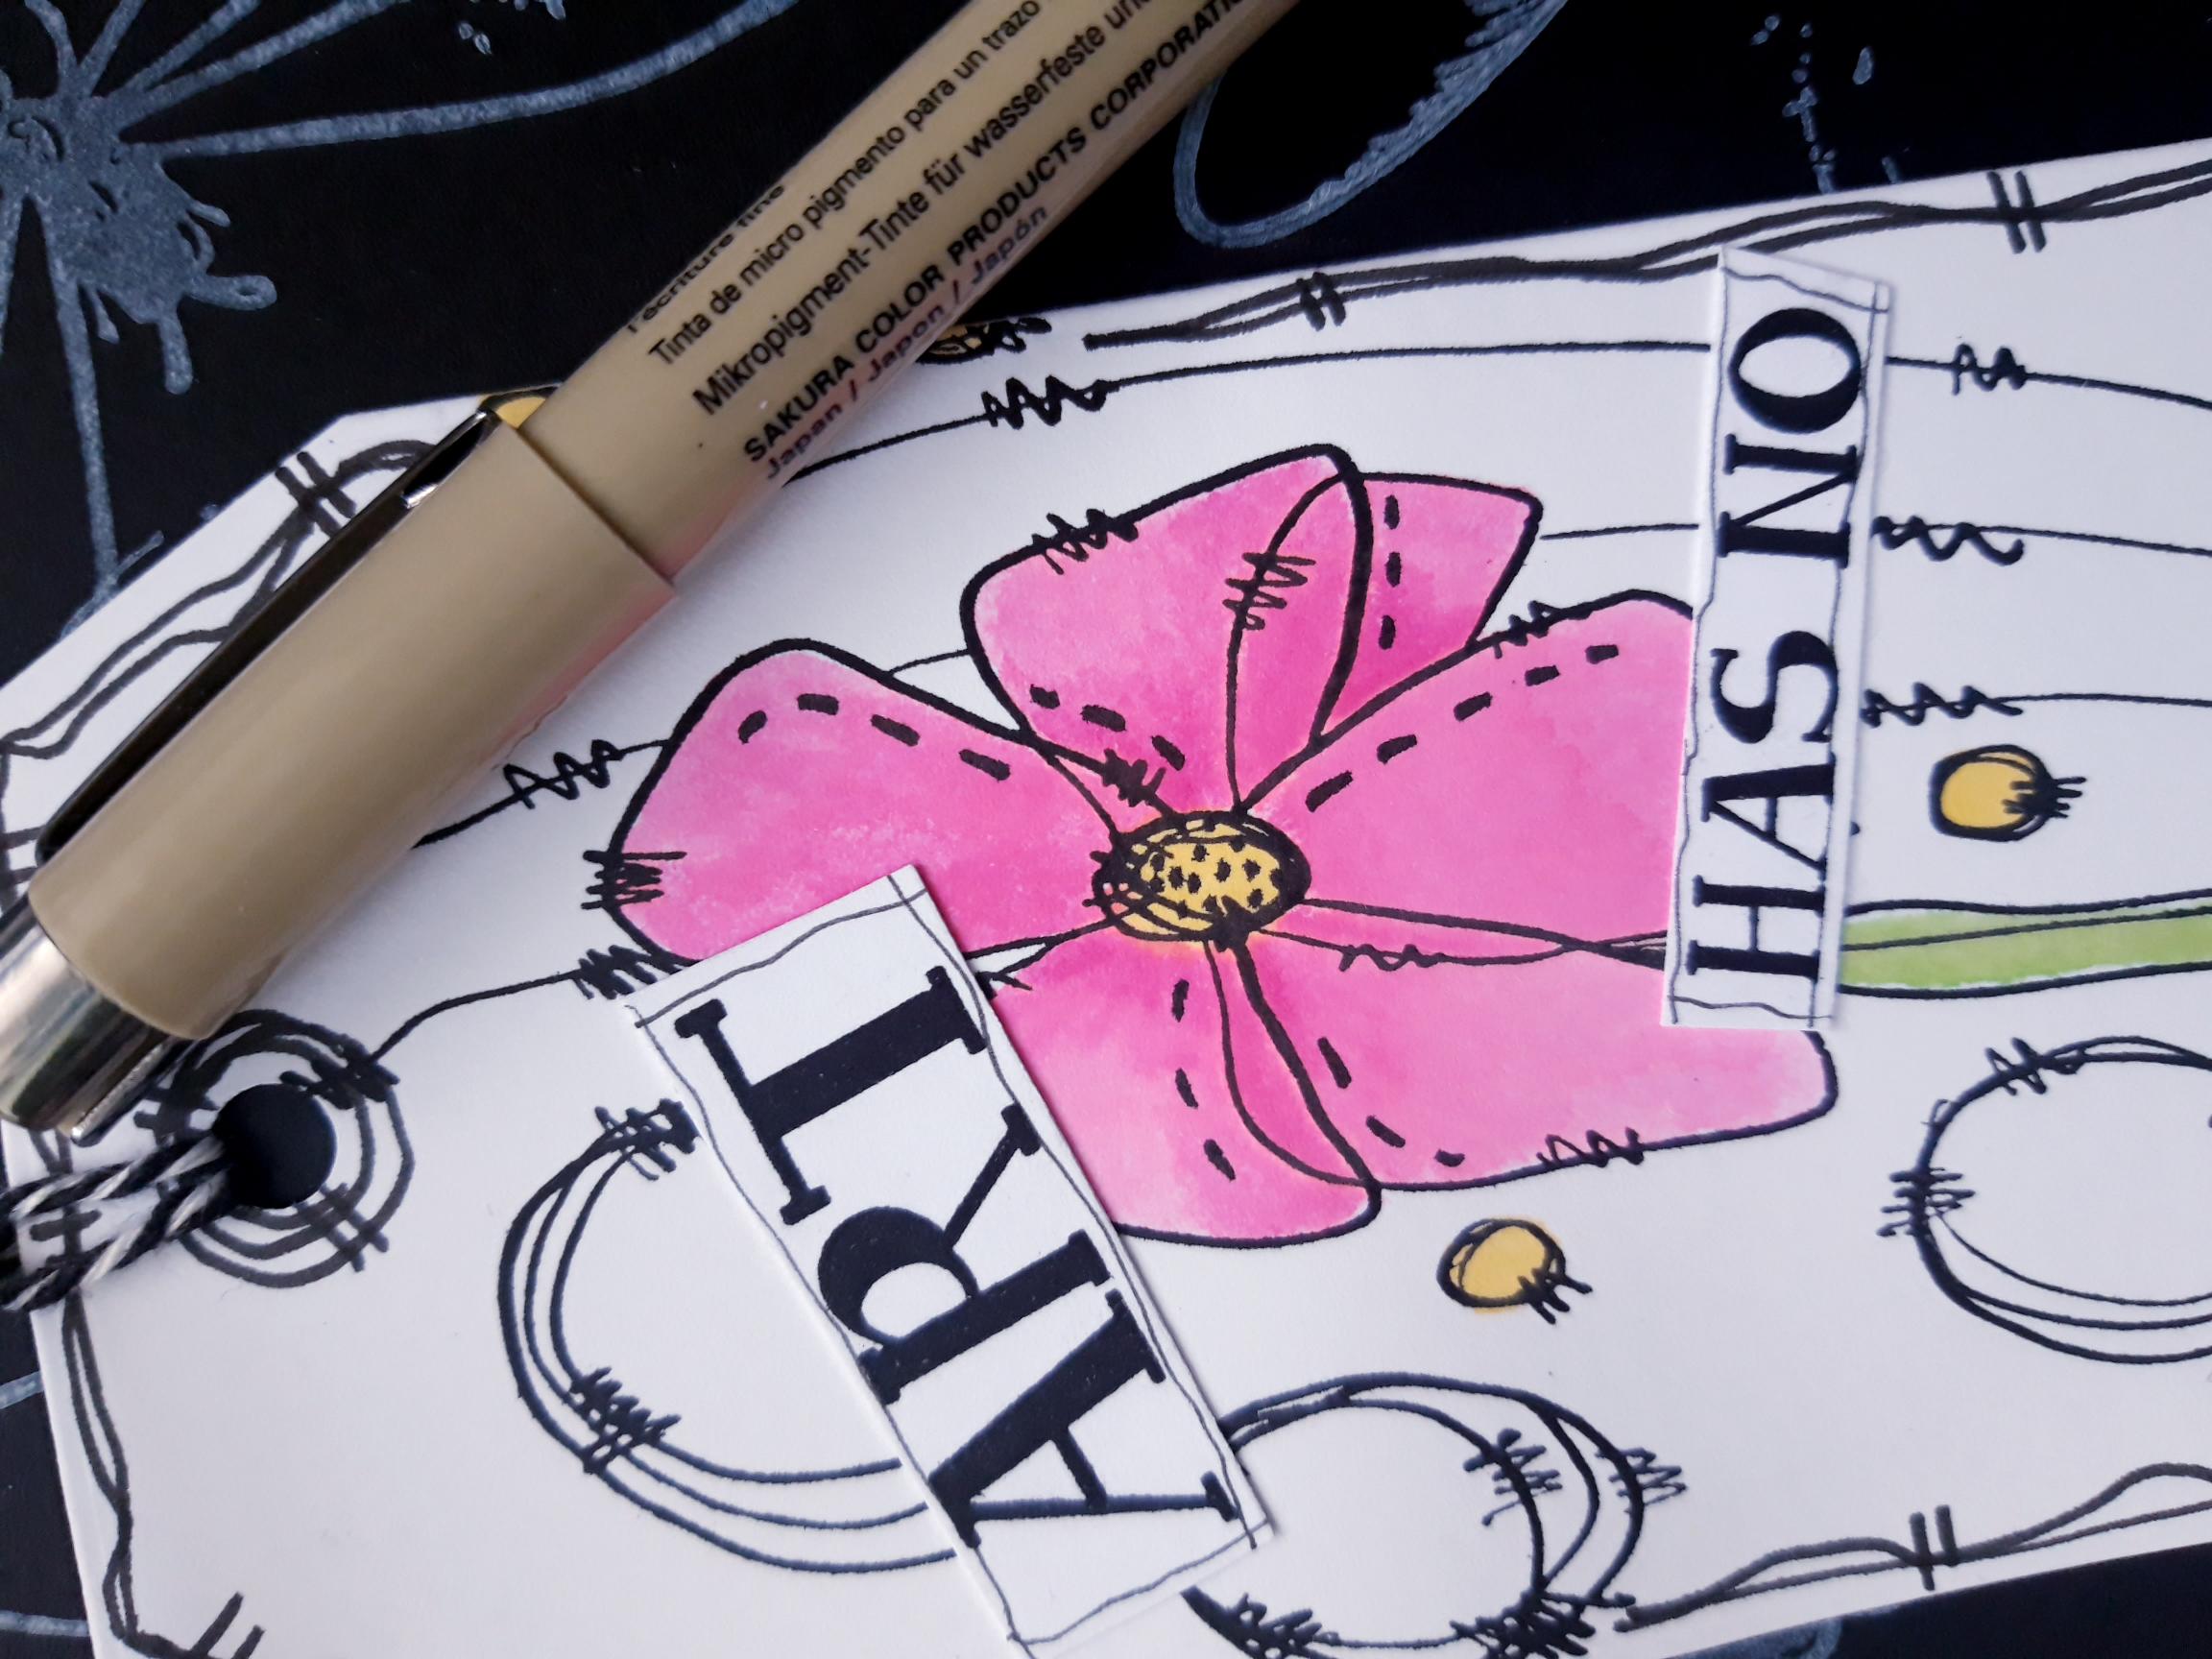
Ink up the sentiment stamp from the No Rules Creative Stamps, with the Onyx Black Versafine. Stamp on to the white cardstock (2 x 2") Cut the sentiment in to strips, then use a black pen to draw a decorative frame around each one. |
|
Adhere the sentiment strips on to your tag. |
|
To finish, use your black pen to add dots in the centre of your stamped flower, and stitched detail around the petals. |