Give your friends $10 off their first order!
Refer a FRIEND


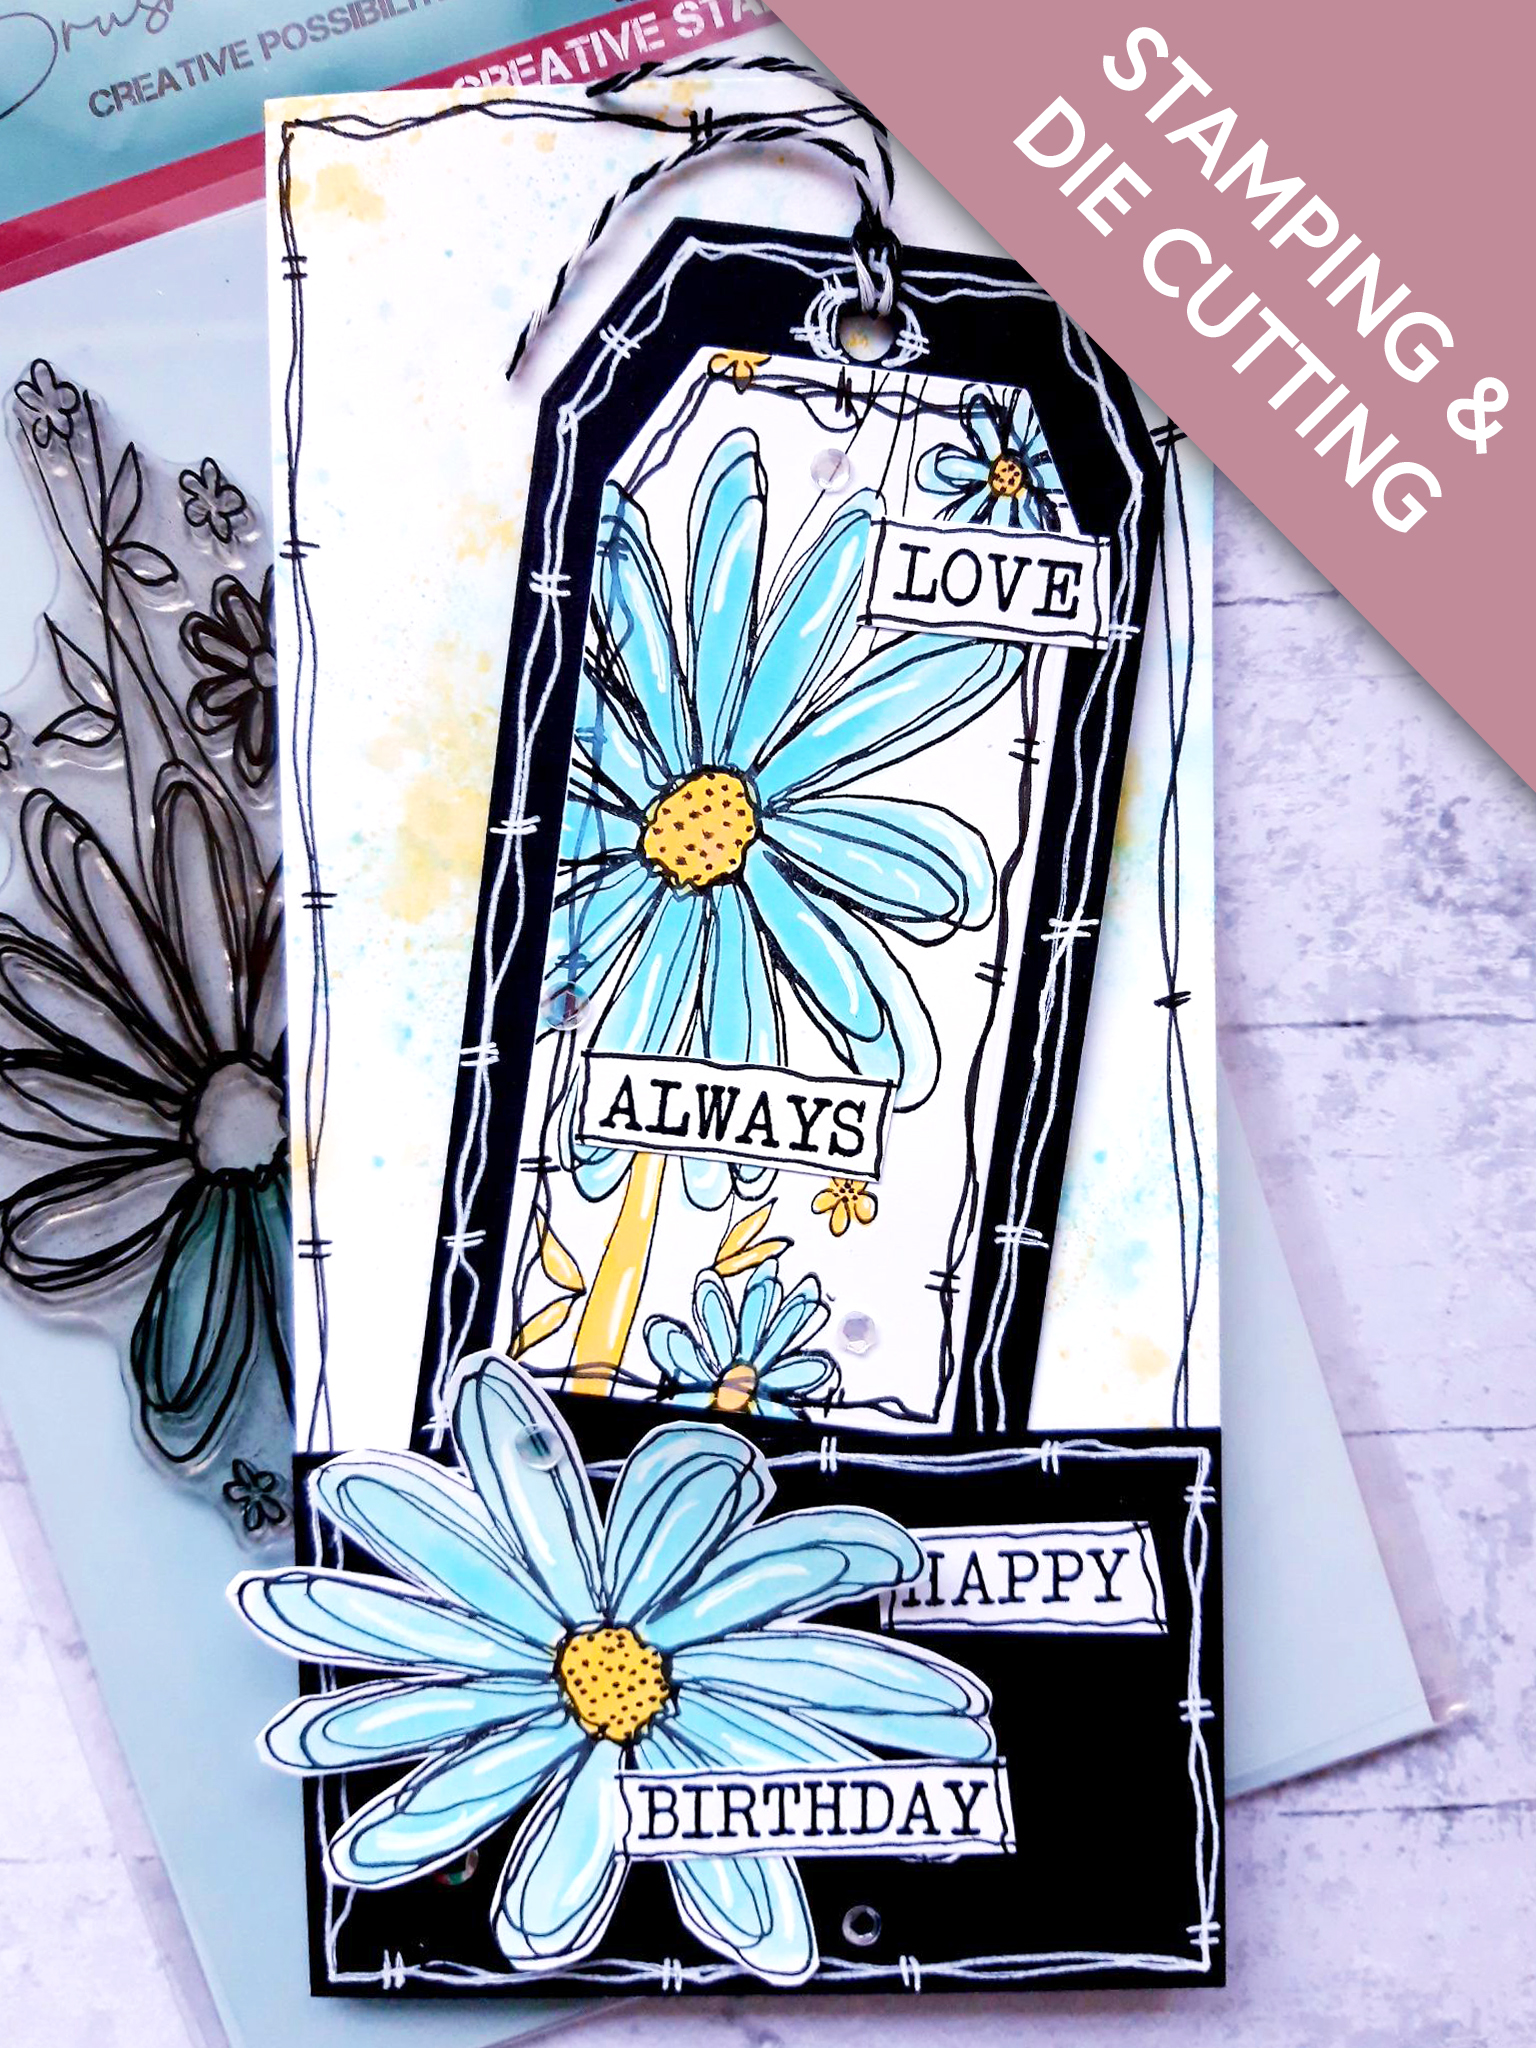
WHAT YOU WILL NEED:
DL white card blank (8 1/4" x 4")
Black card A4
White card A4
Stamps from Thirsty Brush UnLtd Daisy Dream Creative Stamps
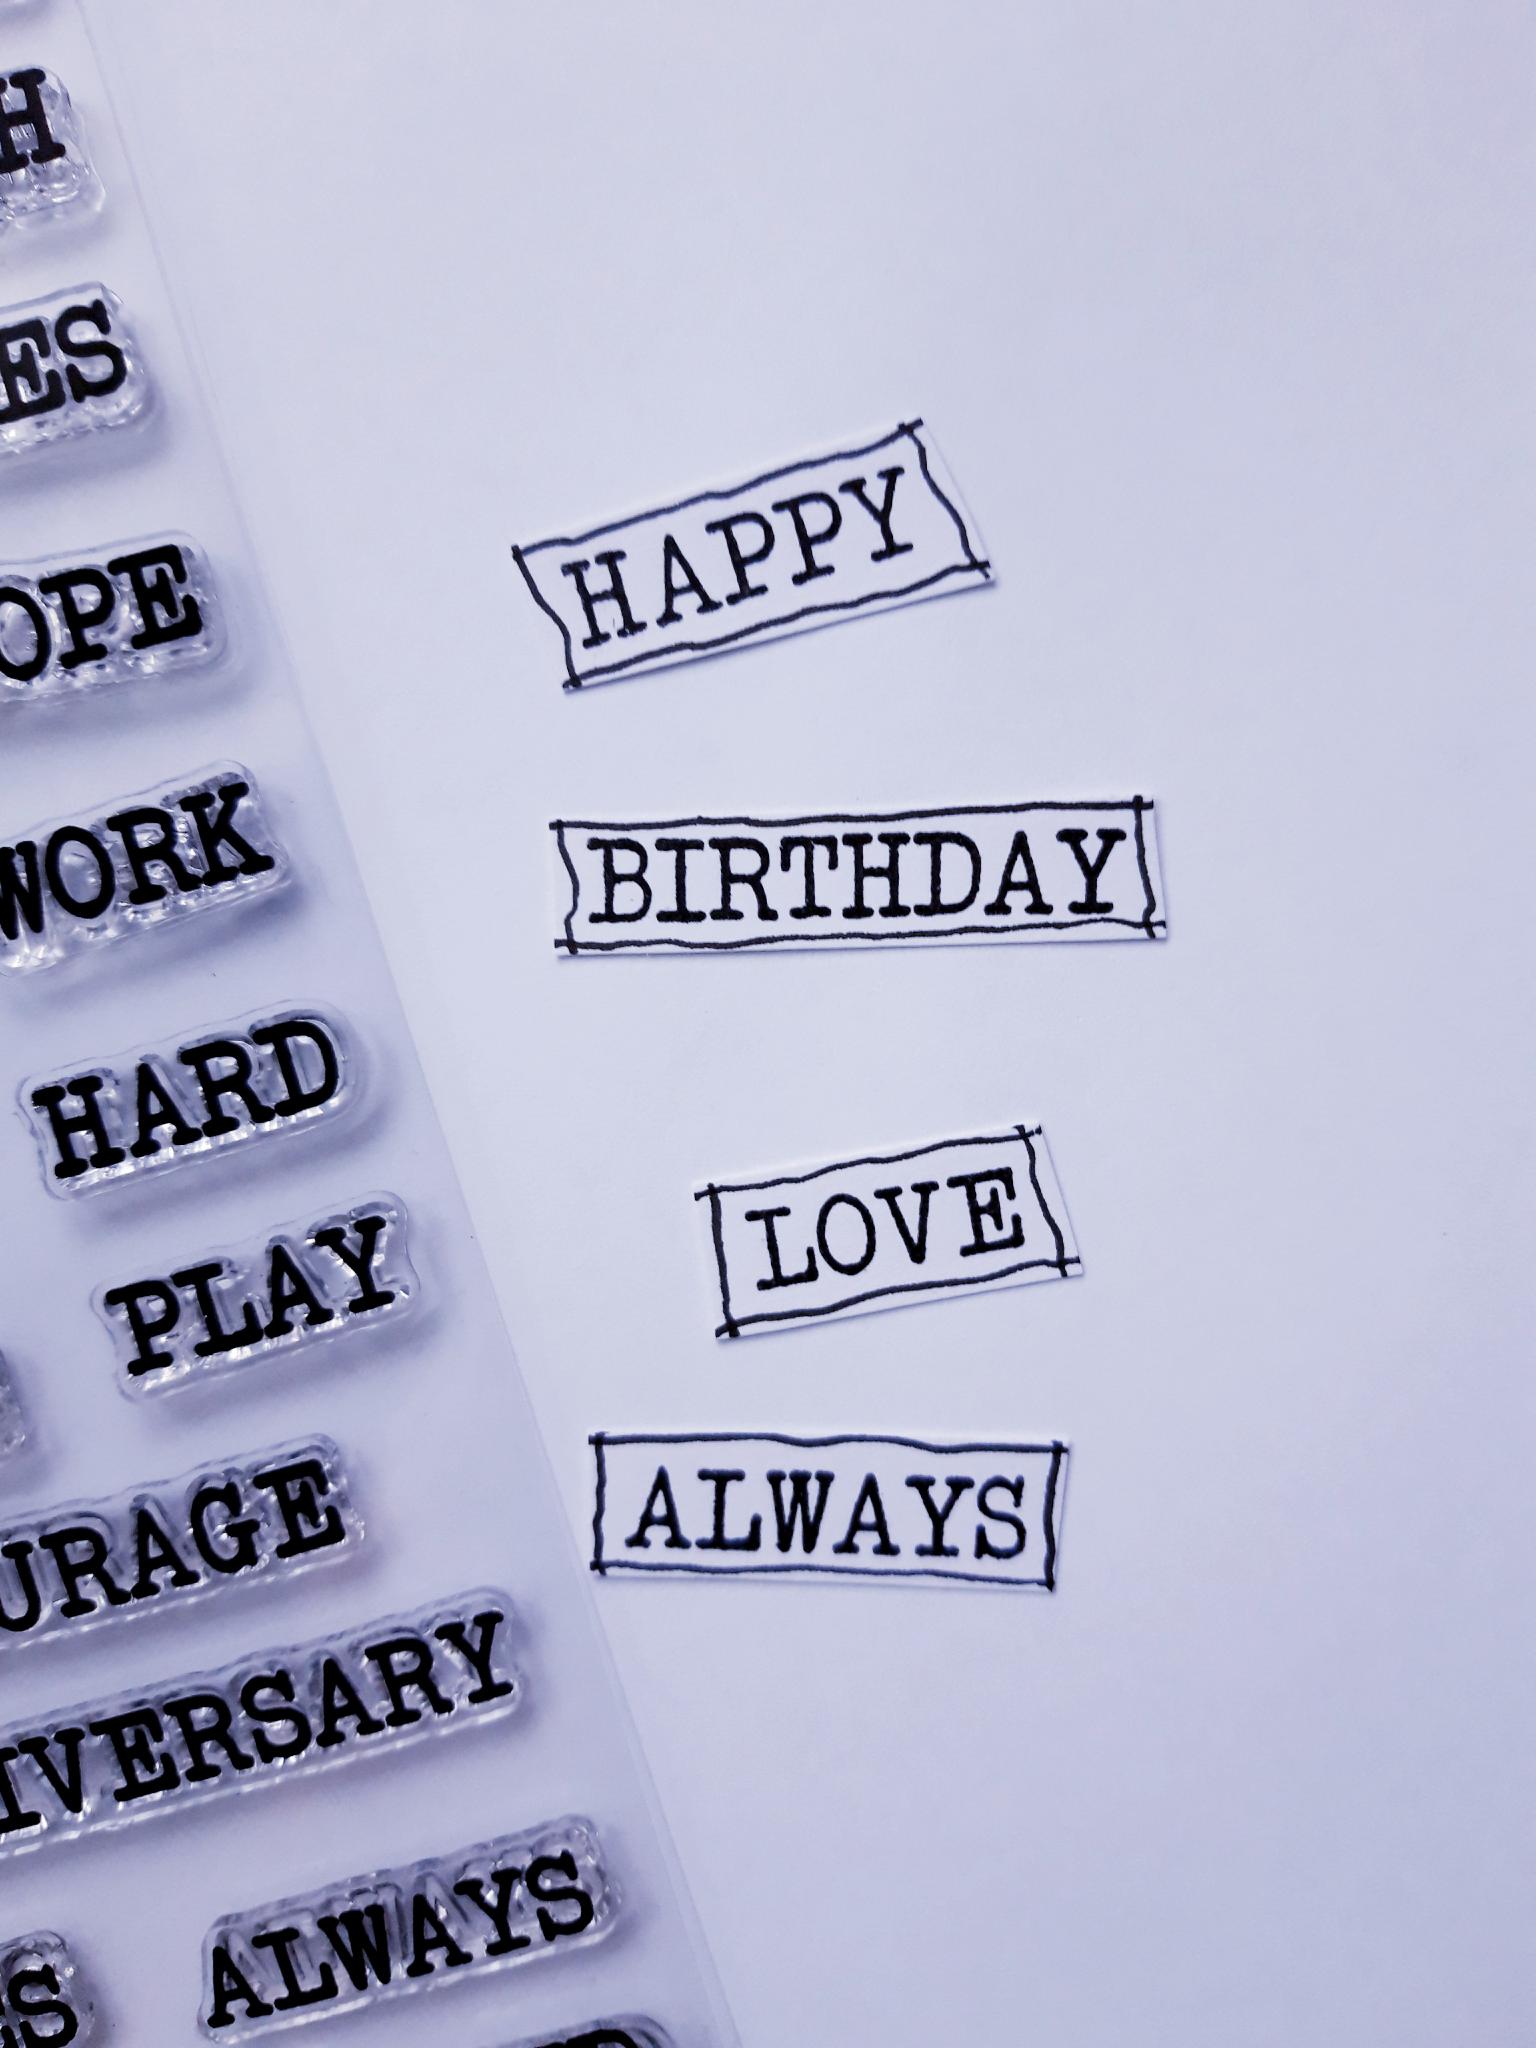
Stamps from Thirsty Brush UnLtd More Than Words Creative Stamps
Dies from Thirsty Brush UnLtd Tagged Creative Dies
Versafine Ink Pad: Onyx Black
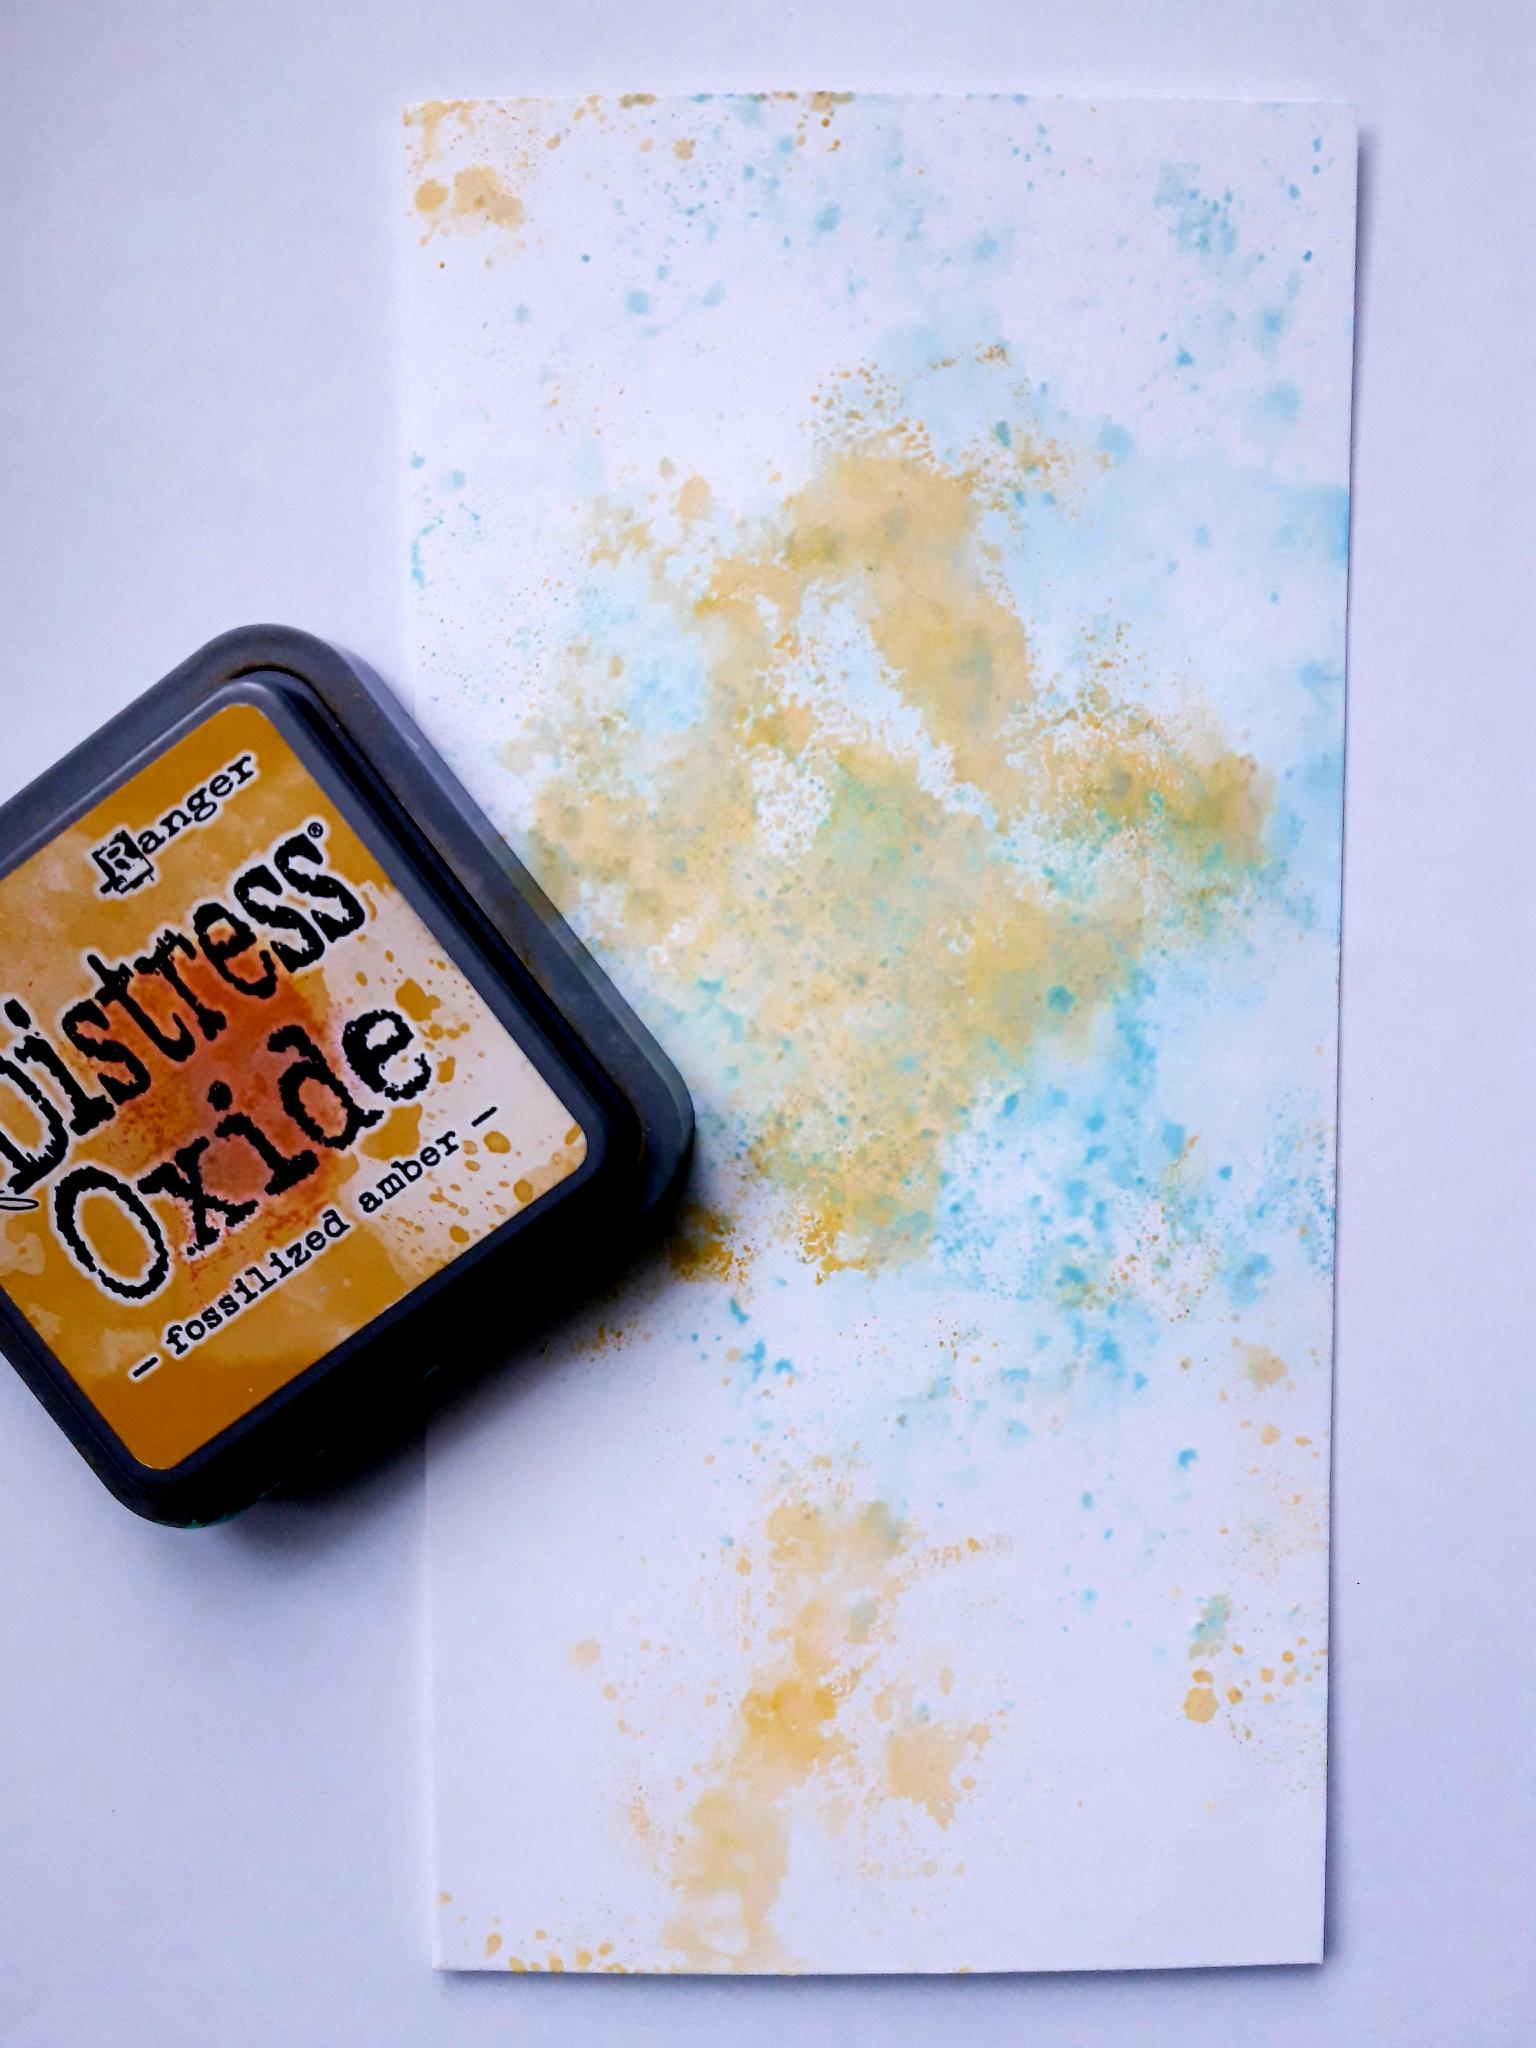
Distress Oxide: Salvaged Patina, Fossilized Amber
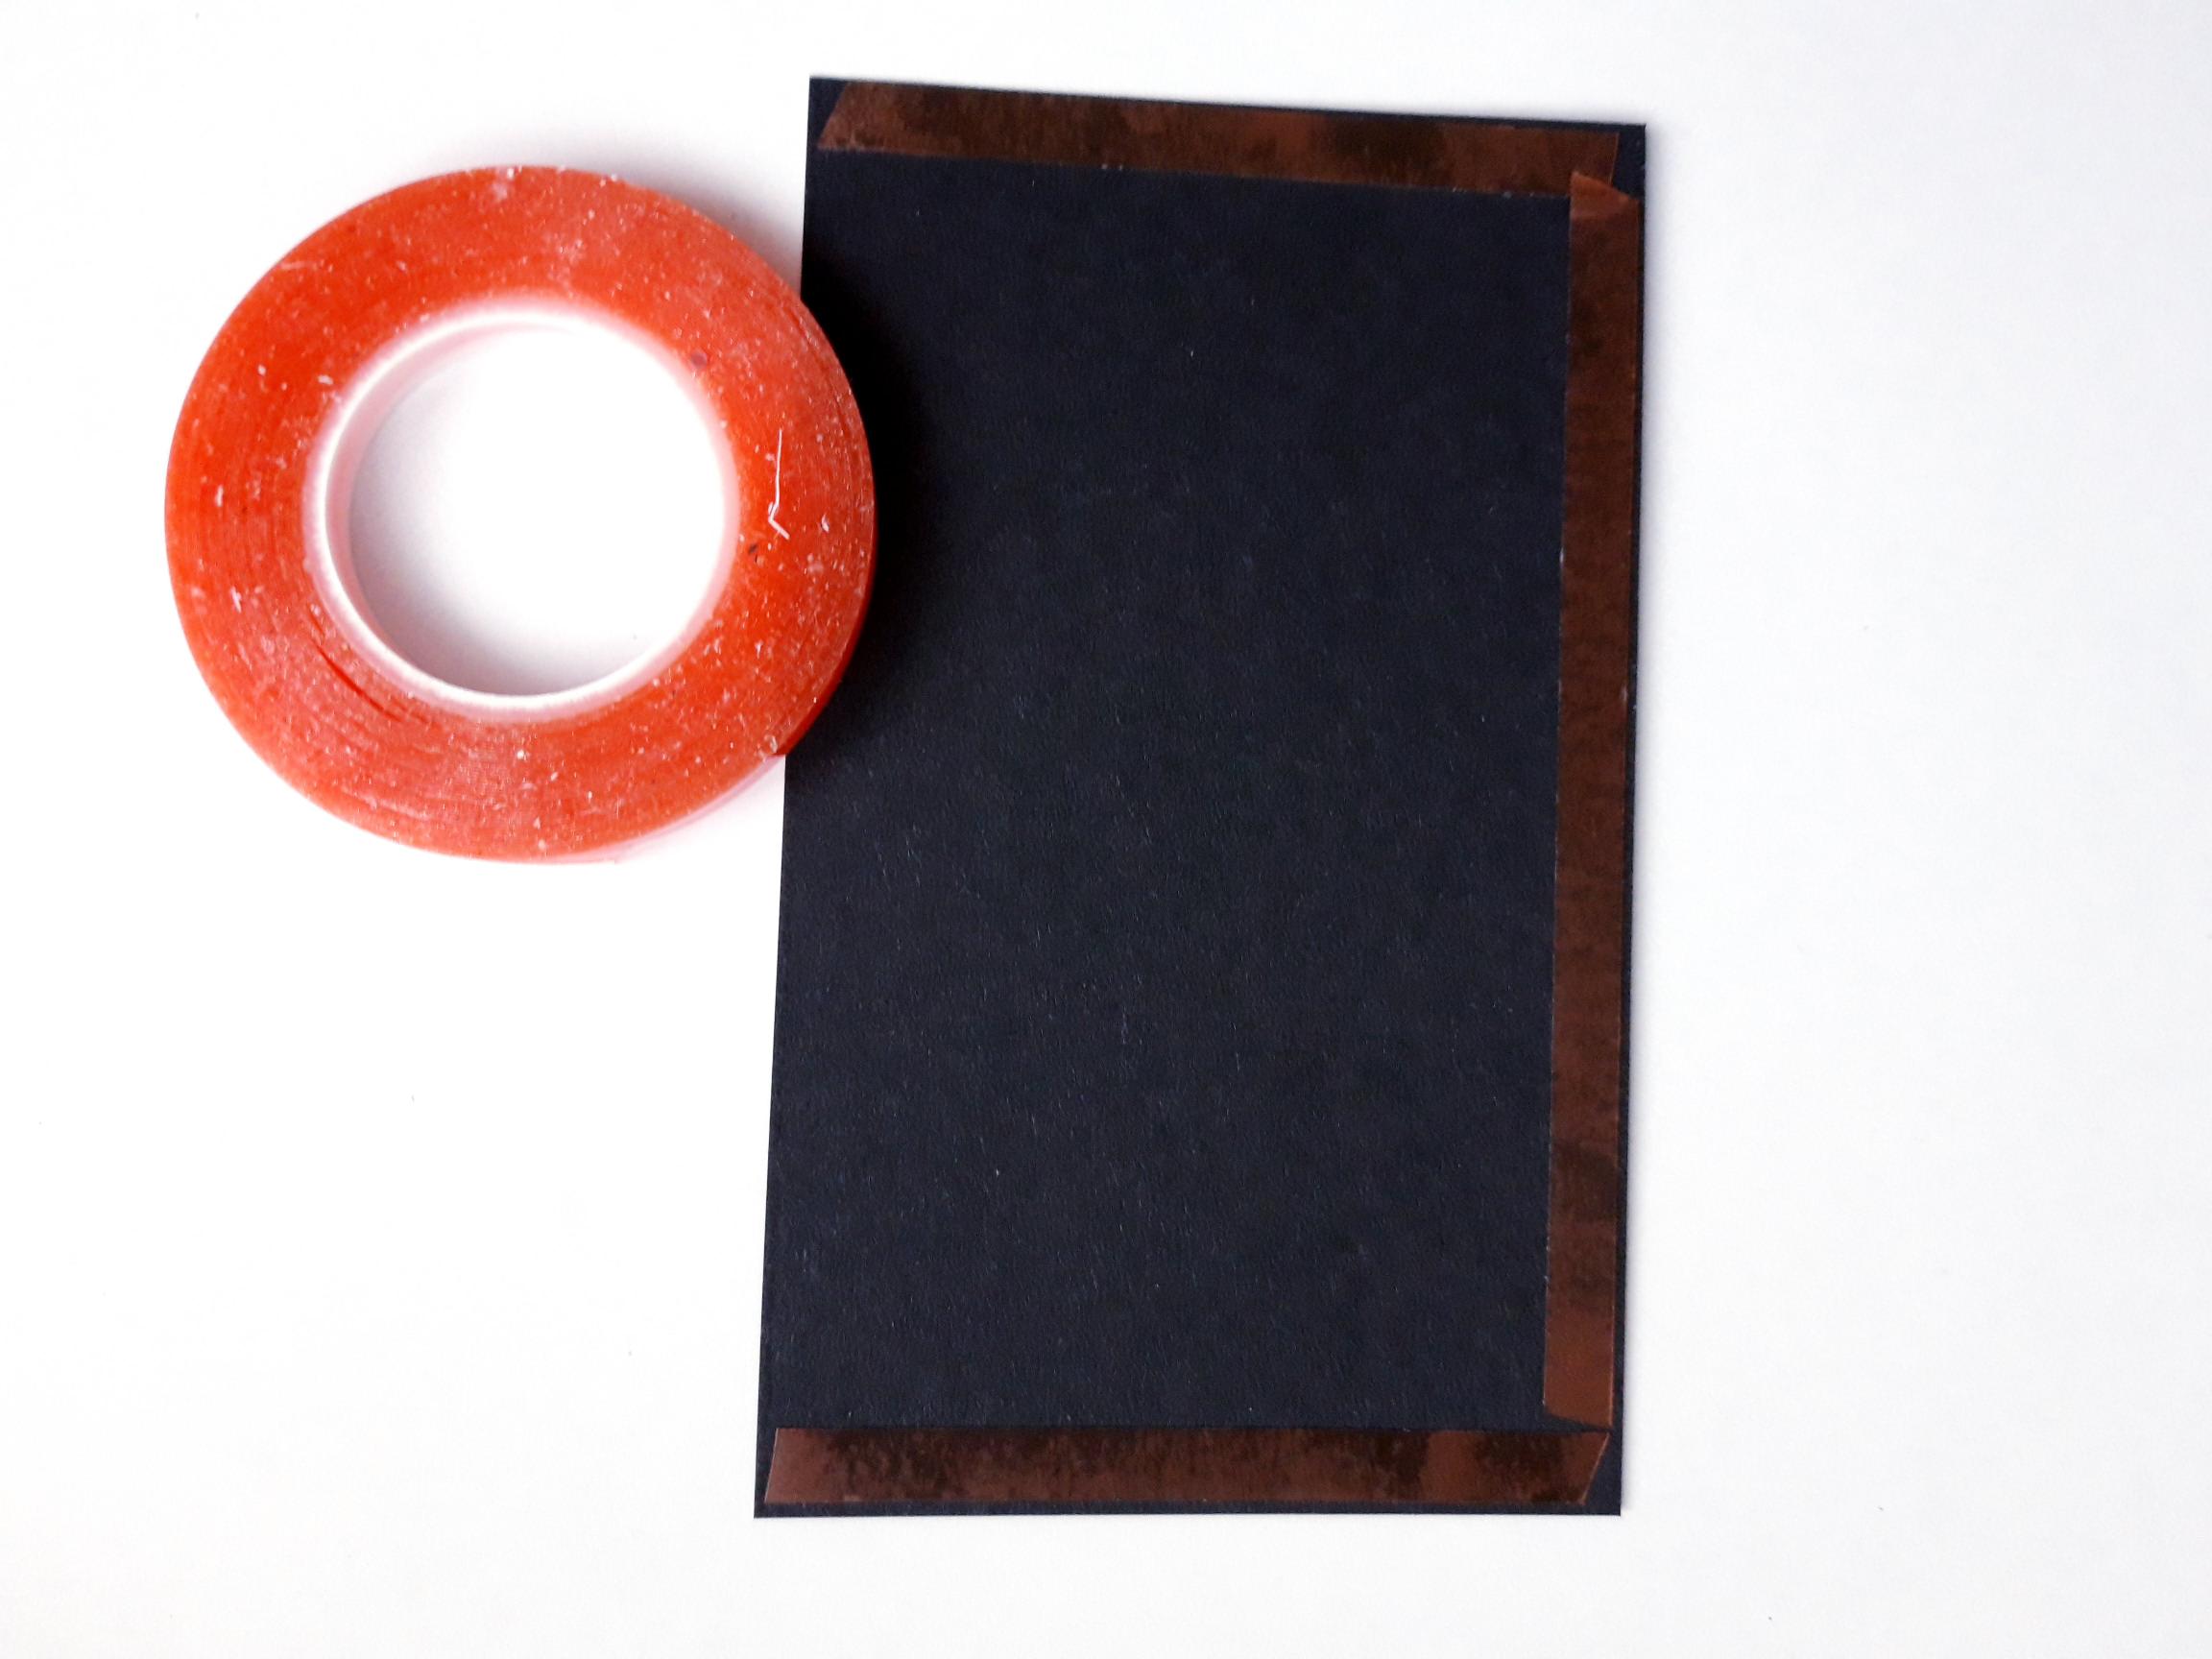
Red liner double sided tape (narrow width)
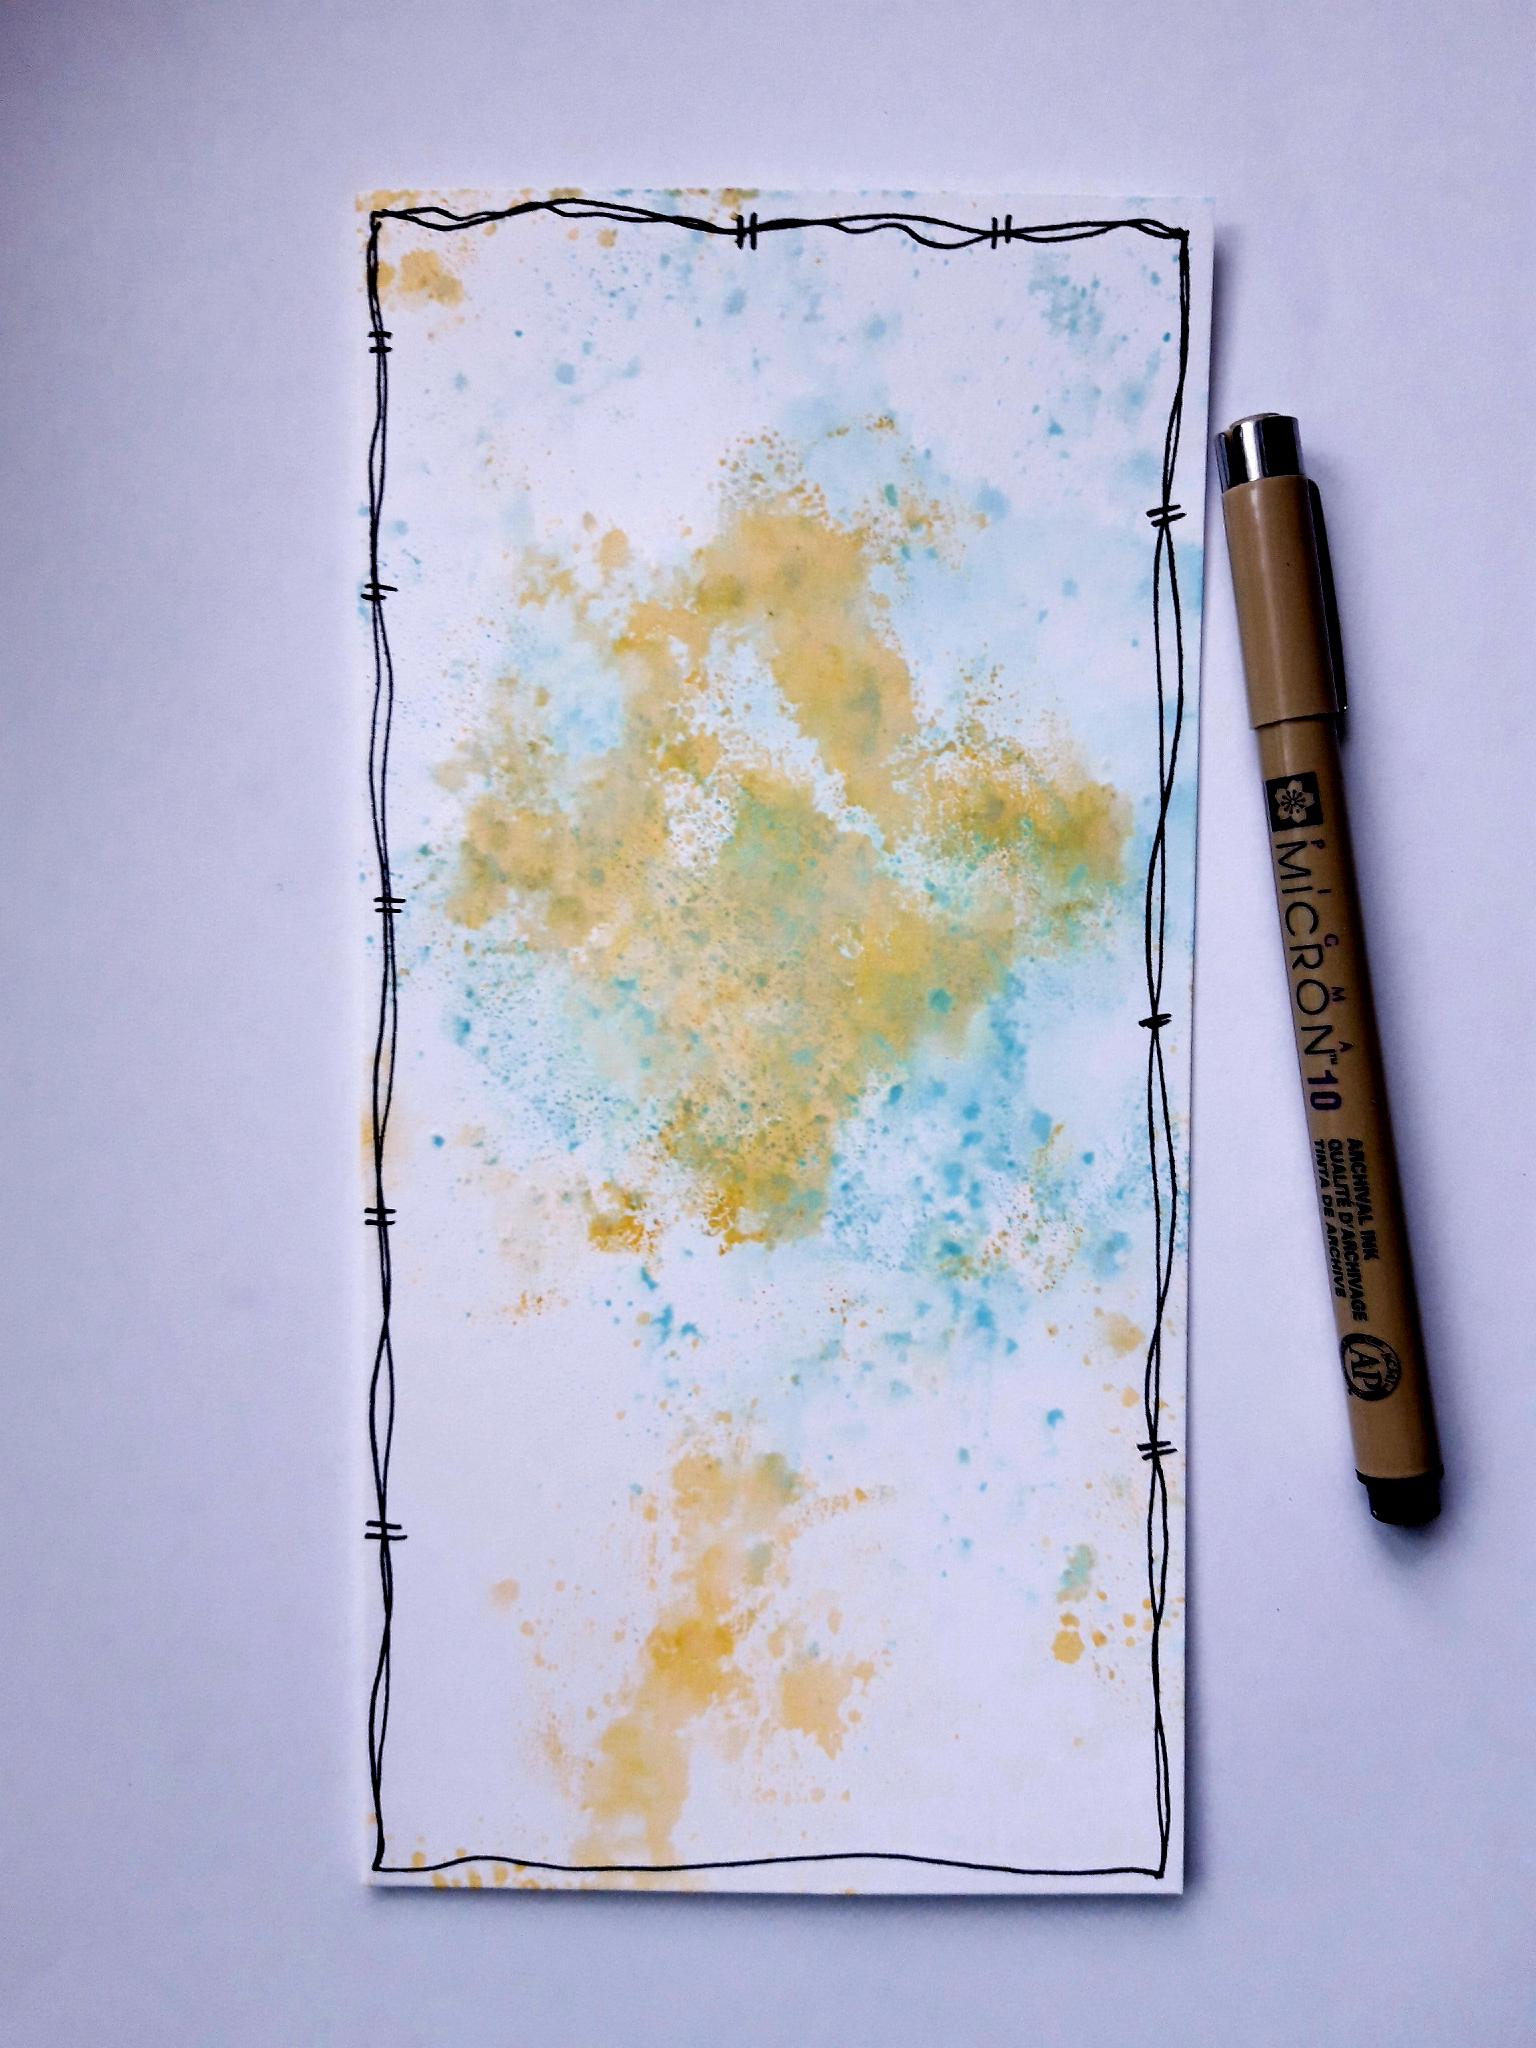
Black pen
White gel pen
Sequins: Smile Creative Box
Paint brush
Hole Punch
Bakers Twine
Water spray bottle
Eureka 101
Paper Trimmer
Perfect Together Glue
Foam Pads
Die Cutting machine
[click image to enlarge] 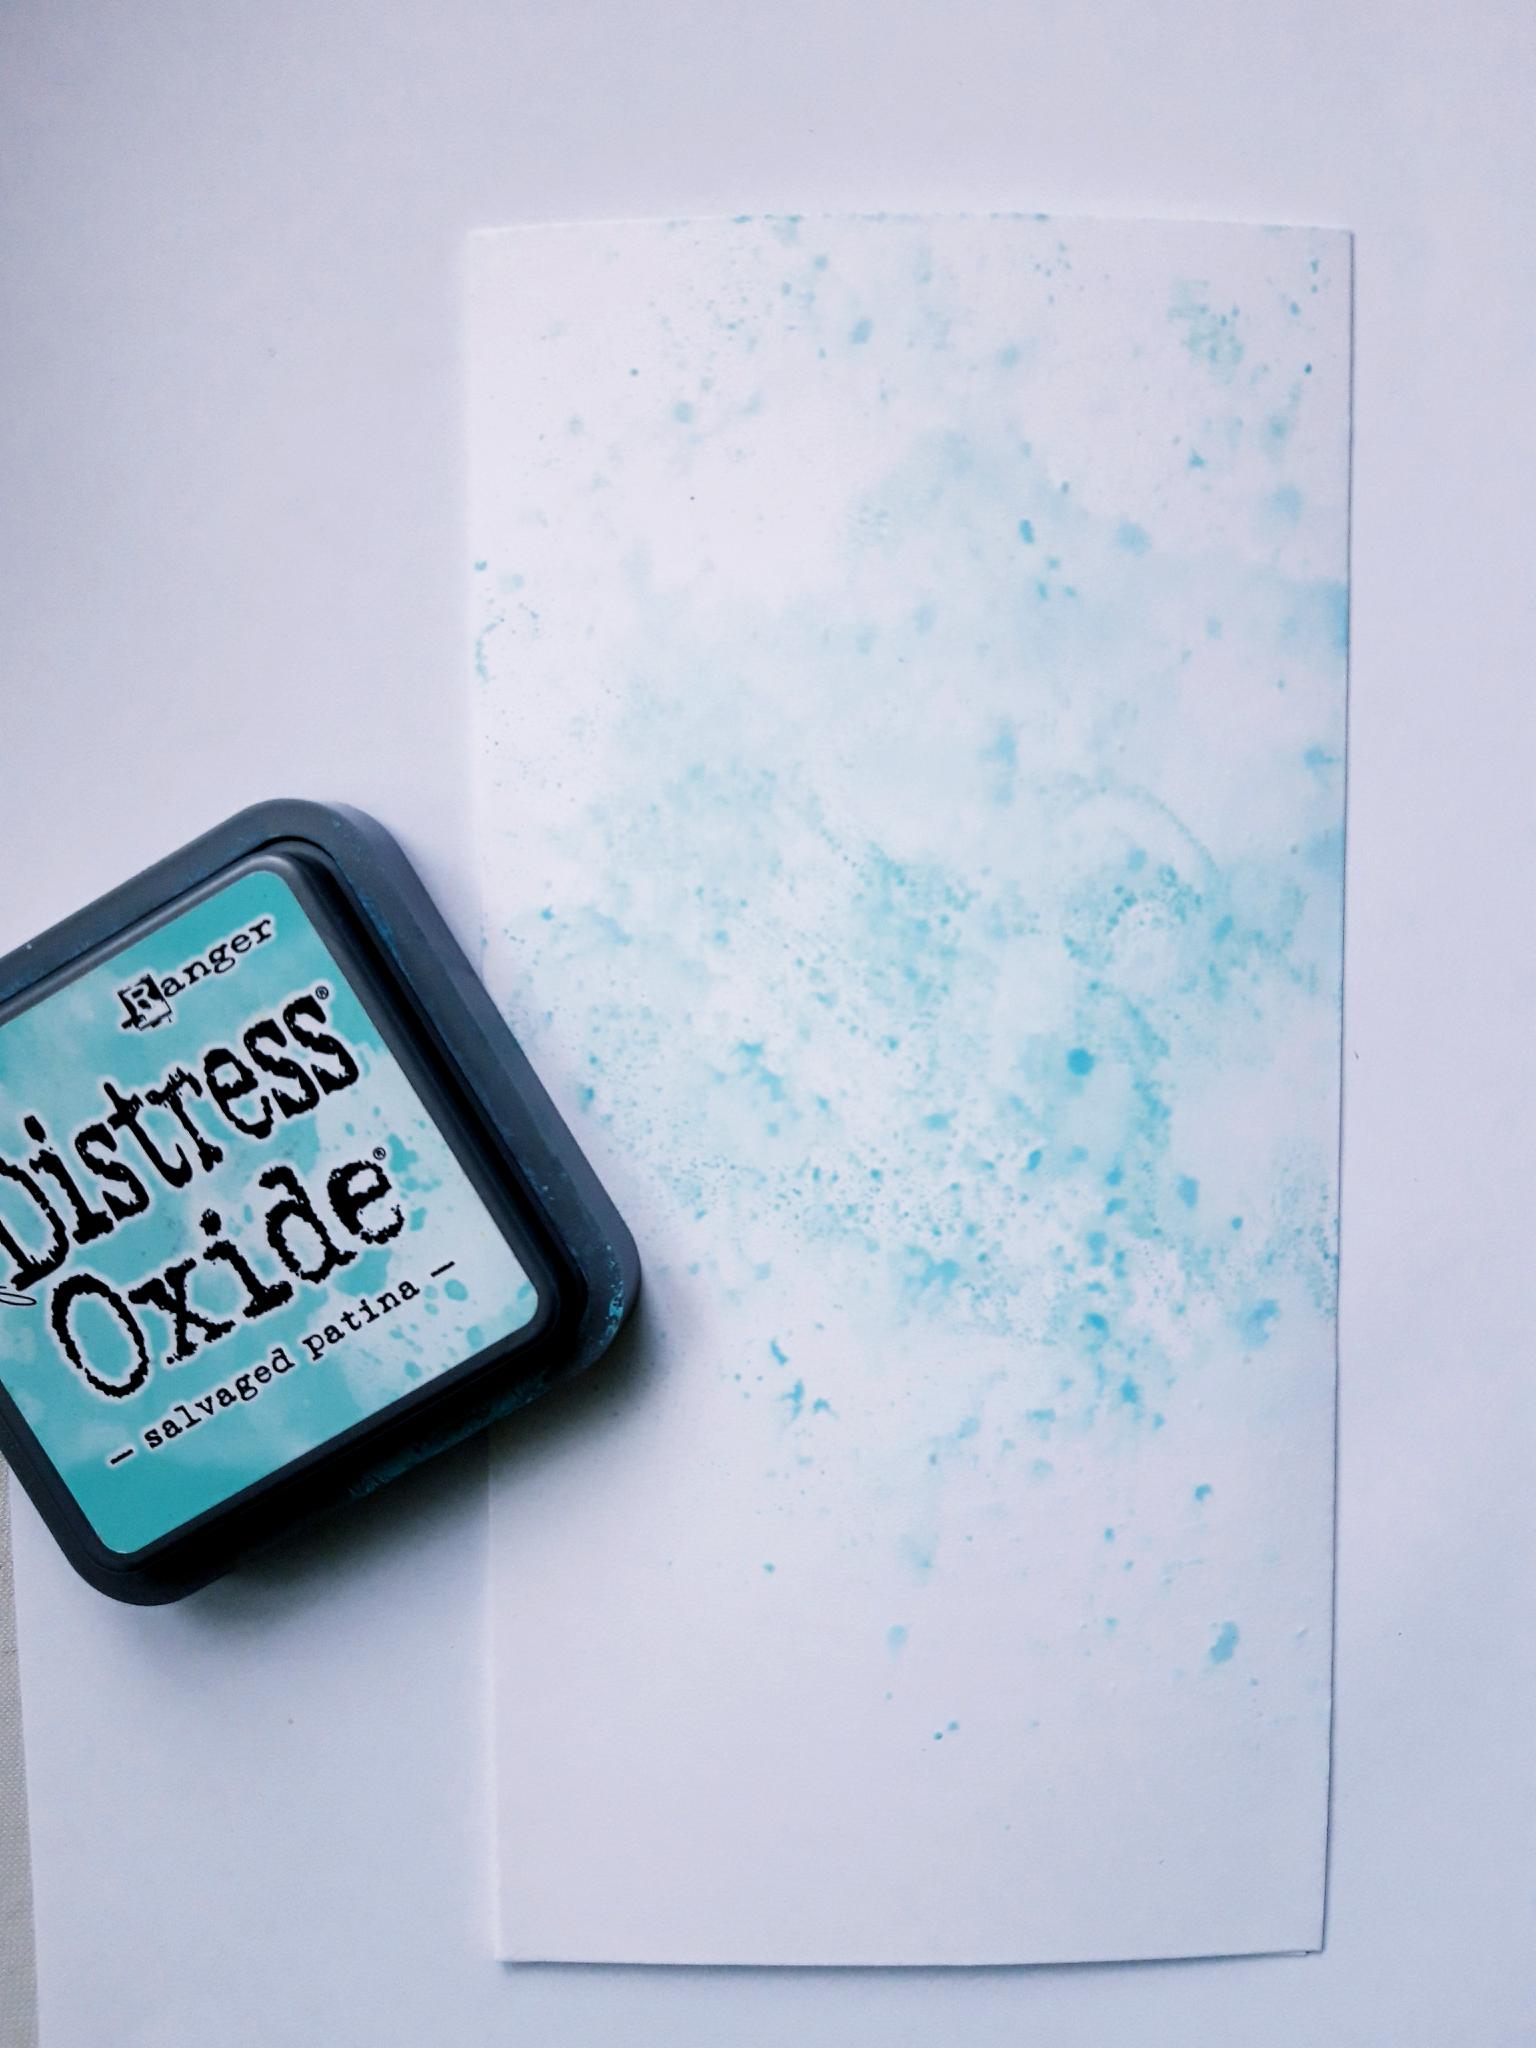
|
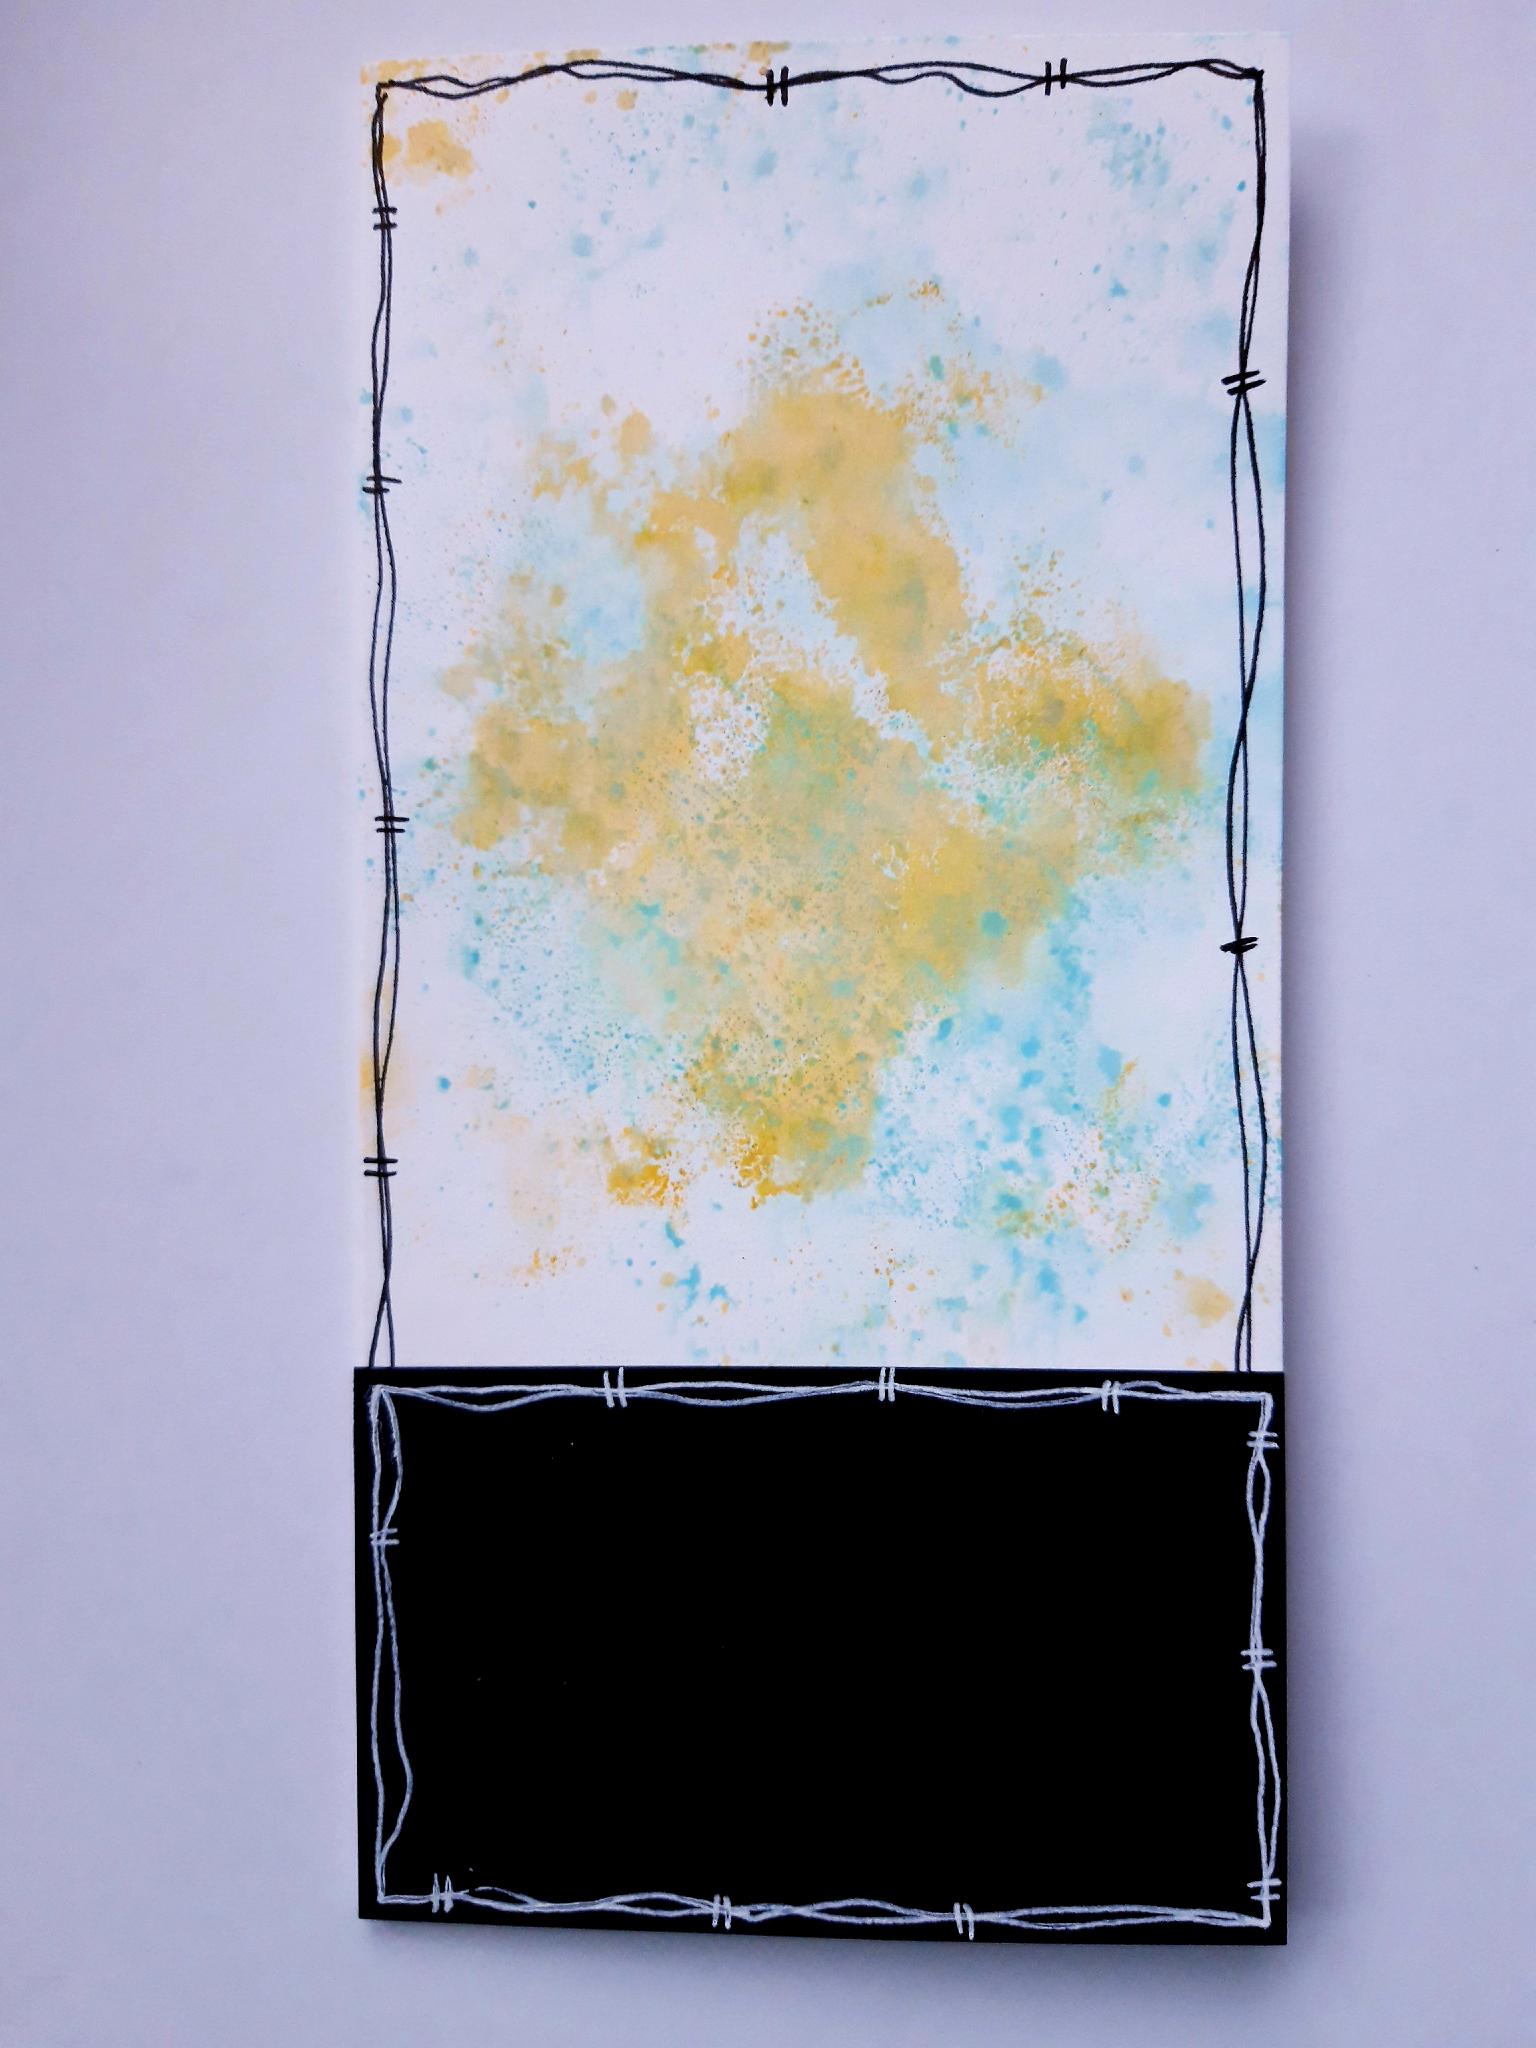
Pop some of the Salvaged Patina Distress Oxide, on to a craft or glass mat. Spritz lightly with water, then lift up the ink on to the front of your DL card blank. |
|
Repeat the previous step, using the Fossilized Amber Distress Oxide. |
|
Once the ink is completely dry, use the black pen to draw a decorative, wiggly frame, around the card blank. |

|
From the black cardstock, cut a piece 4 x 2 1/2". Use the white gel pen to draw a decorative, wiggly frame around the card. |
|
Apply red liner tape, flush along the edges on the bottom and TWO sides only. Keep one of the 4" edges free from tape, as this will be the top of a pocket. |
|
Adhere the pocket flush with the base of the card blank, ensuring the open edge is at the top. Set to one side. |
|
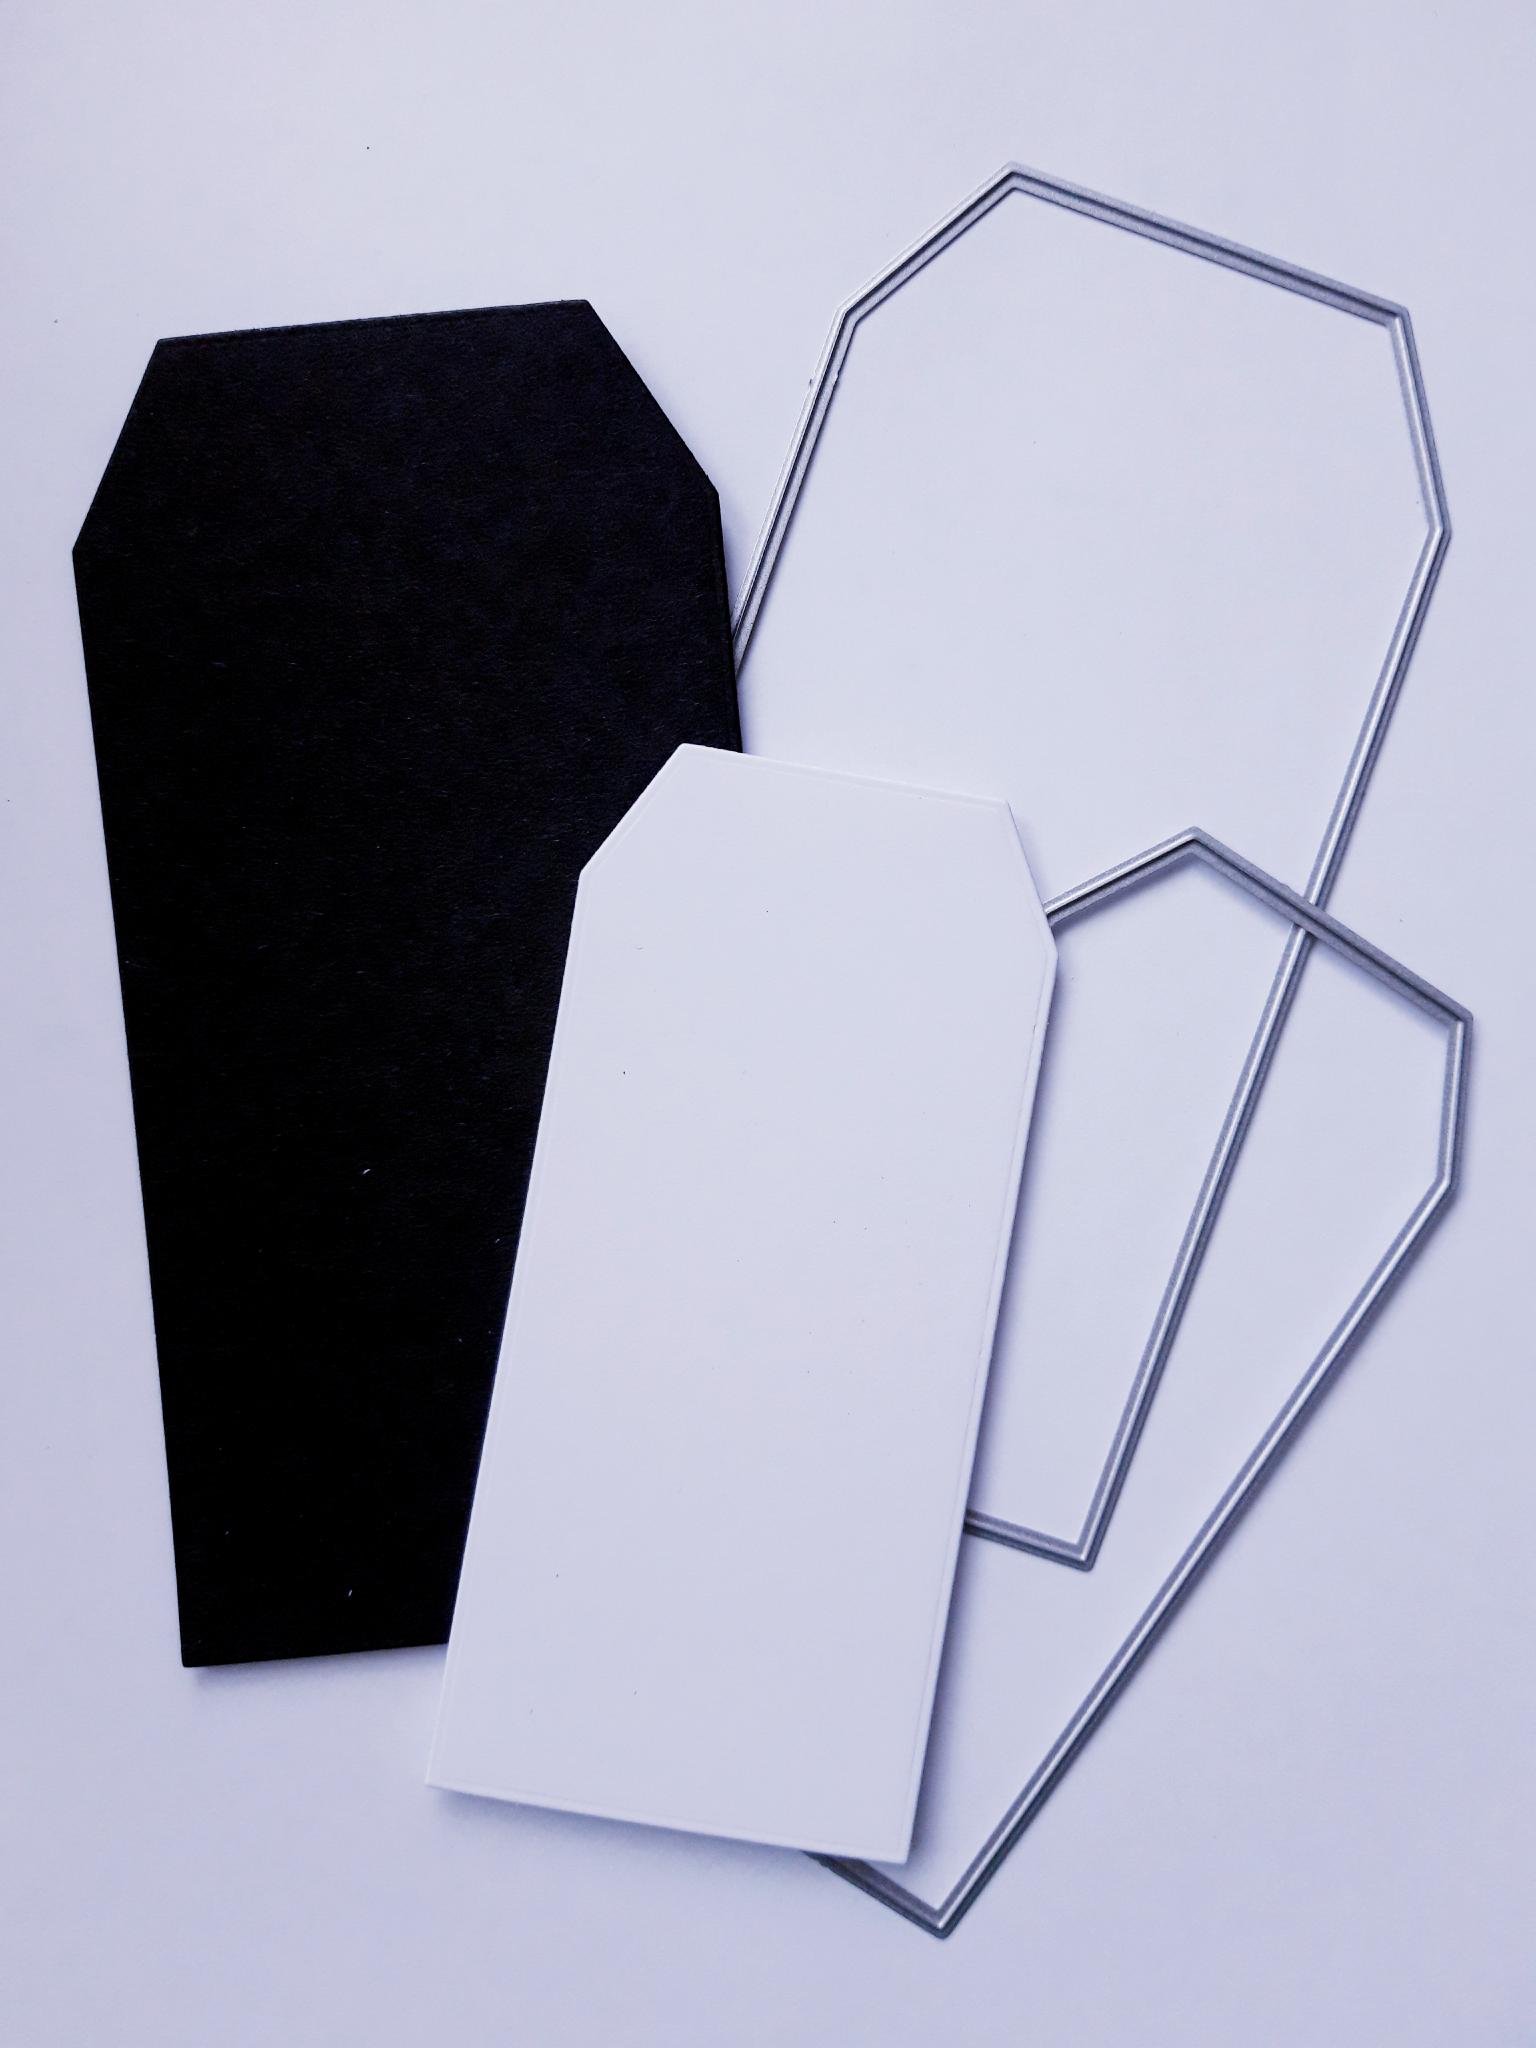
Place the tag die that measures approx 5 1/2 x 2 3/4" from the Tagged Creative Dies set, on to the black cardstock. Run through your die cutting machine. Place the tag die that measures 4 1/2 x 2" on to the white cardstock, and run through your machine. Set the remainder of the white and black card to one side. |
|
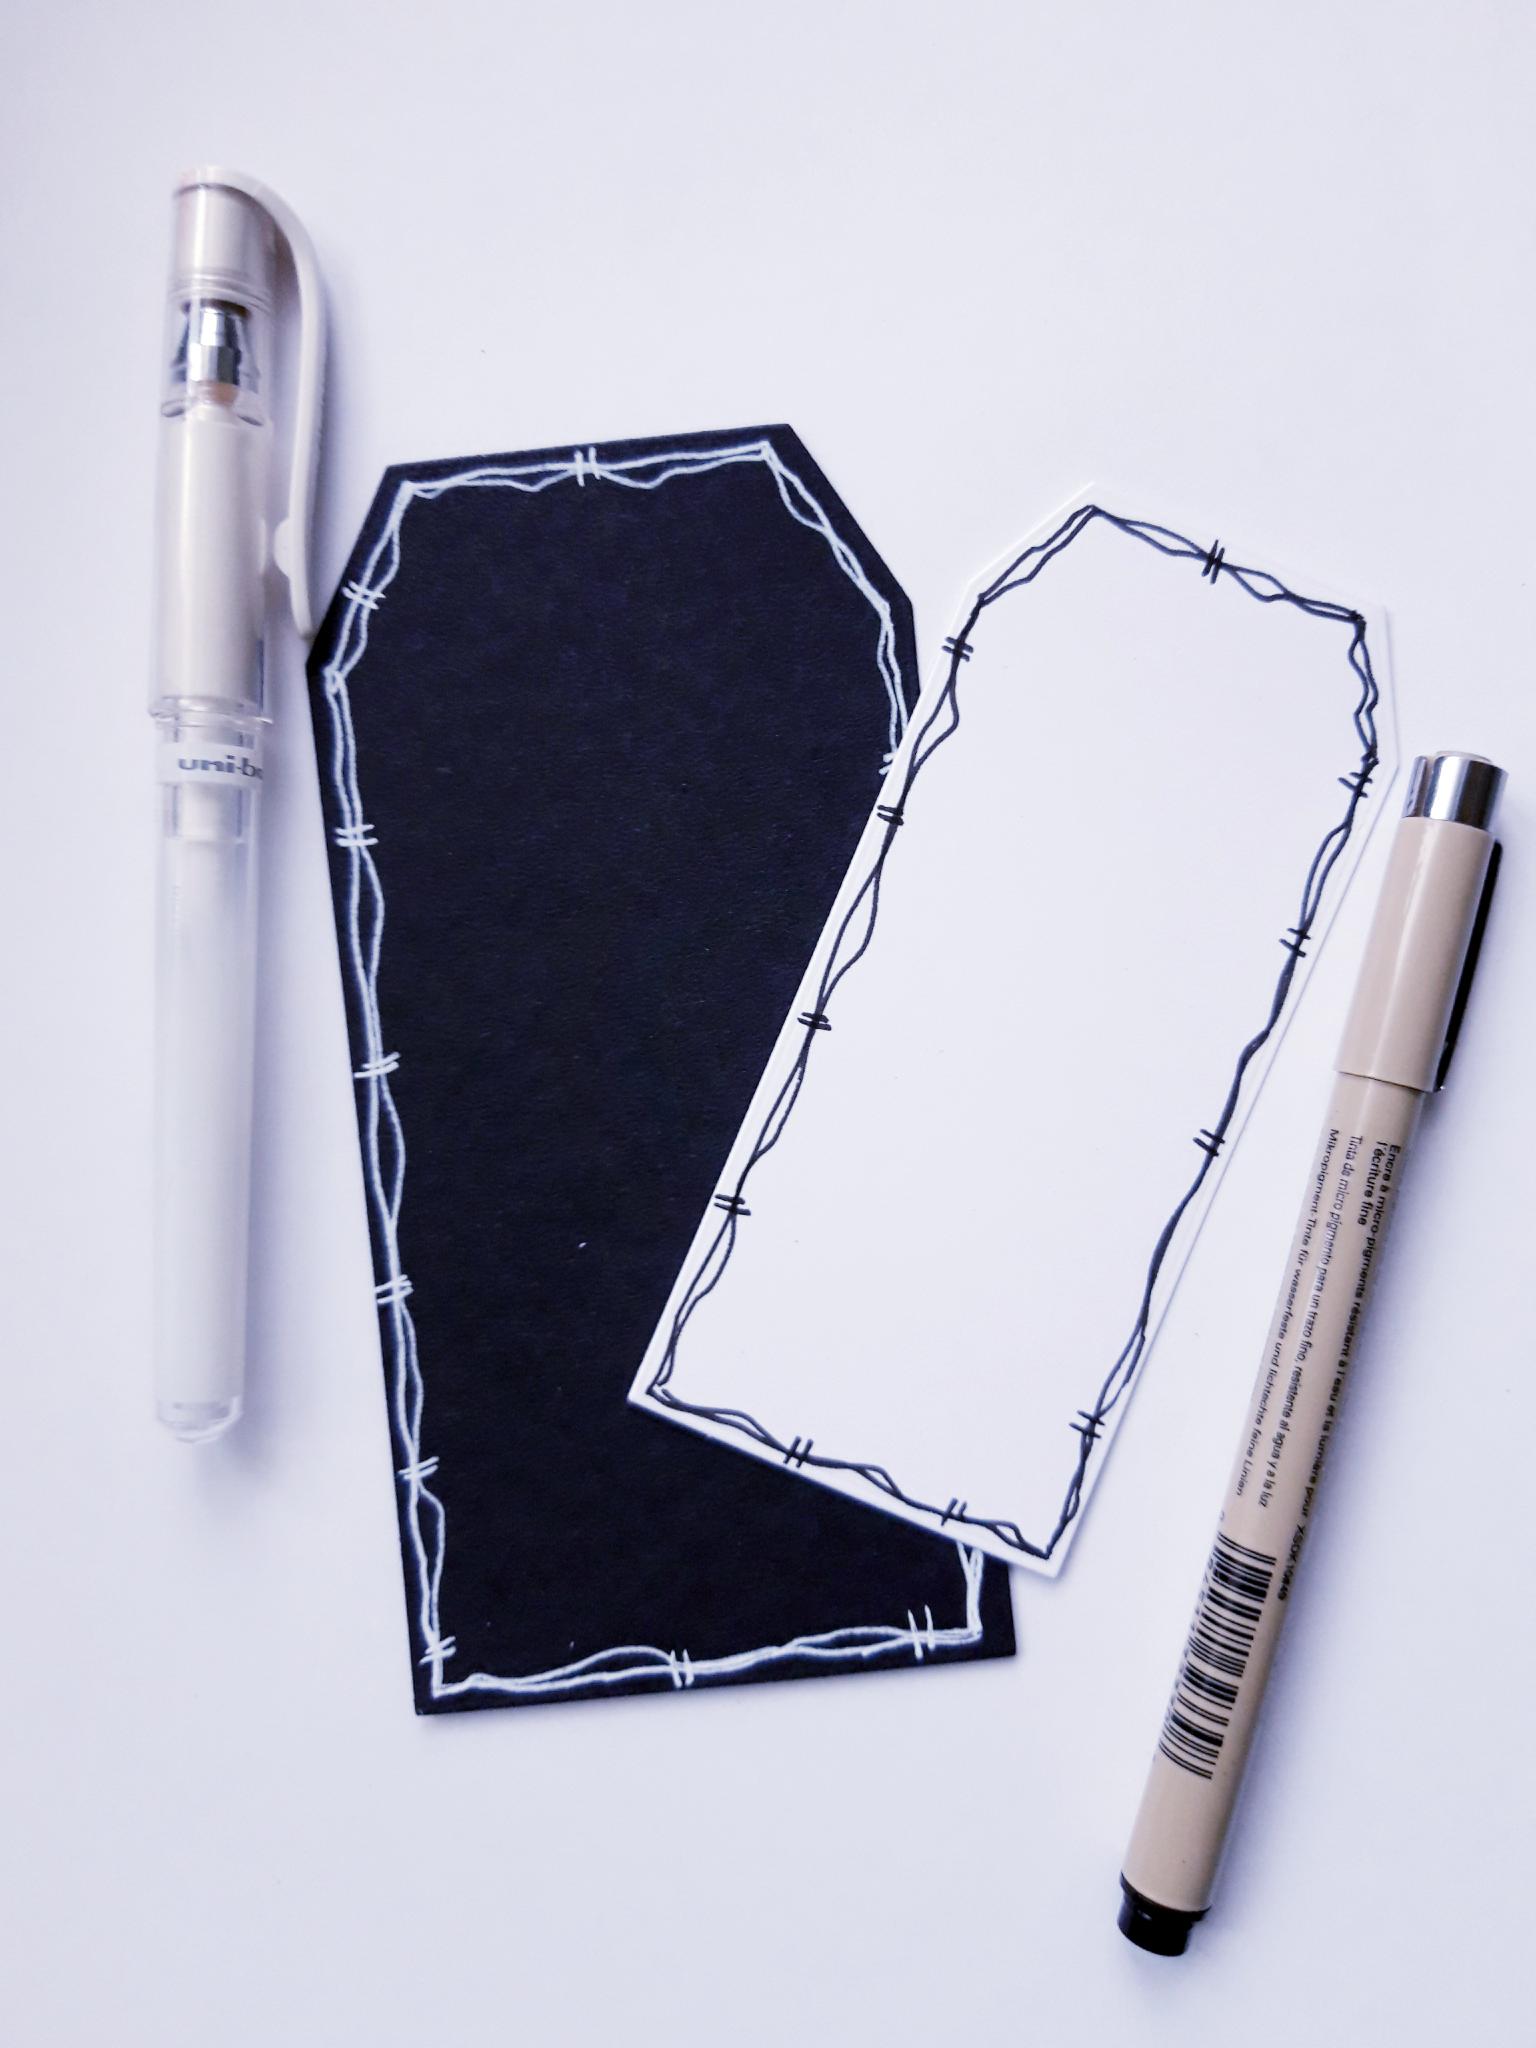
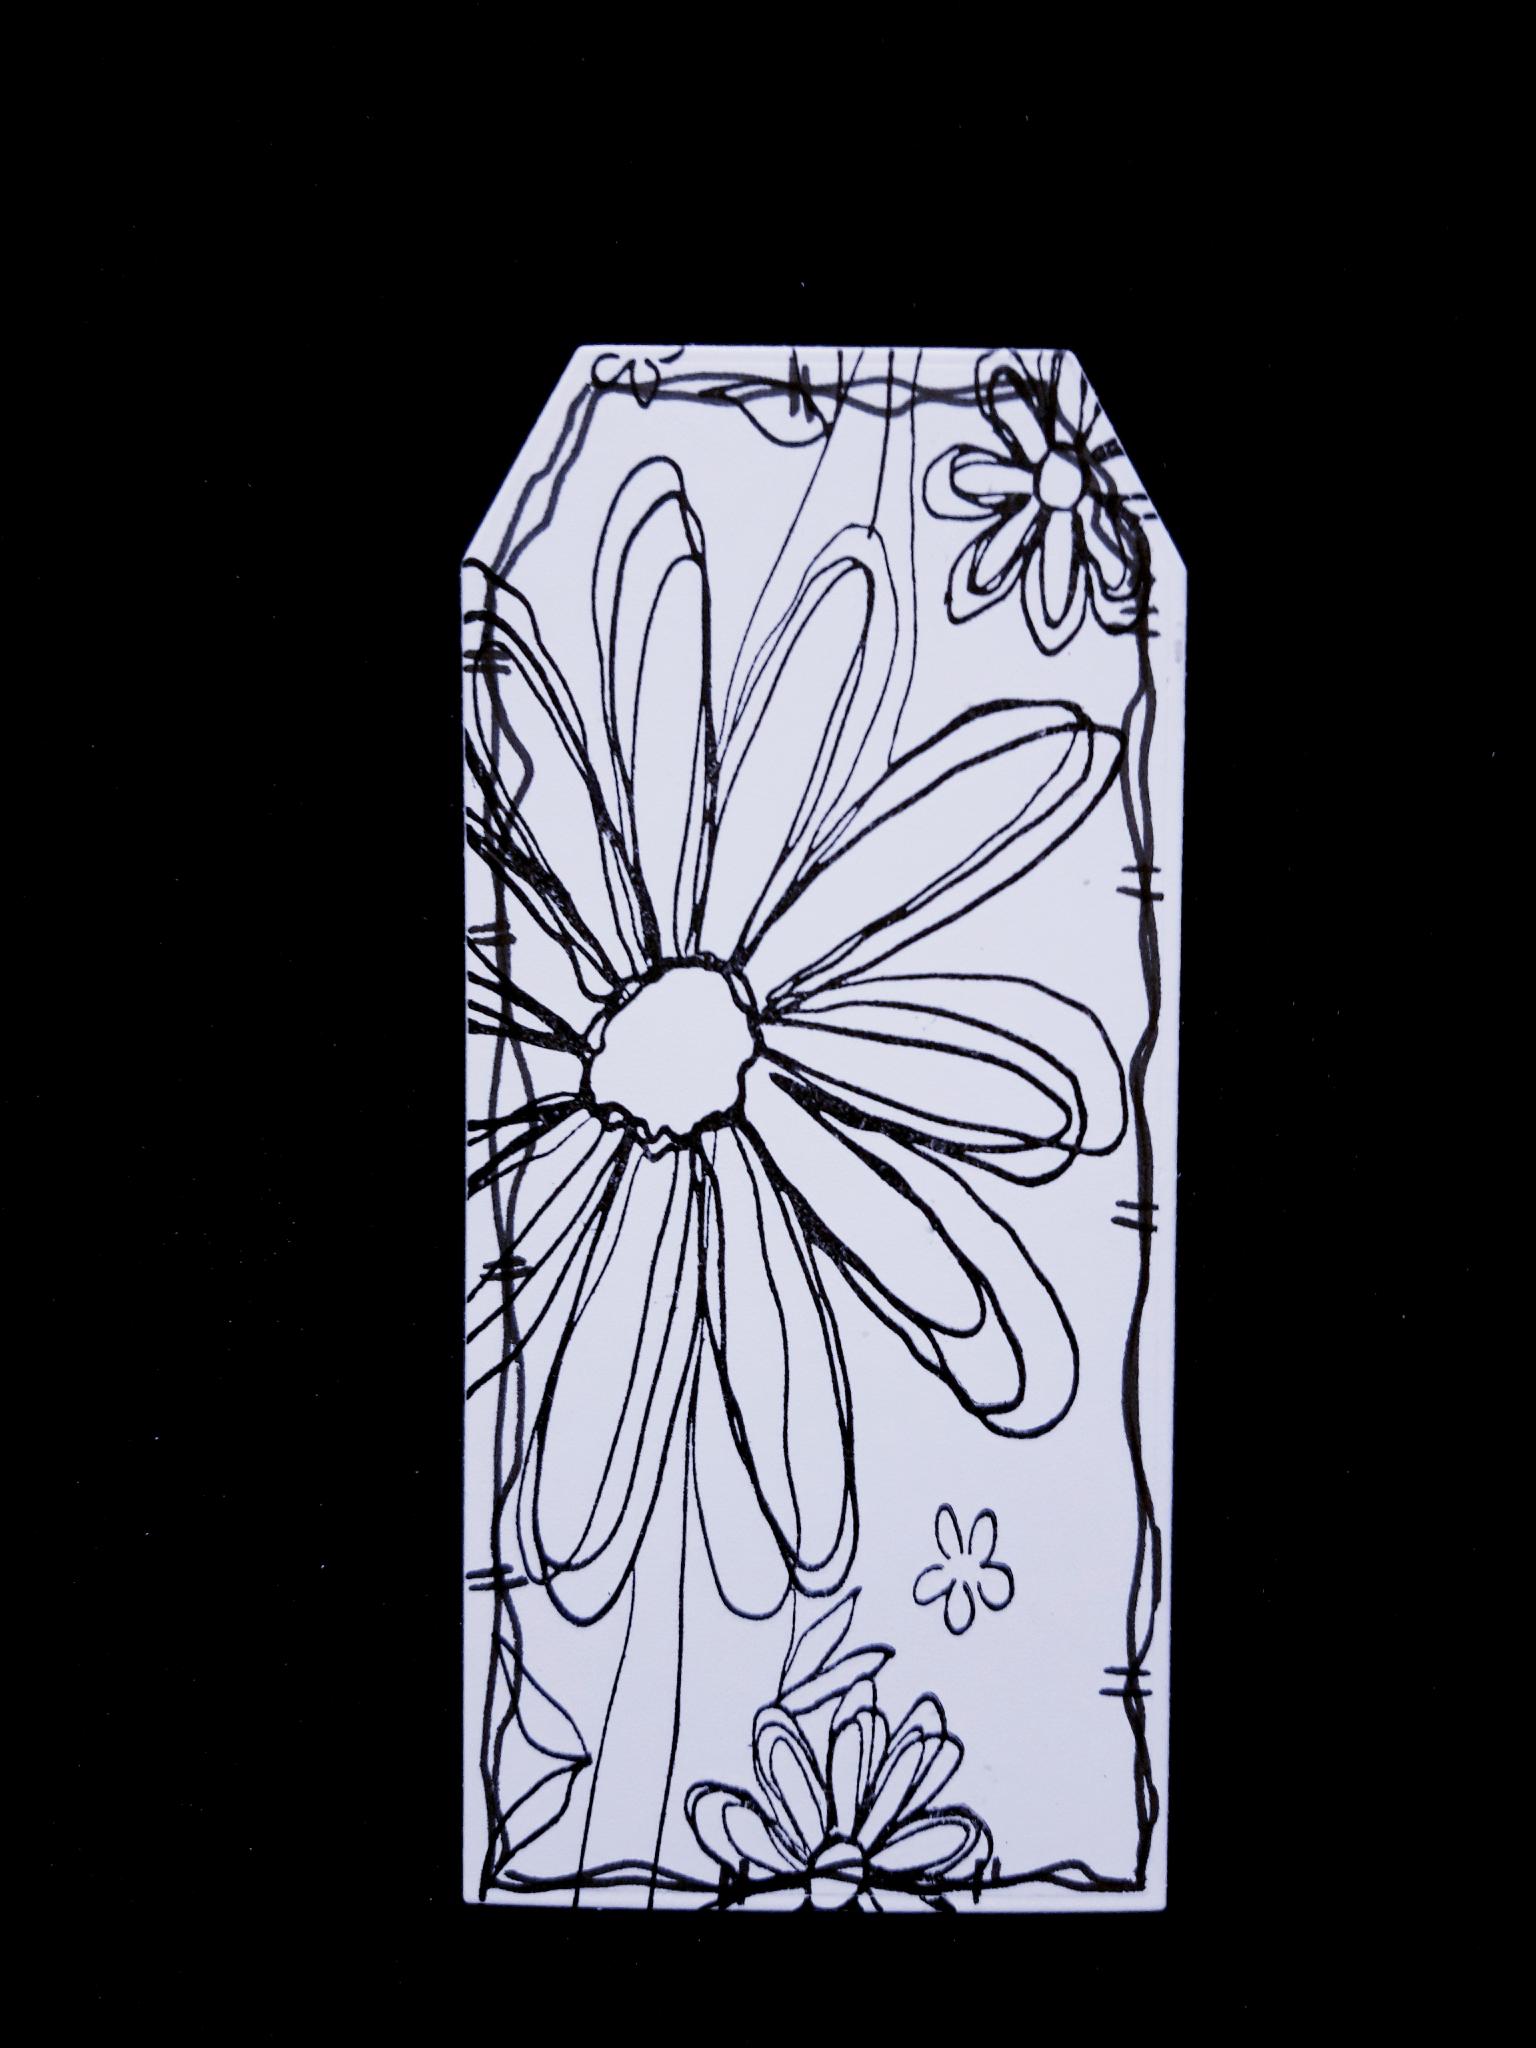
Use your black and white pens to draw decorative, wiggly frames around the tags. |
|
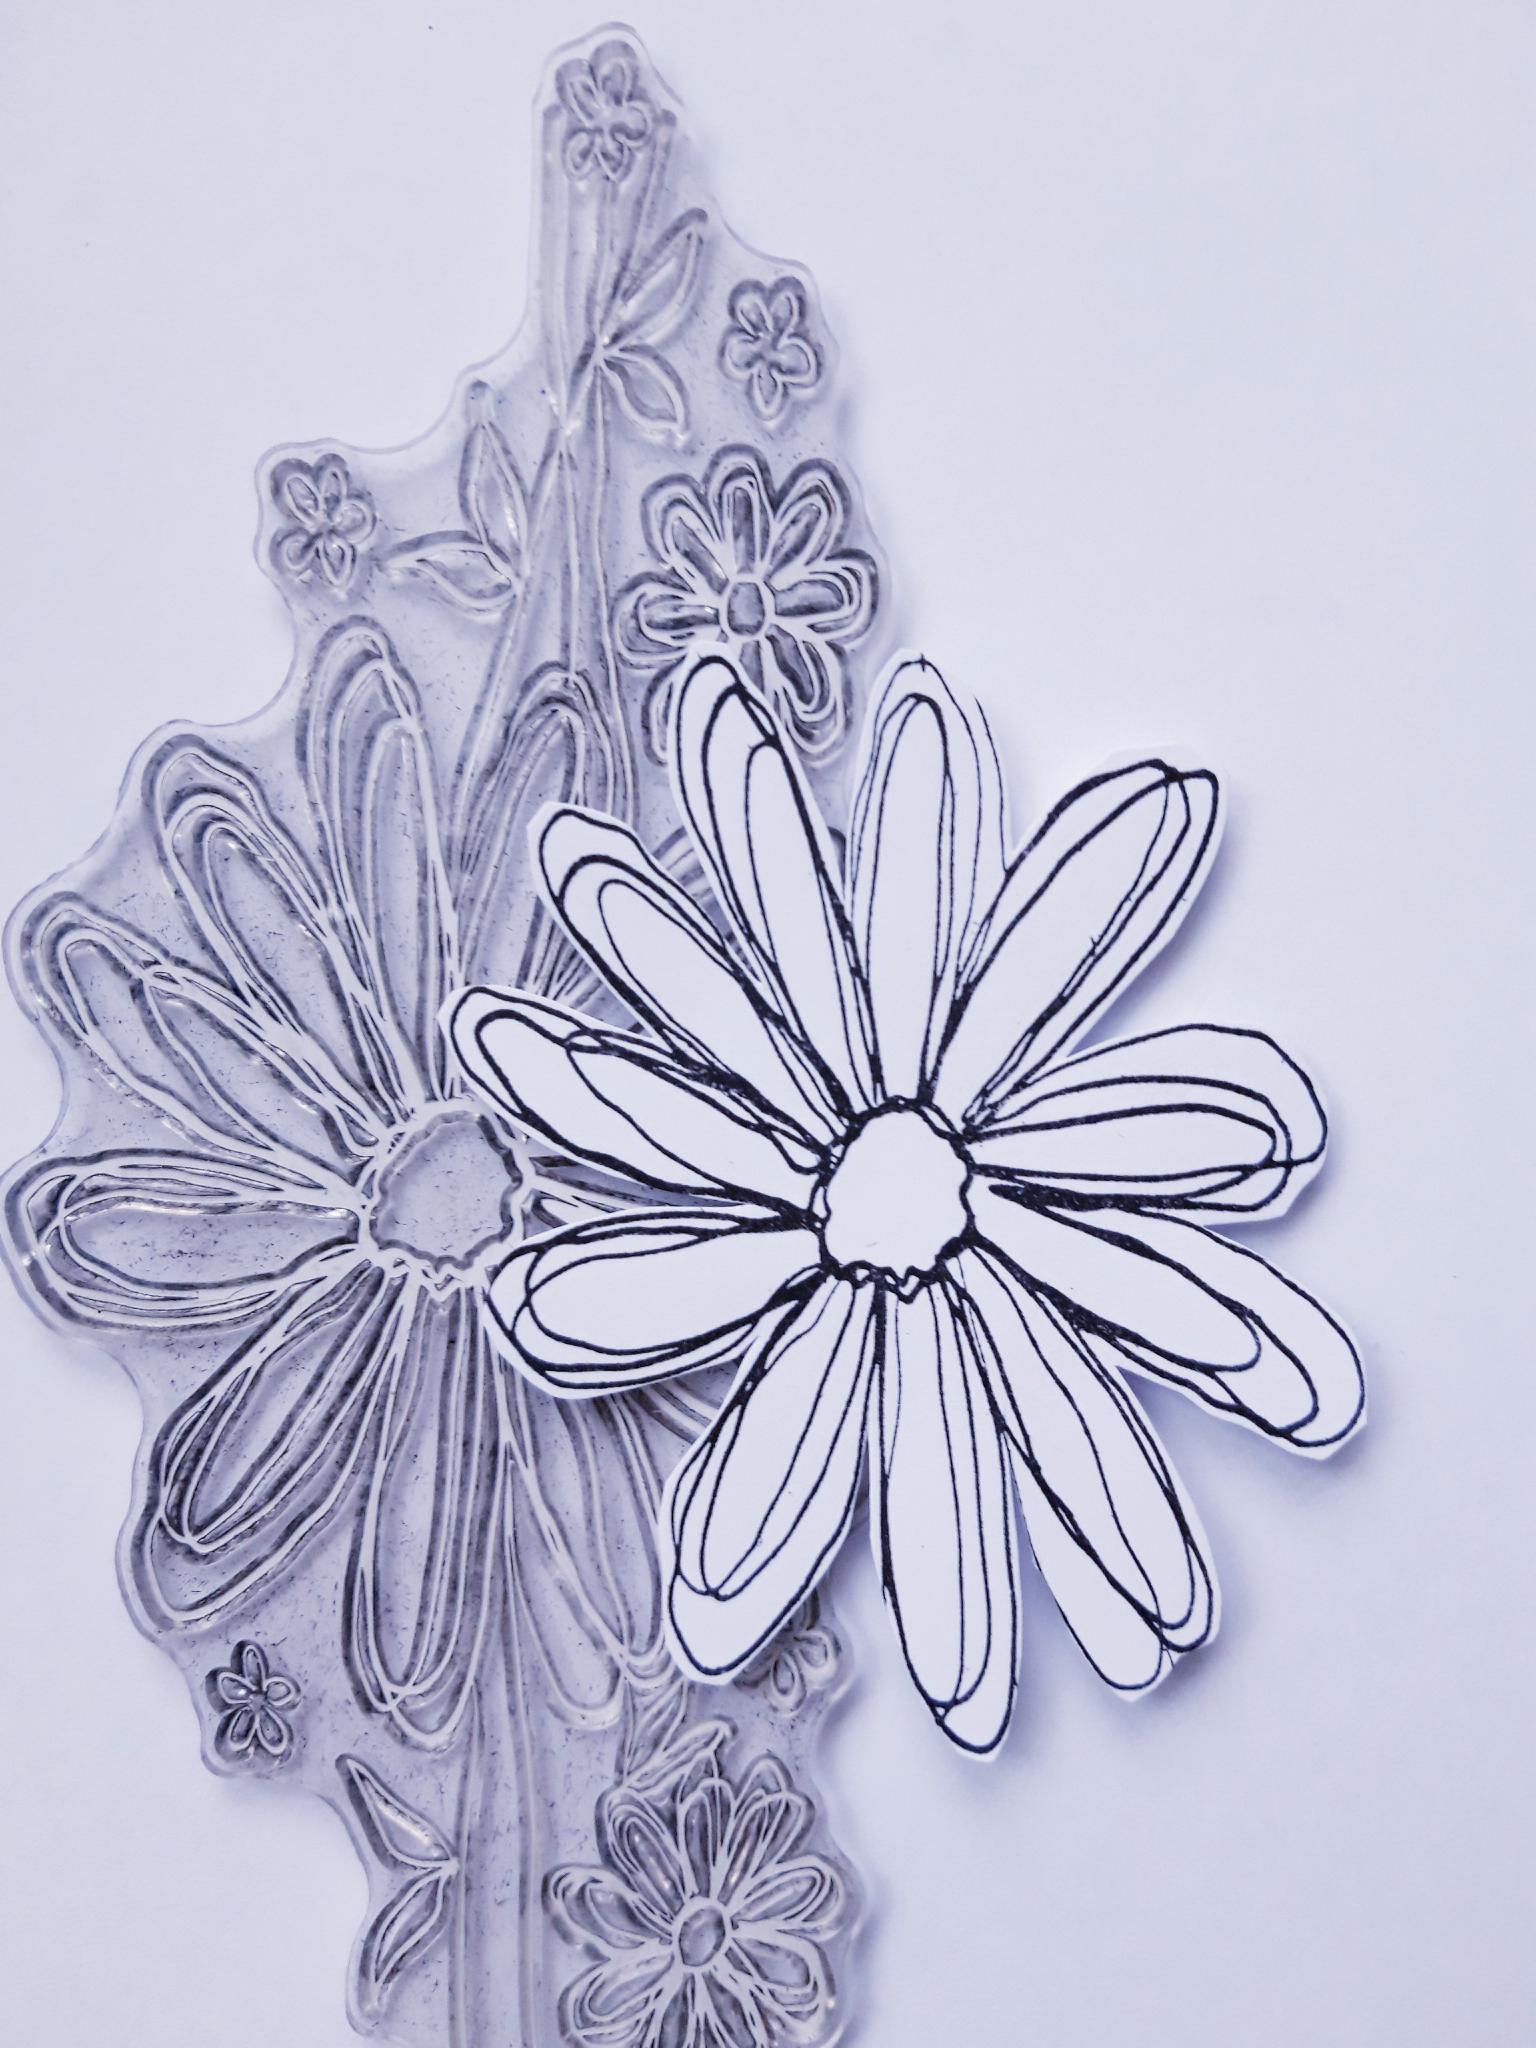
Ink up the floral stamp, from the Daisy Dreams Creative Stamps, with the Onyx Black Versafine. Stamp on to the white die cut tag. |
|
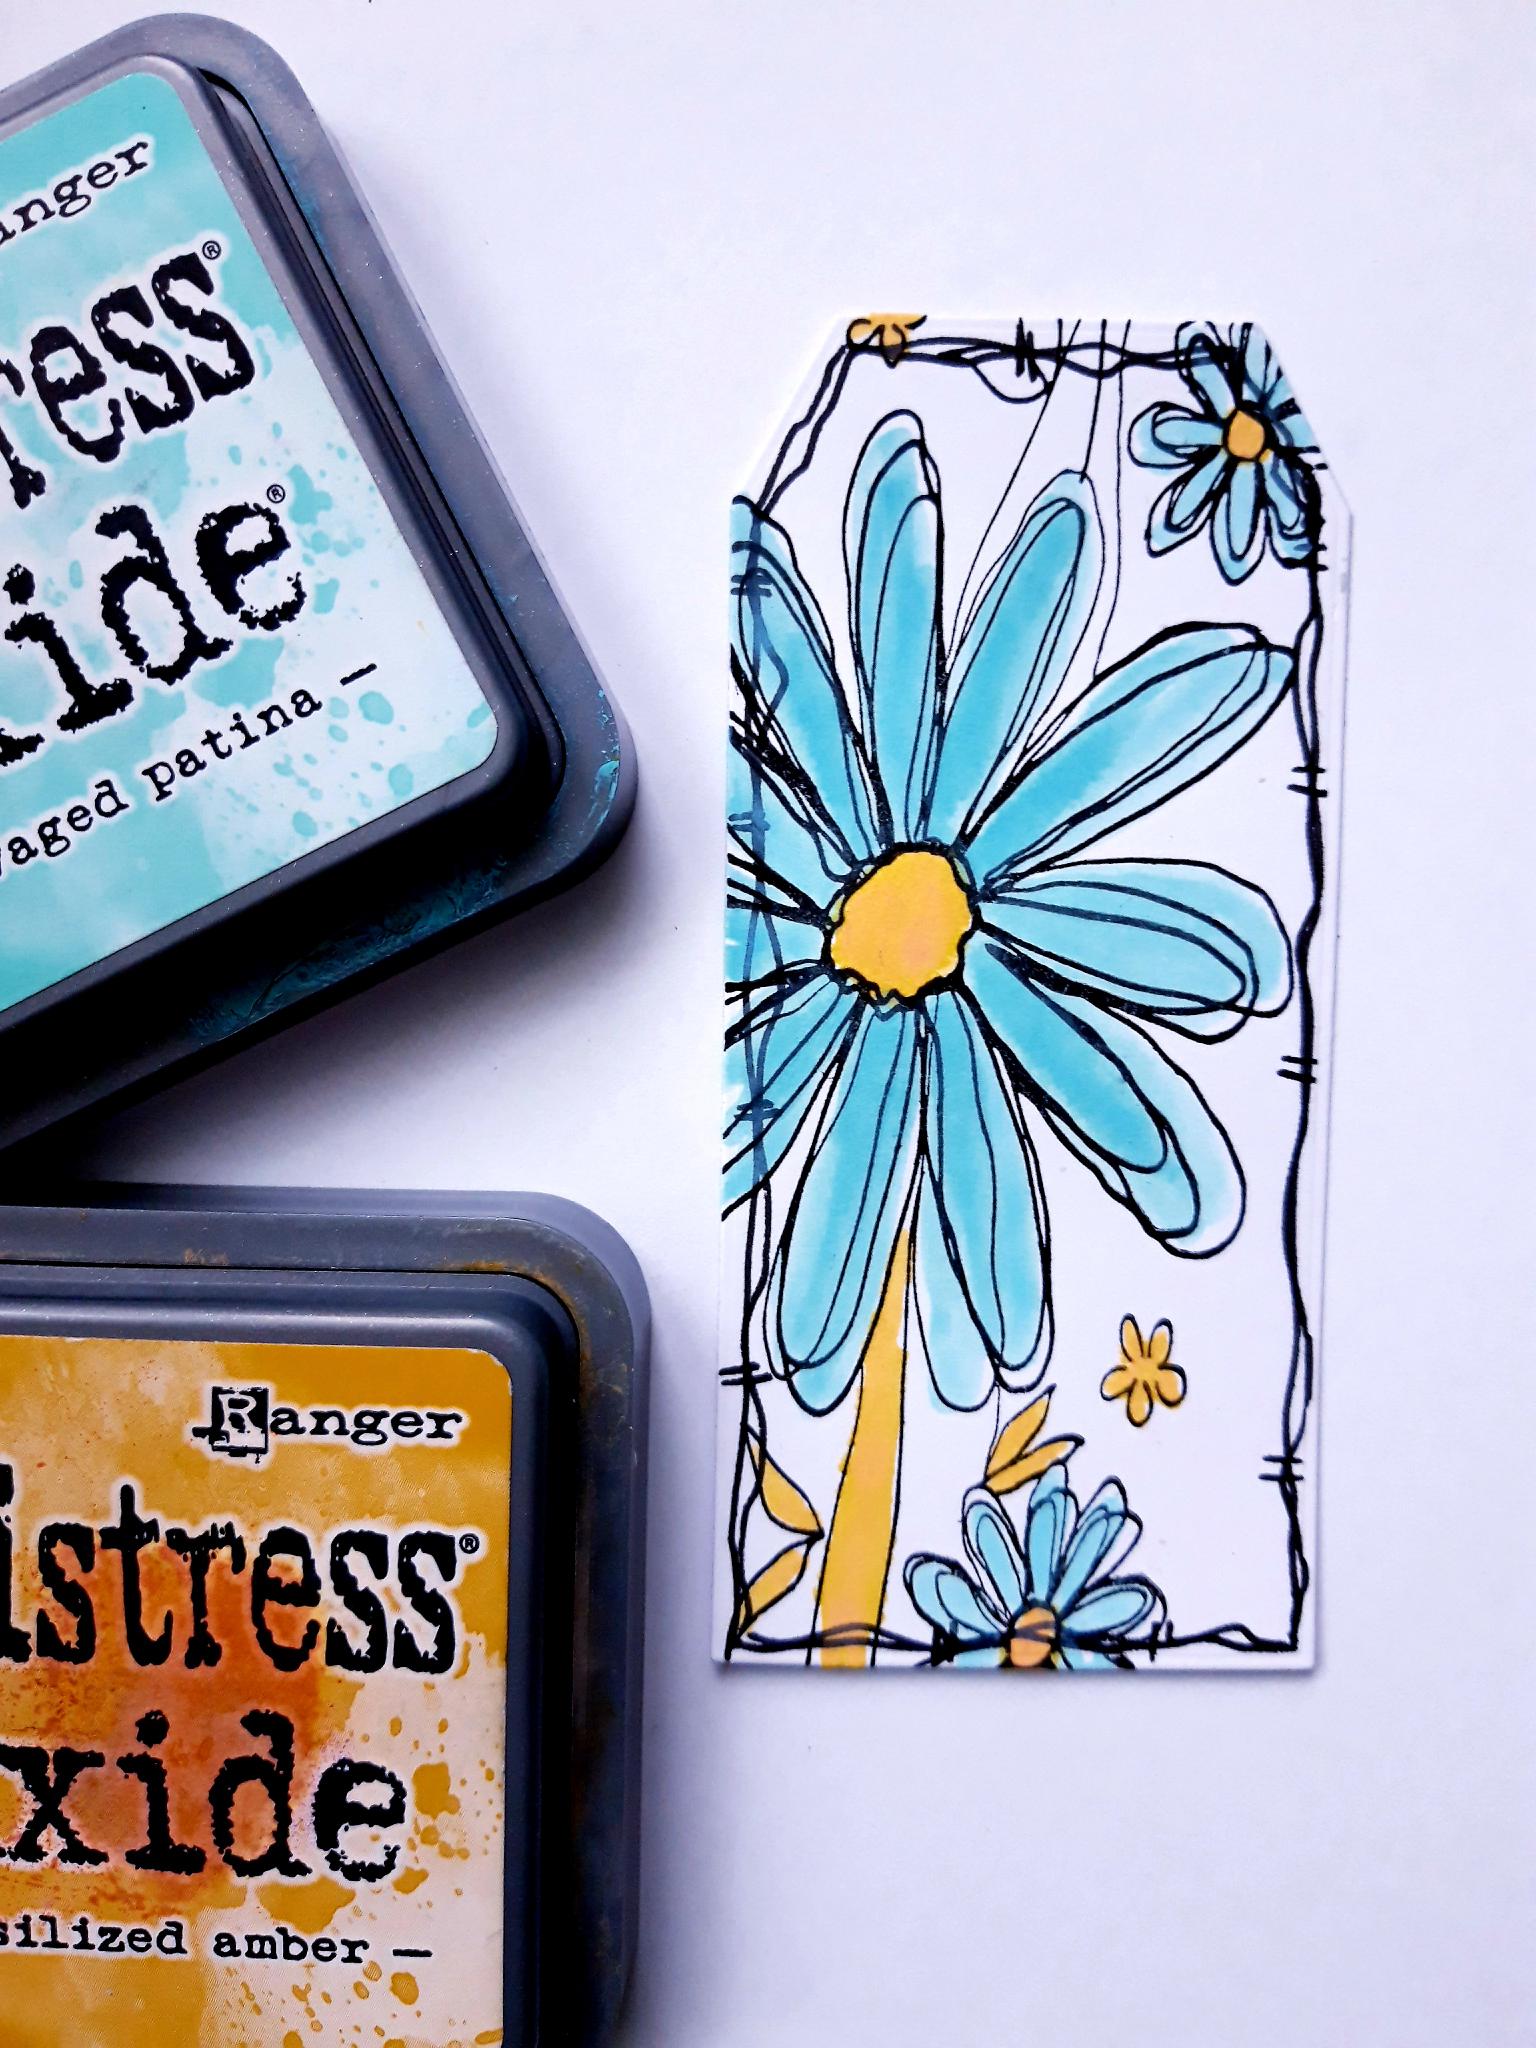
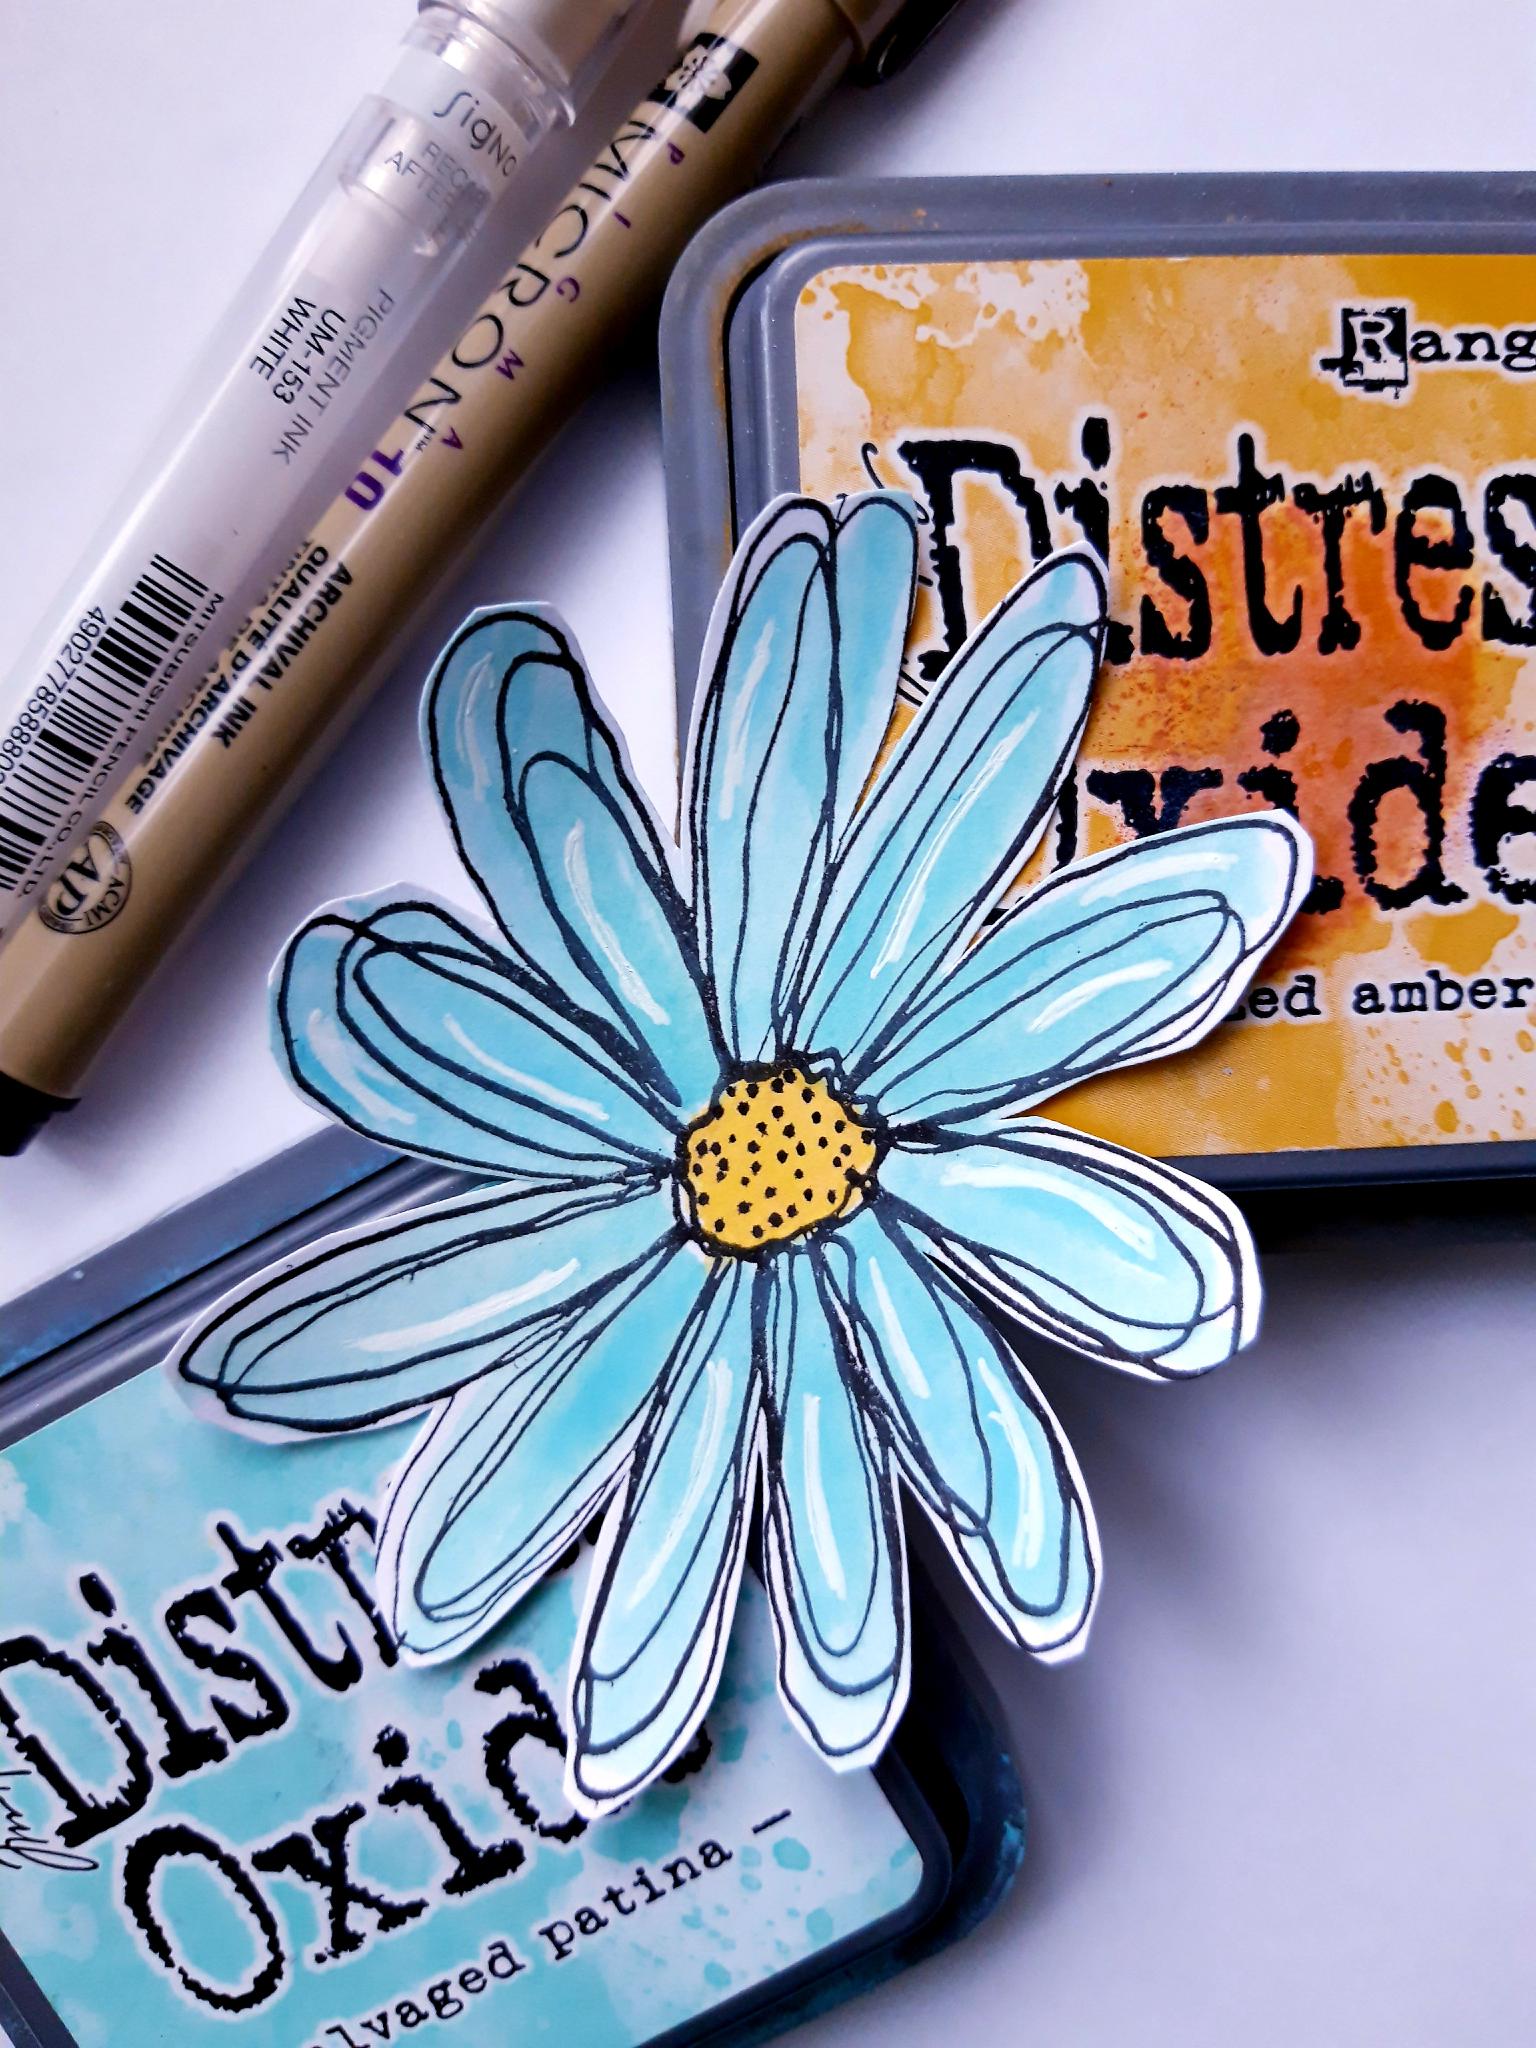
Apply the Salvaged Patina and Fossilized Amber Distress Oxides, on to a glass or craft mat. Spritz with a little water, and use a paint brush to colour in your stamped image.
|
|
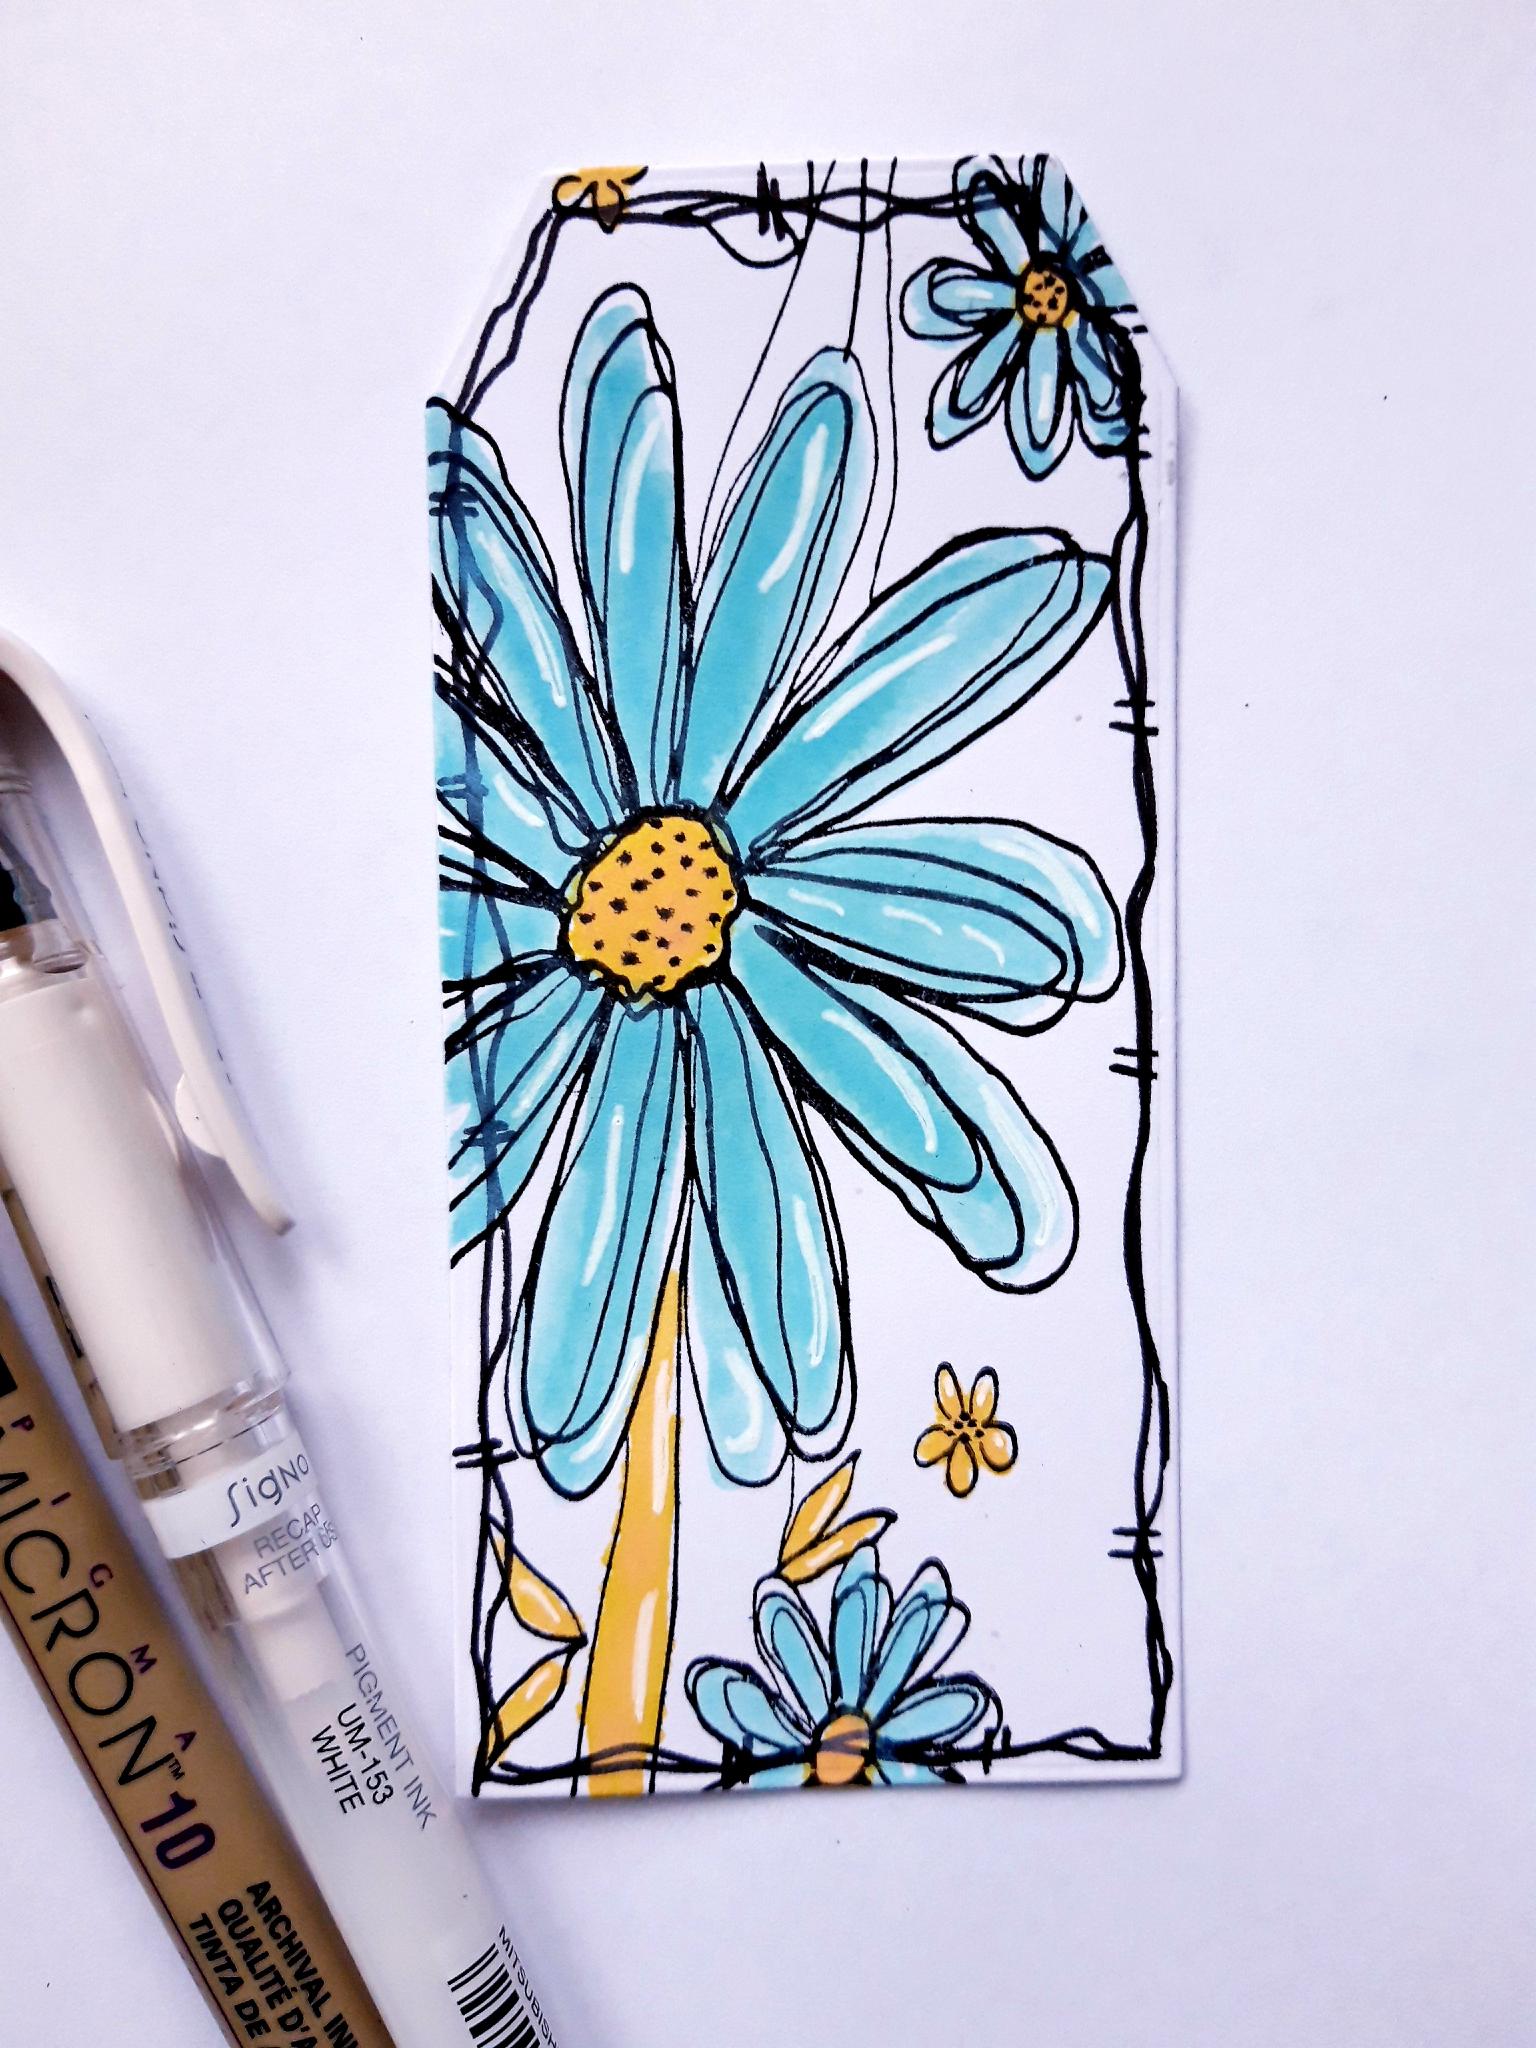
Use the black and white pens to add dots in the centre of the flower, and accents and highlights on your artwork. |
|
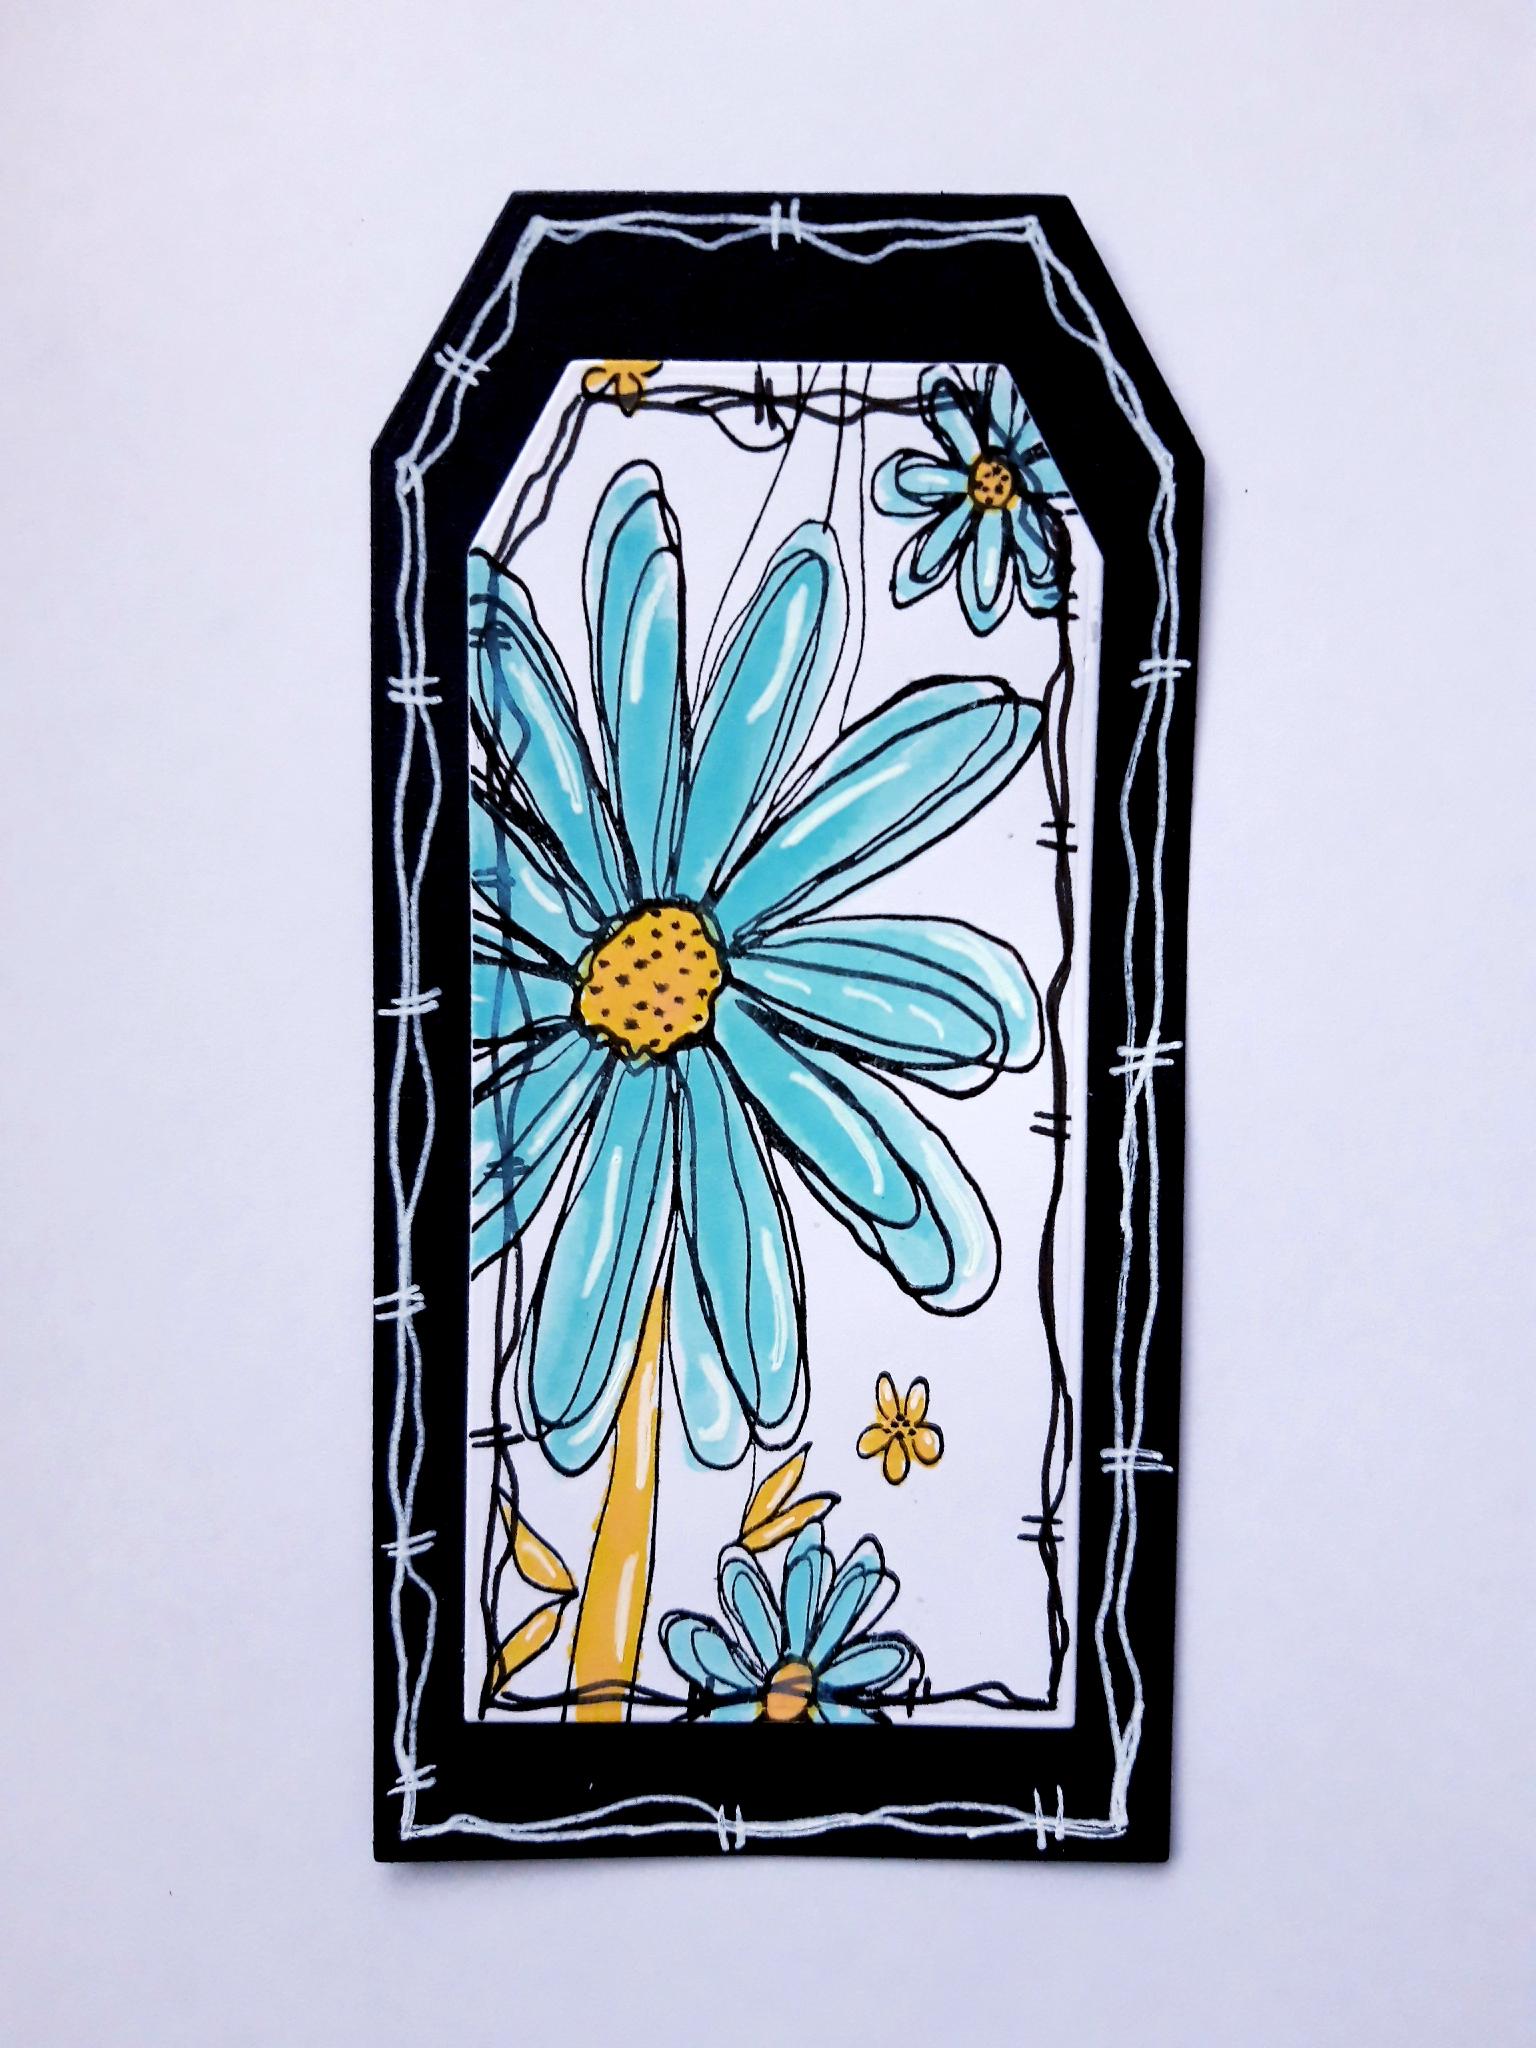
Once your artwork is dry, glue it on to the black die cut tag. |
|
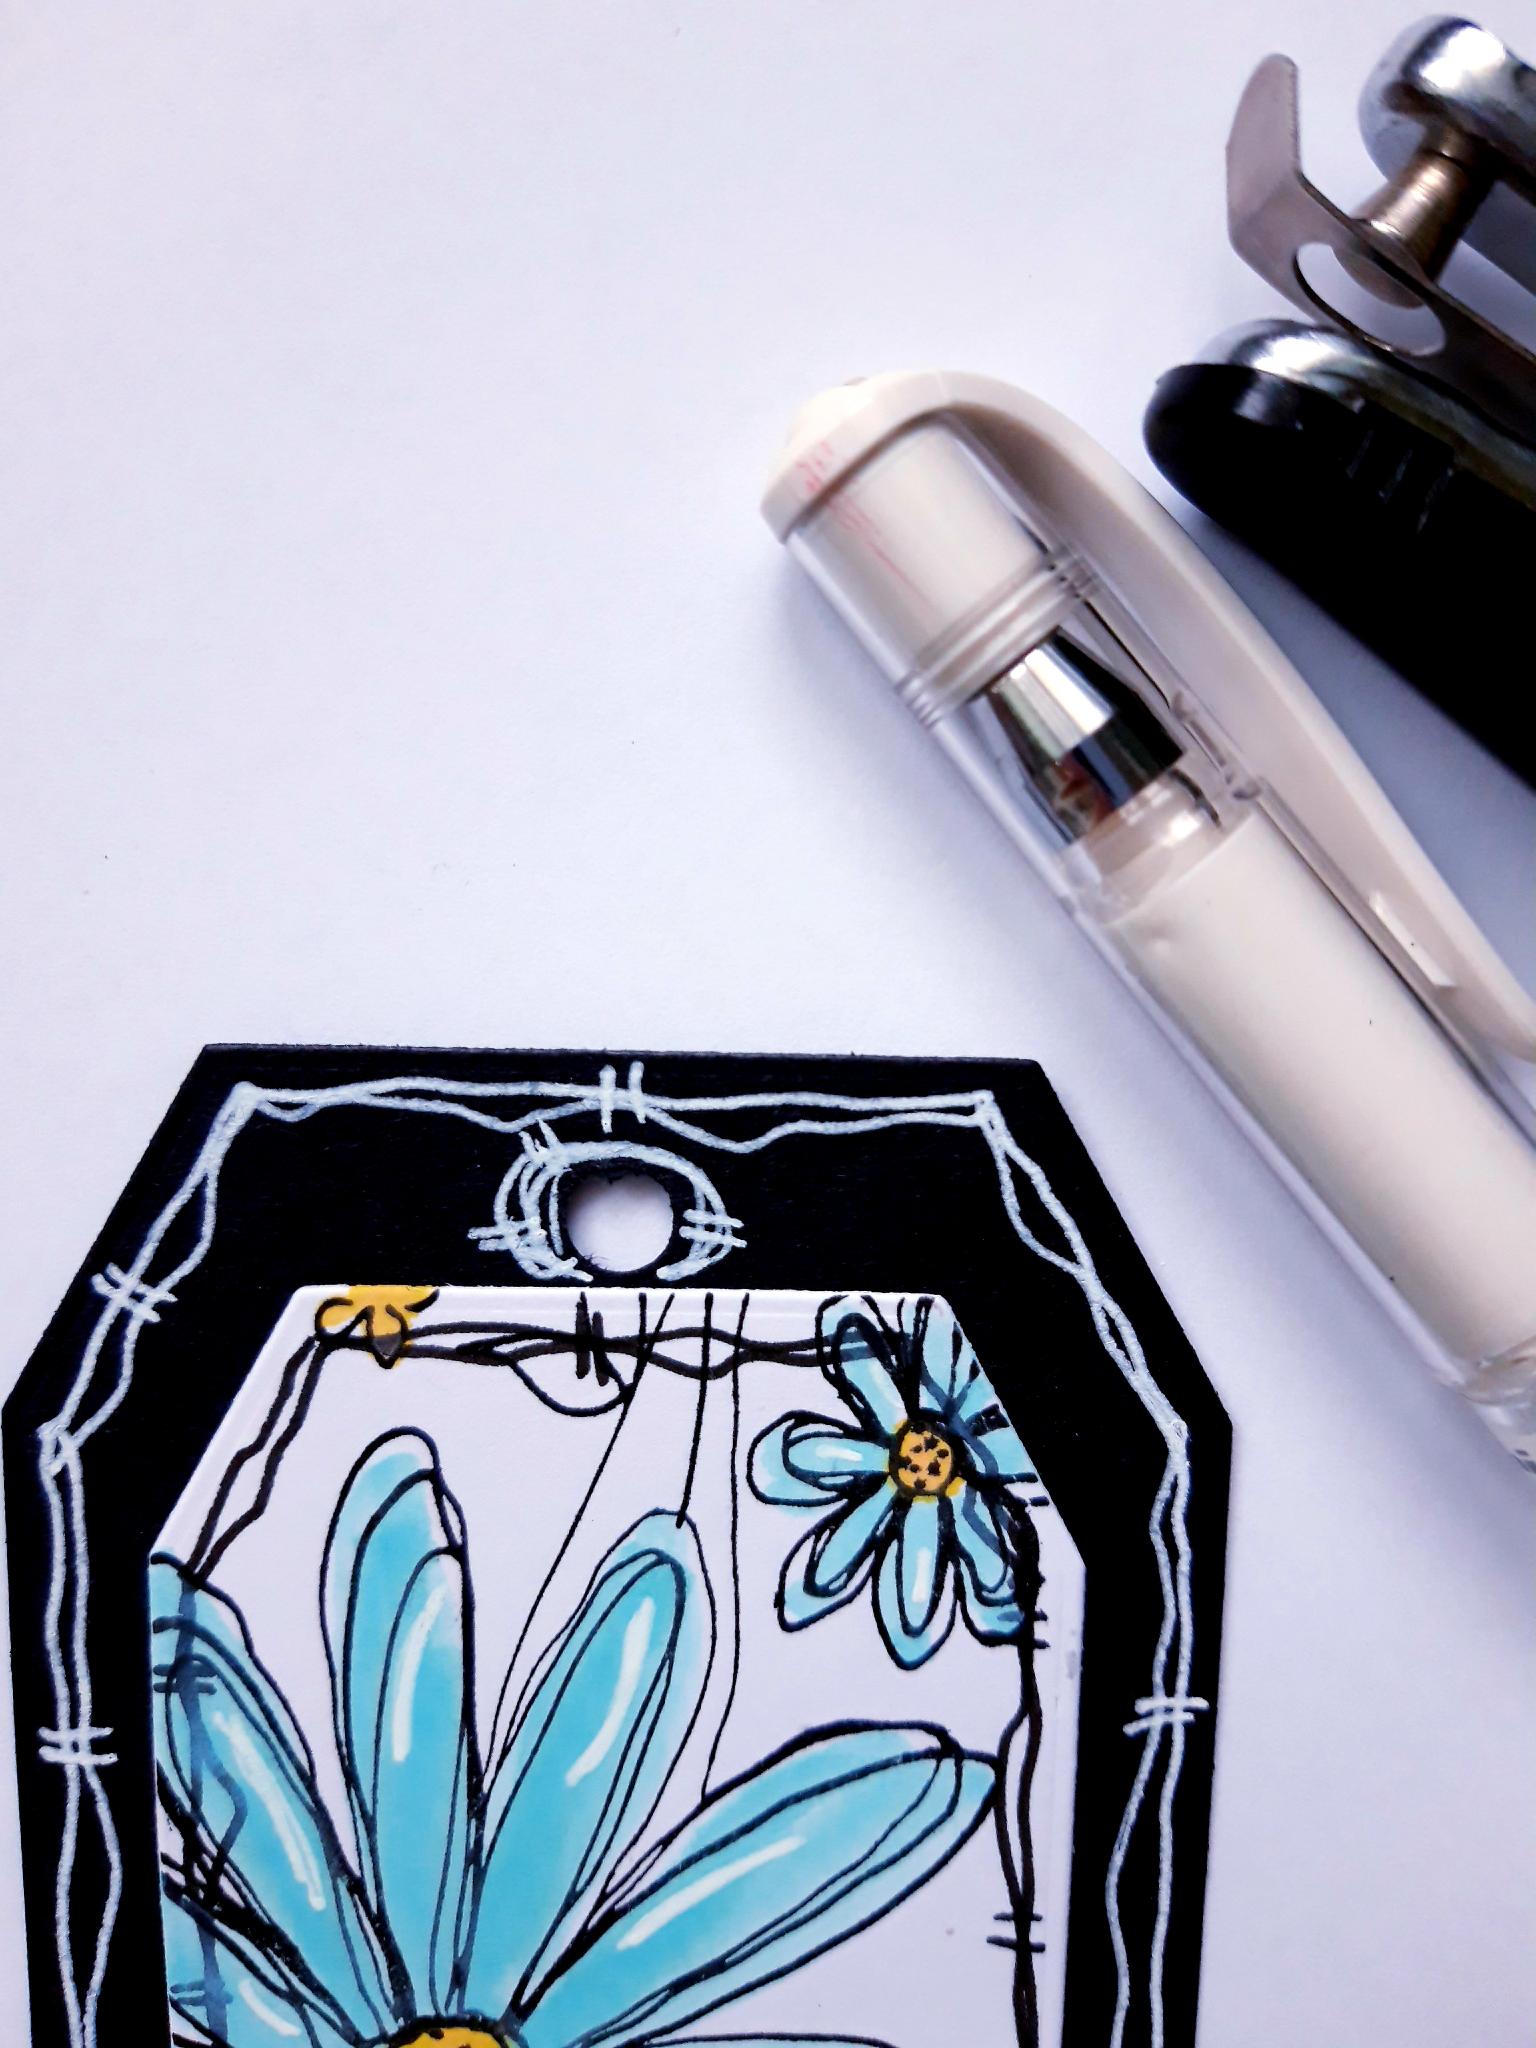
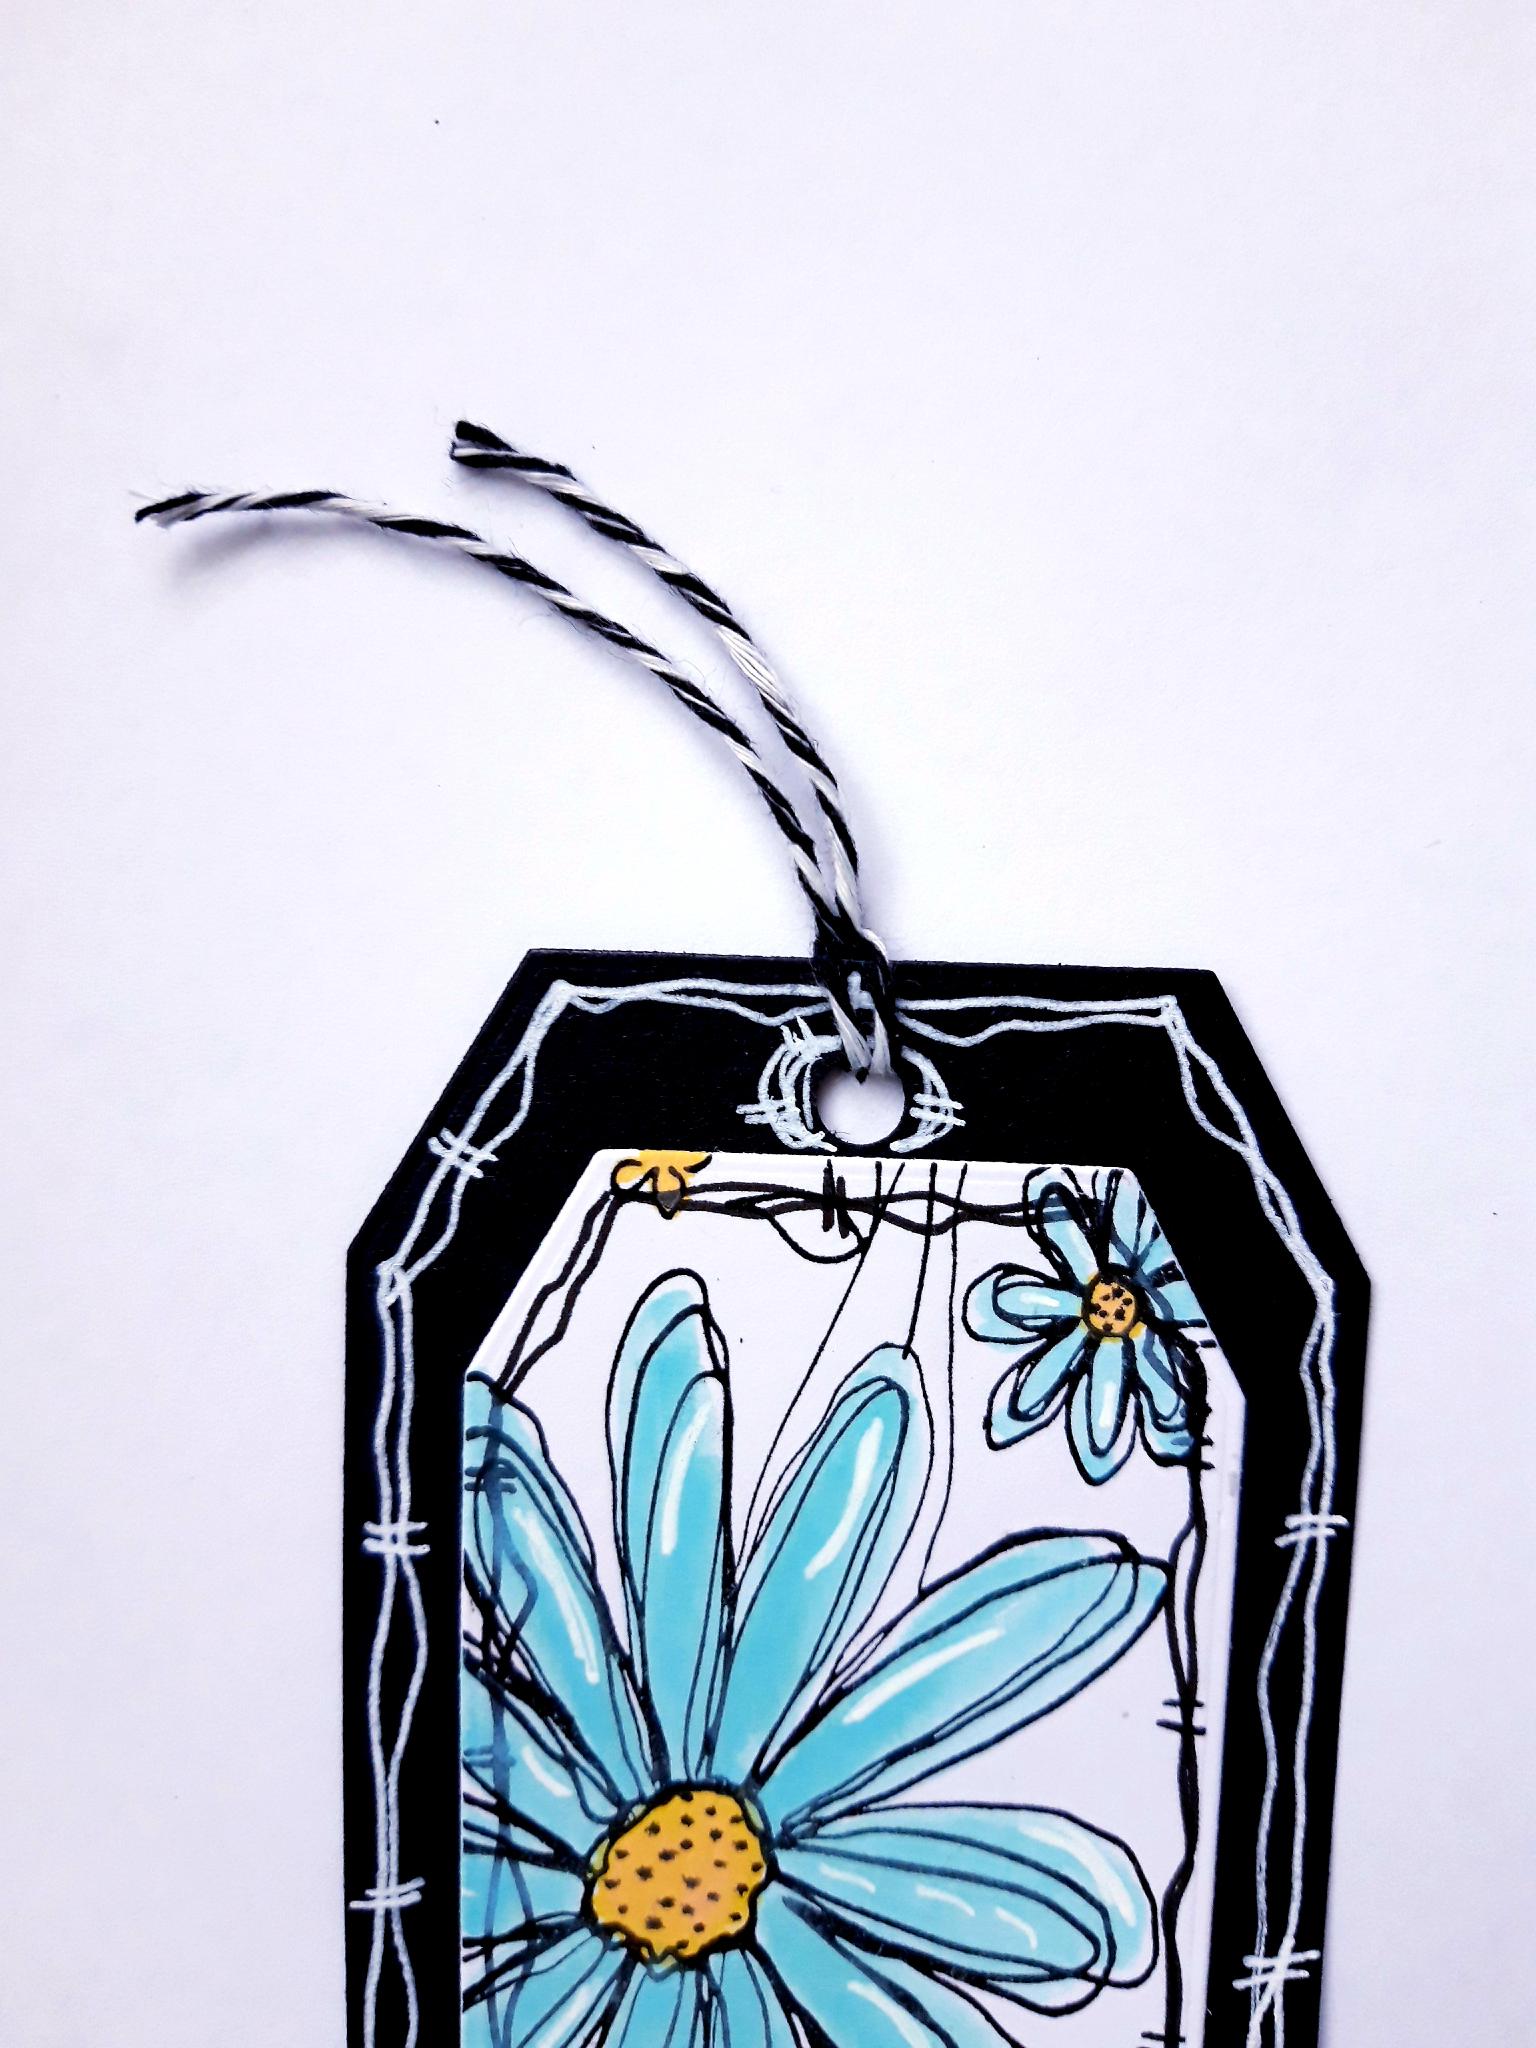
Punch a hole in the top of your tag, with a hole punch. Alternatively, you can die cut a hole, using one of the little dies in the Tagged Creative Dies set. Use the white gel pen to draw a frame, around the punched hole. |
|
Tie Bakers Twine through the punched hole. Set to one side. |
|
Ink up the same floral stamp again, but you only need the flower head element, with the Versafine. Stamp on to the white cardstock, set aside earlier. Cut out the flower head.
|
|
Pop the Salvaged Patina and Fossilized Amber Oxides, on to your mat. Spritz with water and paint your flower. Once it is completely dry, use the black pen to add dots to the centre of the flower, and the white pen to add highlight accents, on the petals. Set to one side. |
|
Ink up your chosen words, from the More Than Words Creative Stamps, with the Versafine. Stamp on to the remaining white cardstock. Cut around each word, then use a black pen to draw a decorative, wiggly frame around each one. |
|
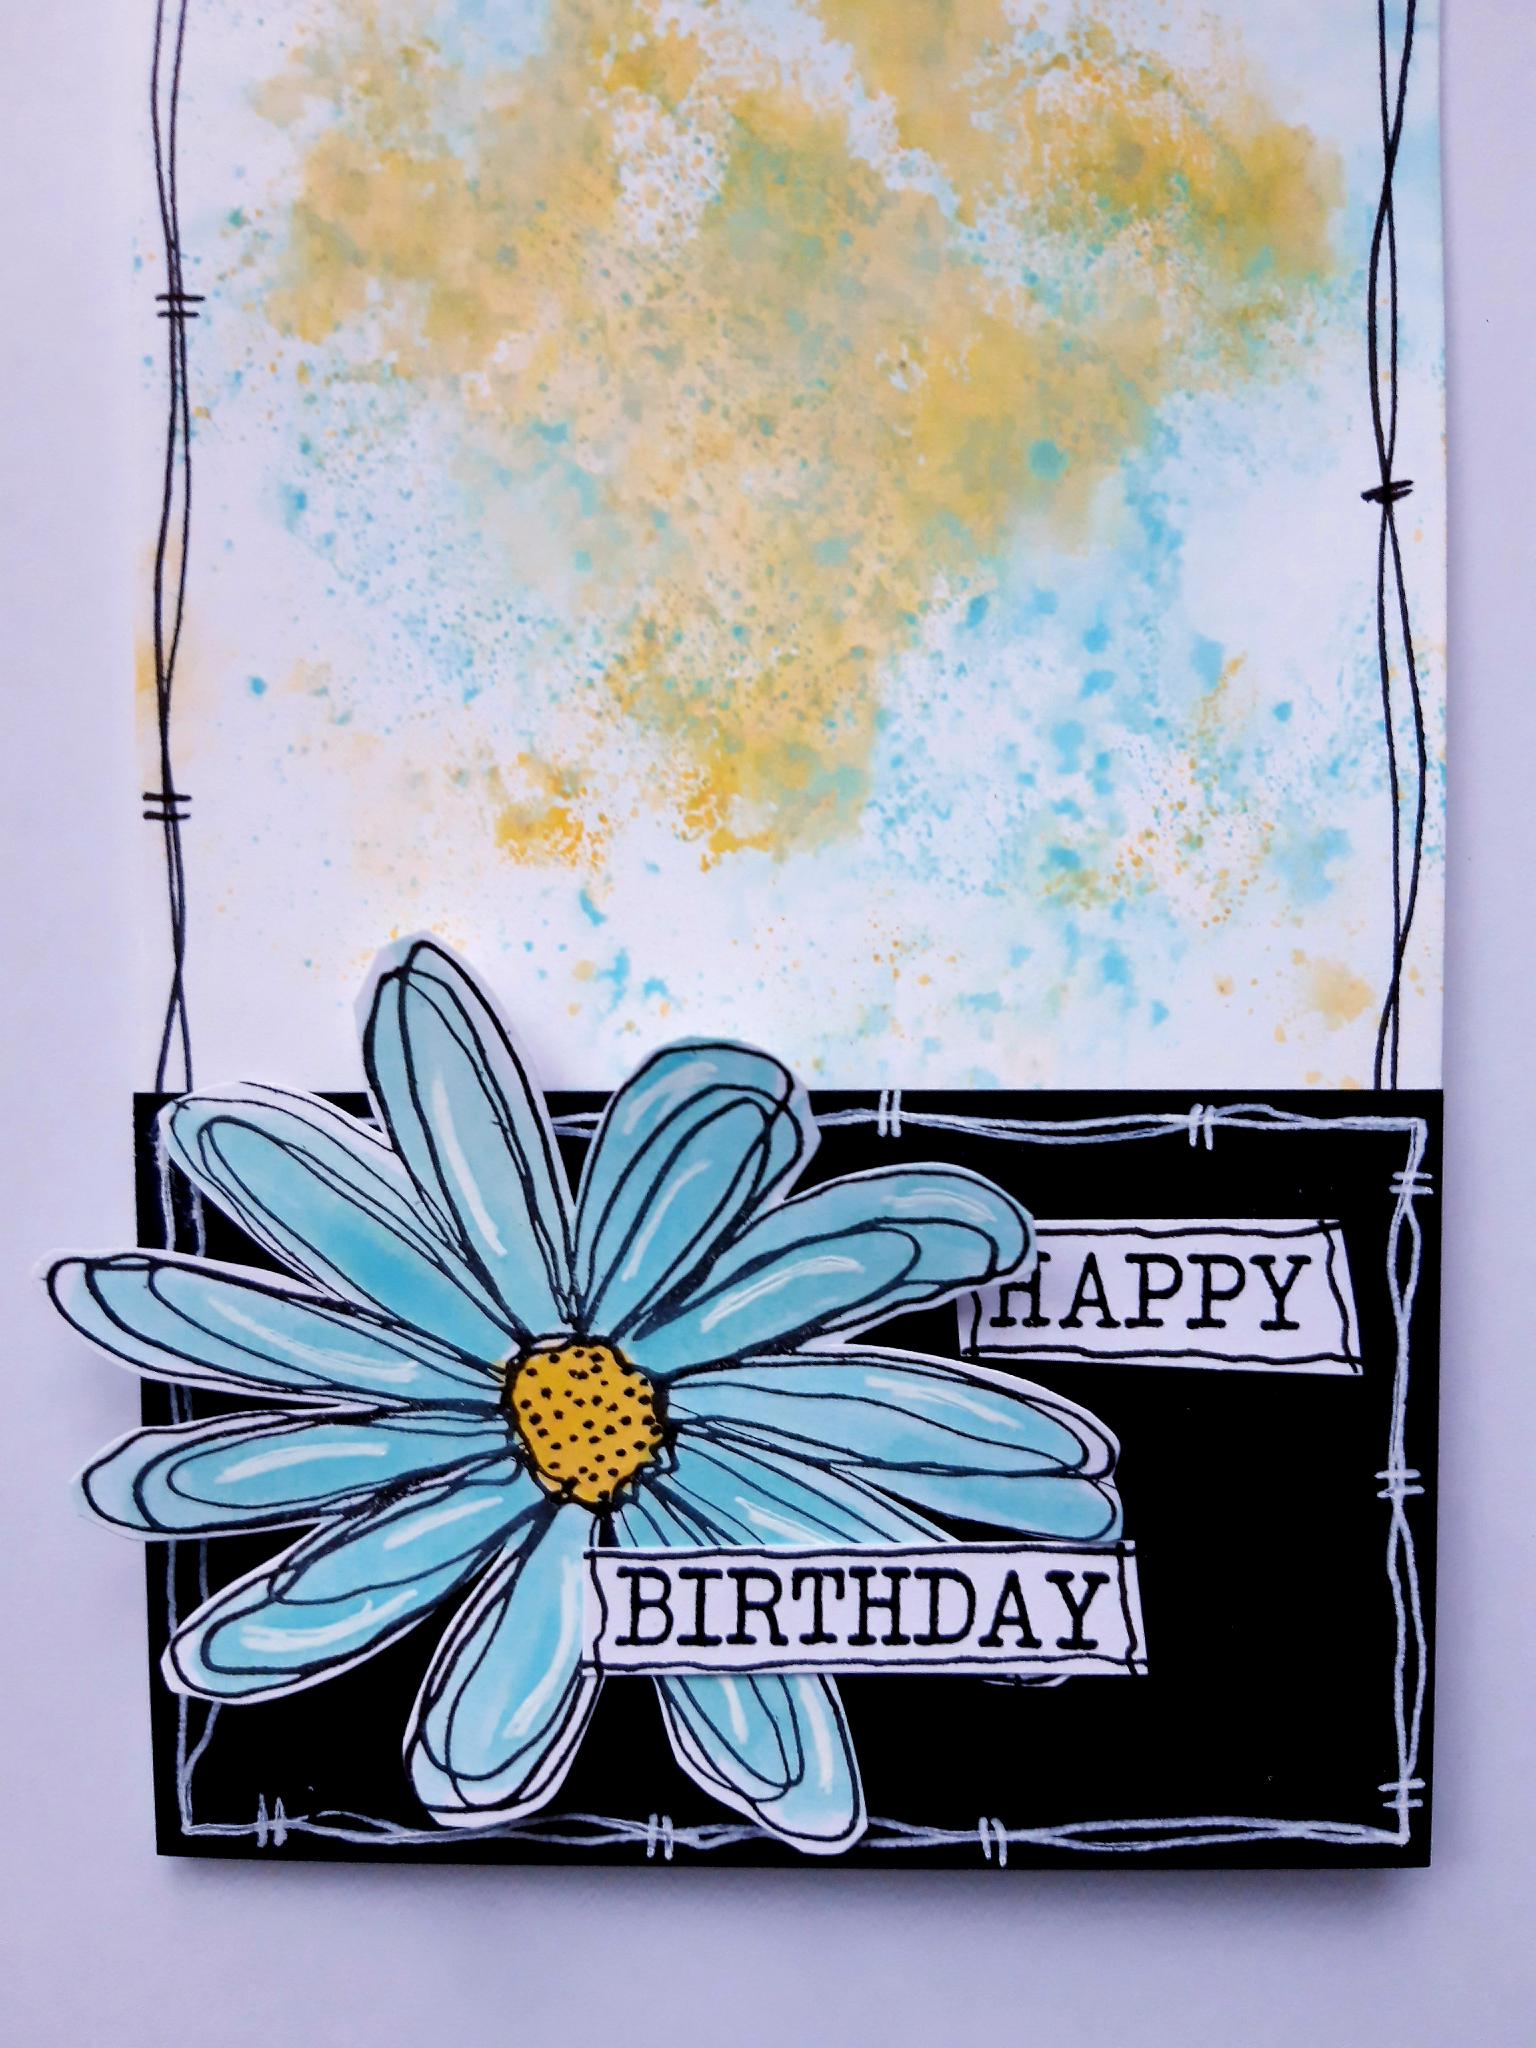
Glue the painted flower, and the HAPPY BIRTHDAY word strips, on to the pocket, on the front of your card blank. |
|
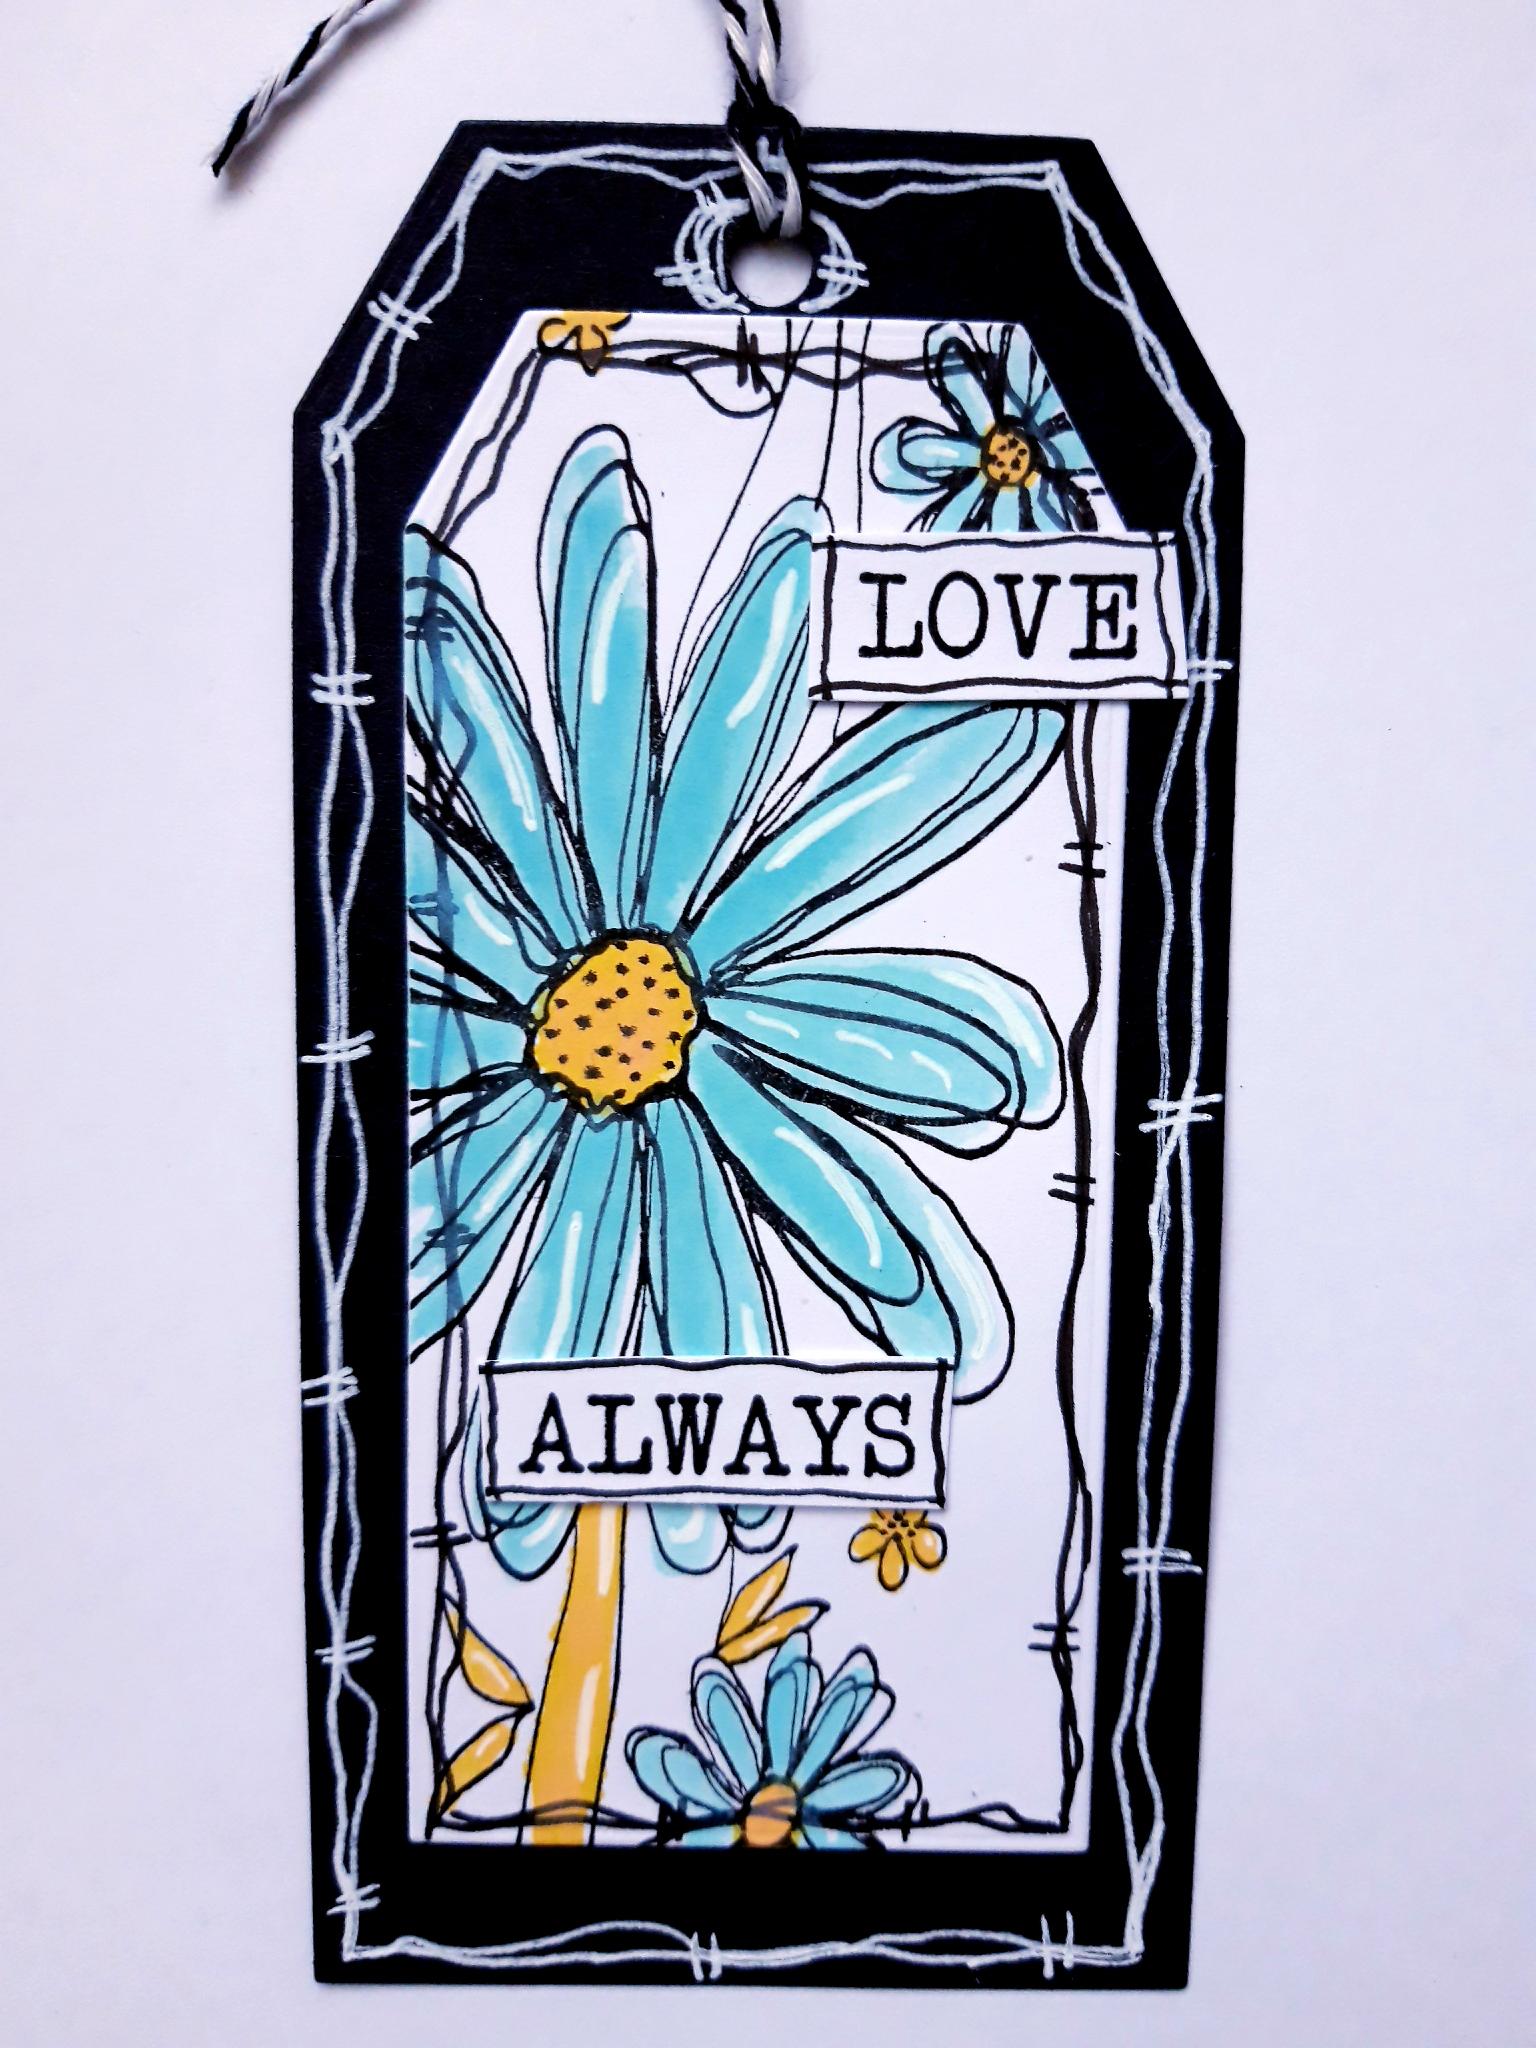
Glue the LOVE, and ALWAYS, word strips on to your tag. |