Give your friends $10 off their first order!
Refer a FRIEND


WHAT YOU WILL NEED:
White top folding card blank - cut down to 7 x 5"
Black cardstock A4
White cardstock A4
Dies from Thirsty Brush UnLtd Tagged Creative Dies
Stamps from Thirsty Brush UnLtd More Than Words Creative Stamps
Stamps from Thirsty Brush UnLtd Daisy Dream Creative Stamps
Stamps from Thirsty Brush UnLtd Buttercup Bubbles Creative Stamps
Versafine Ink Pad: Onyx Black Versafine
Izink Dye Spray: Blue Moon
Izink Pigment: Raspberry Beret
White gel pen
Black pen
Paint brush
Bakers Twine
Hole Punch
Water spray bottle
Eureka 101
Paper Trimmer
Perfect Together Glue
Die Cutting machine
[click image to enlarge] 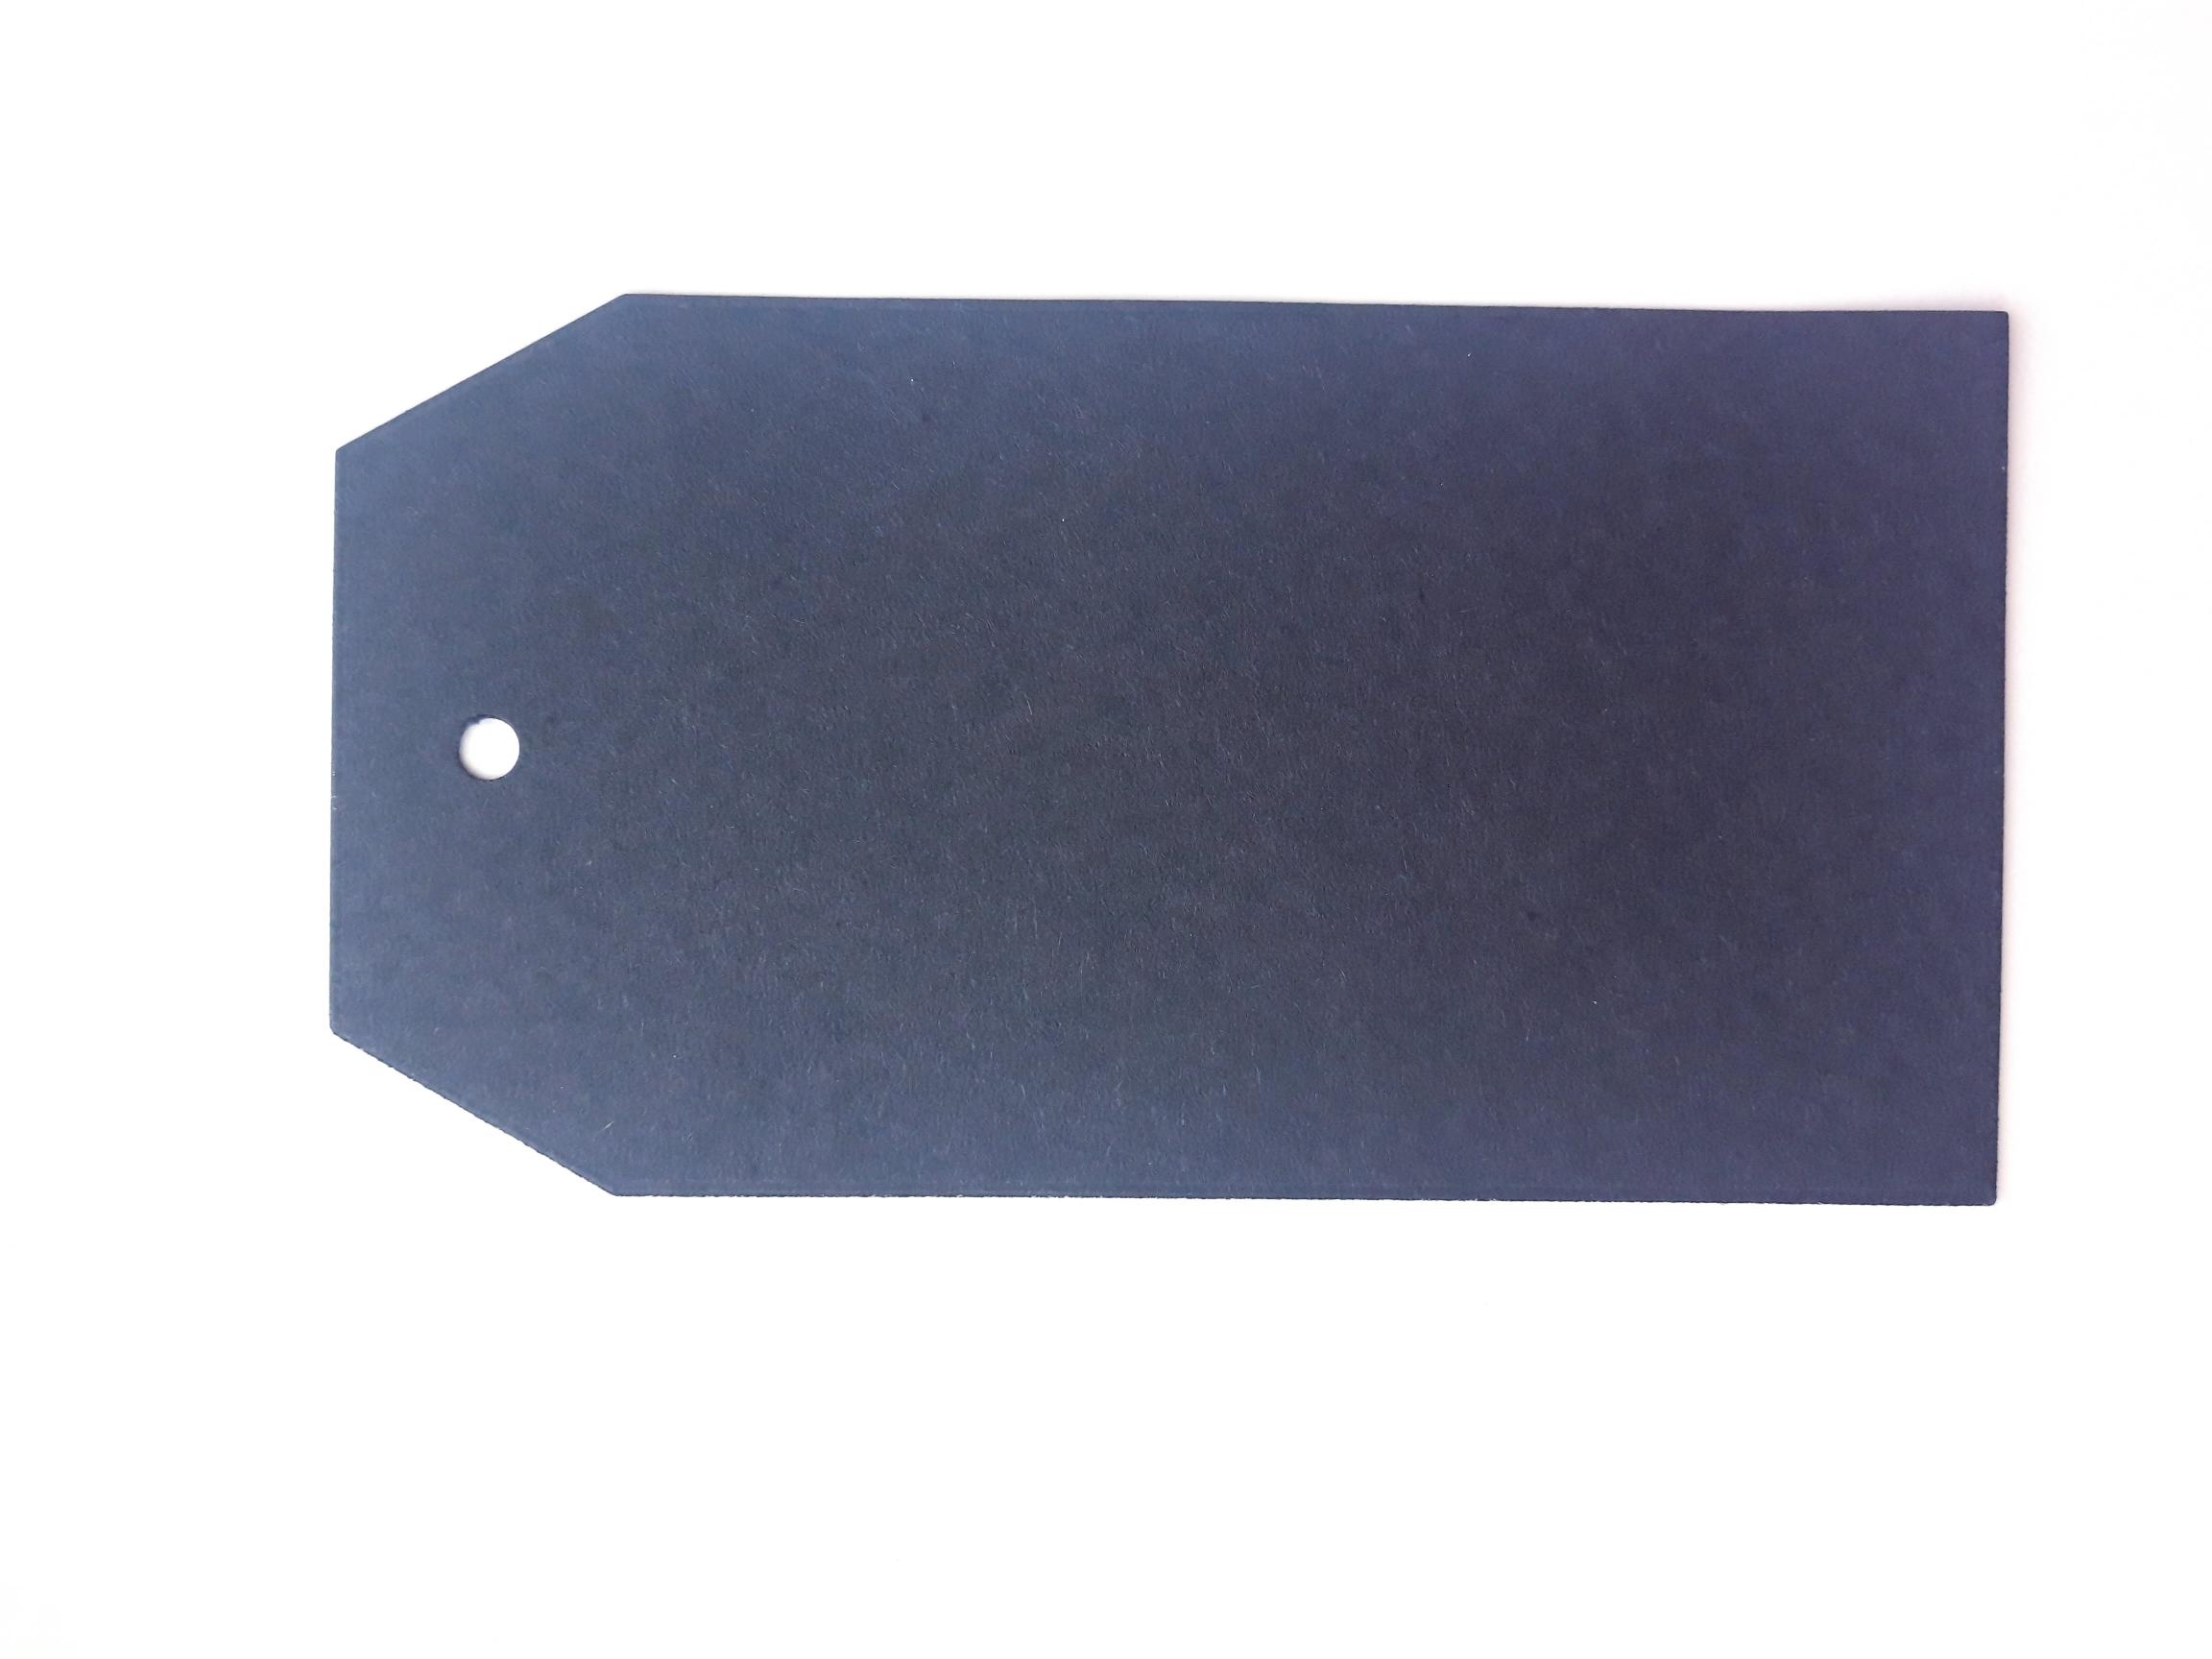
|
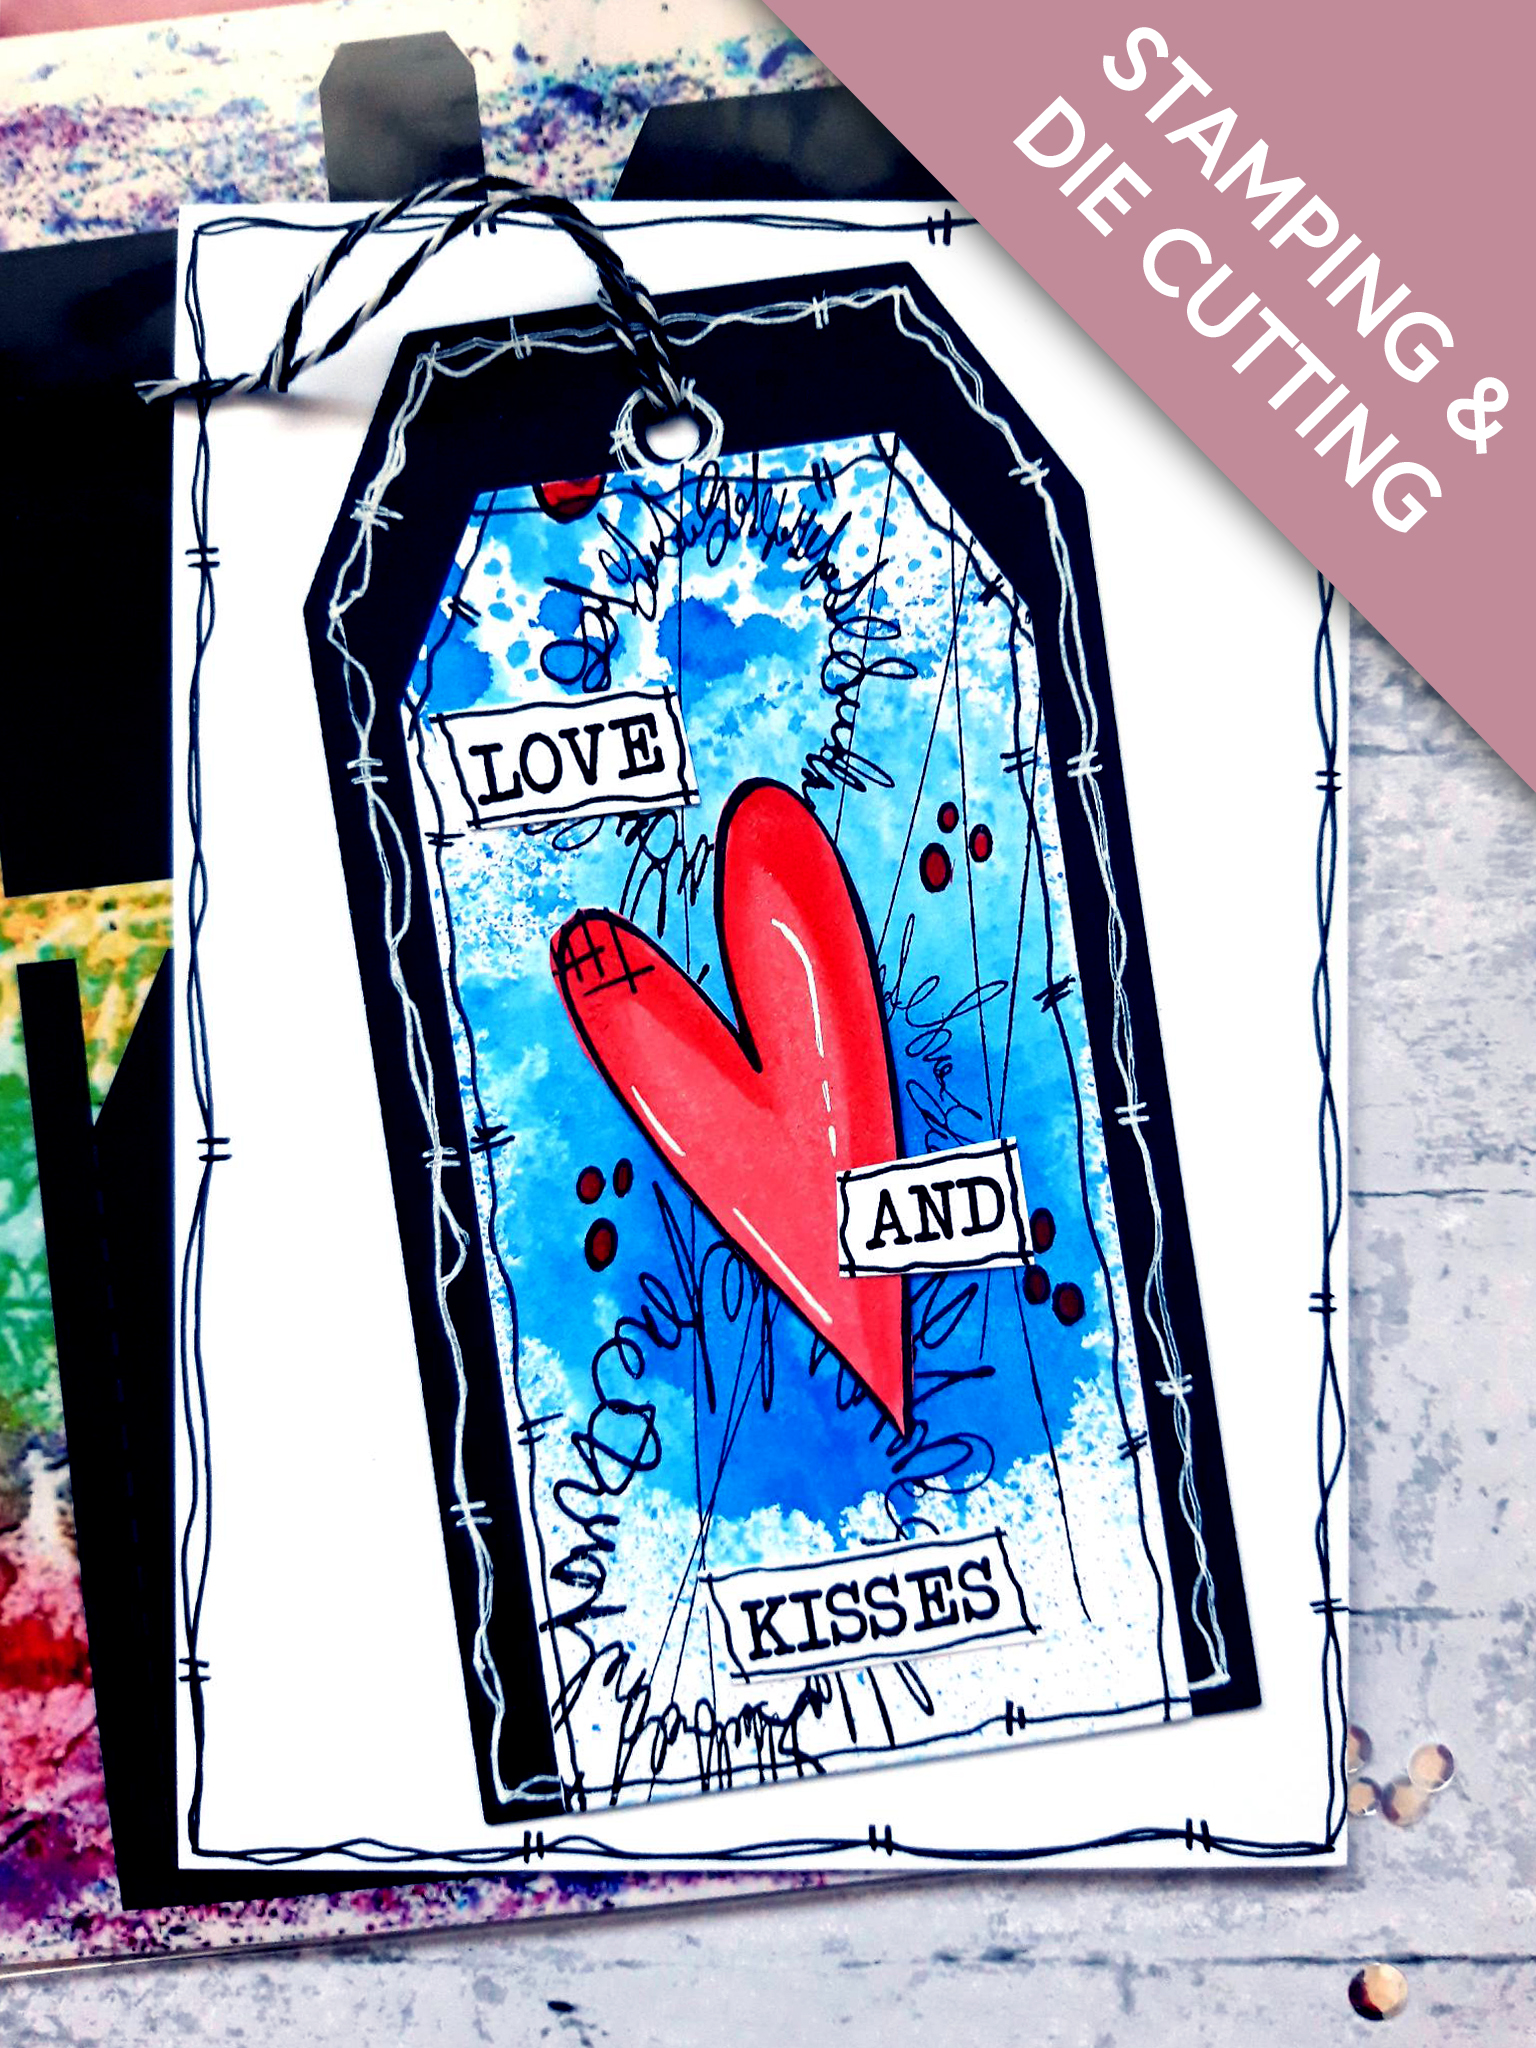
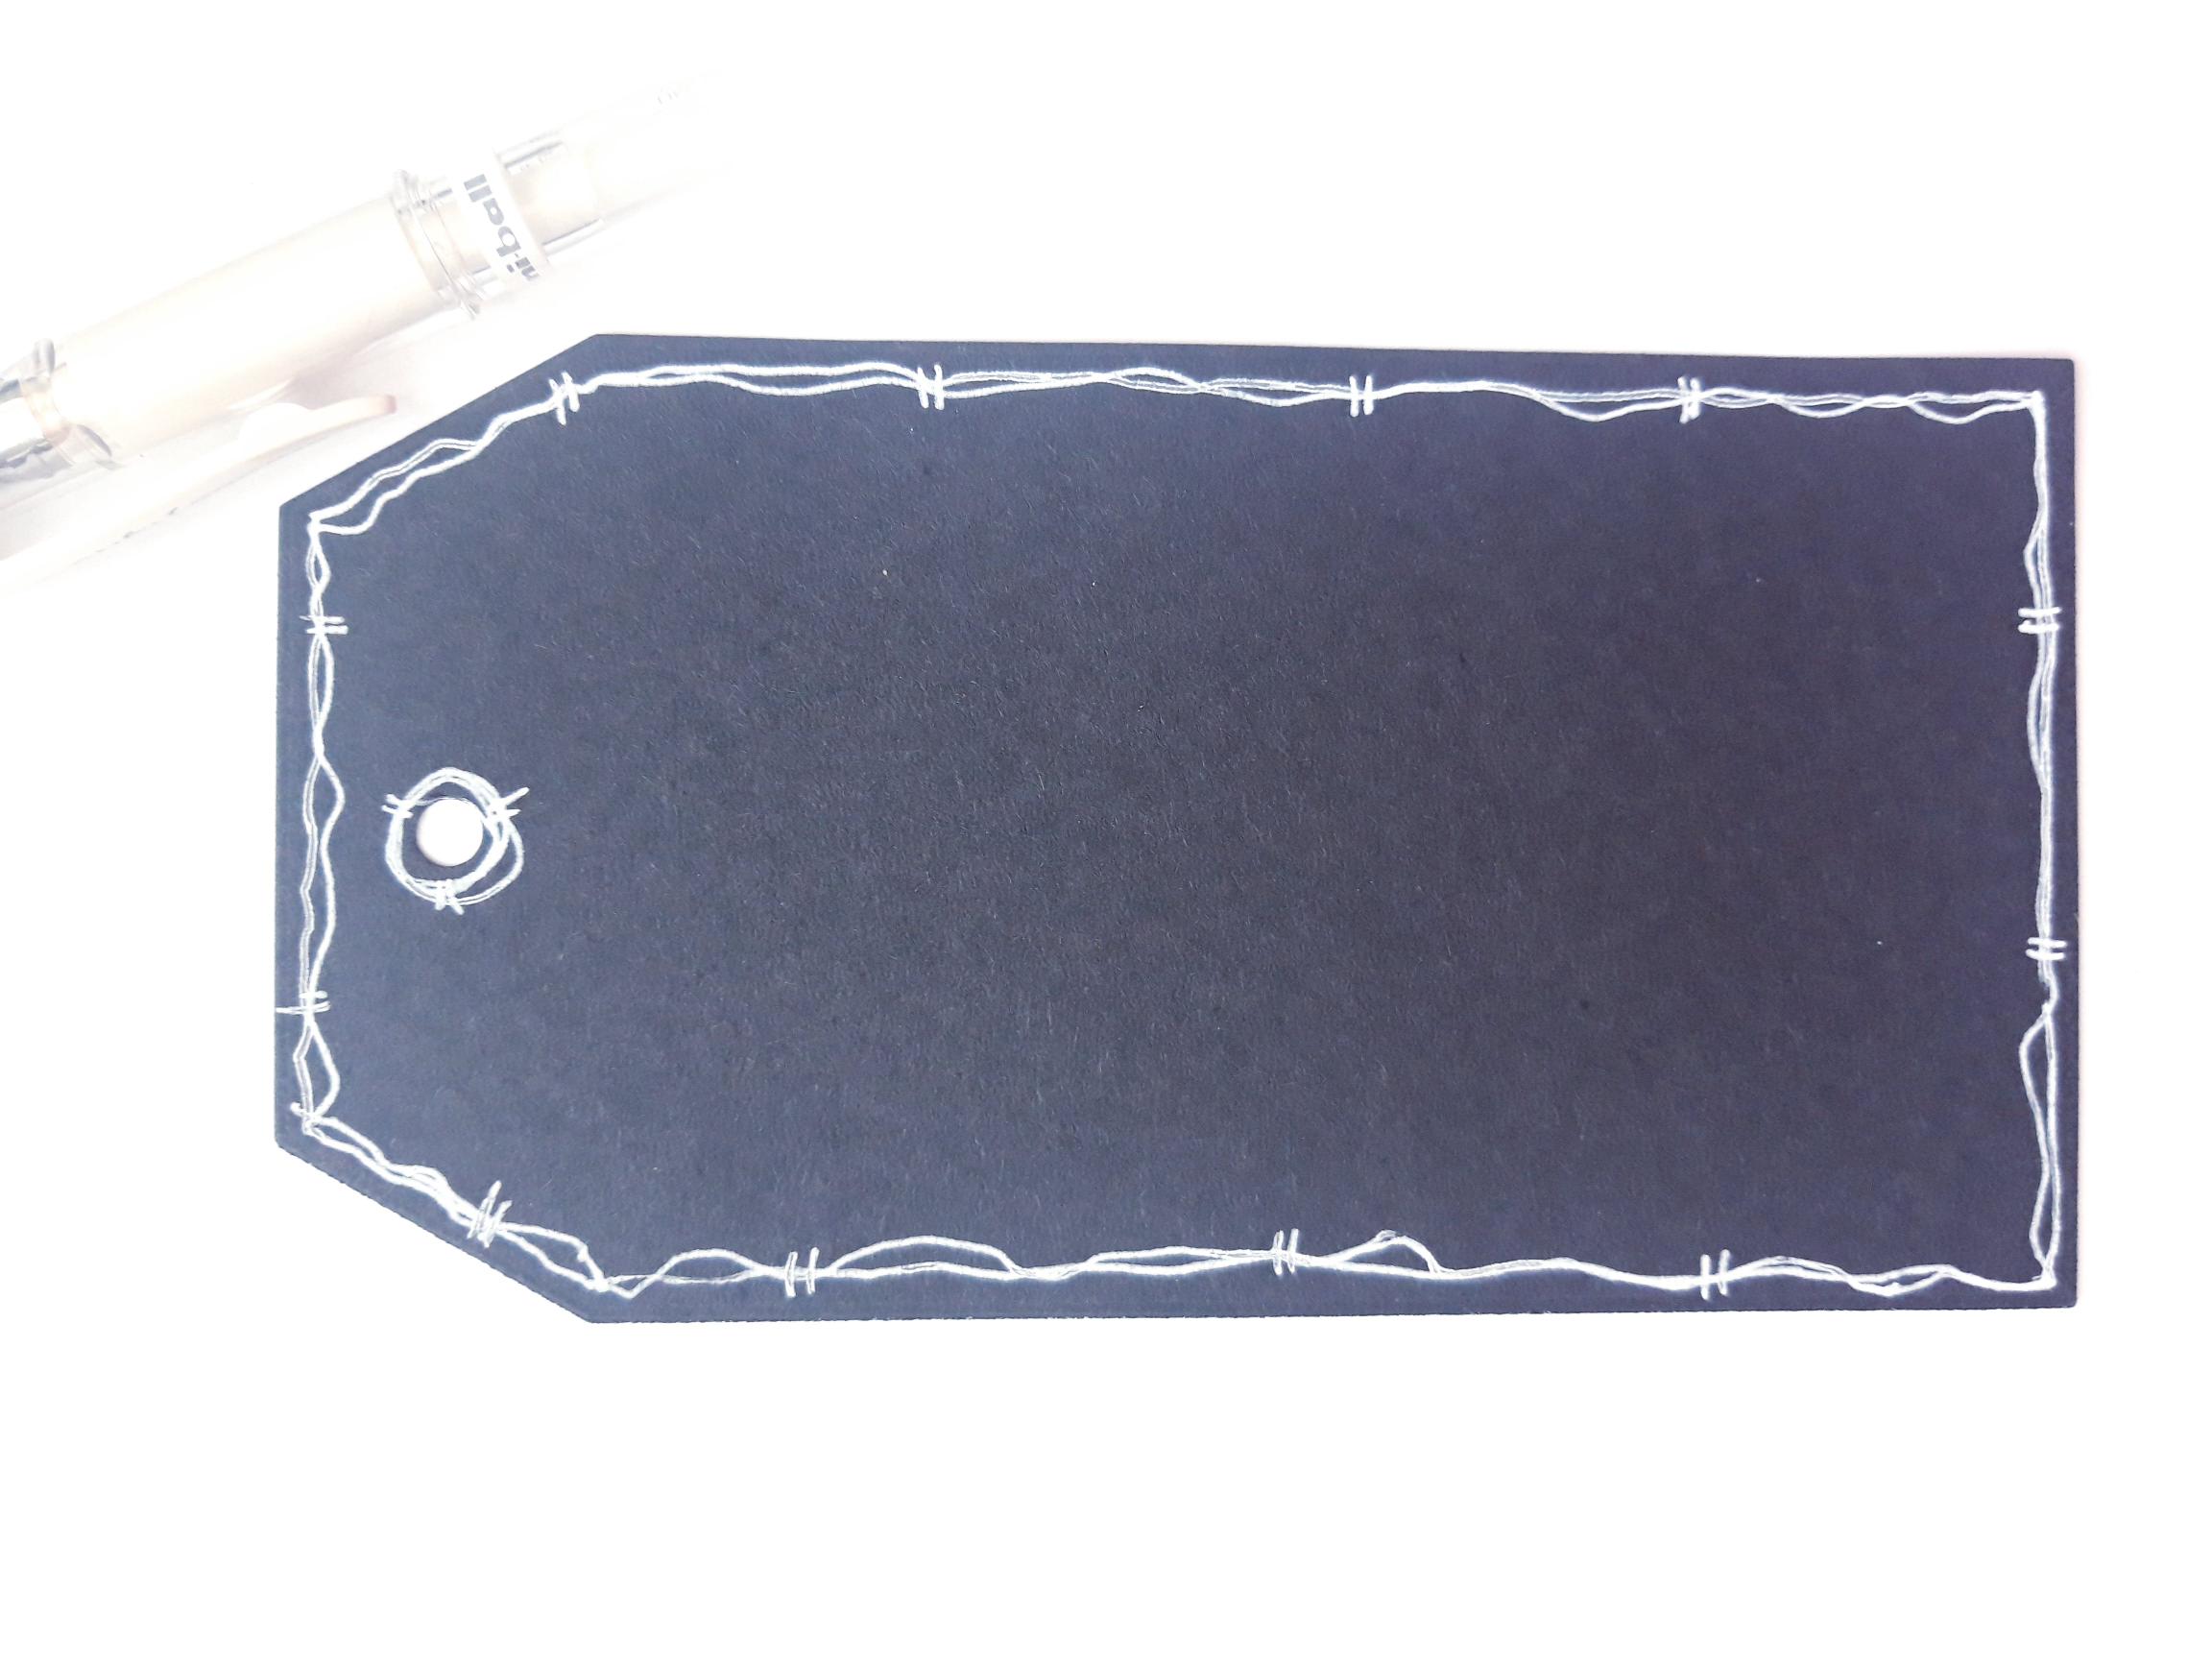
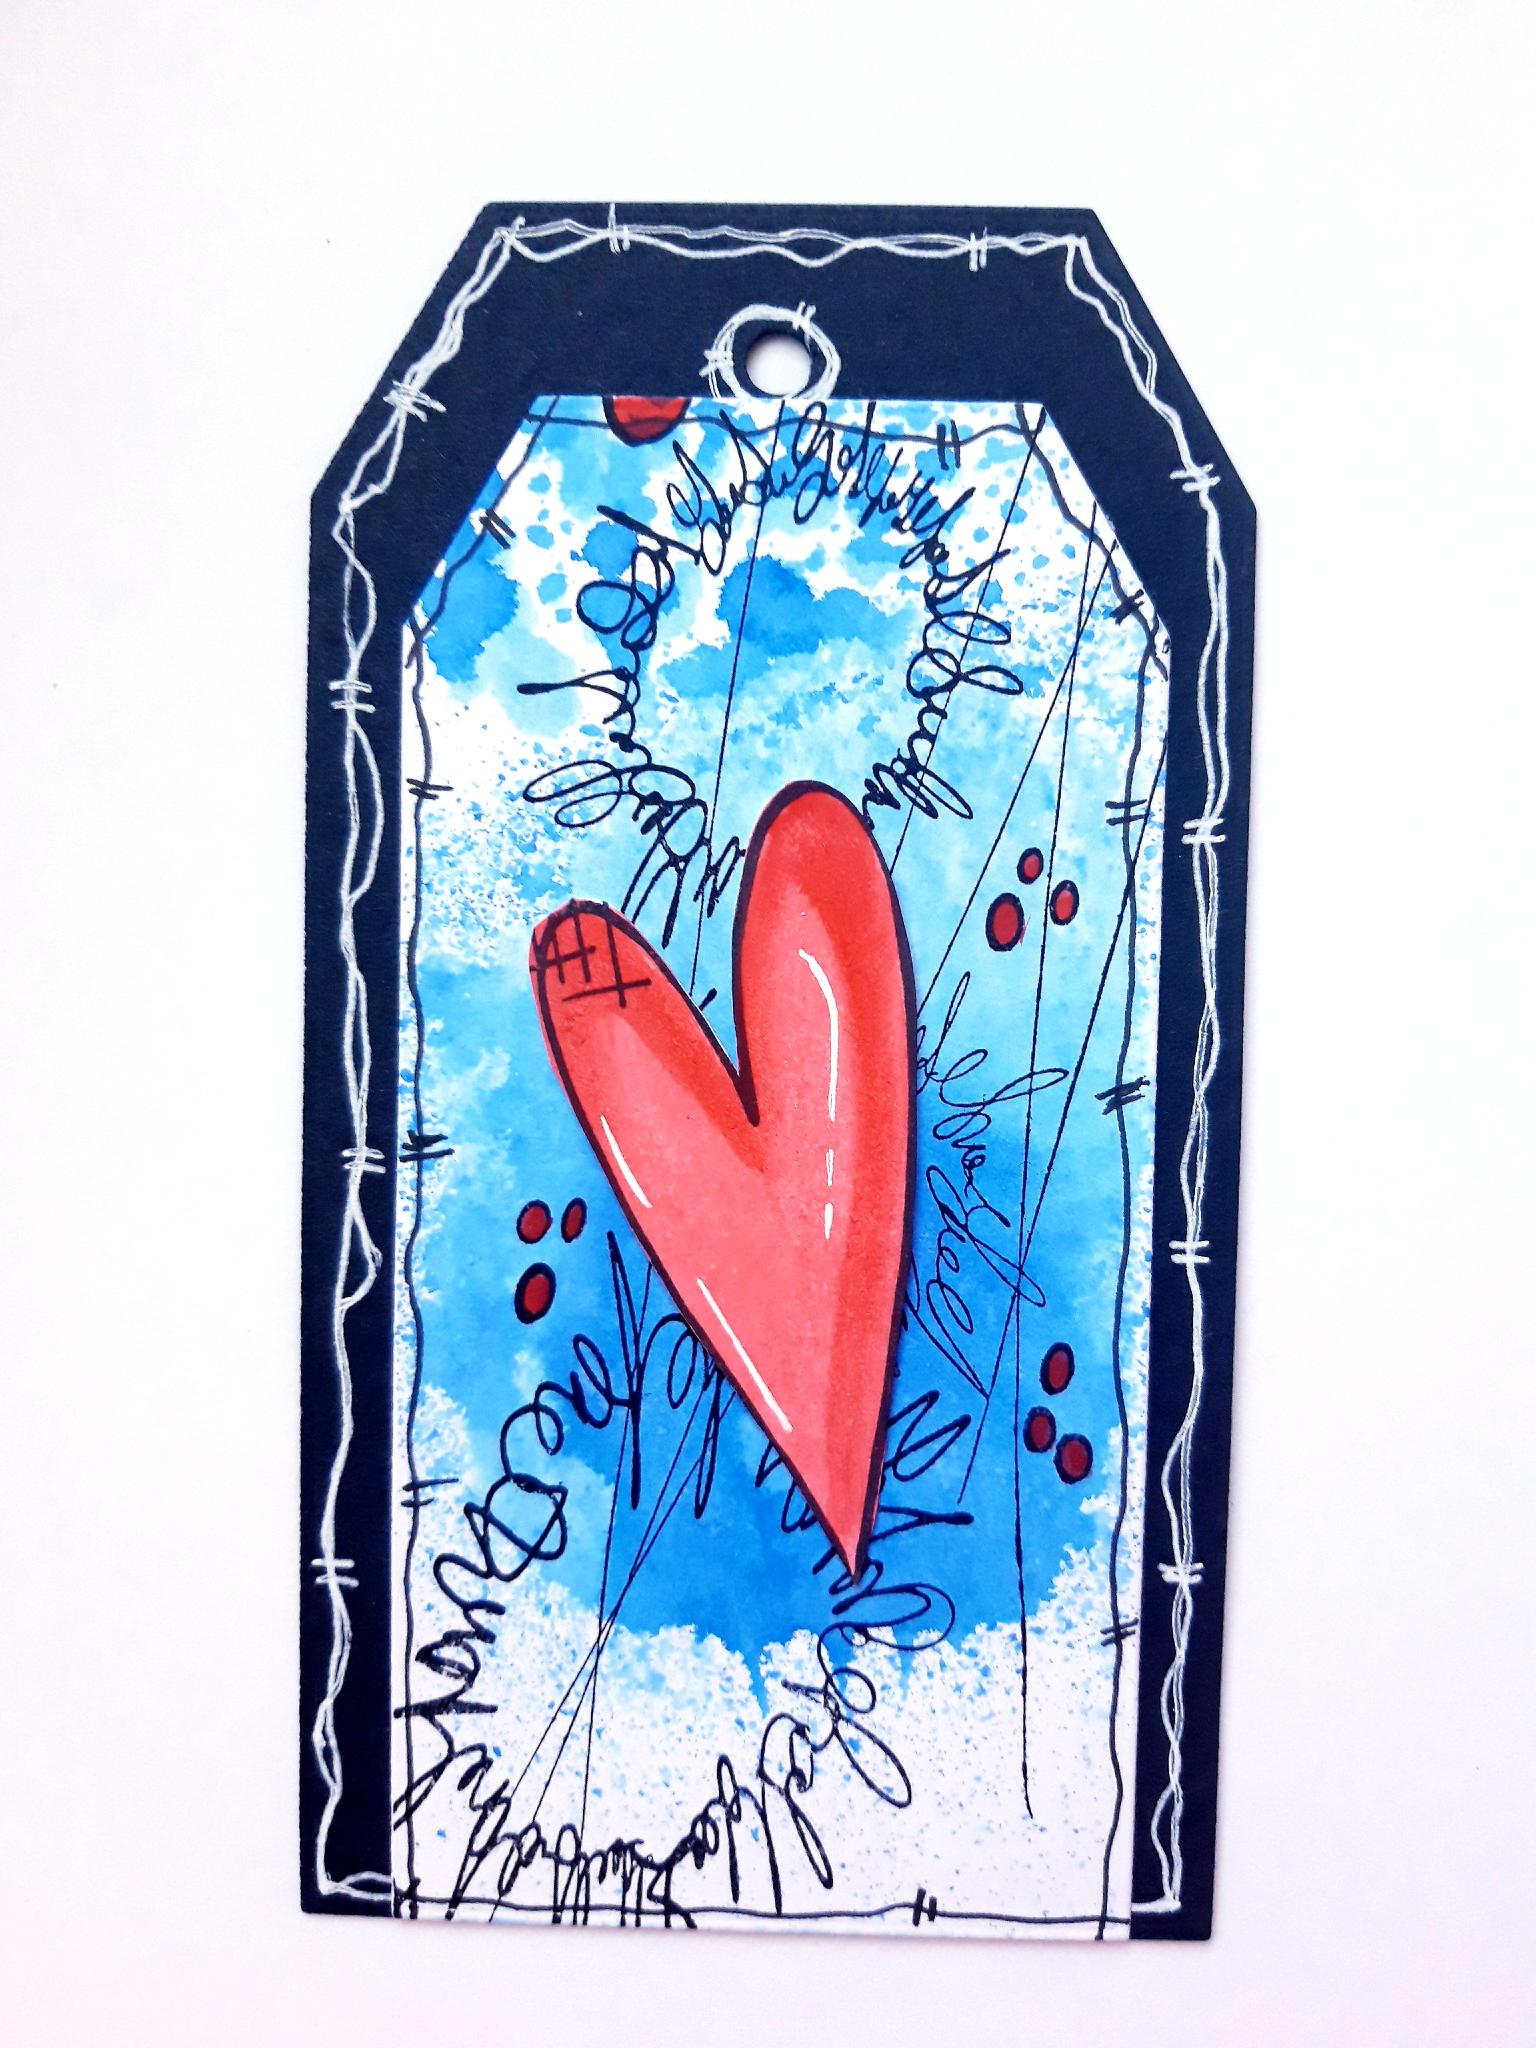
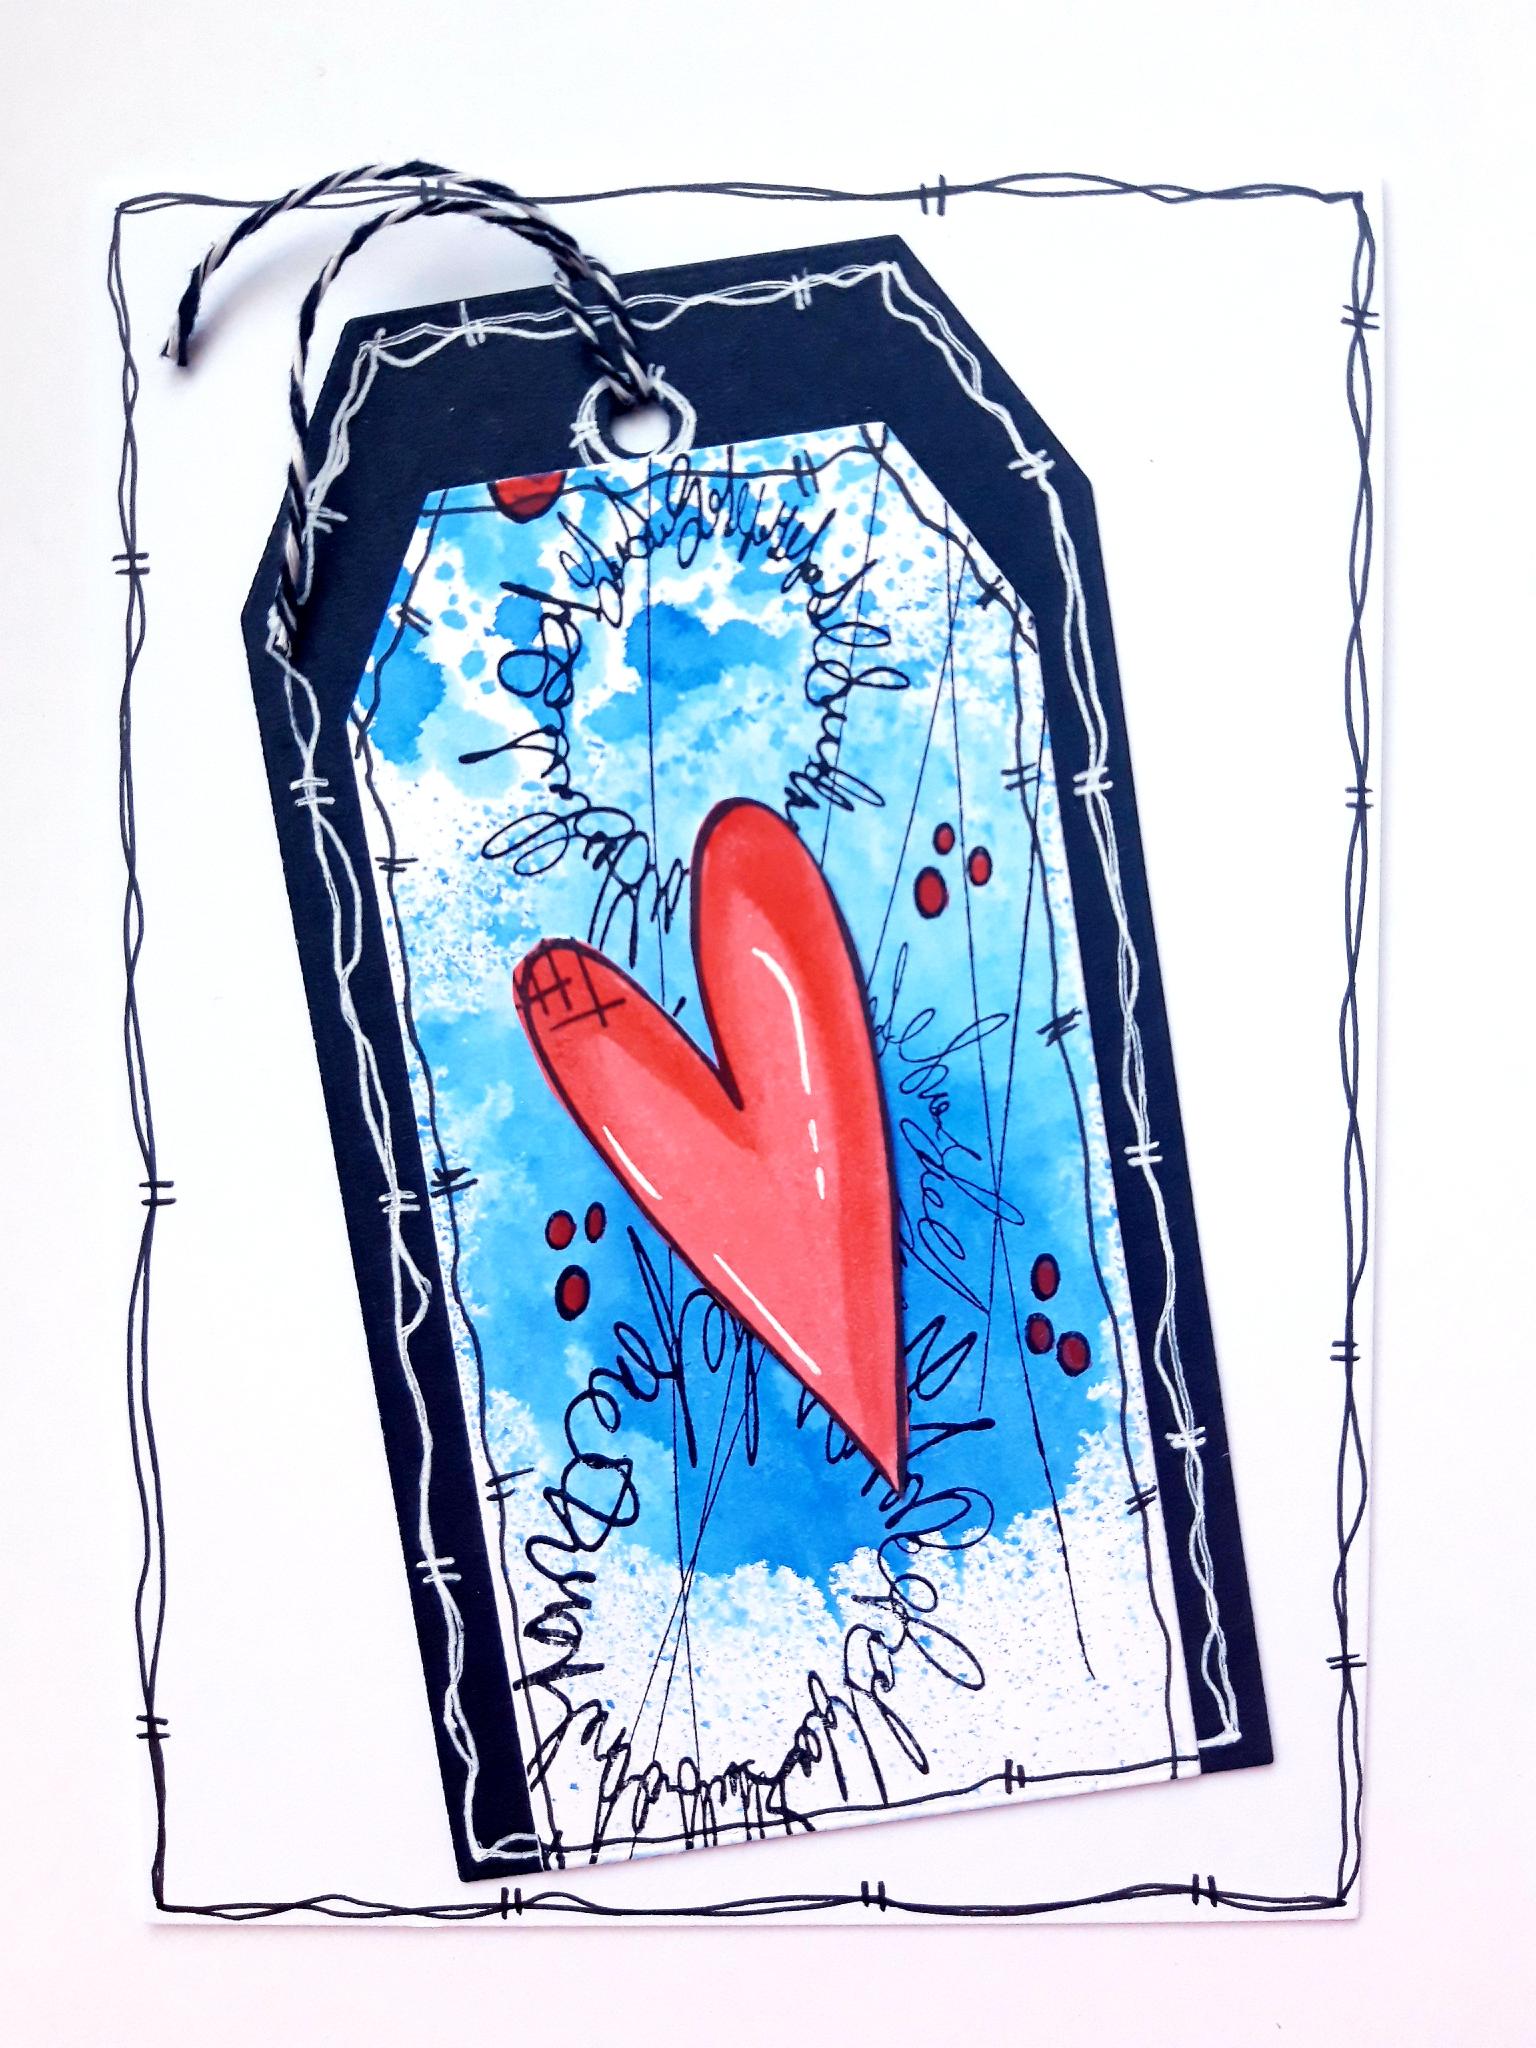
Cut out a tag from the black cardstock, using the tag die that measure approx 6 1/4 x 3 1/2", from the Tagged Creative Dies. Set the rest of the black cardstock to one side. |
|
Use a white gel pen to draw a decorative, wiggly frame, around the tag. Set to one side. |
|
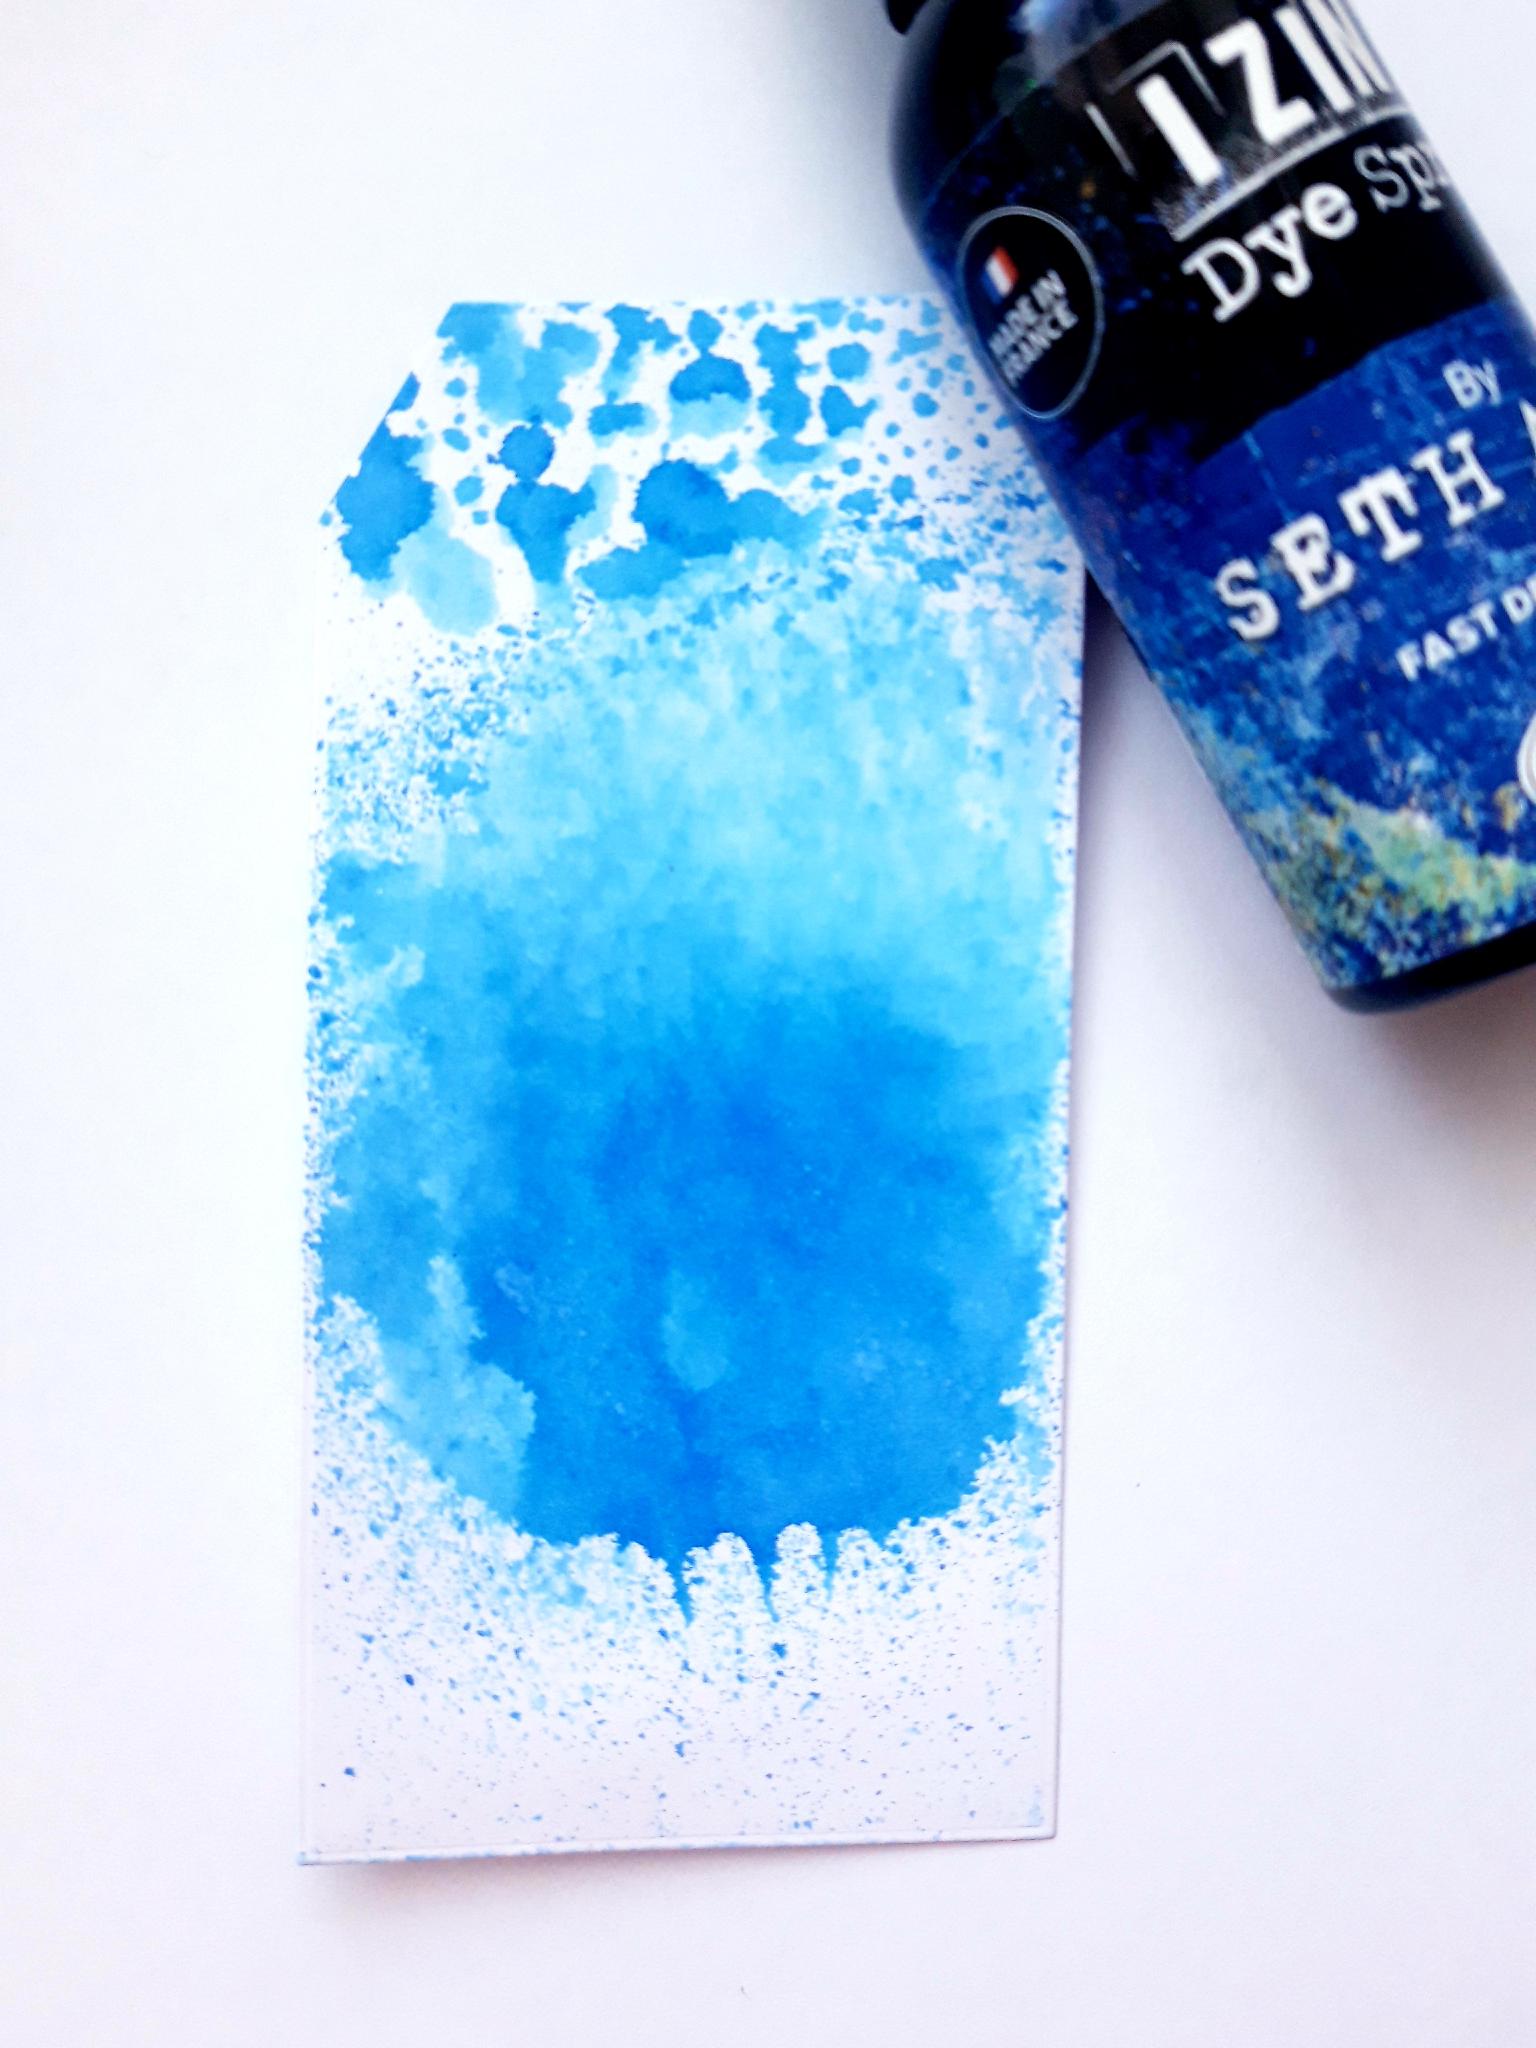
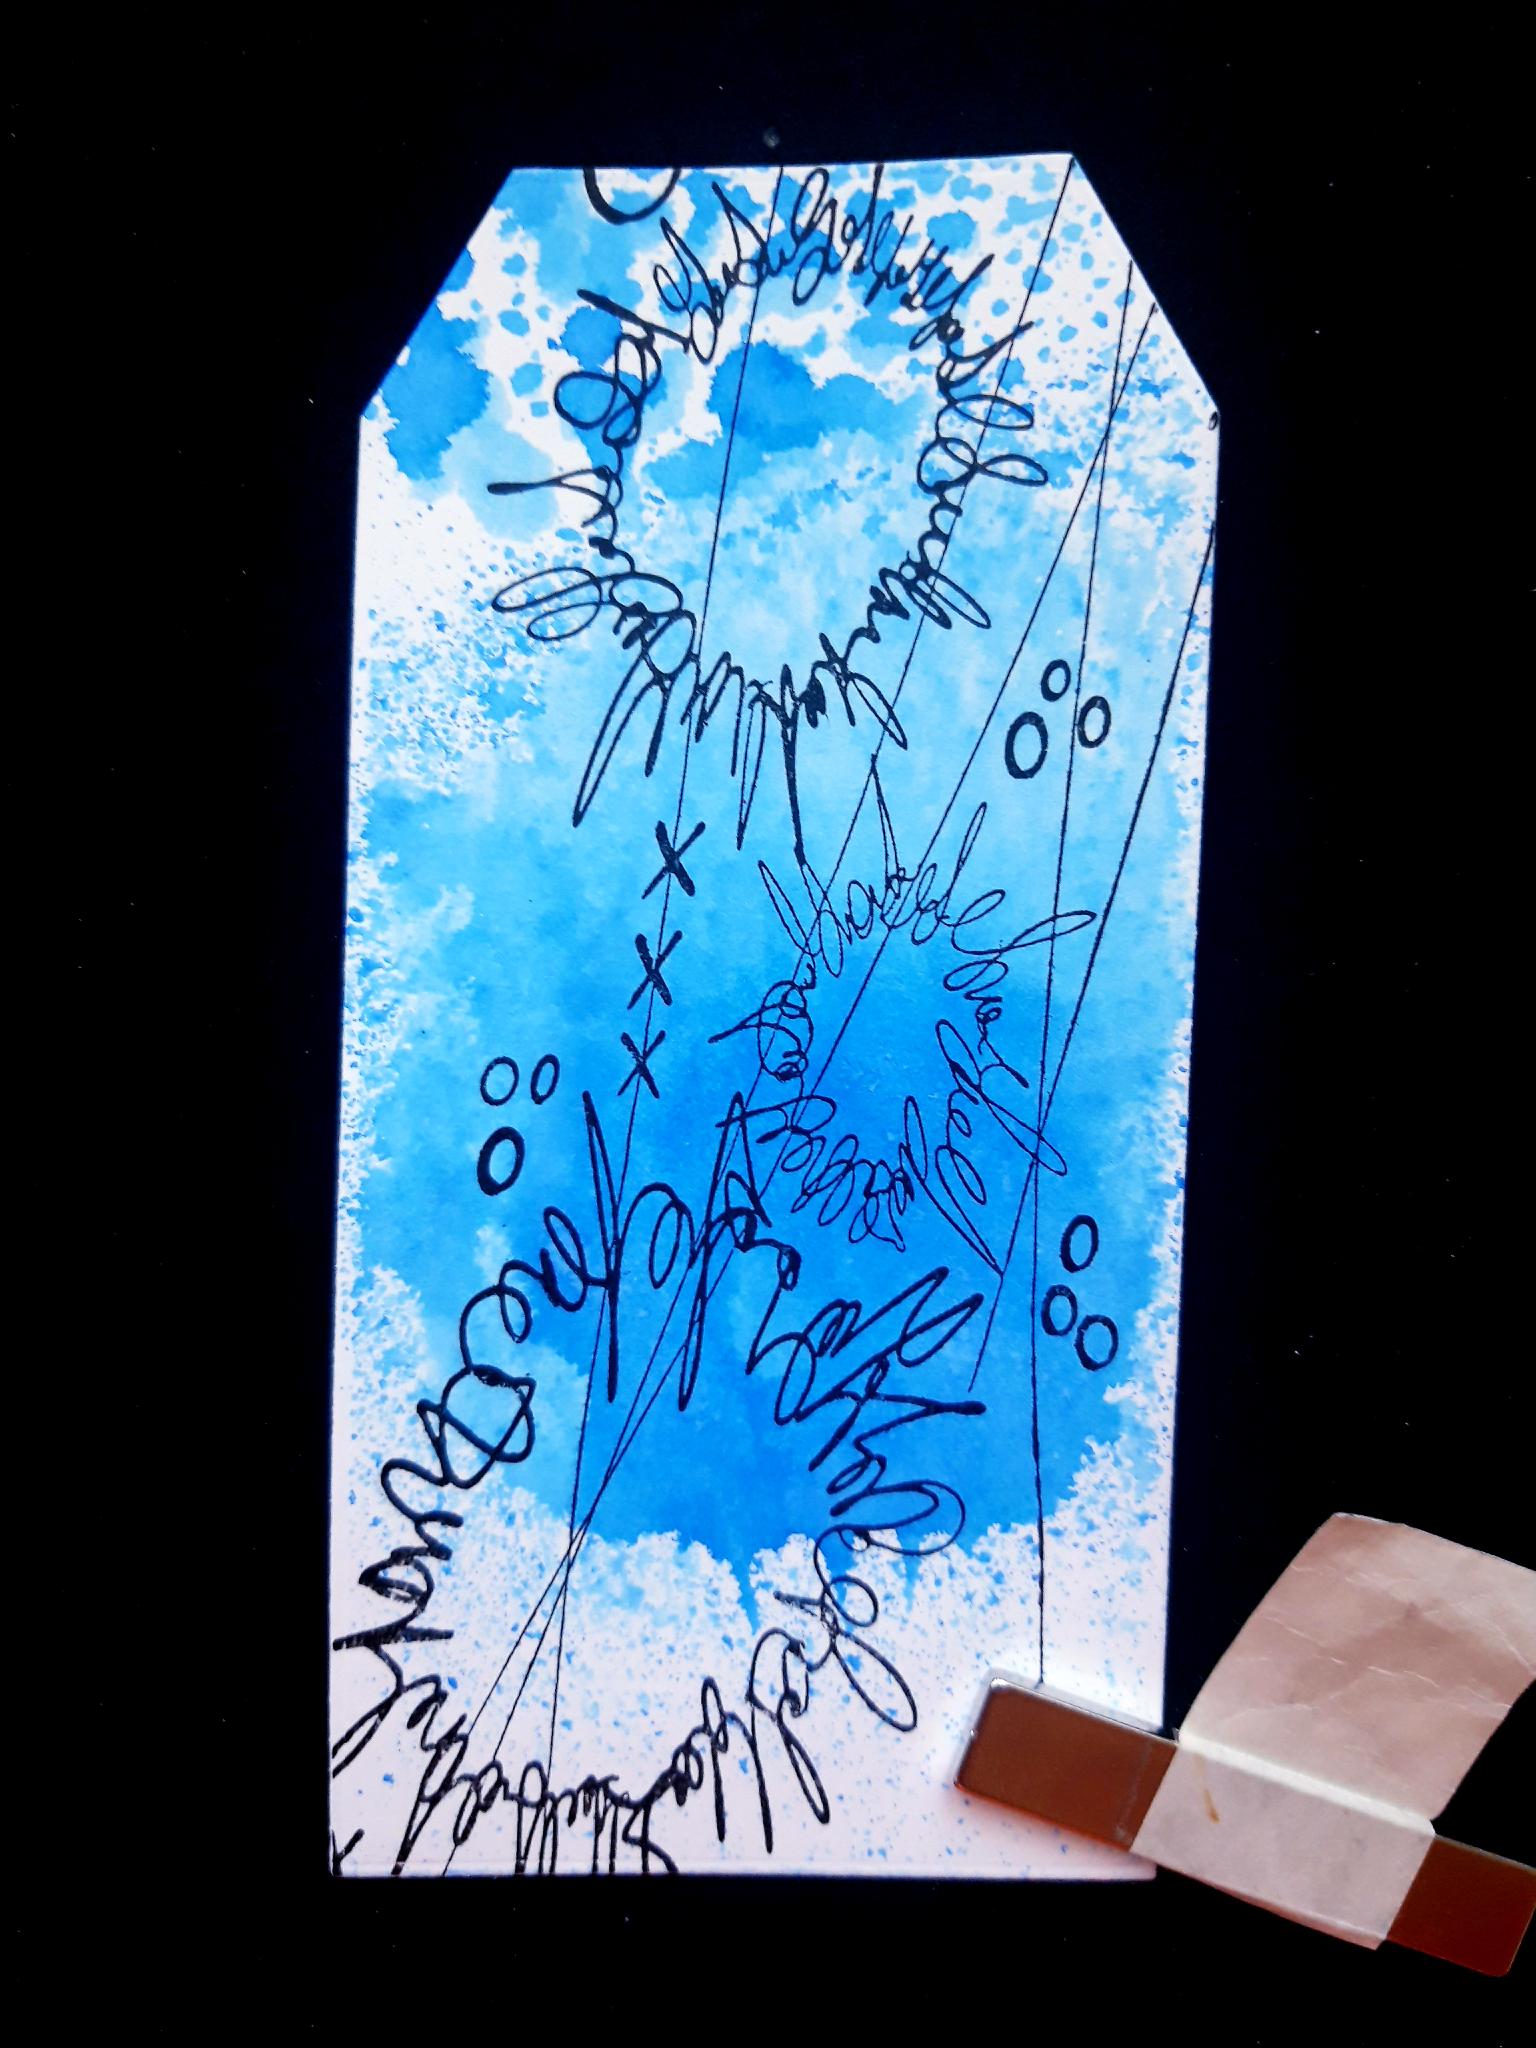
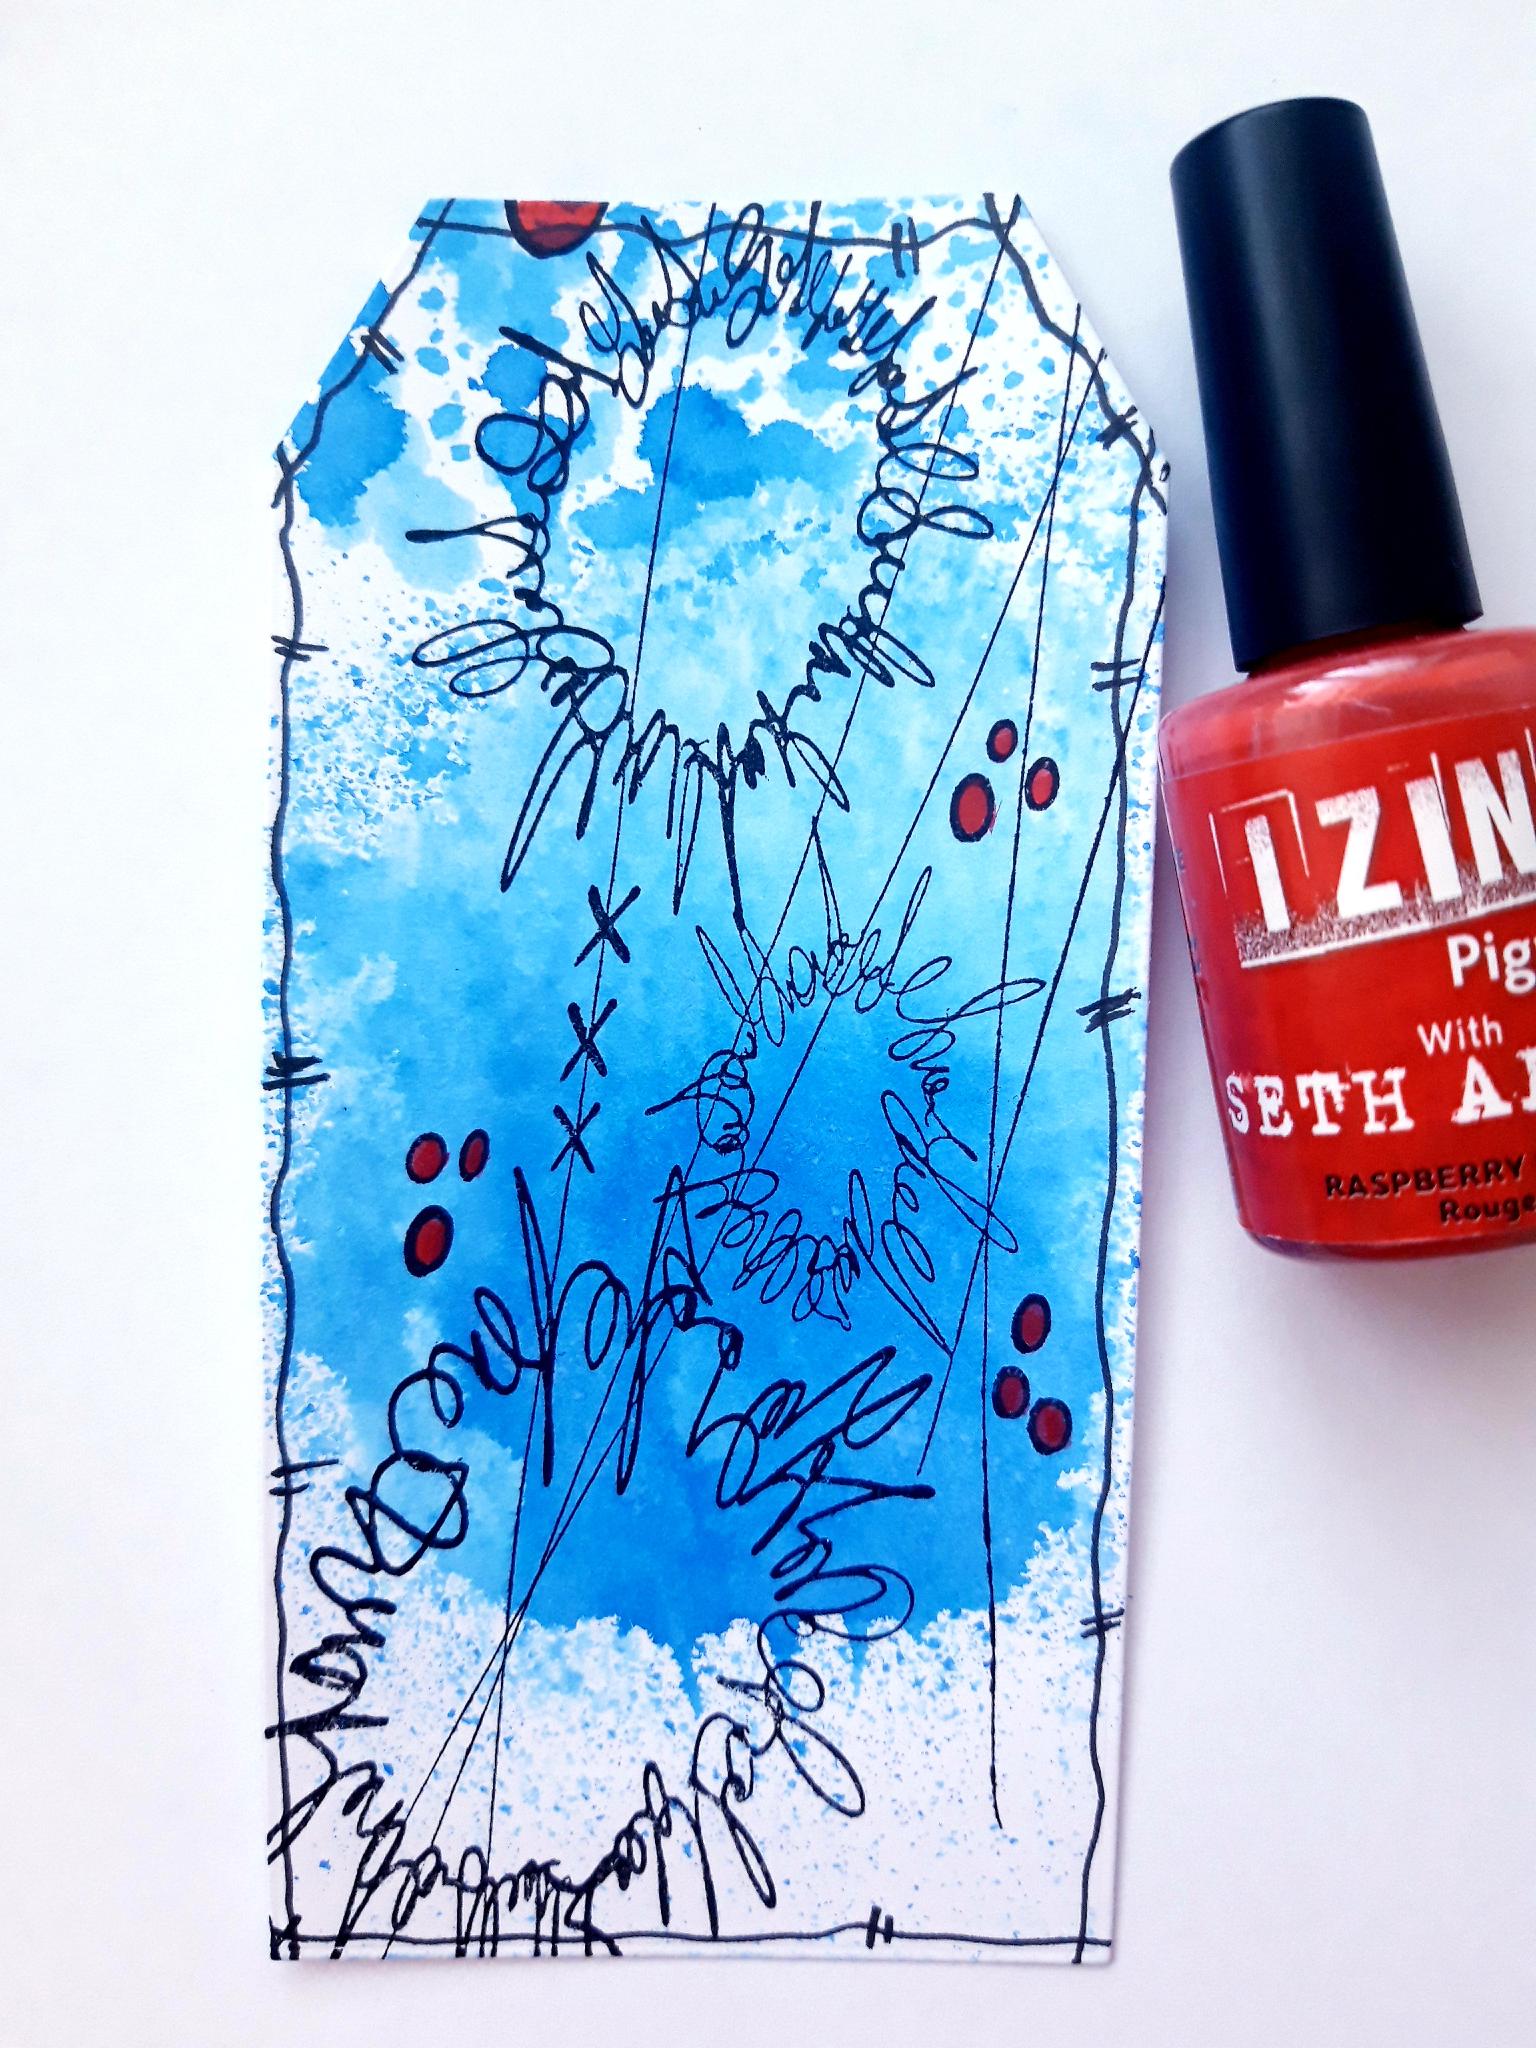
Cut out a tag, from the A4 white cardstock, using the die measuring approx 5 1/2 x 2 3/4", from the Tagged Creative Dies. Set the remaining cardstock to one side for now. Spray the Izink Blue Moon on to a craft or glass mat. Spritz with a little water then smoosh the die cut tag in to the ink, to create your background. Dry off the ink before moving to the next step. |
|
Ink up the stamp from the Buttercup Bubbles Creative Stamps, with the Onyx Black Versafine. Stamp on to your inked tag. |
|
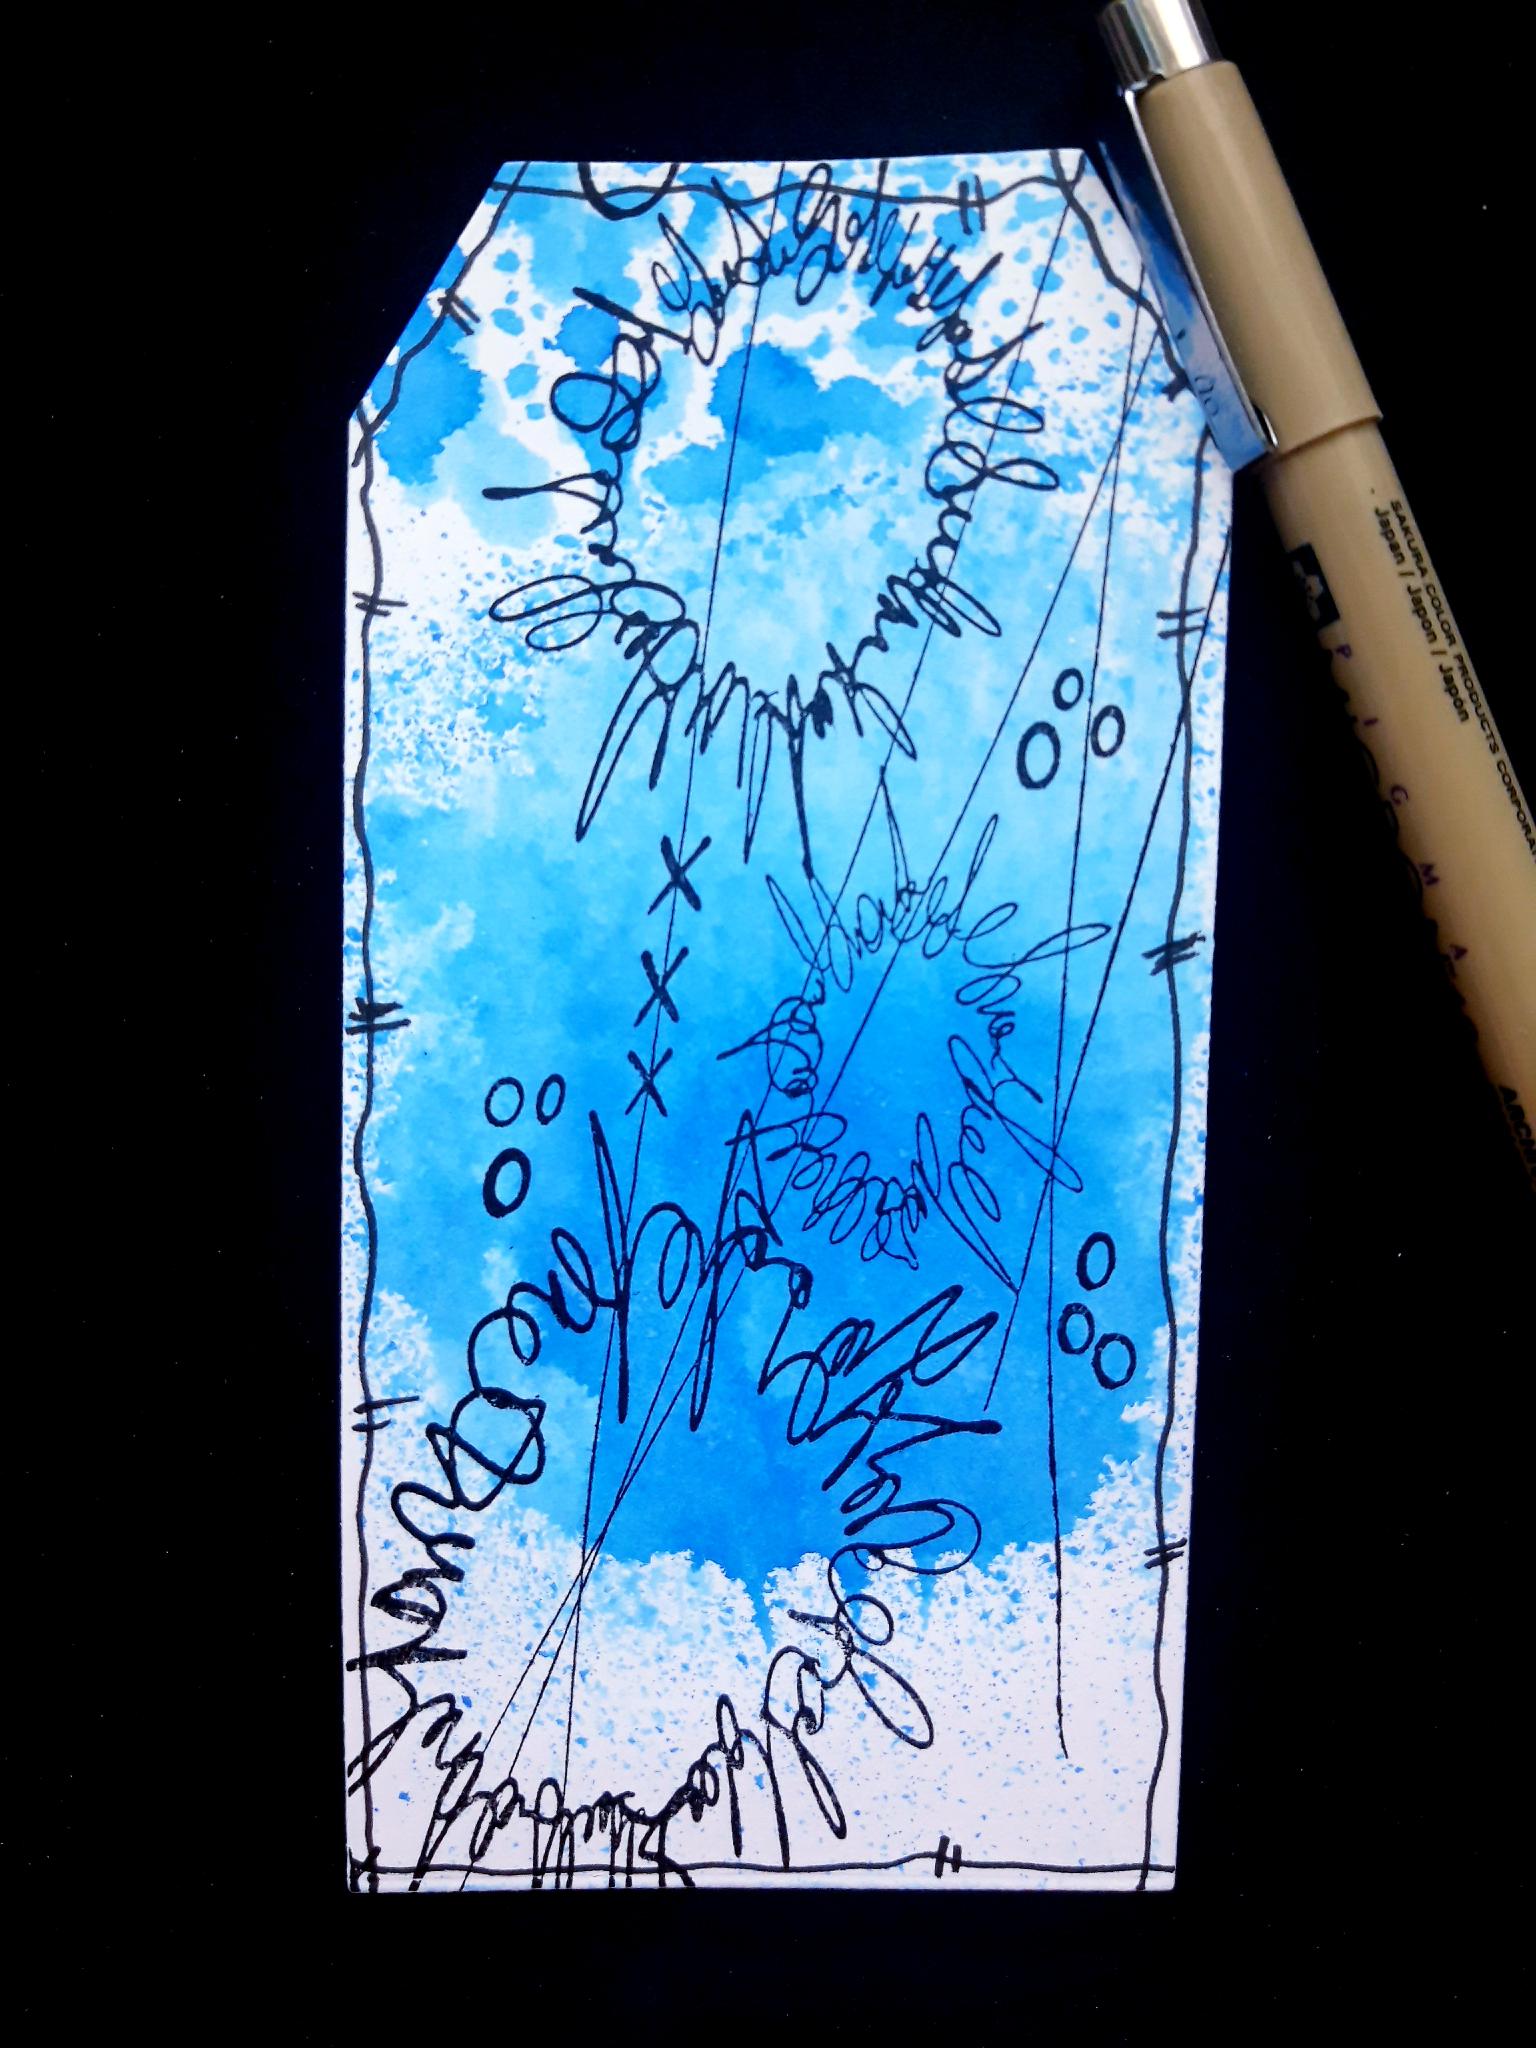
Draw a decorative, wiggly frame, around your stamped tag. Set to one side. |
|
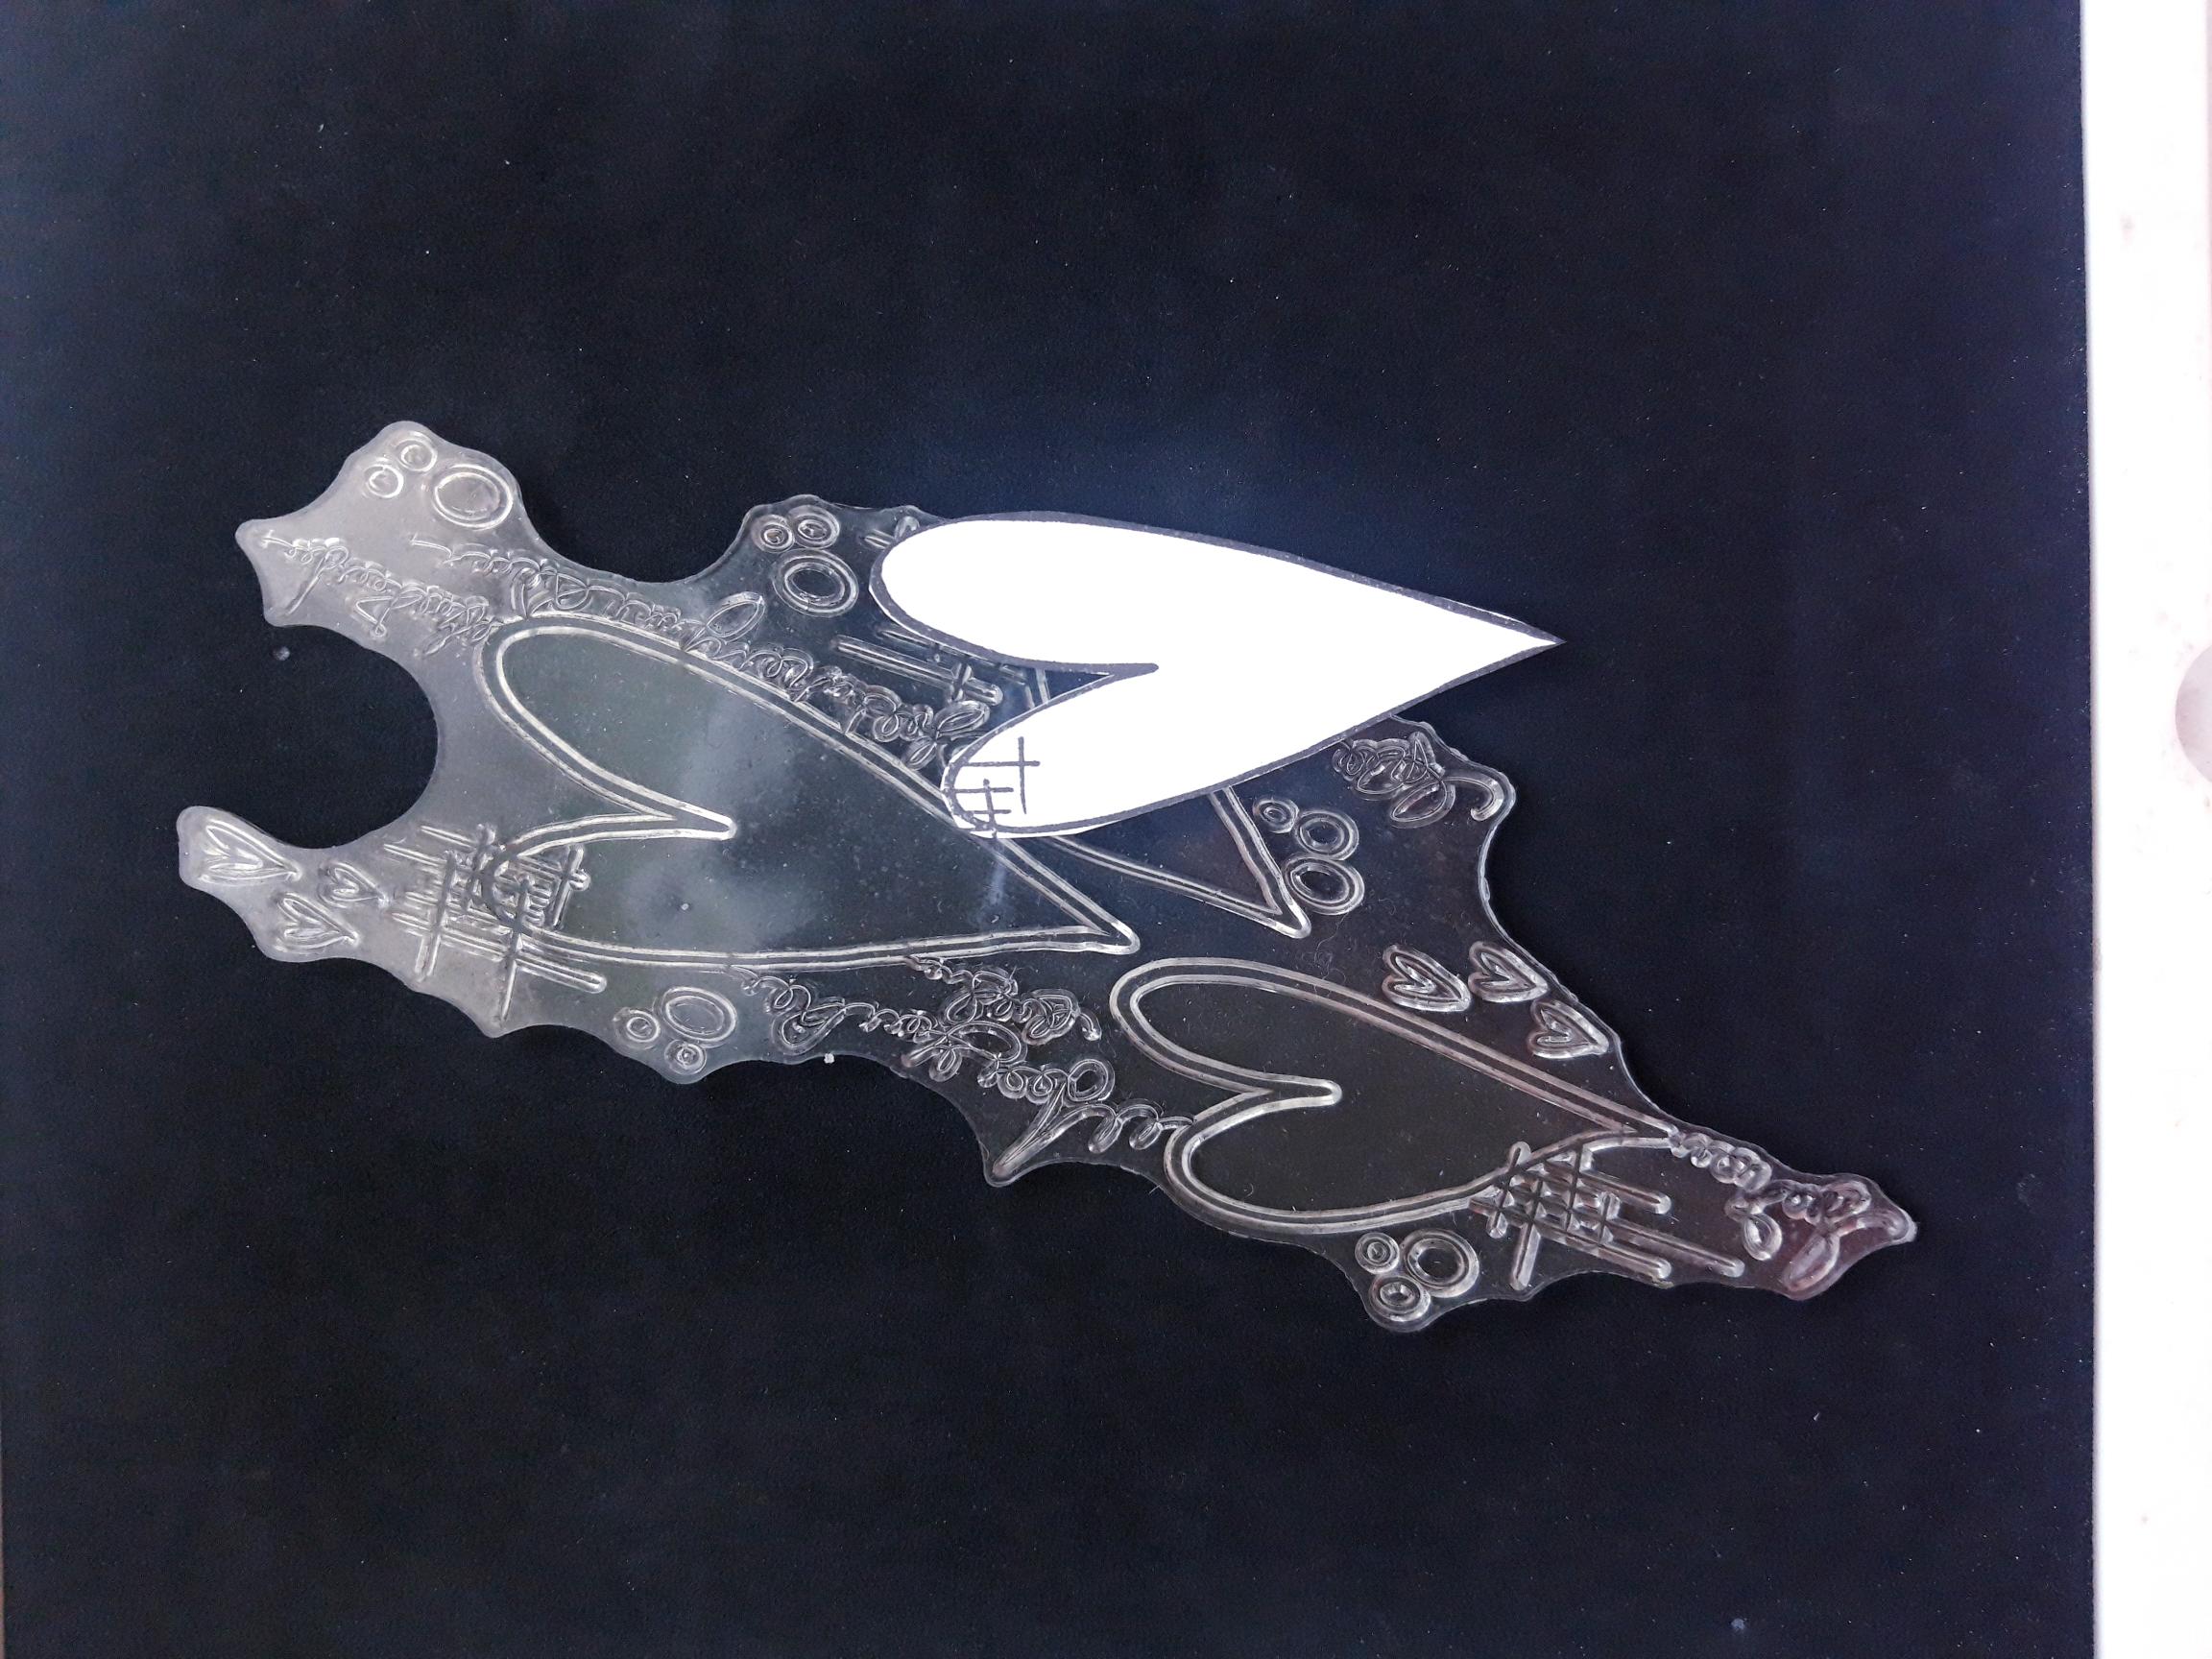
Ink up one of the hearts, within the stamp from the Daisy Dream Creative Stamps, with the Versafine. Stamp this on to a part of the white cardstock, set aside earlier. Cut out the heart. |
|
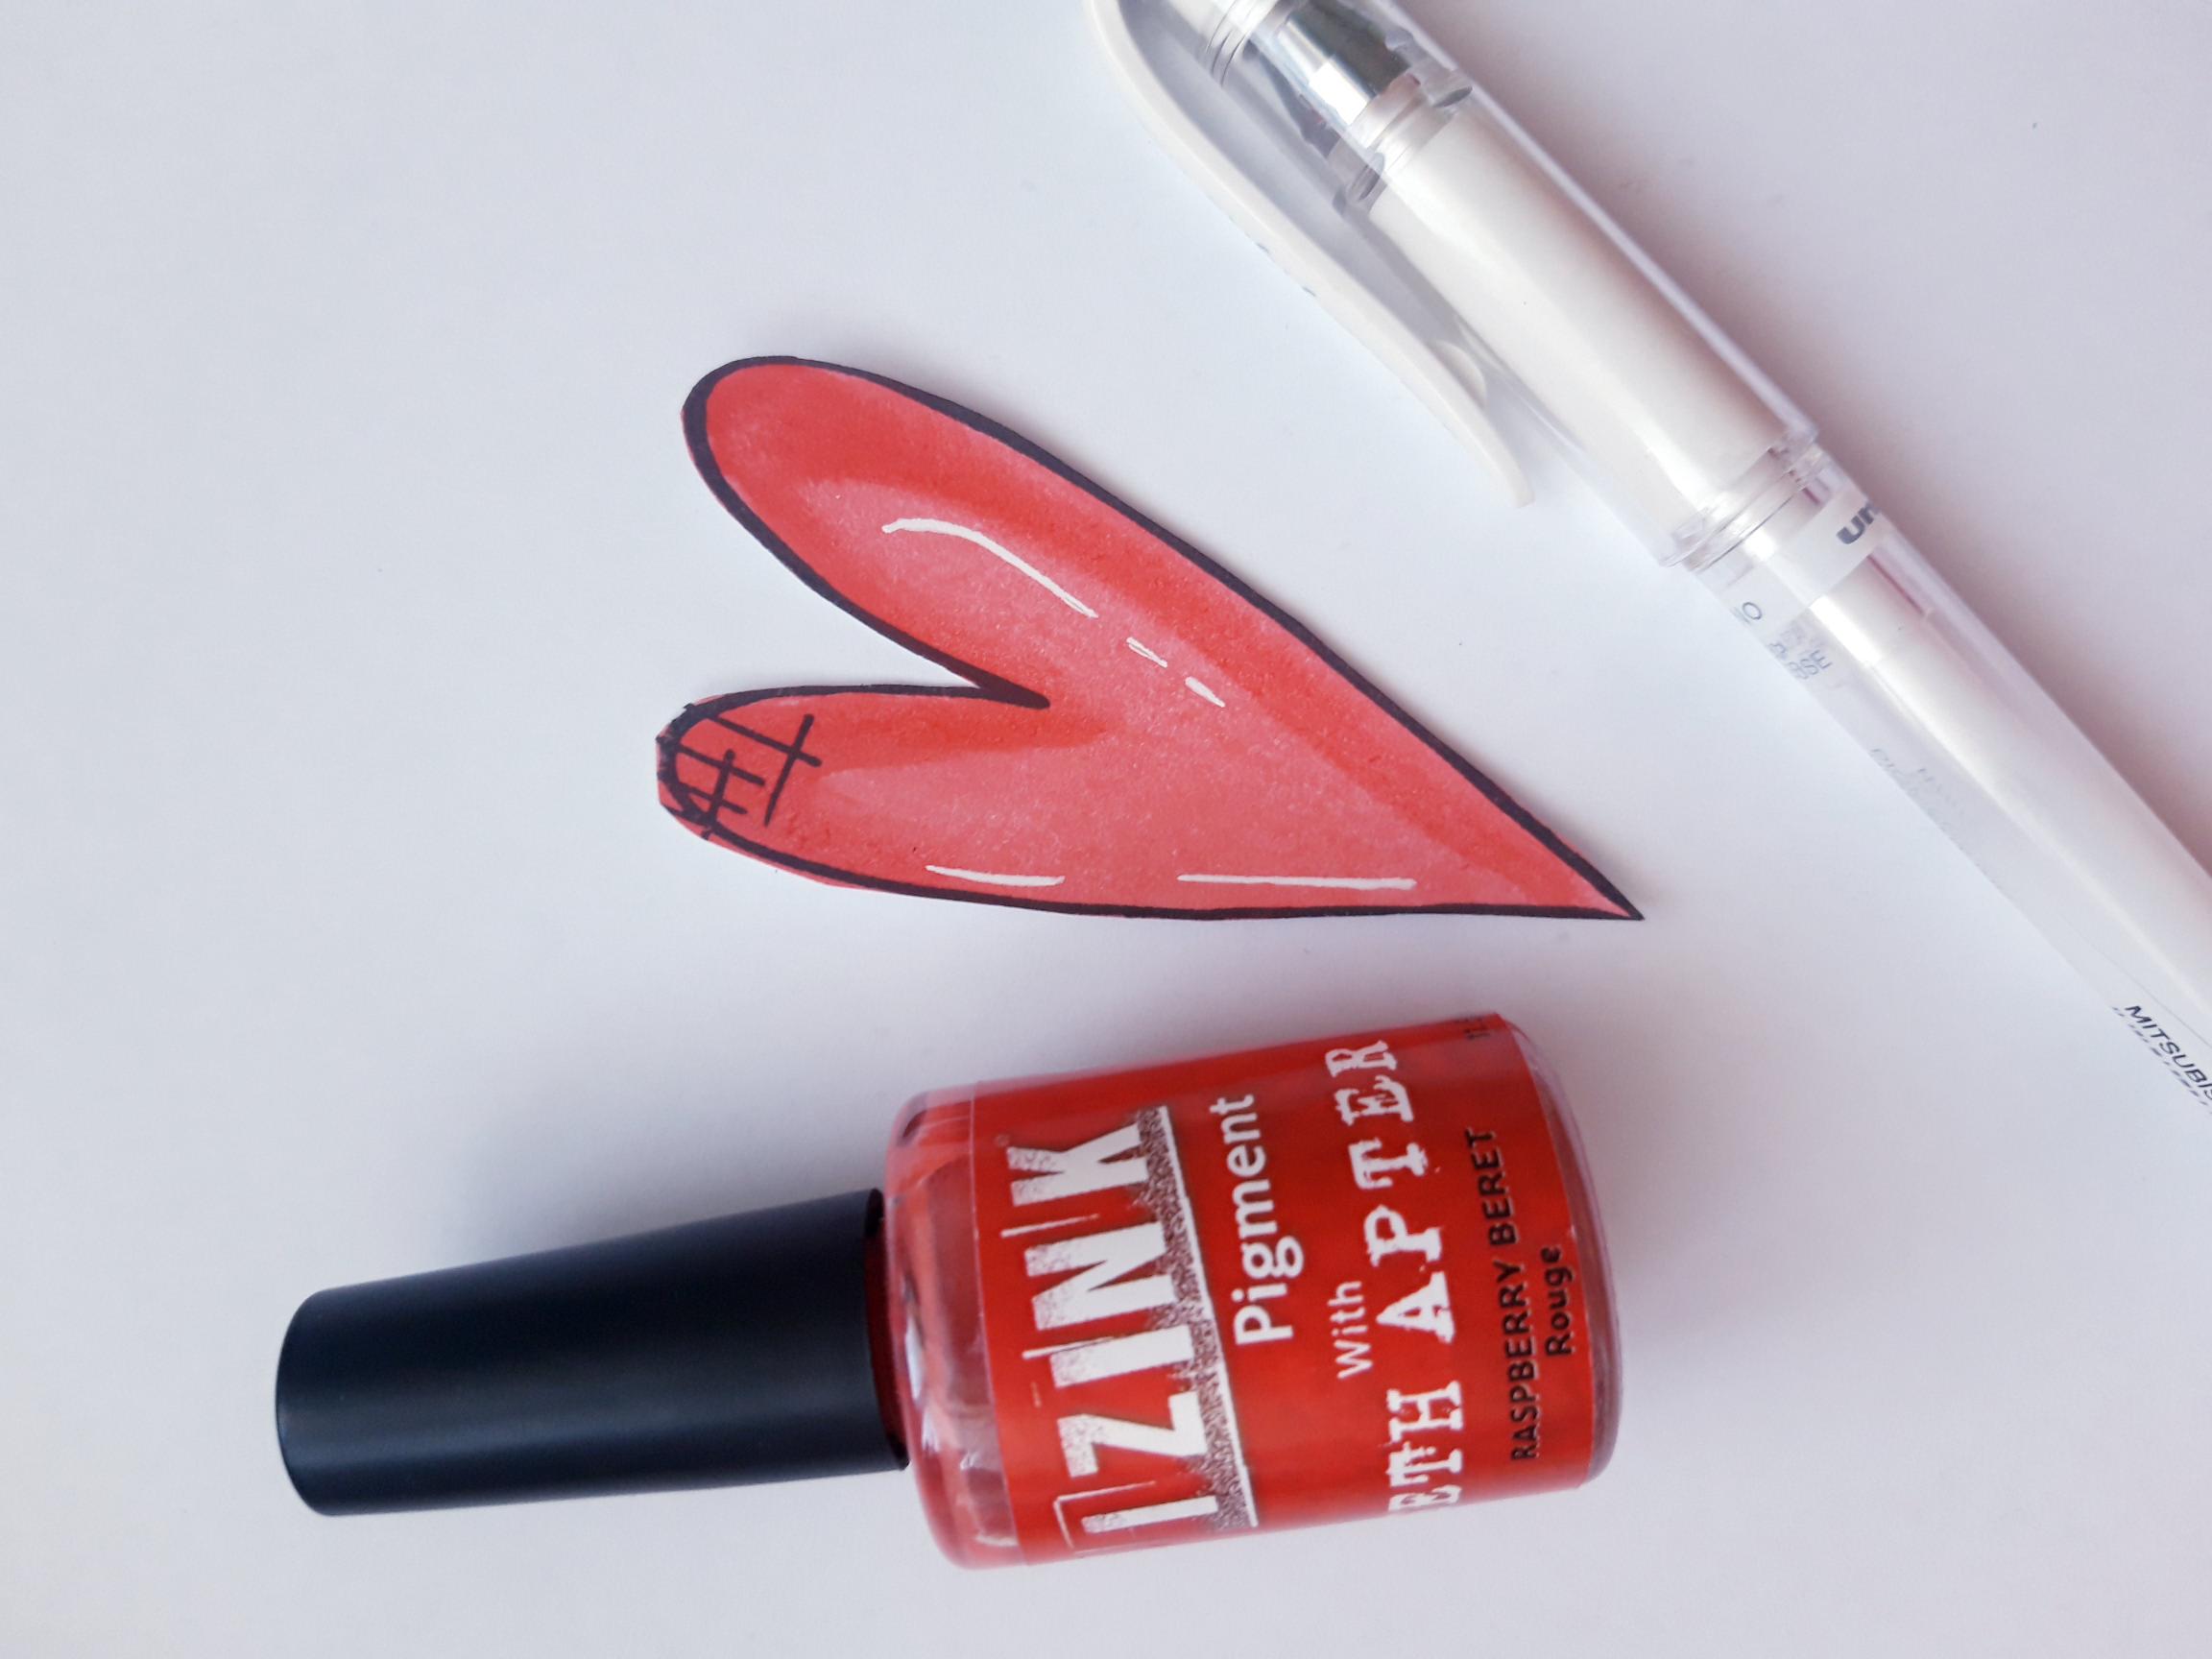
Pop some of the Izink Raspberry Beret Pigment on to your craft or glass mat. Add a little water and paint your heart, with a paint brush. Once the Pigment is completely dry, use the white gel pen to add accents to your heart. |
|
Use the Raspberry Beret Pigment to paint in the little circles, on your stamped tag. |

|
Glue the stamped tag on top of the black die cut tag, lining up the bottom of the 2 tags. |
|
Glue the red heart on to your tag. |
|
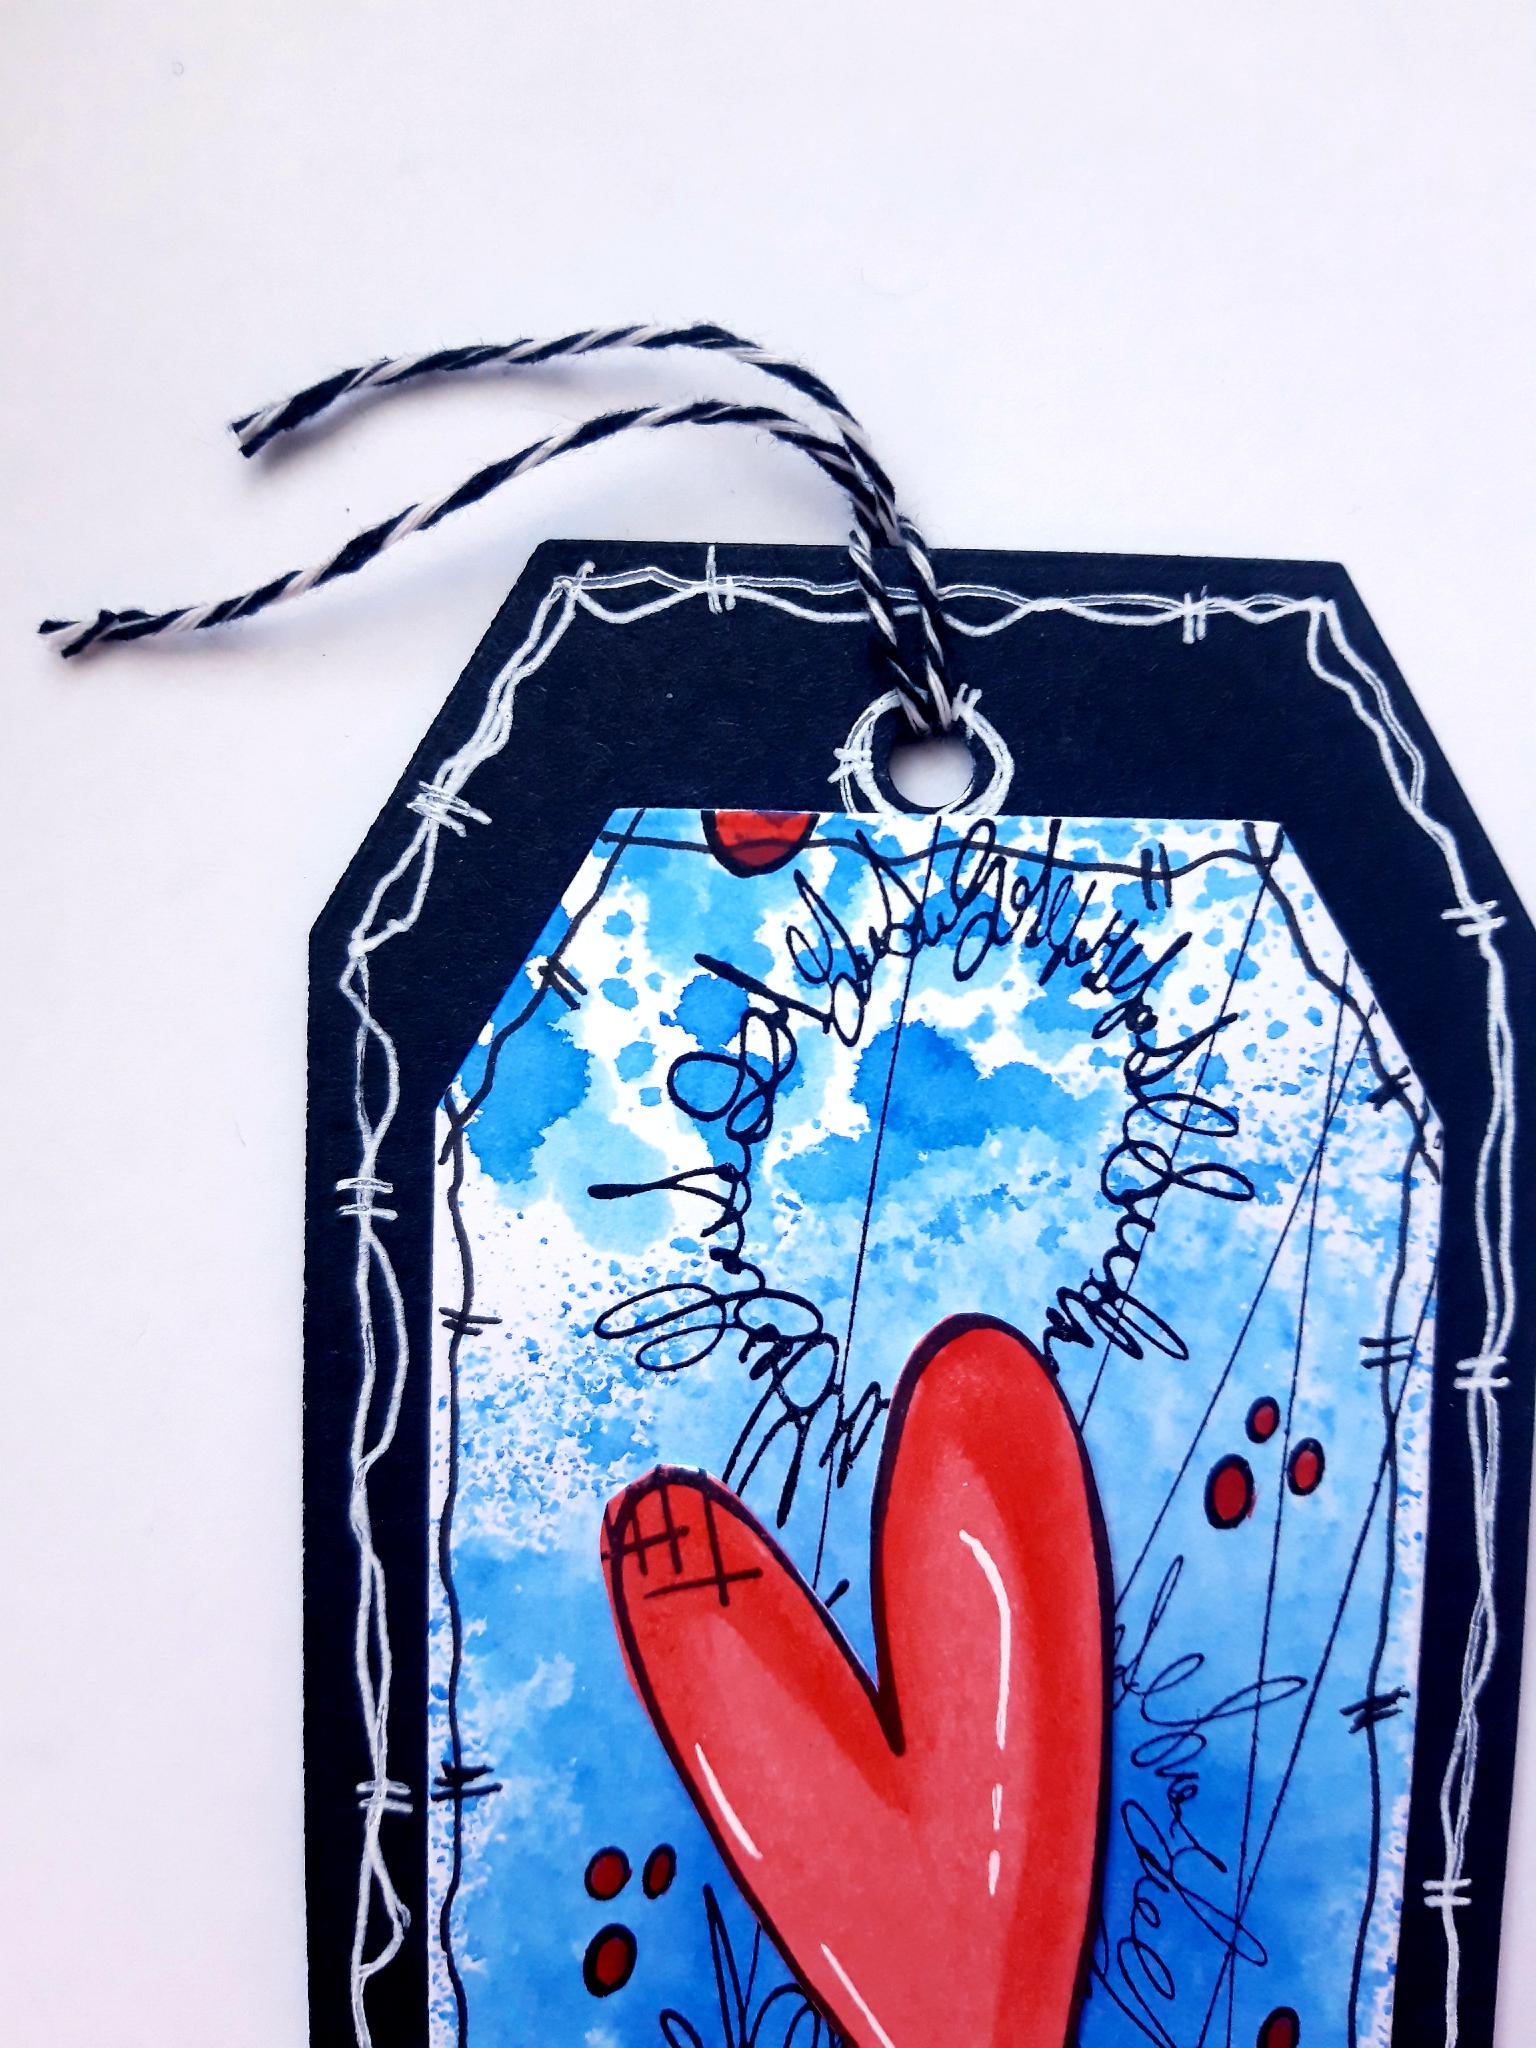
Tie the Bakers Twine through the punched hole. |
|
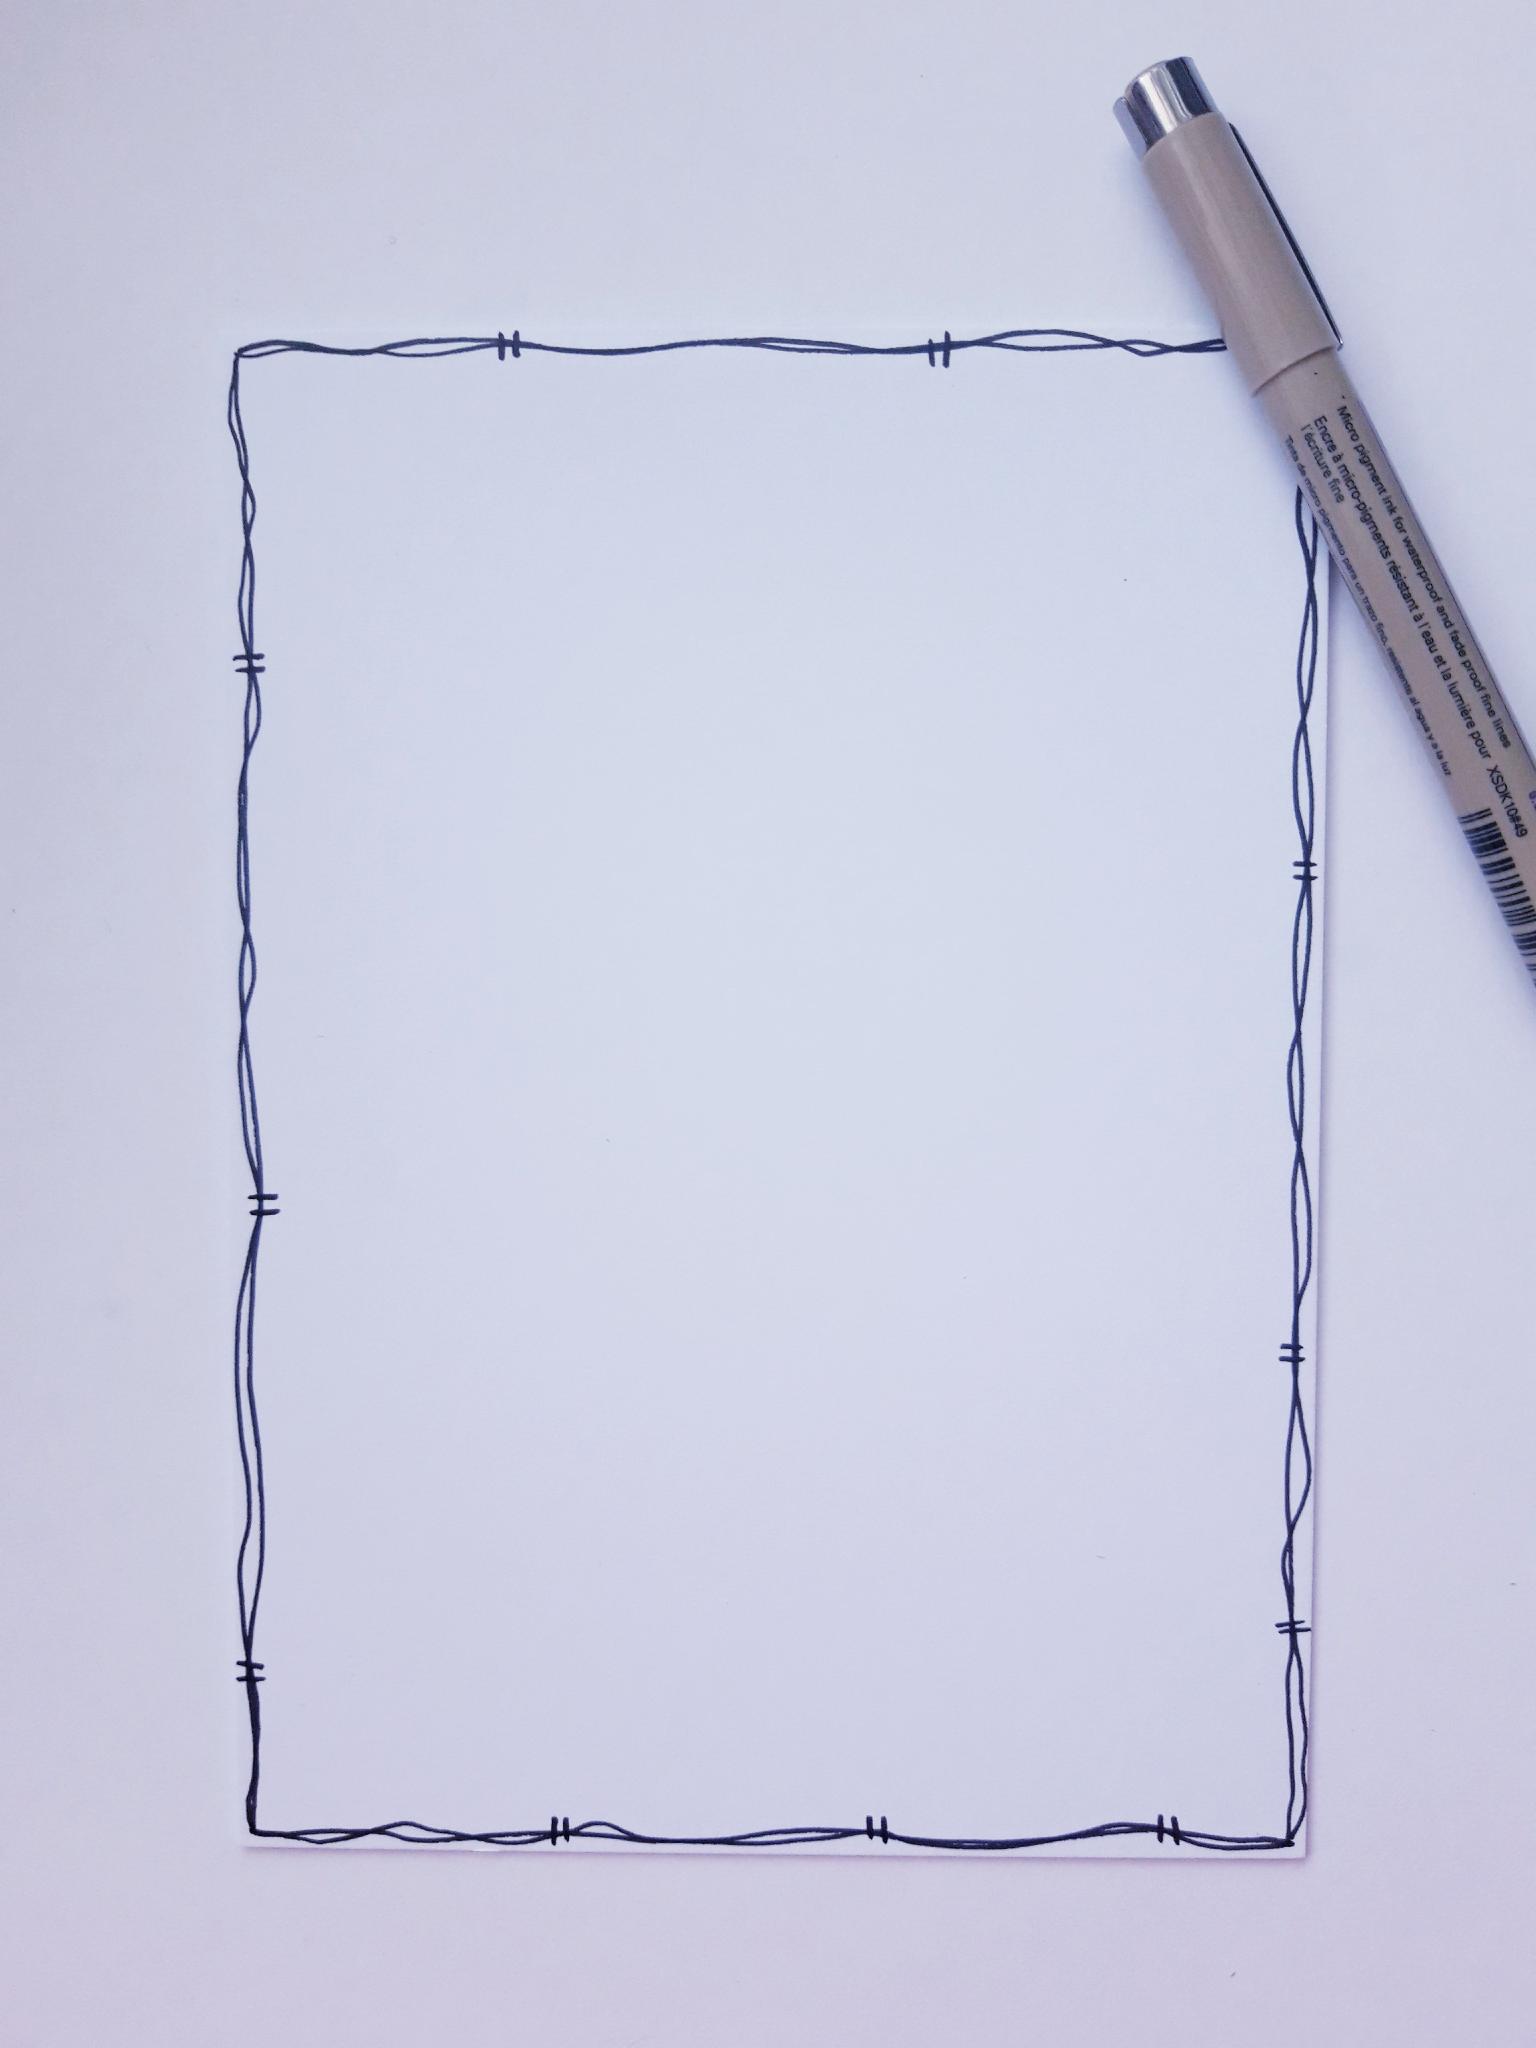
Use your black pen to draw a decorative, wiggly frame, around the front of your card blank. |
|
Apply some glue to the top of your tag, and adhere to the front of your card blank. Set to one side. |
|
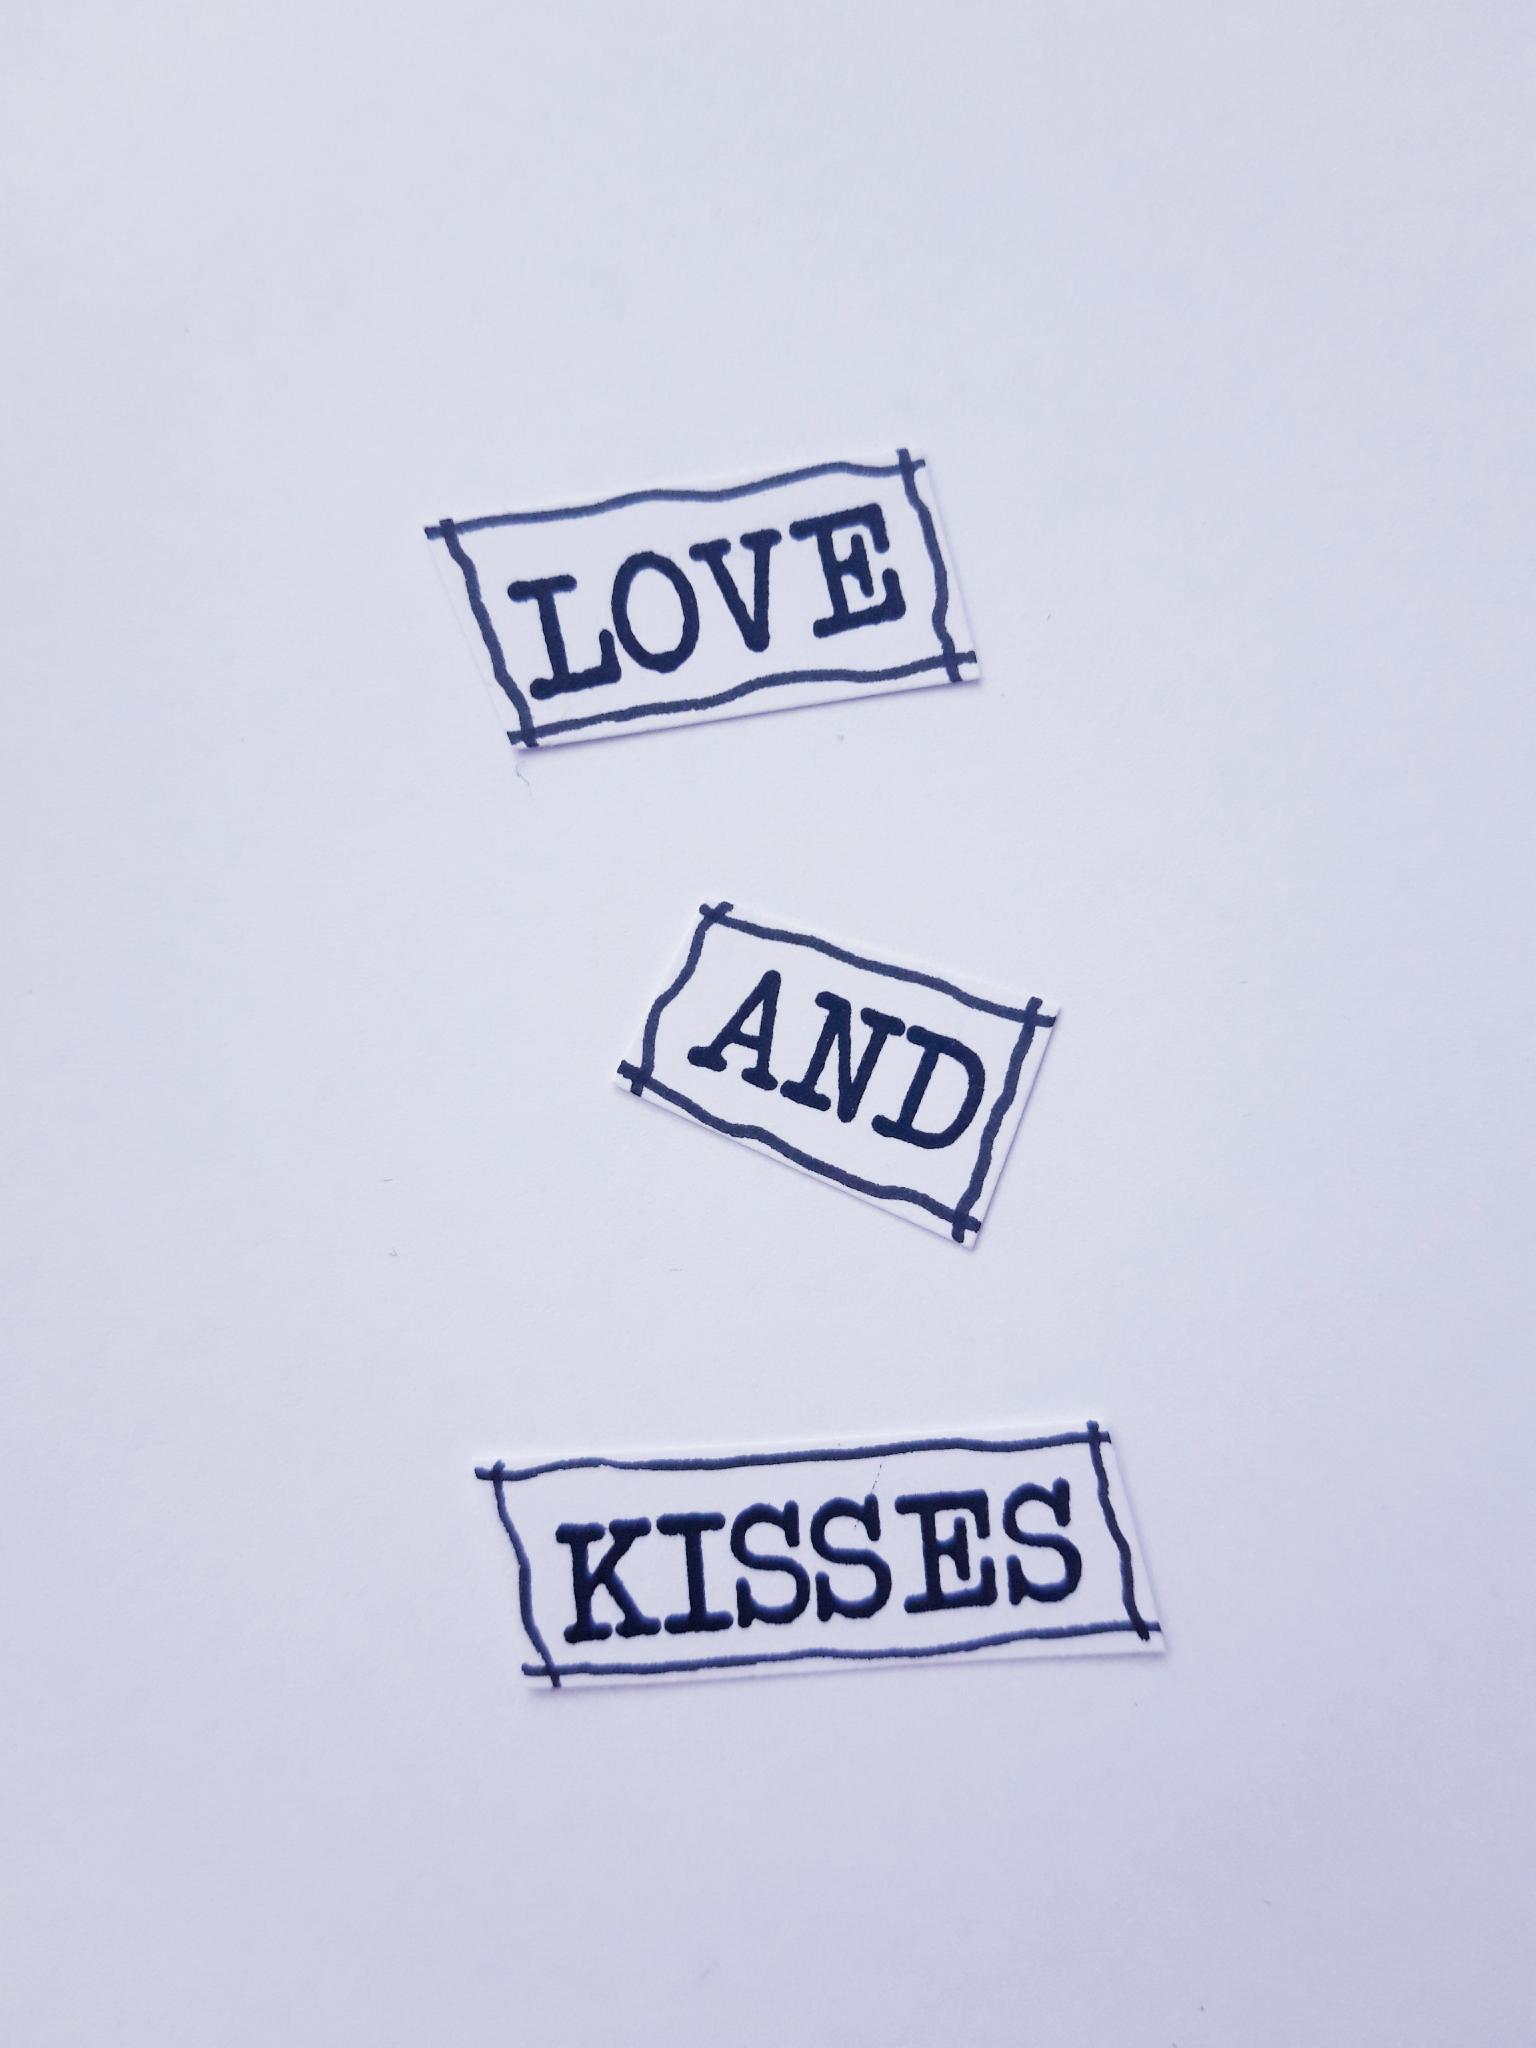
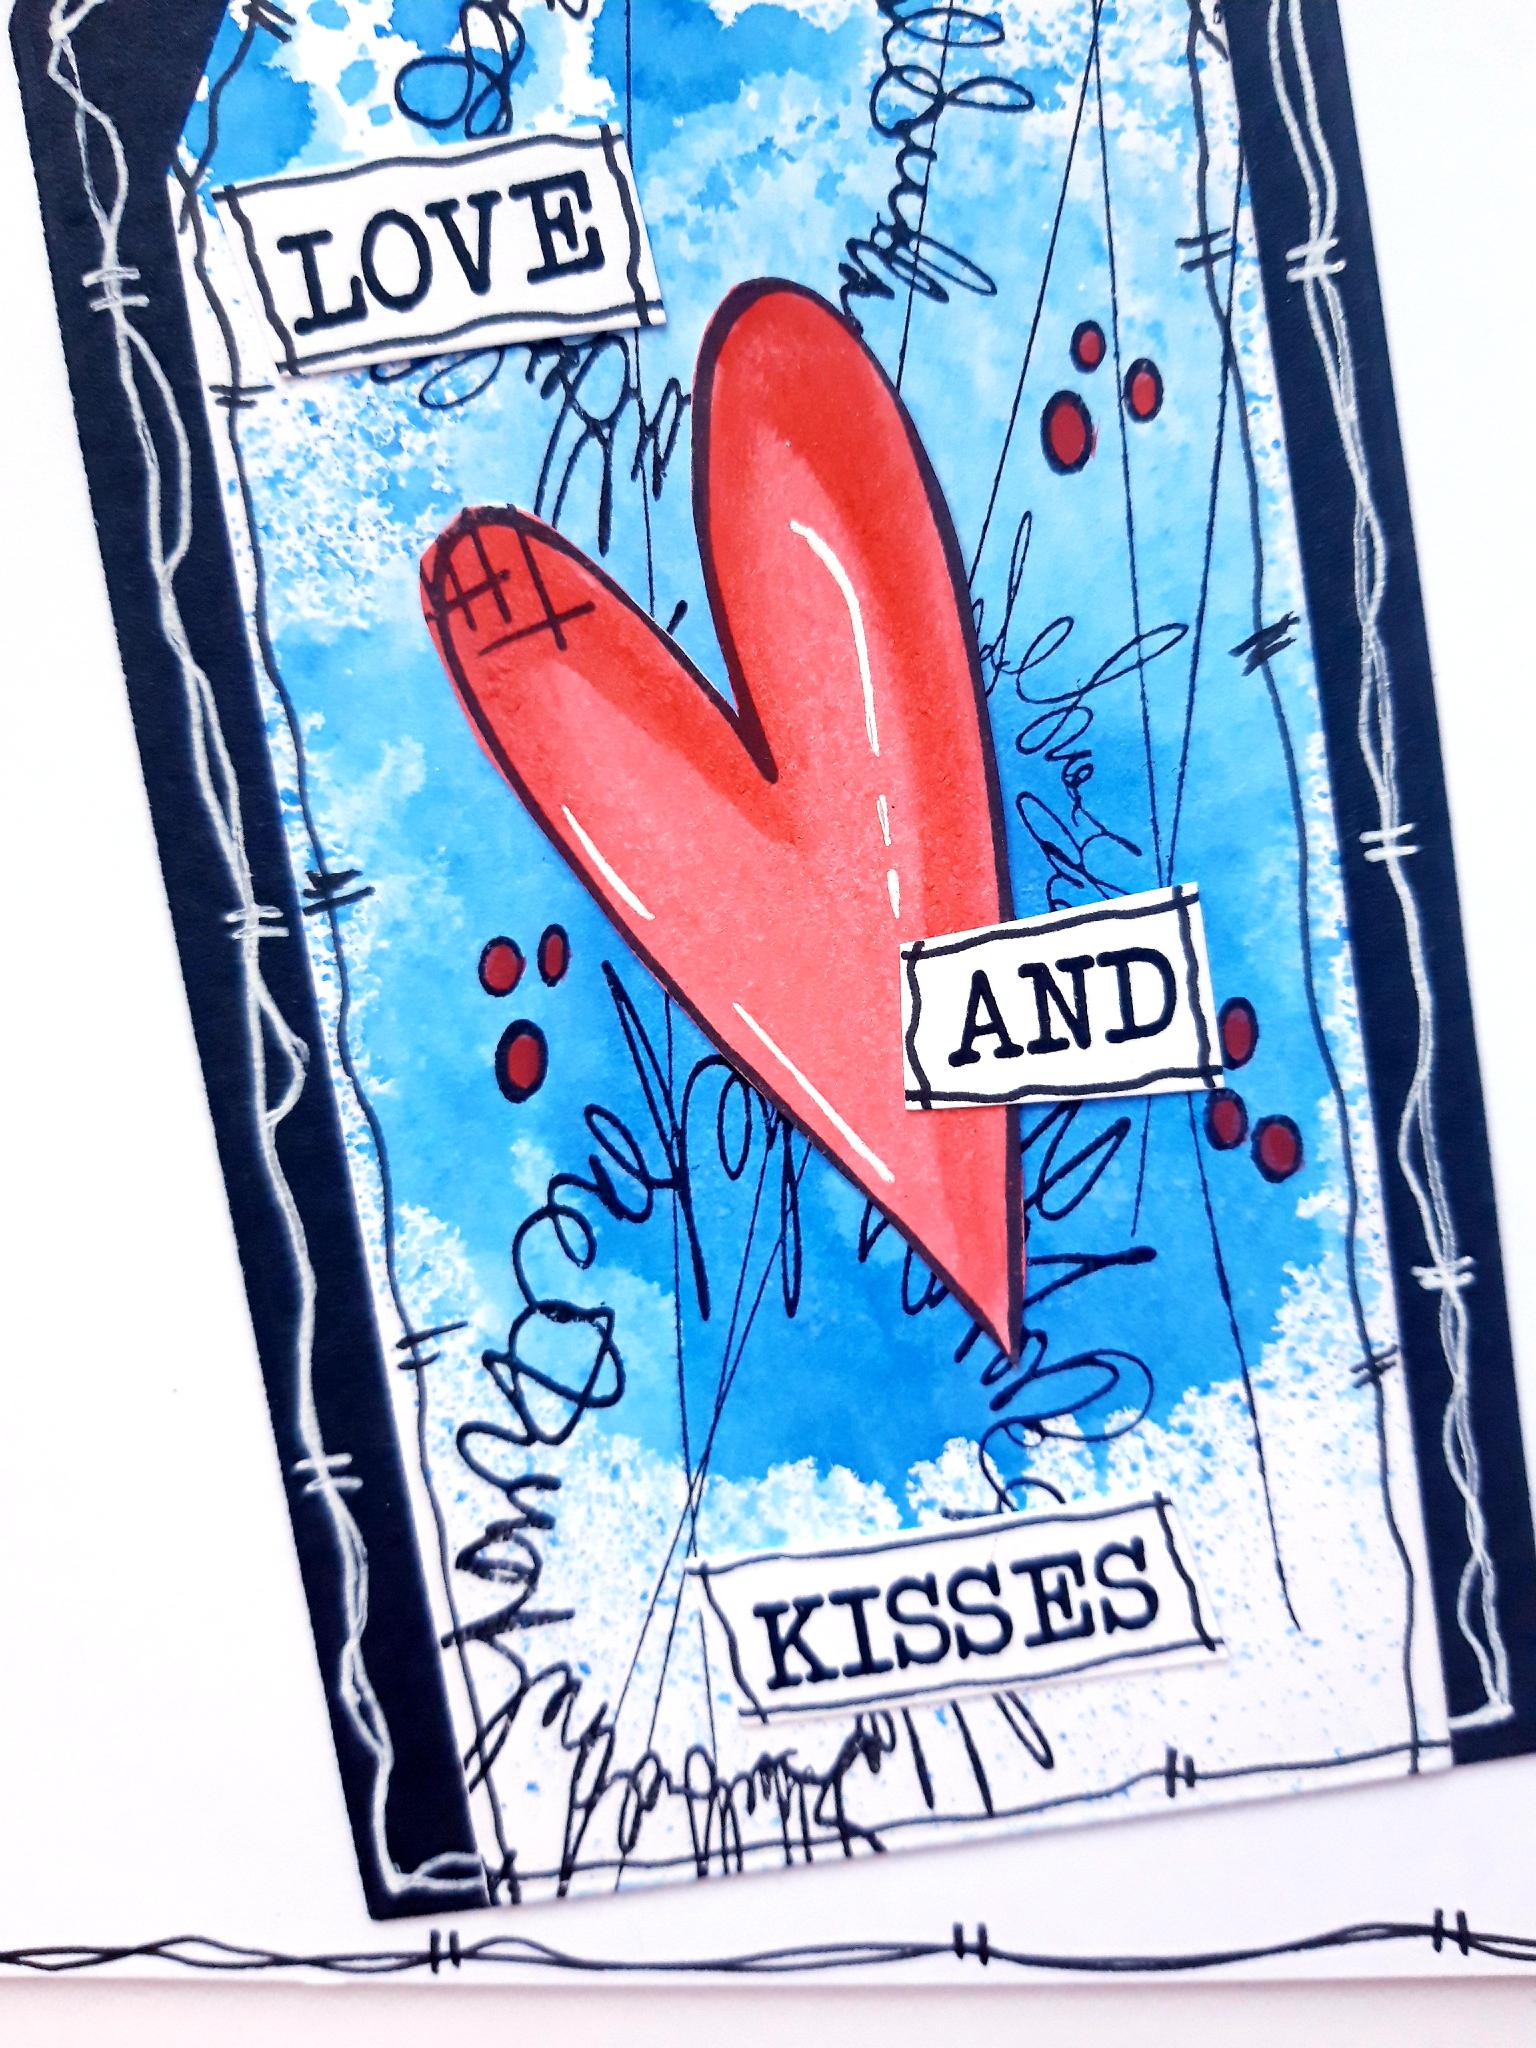
Ink up your chosen word stamps, from the More Than Words Creative Stamps, with the Versafine. Stamp on to the remaining white cardstock, set to one side earlier. Cut around your stamped words, and use the black pen to draw a frame around each word.
|
|
Adhere the words on to your tag, where desired, to finish your card. |