Give your friends $10 off their first order!
Refer a FRIEND


WHAT YOU WILL NEED:
Grey top folding card blank (8 1/4 x 5 3/4")
Green cardstock (8 x 5 1/2")
White card (7 3/4 x 5 1/4")
A4 Black cardstock
A4 White cardstock
Dies from Thirsty Brush UnLtd Take A Leaf Creative Dies set
Dies from Thirsty Brush UnLtd Build A Bloom Creative Dies set
Stamps from Thirsty Brush UnLtd Daisy Dream Creative Stamps set
Stamps from Thirsty Brush UnLtd Buttercup Bubbles Creative Stamps set
Thirsty Brush UnLtd Flower Burst Creative Stencil
Versafine Ink Pad: Onyx Black
Izink Shiny Spray: Vert D'Eau
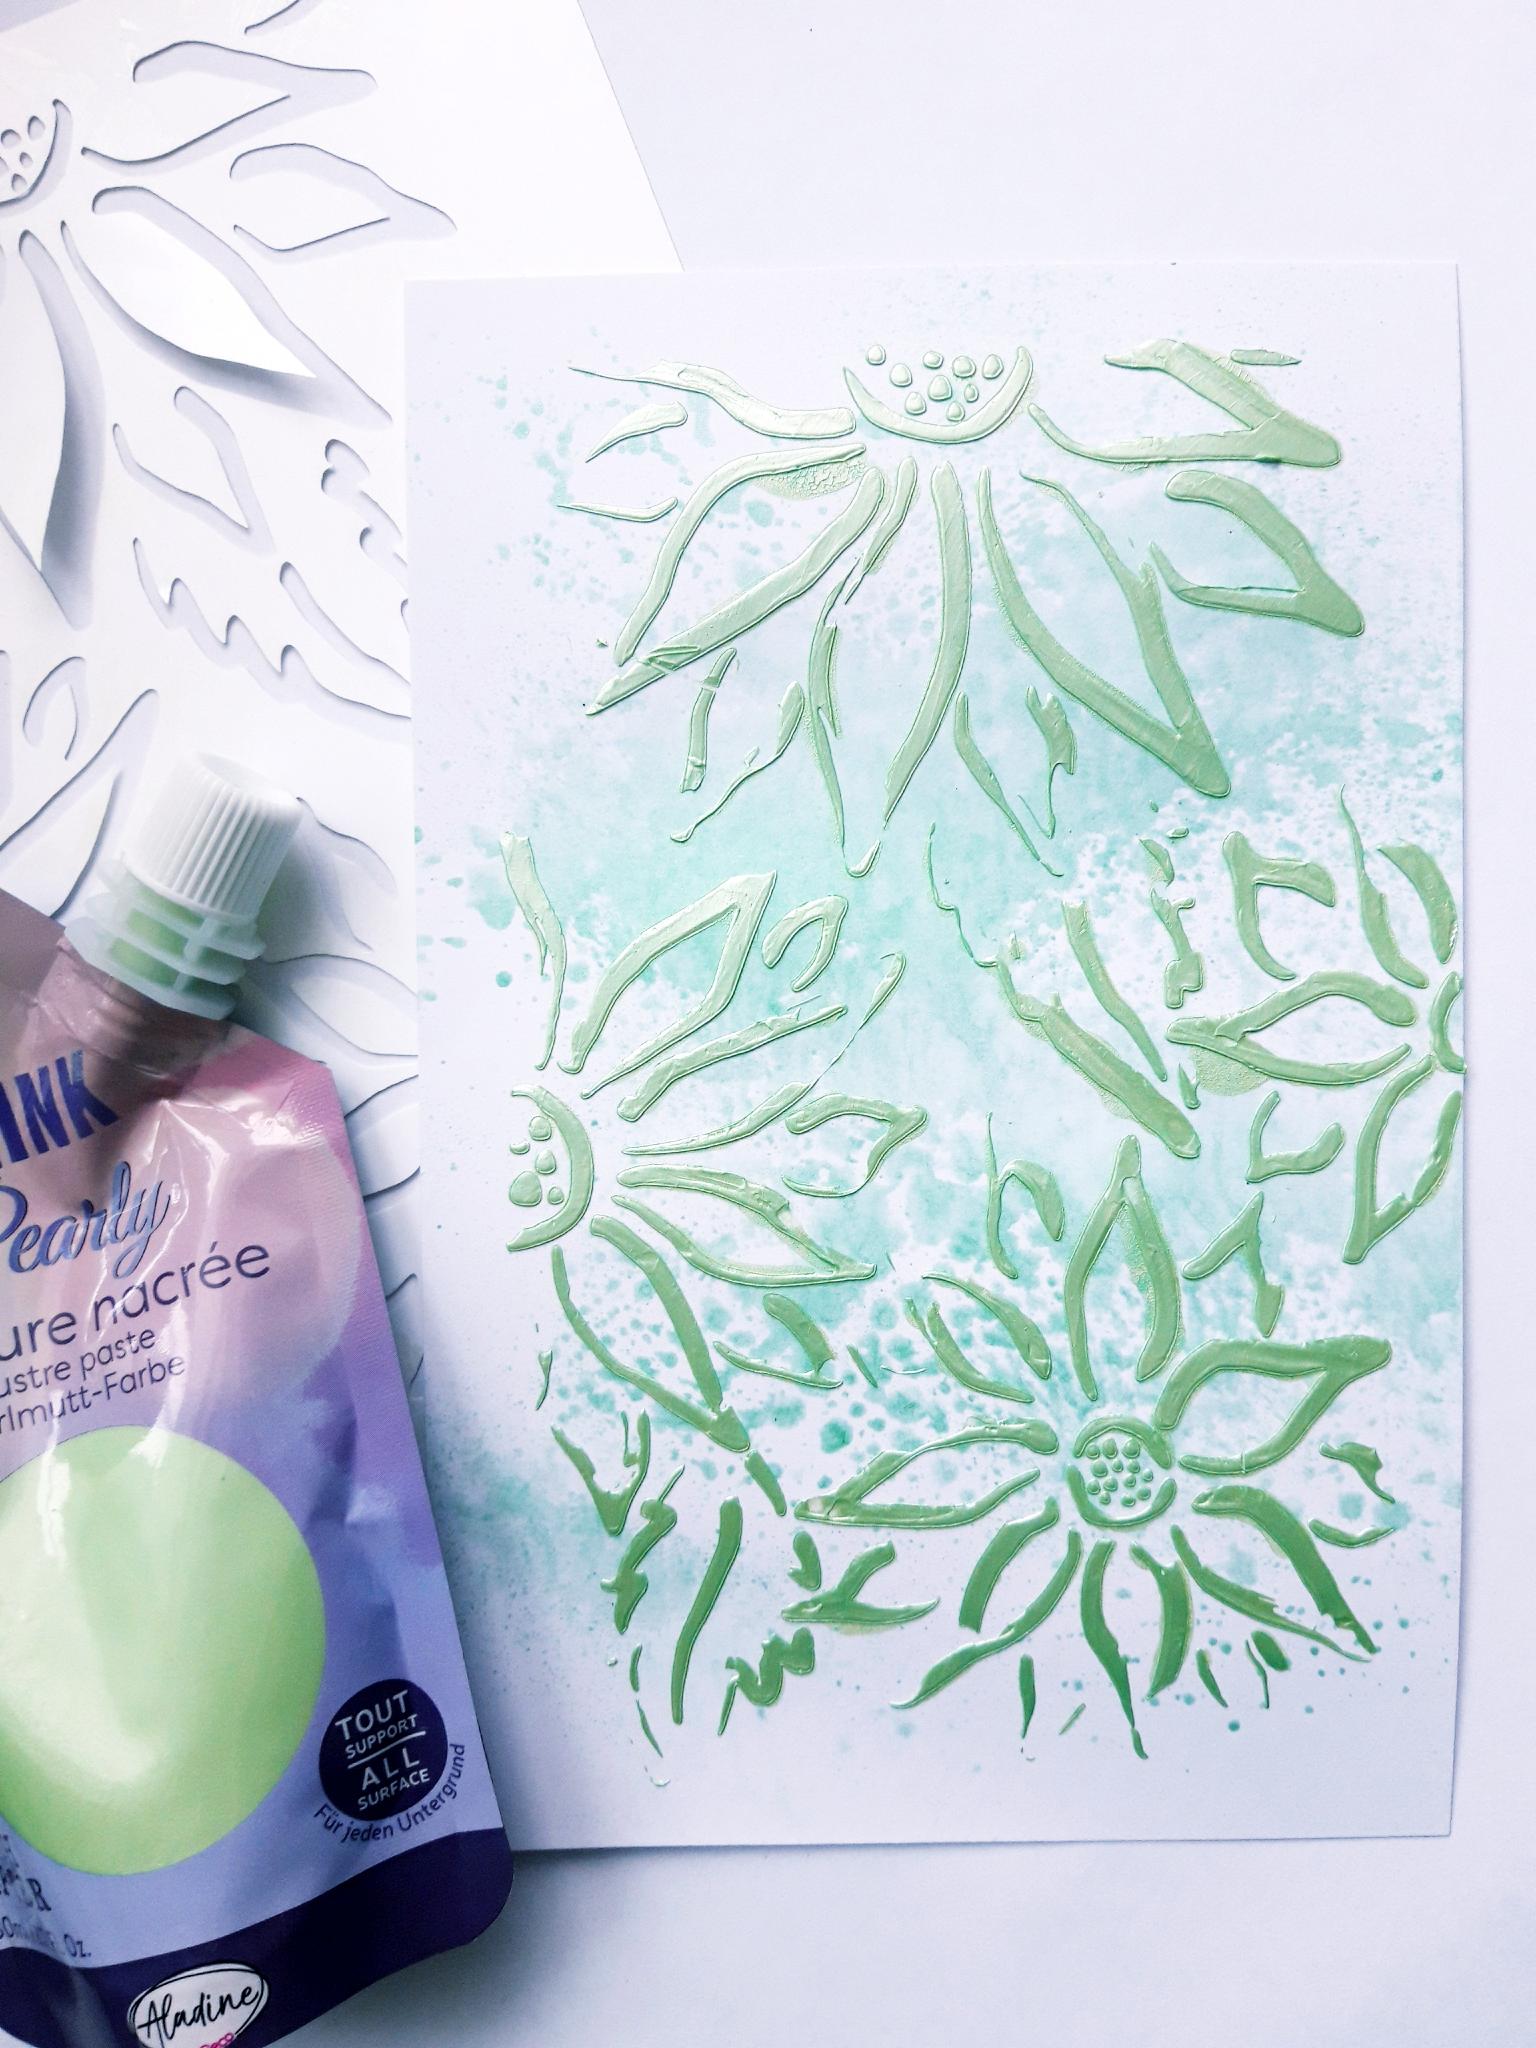
Izink Pearly Paste: Vert D'Eau
Gossip Glitter colouring Pens: Aqua, Orange, Yellow, Red, Purple, Lake Blue
Sequins: Amethyst
Black Pen
White gel pen
Palette knife
Water spray bottle
Heat gun
Eureka 101
Paper Trimmer
Perfect Together Glue
Foam Pads
Die Cutting machine
[click image to enlarge] 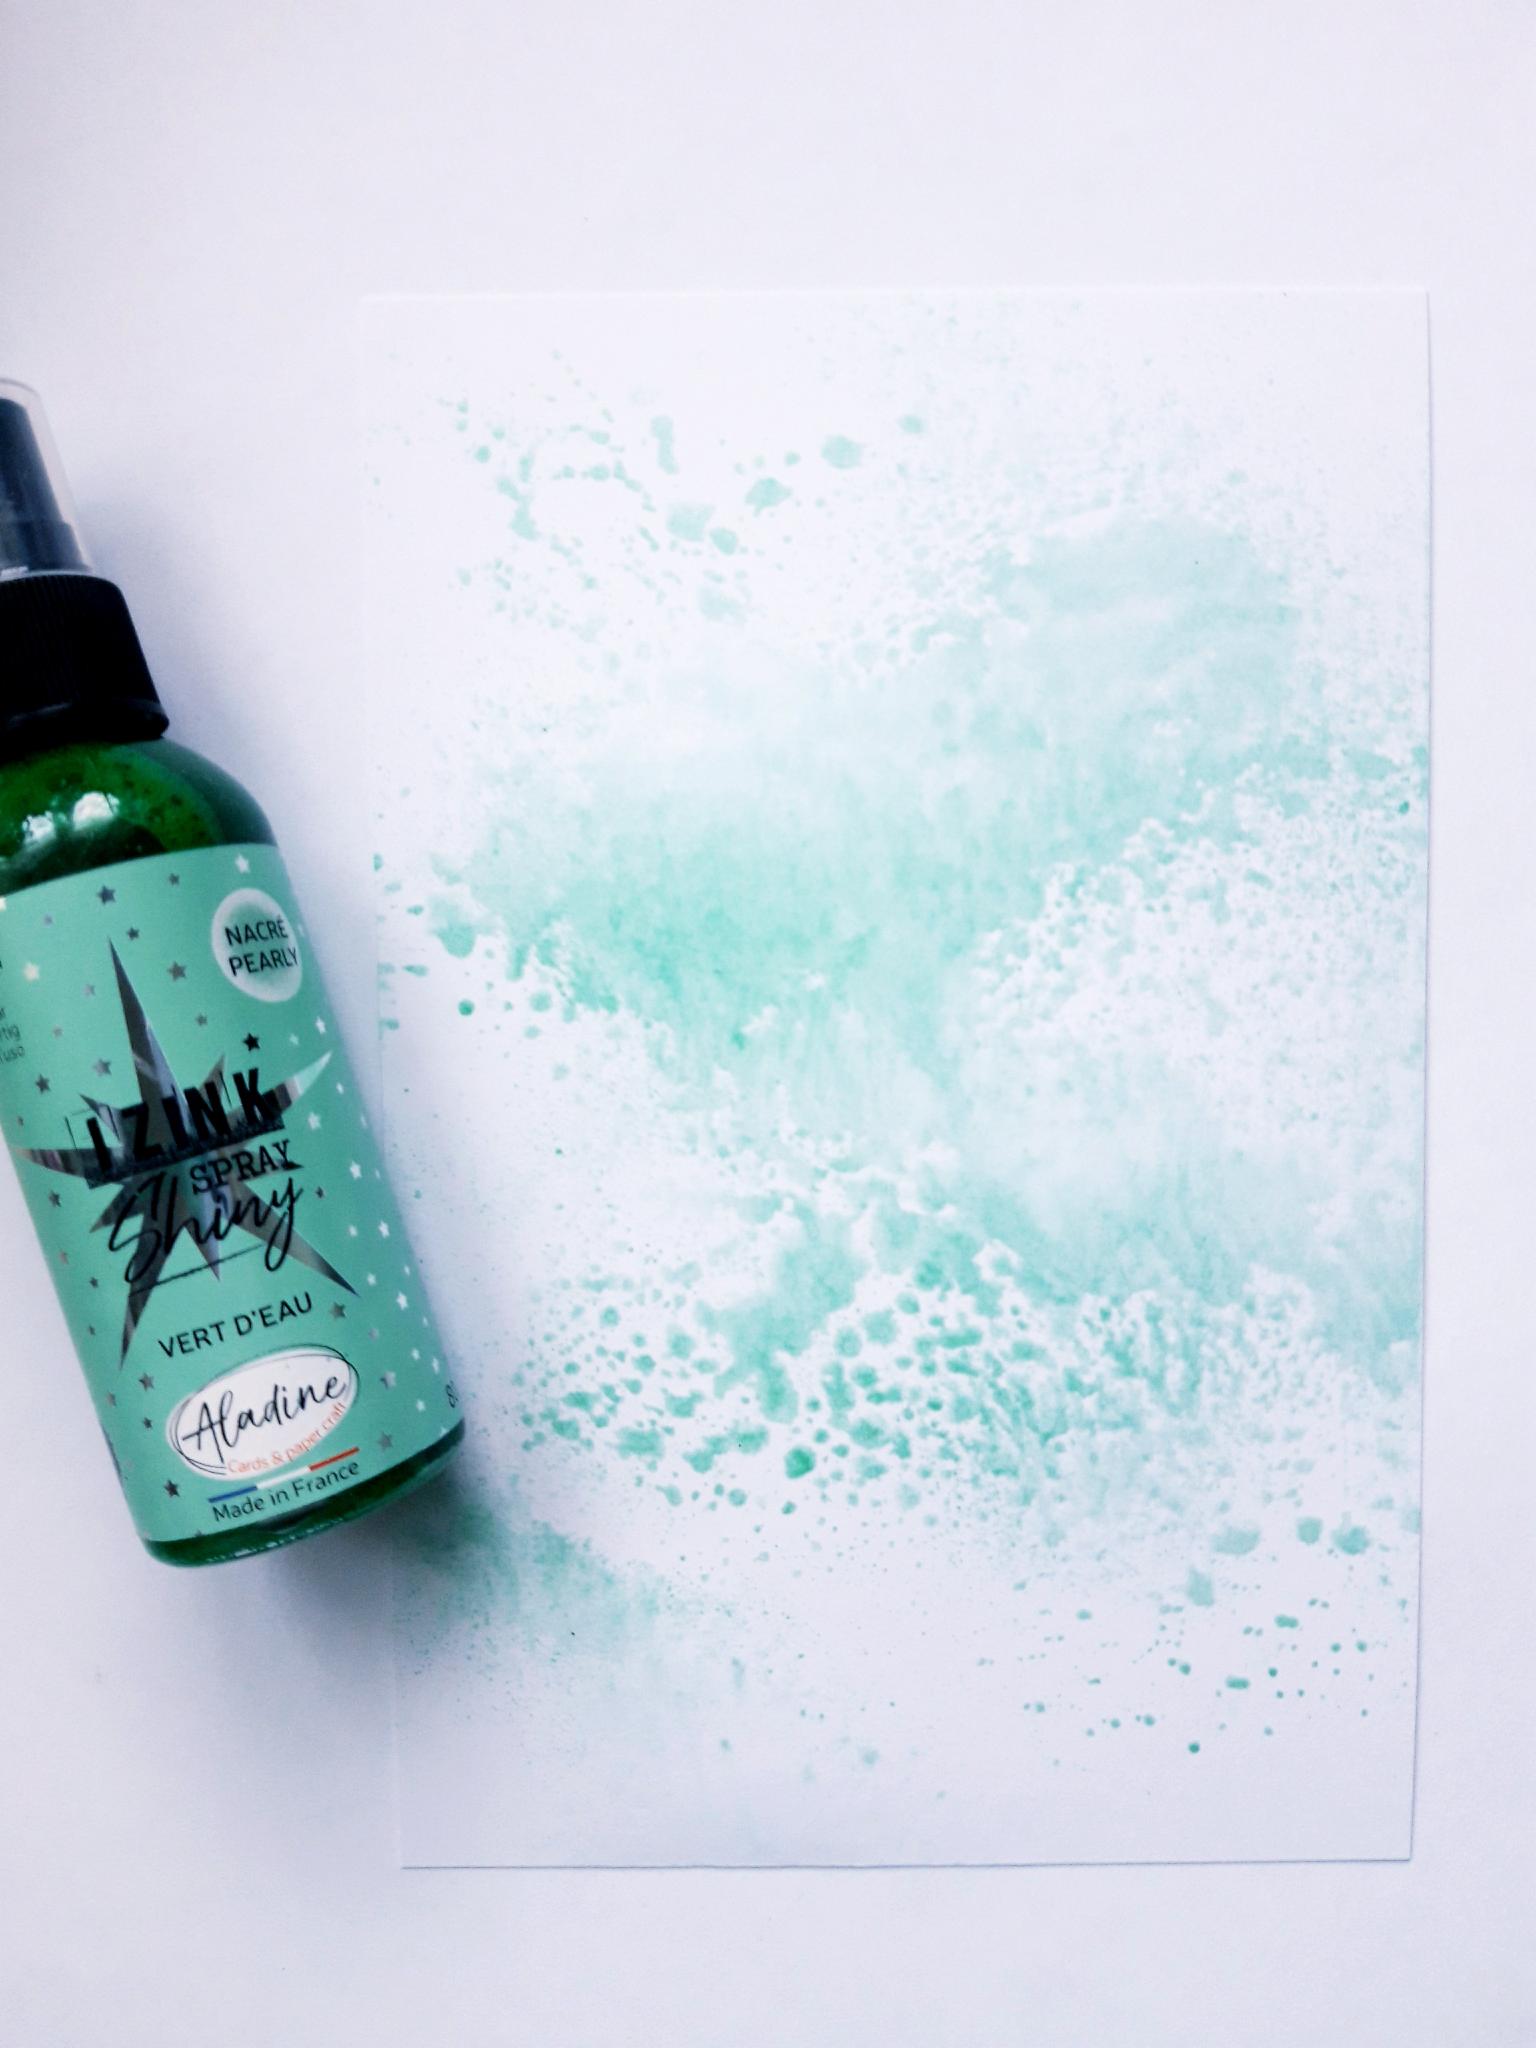
|
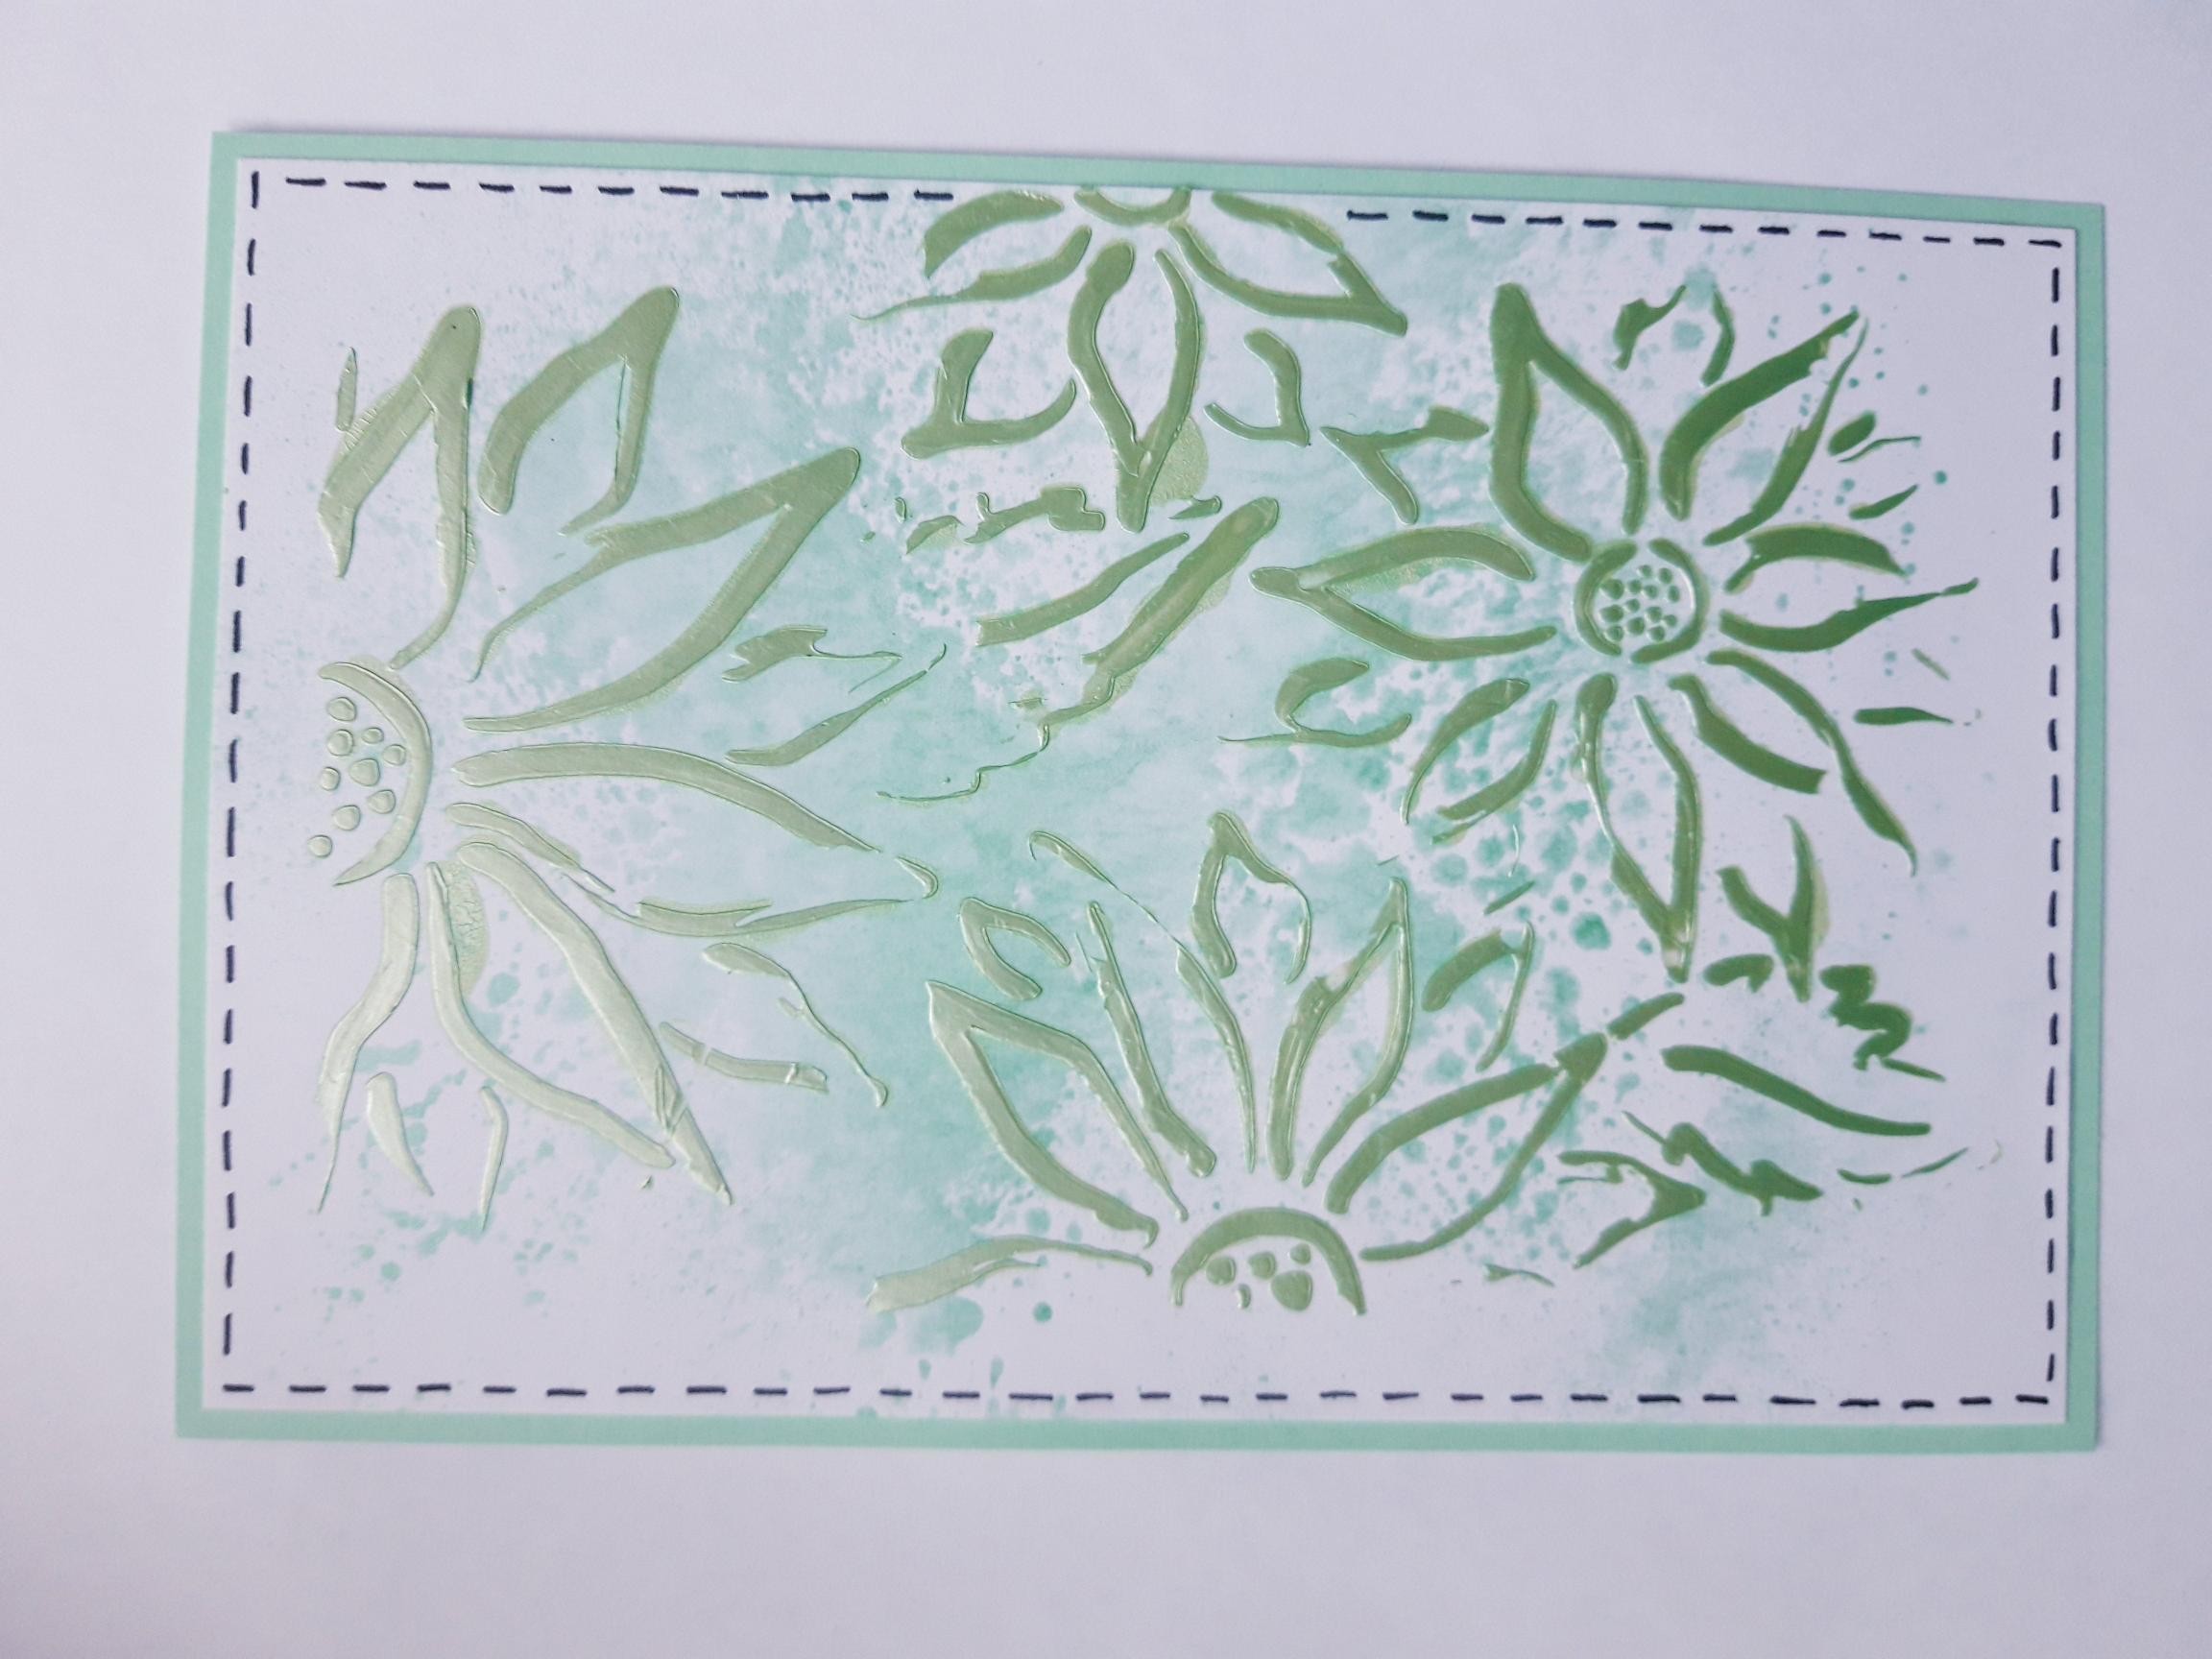
Spray the Izink Shiny Vert D'Eau Spray on to a craft, or glass mat. Spritz with a little water then pick up the ink on to the white cardstock (7 3/4 x 5 1/4"). Dry thoroughly.
|
|
Place the Flower Burst Stencil on top of your background. Use a palette knife to blend the Izink Pearly Paste through the stencil (Clean stencil off immediately). Allow to dry naturally, or speed it up with a heat gun.
|
|
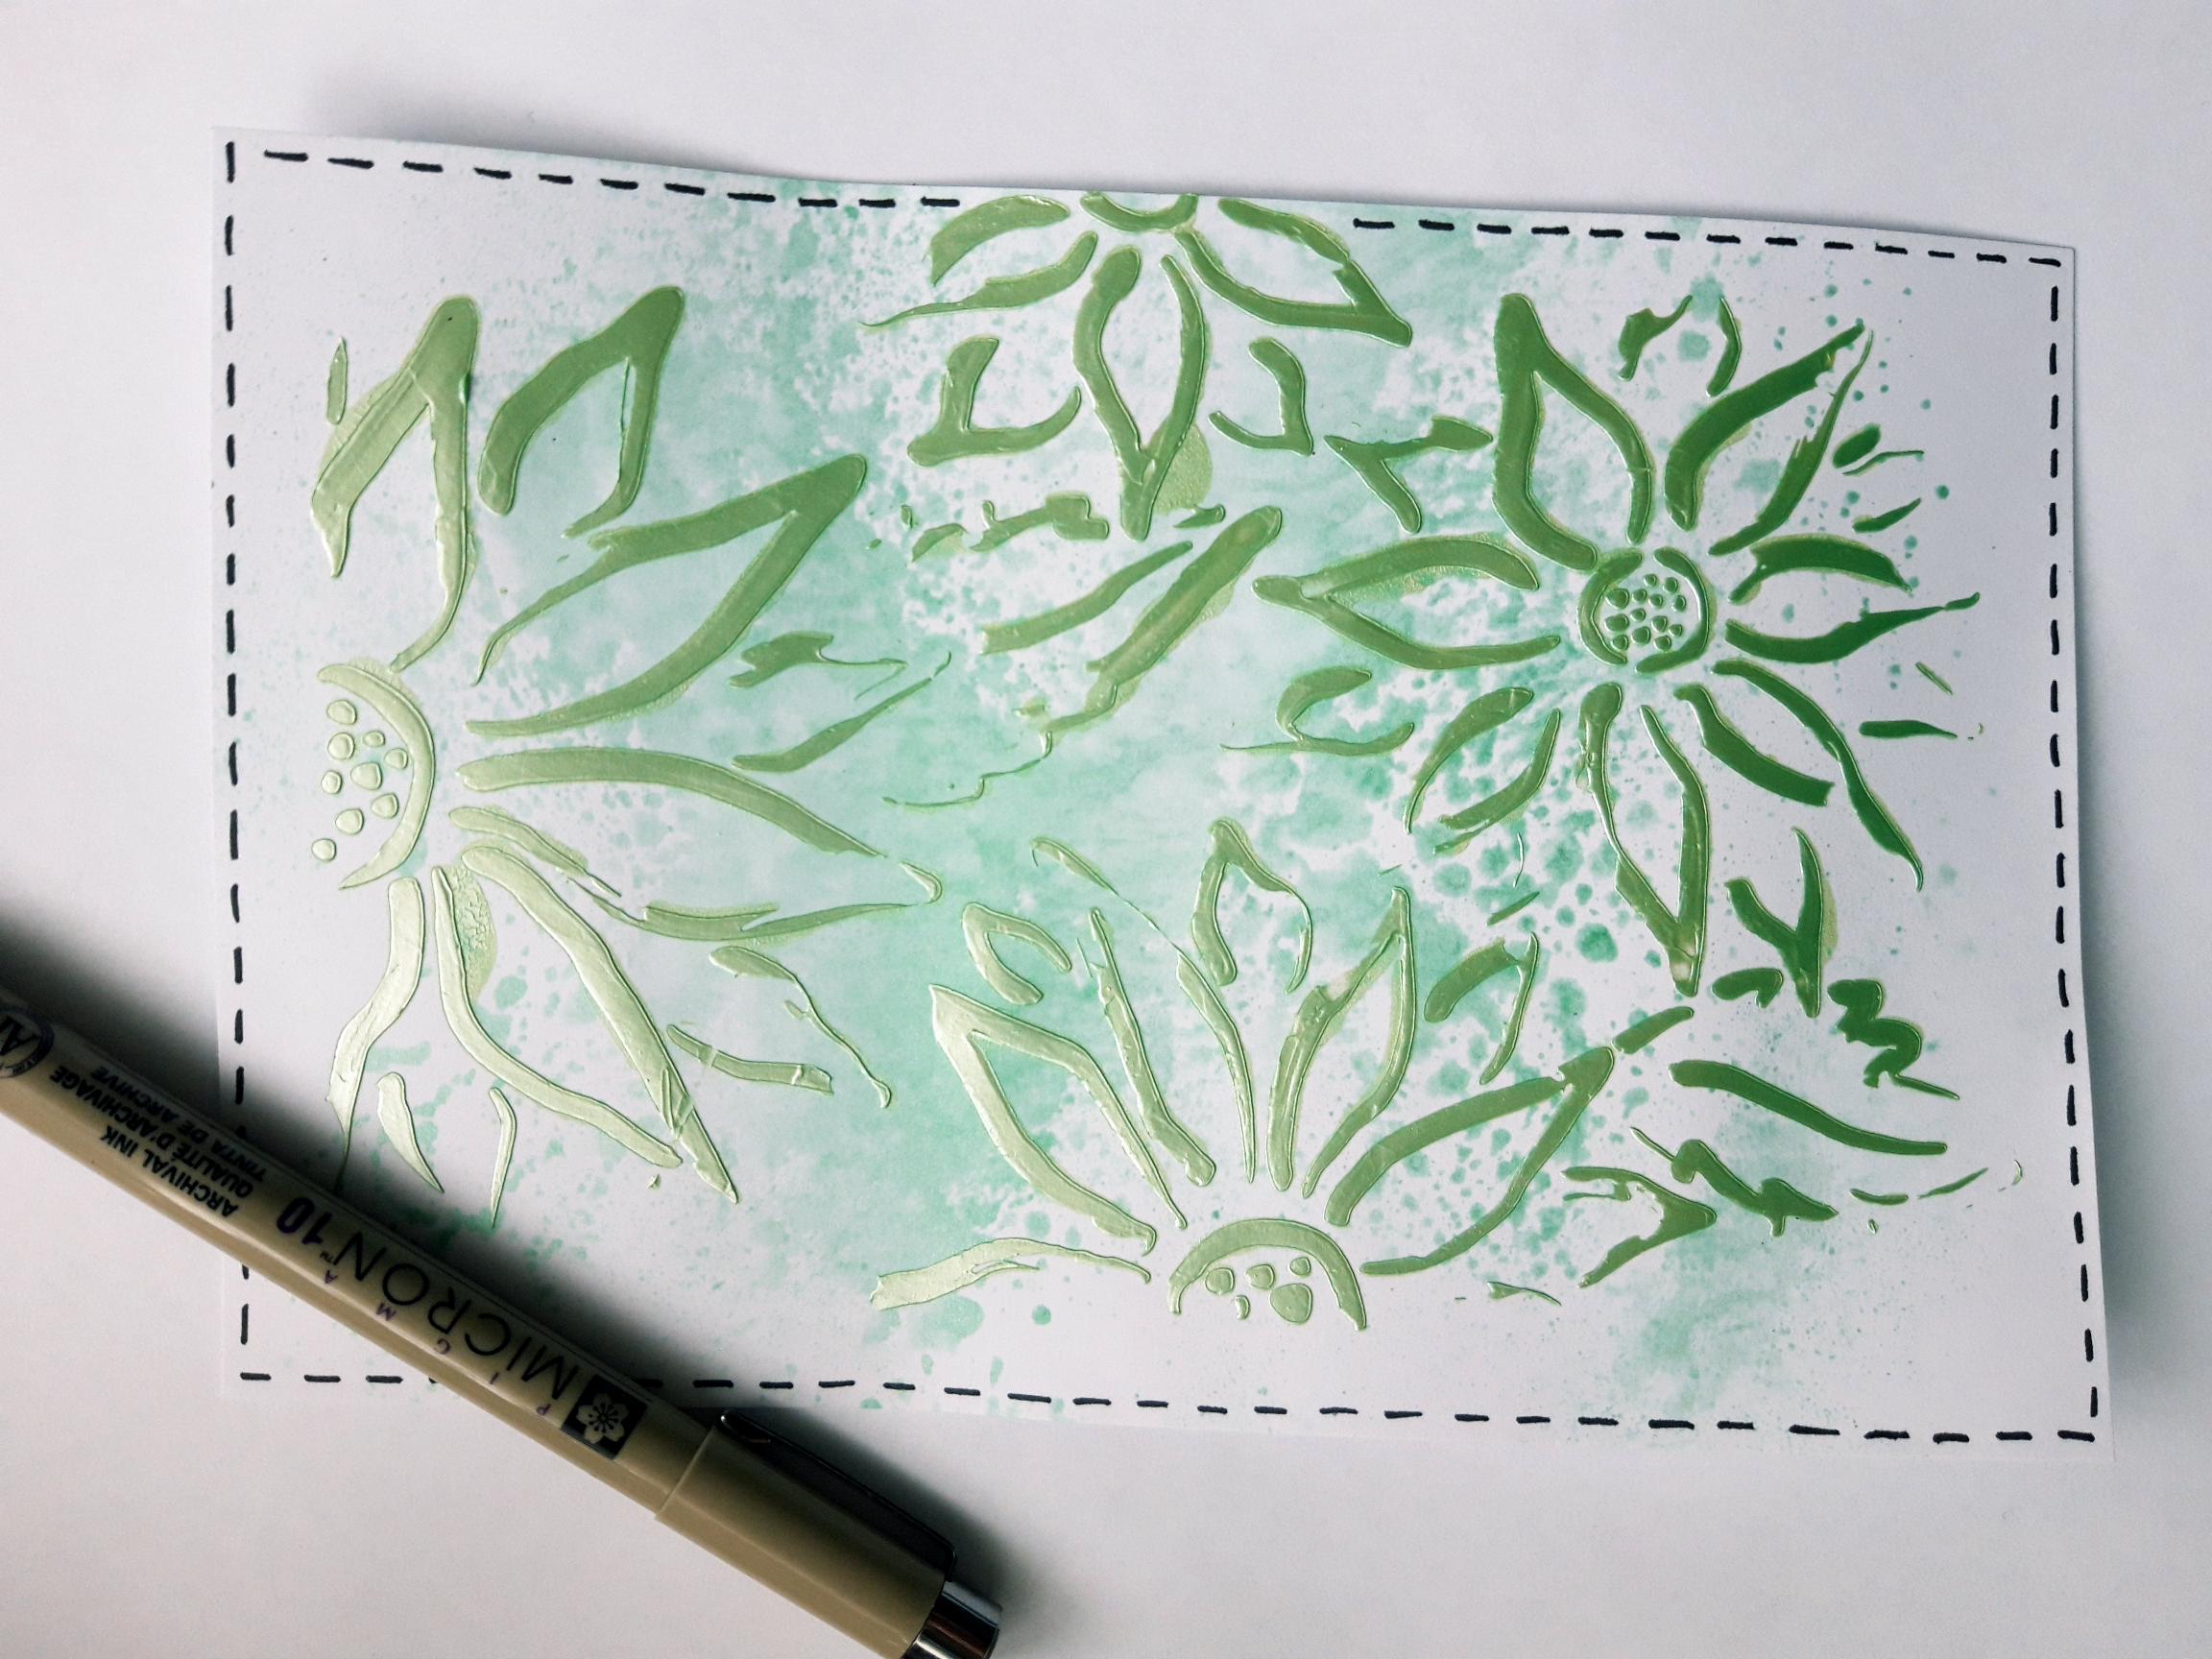
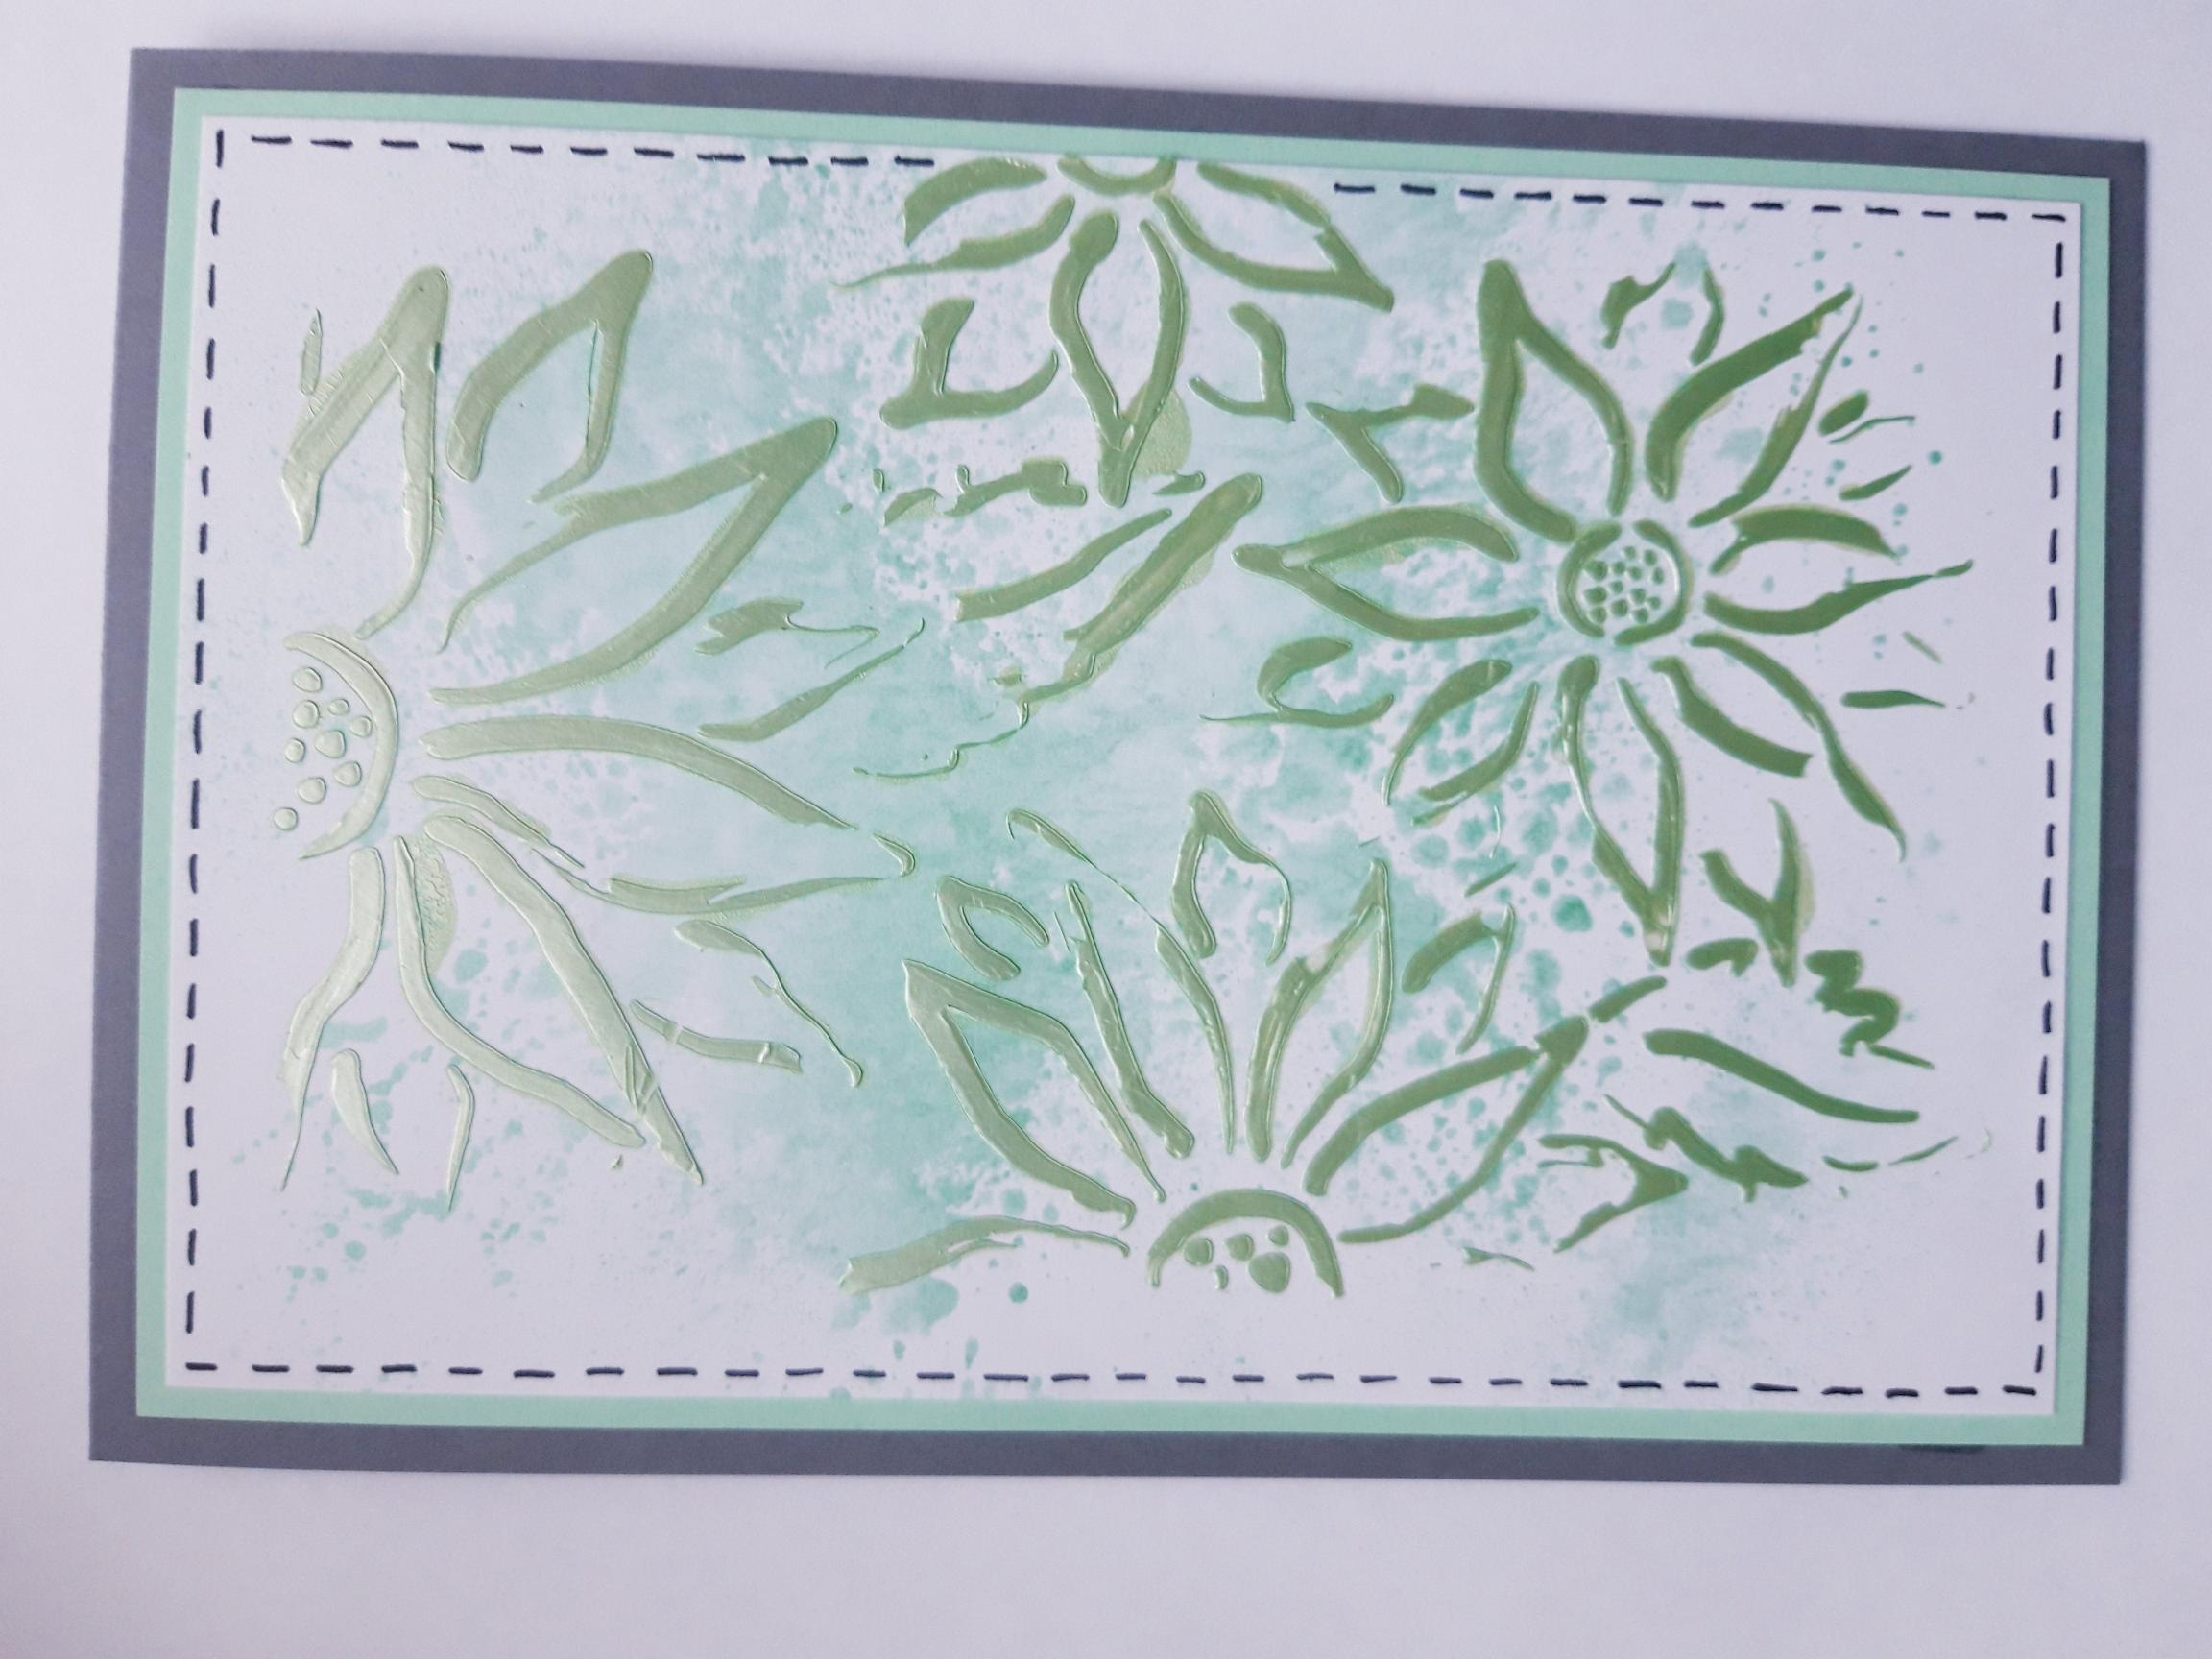
Draw a stitched frame around your background, with a black pen. |
|
Glue your background on to the green card. |
|
Glue this on top of your top folding card blank, and set to one side. |
|
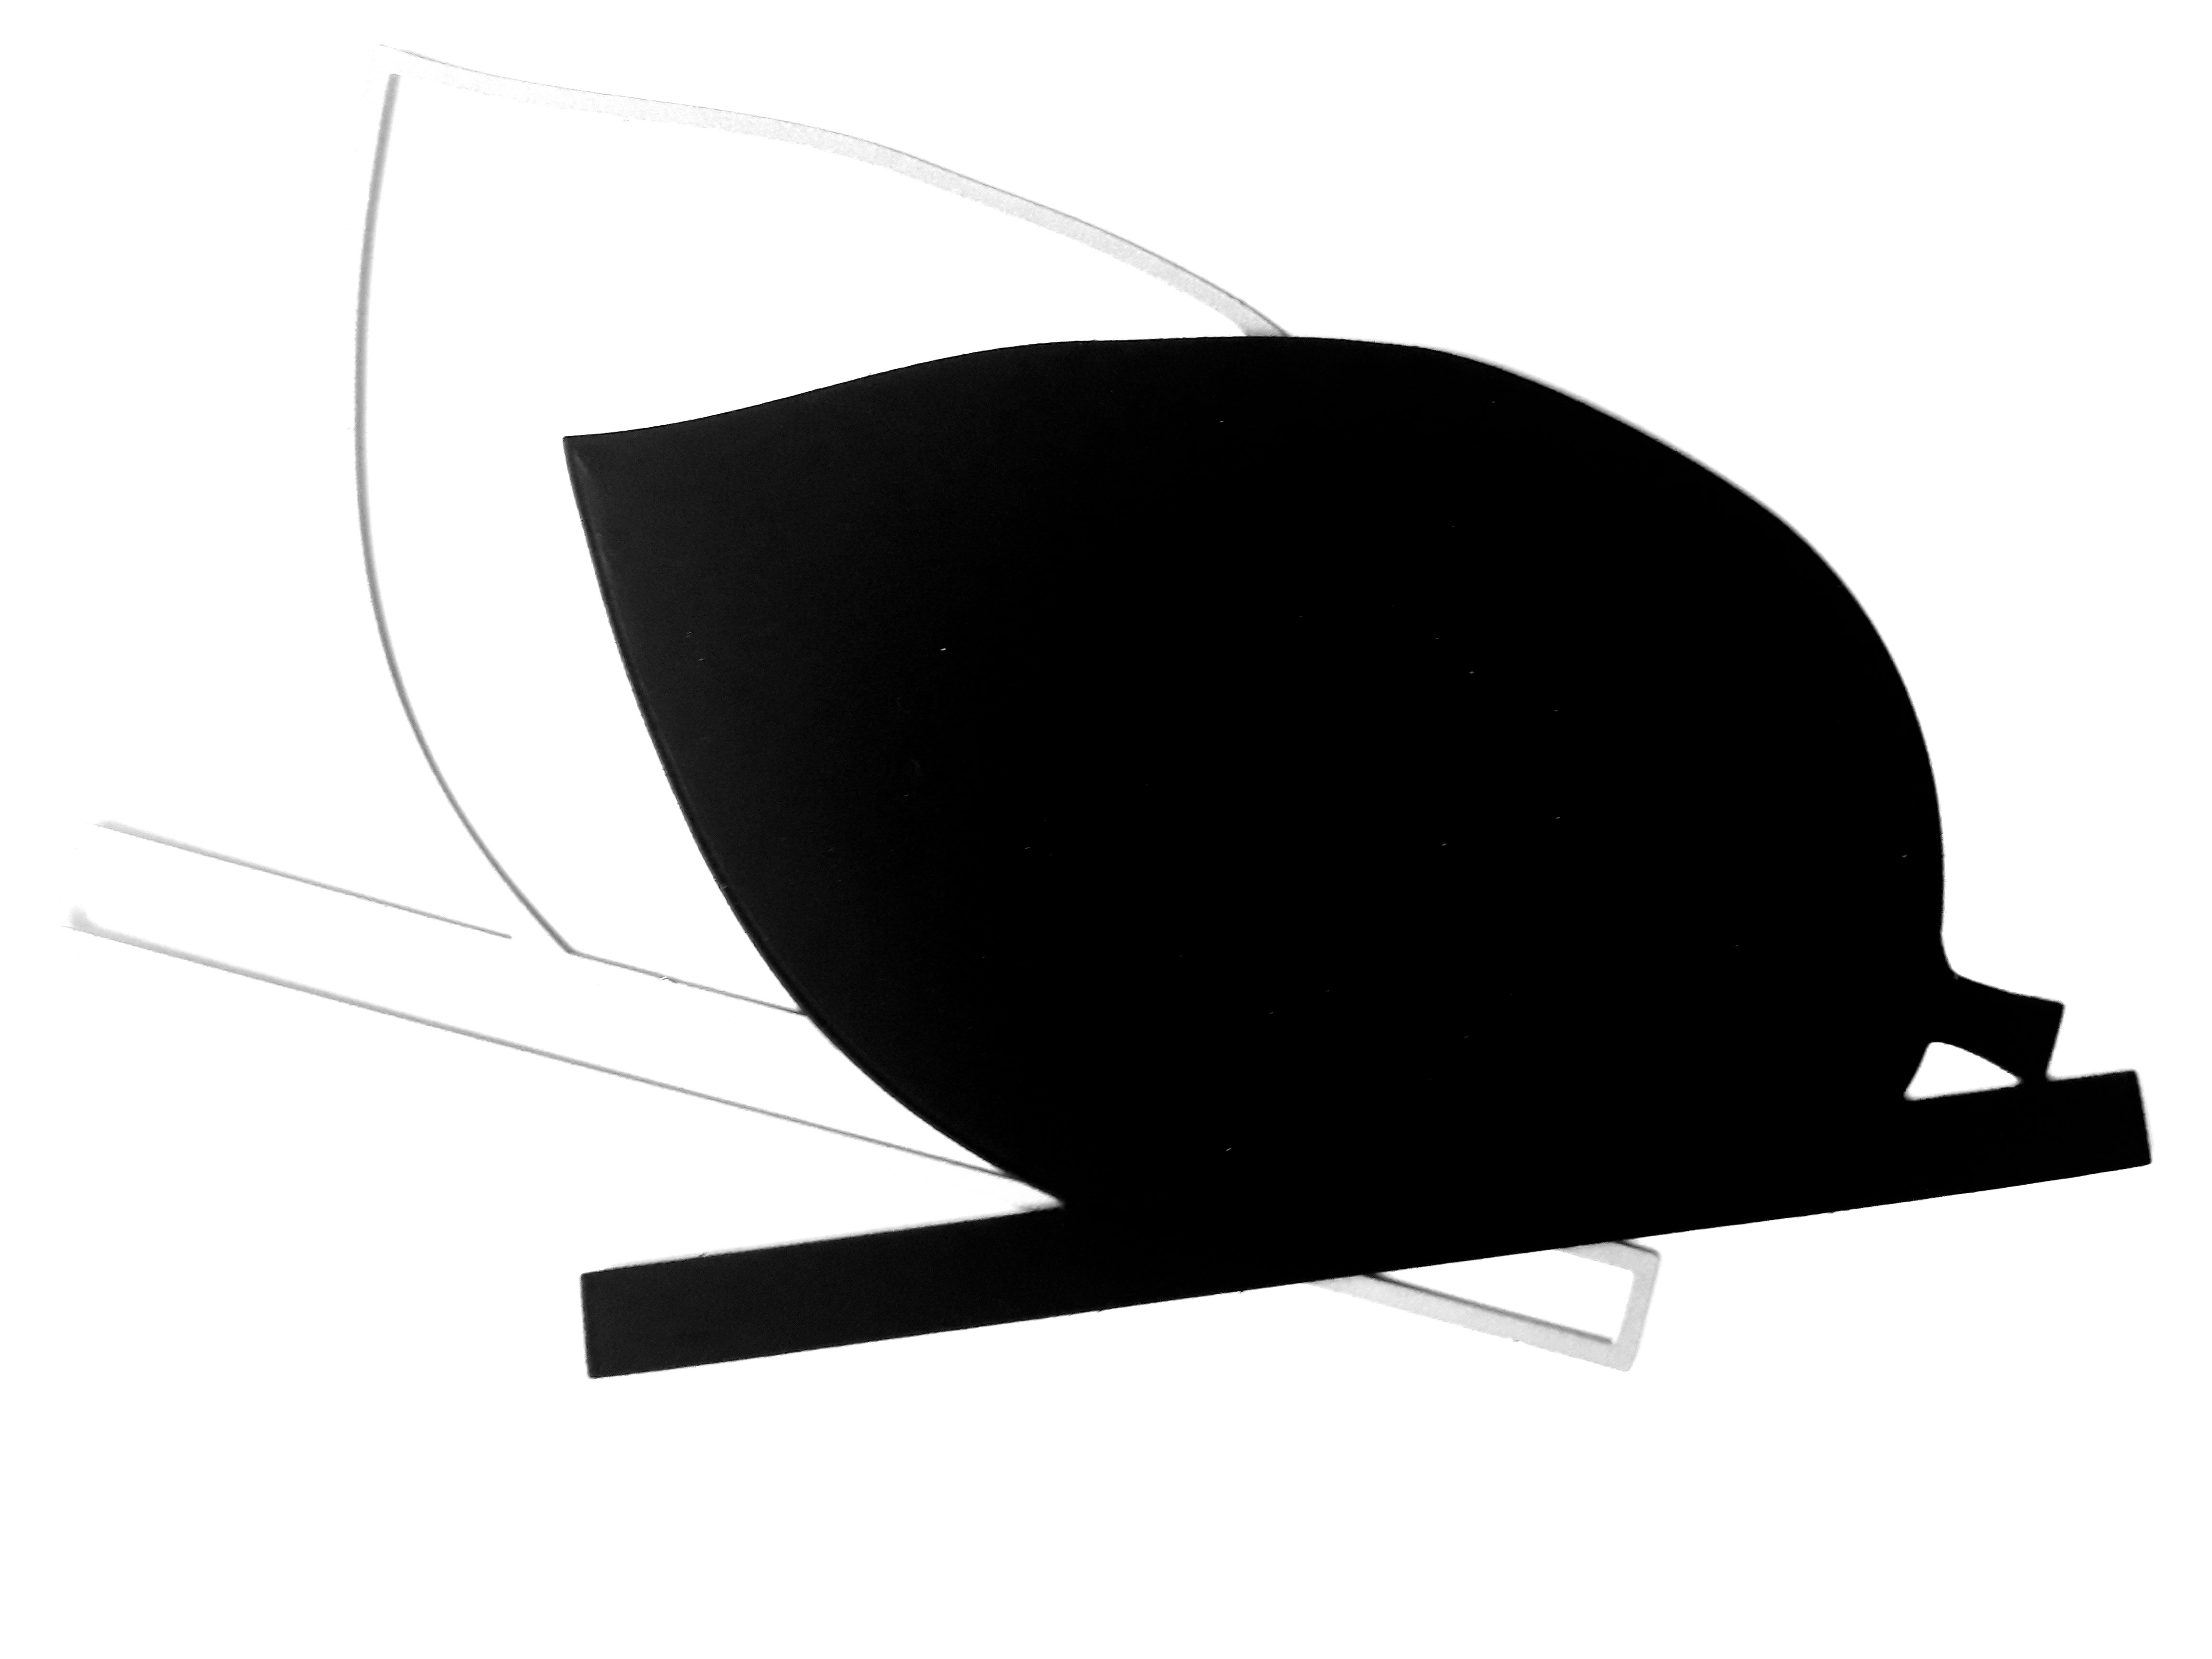
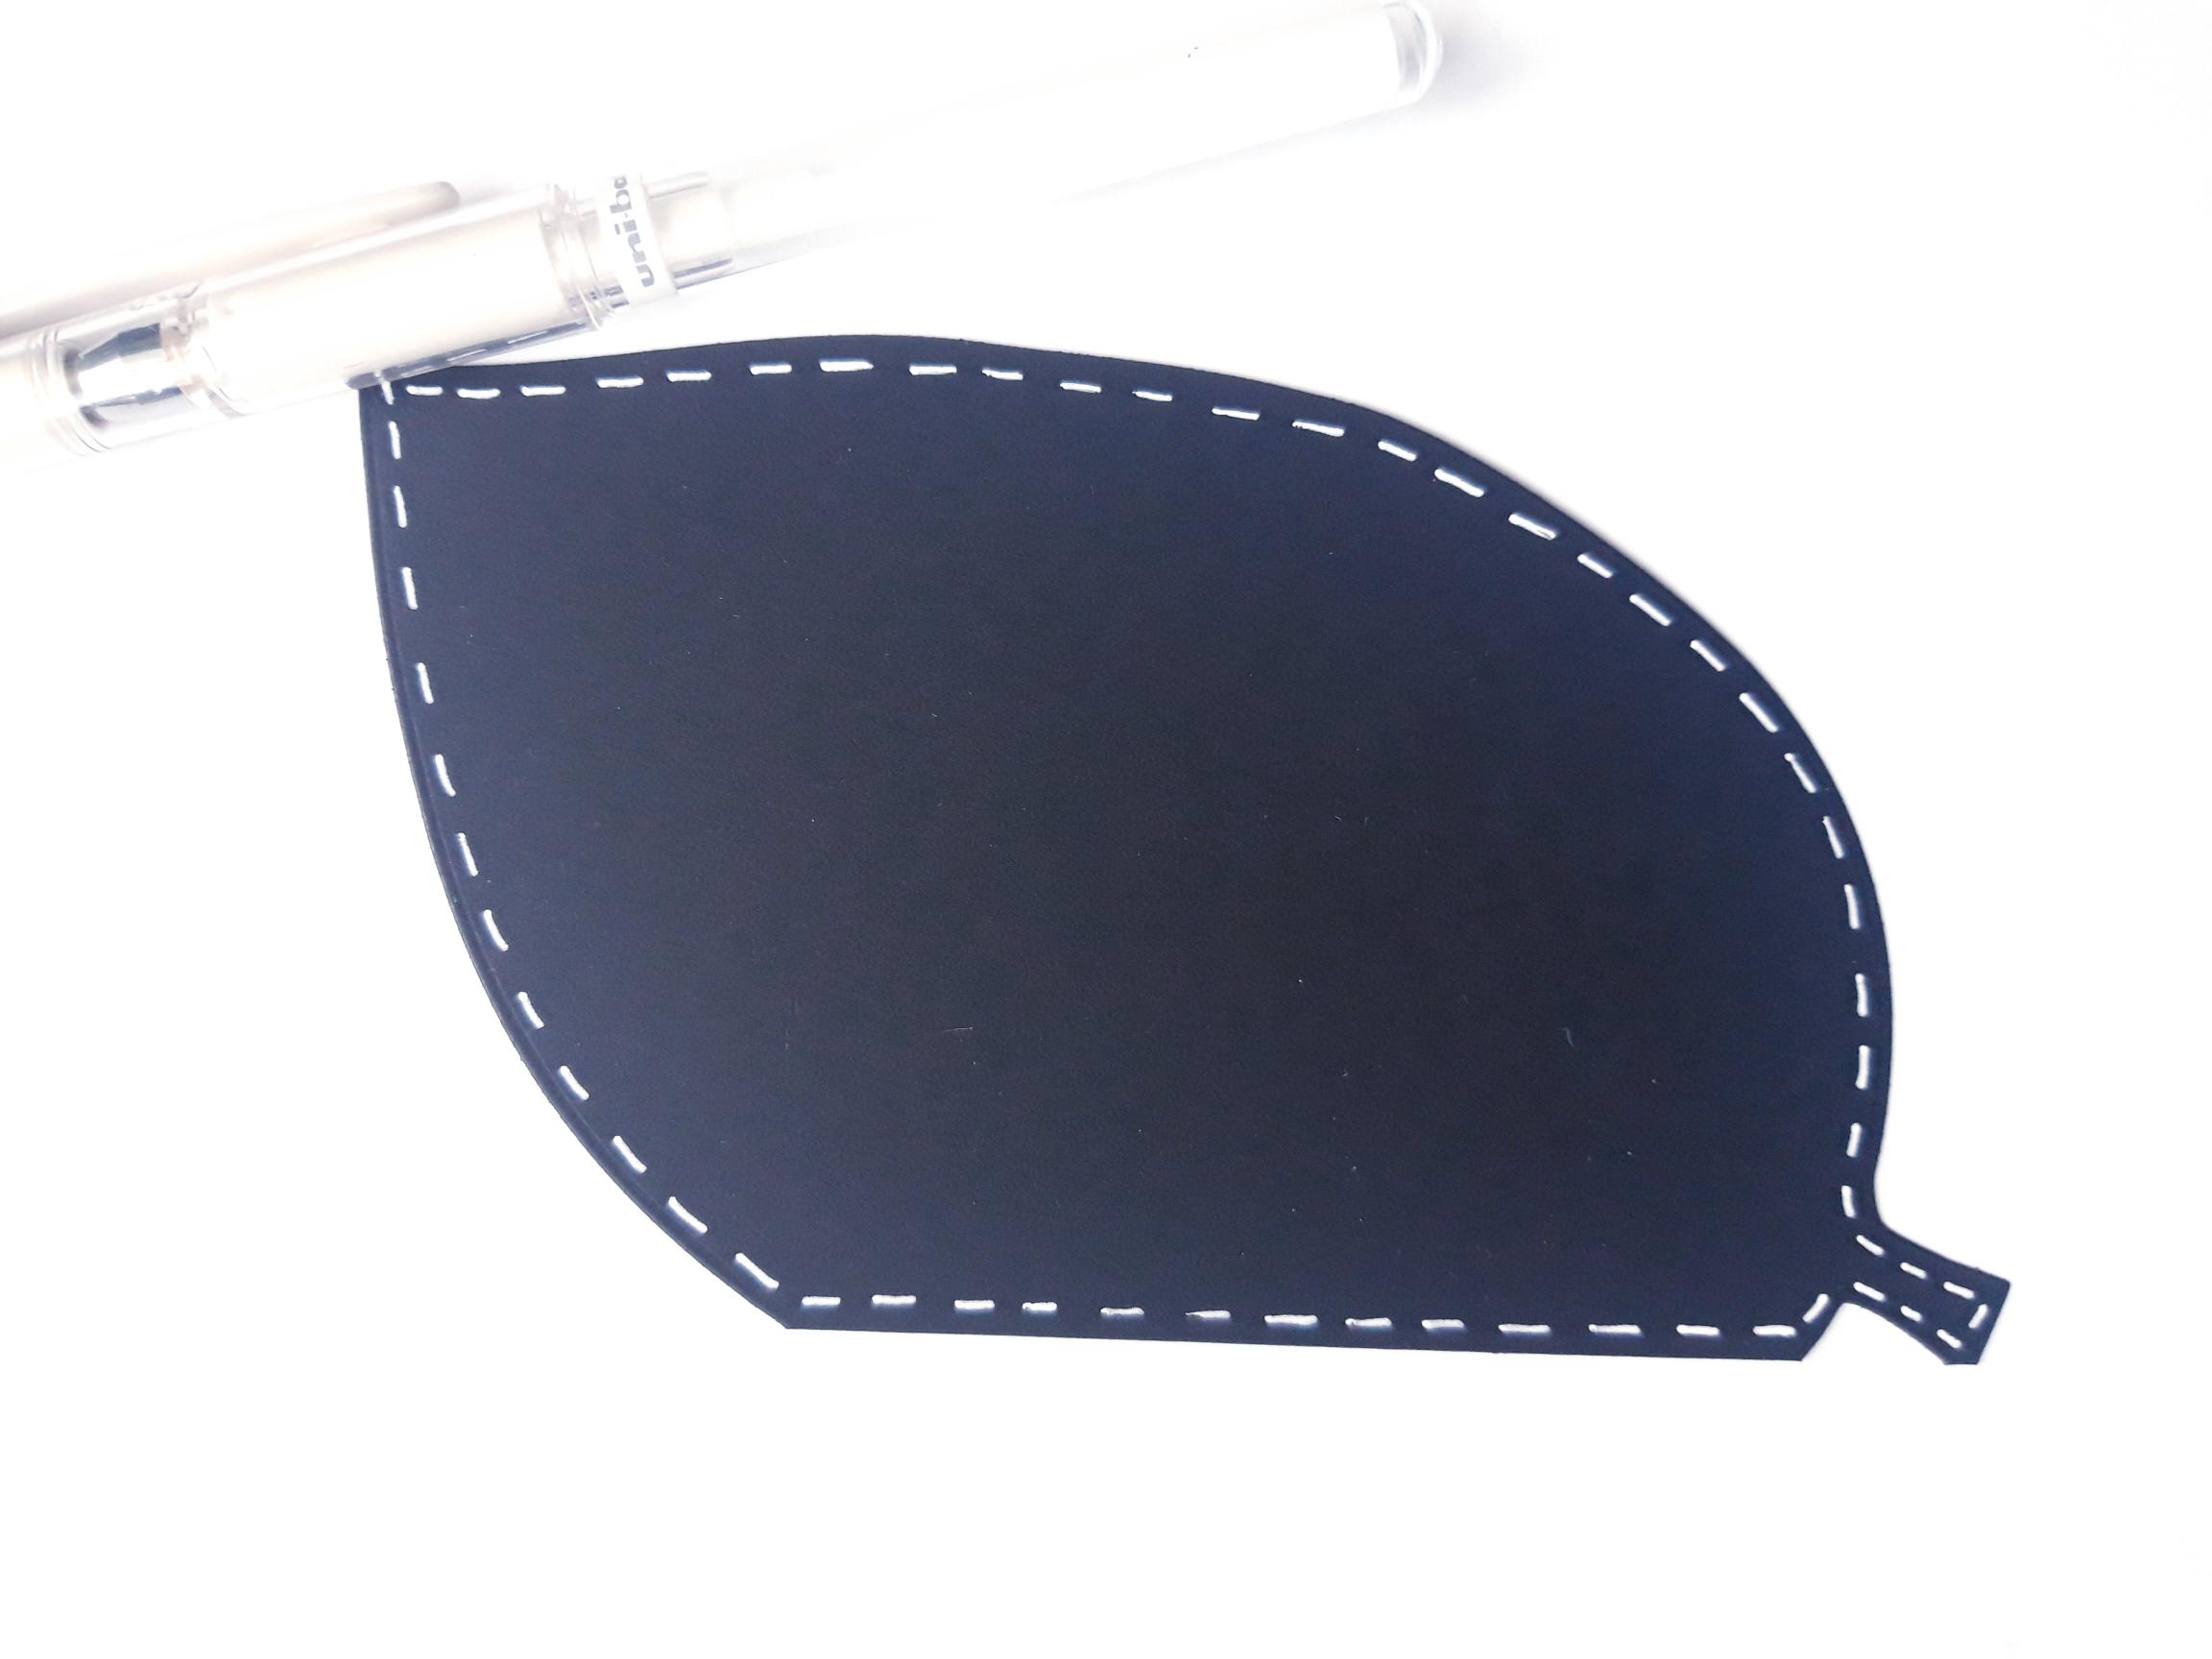
Place the leaf die, from the Take A Leaf Creative Dies set, on to the corner of the A4 black cardstock. Cut the card roughly around it, and set the remainder of the card to one side for later. Run it through your die cutting machine. |
|
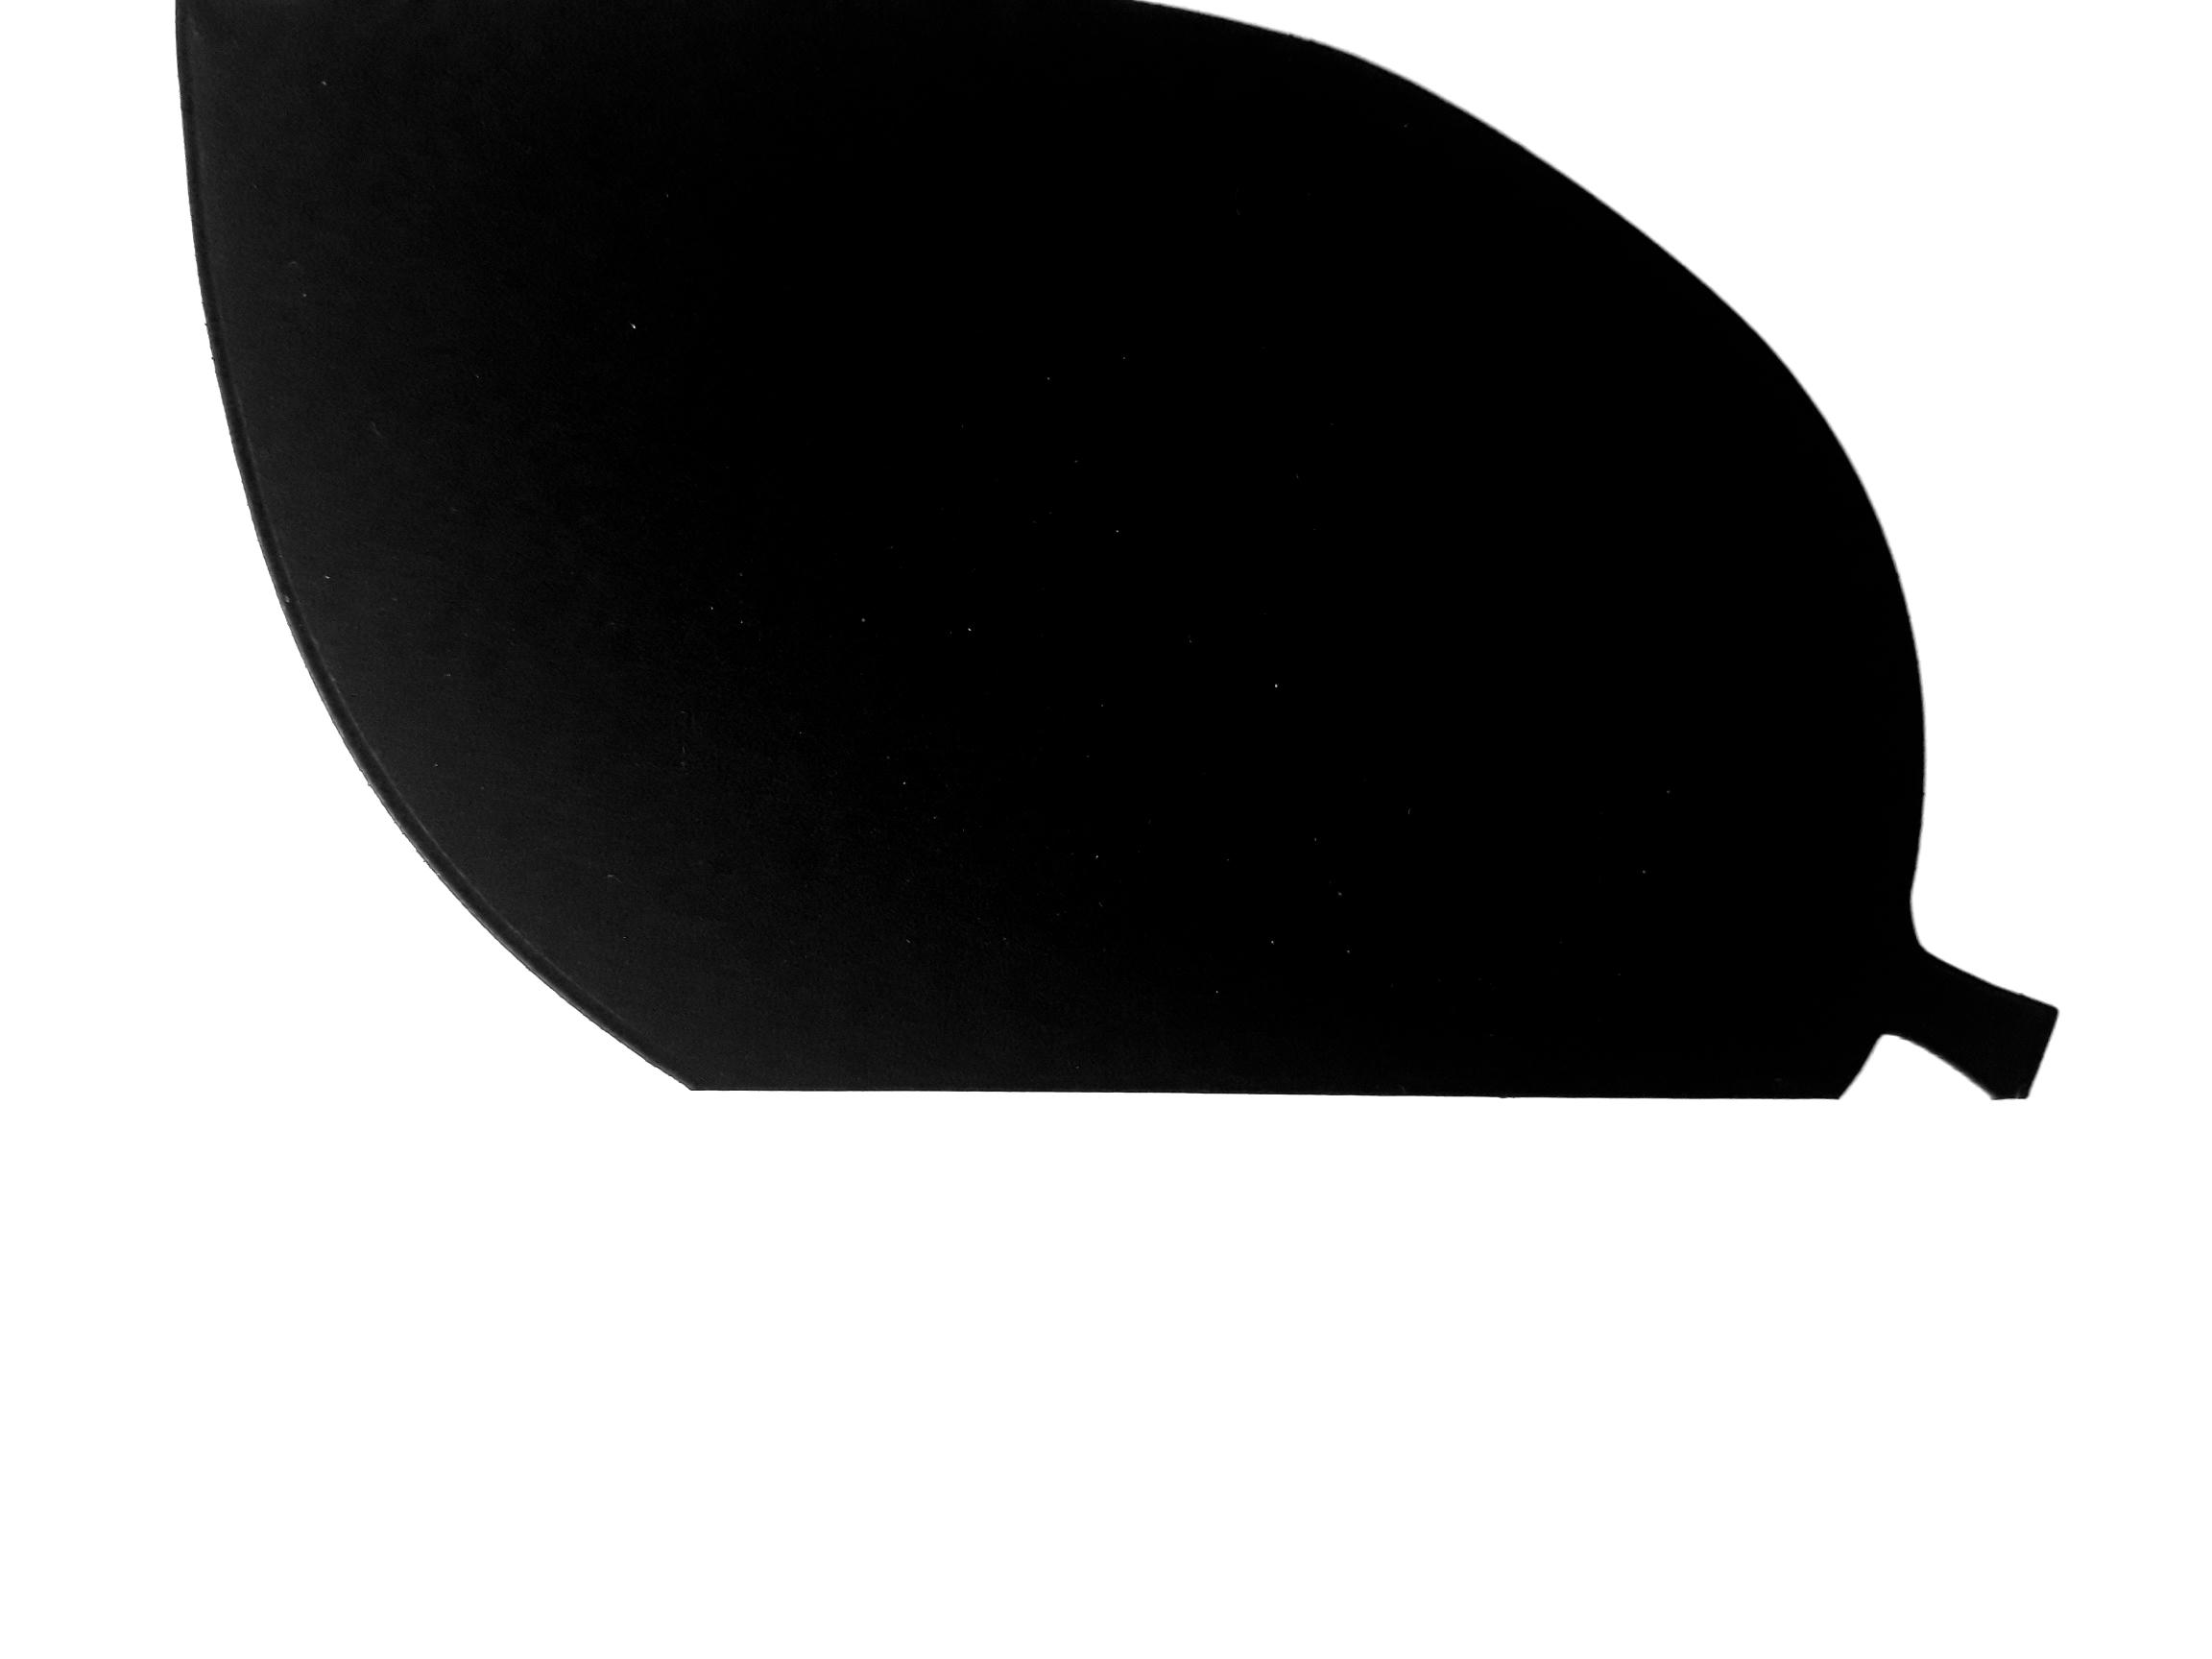
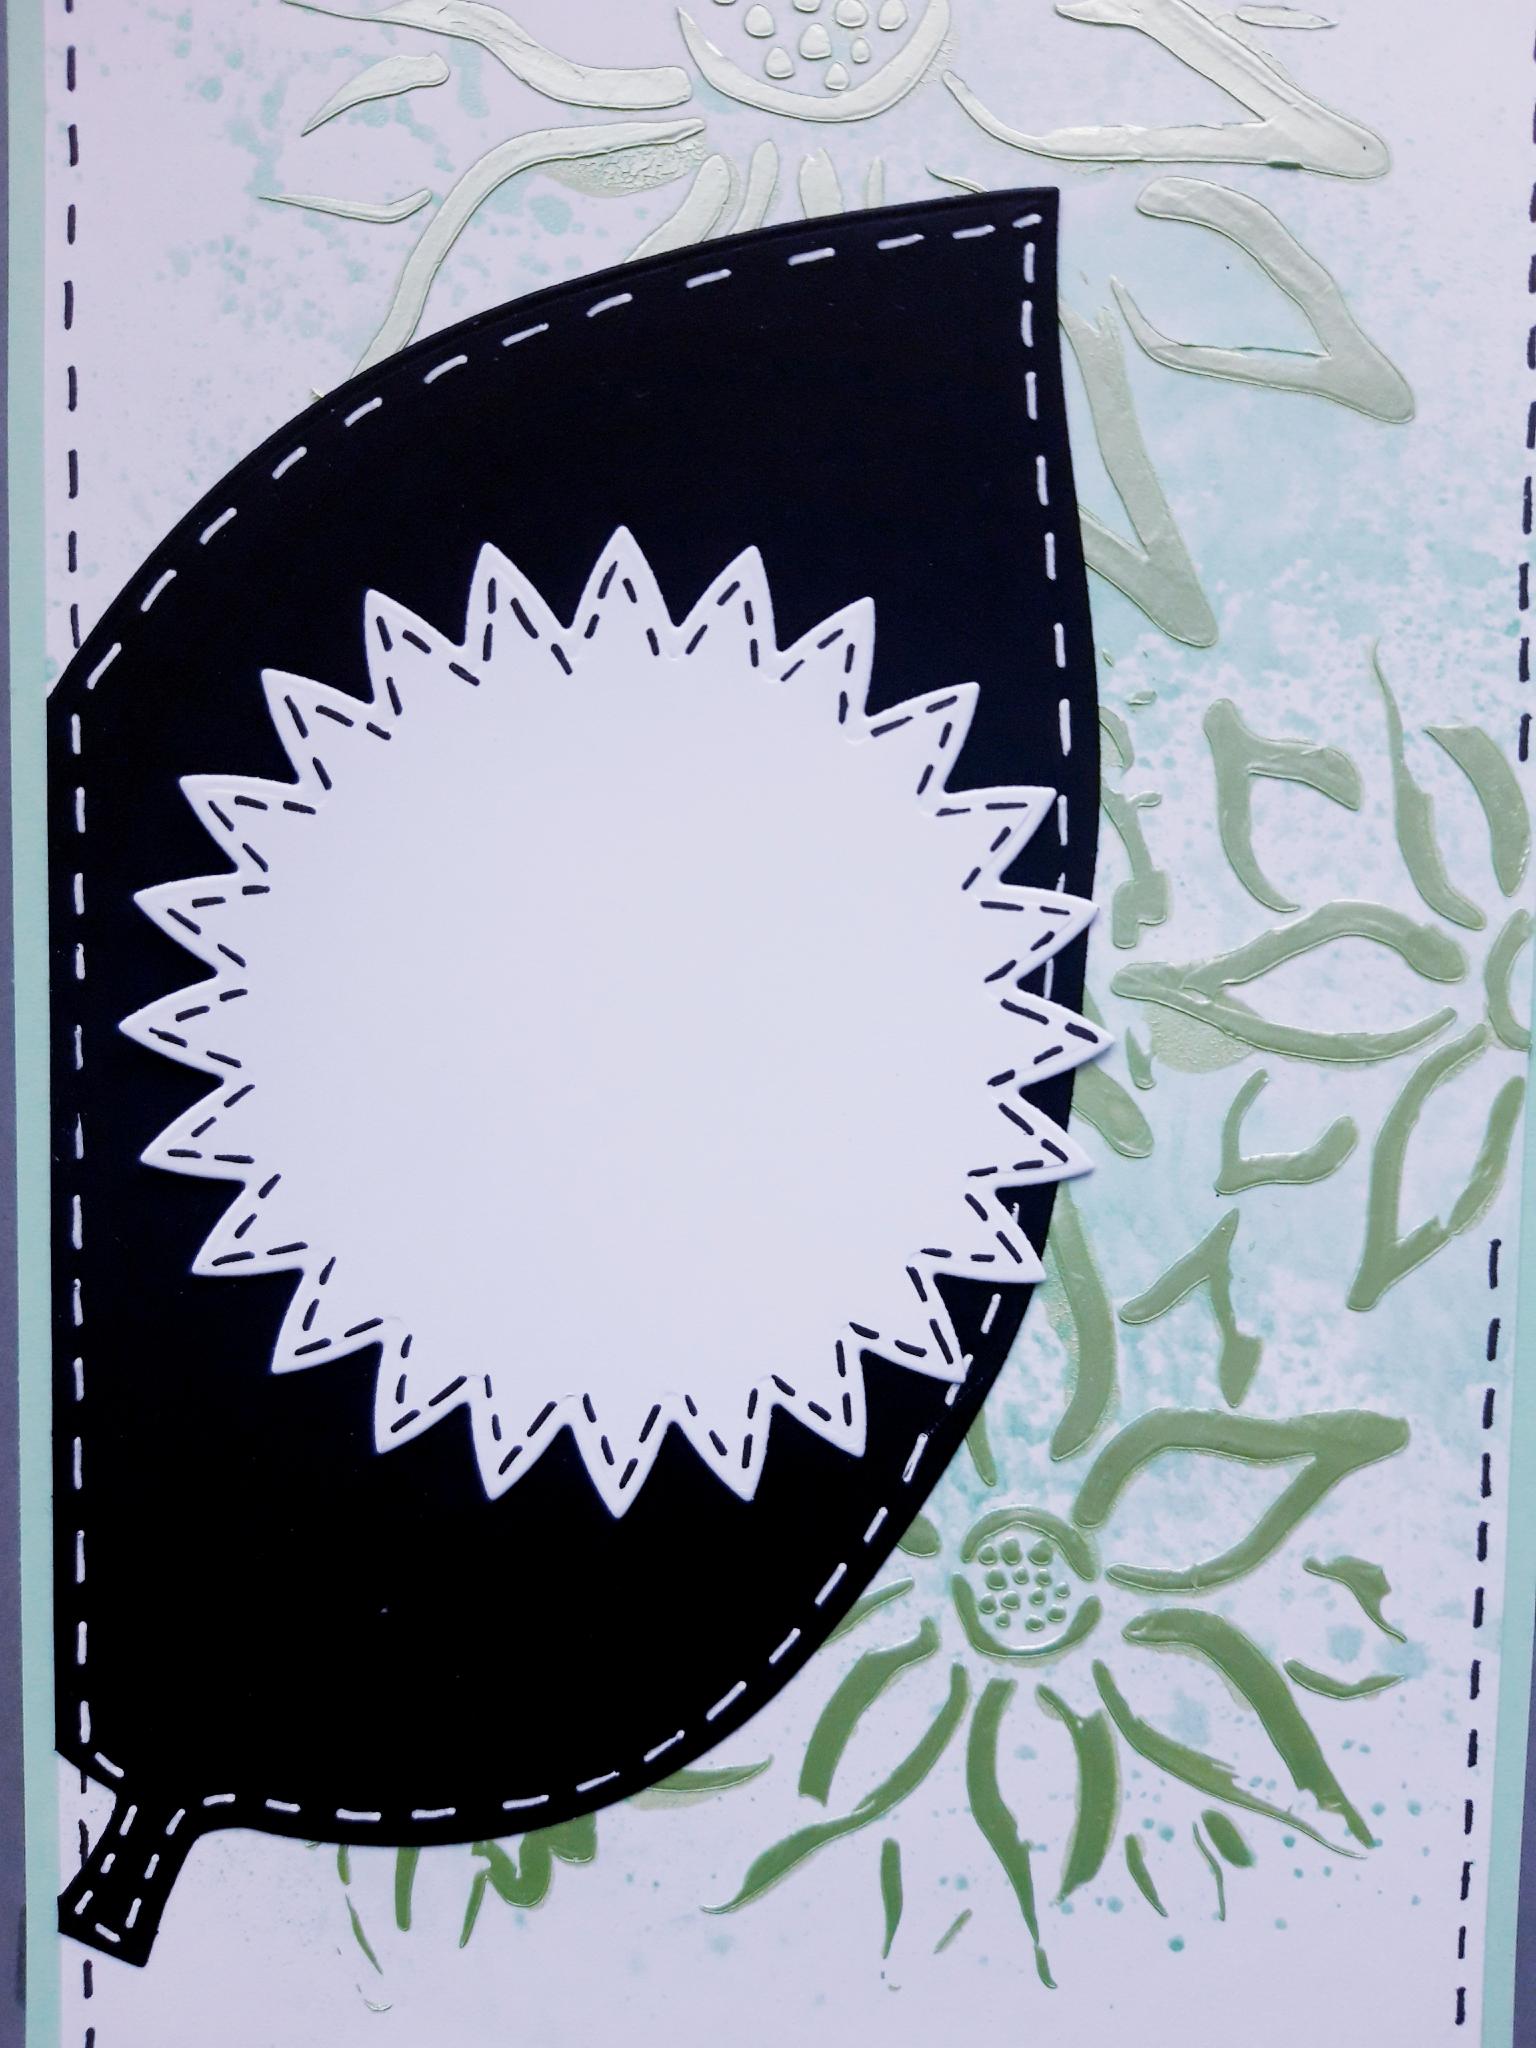
Cut the left hand spine off your leaf. |
|
Use a white gel pen to draw a stitched frame around your leaf. |
|
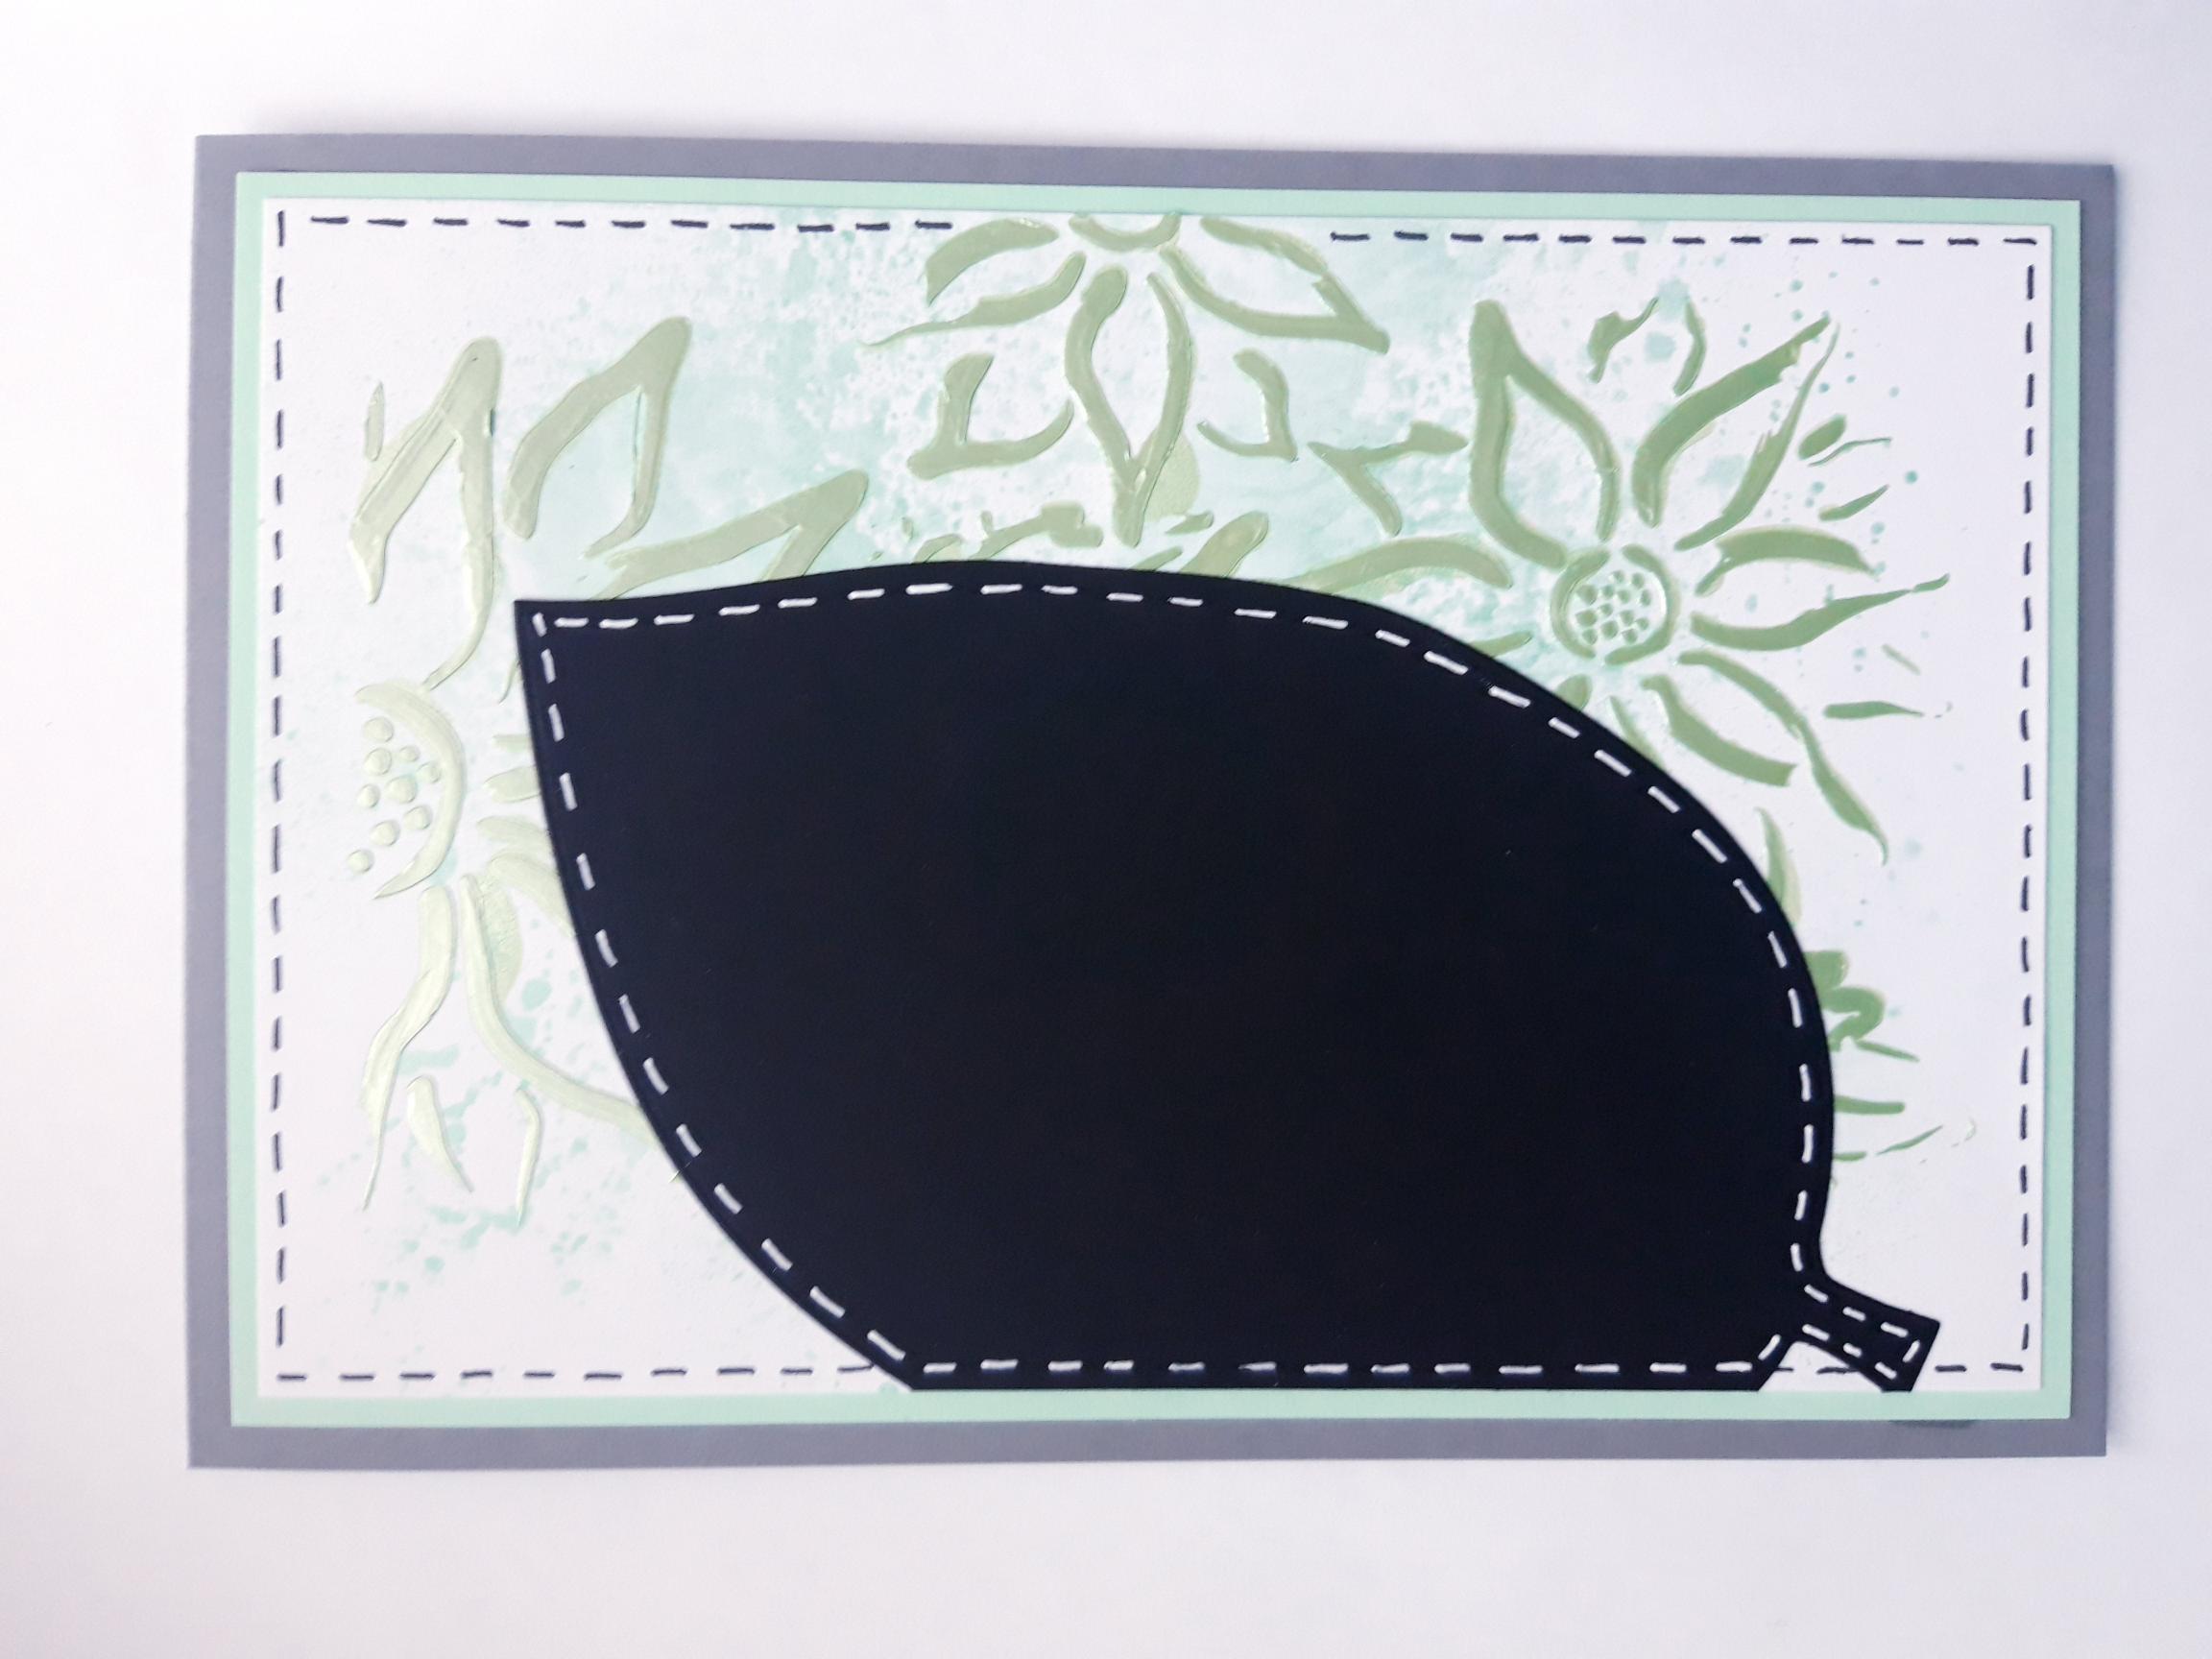
Adhere the leaf flush with the left hand side of your stencilled background. |
|
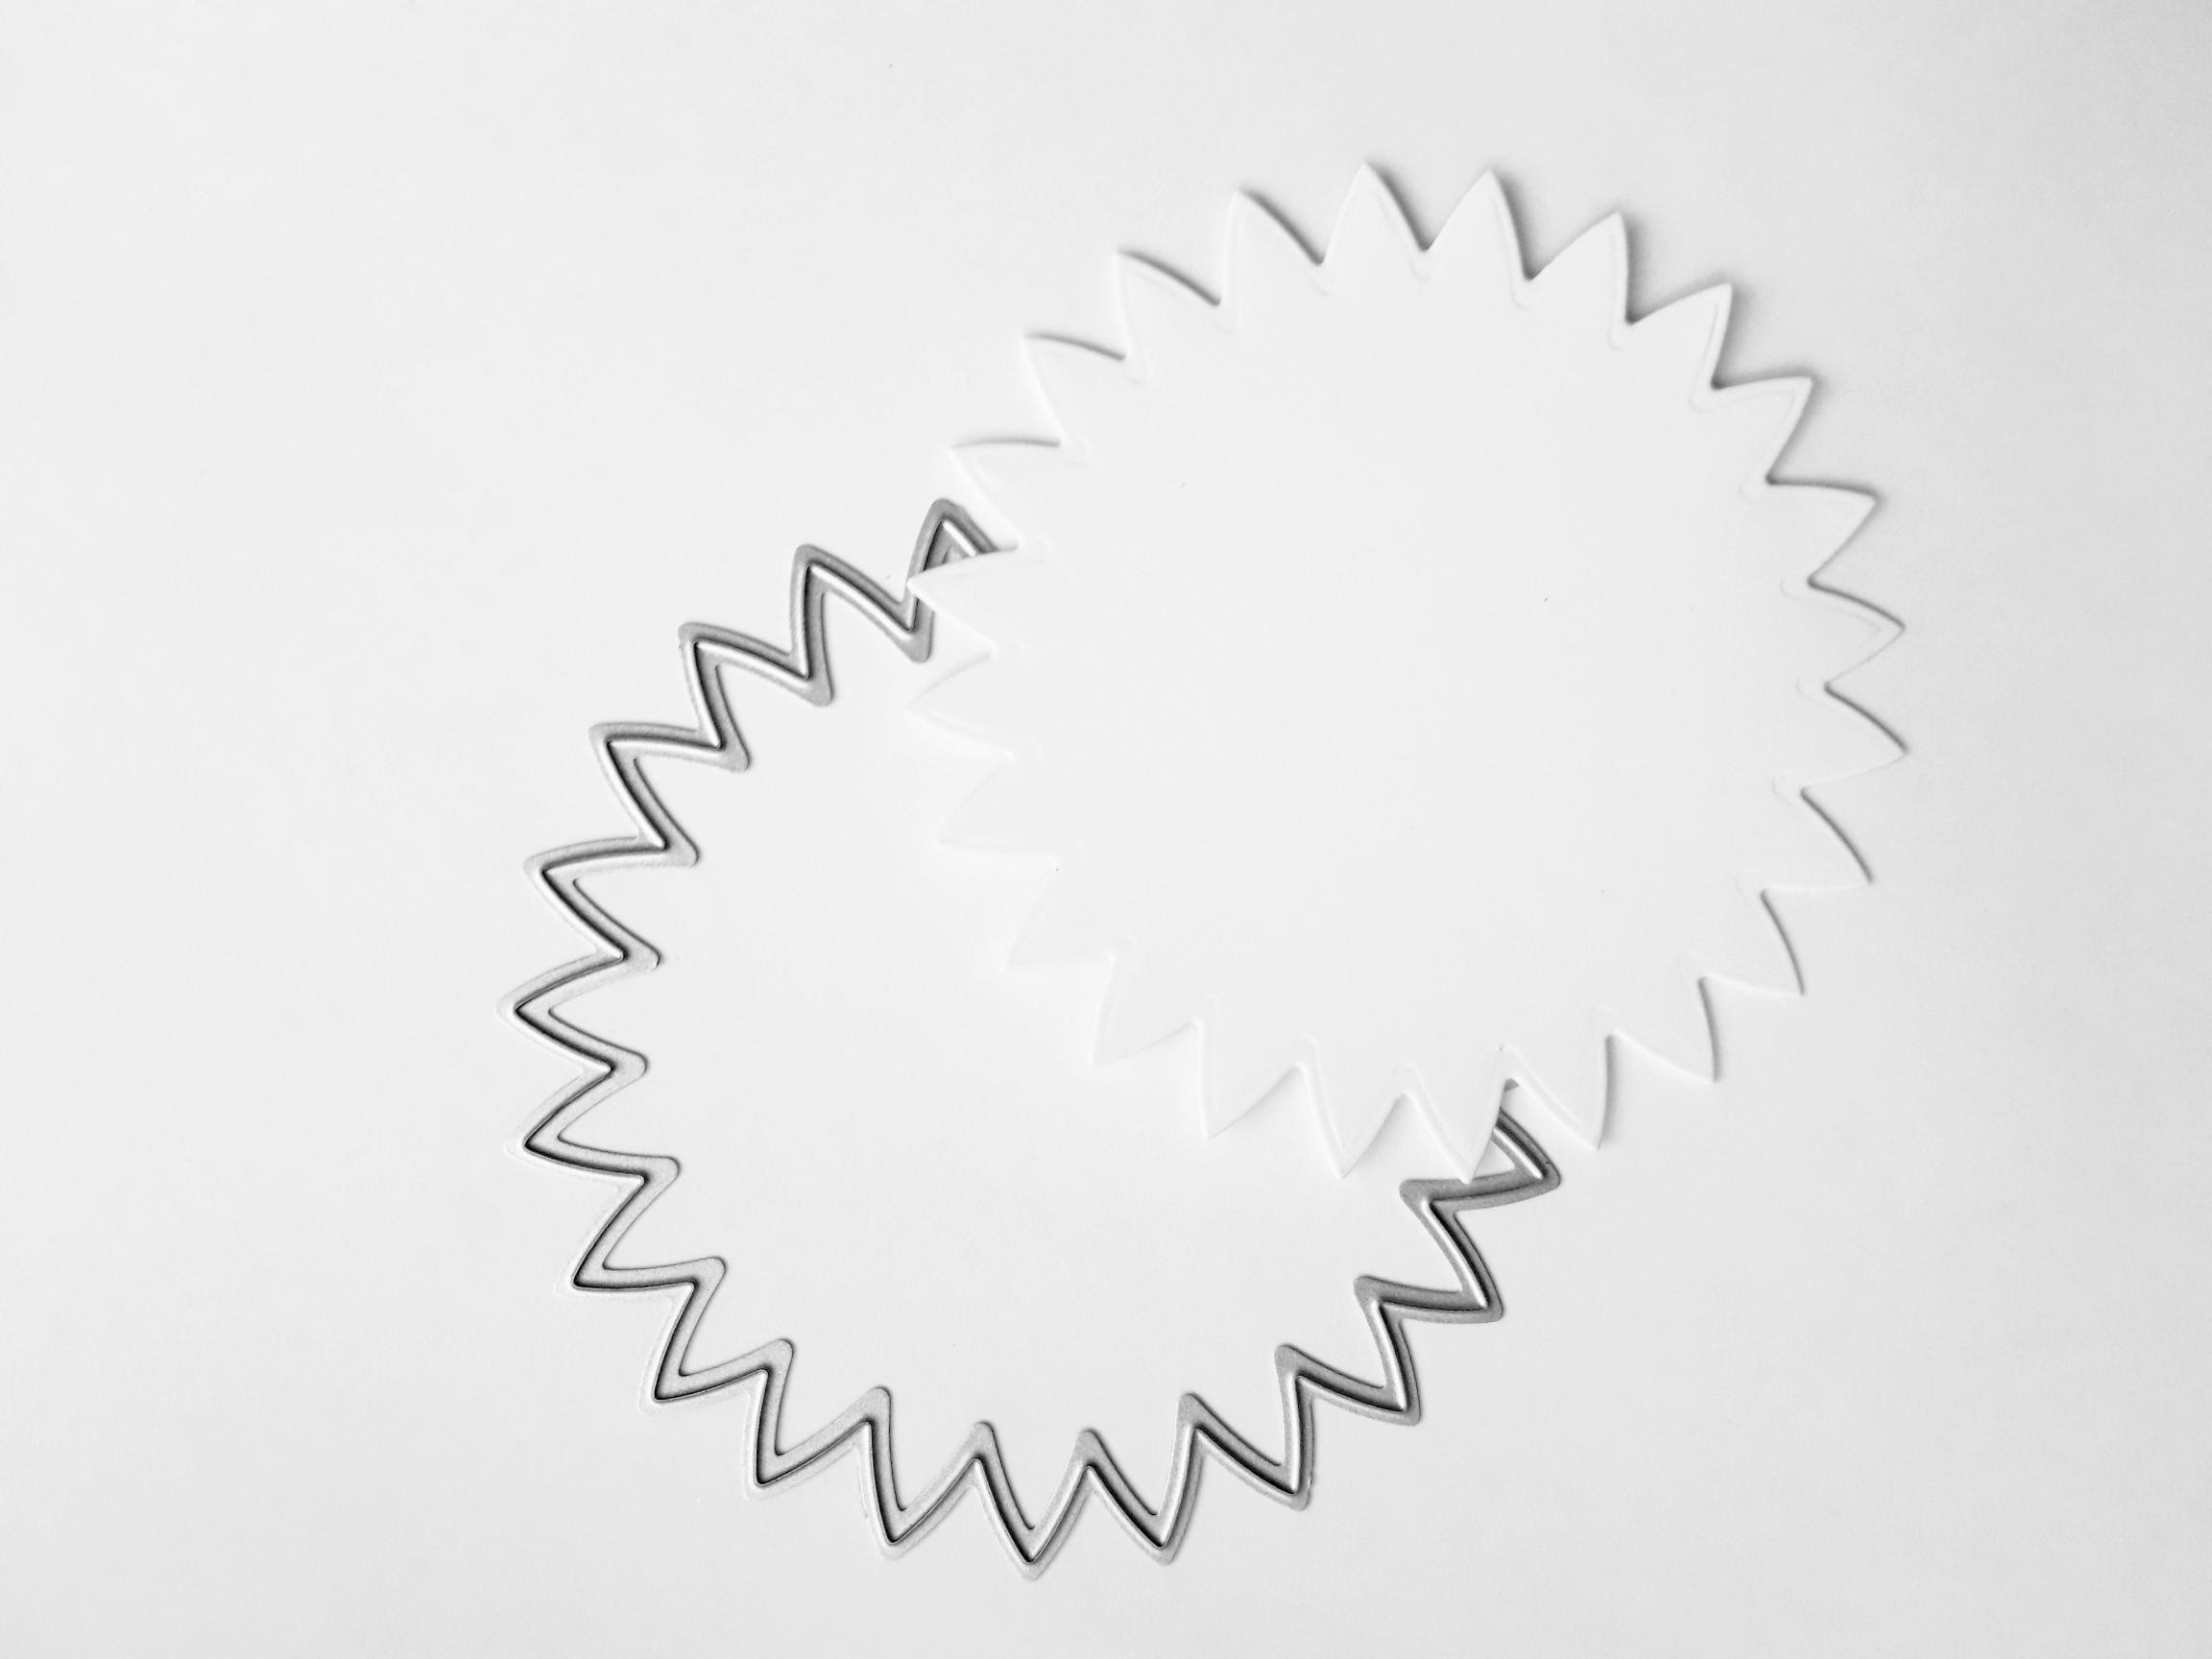
Place the star die, from the Build A Bloom Creative Dies set, on to the corner of the A4 white card. Cut around it roughly, setting the rest of the white card to one side, for later. Run it through your die cutting machine.
|
|
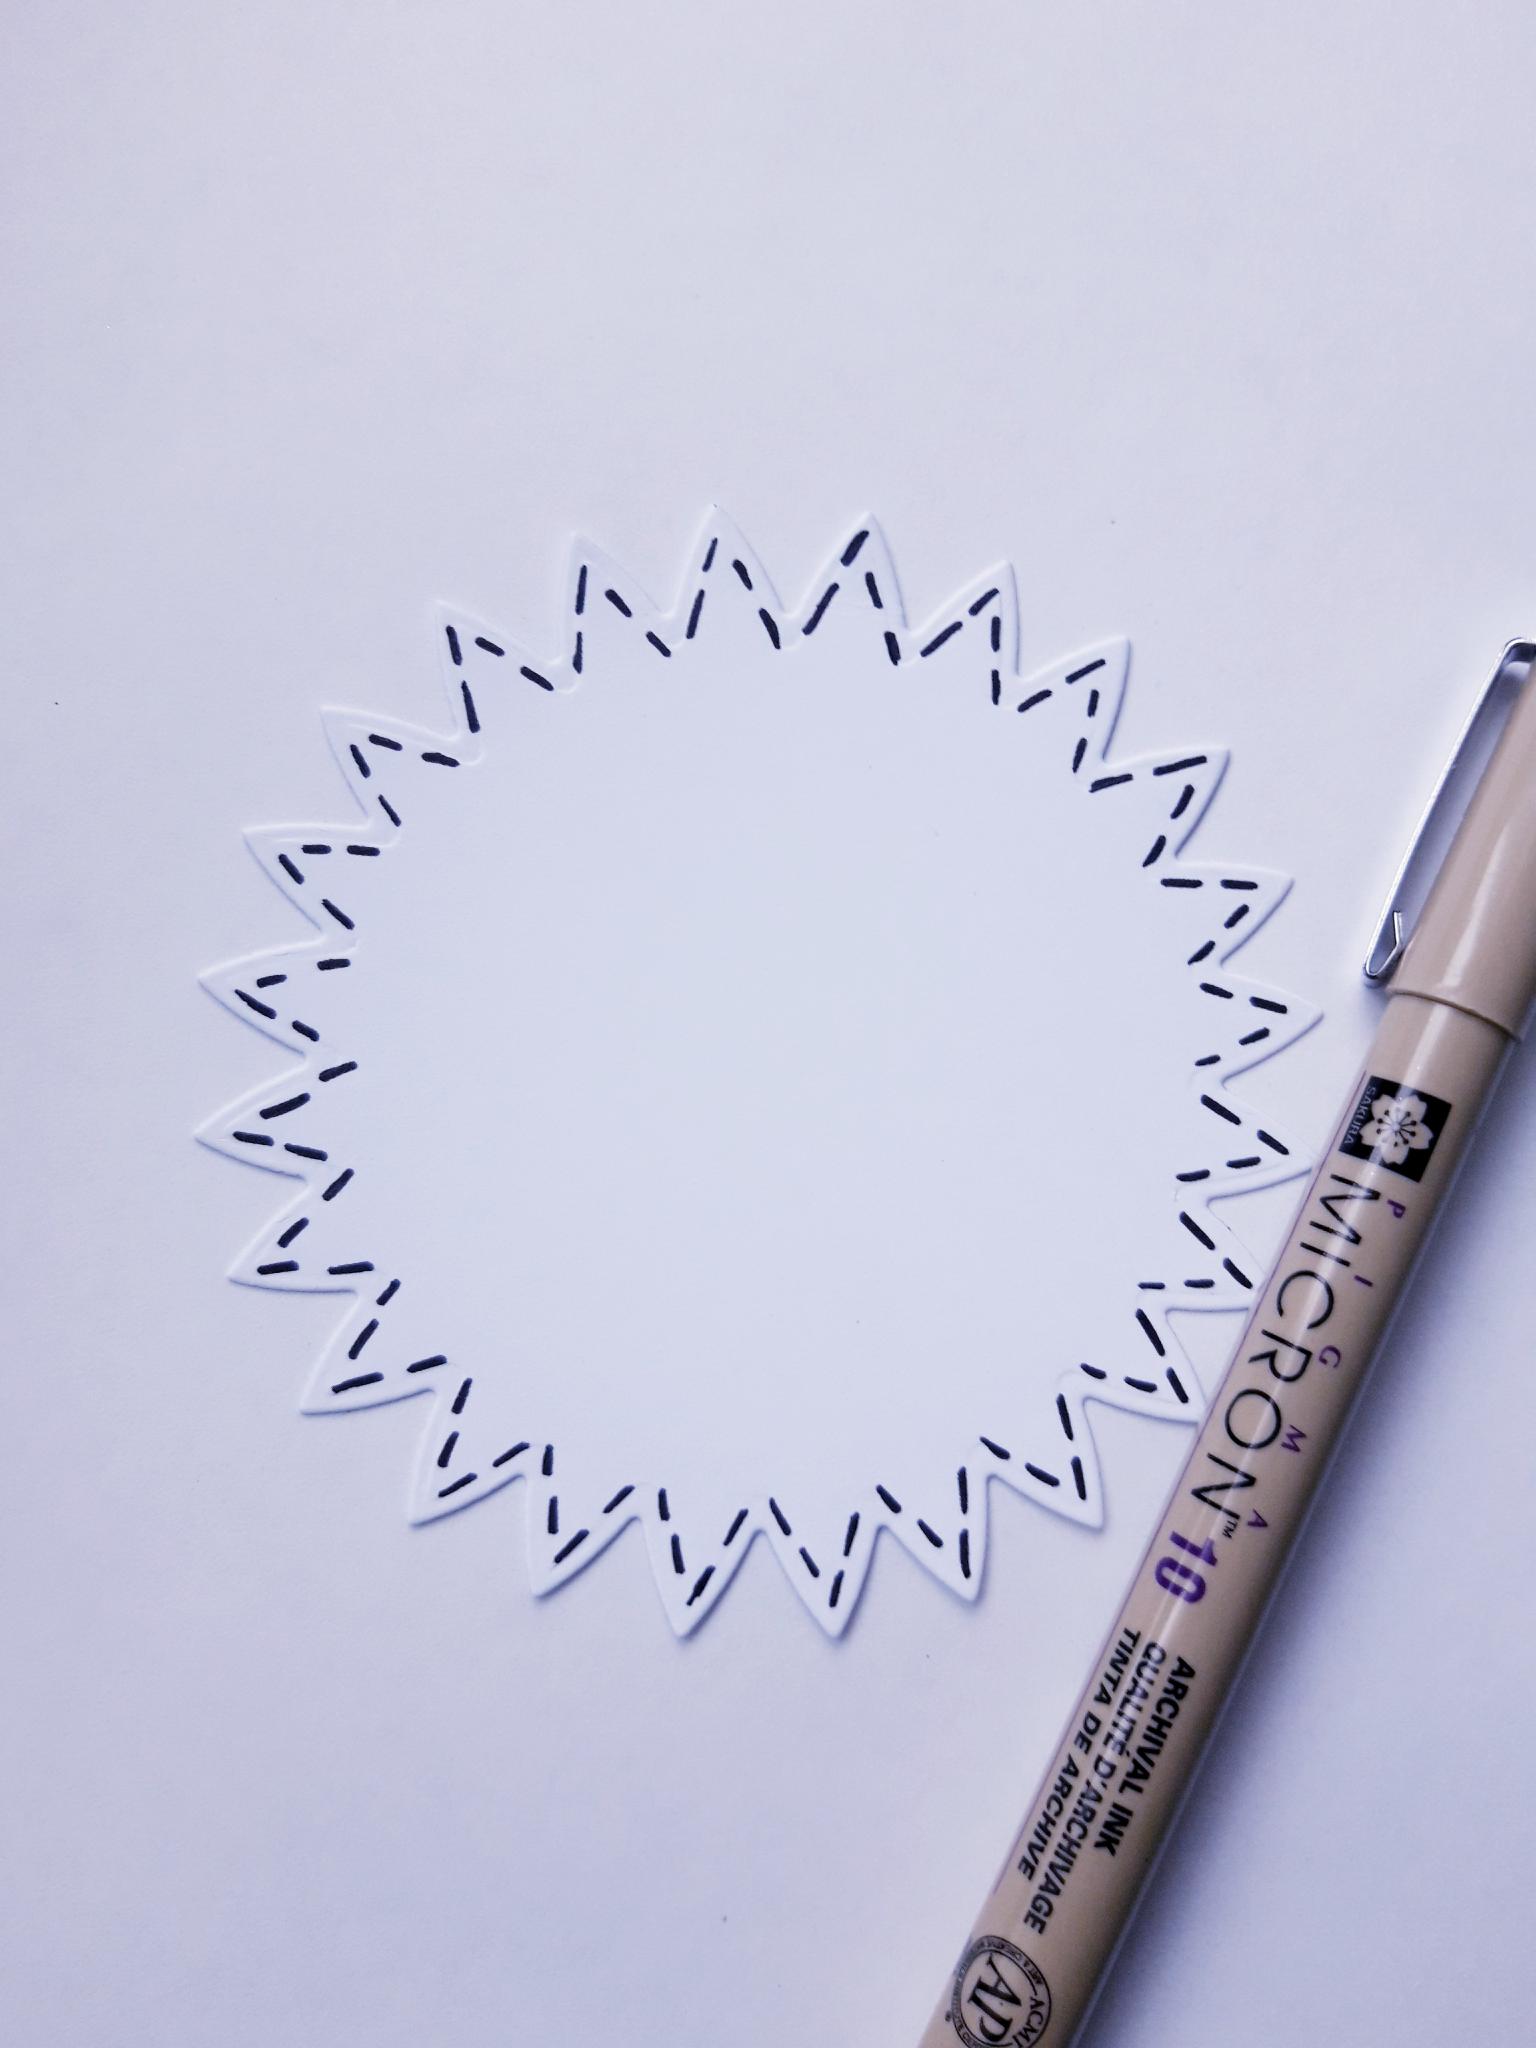
Use the black pen to draw a stitched frame around your die cut star. |
|
Glue the star on top of your die cut leaf. |
|
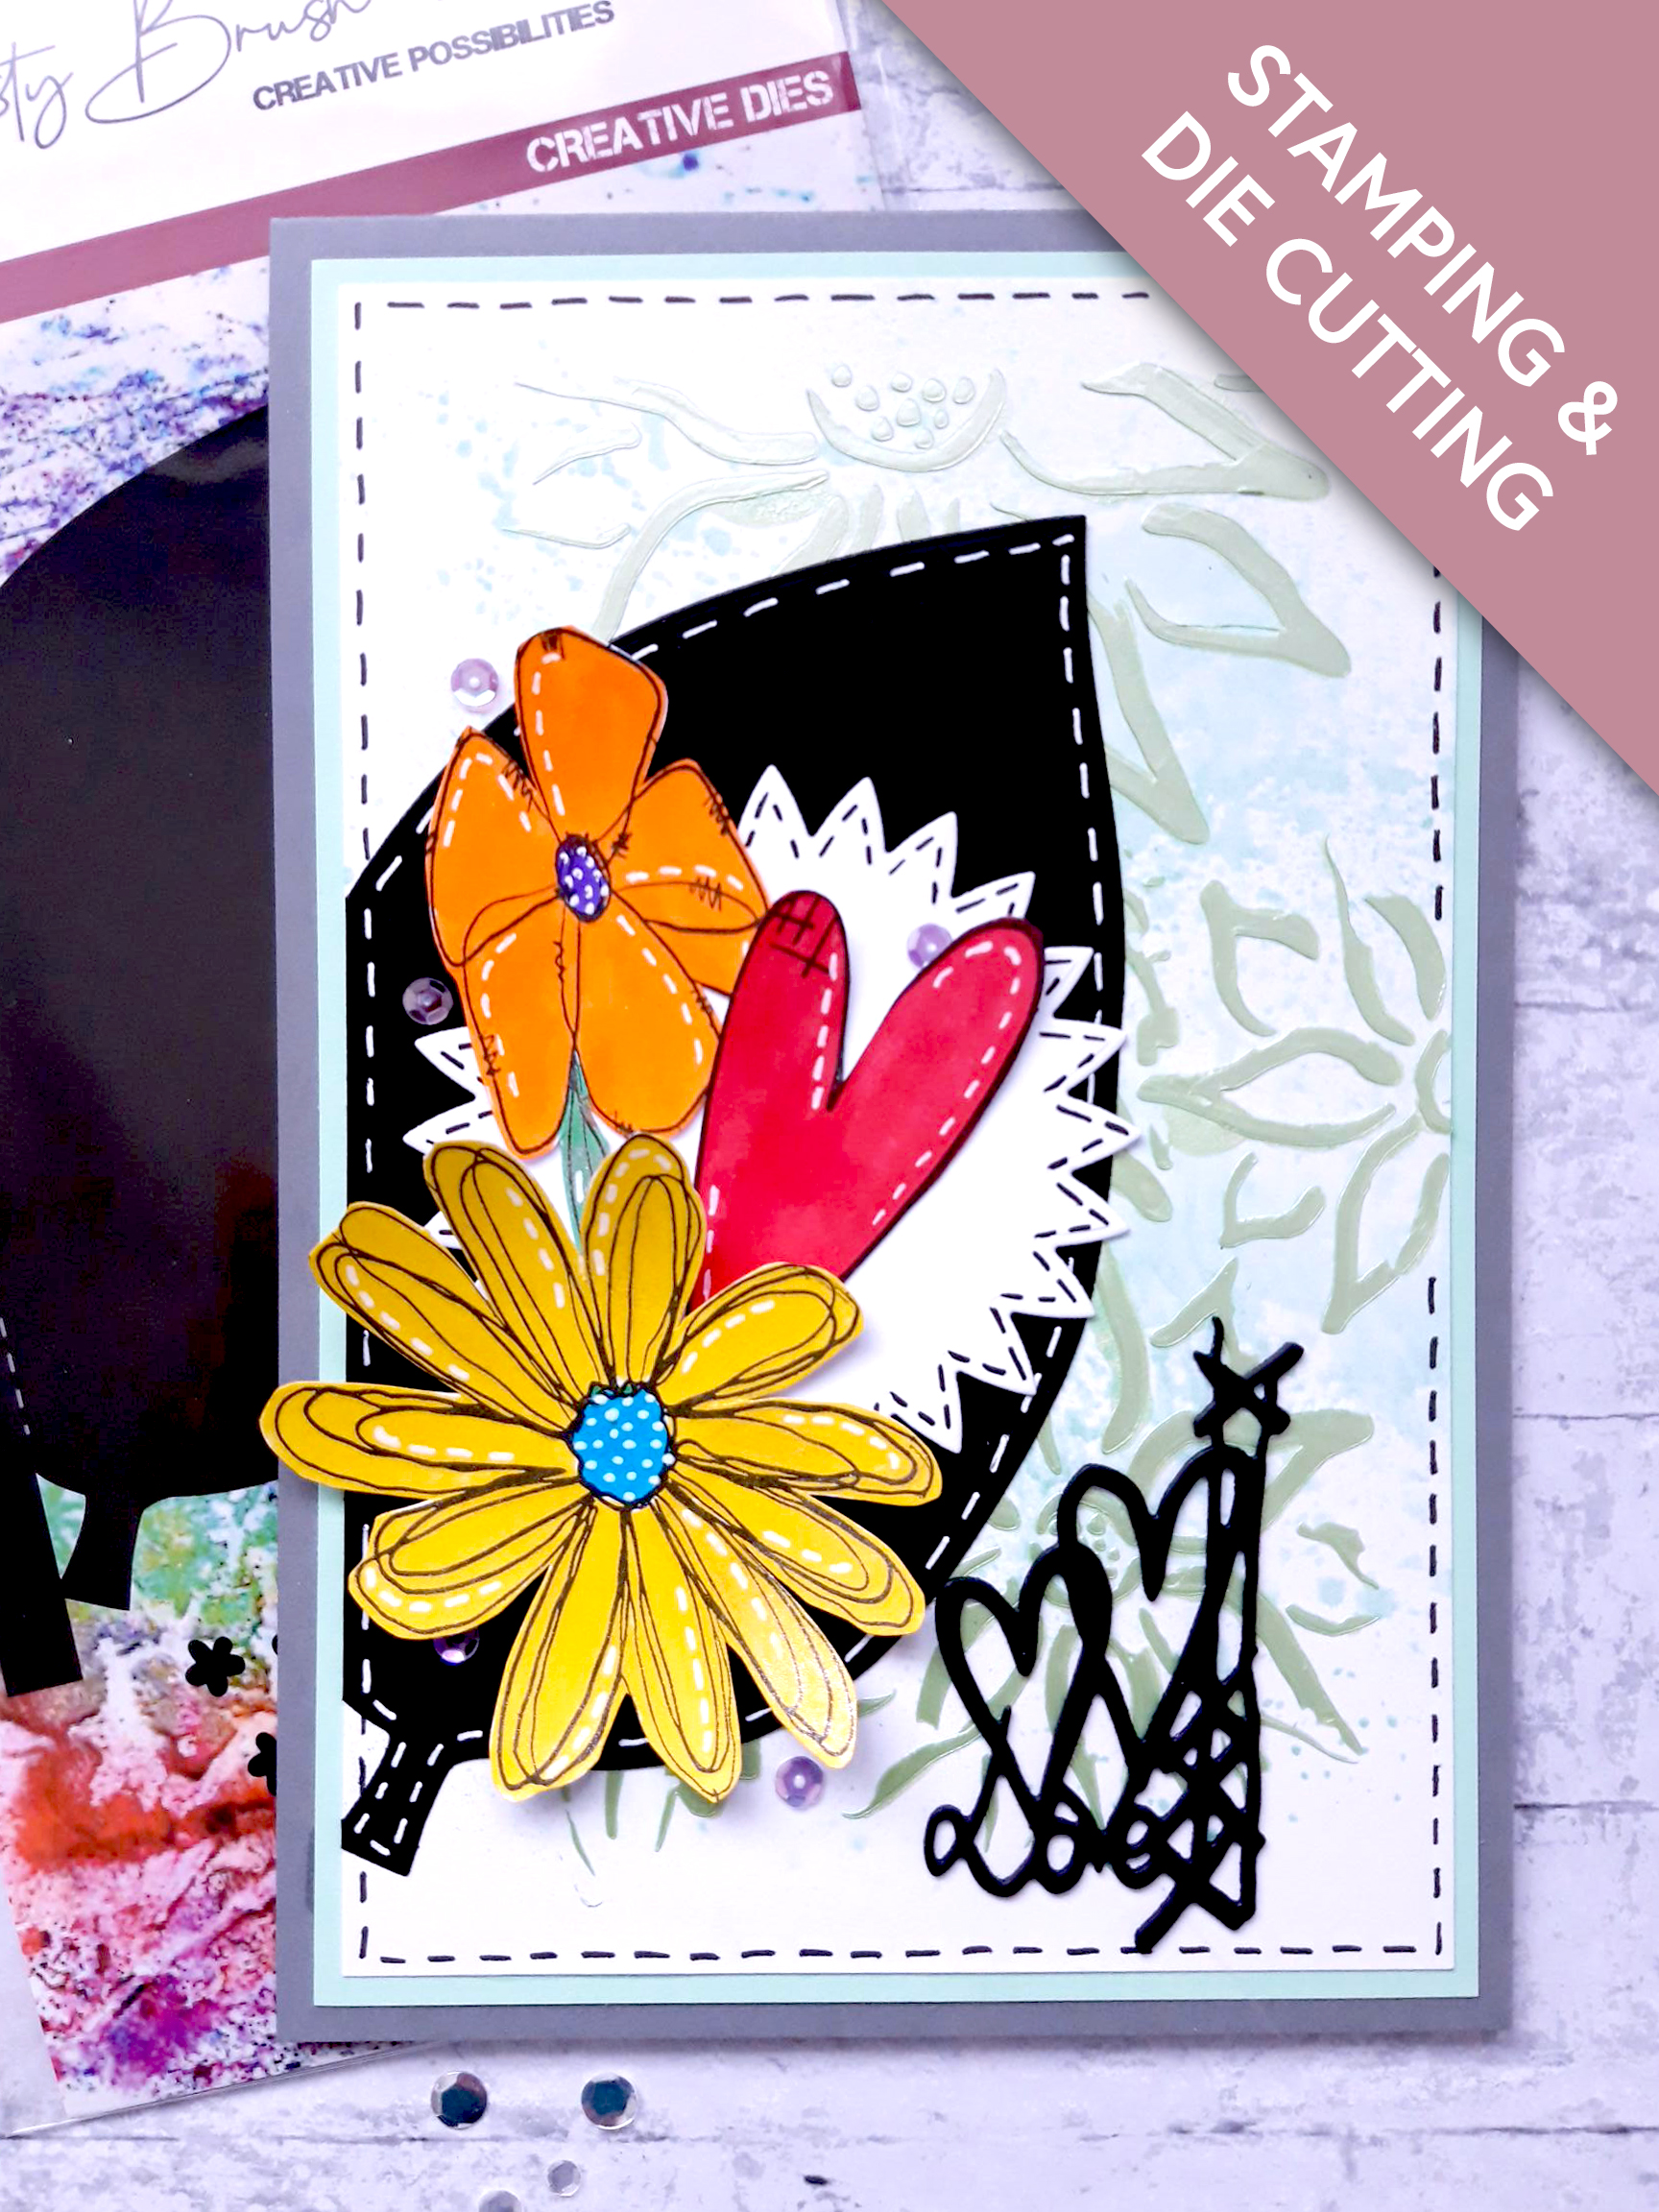
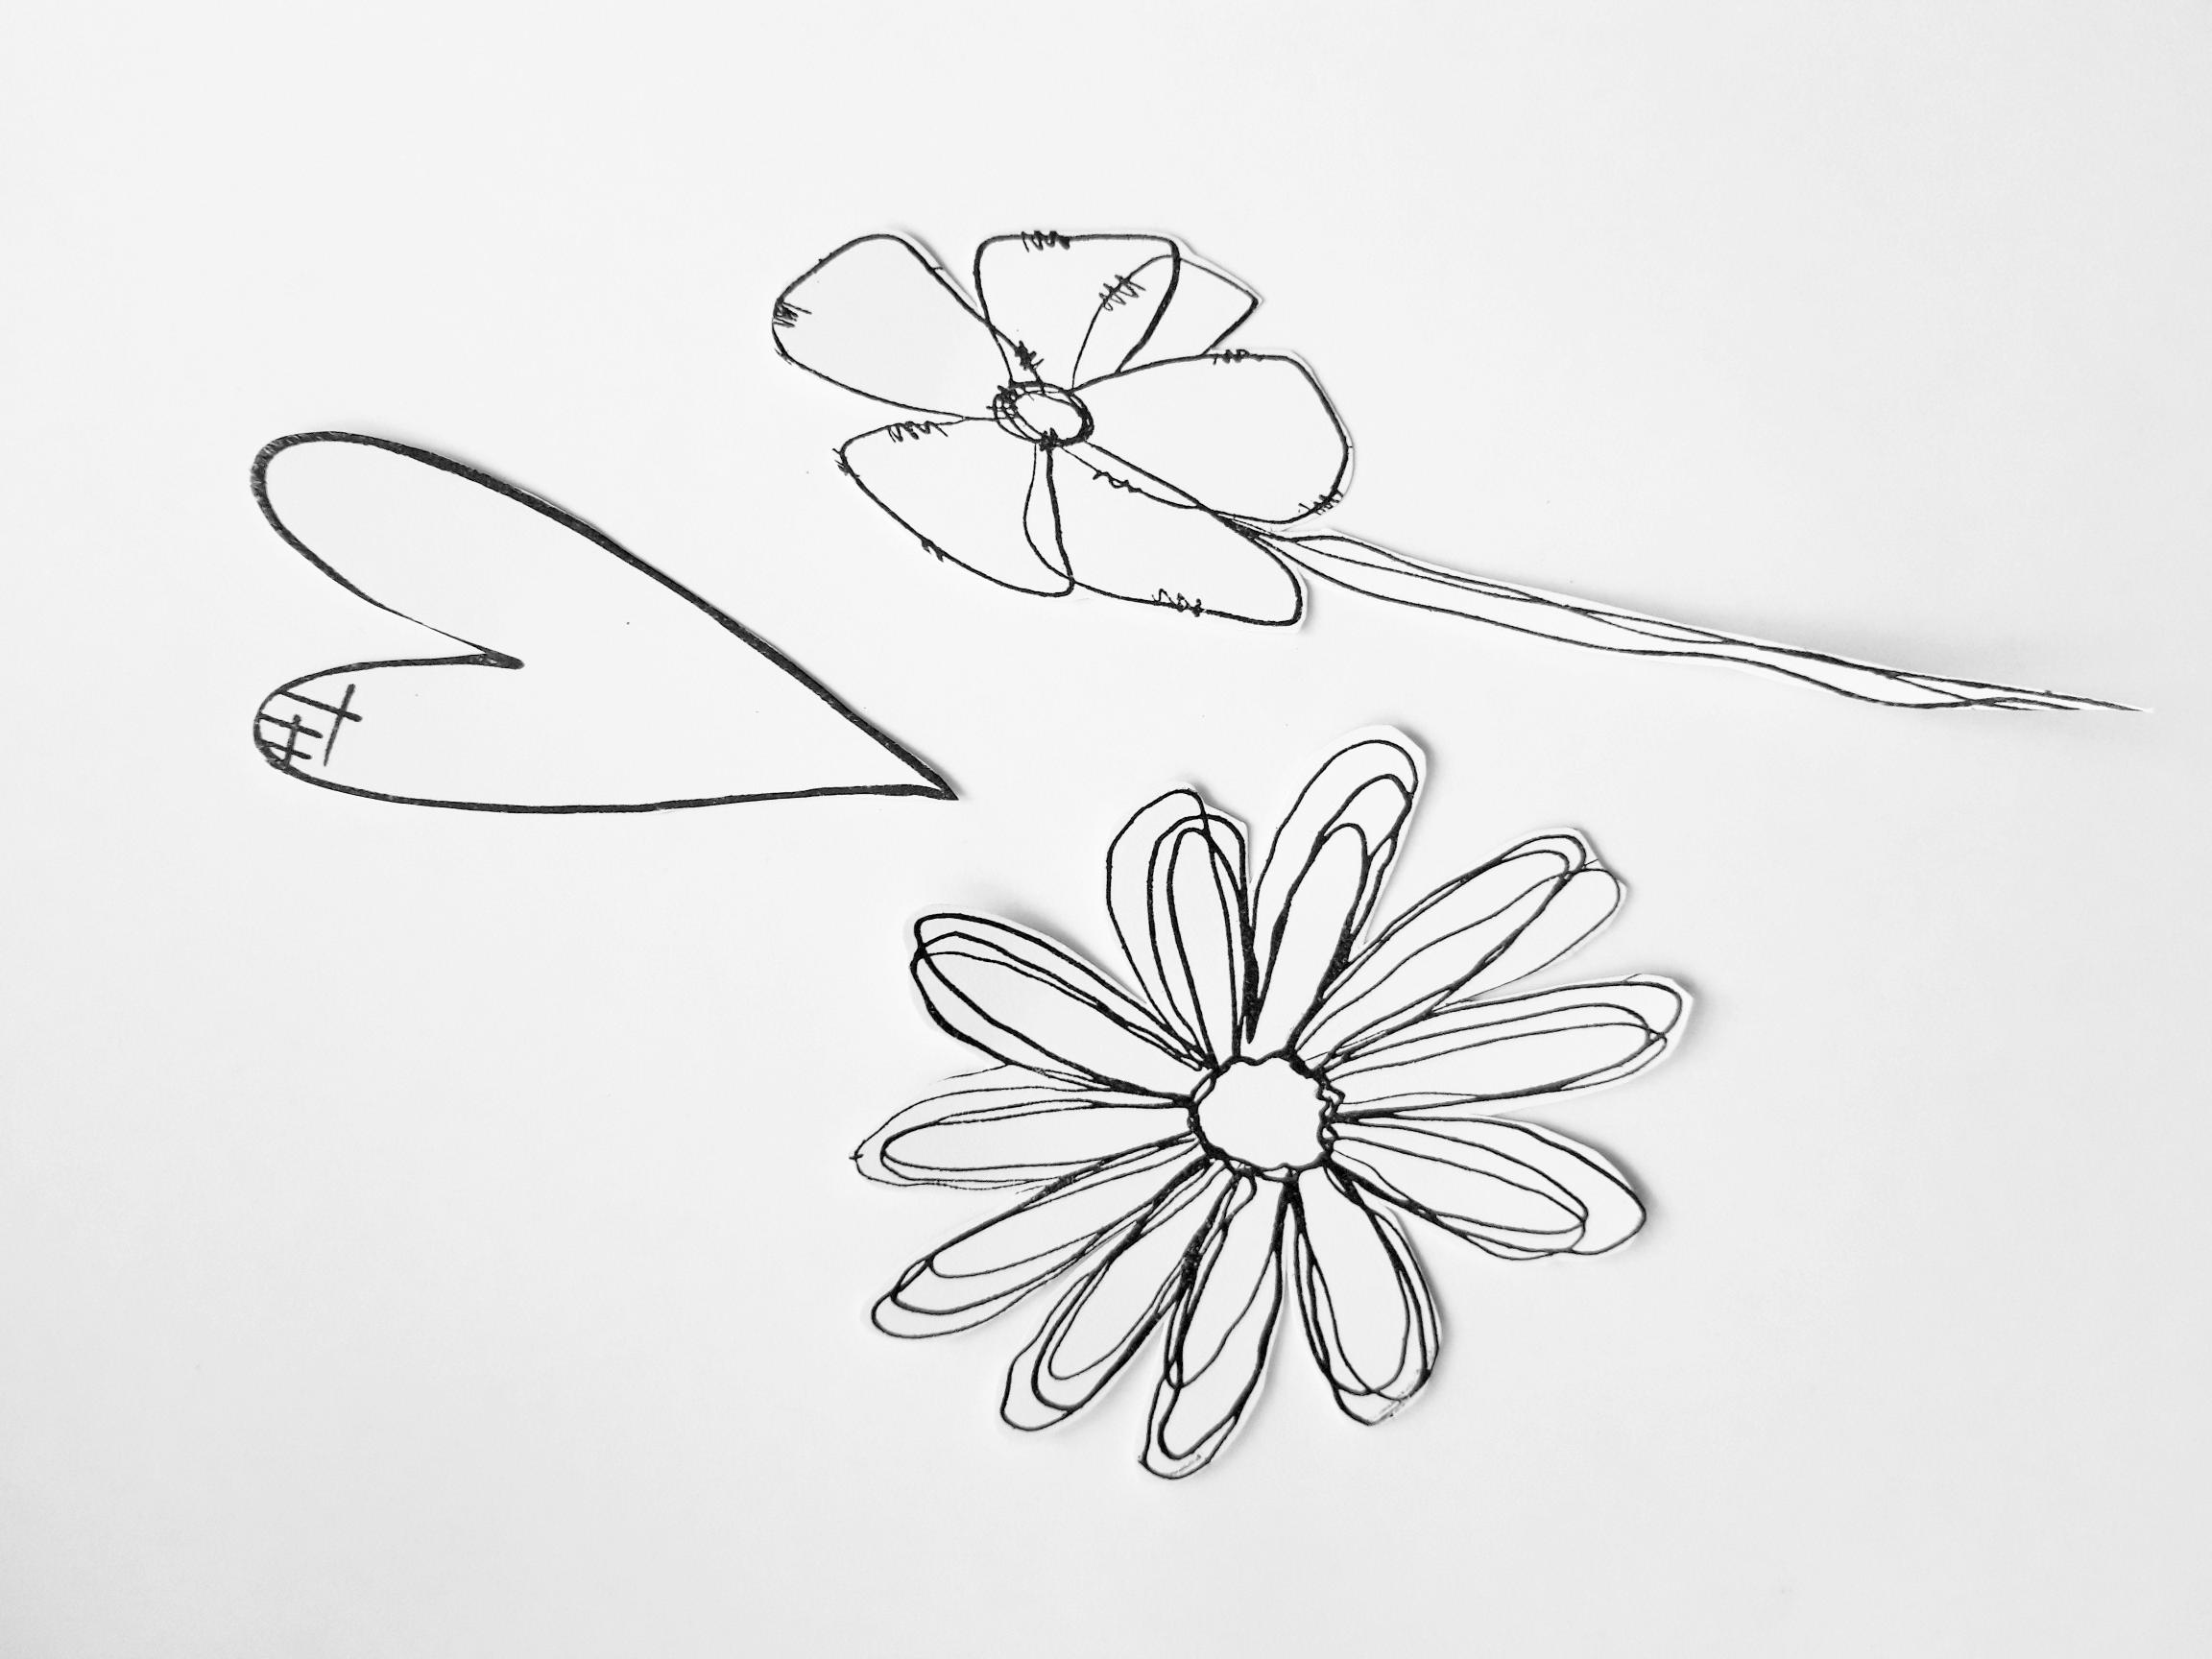
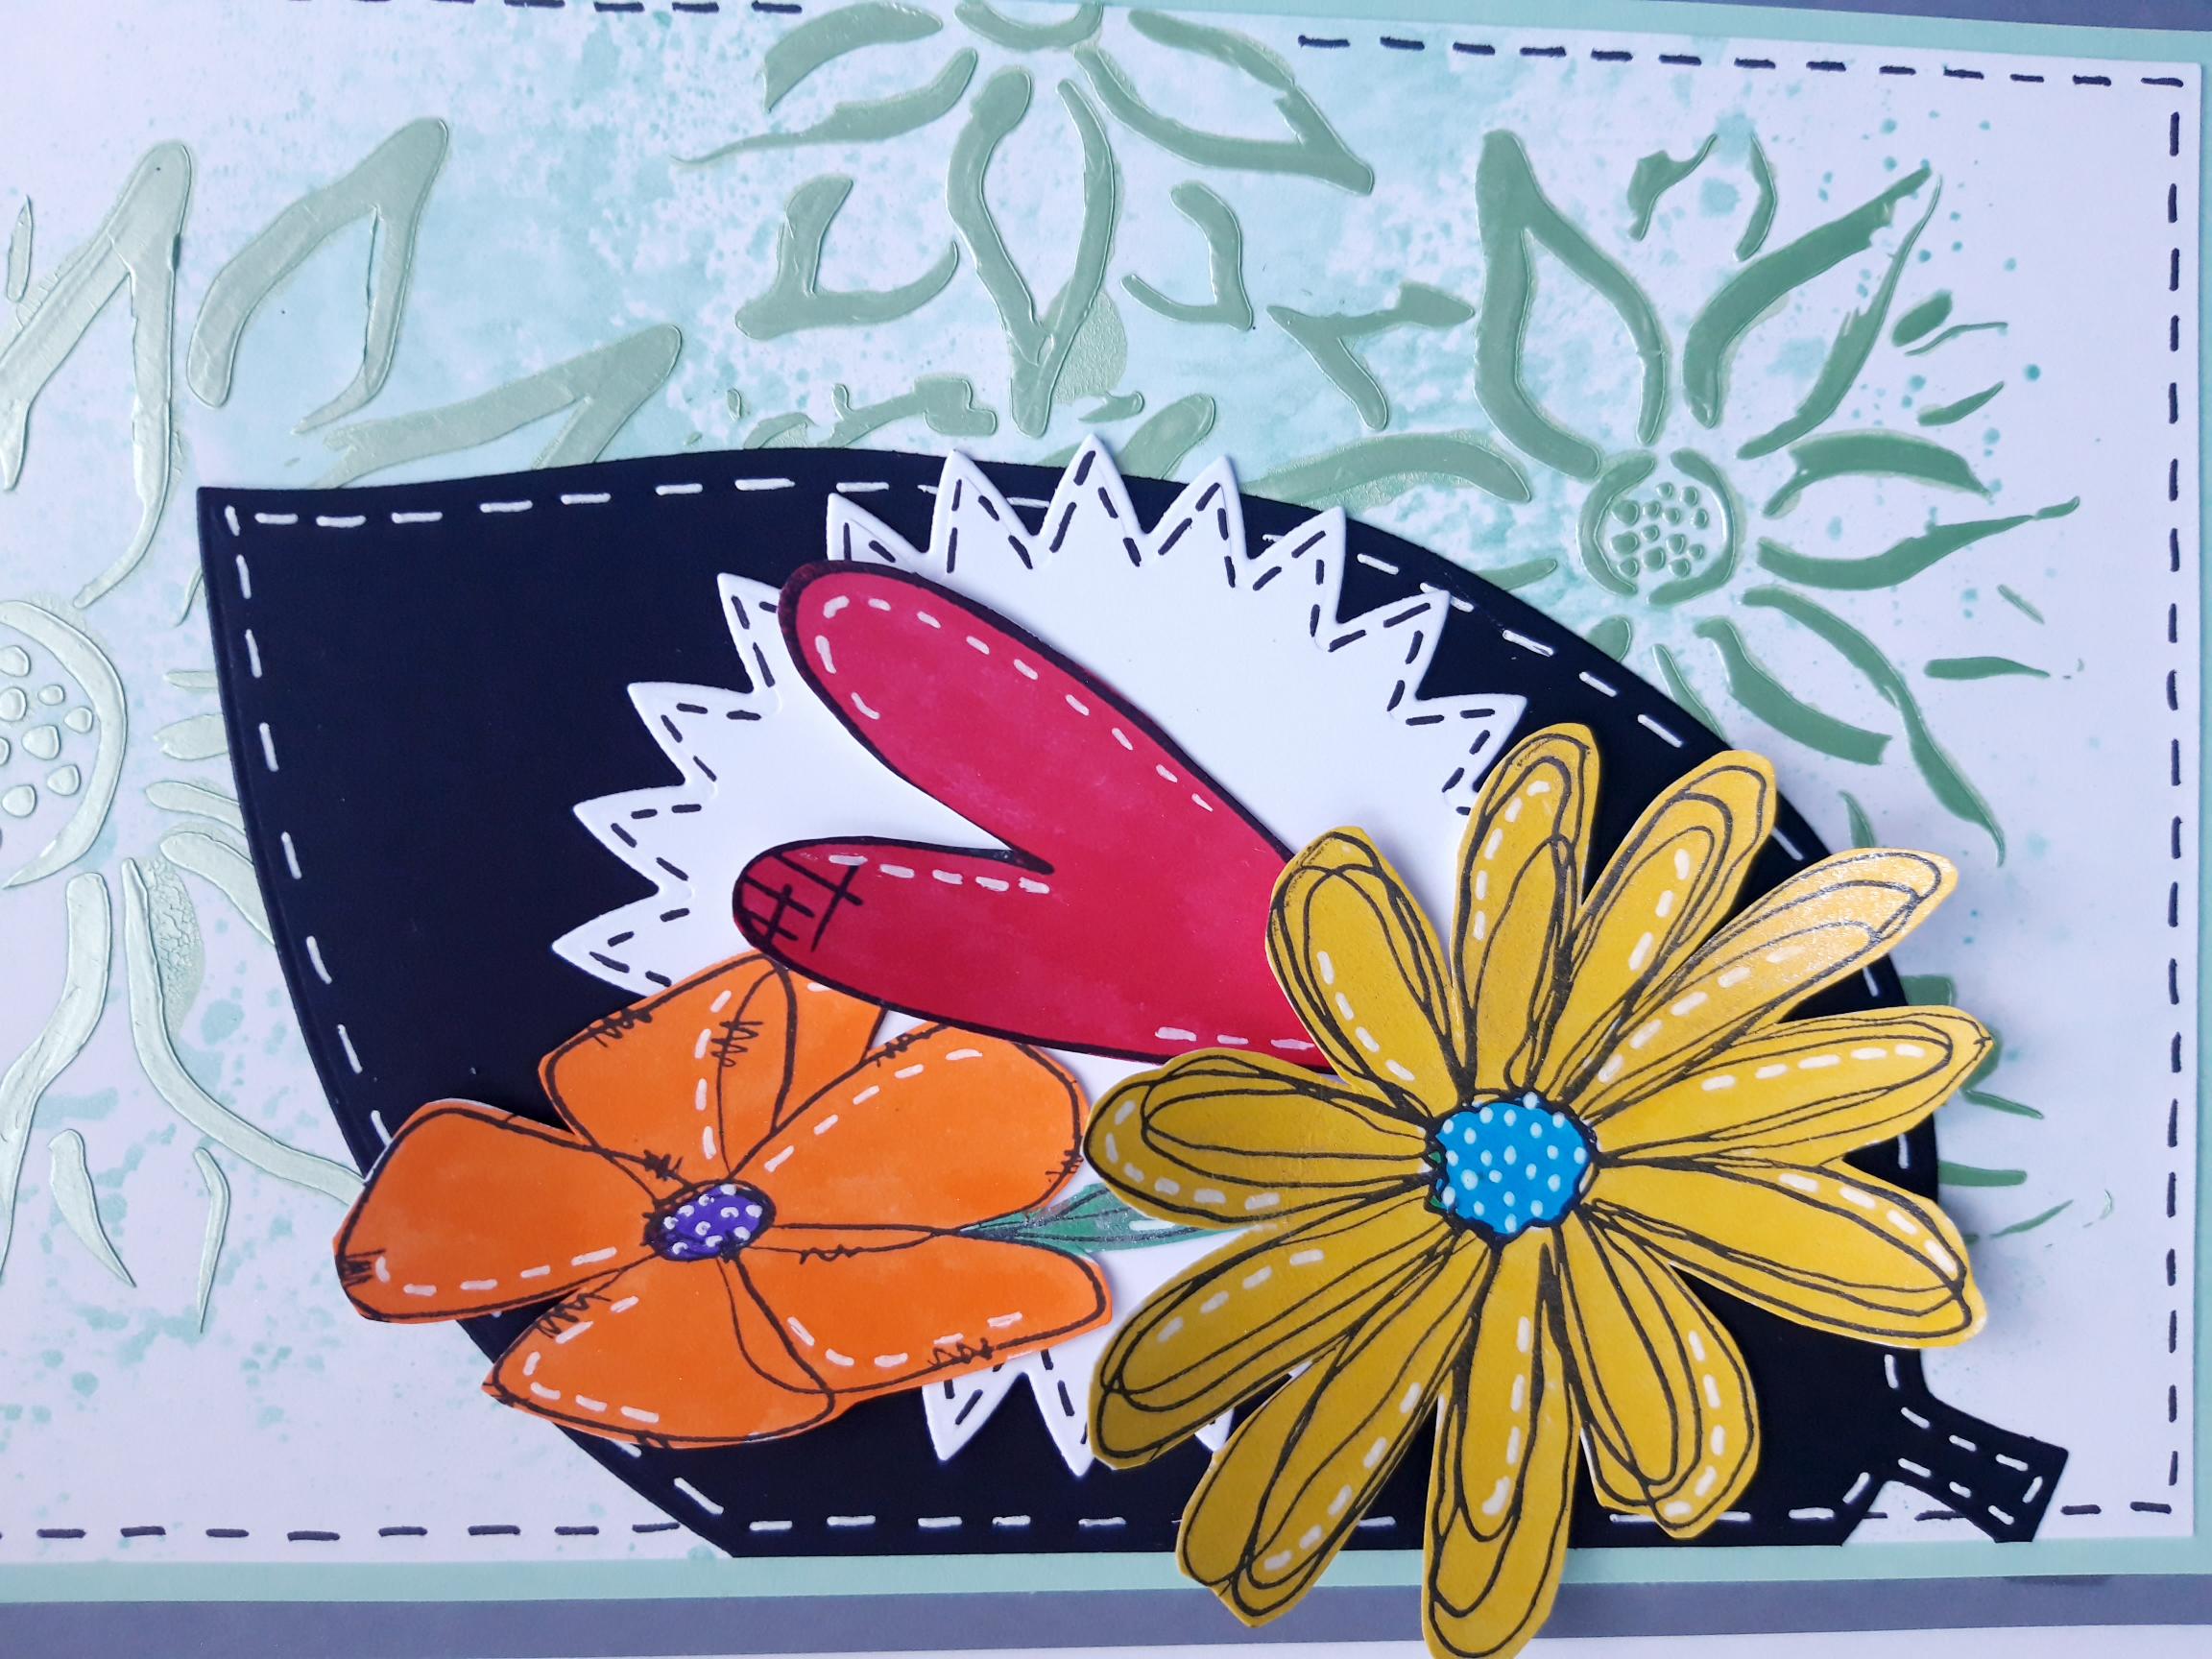
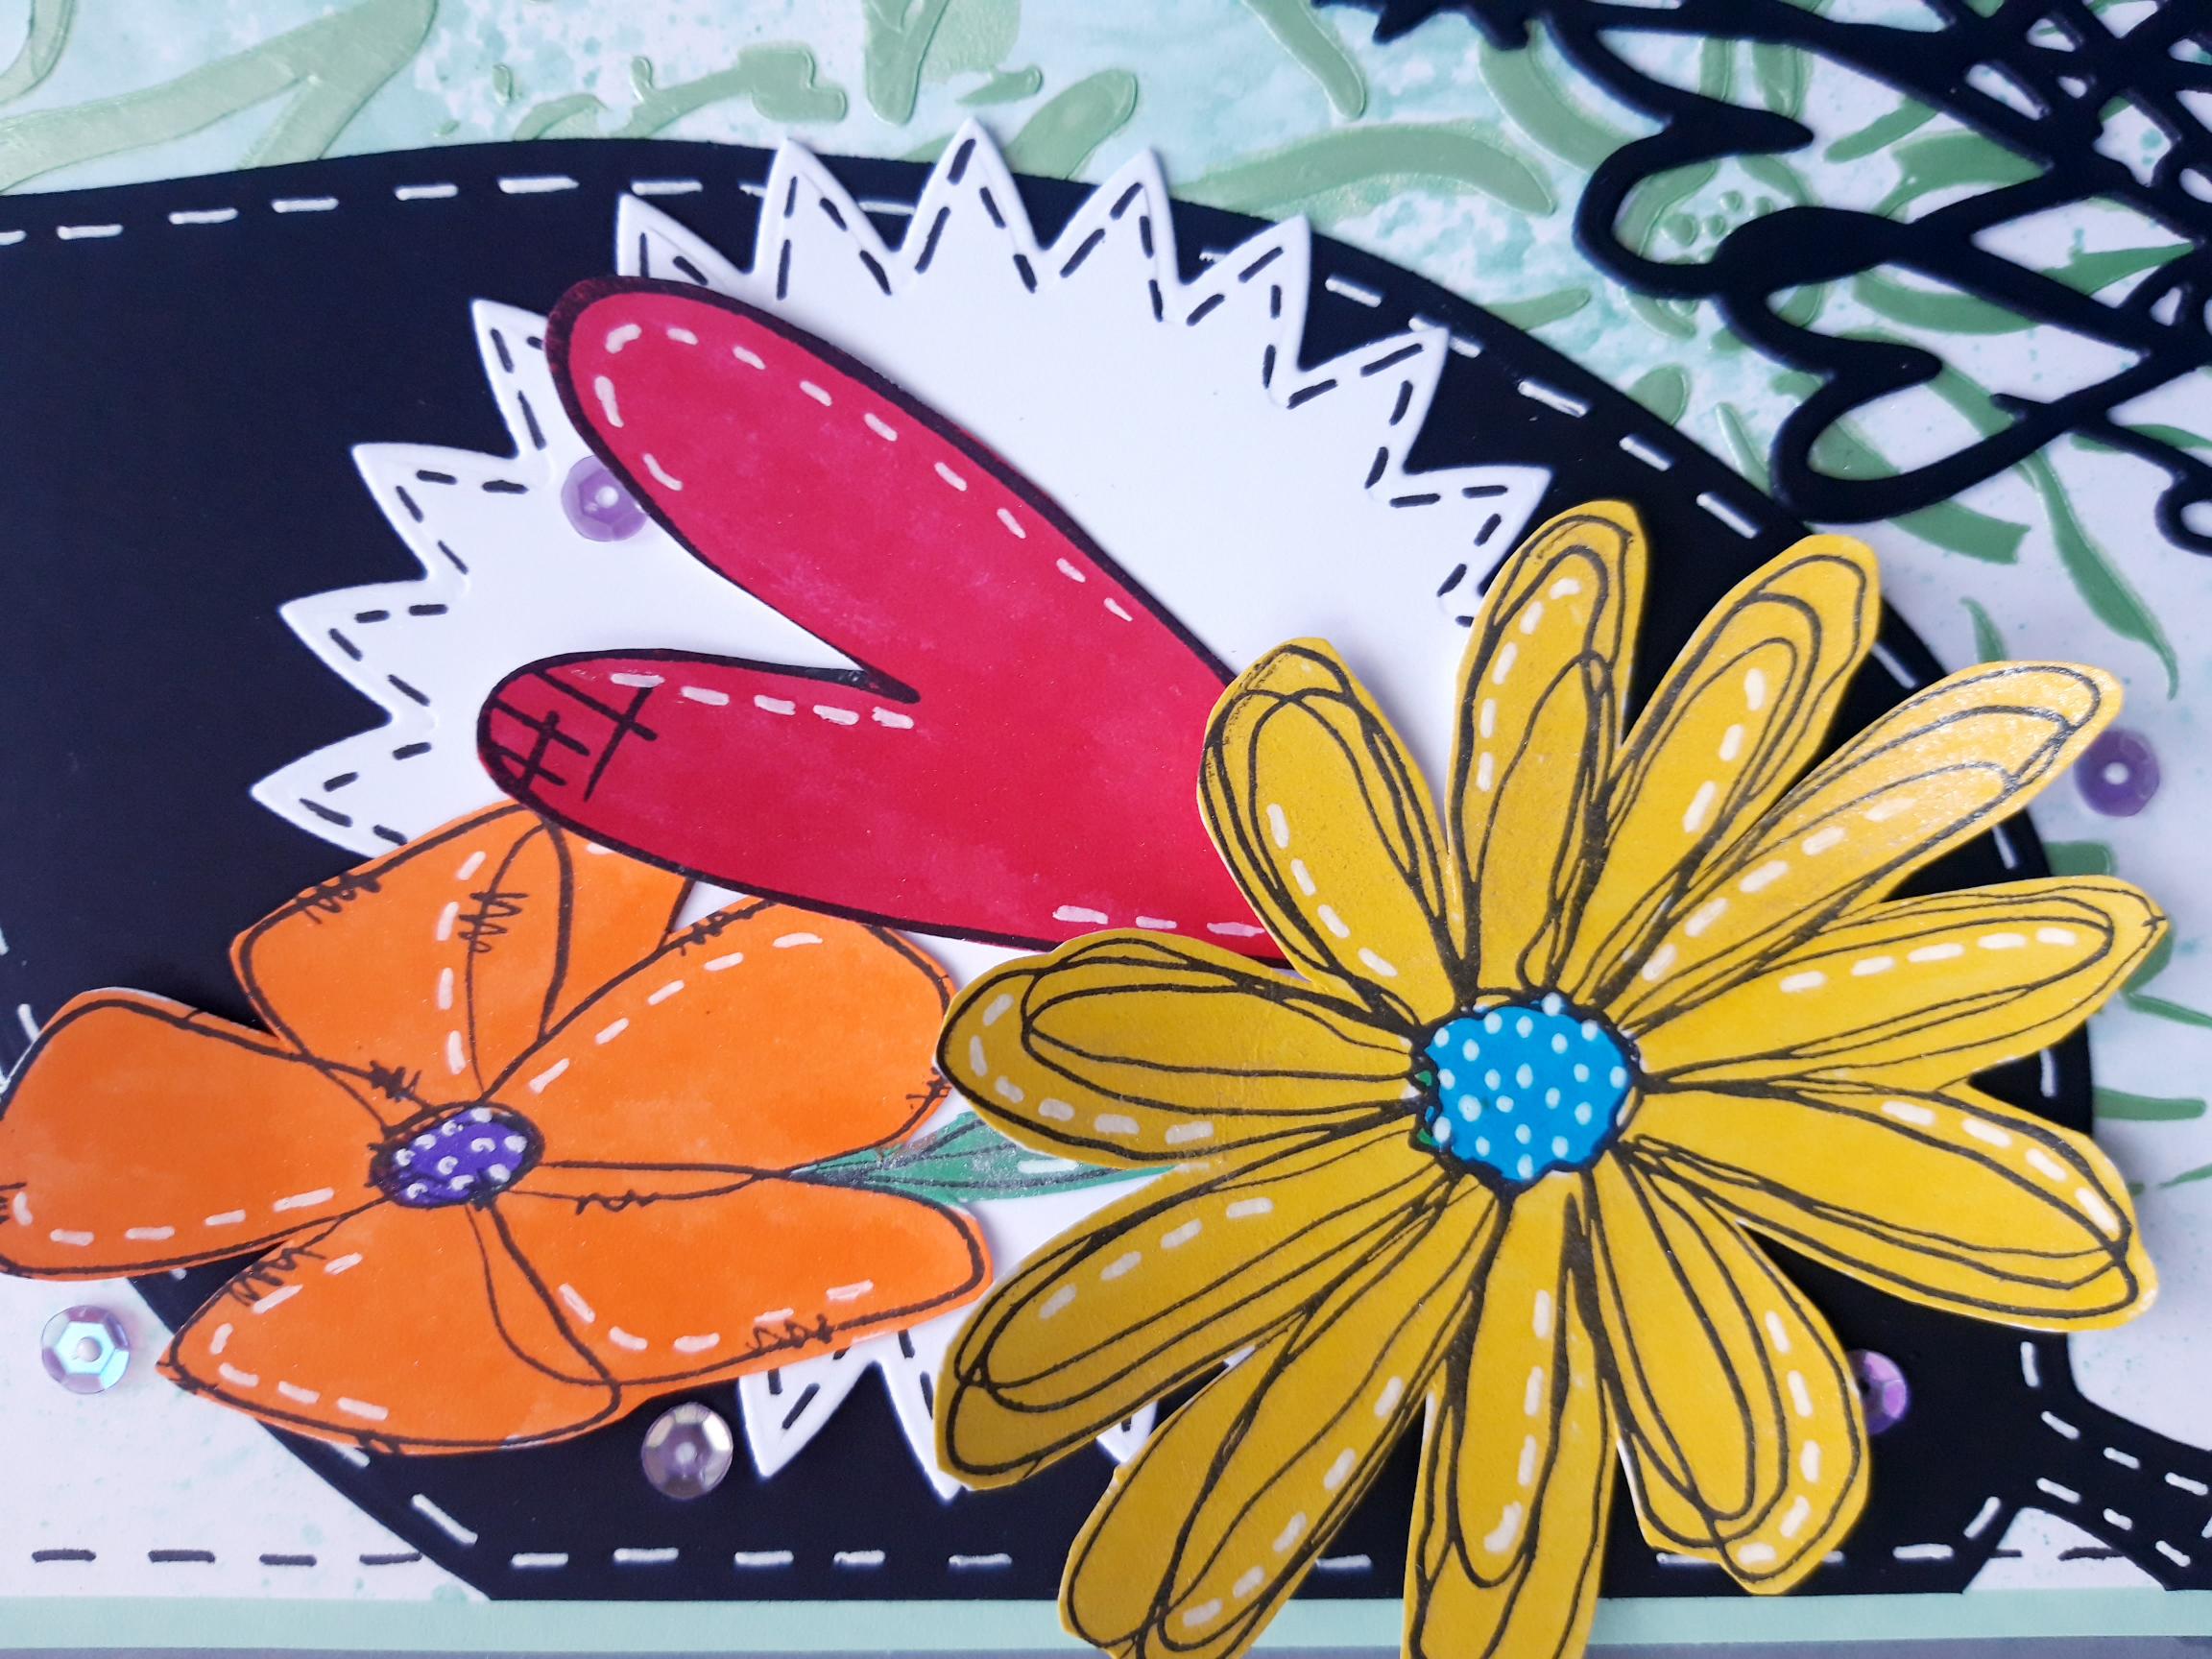
One at a time, ink up both stamps from the Daisy Dream Creative Stamps set, and the floral stamp from the Buttercup Bubbles Creative Stamps set, with the Onyx Black Versafine. NB: You only need the 3 elements as shown in this image, so just ink up the appropriate sections of each stamp. Stamp each of these on to the white cardstock, set aside earlier. Cut out the large flower head, the tall flower, and 1 heart, as shown here. |
|
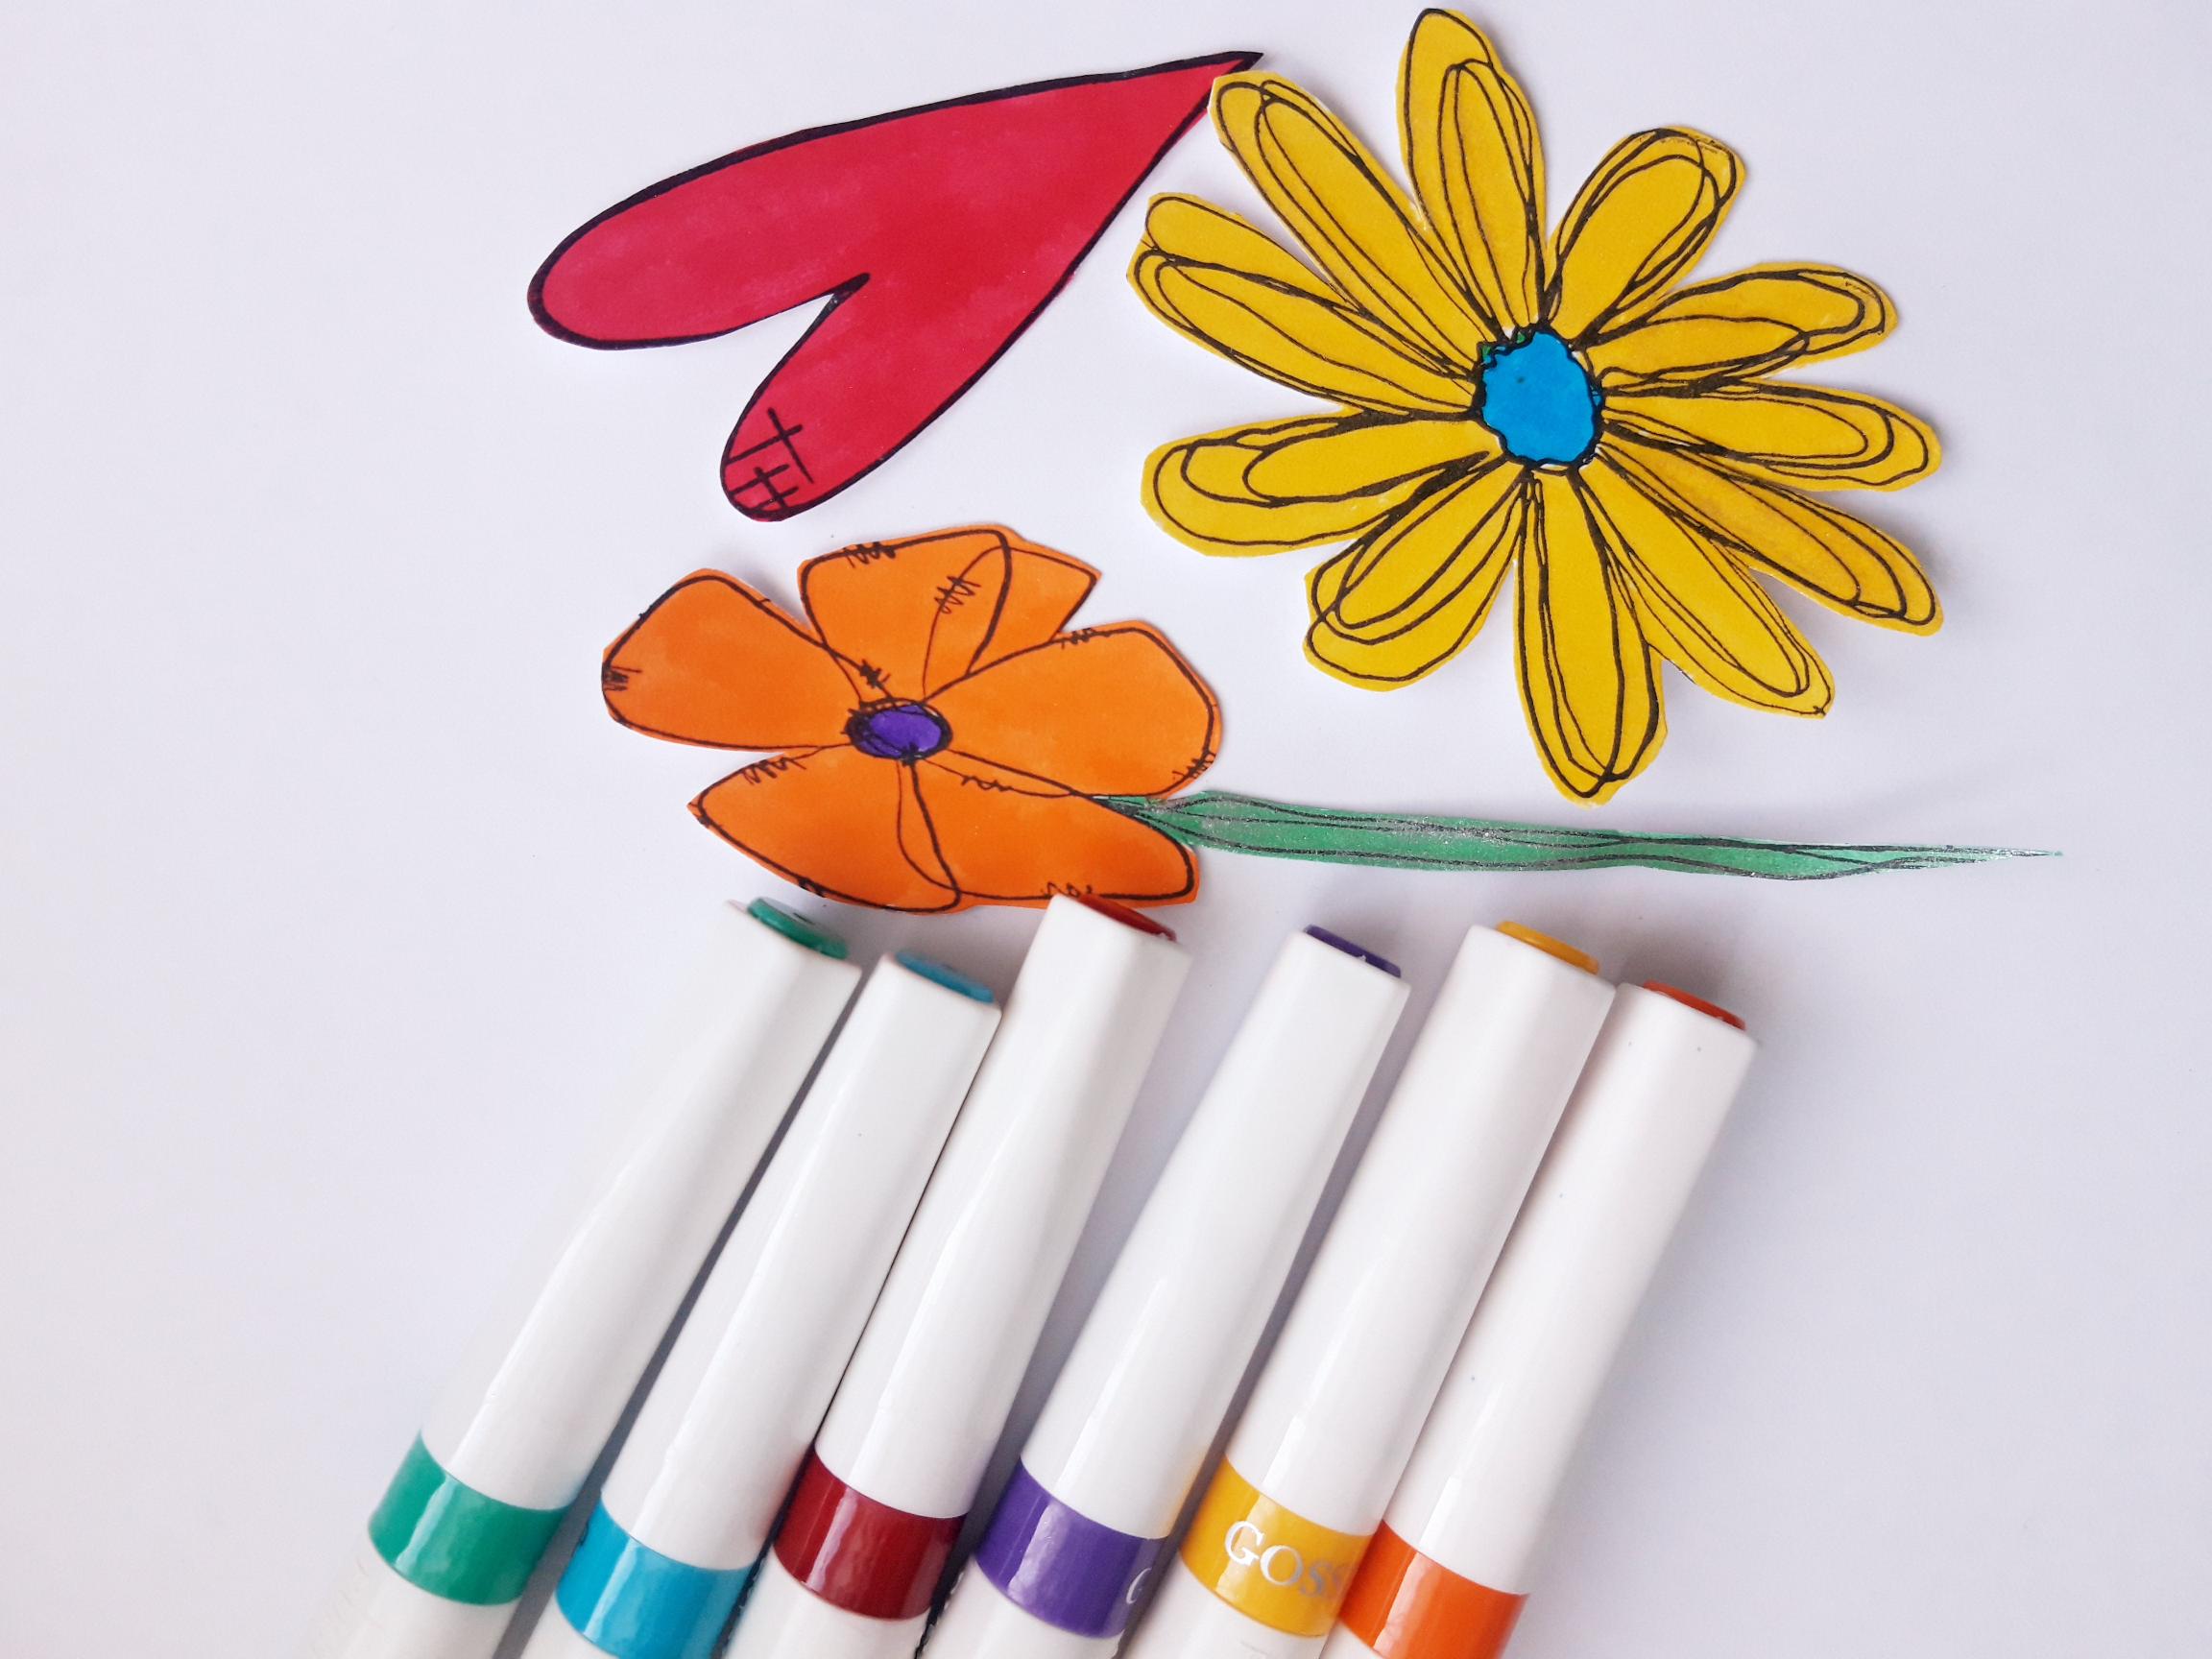
Use your Gossip Glitter pens to colour in the die cut embellishments. |
|
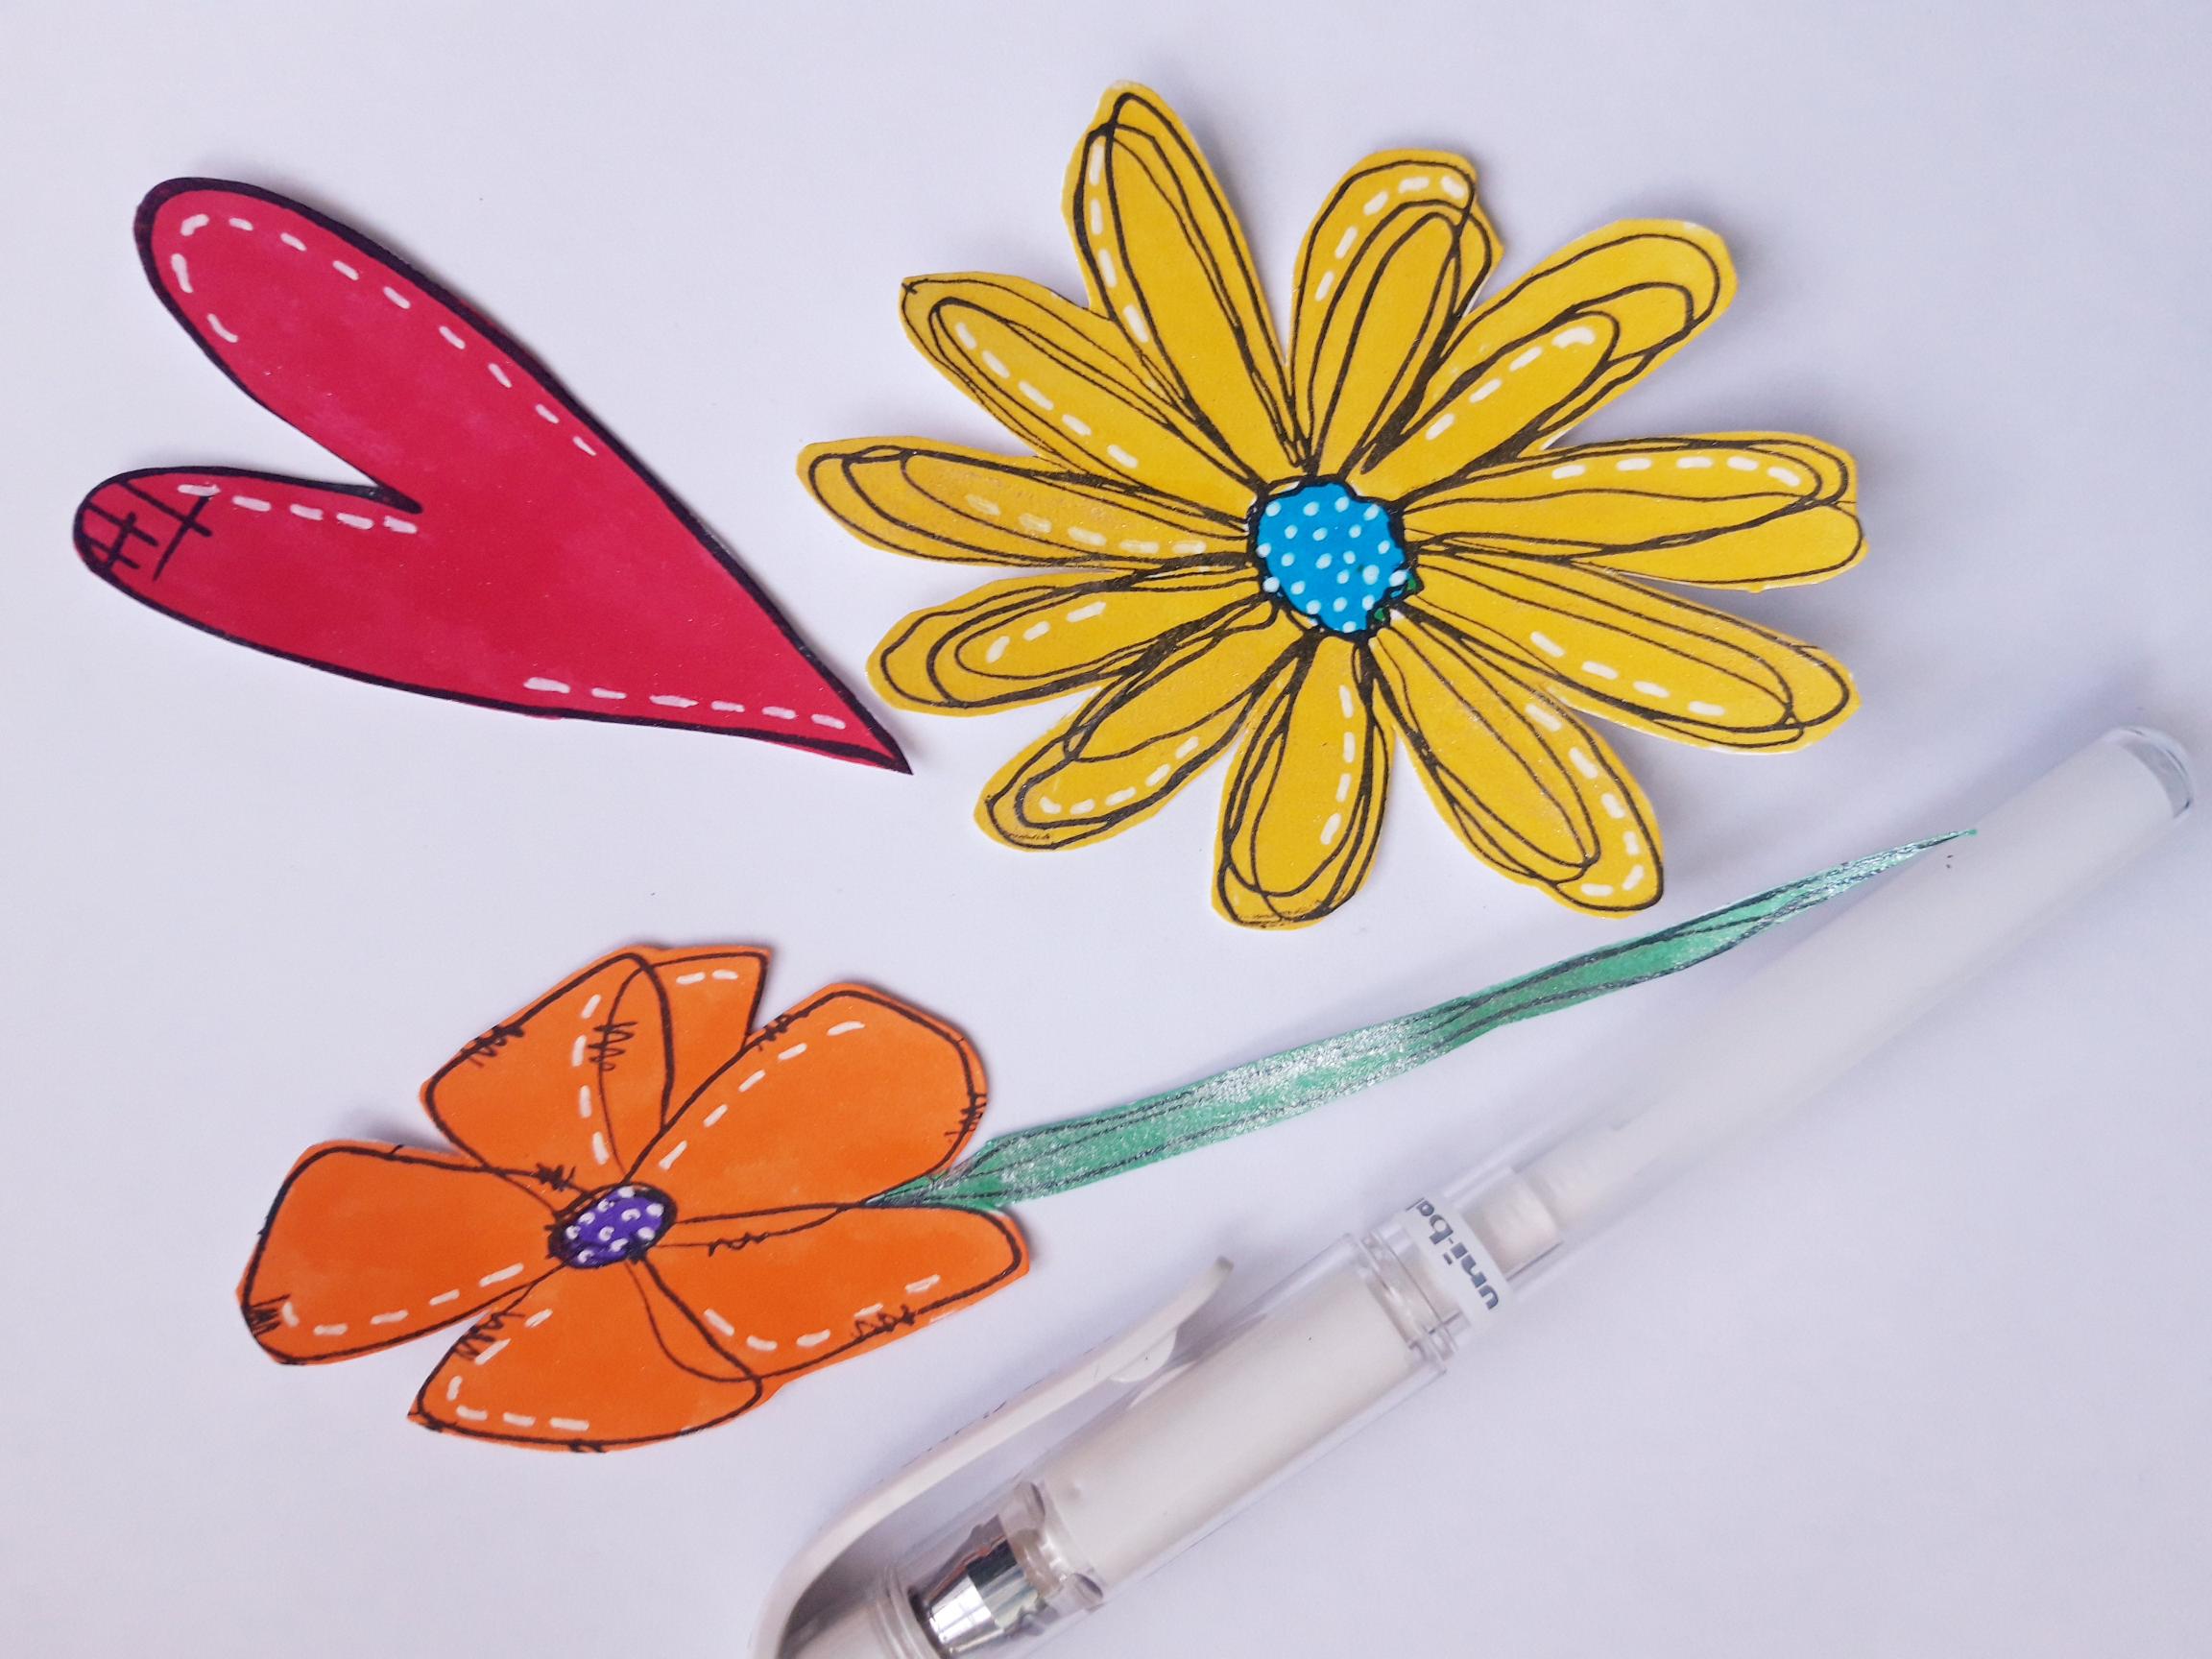
Use a white gel pen to add stitched detail, dots and accents, as required. |
|
Glue your embellishments on top of the leaf and star, with both wet glue and foam pads, to add dimension to your artwork. |
|
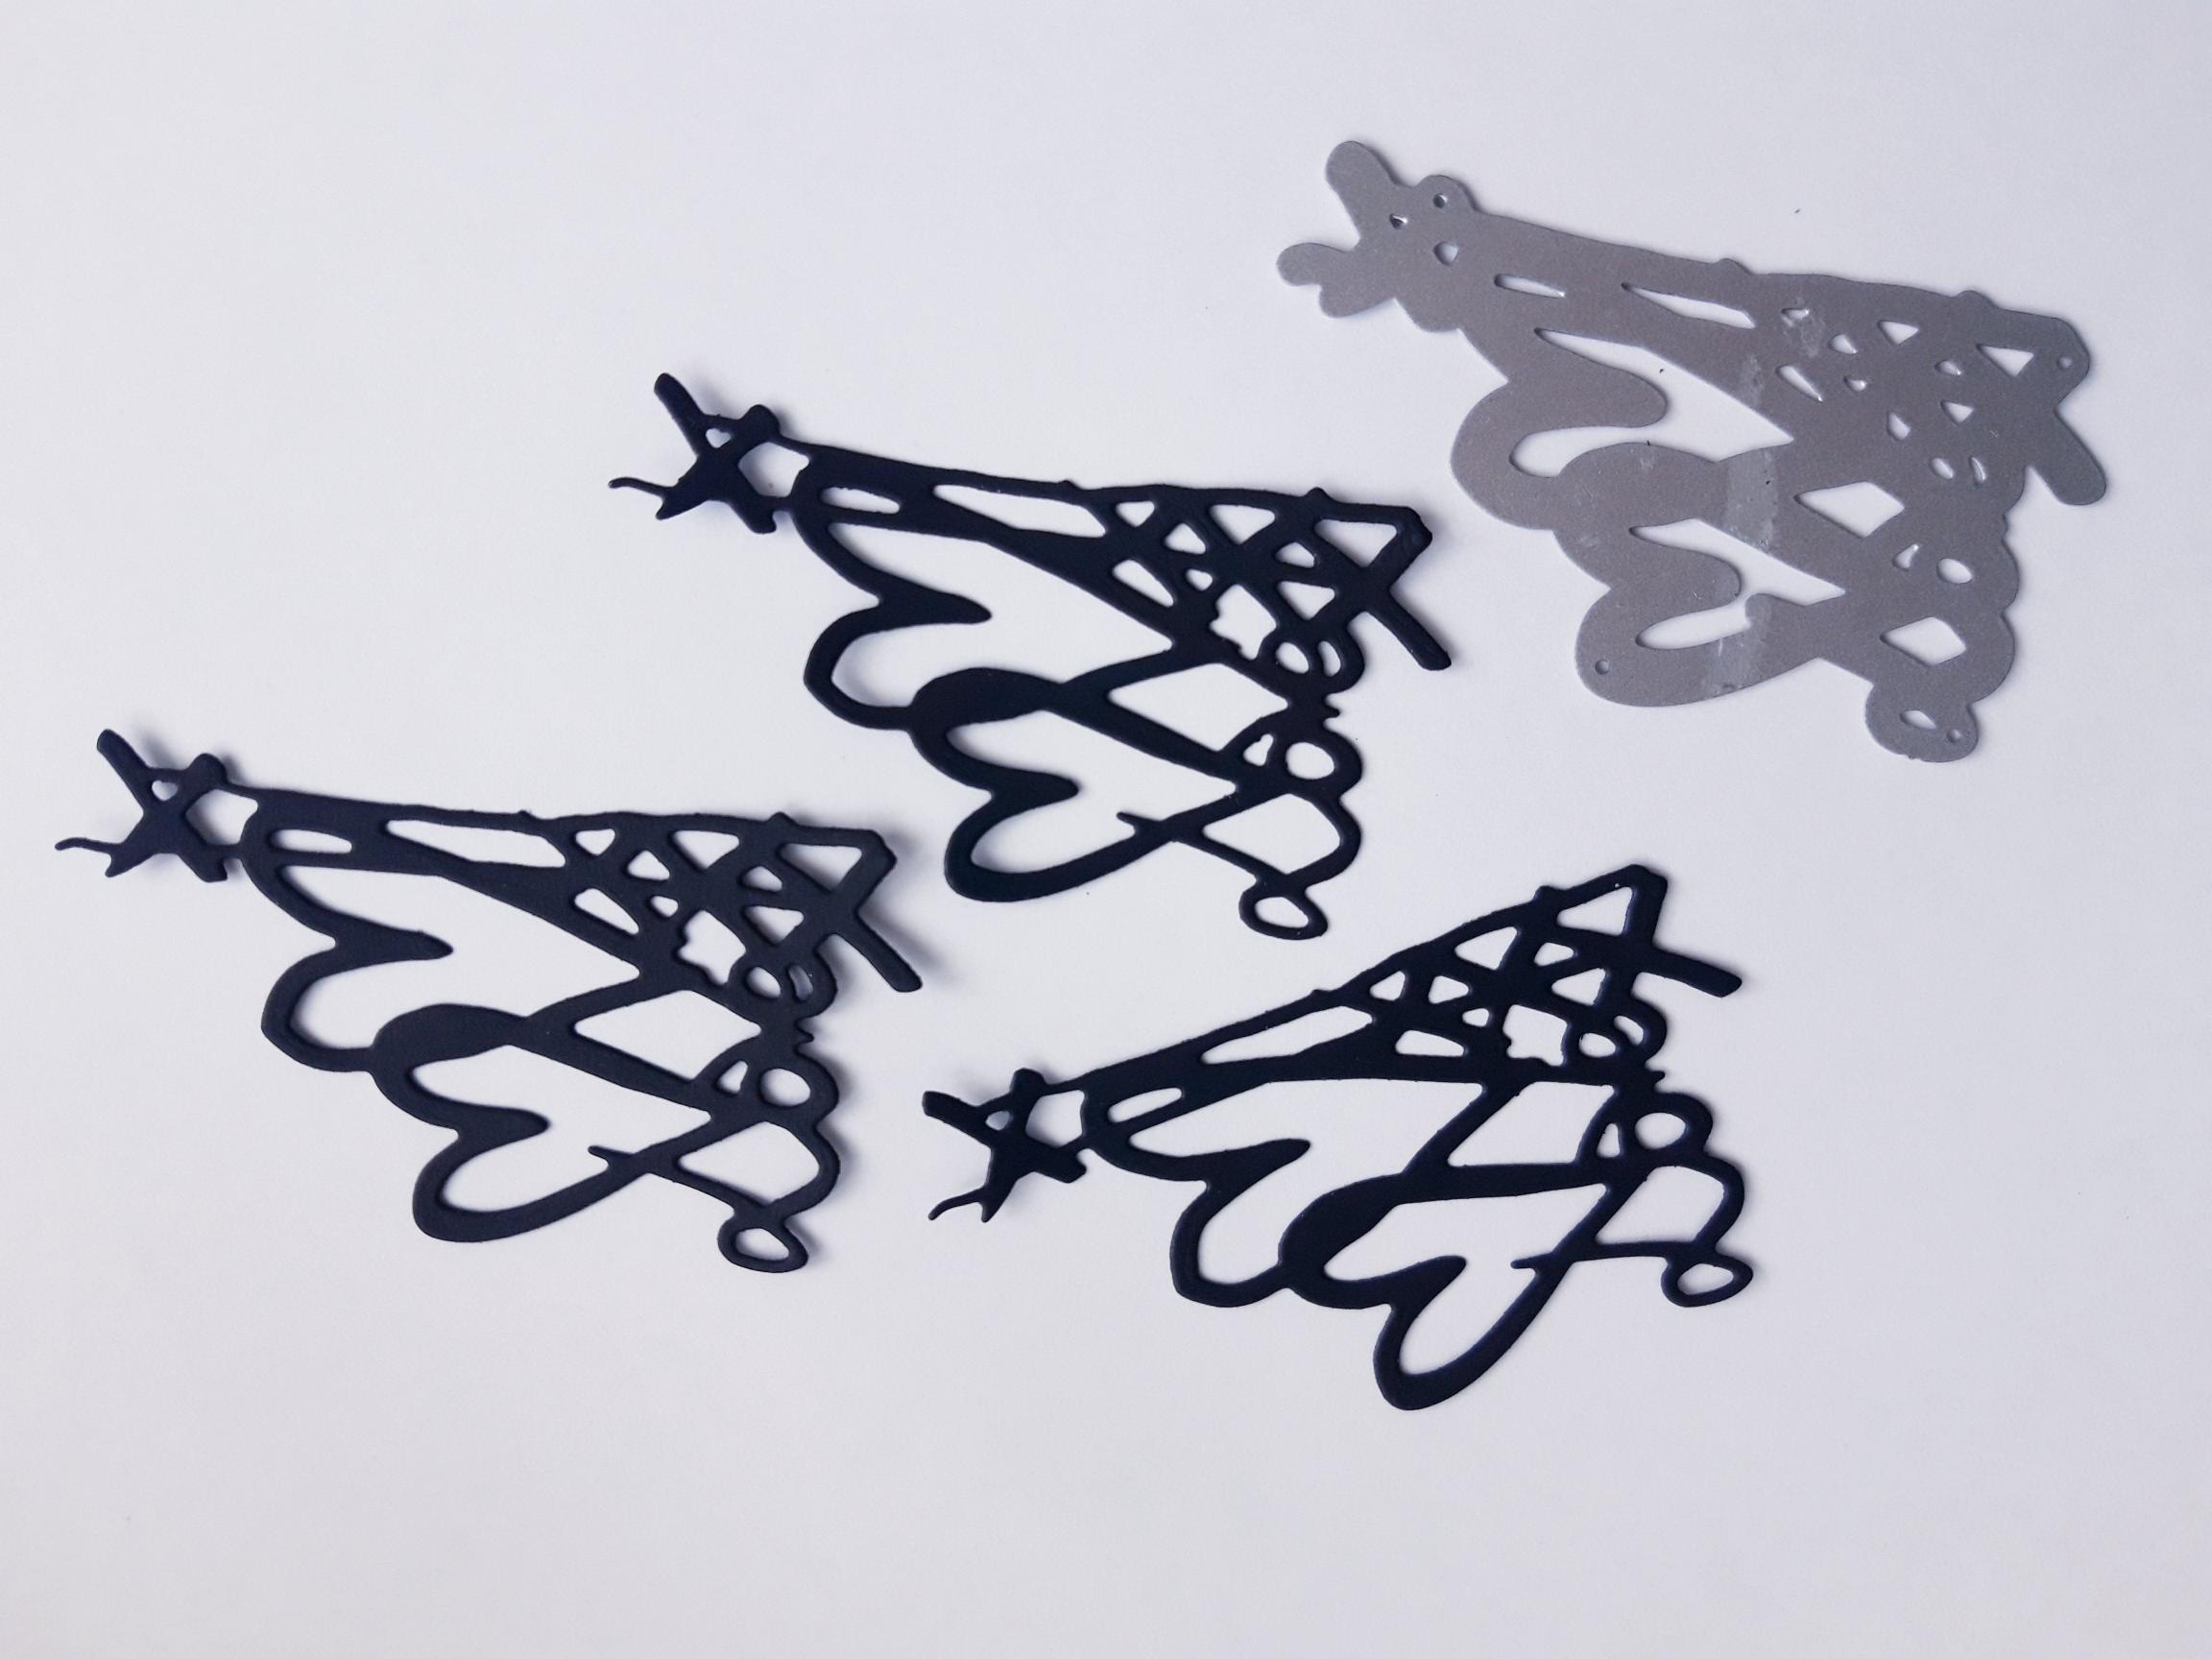
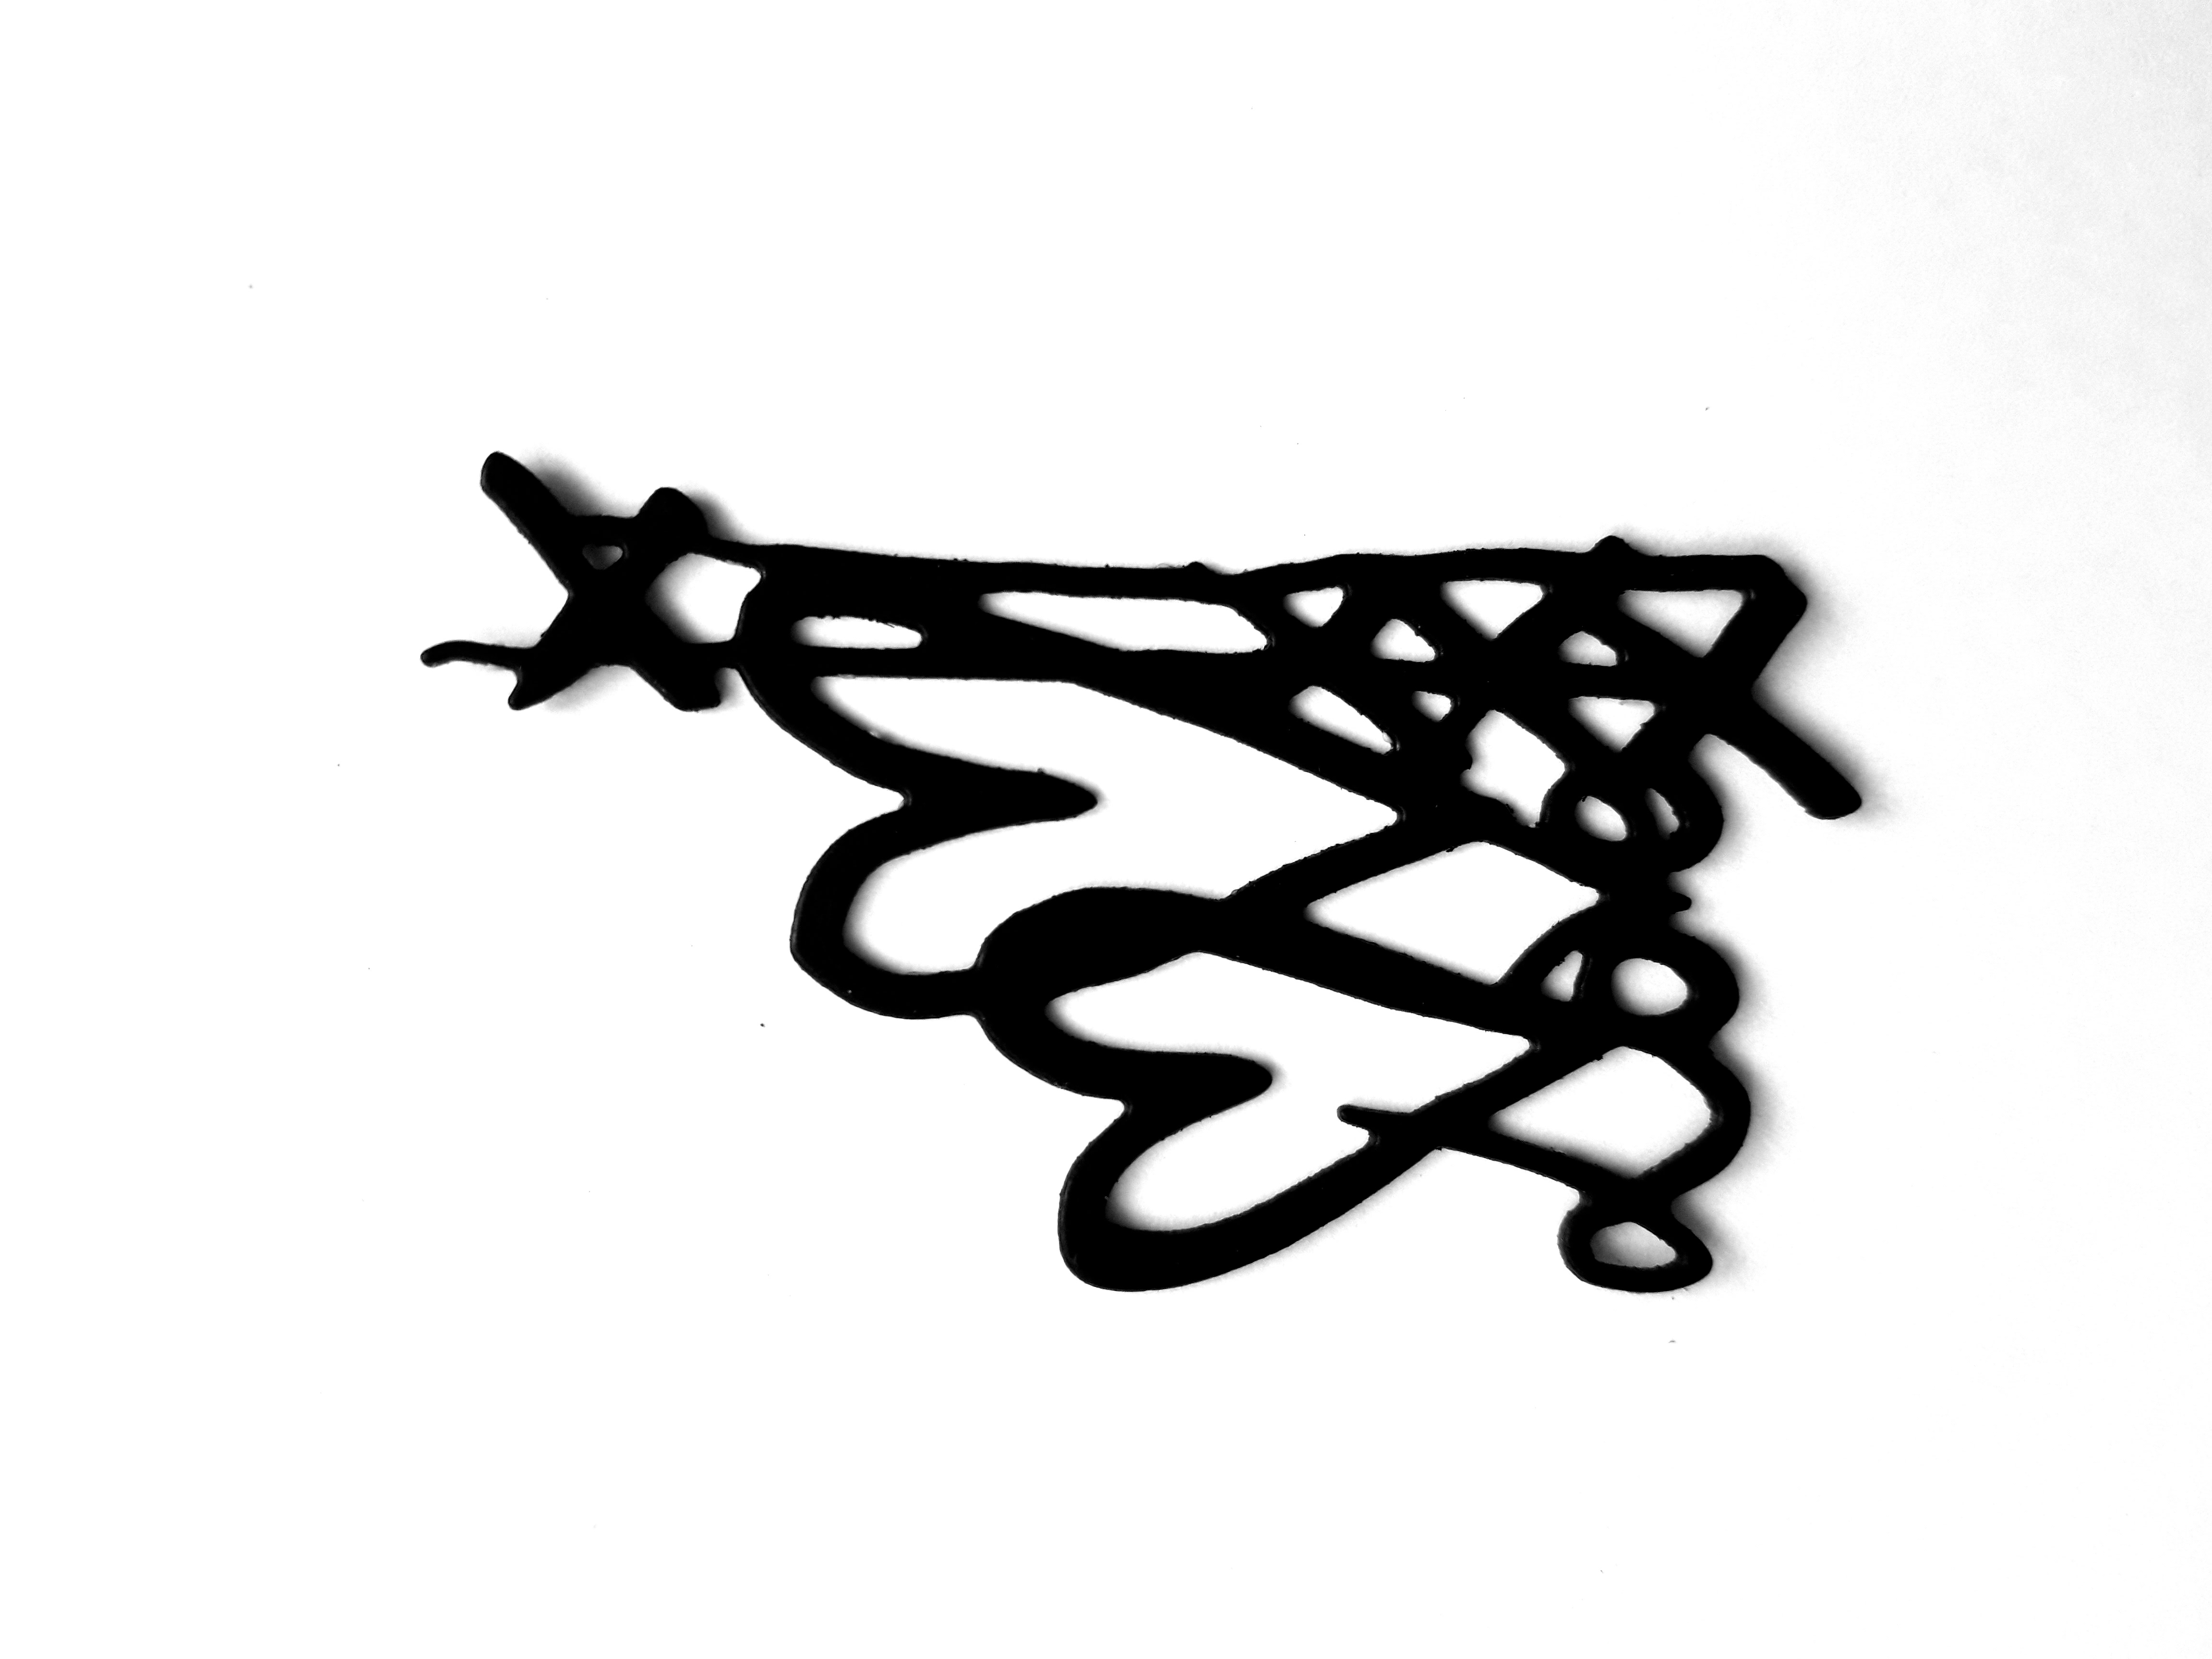
From the black cardstock you set aside earlier, die cut THREE of the Love embellishments, using the die from the Take A Leaf Creative Dies set. |
|
Glue the THREE Love die cuts together, to create ONE more substantial sentiment embellishment. |
|
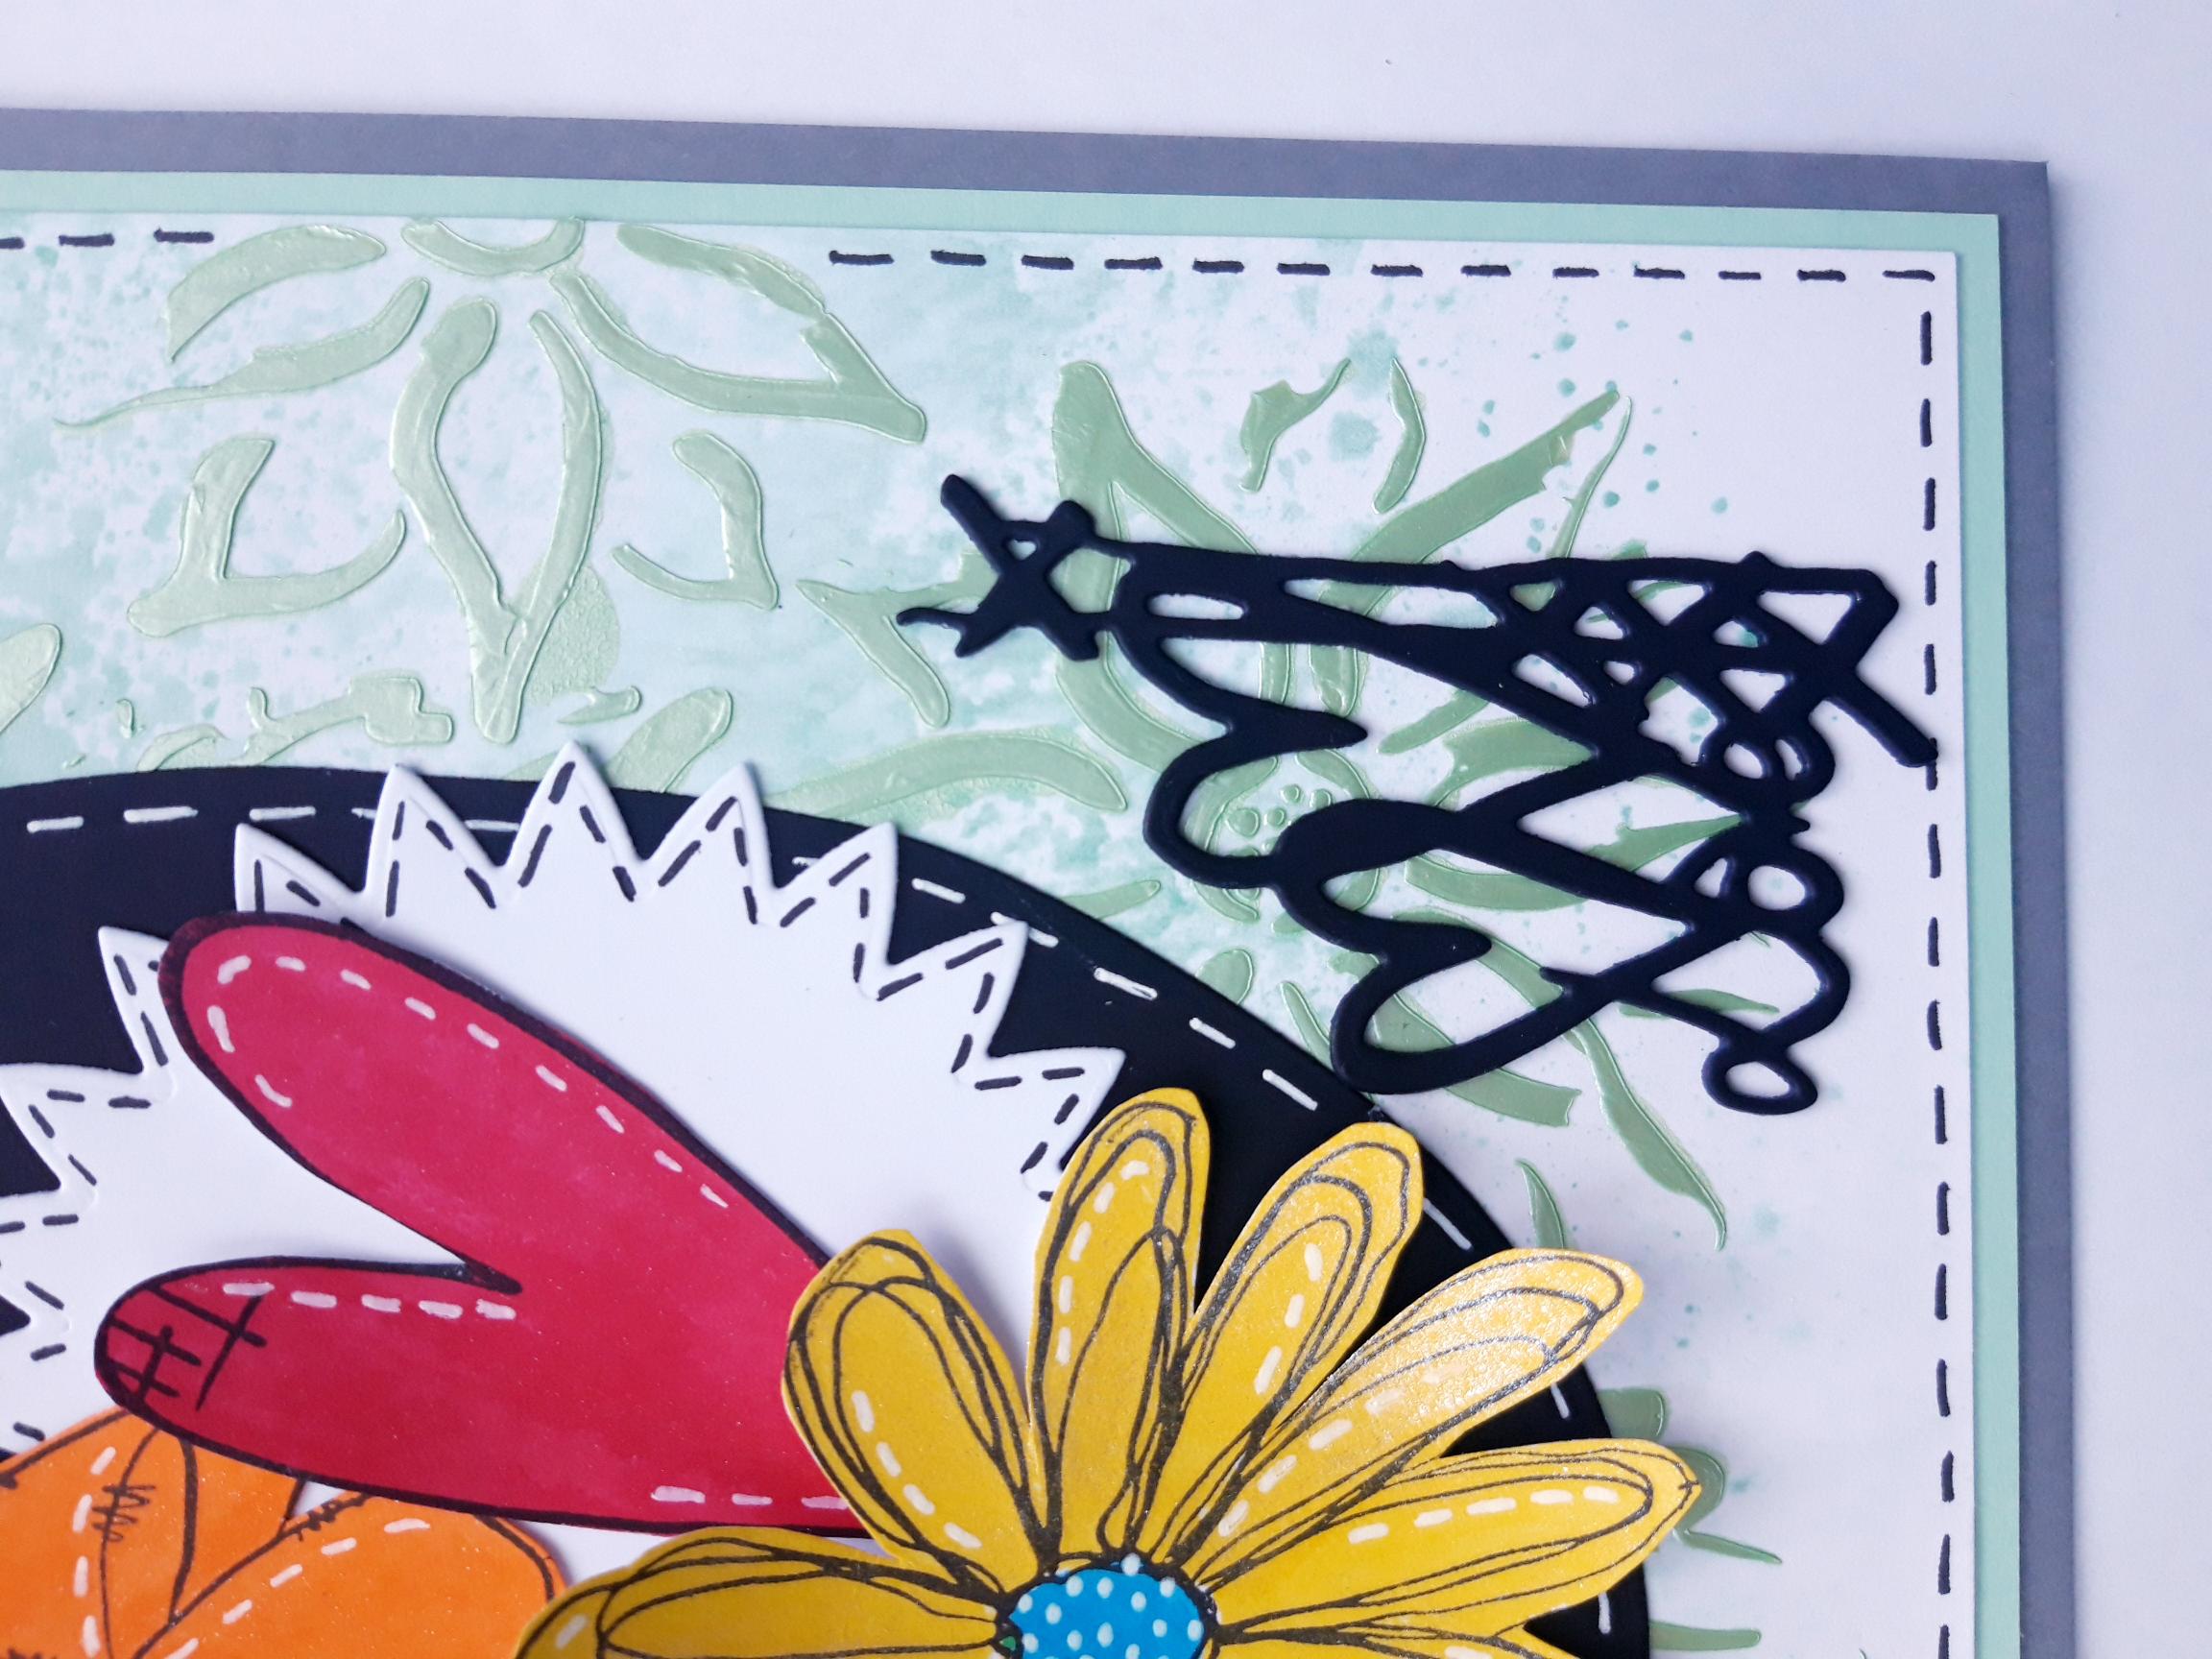
Glue your die cut Love embellishment on to your artwork, in the bottom right hand corner, just kissing the edge of the die cut leaf, so it all looks connected. |
|
To finish, add sequins under and around your artwork |