Give your friends $10 off their first order!
Refer a FRIEND


WHAT YOU WILL NEED:
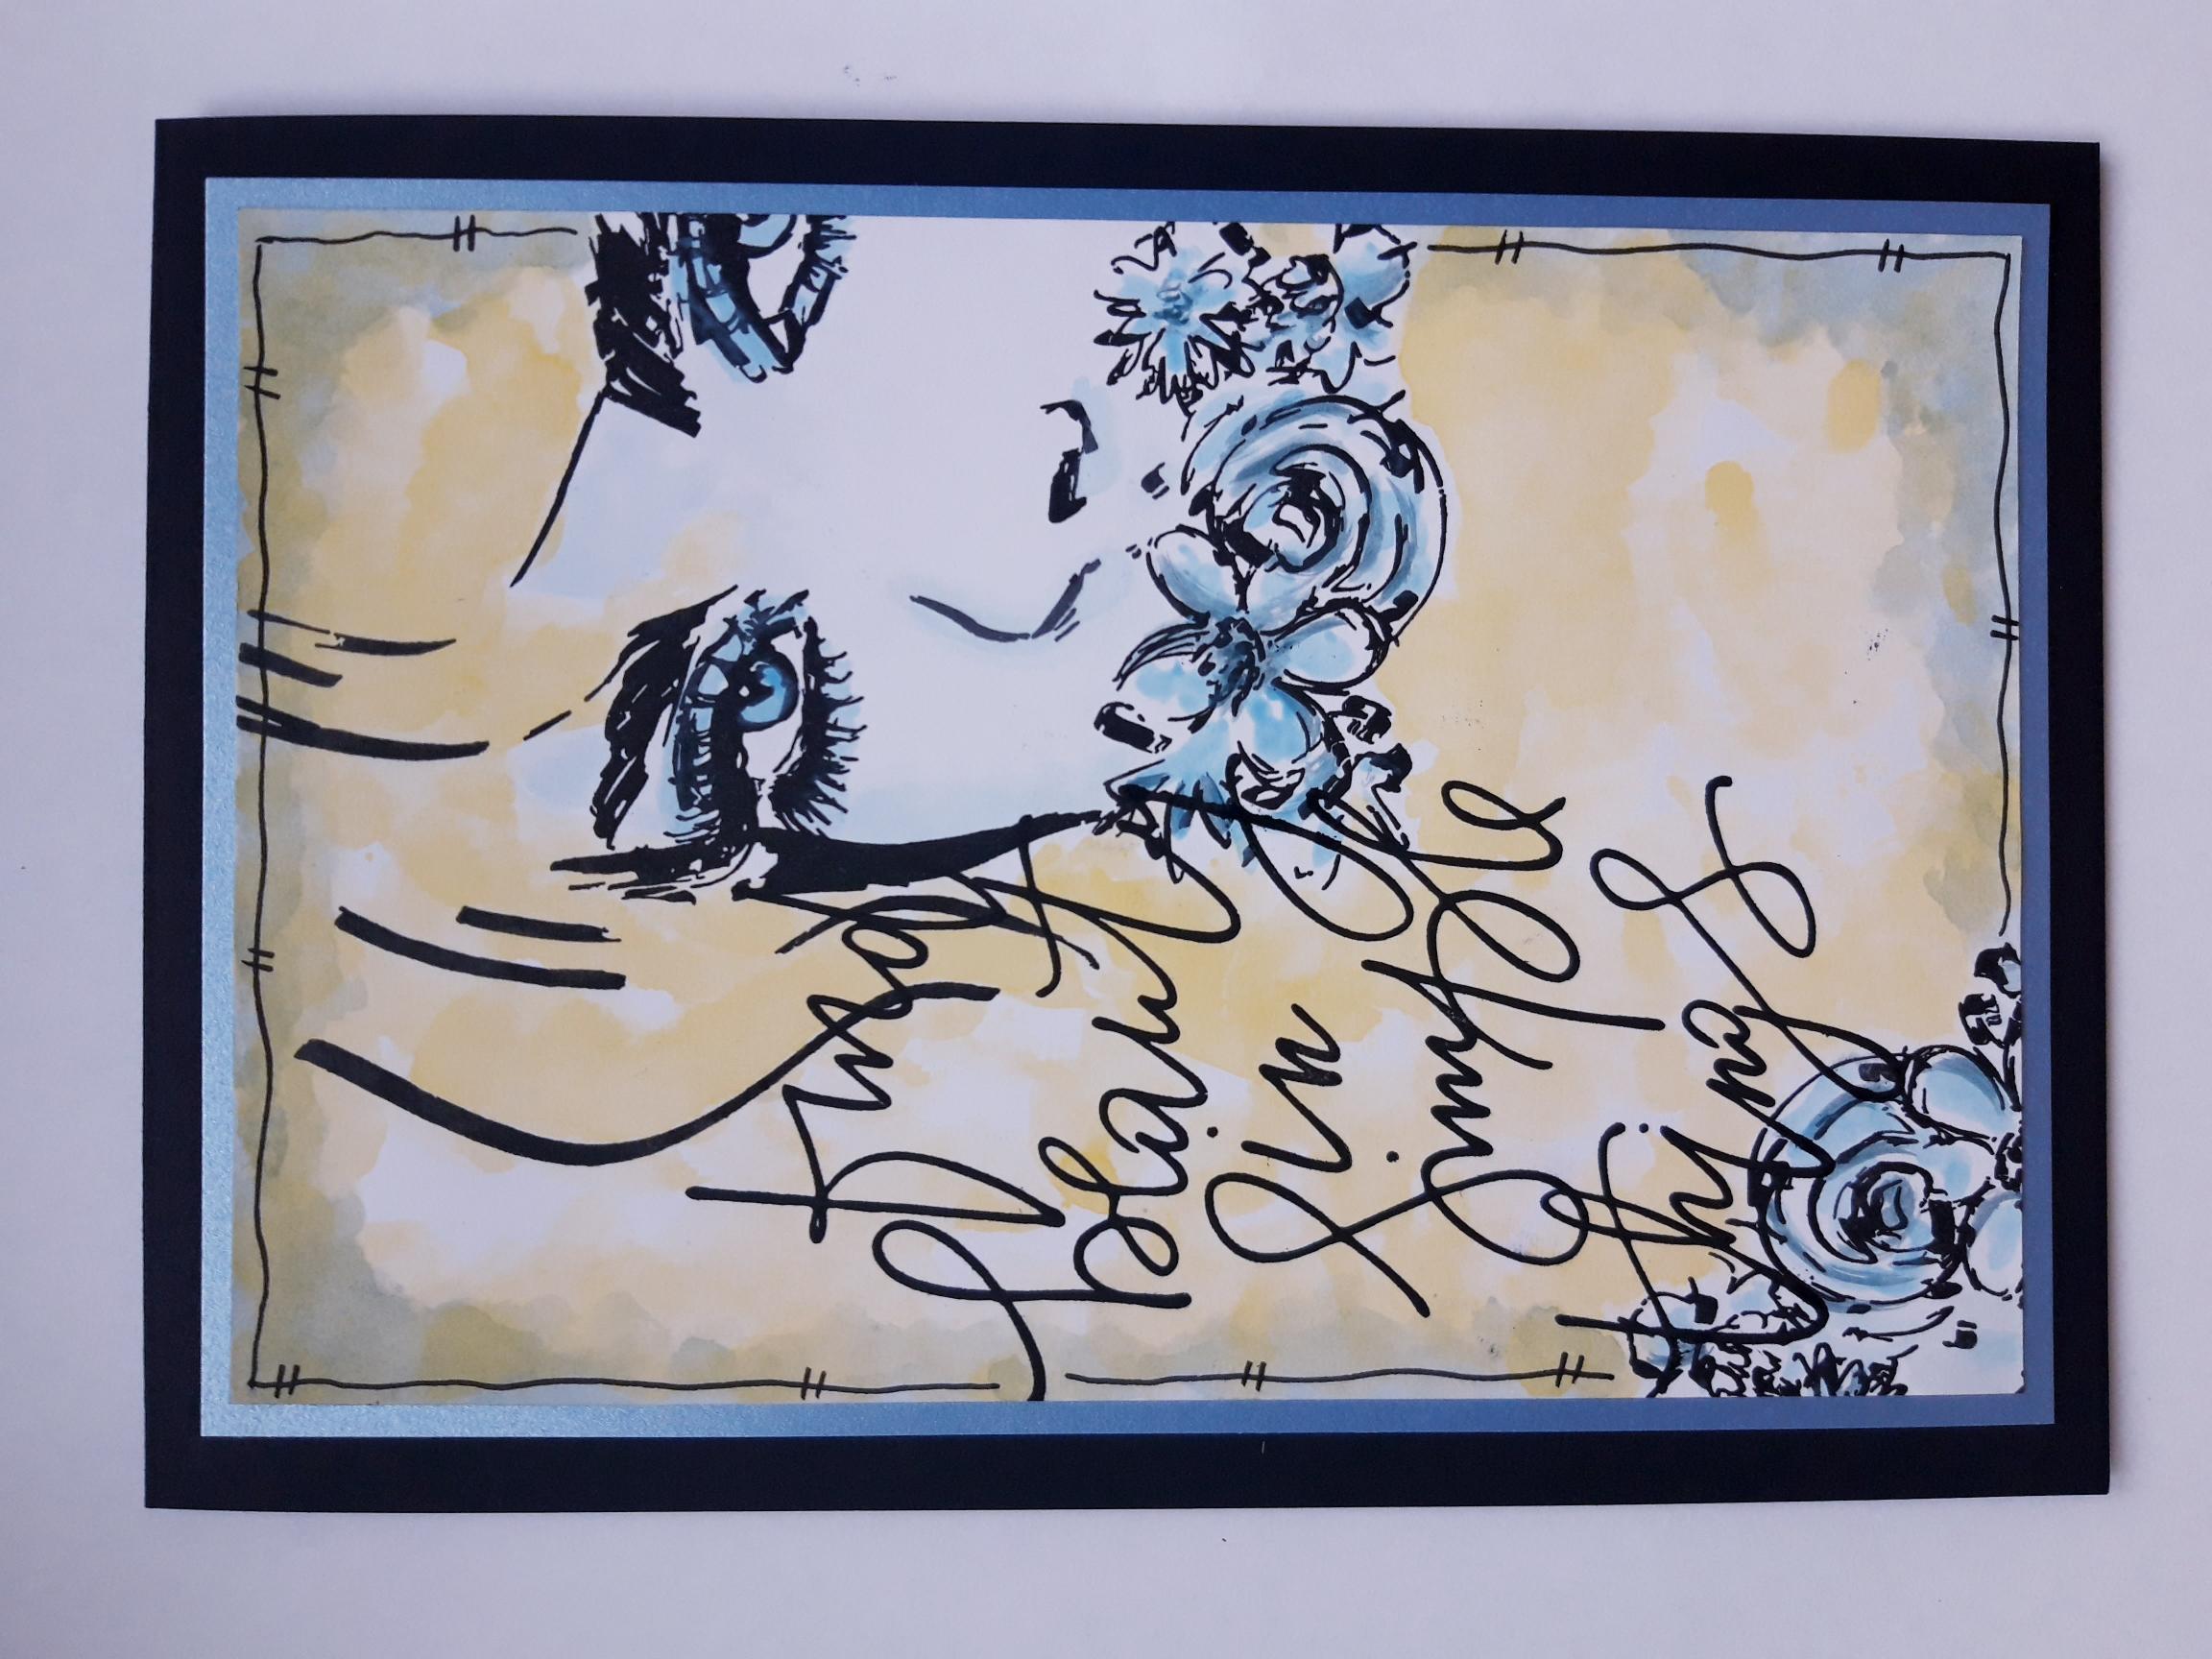
Black top folding card blank (8 1/4 x 5 3/4")
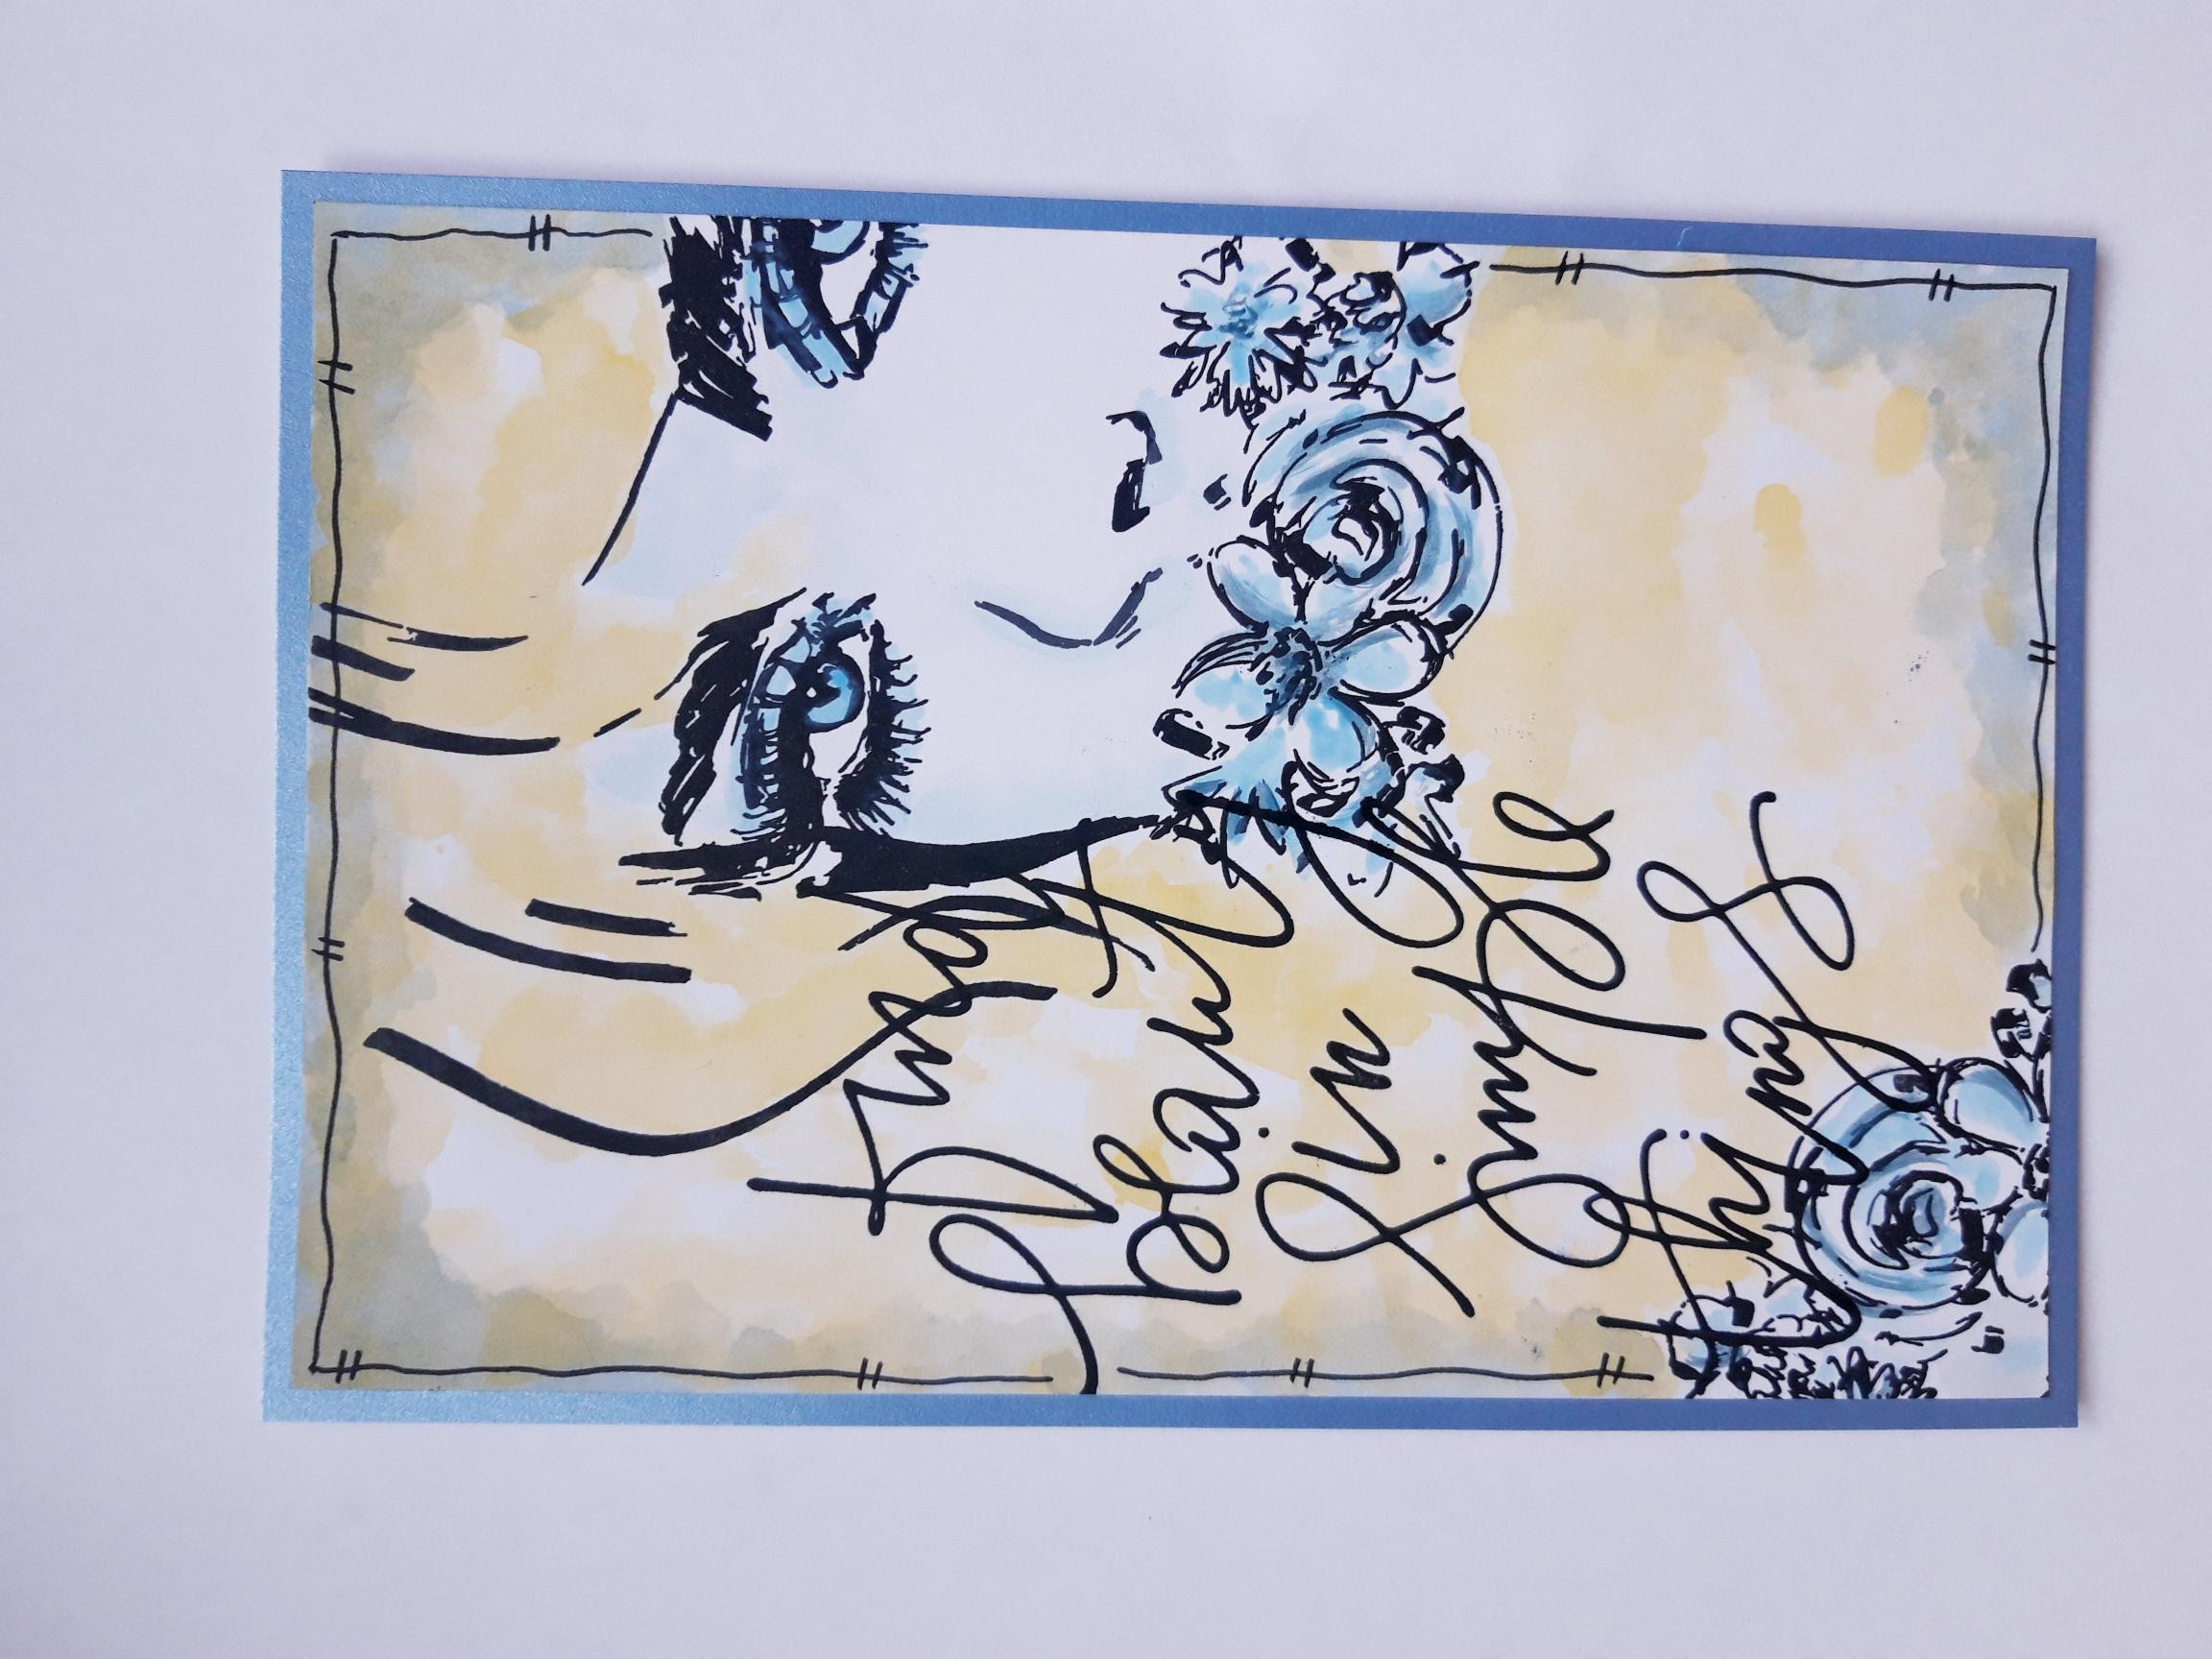
Blue Pearlised card (7 3/4 x 5 1/4")
White card (7 1/2 x 5")
Stamps from Imala Those Eyes Stamp Collection
Versafine Ink Pad: Onyx Black
Izink Pigments: Mimosa, Stratosphere, Thundercloud
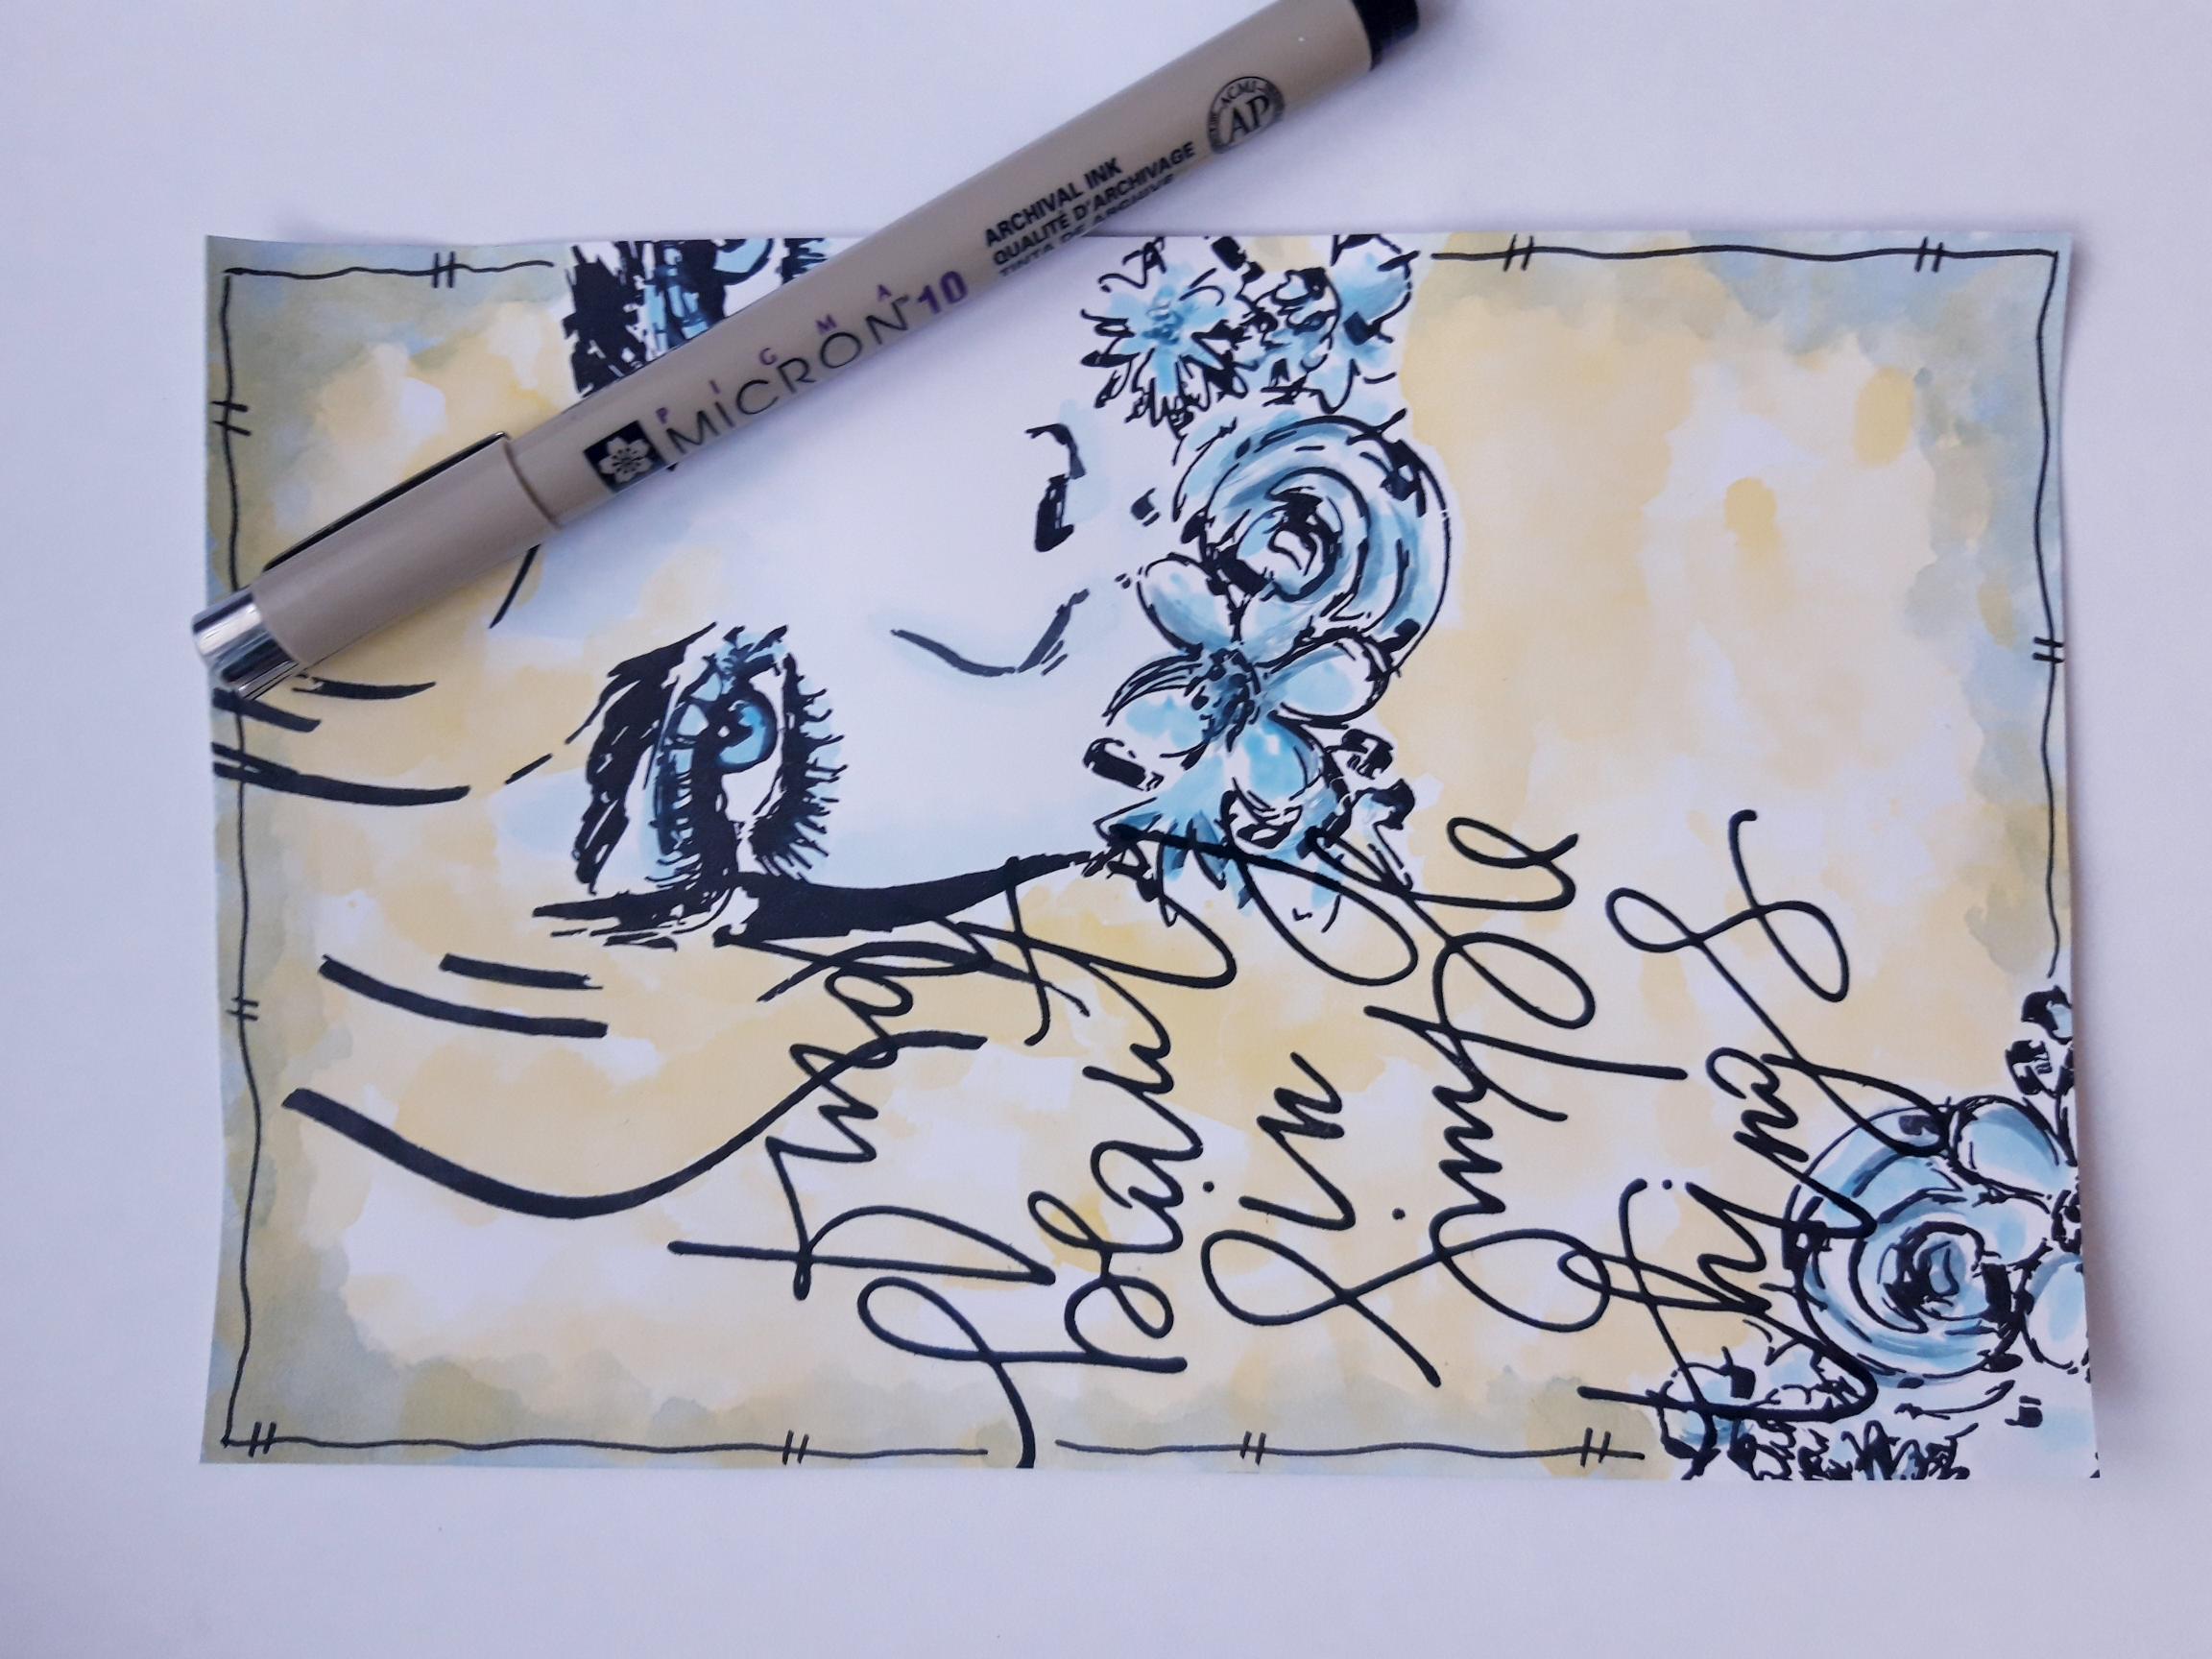
Black pen
Sequins: Glistening Waves
Paintbrush
Eureka 101
Paper Trimmer
Perfect Together Glue
[click image to enlarge] 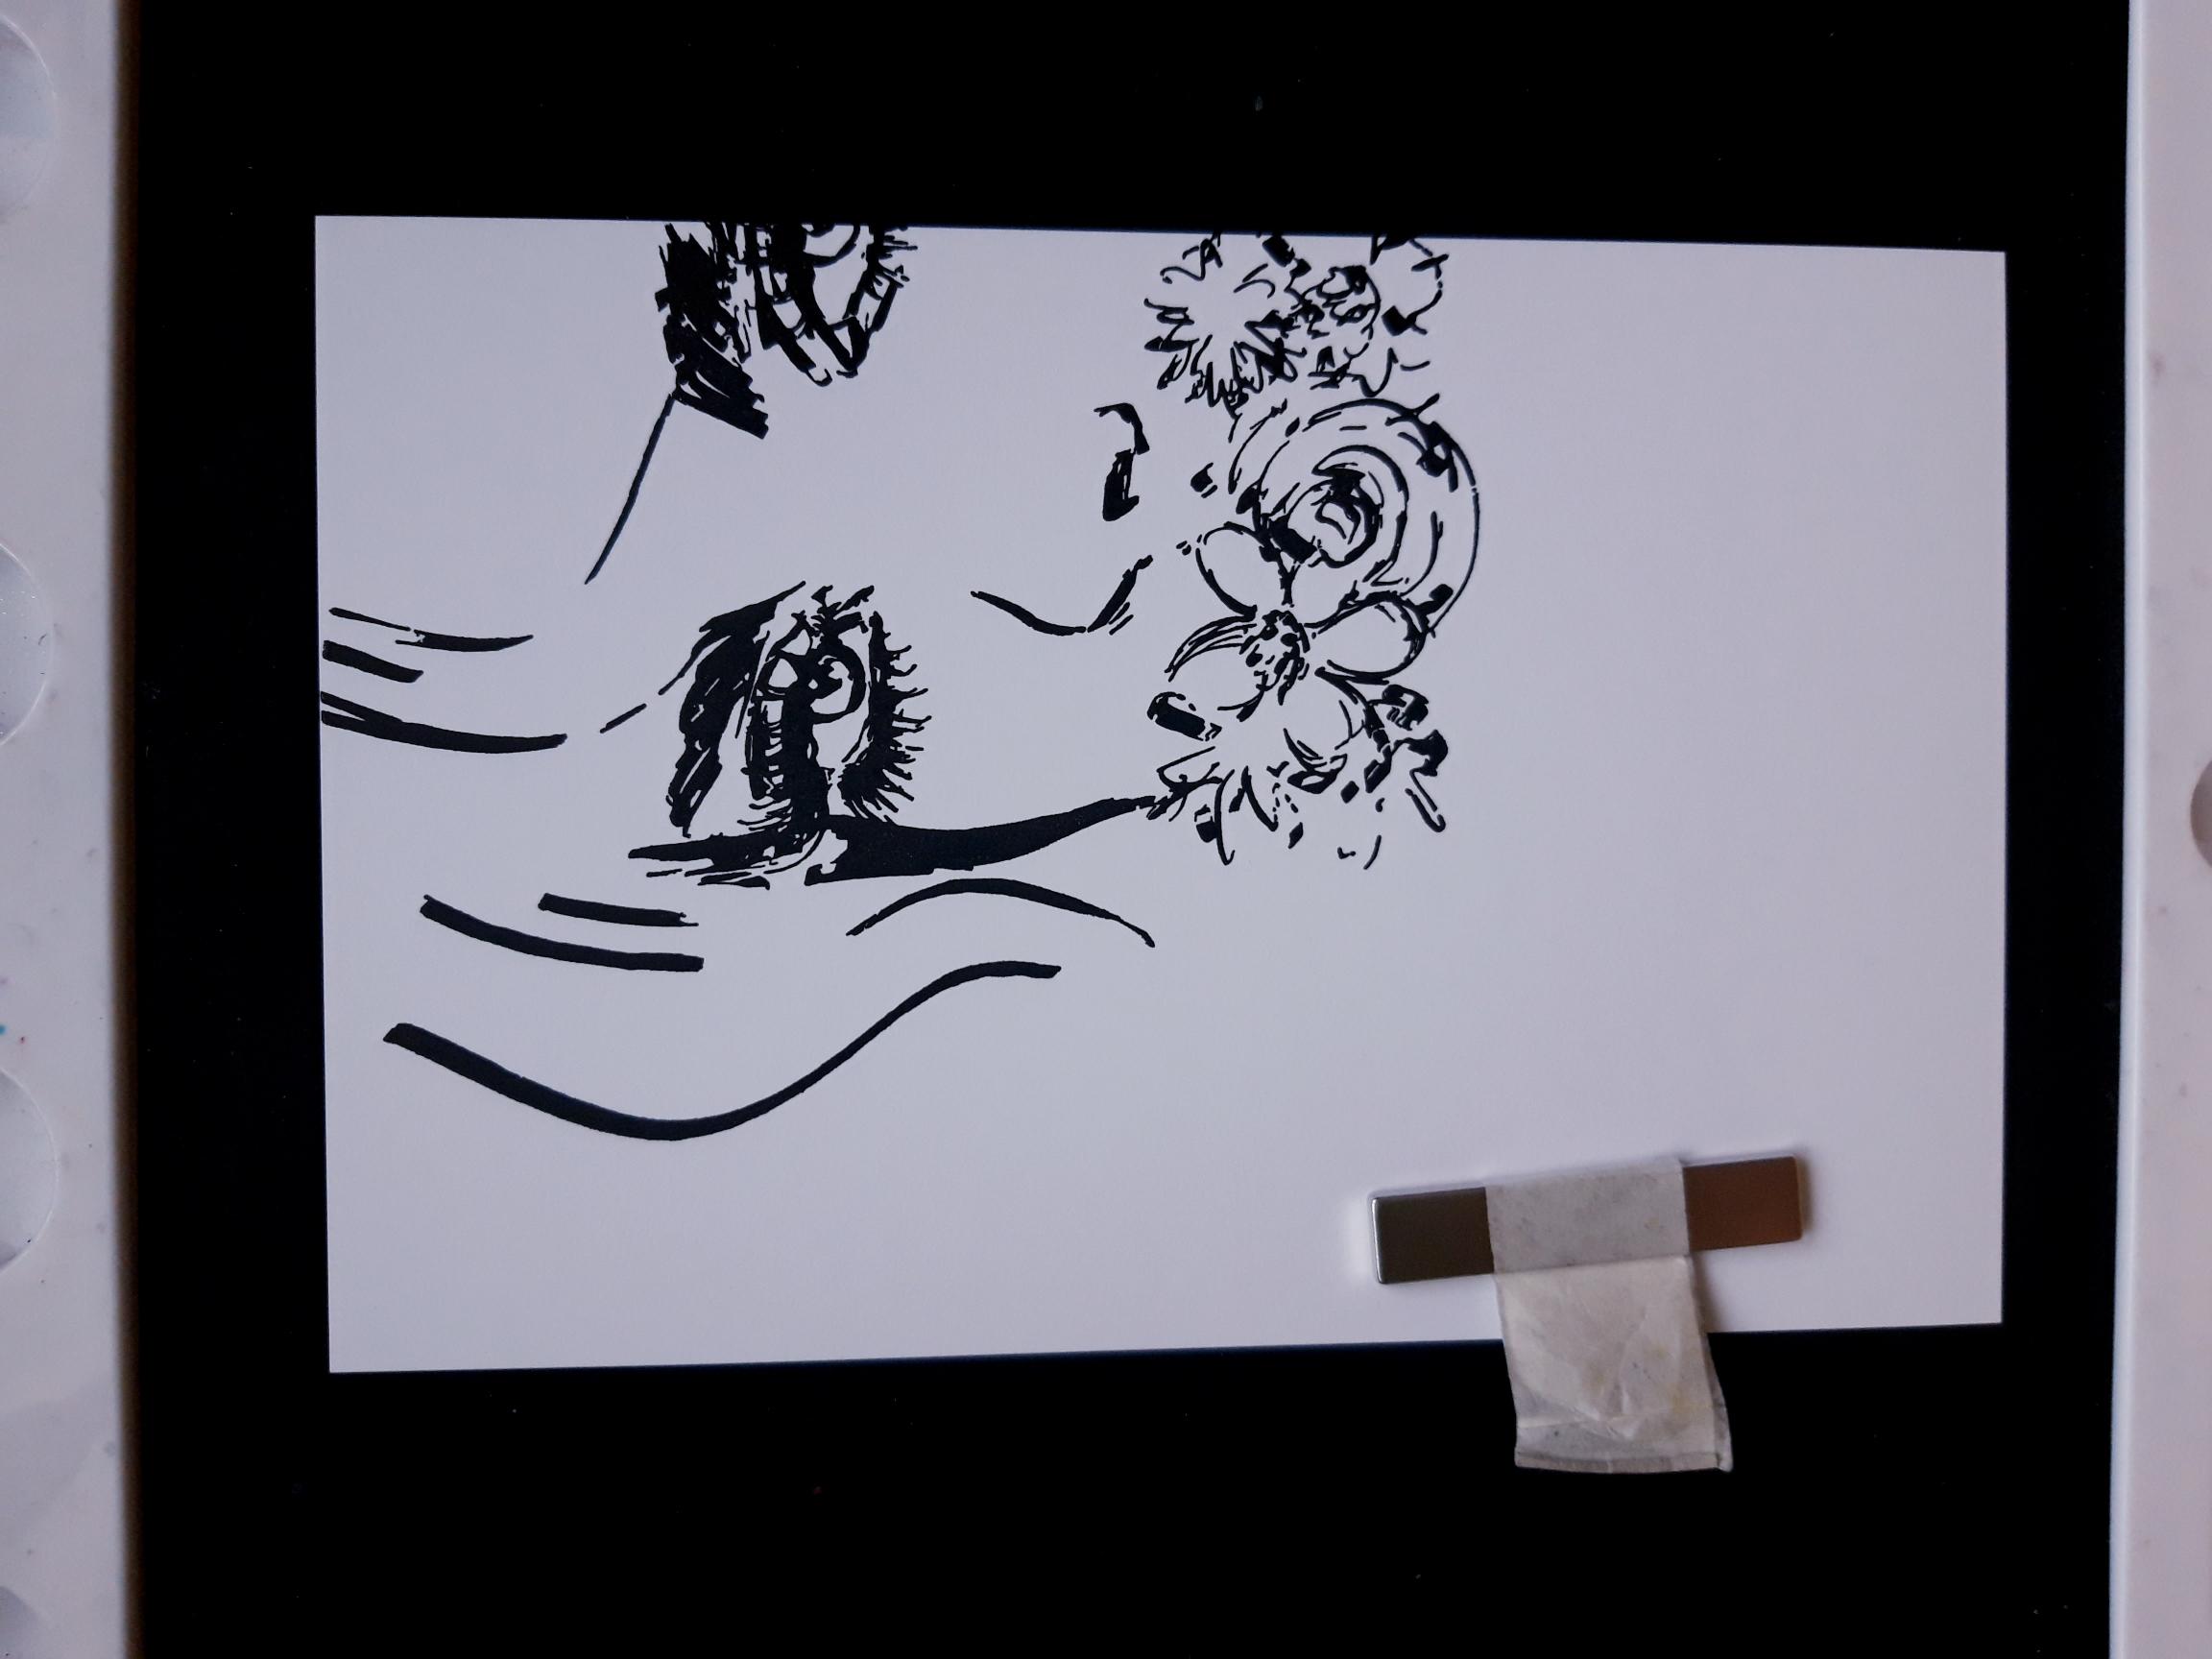
|
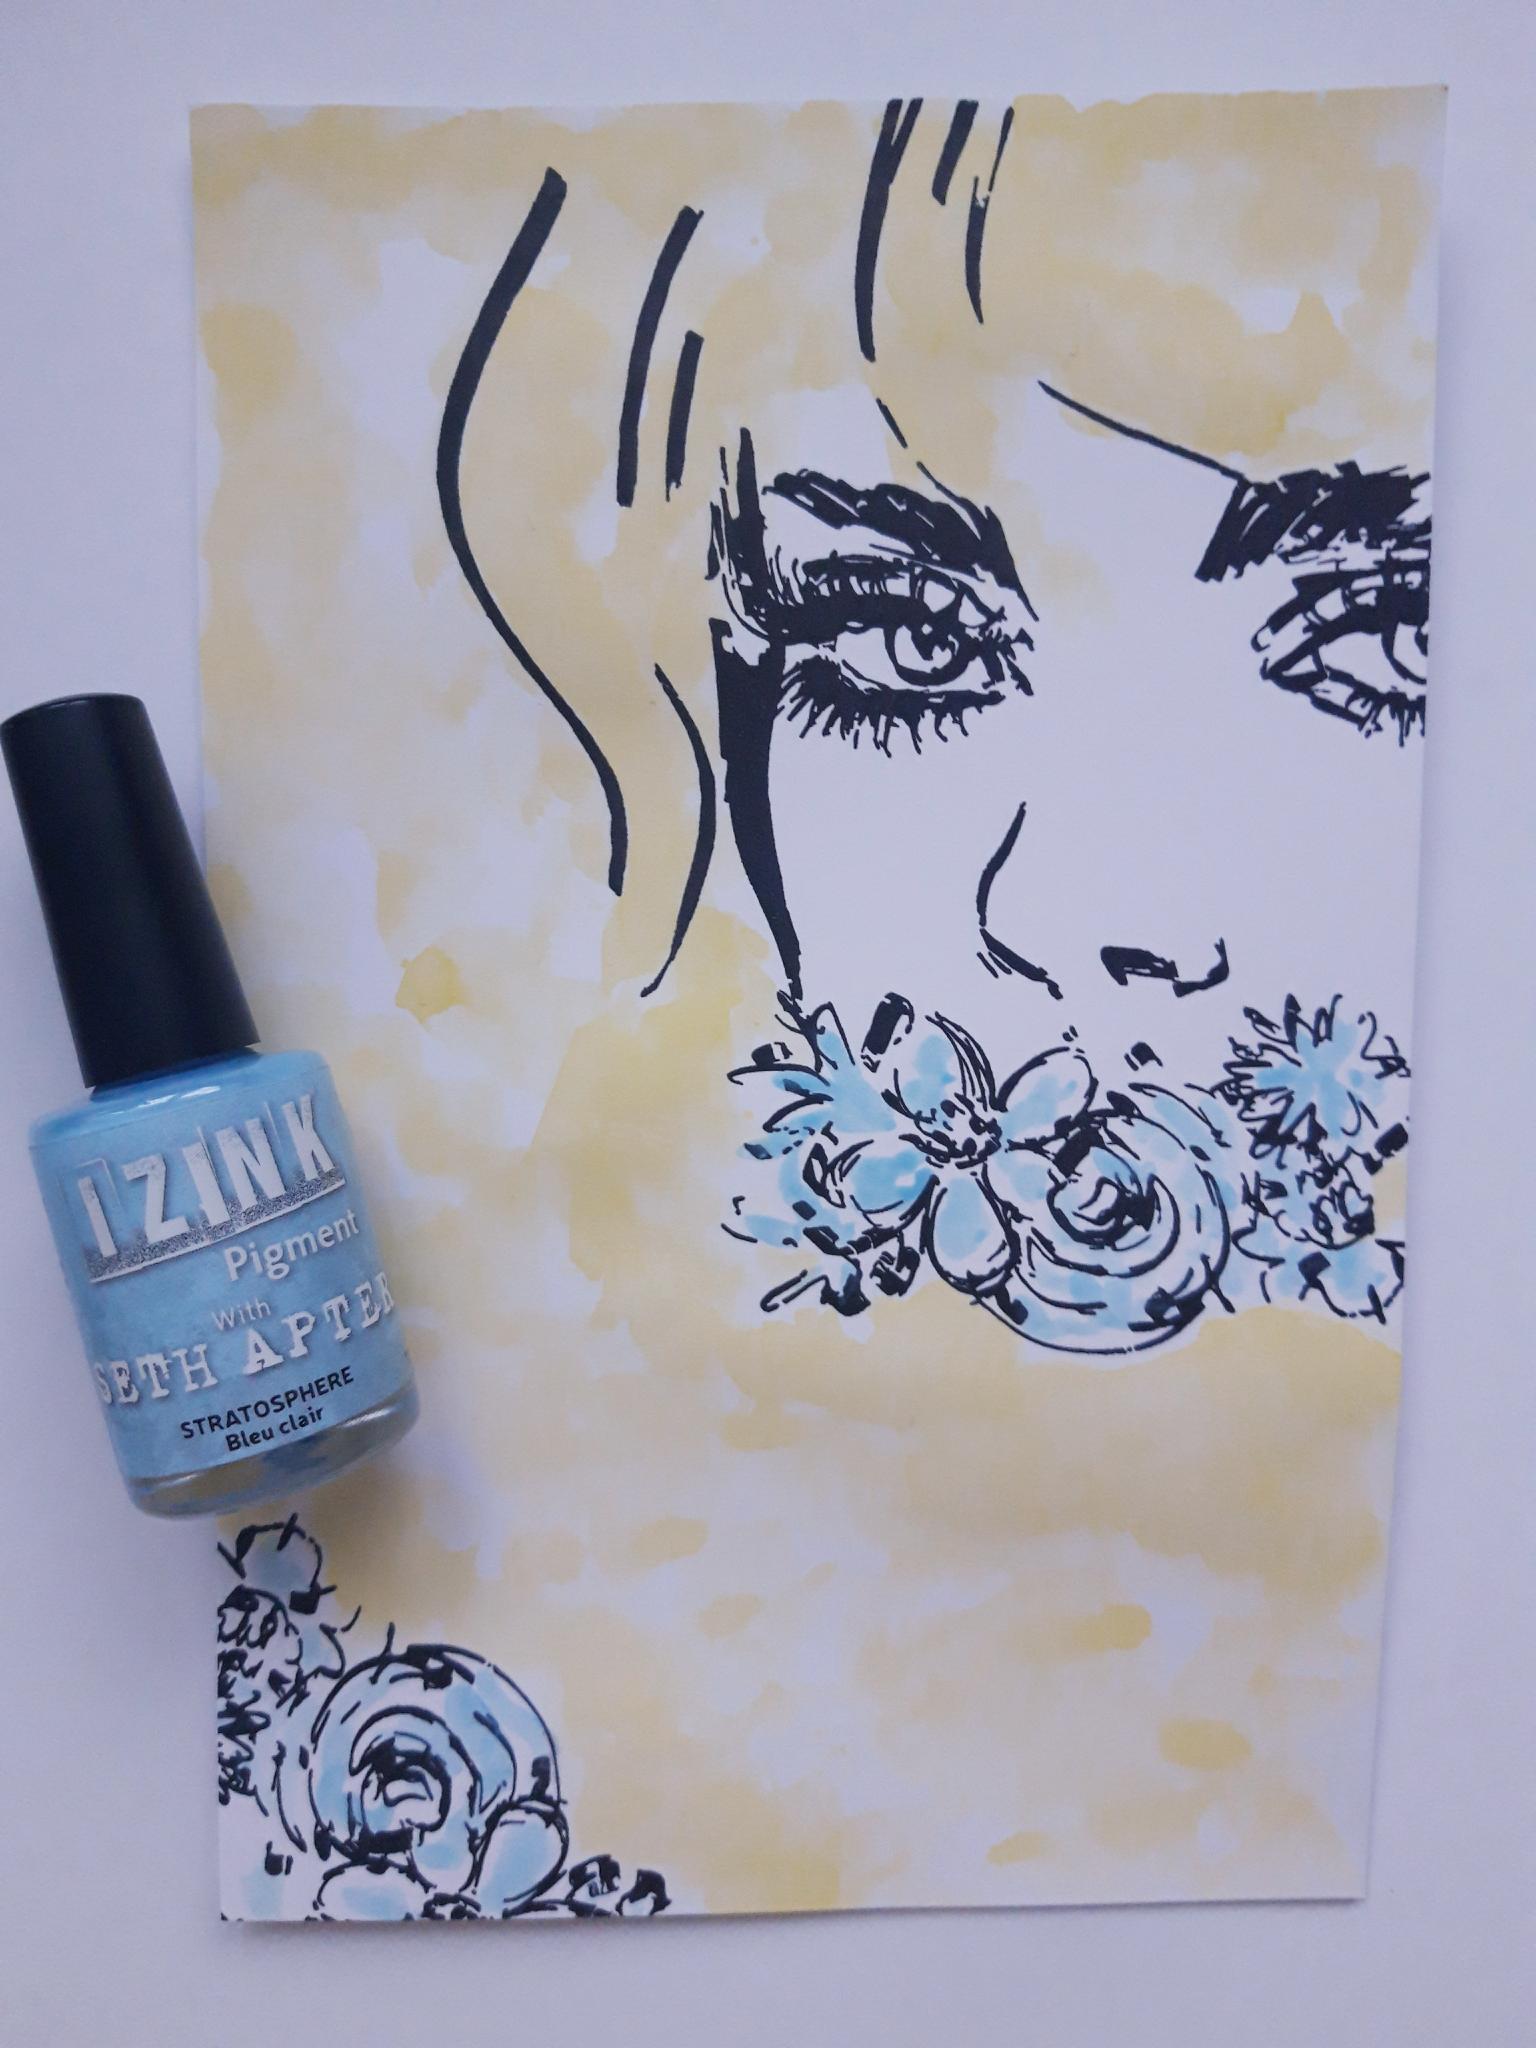
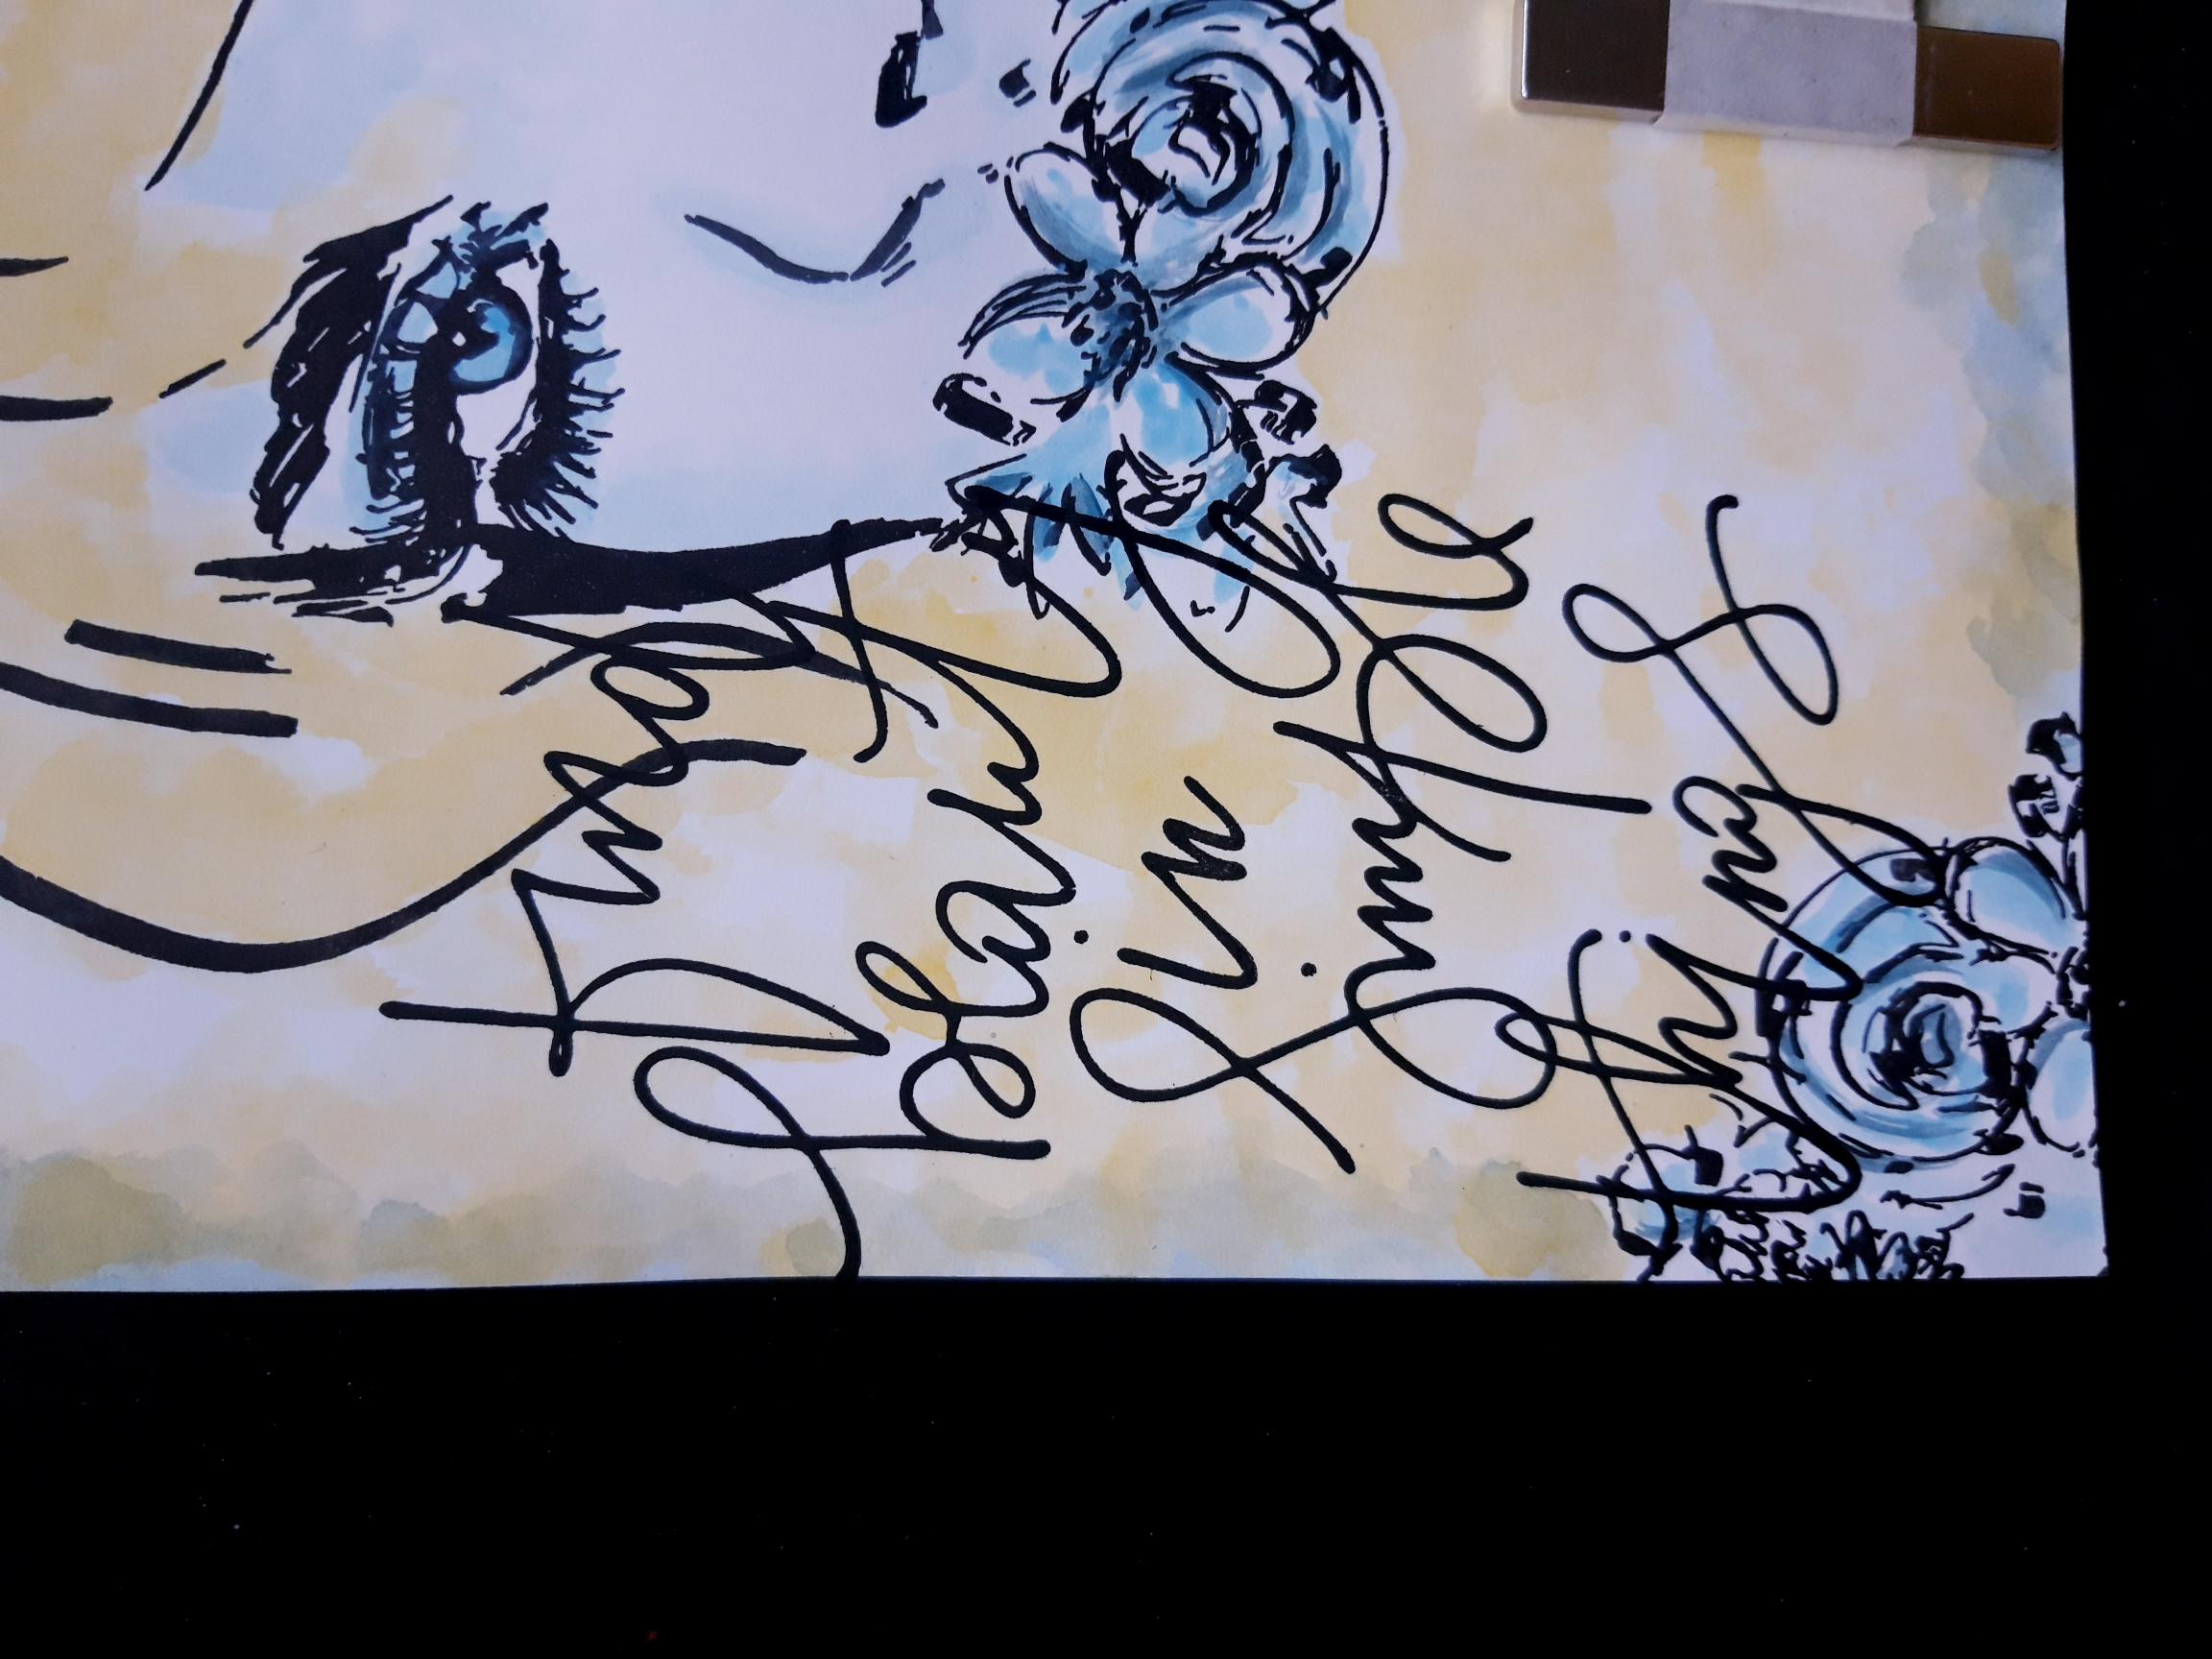
Ink up the stamp from the Imala Those Eyes Stamp Collection, with the Onyx Black Versafine. Stamp off the top right corner of the white card. |
|
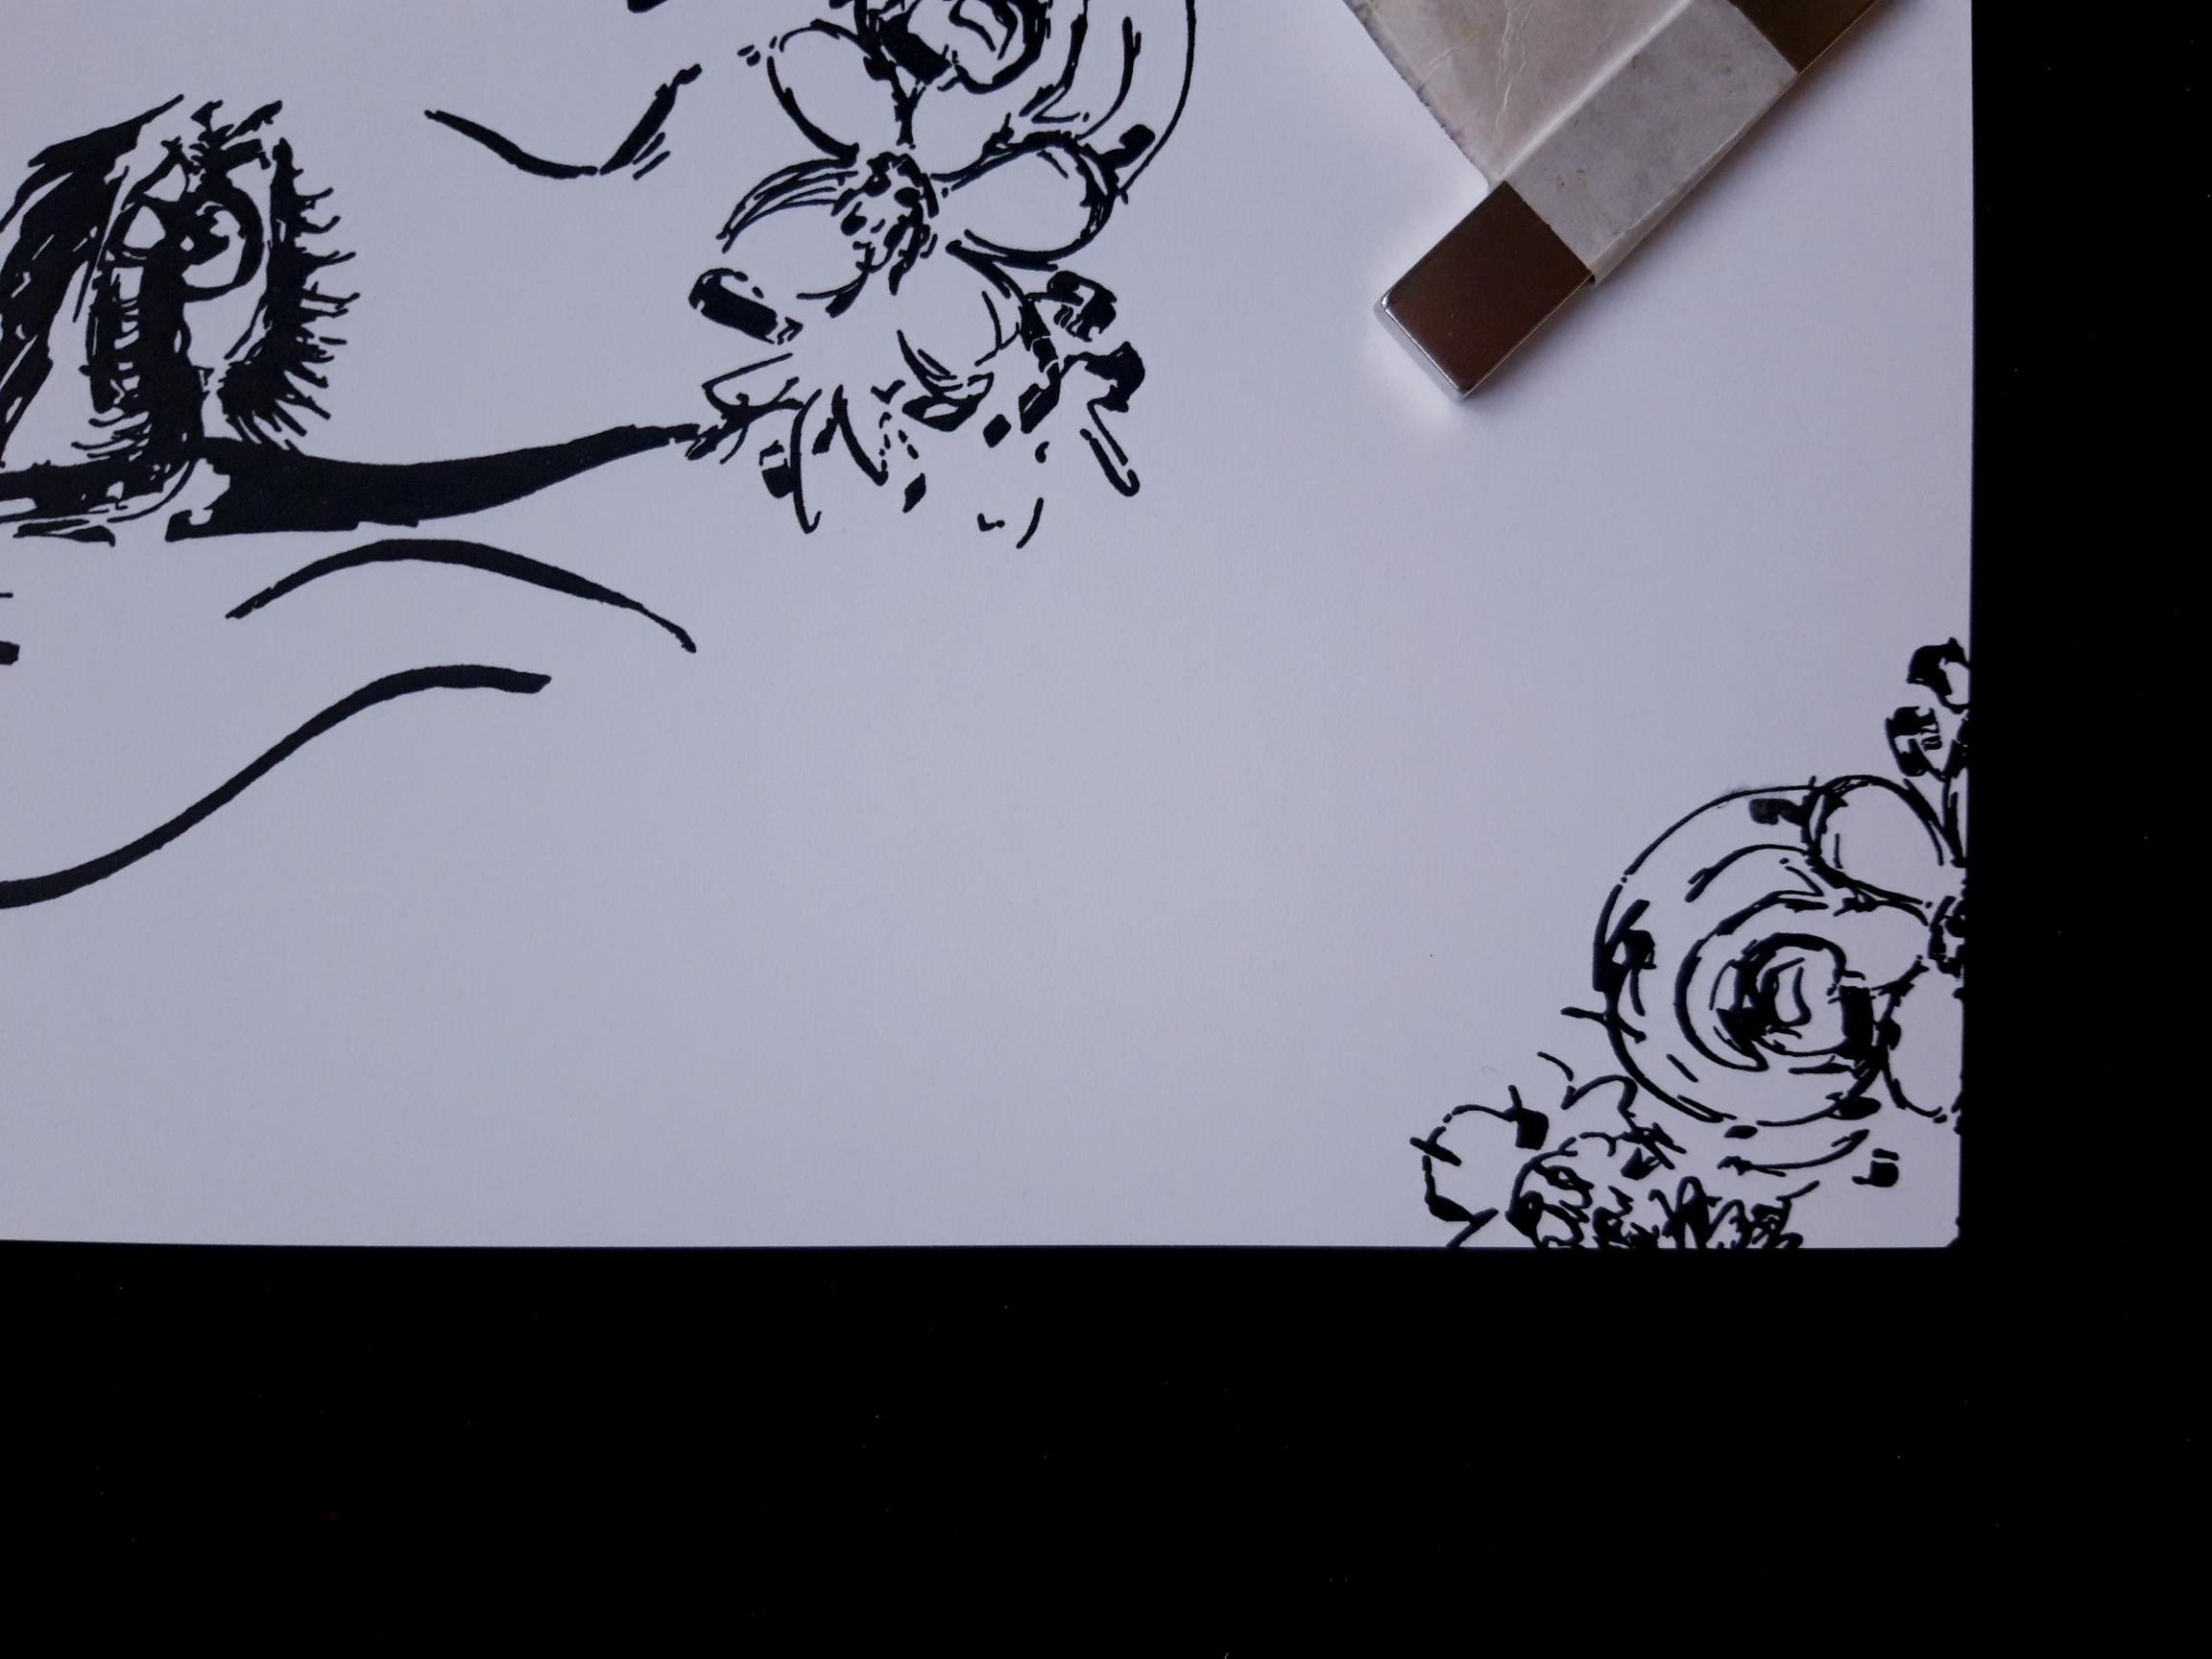
Ink up the floral part of the same stamp, with the Versafine, and stamp it just peeping up from the bottom left corner. Allow ink to dry before moving on to the next step. |
|
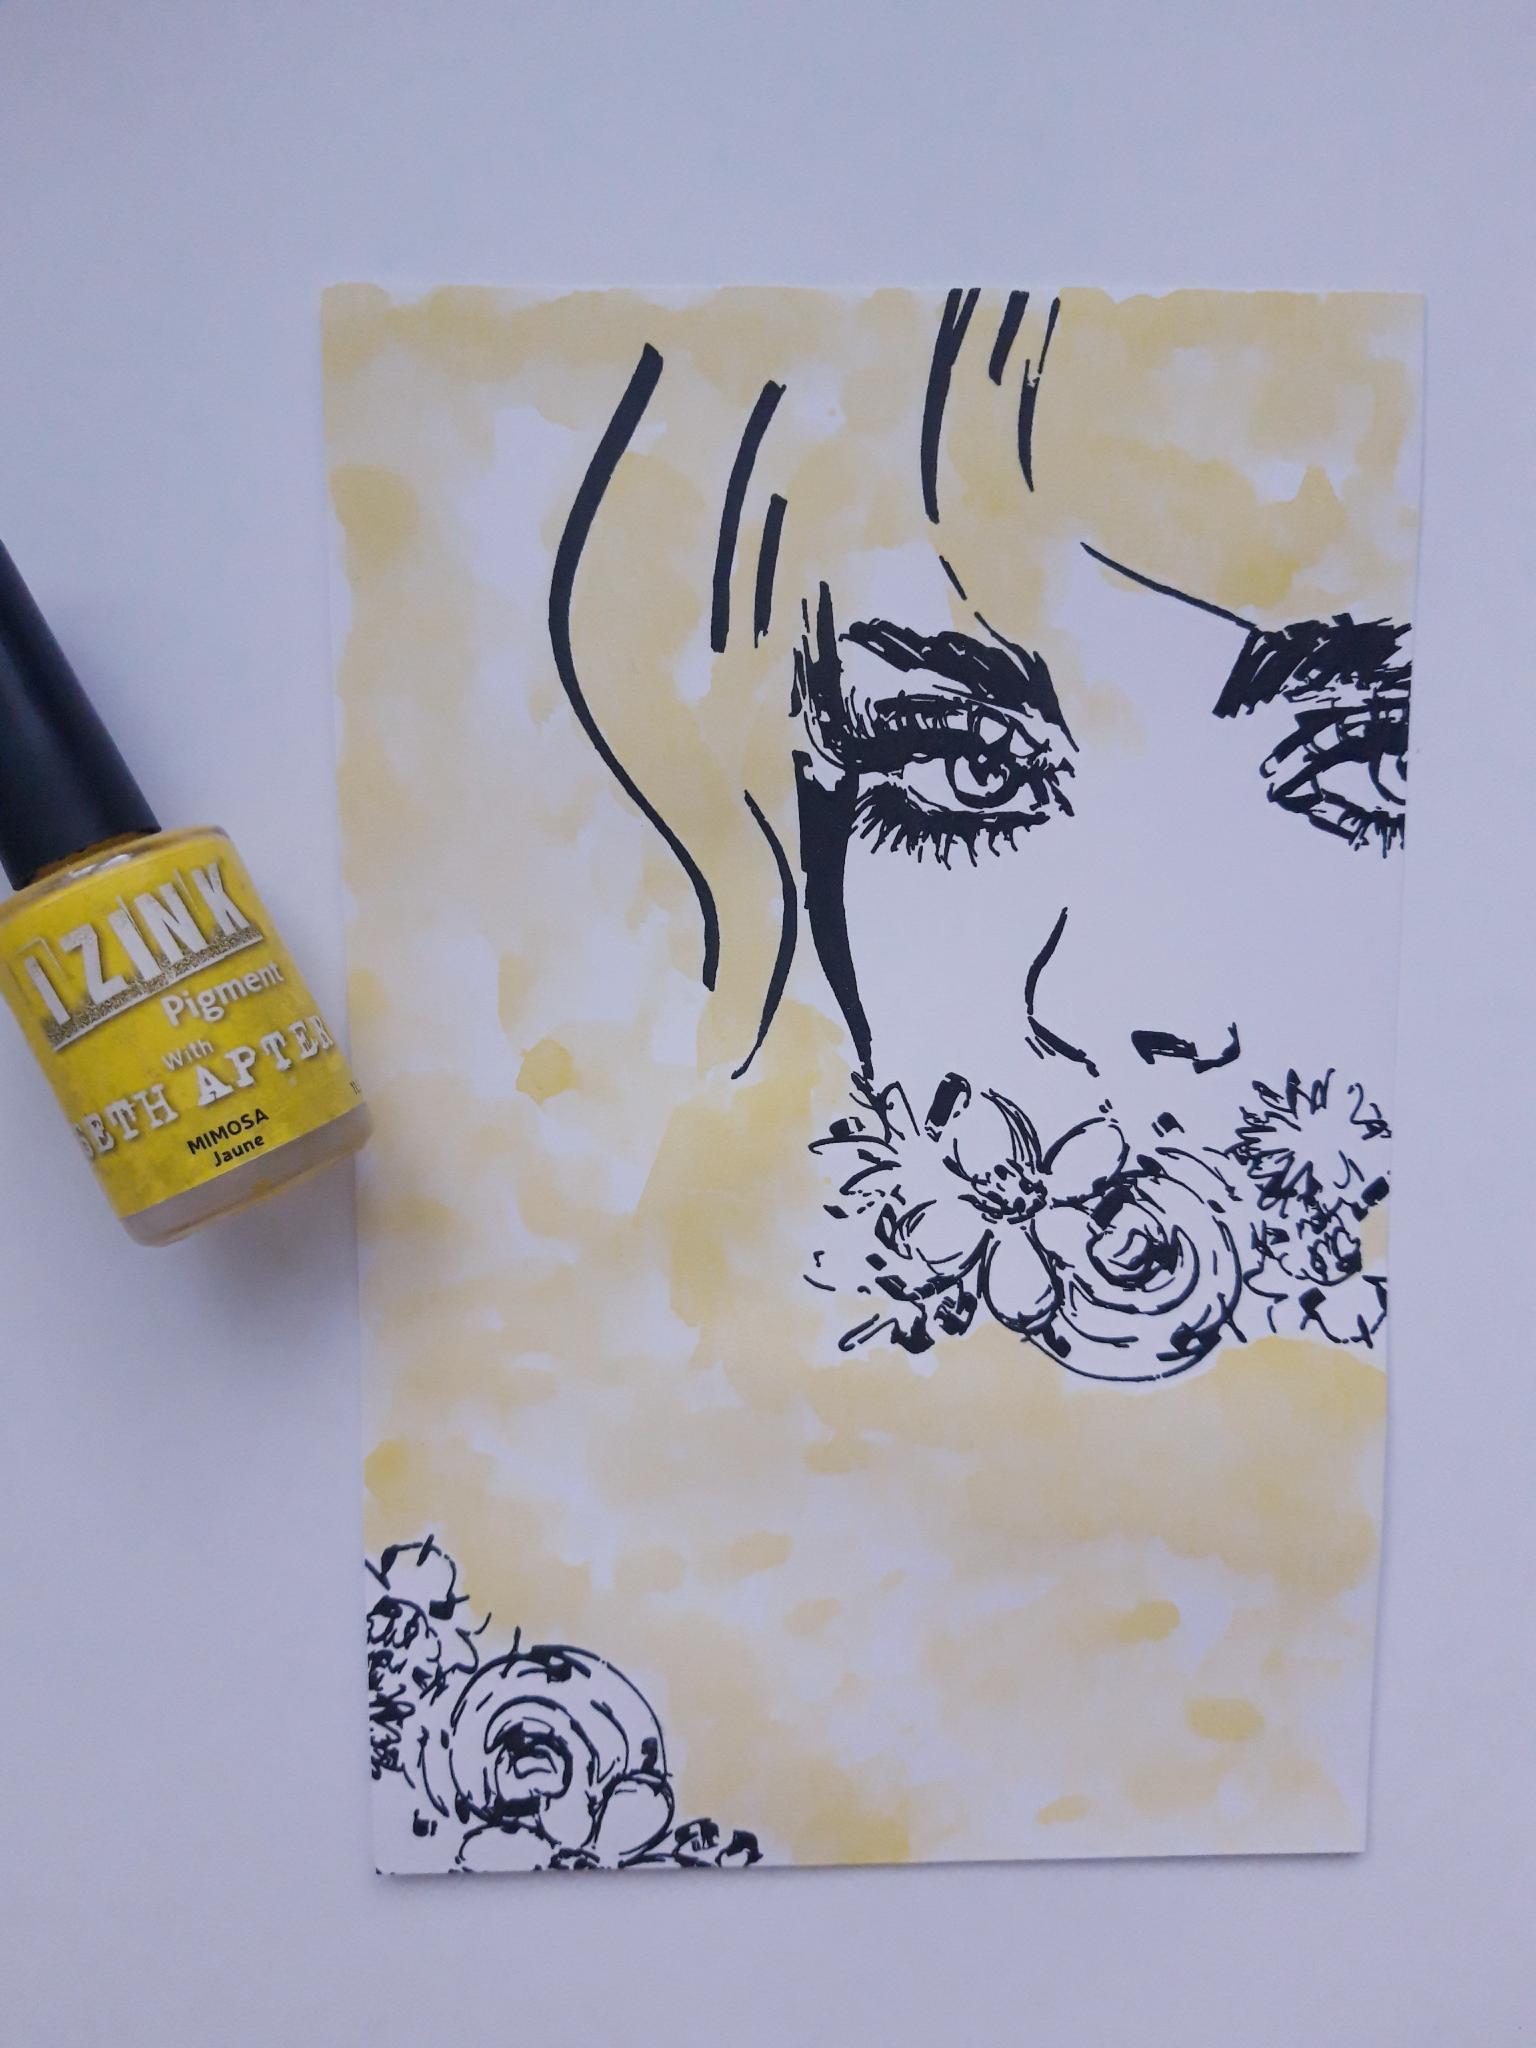
Apply a little of the Izink Mimosa Pigment on to a craft or glass mat. Add lots of water and use a large paint brush to "pounce" the pigment around your images, as shown here. NB: It's easier to start off with a very light, subtle wash, then you can go back and add more ink as required, to add shade and depth to the artwork. Let the pigment dry thoroughly.
|
|
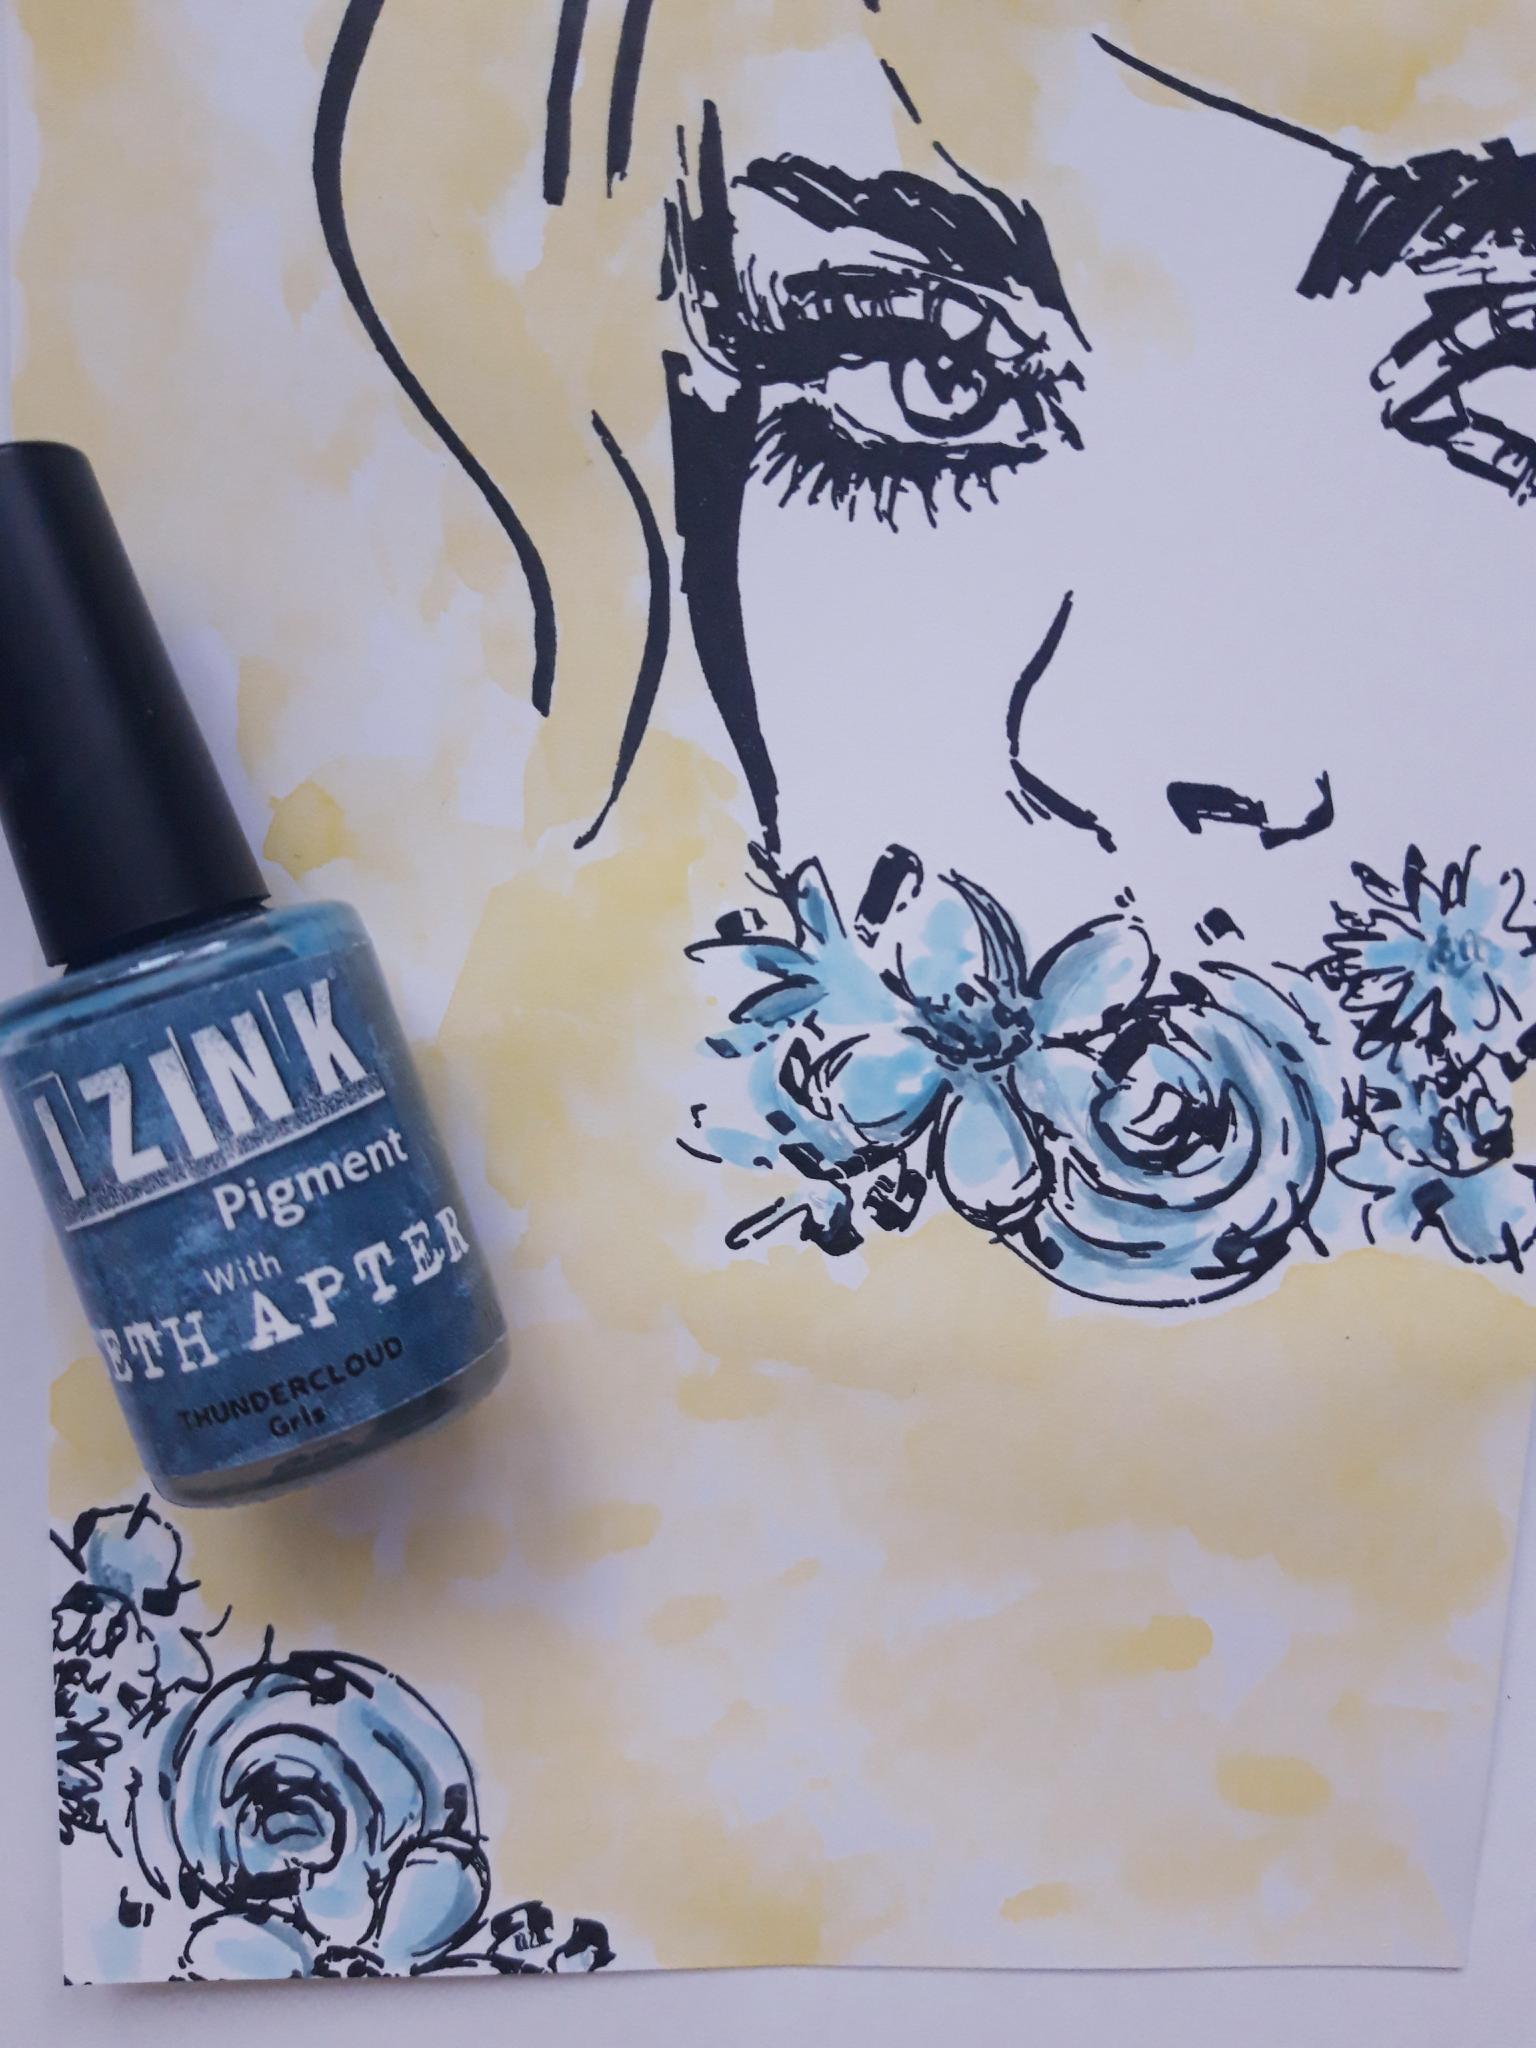
Add some of the Izink Stratosphere Pigment on to your mat. Spritz with a little water and loosely paint the floral elements of your artwork, leaving white spaces which add light and shade to the design. |
|
Pop a tiny bit of Izink Thundercloud Pigment on to your mat. Use this to paint shadows on to your floral elements. |
|
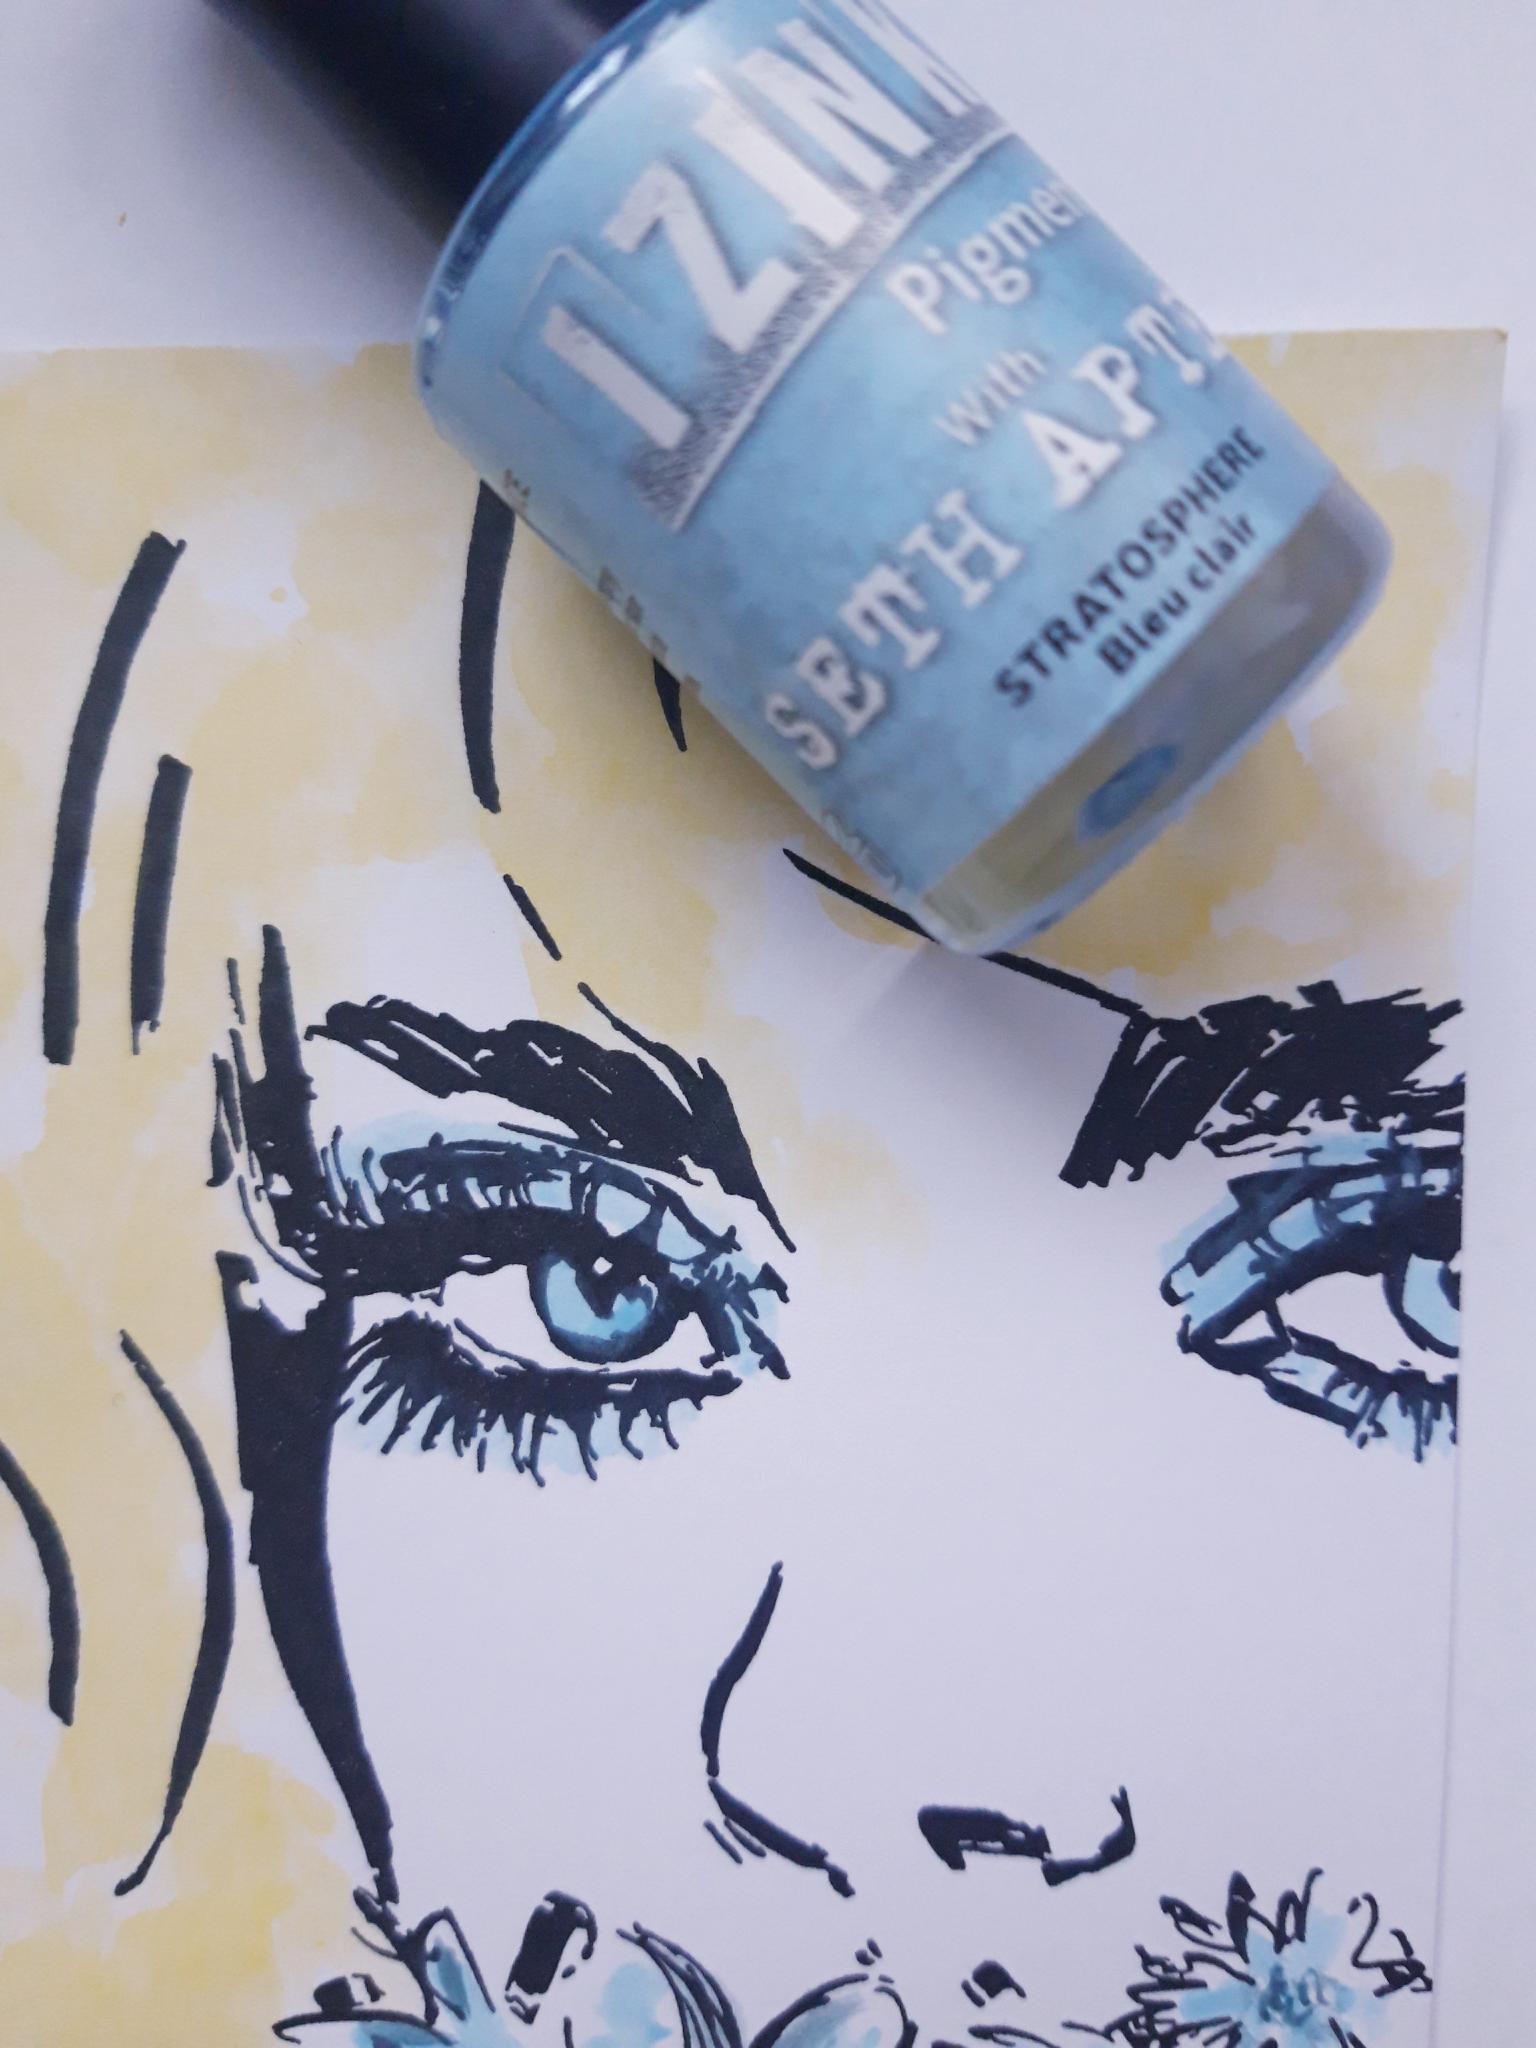
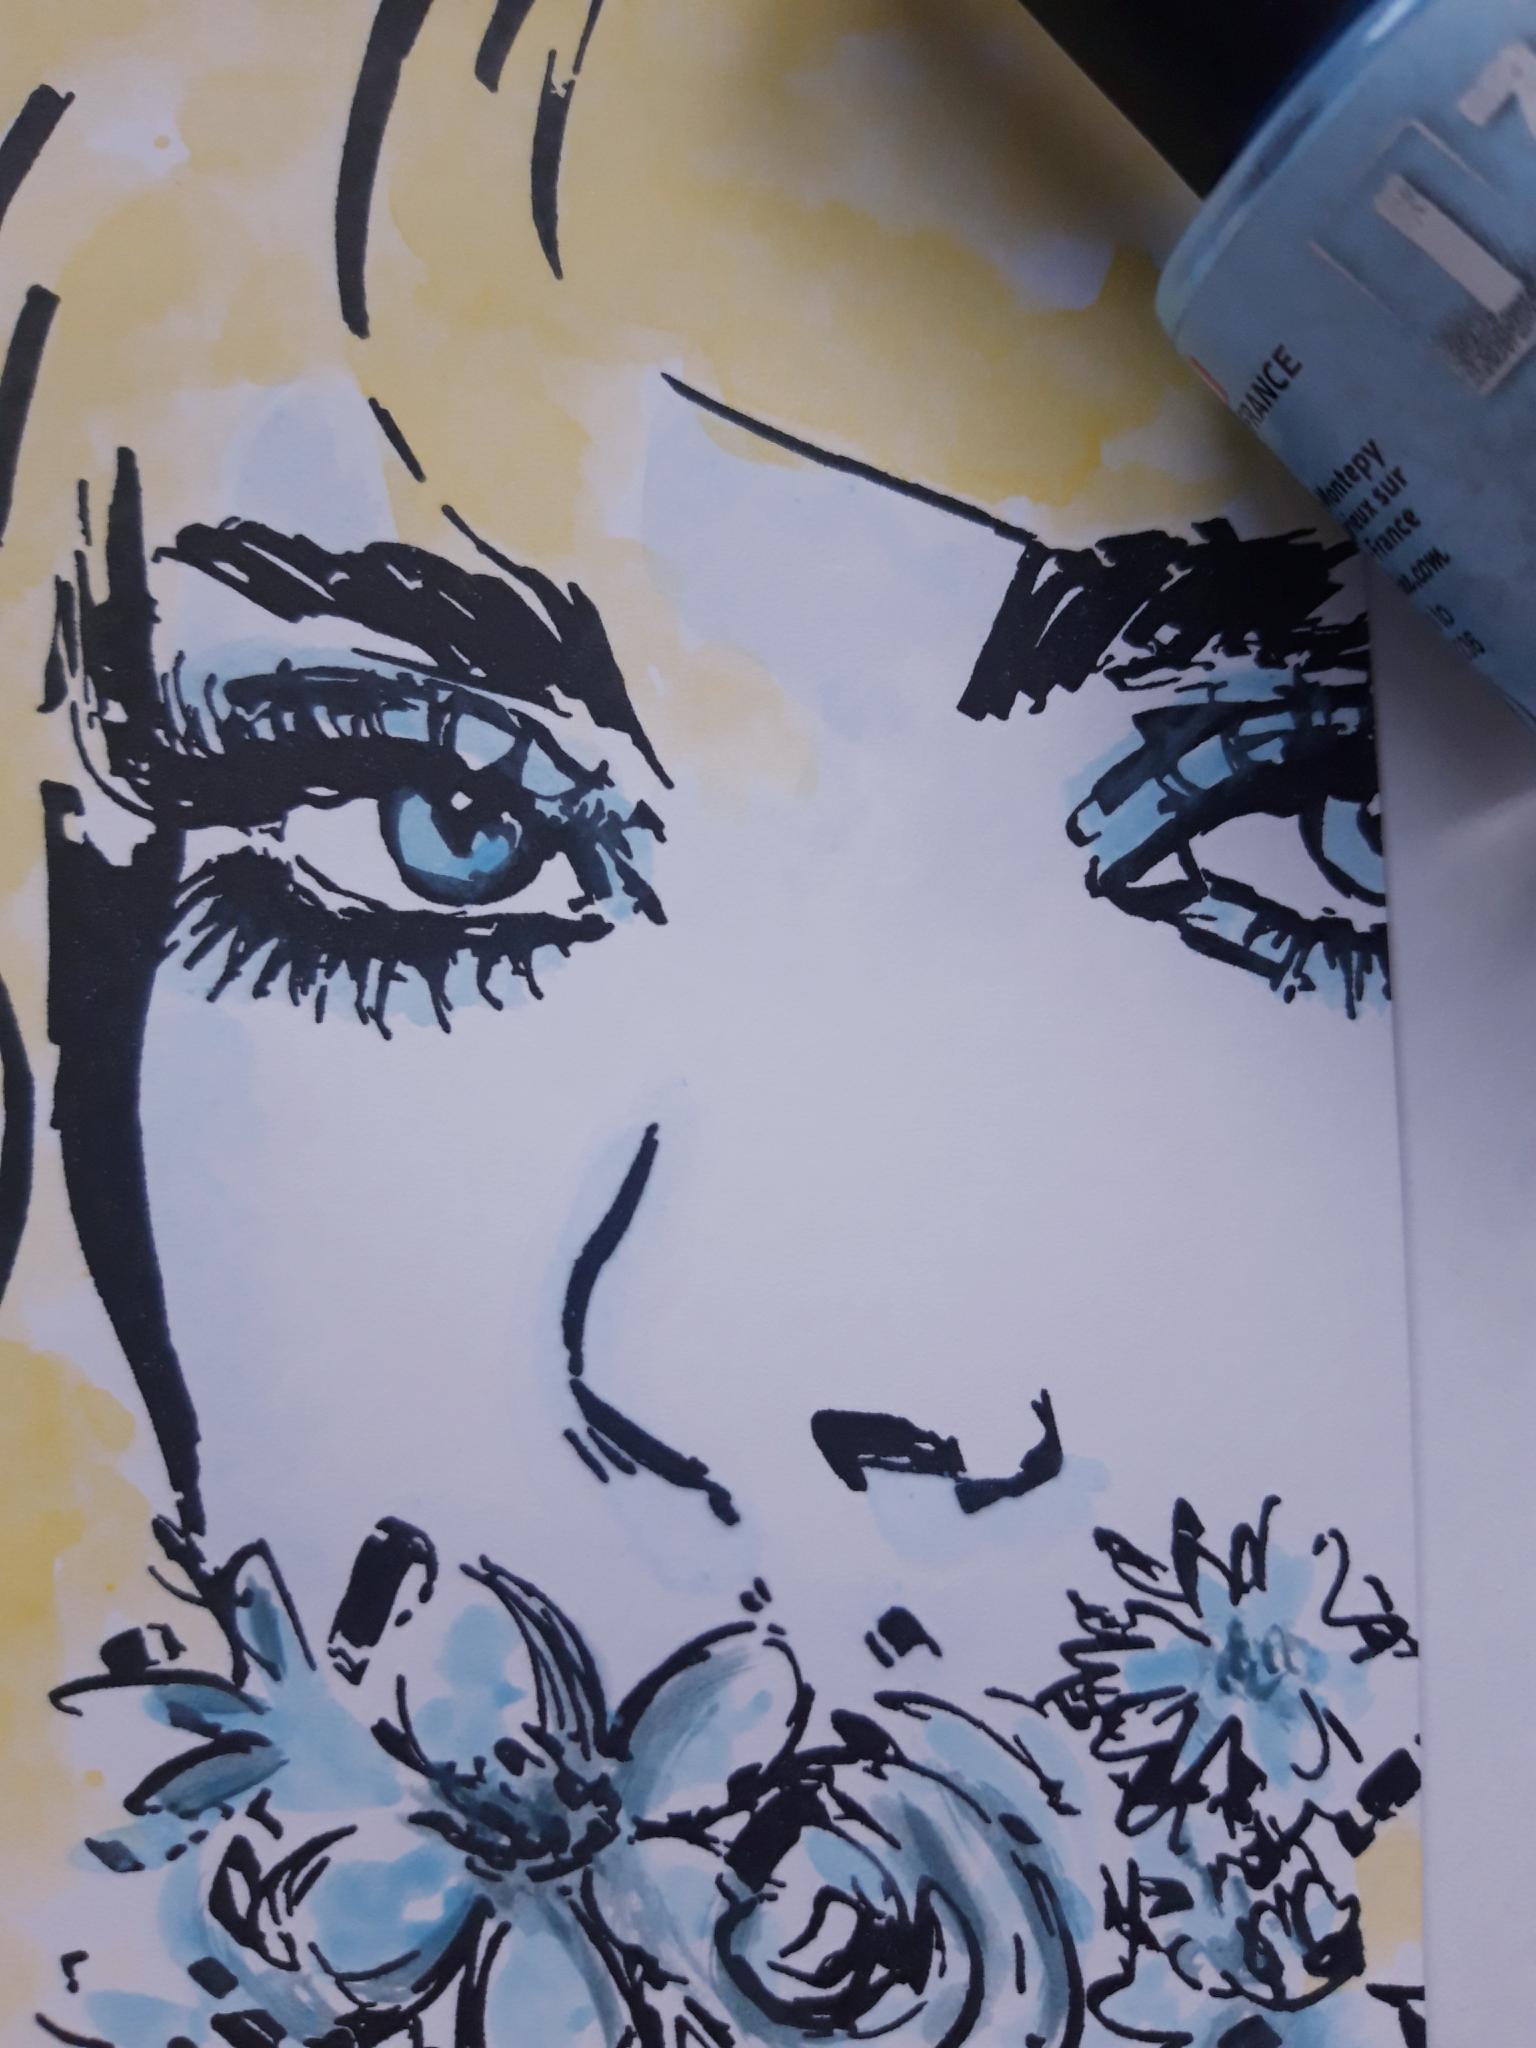
Pick up a little of the Stratosphere Pigment on to your paint brush, and paint her eyes. |
|
Add a little of the Stratosphere Pigment on to your mat. Add plenty of water and paint subtle shadows around her eyes, nose, forehead, side of cheeks...wherever you feel the shadow will fall. Tip: Start off light, as you can always add a little more colour to build up the shadows, as required. |

|
Pop a little of the Izink Thundercloud Pigment on to your mat. Add lots of water then use your paint brush to "pounce" it around the edges of your artwork, starting off light and gradually adding more colour, thus achieving a frame that will draw the eye in to the image. Ensure all your artwork is dry before proceeding to the next stage. TIP: You will achieve a more natural, loose watercolour effect if you leave your inks to dry naturally.
|
|
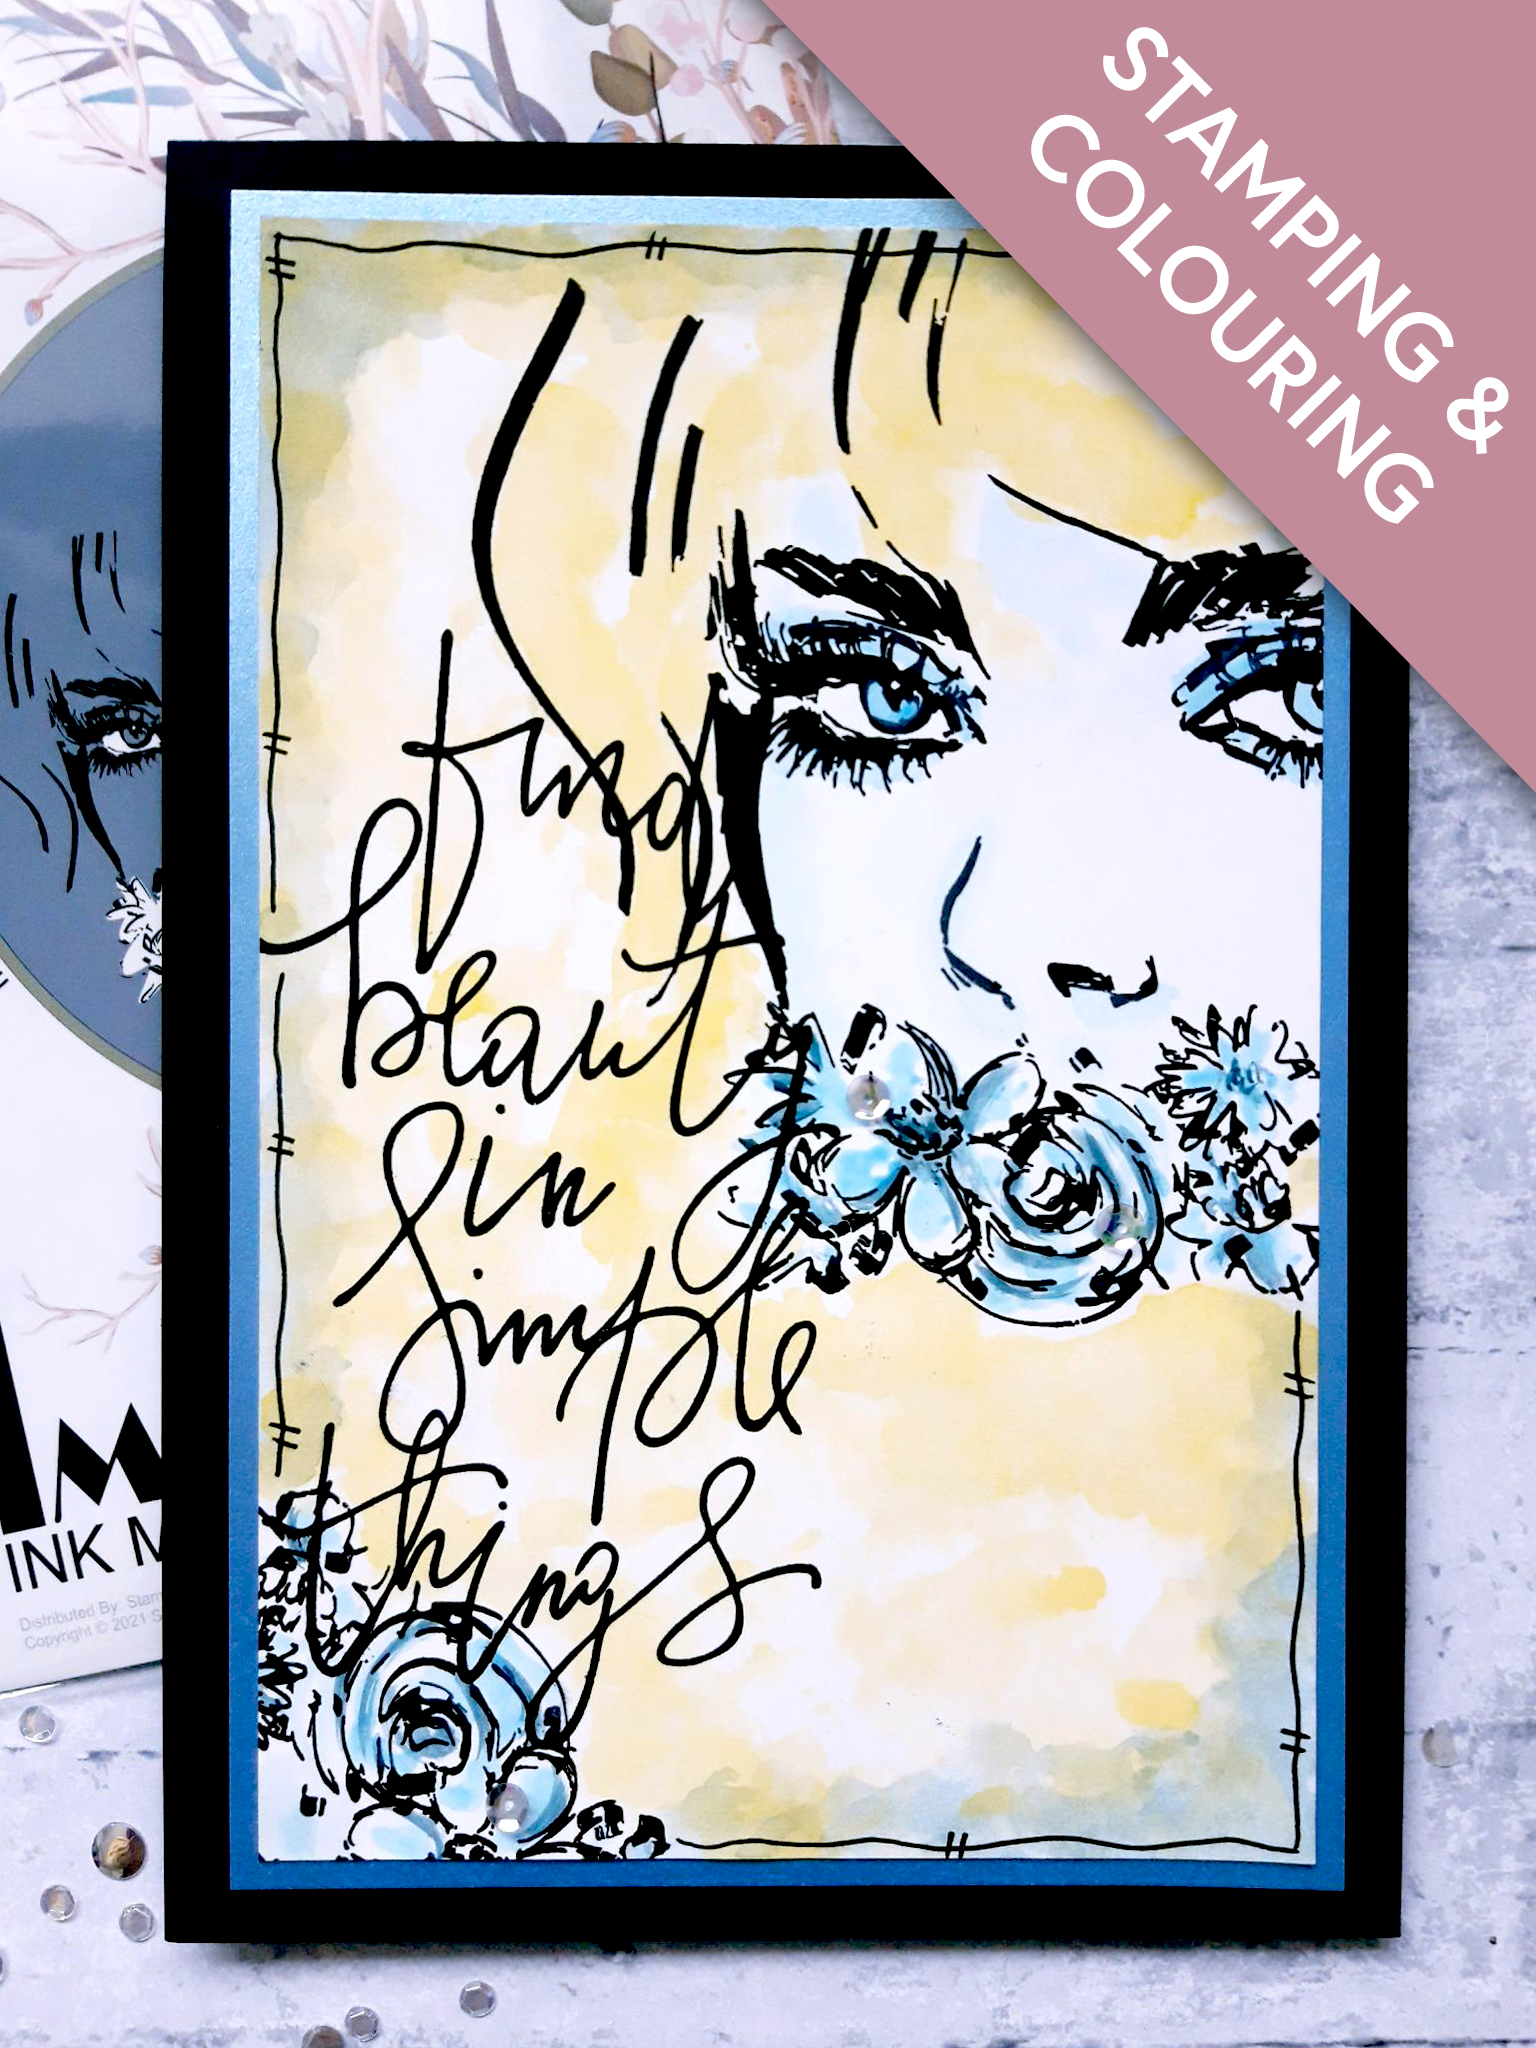
Ink up the sentiment, from the same stamp set, with the Onyx Black Versafine. Stamp bottom left of your artwork. |
|
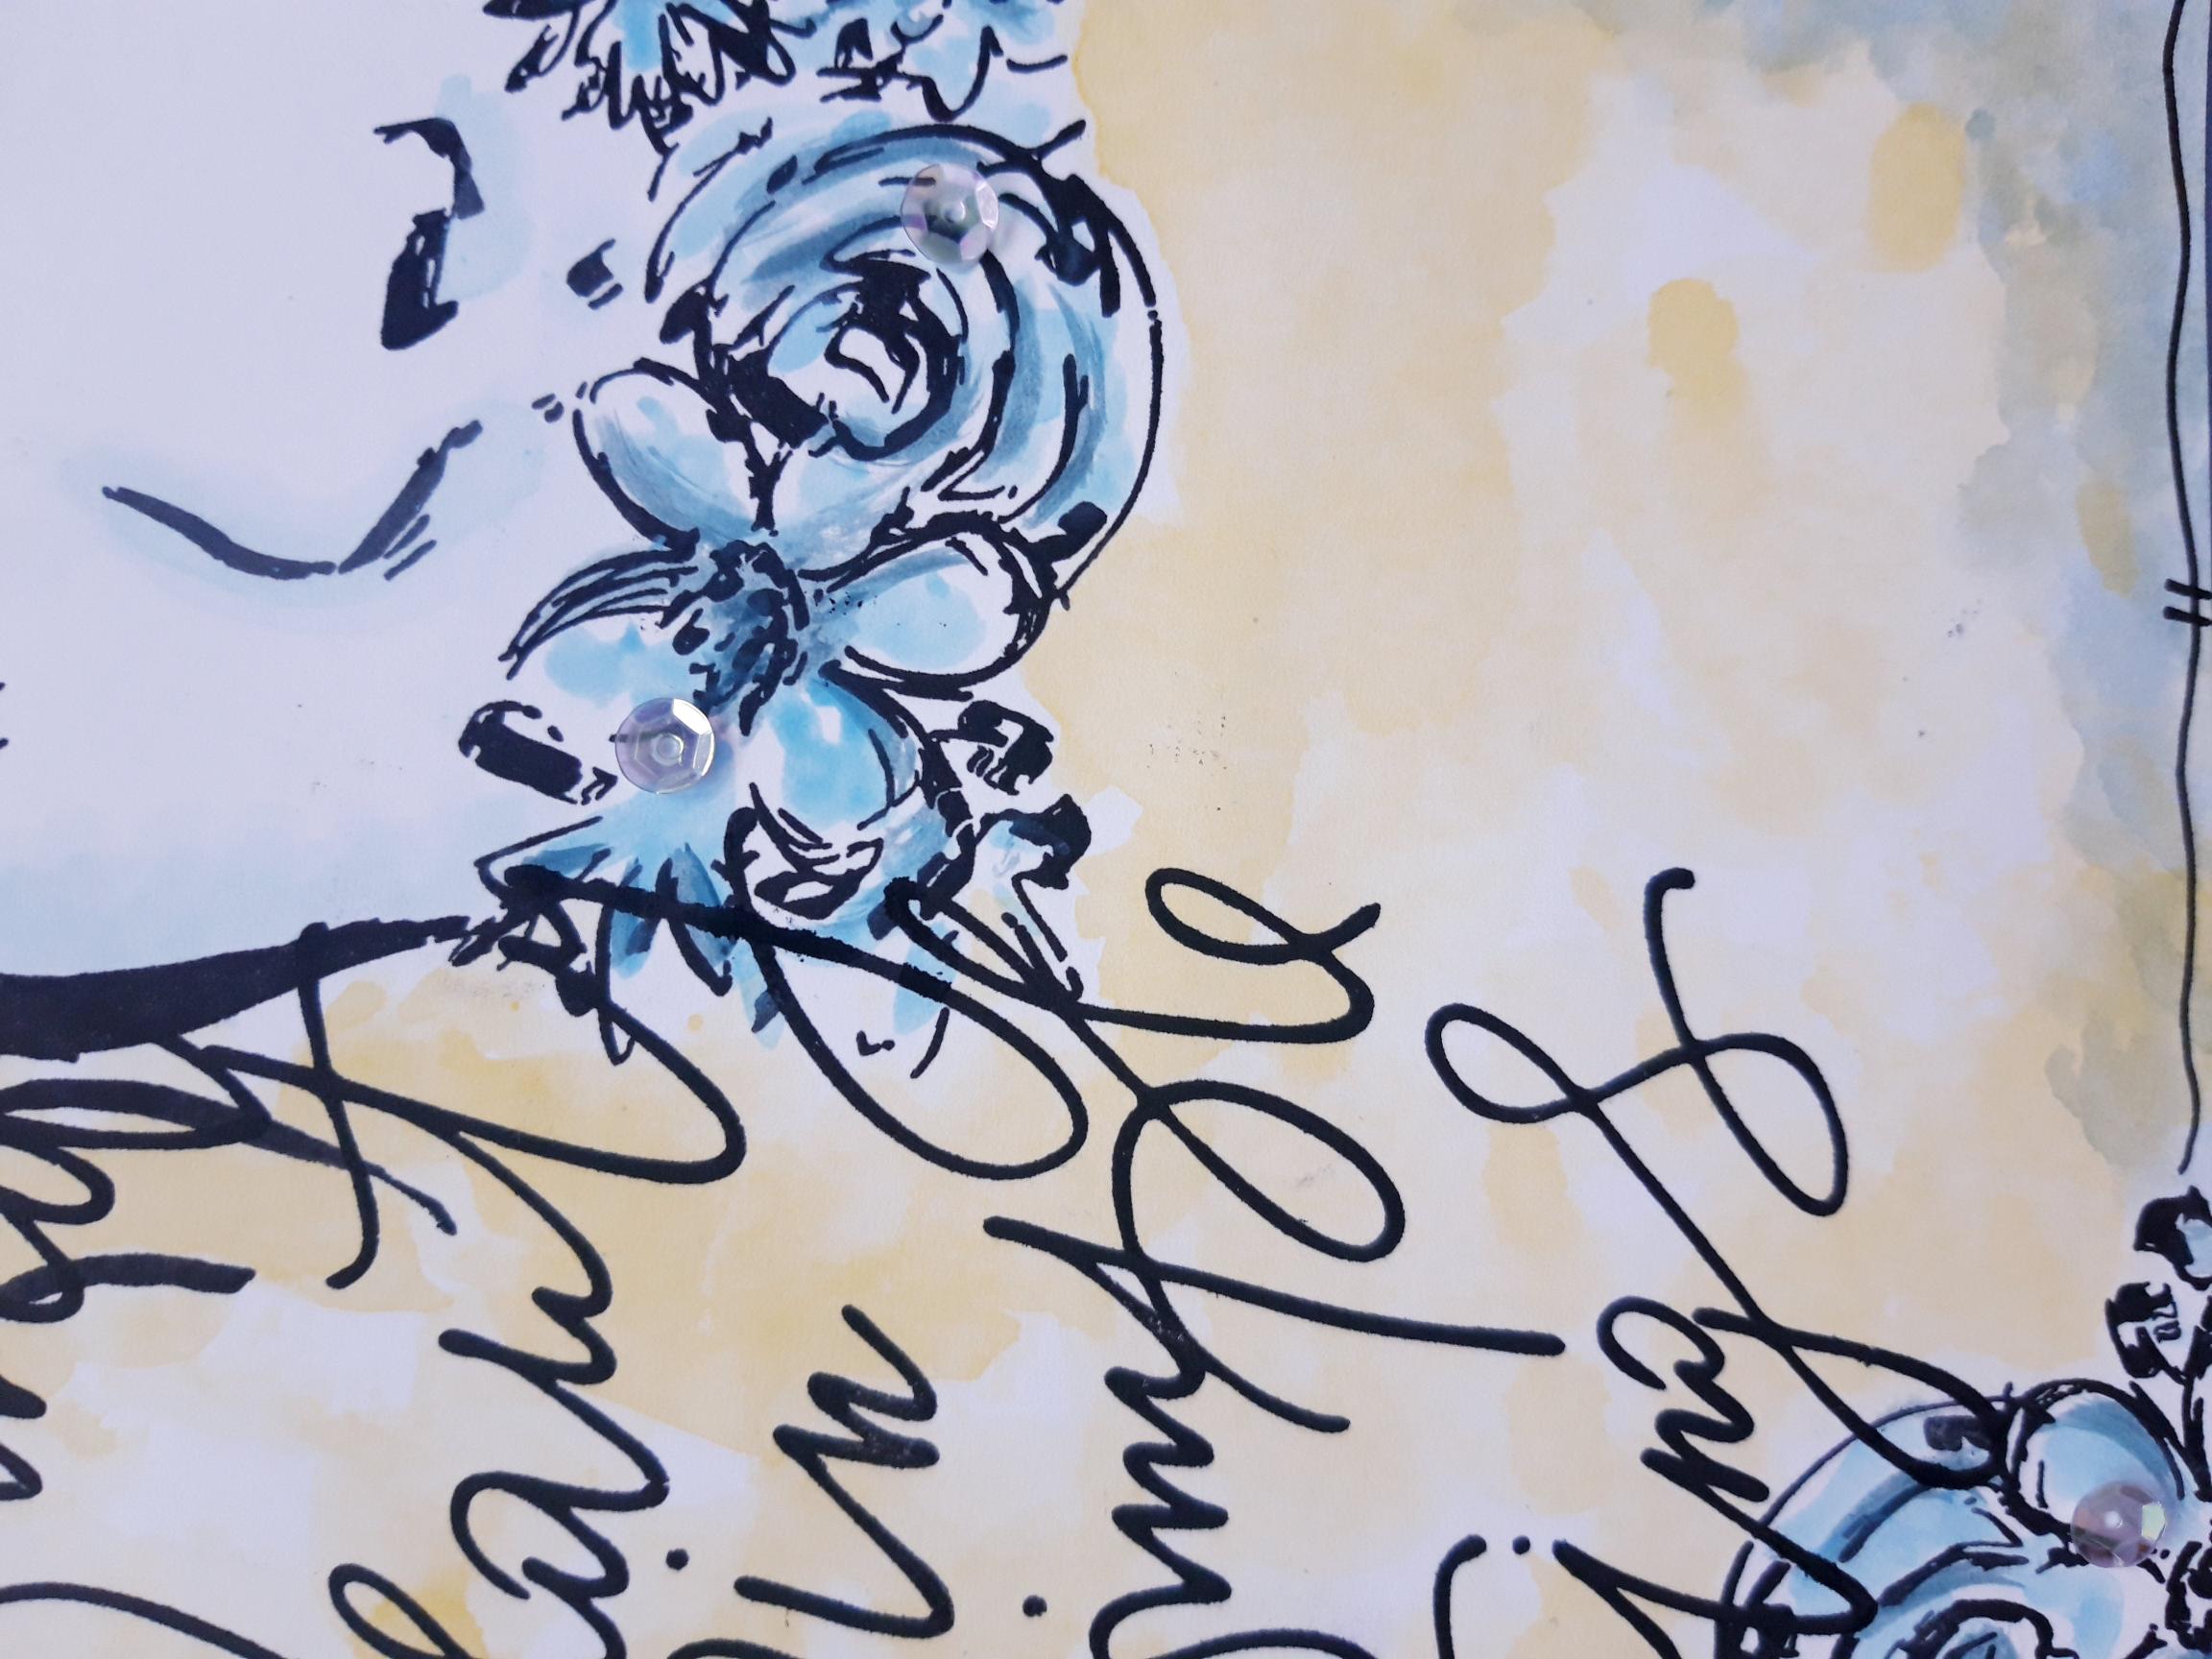
Use a black pen to draw a decorative frame around your artwork. |
|
Mat your artwork on to the blue pearlised card. |
|
Adhere this on to your black top folding card blank. |
|
To finish off your card, add sequins as required. |