Give your friends $10 off their first order!
Refer a FRIEND


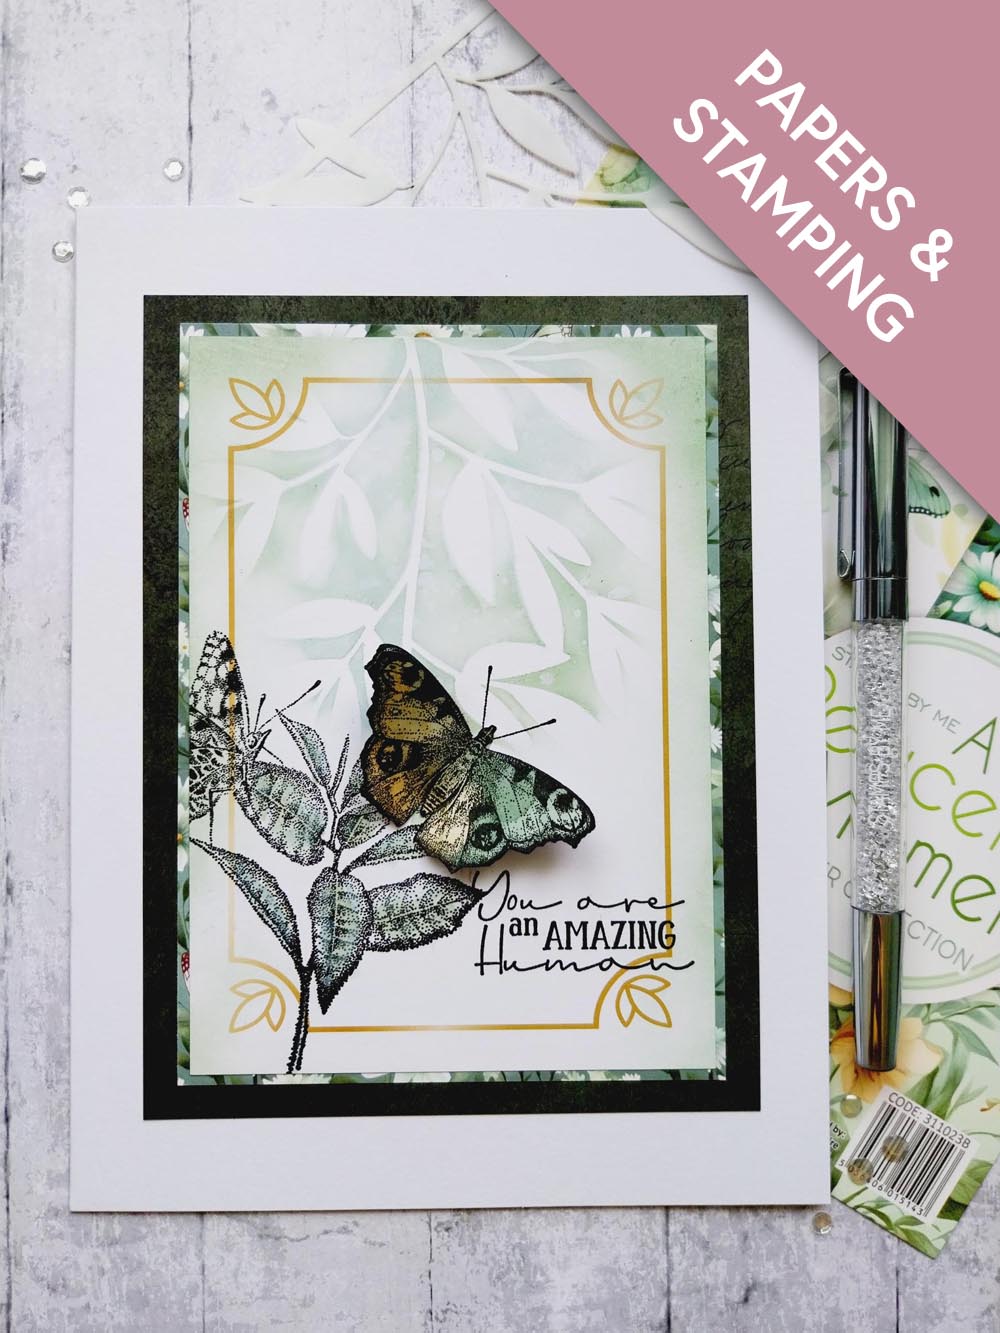
WHAT YOU WILL NEED:
White card blank 6 x 8"
A Peaceful Moment 5 x 5" Stencil
A Peaceful Moment Paper Pad
A Peaceful Moment A6 Stamp
A Peaceful Moment 4 x 6" Topper Collection
A Peaceful Moment 5 x 7" Vellum
SBM Hybrid Ink Pad: Midnight
Distress Ink/Oxide Ink Pad: Bundled Sage, Speckled Egg
Blending Brush
Paint brush
Eureka 101 Watercolour Tablet
SBM A3 Magnetic glass mat
Paper Trimmer
Glue
[click image to enlarge] 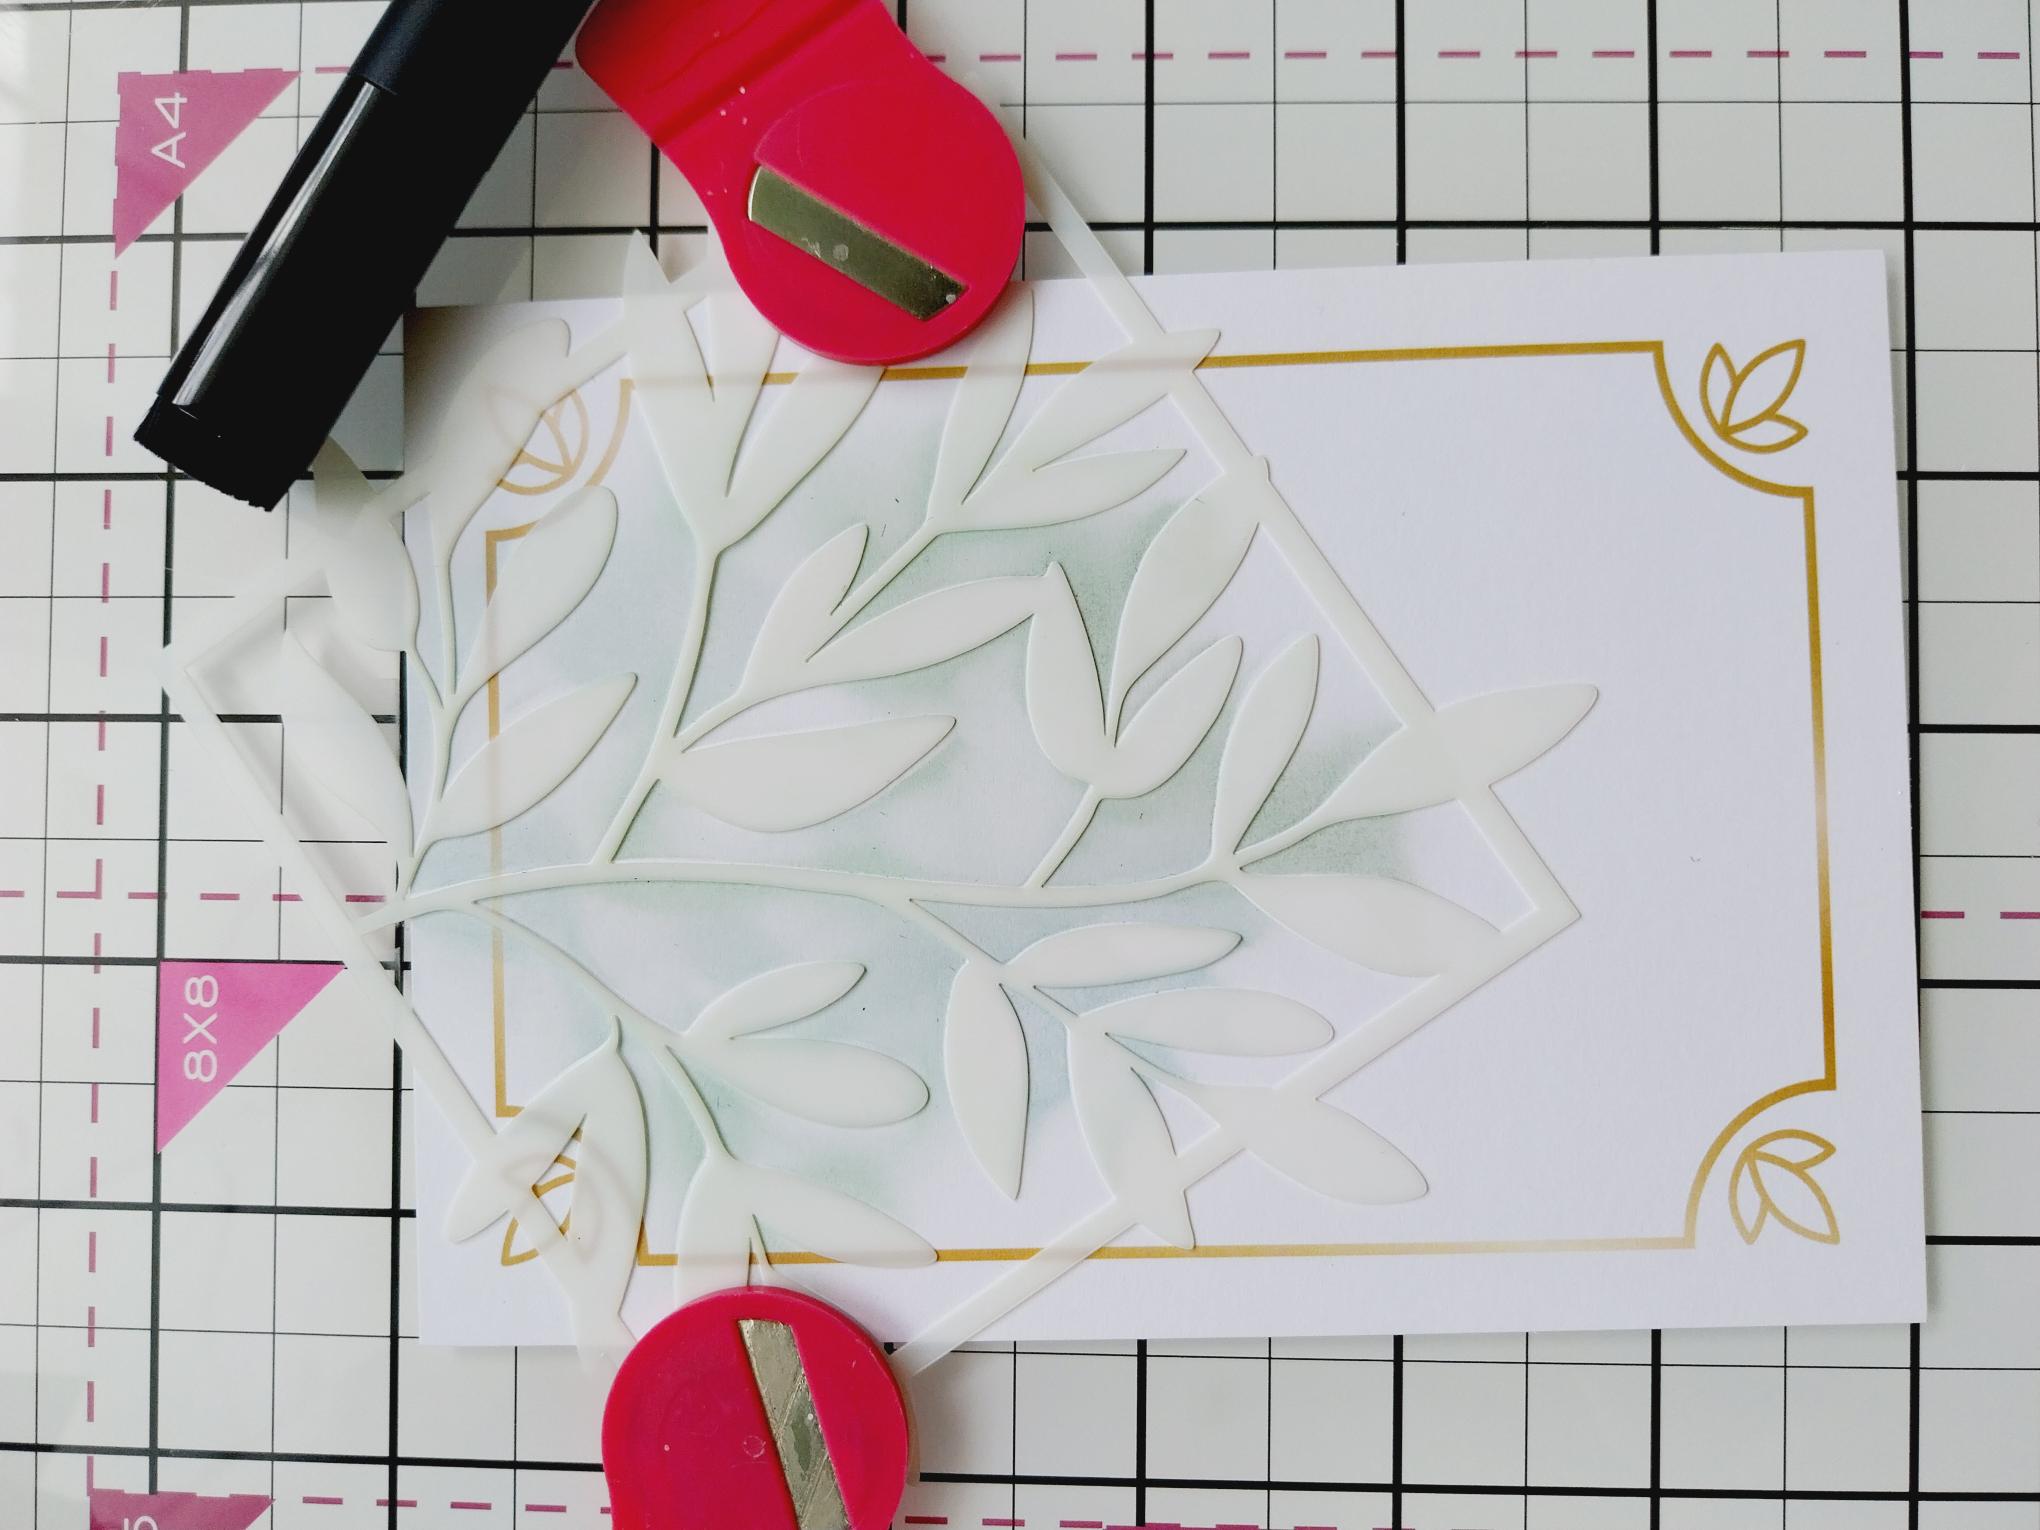
|
Take 1 of the 4 x 6" Peaceful Moment toppers and place the Peaceful Moment stencil over the top left area. Use your blending tool to lightly apply the Distress inks through the stencil creating a delicate, subtle background. Ensure you "fade out" the ink the further down you go. |
|
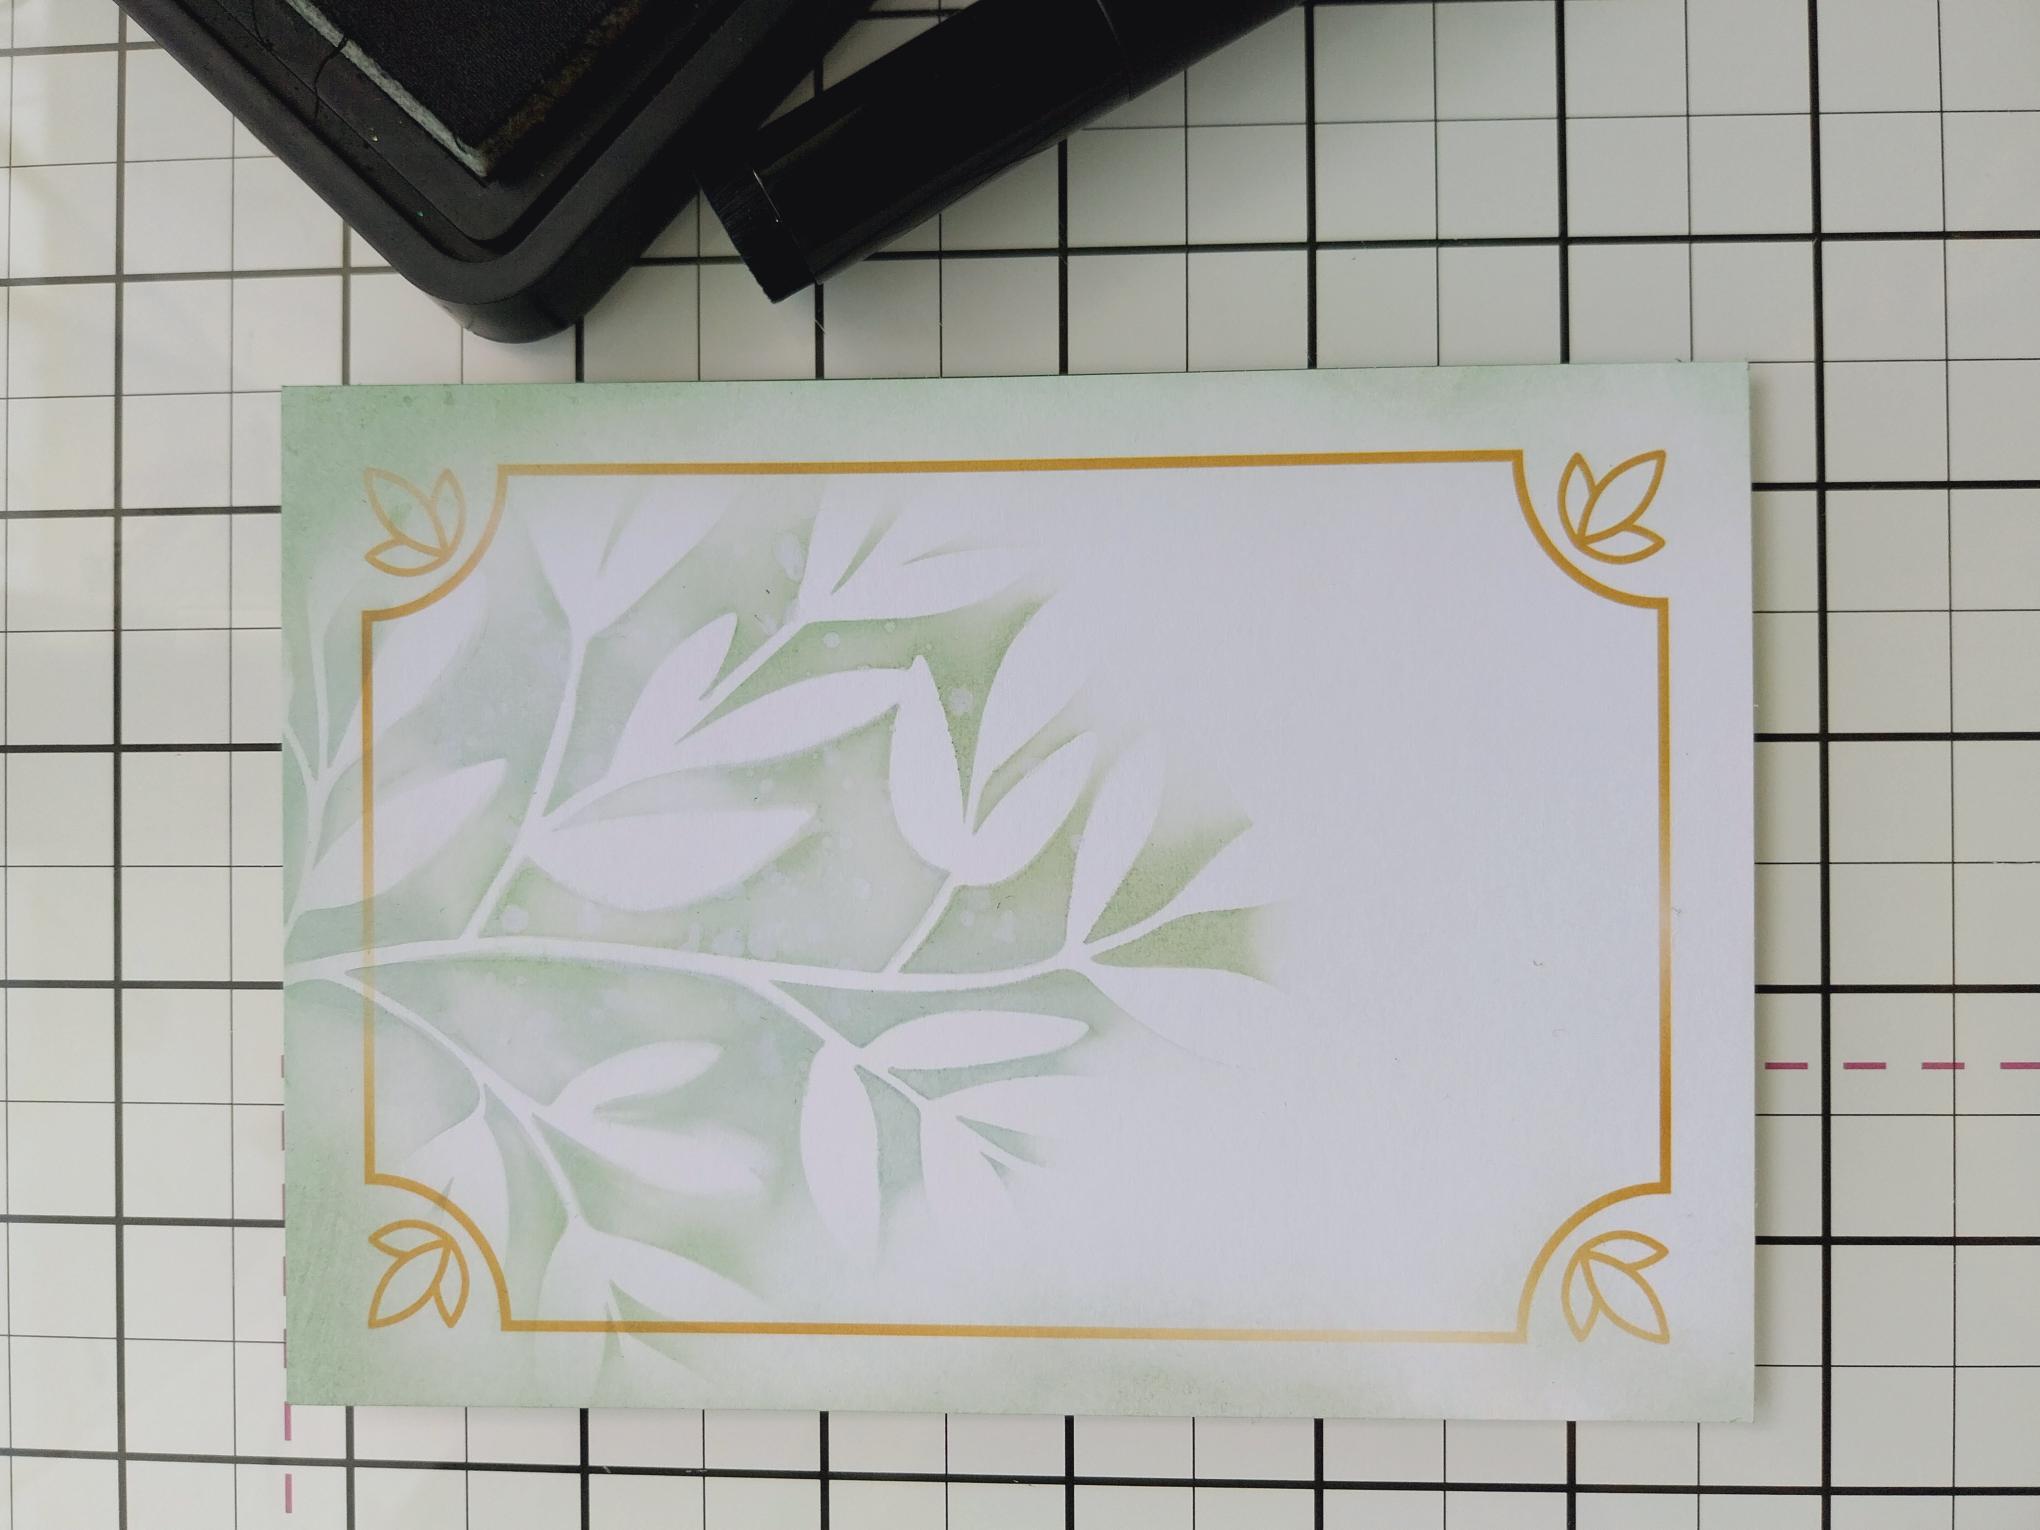
Lightly blend the same colours around the edges of the topper, with more depth of colour at the top and fading it out around the bottom. |

|
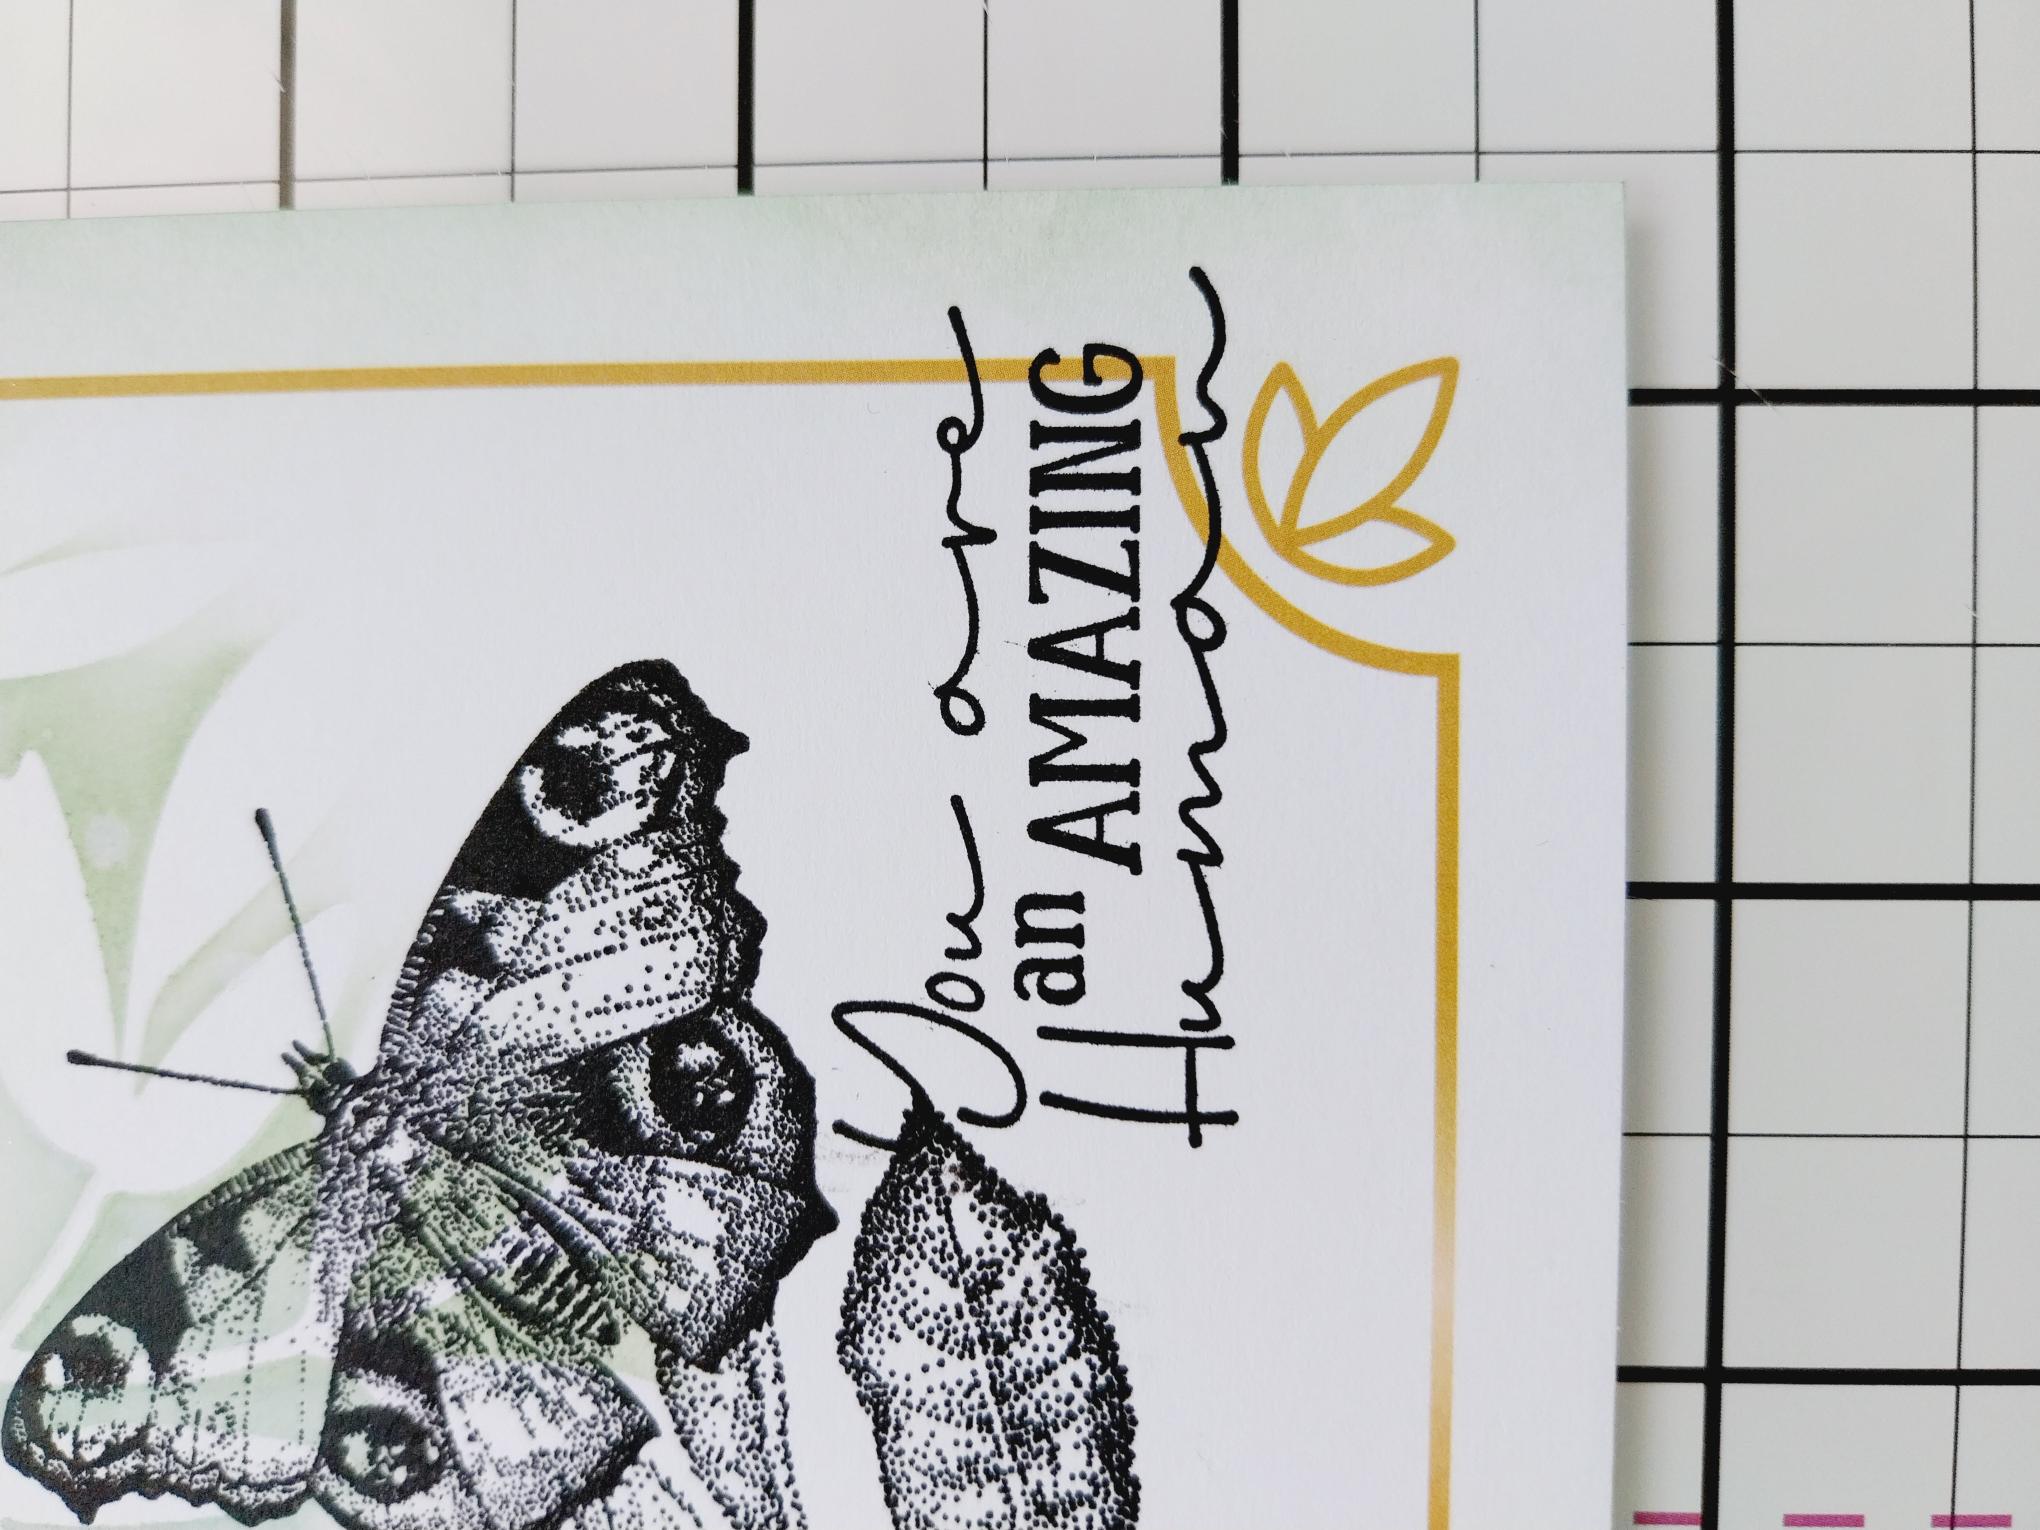
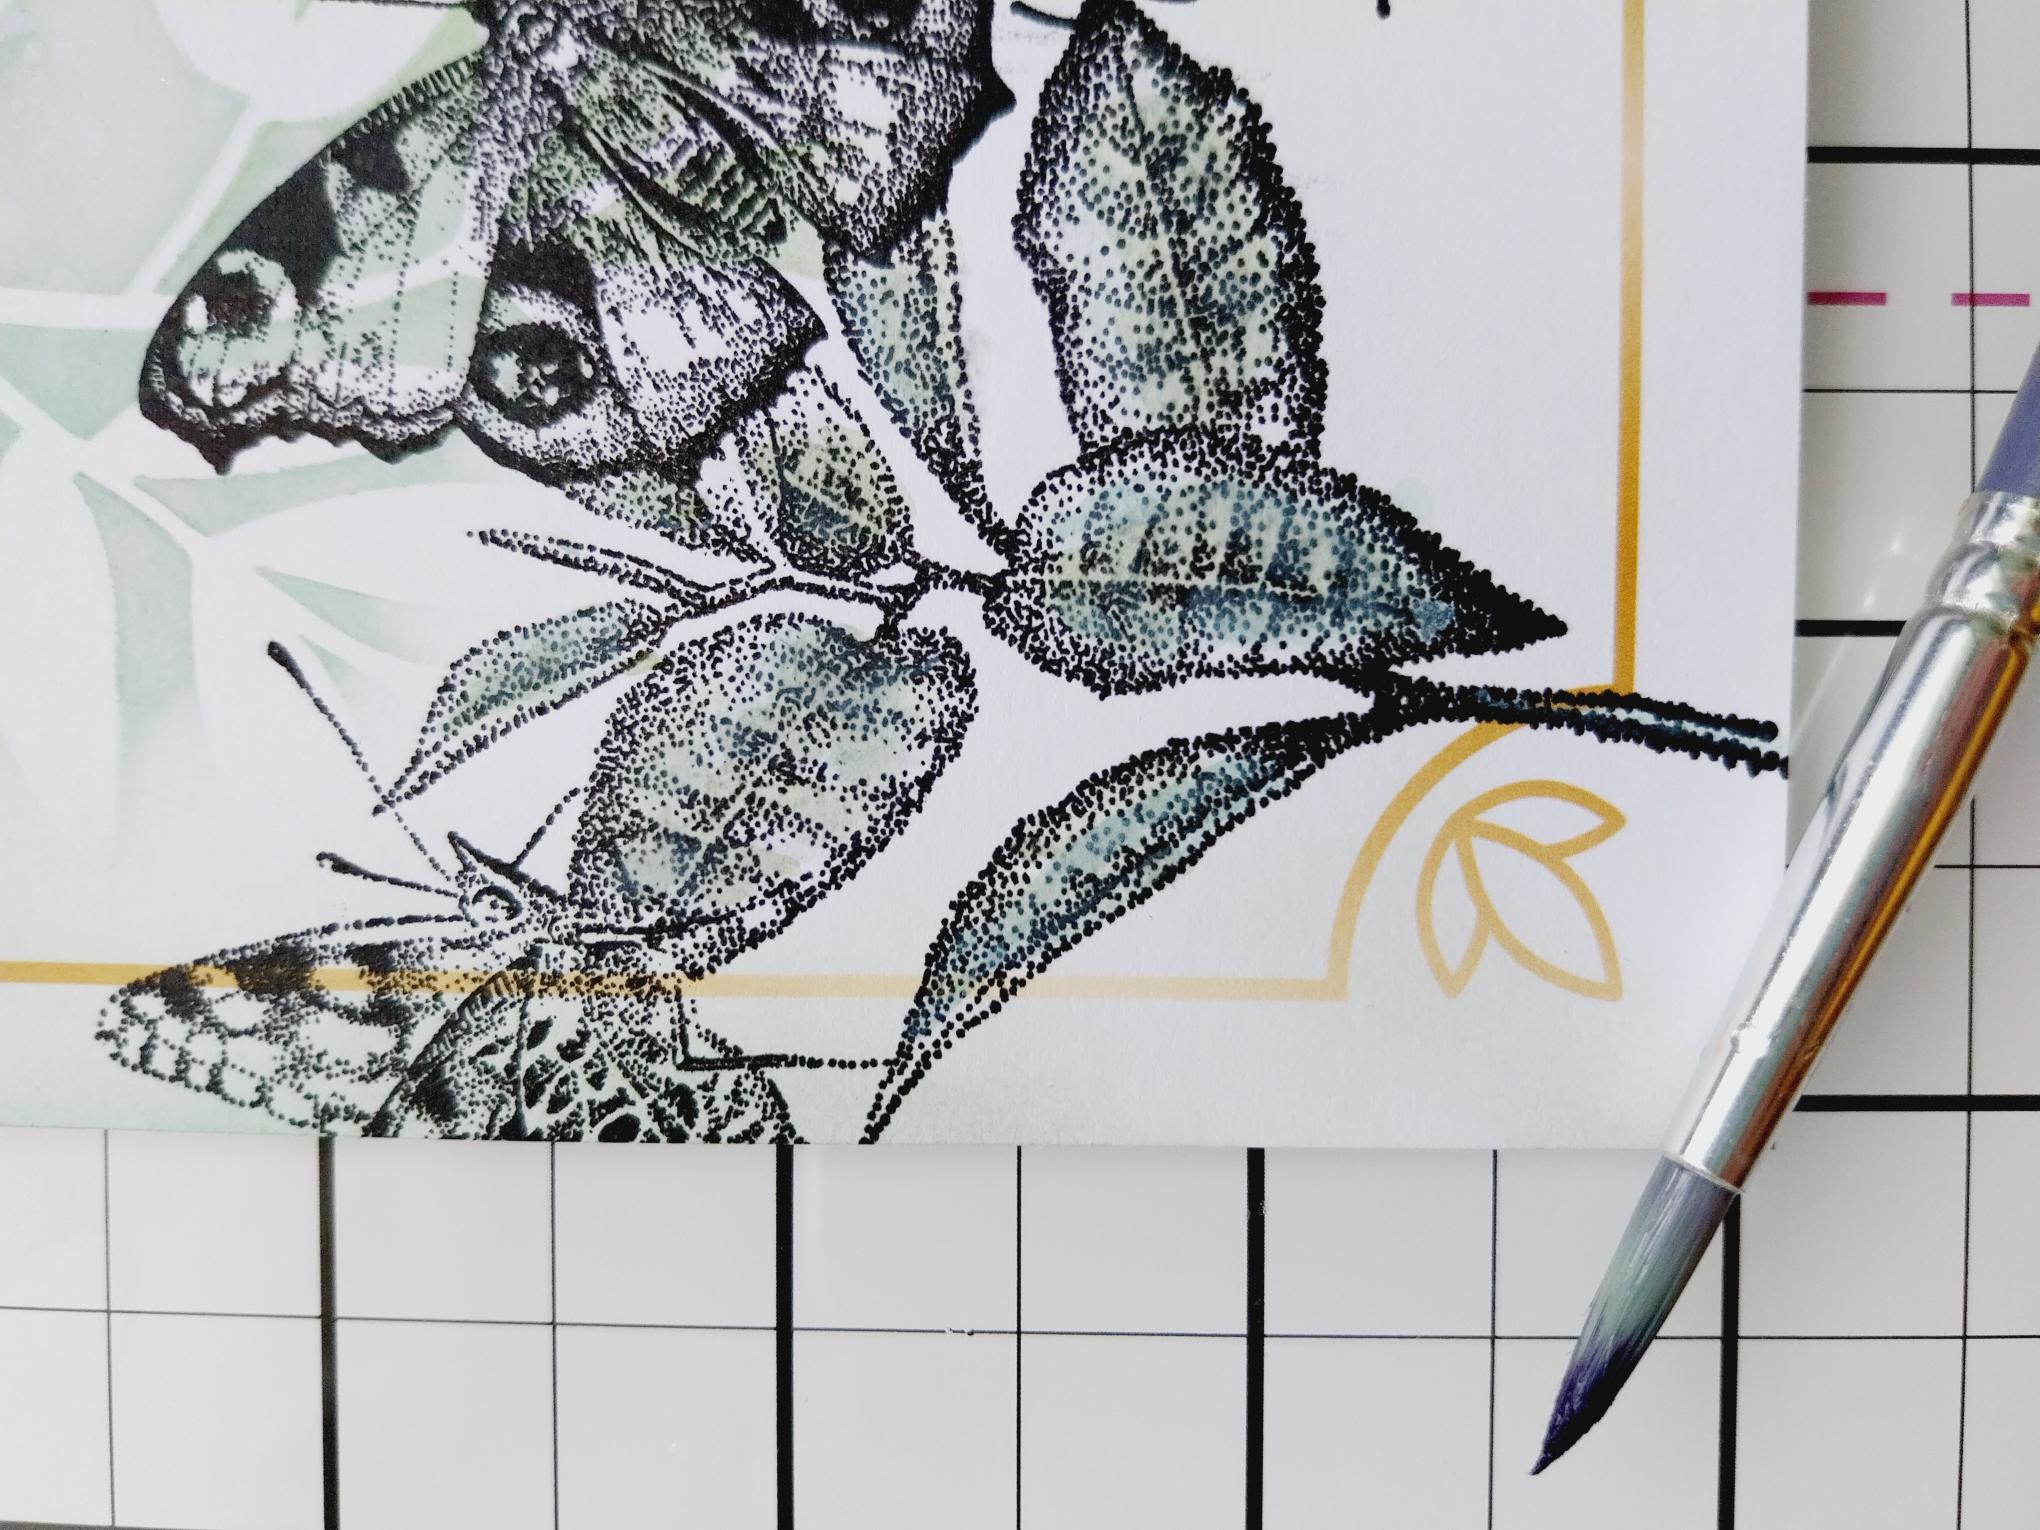
Stamp this beautiful image from the same collection, coming up from the bottom left corner, in the Midnight ink. |
|
Stamp the sentiment to the right of your stamped image. |
|
Smoosh the Distress inks on to your glass mat and use a paintbrush and a little water, to add subtle shading to your stamped artwork. |
|
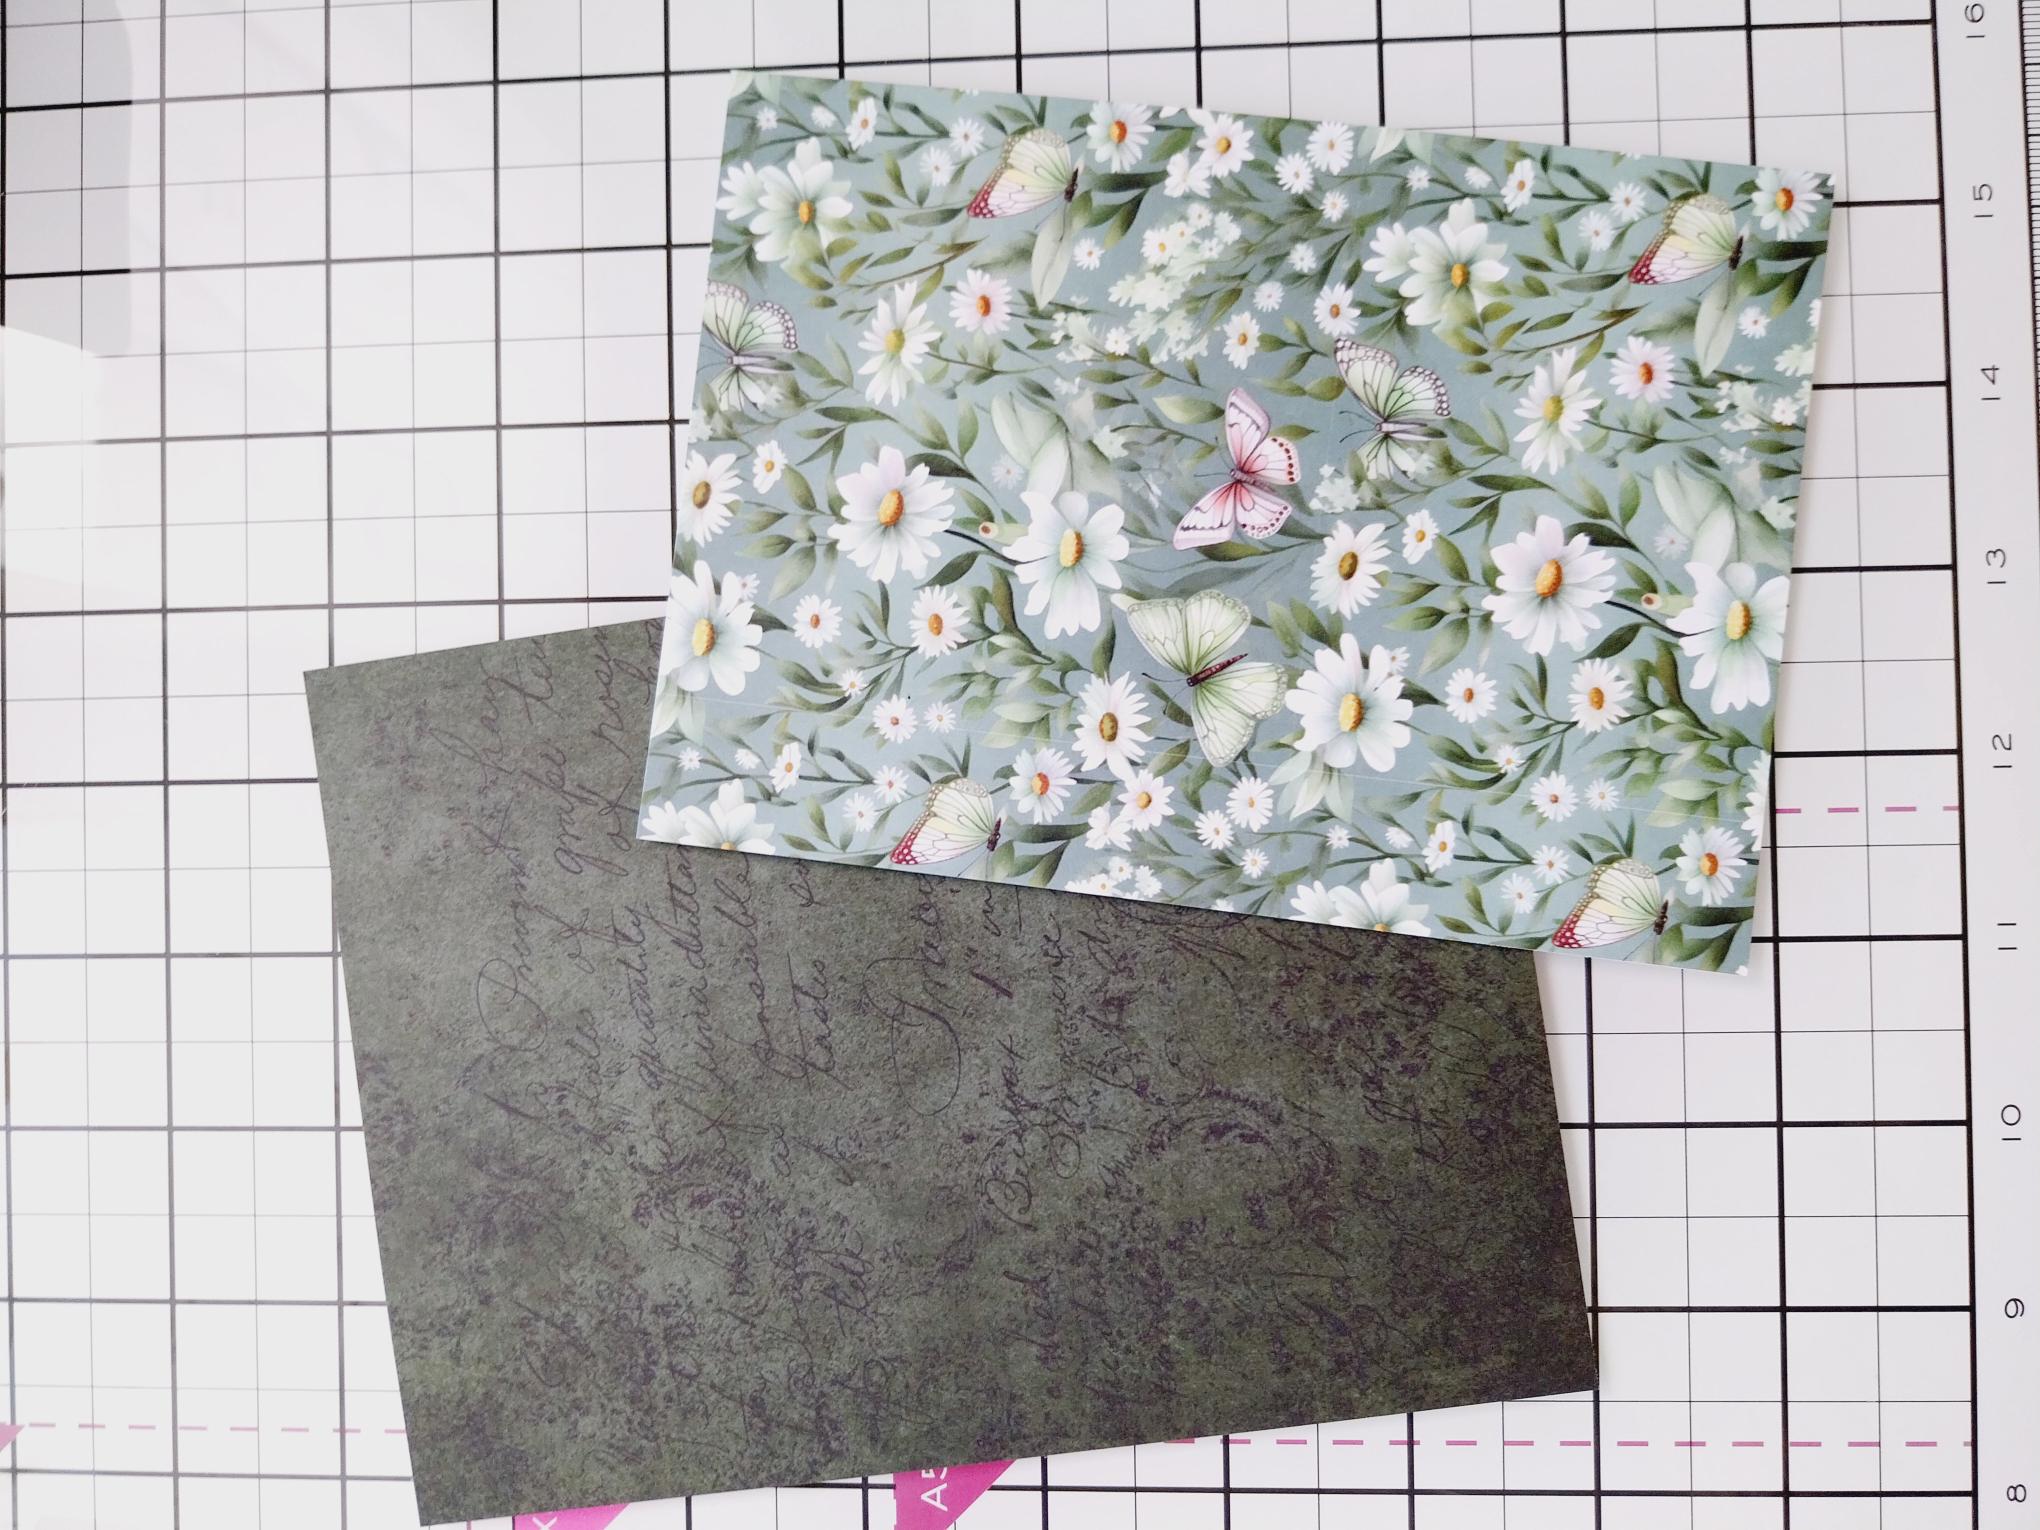
Trim a sheet of the decorative paper to 4 1/4 x 6 1/4" and a coordinating sheet of the vellum to 4 3/4 x 6 3/4". |

|
Adhere your stamped topper on to the decorative paper, on to the vellum sheet and finally on to the front of your card blank. |
|
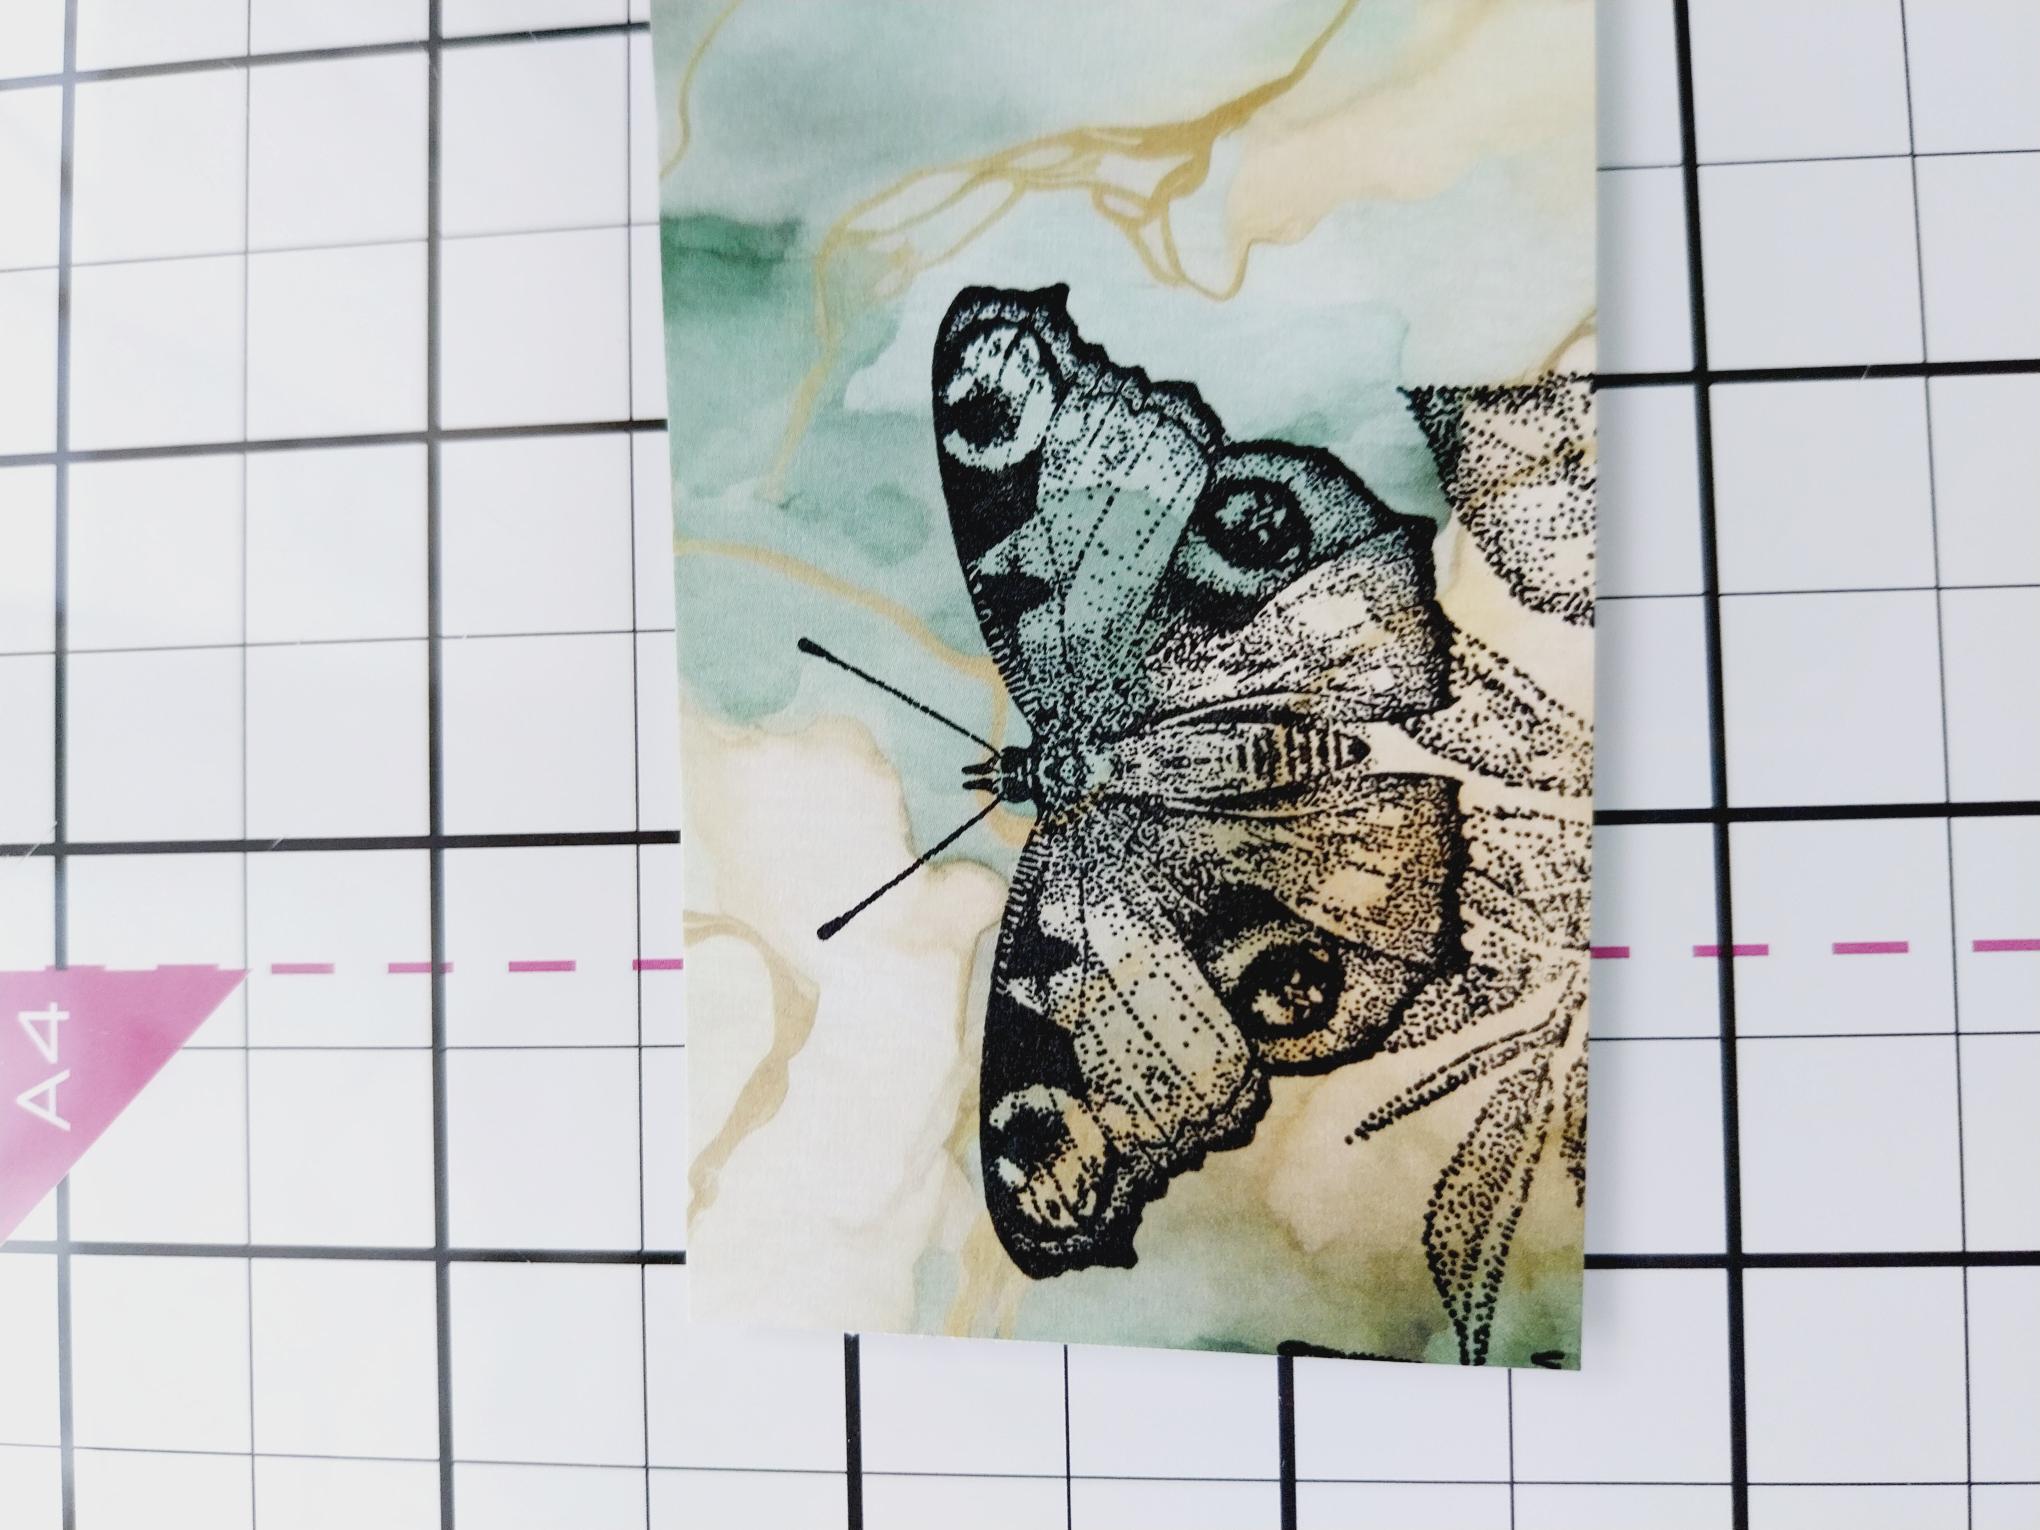
Stamp the Butterfly area of the design on to a scrap of coordinating paper, in the Midnight ink. |
|
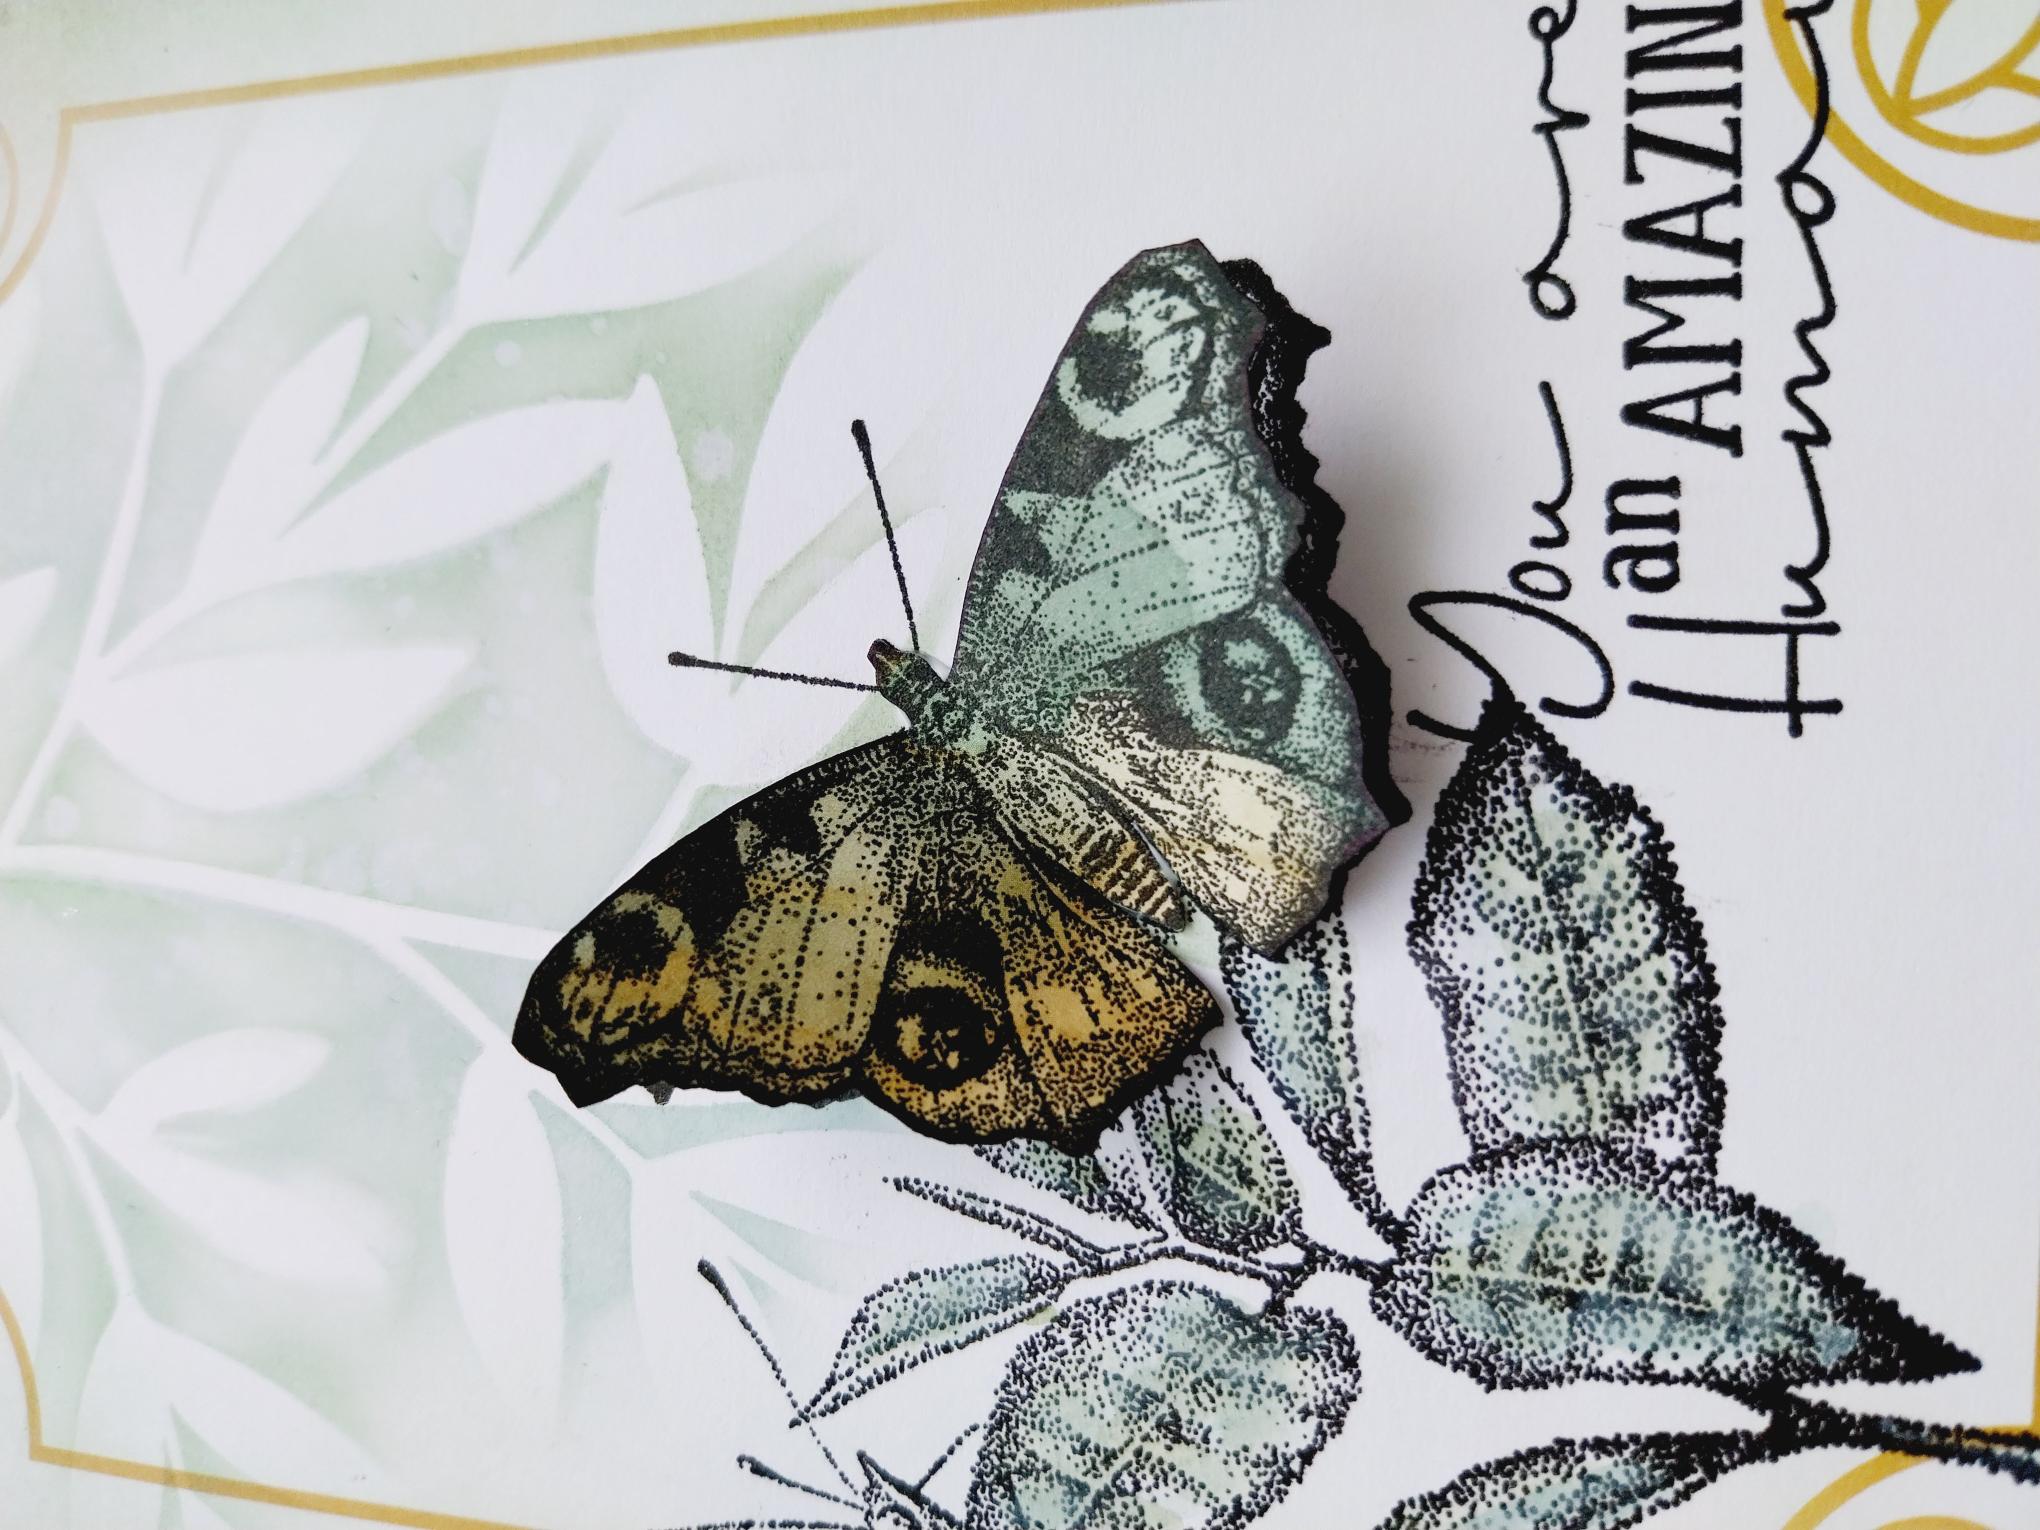
Finally fussy cut the Butterfly before shaping the wings and adhering with glue (applied down the centre only) to your card. |