

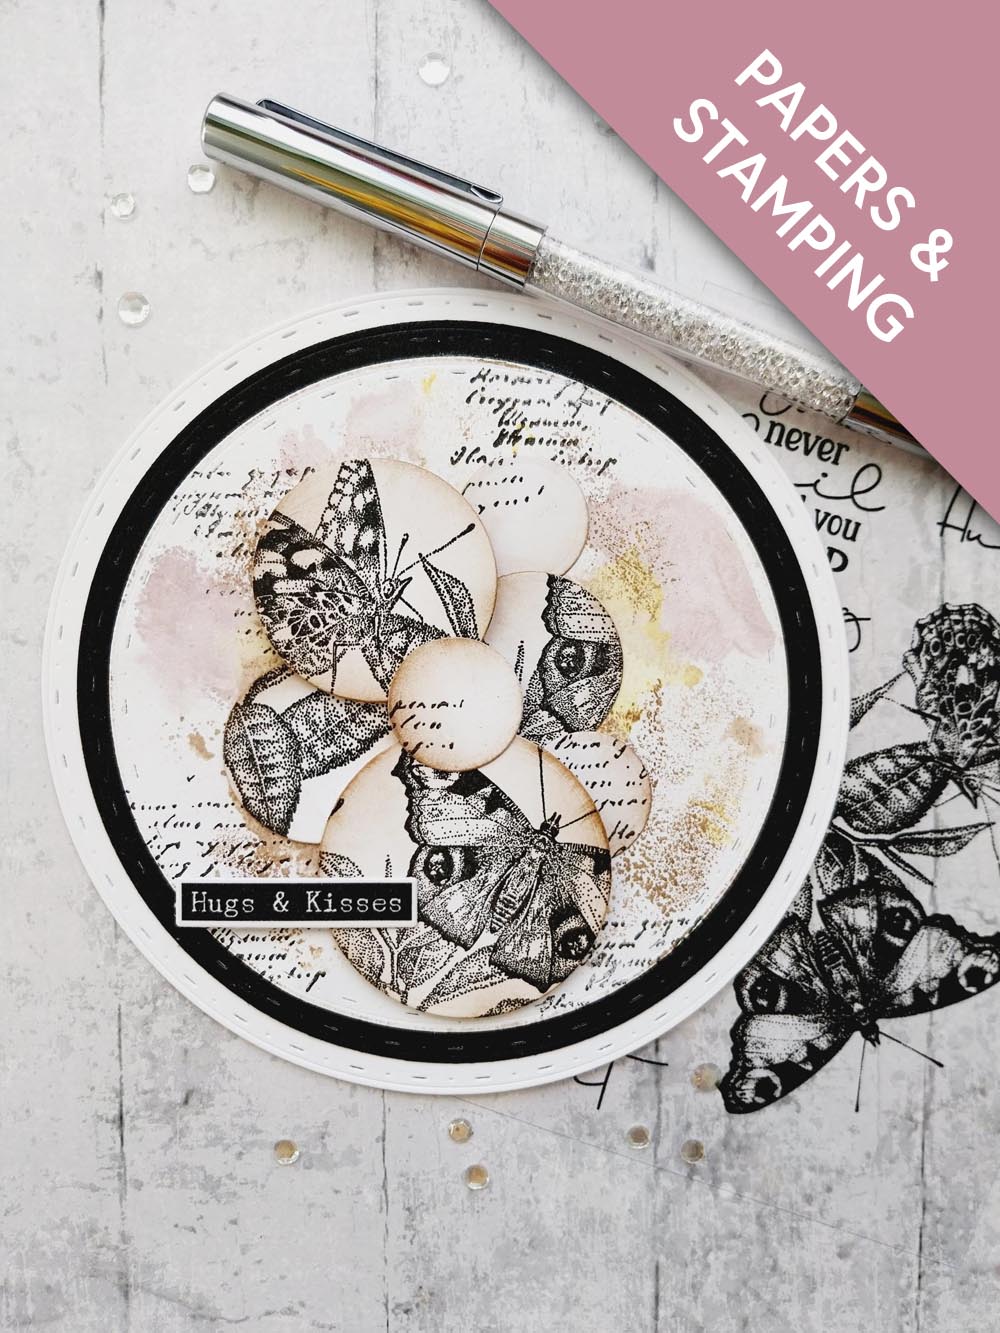
WHAT YOU WILL NEED:
White cardstock
Black cardstock
A Peaceful Moment A6 Stamp
Typewriter Washi Tape and Die Set
Circle Nesting Dies
SBM Hybrid Ink Pad: Midnight
SBM Dye Ink pad: Heather
Distress Ink/Oxide Ink Pad: Fossilized Amber, Walnut Stain
Water spray bottle
Script stamp from your crafty stash
Eureka 101 Watercolour Tablet
SBM A3 Magnetic glass mat
Paper Trimmer
Cut and score tool and bone folder
Glue
Red liner tape
Die Cutting machine
[click image to enlarge] 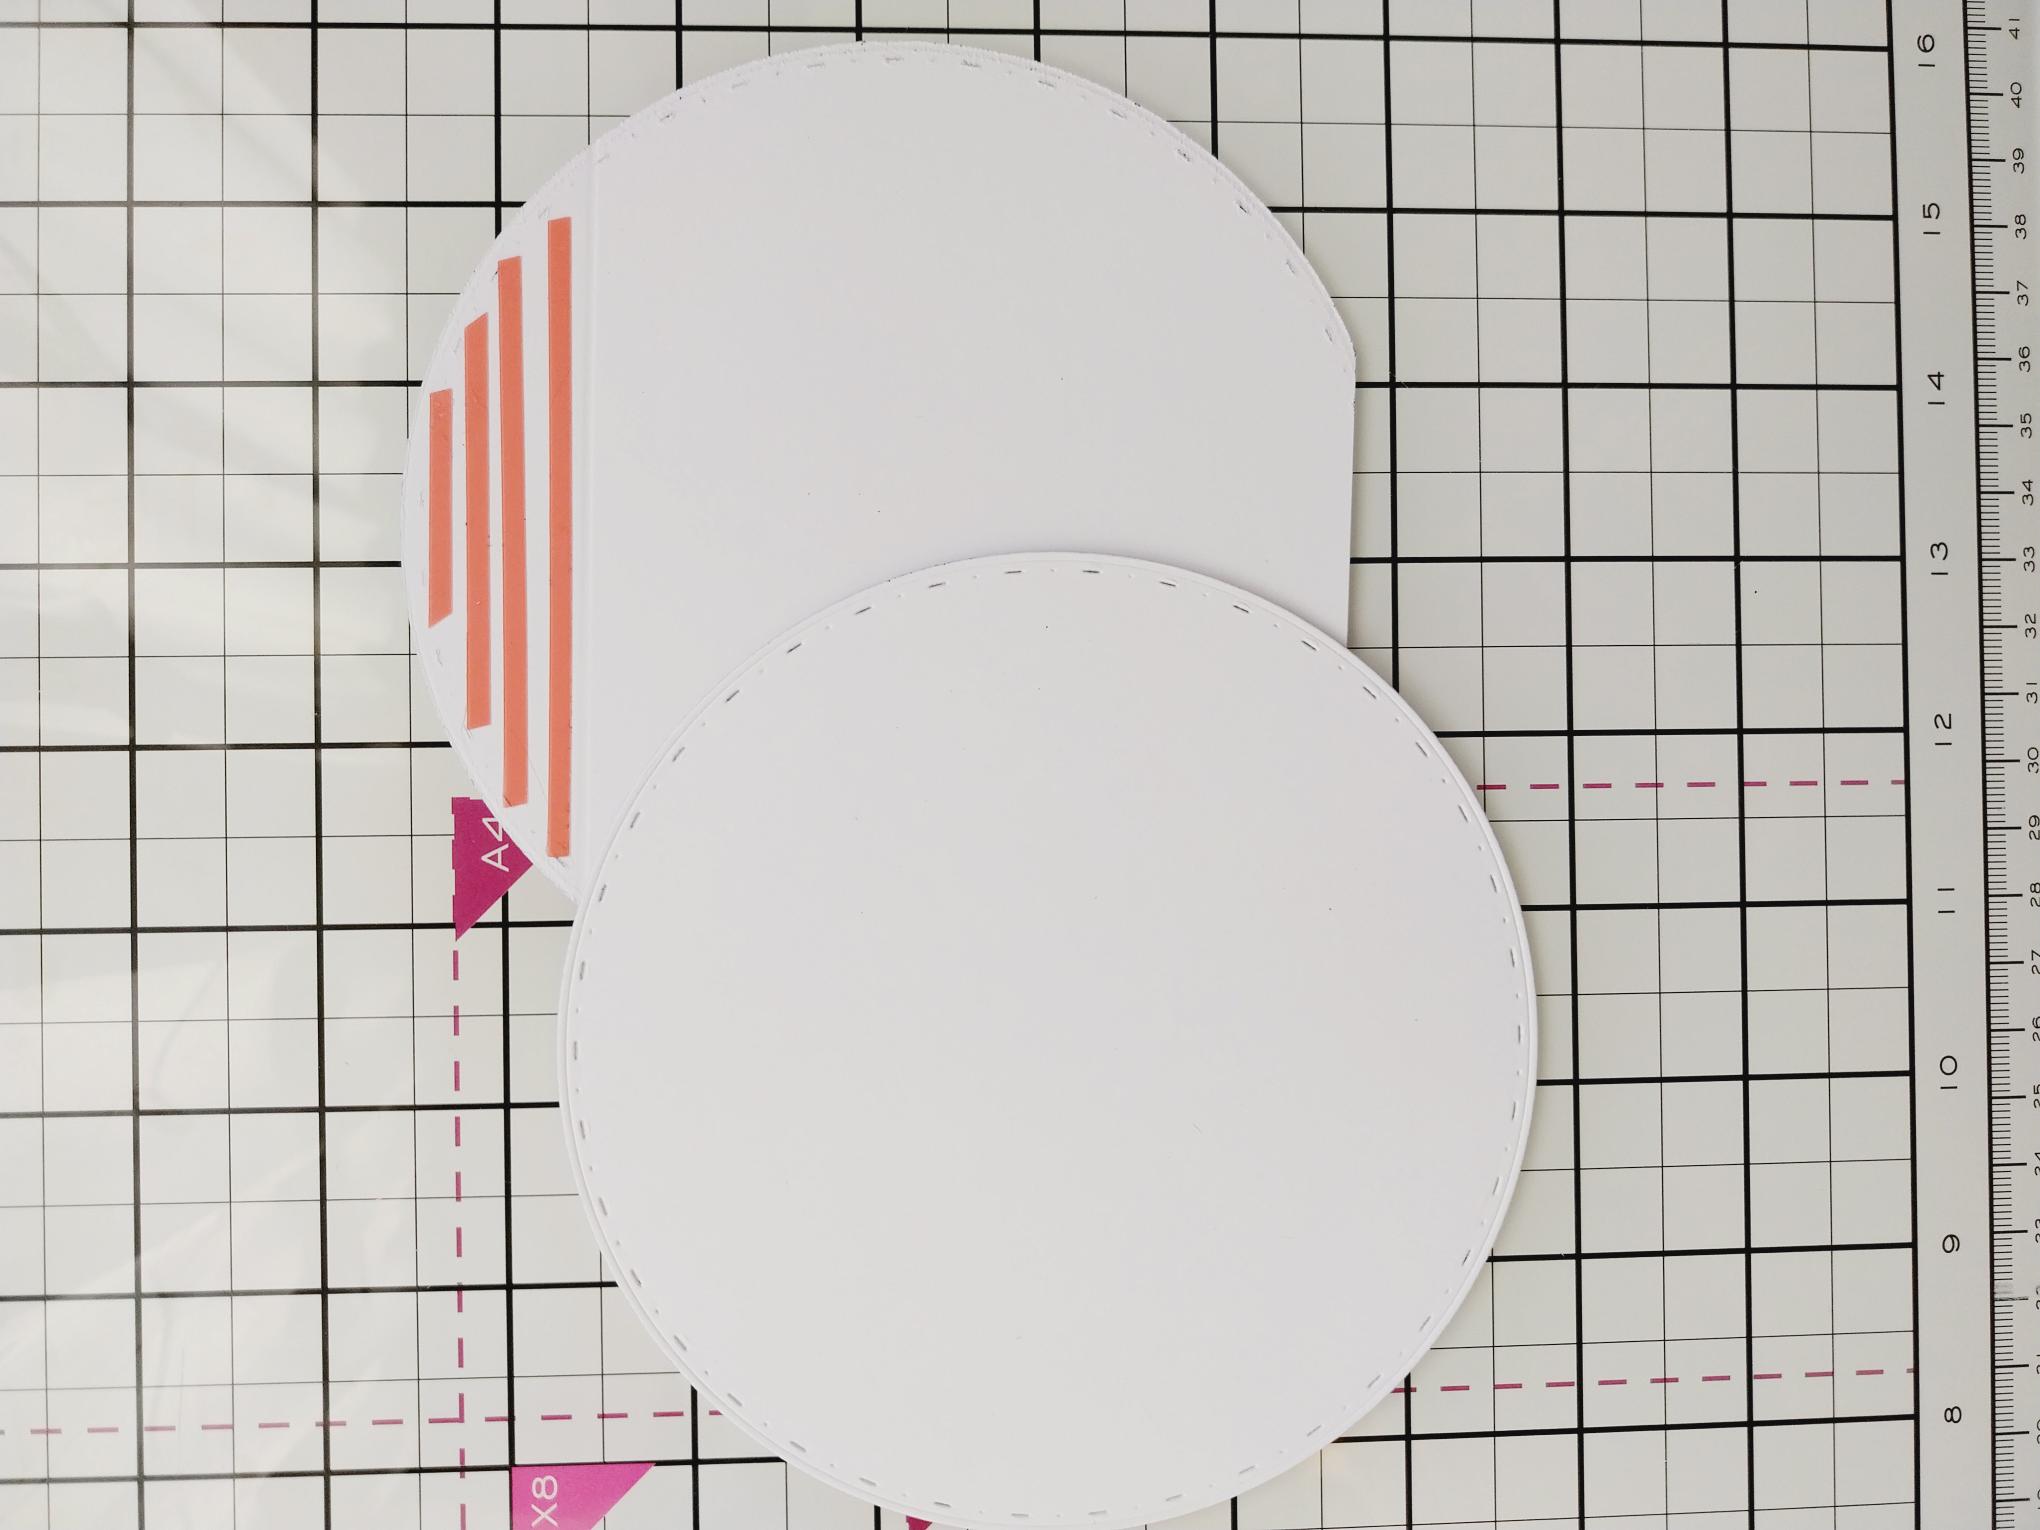
|
Die cut TWO 6" circles from white cardstock. Score across one, about 2cm from the edge and apply red liner tape above the score line. Trim a sliver off the bottom of this piece enabling your card blank to stand upright! Adhere the two die cut circles together to create your card blank. |
|
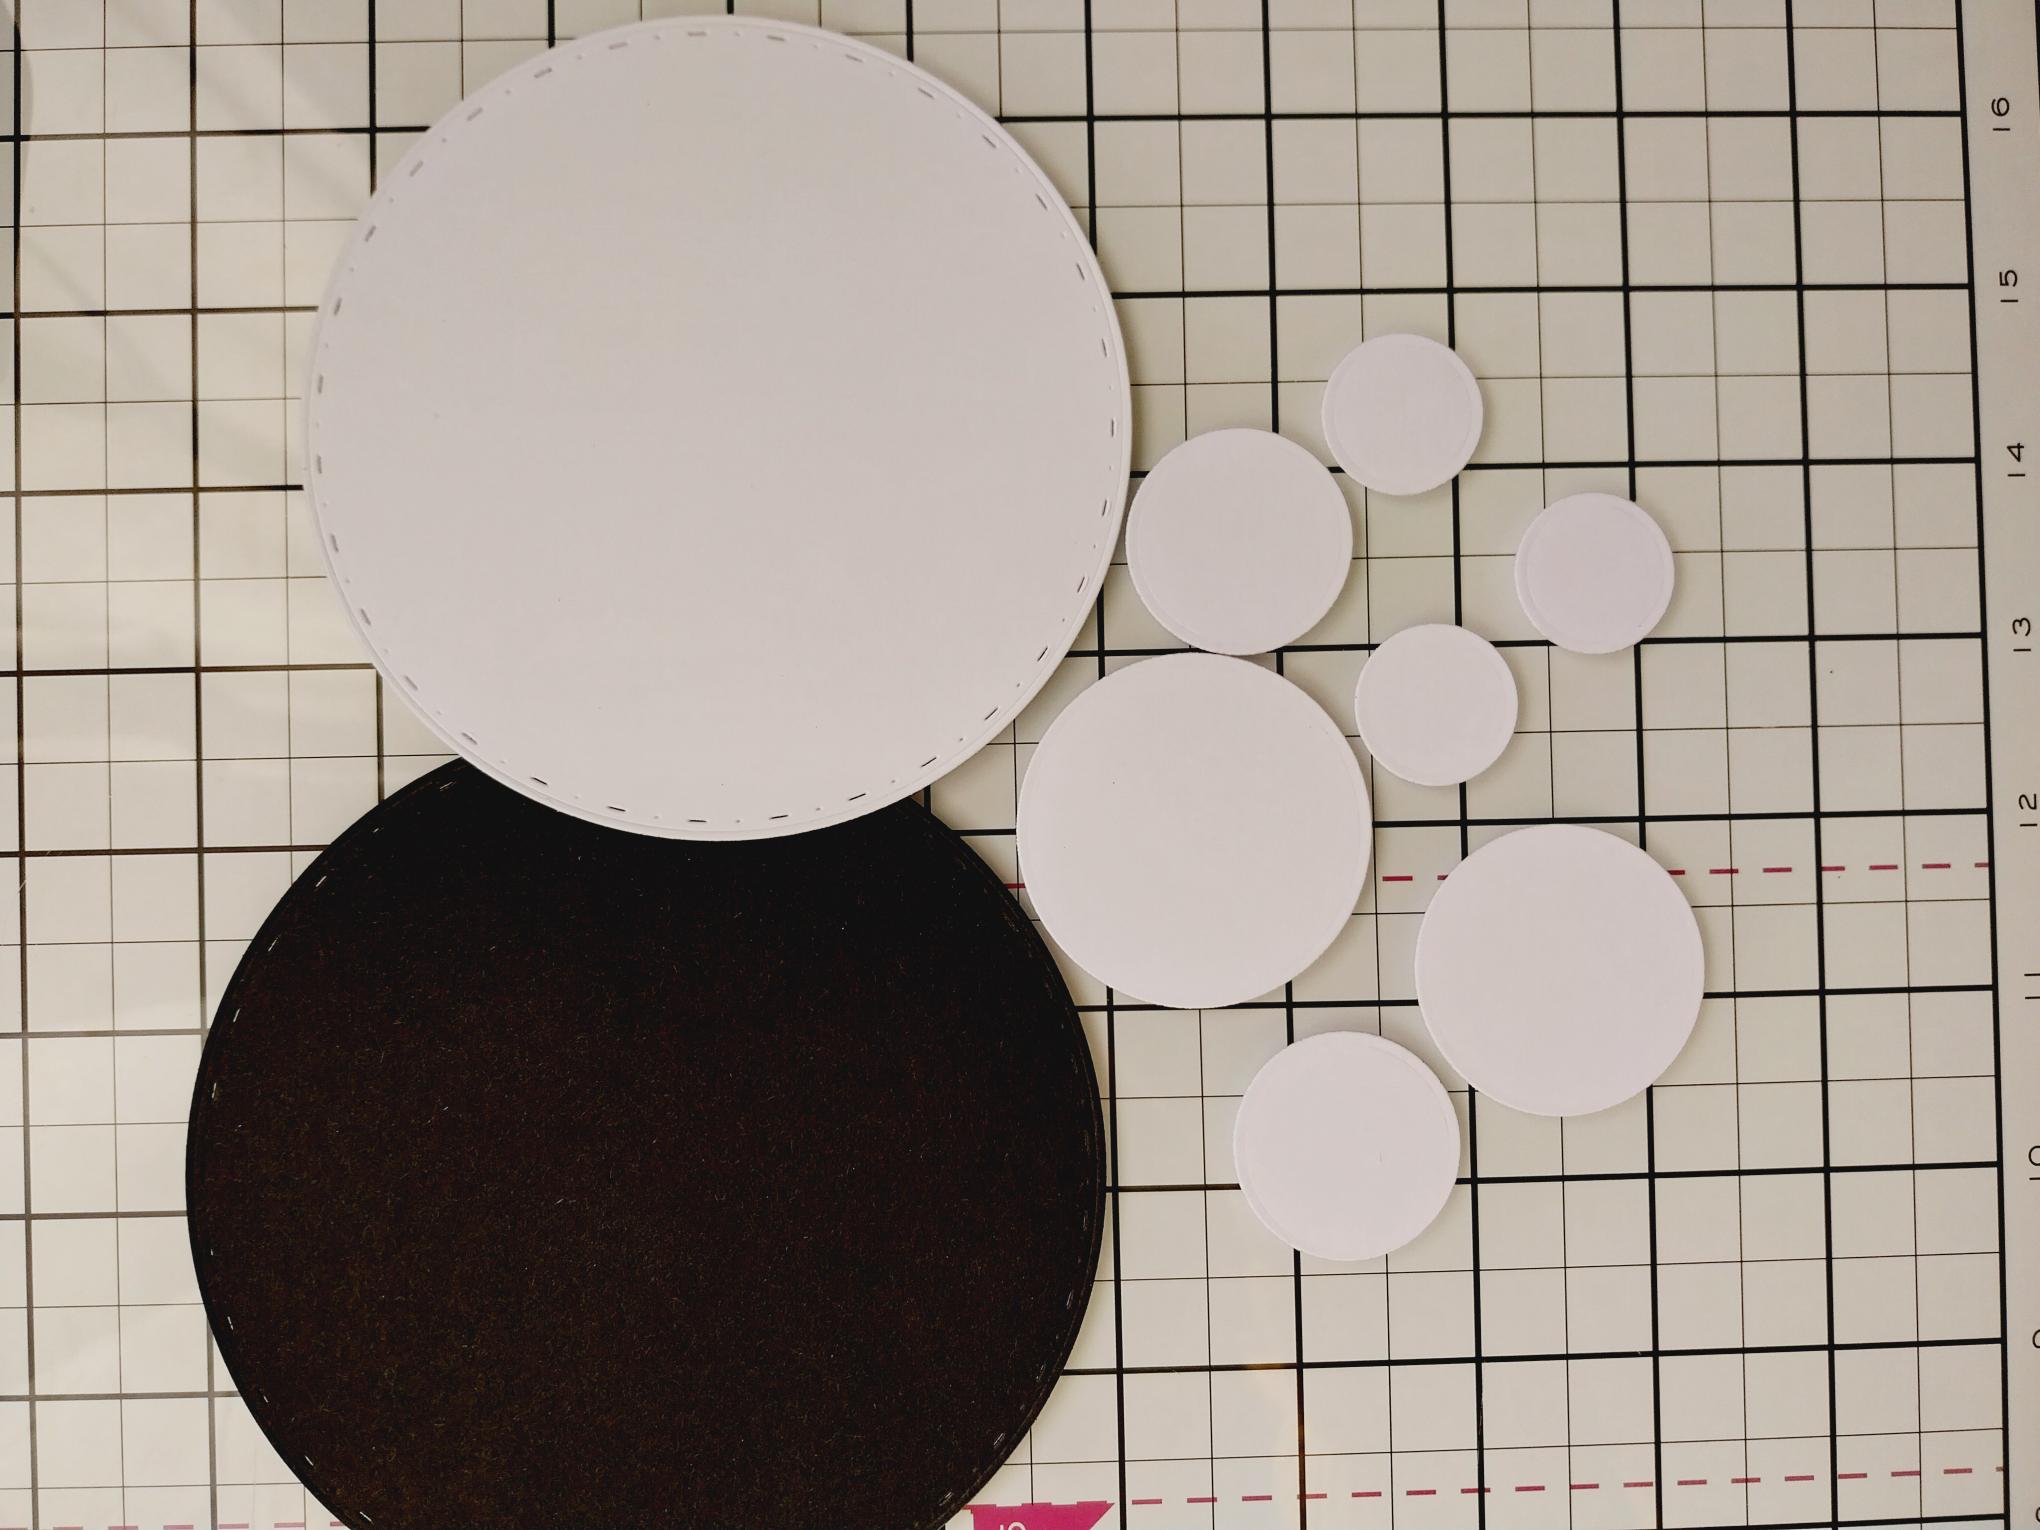
Die cut a 5" circle from black card, a 4 1/2" circle from white card and 7 smaller die cut circles in varying sizes. |
|
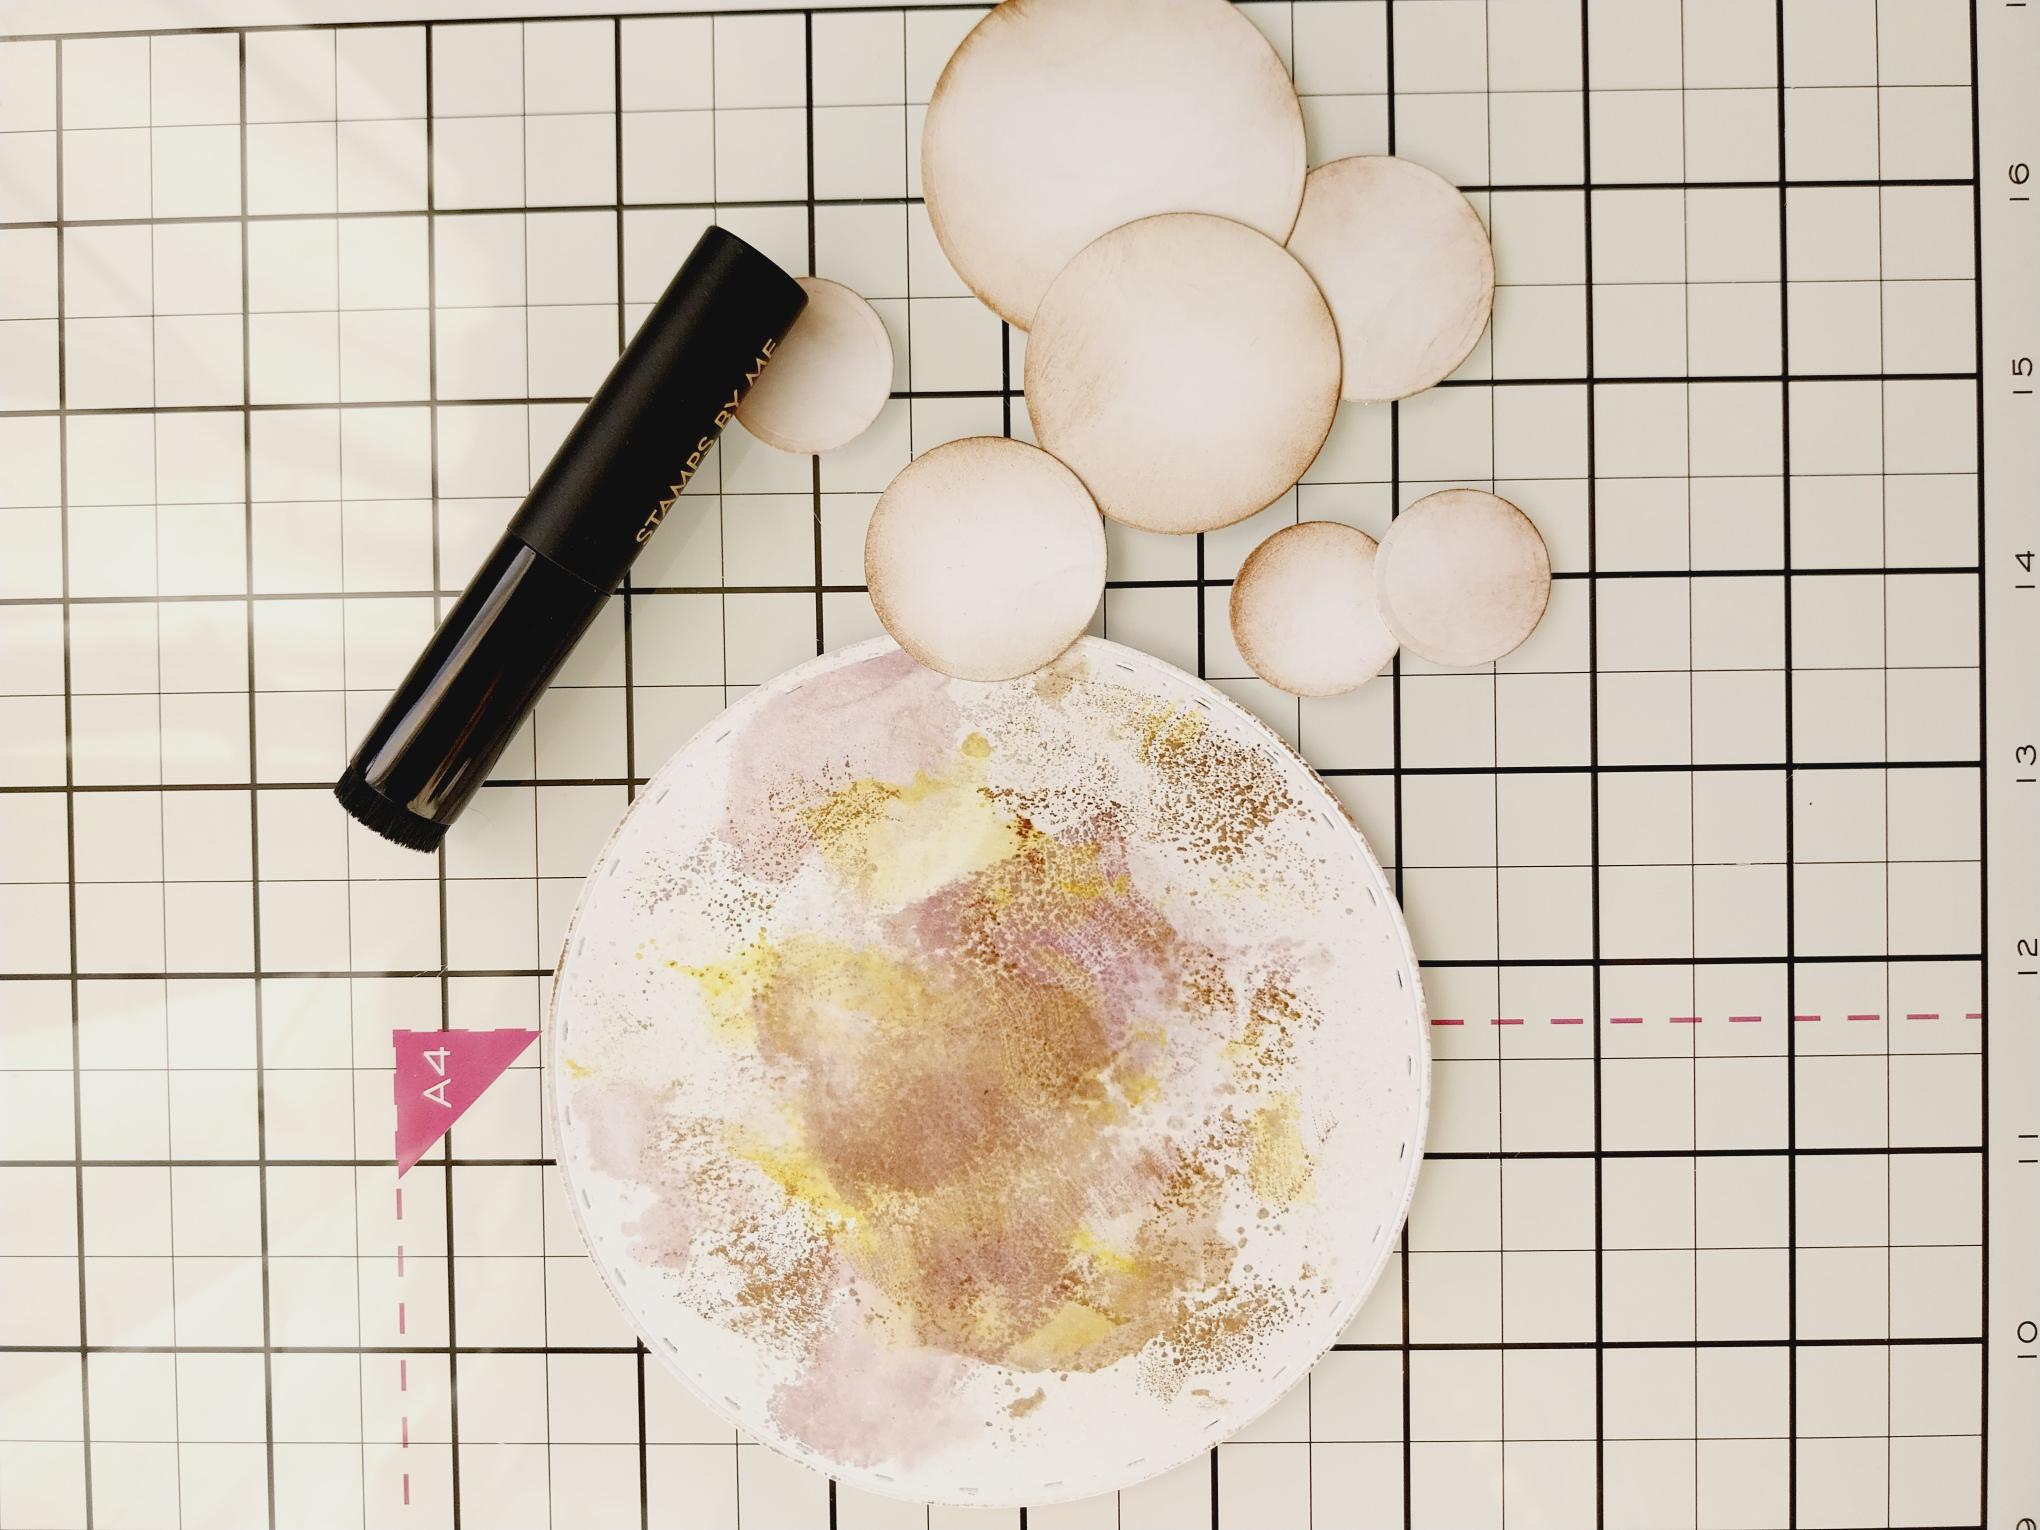
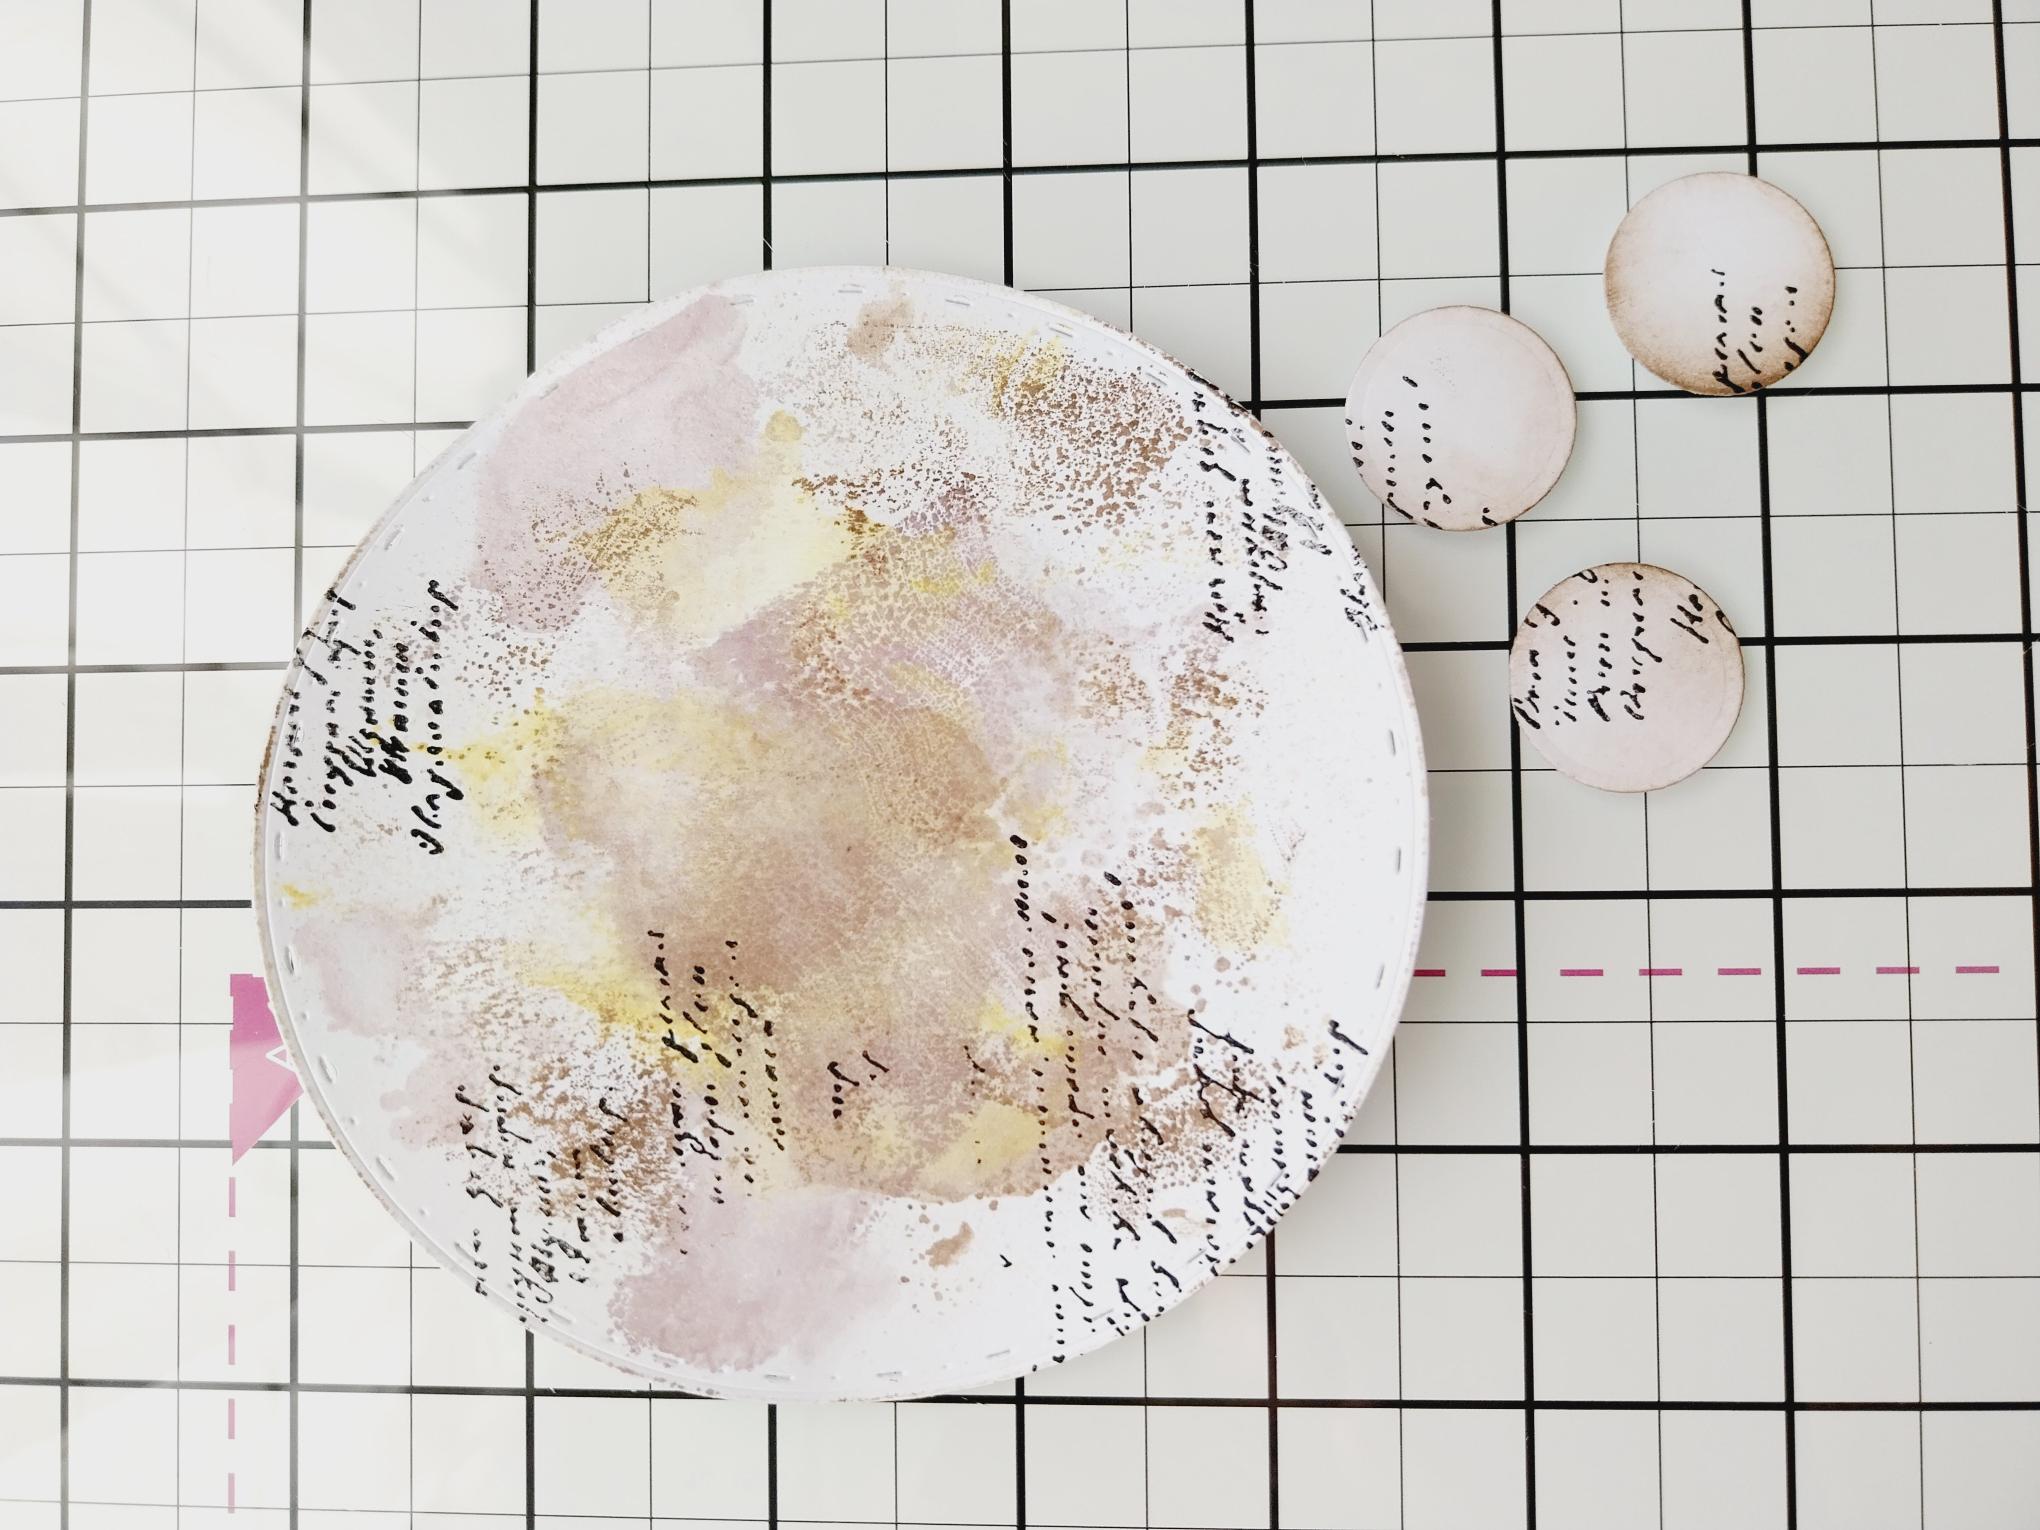
Smoosh Heather and the distress inks on to your glass mat and spritz with water. Smoosh your larger die cut circle through the ink to create your background. Use a blending tool to apply the same inks around the edges of all the die cut circles. |
|
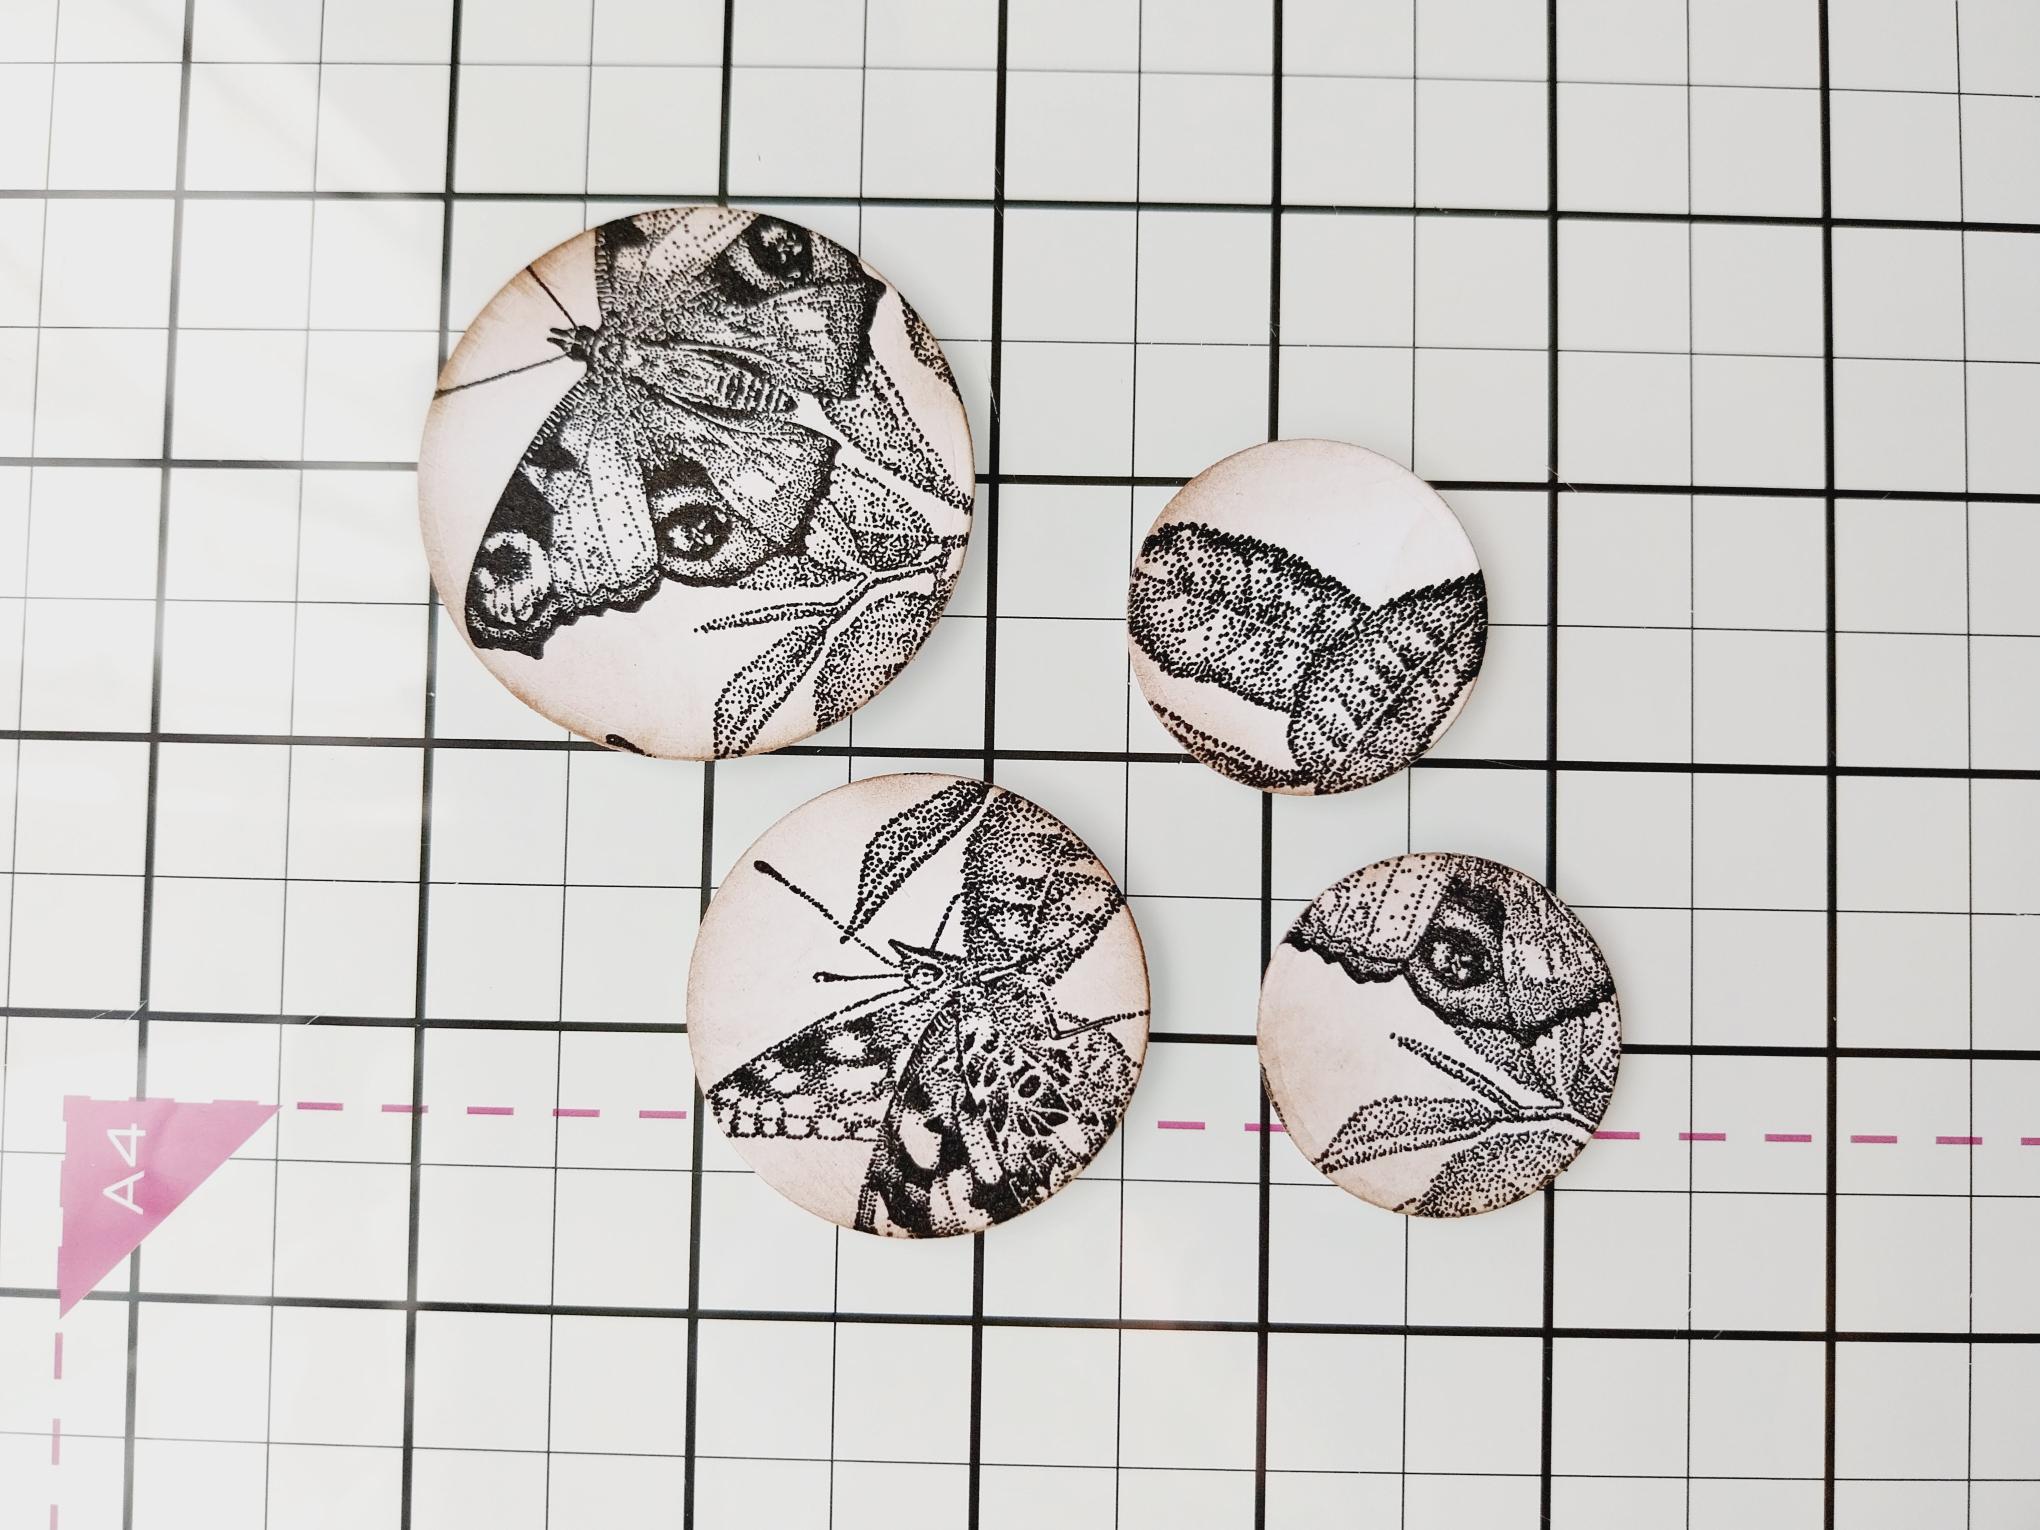
Using the stamps from the Peaceful Moment collection, stamp randomly on 4 of the die cut circles, with the Midnight ink. |
|
Randomly stamp "script" on to the large die cut circle and on to the remaining 3, as seen here. |
|
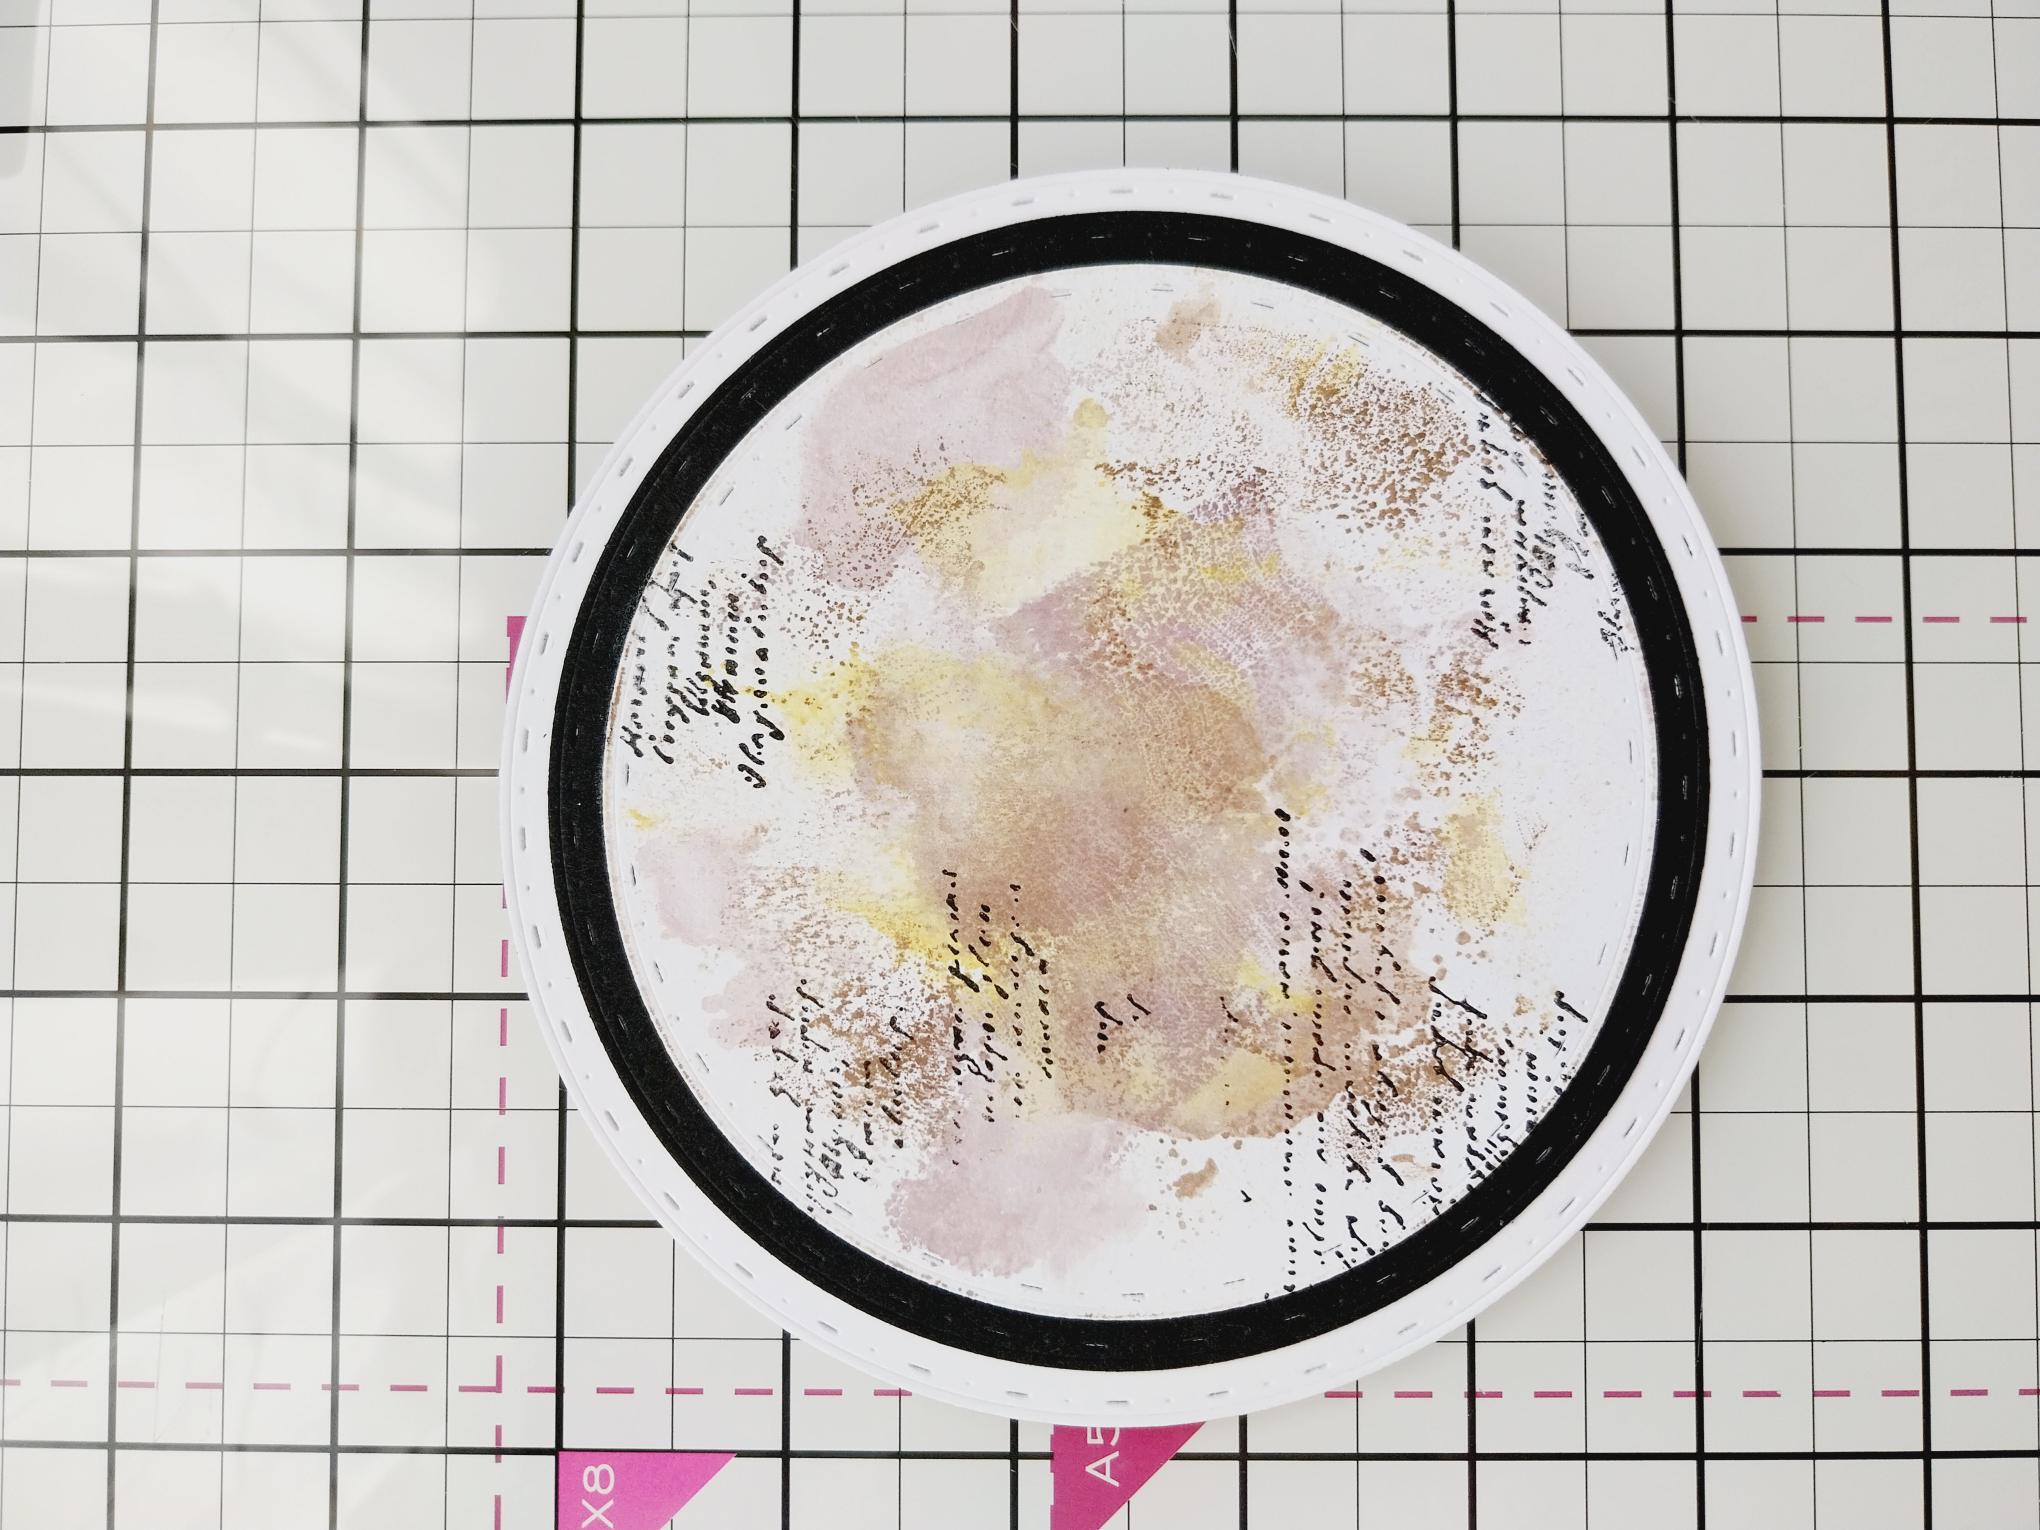
Once dry, mat the largest inky circle on to the die cut black circle and then on to the front of your card blank. |
|
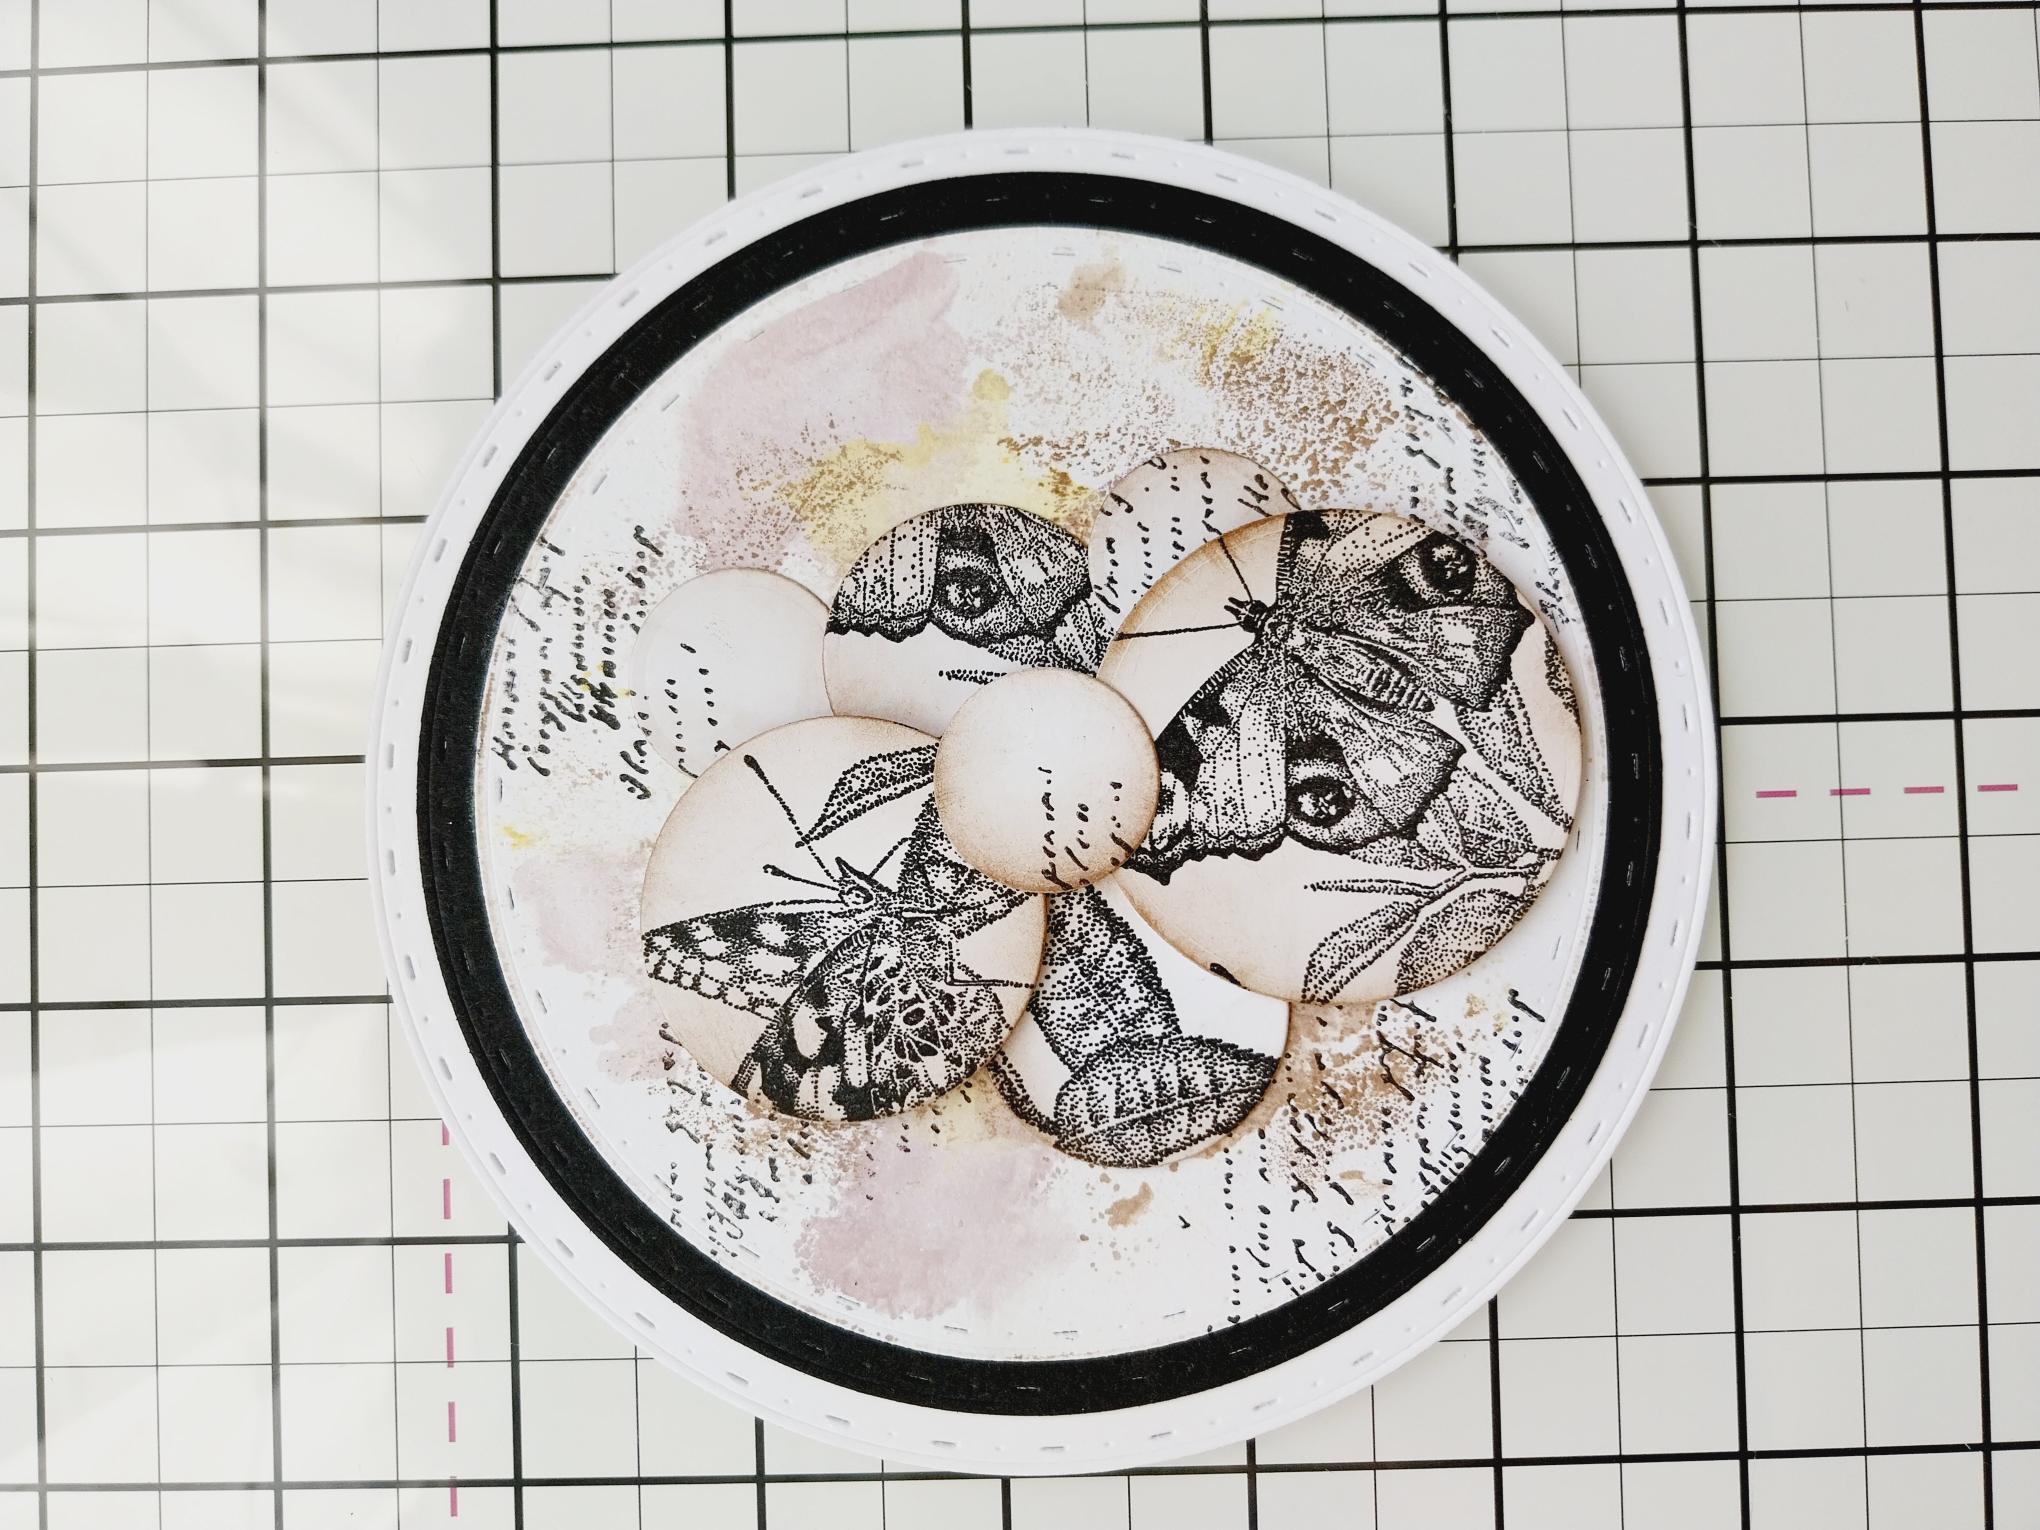
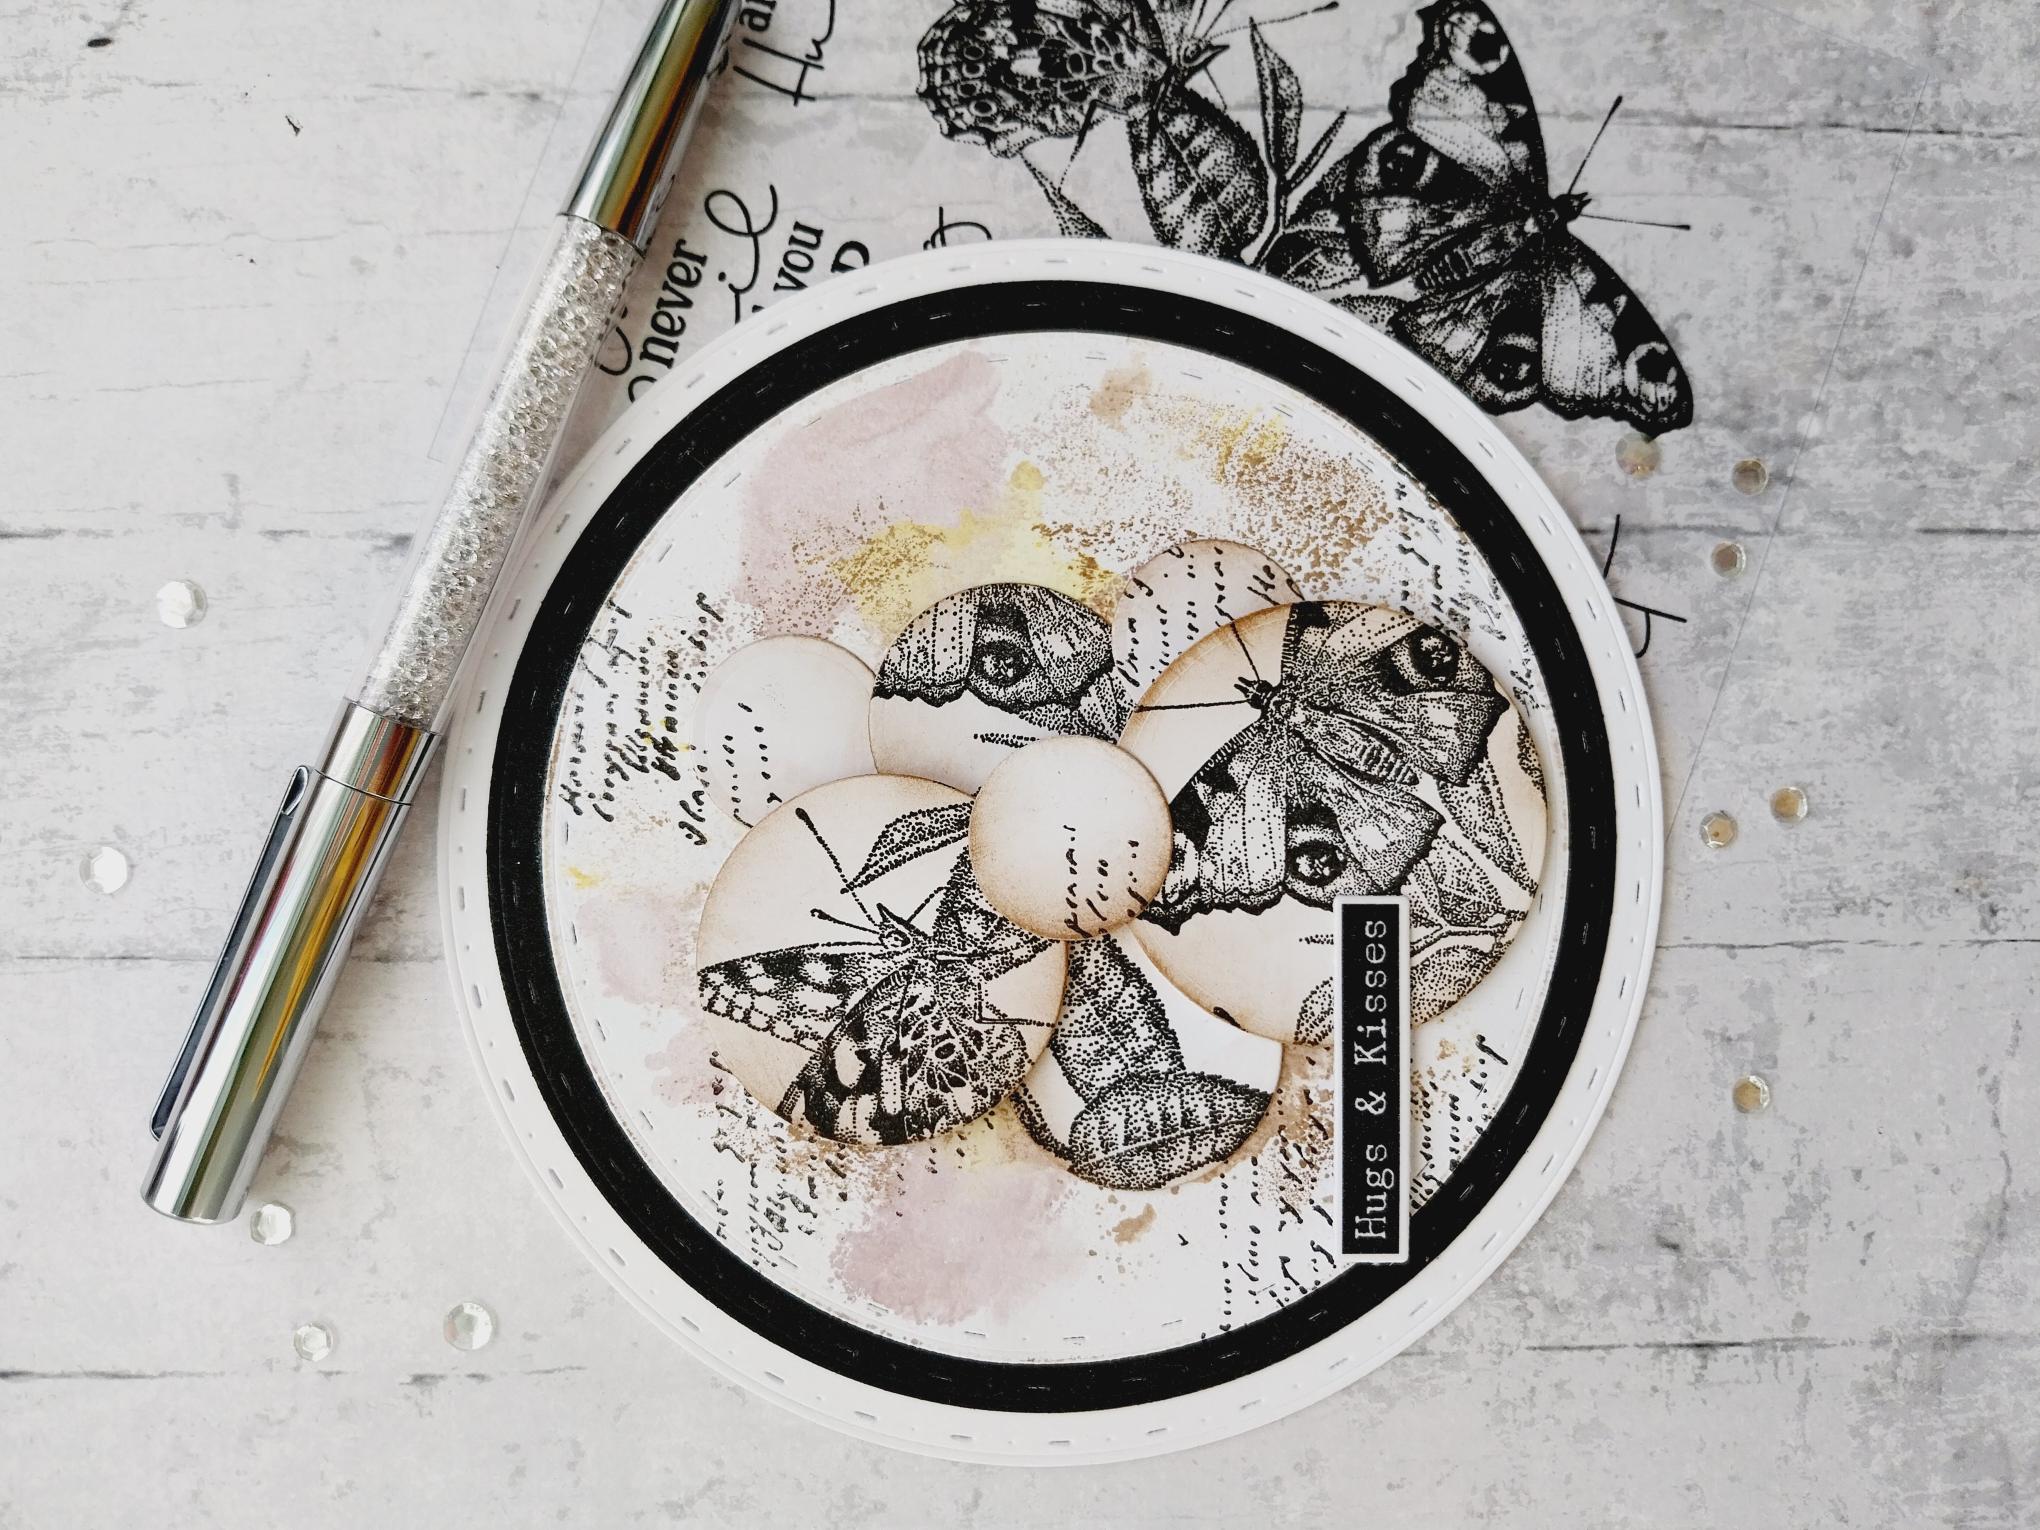
Arrange and adhere all your stamped, die cut circles, on to your card as required. |
|
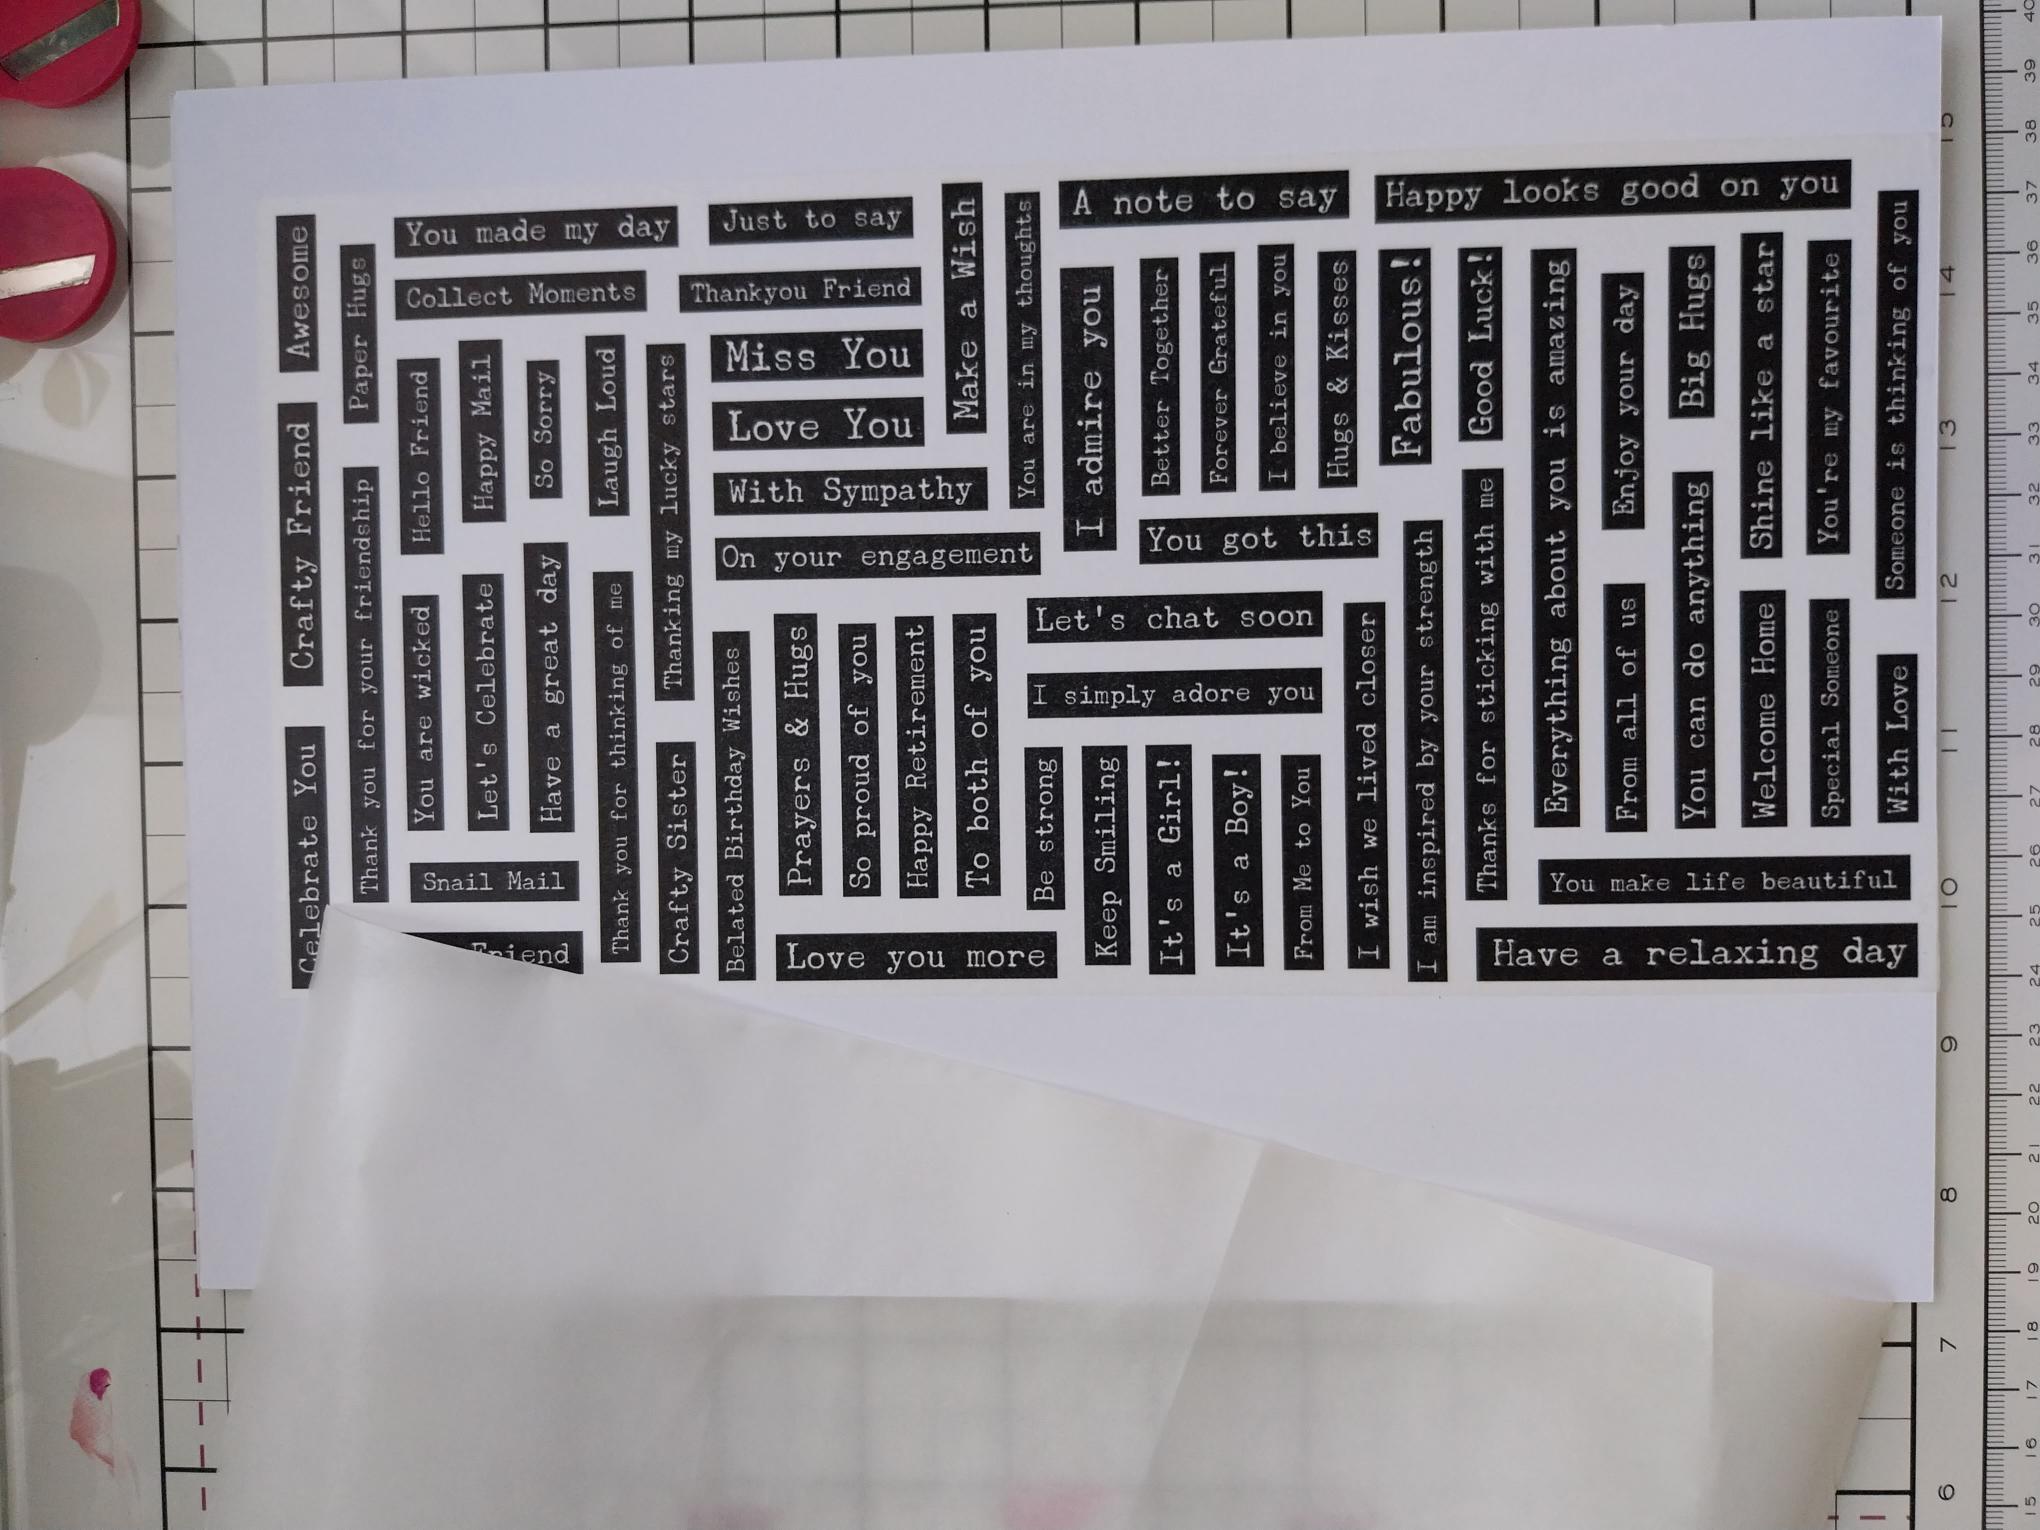
Using the dies as a guide, cut ONE drop from the Typewriter washi roll. Lift up the backing sheet along one end of the tape and adhere across the top of an A4 sheet of white card. Slowly peel away the backing, as you use your hand to smooth the washi tape down on to the card. Once the backing has been fully removed, you can burnish the washi to ensure there are no air bubbles or creases. |
|
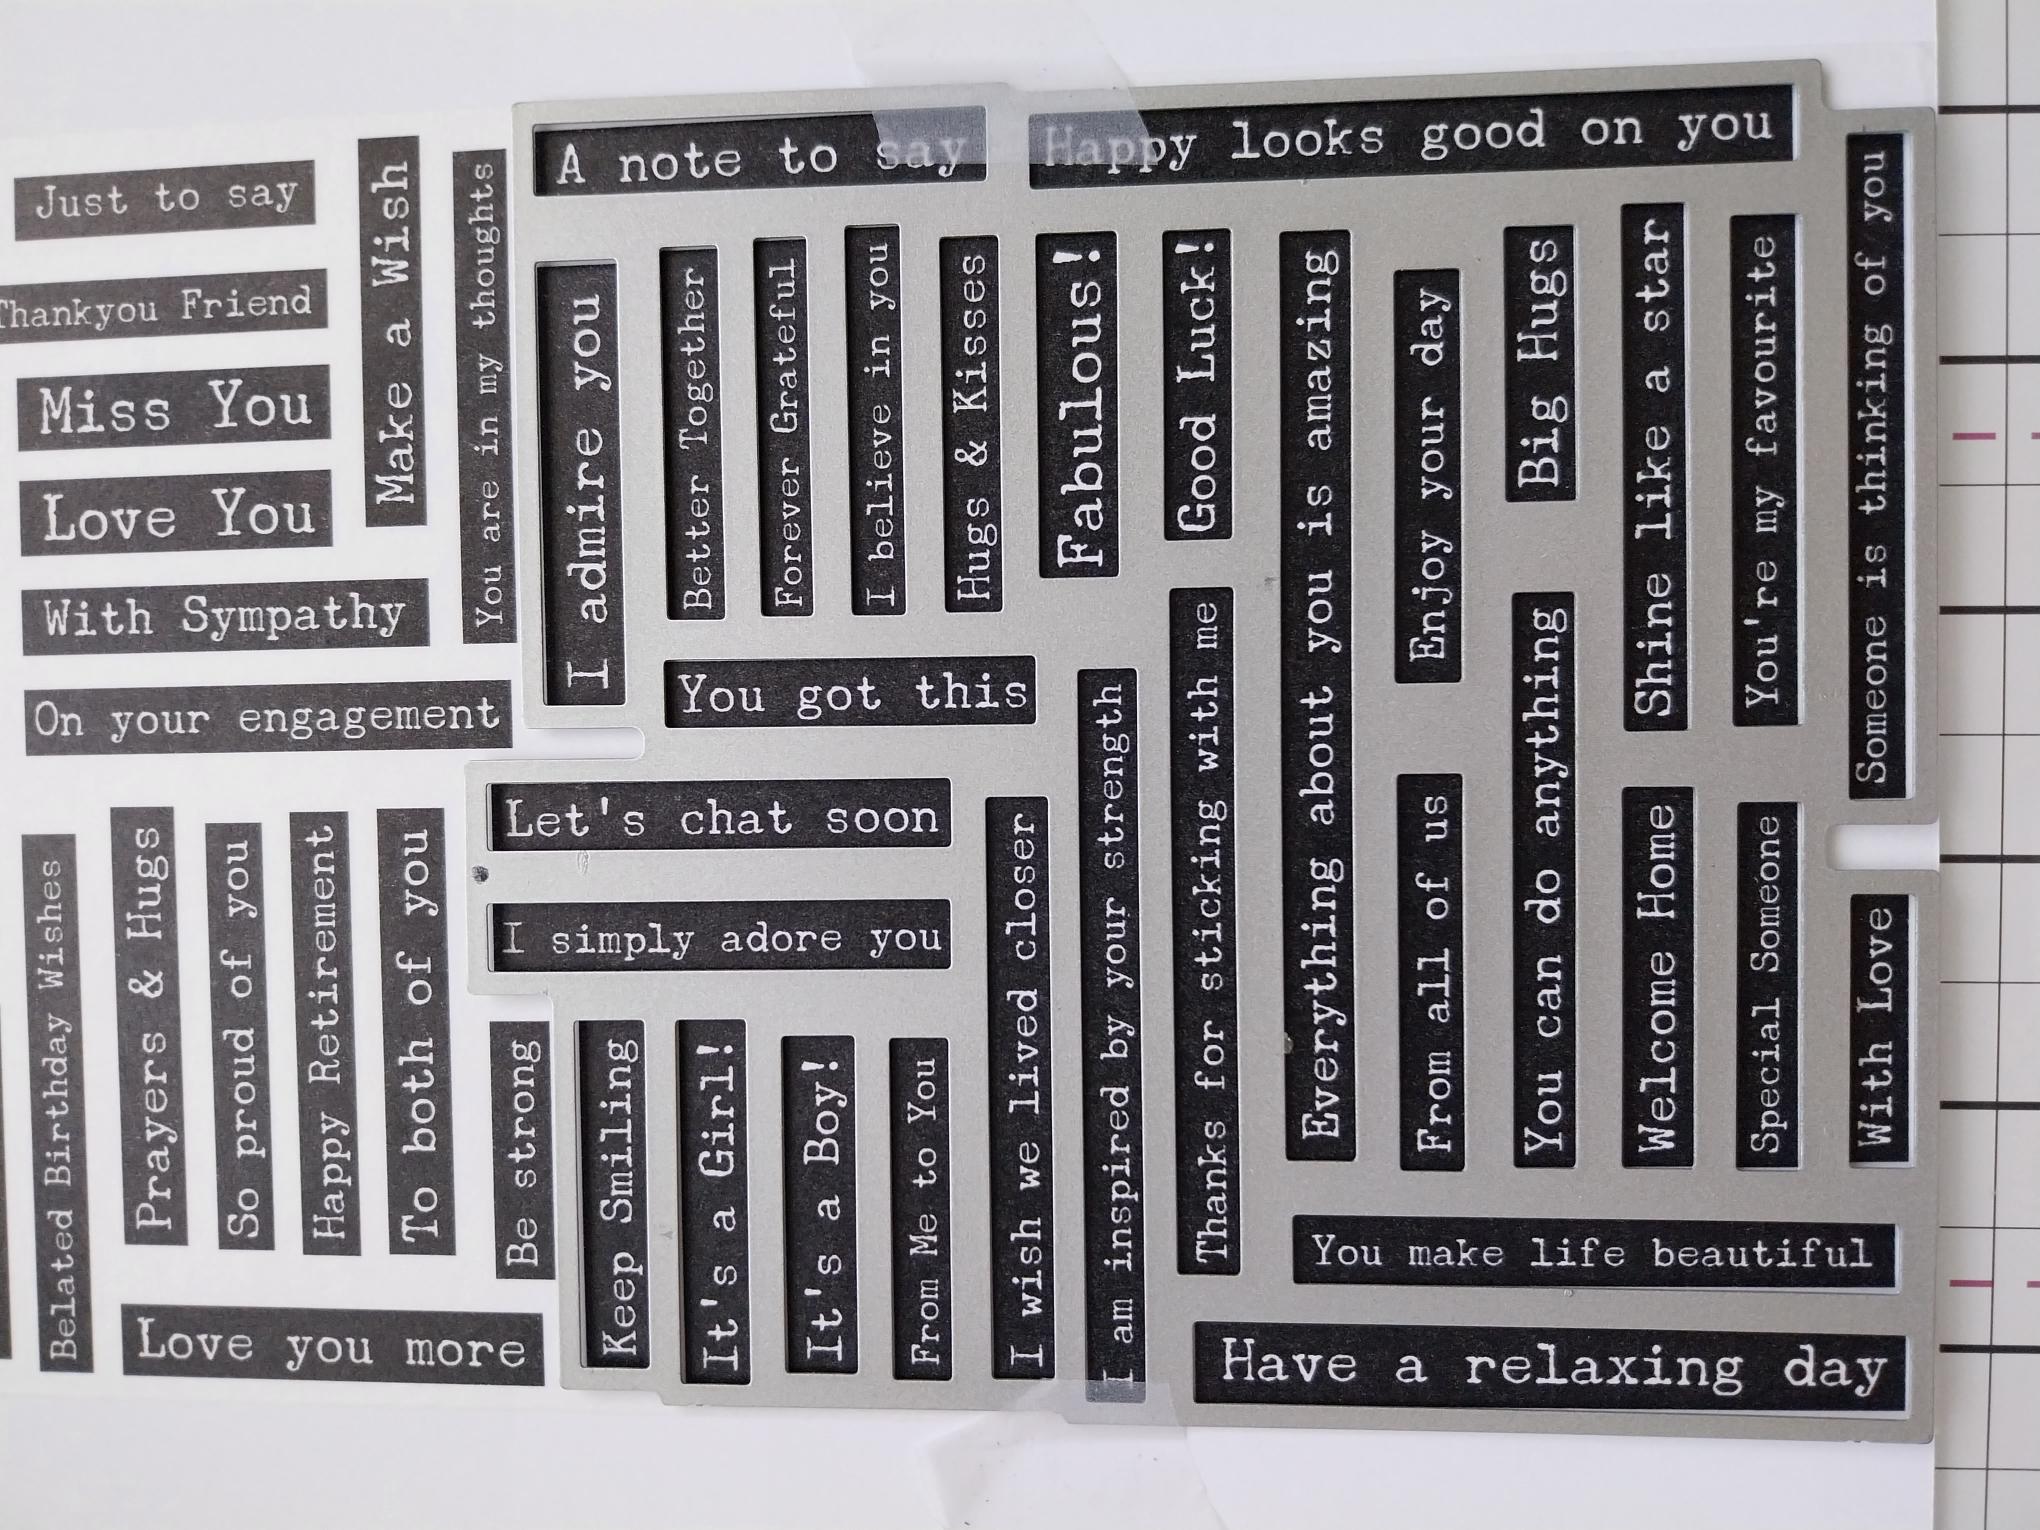
Line up the first die and secure with low tack tape before running it through your machine. |
|
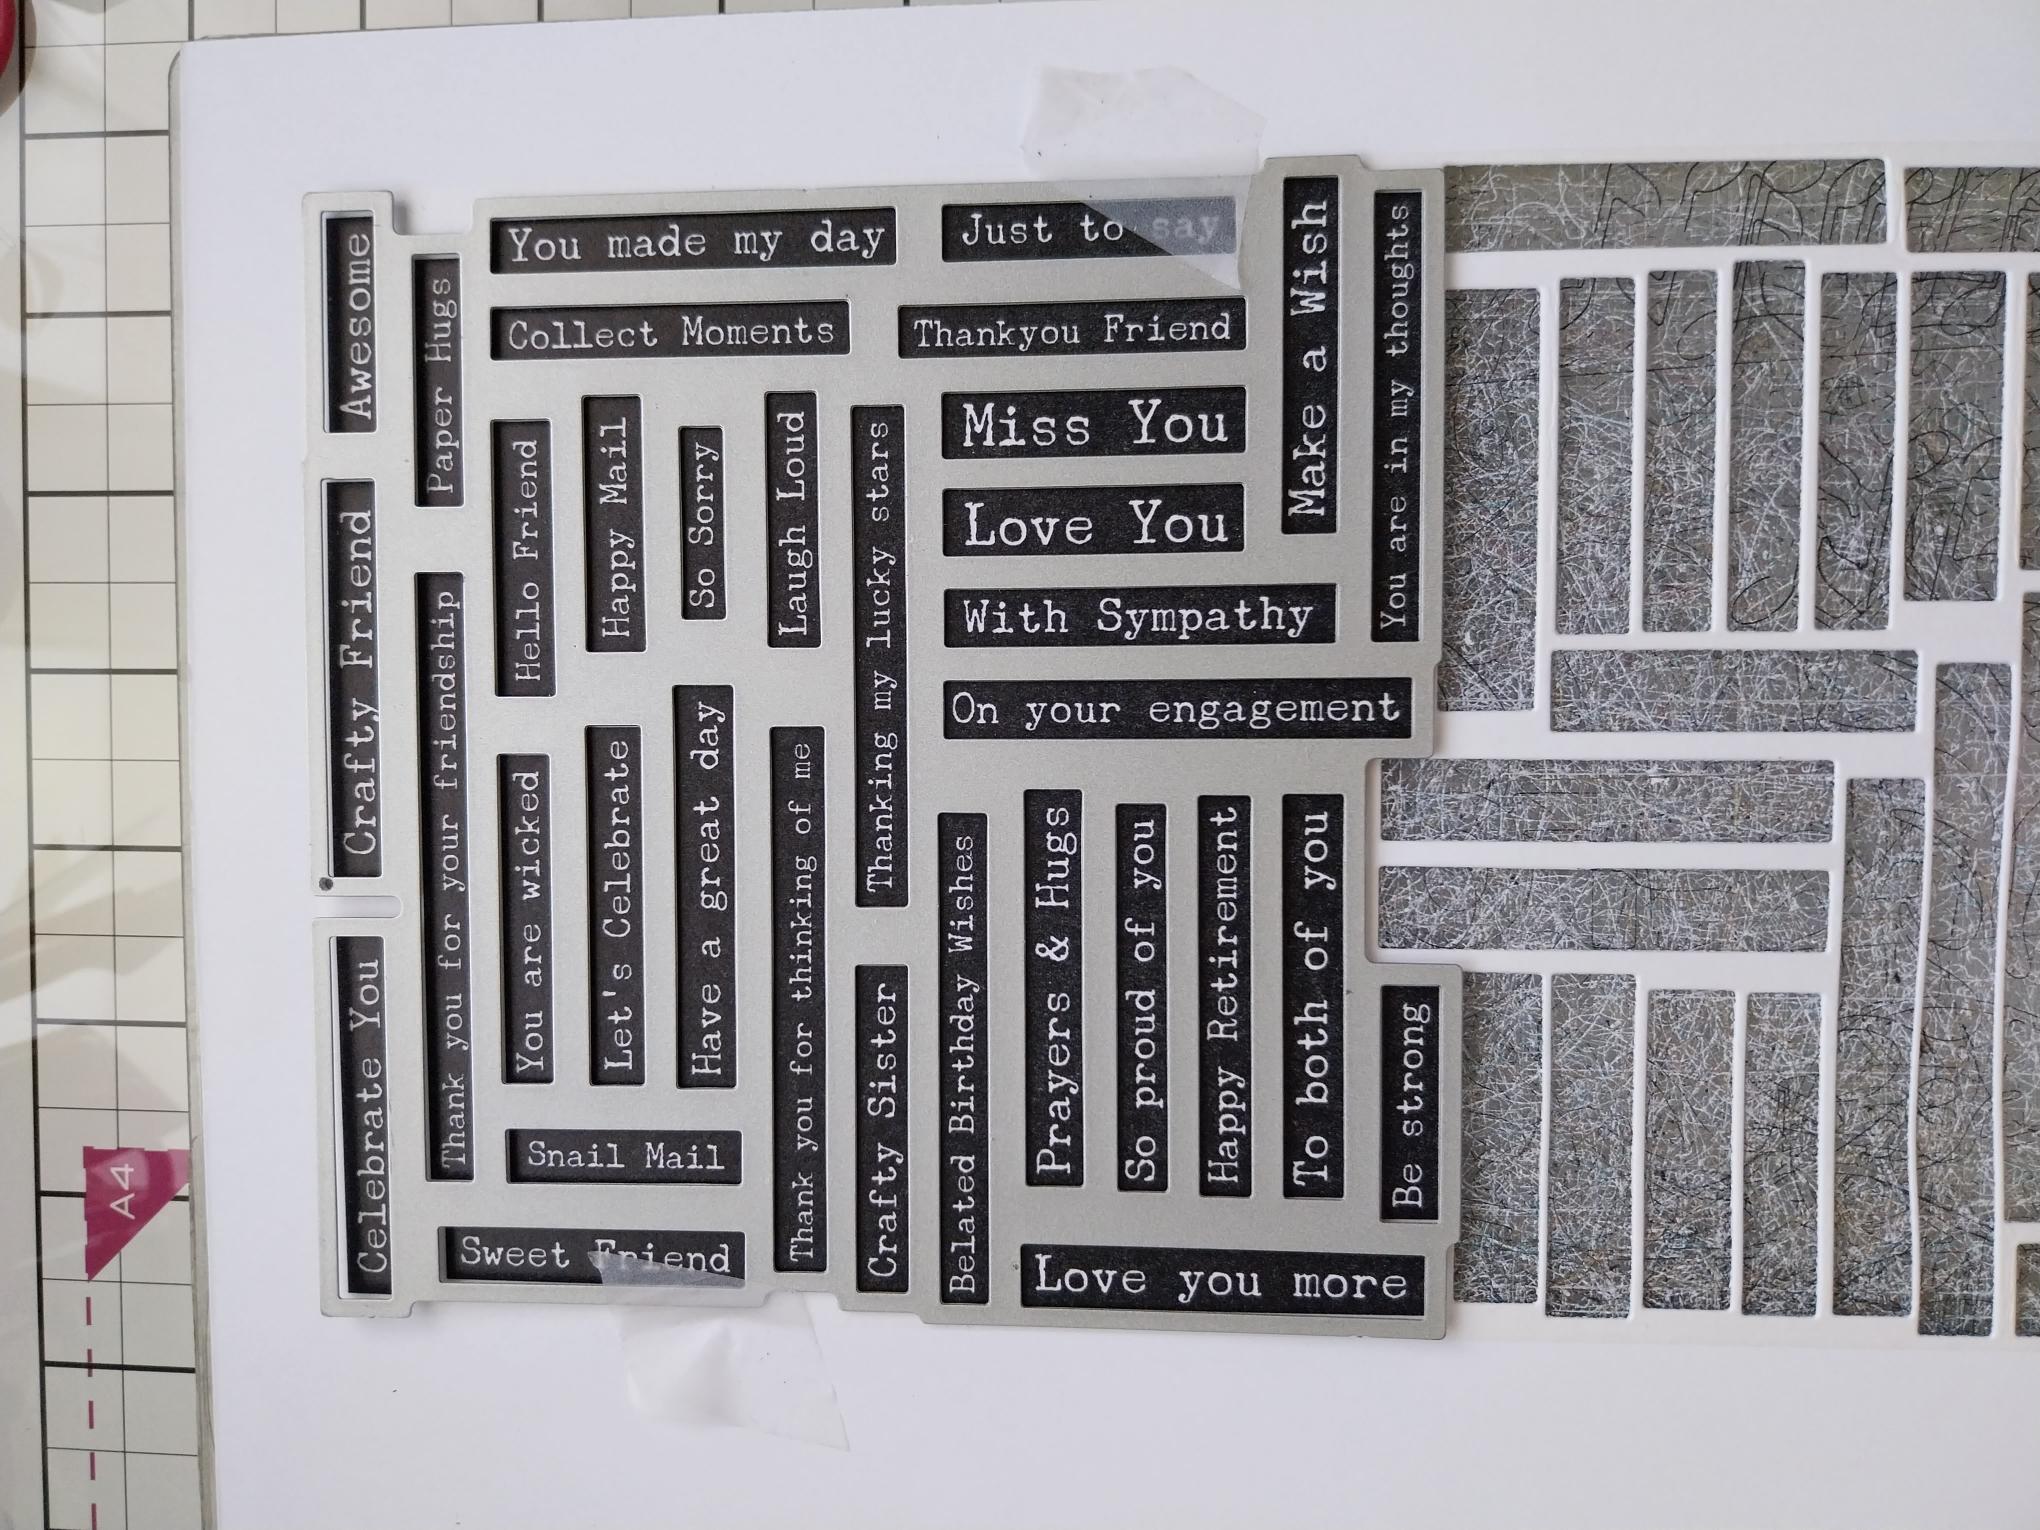
Line up the second die and run it through your machine. Pop out all the sentiments, pick out the one you are using for this project and keep the rest in a tub for future projects. |
|
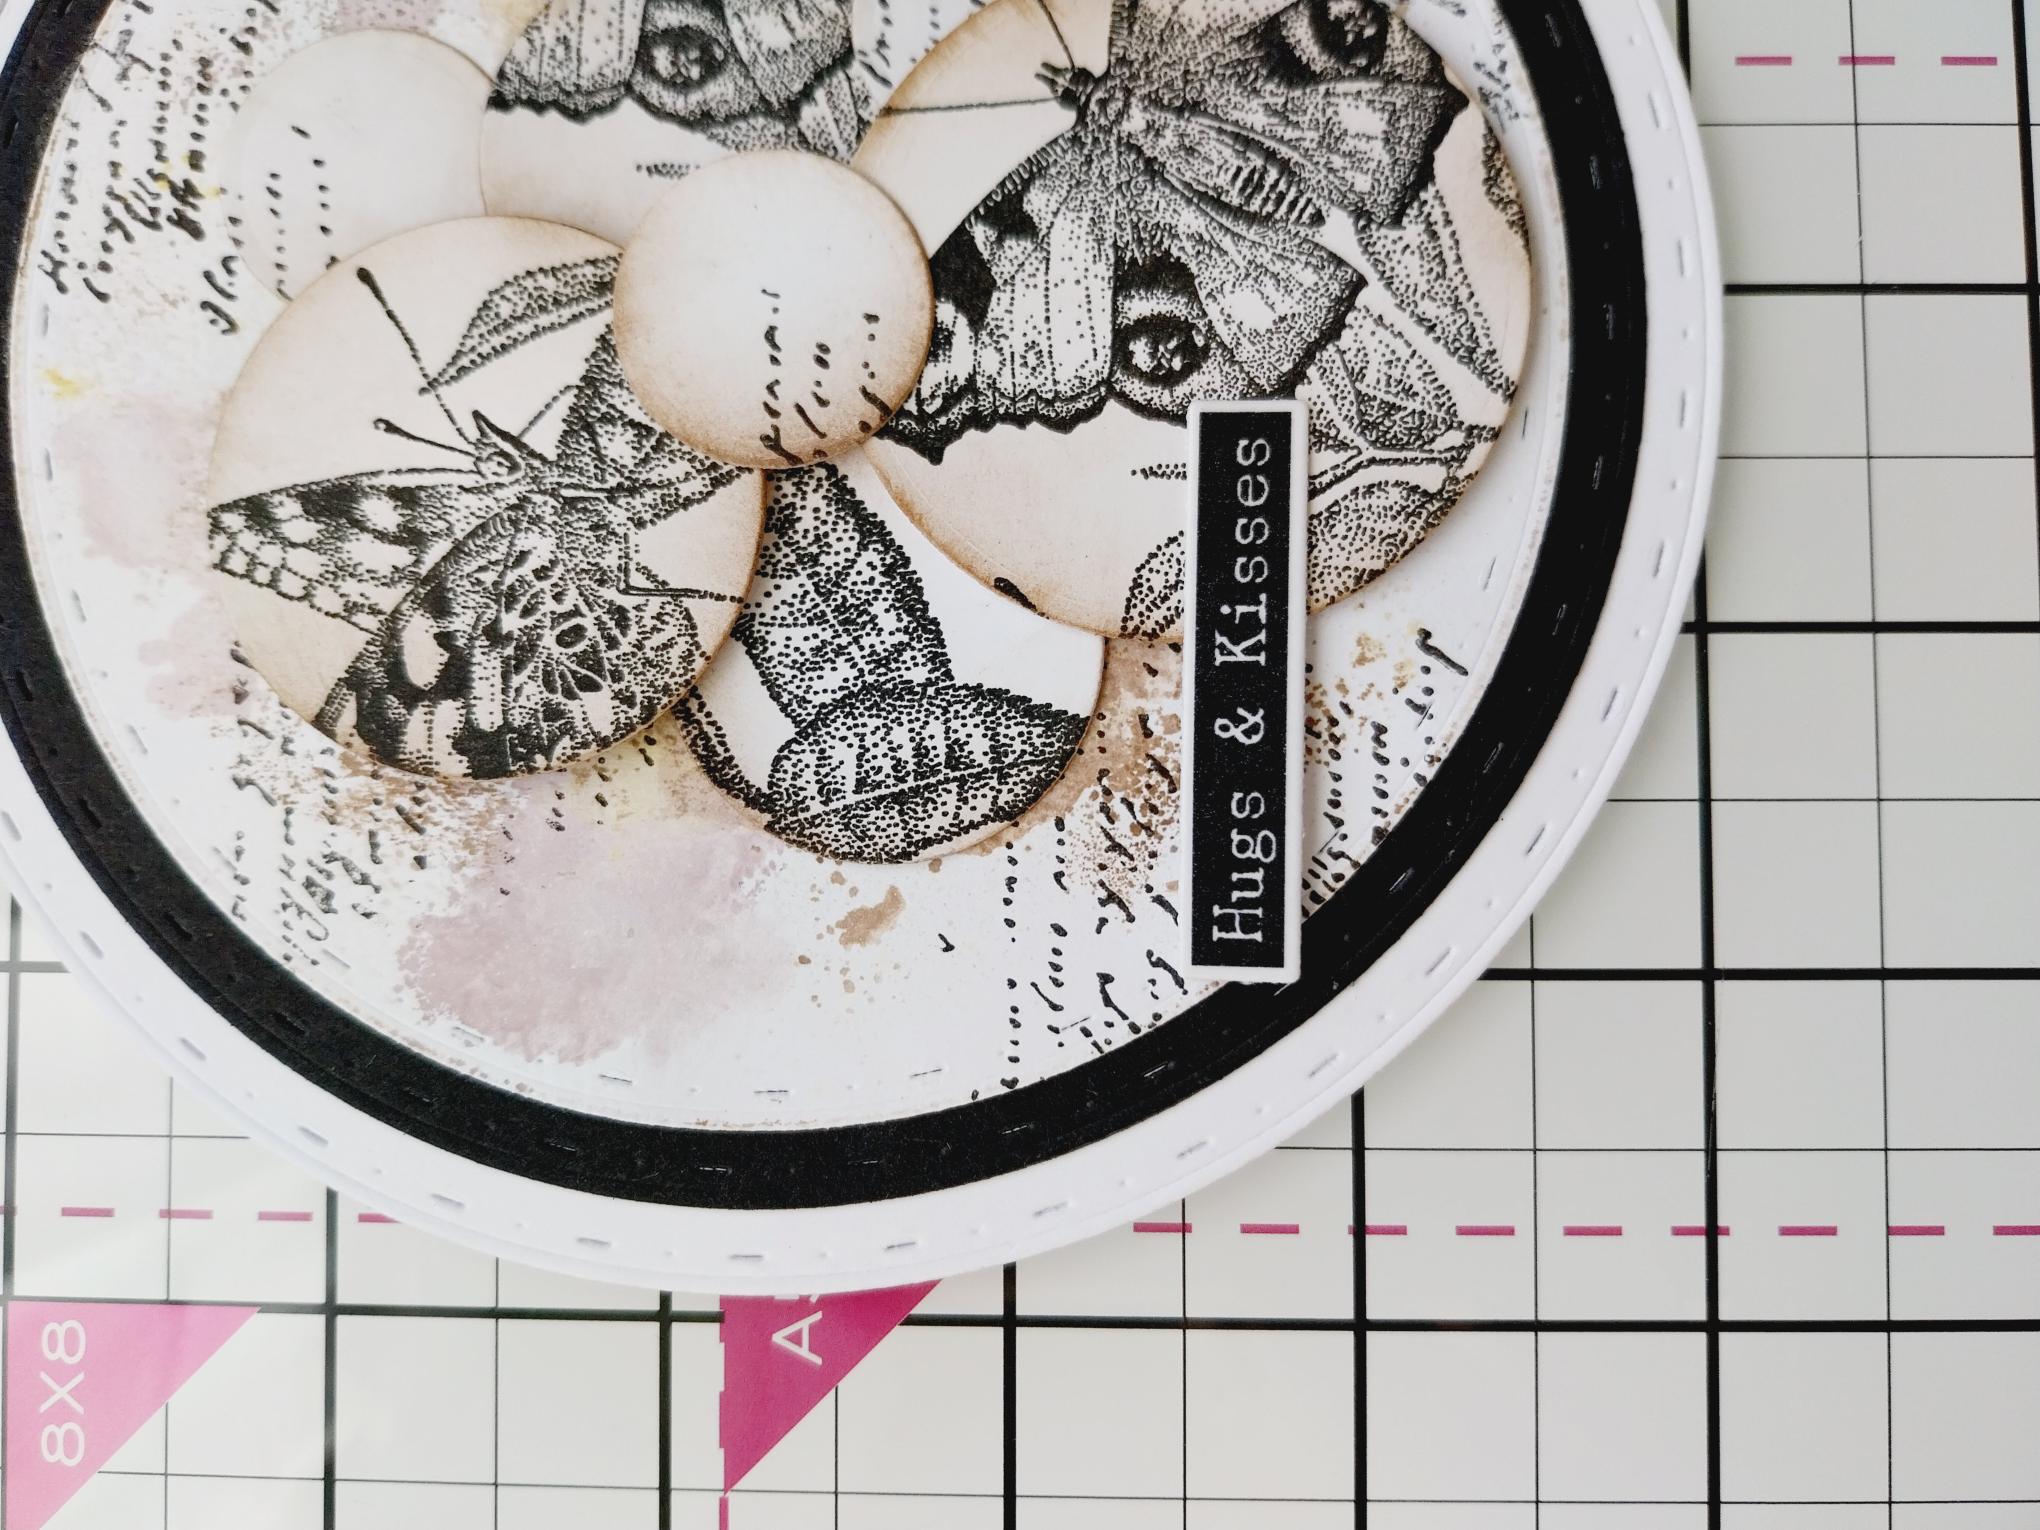
Adhere your chosen sentiment tab to the bottom left of your card. |
|
Add sparkle and sequins if required to finish your project. |