Give your friends $10 off their first order!
Refer a FRIEND


WHAT YOU WILL NEED:
Black top folding card blank (8 1/4 x 5 3/4")
White card (7 1/2 x 5 1/2")
Black card (6 1/2 x 4 1/2")
Stamps from With Love And Flowers Lamination Stamp Collection
Stamps from Christmas Robins Stamp Collection
Dies from Diamond Stitching Die Collection
Izink Pigment Ink Pad: White, Metal Gold
Heat gun
Eureka 101
Perfect Together Glue
Die Cutting machine
[click image to enlarge] 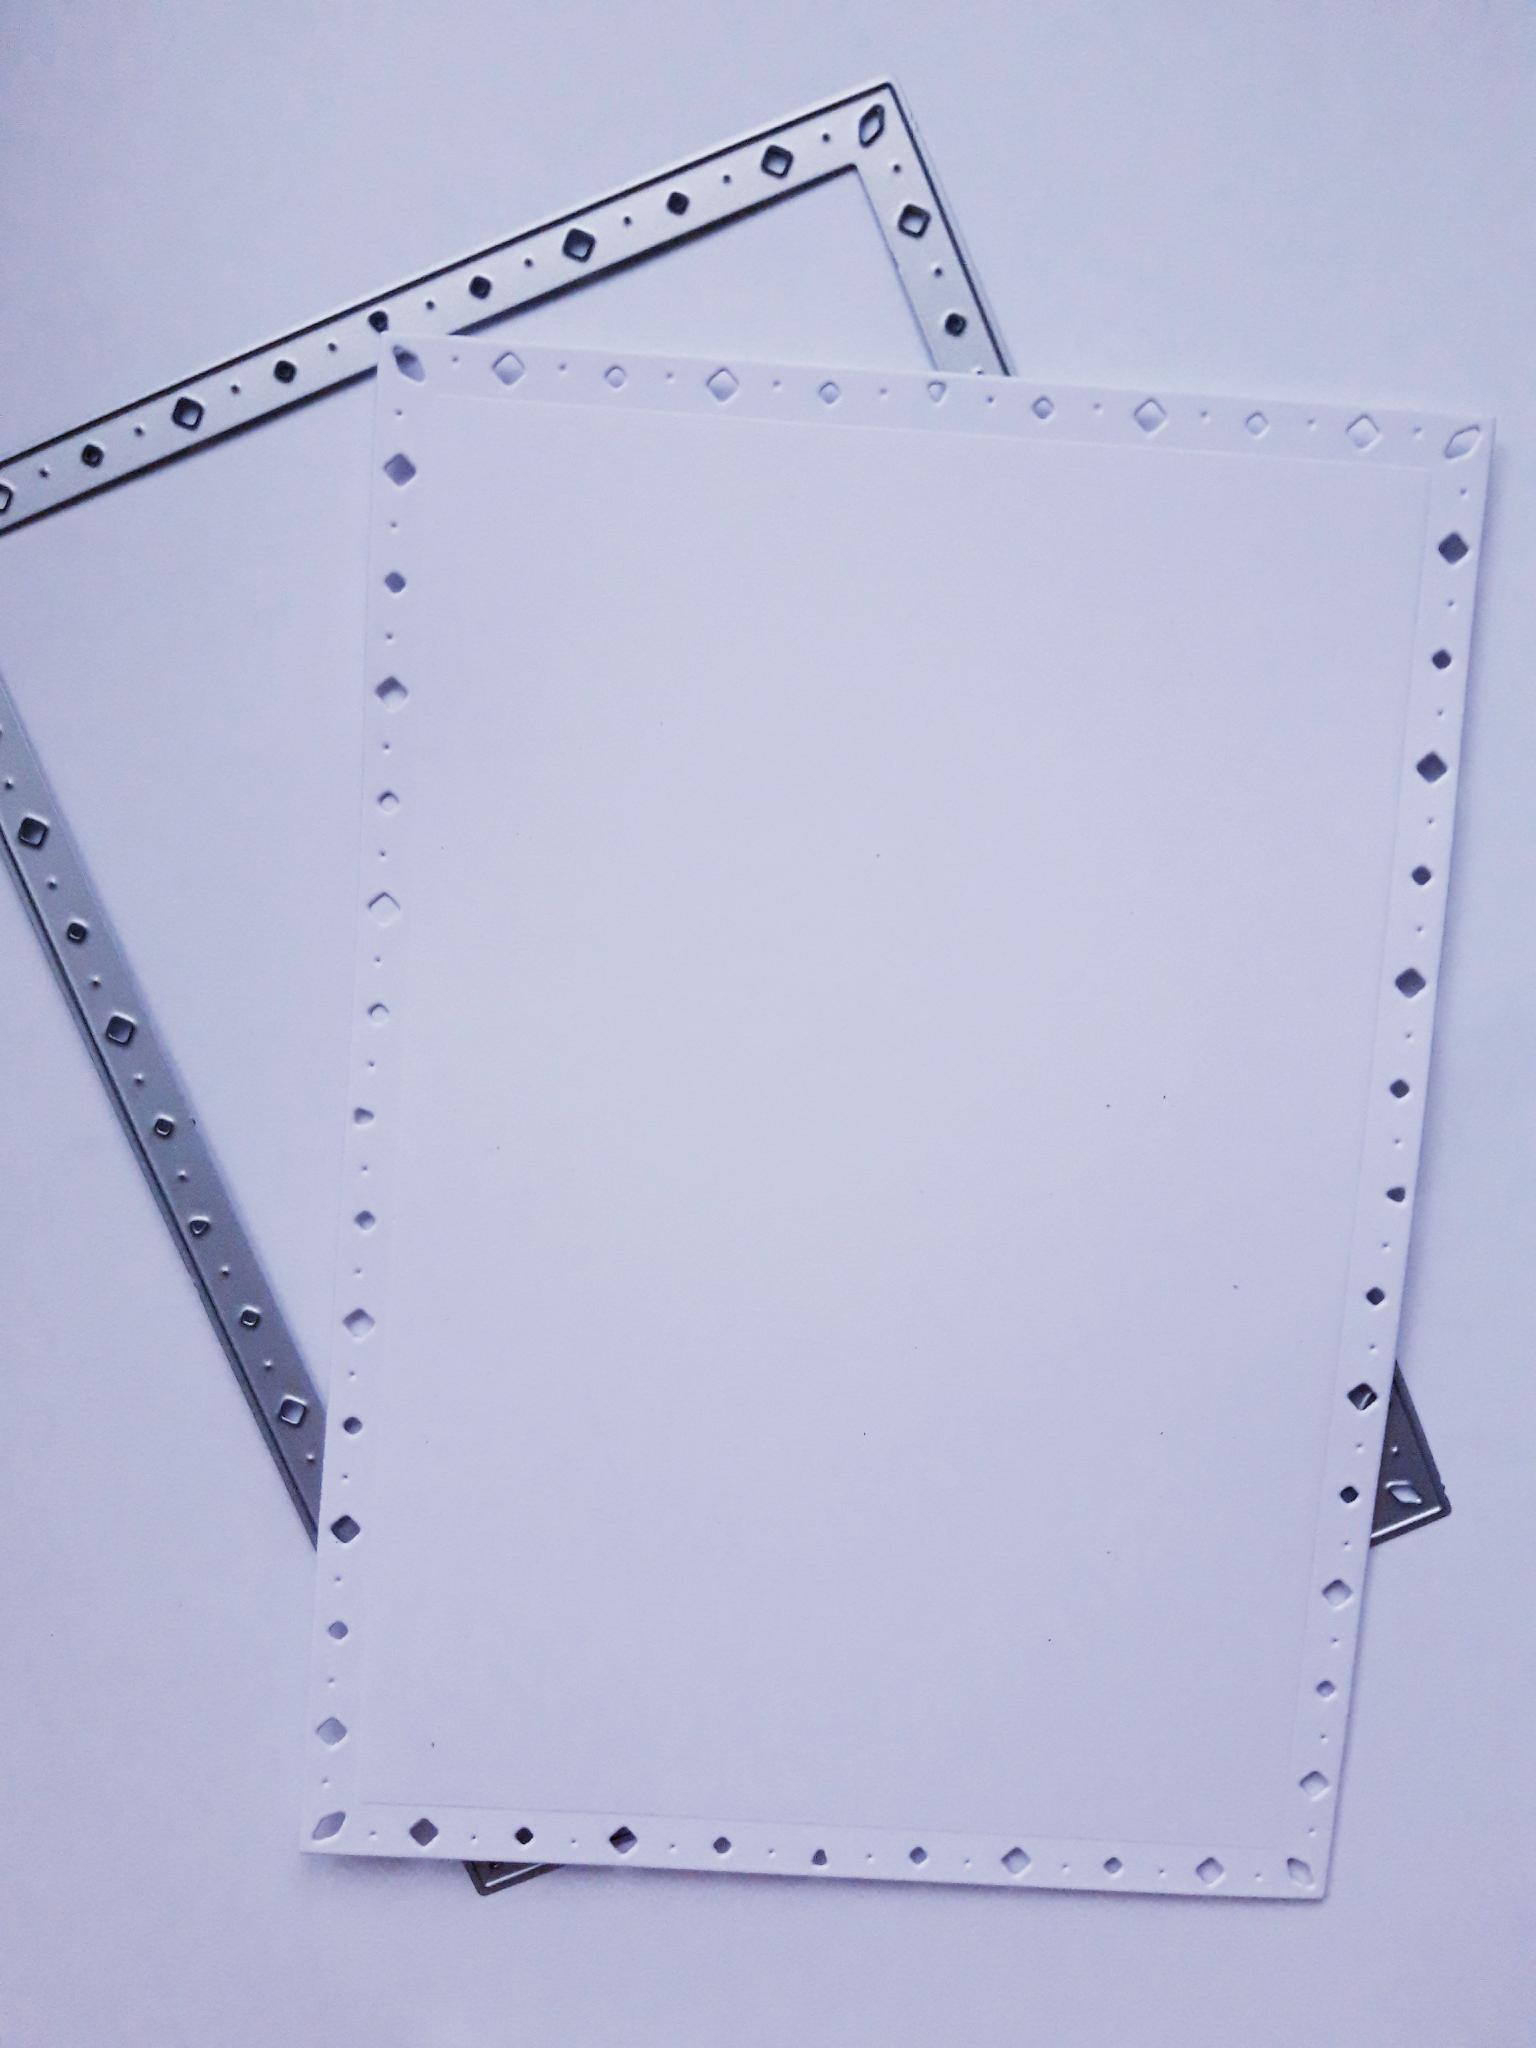
|
Place the Diamond Stitching die, that measures approx 7x5", on to the white card. Run through your die cutting machine. Set to one side. |
|
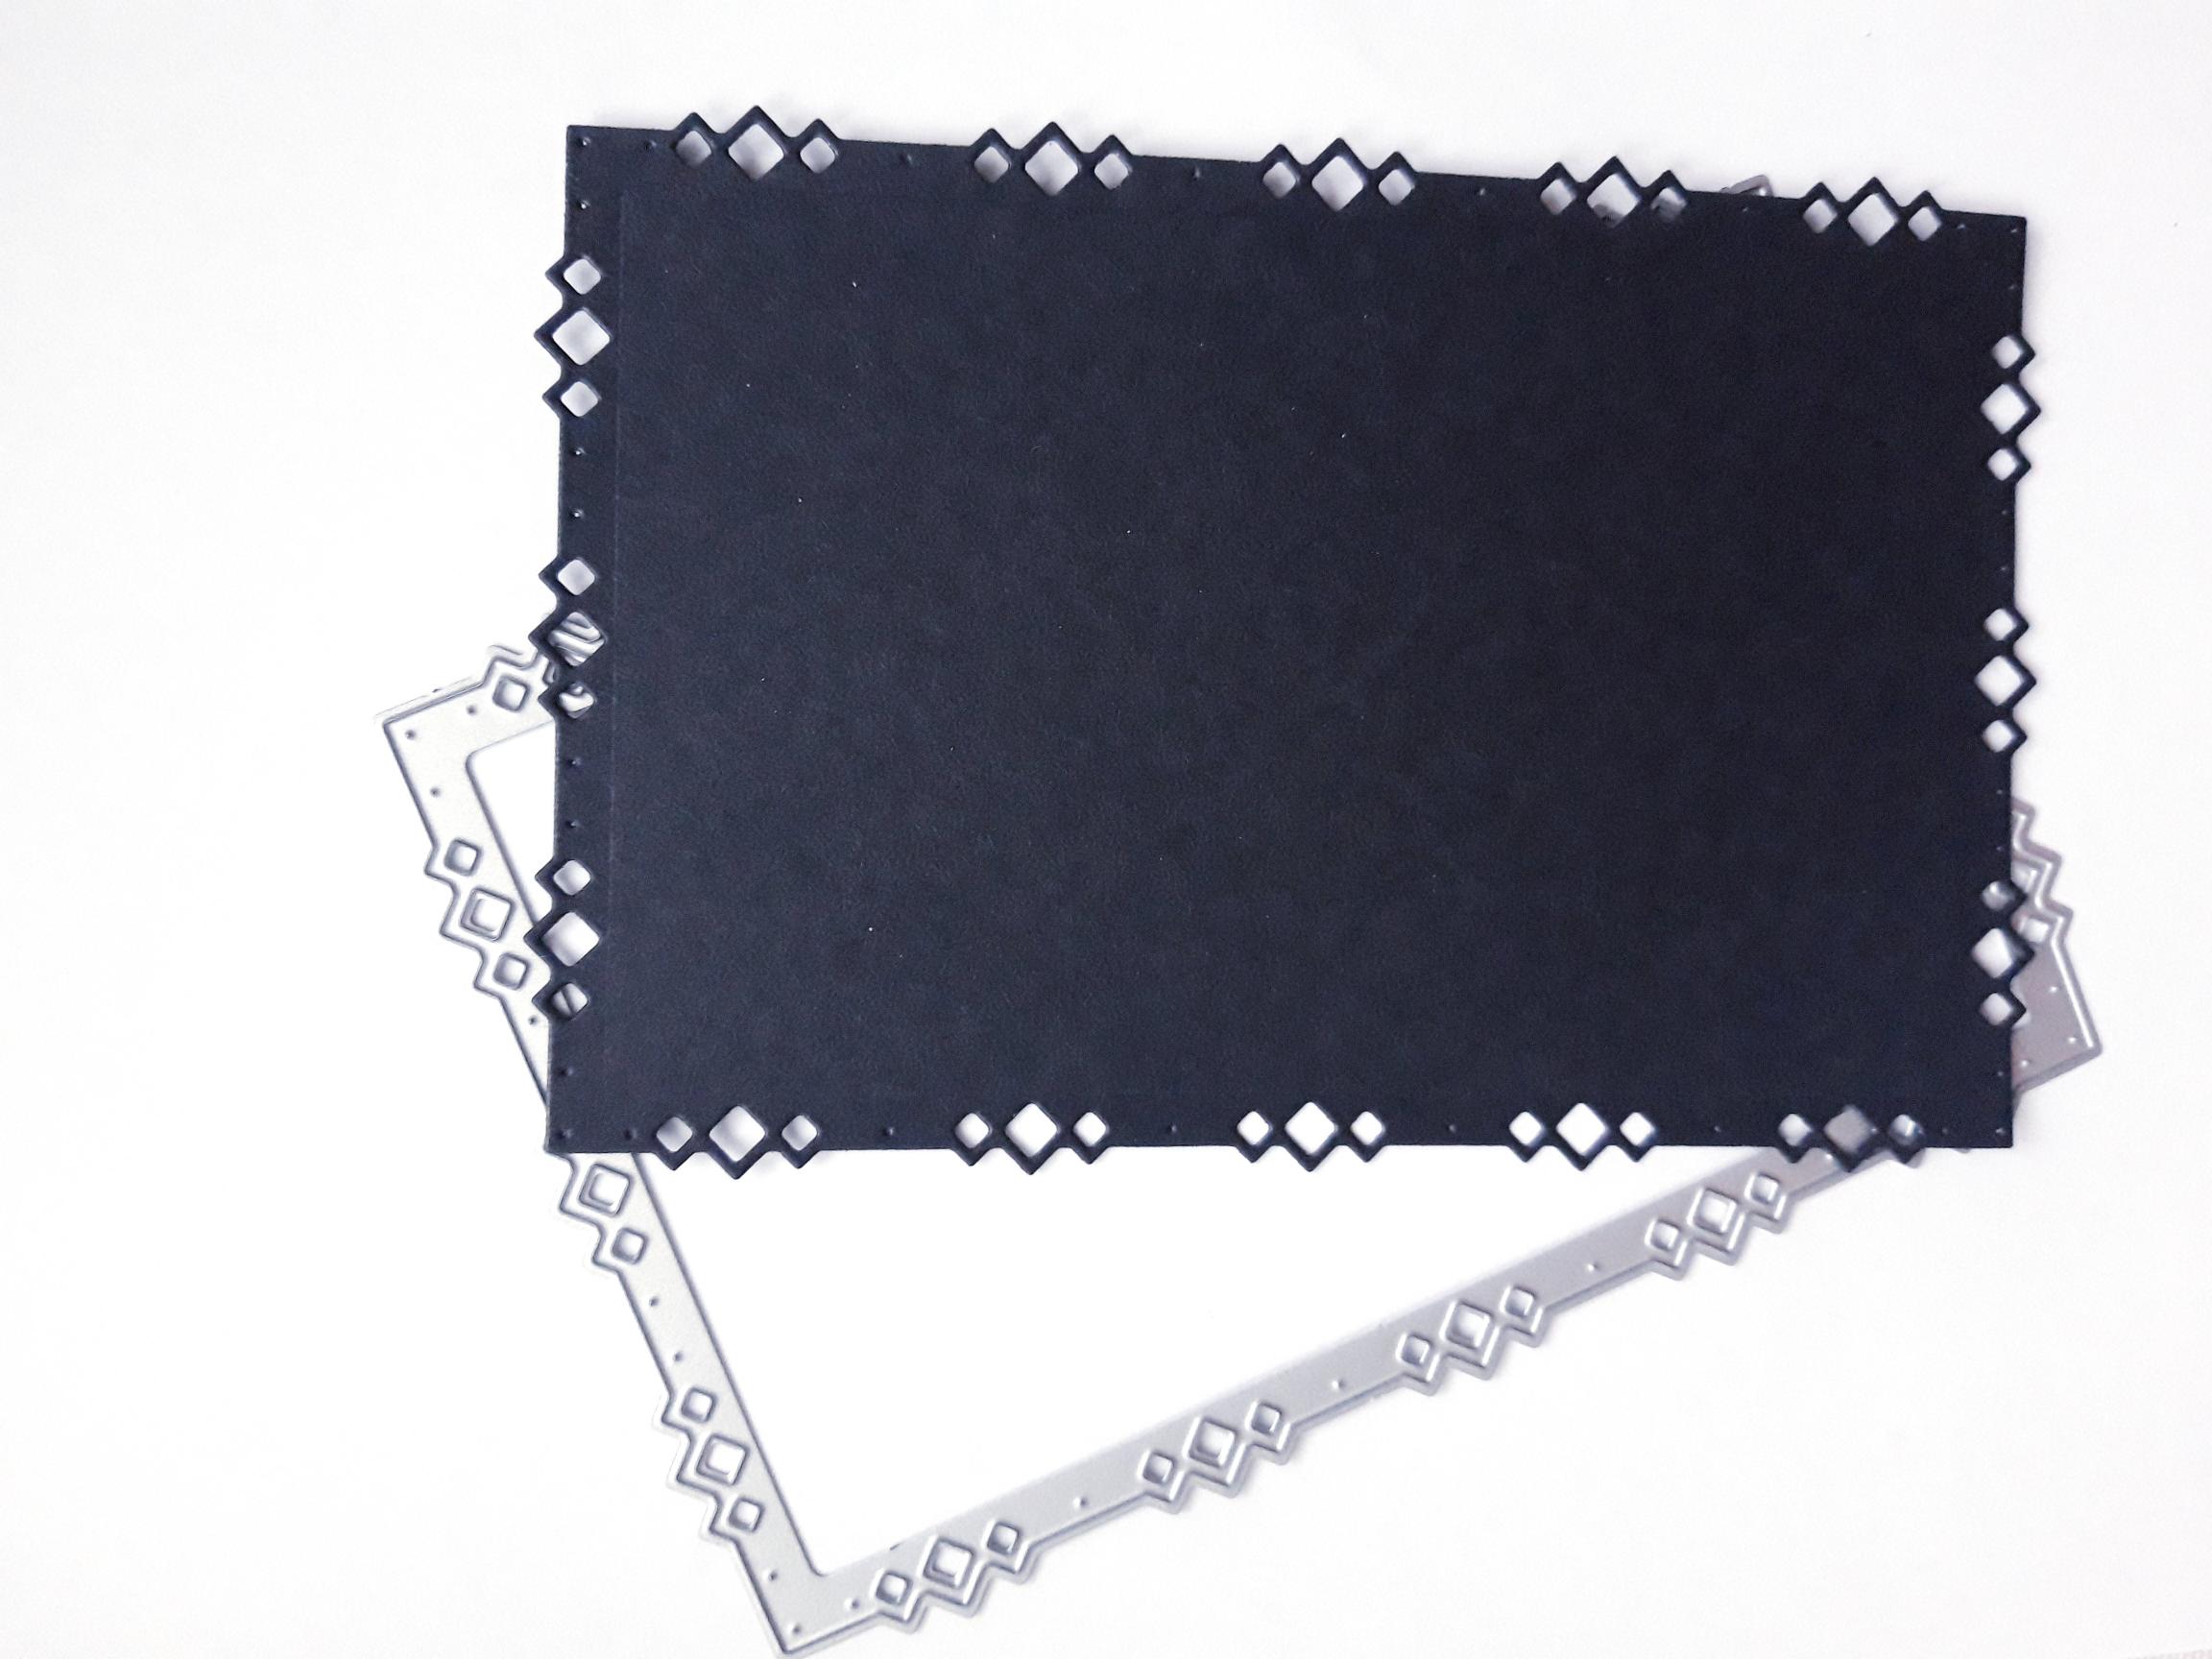
Place the Diamond Stitching die, that measures approx 6x4", on to the black card. Run through your die cutting machine. |
|
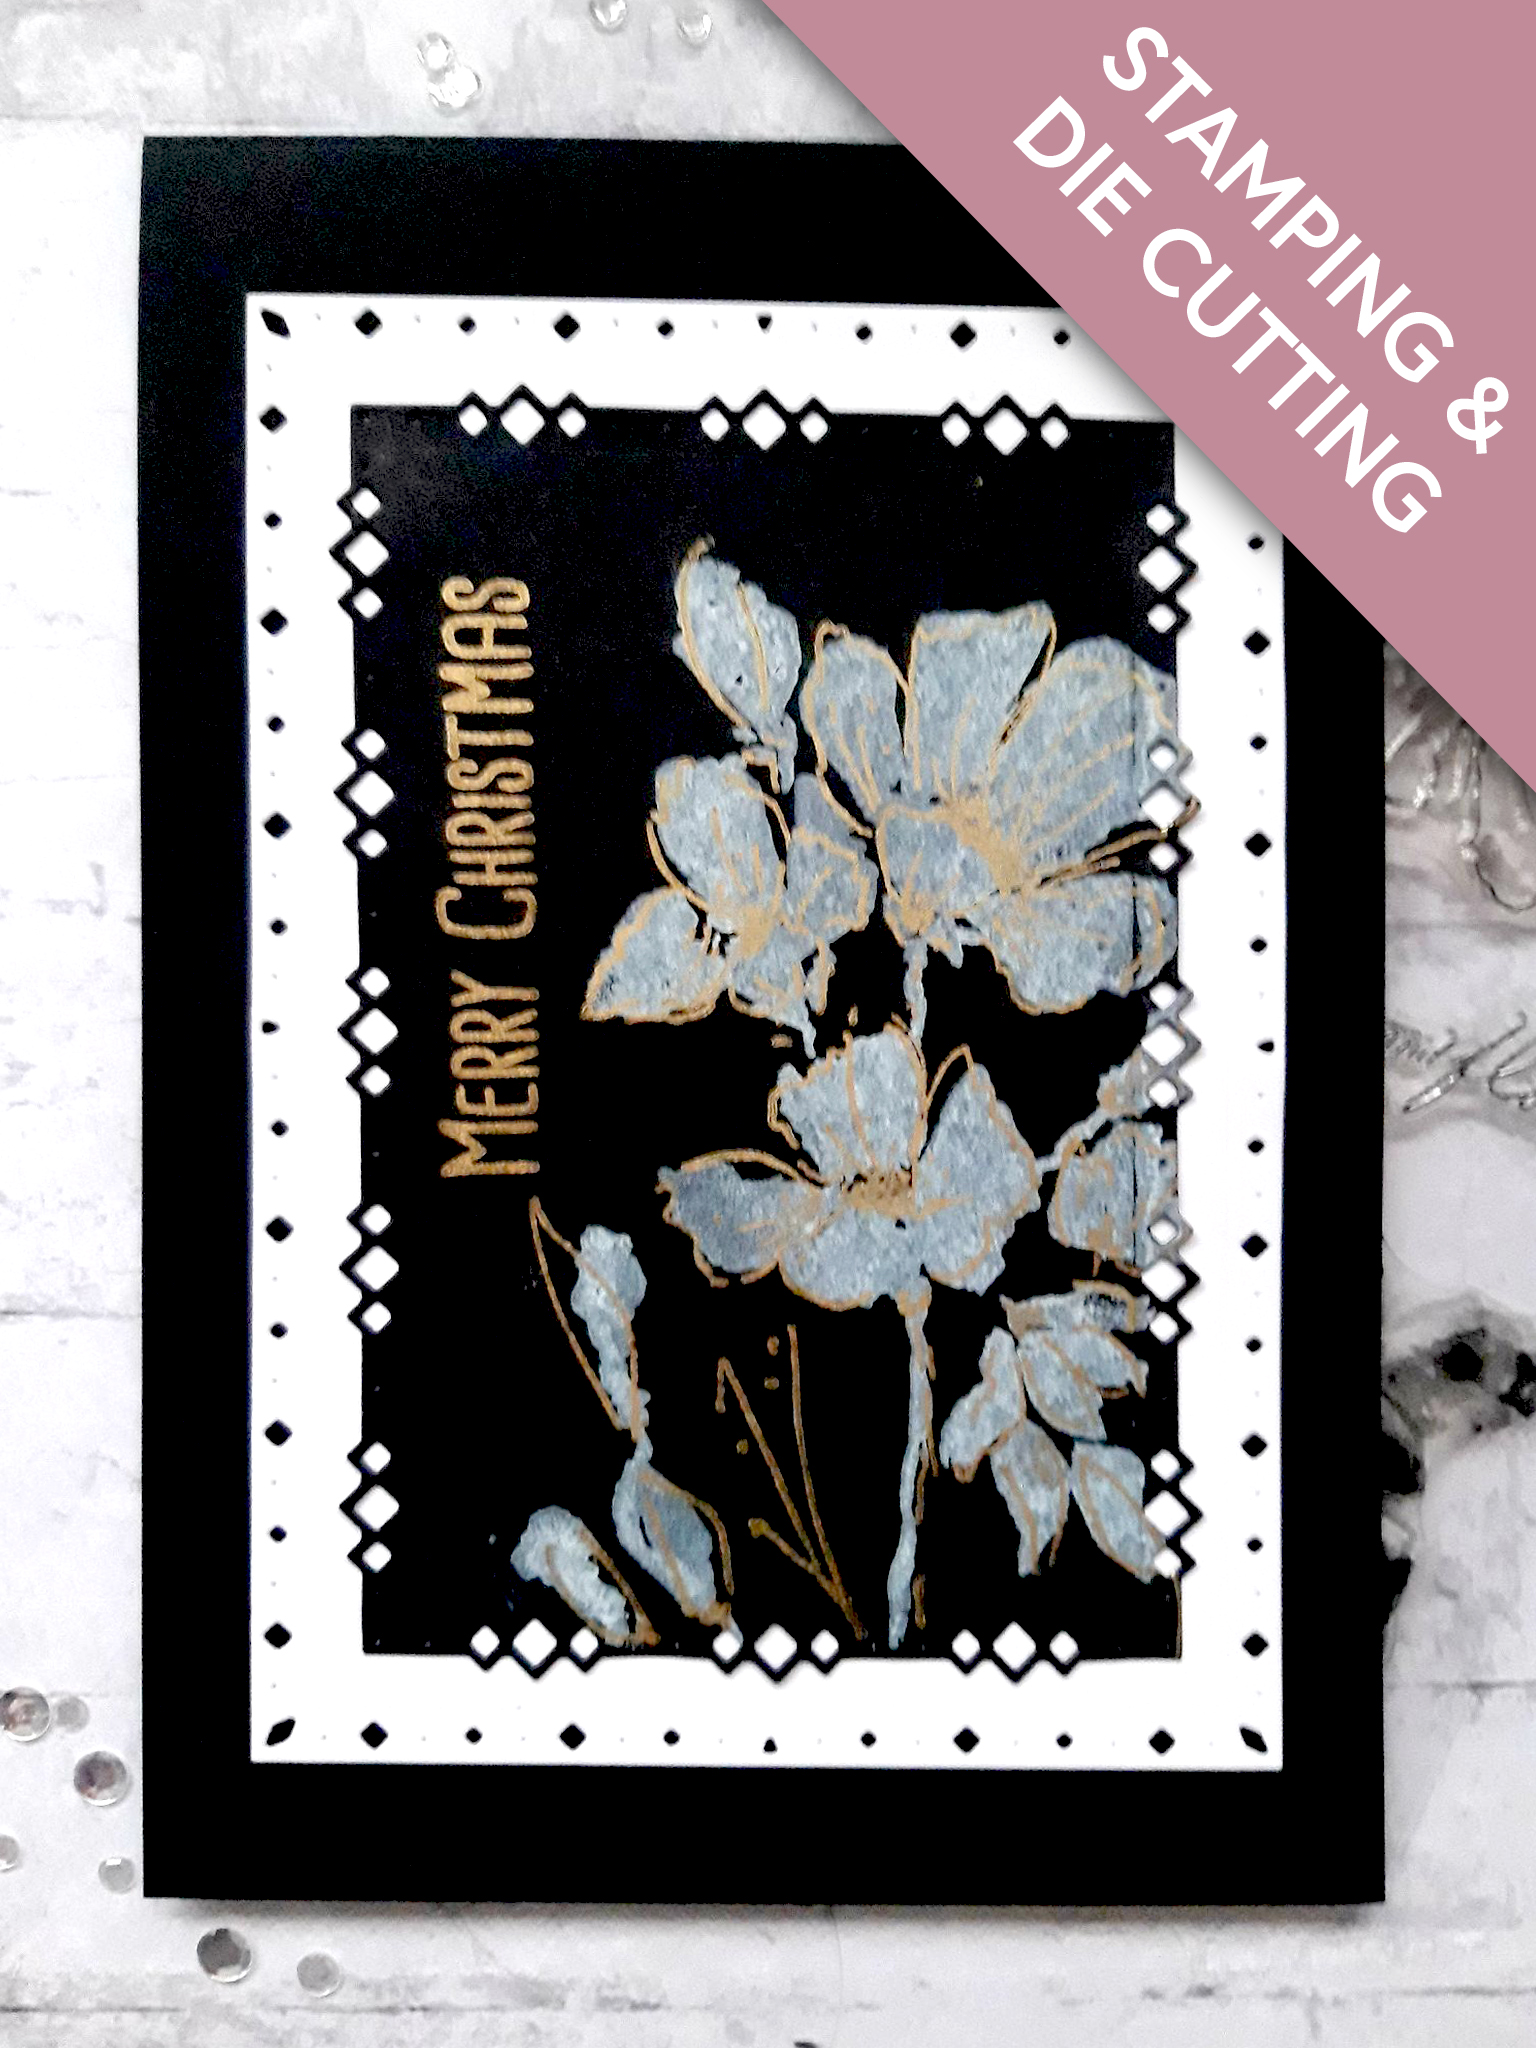
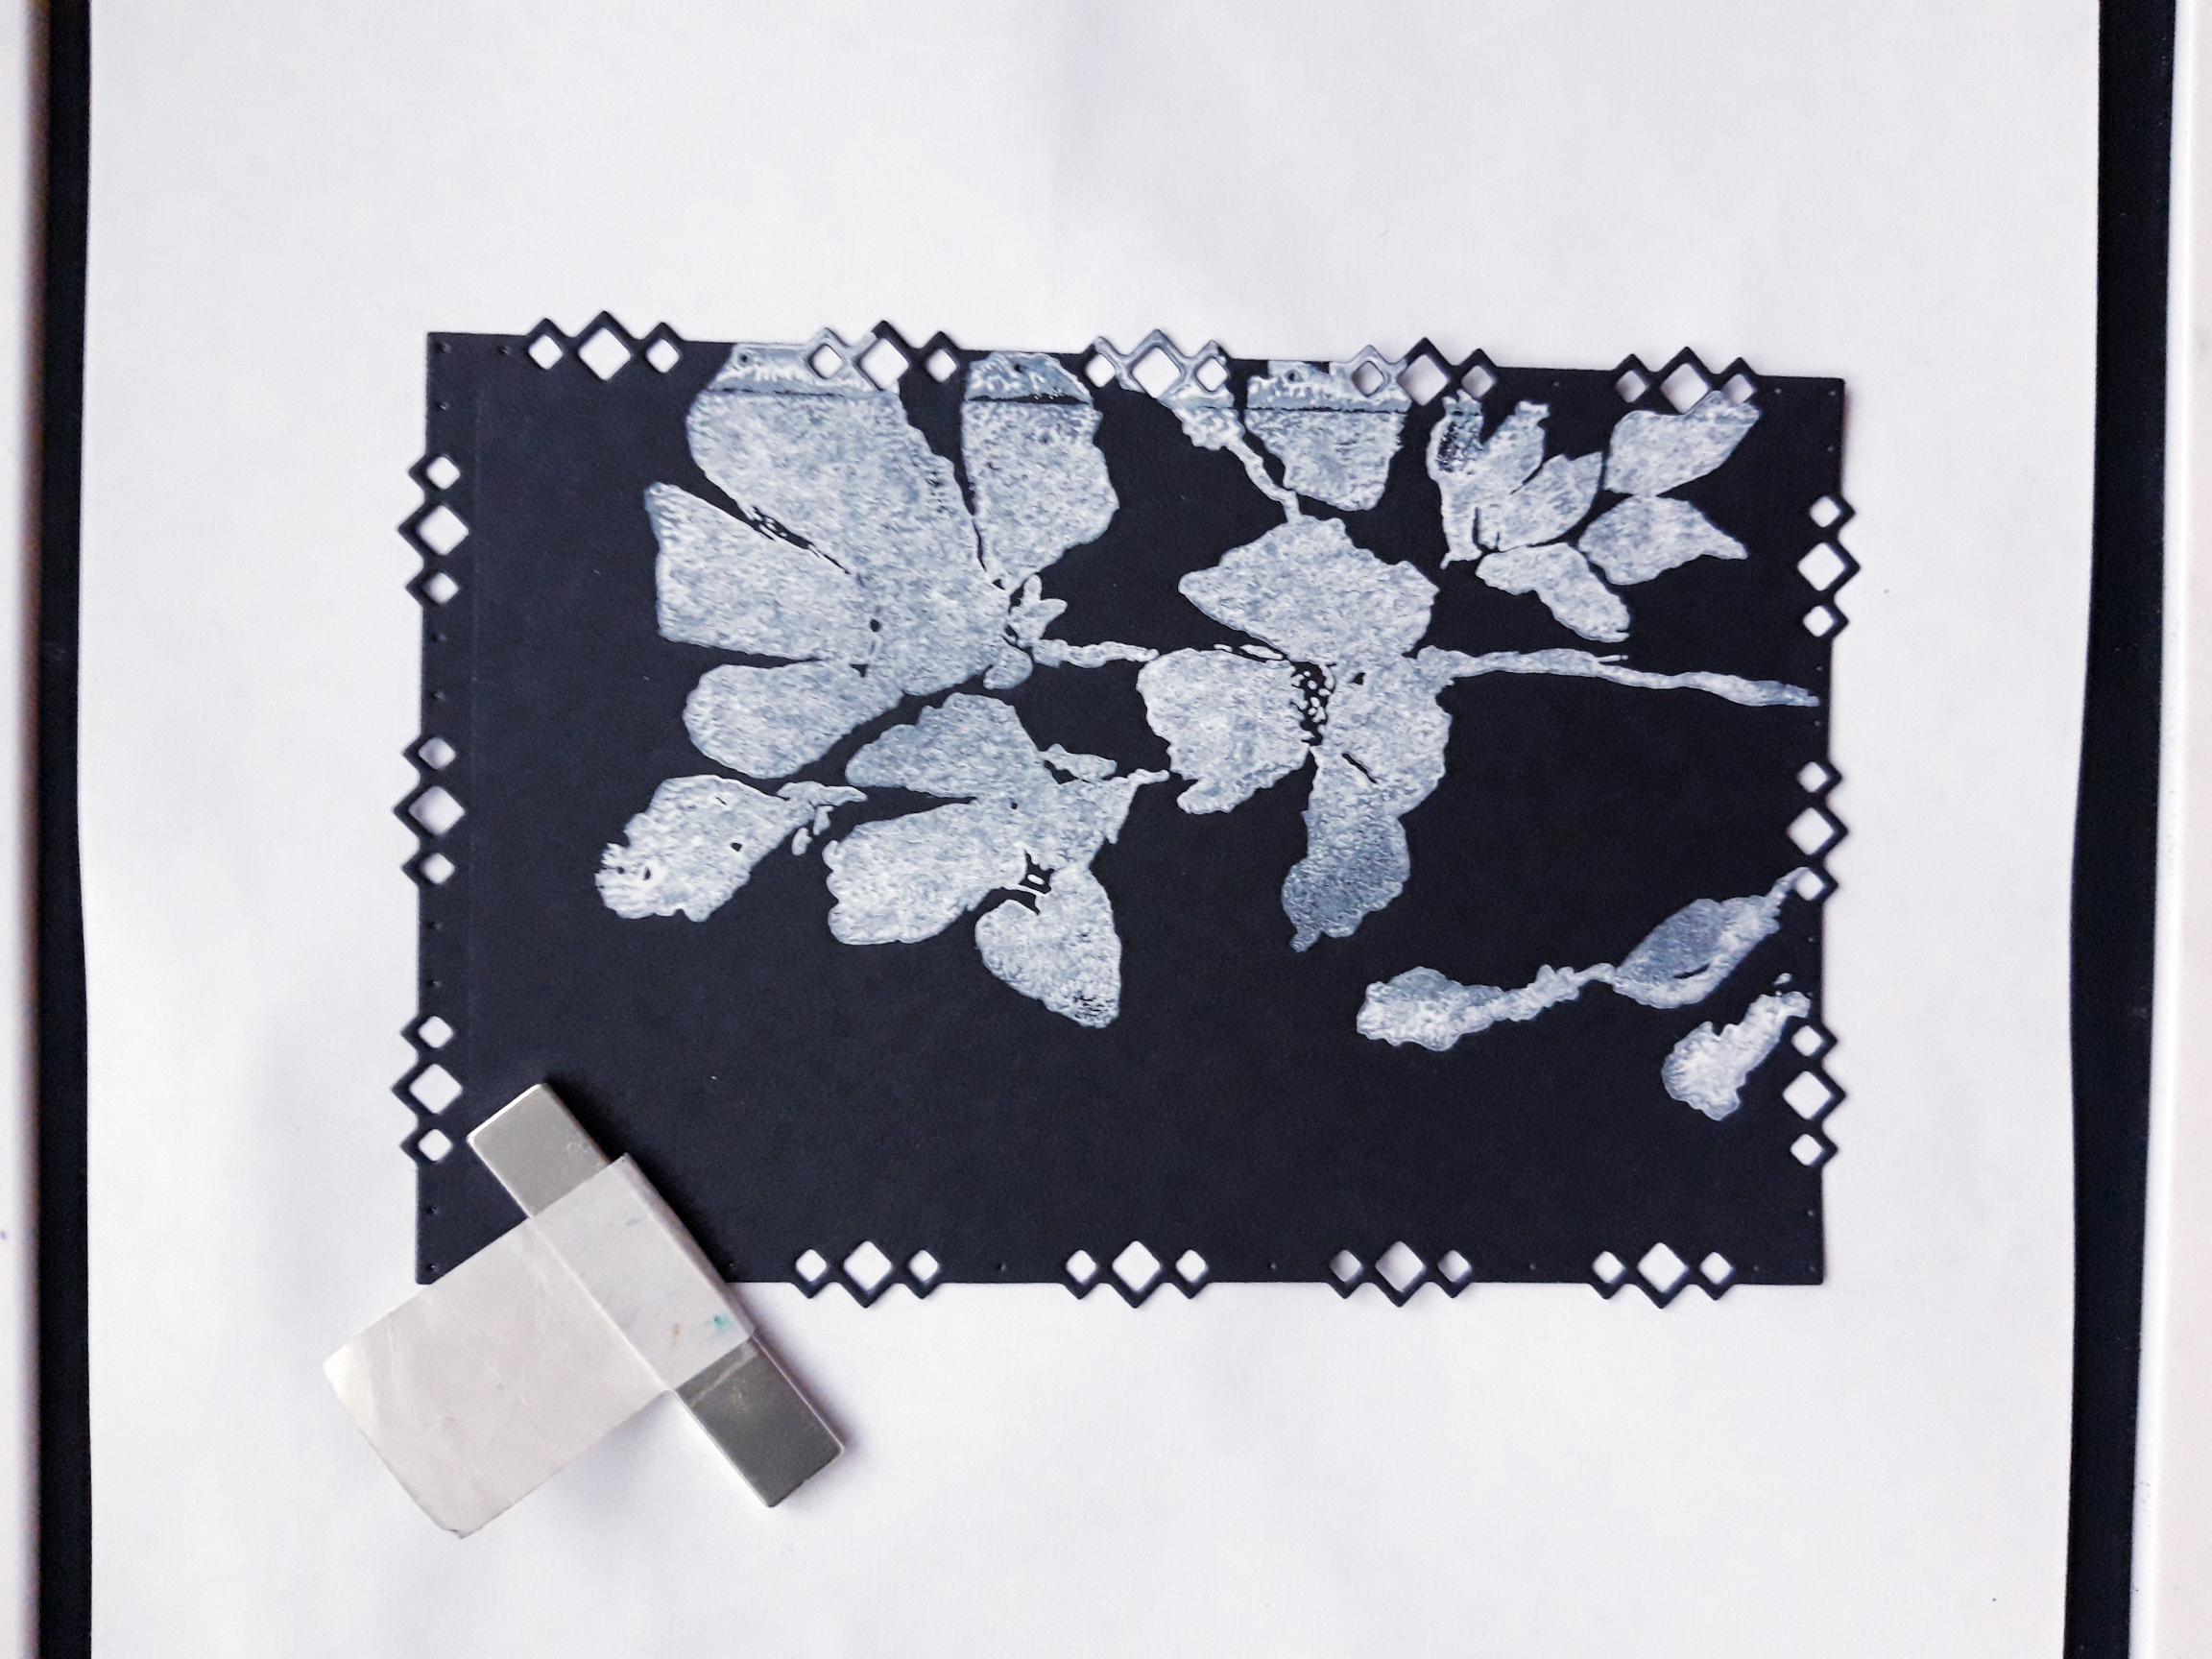
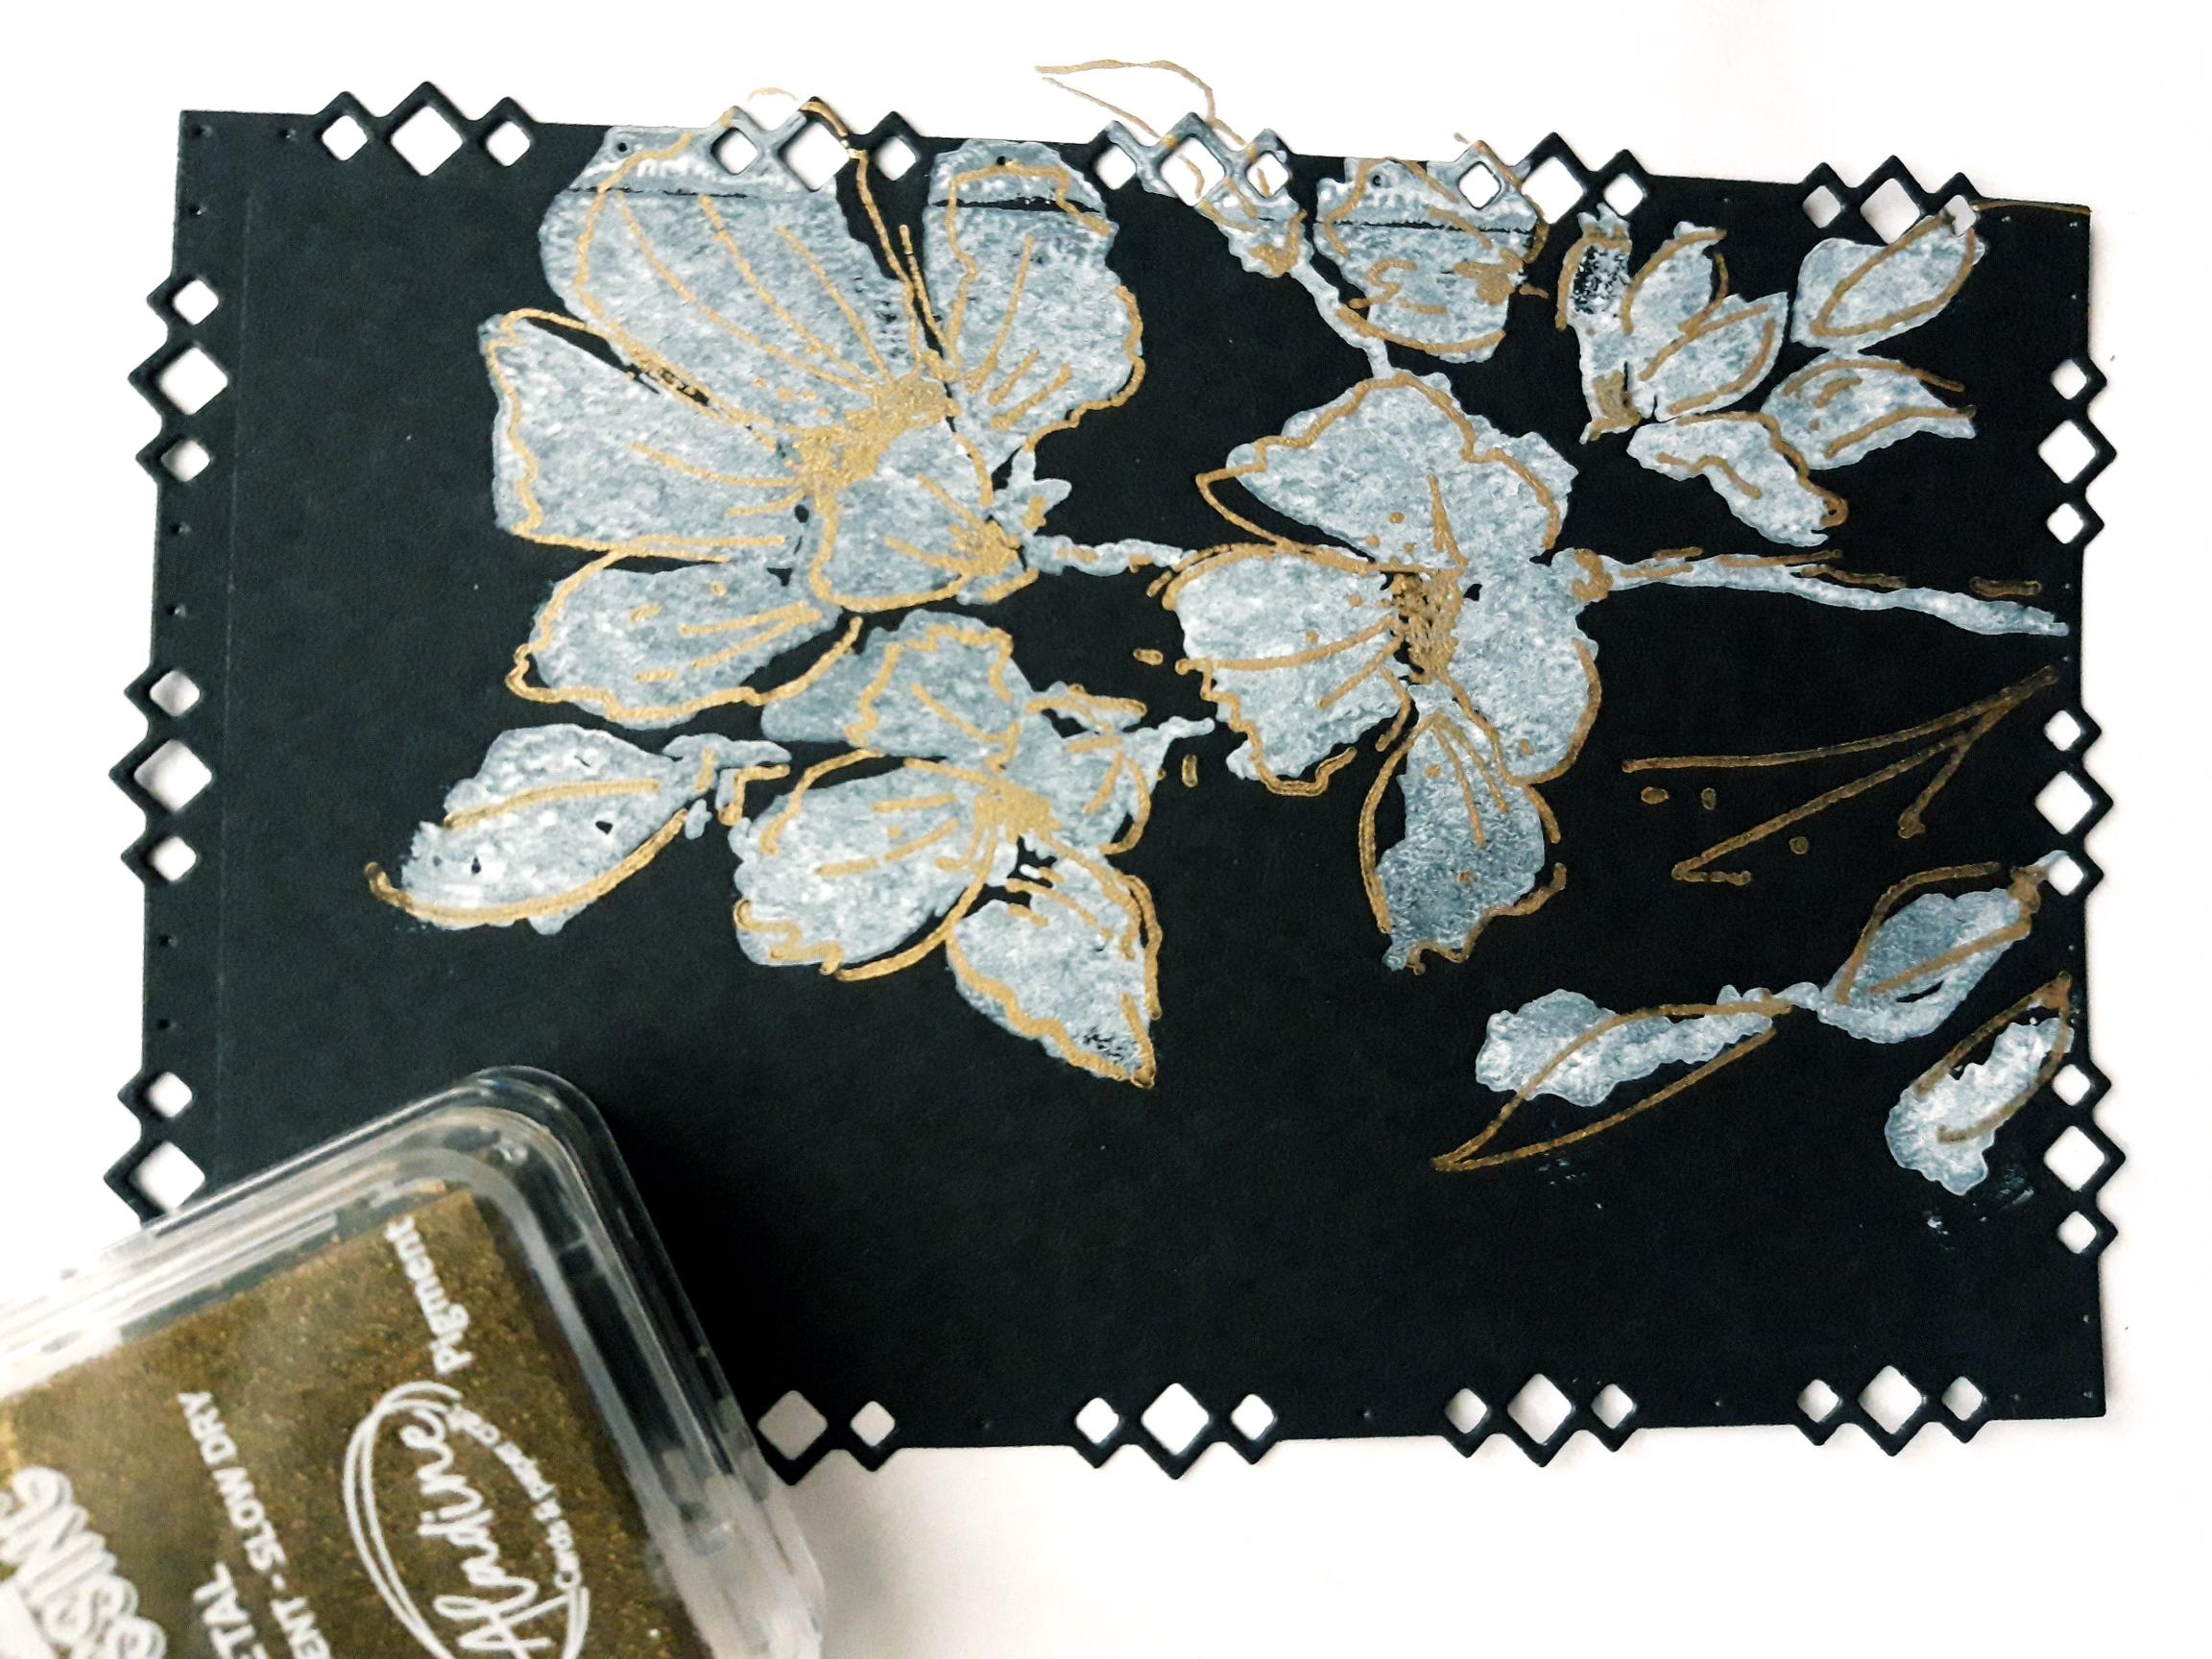
Ink up the solid floral stamp, from the With Love And Flowers Lamination Stamp Collection, with the Izink Pigment (Embossing) White ink. Stamp, just off the right hand side, of the die cut black mat. Reink and stamp as many times as you want, to achieve the depth of colour.
|
|
Ink up the coordinating, detailed stamp, with the Izink Metal Gold Pigment (Embossing) Ink. Reink and stamp as many times as you want, to achieve the depth of colour. Dry off the ink with a heat gun, as this is very slow drying ink. |
|
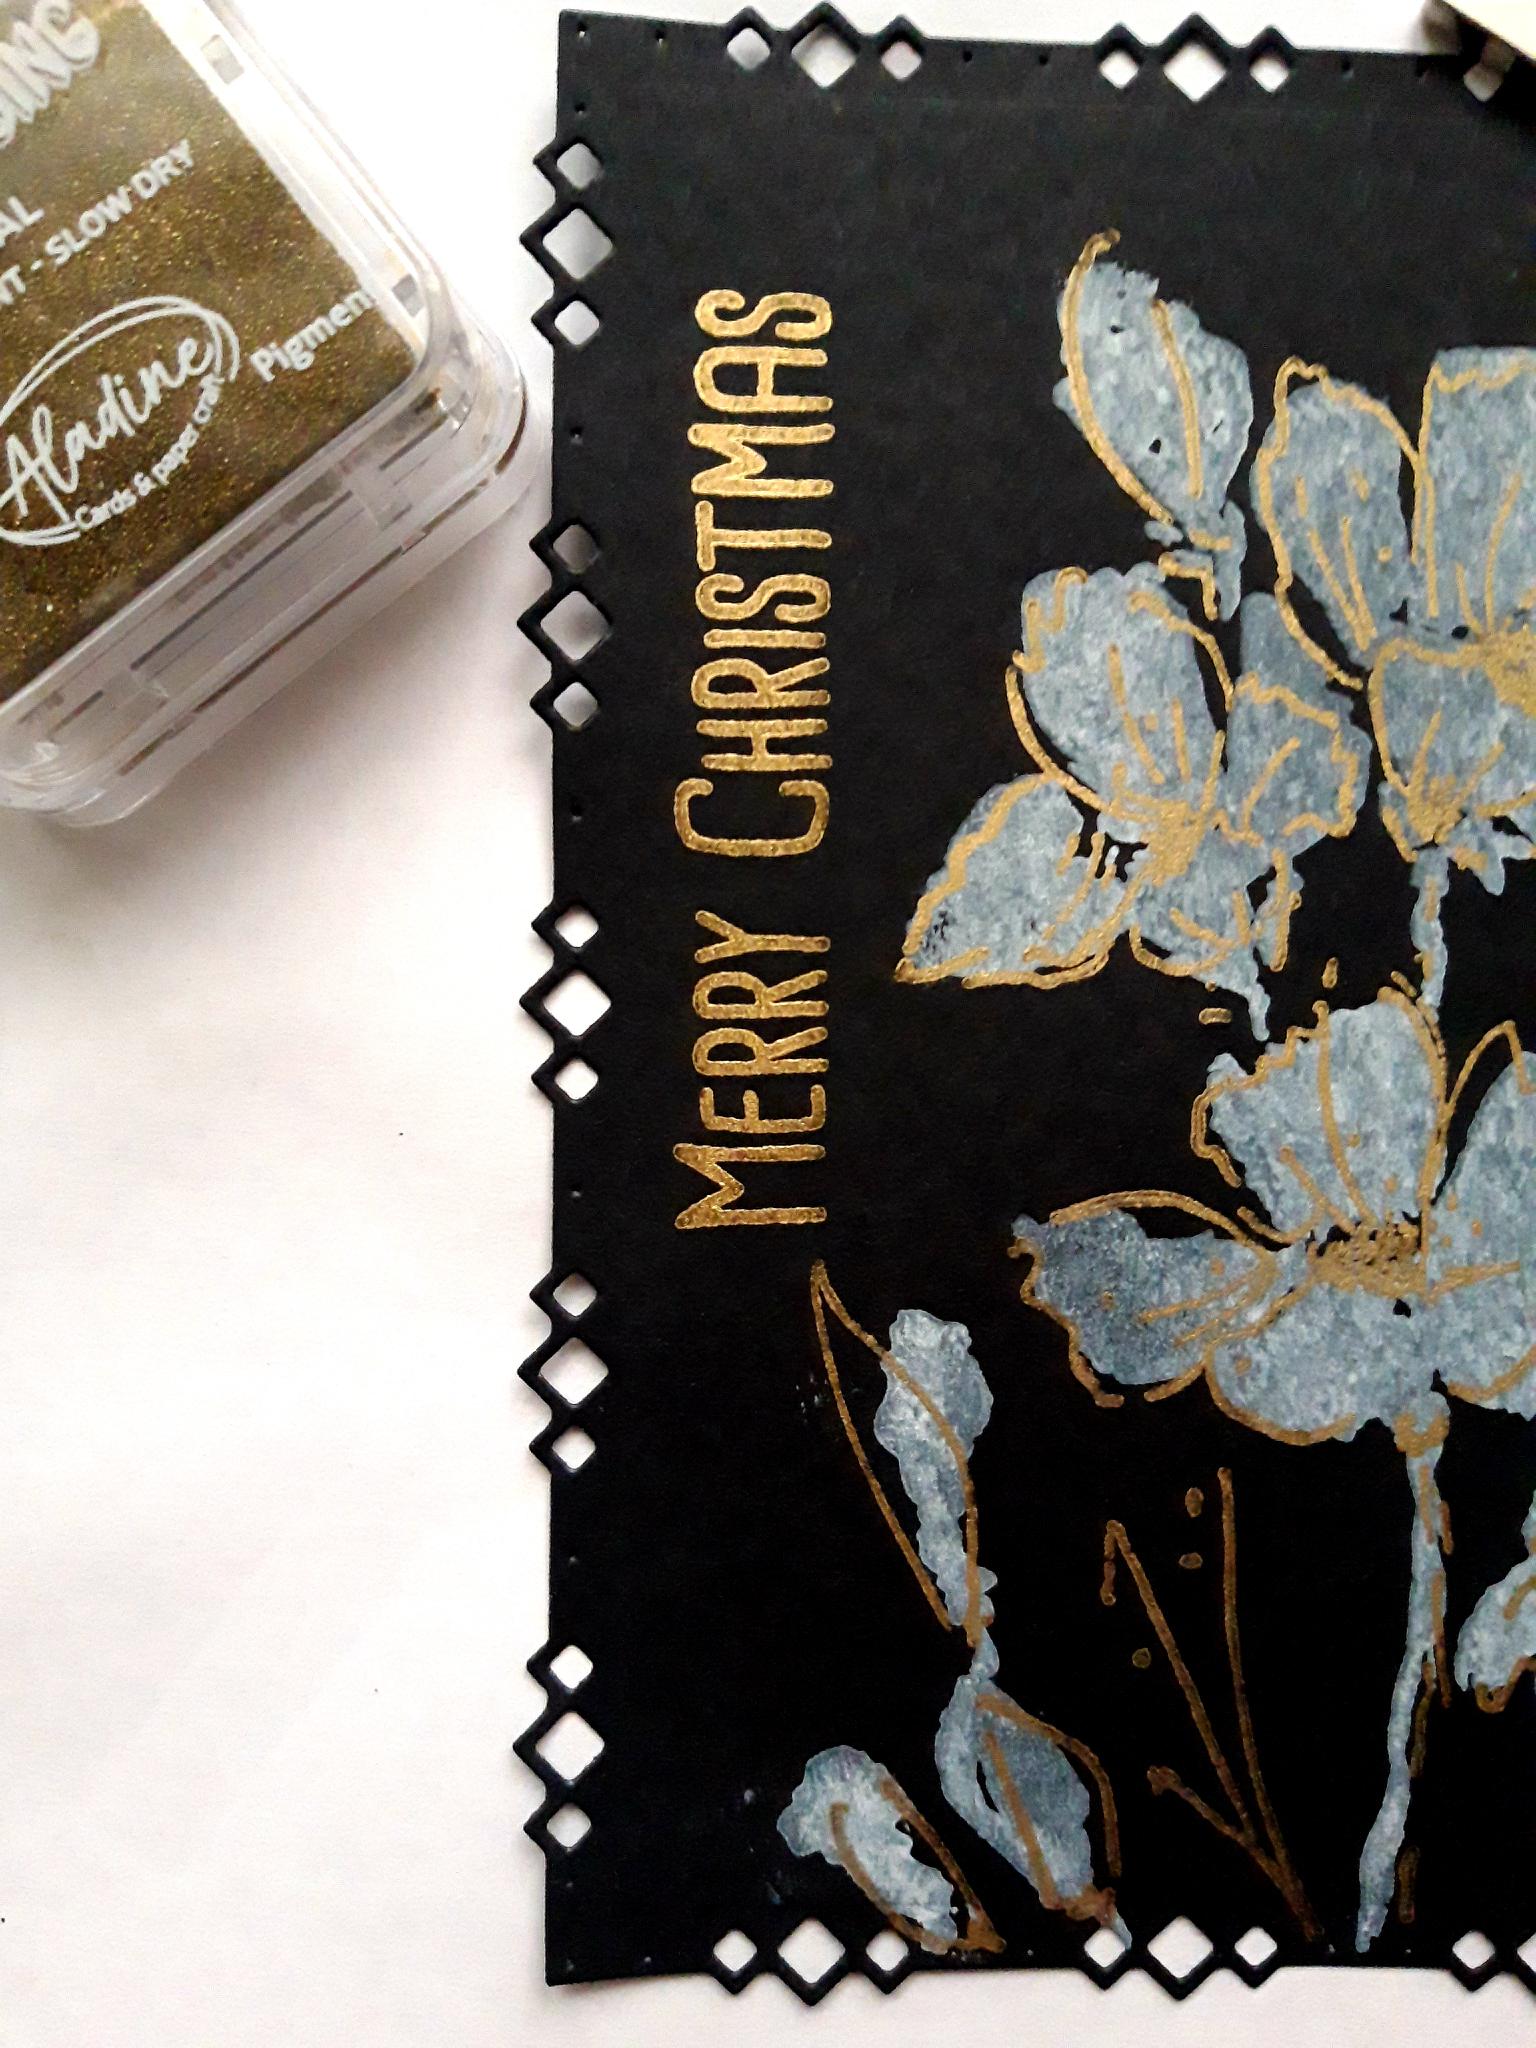
Ink up the sentiment, from the Christmas Robins Stamp Collection, with the same Gold Izink pad. Stamp vertically, down the left hand side of your artwork. You can reink, and stamp, as many times as you want, to achieve the depth of colour required. Dry off this very slow drying ink, before proceeding to the next step. |
|
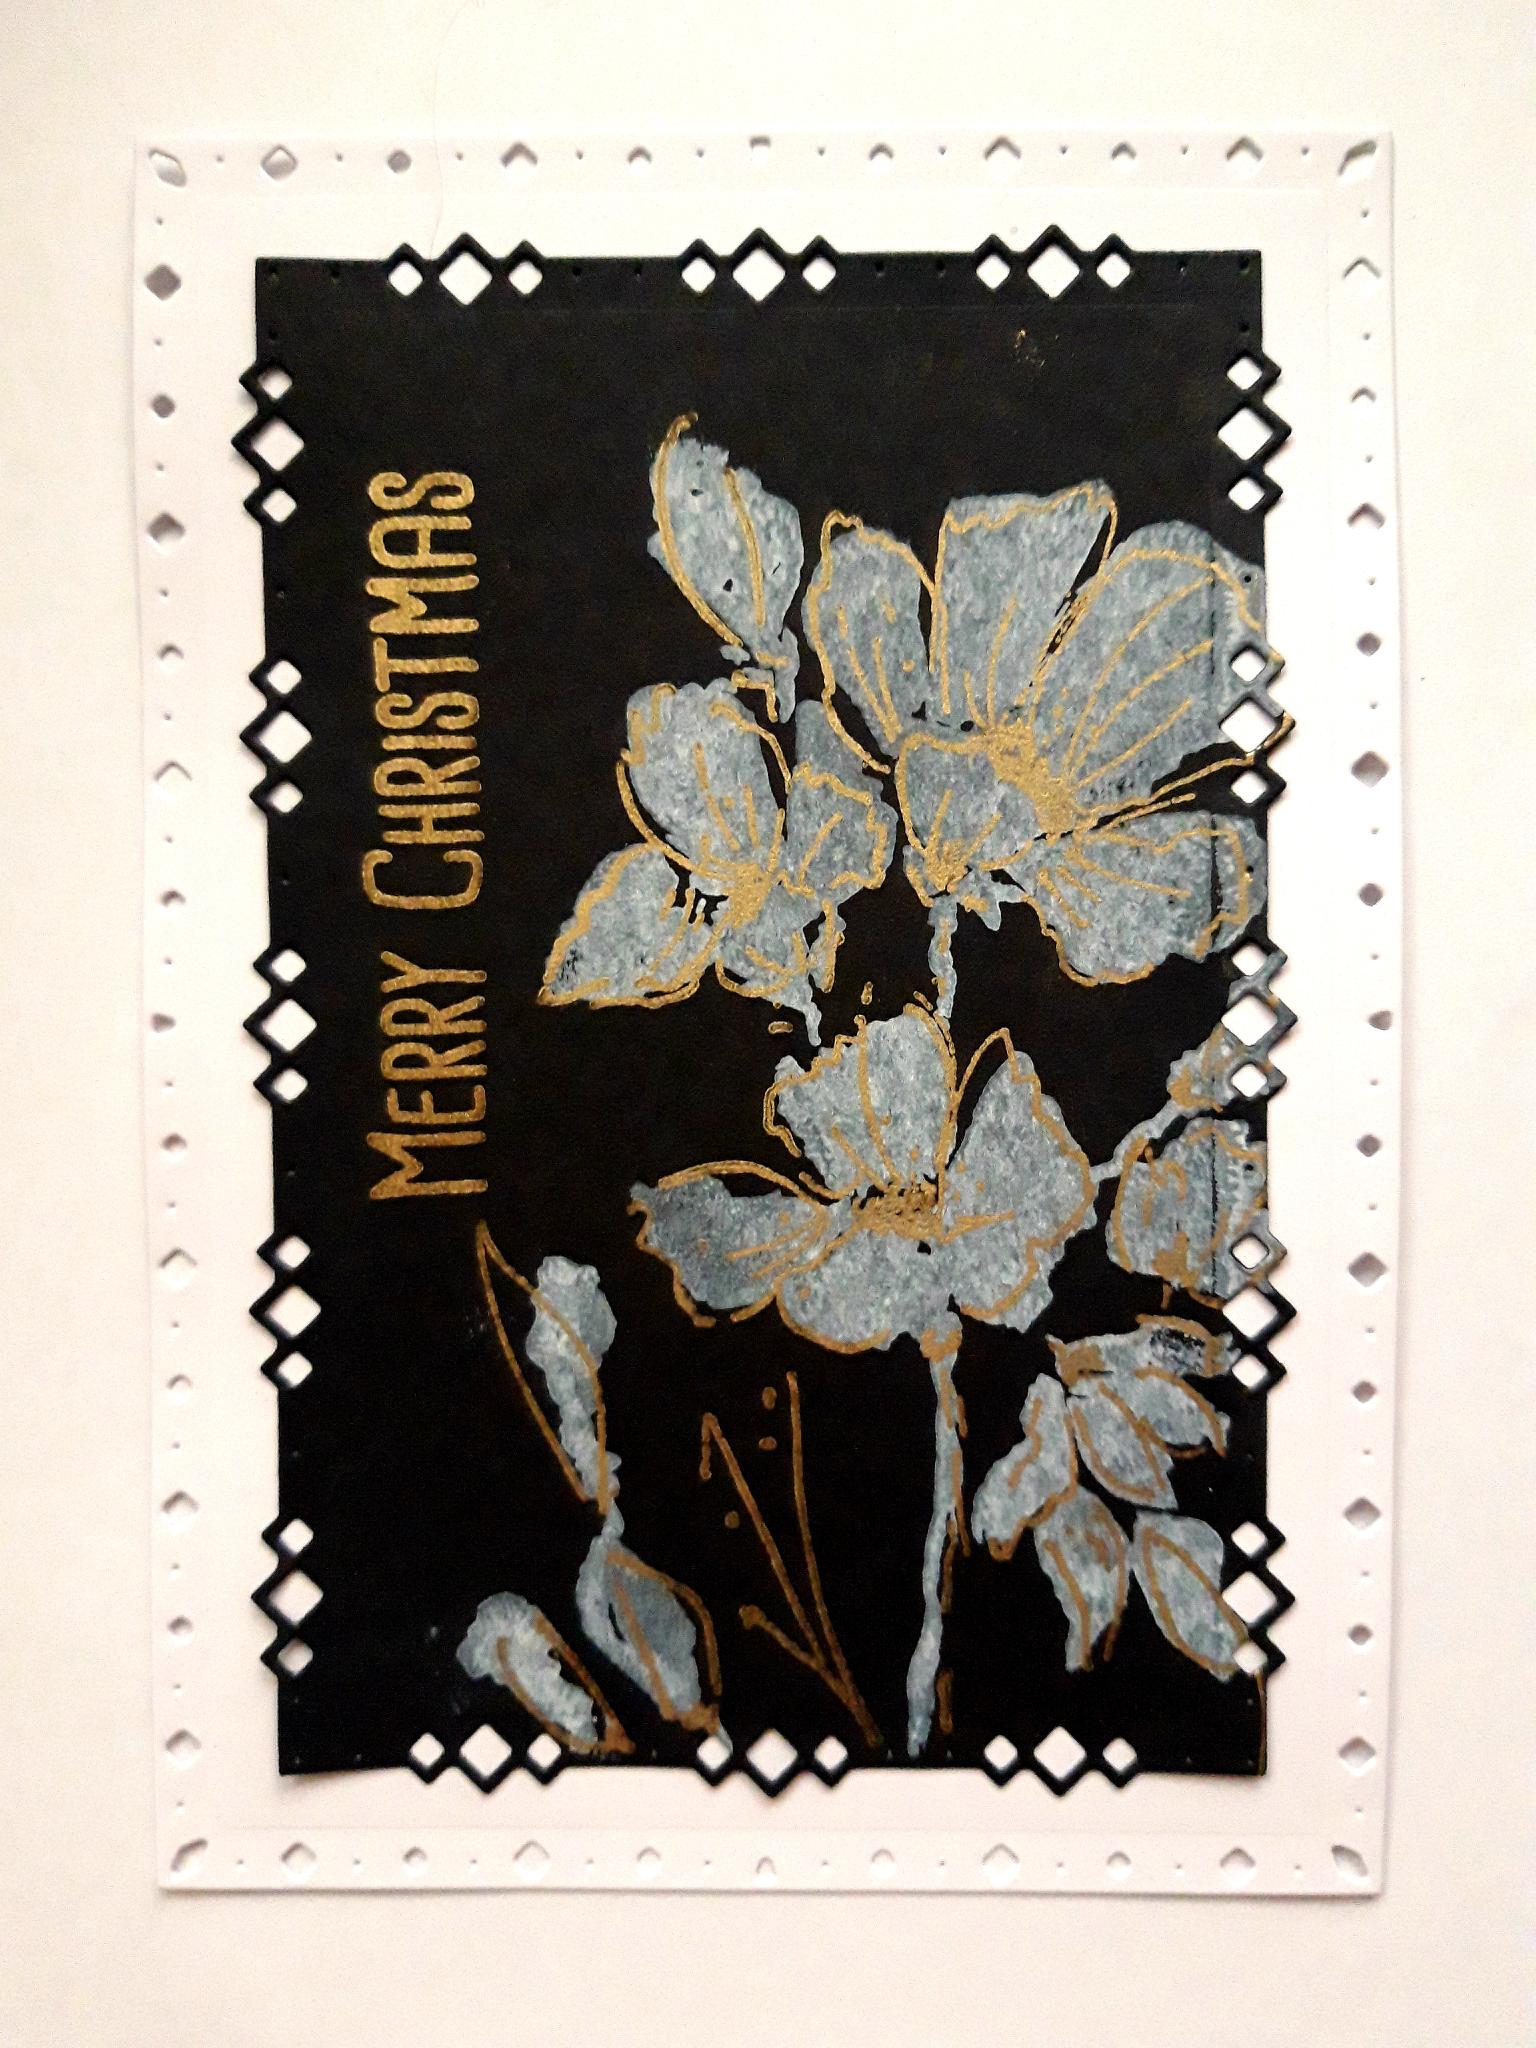
Once all your artwork is completely dry, glue it on to the white die cut mat. |
|
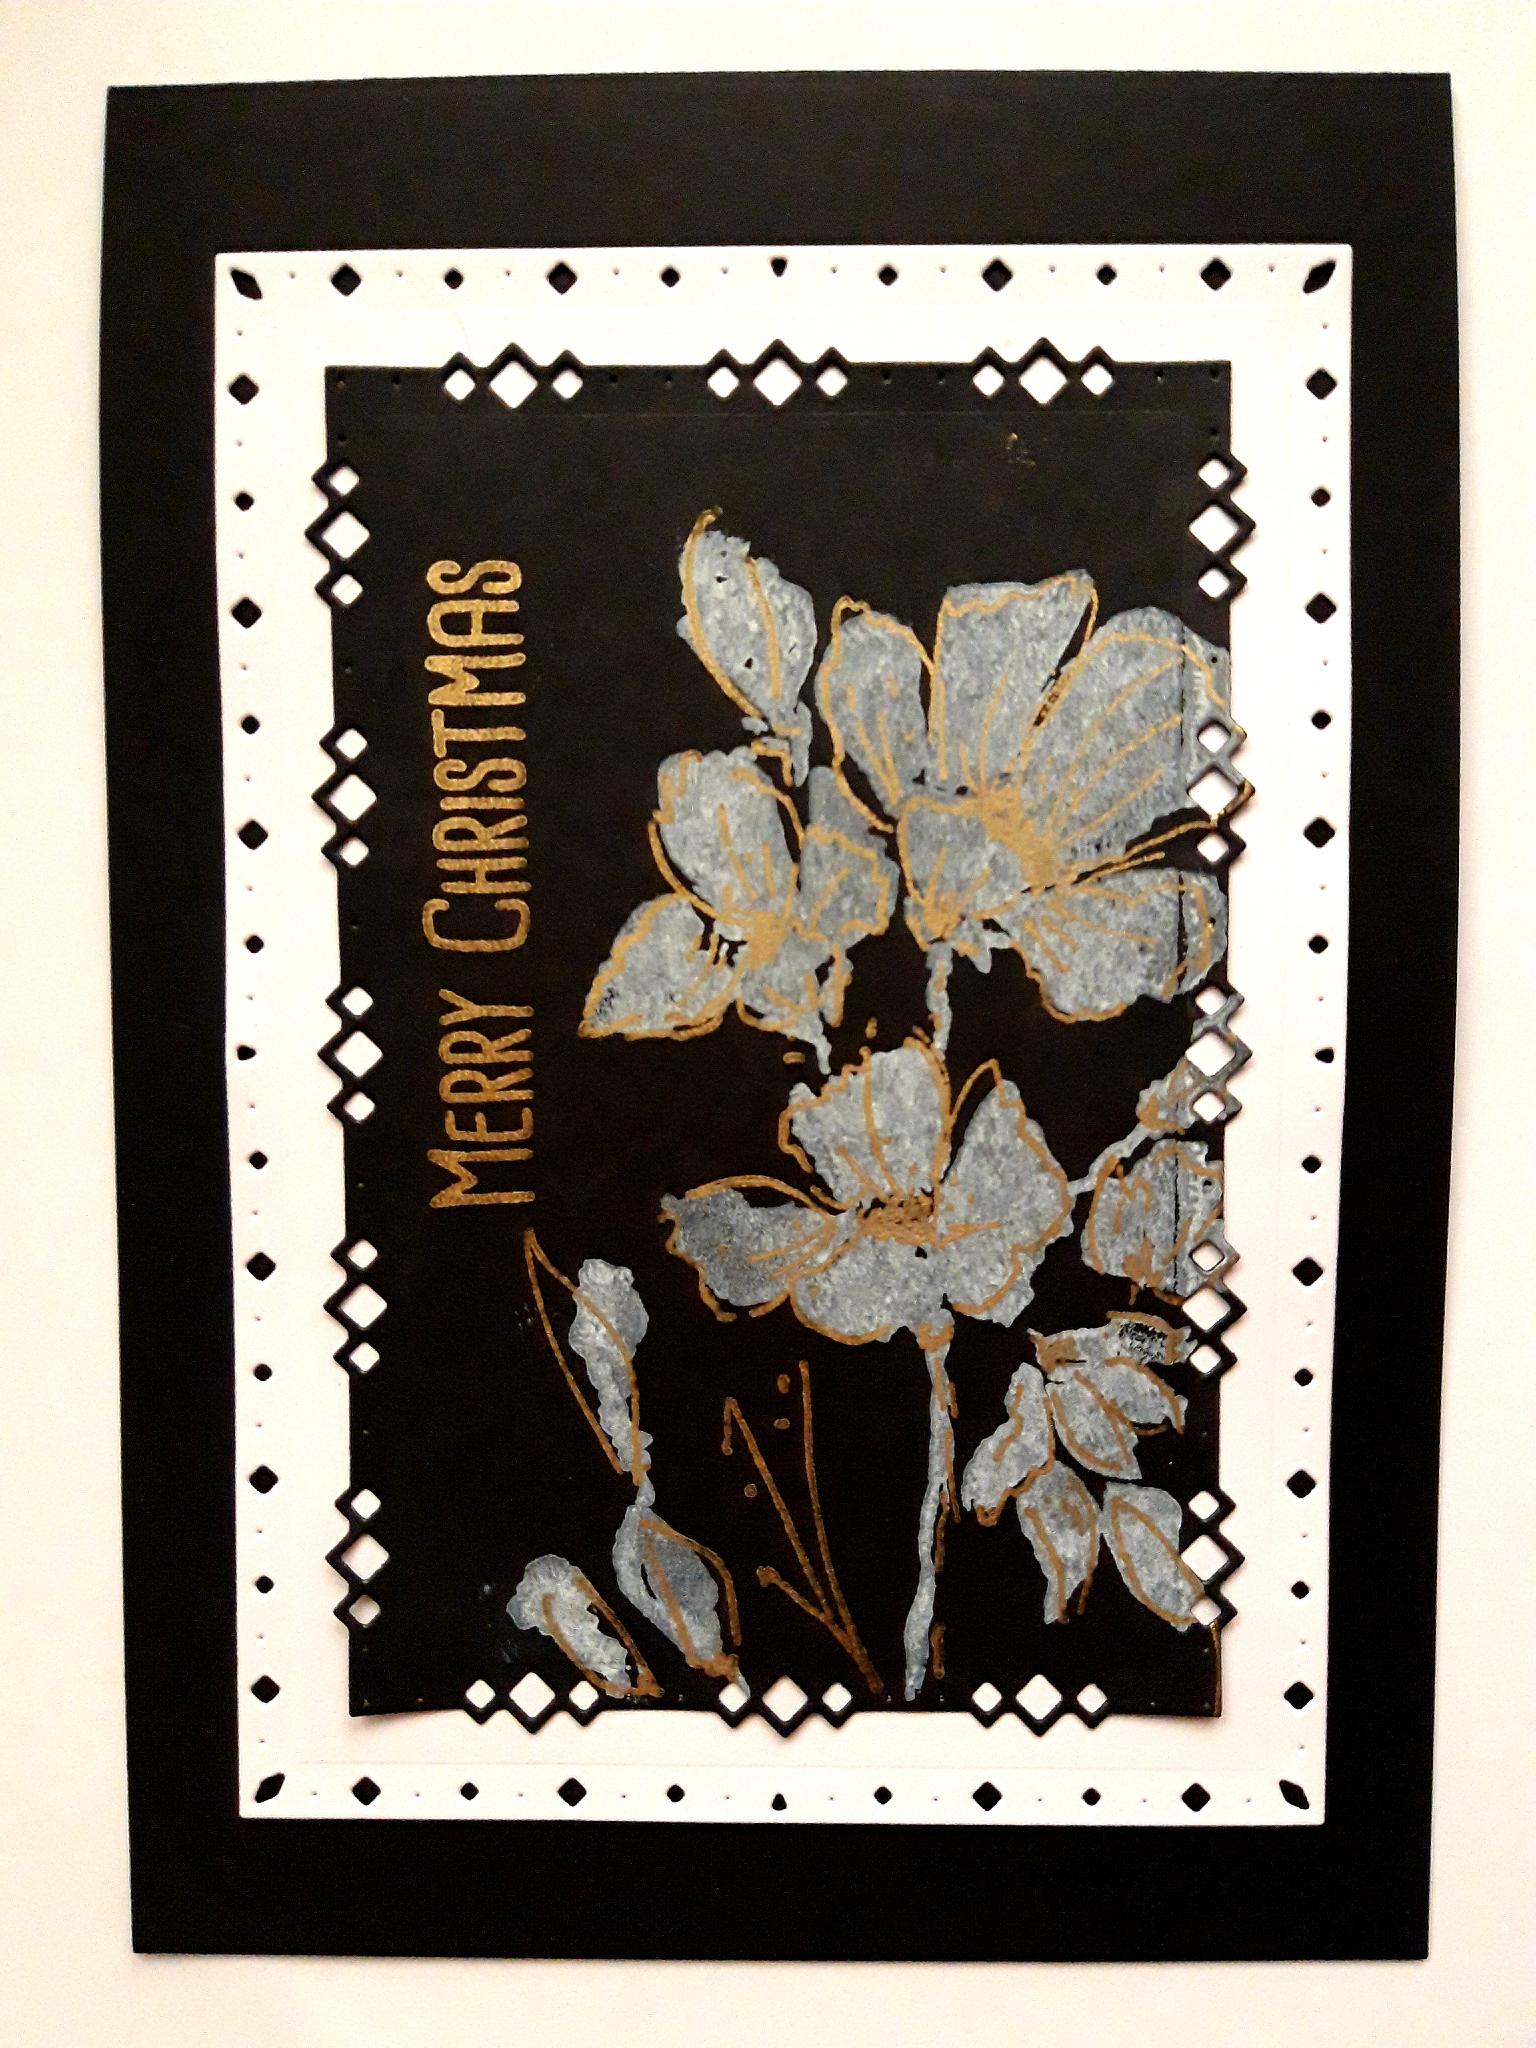
To finish, mat your artwork on to the front of your black, top folding card blank. |