Give your friends $10 off their first order!
Refer a FRIEND


WHAT YOU WILL NEED:
Grey top folding card blank (8 1/4 x 5 3/4")
Blue Pearlised card (7 3/4 x 5 1/4")
White card (7 1/2 x 5")
Stamps from Sending Hugs Lamination Stamp Collection
Stamps from Christmas Blessings Stamp Collection
Izink Dye Ink Pad: Ocean, Outremer, Nuit
Distress Oxide: Faded Jeans, Iced Spruce
Thirsty Brush Confetti Double Up Paint: White Lace
Paint brush
Acrylic Block approx 1 3/4 x 1 3/4"
Water spray bottle
Heat gun
Sequins: Smile Creative Box
Eureka 101
Paper Trimmer
Perfect Together Glue
[click image to enlarge] 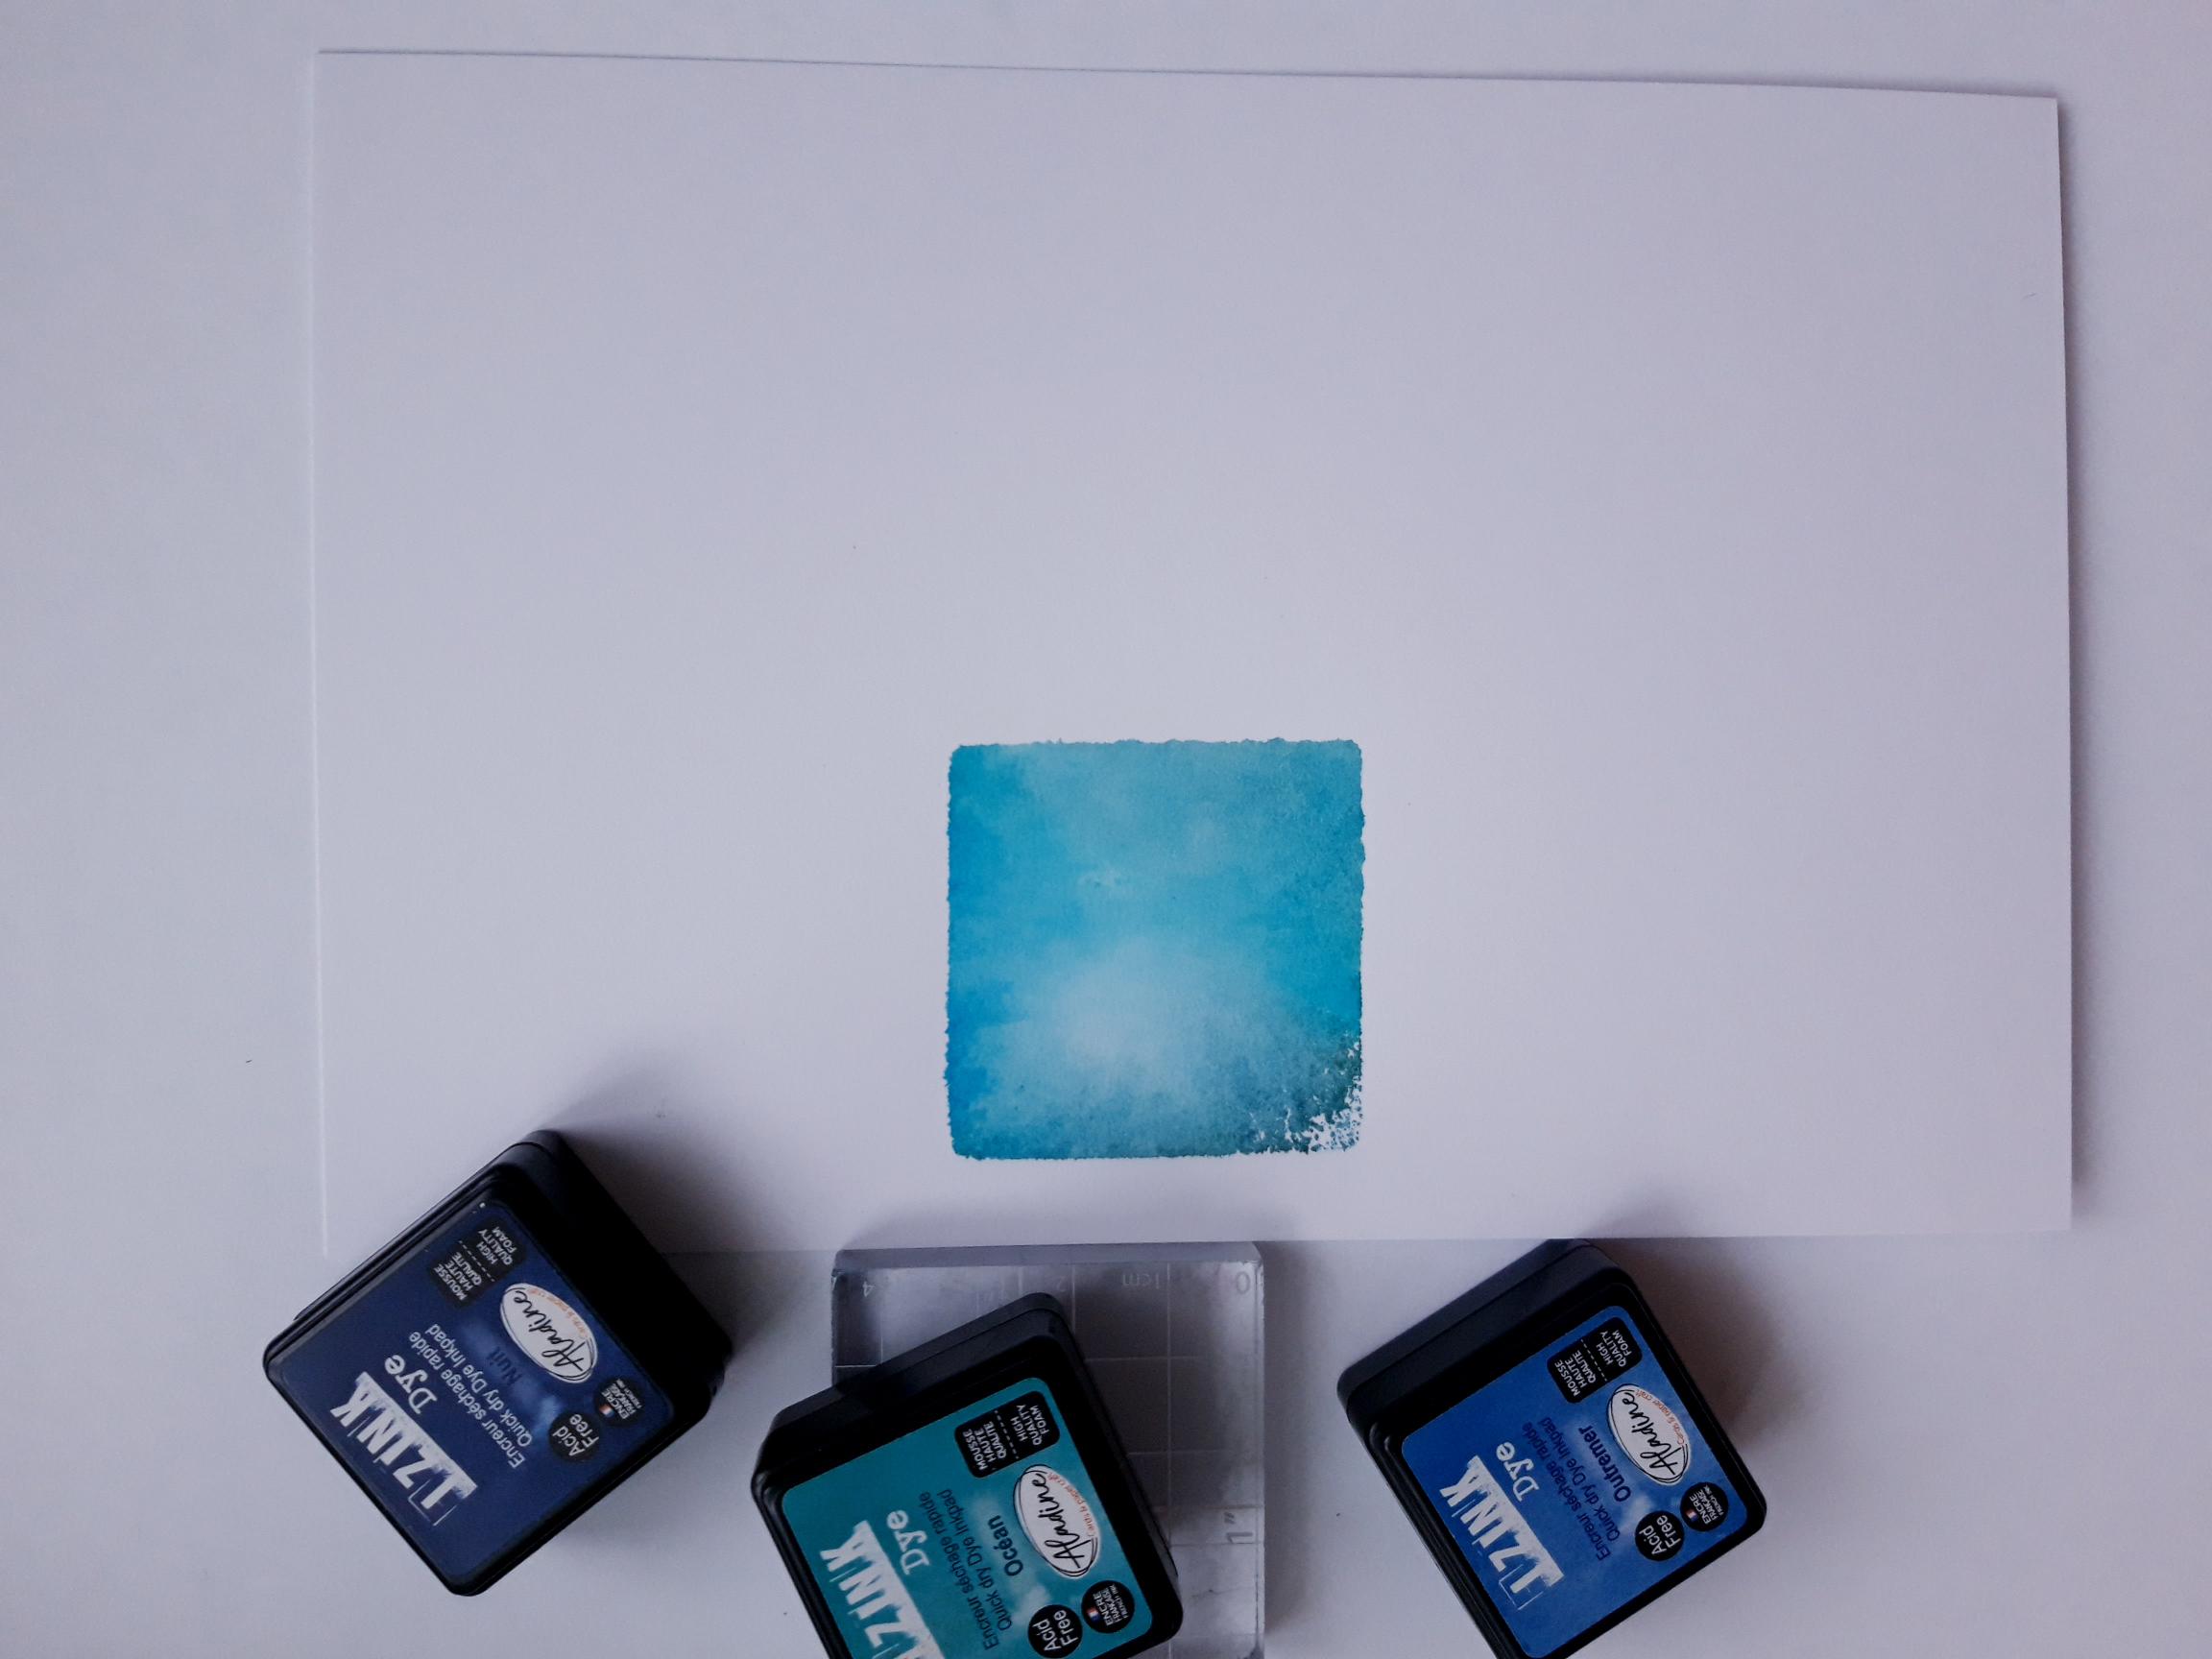
|
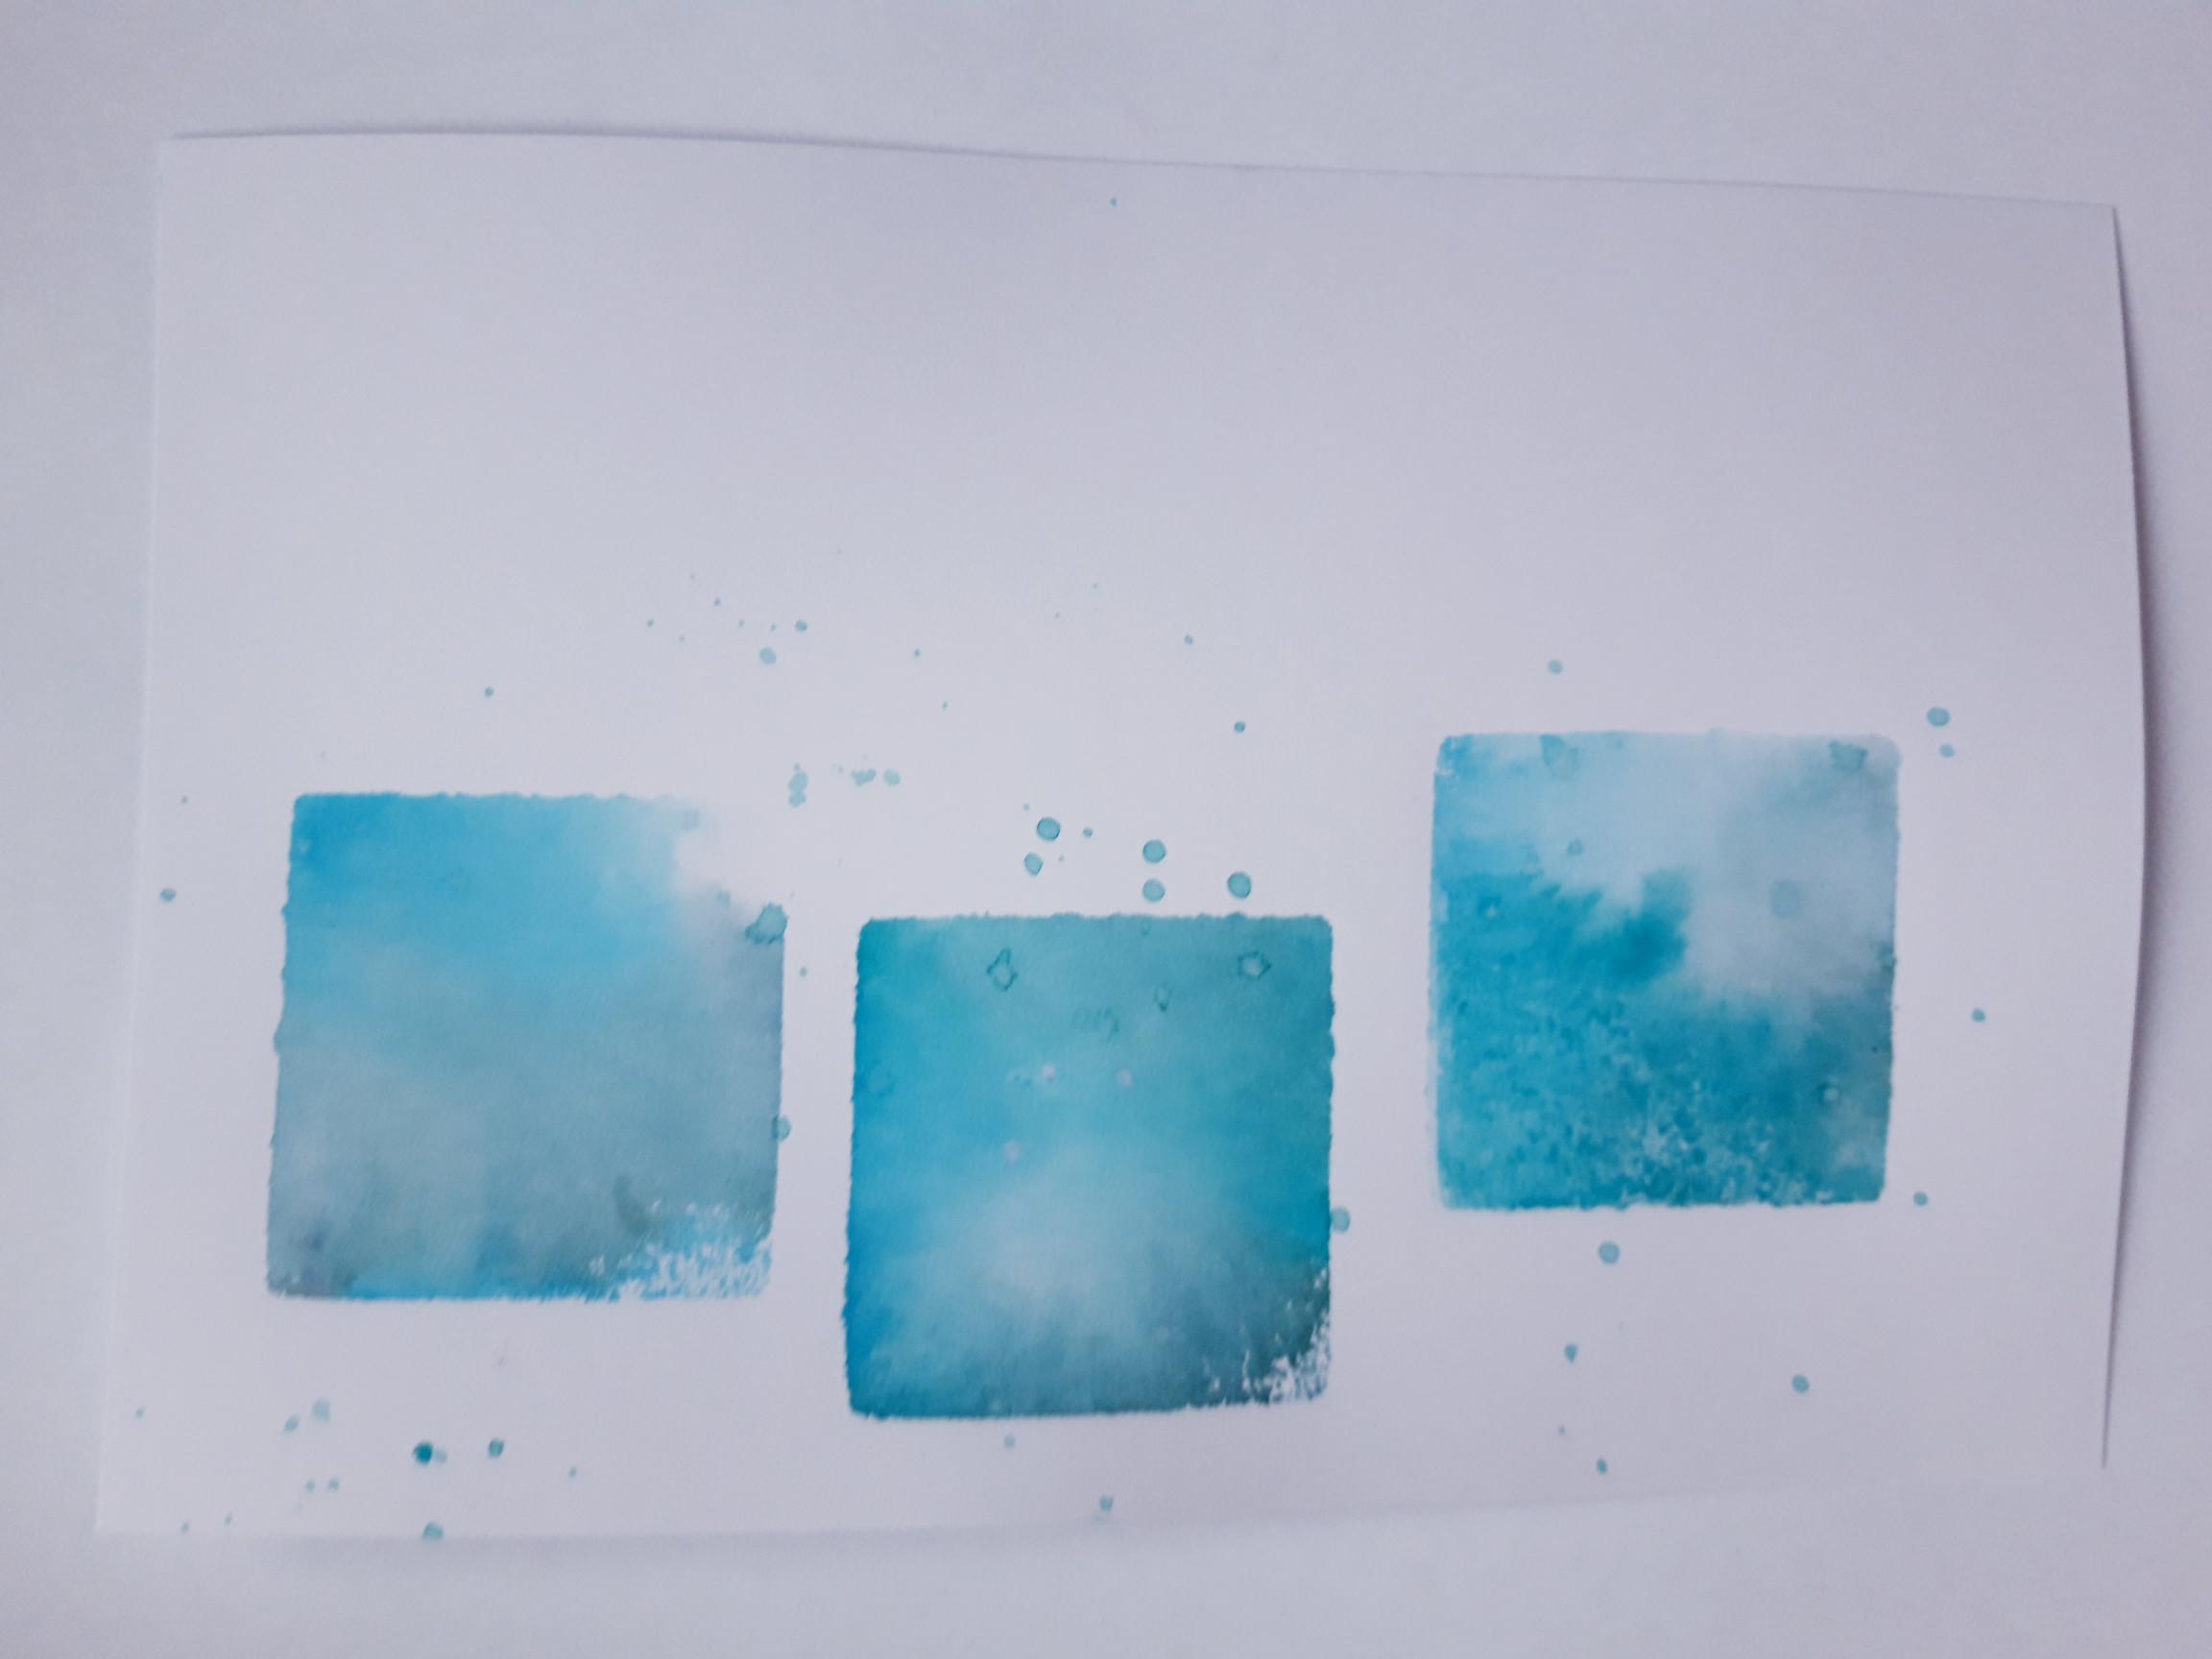
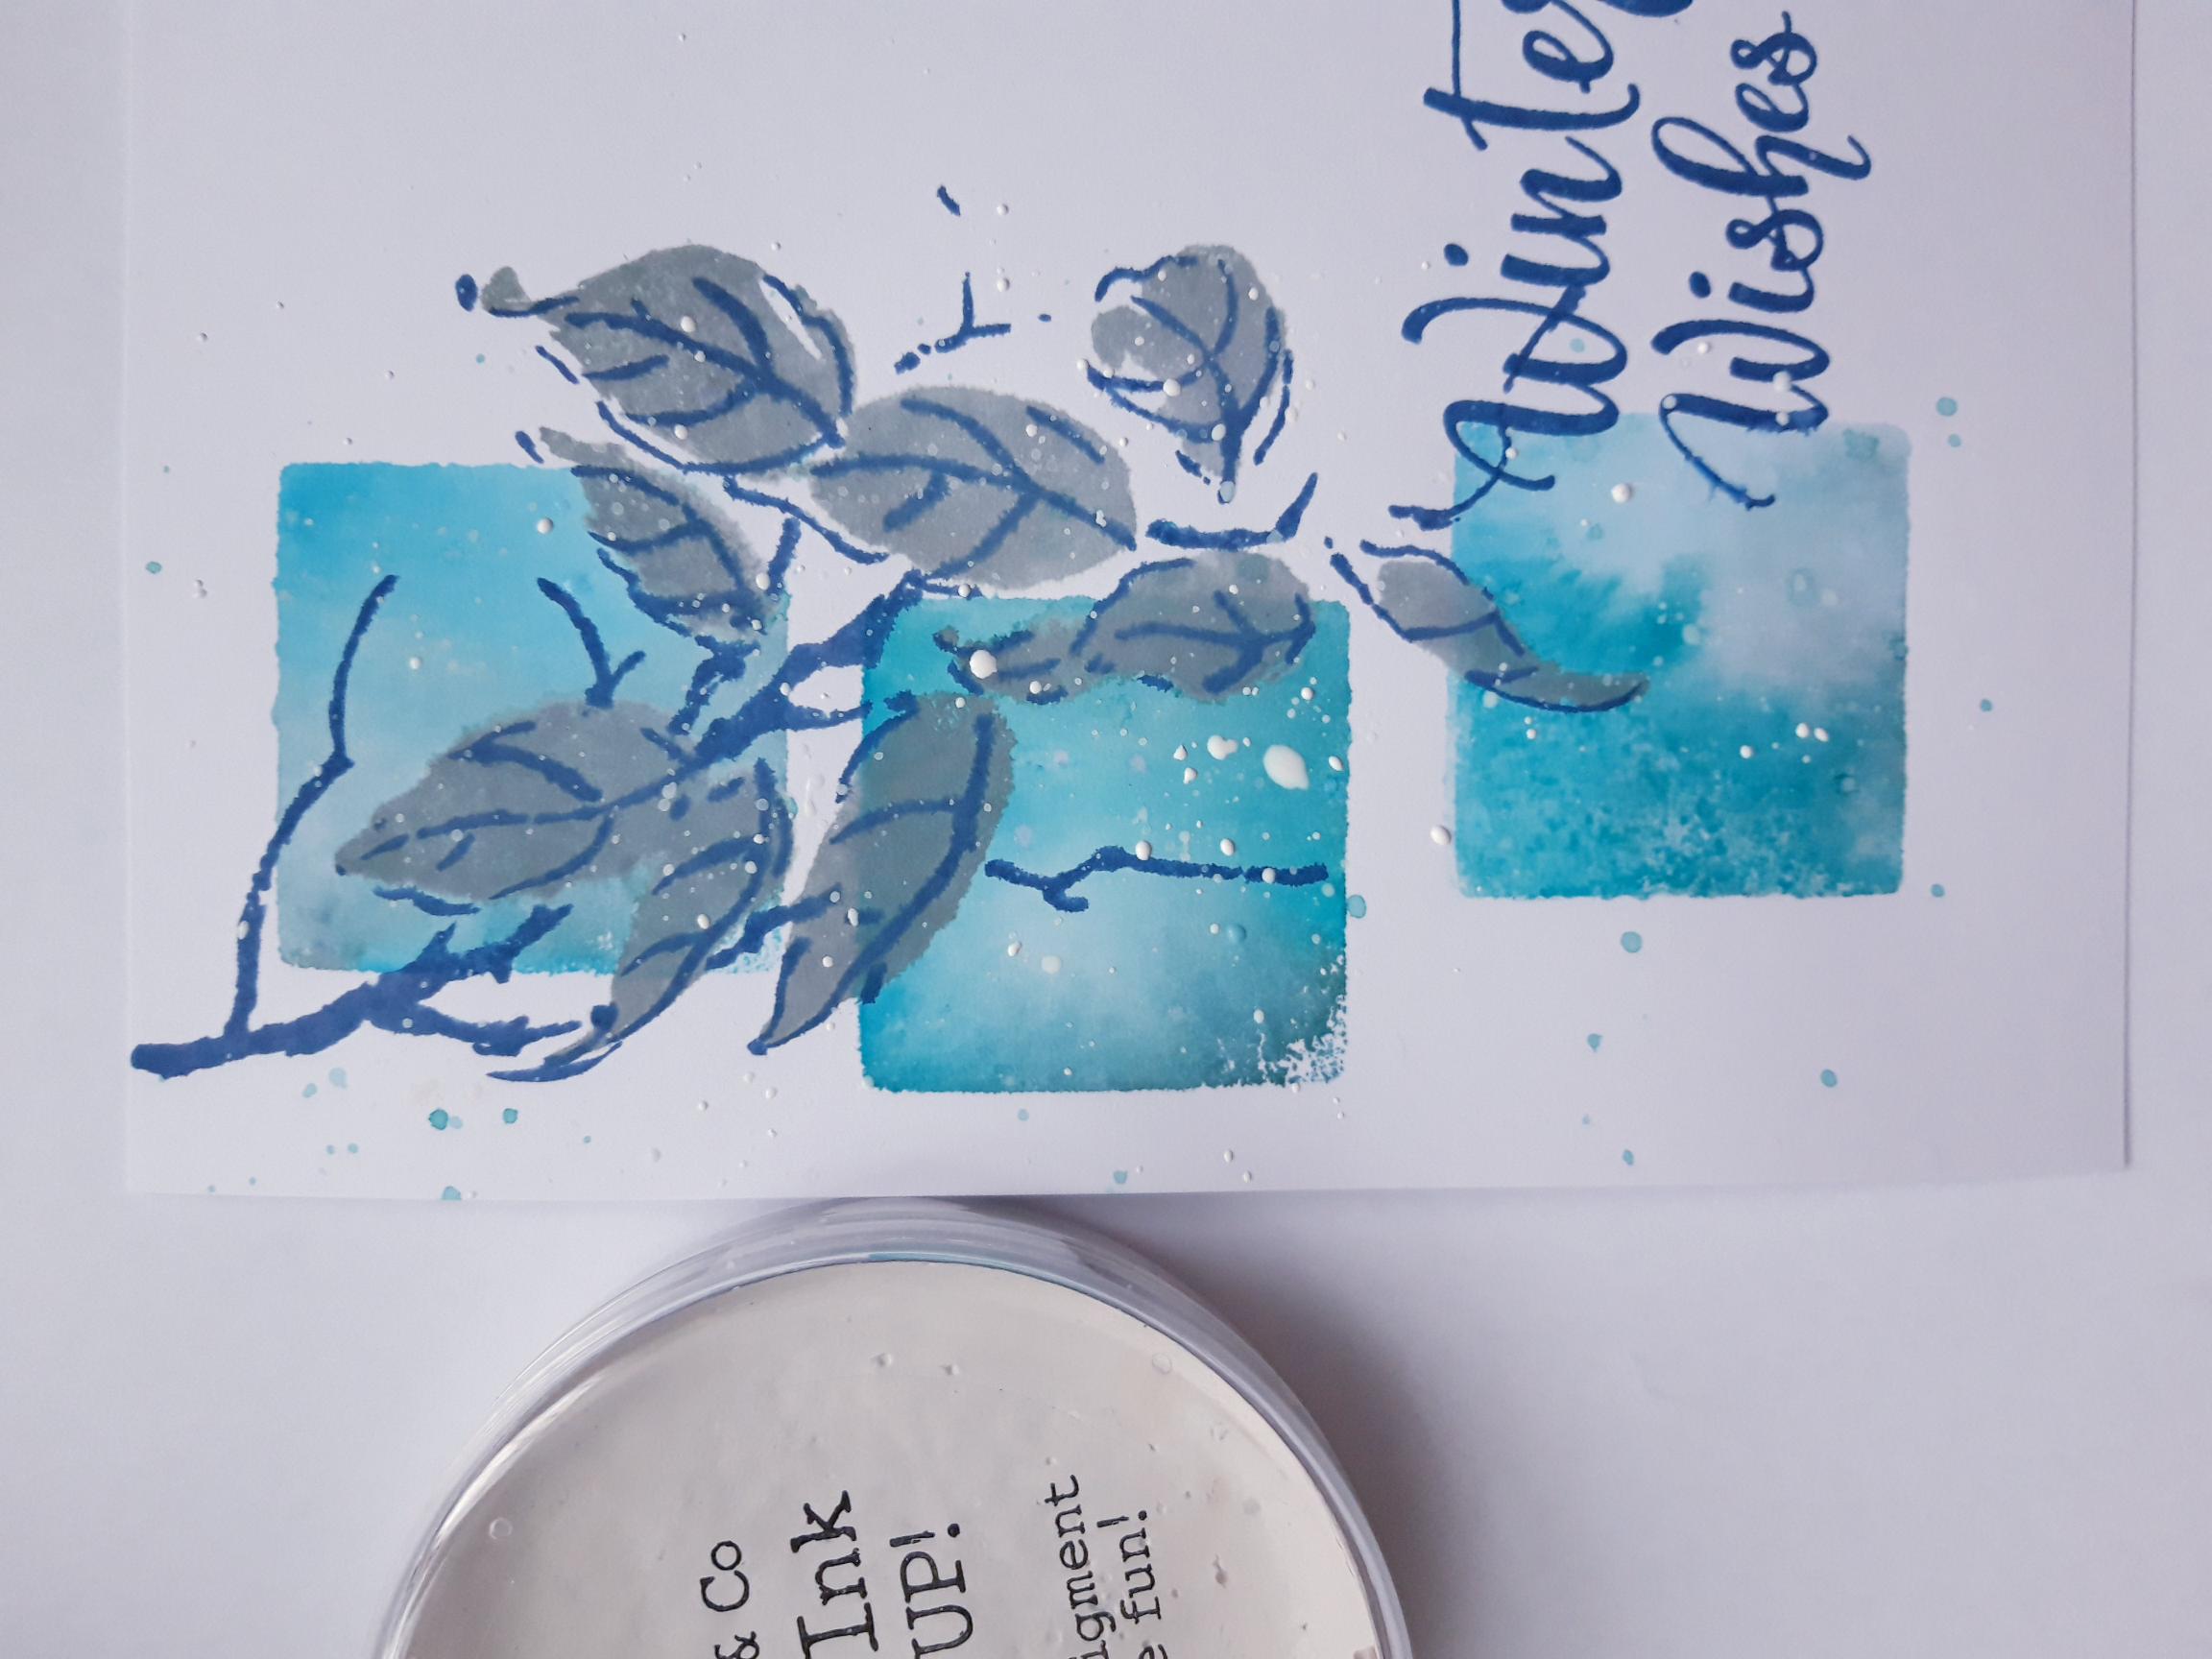
Apply ink, from the 3 Izink ink pads, on to the acrylic block. Spritz with a little water, and place block centrally, to the left hand side of the white card. Let the card drink up the ink, before carefully removing the block. Allow the ink to dry naturally, for a better effect. |
|
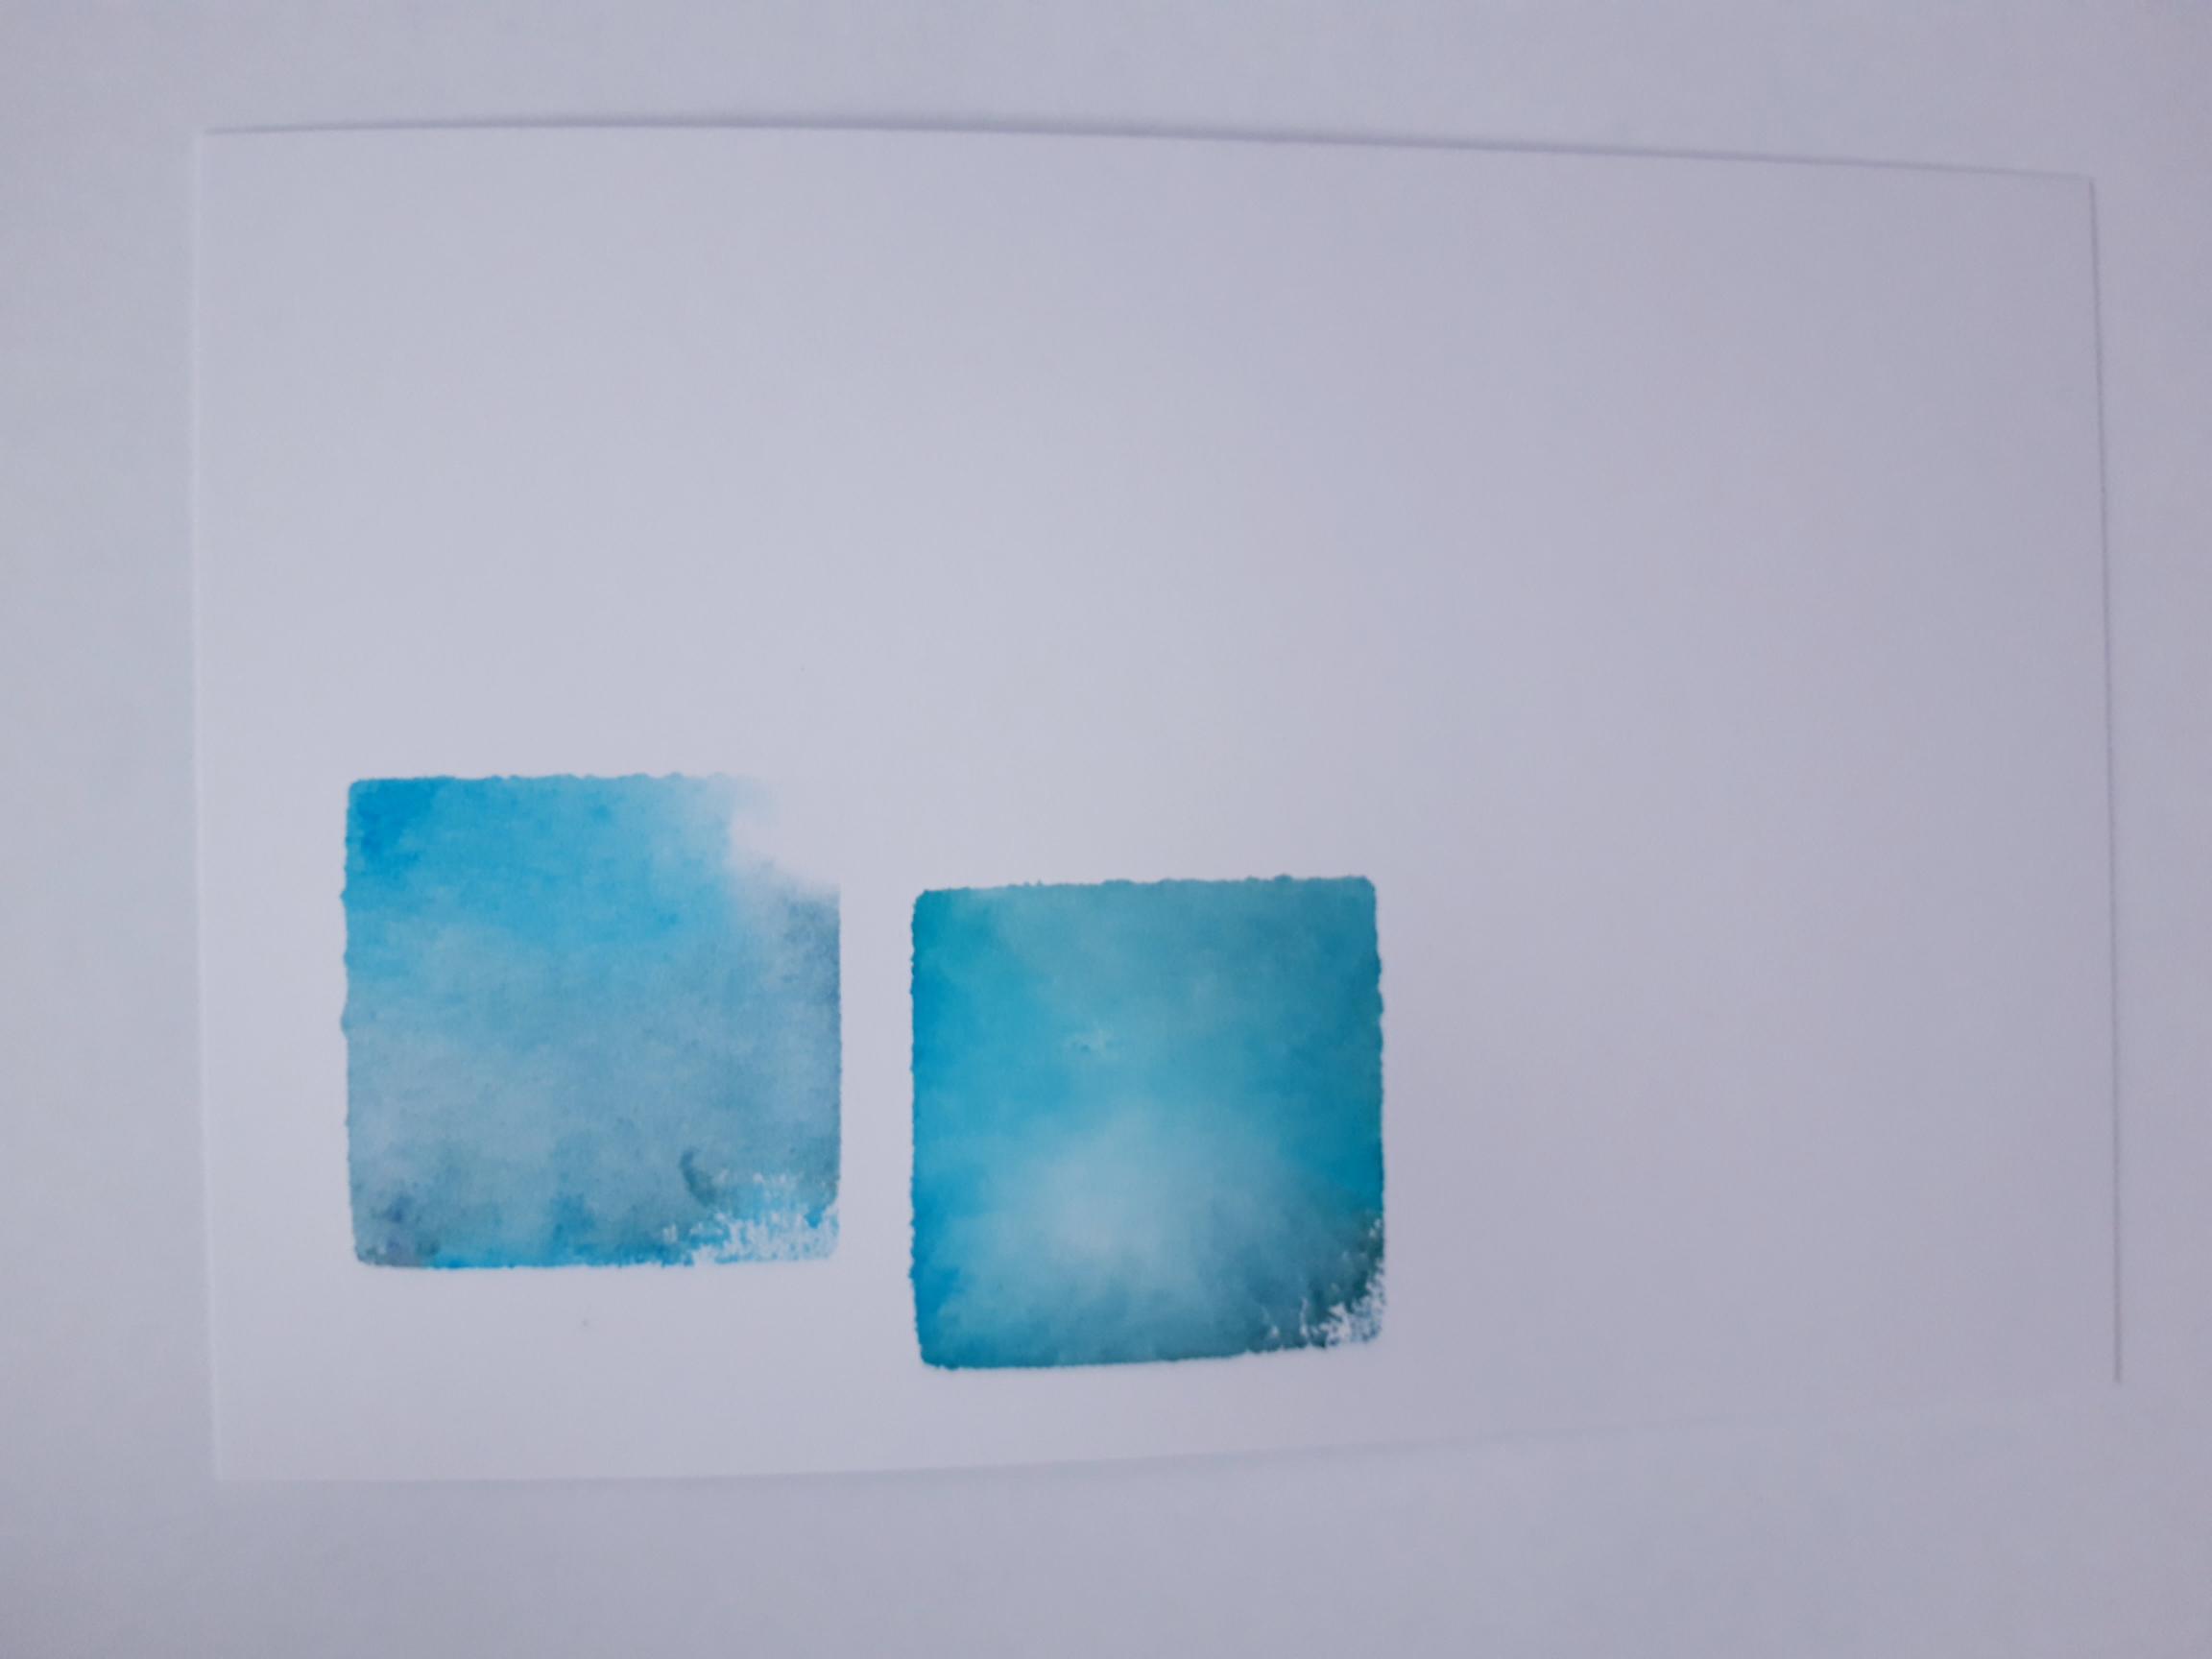
Repeat the previous step, placing the block above, and slightly to the right, of the previous one. |
|
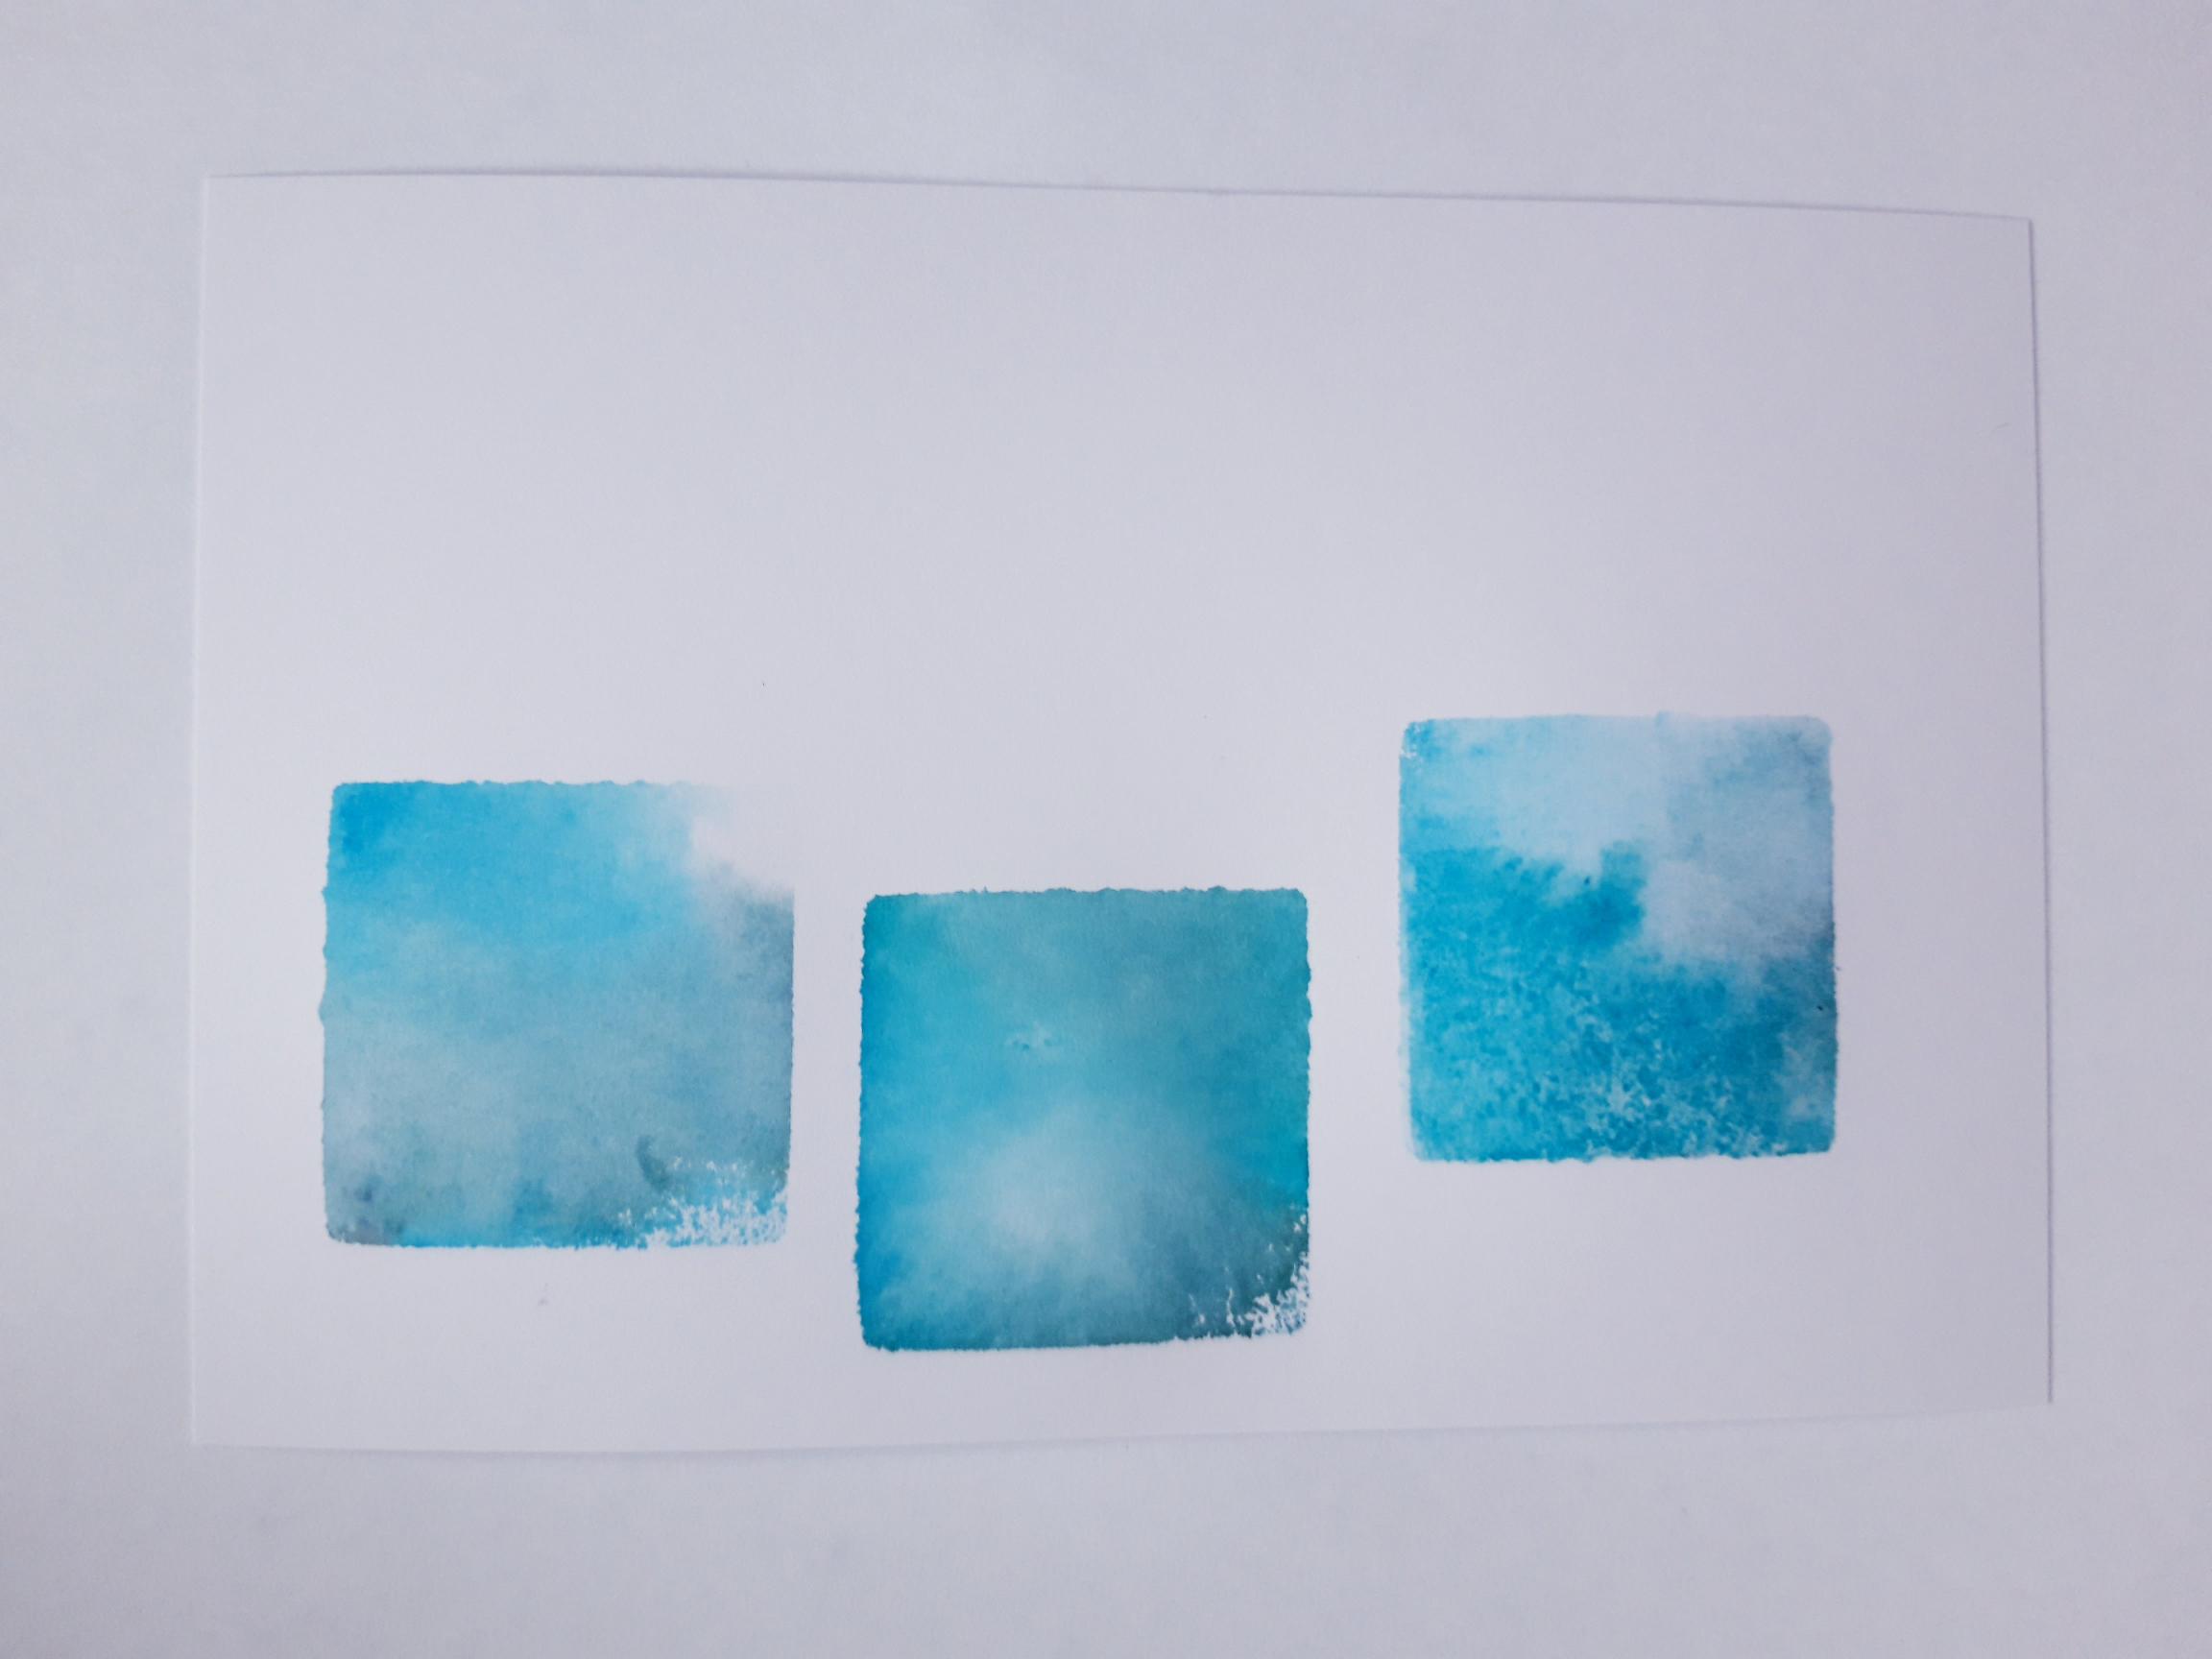
Repeat this step again, placing it below the other 2 inked panels. If possible, allow all panels to dry naturally, but you can speed up the process with a heat gun, if required. |
|
Apply a little of one, or two, of the Izink ink pads, on to a glass or craft mat. Spritz with water and lightly splatter over your inked panels. Dry, before moving on to next step.
|
|
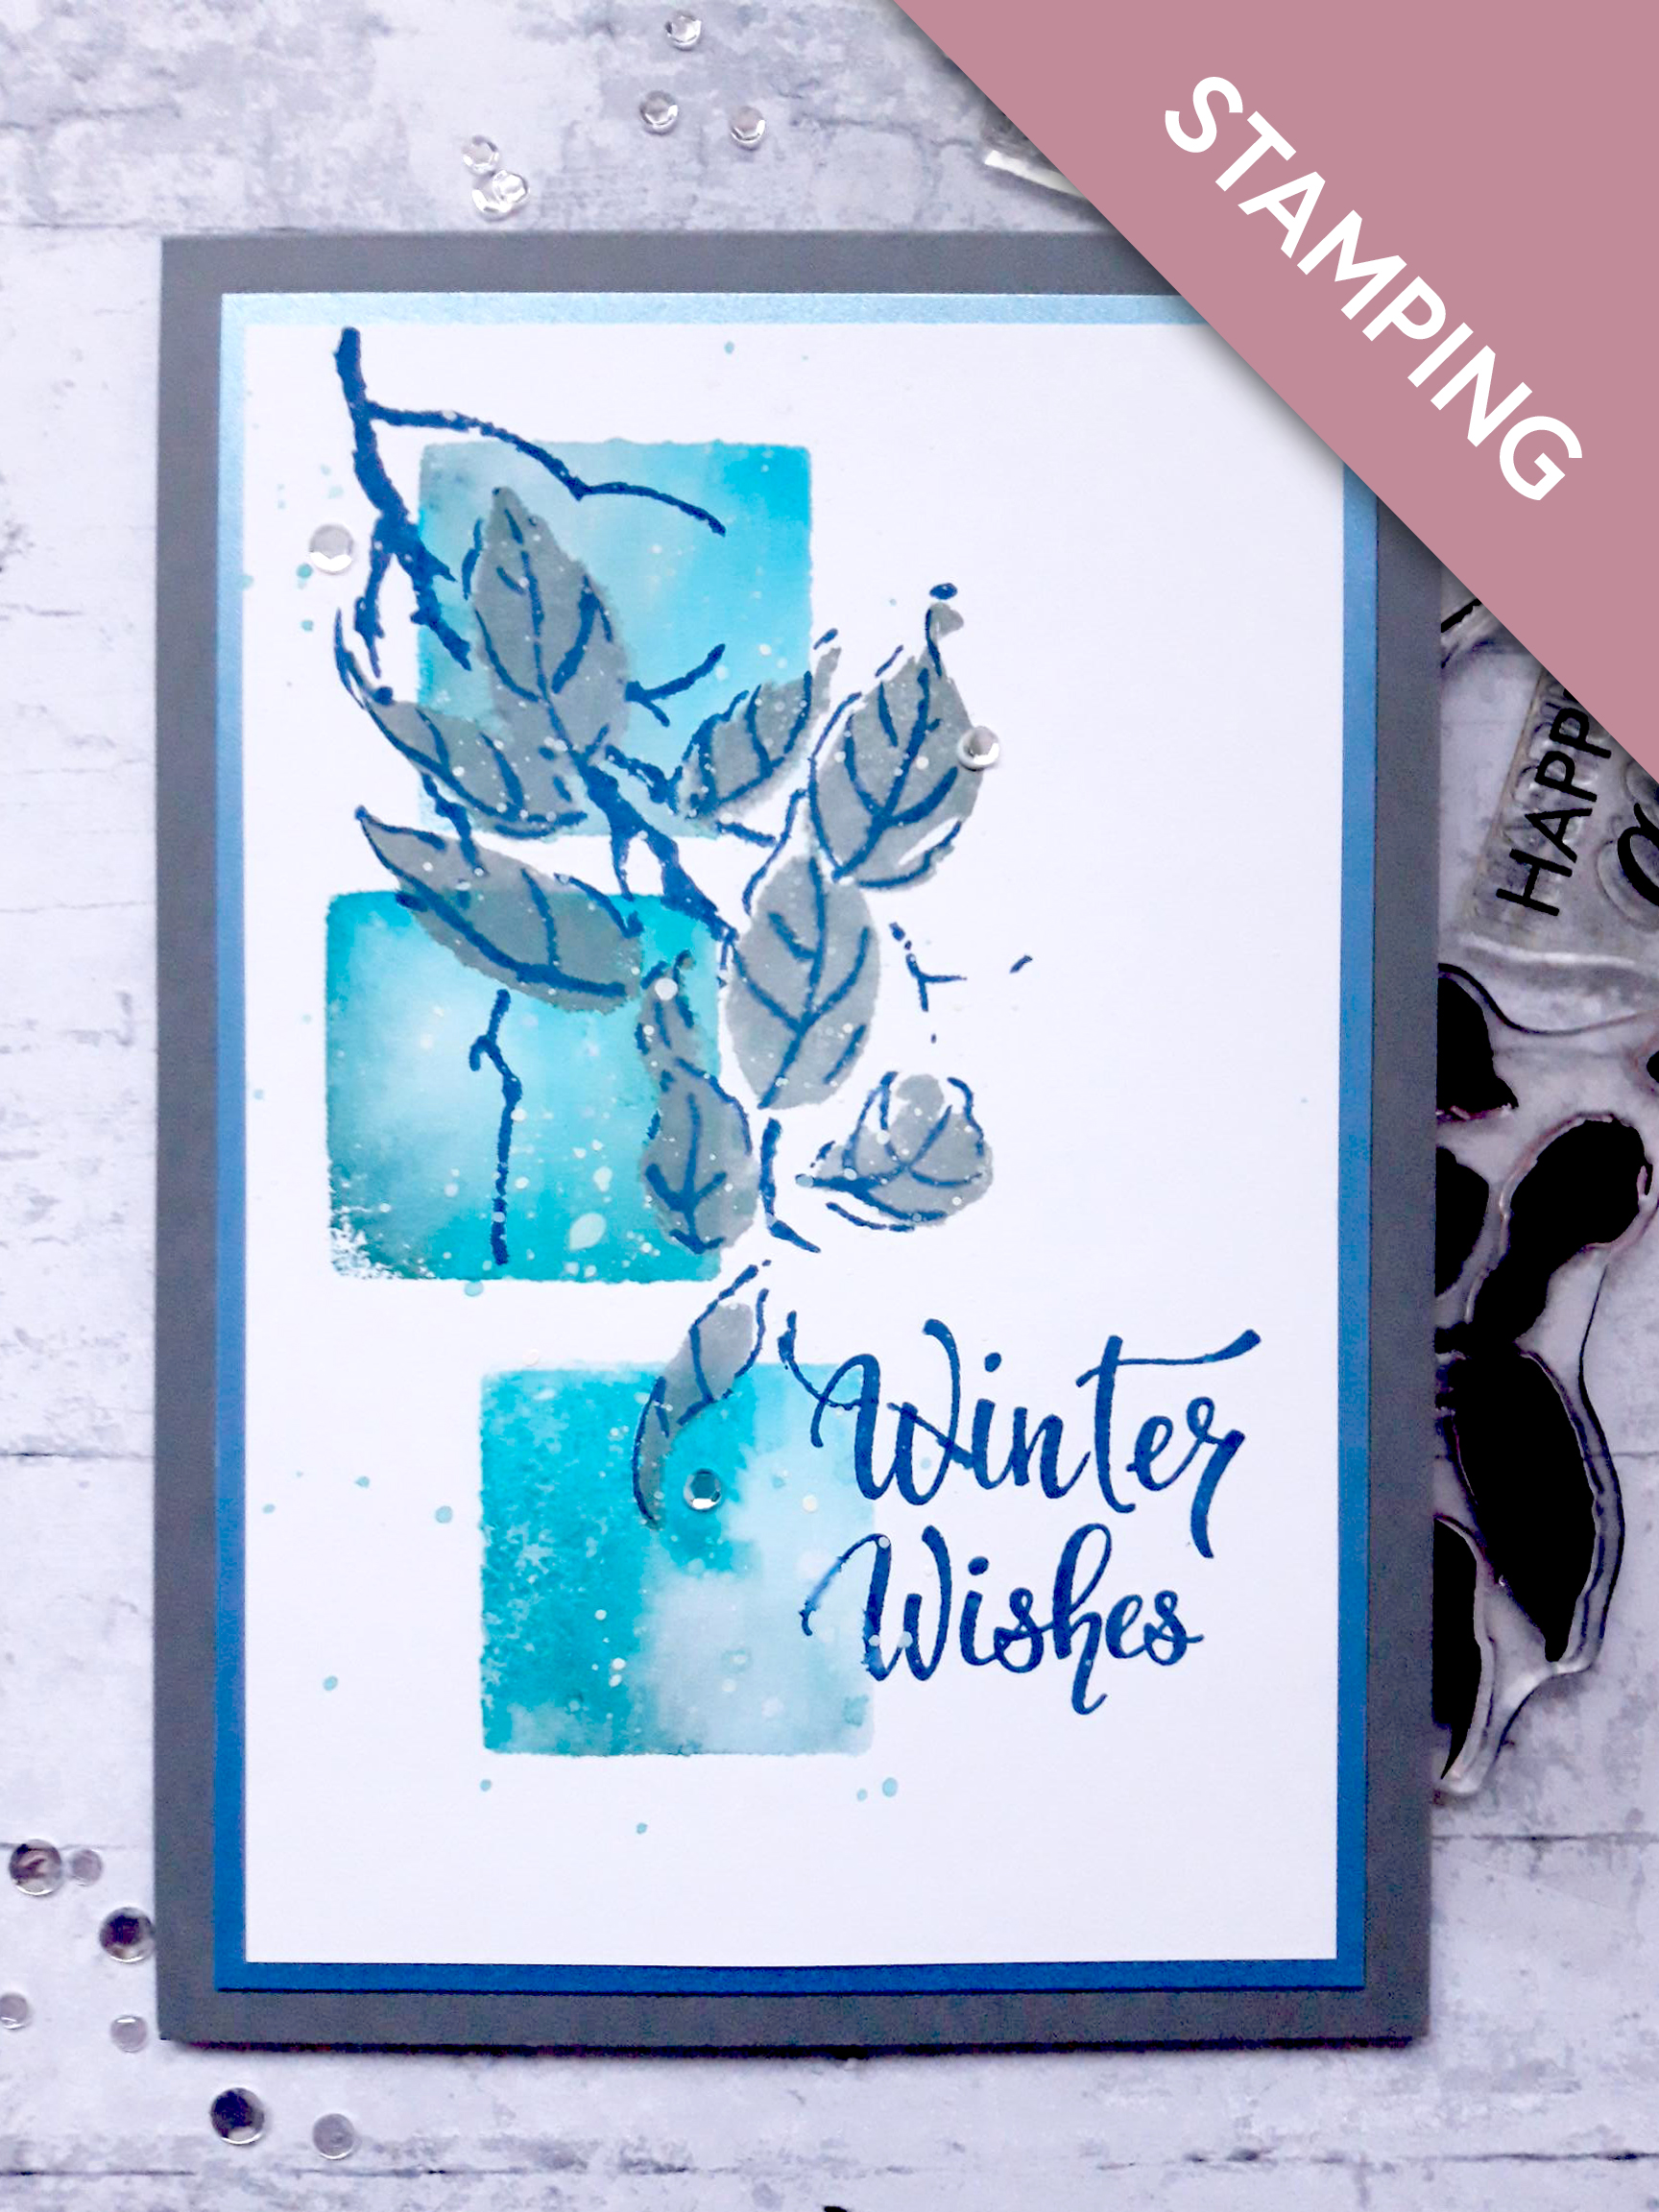
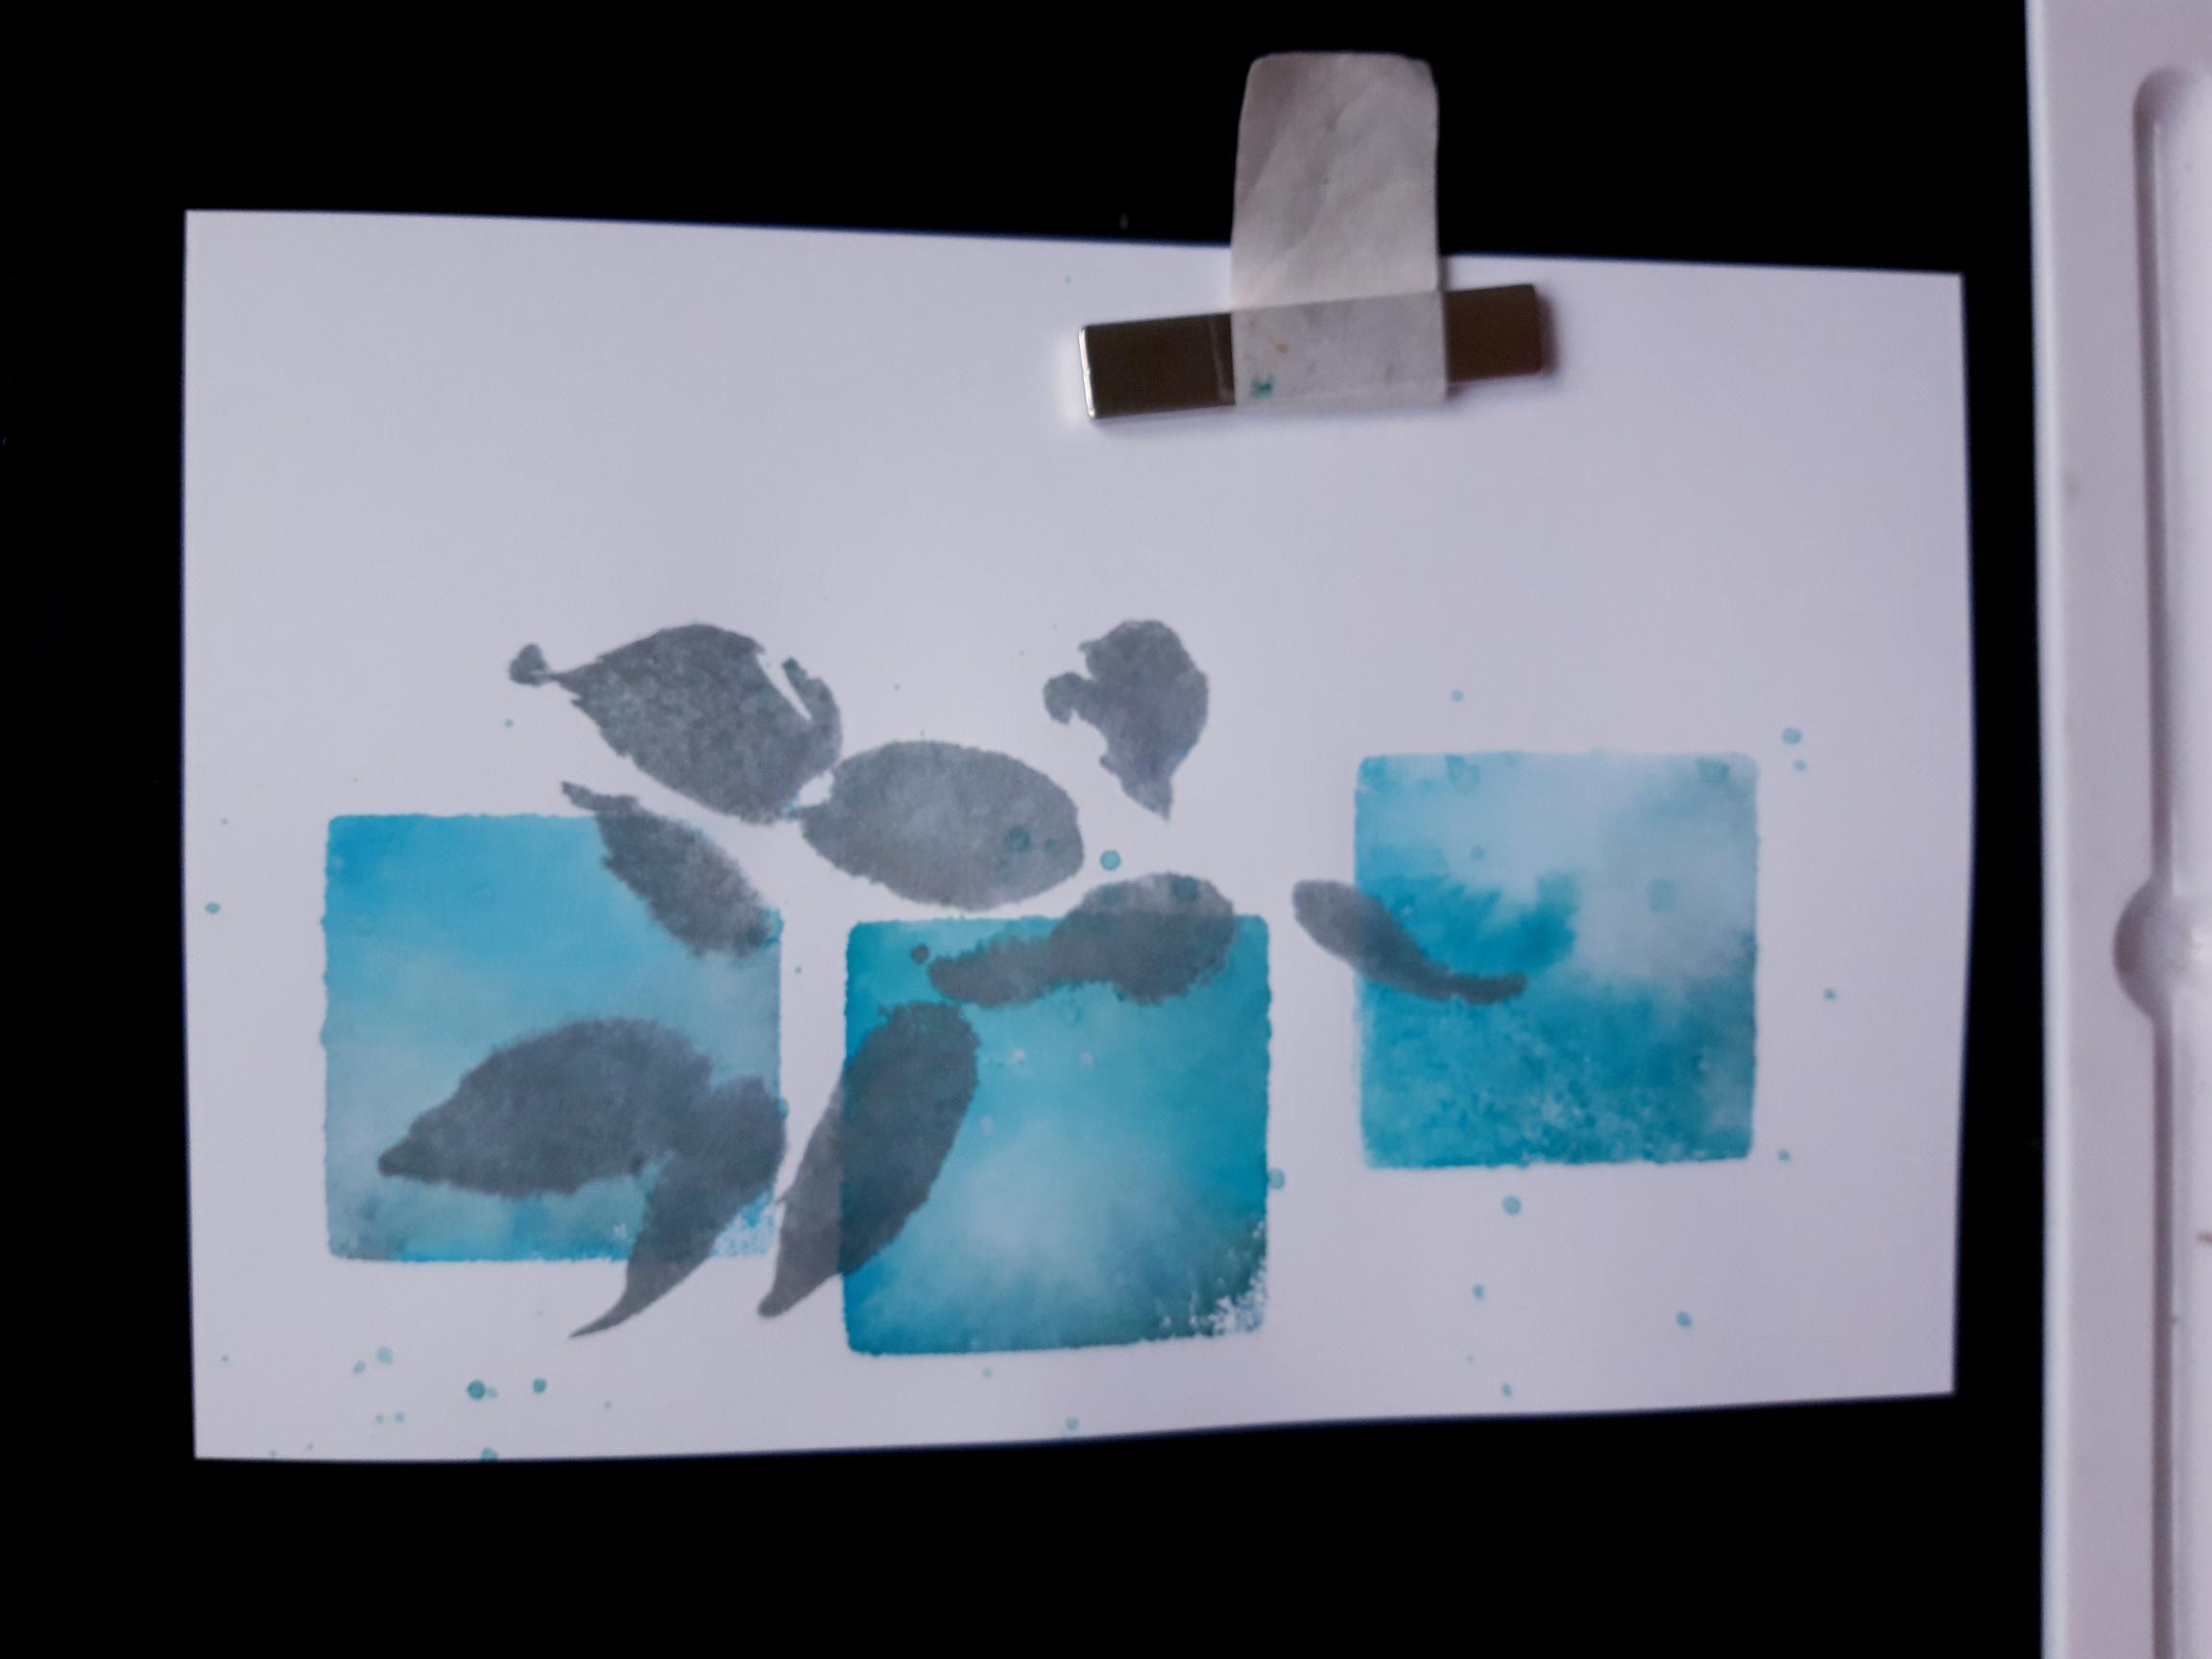
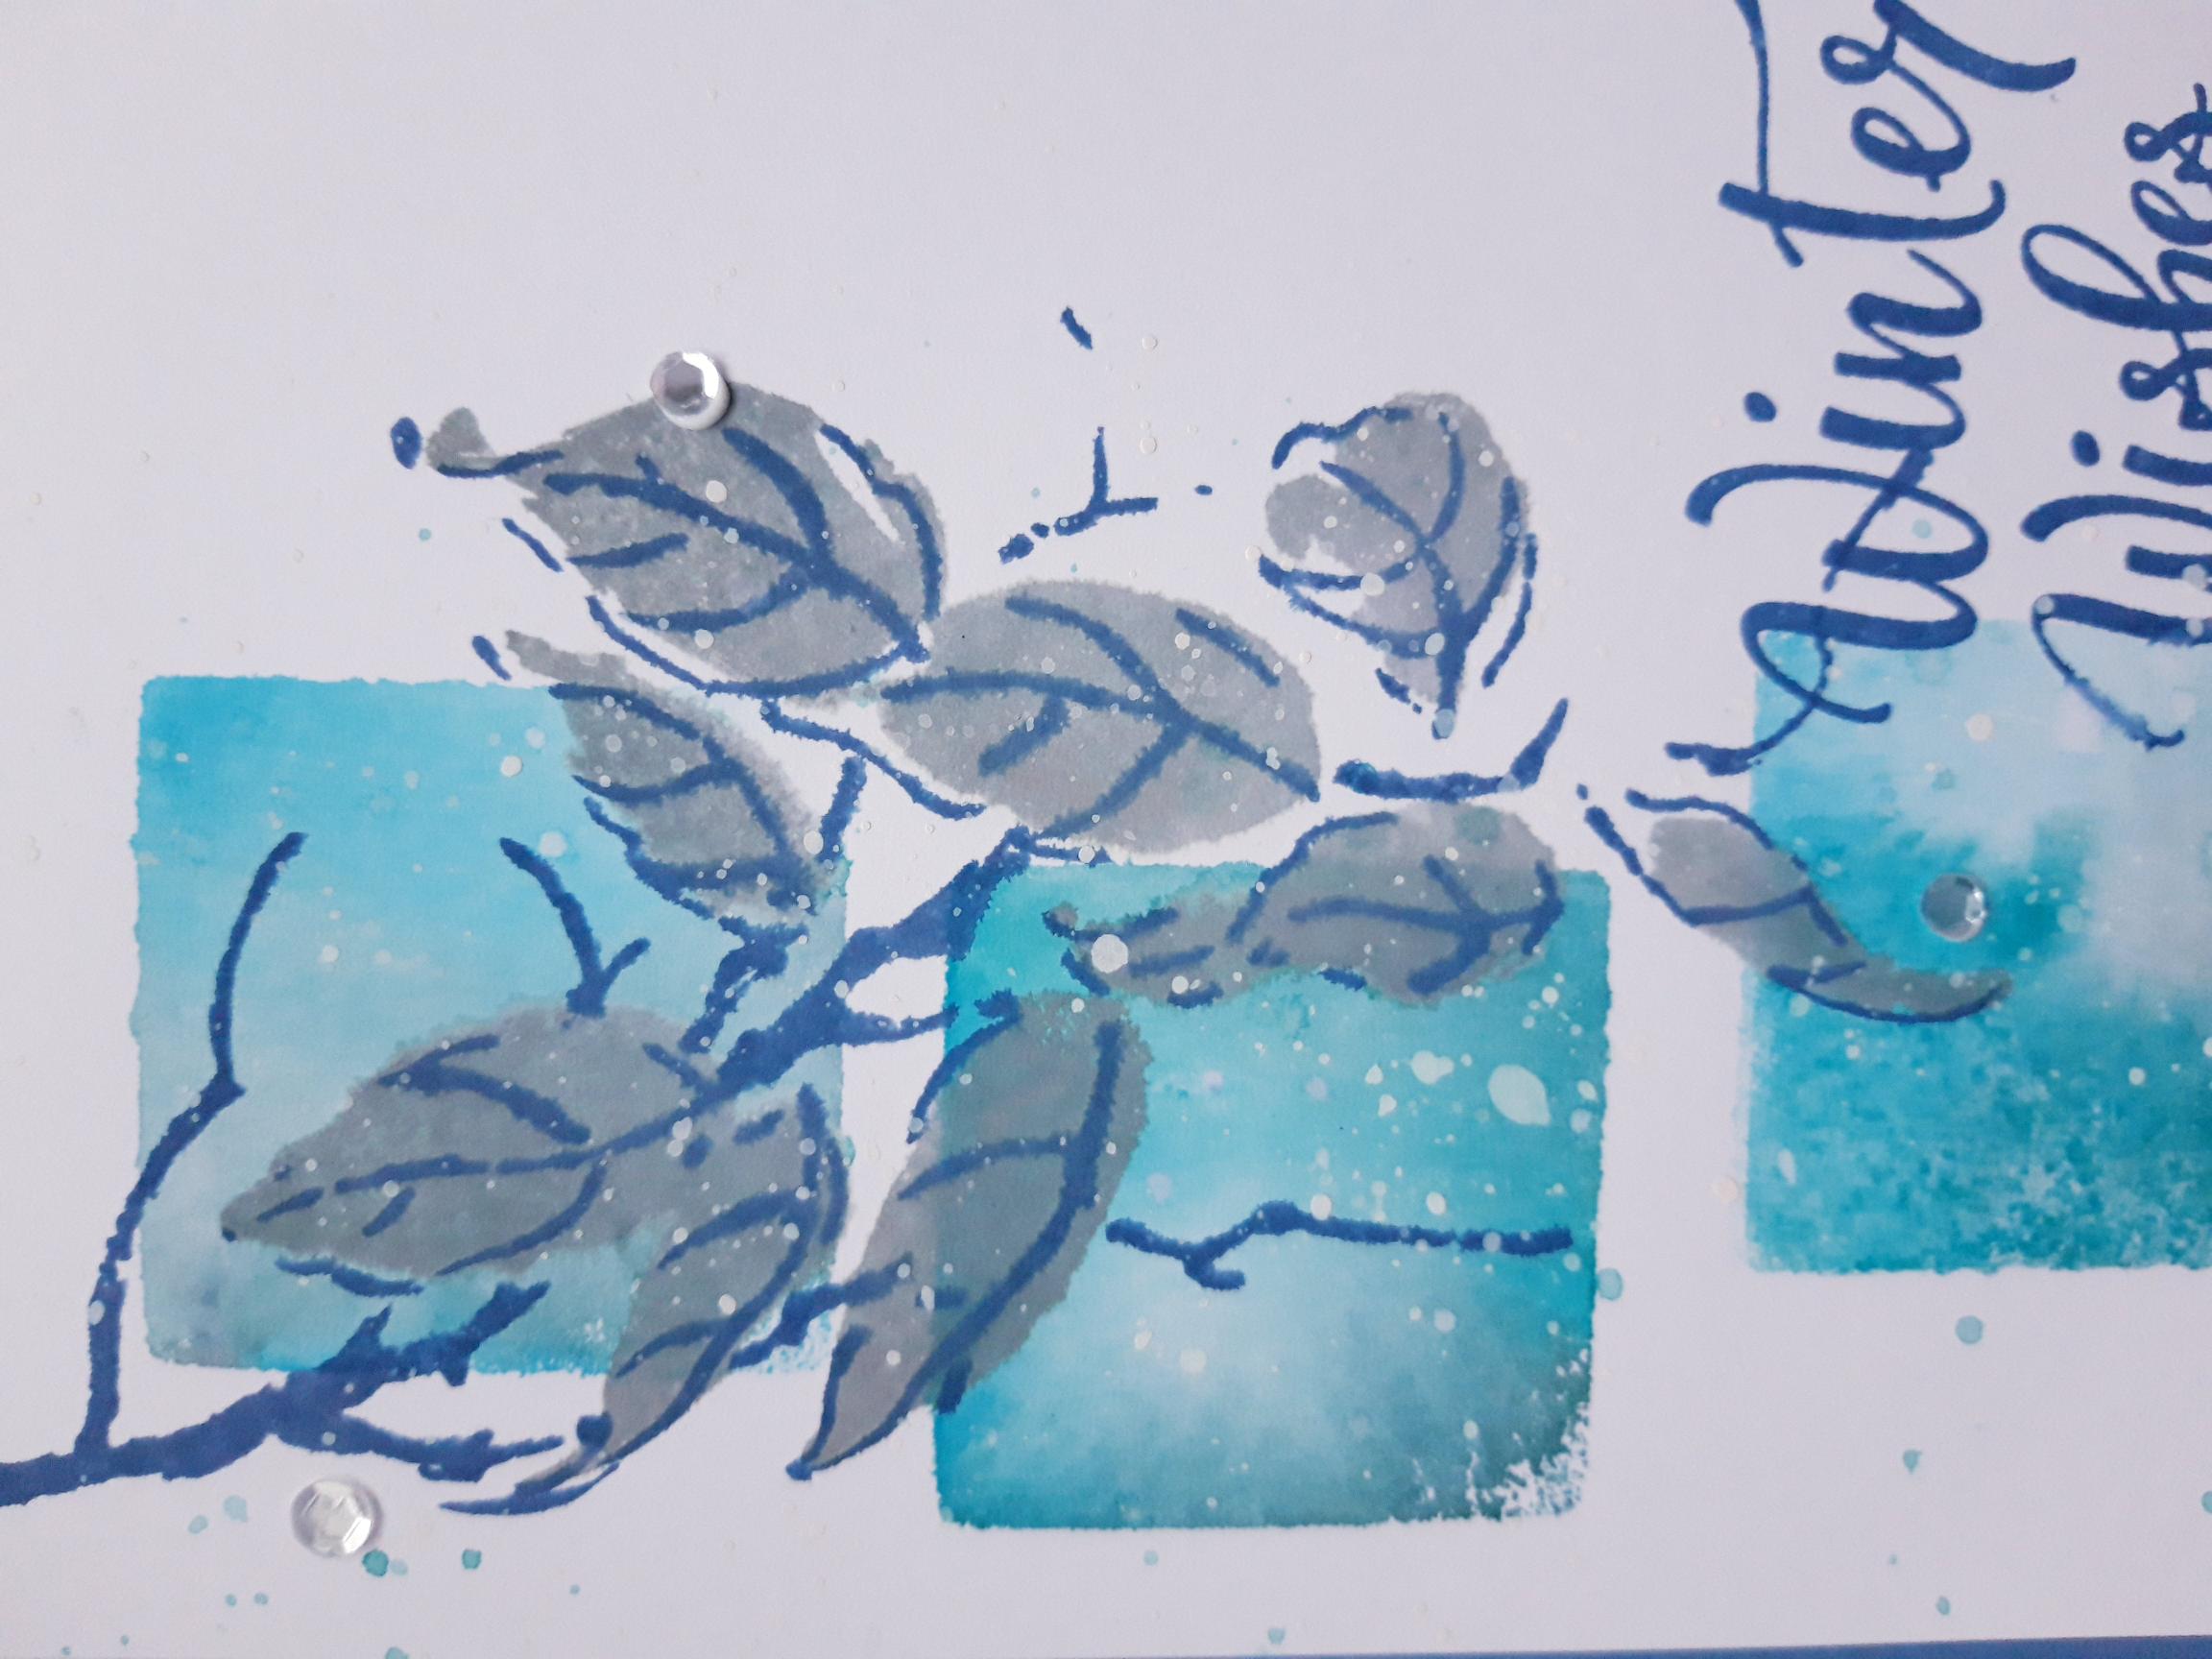
Ink up the solid foliage stamp, from the Sending Hugs Lamination Stamp Collection, with the Iced Spruce Distress Oxide. Spritz with water and stamp it coming down the inked panels, from the top left corner. If you are unsure where to stamp, use the detailed, coordinating stamp, as a guide. |
|
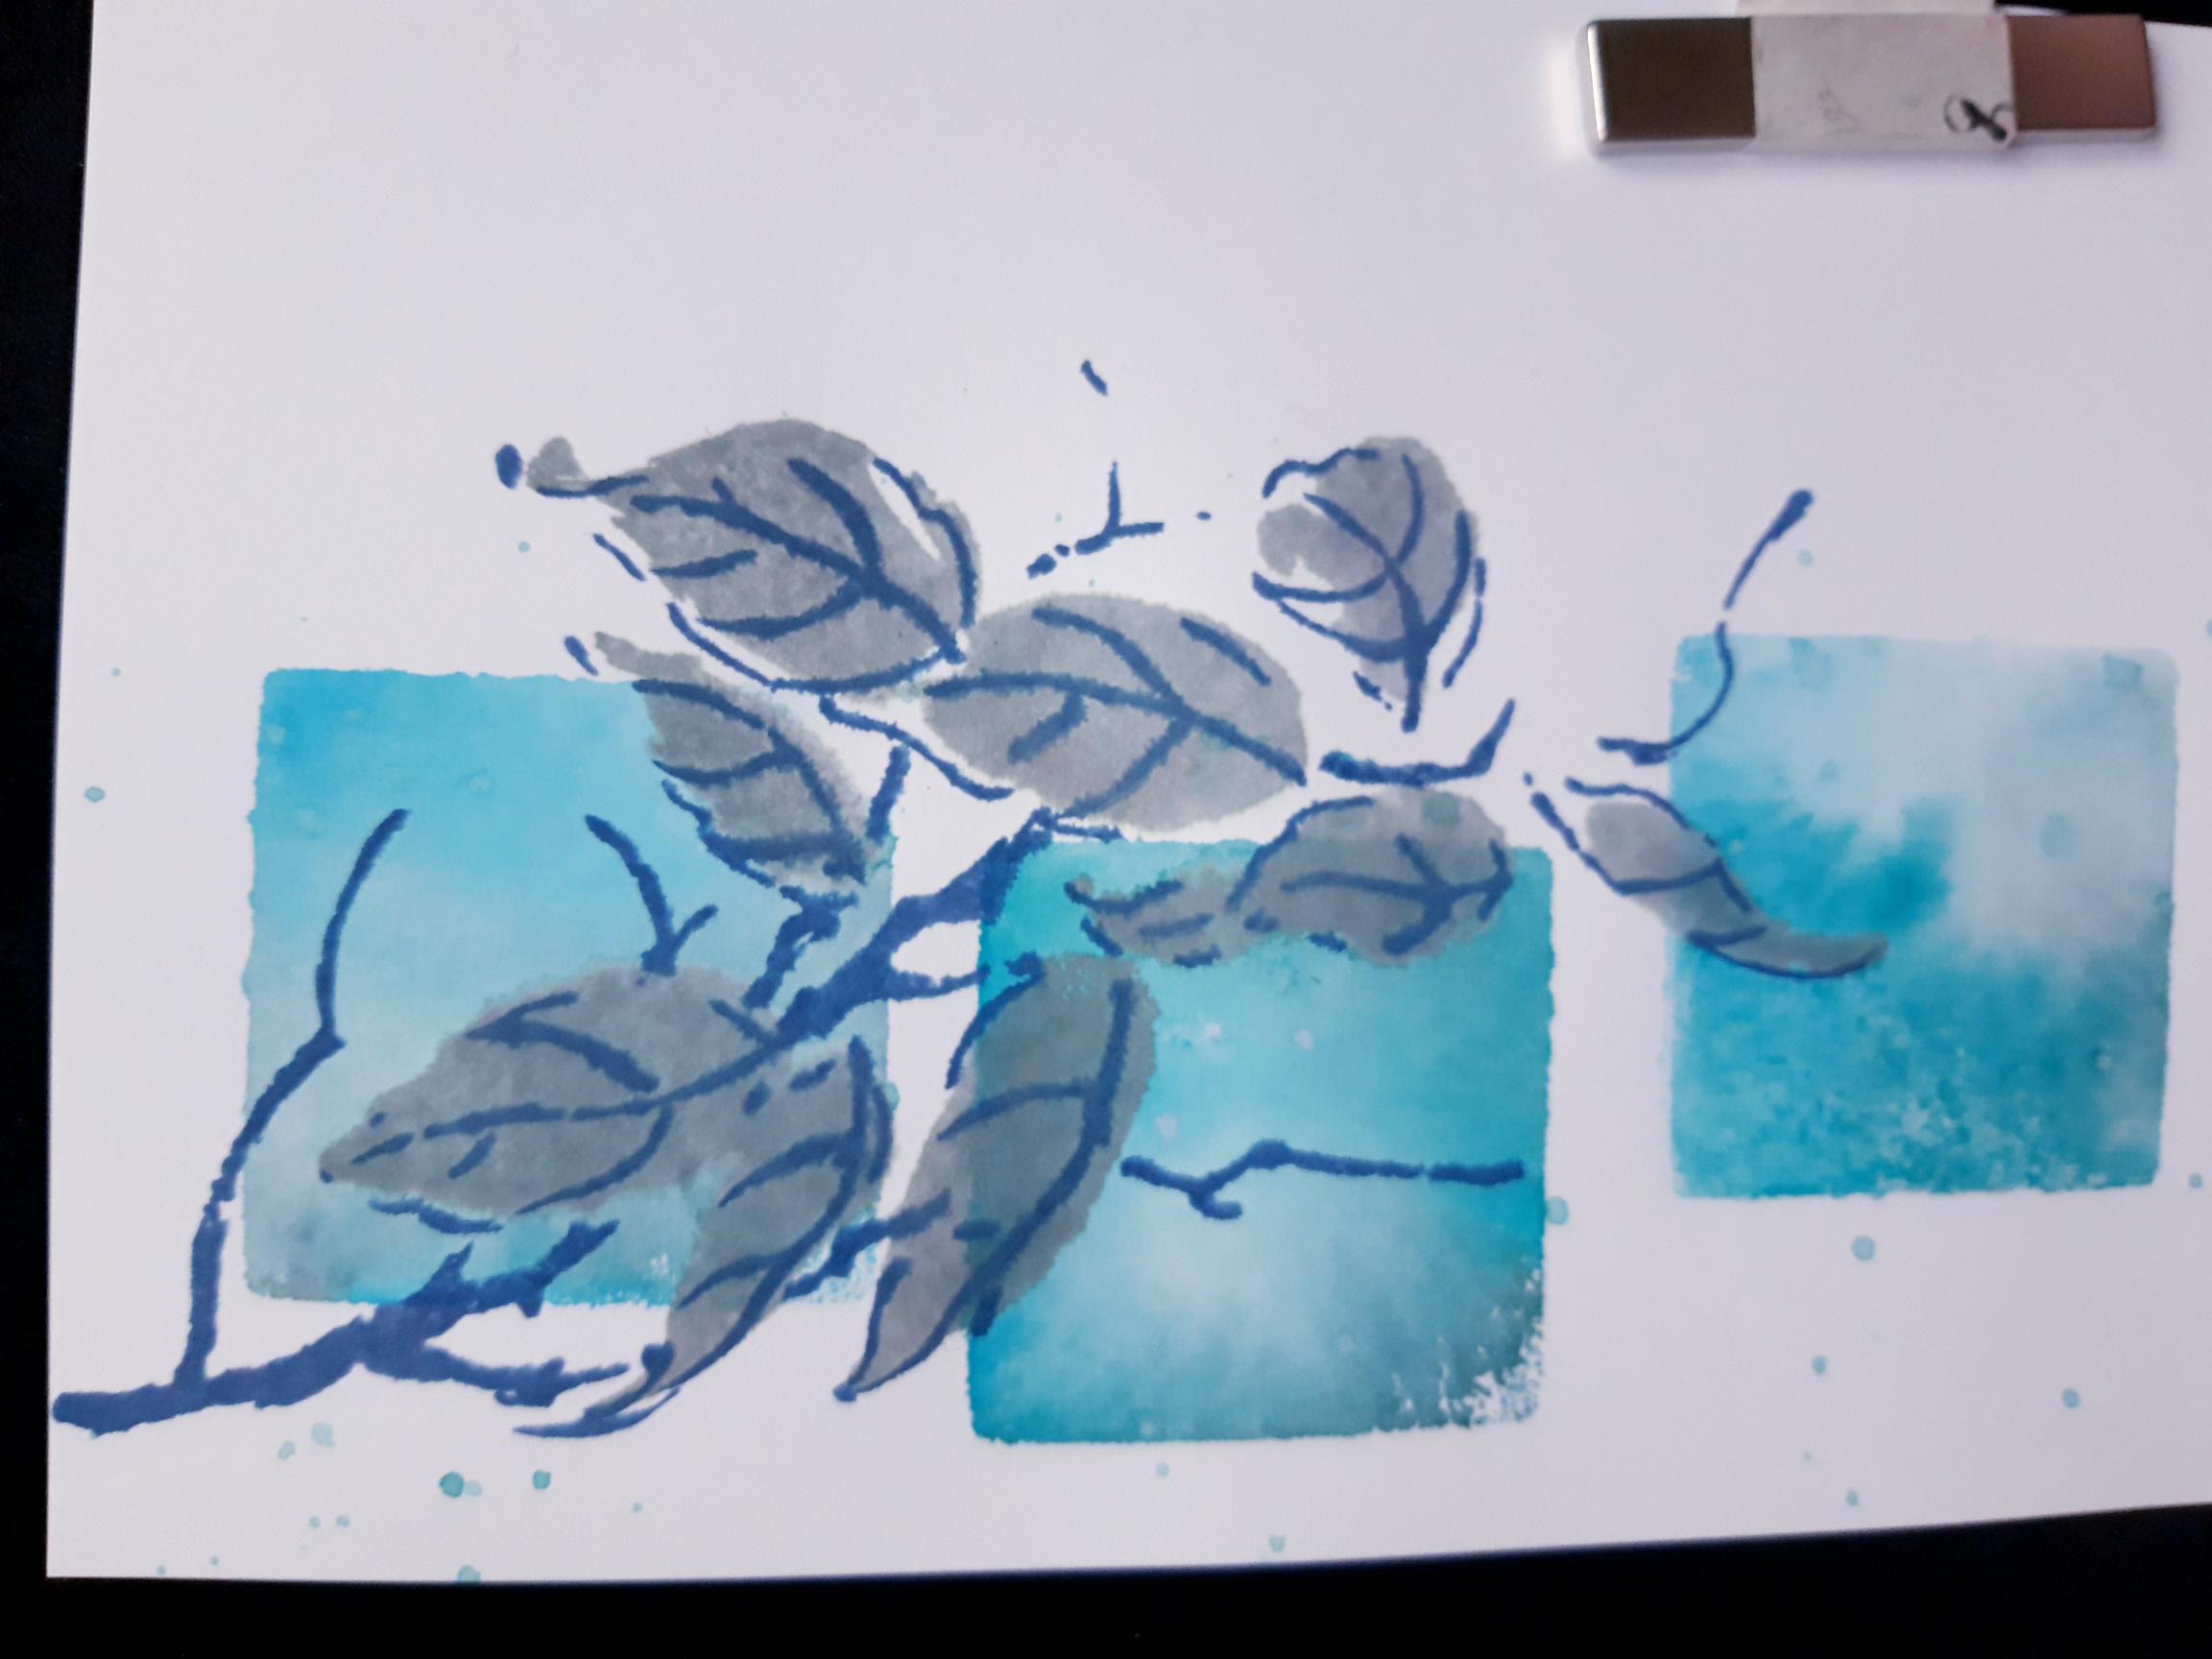
Ink up the detailed, coordinating stamp, with the Faded Jeans Distress Oxide. Spritz with water, line it up and stamp over the stamped image. If you are unsure where to stamp, use the images on the packaging as a guide. Alternatively, stamp it on to copier paper first, to see how the 2 stamps line up. These are "loose" lamination designs, so don't be too worried if you can't line them up perfectly. |
|
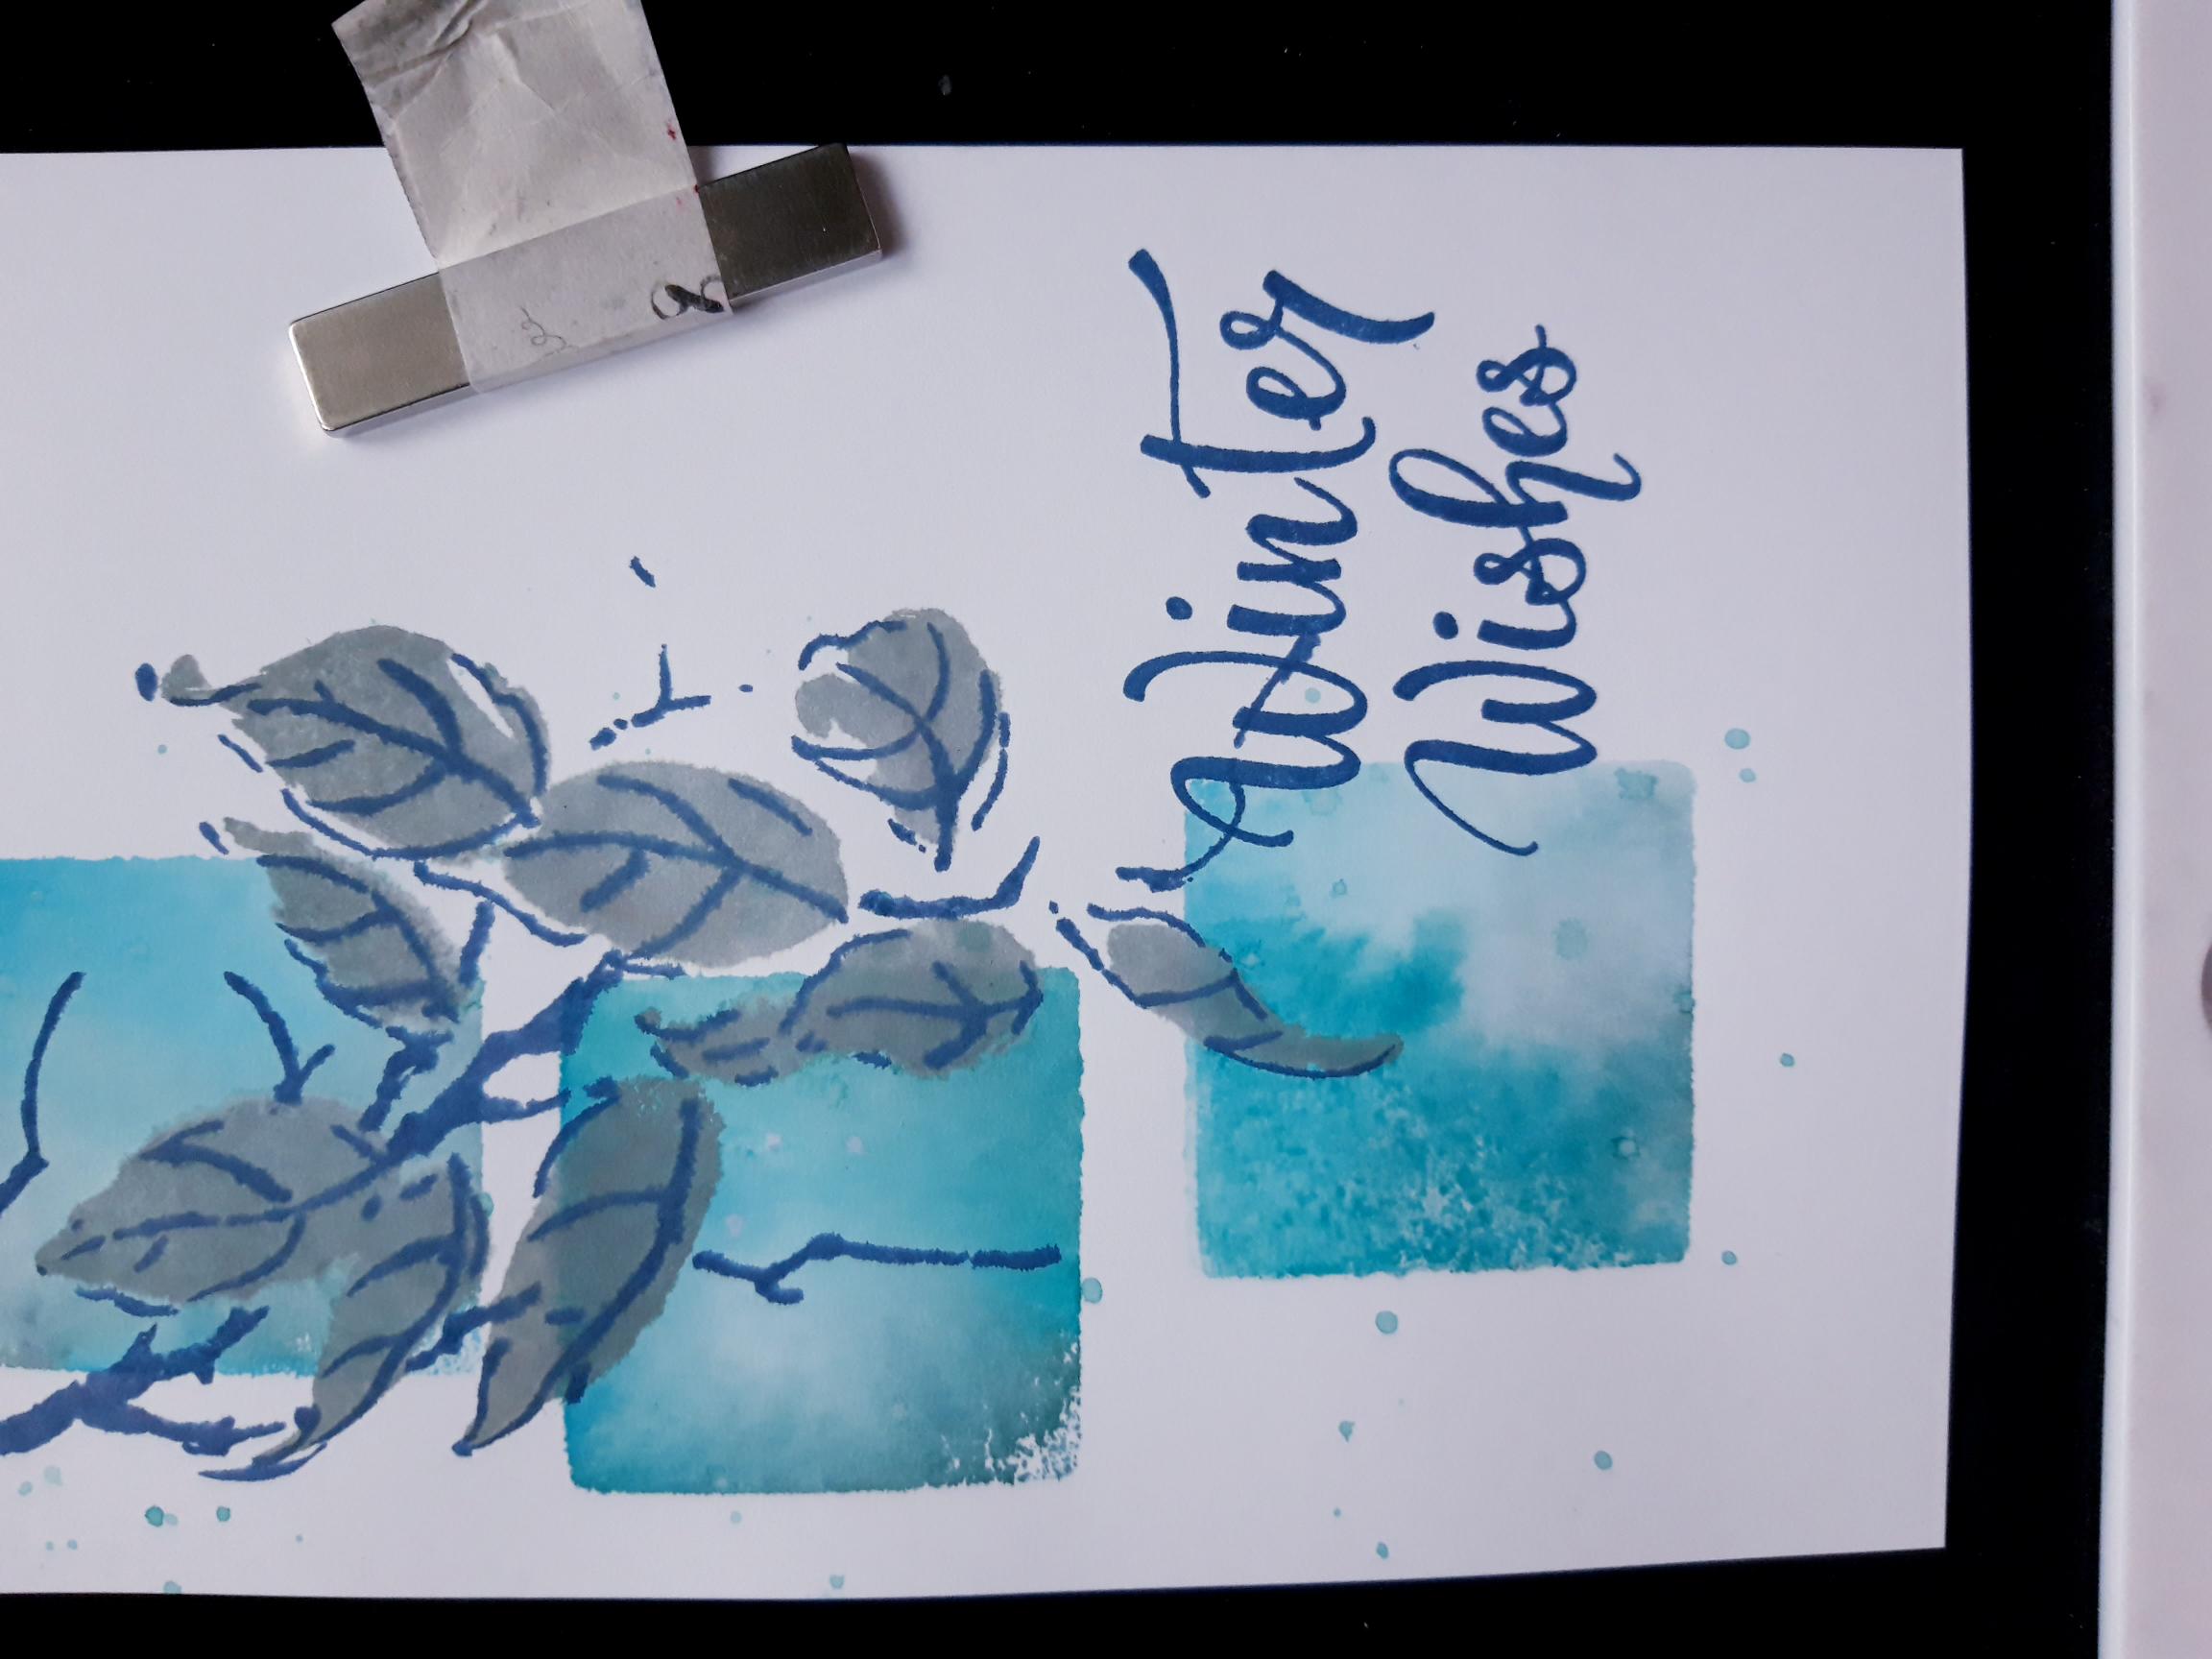
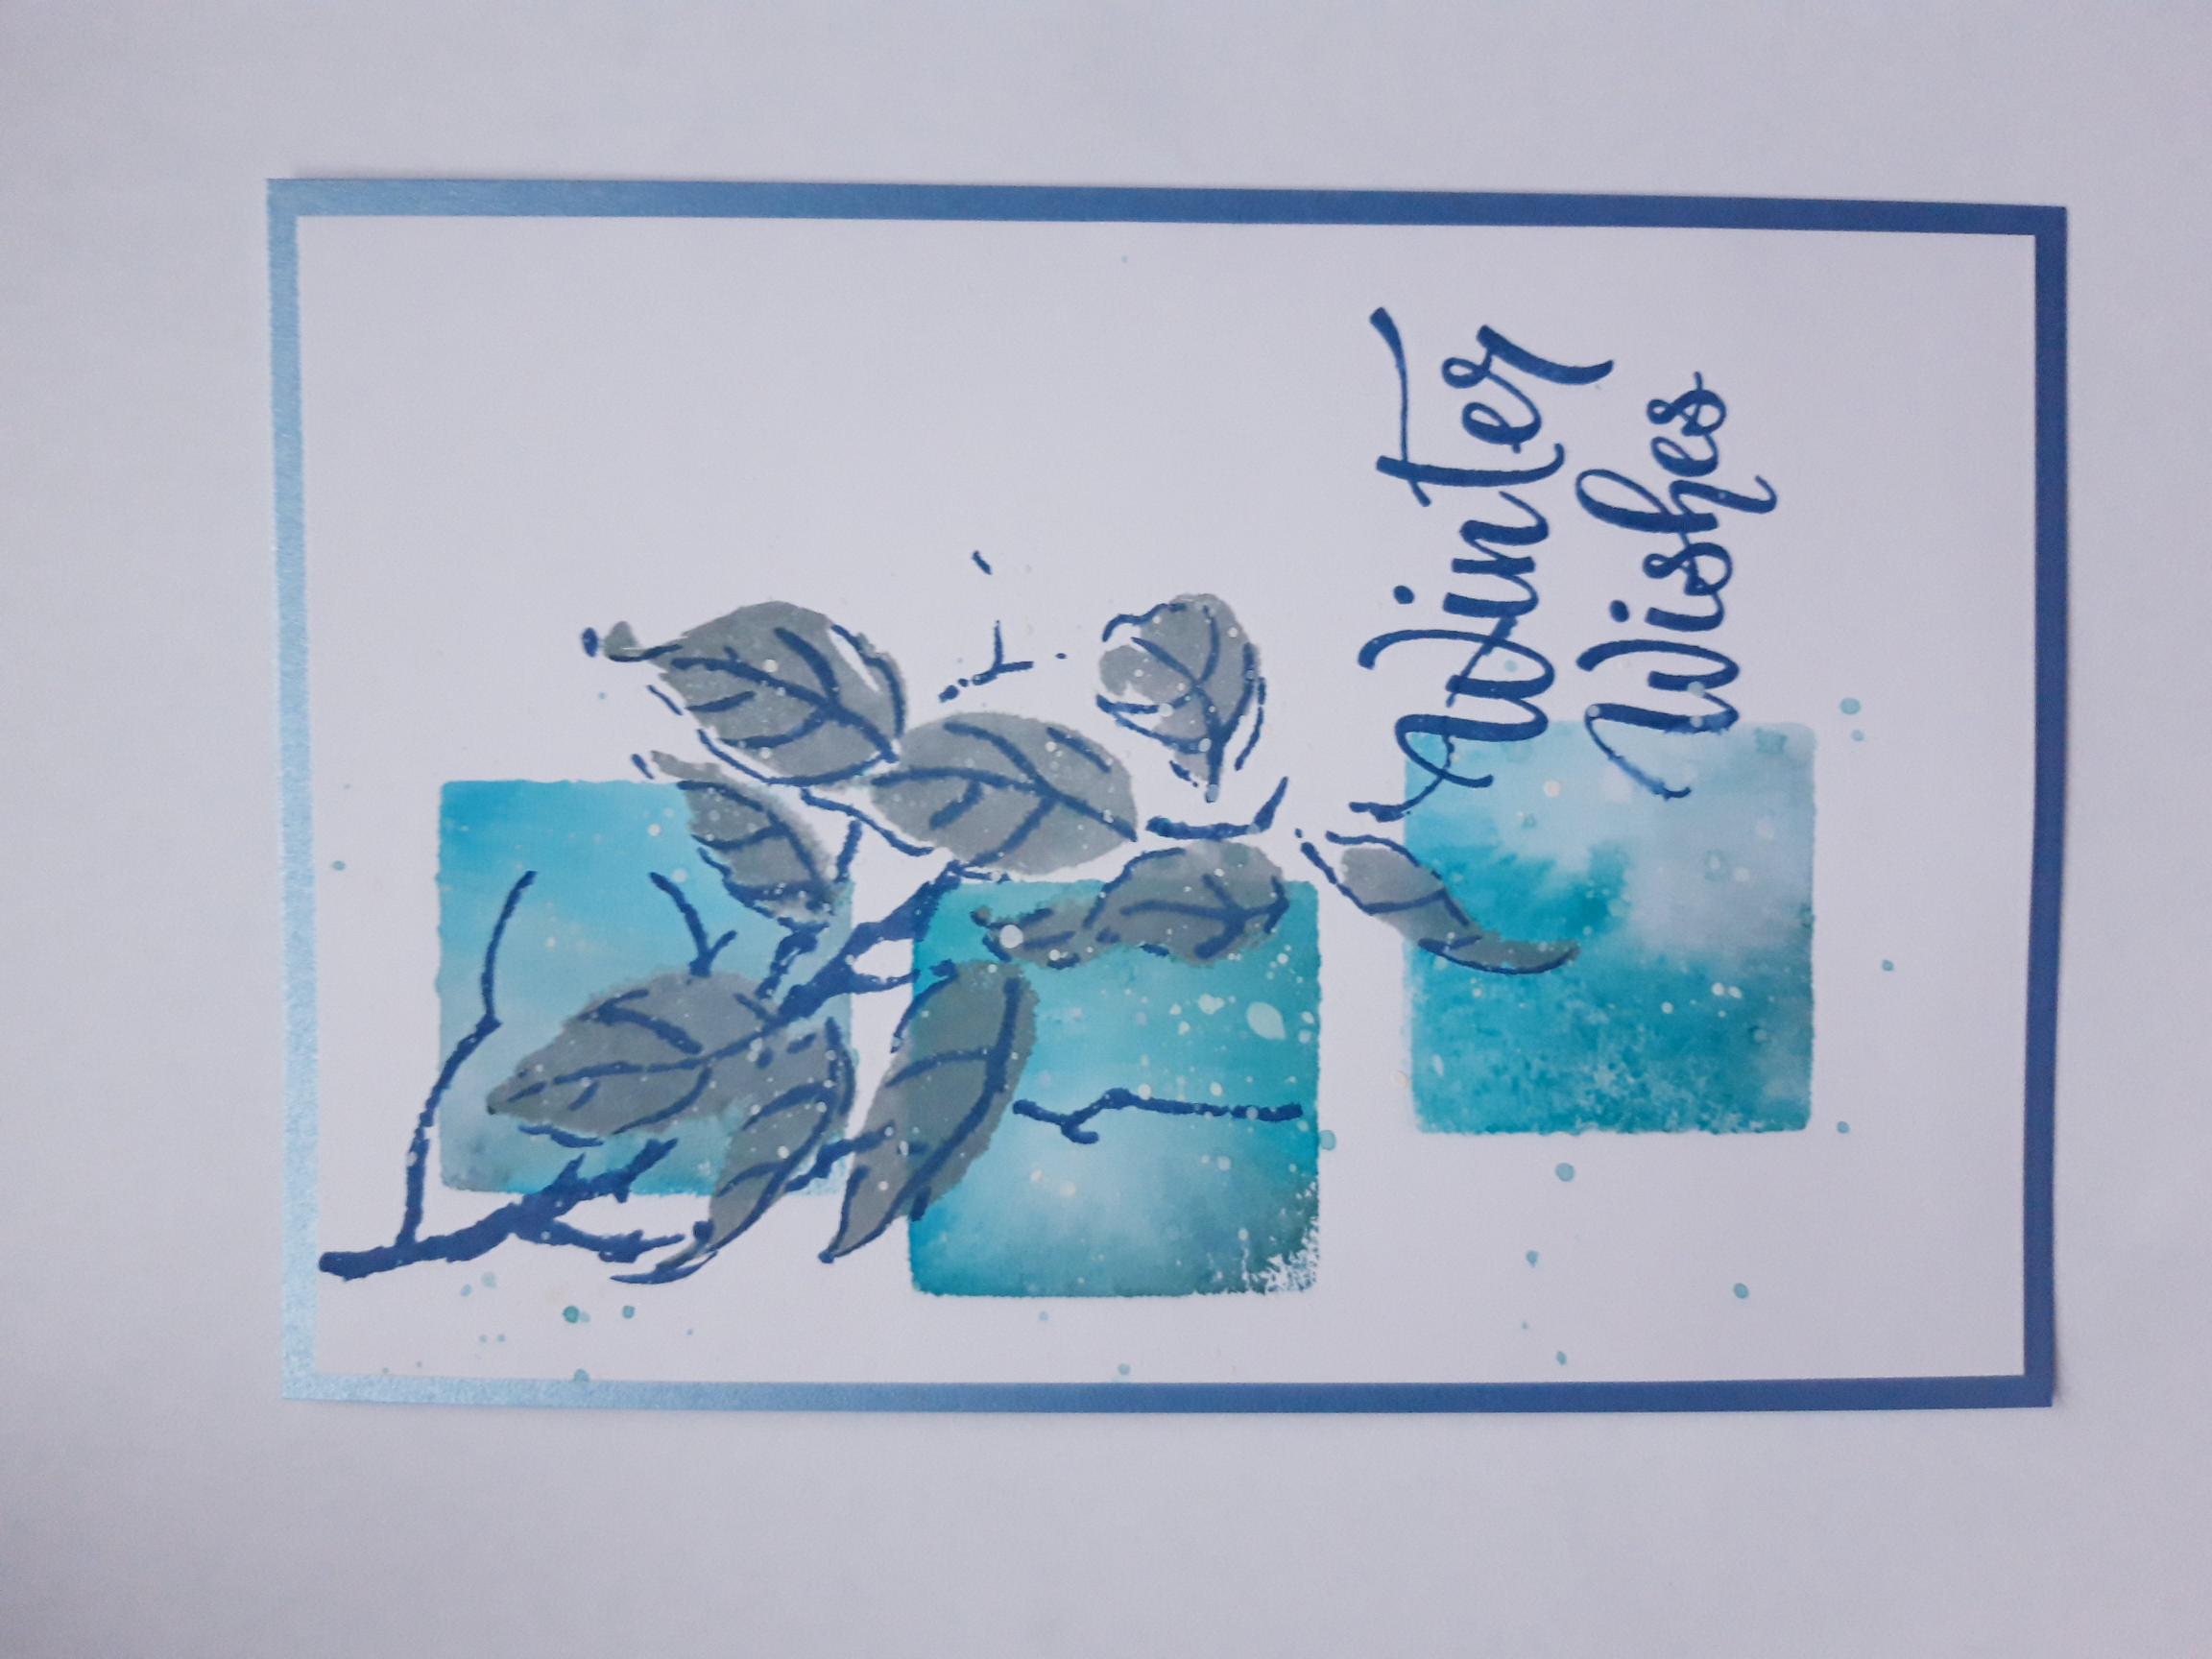
Ink up the sentiment, from the Christmas Blessings Stamp Collection, with the Faded Jeans Oxide. Stamp just to the right of the bottom of your stamped foliage. You can reink, and stamp, as many times as you want, to achieve the depth of colour required. |
|
Spray the Confetti Paint with water, and use a paint brush to splatter the paint all over your artwork, as required. I love lots of splats but you can add as little, or as much, as you like. Dry off all your artwork thoroughly. |
|
Mat your artwork on top of the blue, pearlised card. |
|
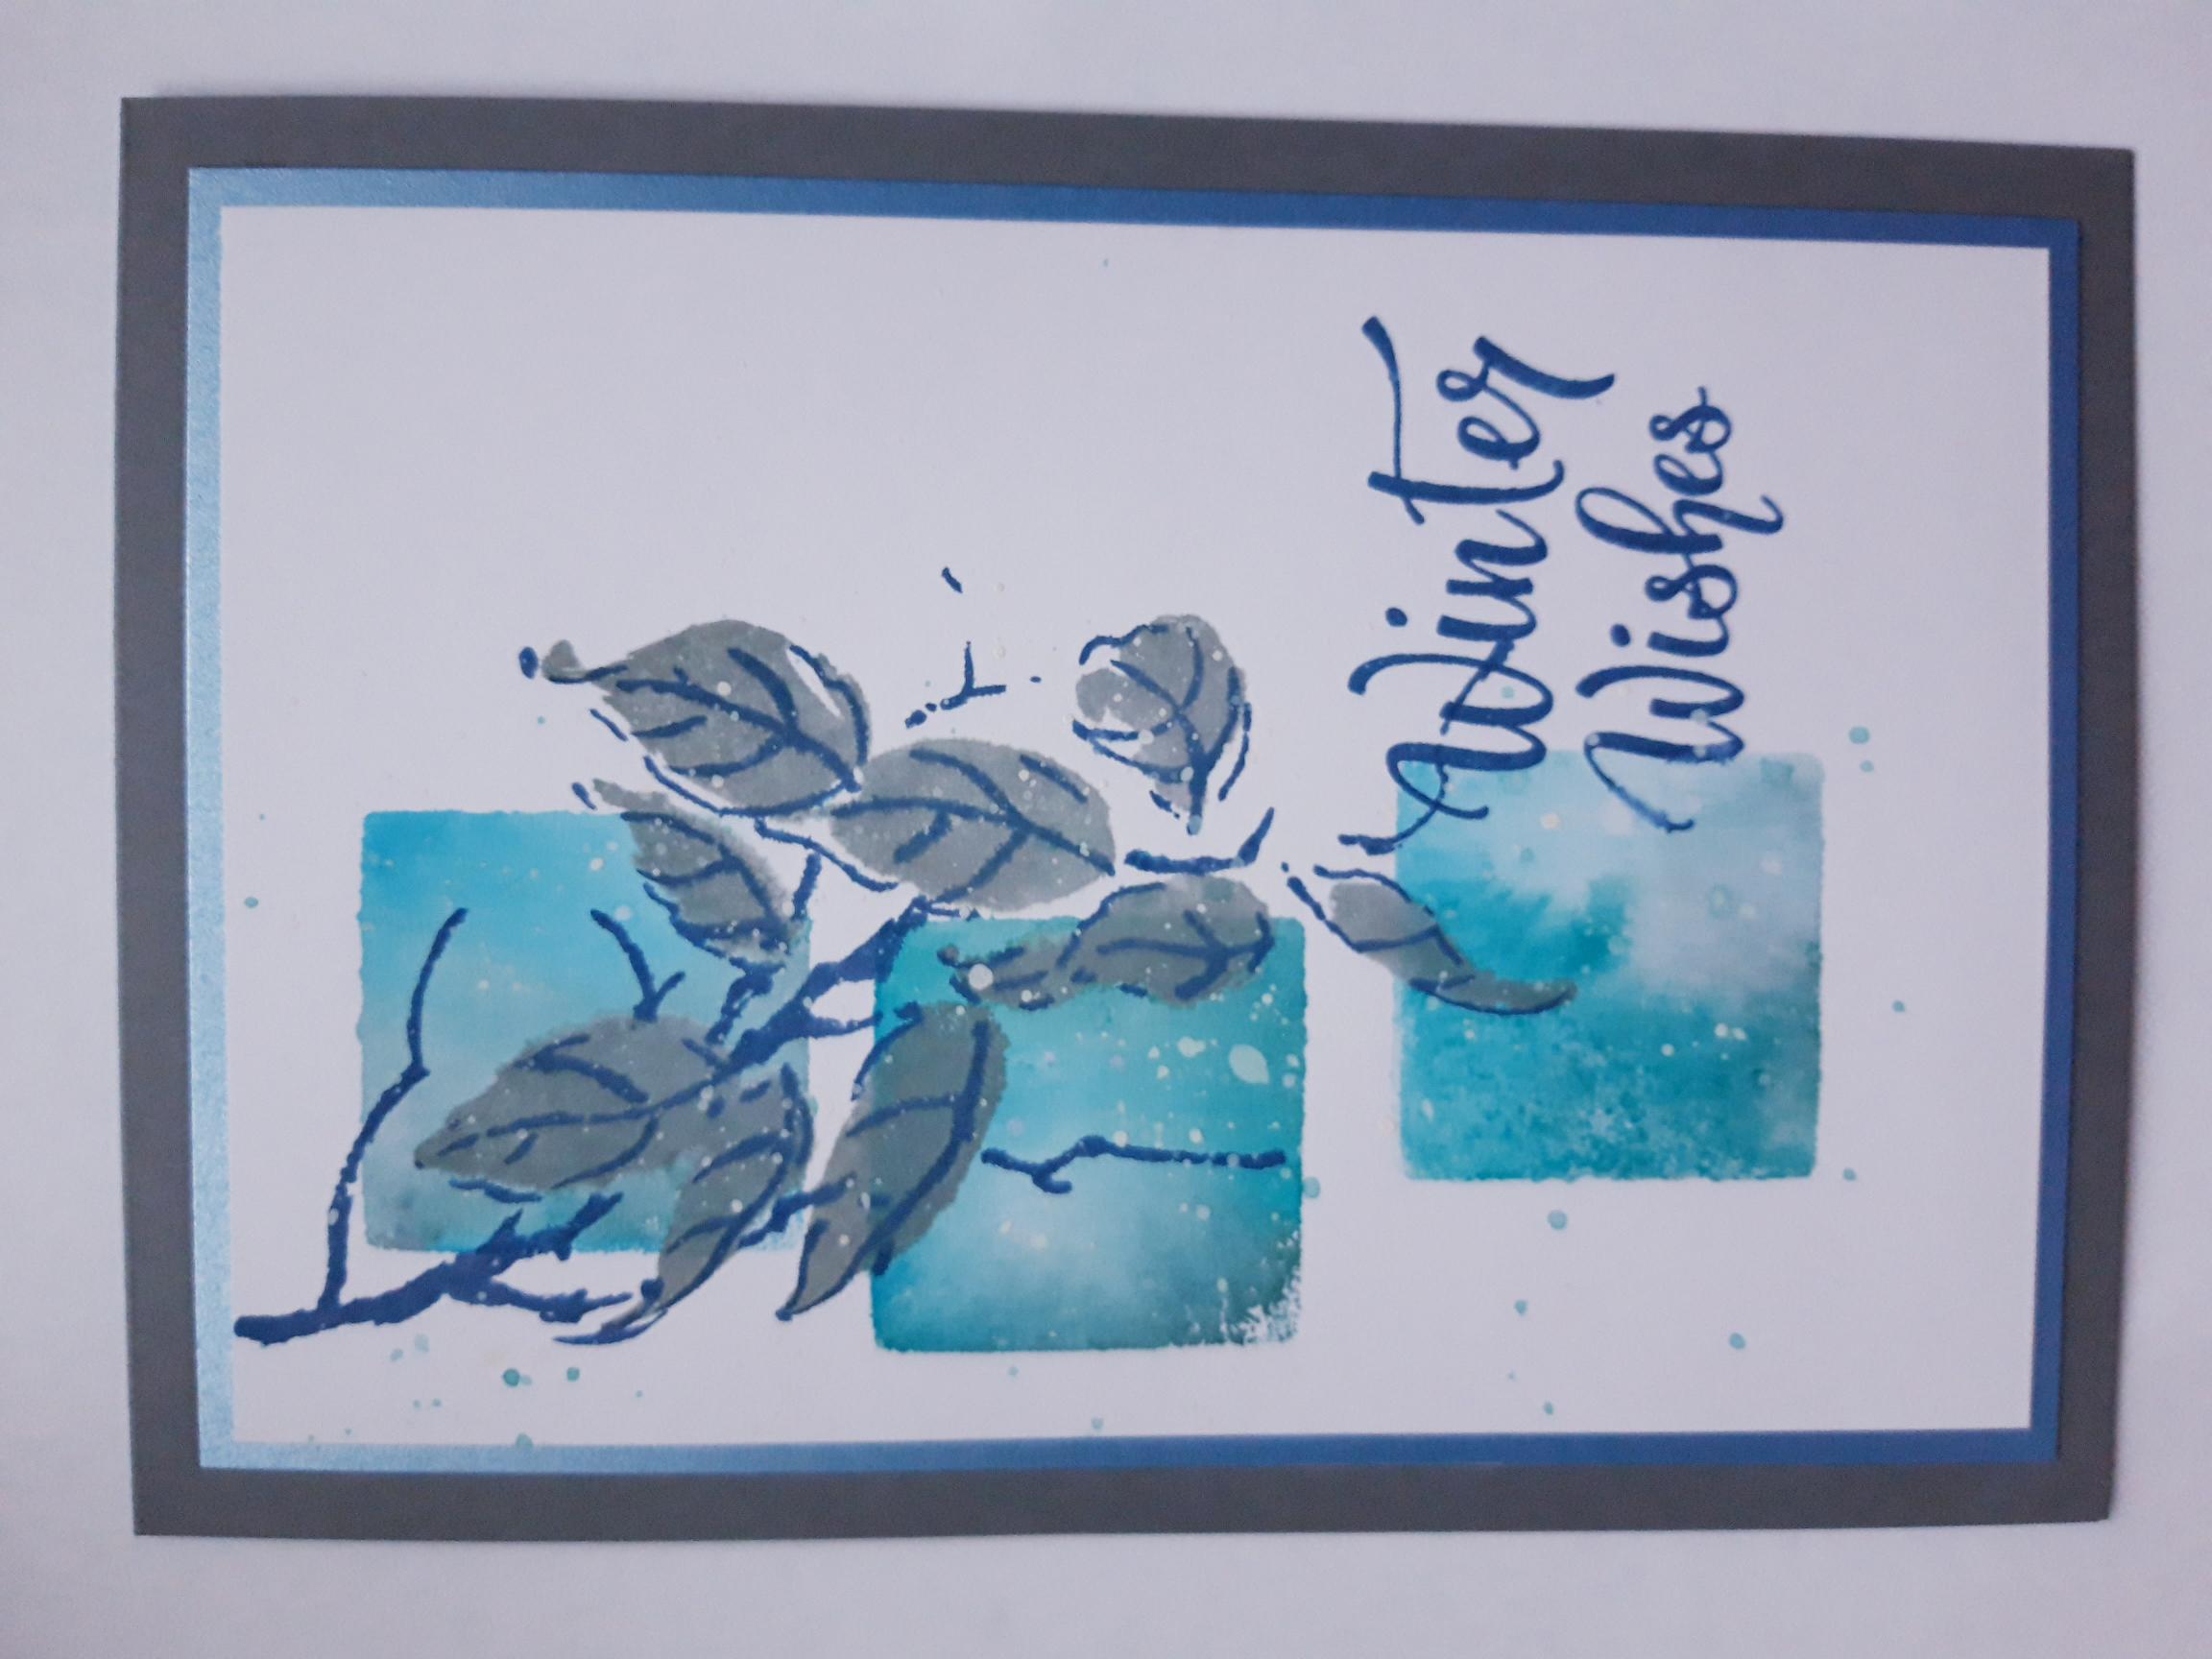
Mat this on top of your grey, top folding, card blank. |
|
To finish, add some sequins on to your artwork, as required. |