

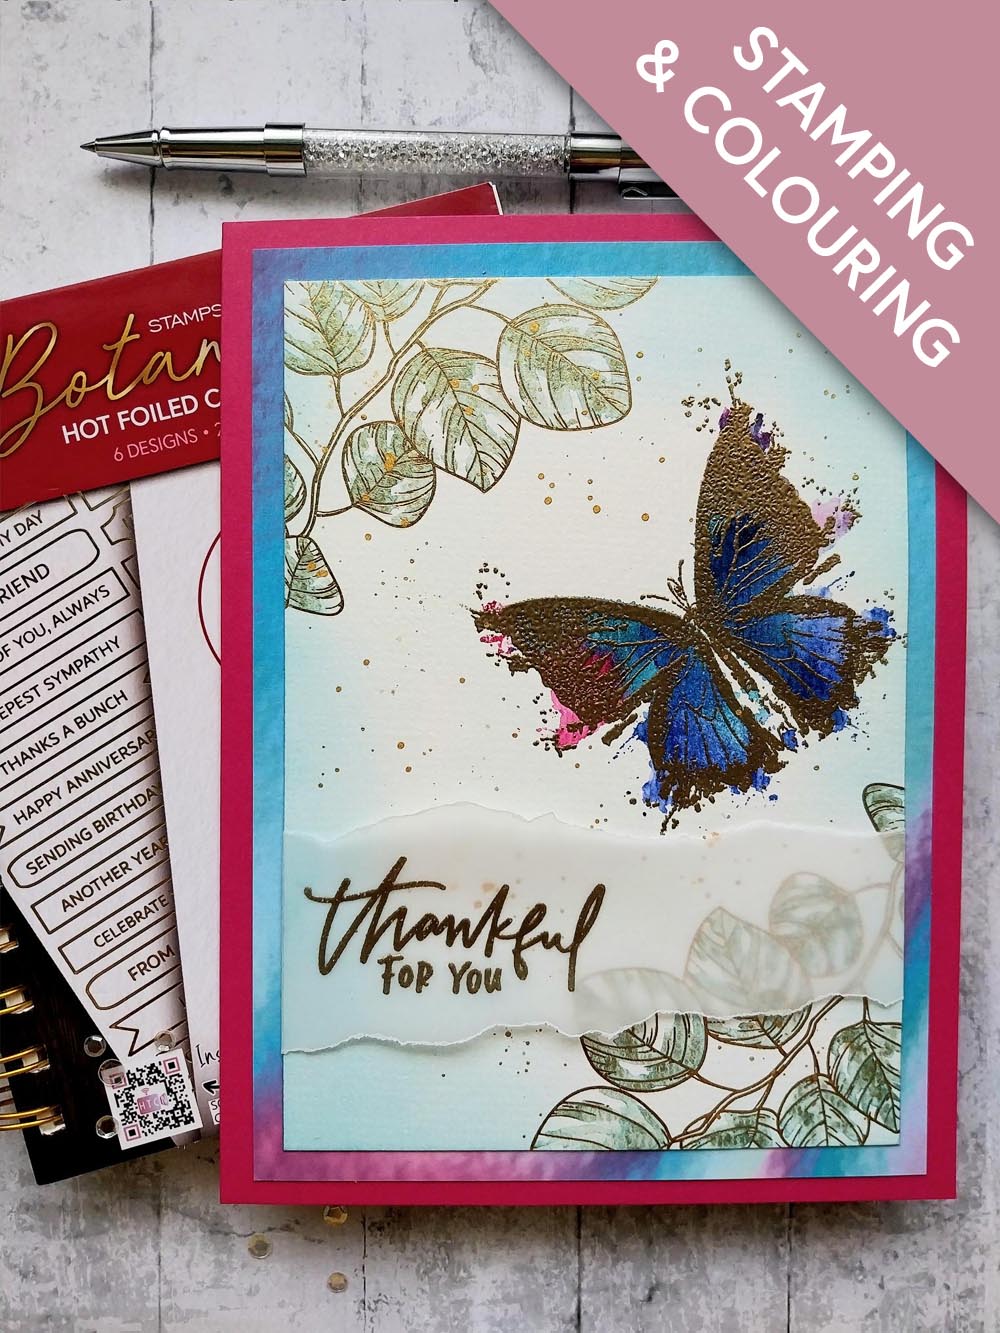
WAHT YOU WILL NEED:
Fushia card blank 6 x 8
Botanicals Hot Foiled Colouring Book
Thankful For You Lamination
All Surfaces 8 x 8 Holographic Paper Pad
Watercolour paints
Paint brush
SBM Dye Ink Pad: Magenta, Tiffany, Surfboard
Confetti Ink: Goldmine
Water spray bottle
WOW embossing ink pad
WOW Gold embossing powder
WOW Heat tool
Anti-static bag
Eureka 101 Watercolour Tablet
SBM A3 Magnetic glass mat
Paper Trimmer
Glue
[click image to enlarge] 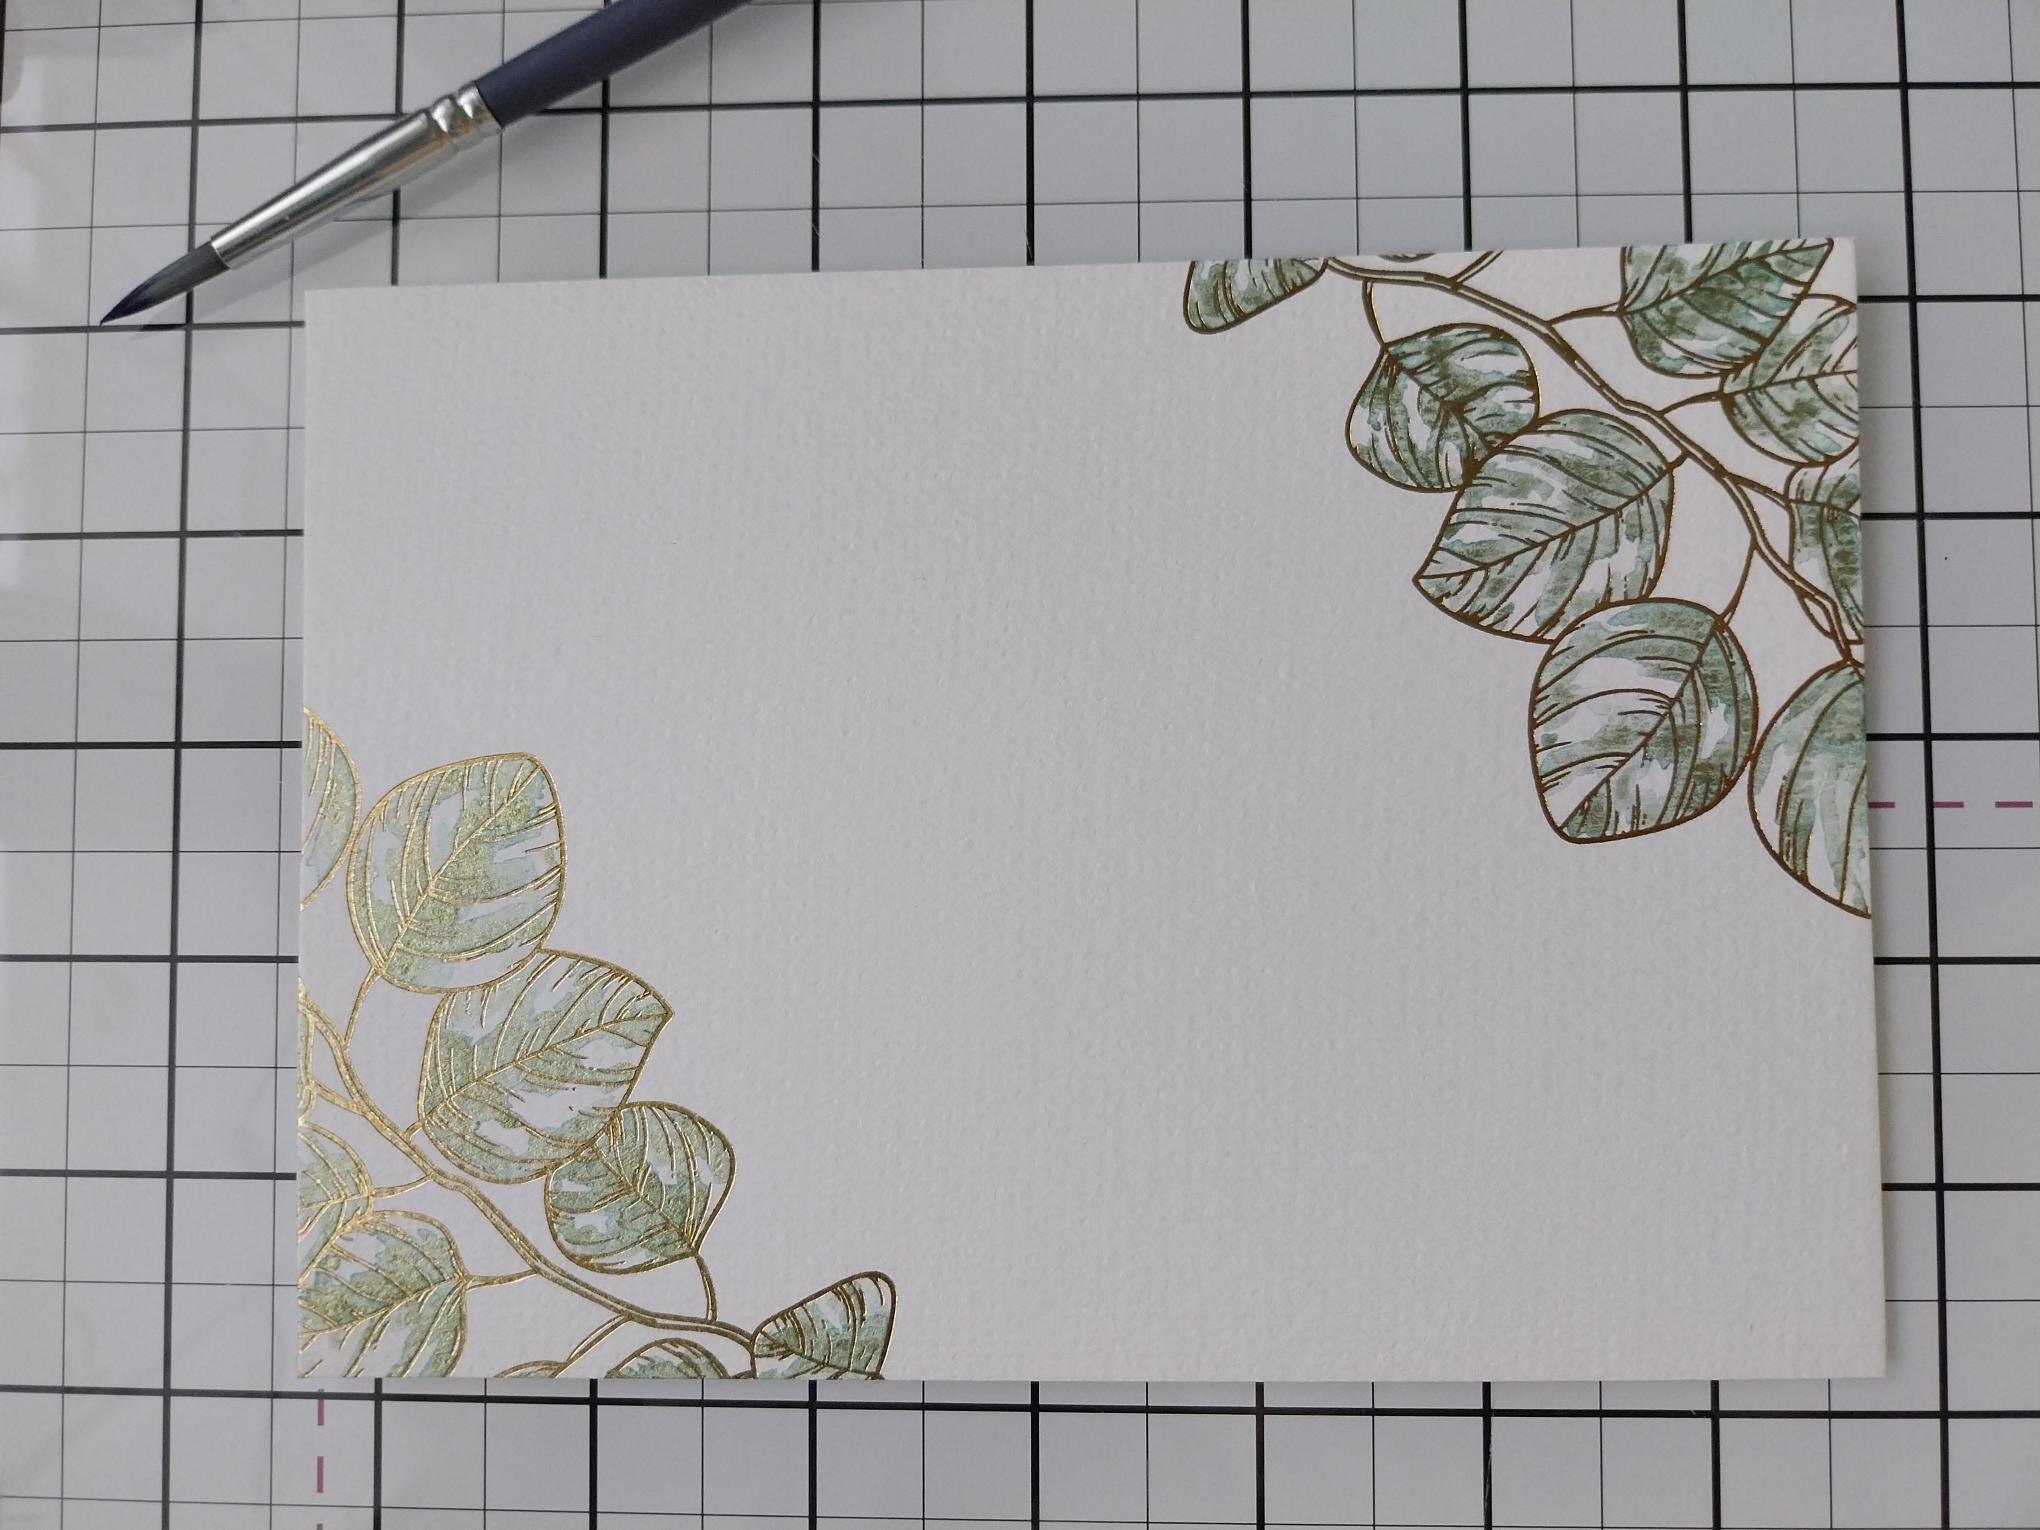
|
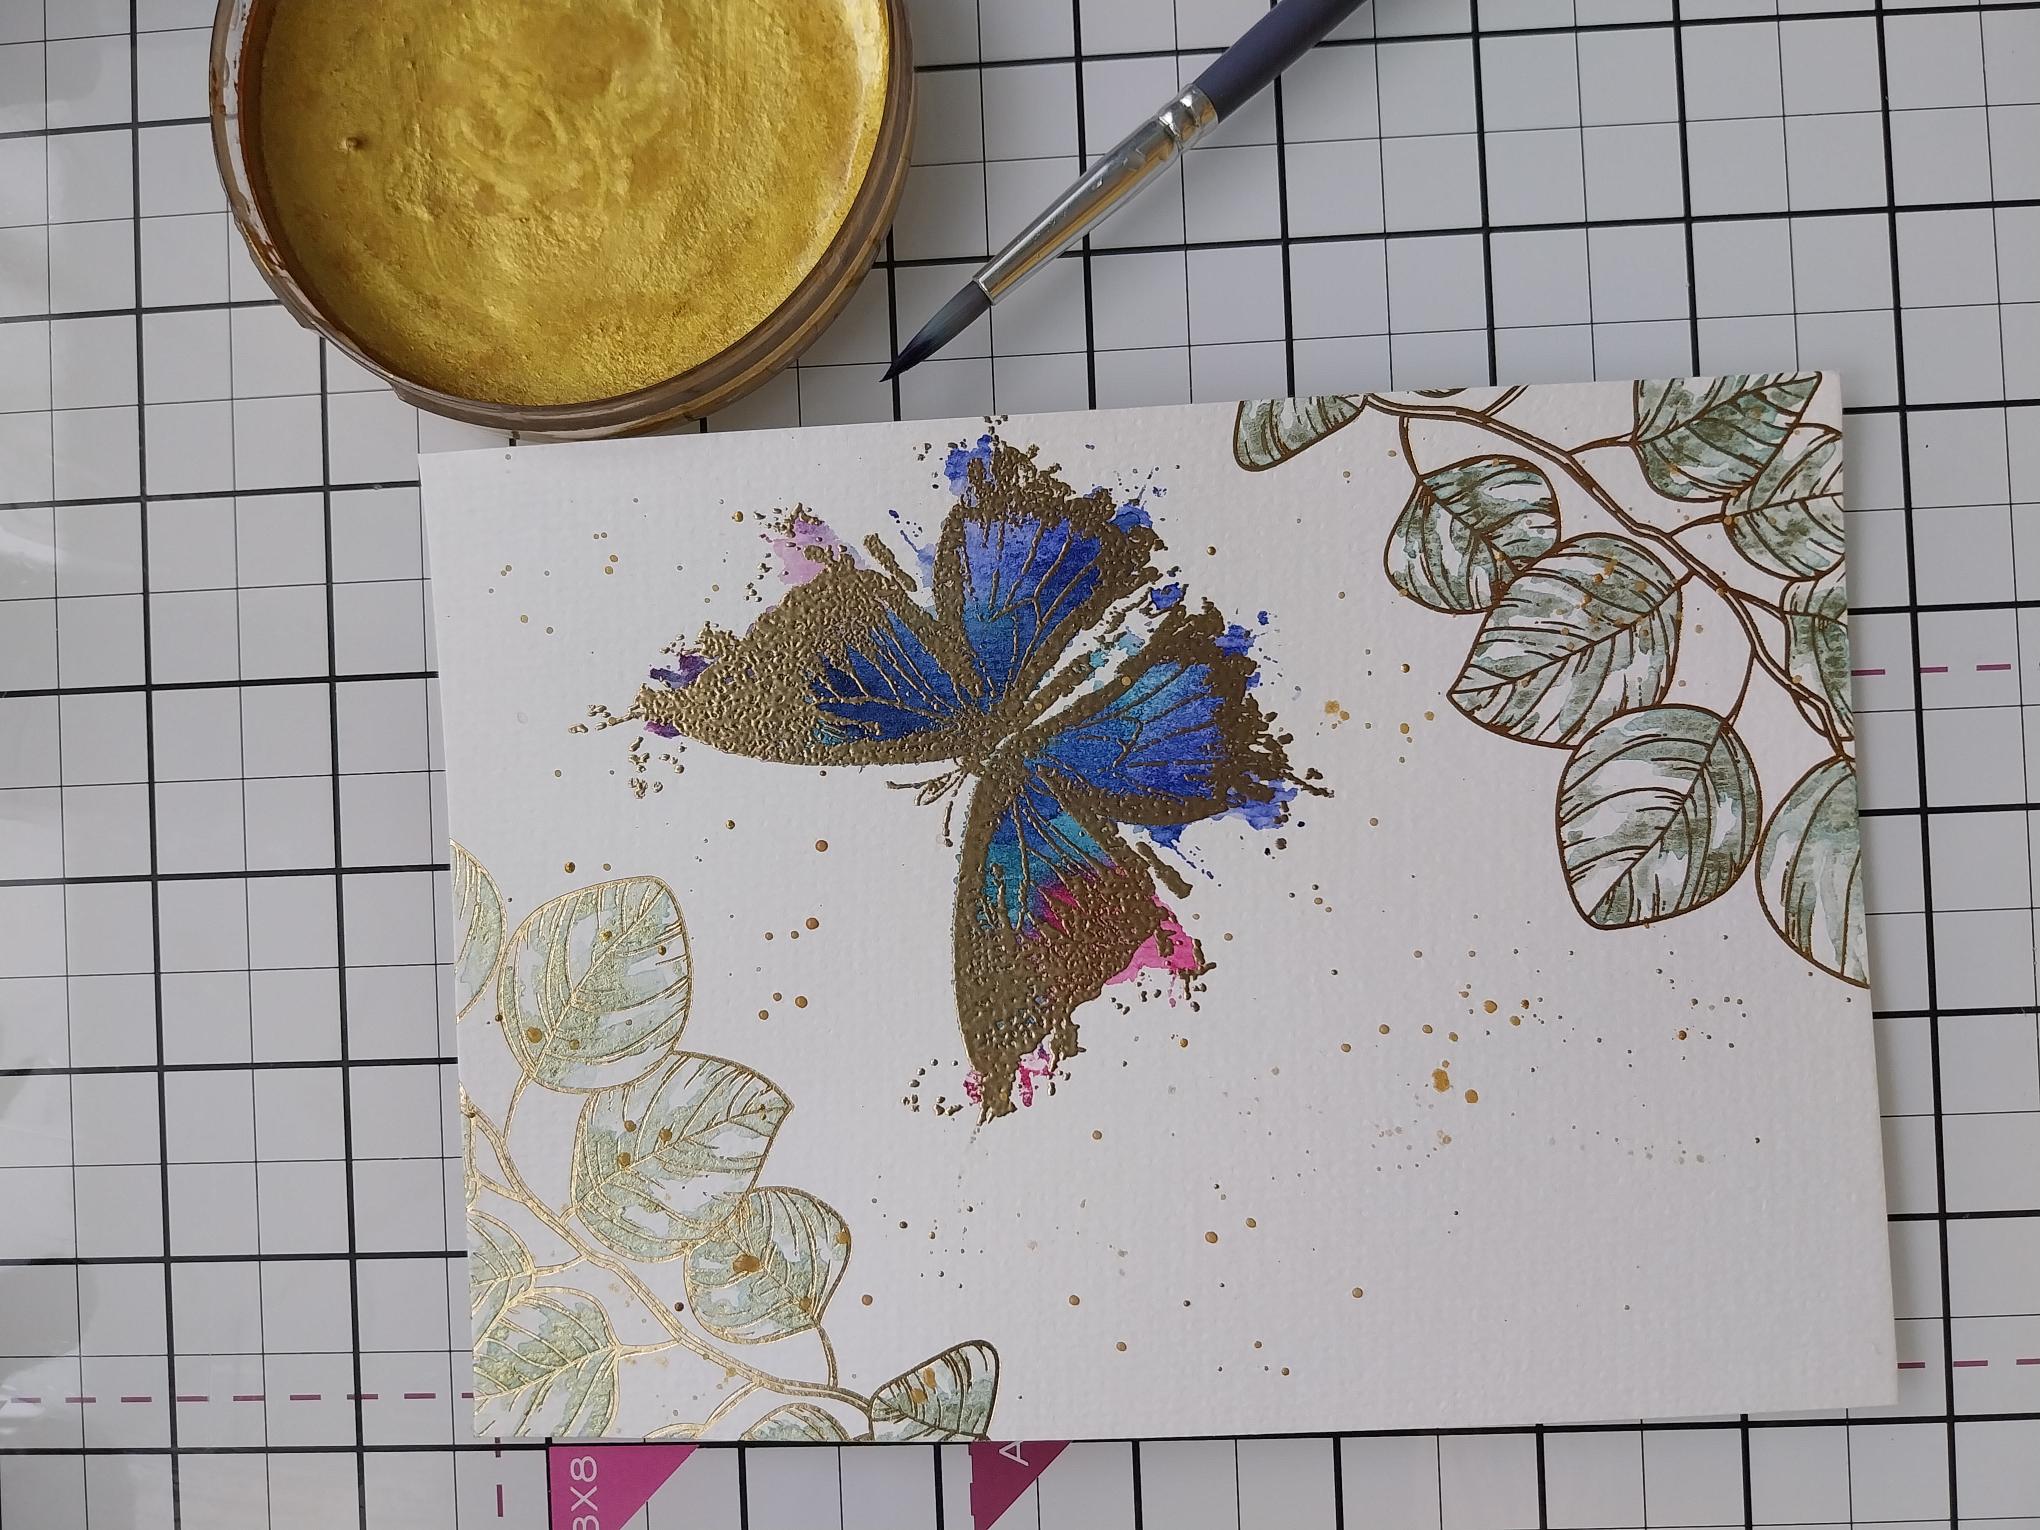
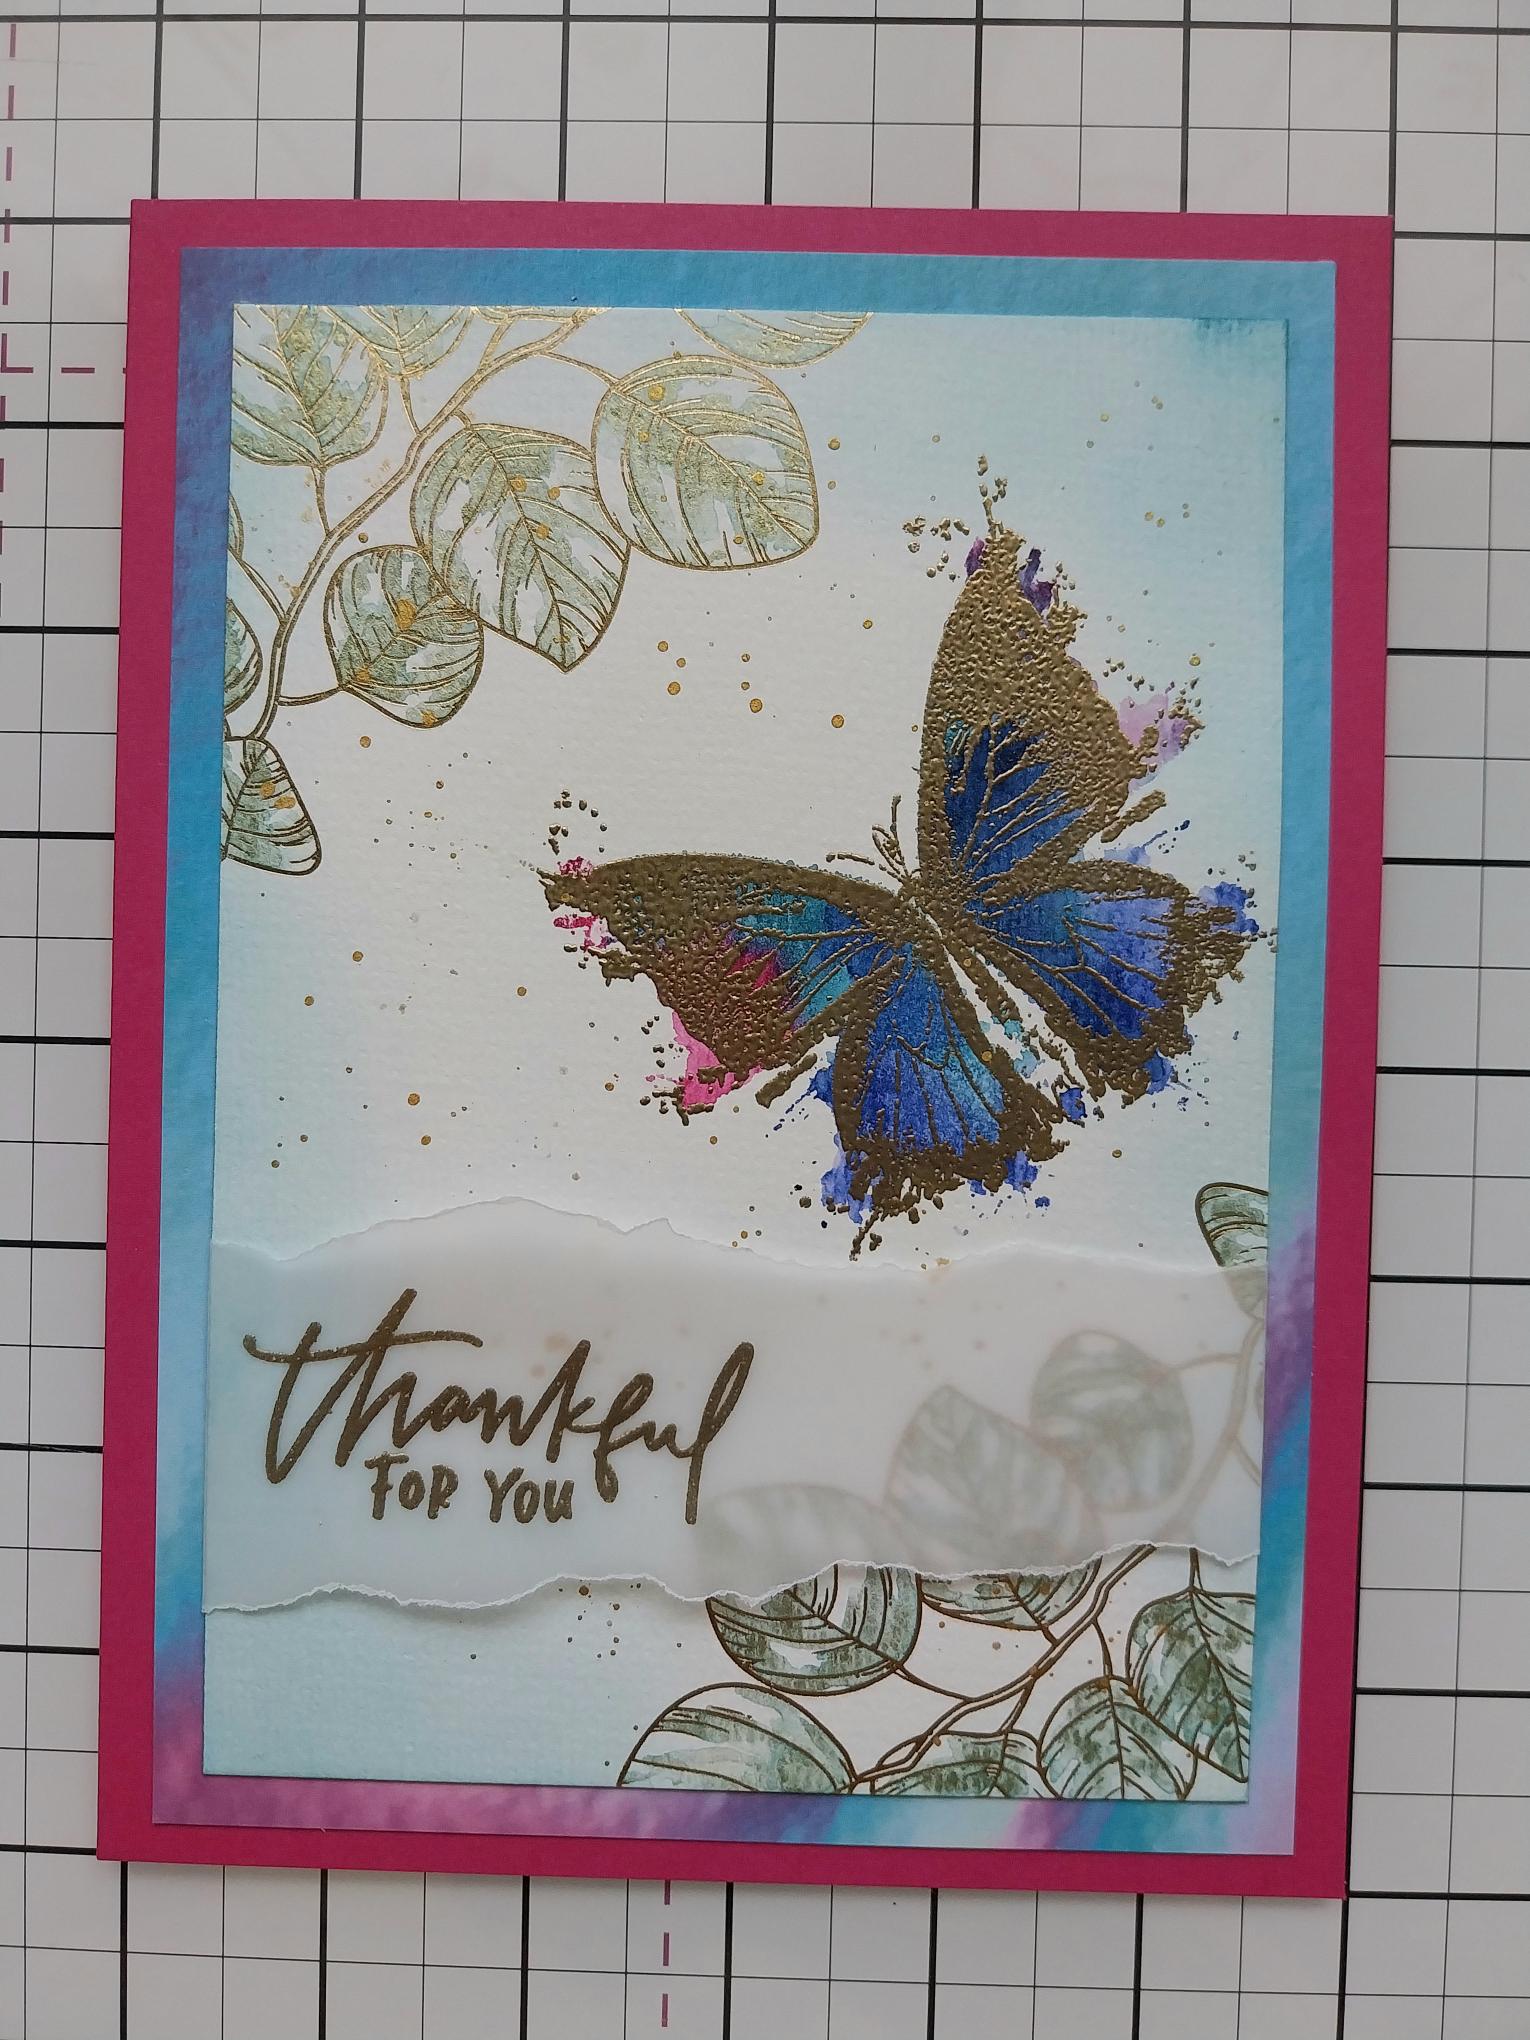
Remove this beautiful foliage design from the Botanicals colouring book. Paint clean water in a couple of the leaves, then drop your paints in to the water and allow it to move freely. This is referred to as the "wet-in-wet" technique. Repeat this in each leaf, until your design is complete. |
|
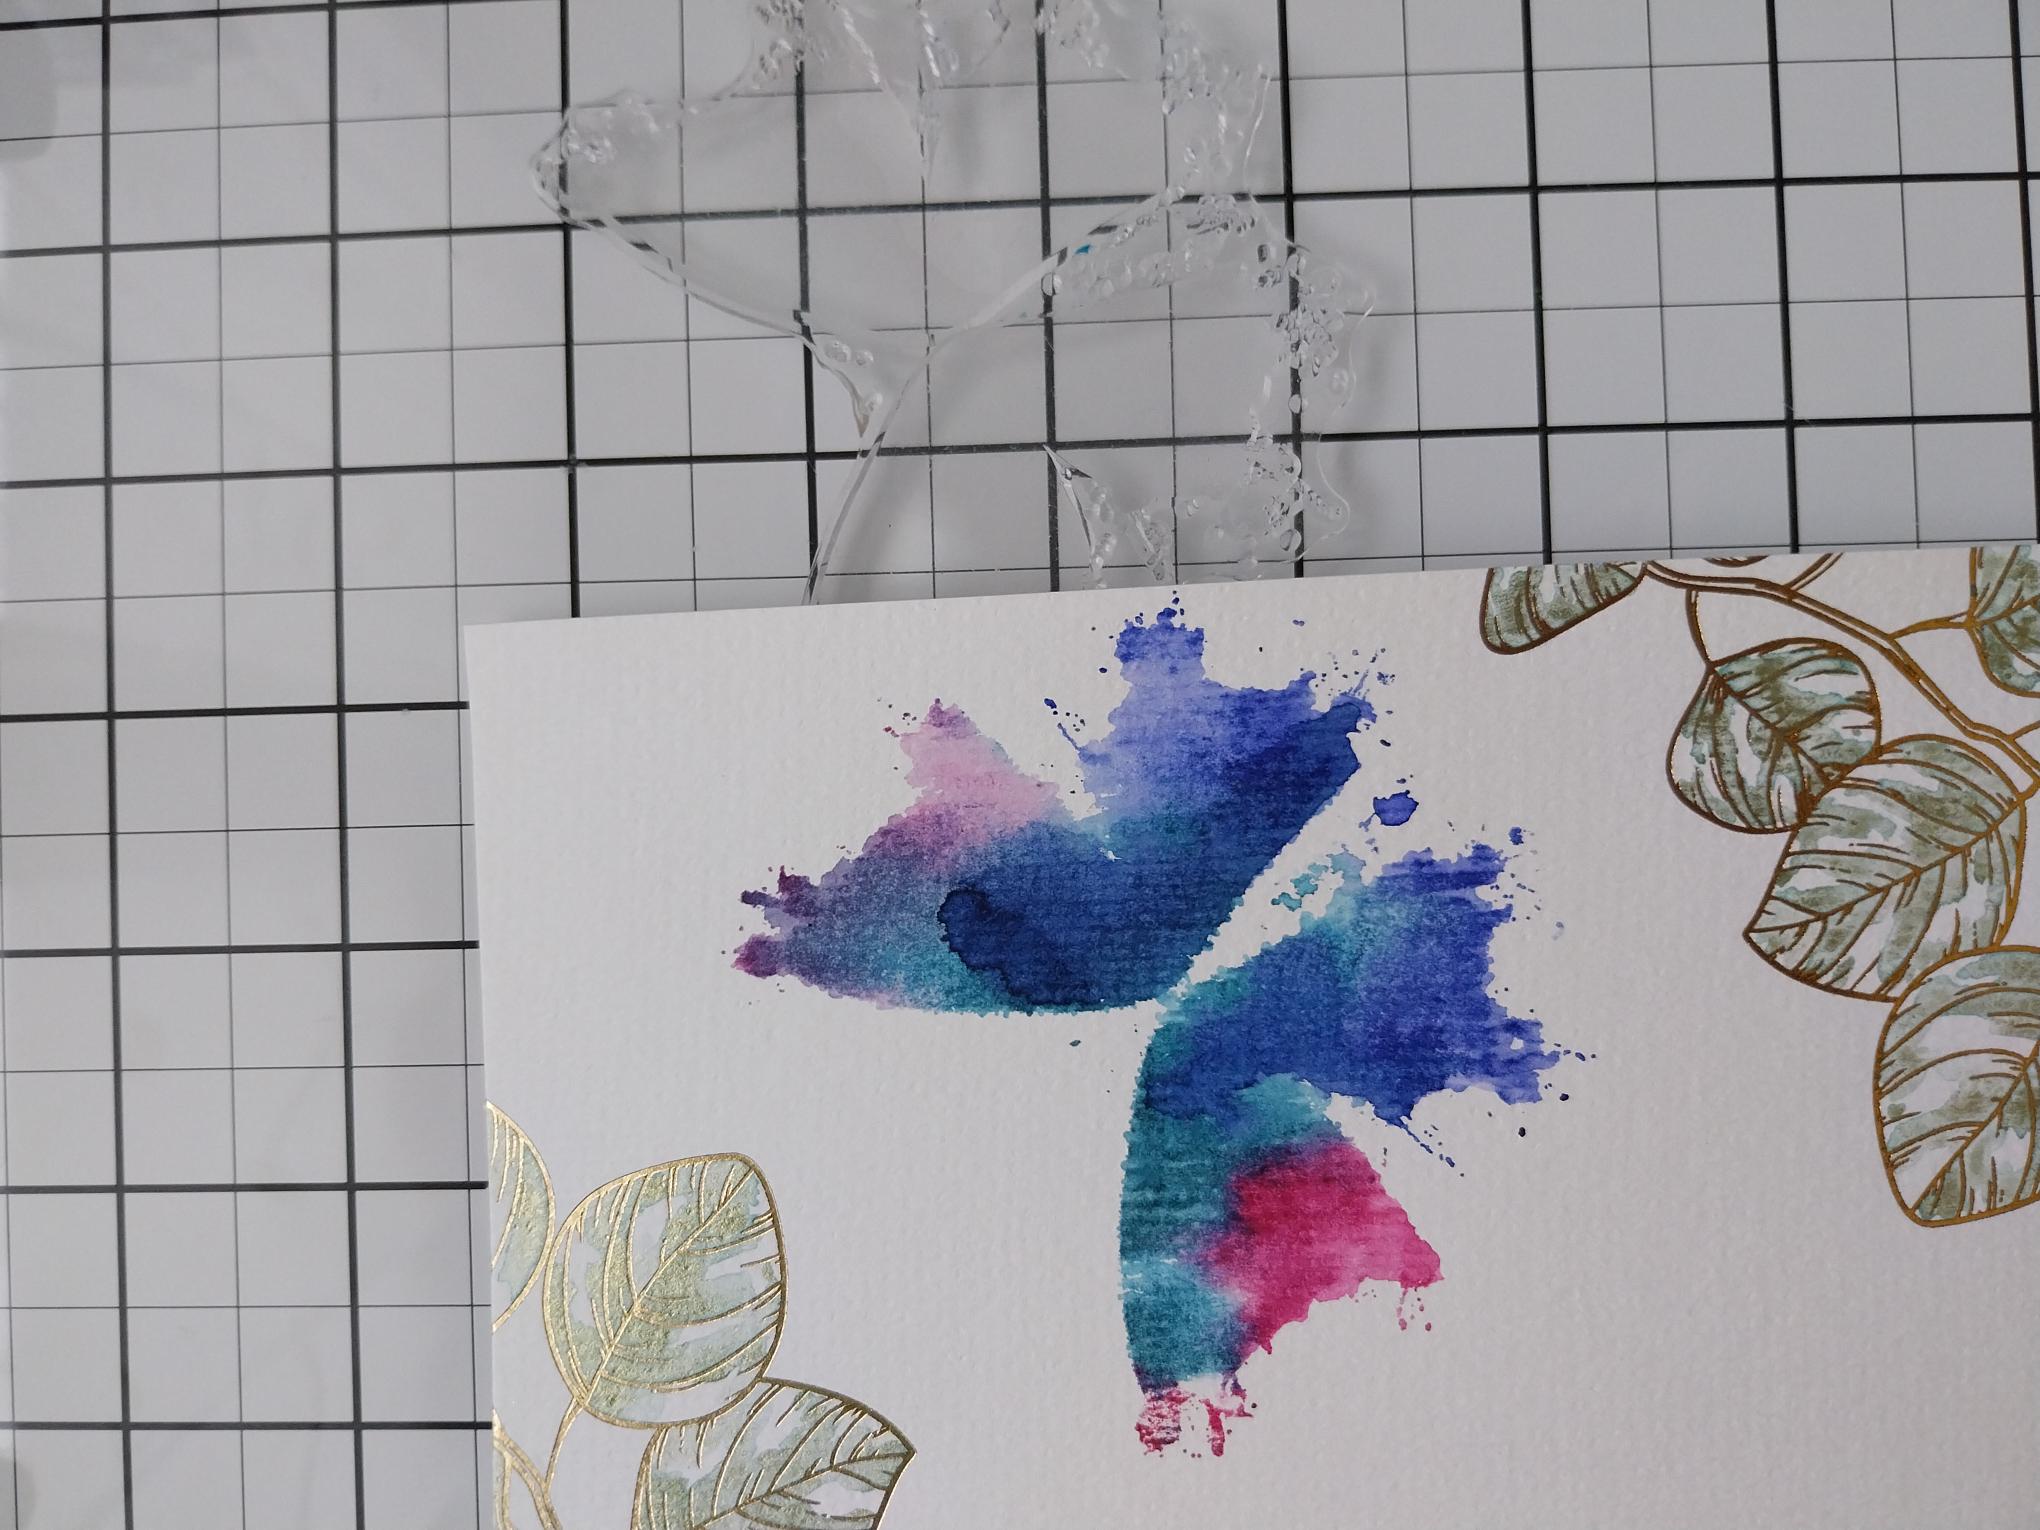
Ink the solid lamination stamp, from Thankful For You, with your dye inks and spritz with a little water. Stamp coming on to the right side of your artwork. Dry thoroughly with your heat tool. |
|
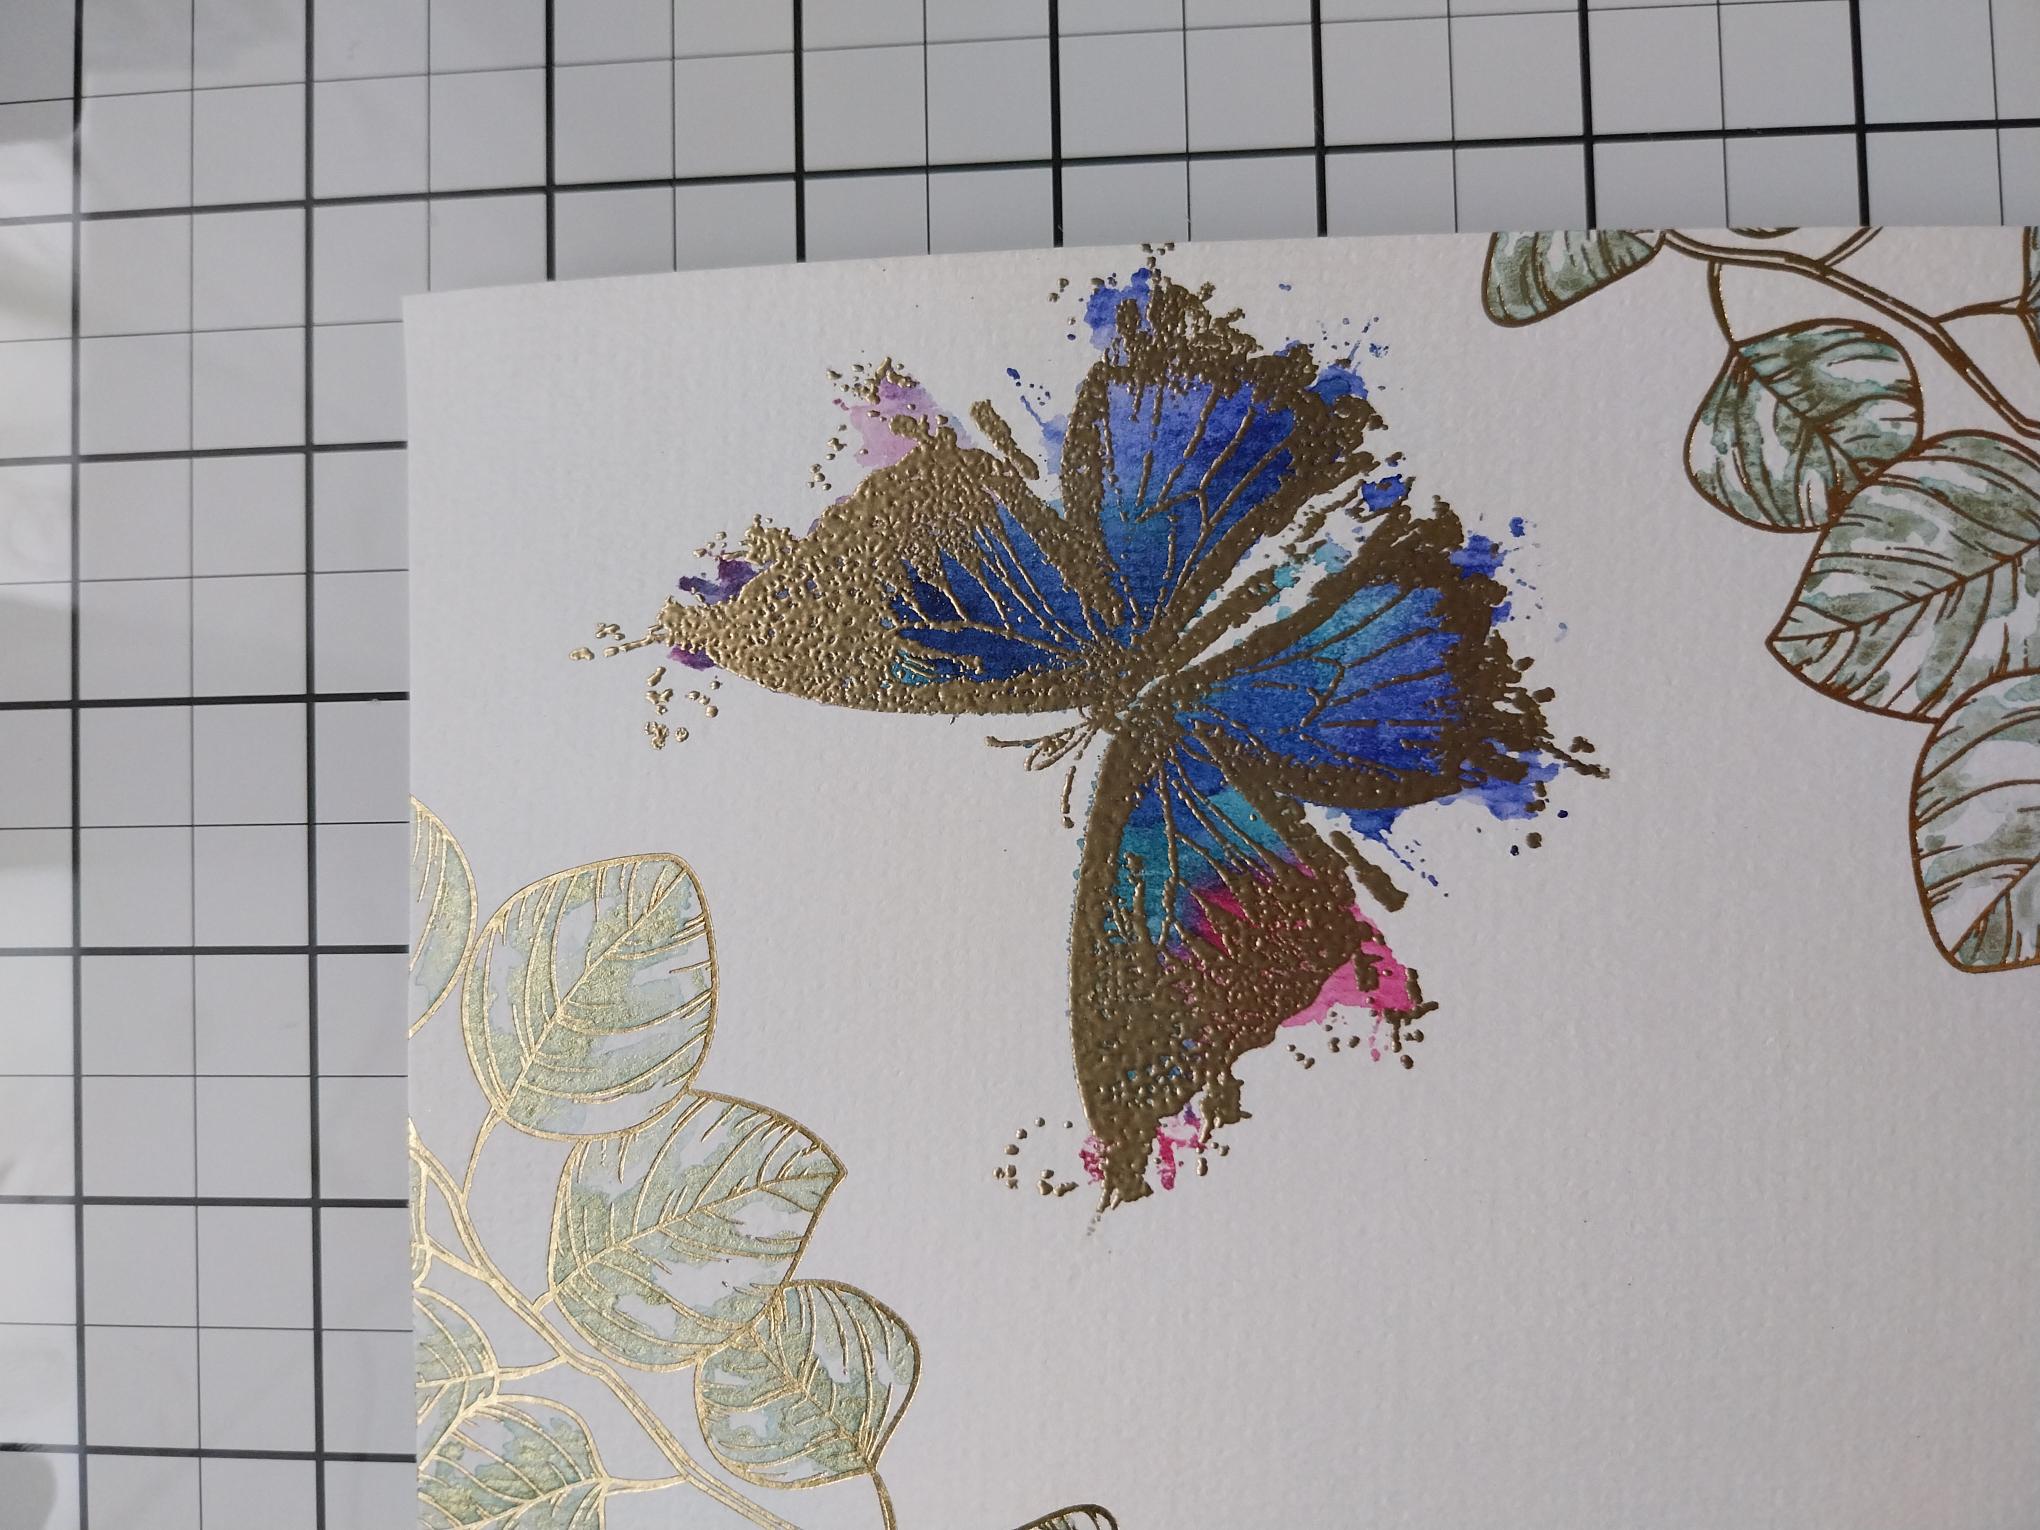
Wipe over the card with your anti-static bag before stamping the detailed lamination stamp, over the inky butterfly, with the WOW sticky embossing ink. NB: You may have to re-ink and stamp several times, to get a clear impression on the textured watercolour card. Sprinkle the Gold embossing powder over your stamped image, decanting any excess powder back in to the pot. Get your heat tool hot before heat setting the powder. |
|
Add water to your Confetti ink and splatter over your artwork. |
|
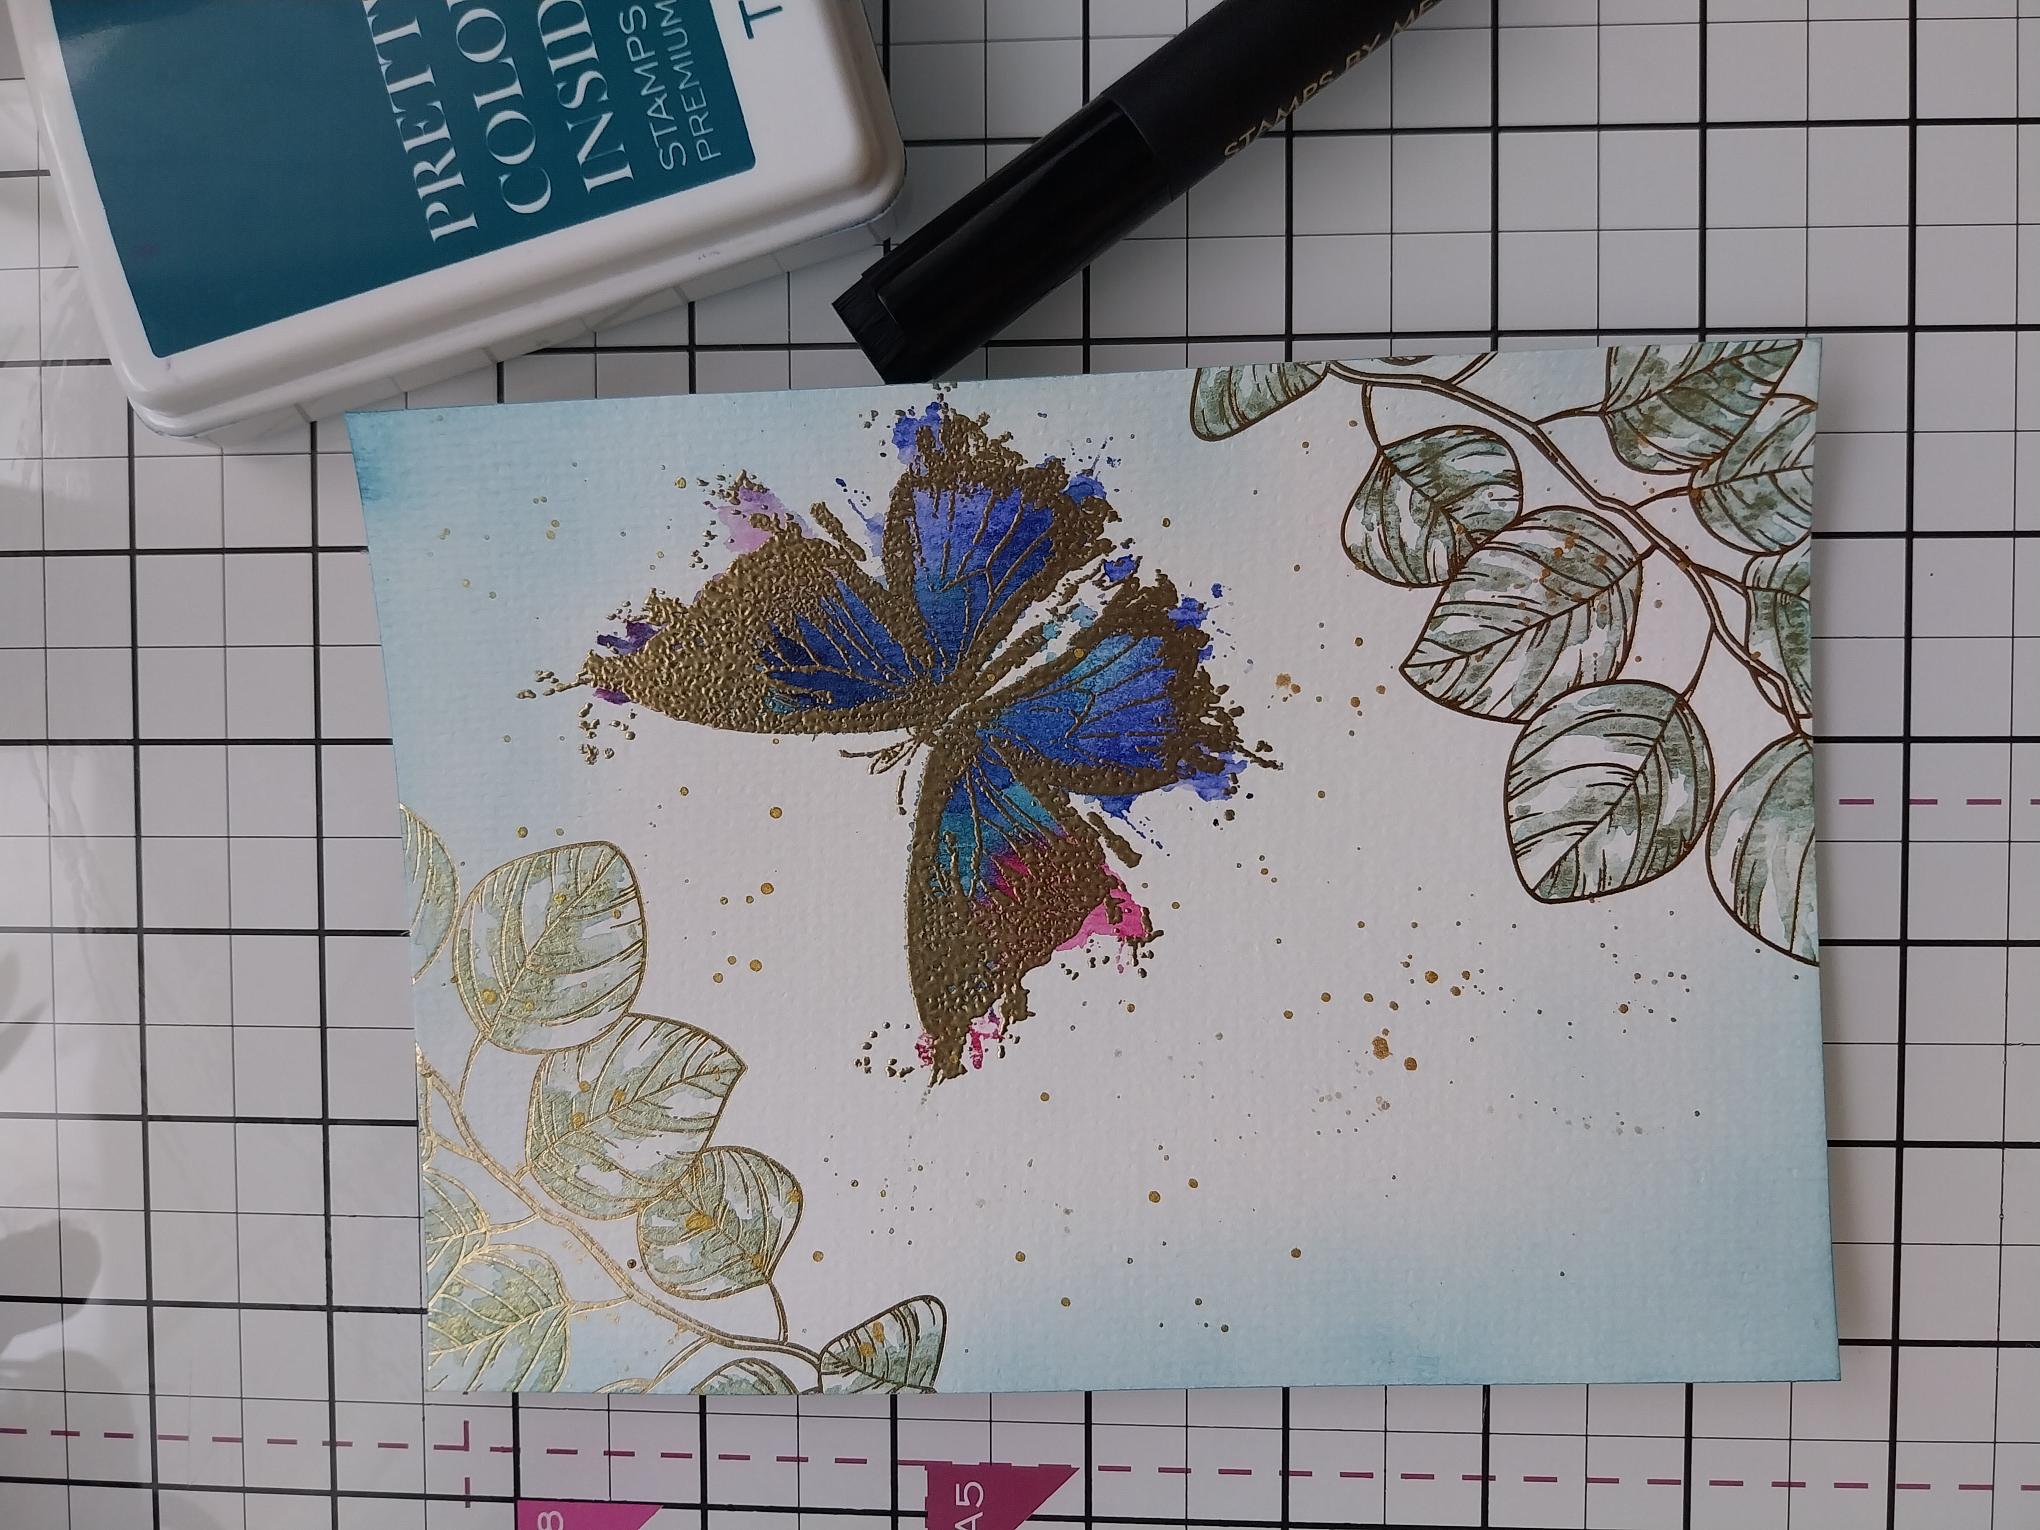
Ink around the edges of the card with Tiffany. |
|
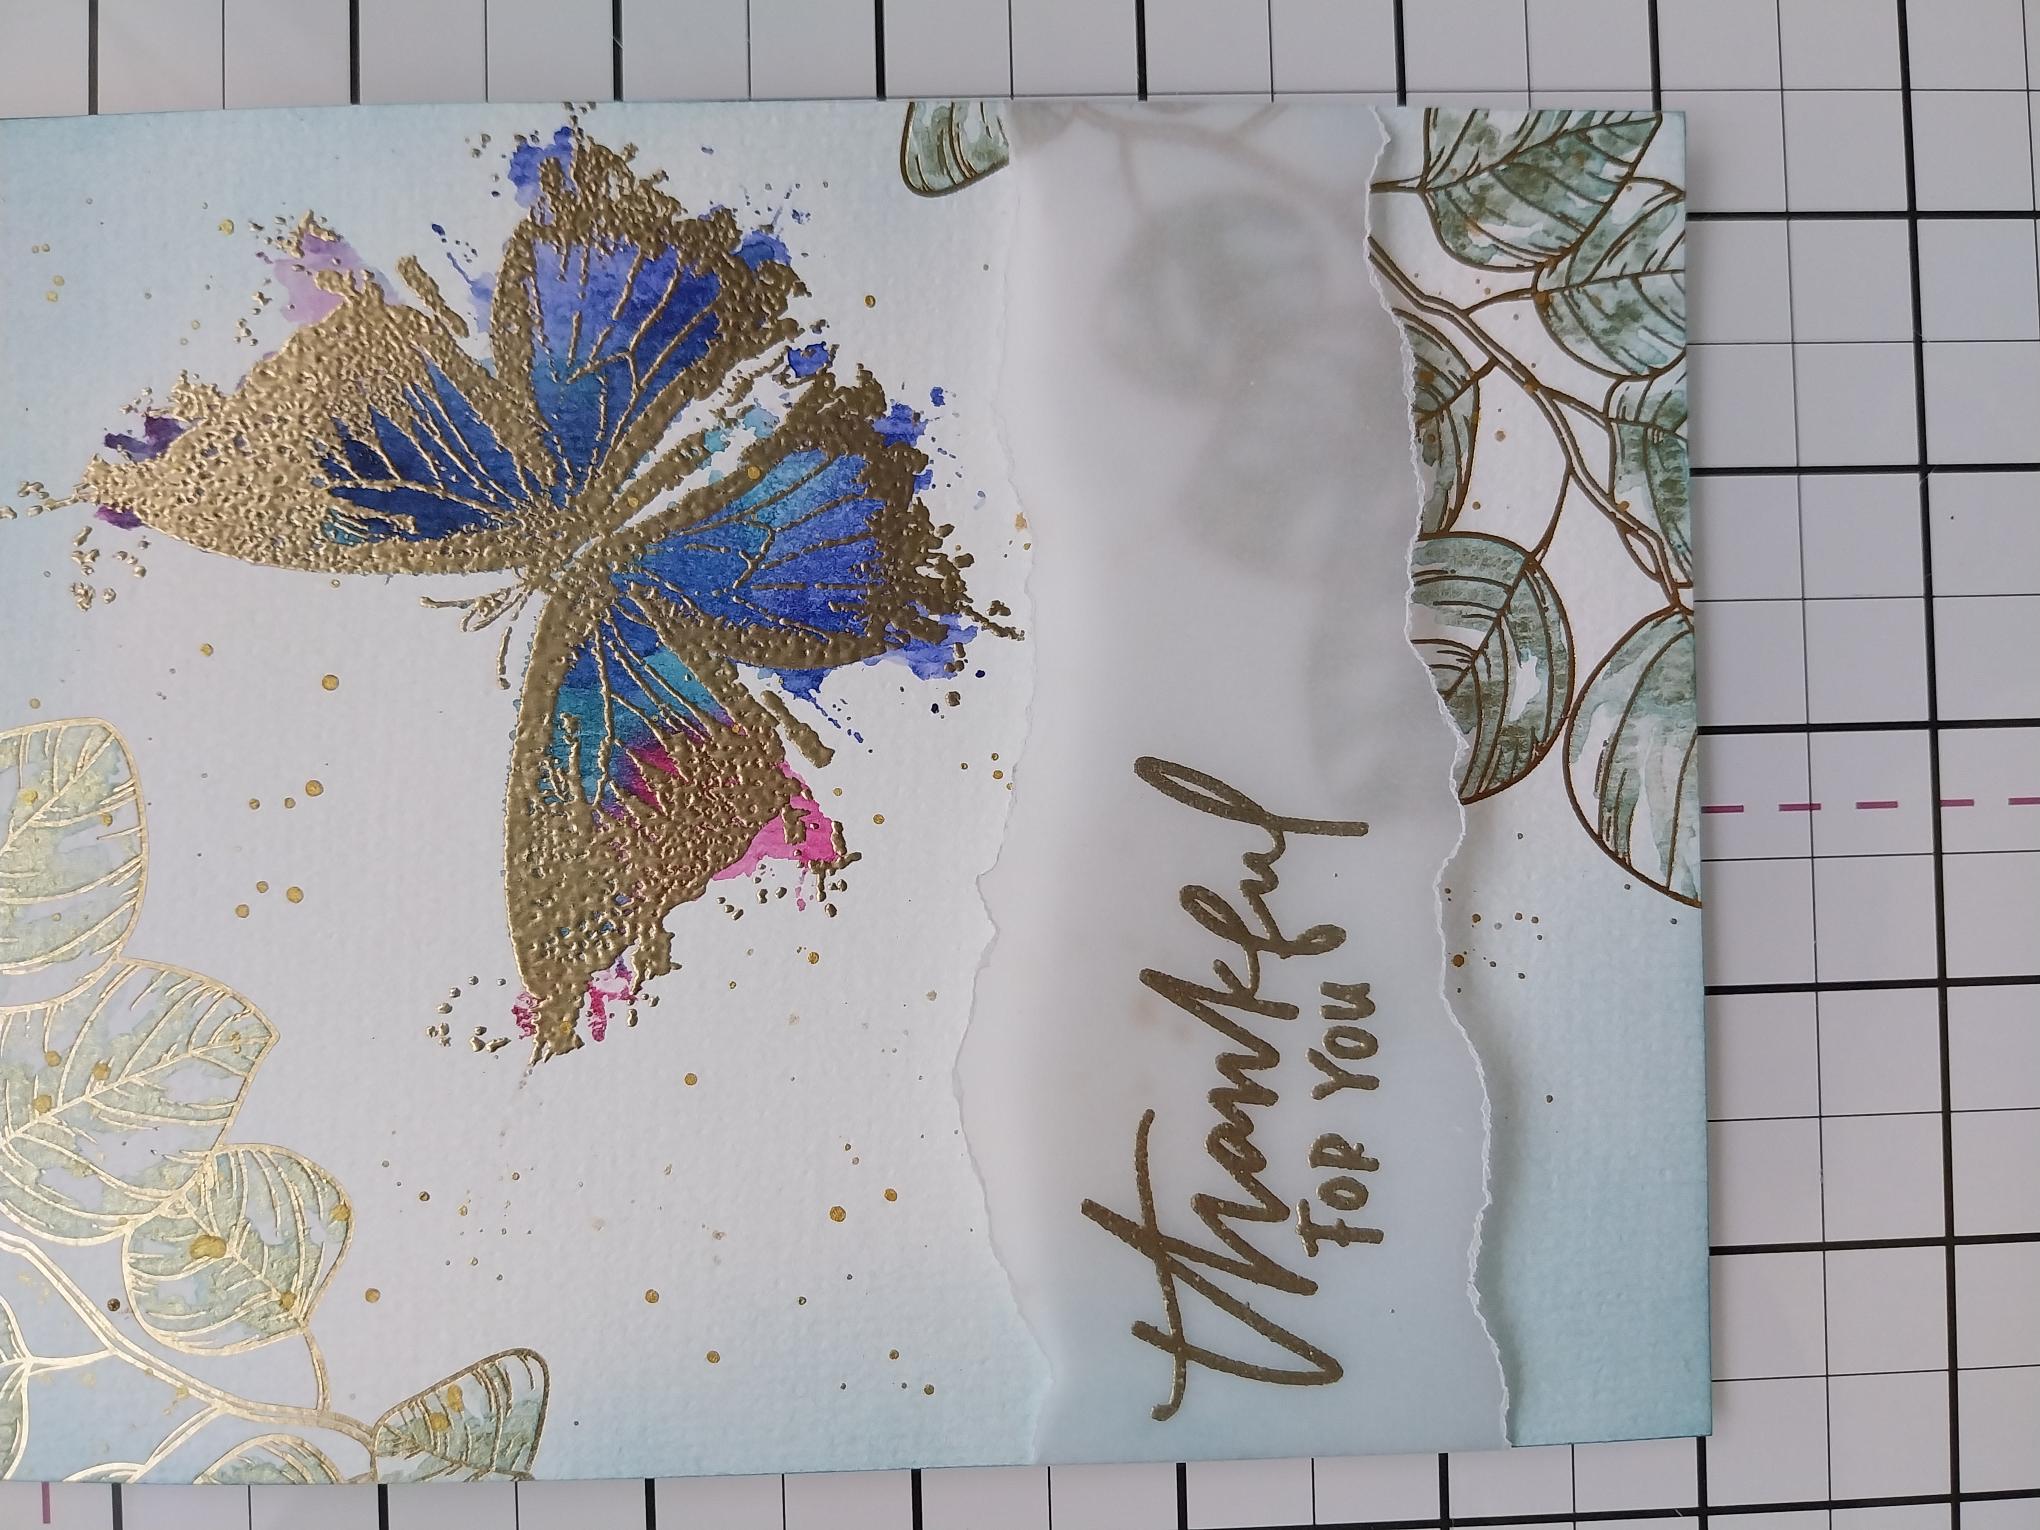
Tear a panel of vellum a few centimetres longer than the card and deep enough to take the sentiment. Wipe over the vellum with your anti-static bag, stamp the sentiment in the sticky ink then apply the embossing powder and heat set. Remember to heat your tool first, as this will minimise burning and warping the vellum. |
|
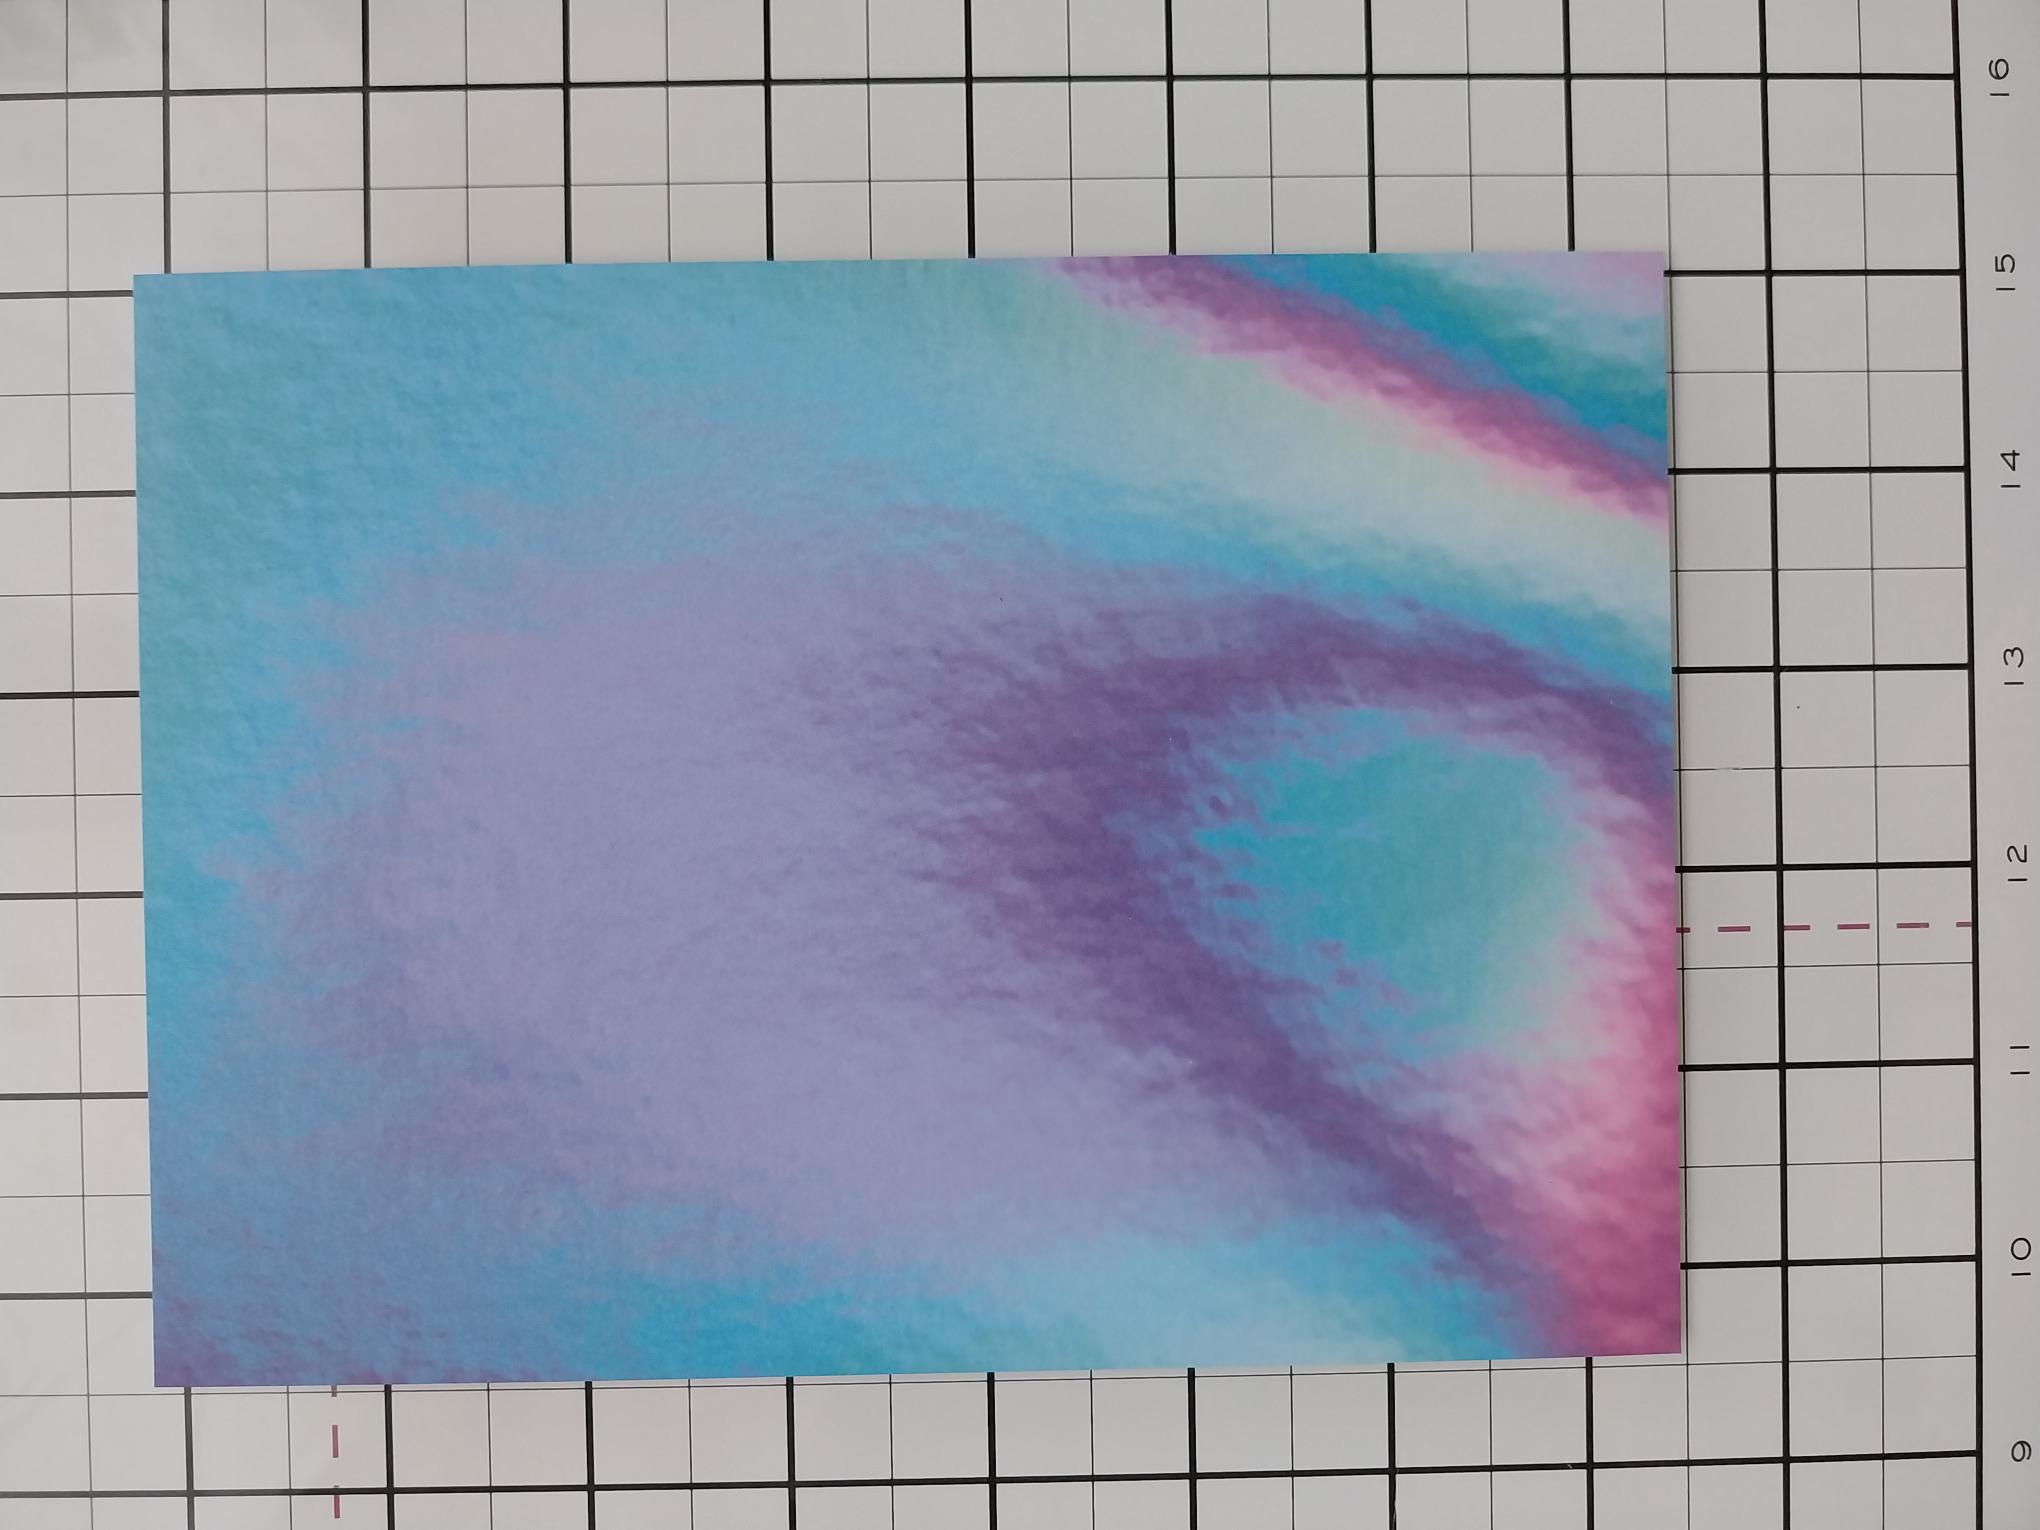
Trim this paper from the Holographic paper pack, to 7 1/2 x 5 1/2". |
|
Mat your artwork on to the holographic paper and then on to the Fushia card blank. |