Give your friends $10 off their first order!
Refer a FRIEND


WHAT YOU WILL NEED;
White top folding card blank (8 1/4 x 5 3/4")
Blue pearlised cardstock (8 x 5 1/2")
A4 white cardstock - cut TWO pieces 8 x 5" each
Stamps from Lamination Celebrate In Style Stamp Collection
Stamps from Lamination Because Of You Stamp Collection
Deboss nesting Dies: Rectangle
Versafine Ink Pad: Onyx Black
Gossip Watercolour Pens Essential set: 50 purple, 84 fushia, 86 blue
Midas glitter: Viennese Waltz
Water spray bottle
Eureka 101
Paper Trimmer
Perfect Together Glue
Die Cutting machine
[click image to enlarge] 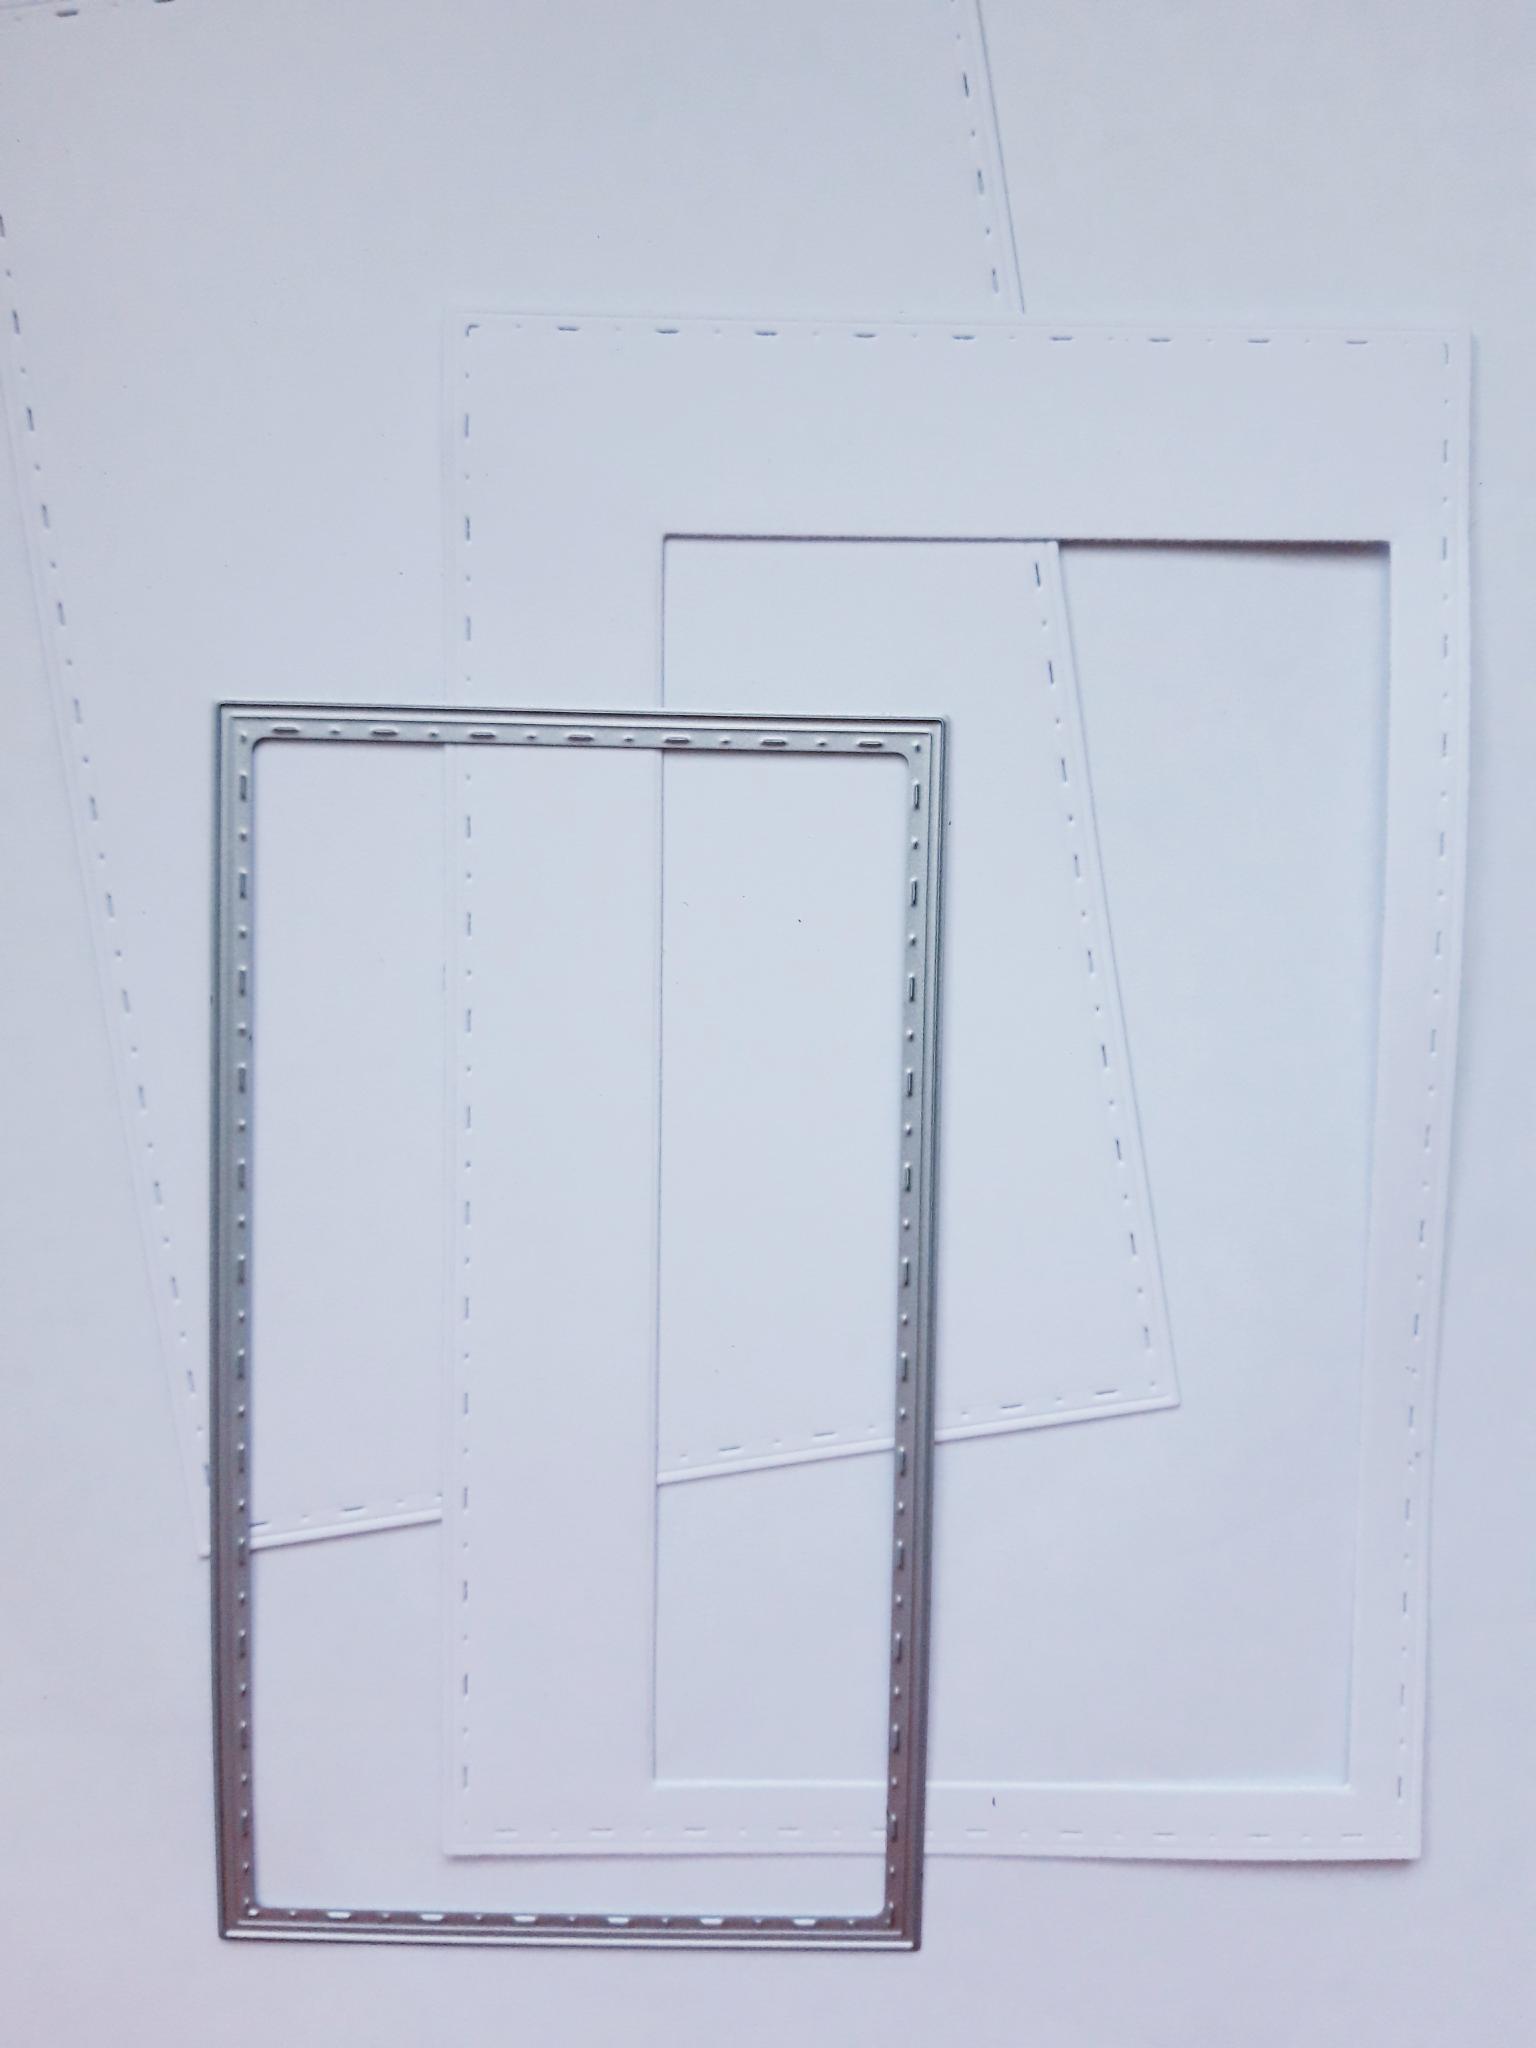
|
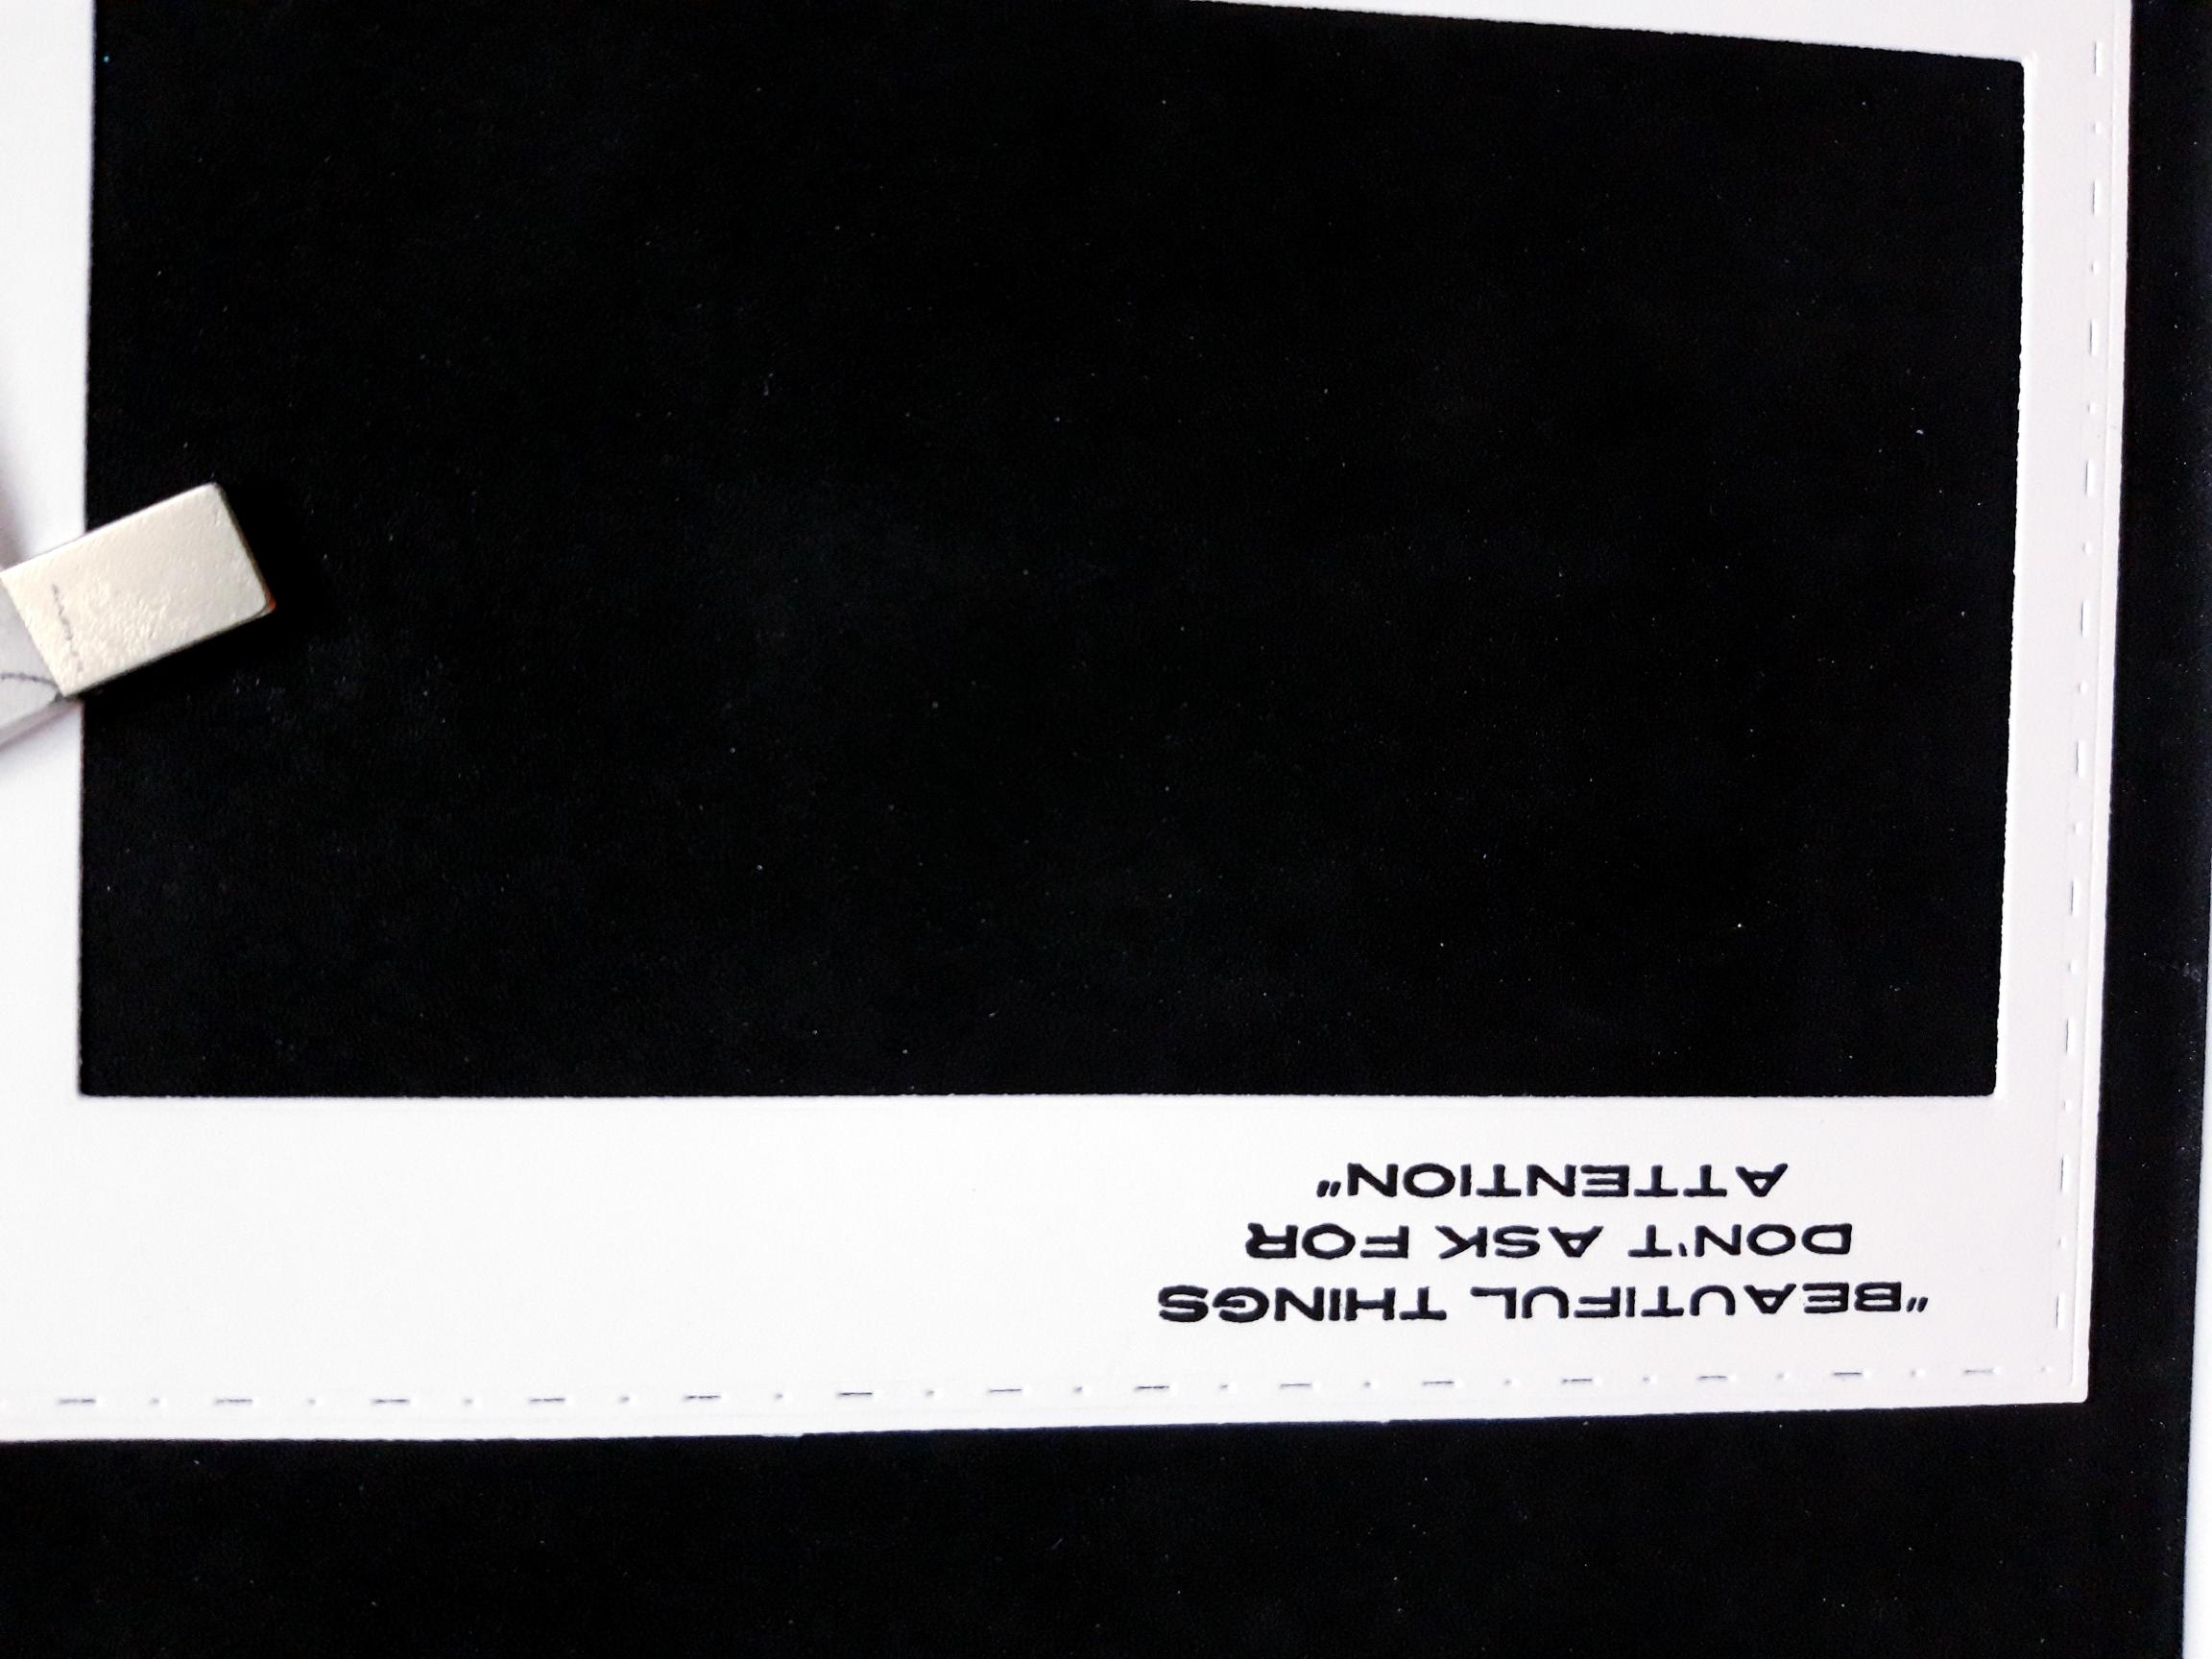
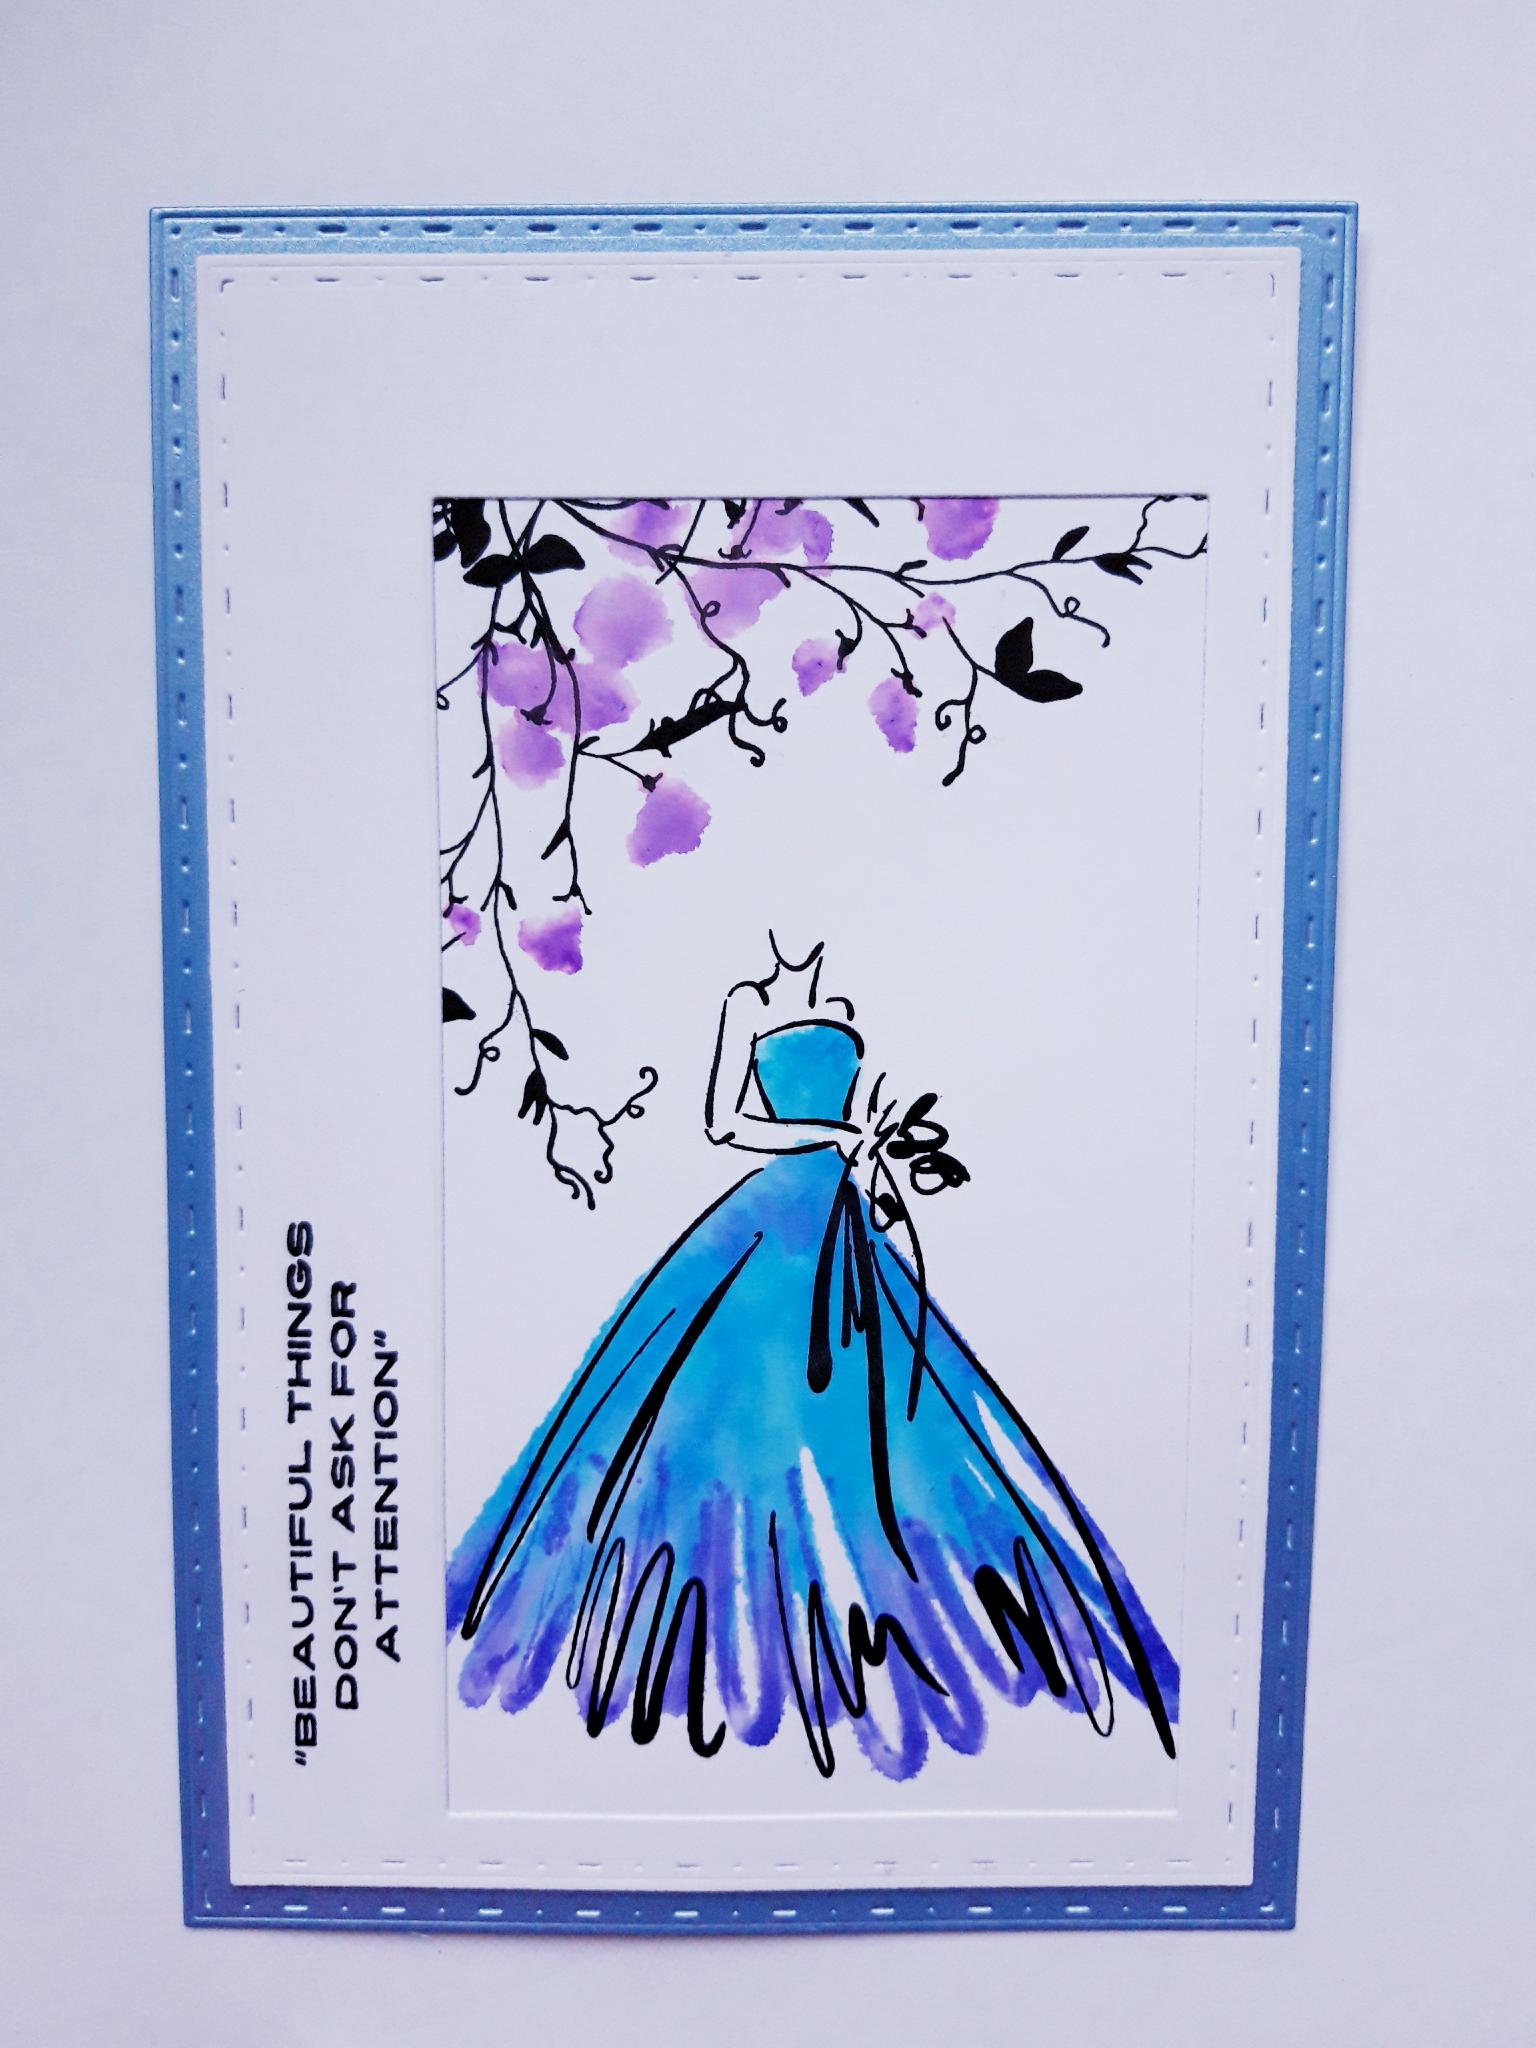
Using the rectangle nesting die, that measures approx 7 x 4 1/4", cut out TWO mats of card from the two pieces of white cardstock. On ONE of these mats, use the rectangle die, that measures approx 5 3/4 x 3 1/4", to cut out an aperture, to the right hand side of the mat. Place the aperture card on top of the solid card, and make 4 little marks on the solid mat, in each corners of the aperture, so you know where to stamp your image. Set these to one side. |
|
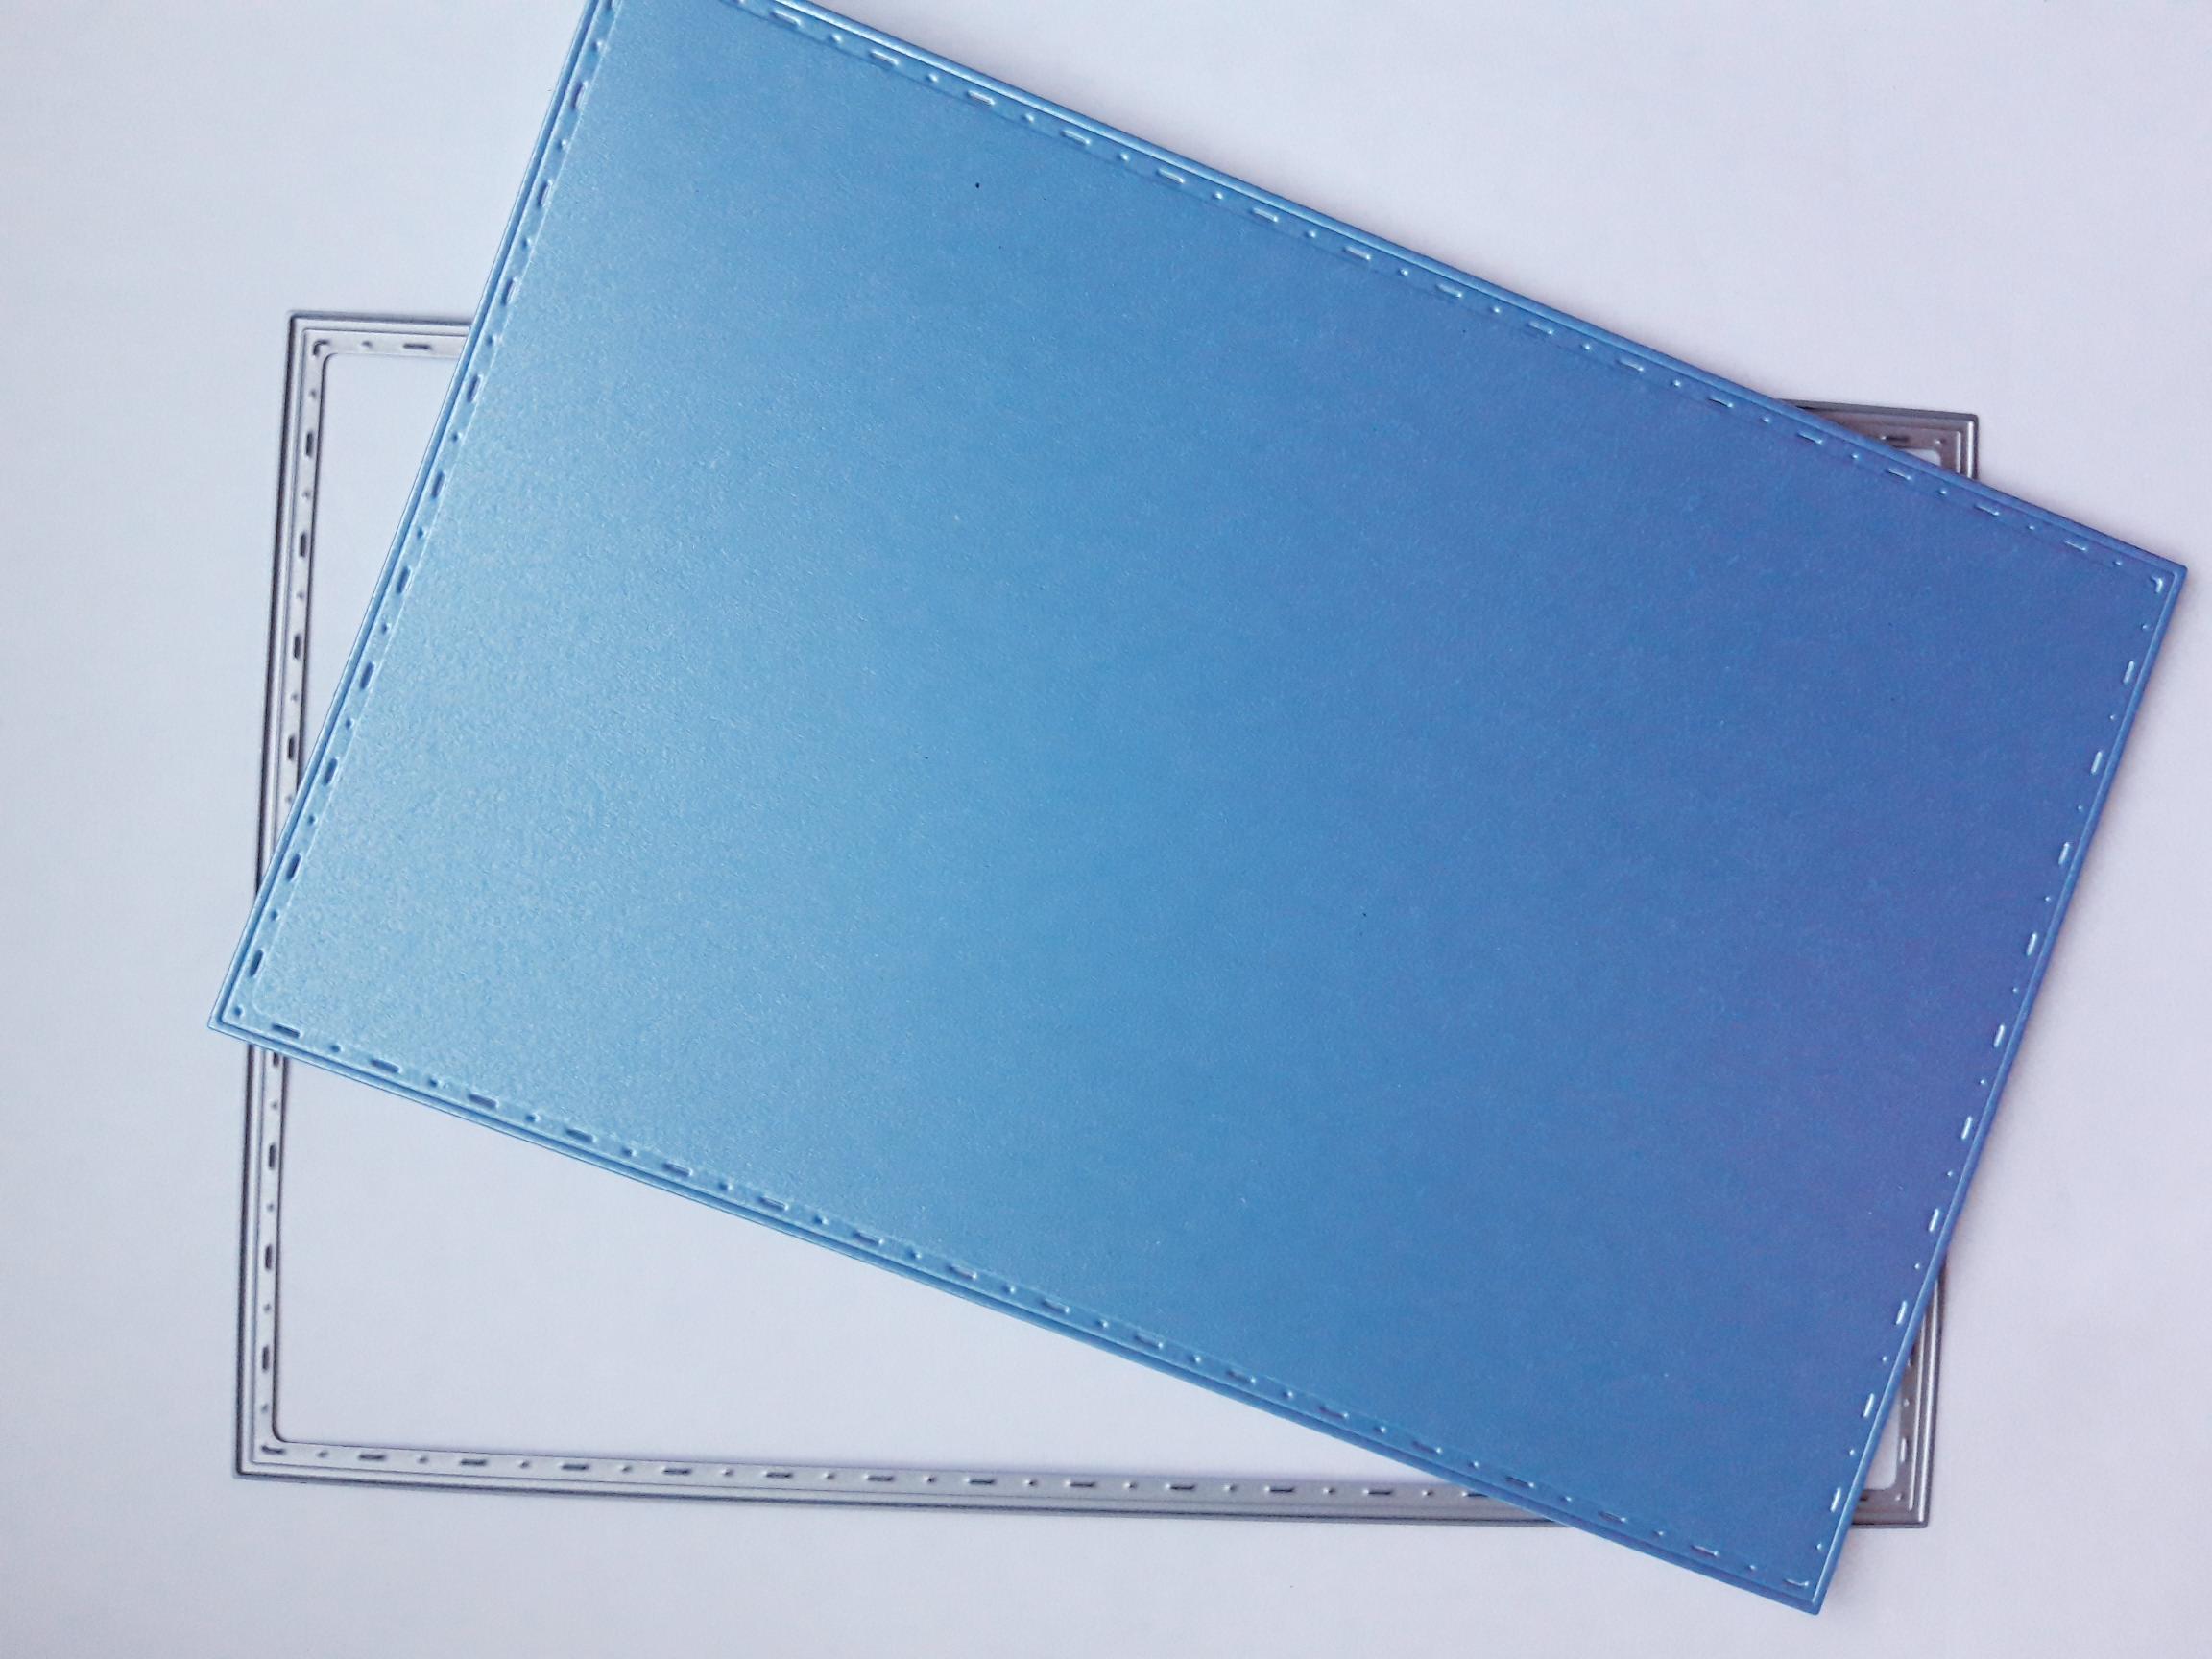
Cut out a mat, from the blue pearlised card, using the rectangle nesting dies that measures approx 7 1/2 x 5" Set to one side. |
|
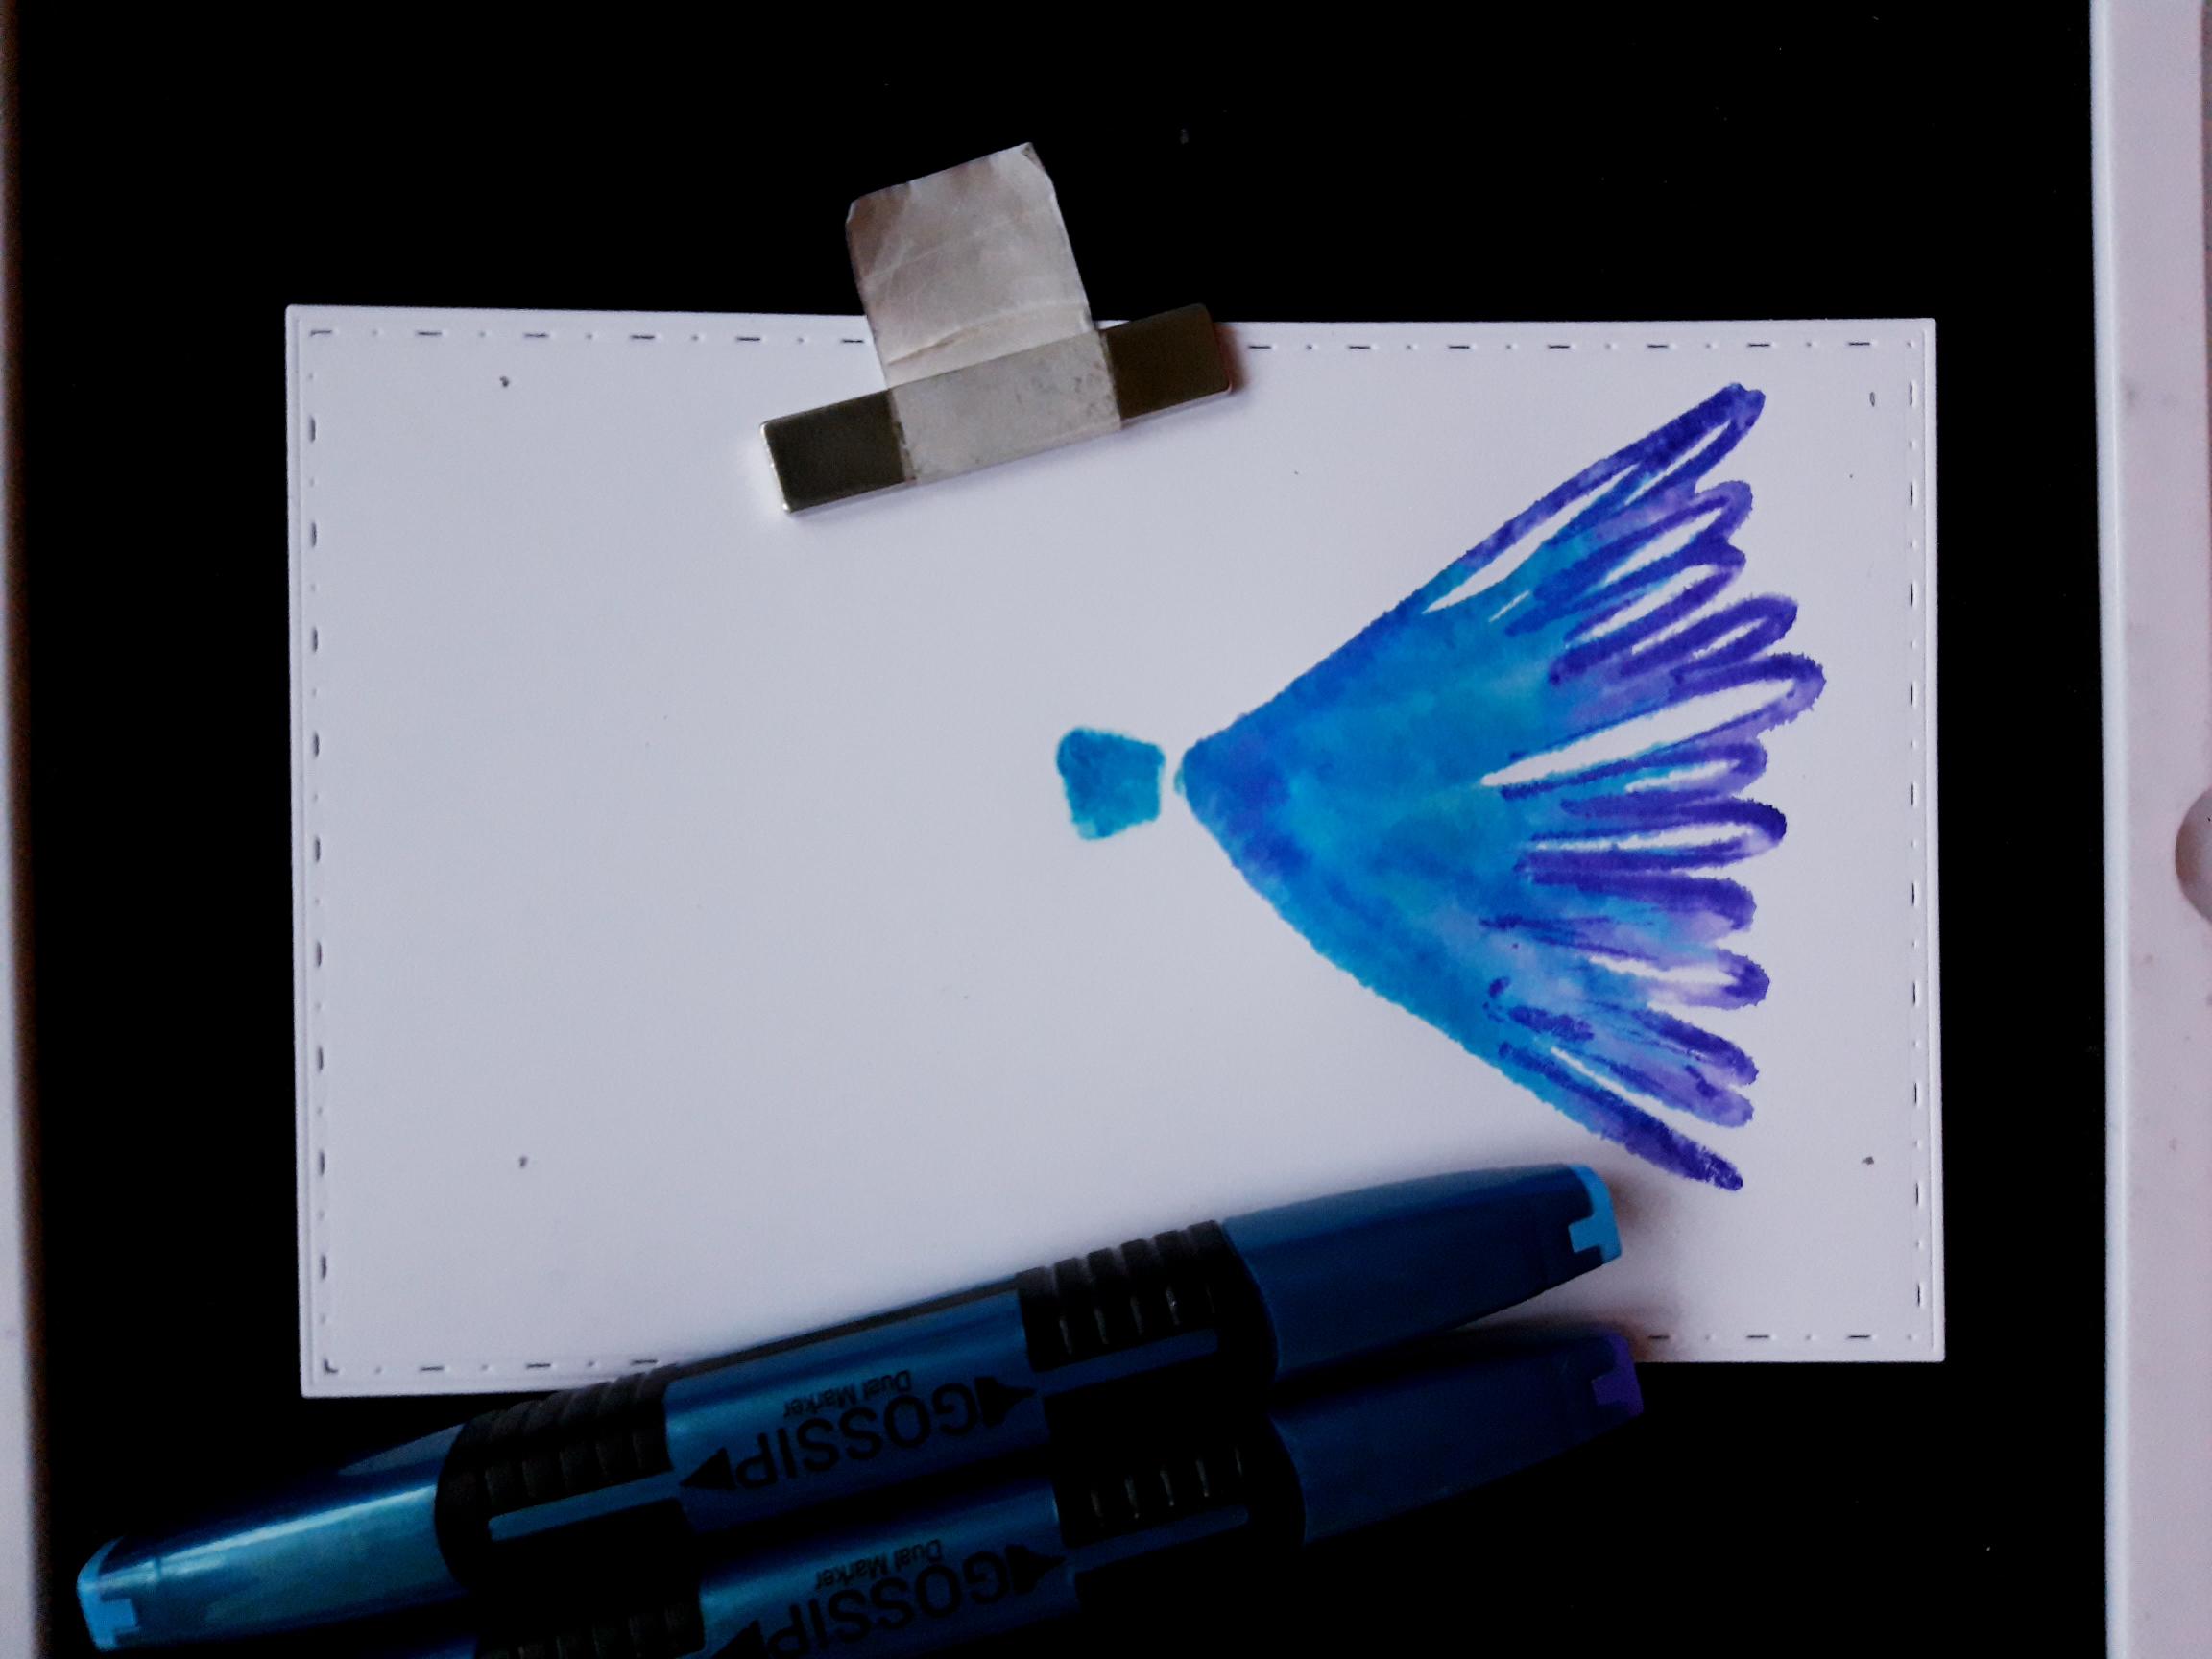
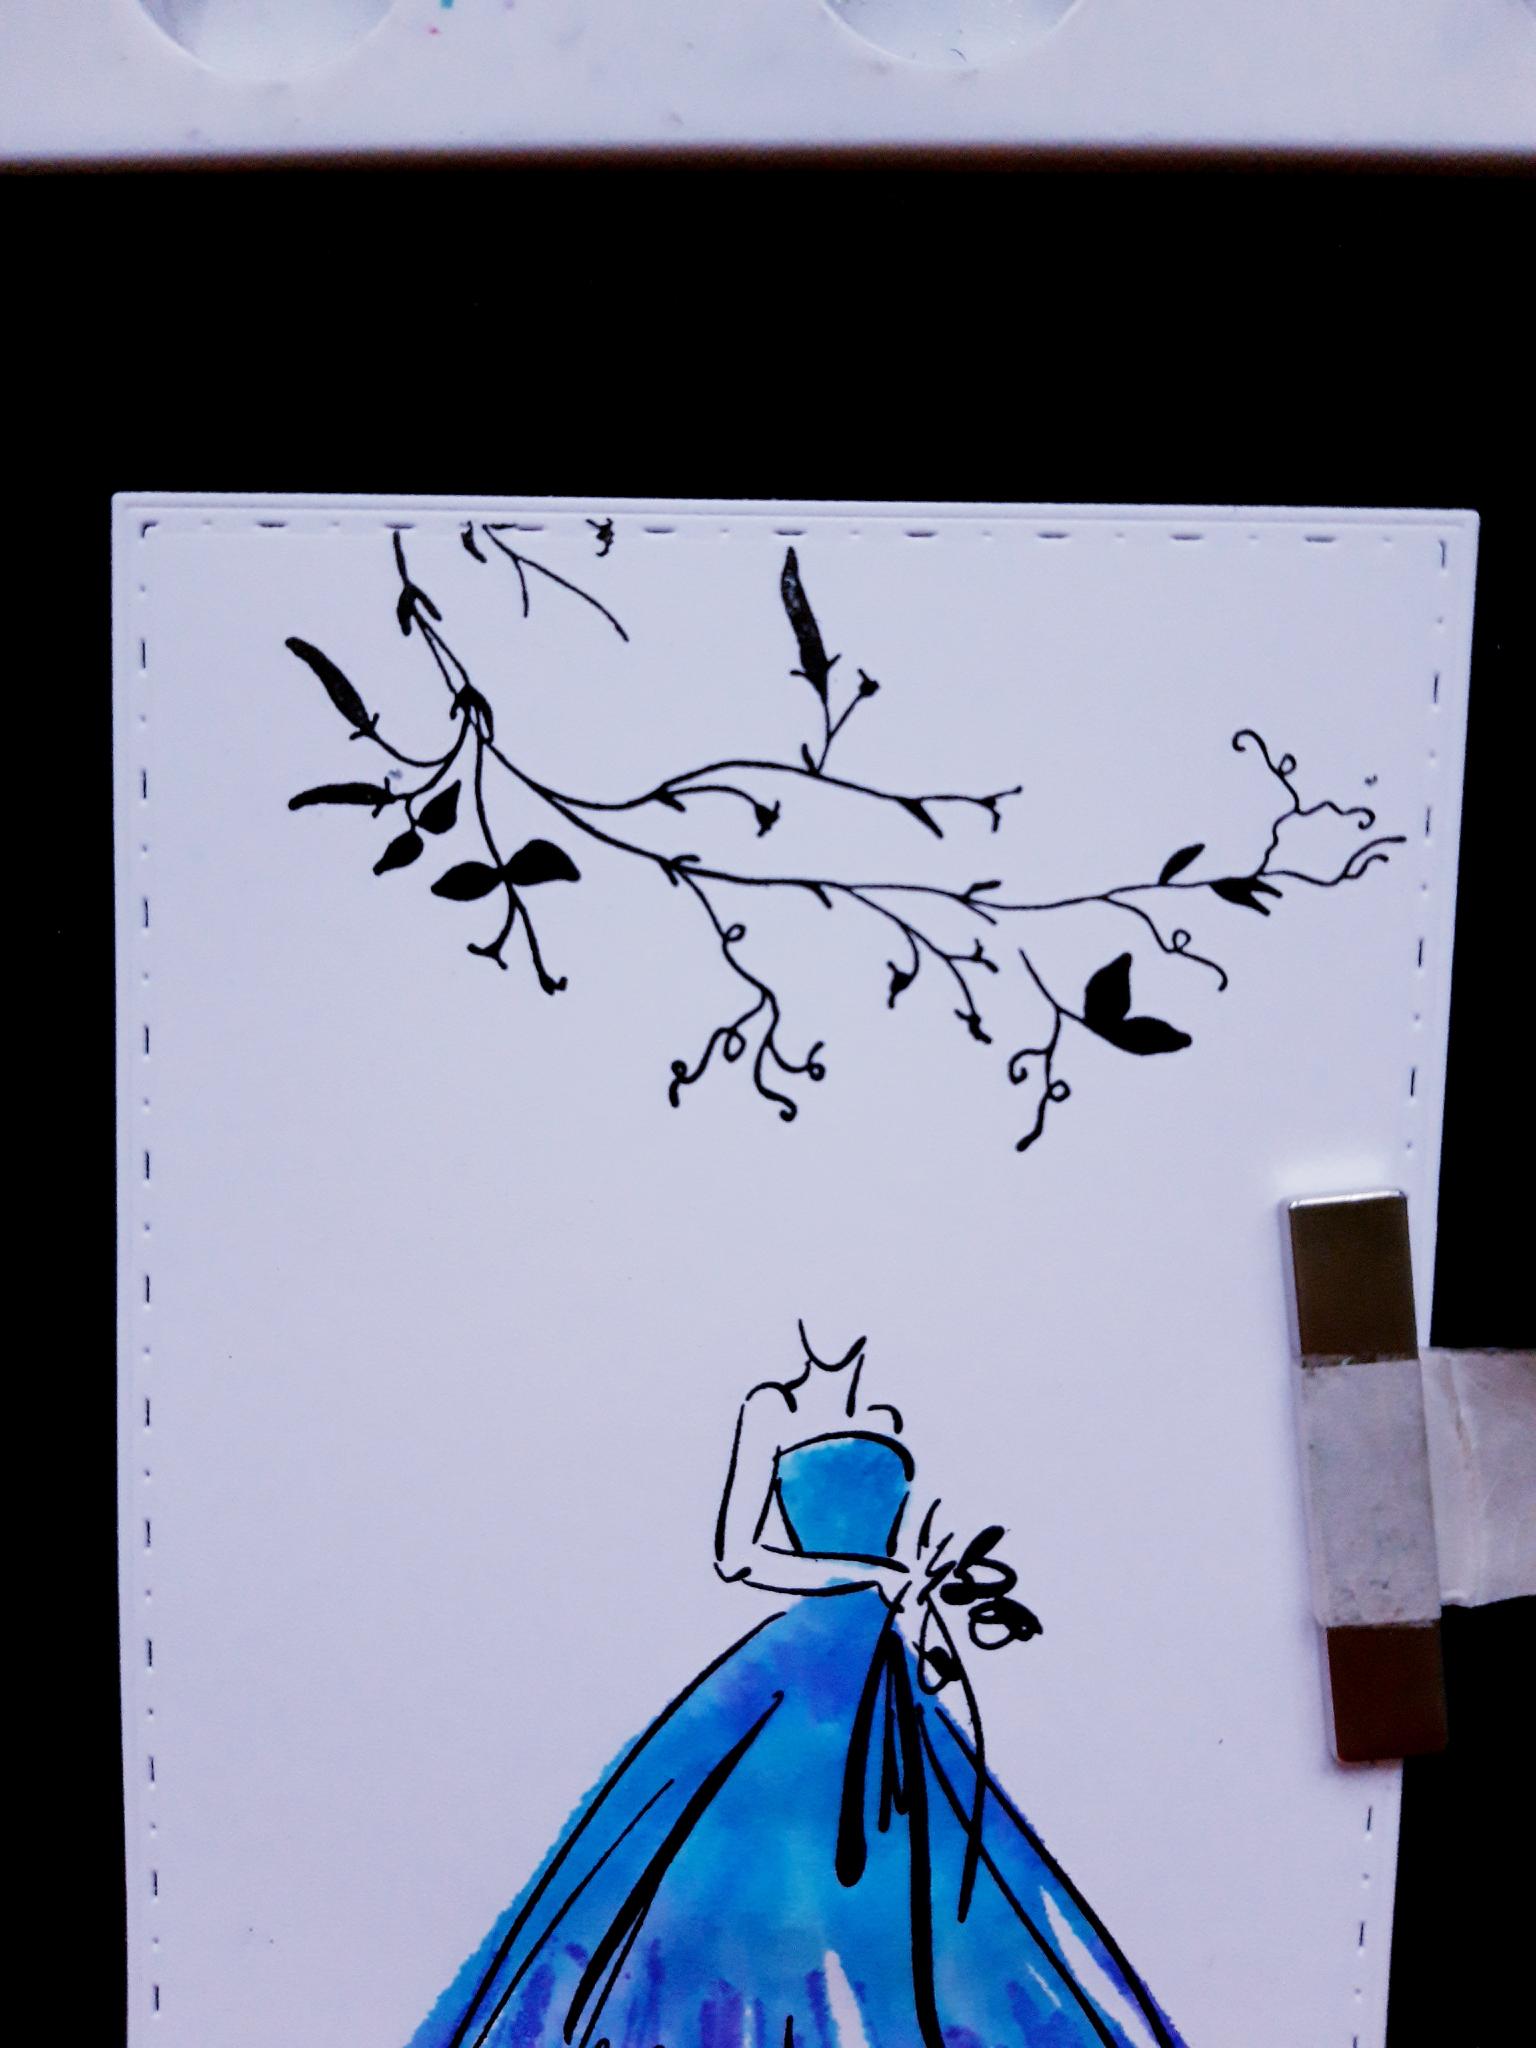
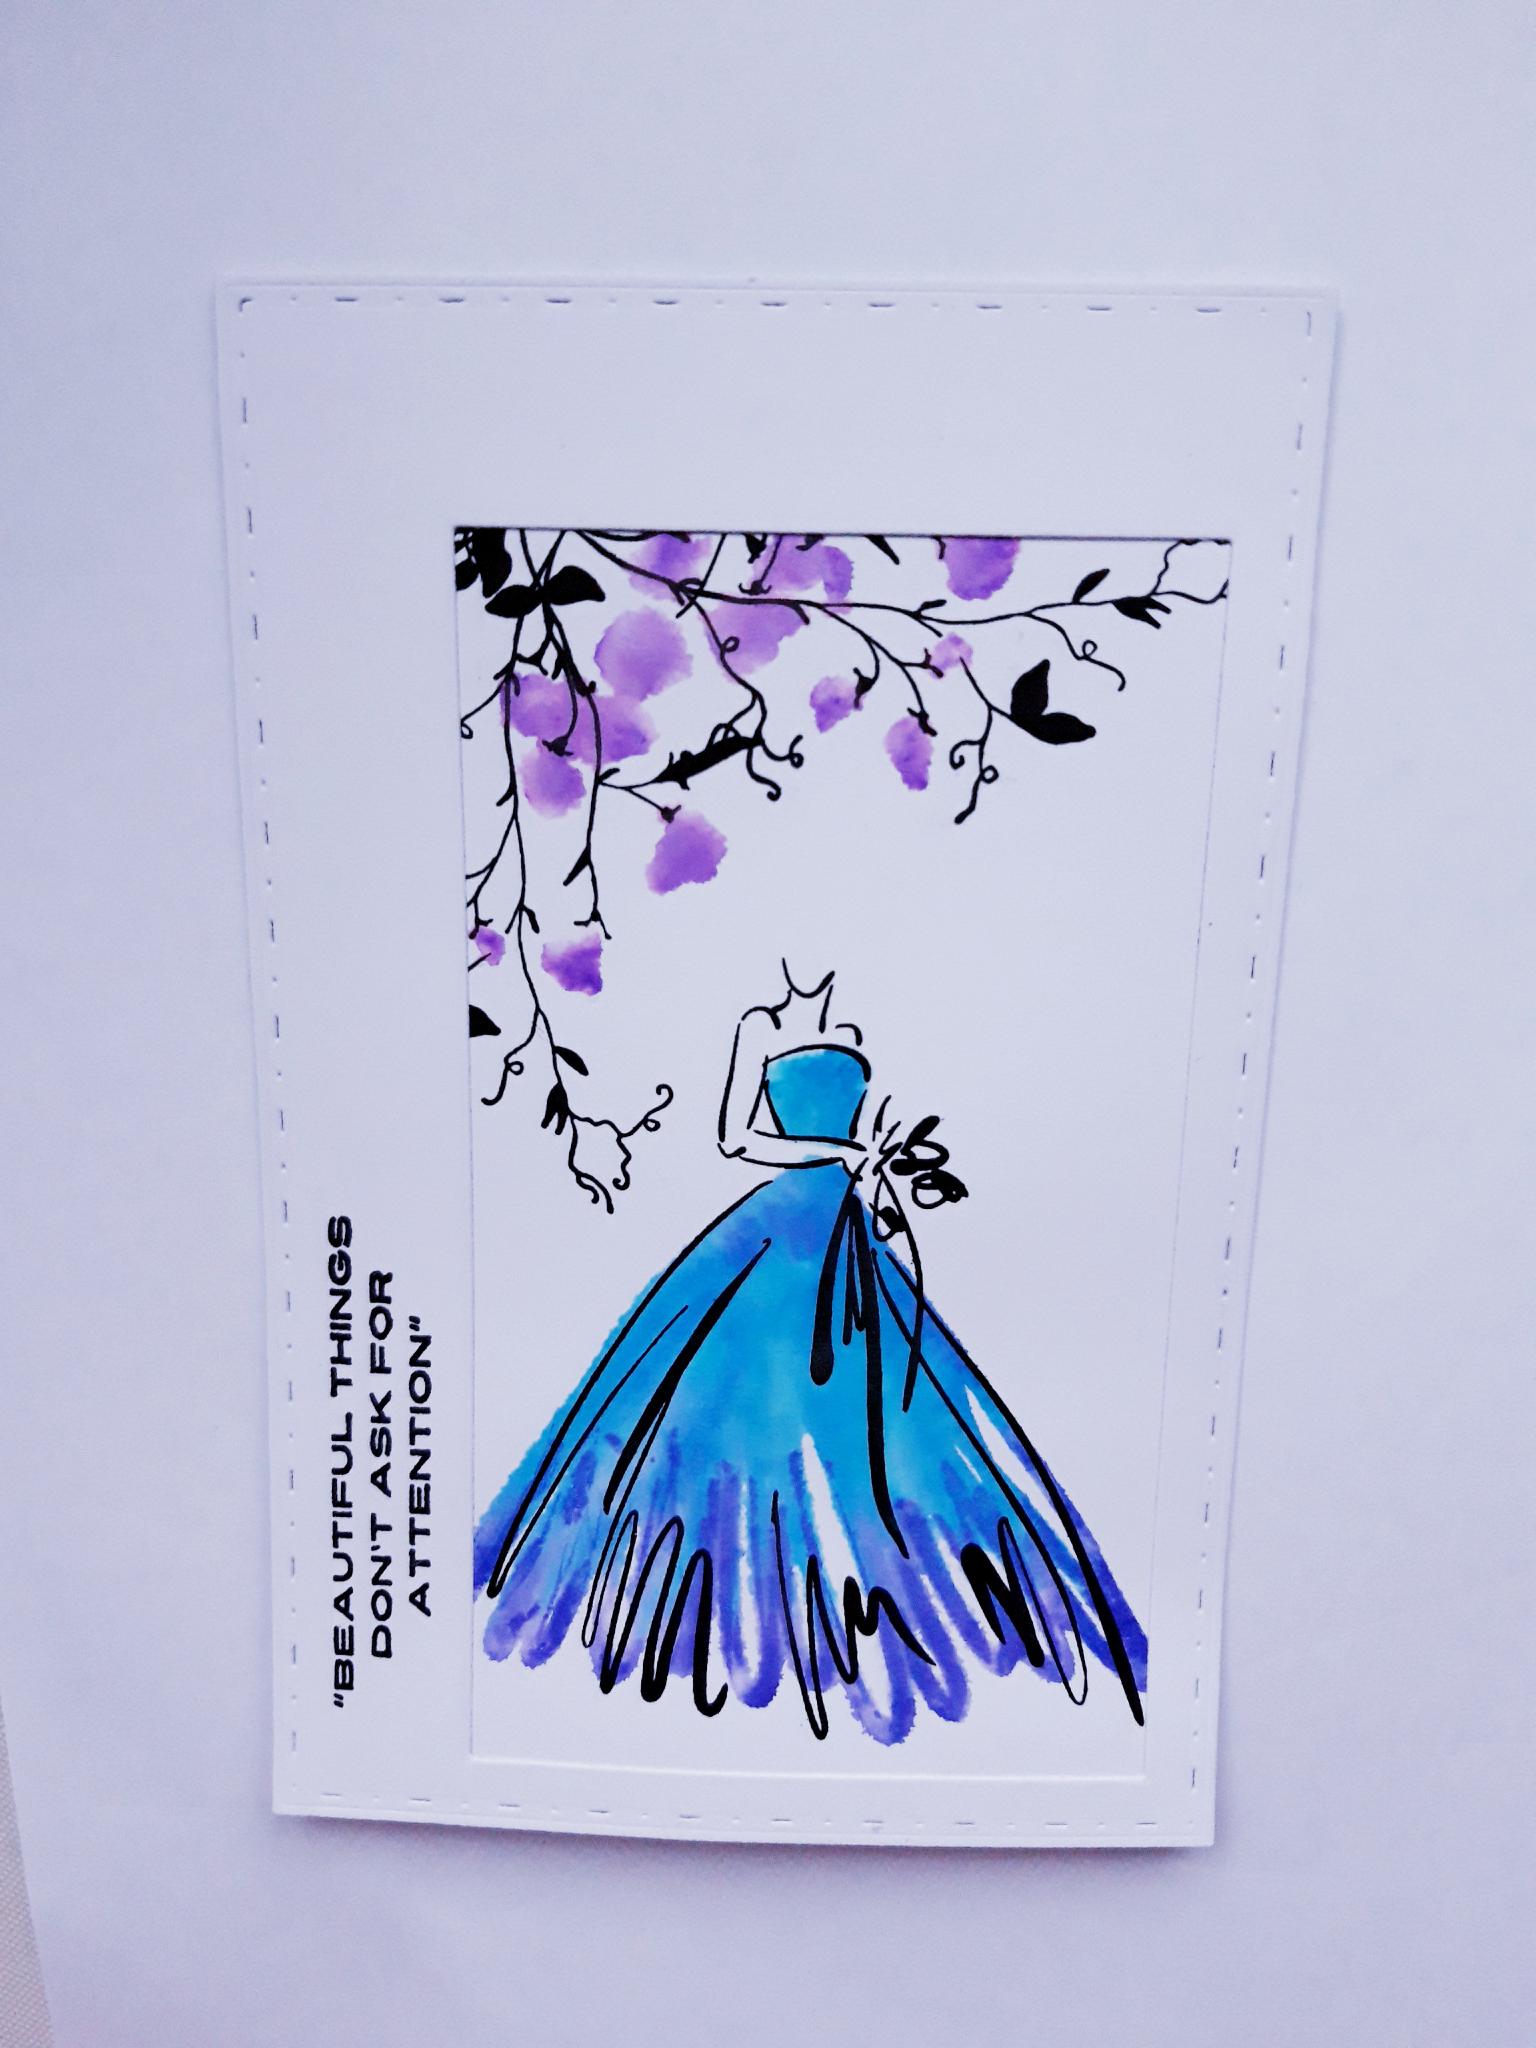
Apply the purple (50) and blue (86) Gossip Watercolour pens directly on to the solid stamp, from the Celebrate In Style Lamination Stamp Collection. Spritz with water and stamp on to the solid die cut white mat, within the marked area. Use the aperture mat as a guide, as your stamped gown needs to be low down, within the aperture window, leaving room above for the foliage to be stamped. Dry off the ink. |
|
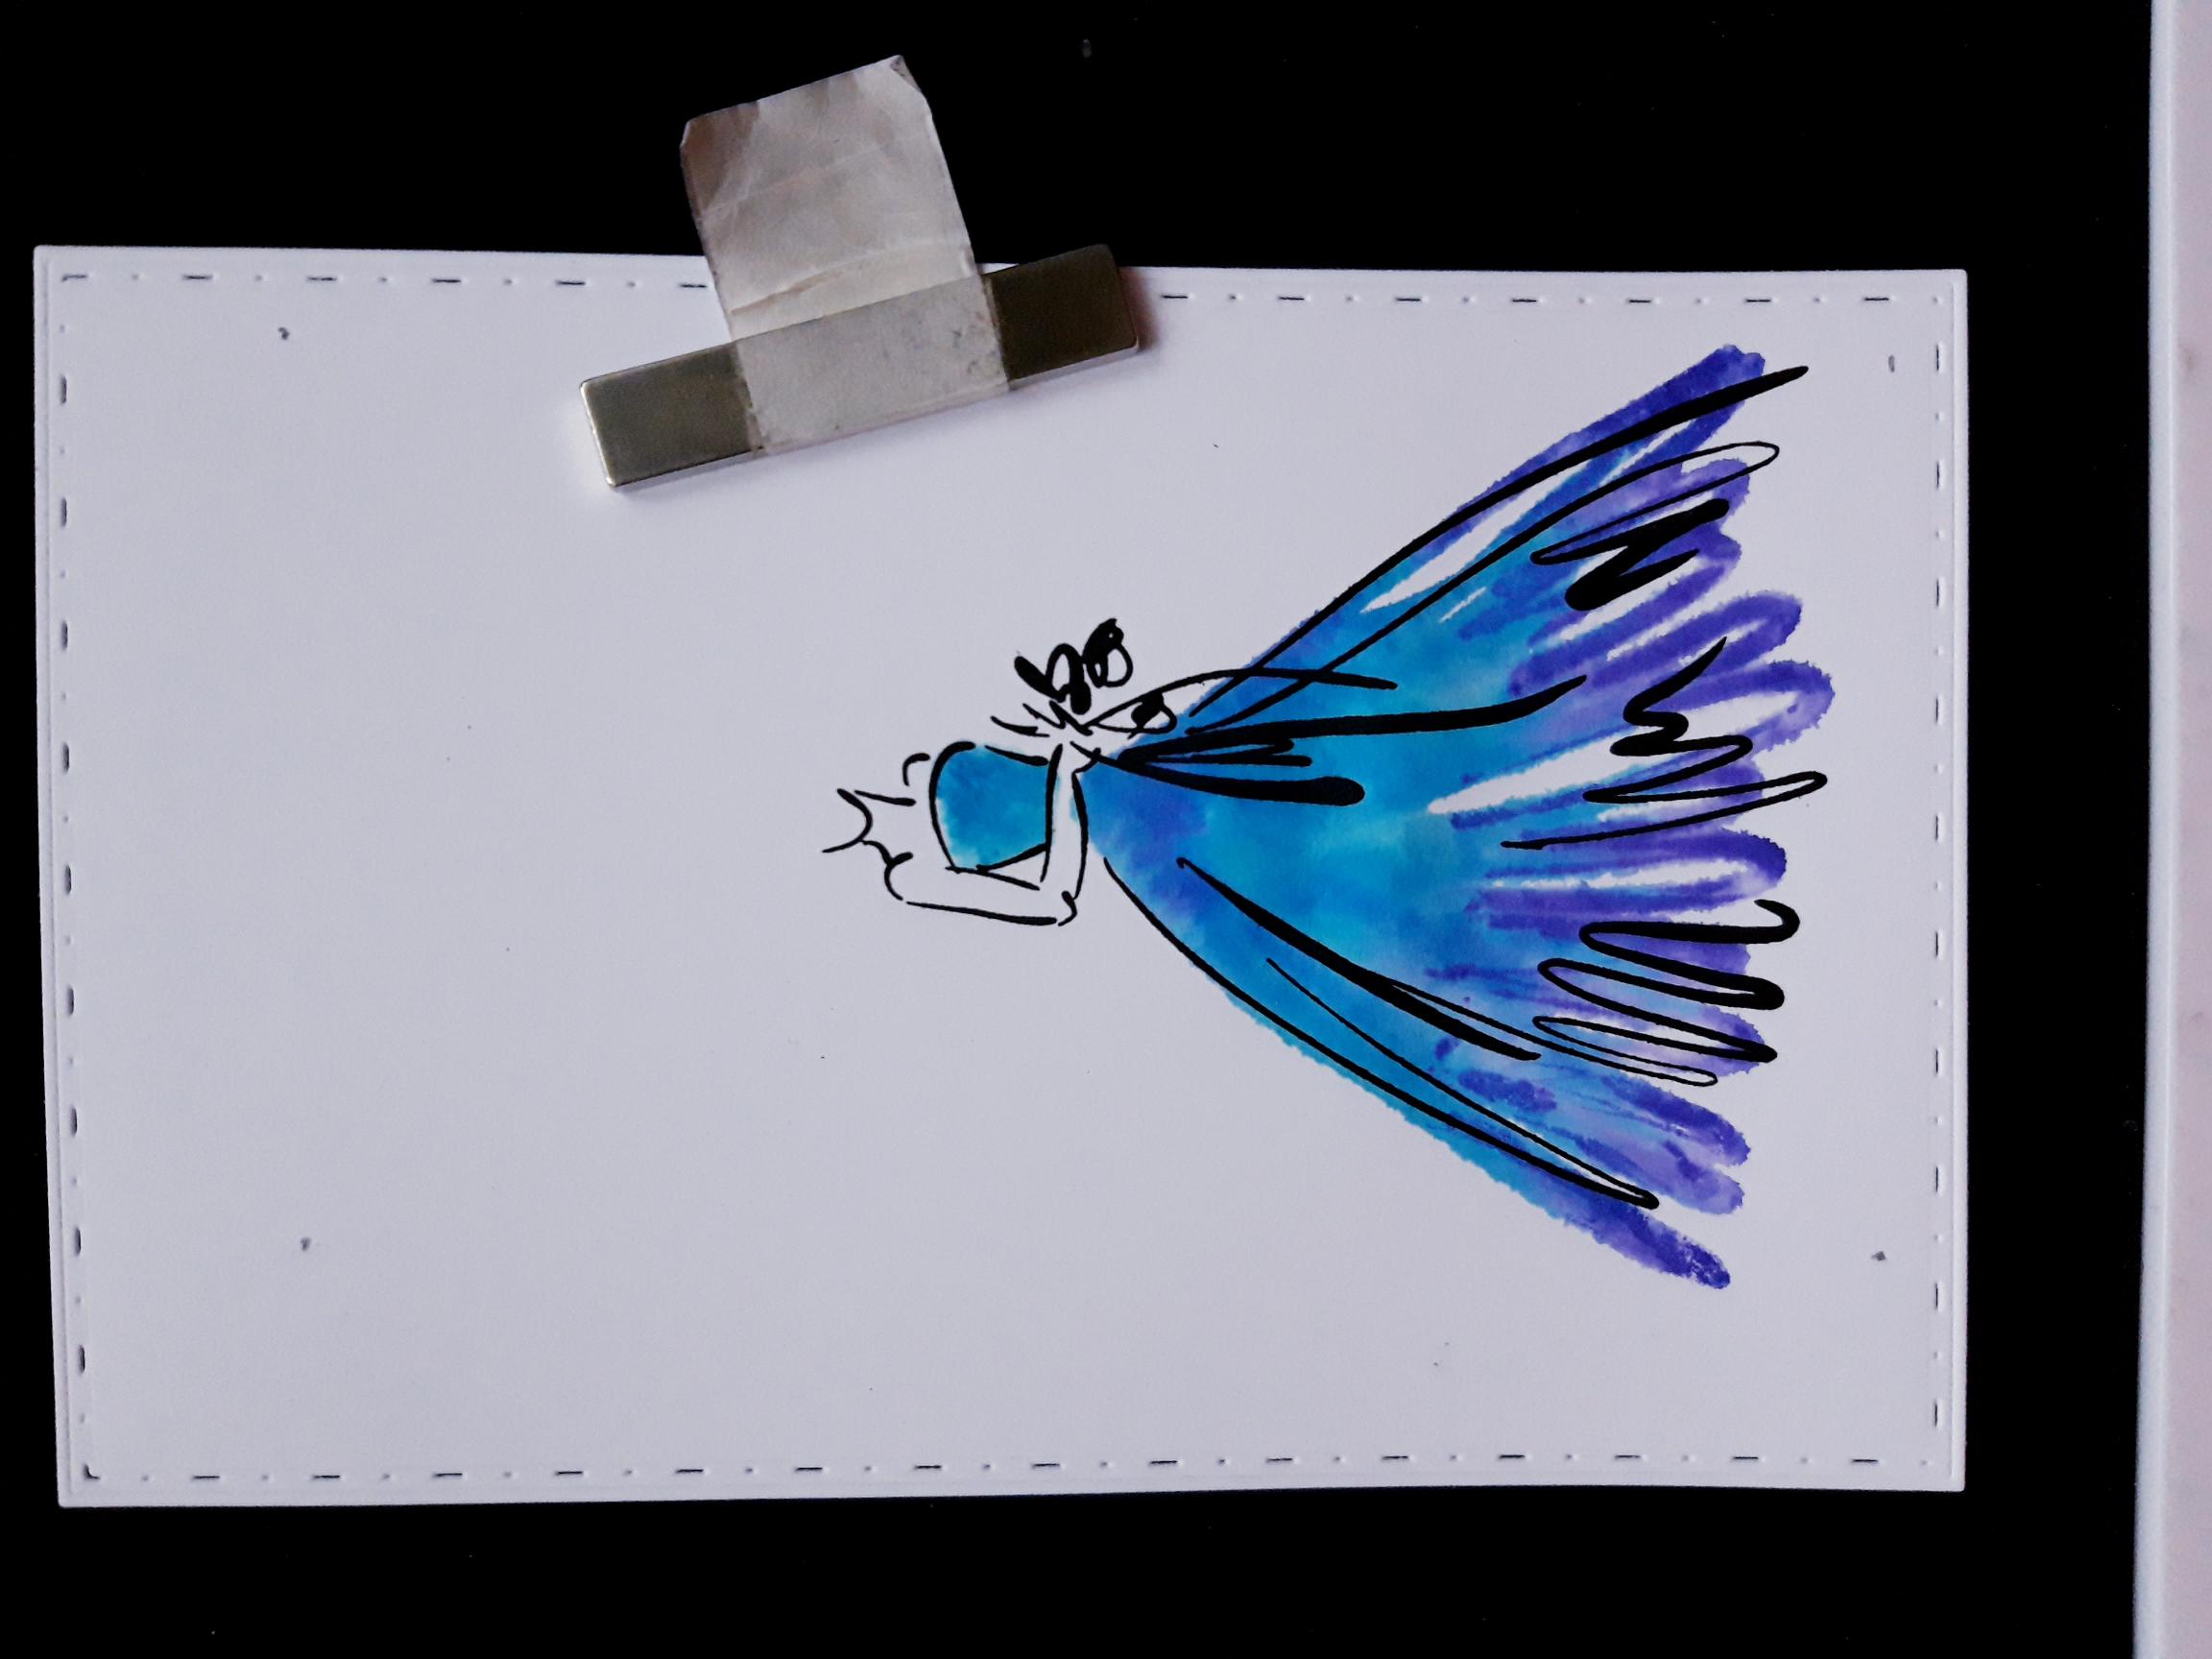
Ink up the coordinating detailed stamp with the Onxy Black Versafine. Line up and stamp over your stamped image.
|
|
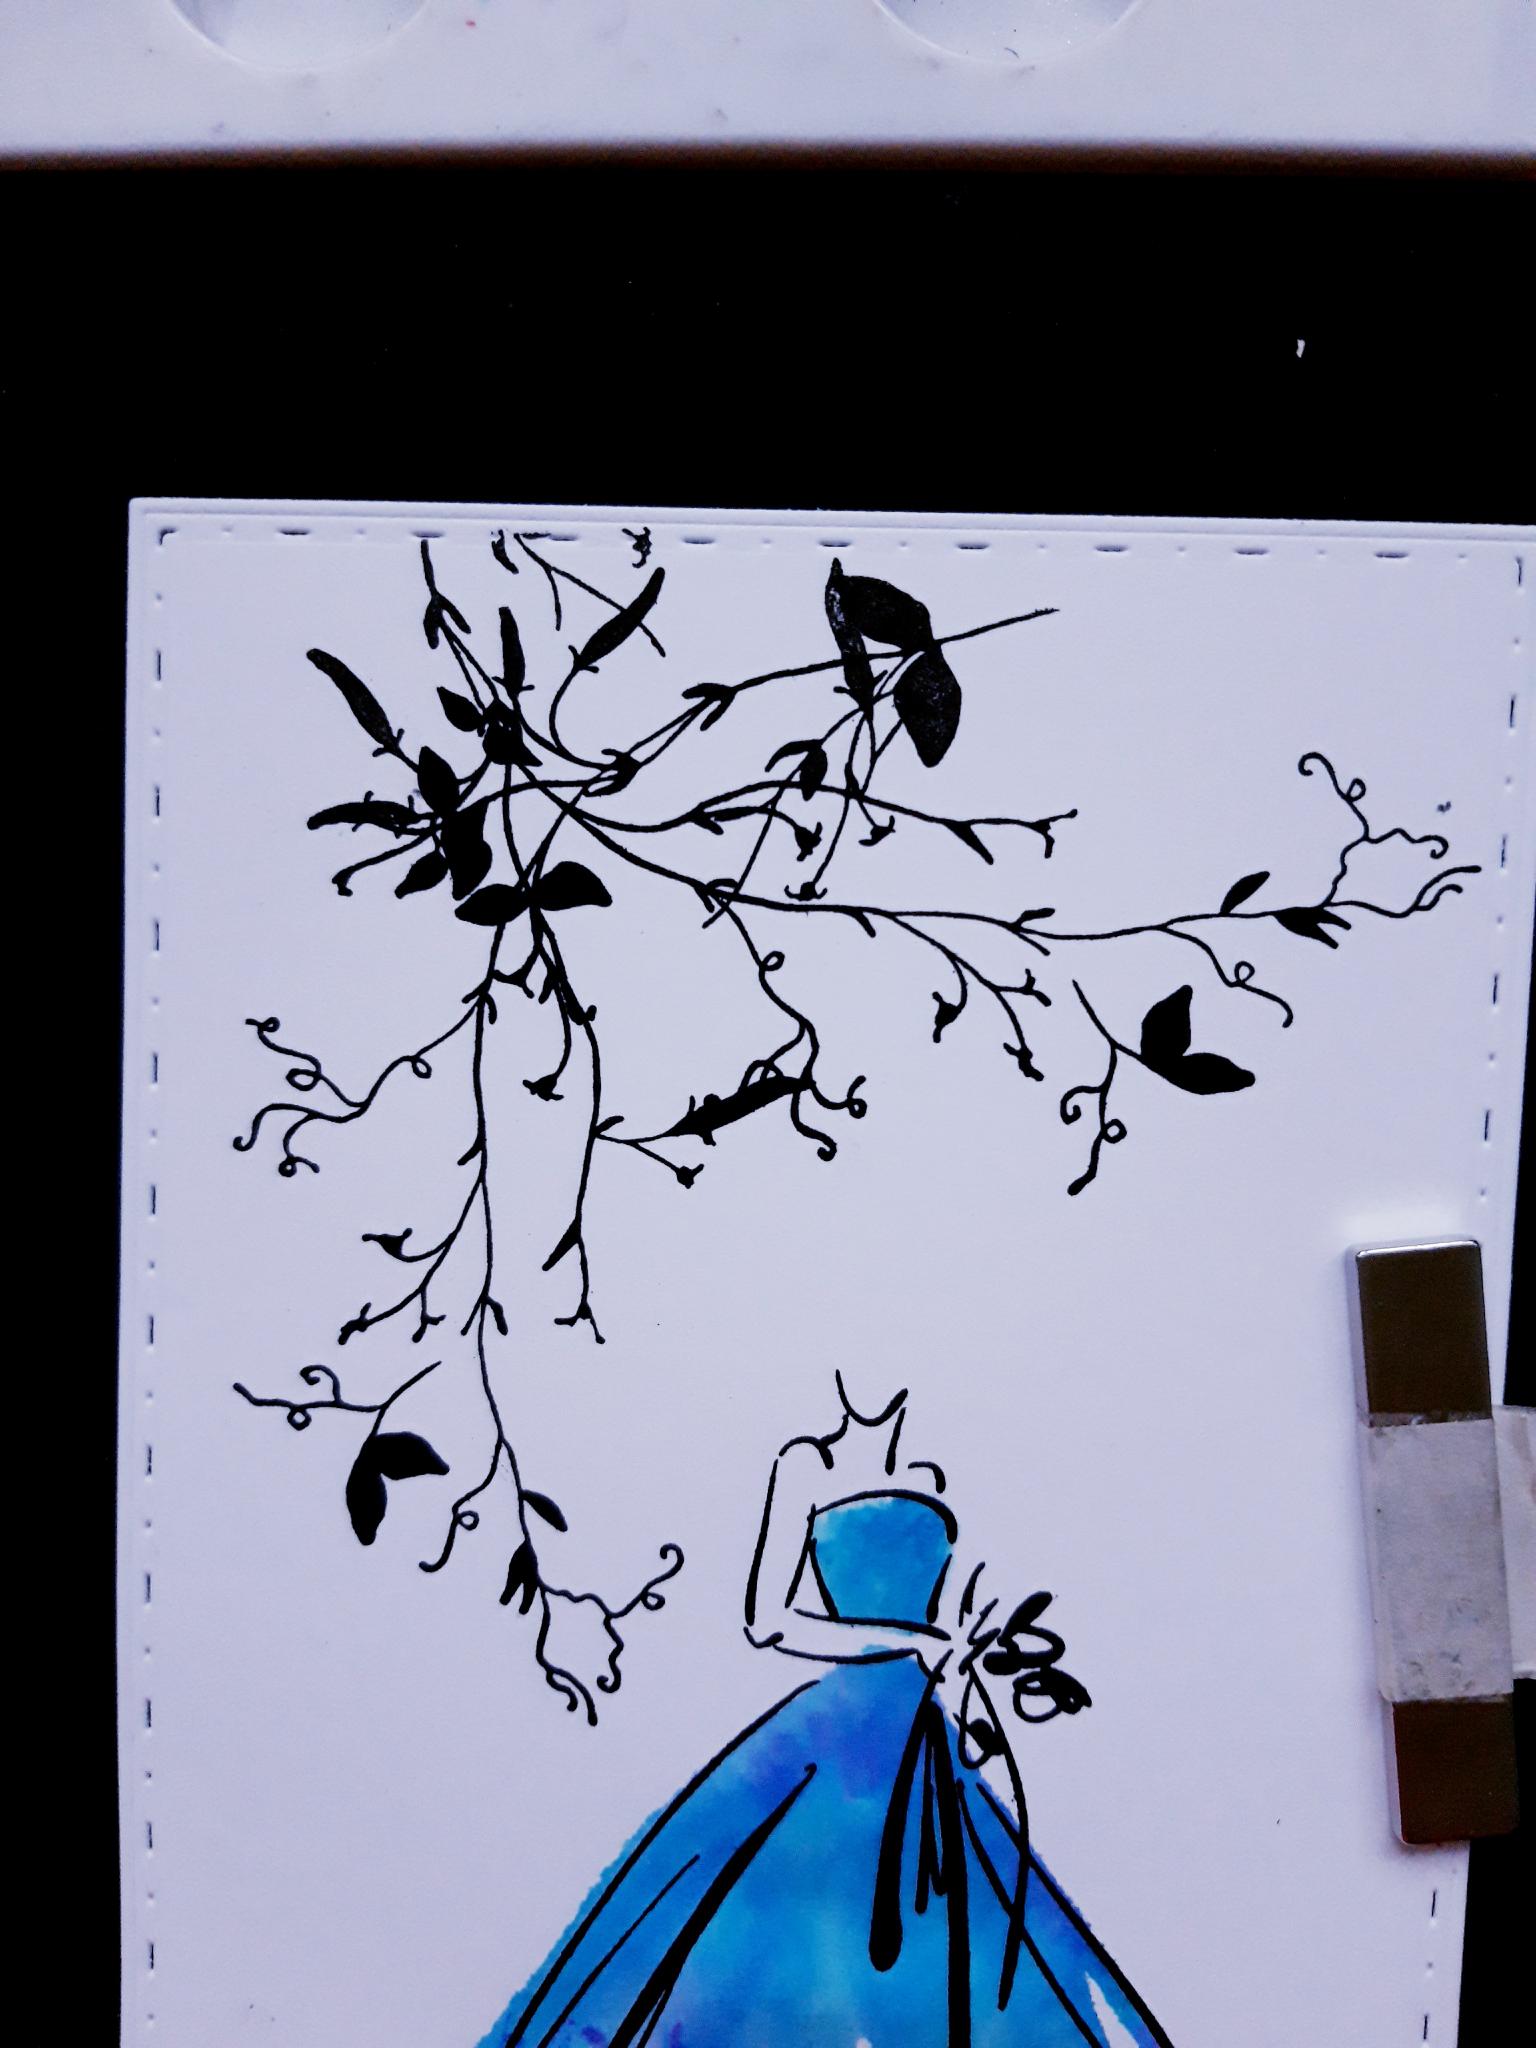
Ink up the leafy foliage stamp, from the Because Of You Stamp Collection, with the Versafine. Stamp it across the top of the card, using the aperture mat as a guide again, to decide where you want it to be visible, within the aperture window. |
|
Reink up the same stamp, and stamp it coming down the left side of the artwork, once again using the aperture mat as a guide. Dry all the ink off before moving to the next step. |
|
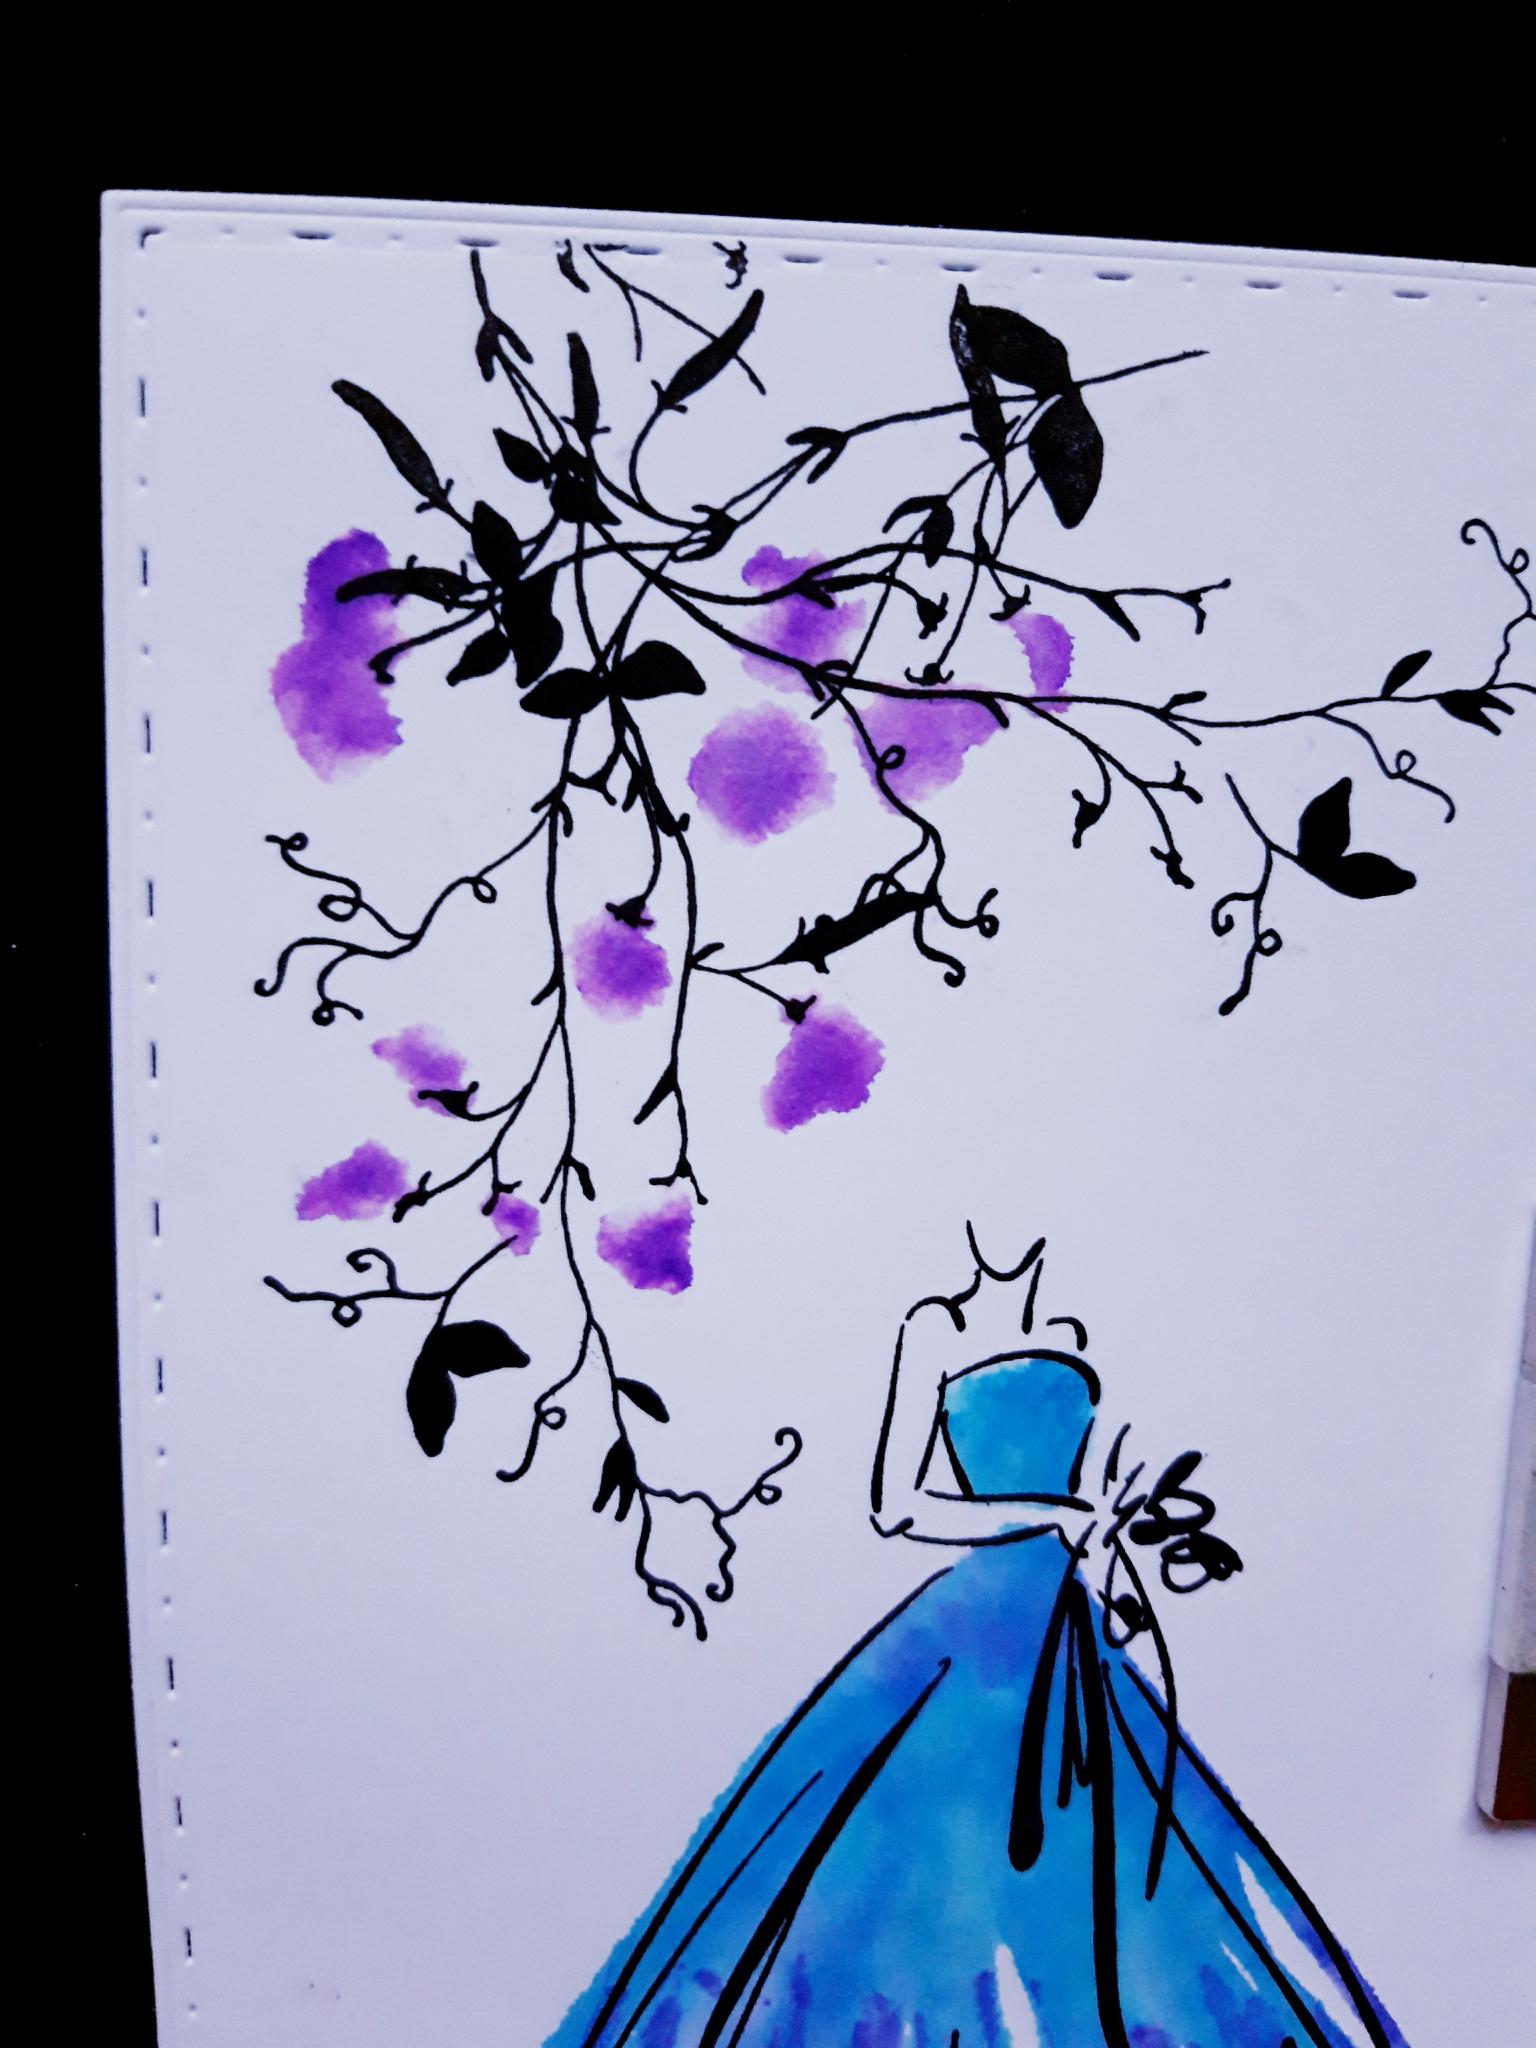
Ink up the coordinating, solid floral element of the lamination design, with the Izink fushia (84) Gossip Watercolour pen. Spritz with water and stamp in place over one of the foliage images. If you are unsure where to stamp it, use the images on the packaging as a guide. TIP: Stamp the design on to a piece of copier paper first, so you can see how the lamination design looks, and how the 2 stamps line up. |
|
Reink the same stamp up again, spritz with water, and stamp over the second foliage image. Dry off your artwork, and set to one side. |
|
Ink up the sentiment stamp, from the same stamp collection, in the Onyx Black Versafine. Stamp vertically, down the left hand side of the aperture frame mat. |
|
Once the sentiment is dry, glue both white mats together, so the aperture frame is over the top of your stamped artwork. |
|
Glue this on top of the blue, pearlised die cut mat. |
|
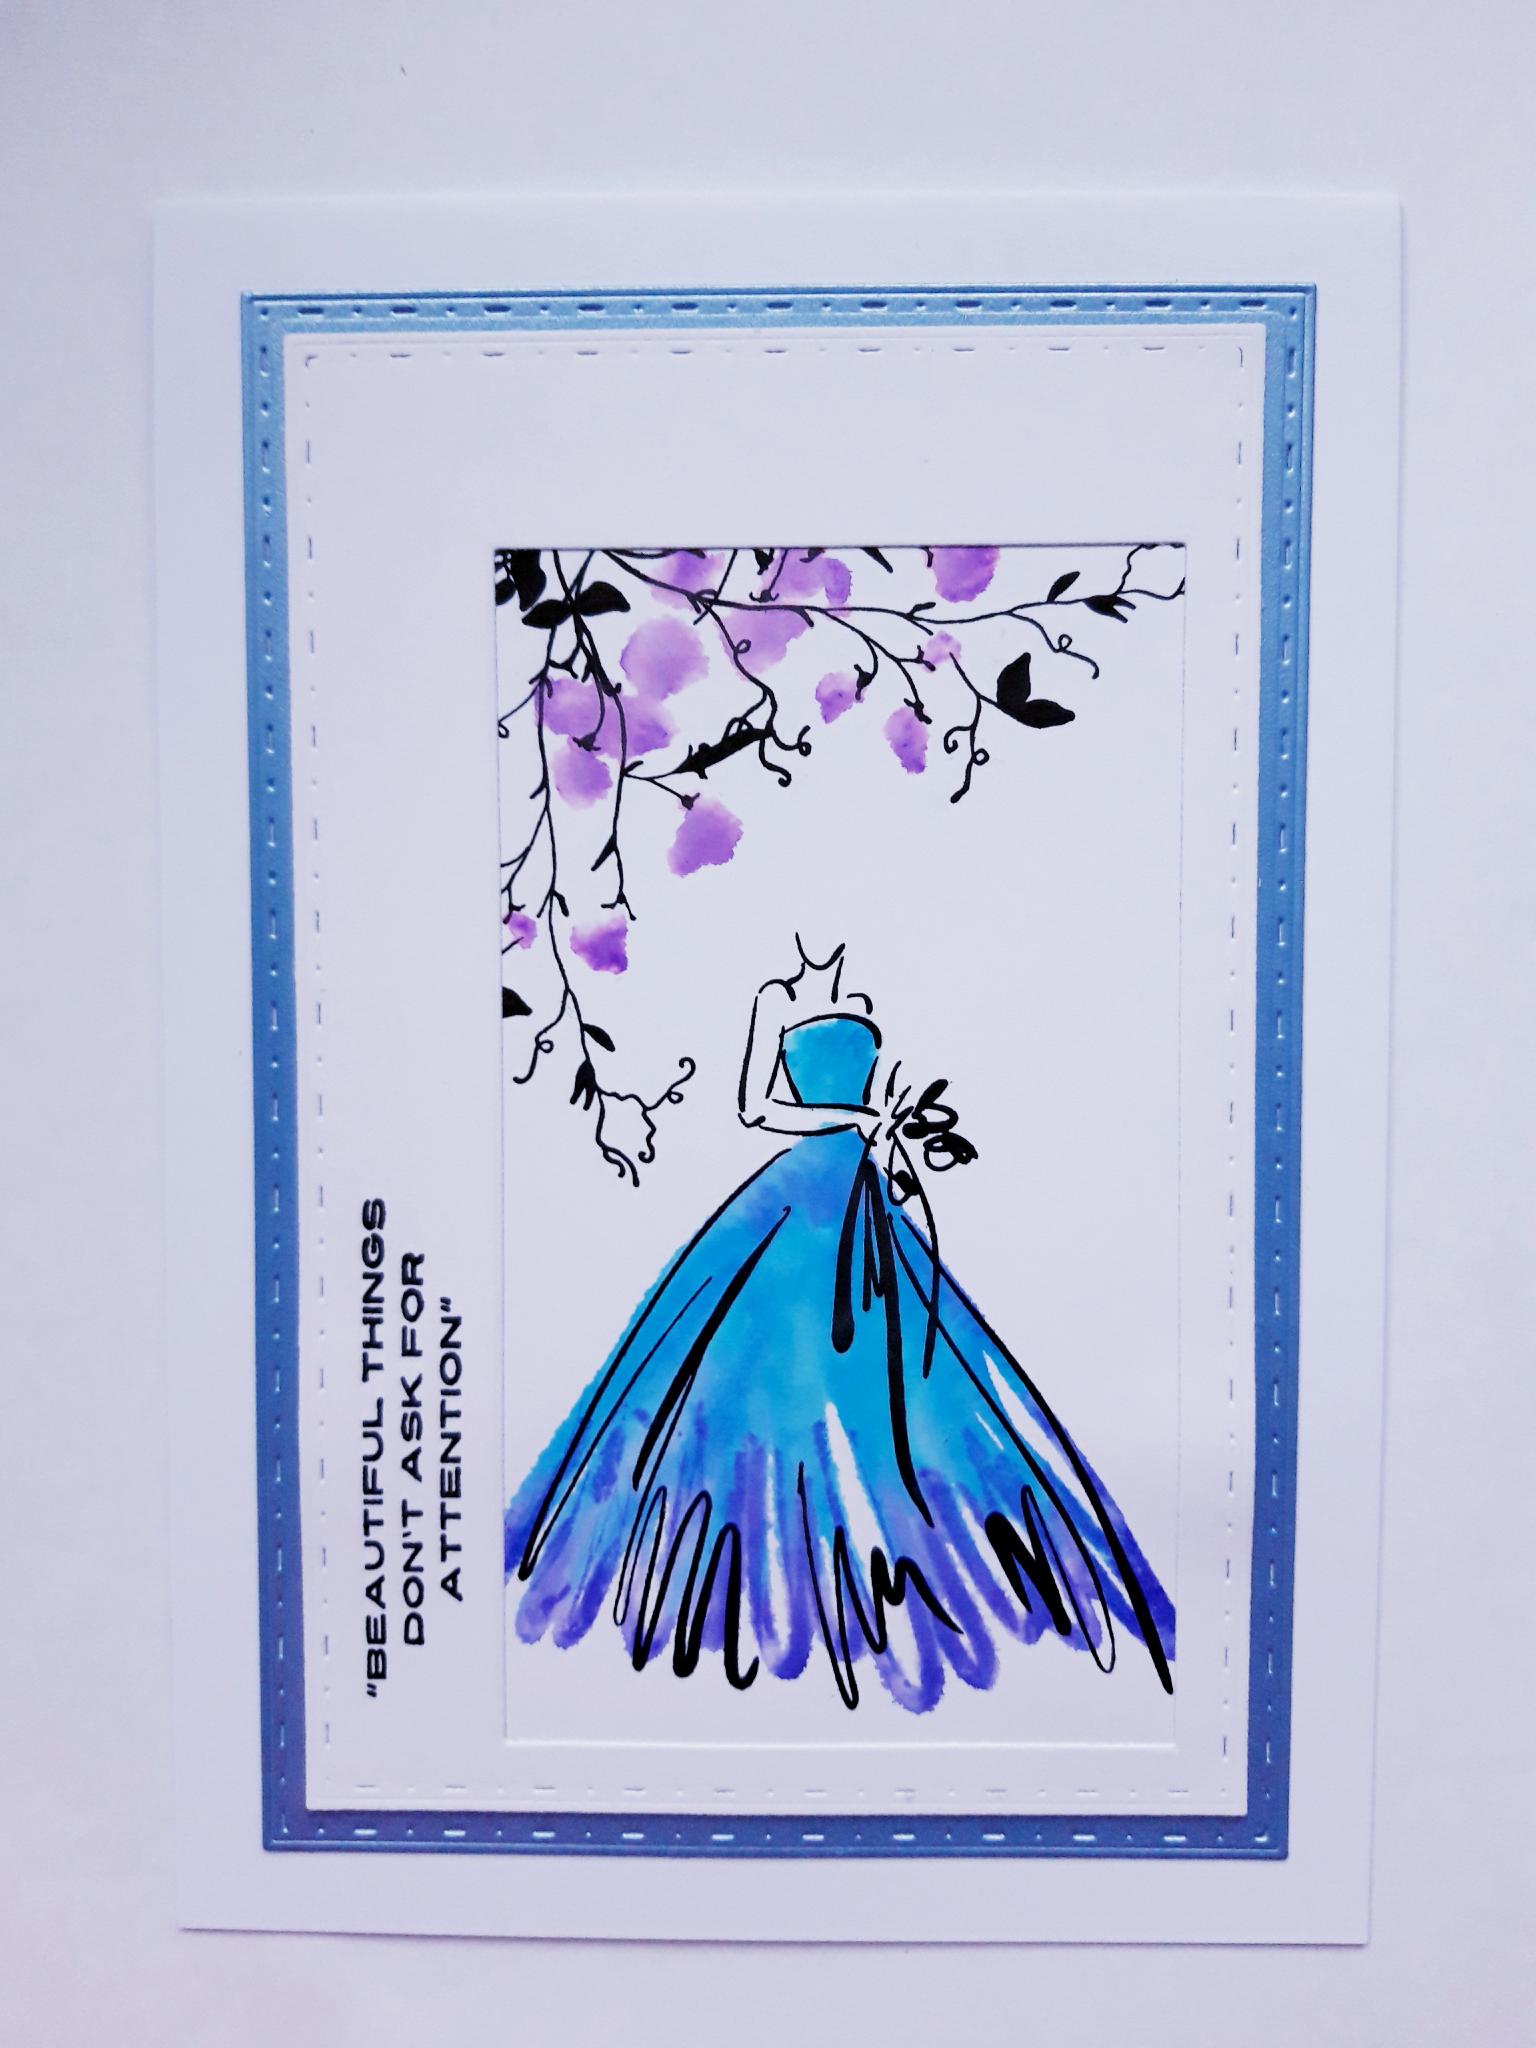
Glue your artwork on to the front of your top folding white card blank. |
|
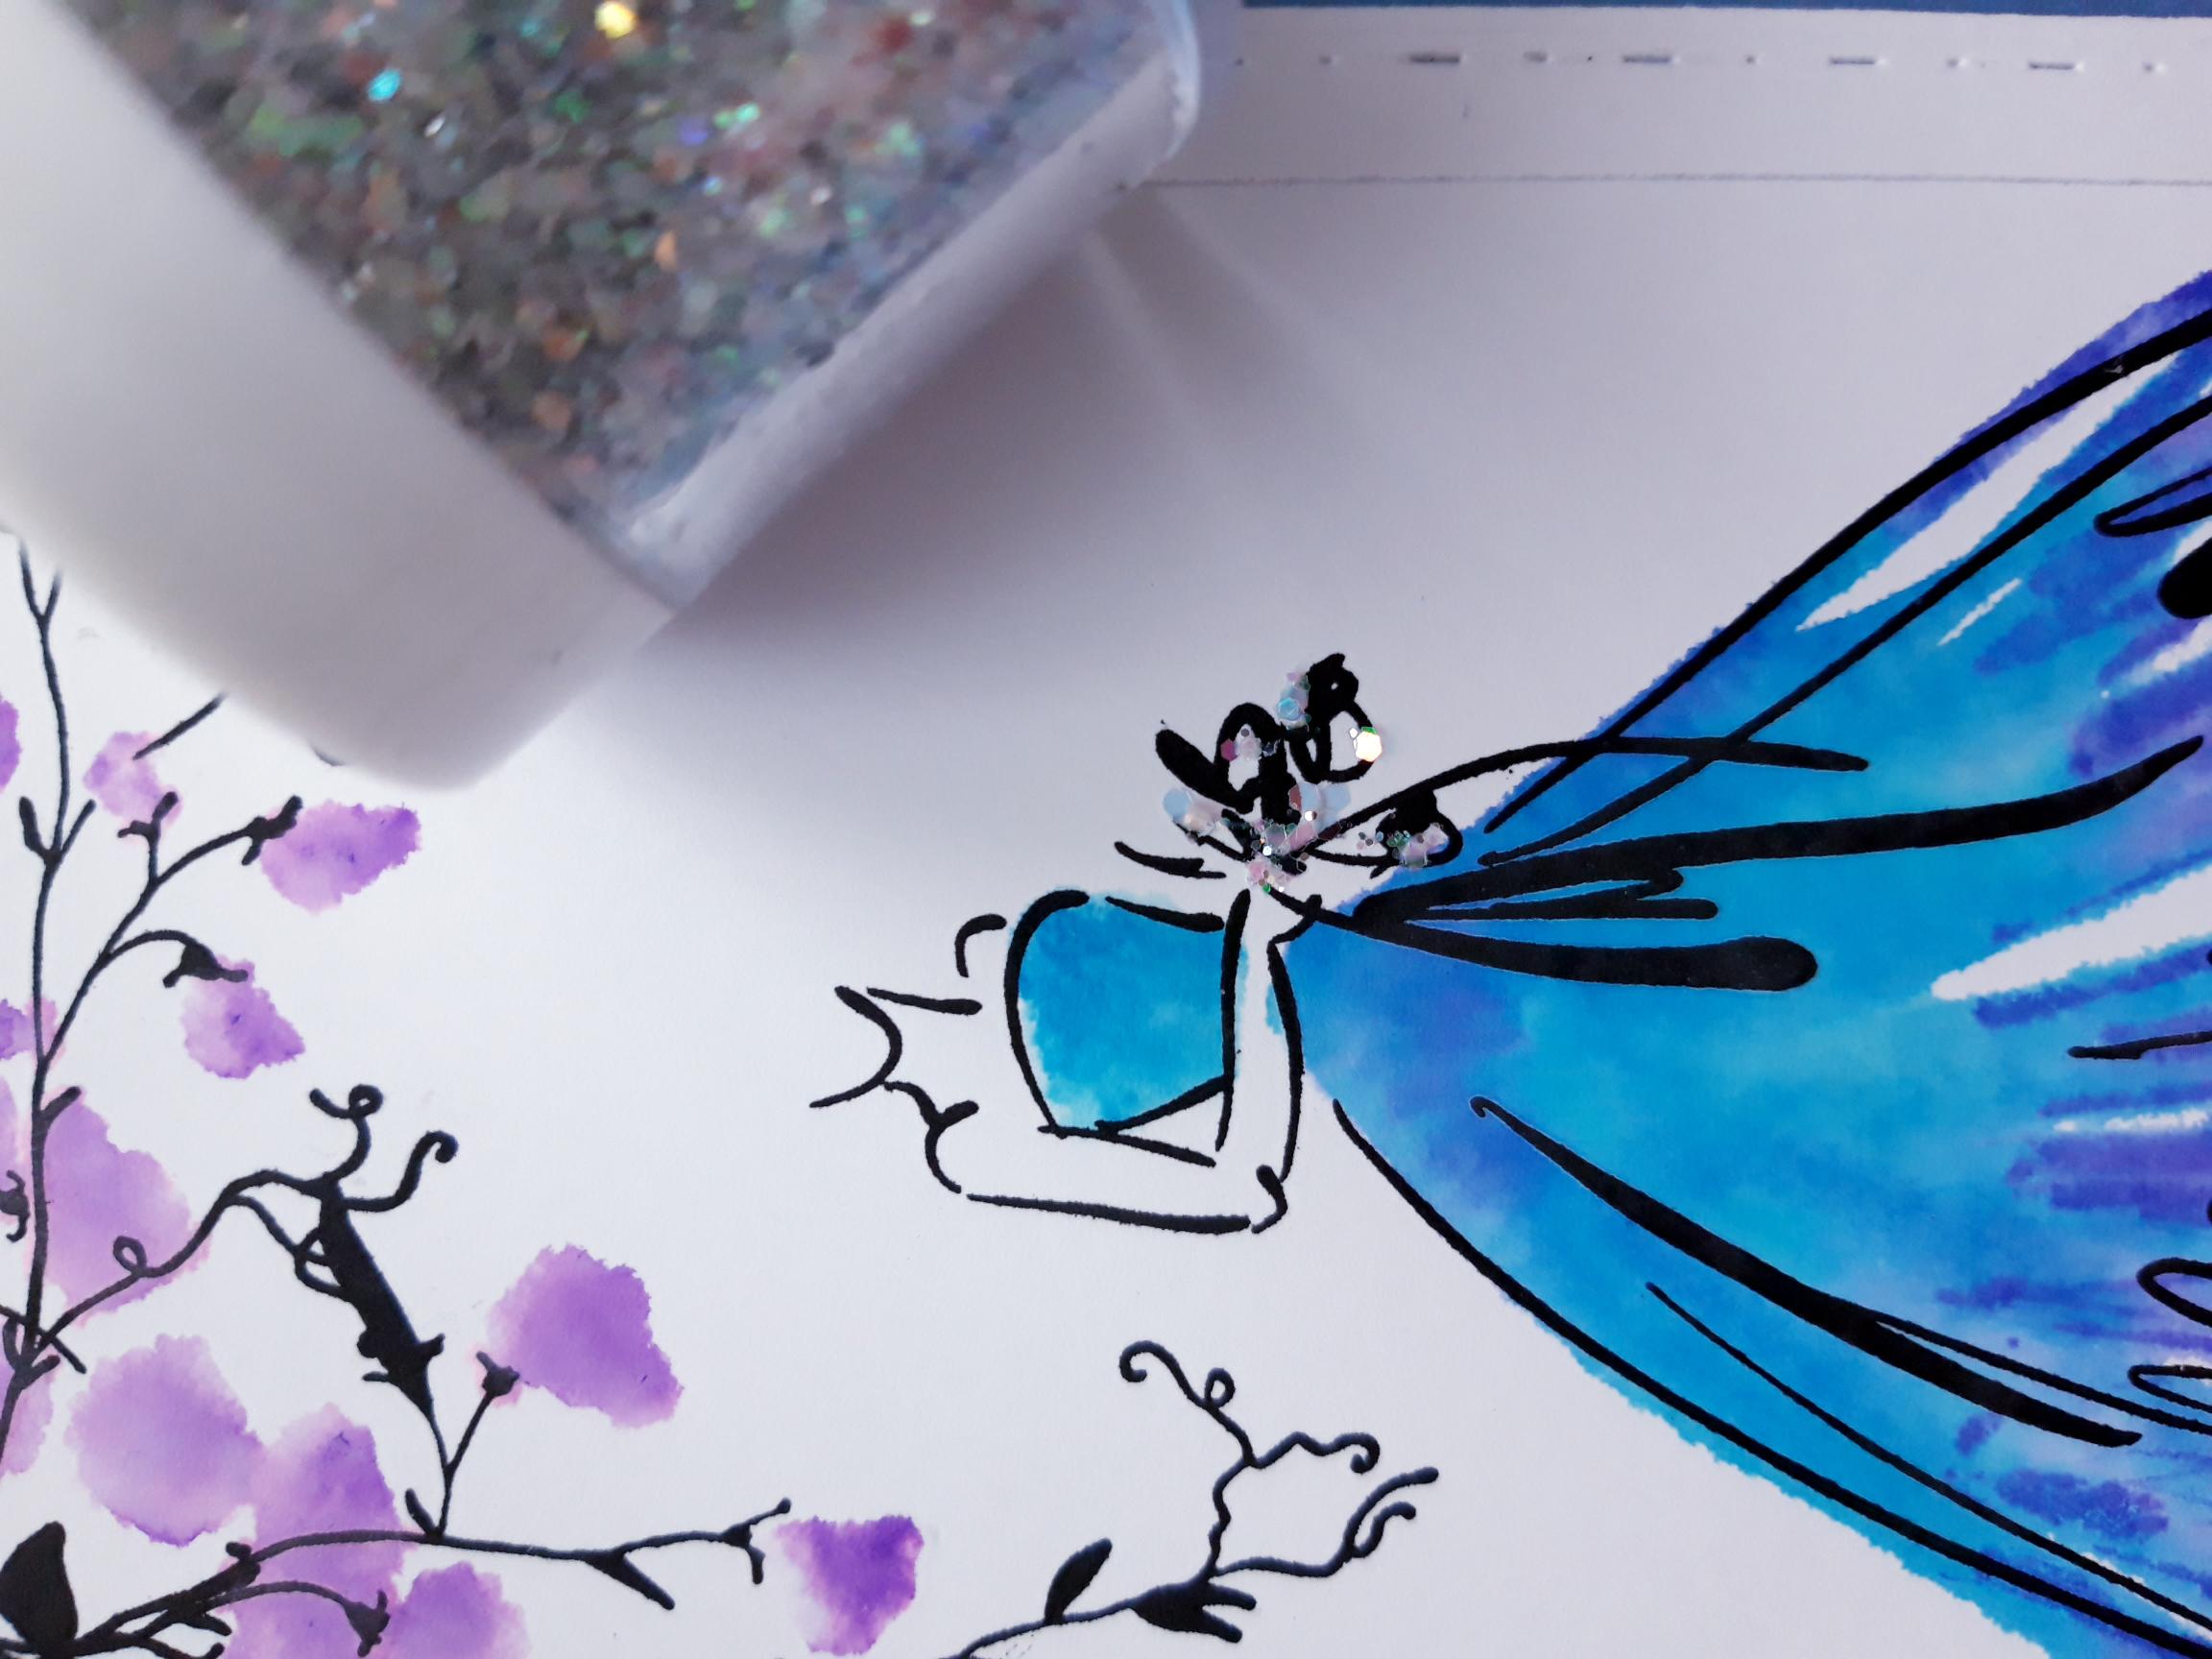
To finish off your card, glue tiny specks of the Midas Glitter on to her floral bouquet. |