Give your friends $10 off their first order!
Refer a FRIEND


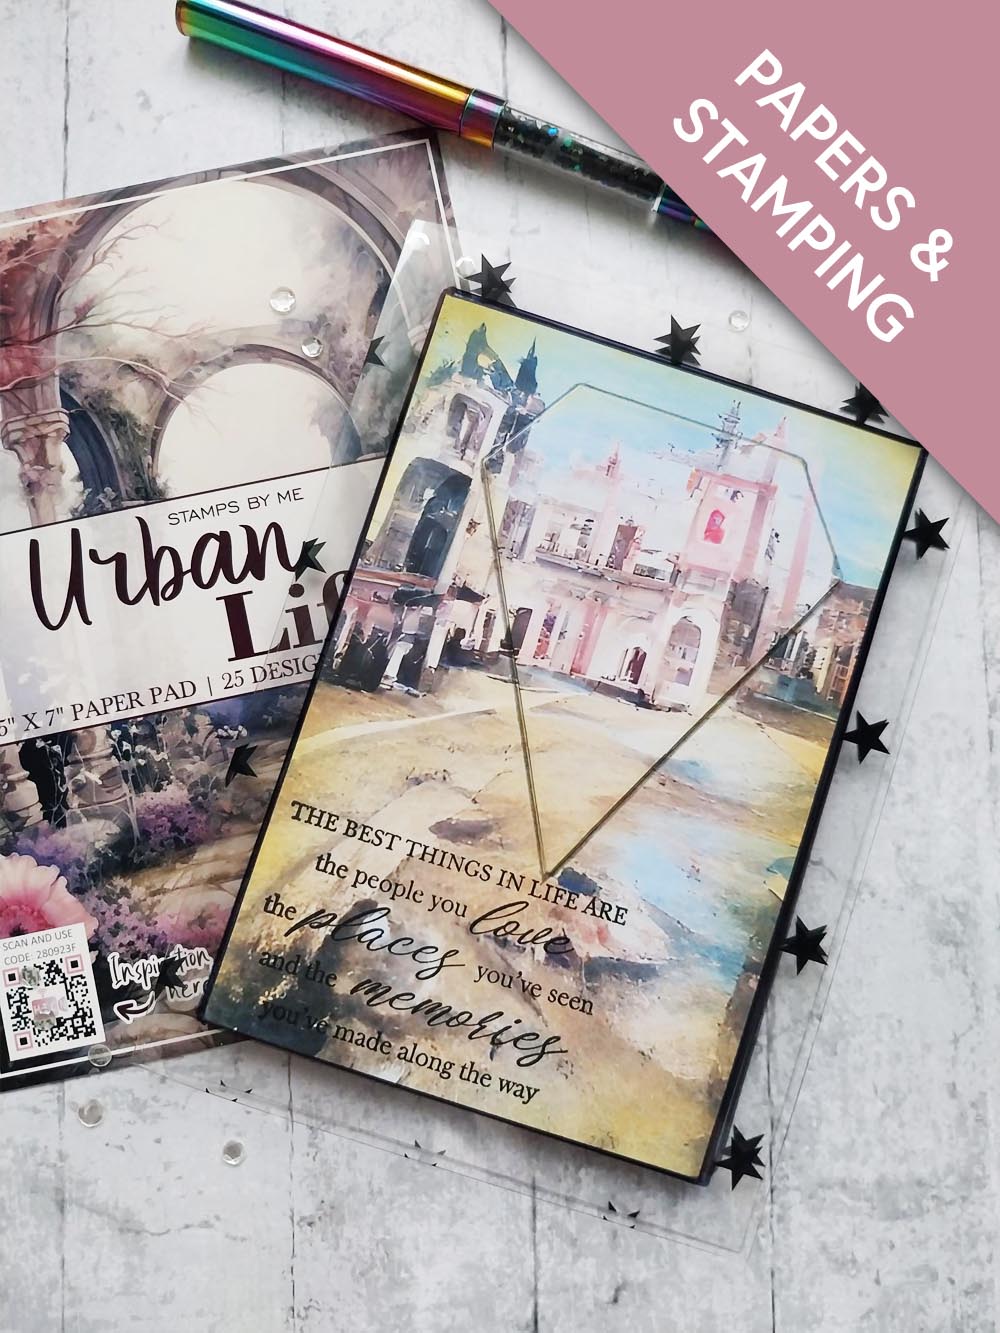
WHAT YOU WILL NEED:
Urban Life Paper Collection
Teresa Collins 12 x 12 Black Construction Acetate
Impossible To Forget Stamp
White card
SBM Hybrid Ink Pad: Midnight
Distress Ink/Oxide Ink Pad: Fossilized Amber, Worn Lipstick
Blending brush
Nesting shape dies (shape of your choosing)
Black pen
Pencil
Eureka 101 Watercolour Tablet
SBM A3 Magnetic glass mat
Paper Trimmer
Glue
Red liner tape
Die Cutting machine
[click image to enlarge] 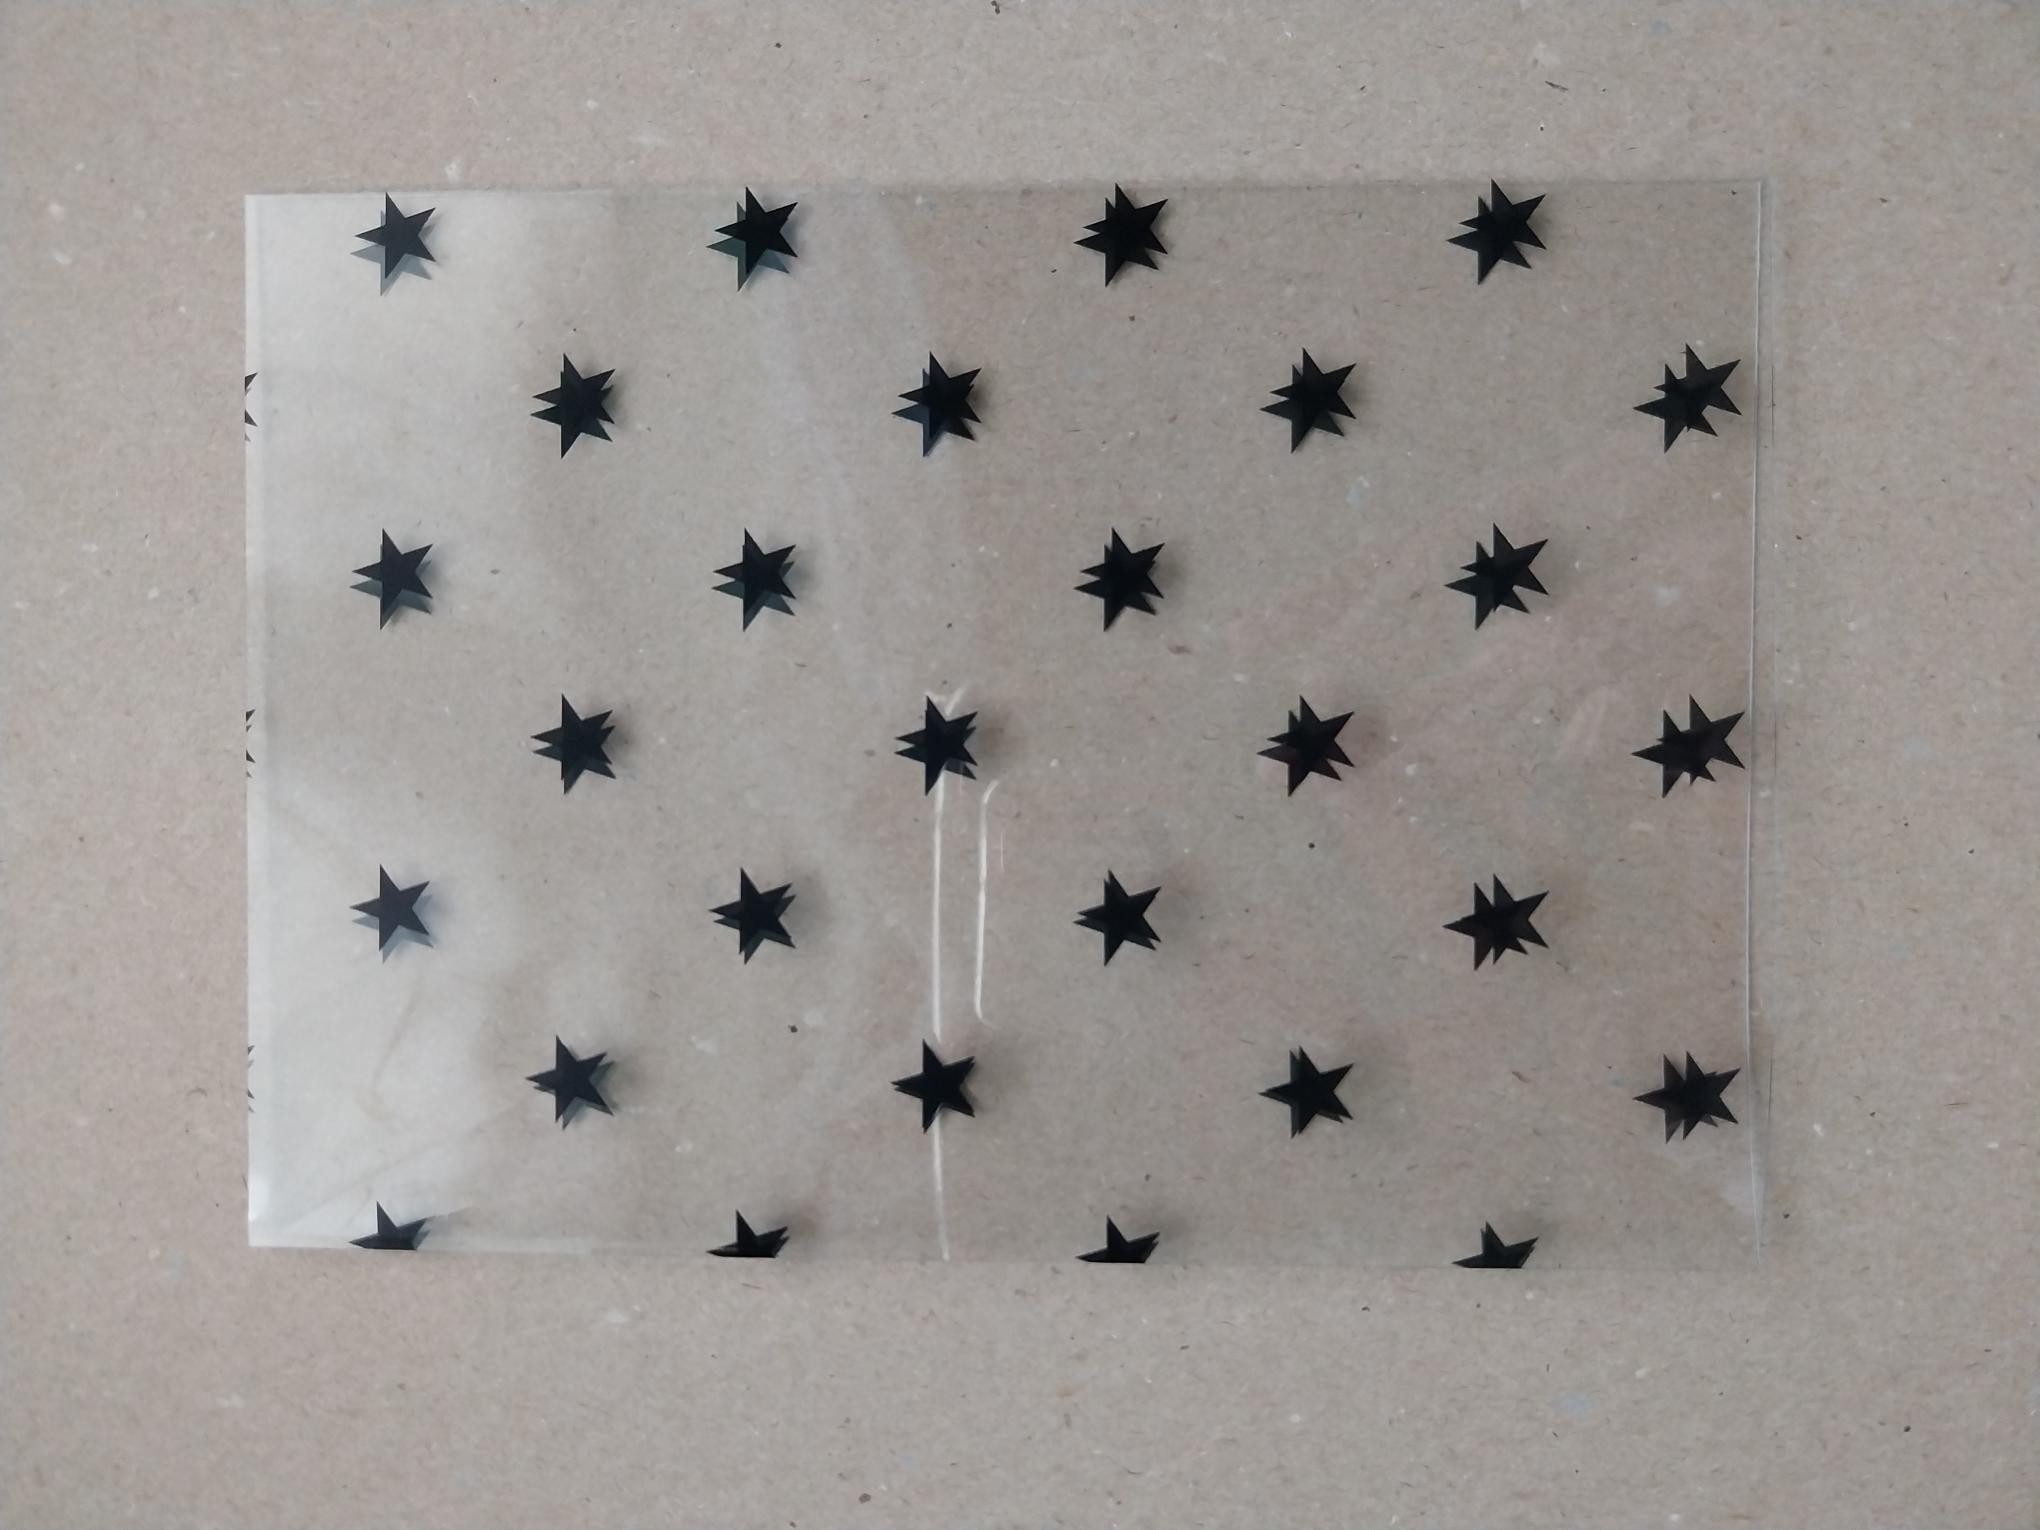
|
Remove the protective film from this acetate sheet before scoring and folding it in half. Trim to create a 5 x 7" card blank and pop to one side. |
|
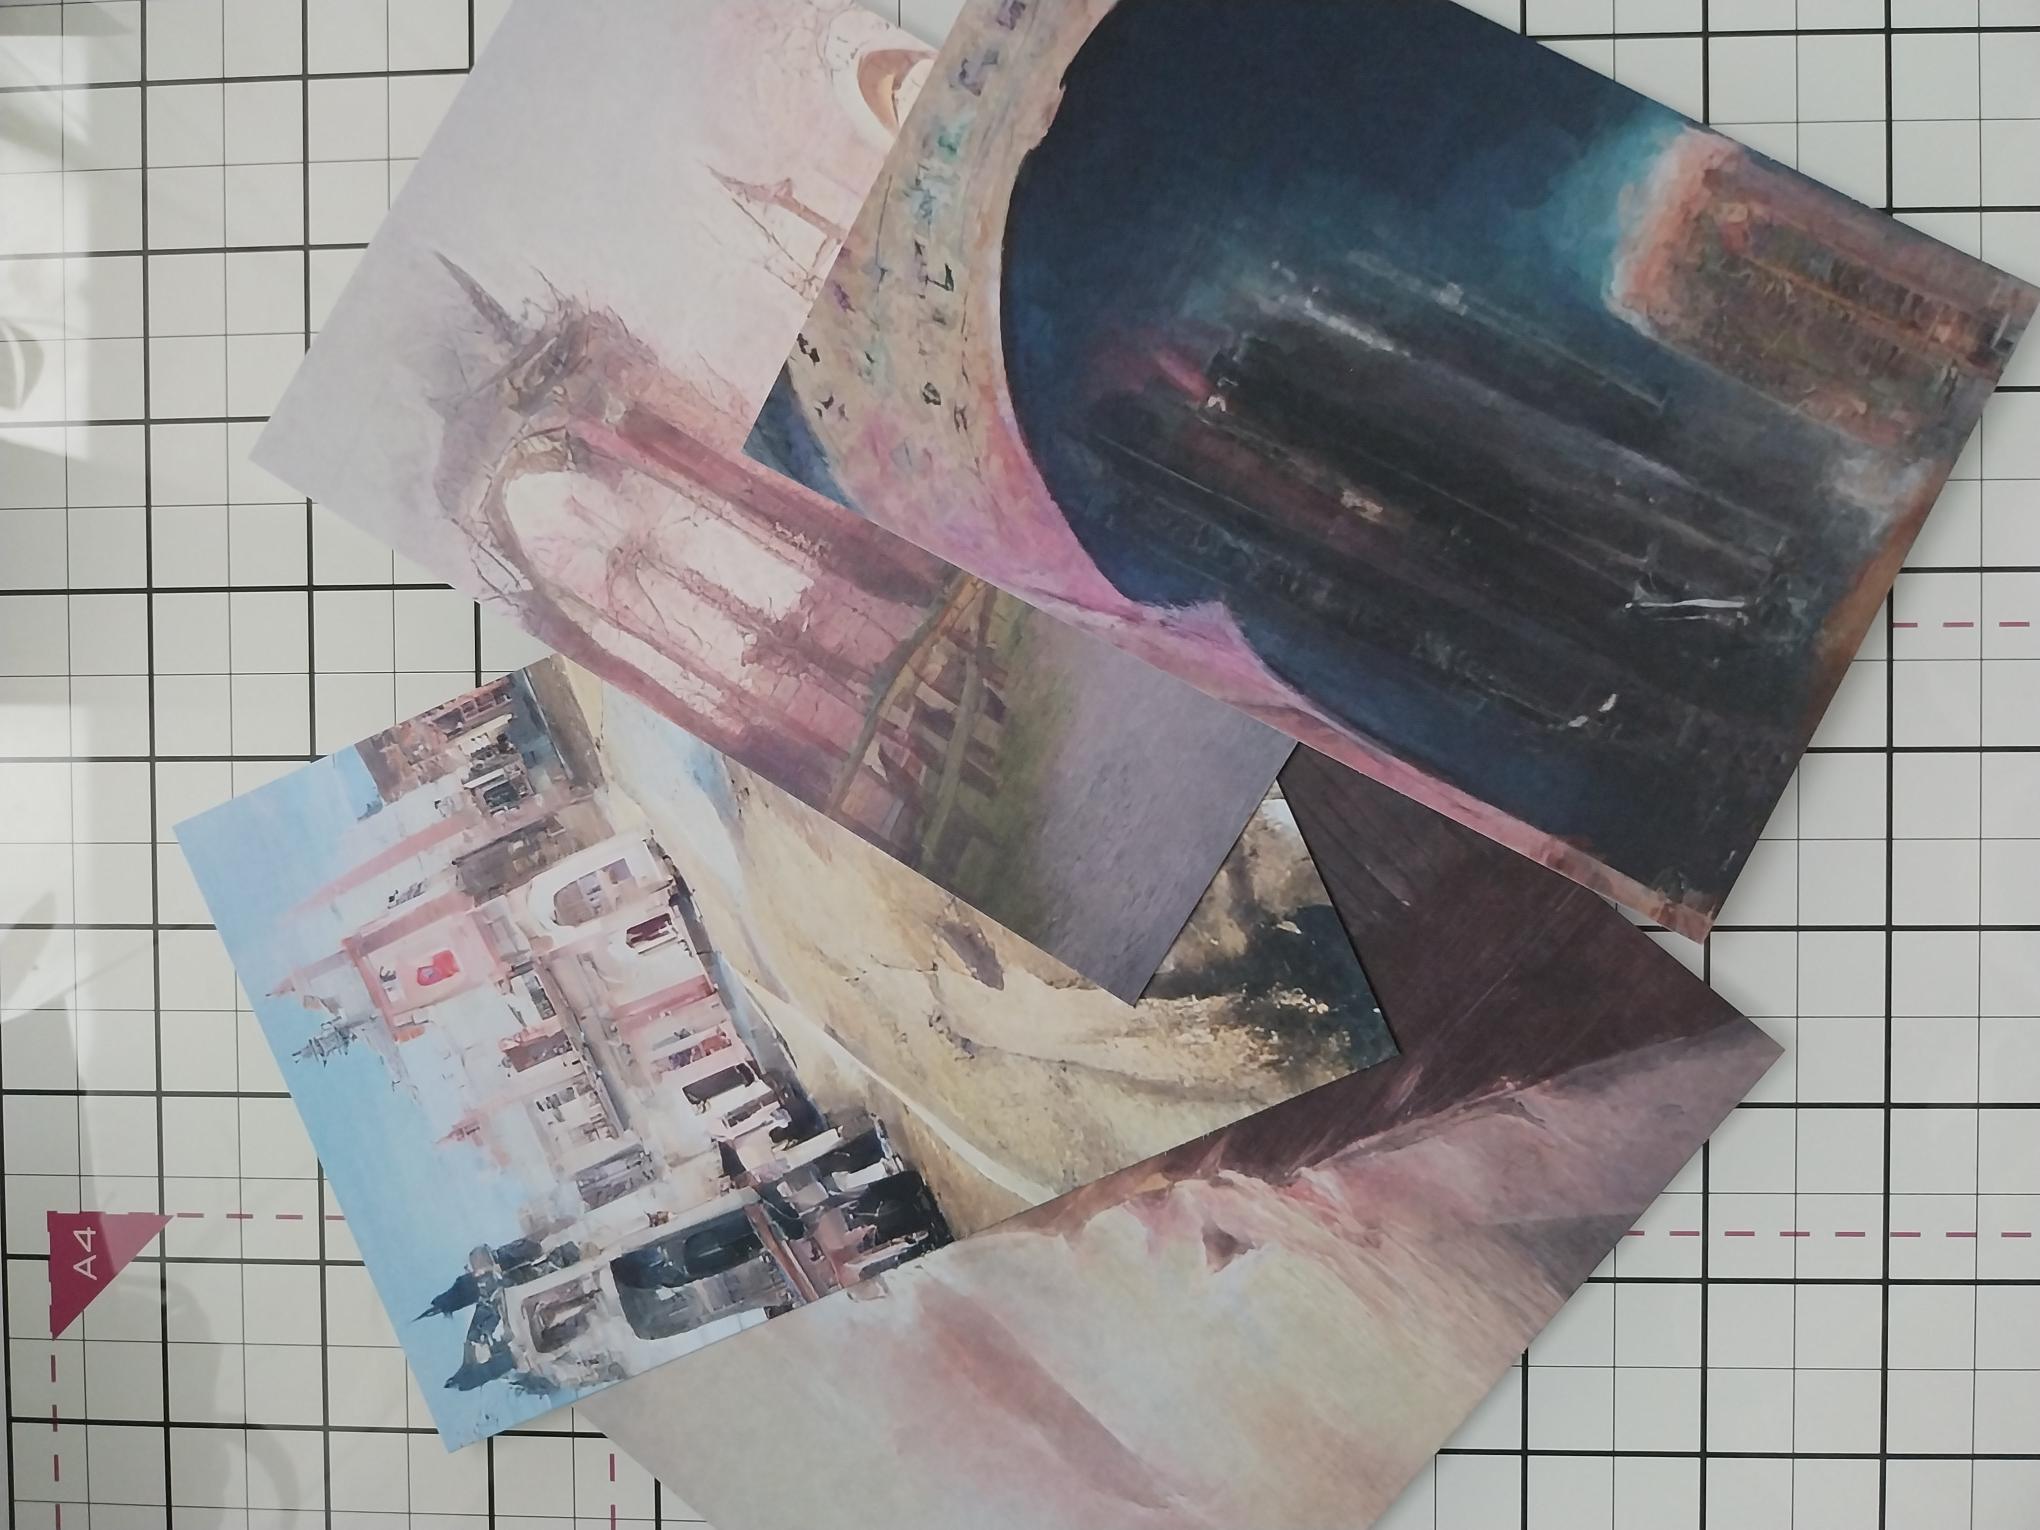
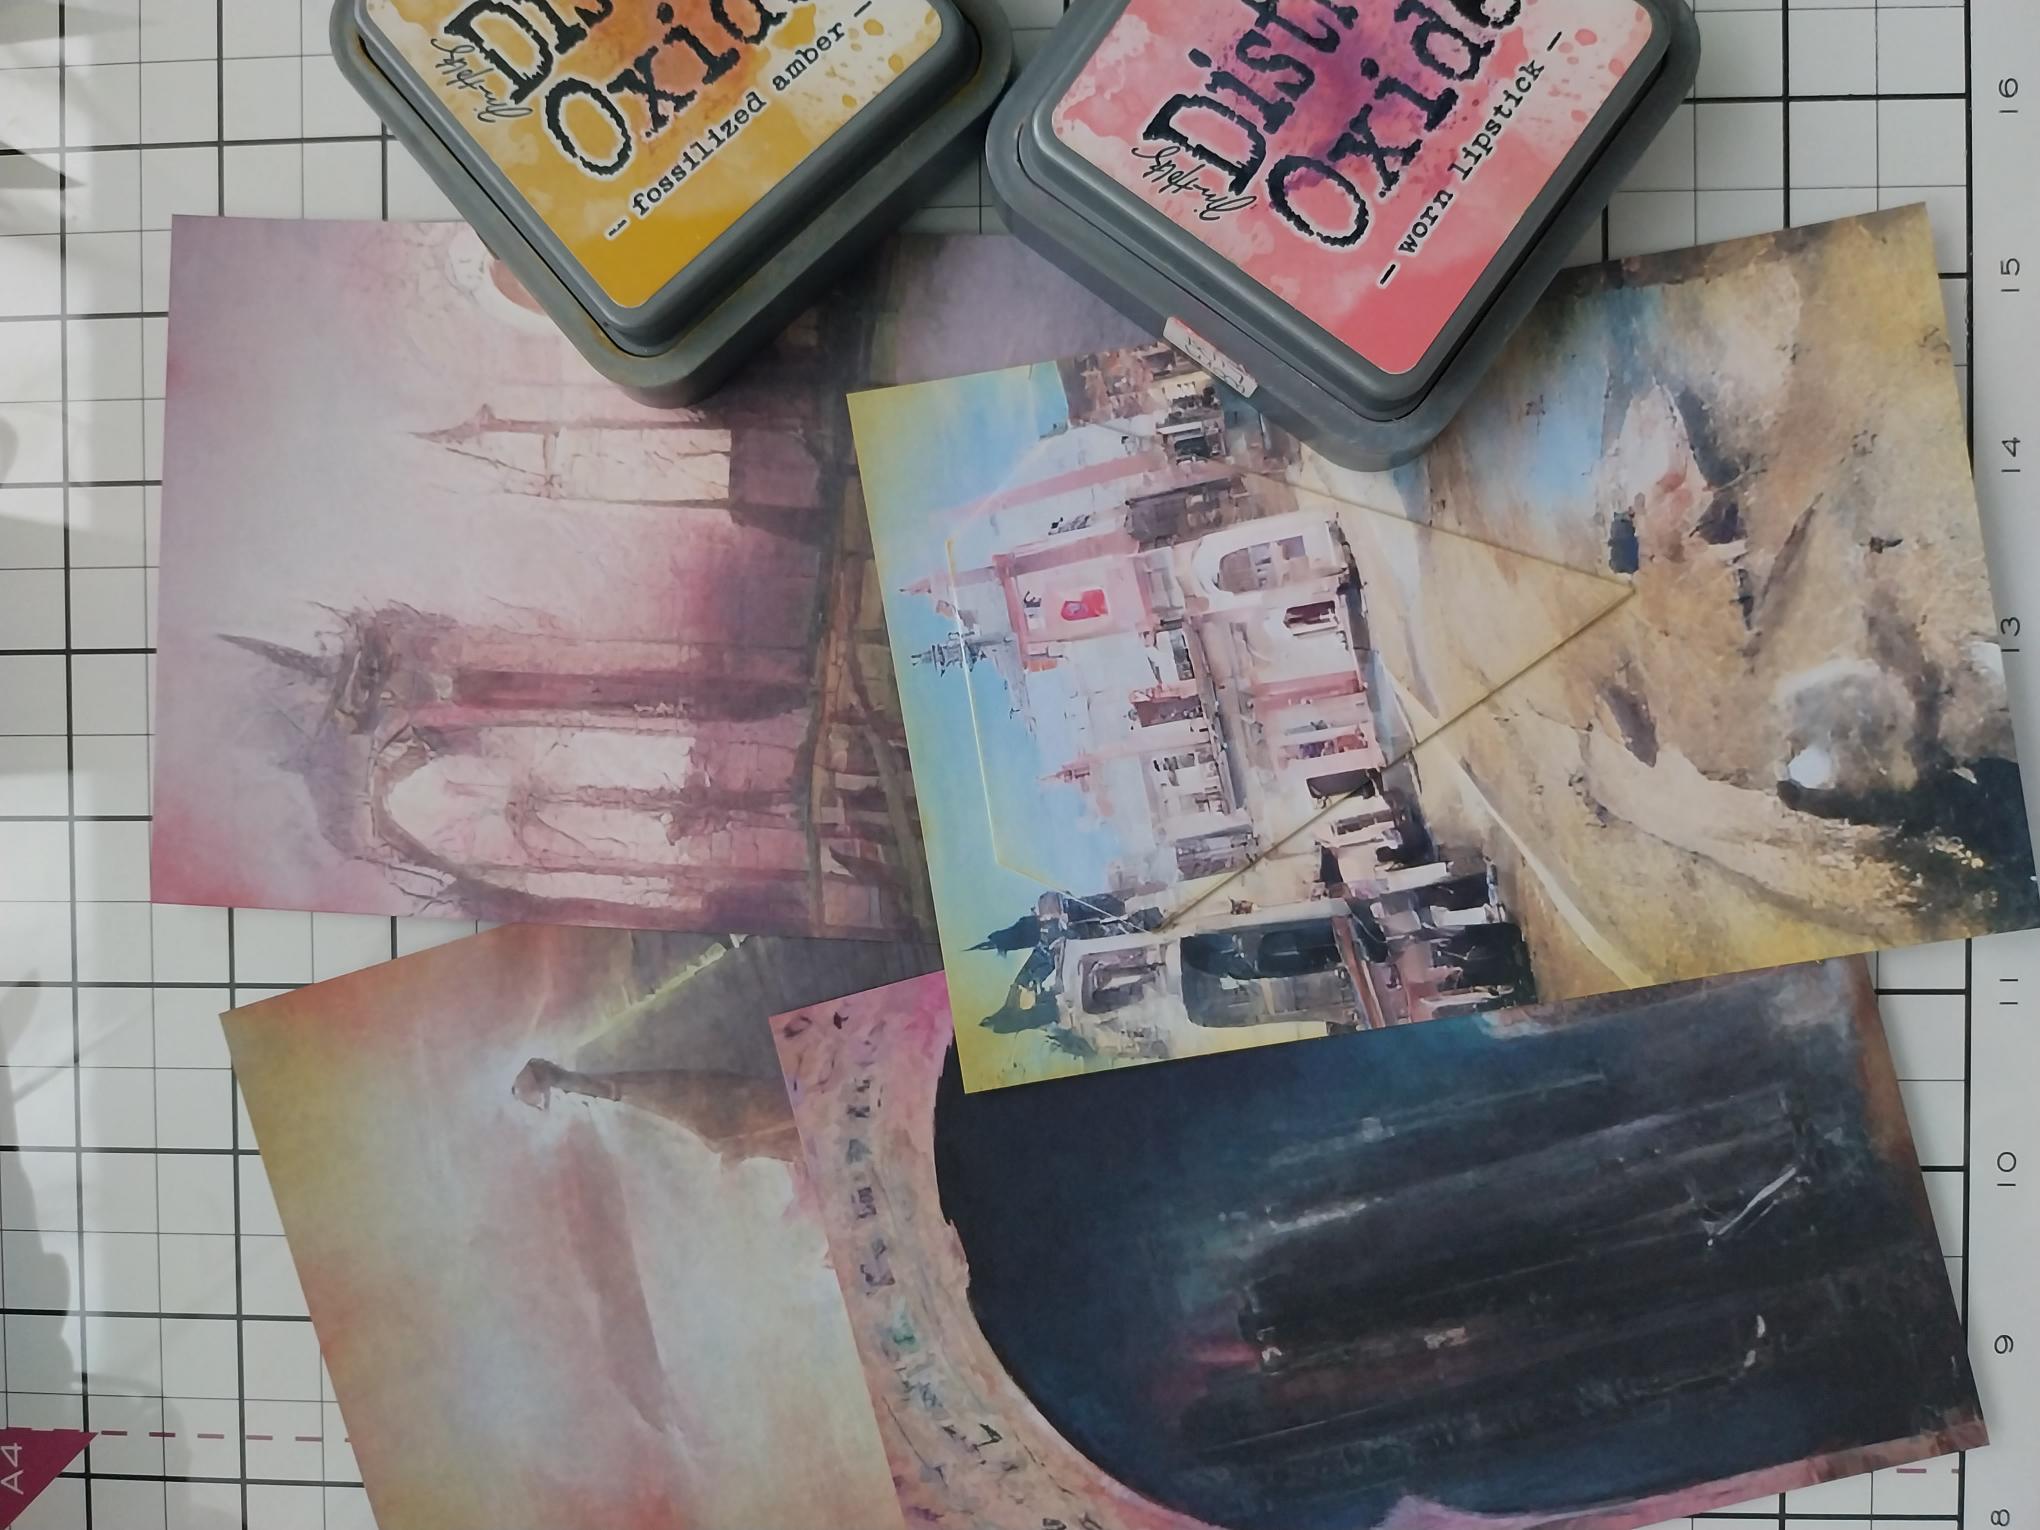
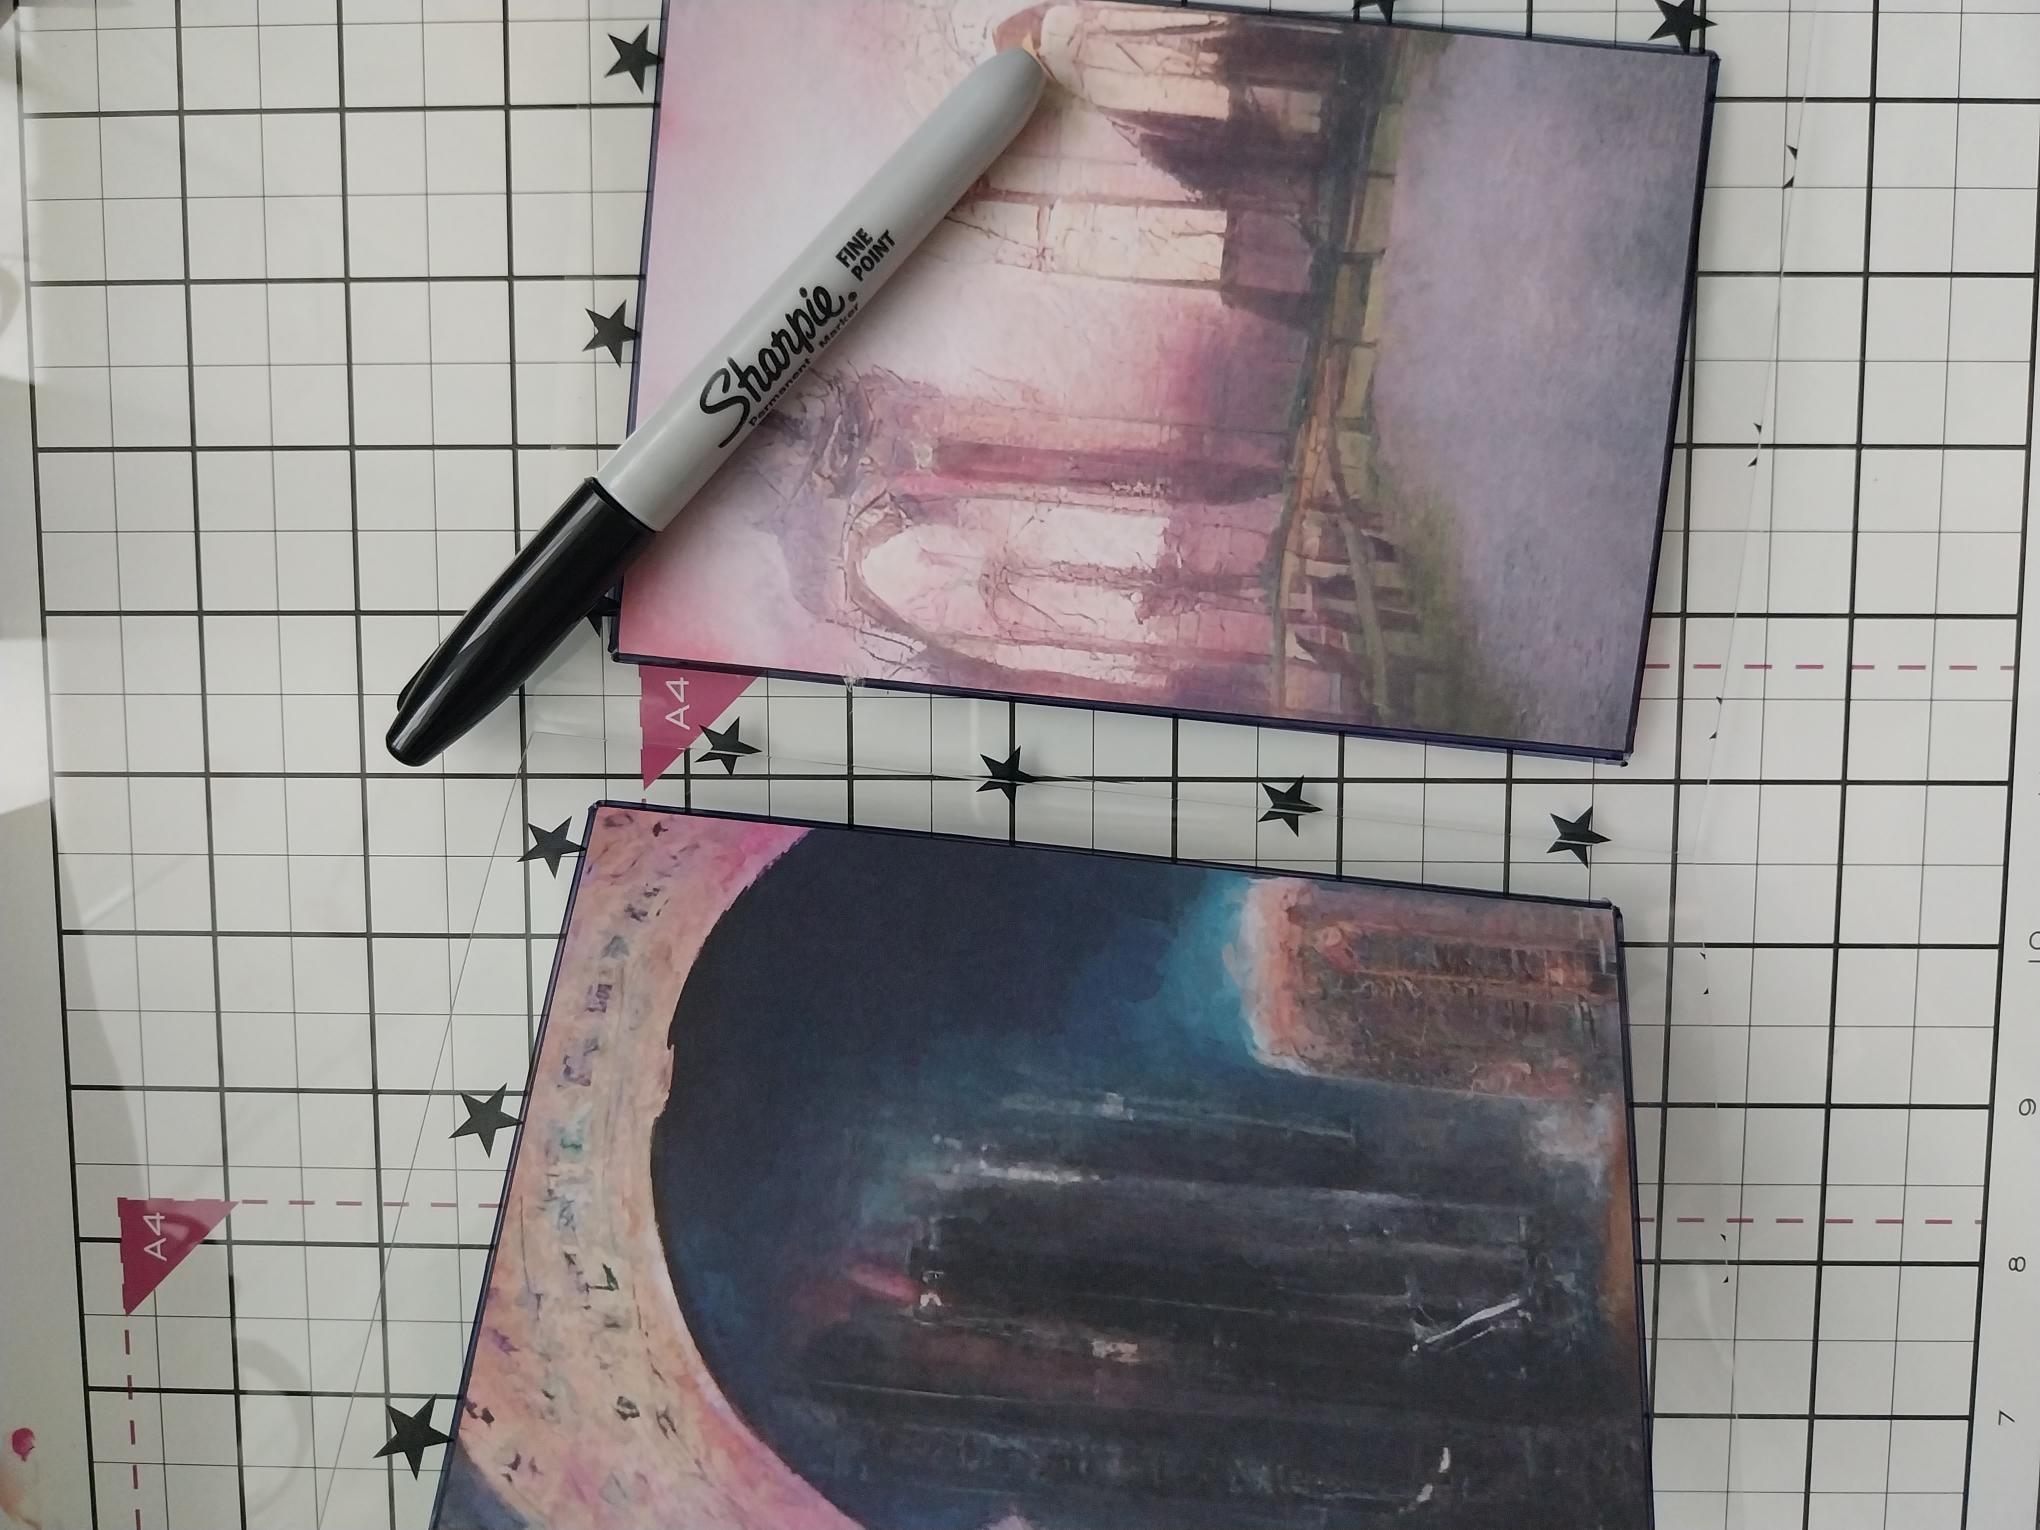
Choose 4 different mounts from the Urban Life paper collection. Trim all mounts to 4 x 6". NB: Whichever design you choose for your front cover, you will need TWO of the same design. |
|
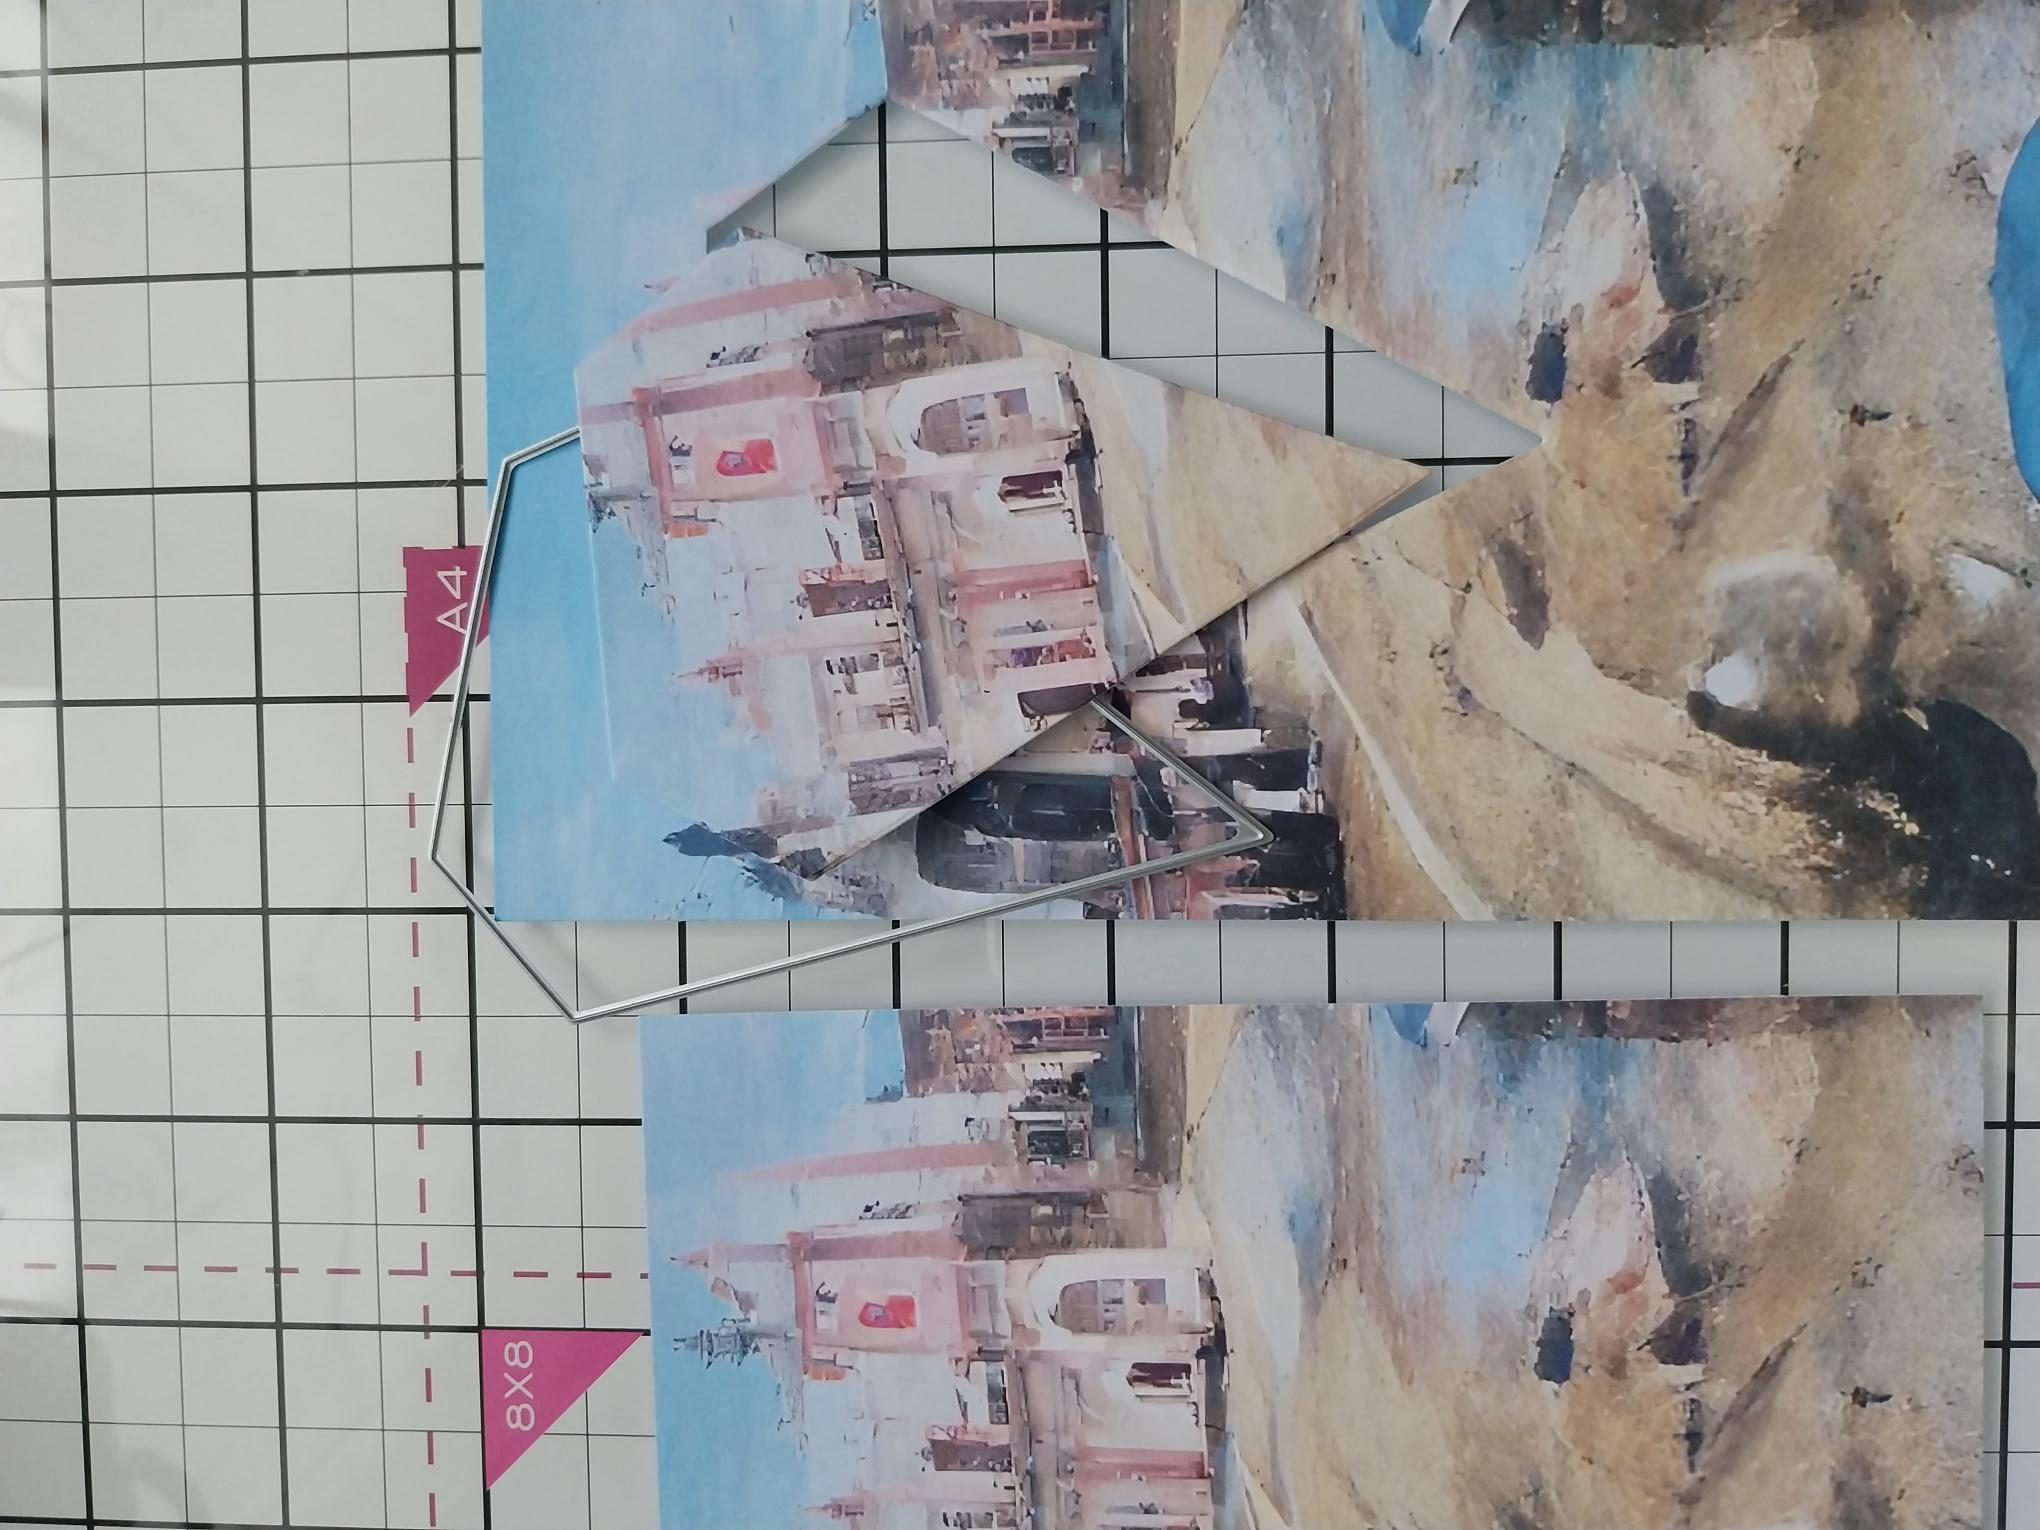
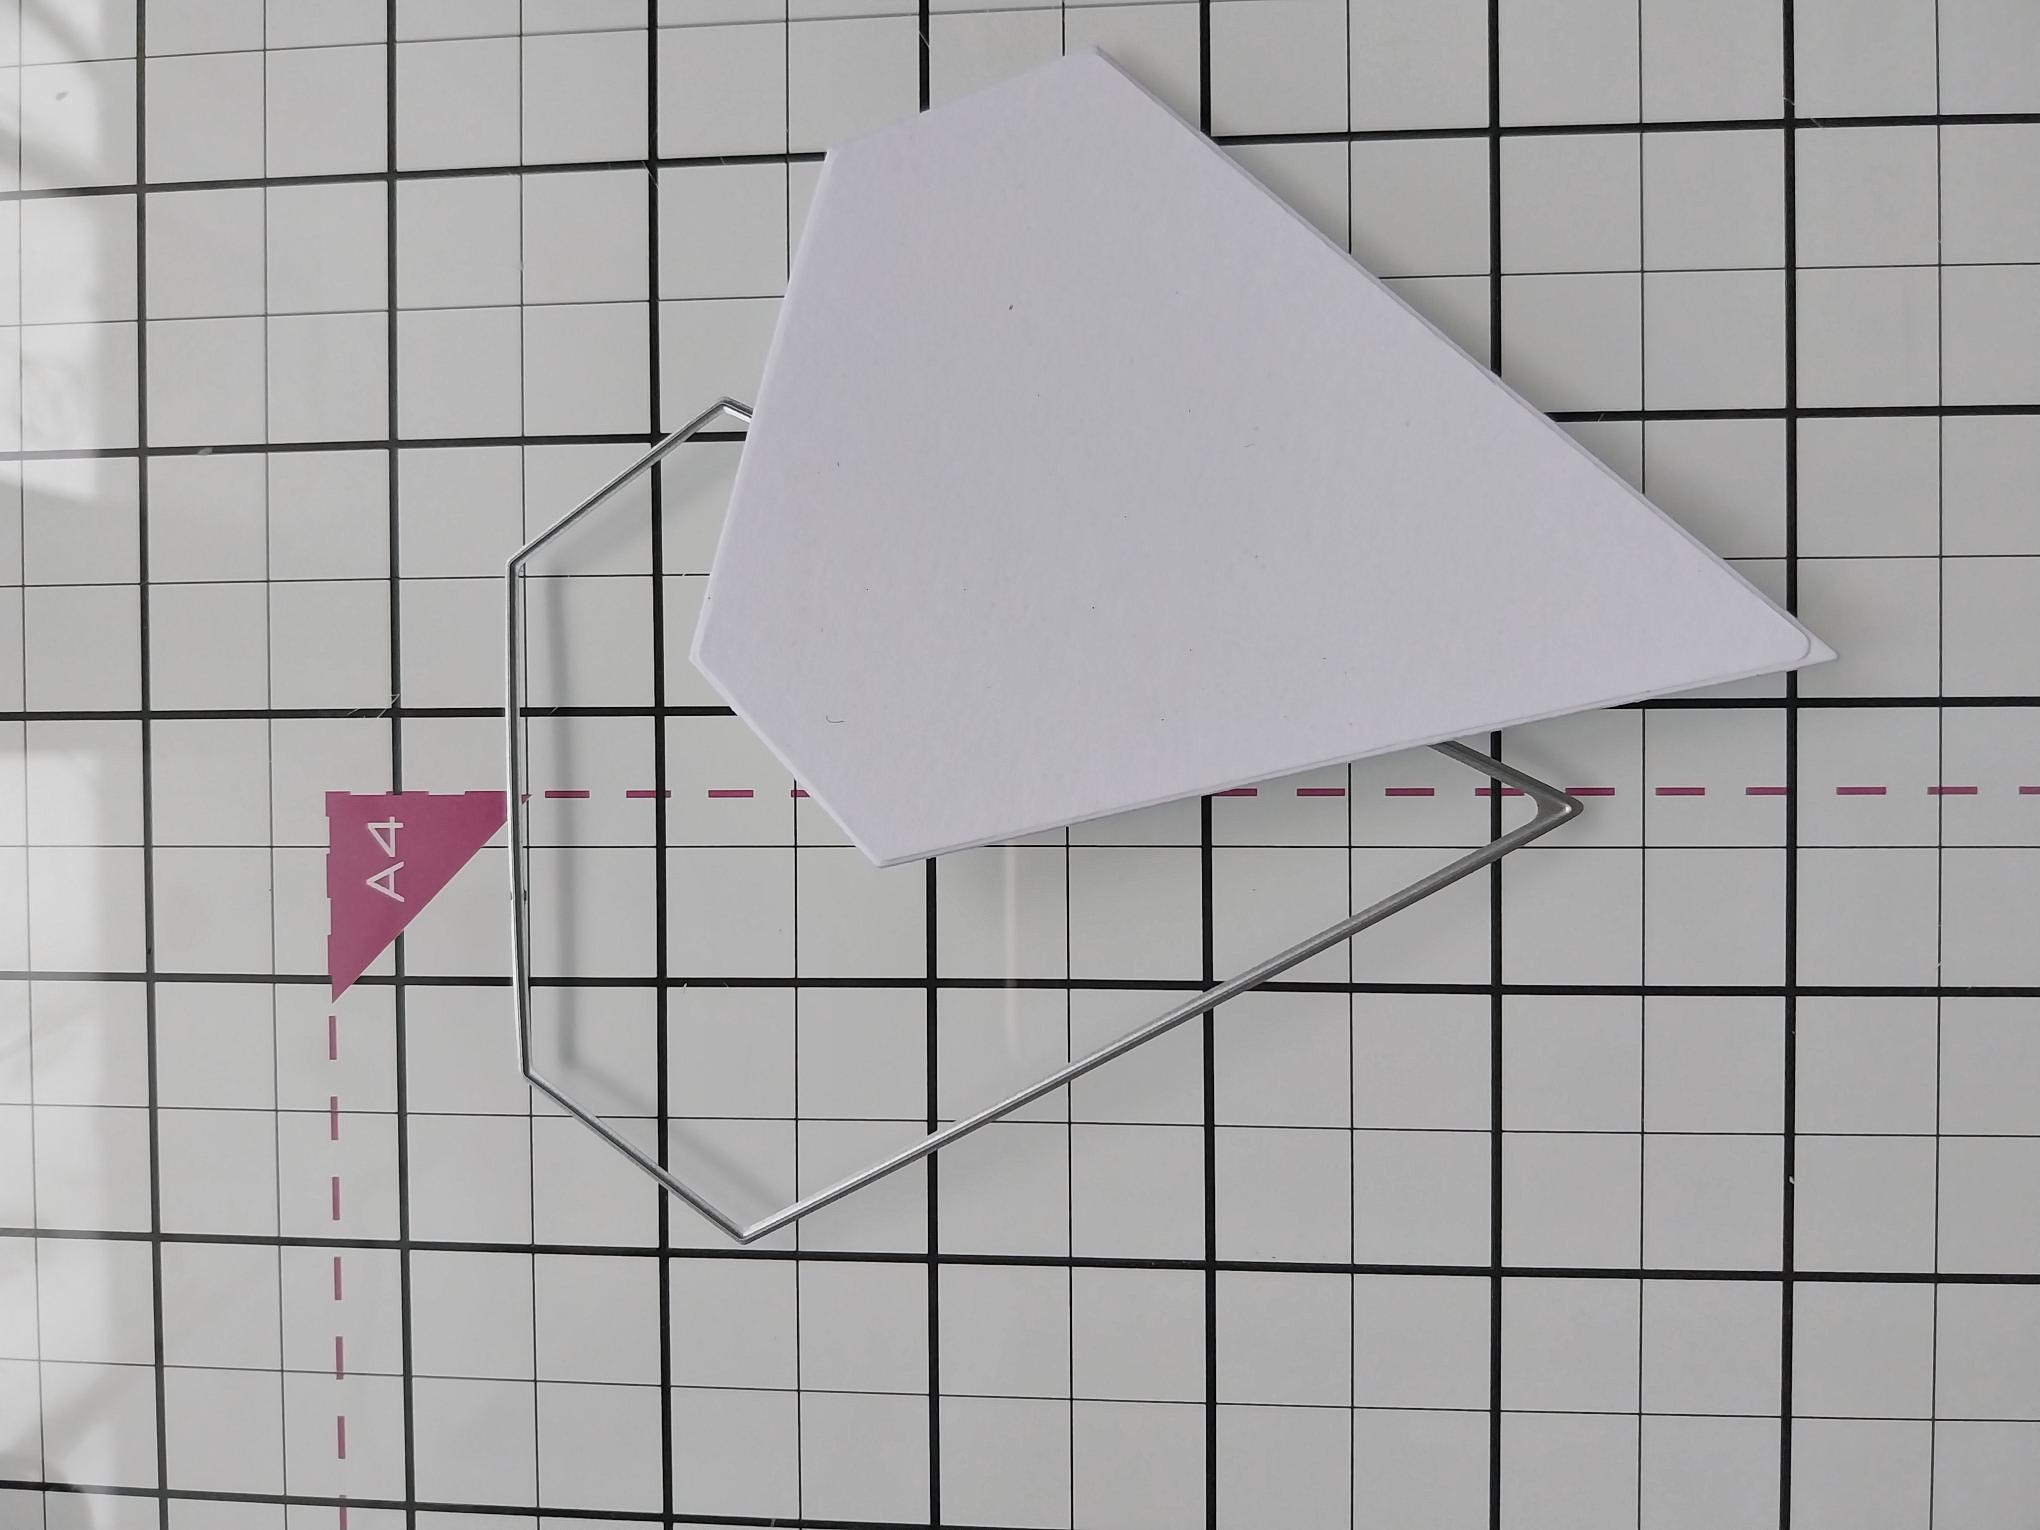
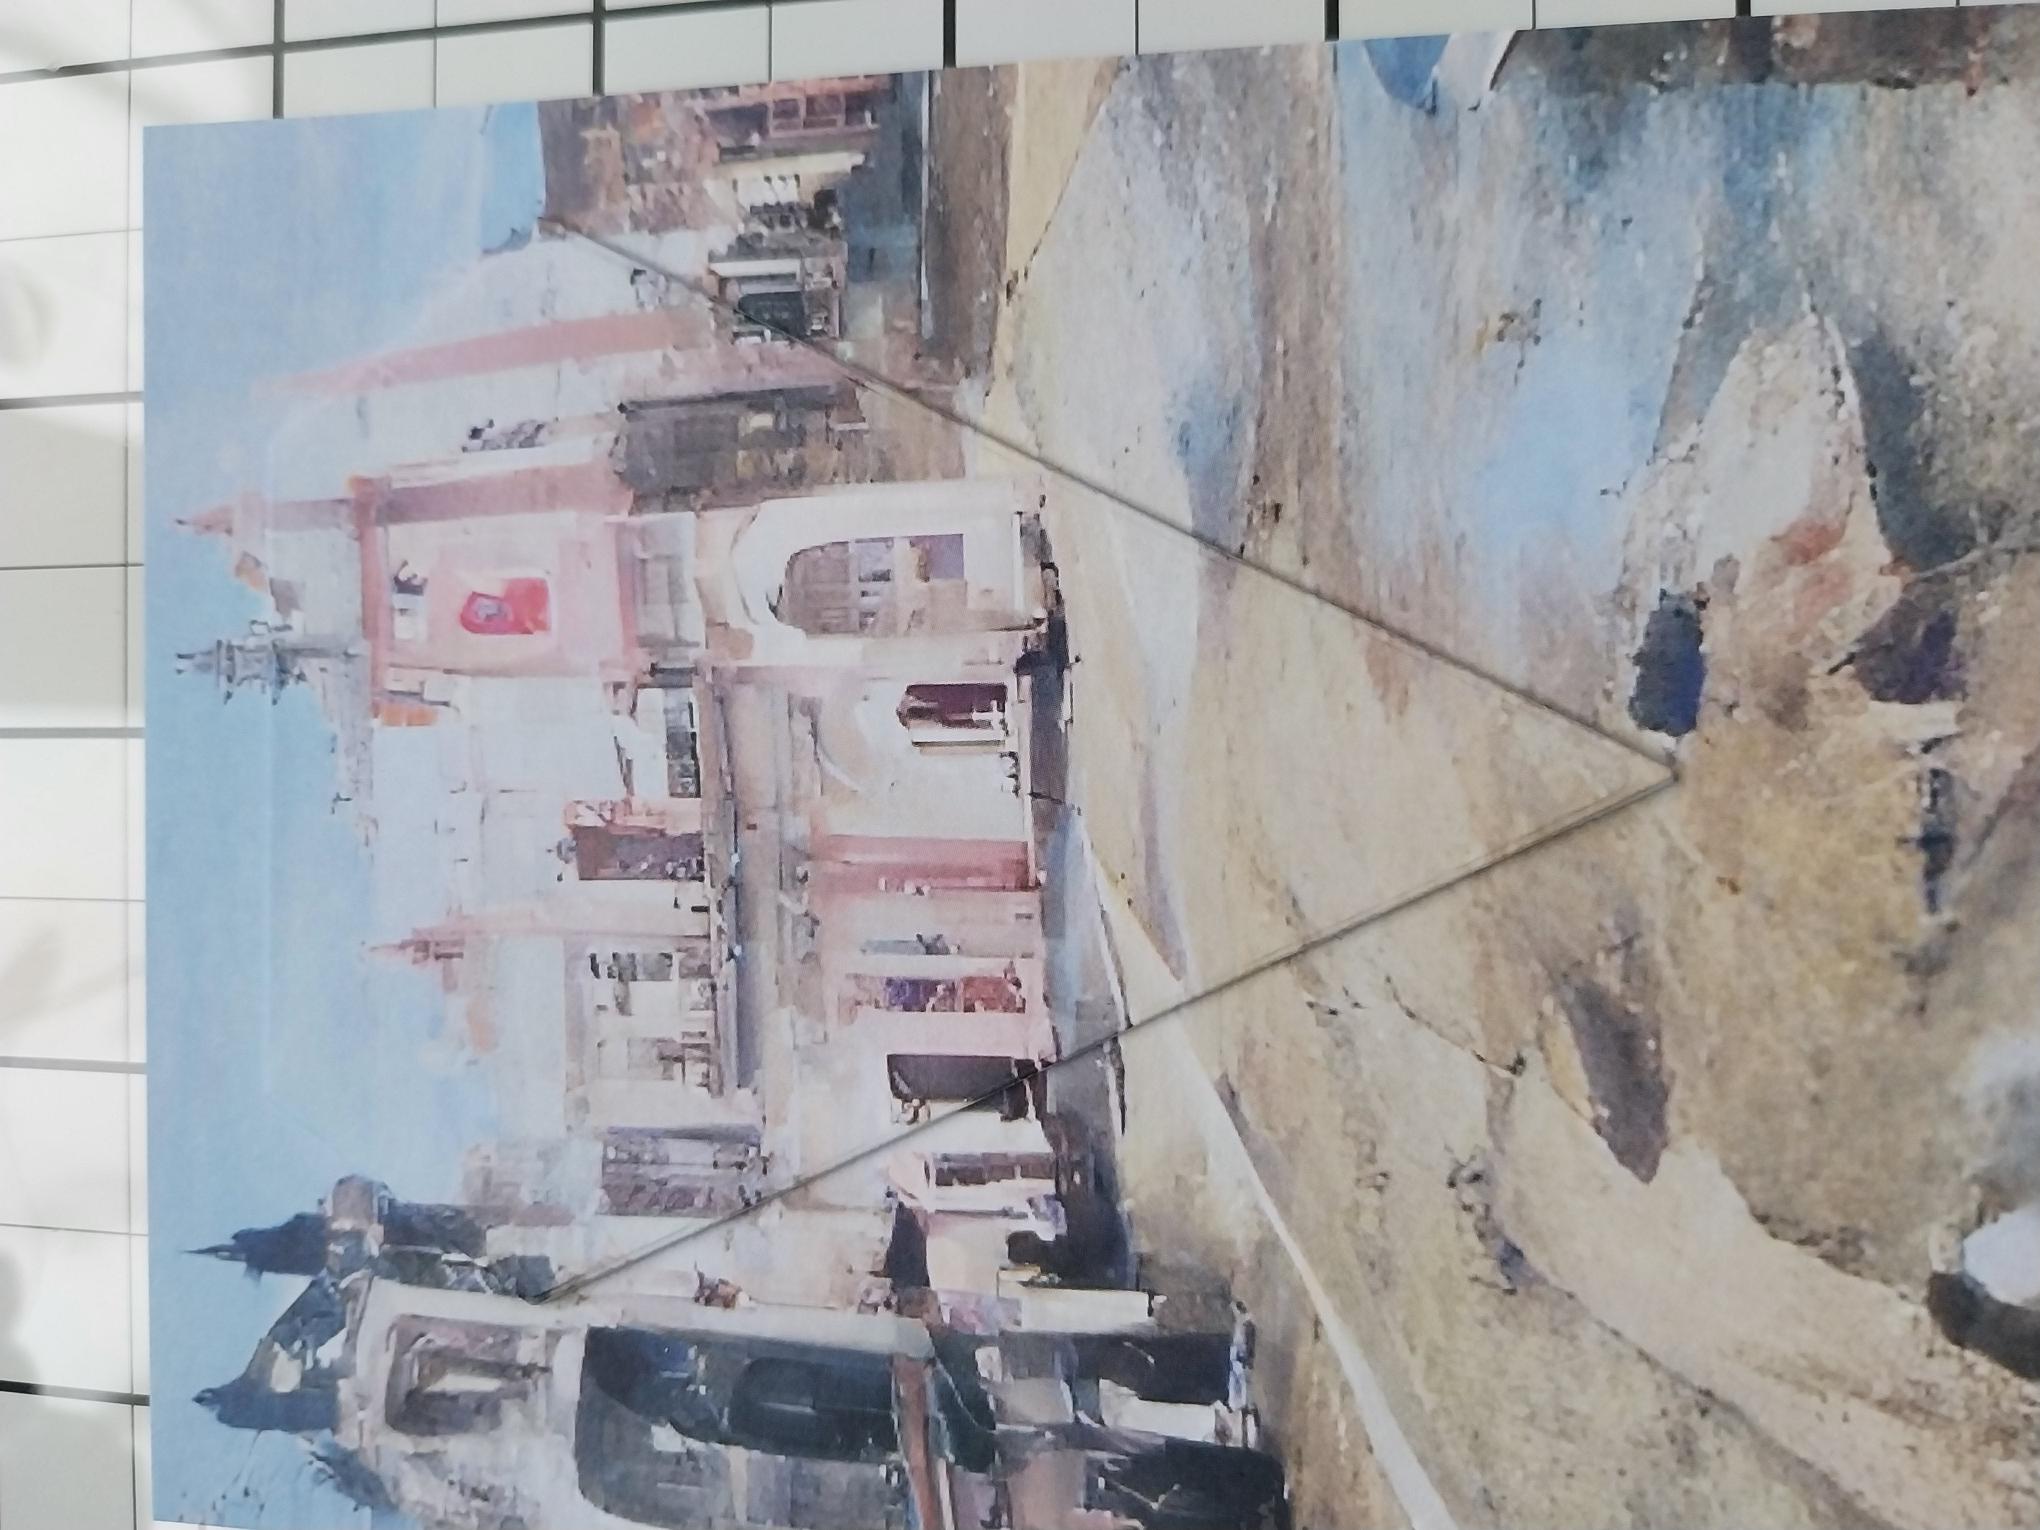
Cut an aperture from ONE of the front cover sheets, using your shape nesting die. |
|
Using the same die, cut another from white card. |
|
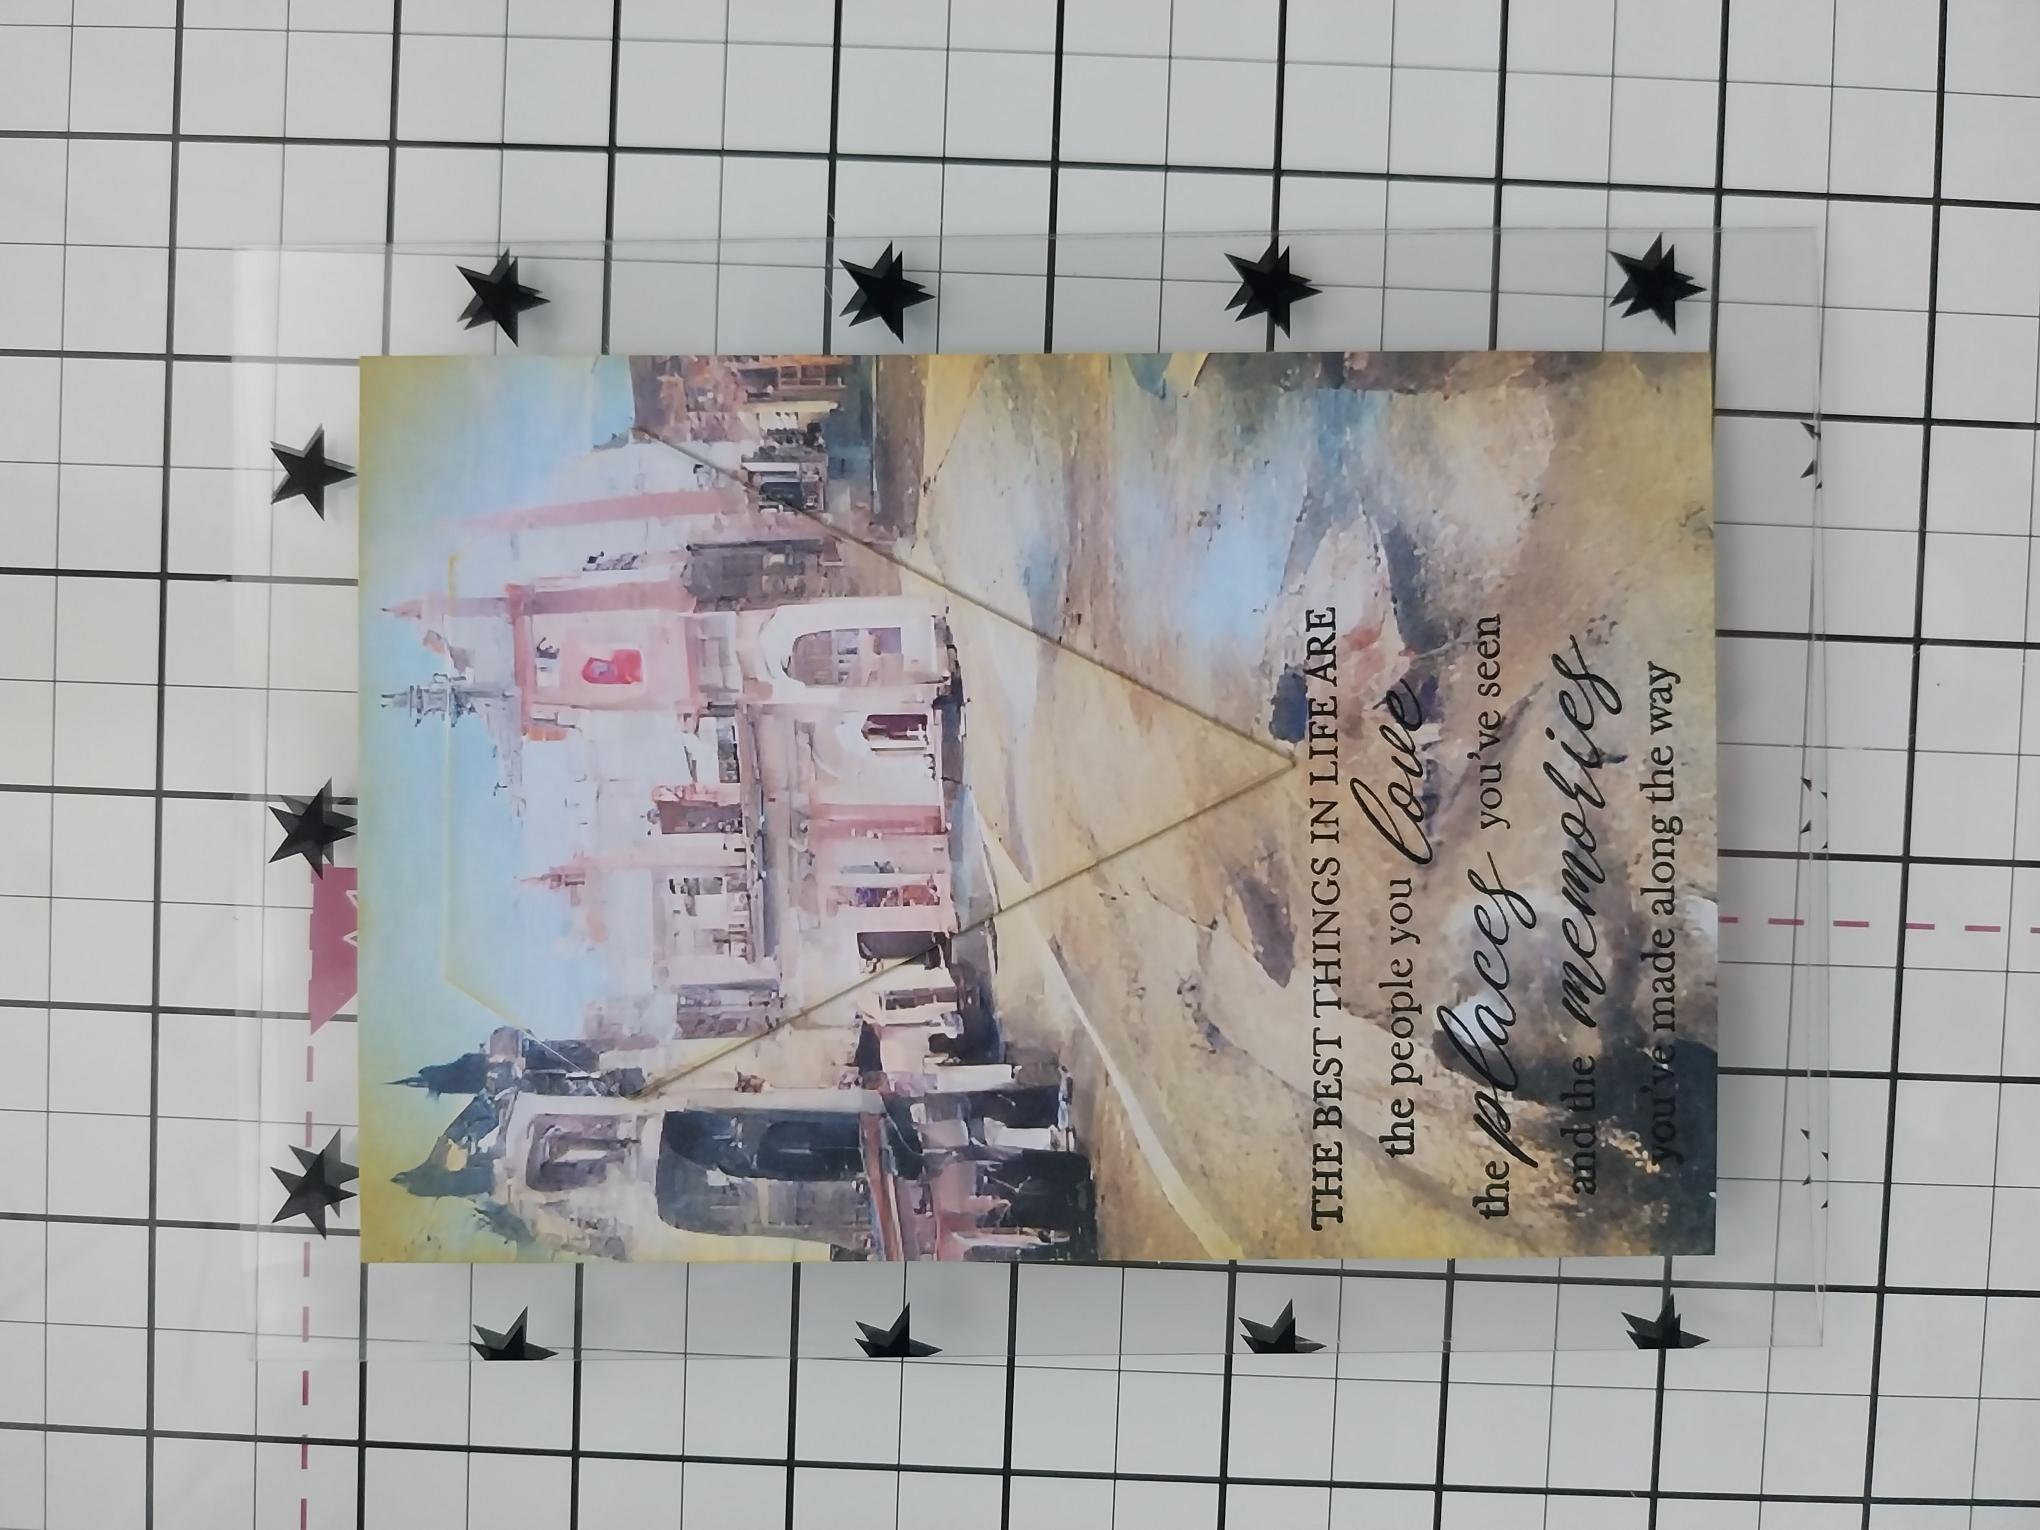
Adhere the die cut paper shape on top of the white die cut. Line up the image and adhere this on to your second decorative paper. This is referred to as the "spotlight technique", drawing your eye in to a focal area of the design. . |
|
Use your Distress ink pads to blend coordinating colours around the edges of all four papers. |
|
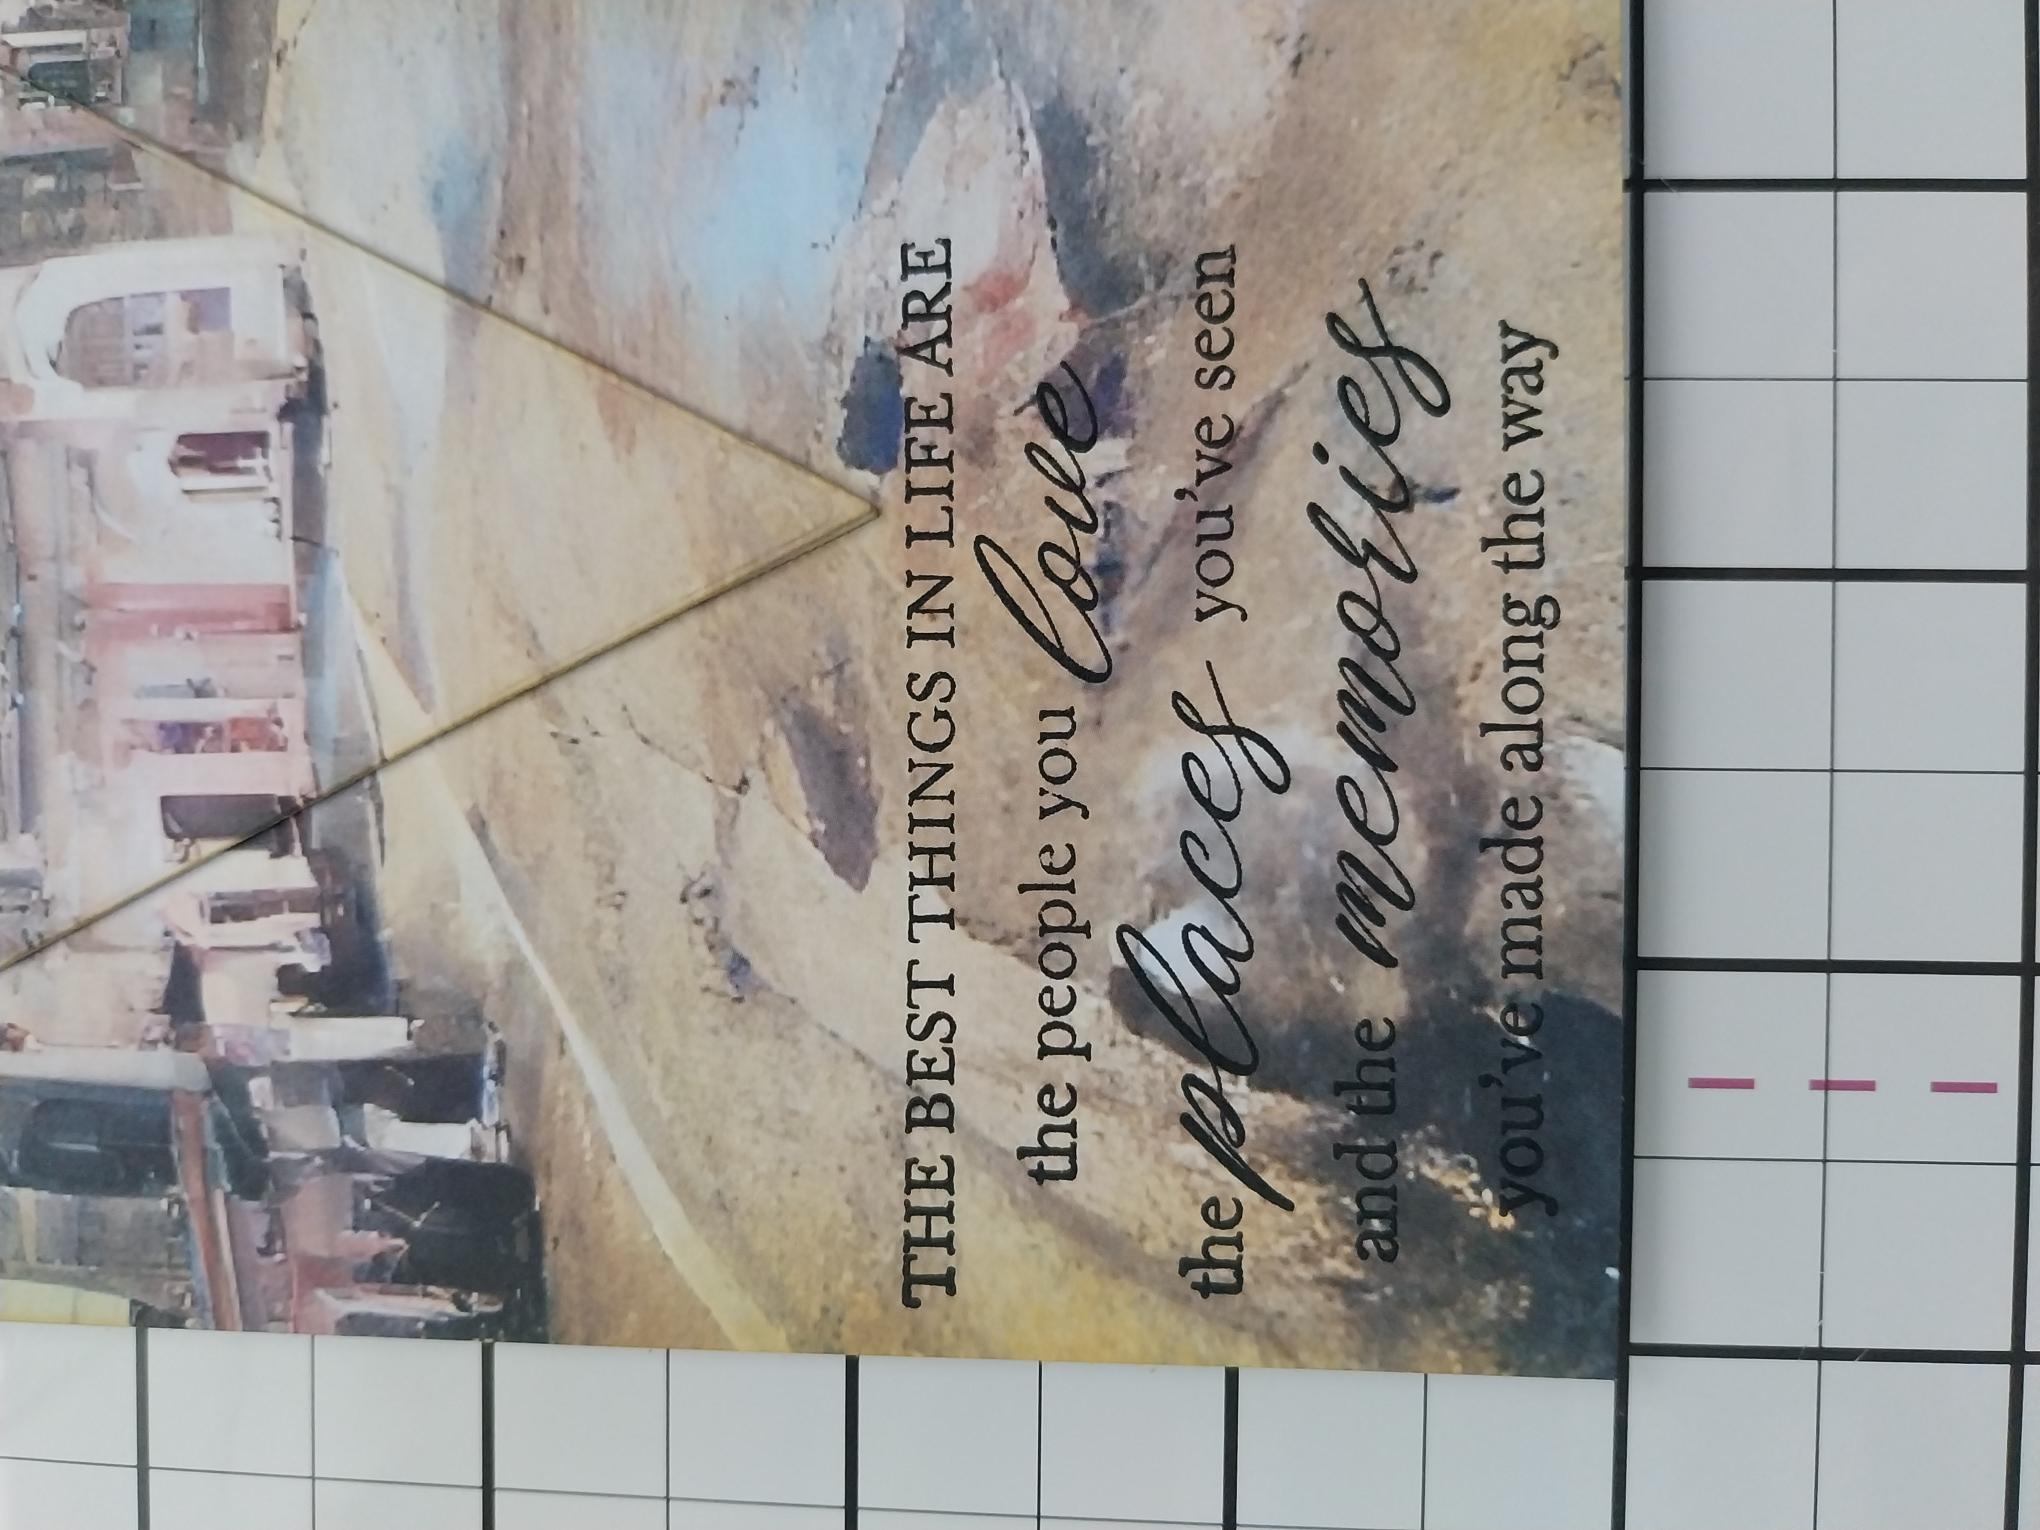
Stamp your chosen sentiment, in Midnight, in the bottom left corner of your front page design. |
|
Adhere this in the centre of the front page of your acetate card blank, using red liner tape. |
|
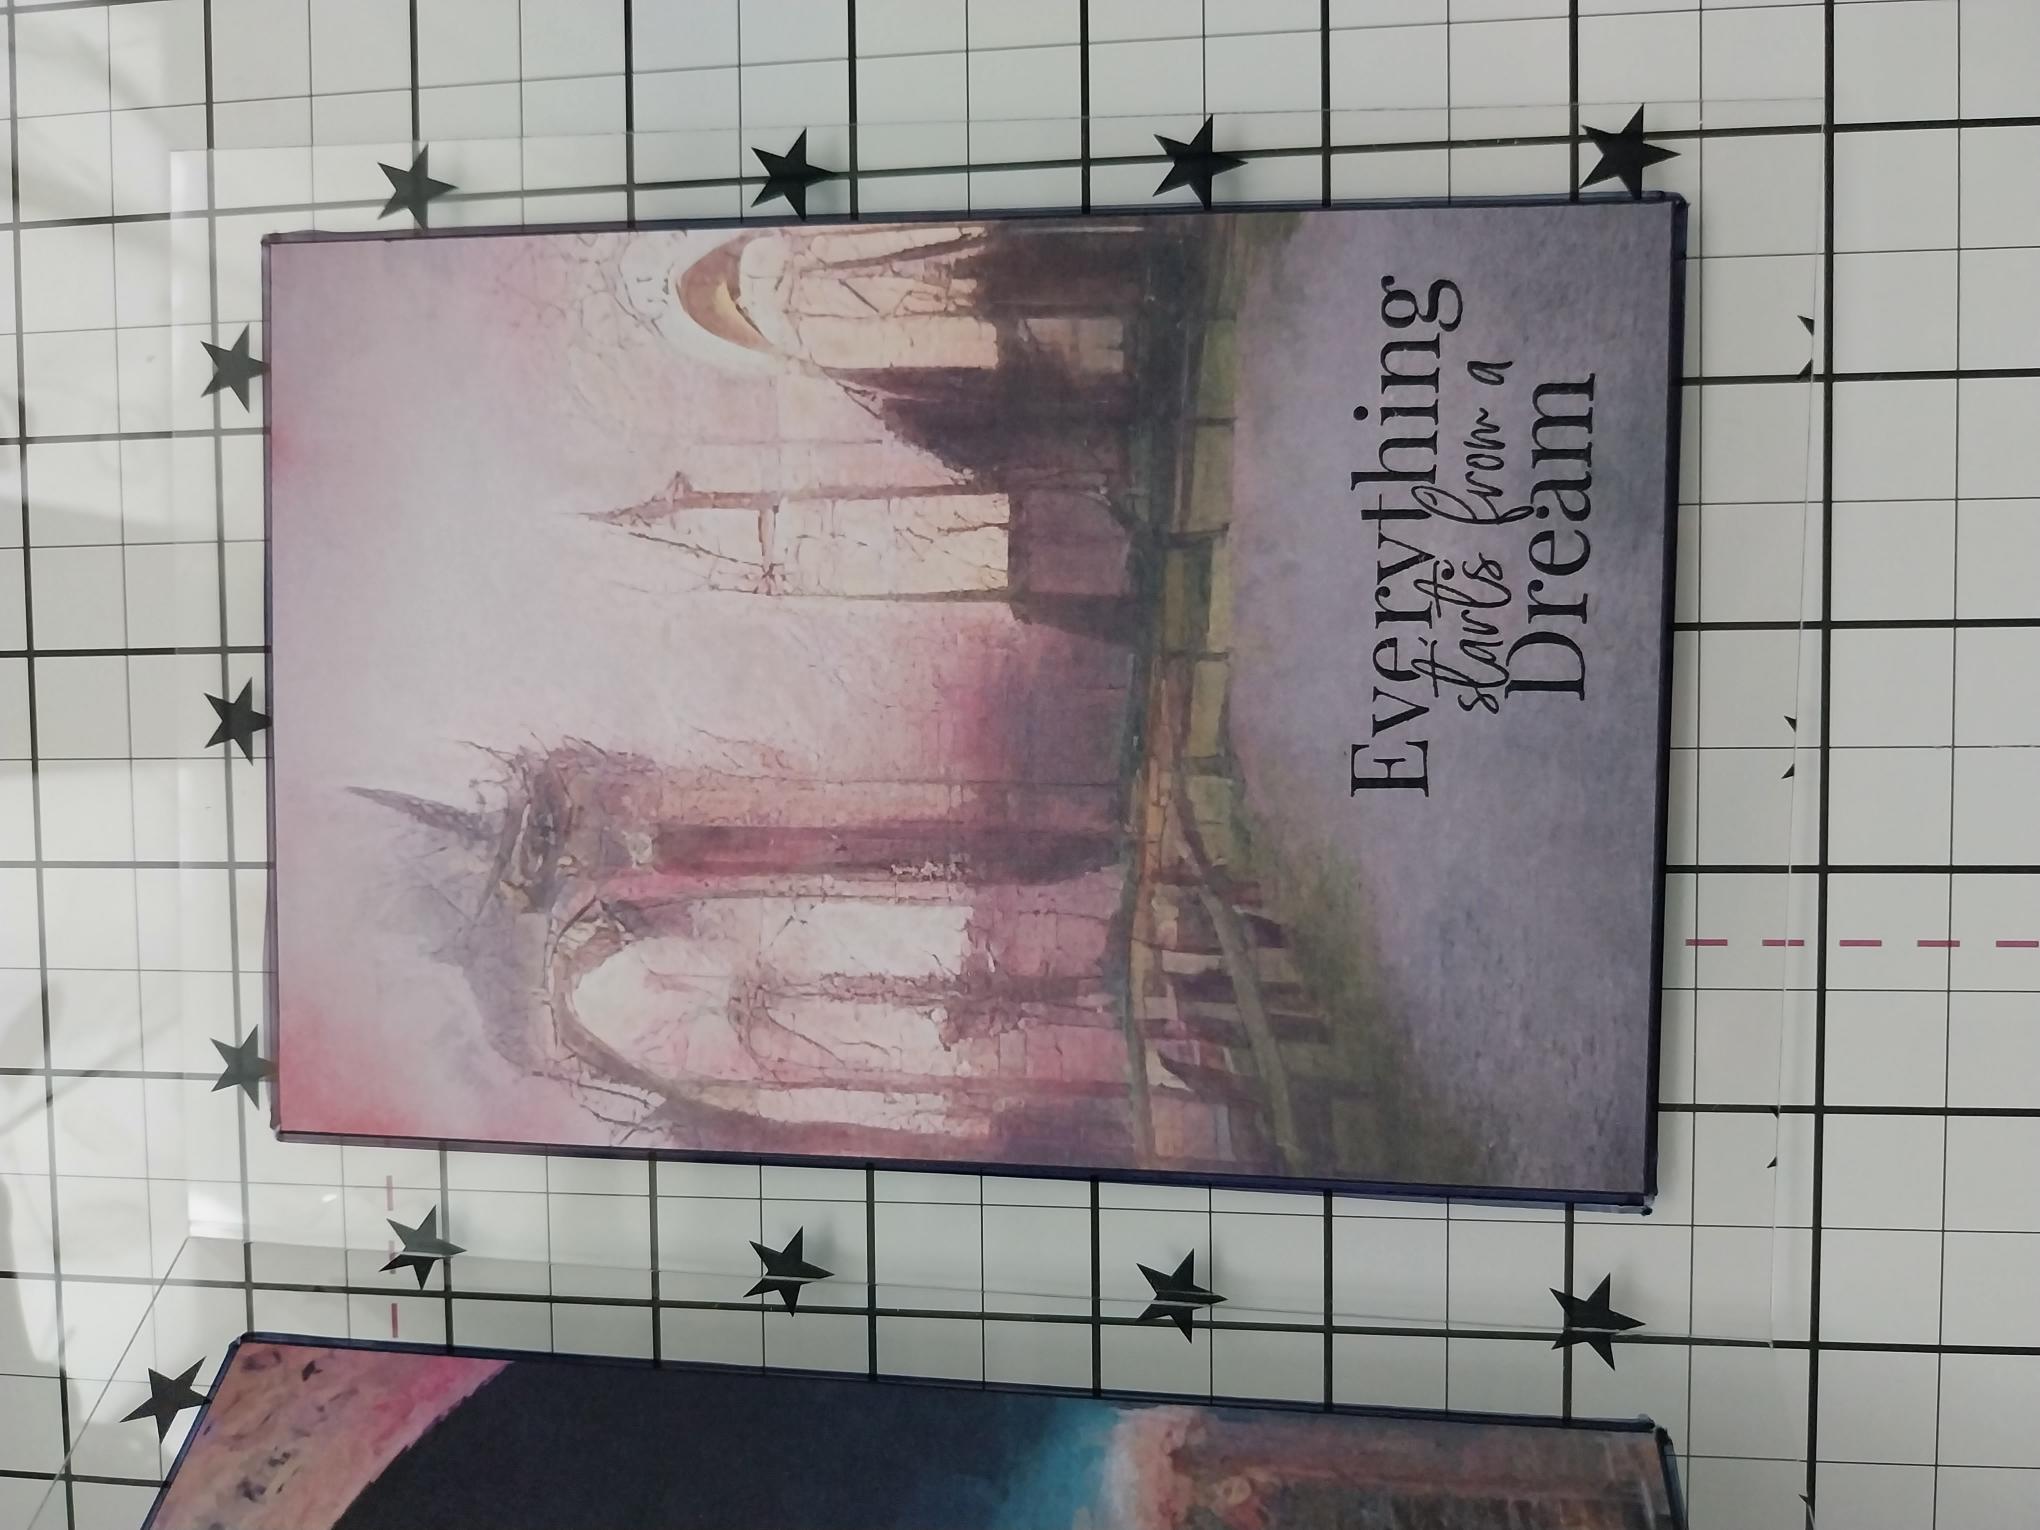
Adhere the other three pages inside your acetate card, ensuring you carefully line each one up back-to-back, so no "bits" are visible through the acetate. Optional: I chose to draw a black permanent pen around the outside of each page, making them "pop". |
|
Stamp another sentiment on the inside, right page of your card. |
|
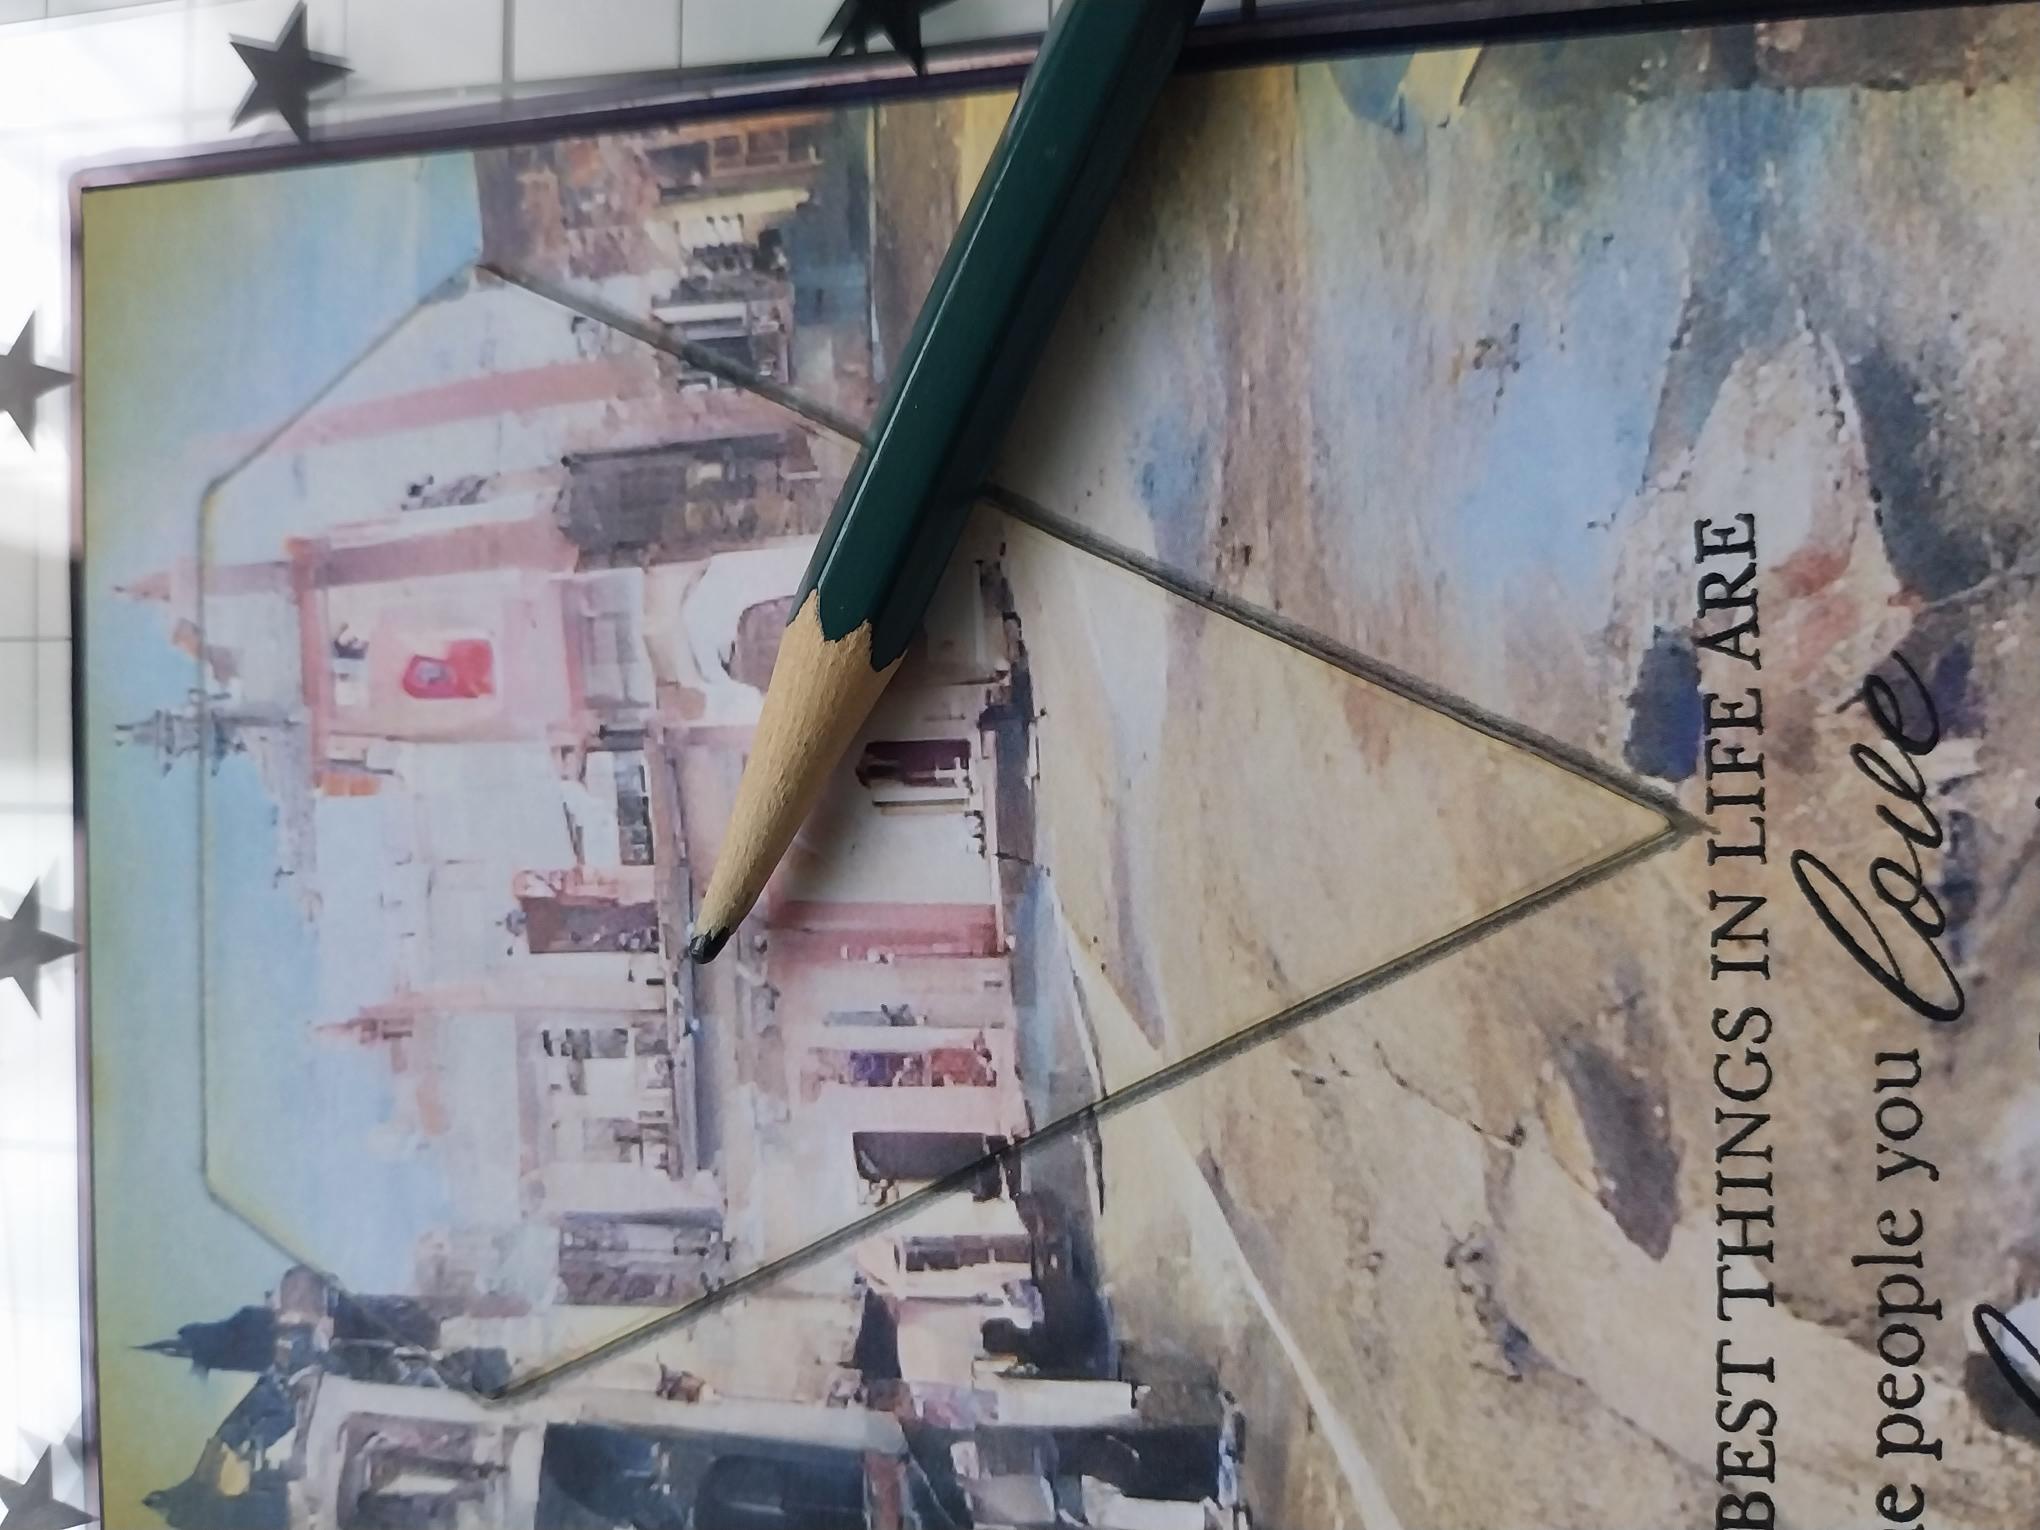
To finish, I used a pencil to draw around the edges of my "spotlight" topper, making it "pop" from the printed design. |