Give your friends $10 off their first order!
Refer a FRIEND


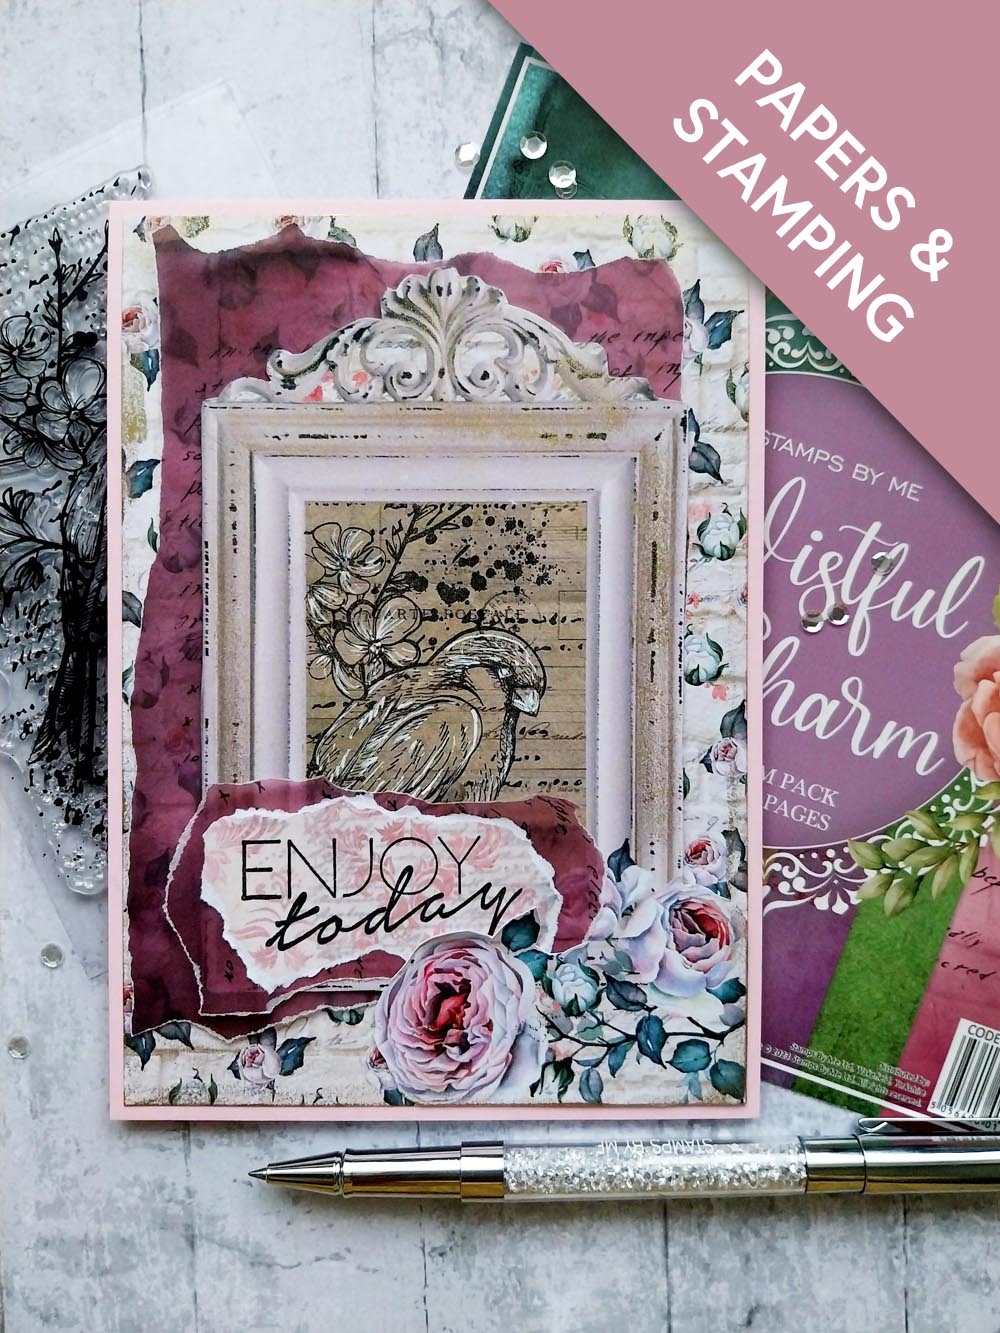
WHAT YOU WILL NEED:
Pink card blank 5 x 7
Wistful Charm 7 x 7 Vellum Sheets
Wistful Charm 7 x 7 Paper Pad
Wistful Charm Stamp
A Beautiful Place To Be Stamp
SBM Hybrid Ink Pad: Midnight
Gold Gilding Wax
IMALA white gel pen
Craft knife
Eureka 101 Watercolour Tablet
SBM A3 Magnetic glass mat
Paper Trimmer
Glue
Low-tack masking tape
[click image to enlarge] 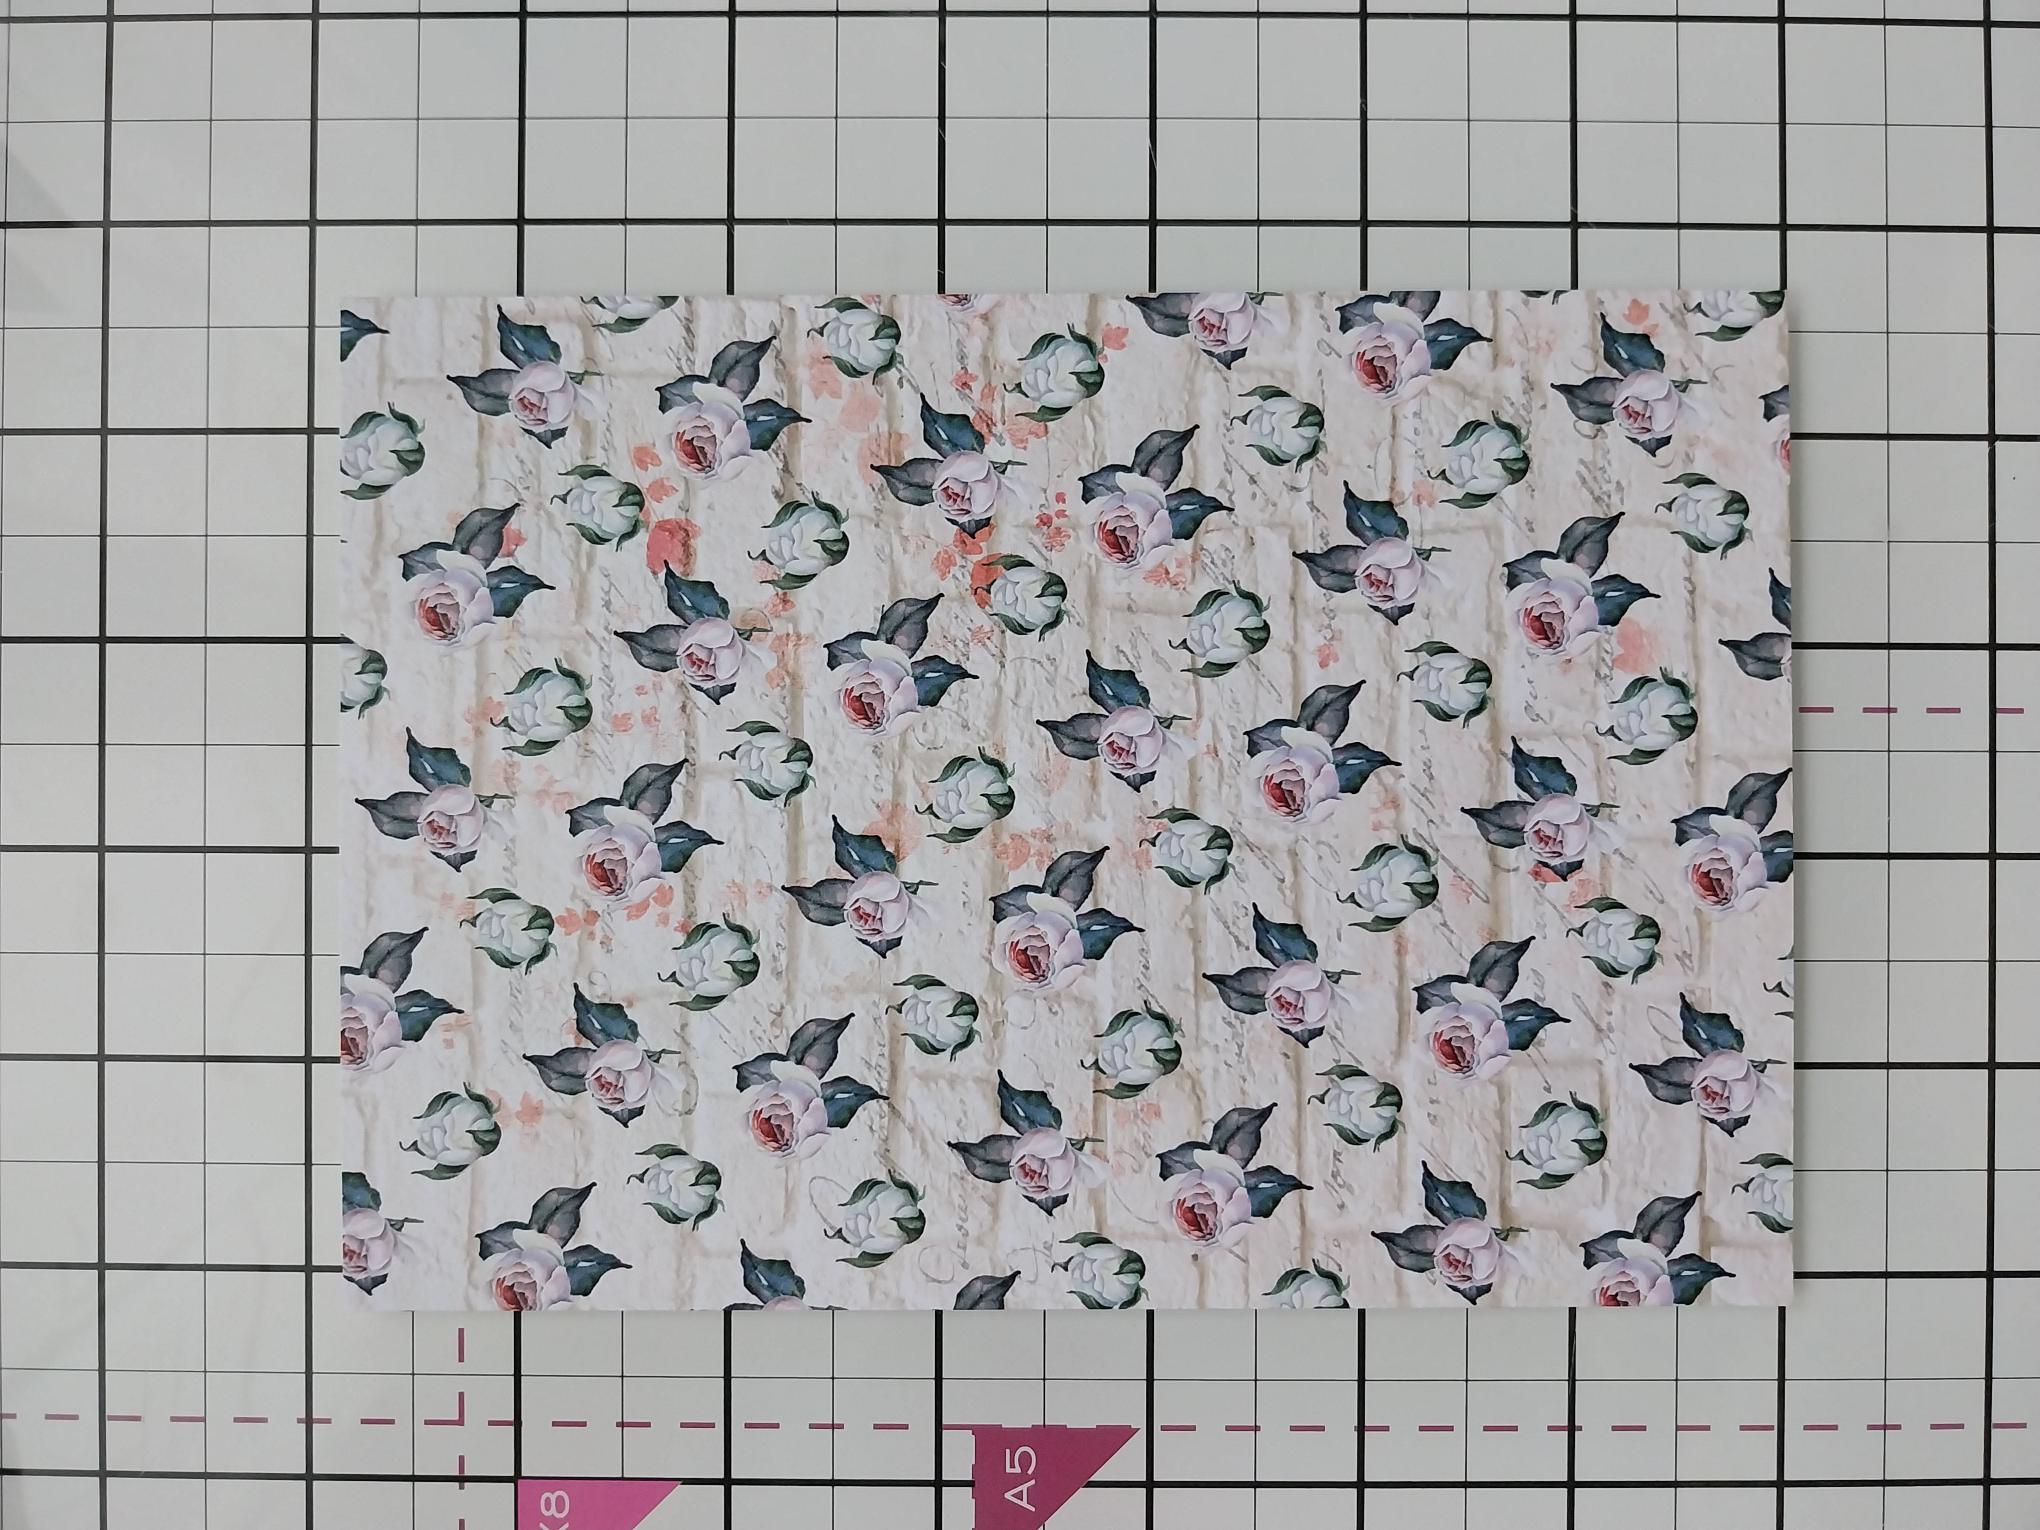
|
Trim this paper from the Wistful Charm pack, to 6 3/4 x 4 3/4". |
|
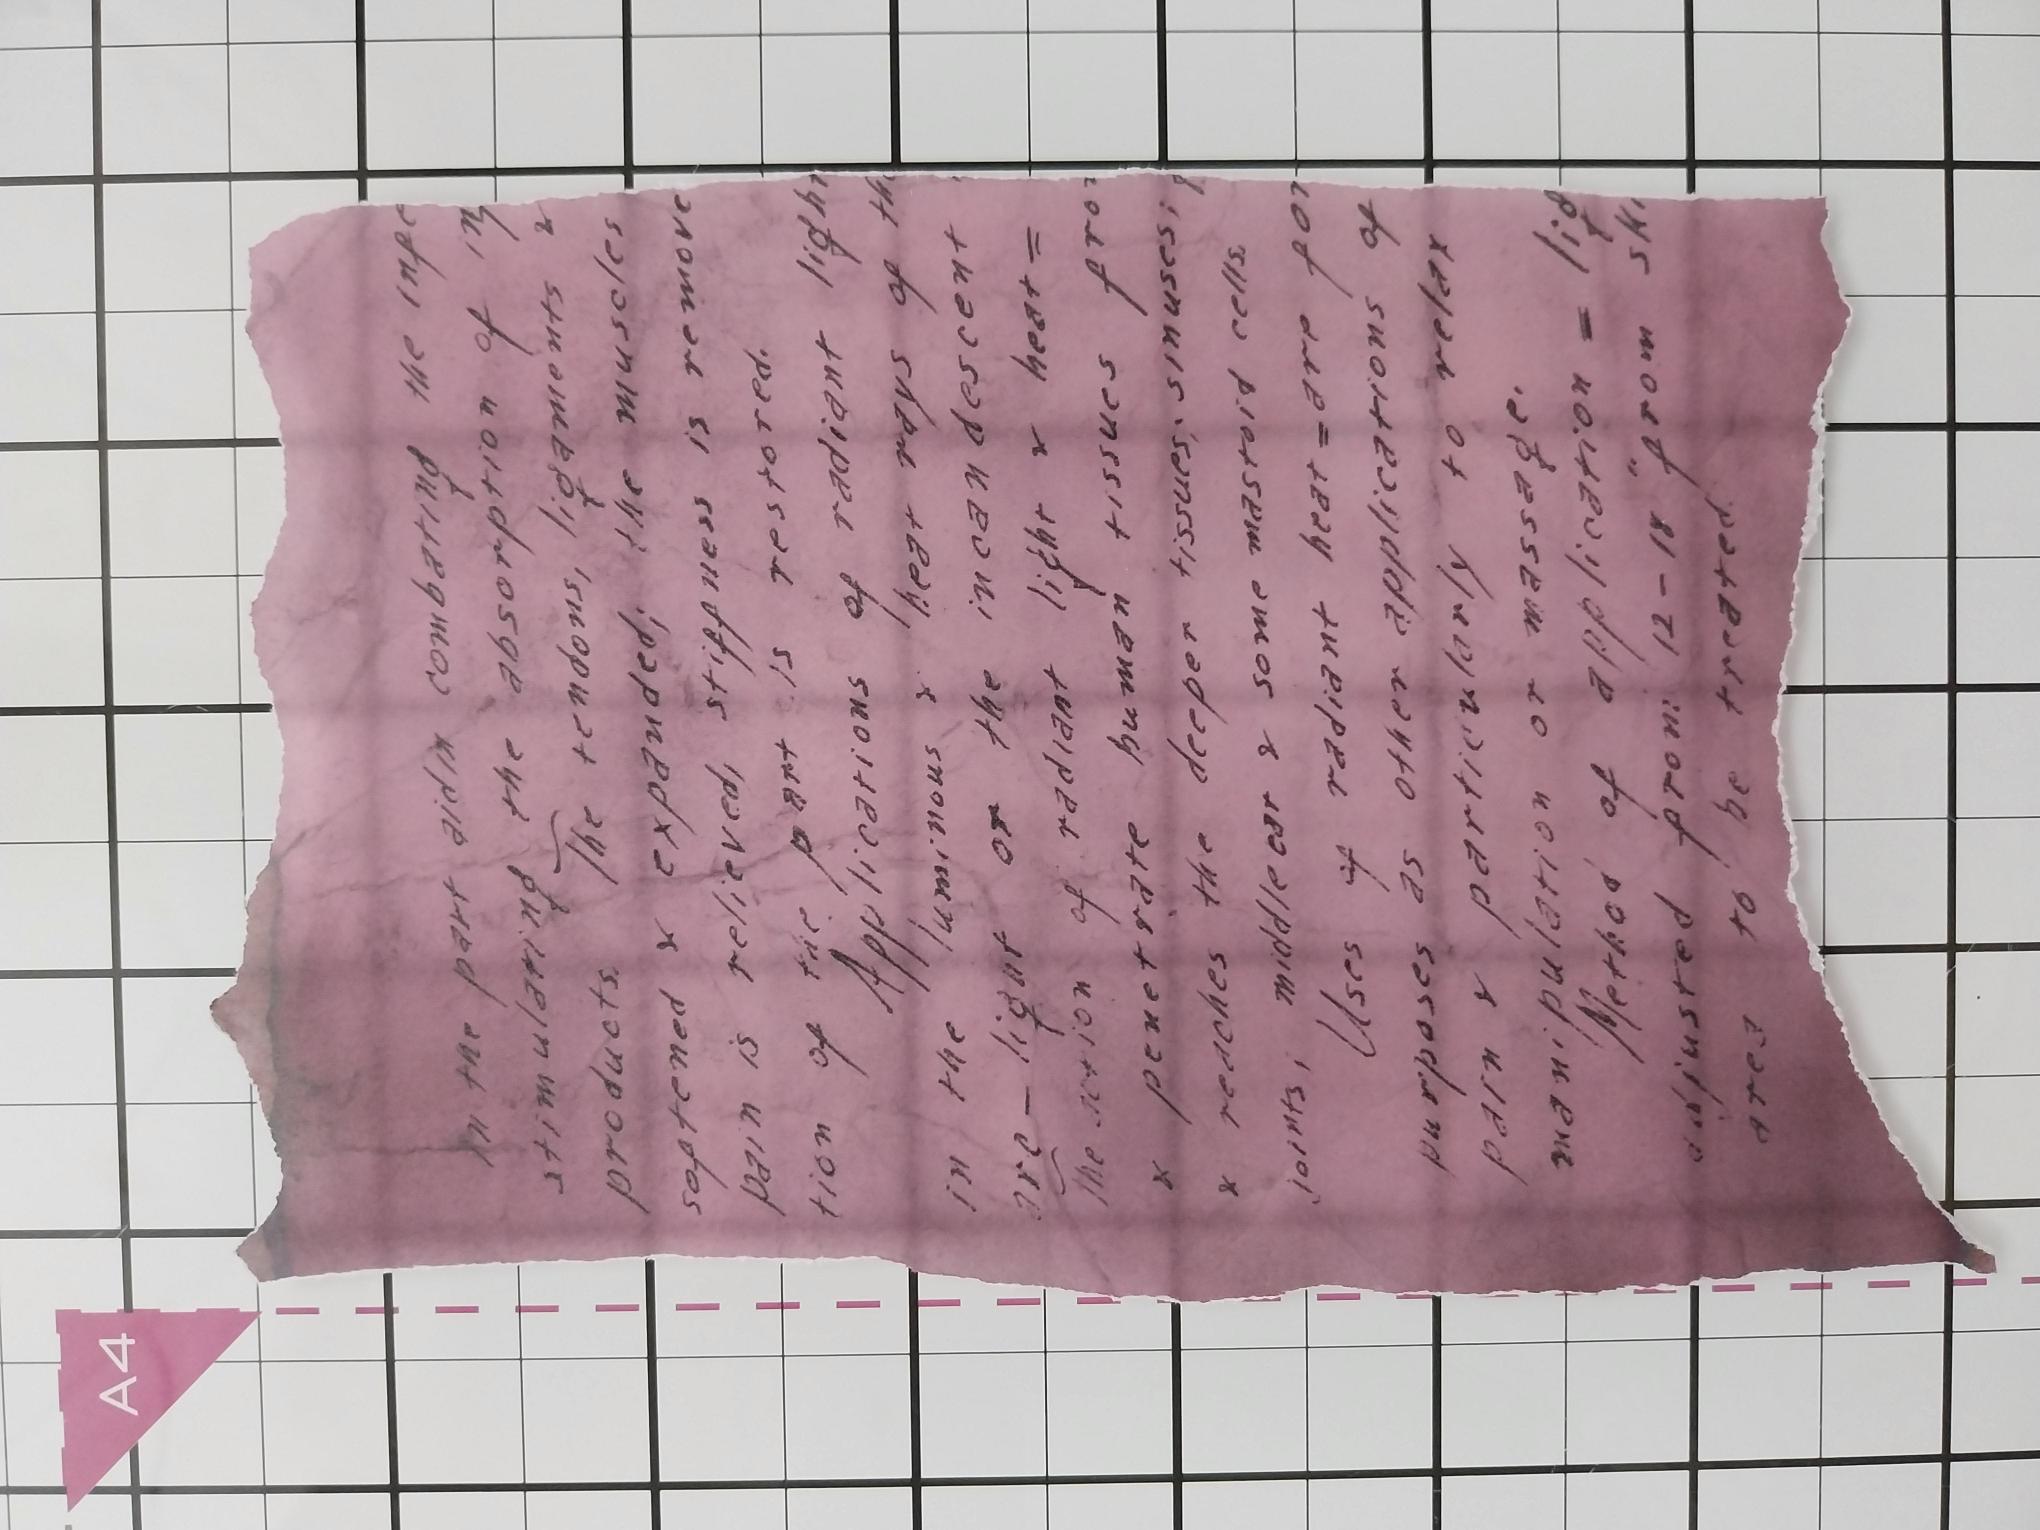
Tear this vellum sheet slightly smaller than the patterned paper. |
|
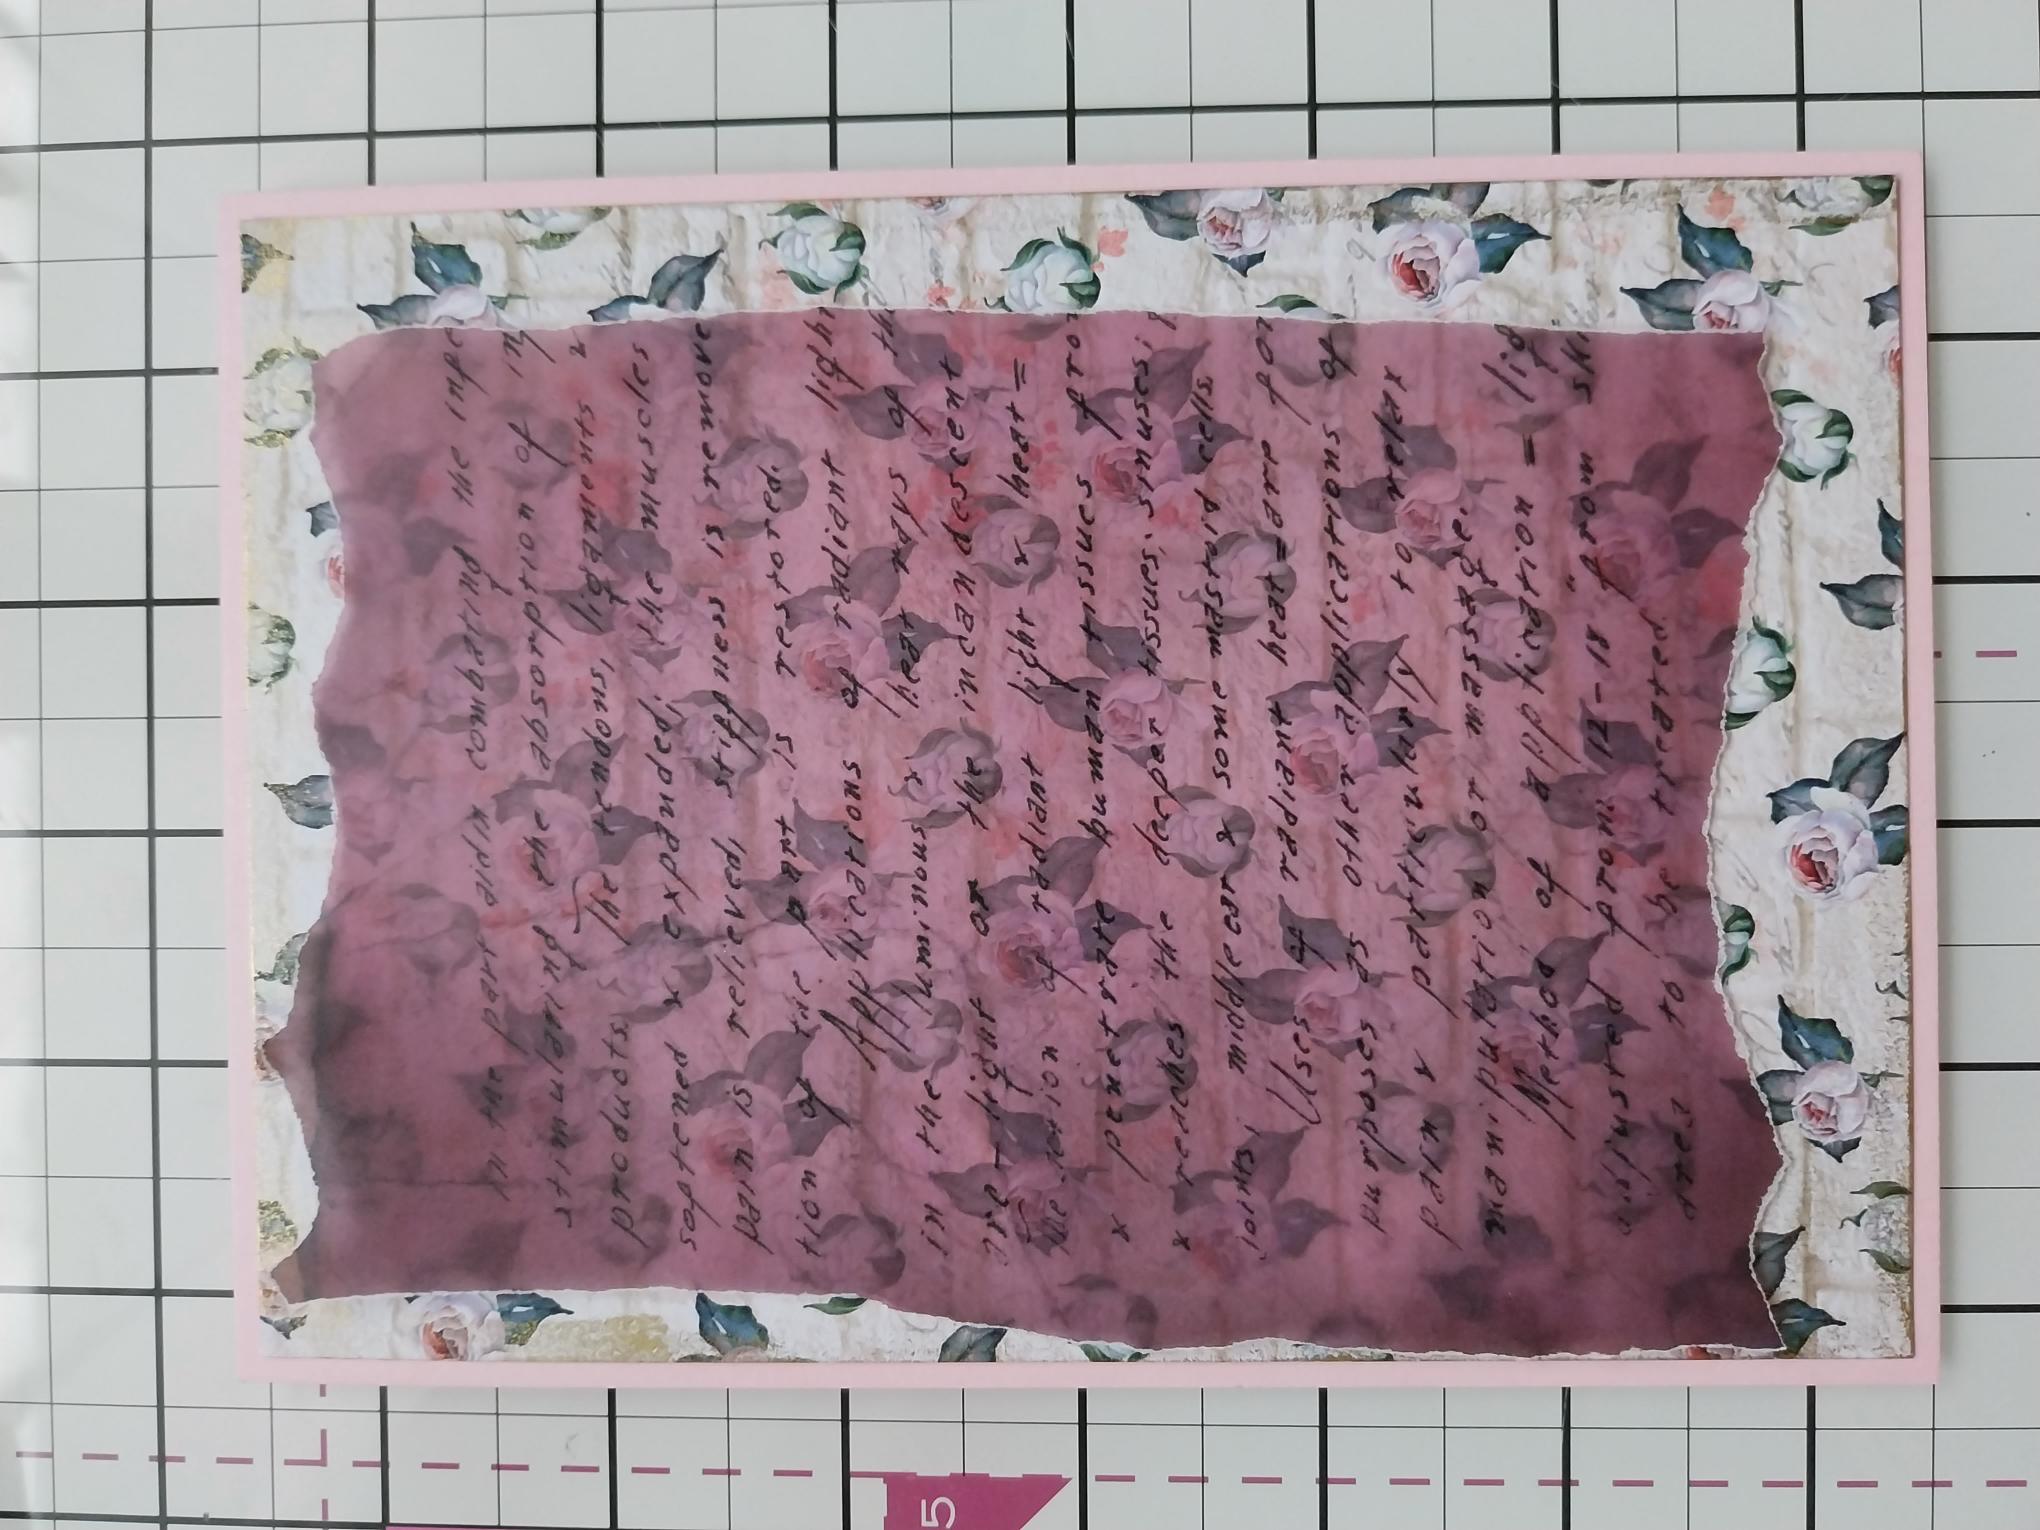
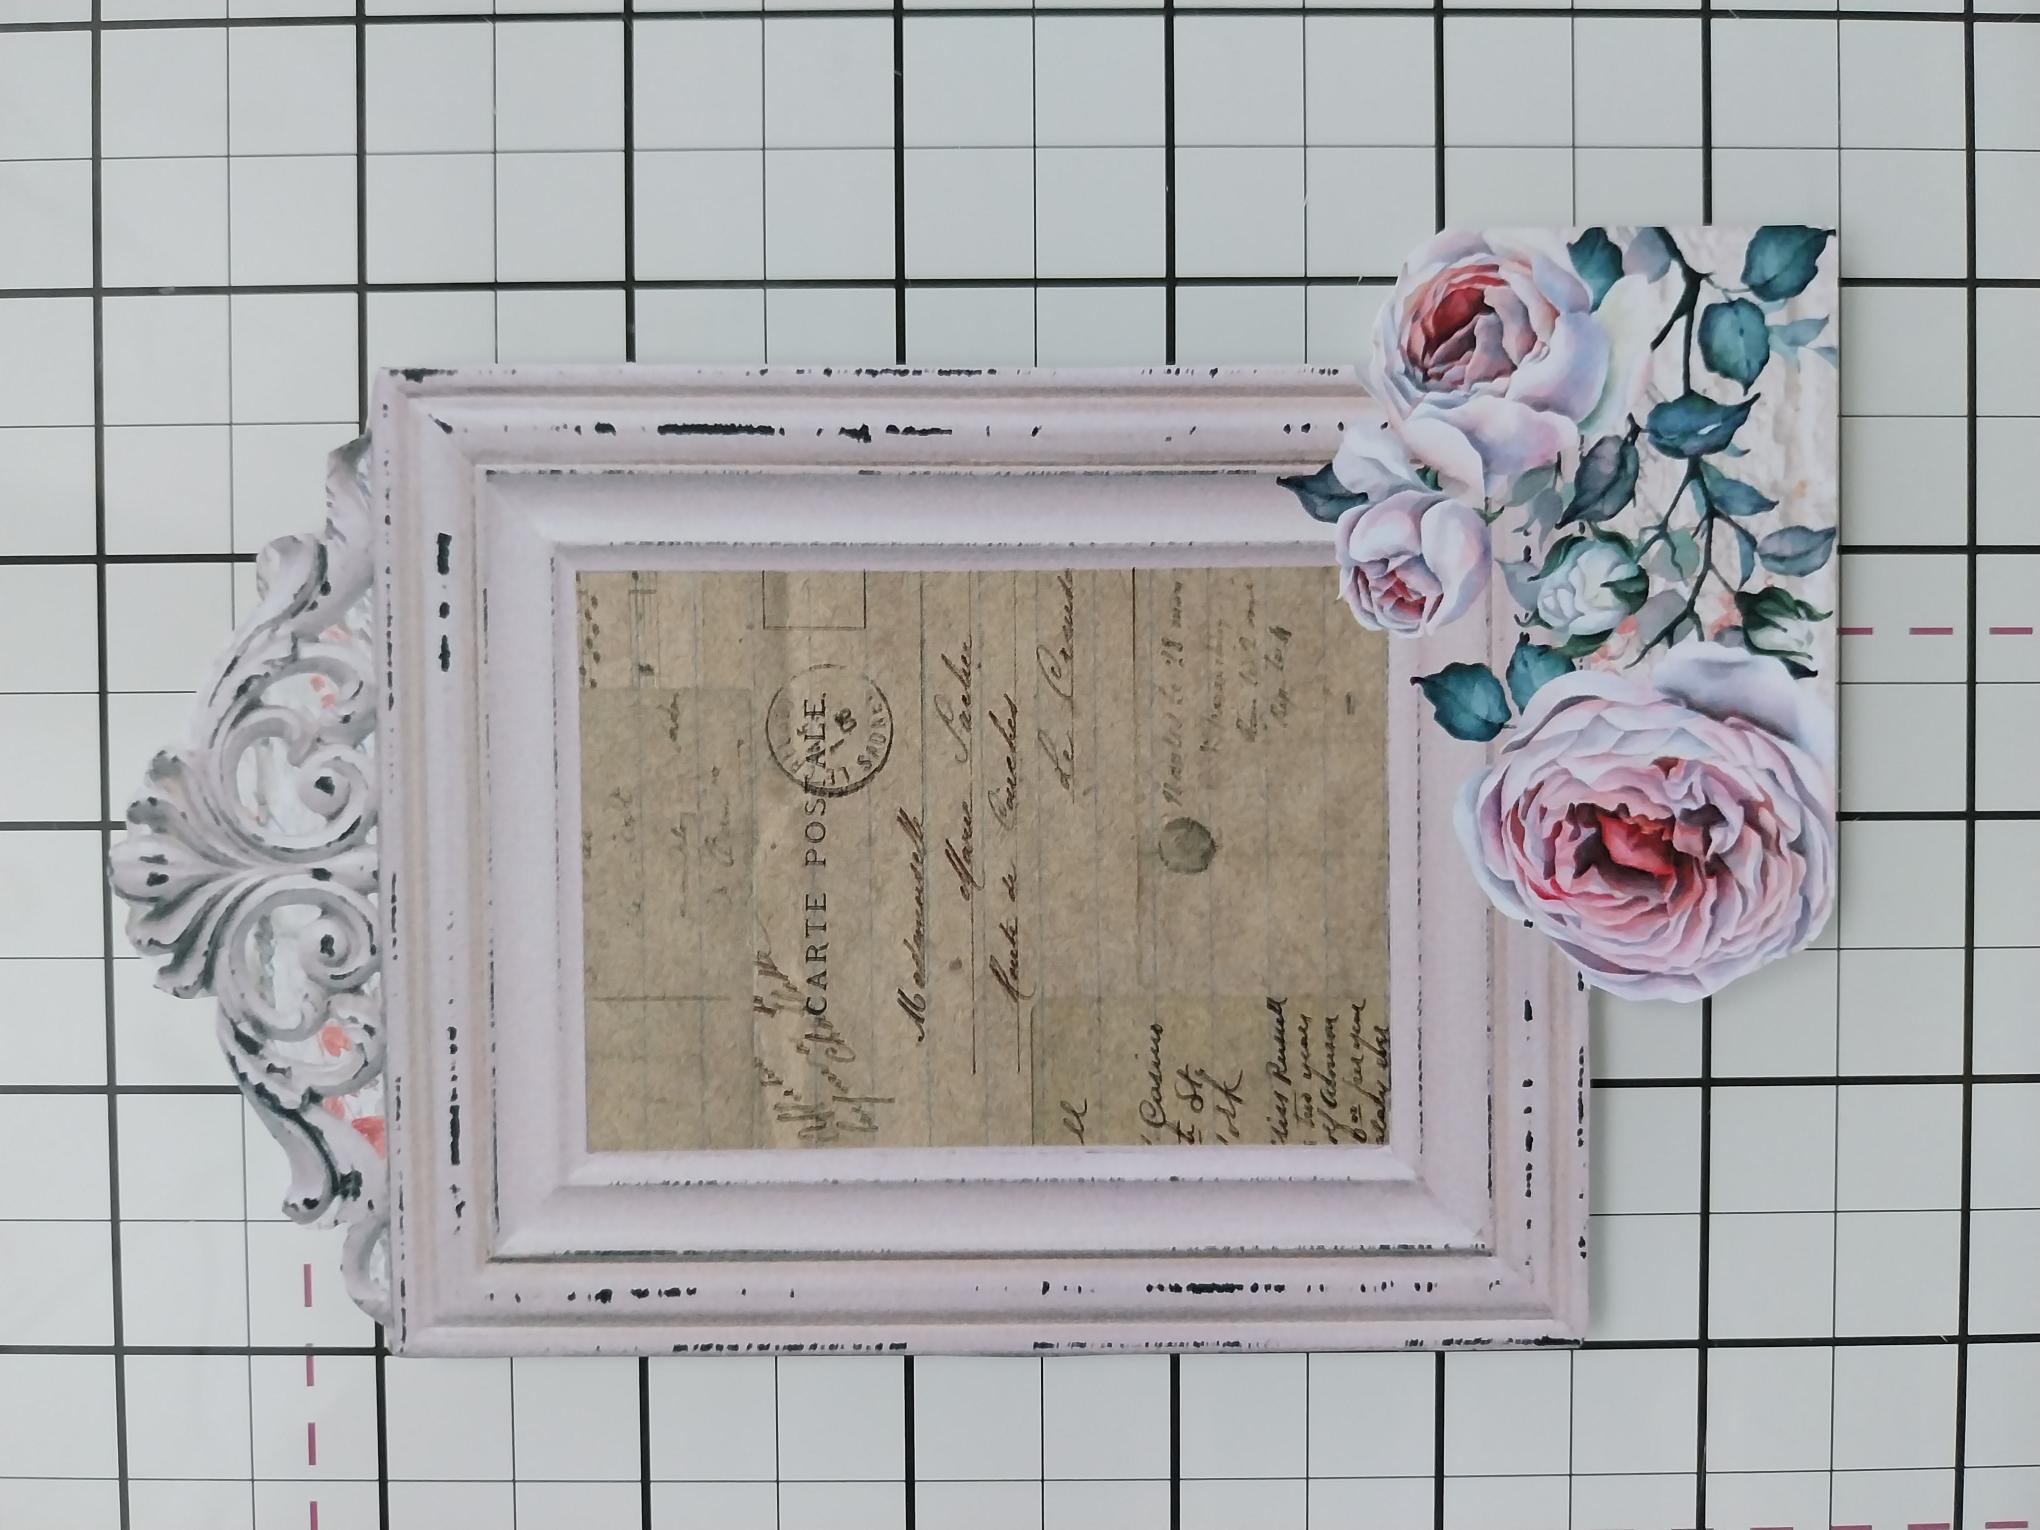
Secure the vellum on to the patterned paper and then on to your pink card blank. Pop to one side. NB: When adhering the vellum, apply the glue where your frame is going to sit, so as not to see the glue through the vellum. Tip: Using a tape runner to secure vellum, applying tiny amounts only, seems to be the least visible. |
|
From your paper pack, fussy cut the ornate frame and floral aspect, as shown here. |
|
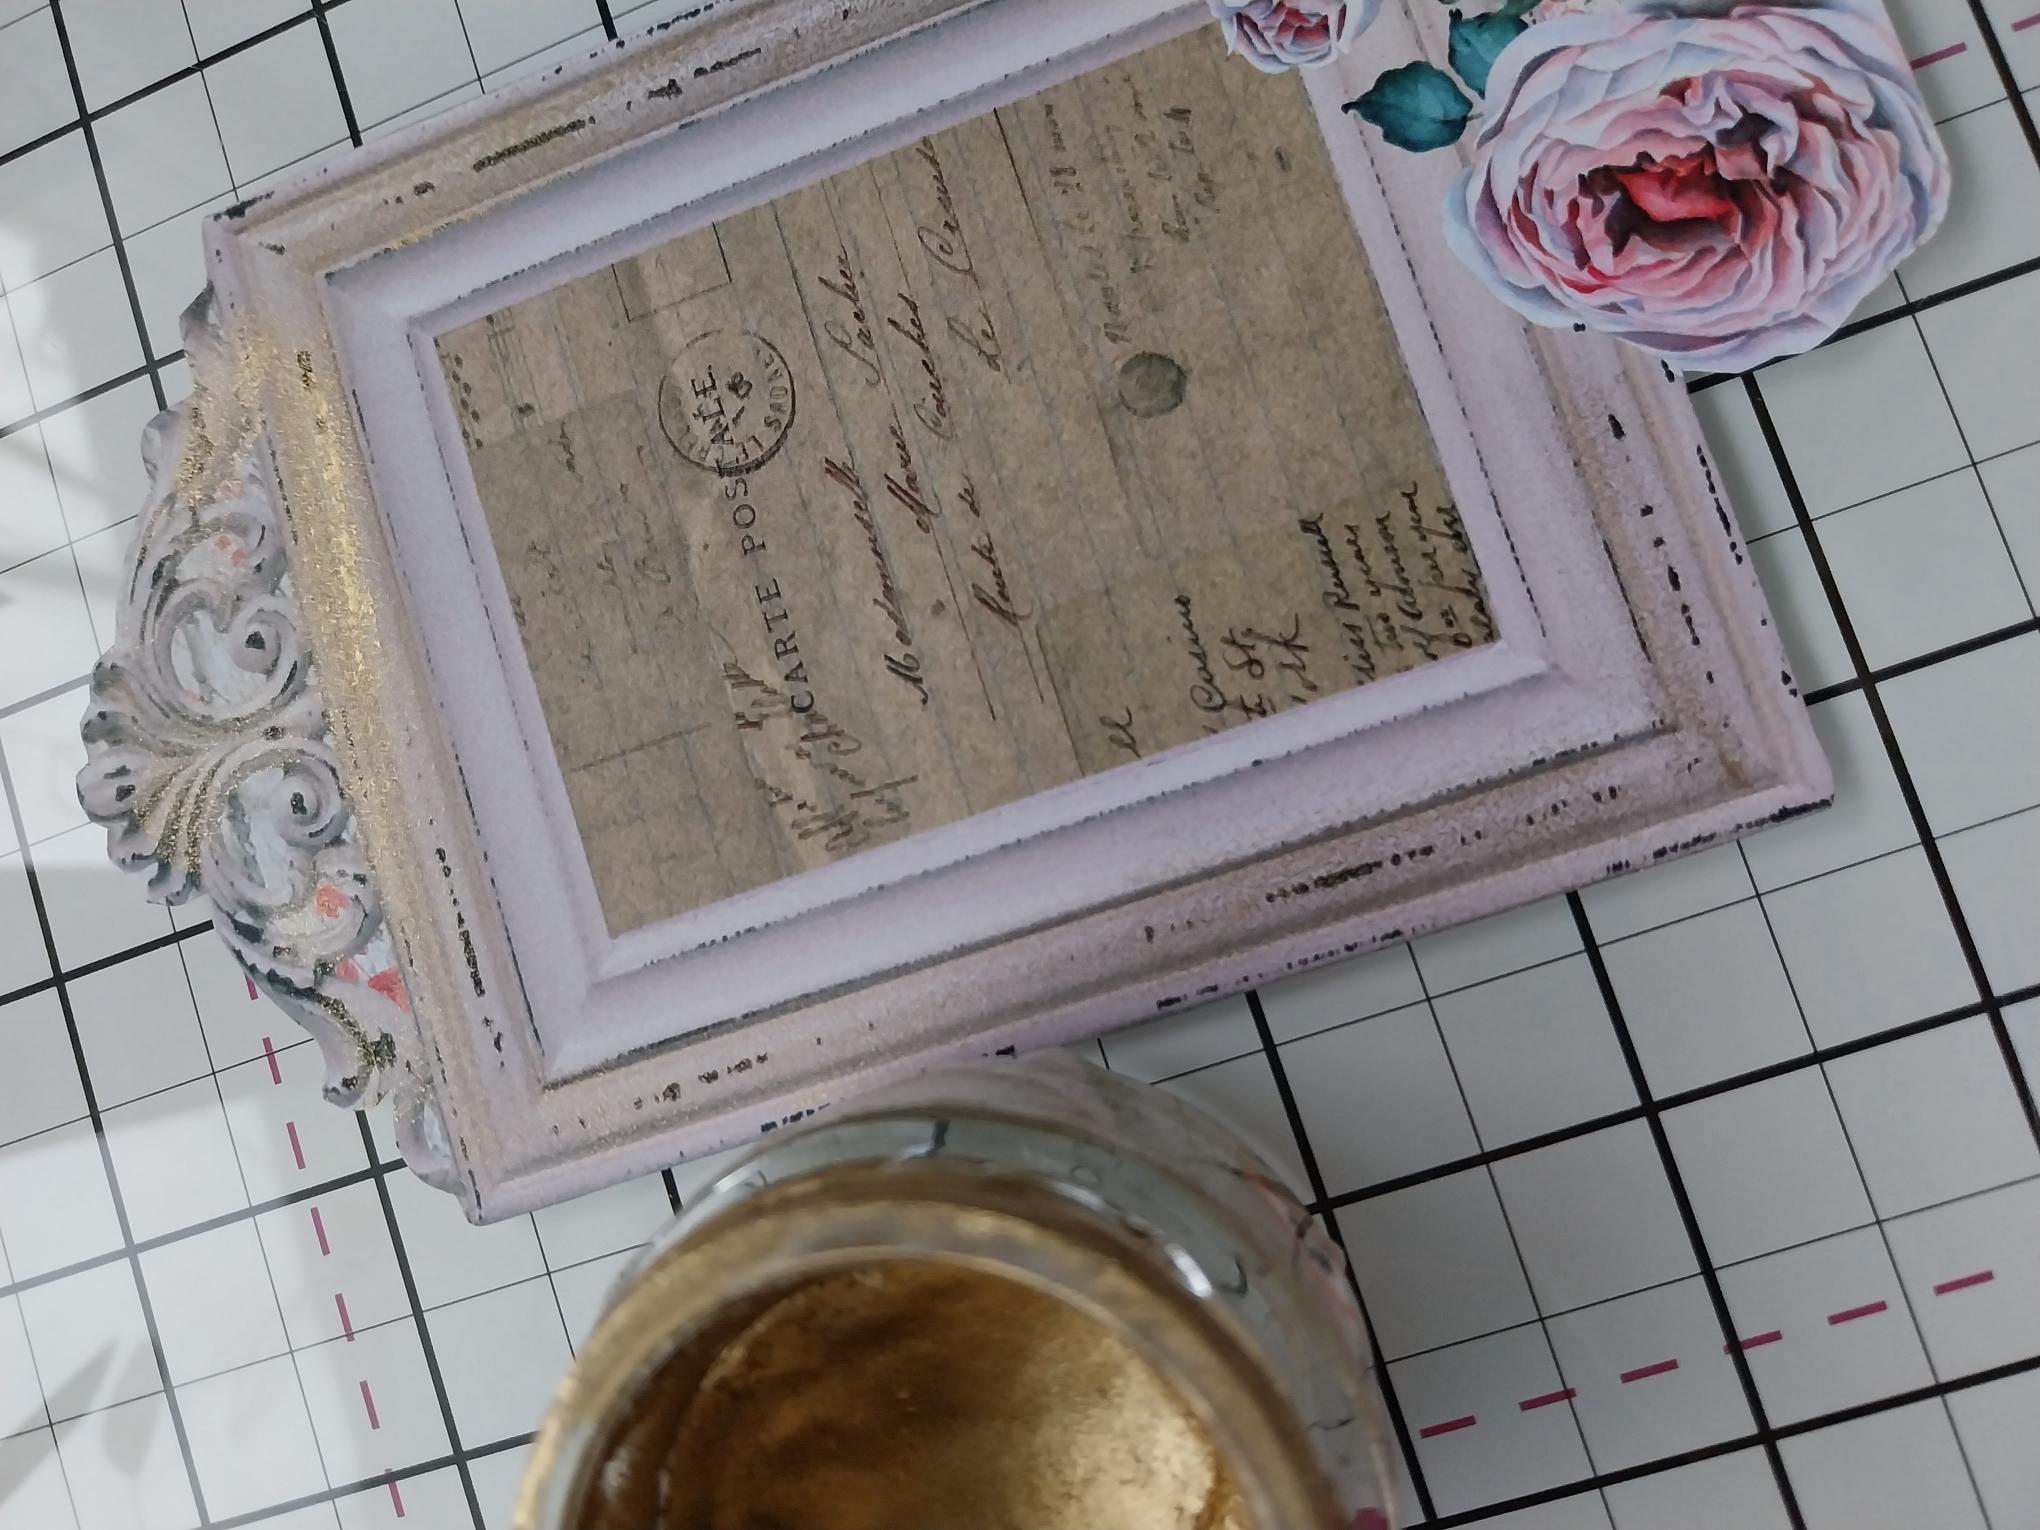
Using your finger pad, lightly apply Gold gilding wax around your frame. Buff with a soft cloth to enhance the shine. |

|
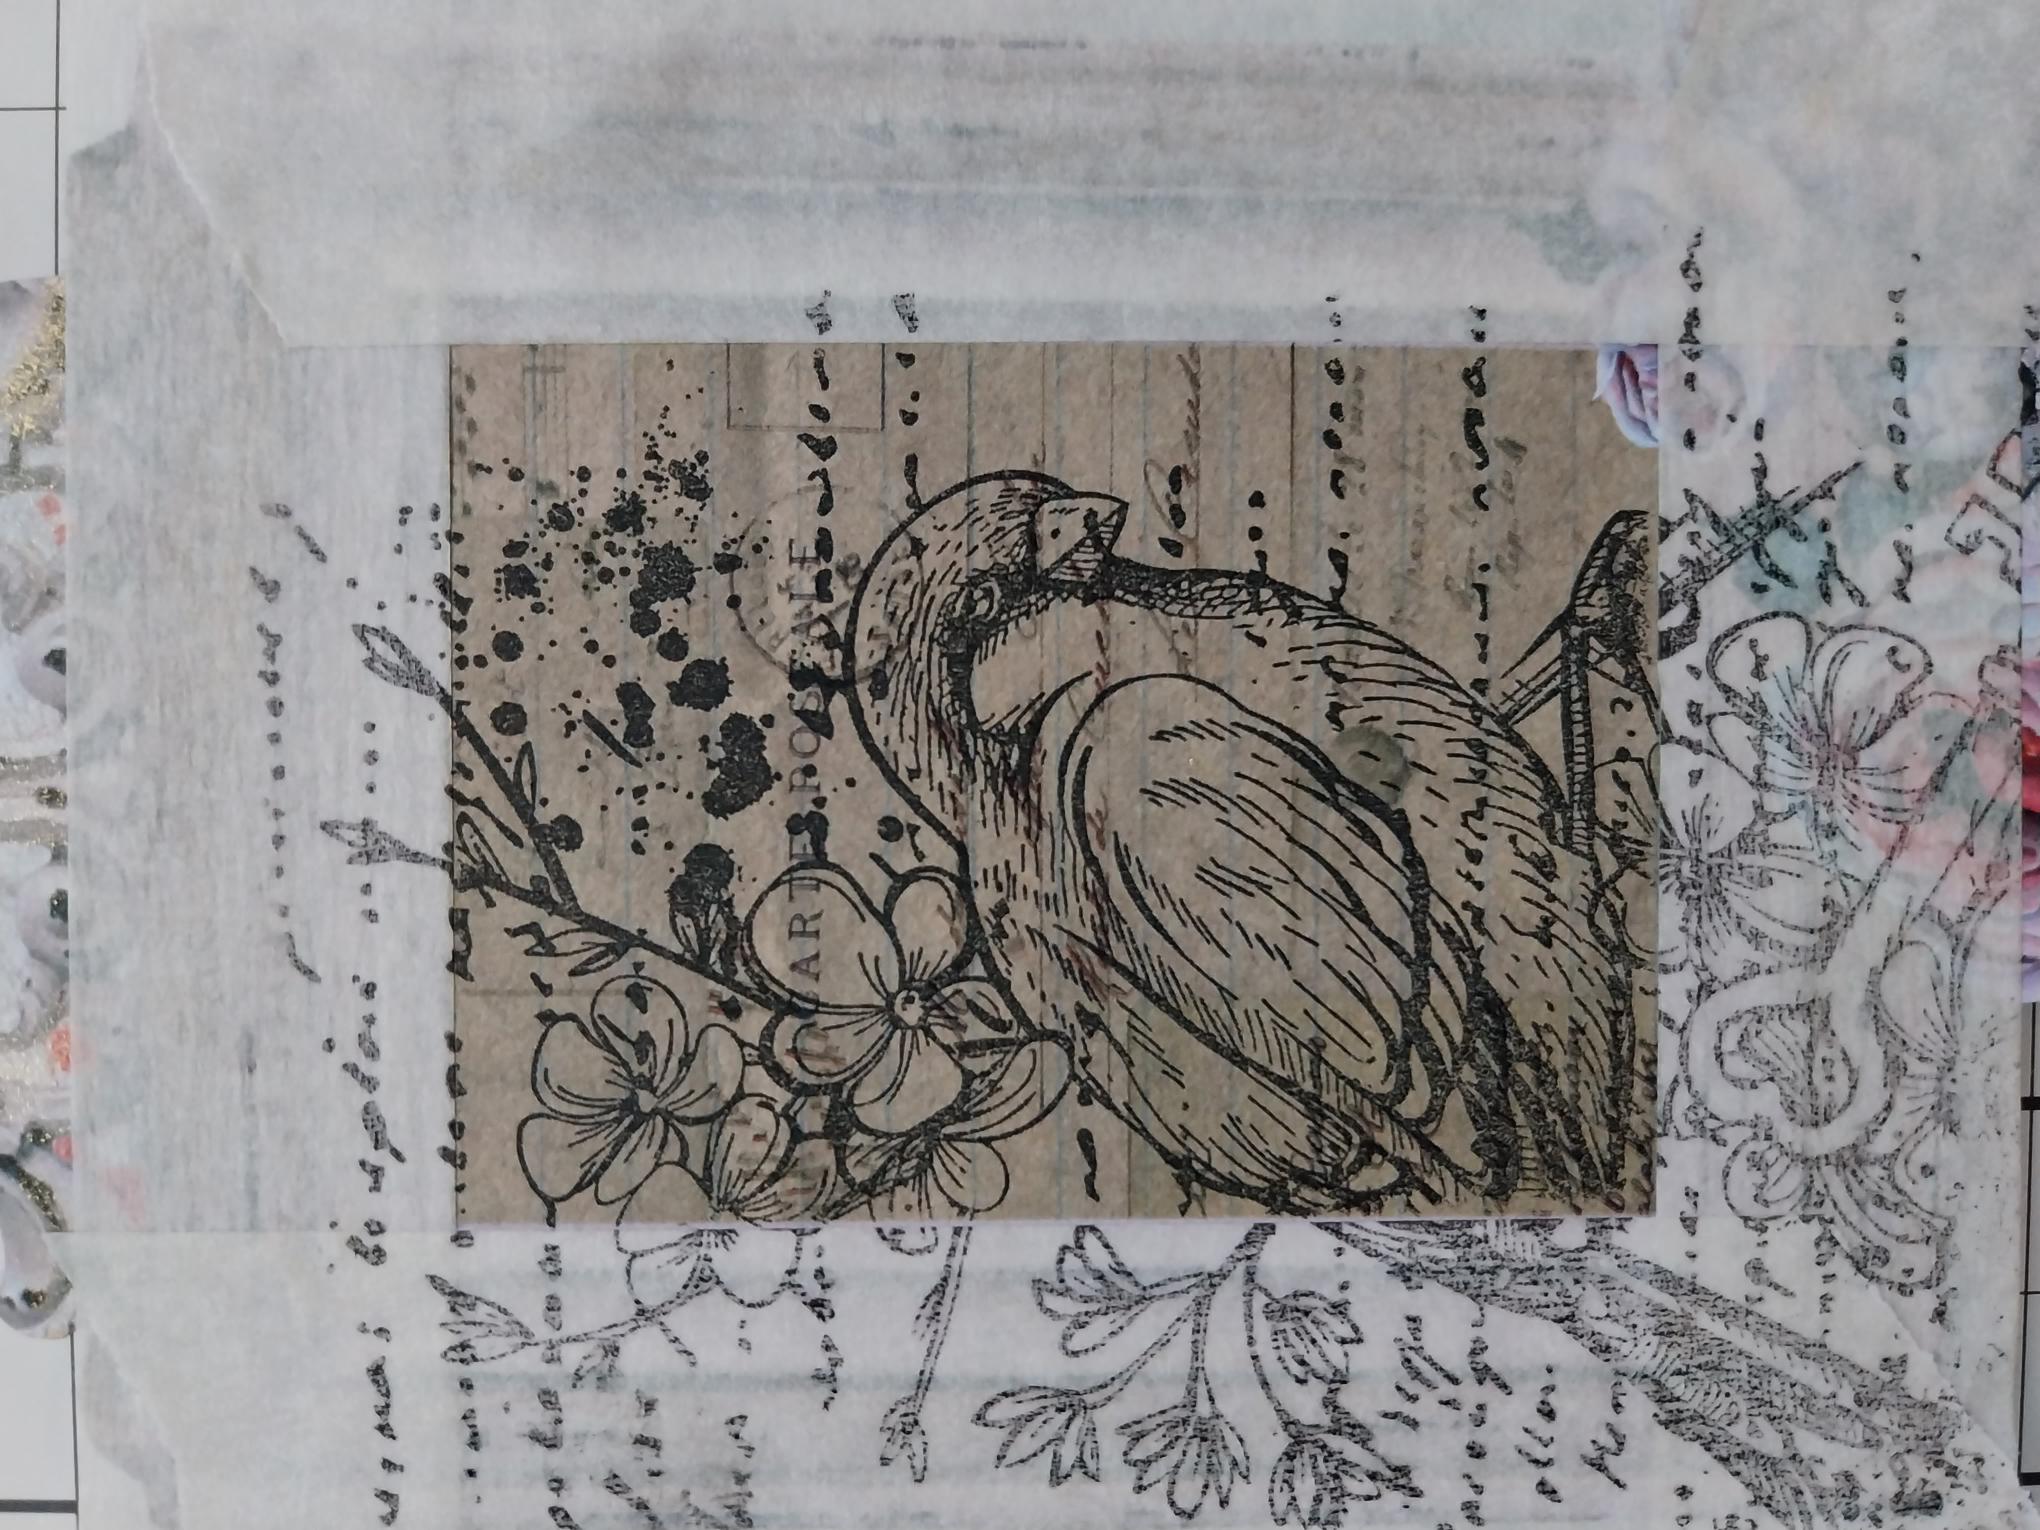
Use your low-tack masking tape to mask off the frame itself, leaving the inner script panel visible. |
|
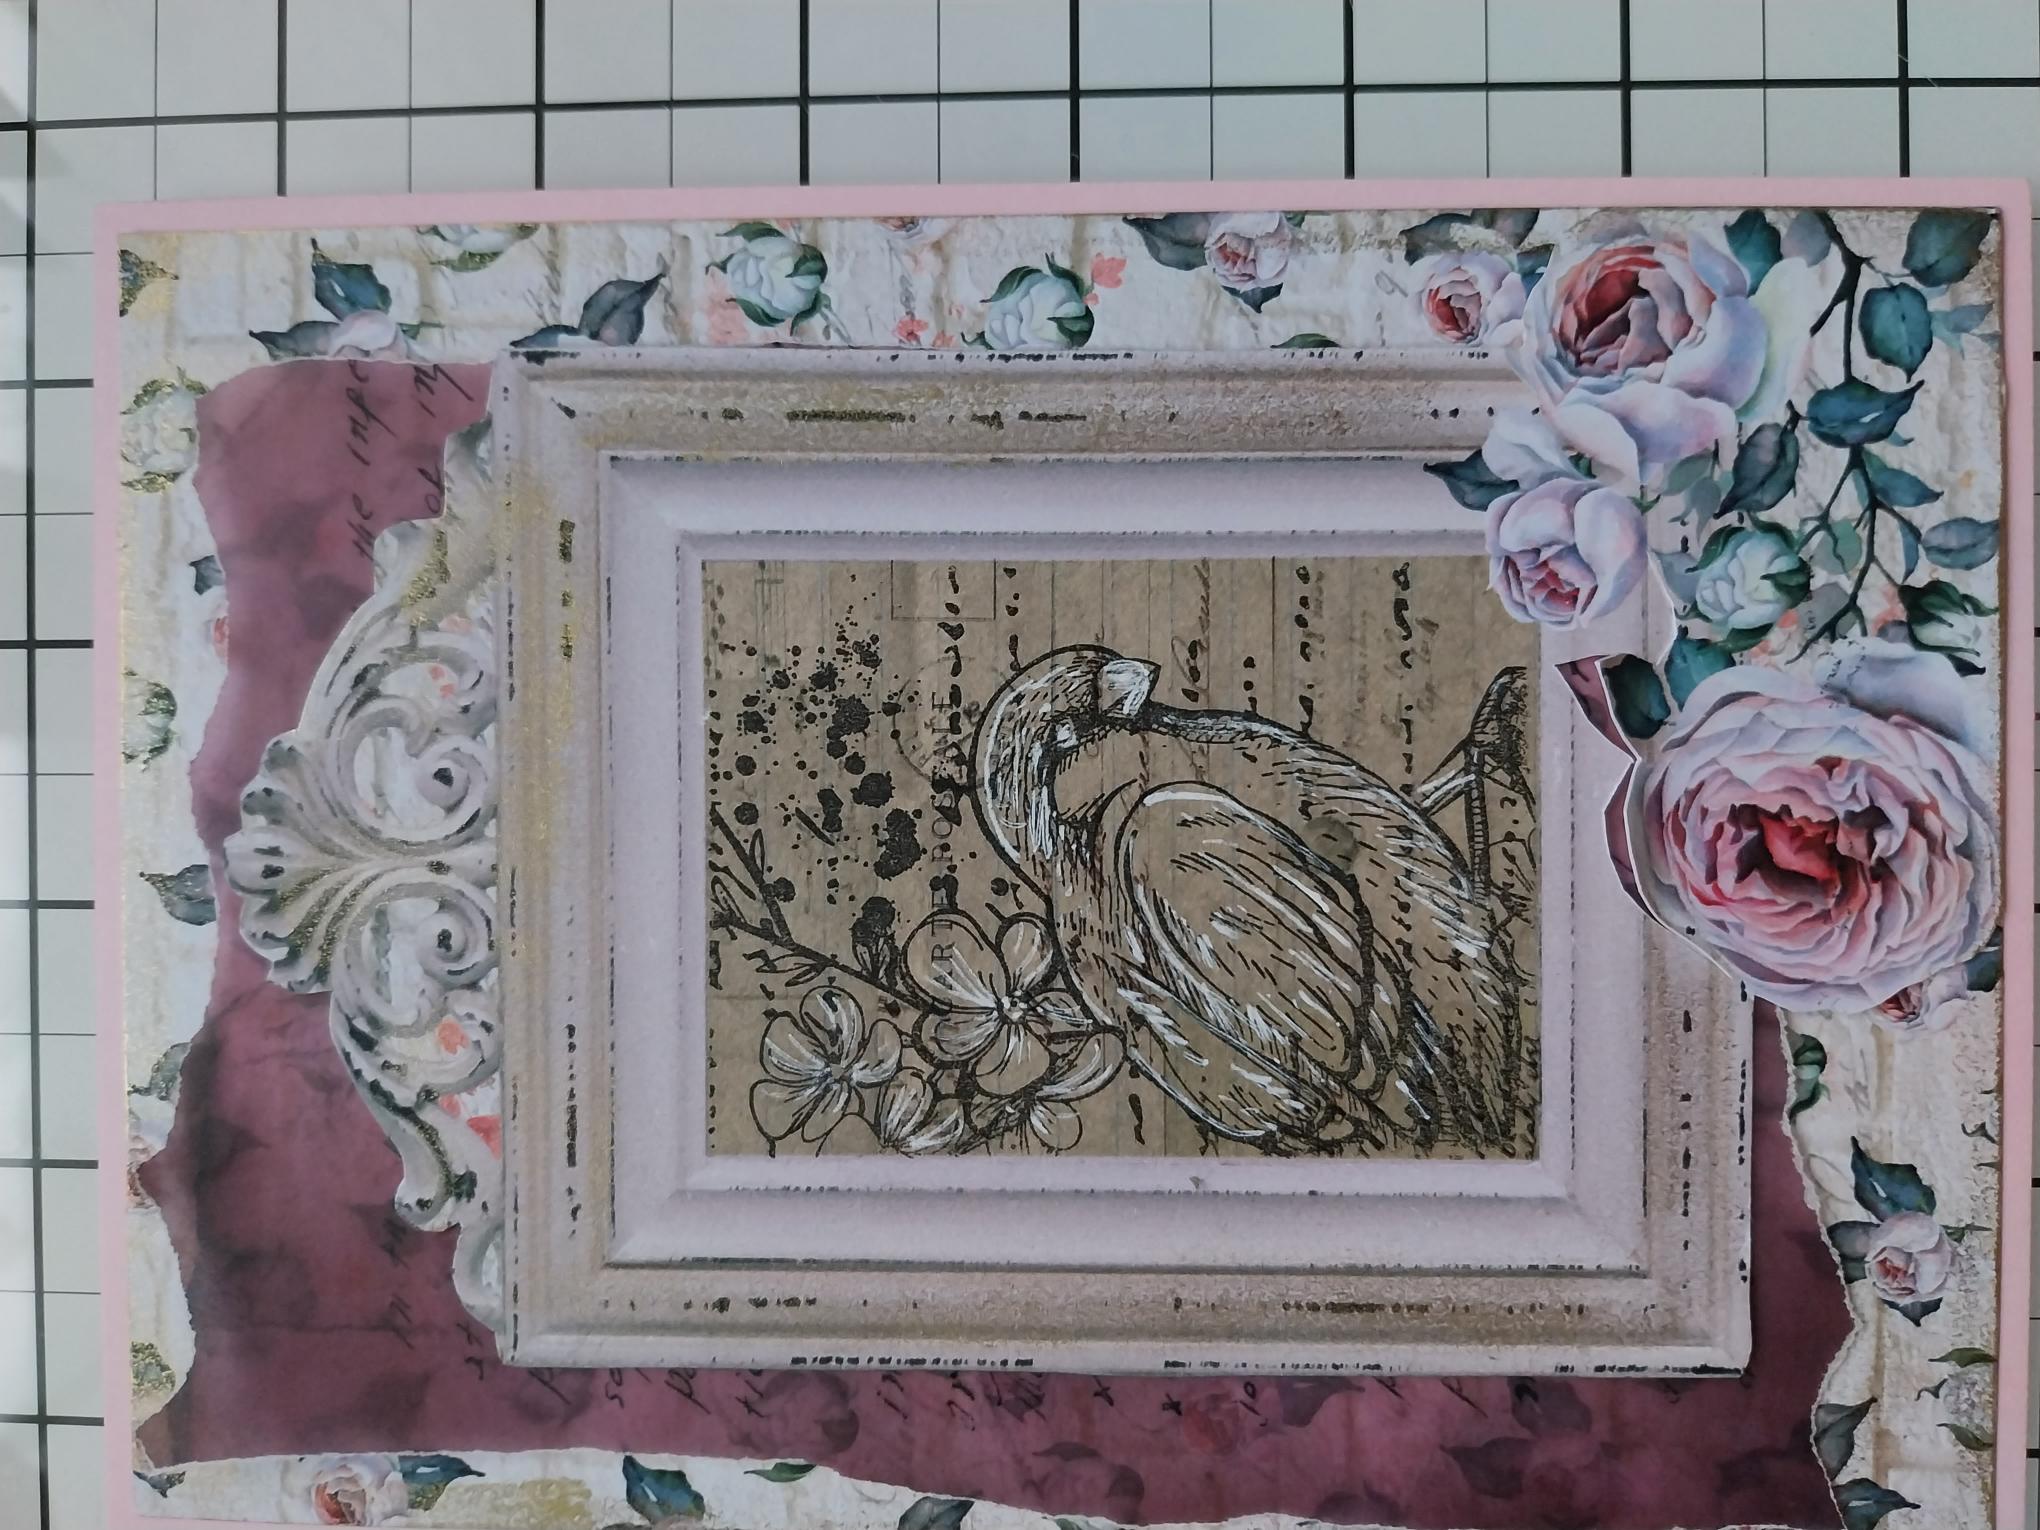
Stamp the bird in Midnight, so it's visible within the frame as shown here. |
|
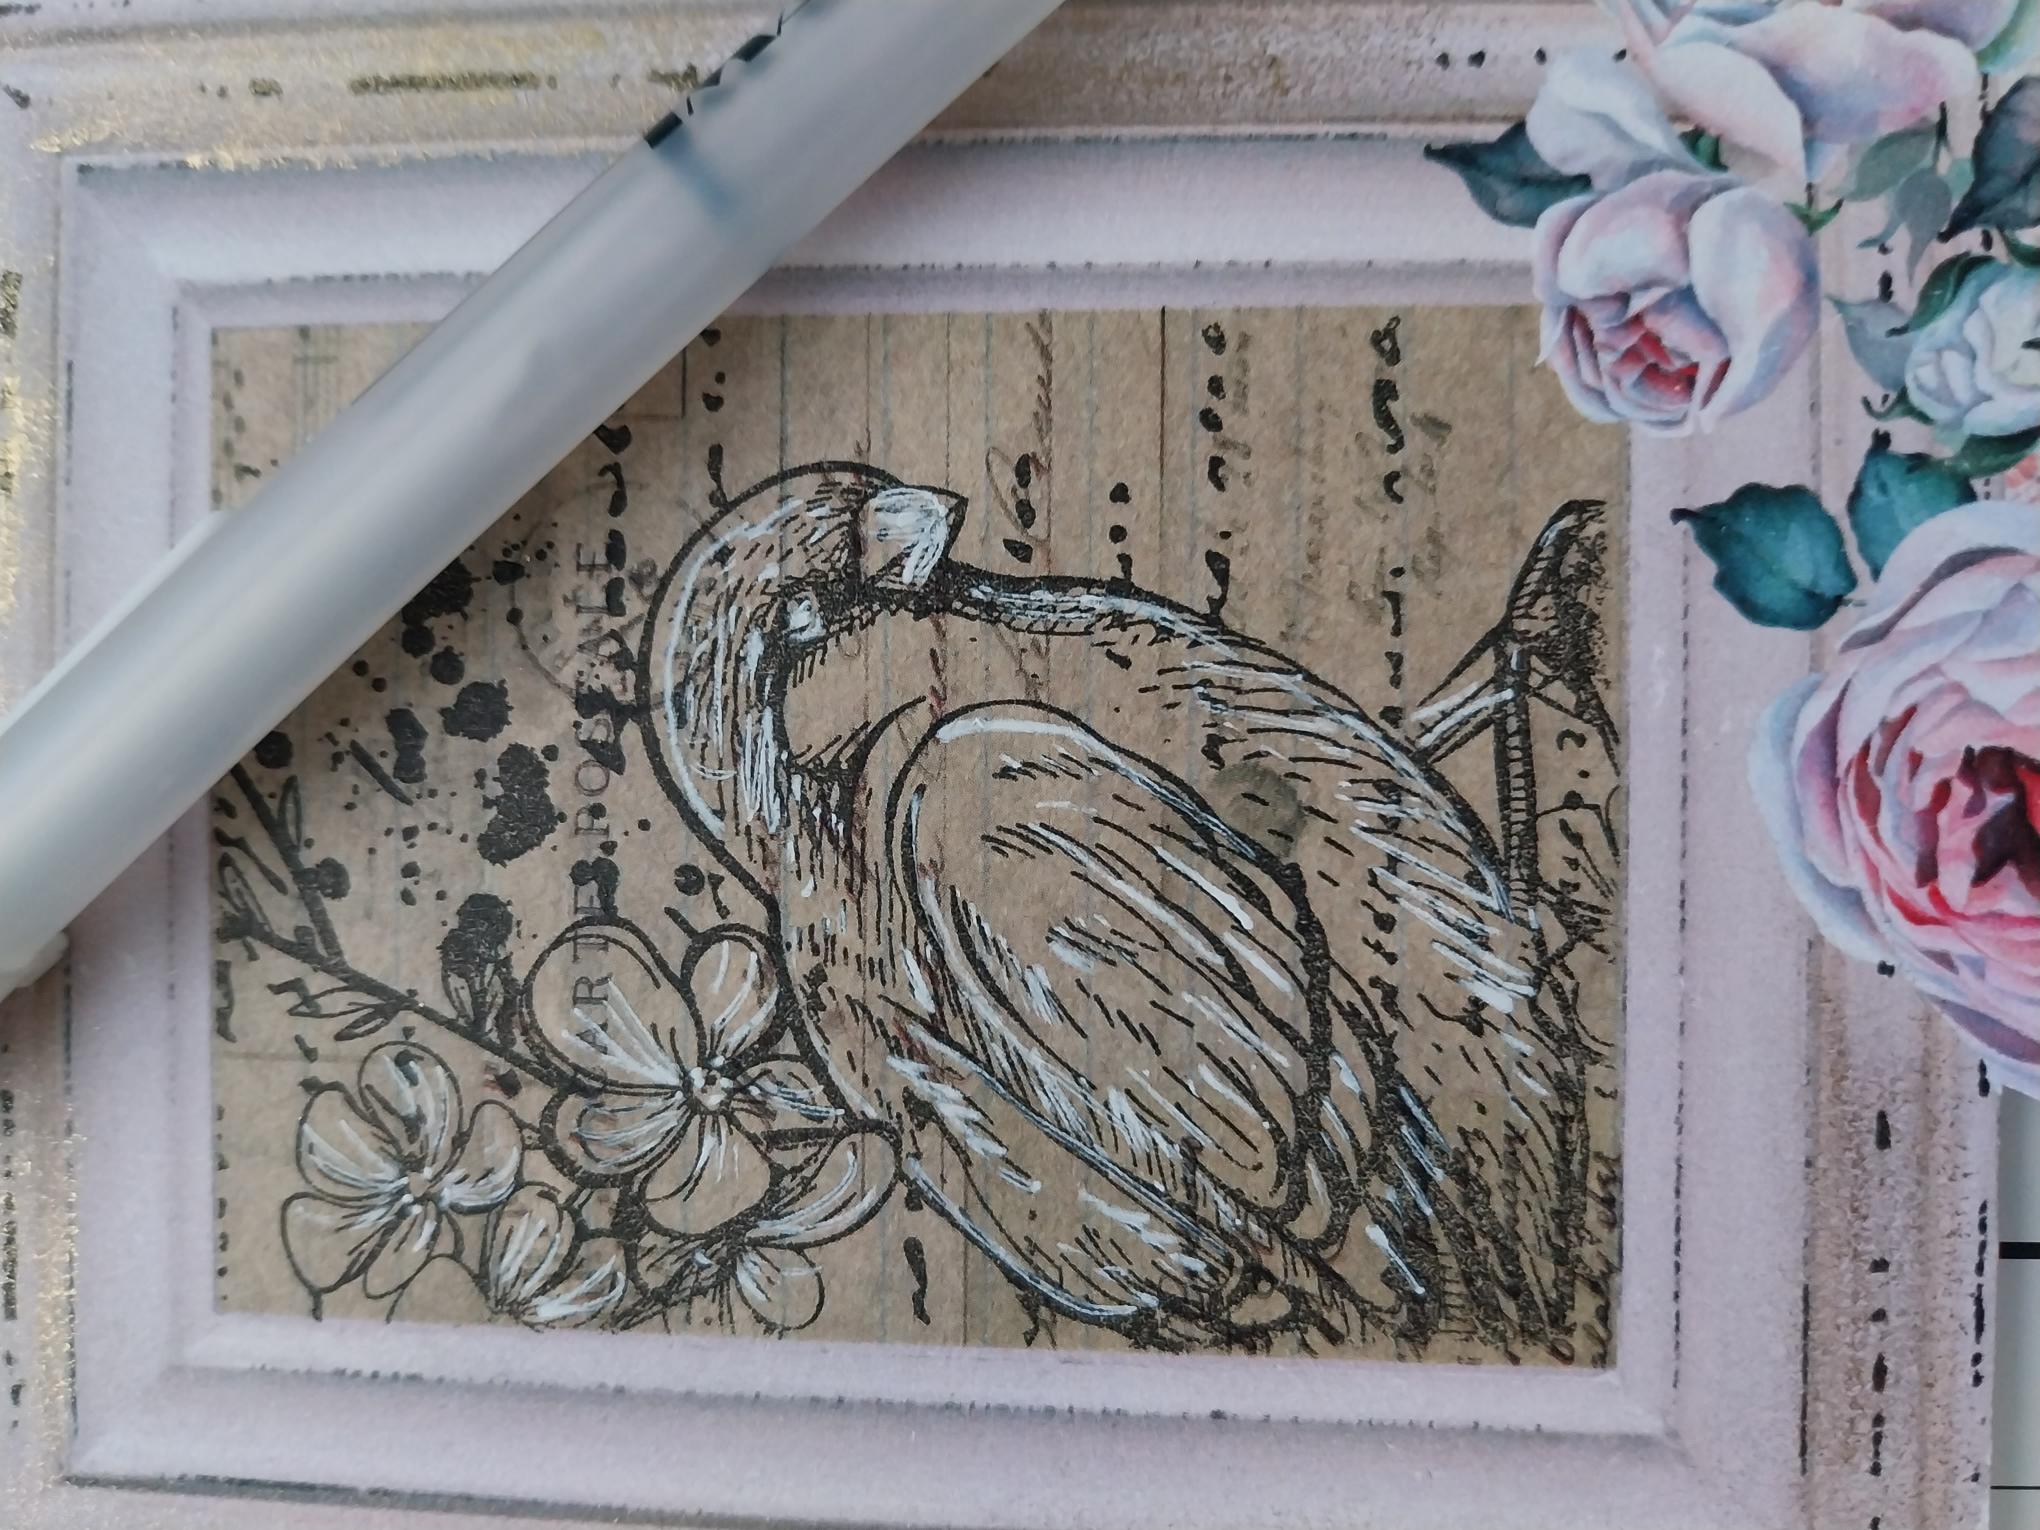
Carefully remove the masking tape, once the ink is dry. Use your white gel pen to add accents and highlights to your stamped image. |
|
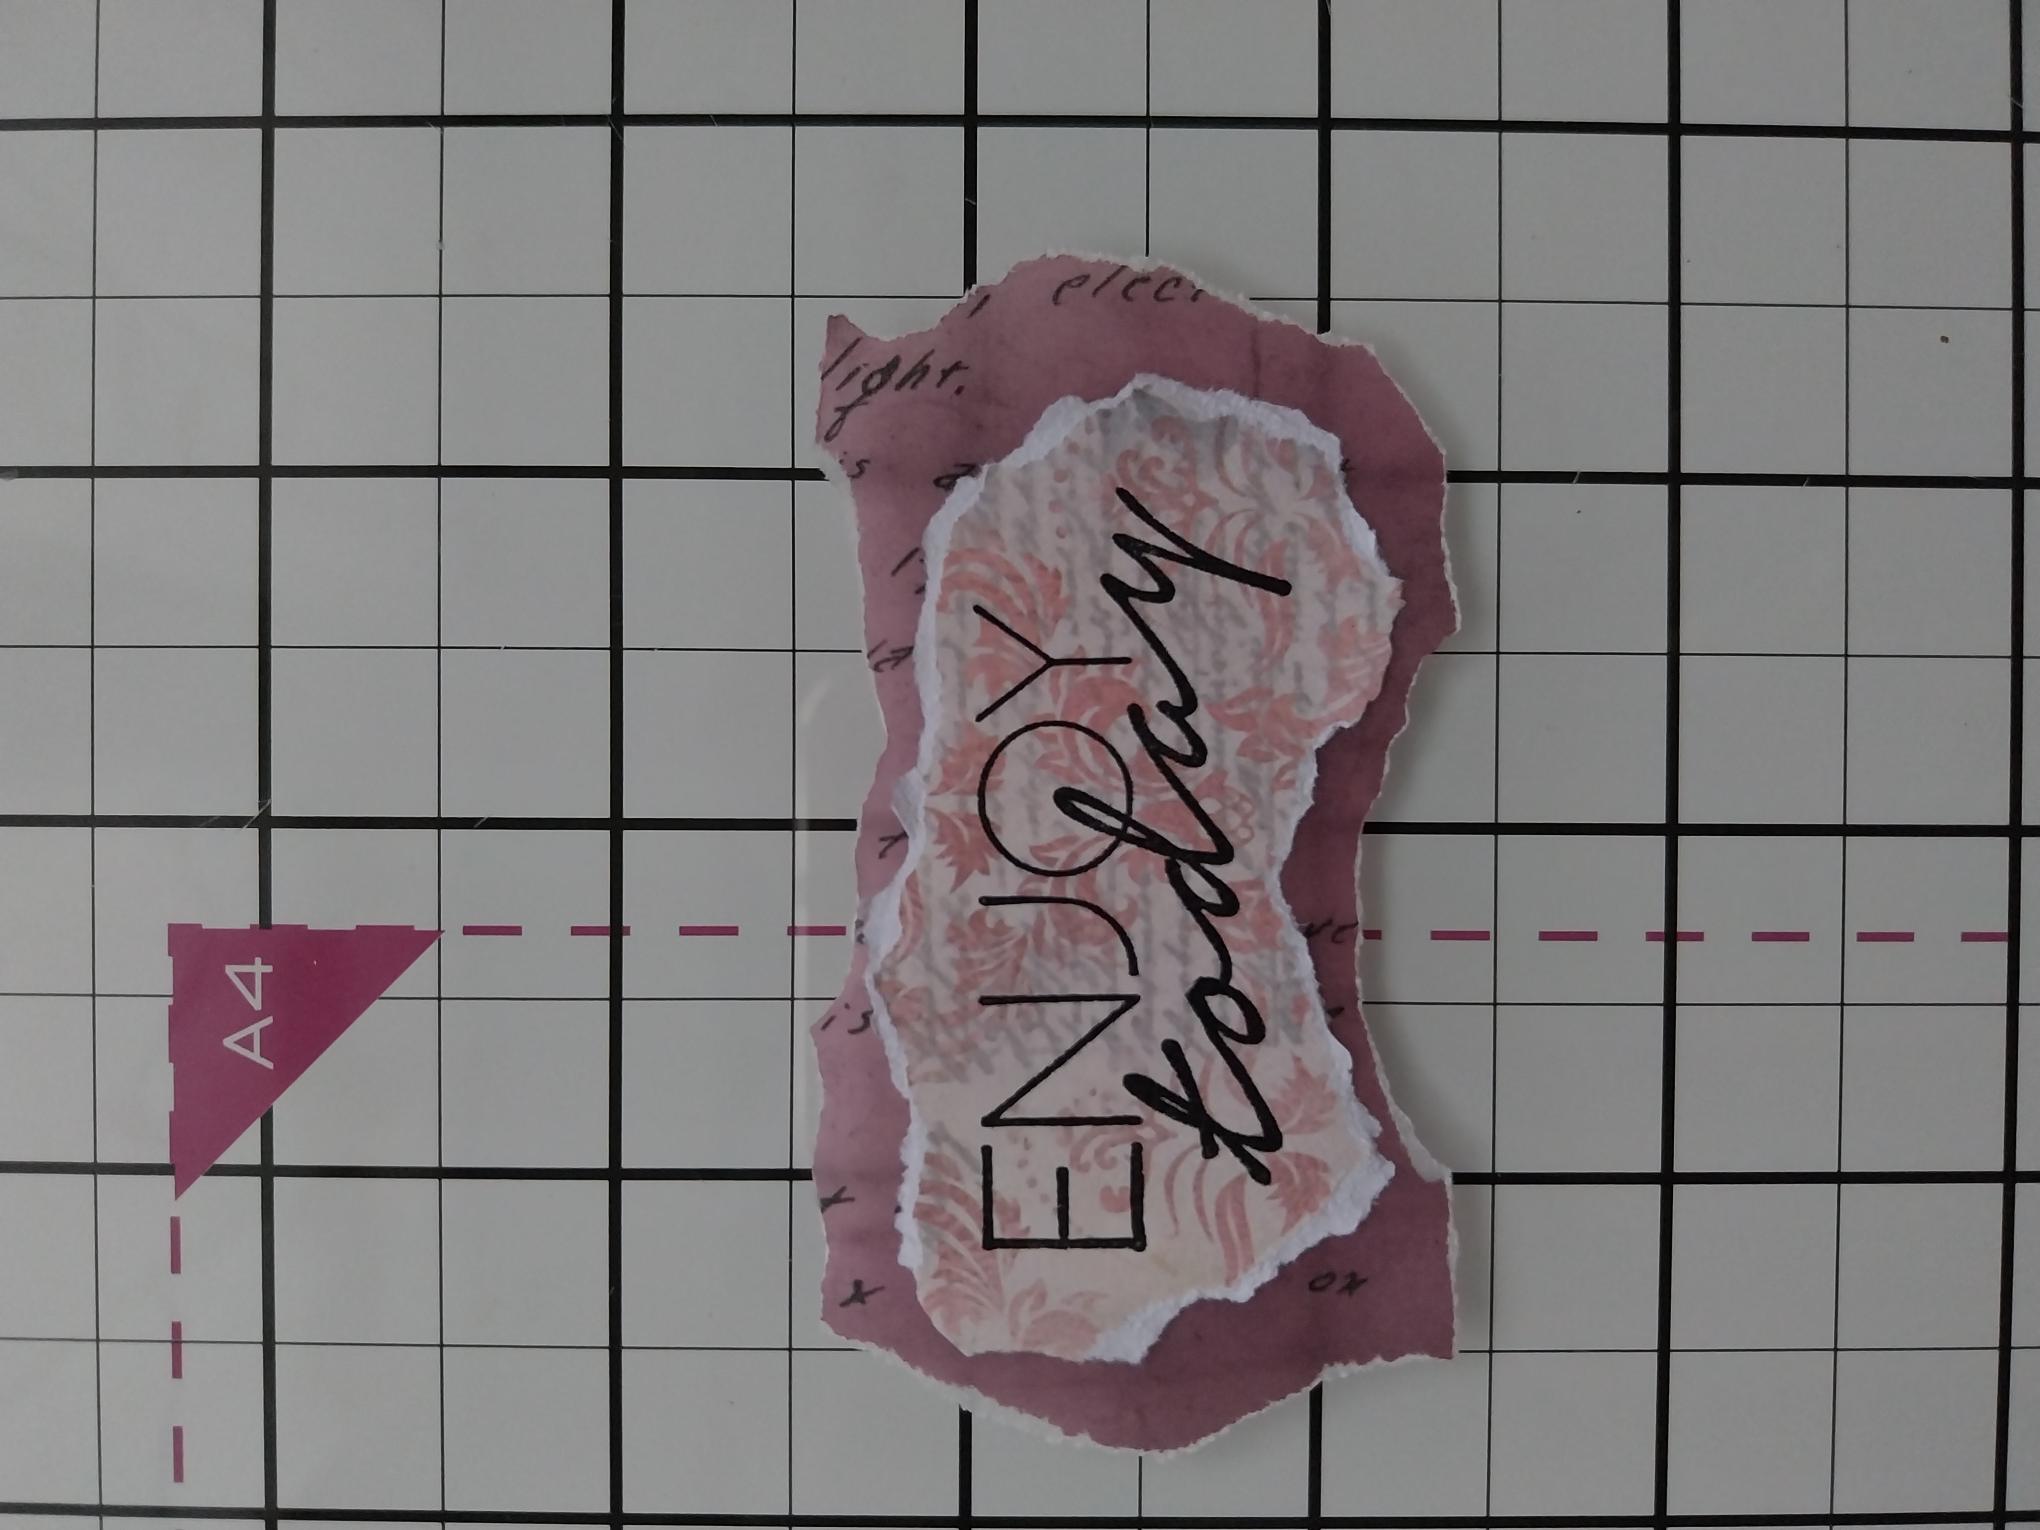
Stamp the sentiment, from A Beauutiful Place To Be, in Midnight, on to a piece of coordinating paper. Tear around the sentiment then adhere to a piece of the vellum, tearing around that to create your sentiment "mat". |
|
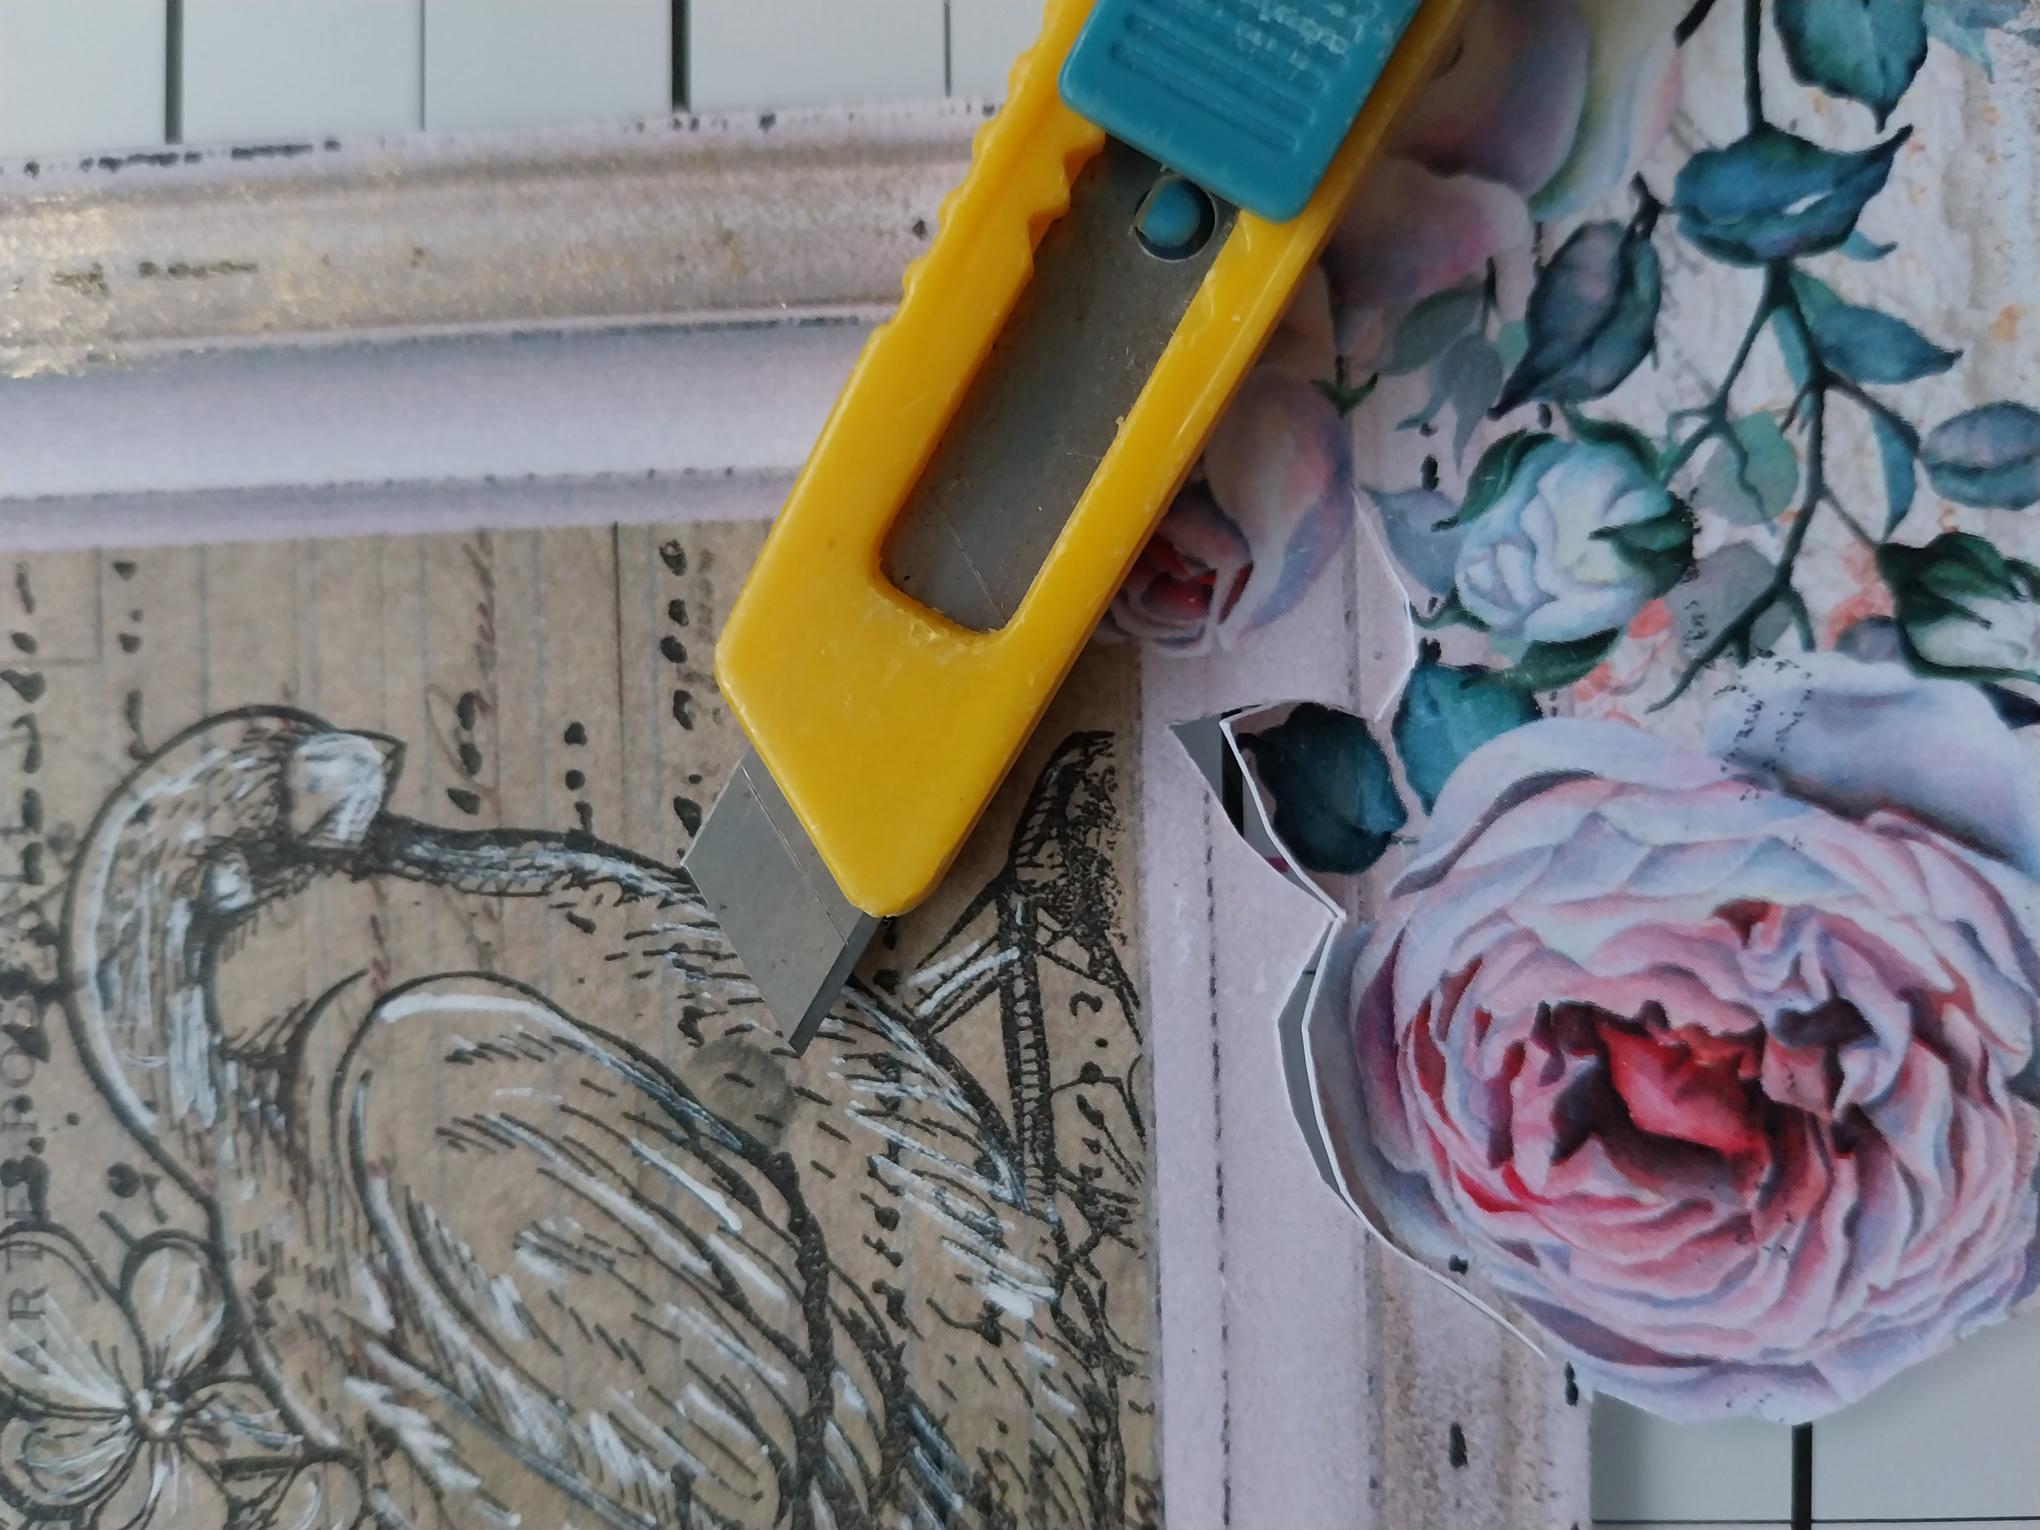
Using your craft knife, cut around just the top aspect of the floral element at the base of your frame. |
|
Adhere your frame to your prepped card, ensuring the "cut" area of the floral element is NOT glued down. |
|
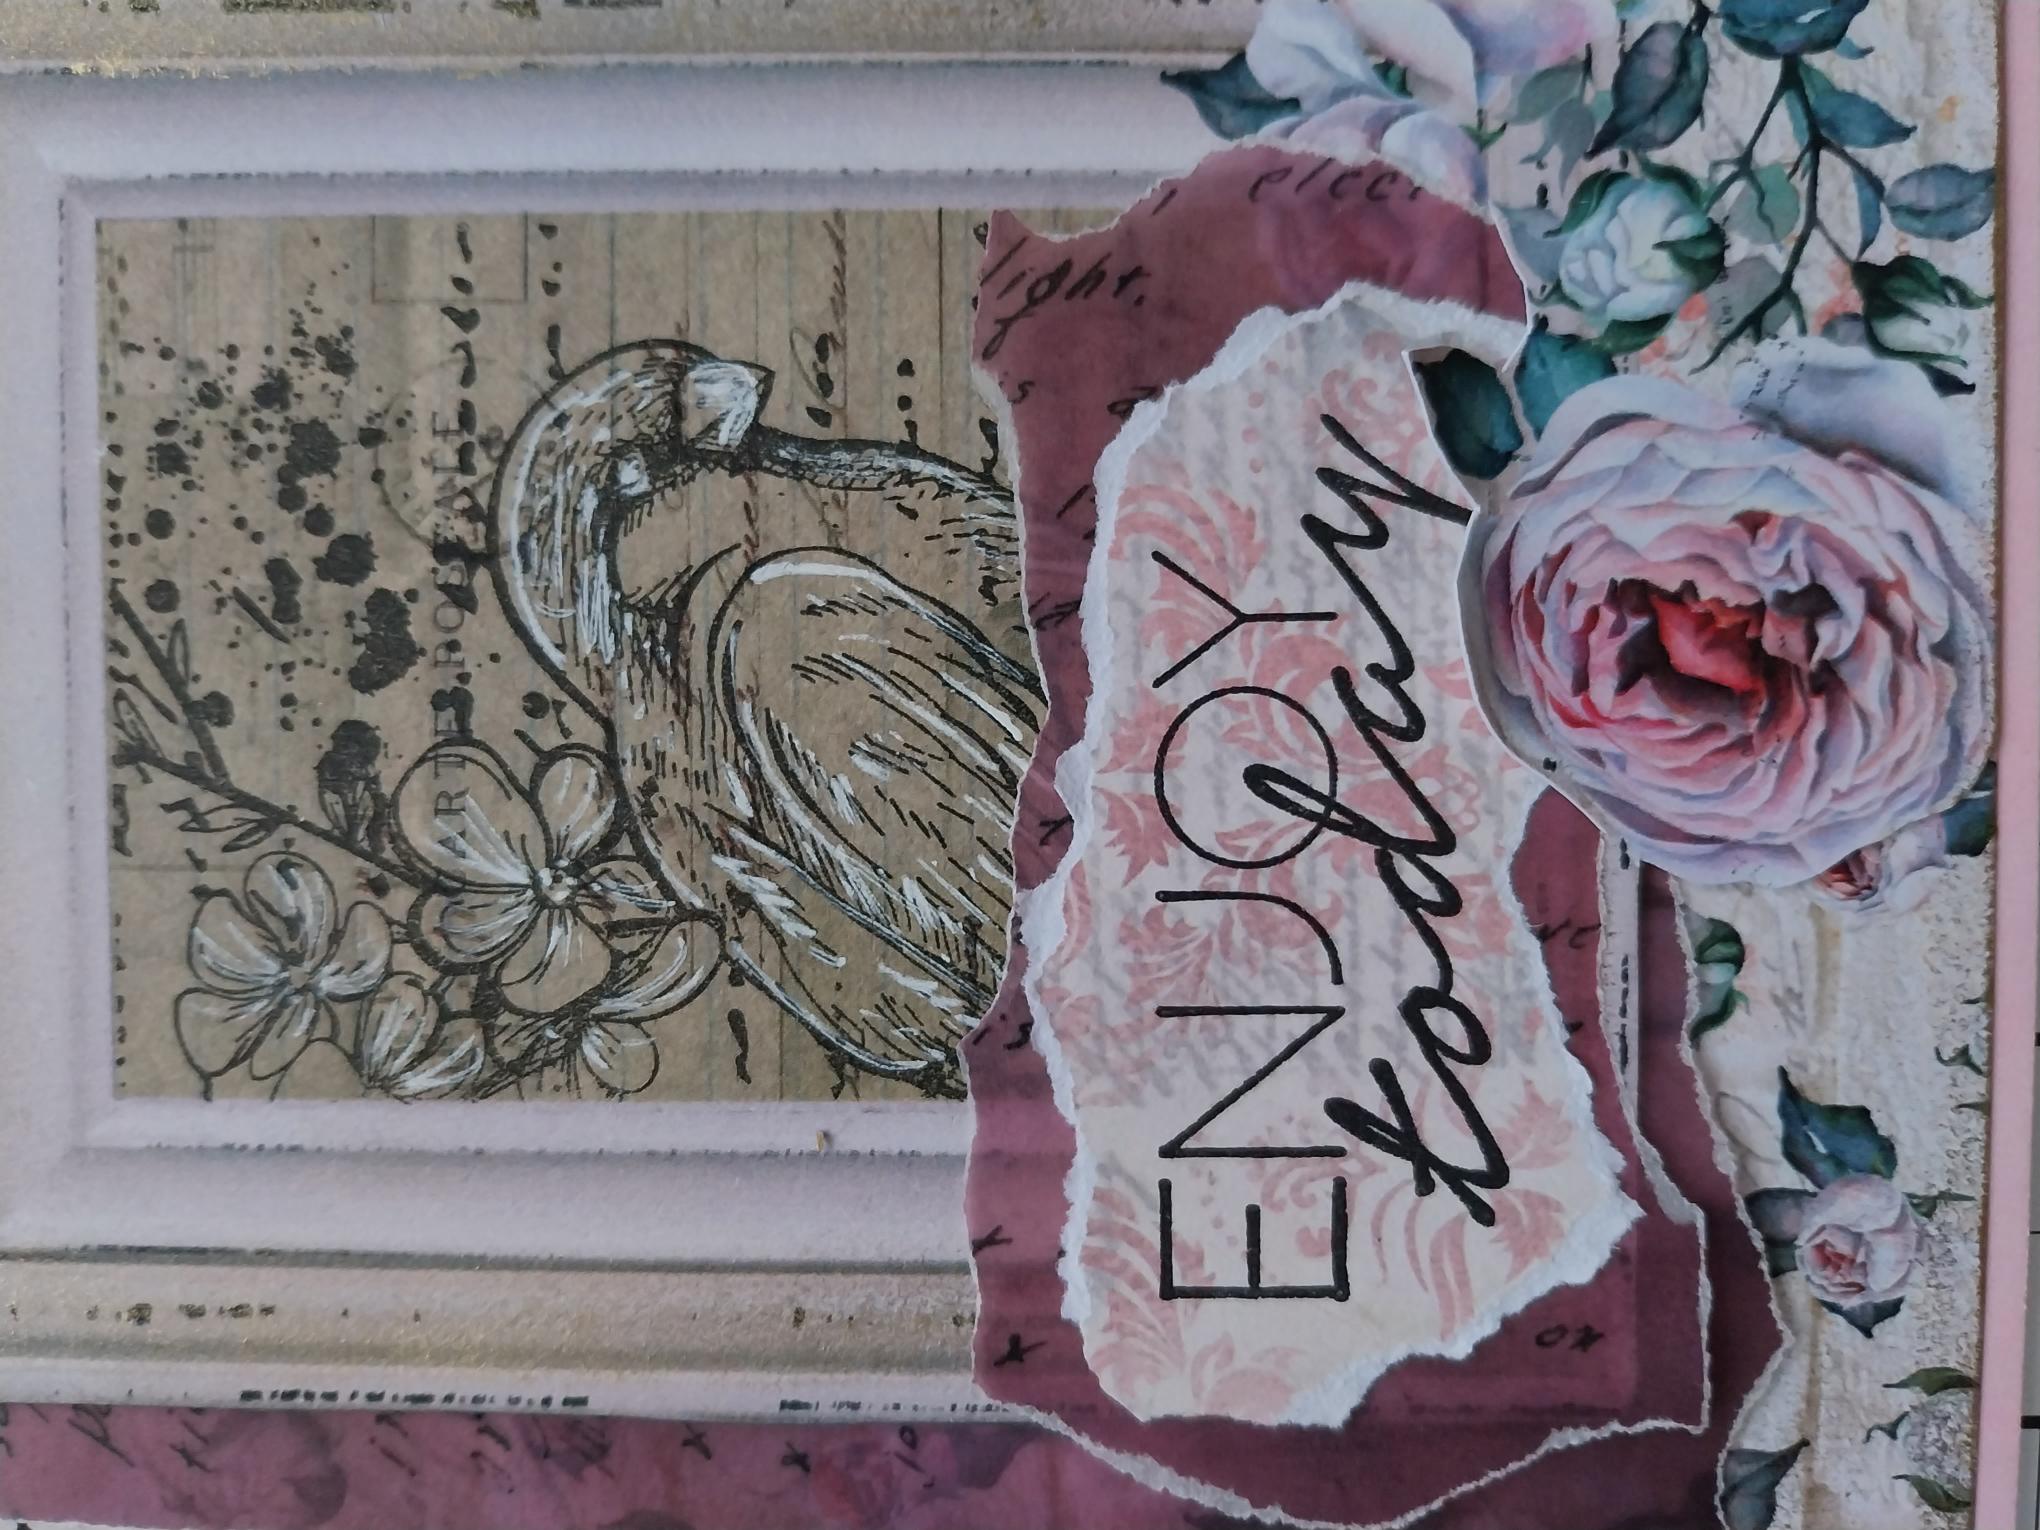
To finish, secure your sentiment in place, tucking it just under the "cut" area of your flowers, as shown here. |