Give your friends $10 off their first order!
Refer a FRIEND


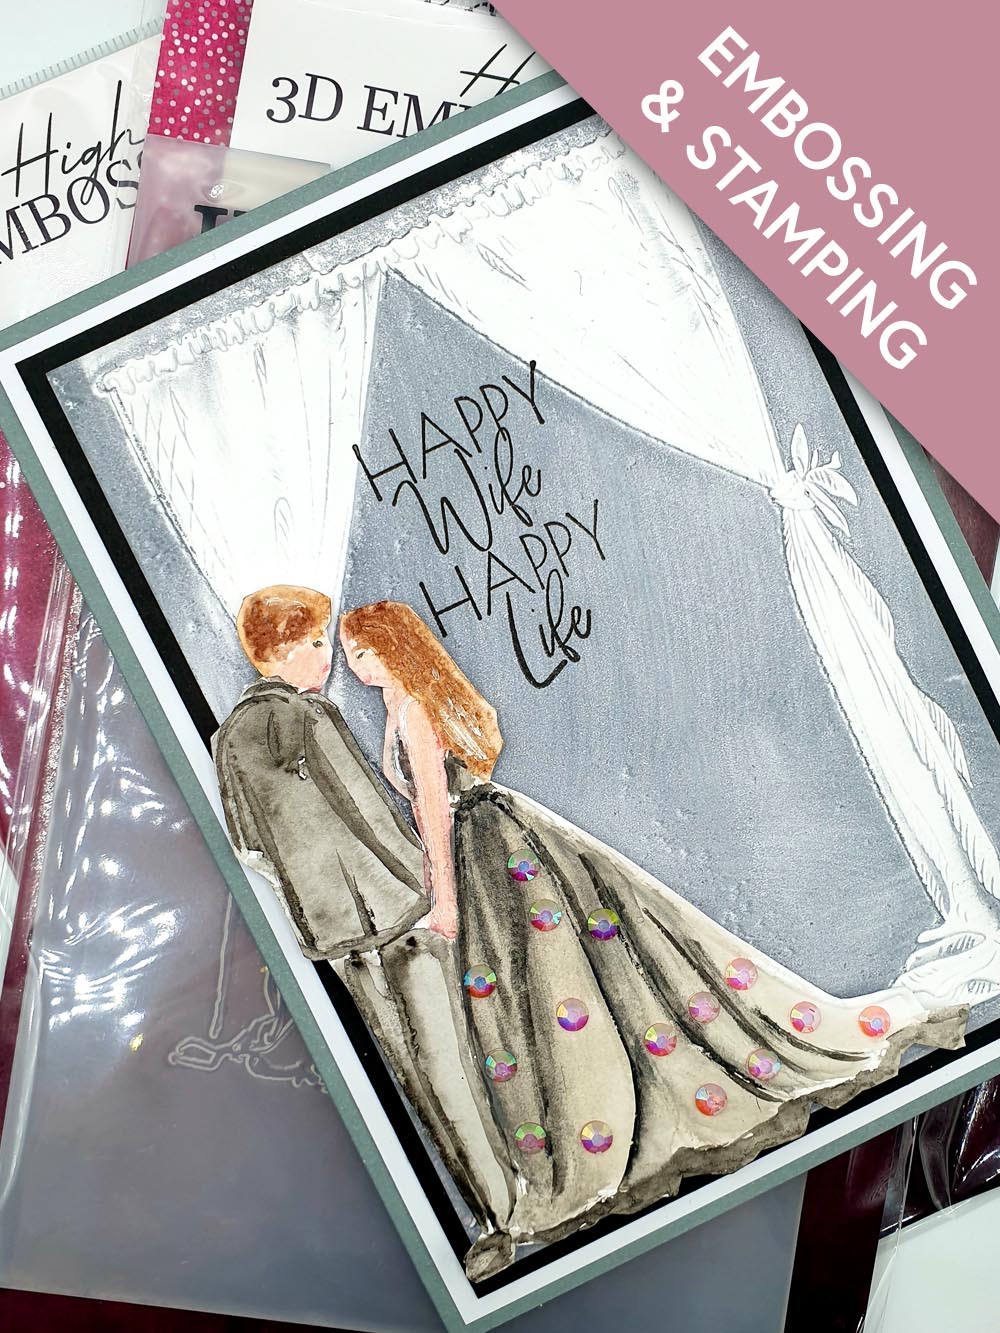
WHAT YOU WILL NEED:
HD3D Happy Ever After embossing folder
3D Cabaret 5x7 embossing folder
Believe You Can Stamp and Die set
Black cardstock 5 ½ “ x 7 ½ “
White cardstock 5 ¾ “ x 7 ¾ “ for layers
Grey card blank 6x8 “
Carta watercolor cardstock
White cardstock 5x7"
Versafine Ink pad: Grey Flannel & Tuxedo Black
Watercolor palette
Paintbrush
Embossing machine
Guillotine
Scissors
Gems
Foam pads
Glue
[click image to enlarge] 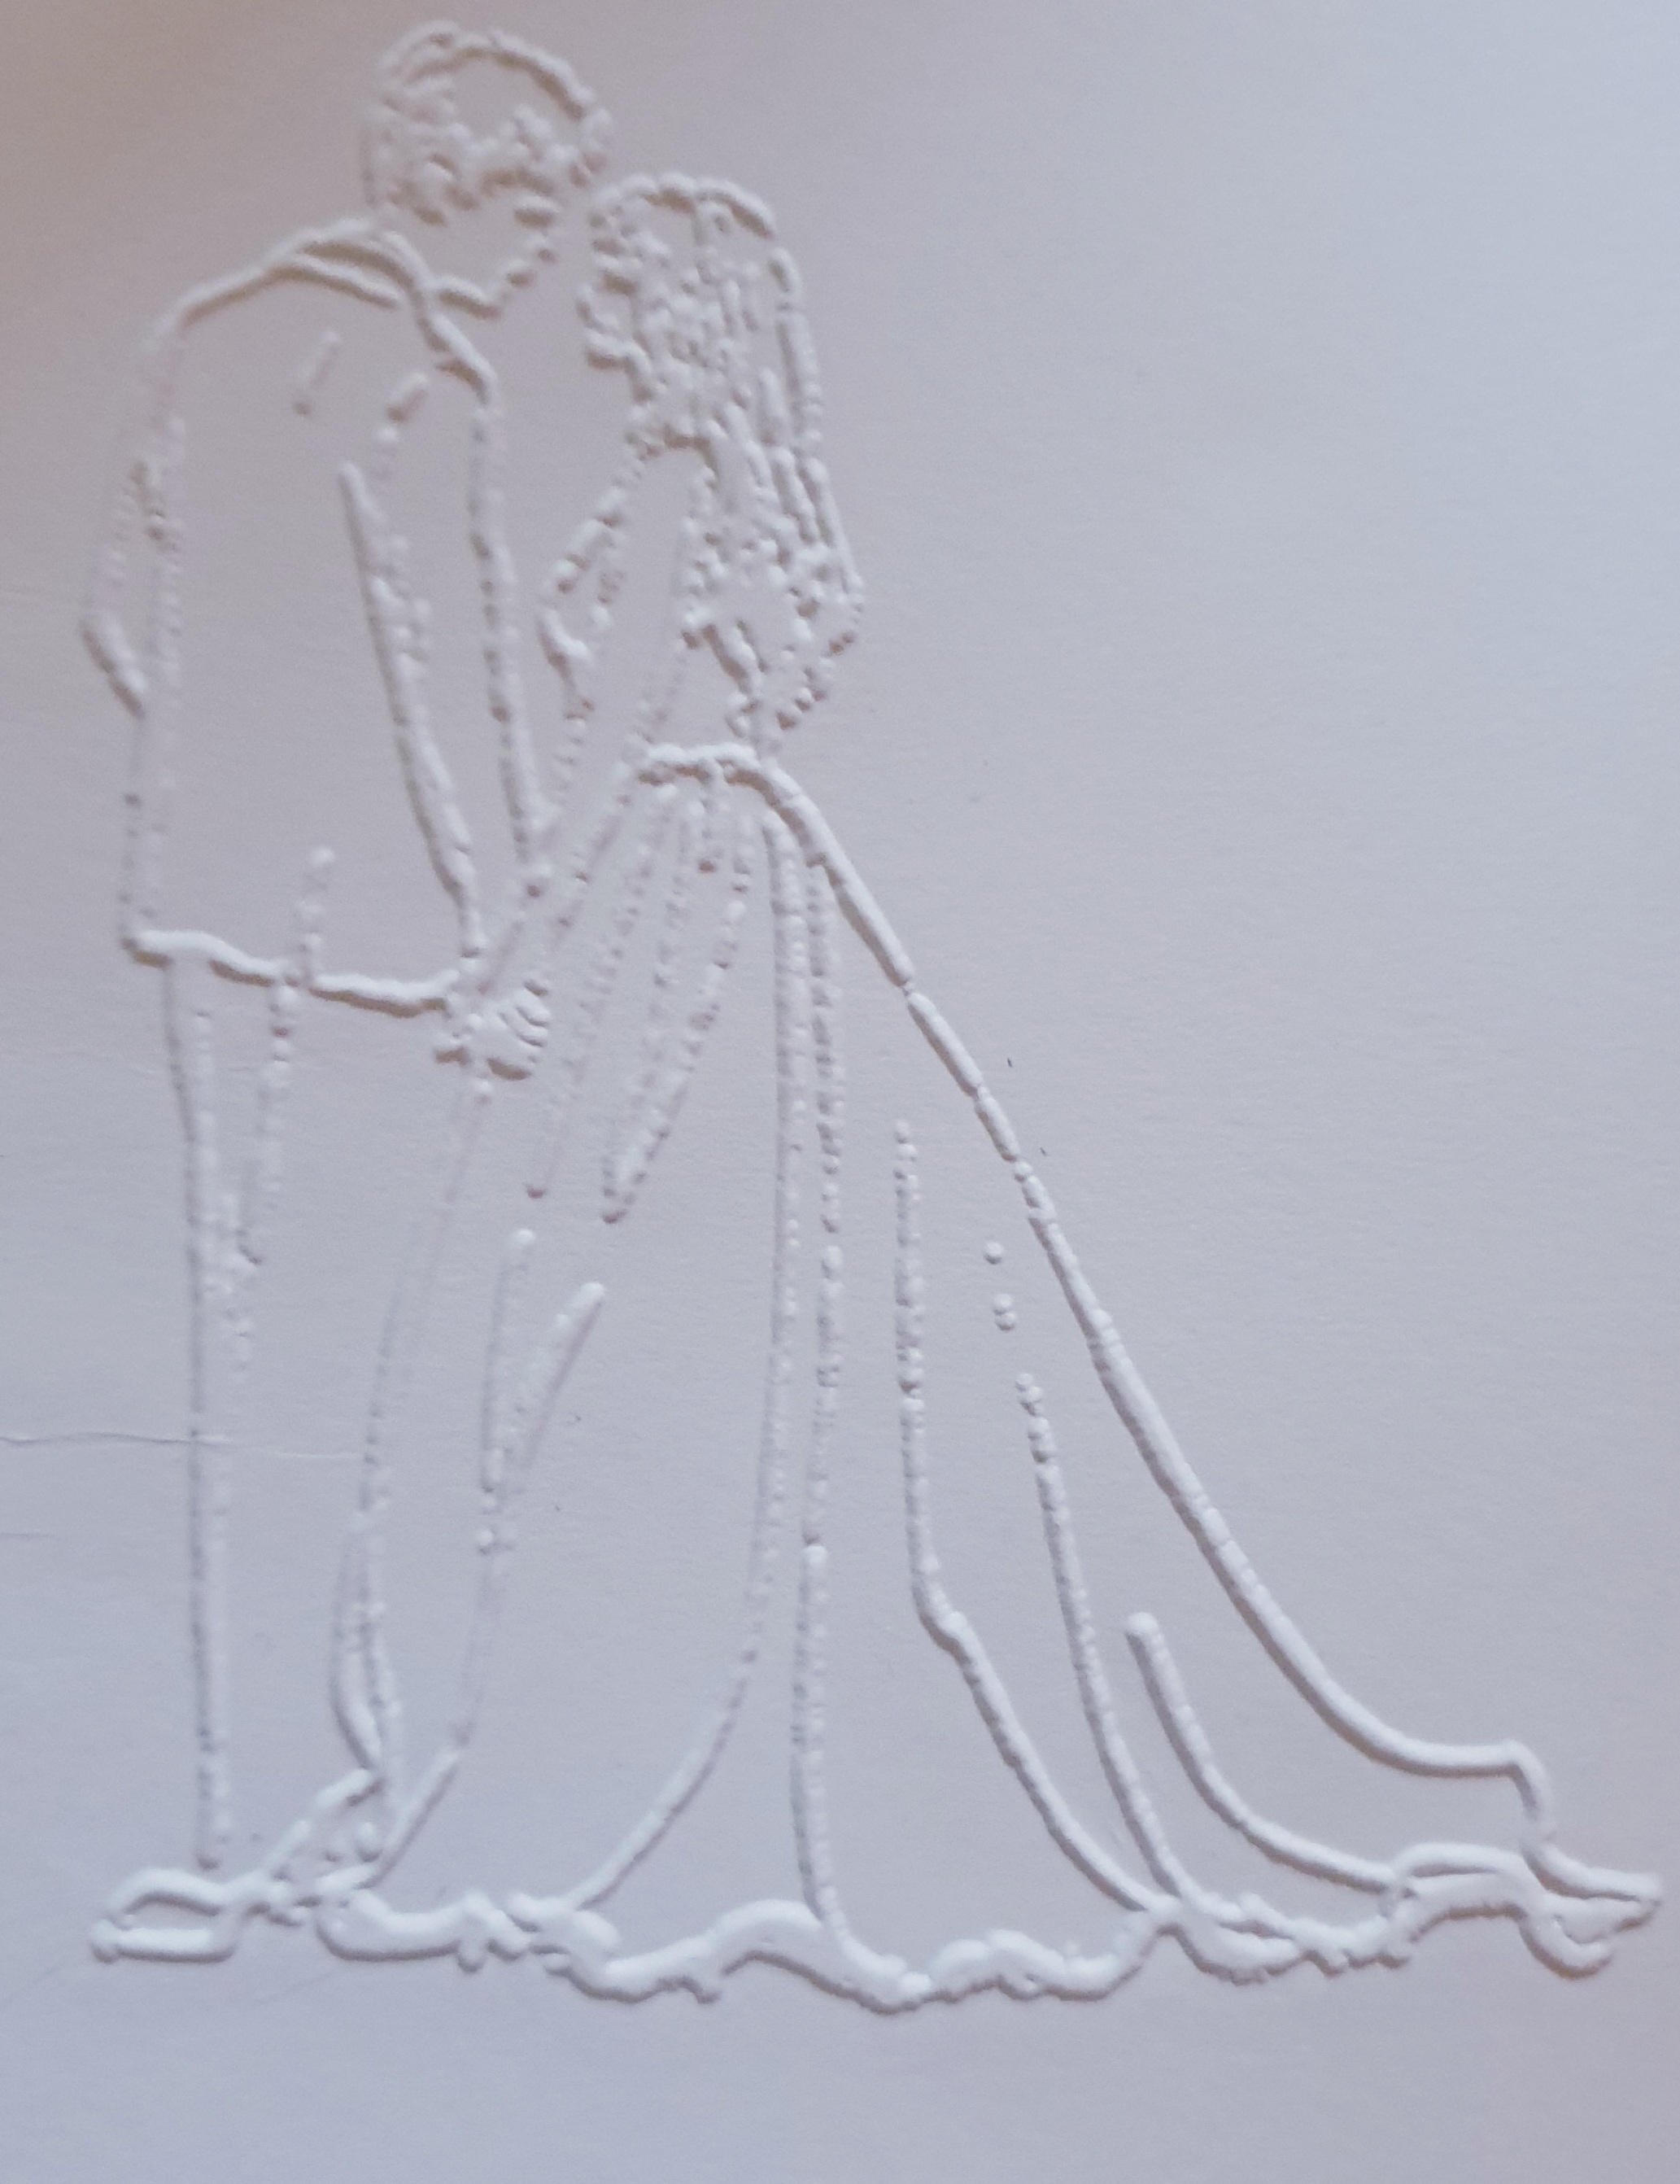
|
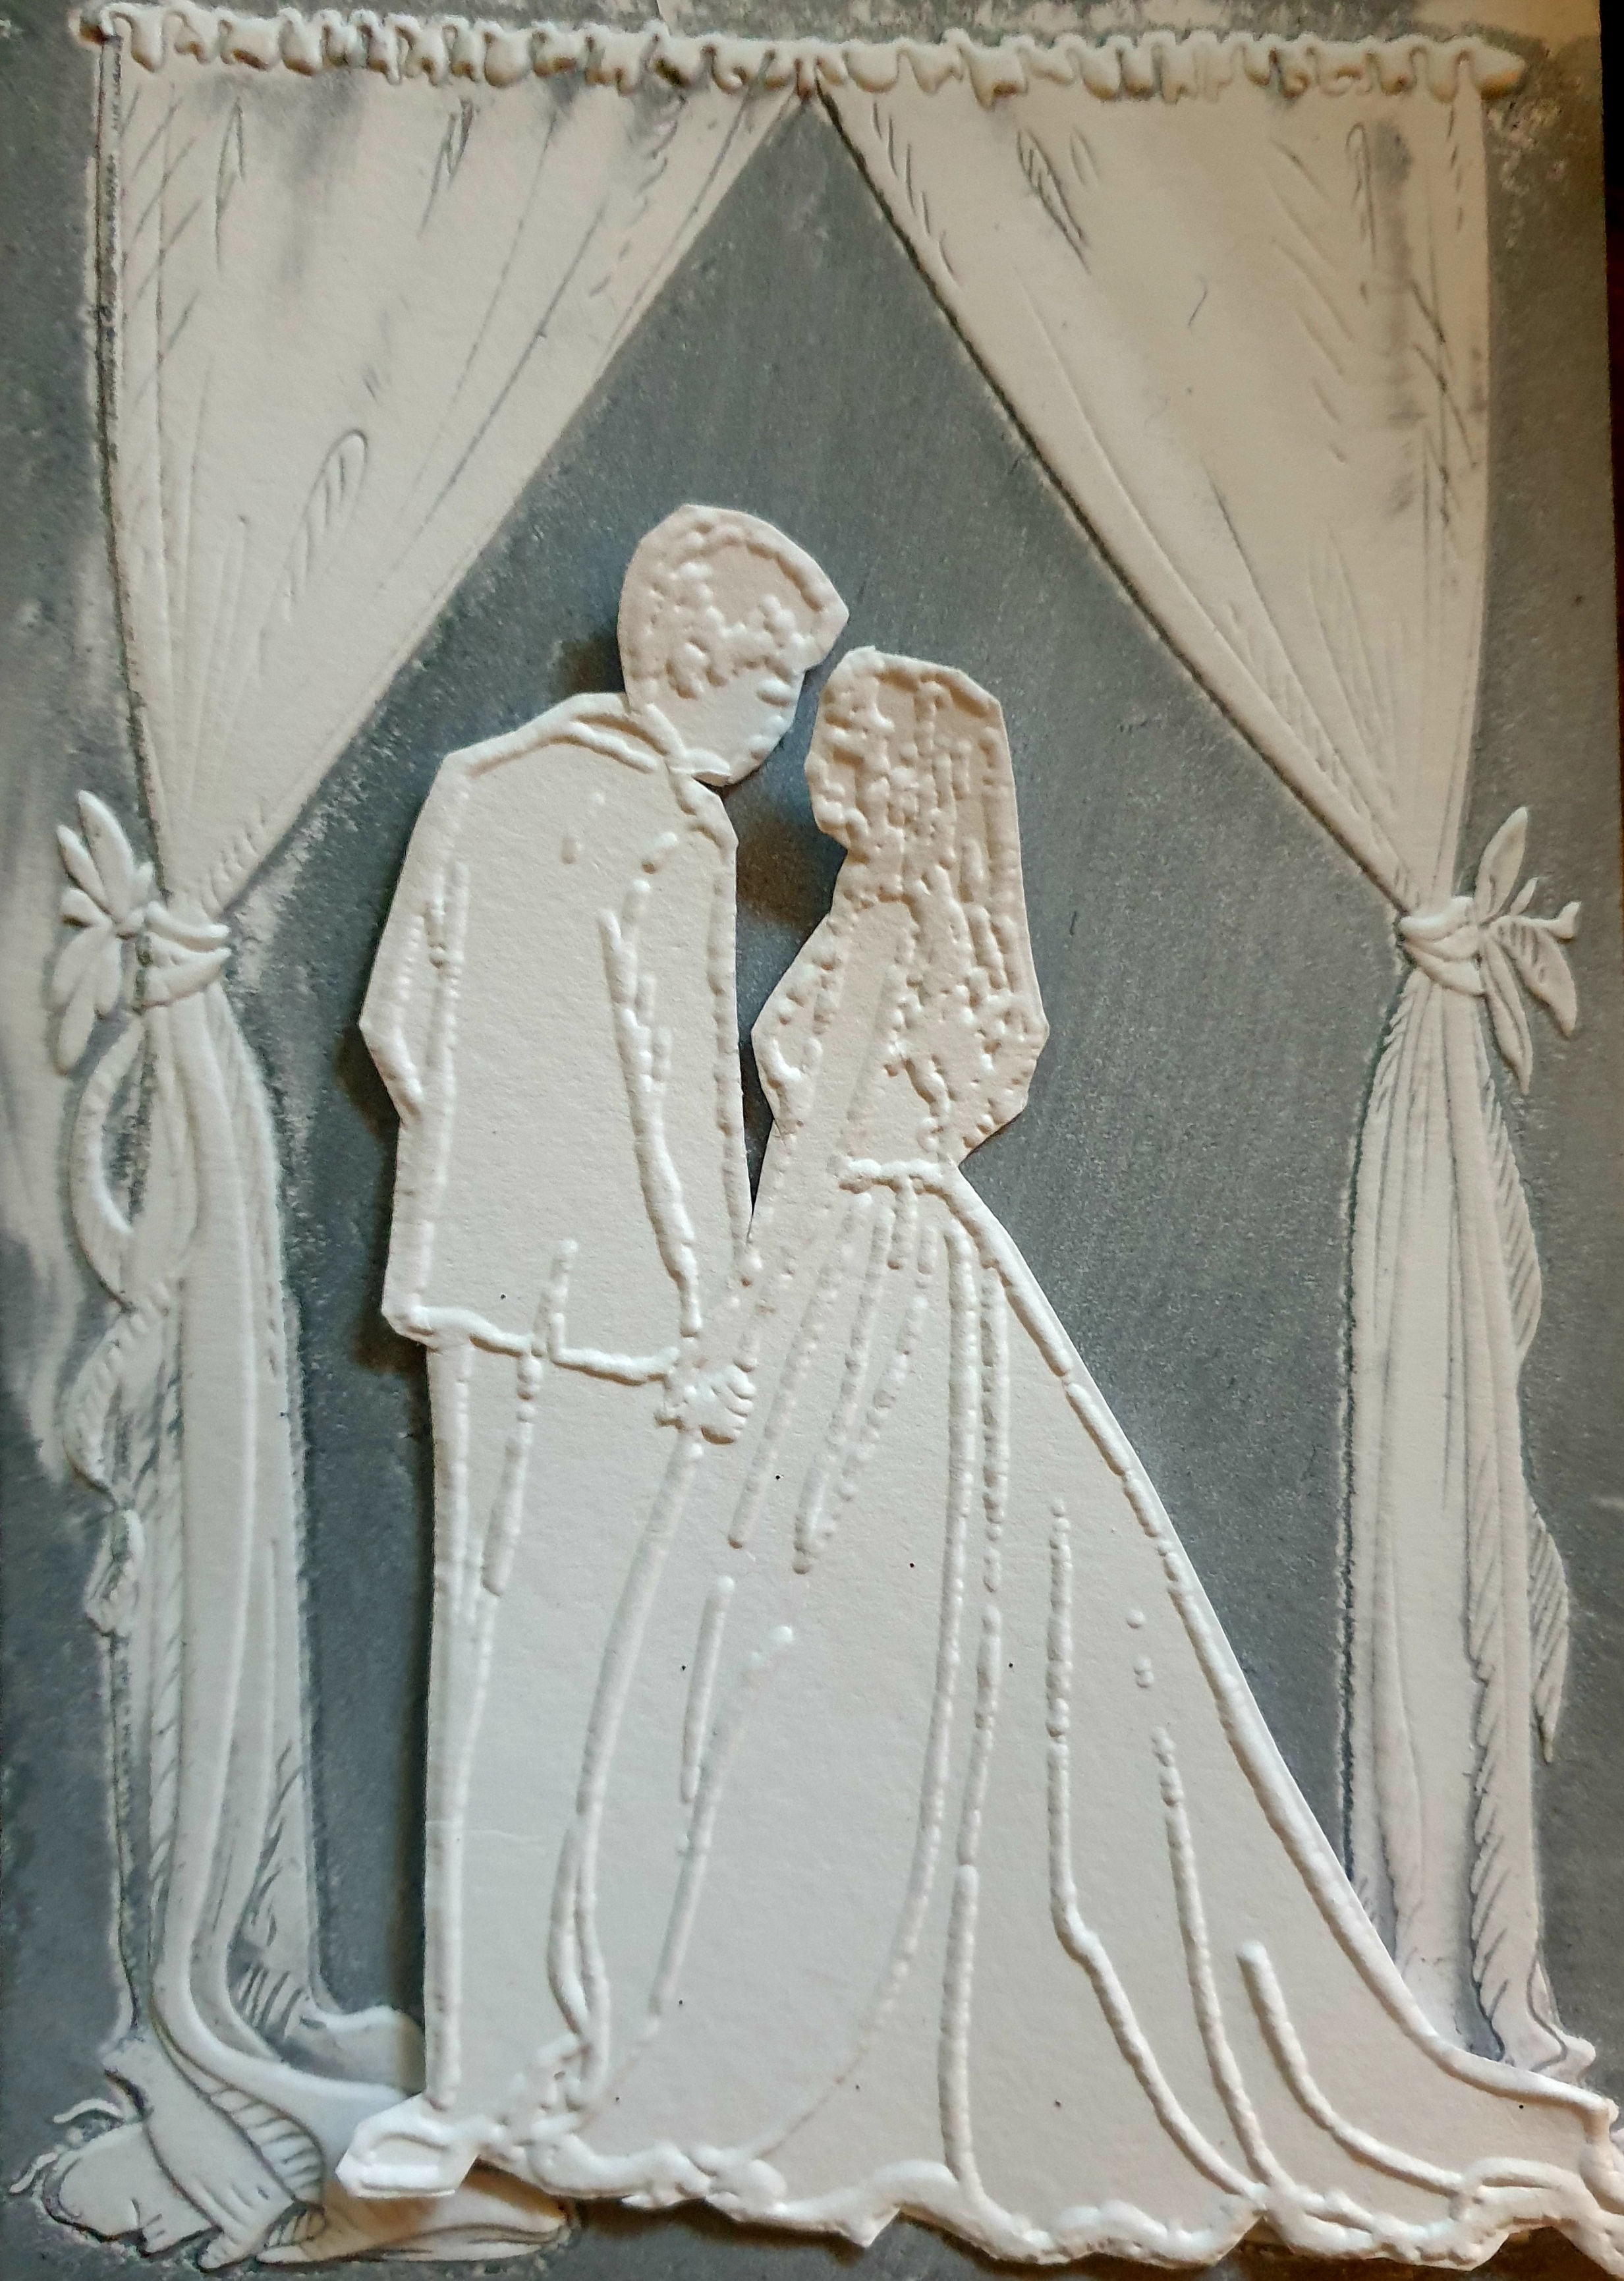
Emboss the Happy Ever After design on to white watercolour cardstock. |
|
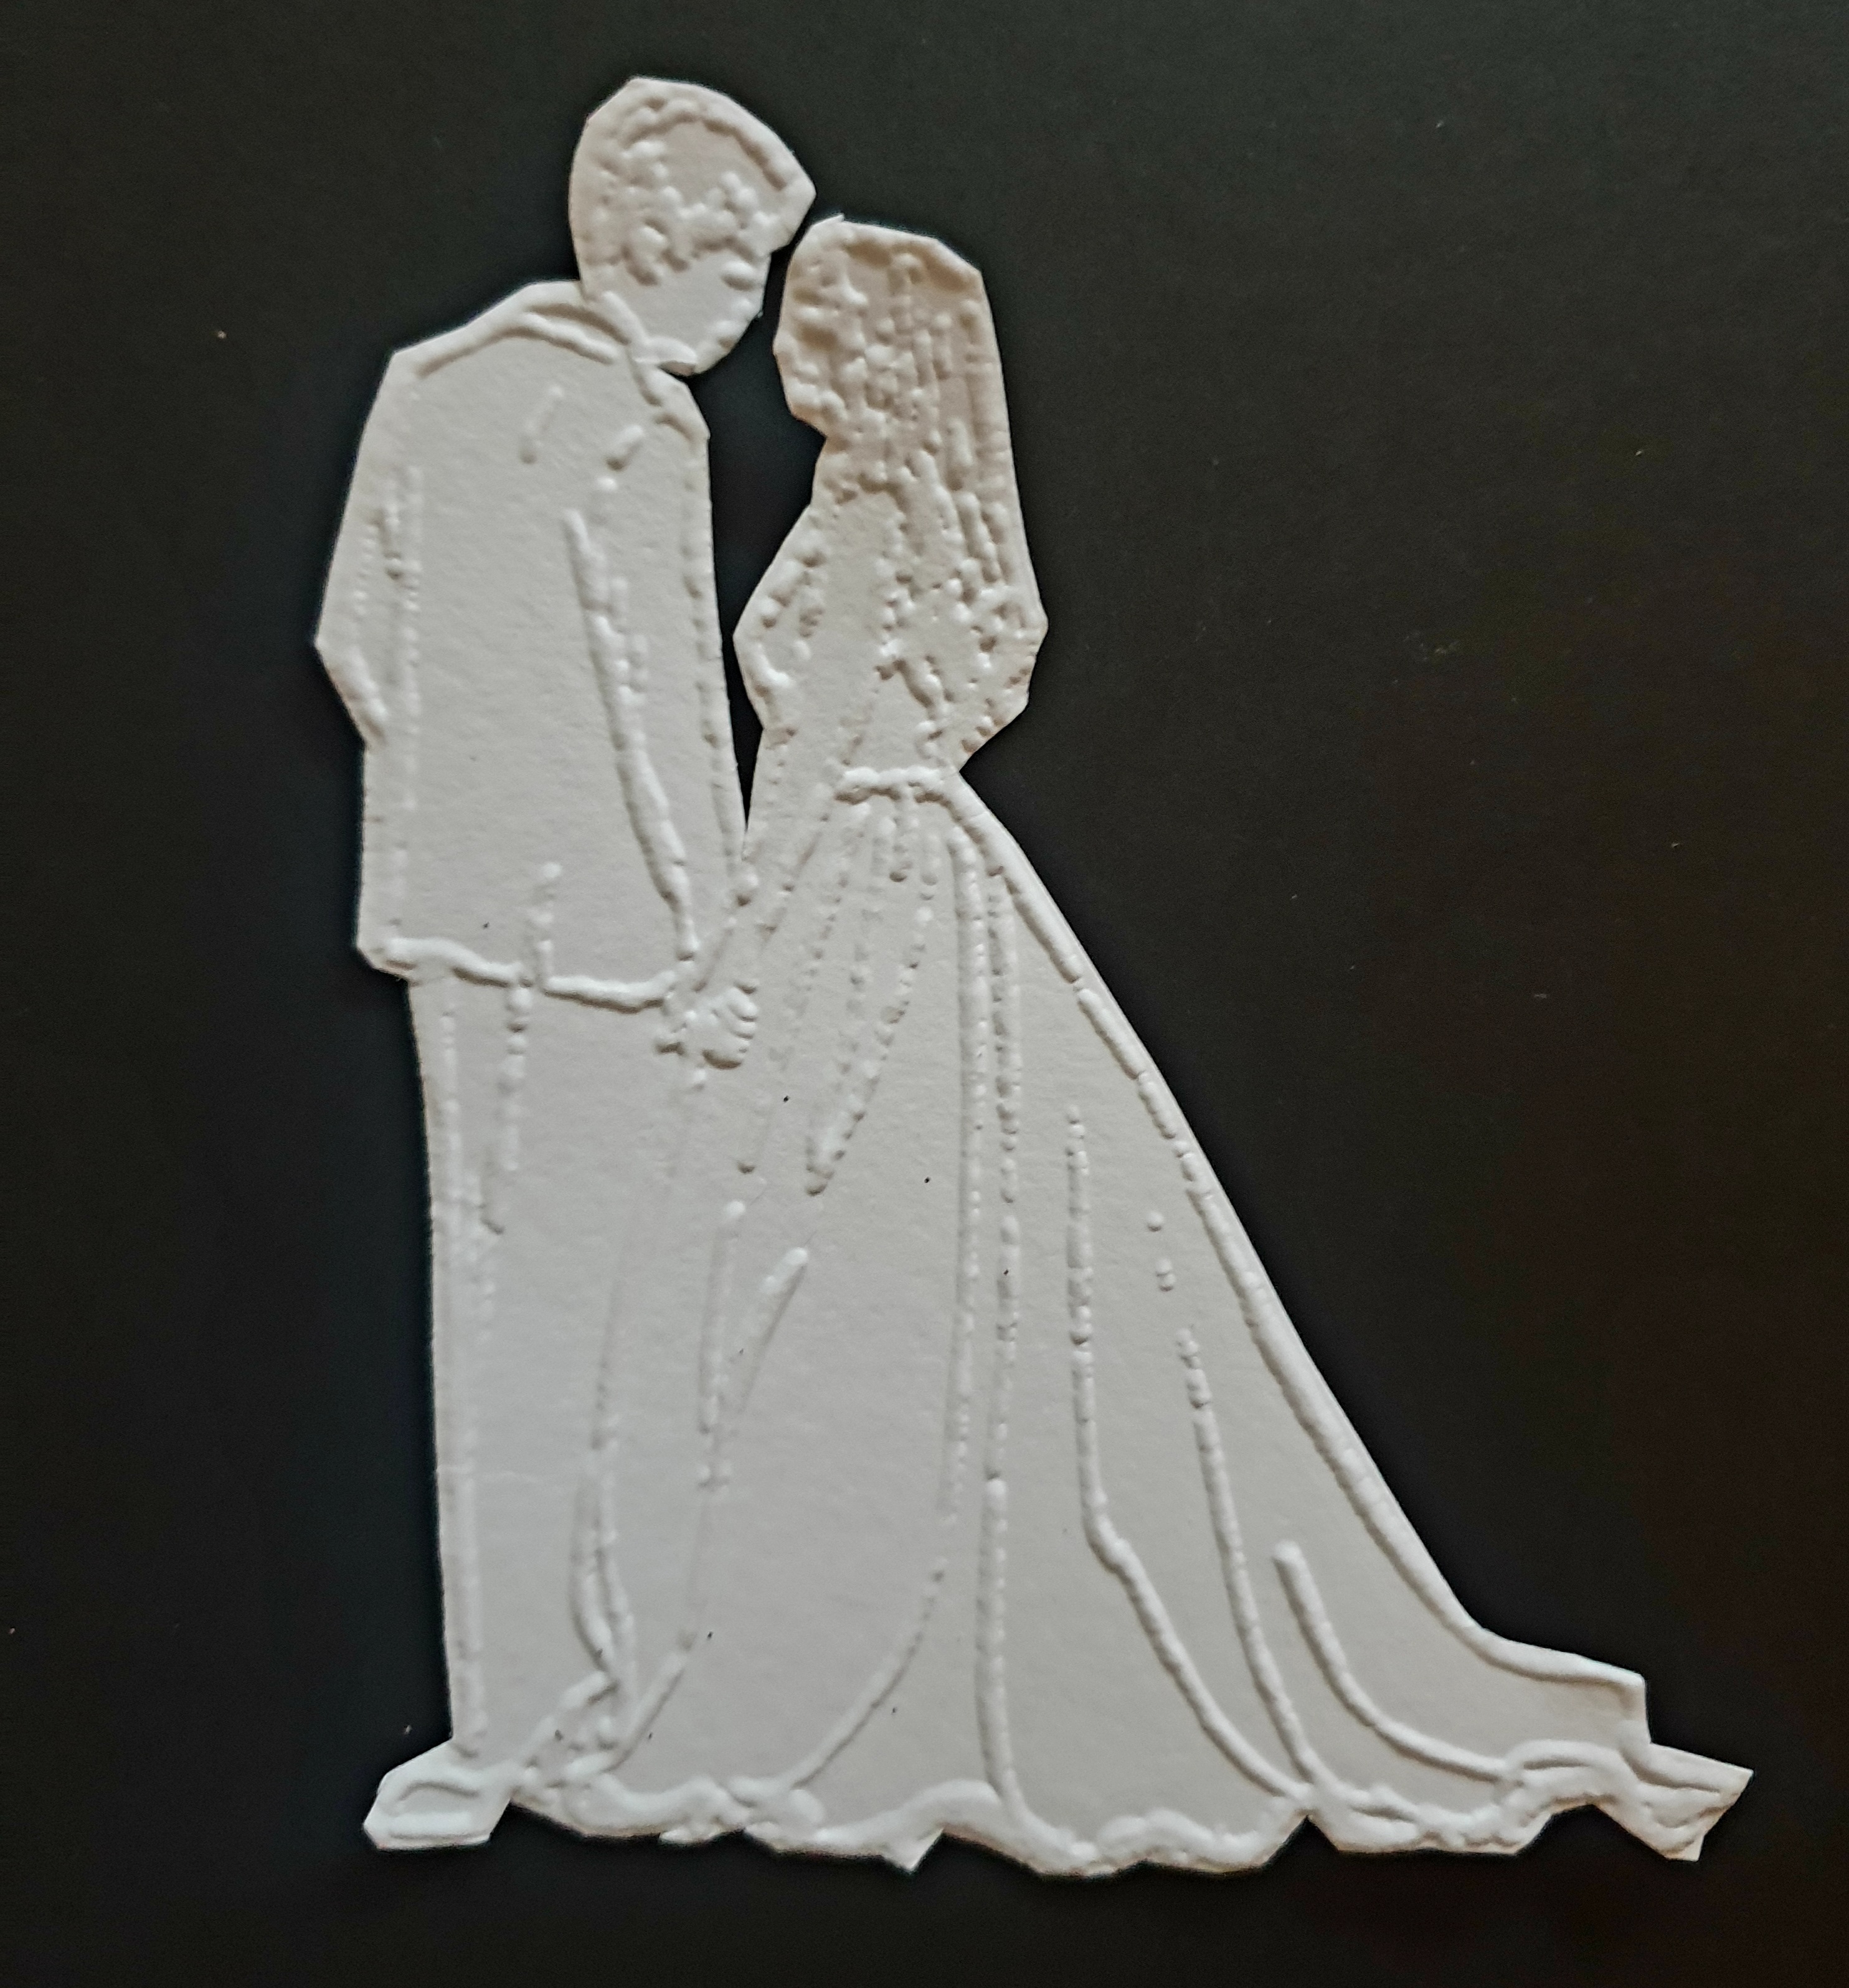
Fussy cut the happy couple. |
|
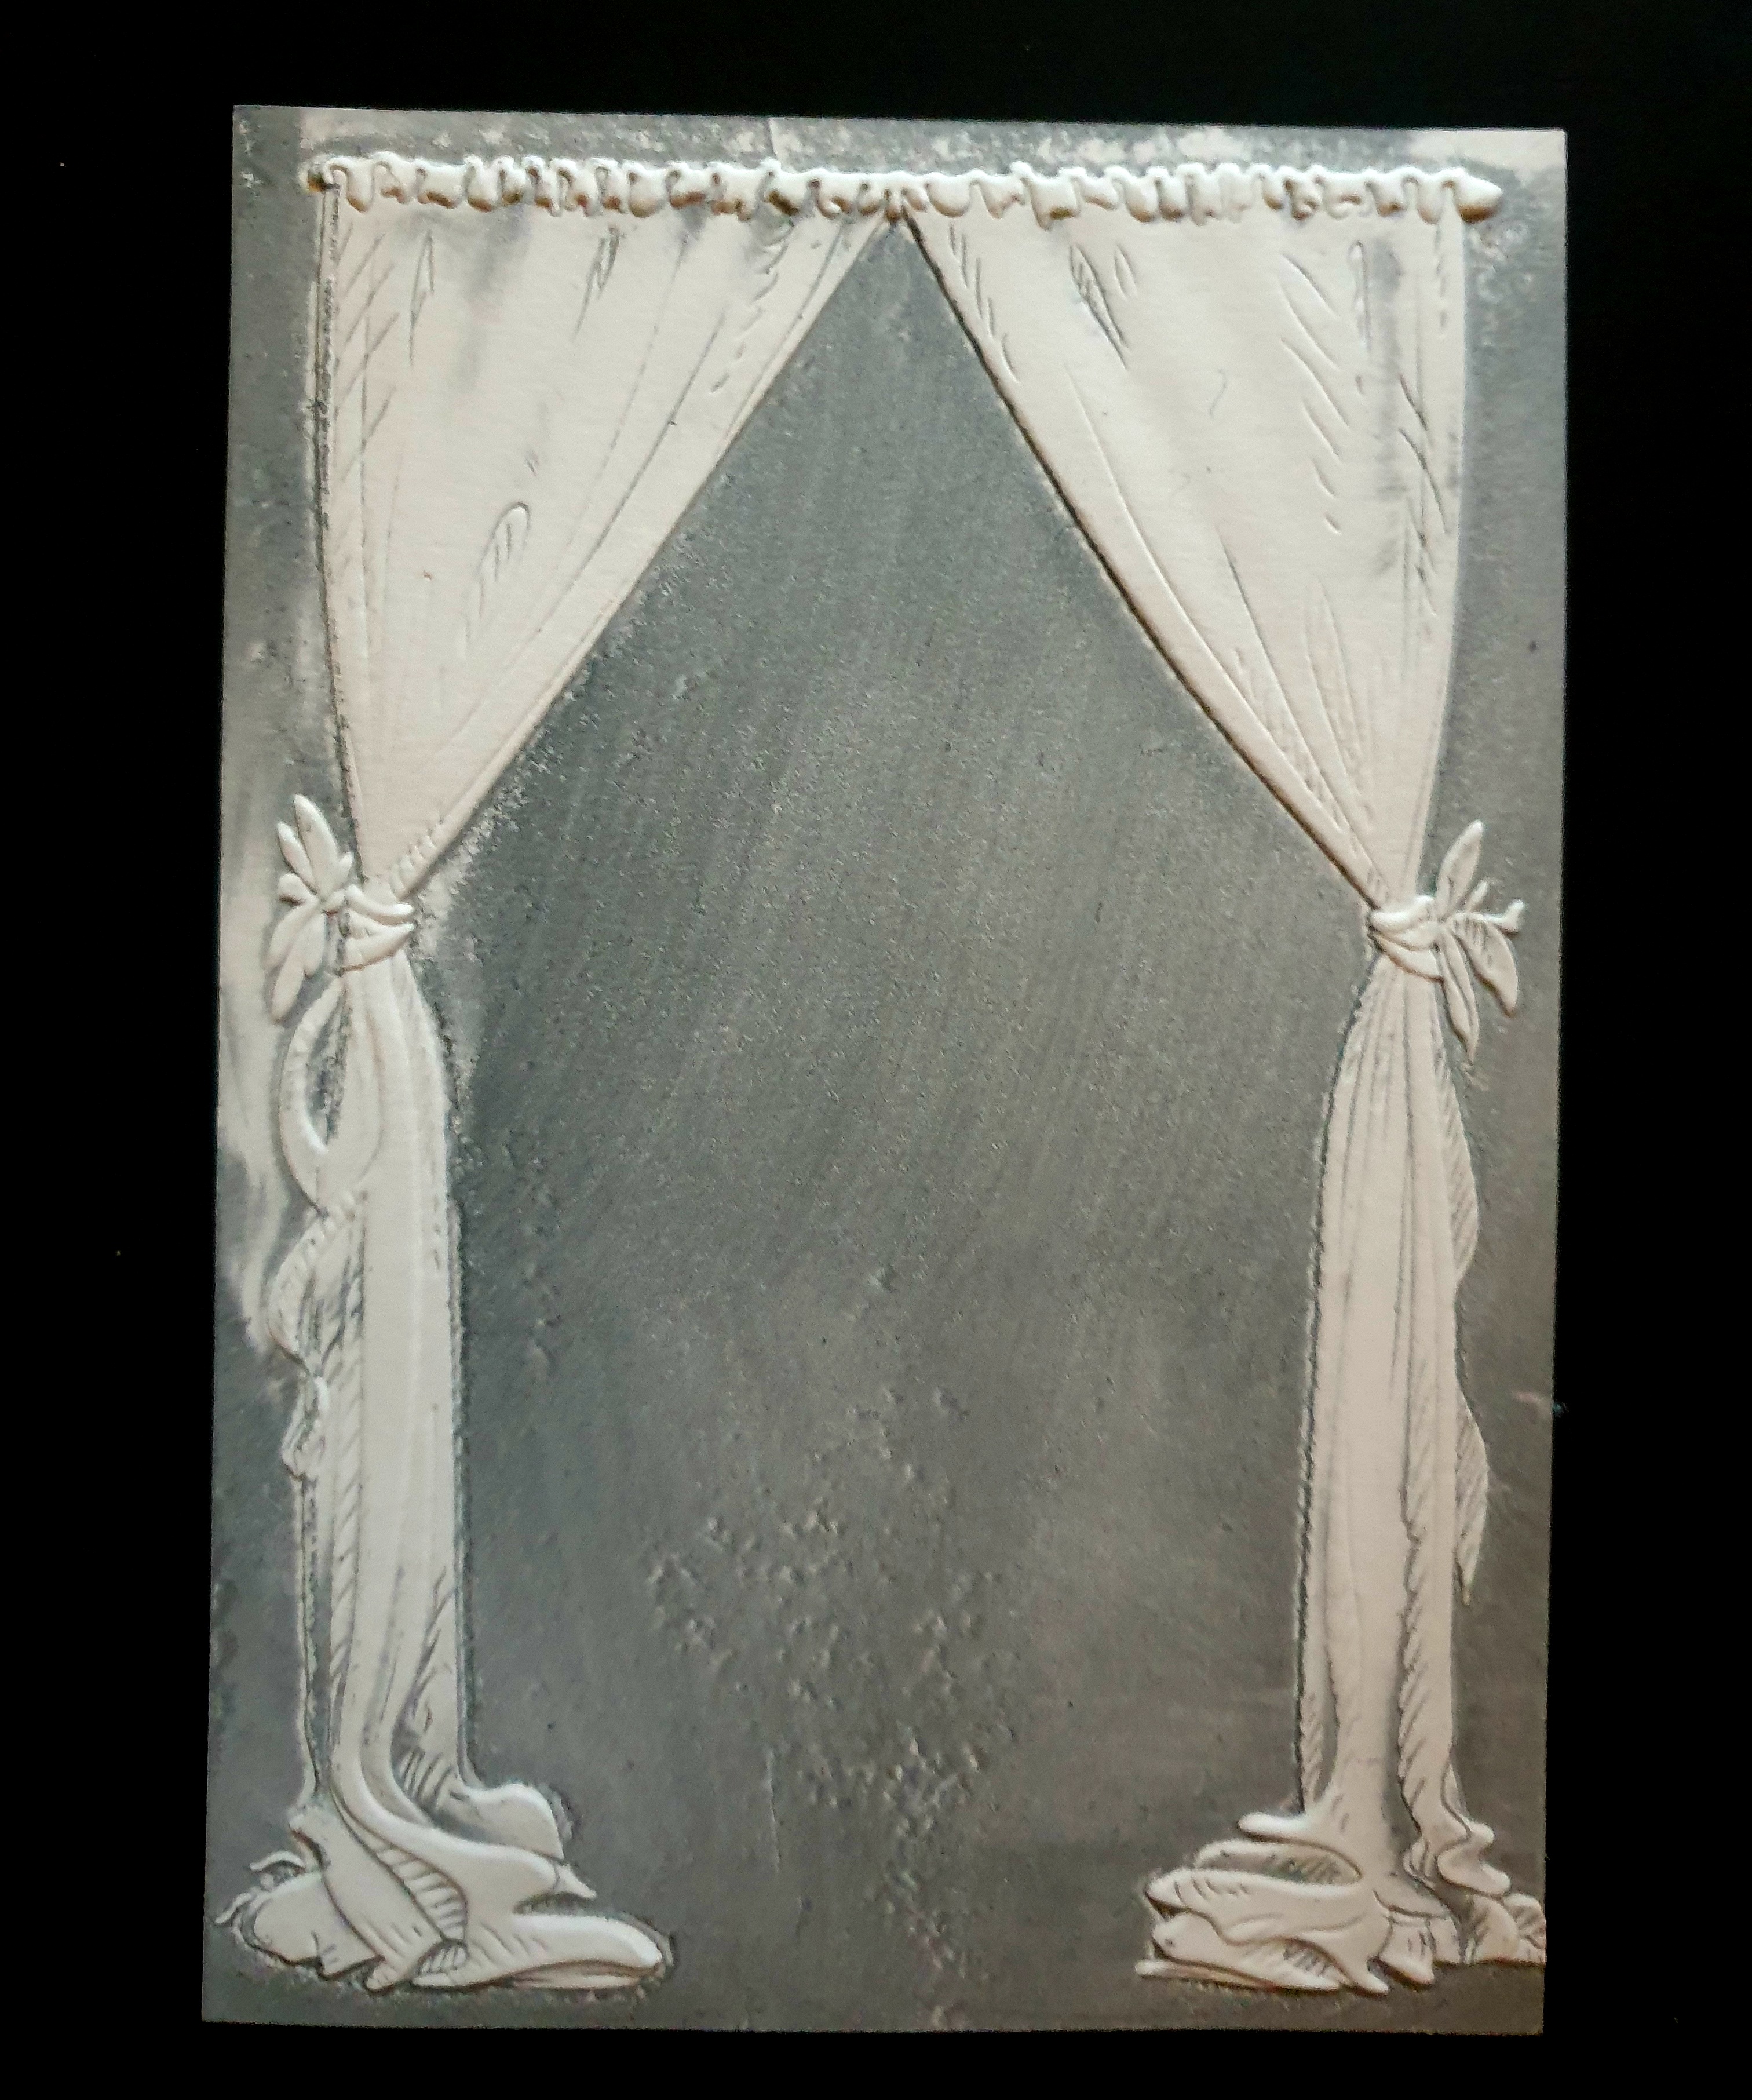
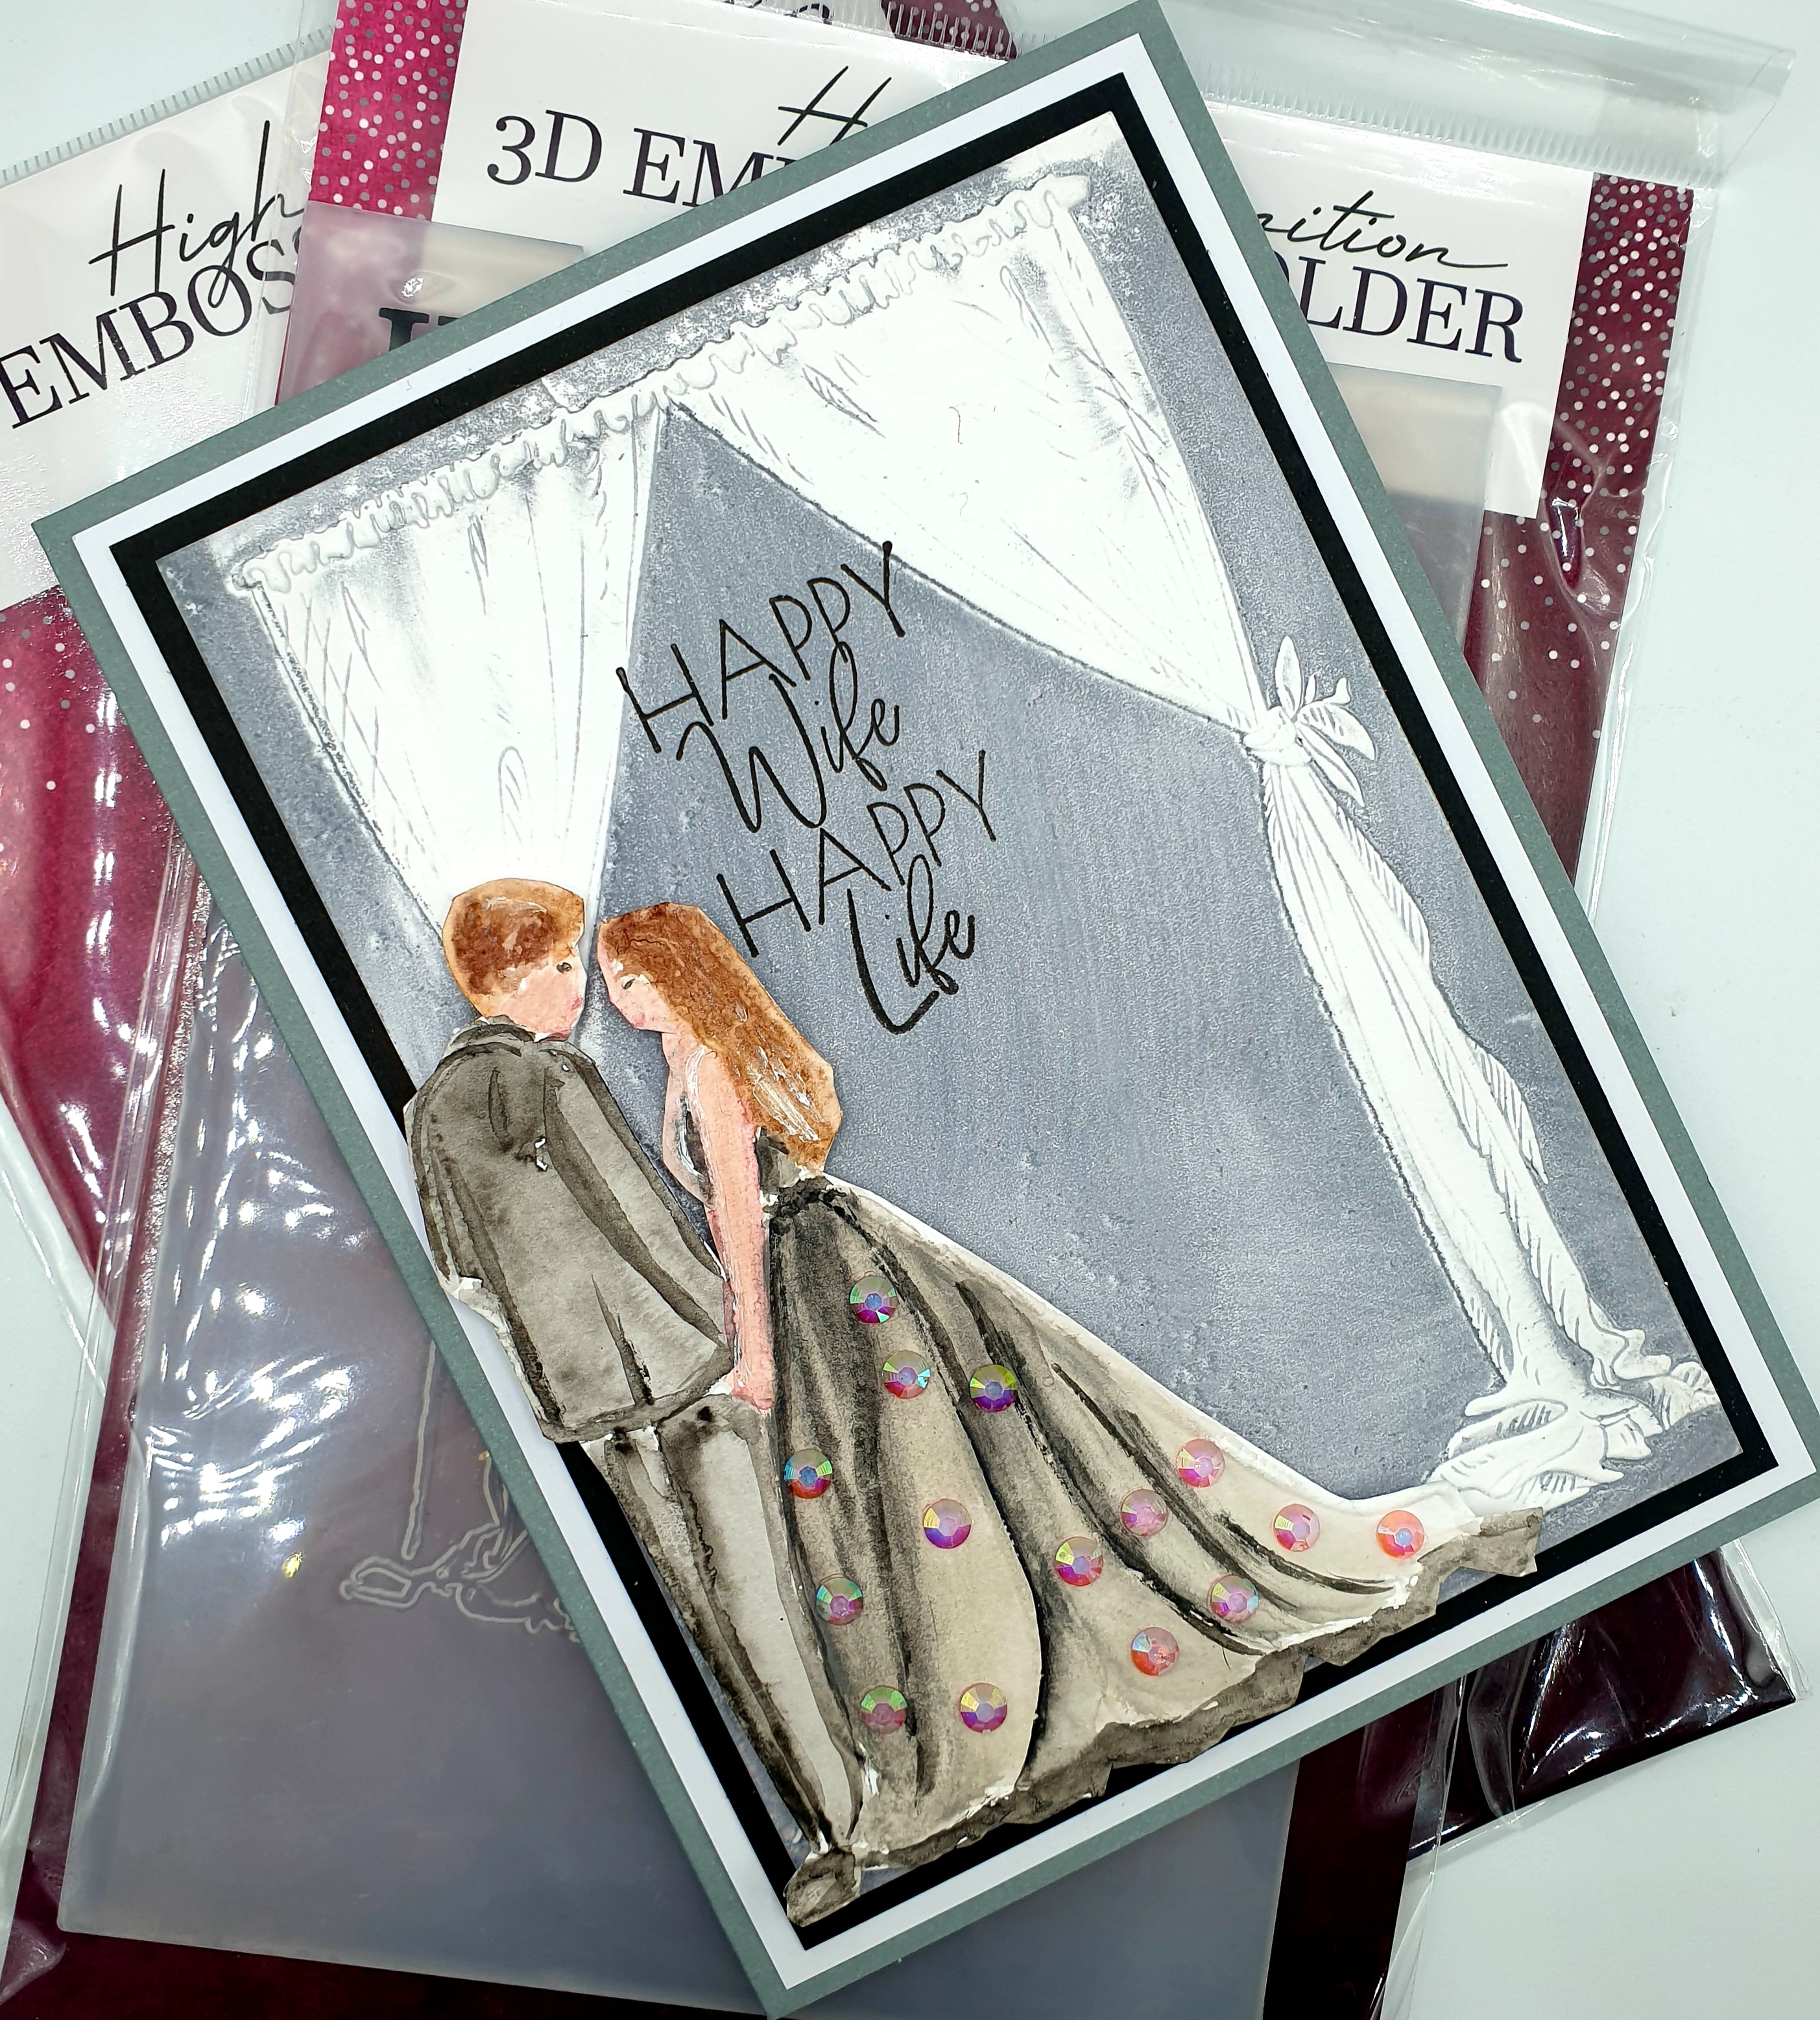
Using the 5 x 7” cardstock for the Cabaret embossing folder, swipe the Grey Flannel ink on the deboss side and run through your machine. |
|
At this point you can either leave the Bride and Groom uncoloured, as shown here, for a white on white effect or watercolor using grey tones and allow to dry |
|
Once dry place foam pads underneath and place onto the embossed cabaret cardstock then stamp the sentiment from Believe you Can. Matt on to the black cardstock and then on to your grey card blank, to finish the card |