Give your friends $10 off their first order!
Refer a FRIEND


WHAT YOU WILL NEED:
White card blank (6 3/4 x 6 3/4")
Pearlised icy blue cardstock (6 1/4 x 6 1/4")
White cardstock (6 x 6")
A4 Copier paper or a stencil sheet
Stamps from There For You Lamination Stamp Collection
Sentiment from Sending Christmas Cheer Stamp Collection
Die from Birthday Mandala Die Collection
Versafine Ink Pad: Smoky Grey
Distress Oxide: Salvaged Patina, Shaded Lilac
Gossip Glitter Colouring Pen: Sea Blue
Sequins: Glistening Waves
Blending Brushes
Eureka 101
Paper Trimmer
Perfect Together Glue
Die cutting machine
[click image to enlarge] 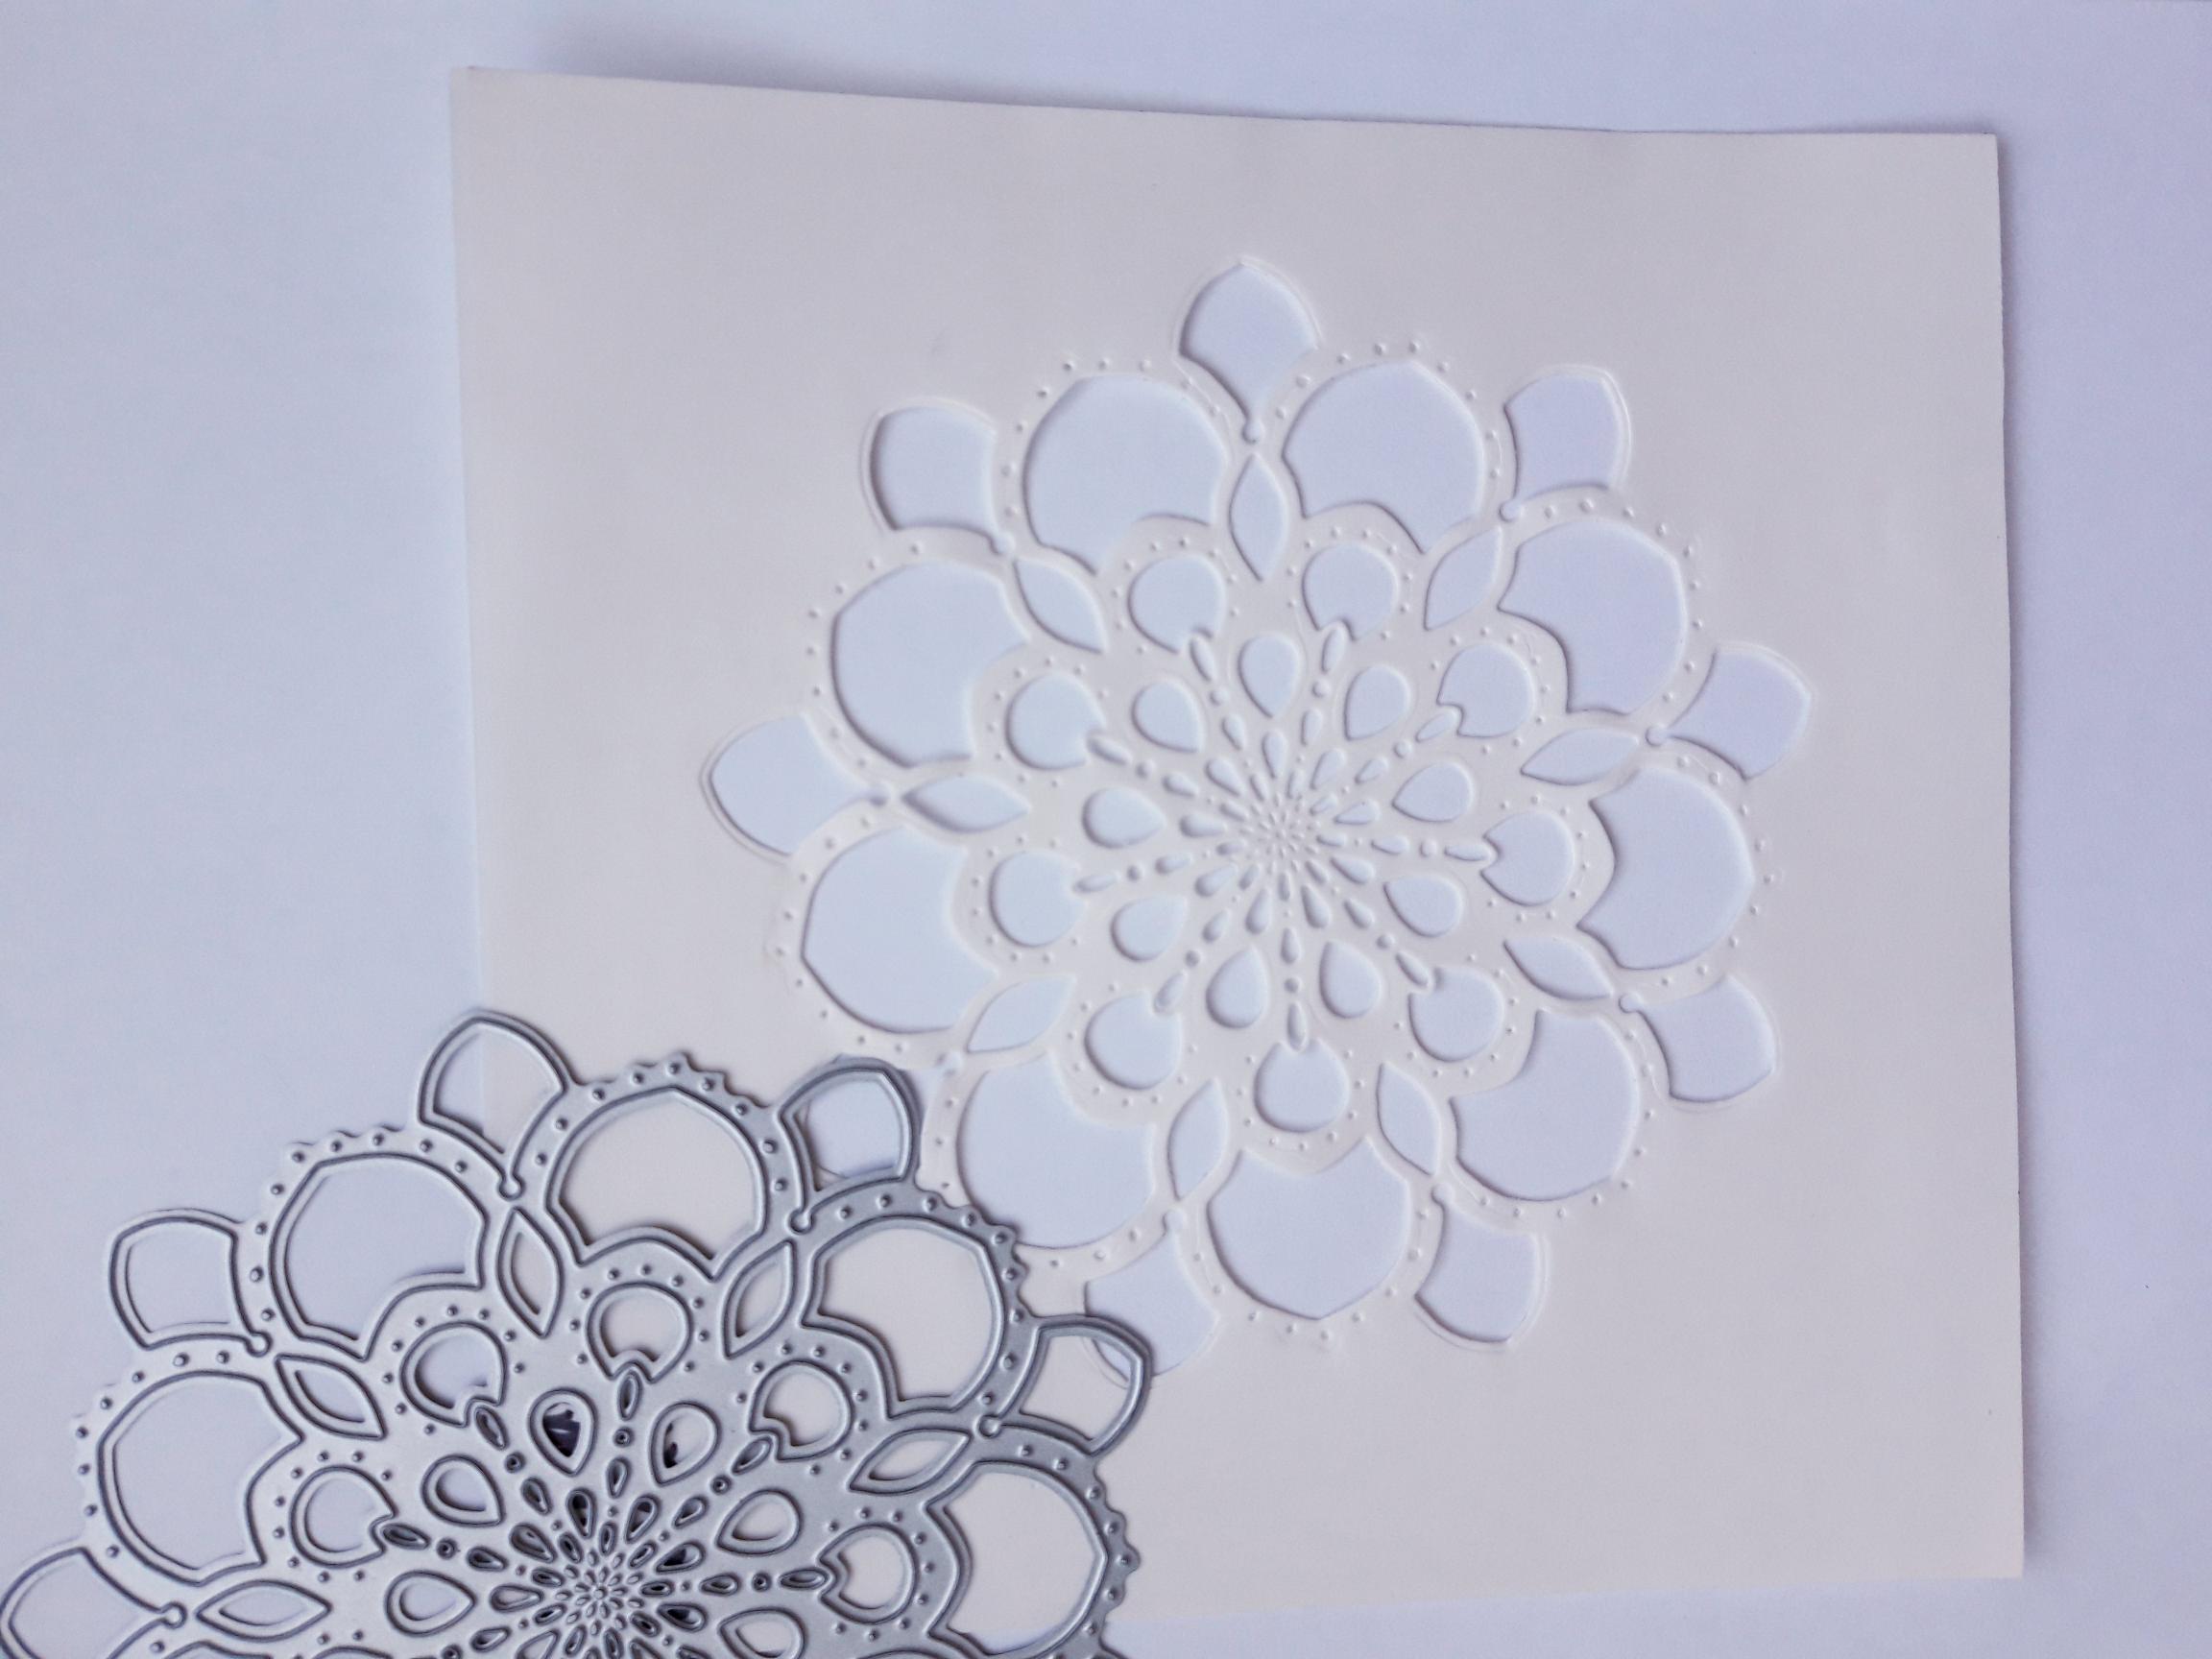
|
Place the Mandala die on to the sheet of copier paper, or stencil sheet, and run through your die cutting machine, to create a Mandala stencil. |
|
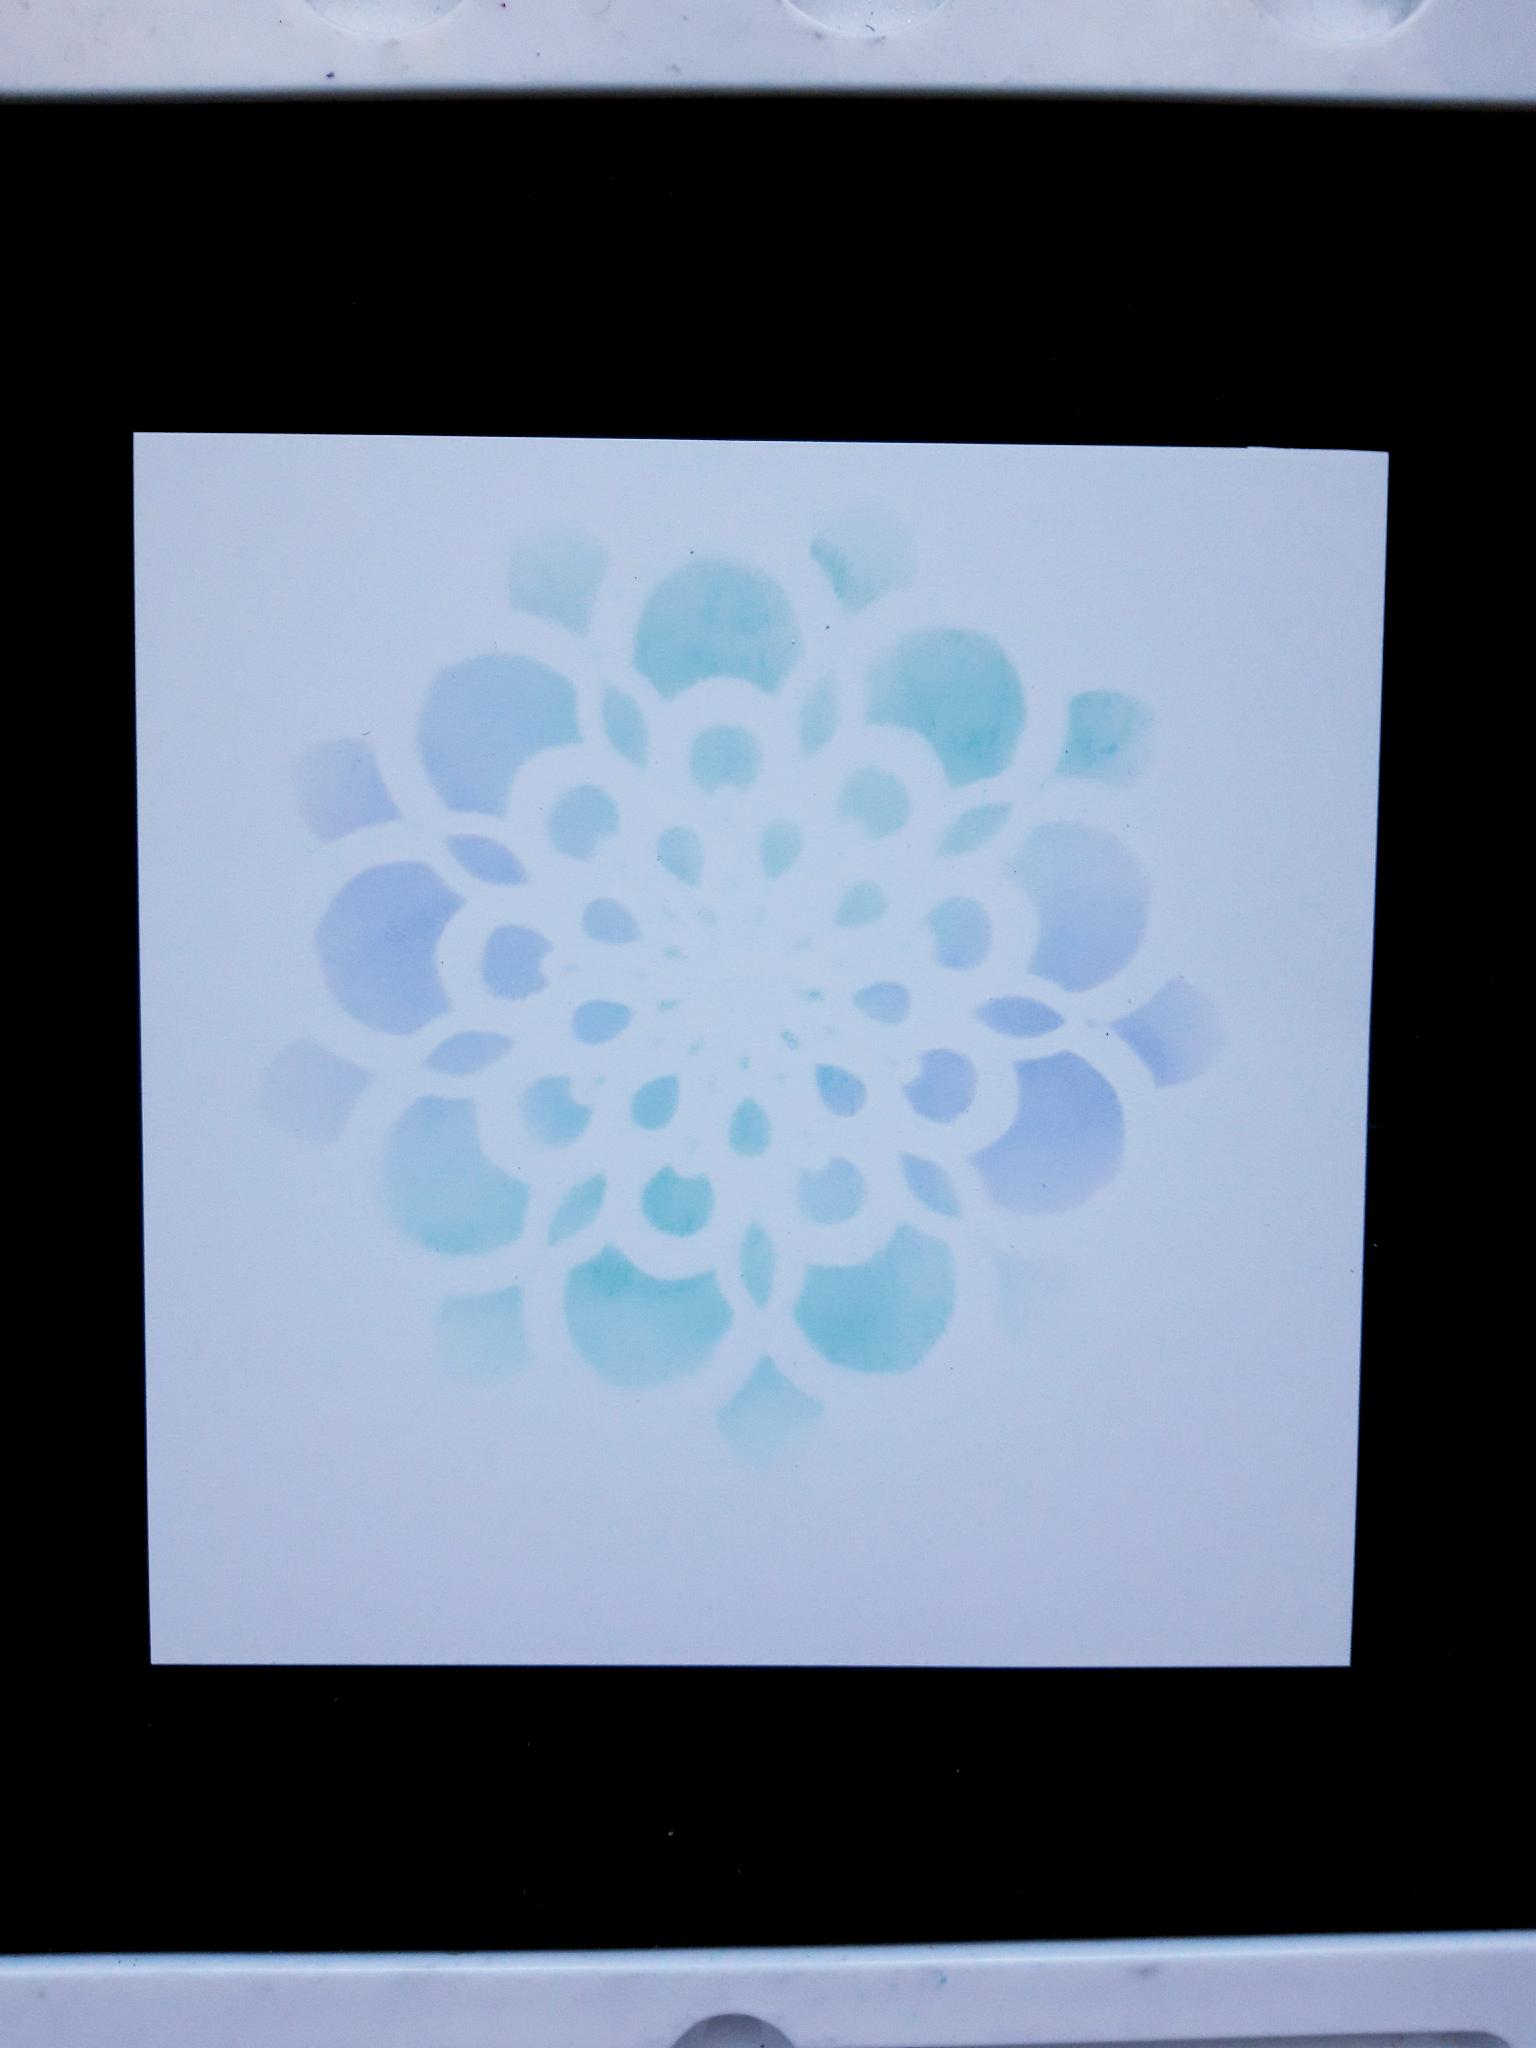
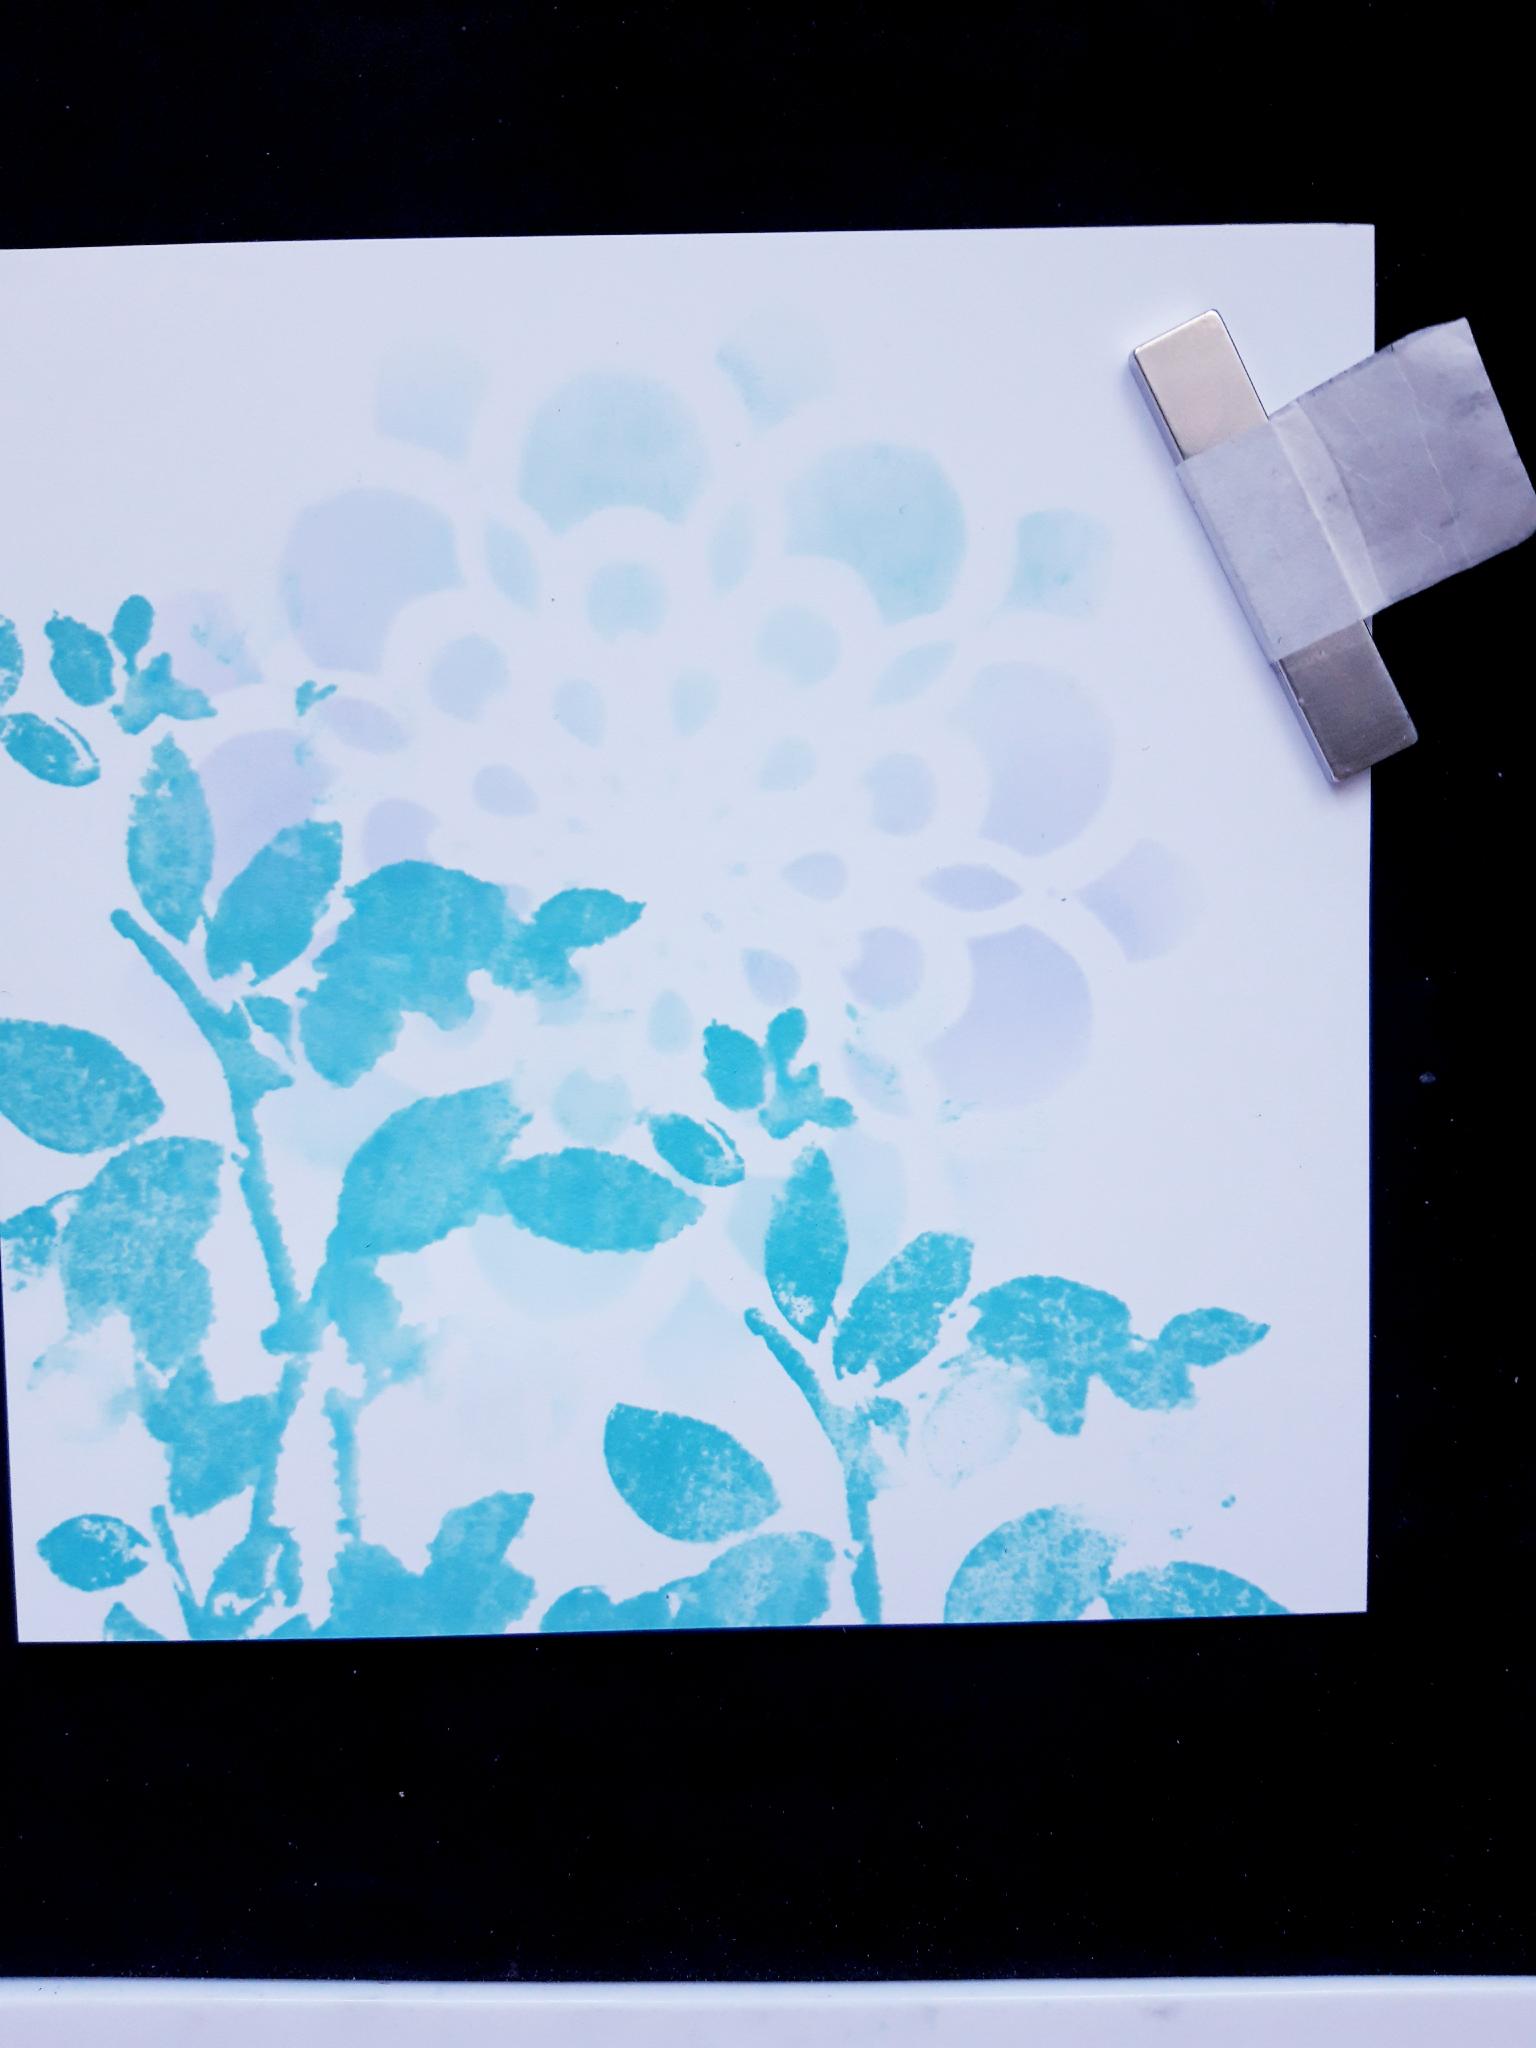
Lay your stencil on the 6 x 6" white cardstock, centrally, but nearer to the top. Use your blending brushes to blend the Oxides through the stencil. You want a subtle, light stencilled image, that will sit in the background of your artwork. |
|
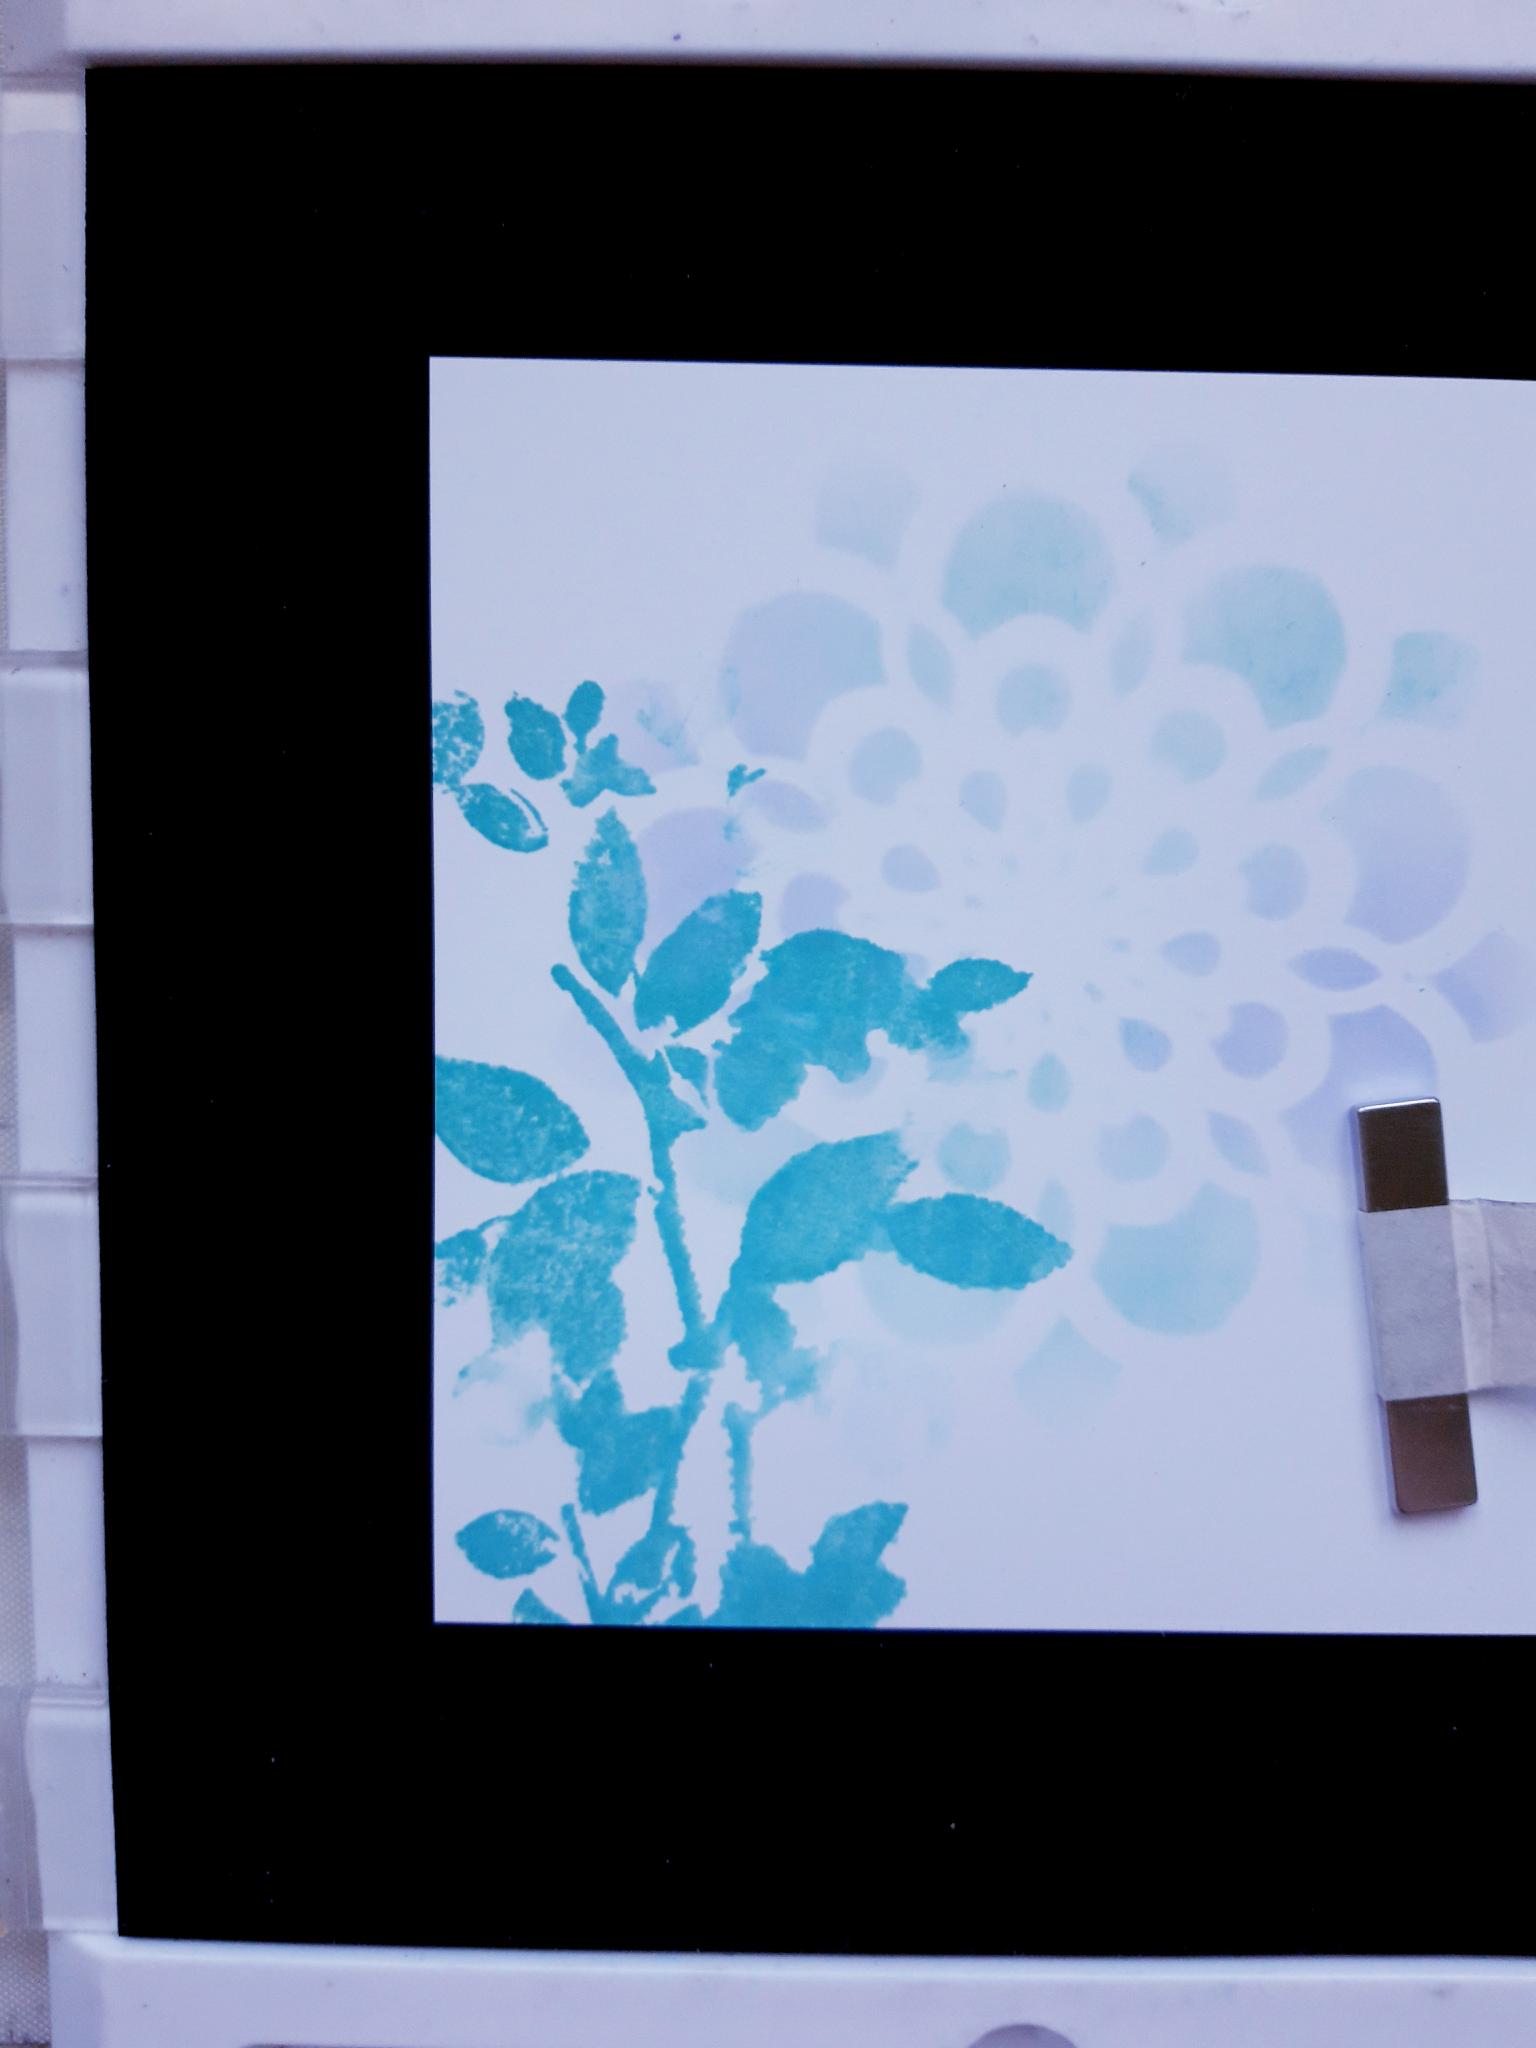
Ink up the solid stamp, from the There For You Lamination Stamp Collection, with the Salvaged Patina Oxide. Then use a paper towel to WIPE OFF the ink from the flower petals/buds. Use the packaging photos to see where these are, although they are quite different to the foliage. Spritz with a little water and stamp just off the left hand side of your background. |
|
Reink up the same stamp, in the same ink, wiping the ink of the flower buds again, and stamp it next to the other stamped floral image, but just peeking up from the bottom of your background. |
|
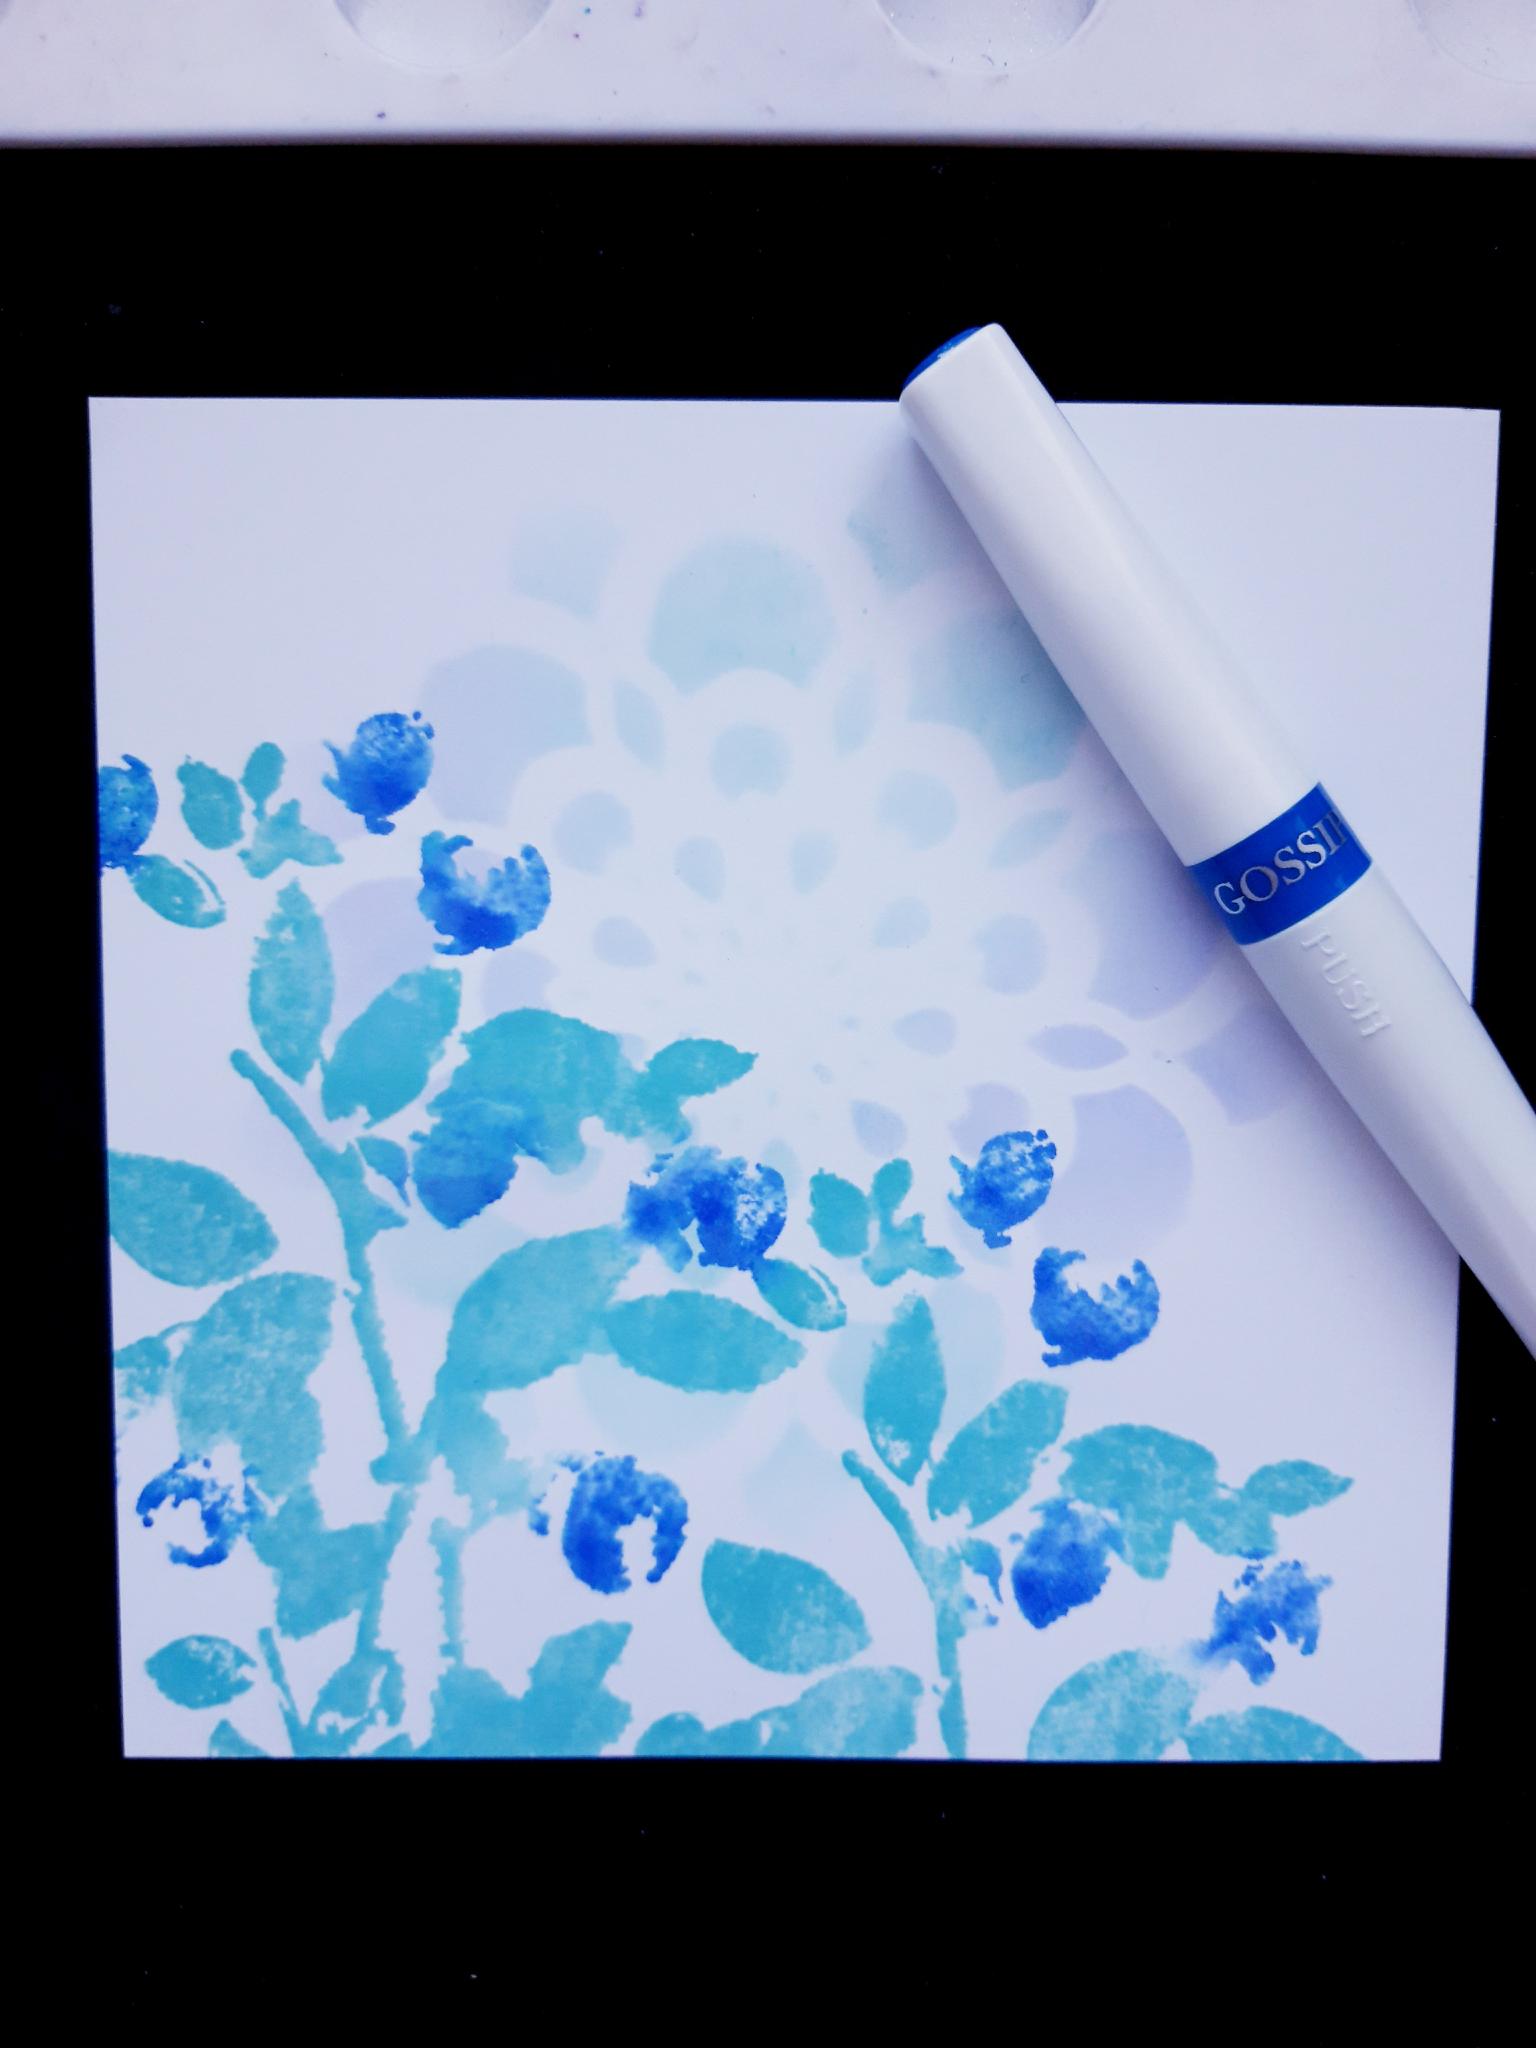
Line up the same stamp back over the top of the first stamped image (This is a very easy design to line back up). Apply the Sea Blue Gossip Glitter pen directly to the solid stamp, on the flower buds only. Spritz with water and stamp. You may want to reapply the pen to the stamp, a few times, spritzing with water in between, to get the depth of colour you require. Follow these steps with the second stamped image, that's peeking up from the bottom. NB: If you are confident you can apply both the Oxide, and the Glitter pen, to the stamp at the same time. Spritz with water and stamp. The method of stamping is your choice, so see which way you feel more comfortable with. Dry off all the ink before moving on to the next step. |
|
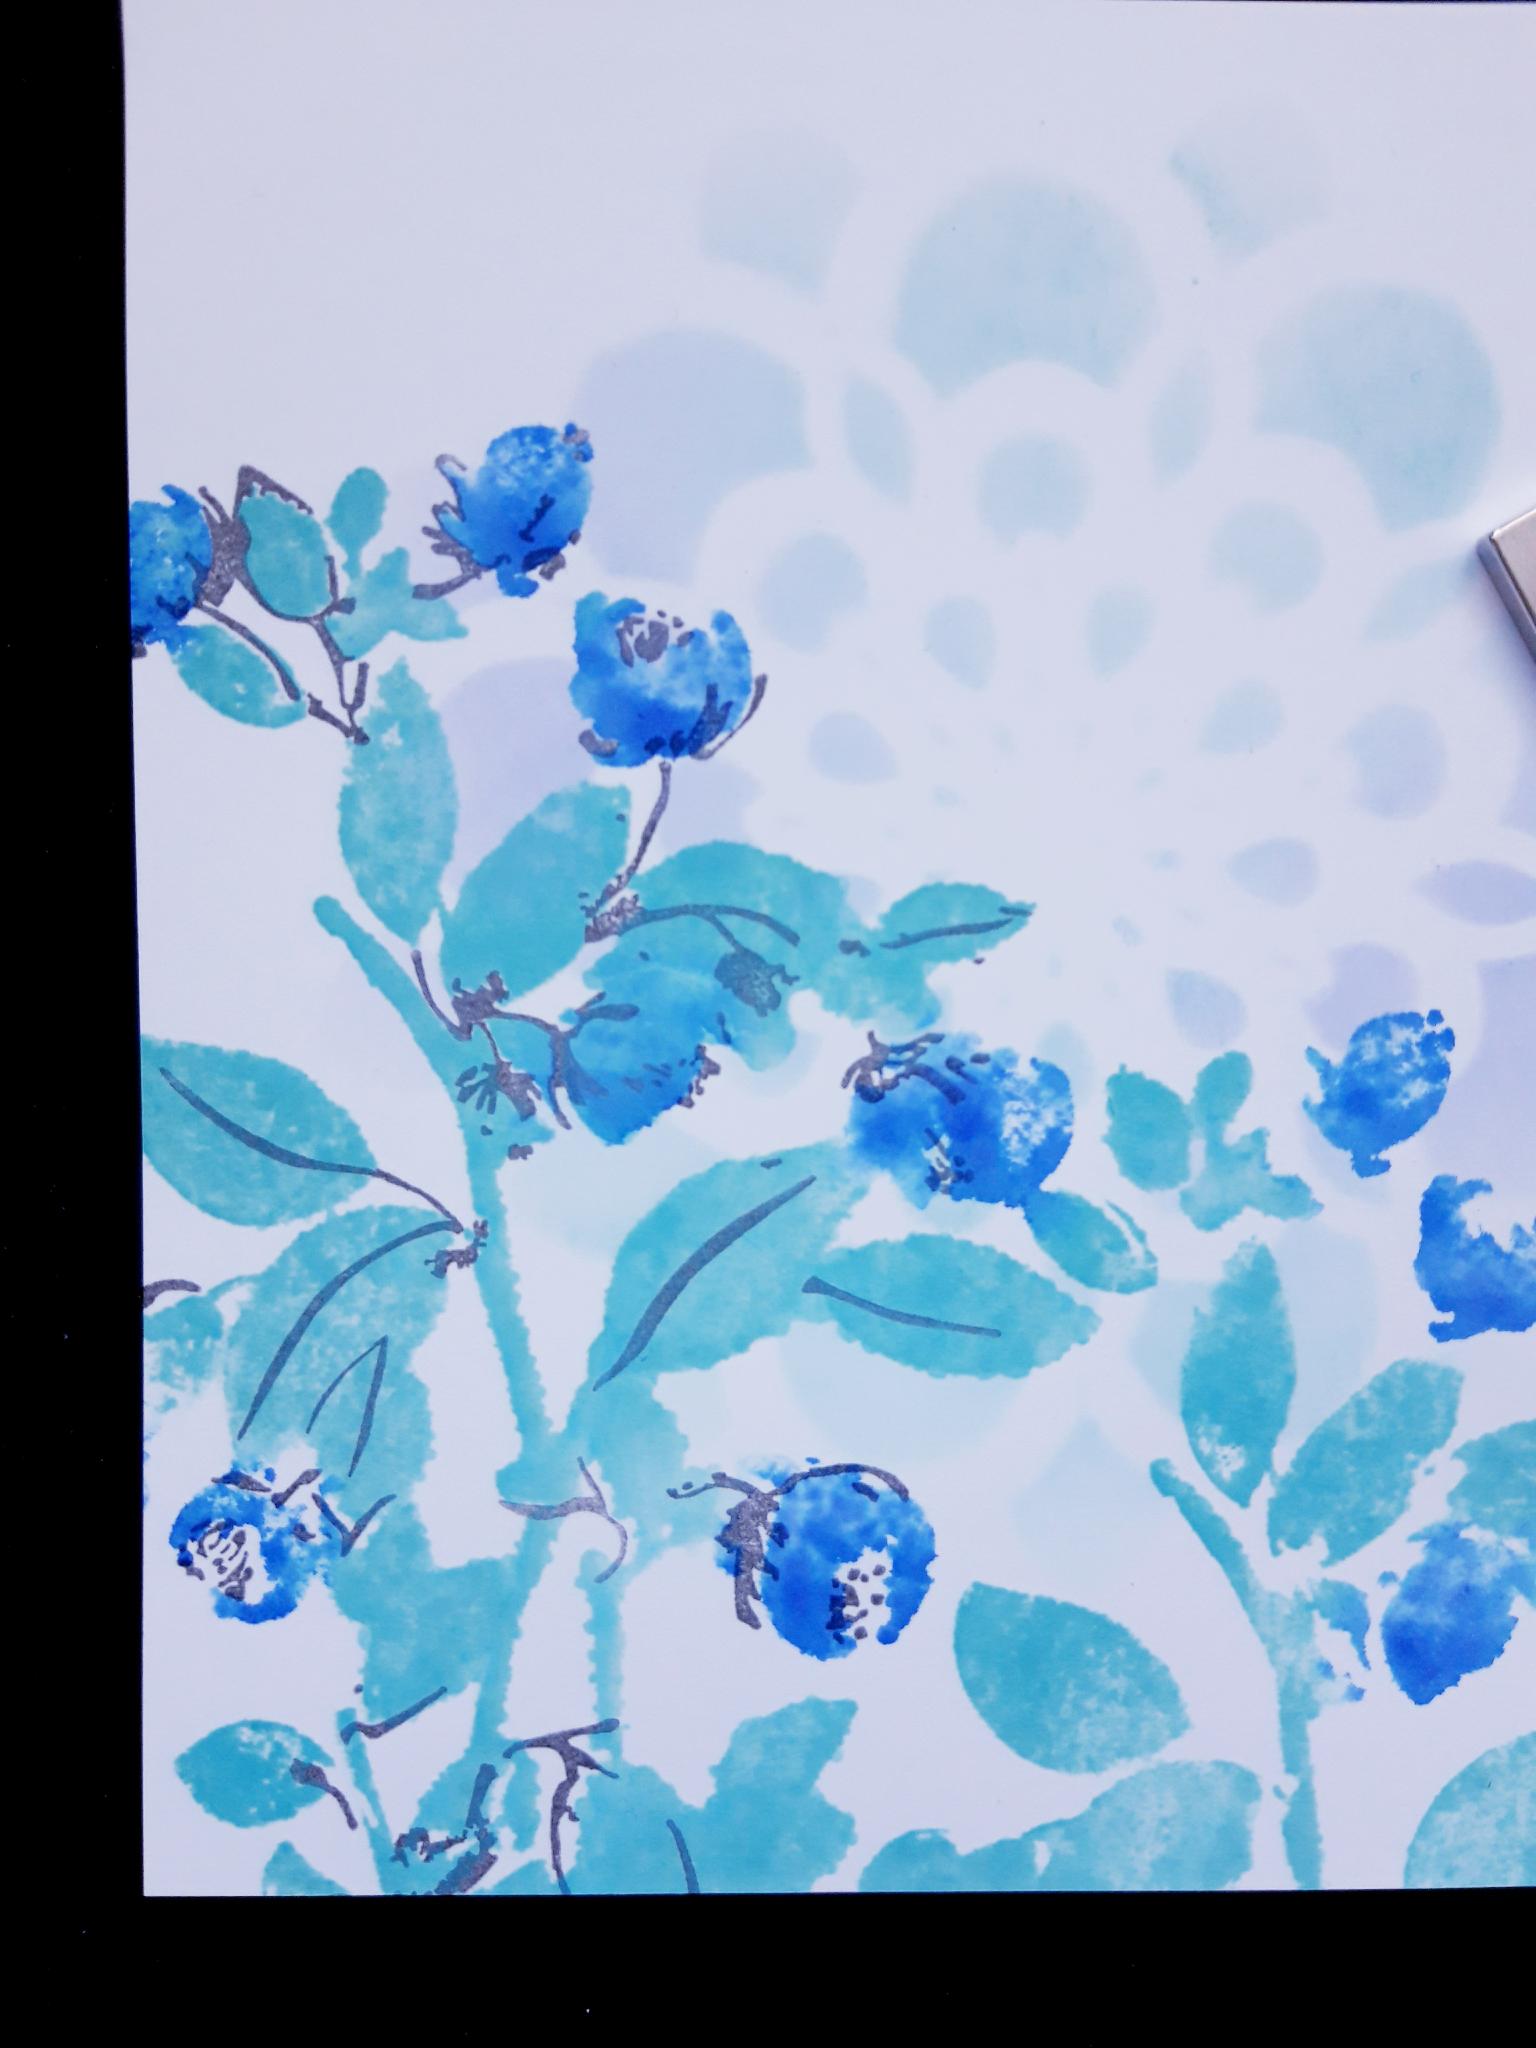
Ink up the coordinating, detailed stamp, with the Smoky Grey Versafine. Line it up and stamp it on to your first stamped floral image. TIP: If you are not sure how to line up your detailed stamp, the pictures on the packaging will help you. I find it helpful, when i get a new lamination stamp, to stamp it a few times on copier paper, to see how it looks, and where it lines up. I usually pick a couple of prominent points to line up, and the rest will then fall in to the correct place. These laminations designs are "loose", so don't worry too much. |
|
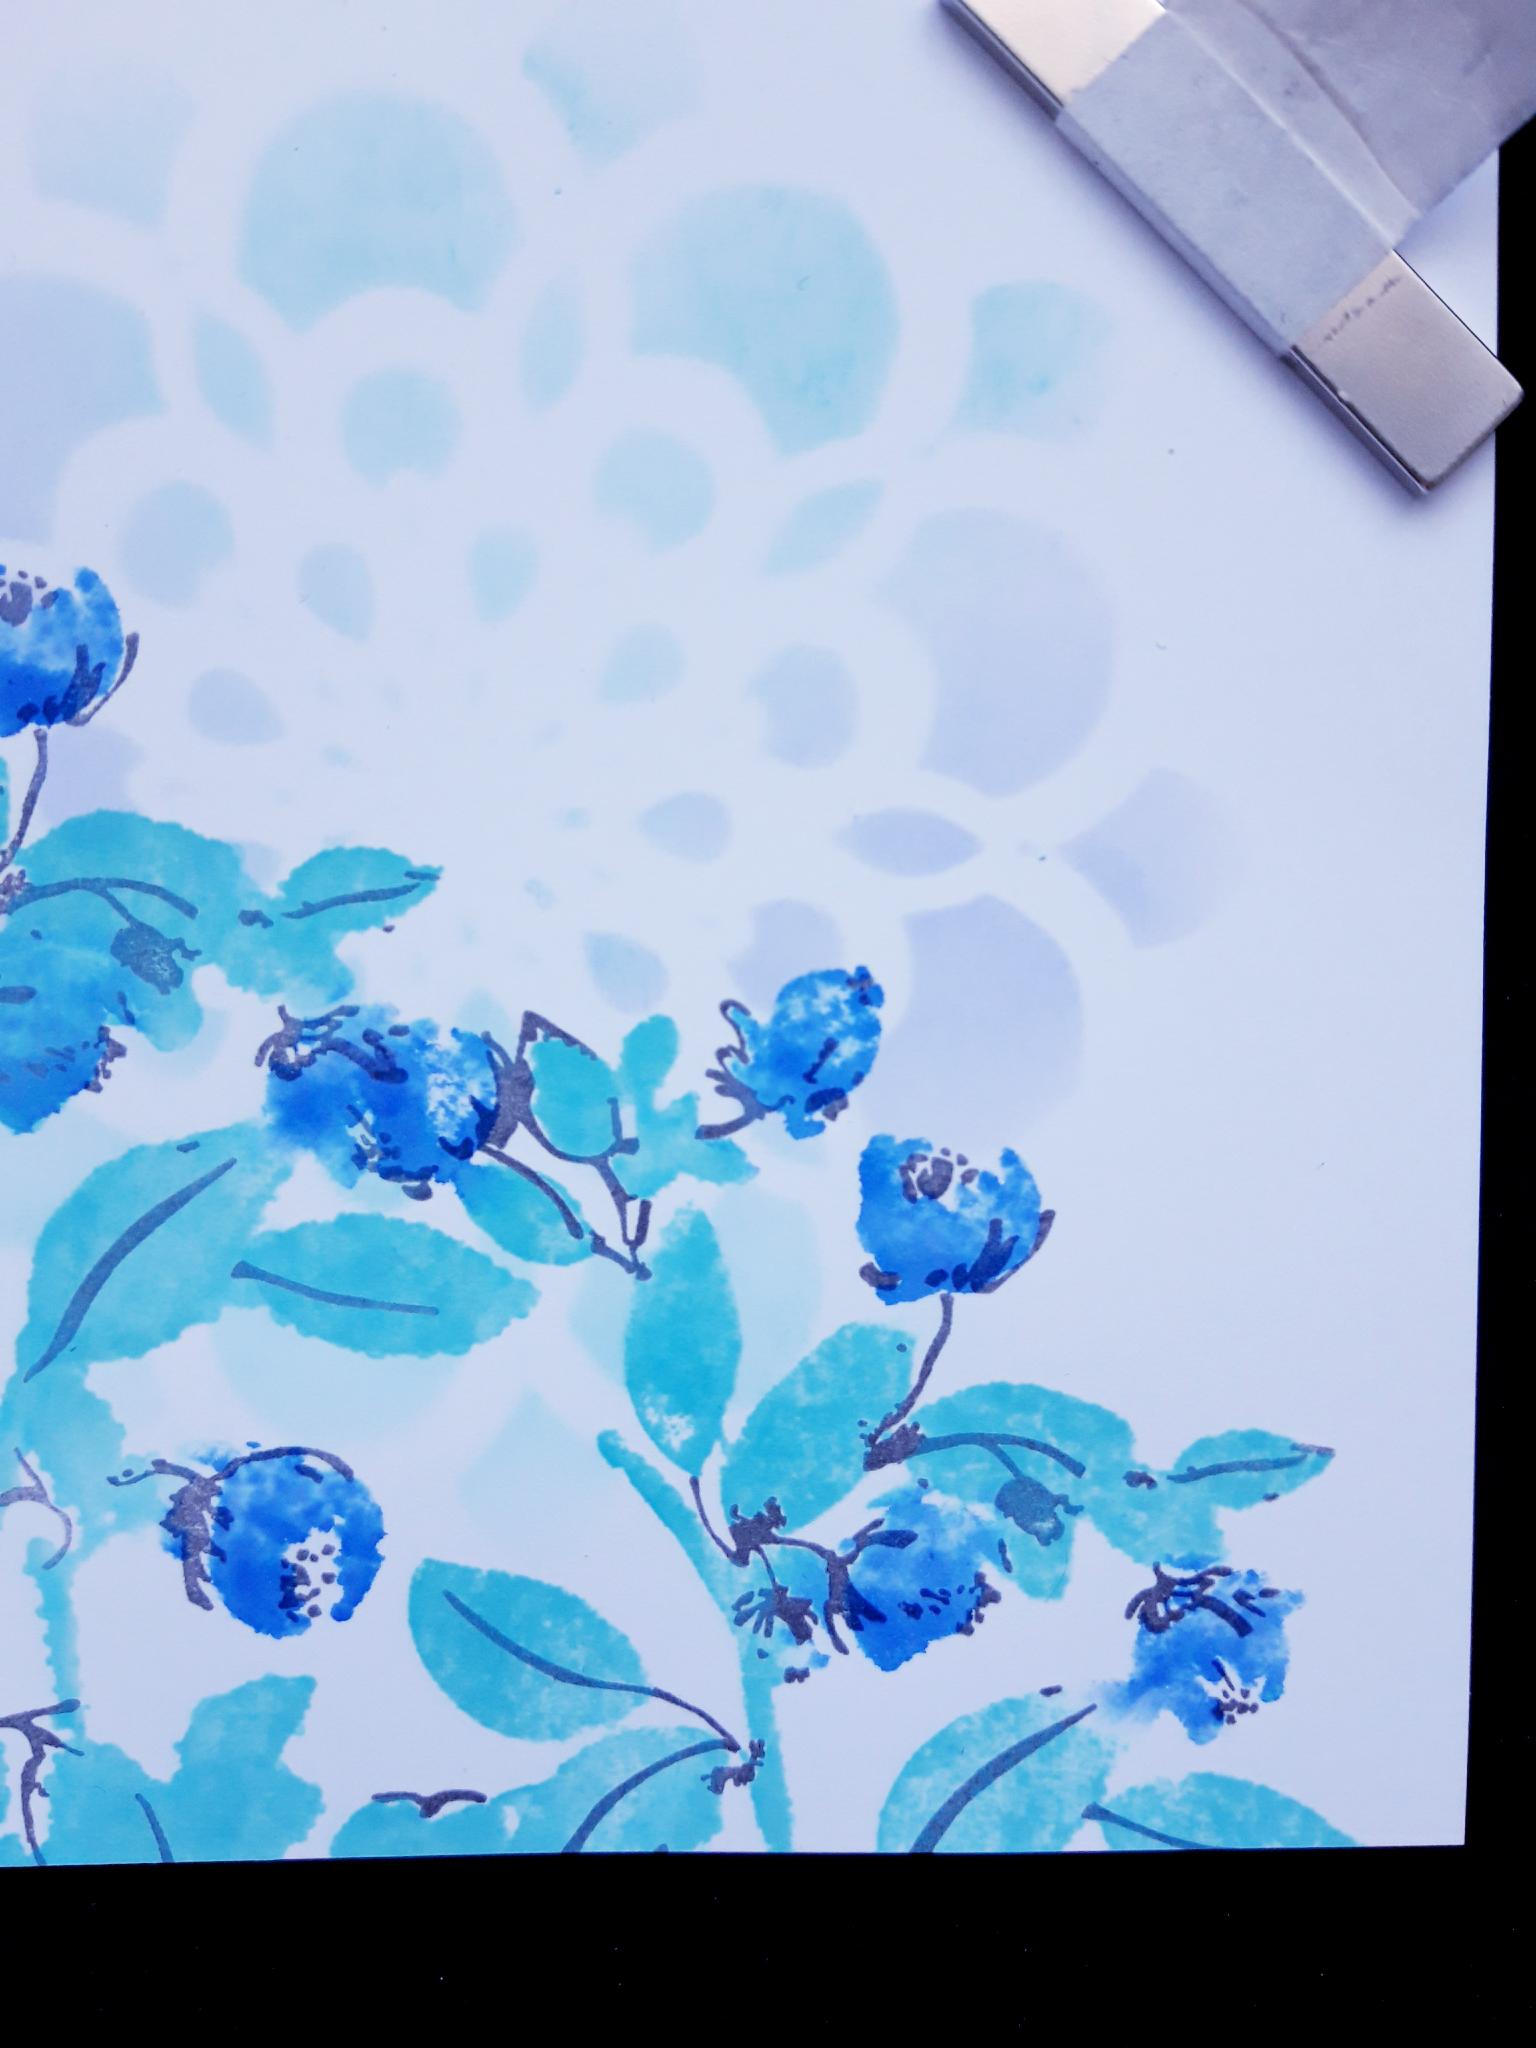
Ink up the same stamp, with the Versafine, line it up and stamp it in place, over your second stamped image. |
|
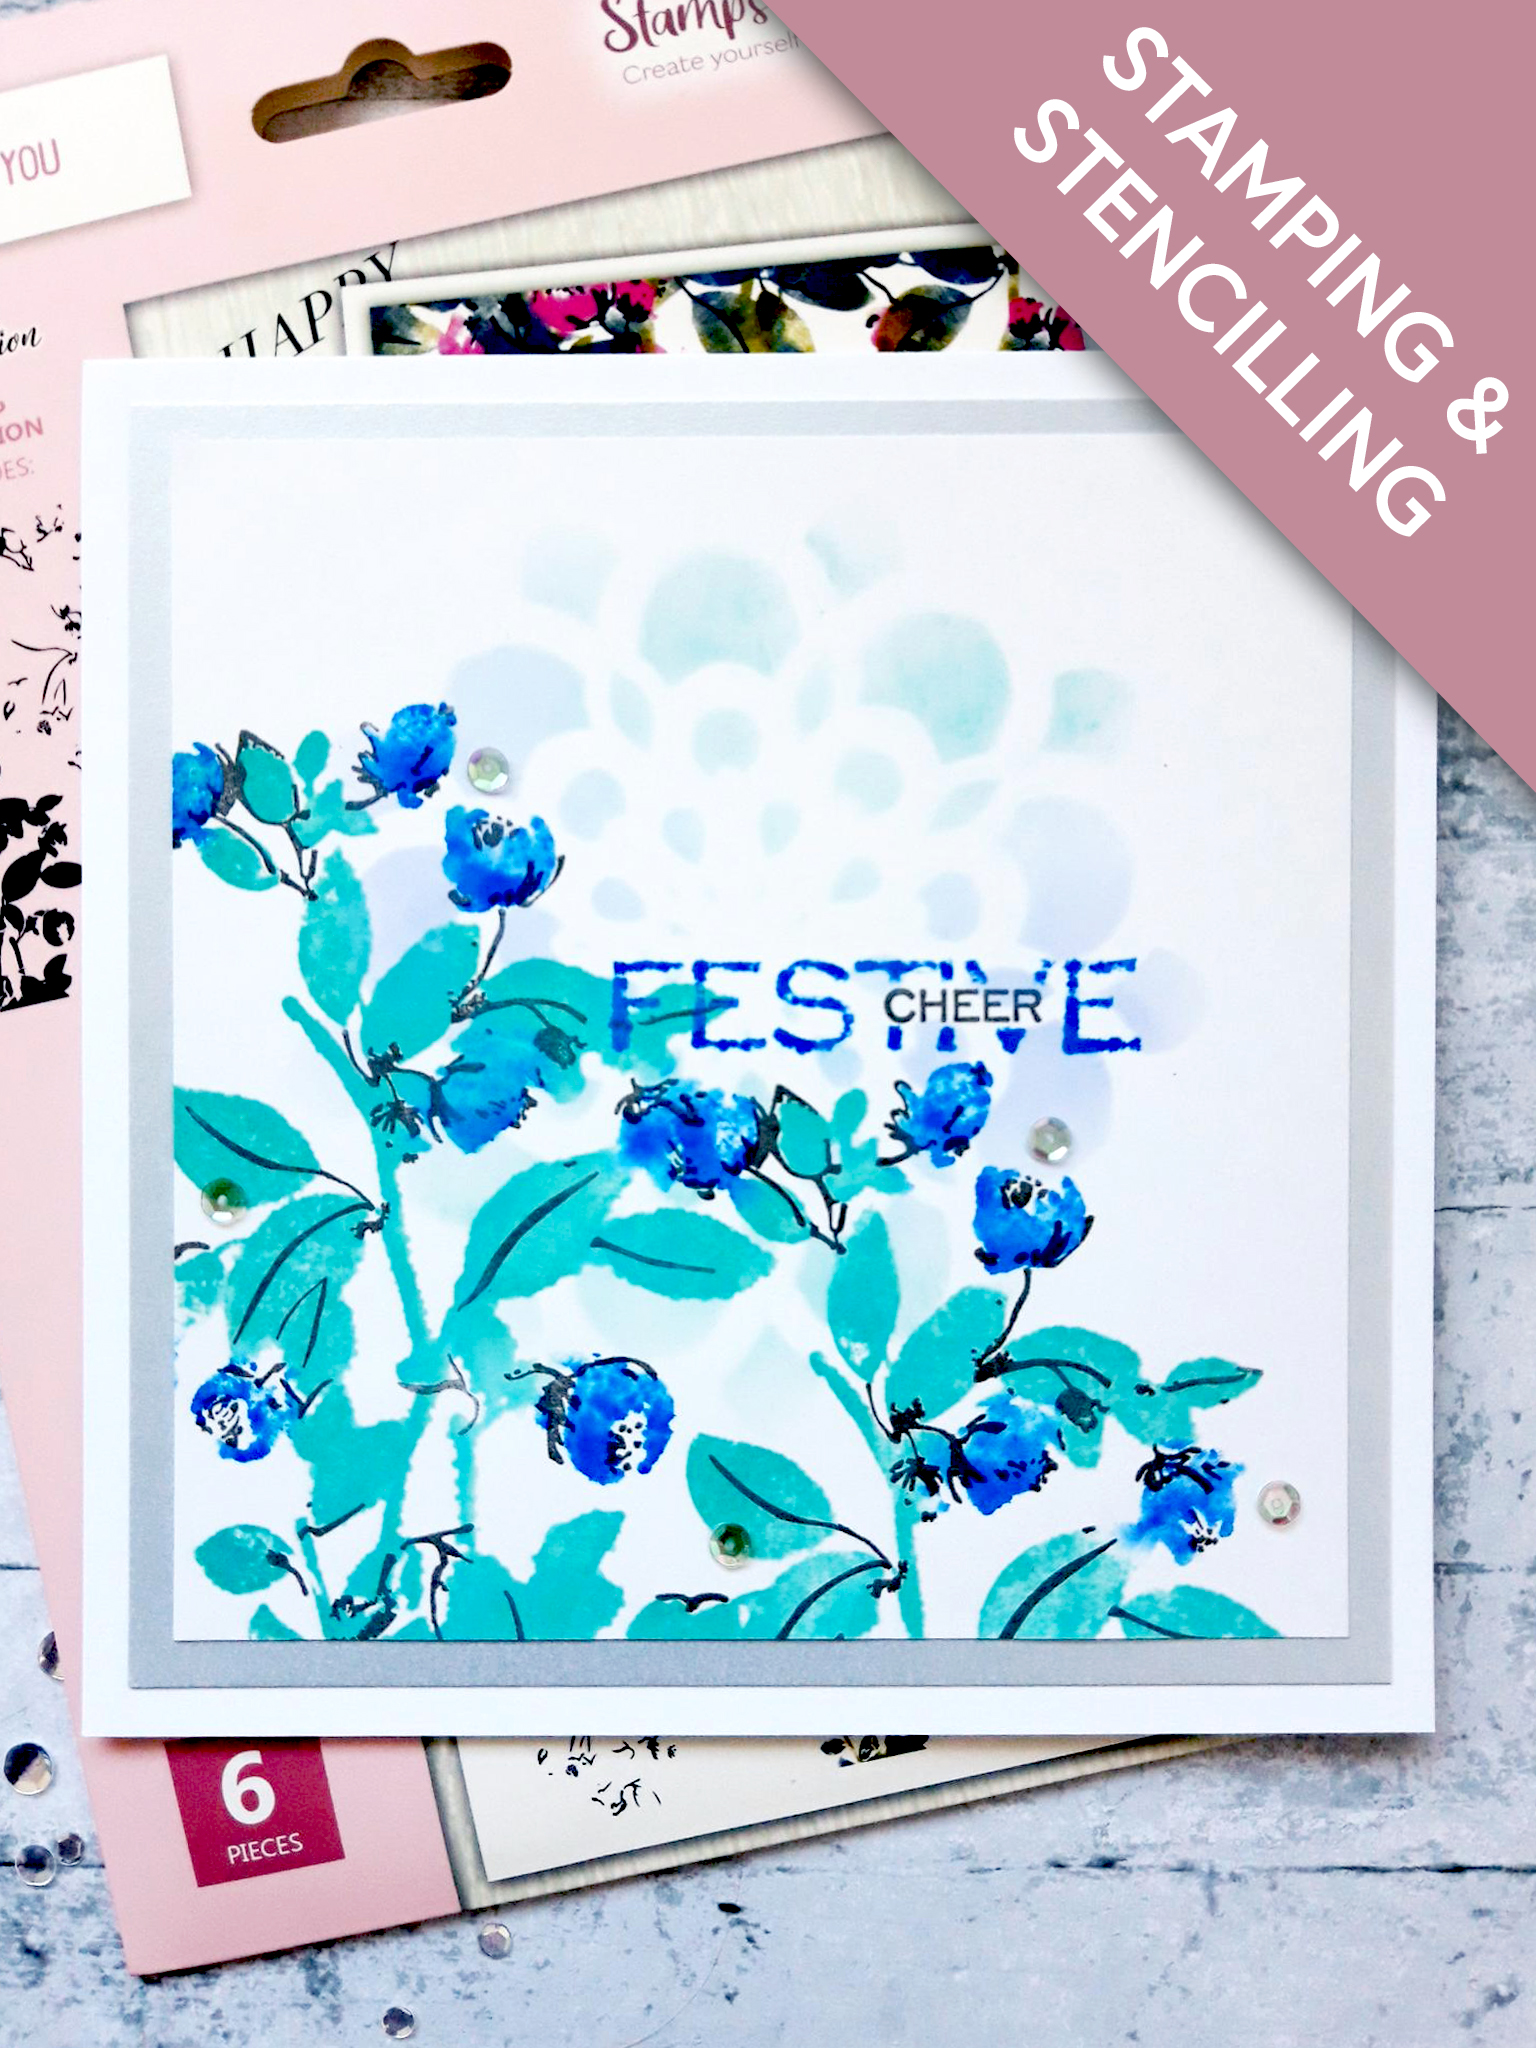
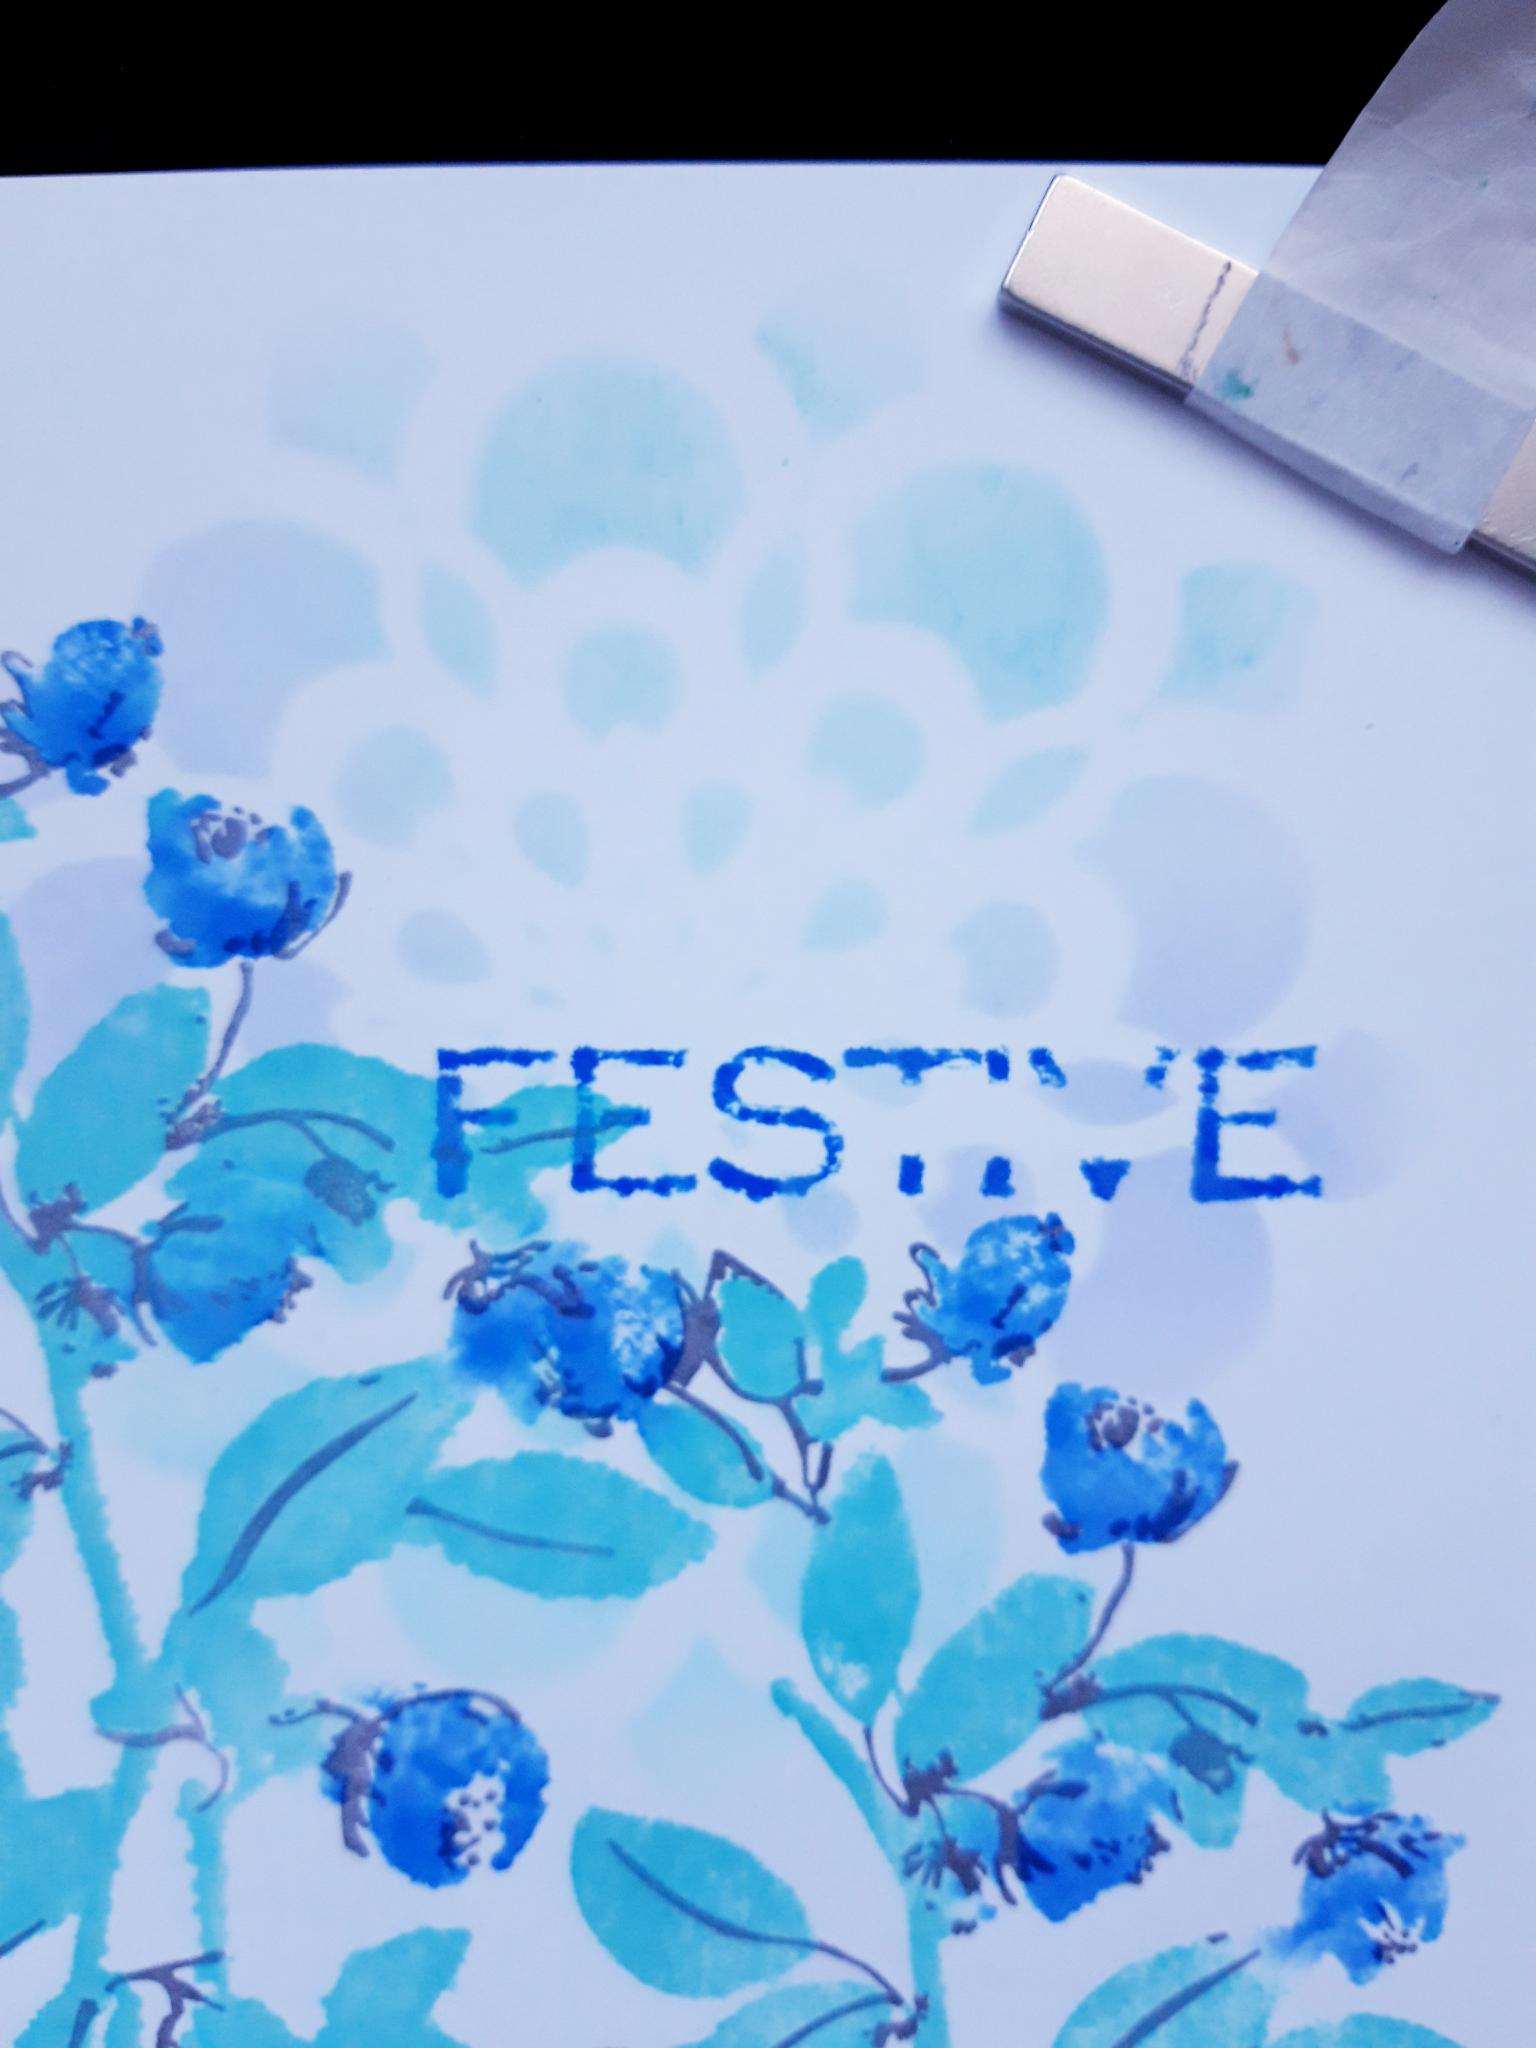
Ink up the "FESTIVE" stamp, from the Sending Christmas Cheer Stamp Collection, with the Sea Blue Gossip pen. Stamp it so it kisses the leaves, to the right of your stamped artwork. You can reapply the pen to the sentiment stamp, as many times as you wish, to get the depth of colour required.
|
|
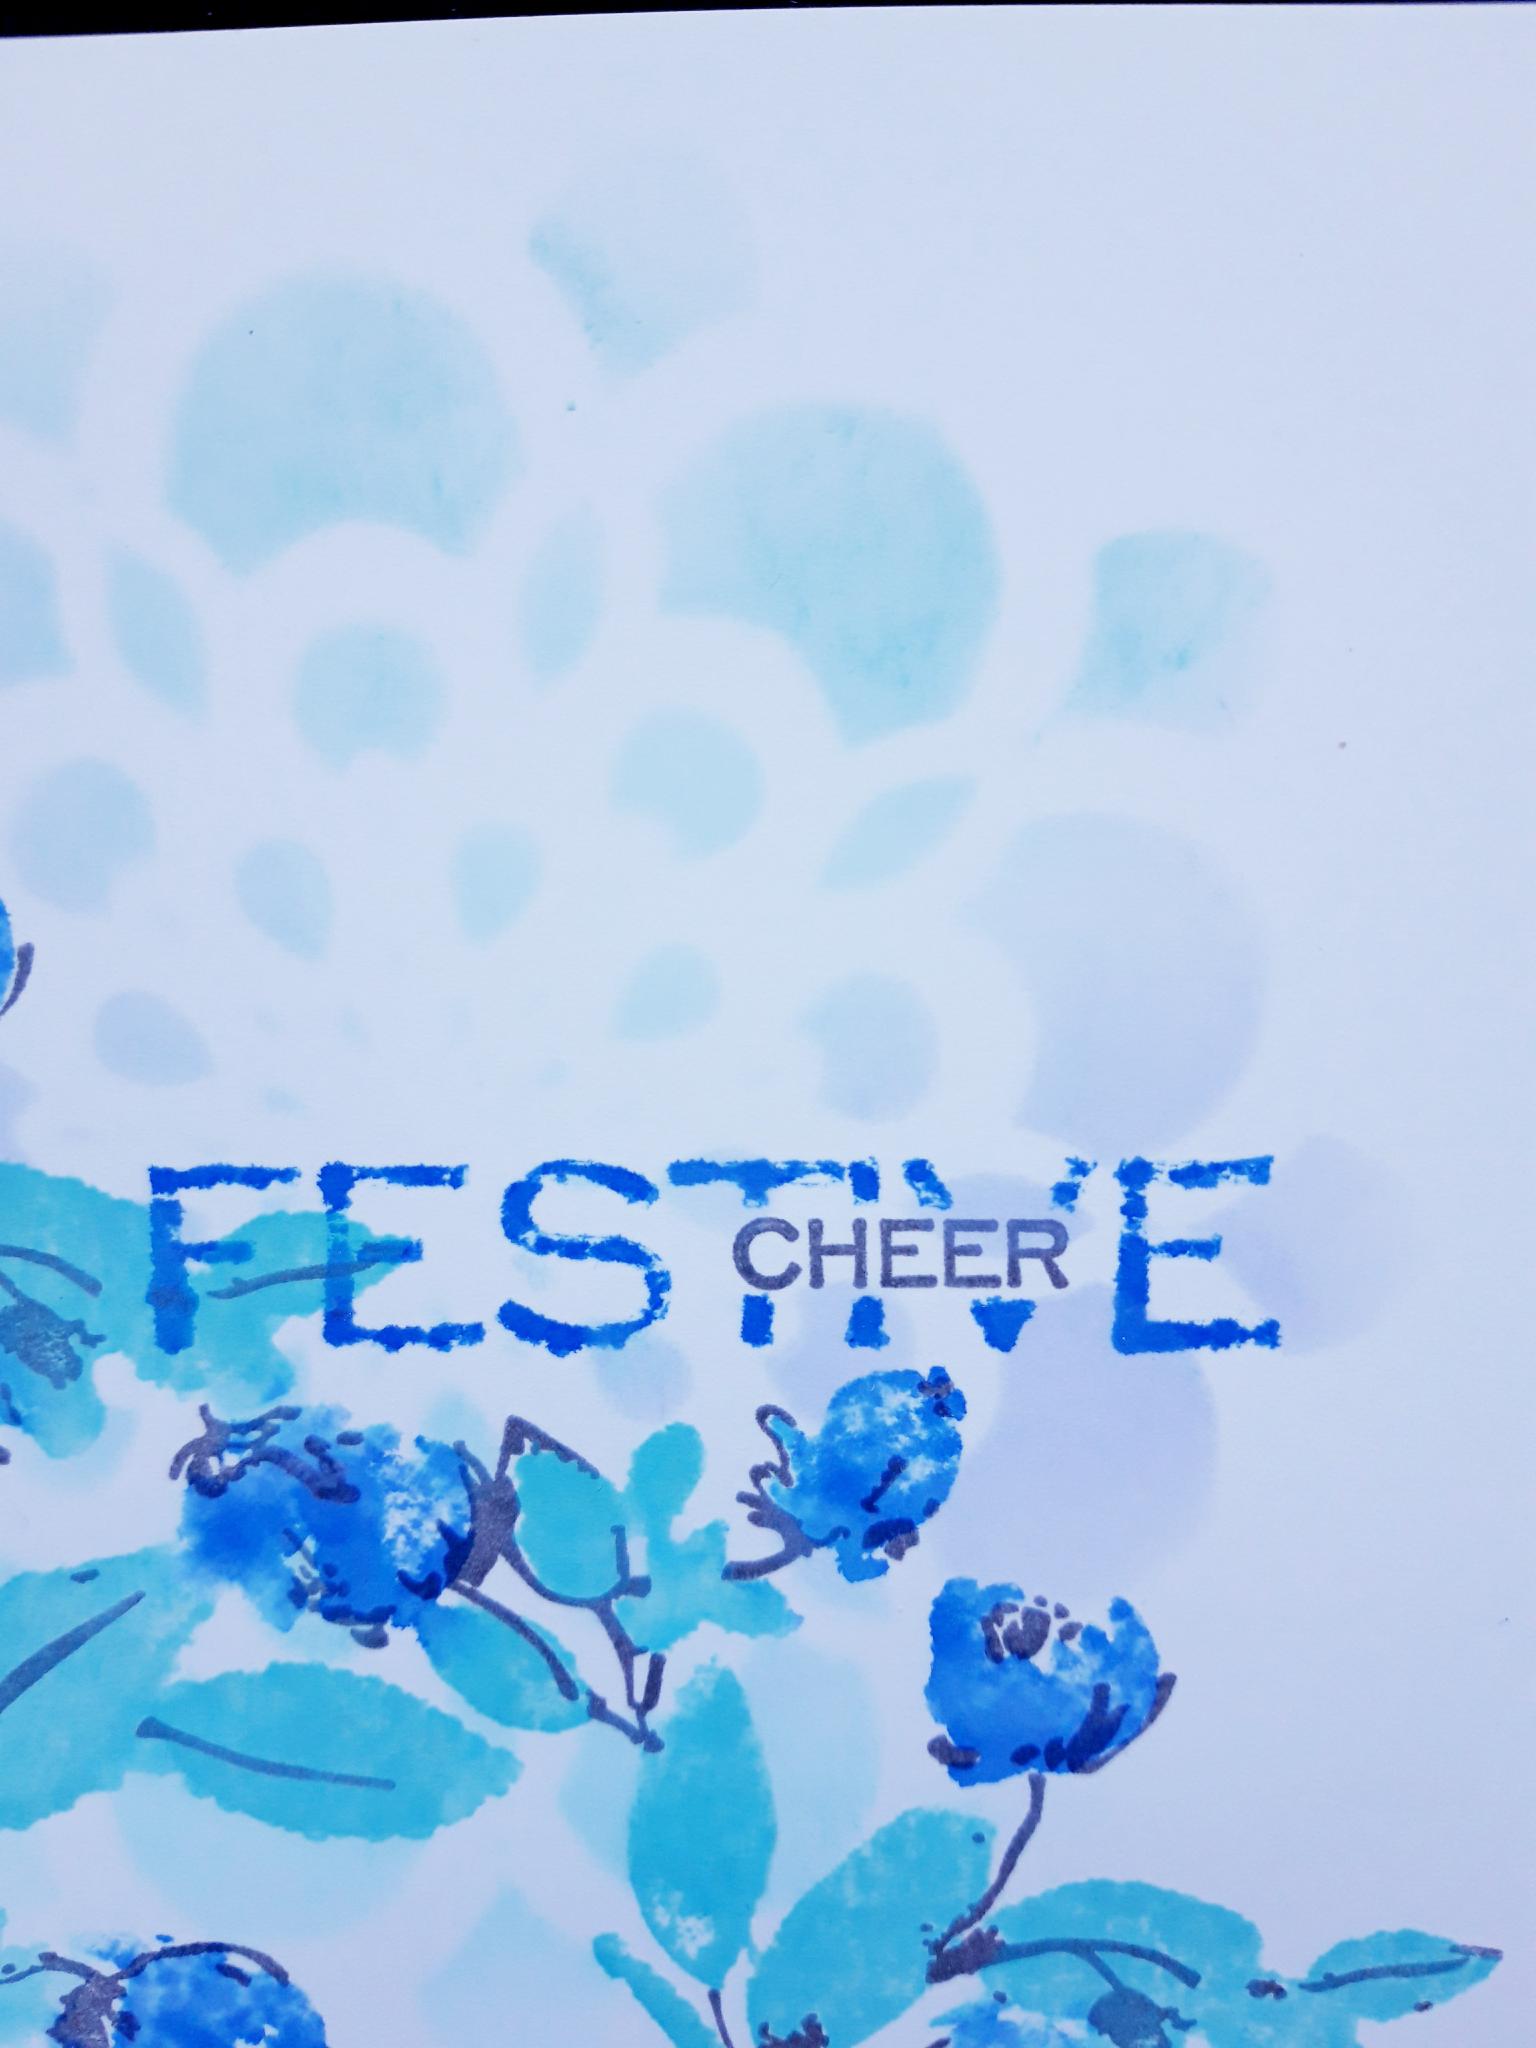
Ink up the "CHEER" stamp, from the same set, in the Smoky Grey Versafine. Stamp it in place, inside the gap in the word "FESTIVE".
|
|
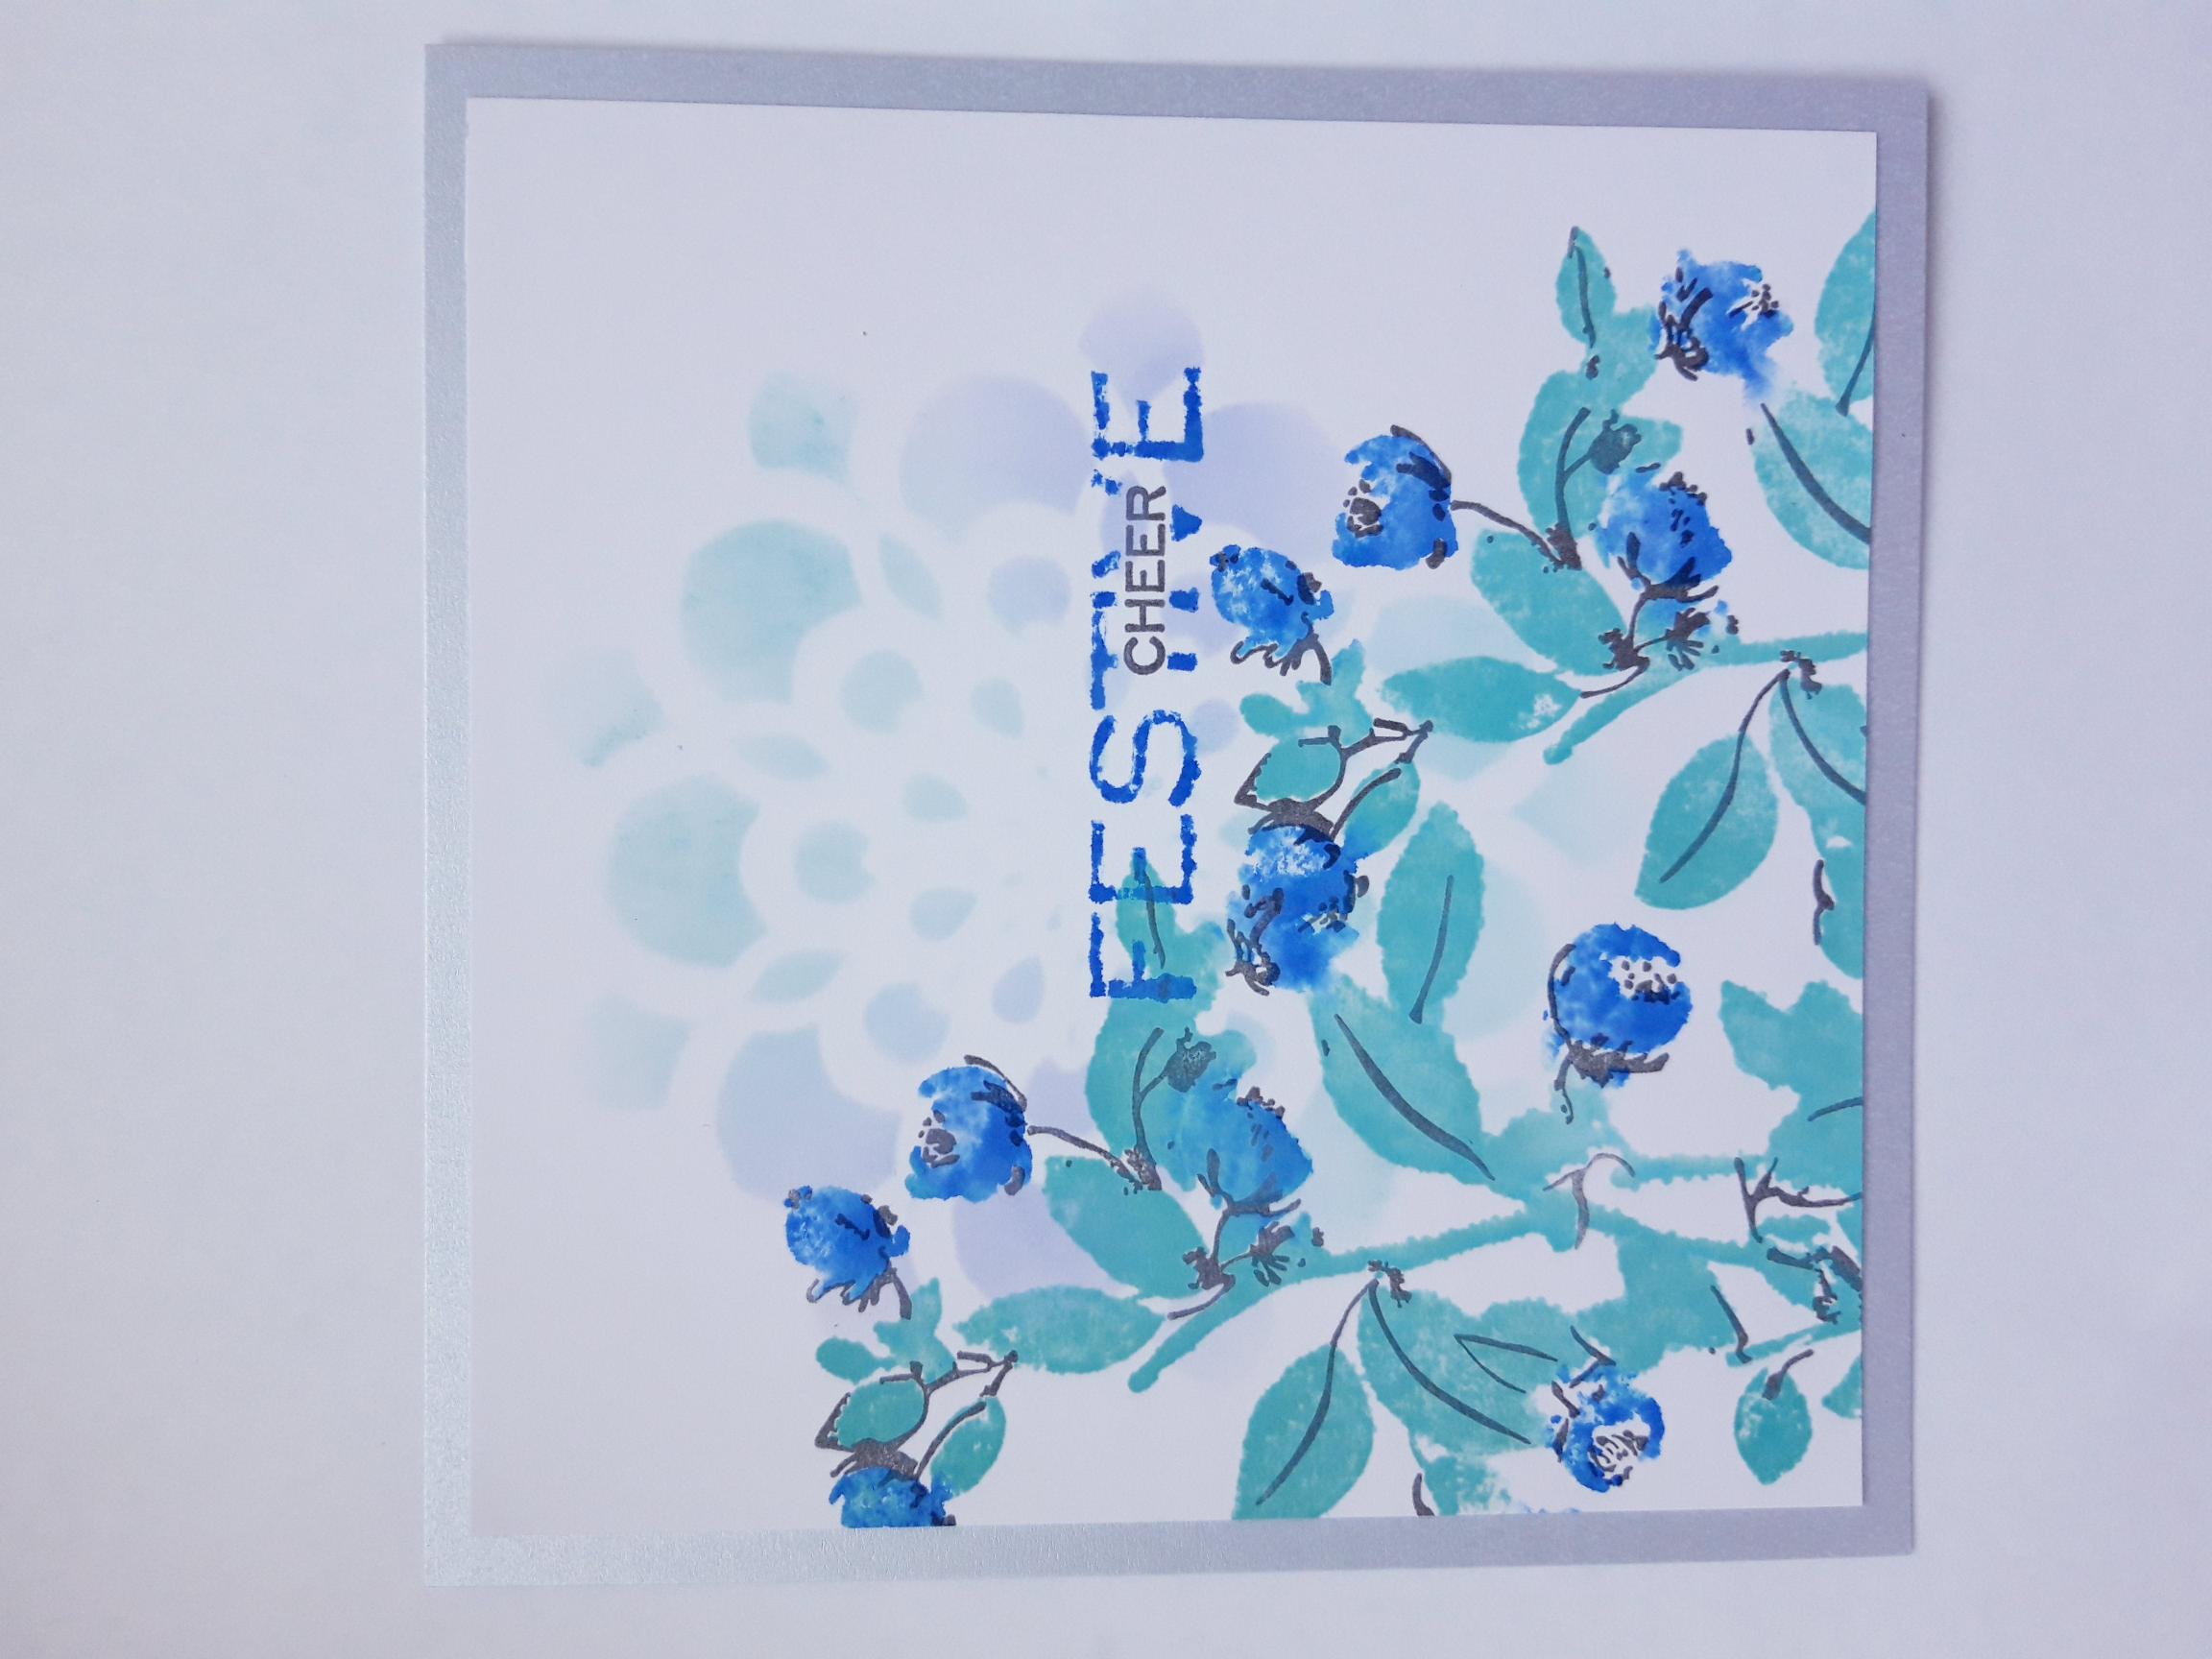
Mat your artwork on to the blue, pearlised cardstock. |
|
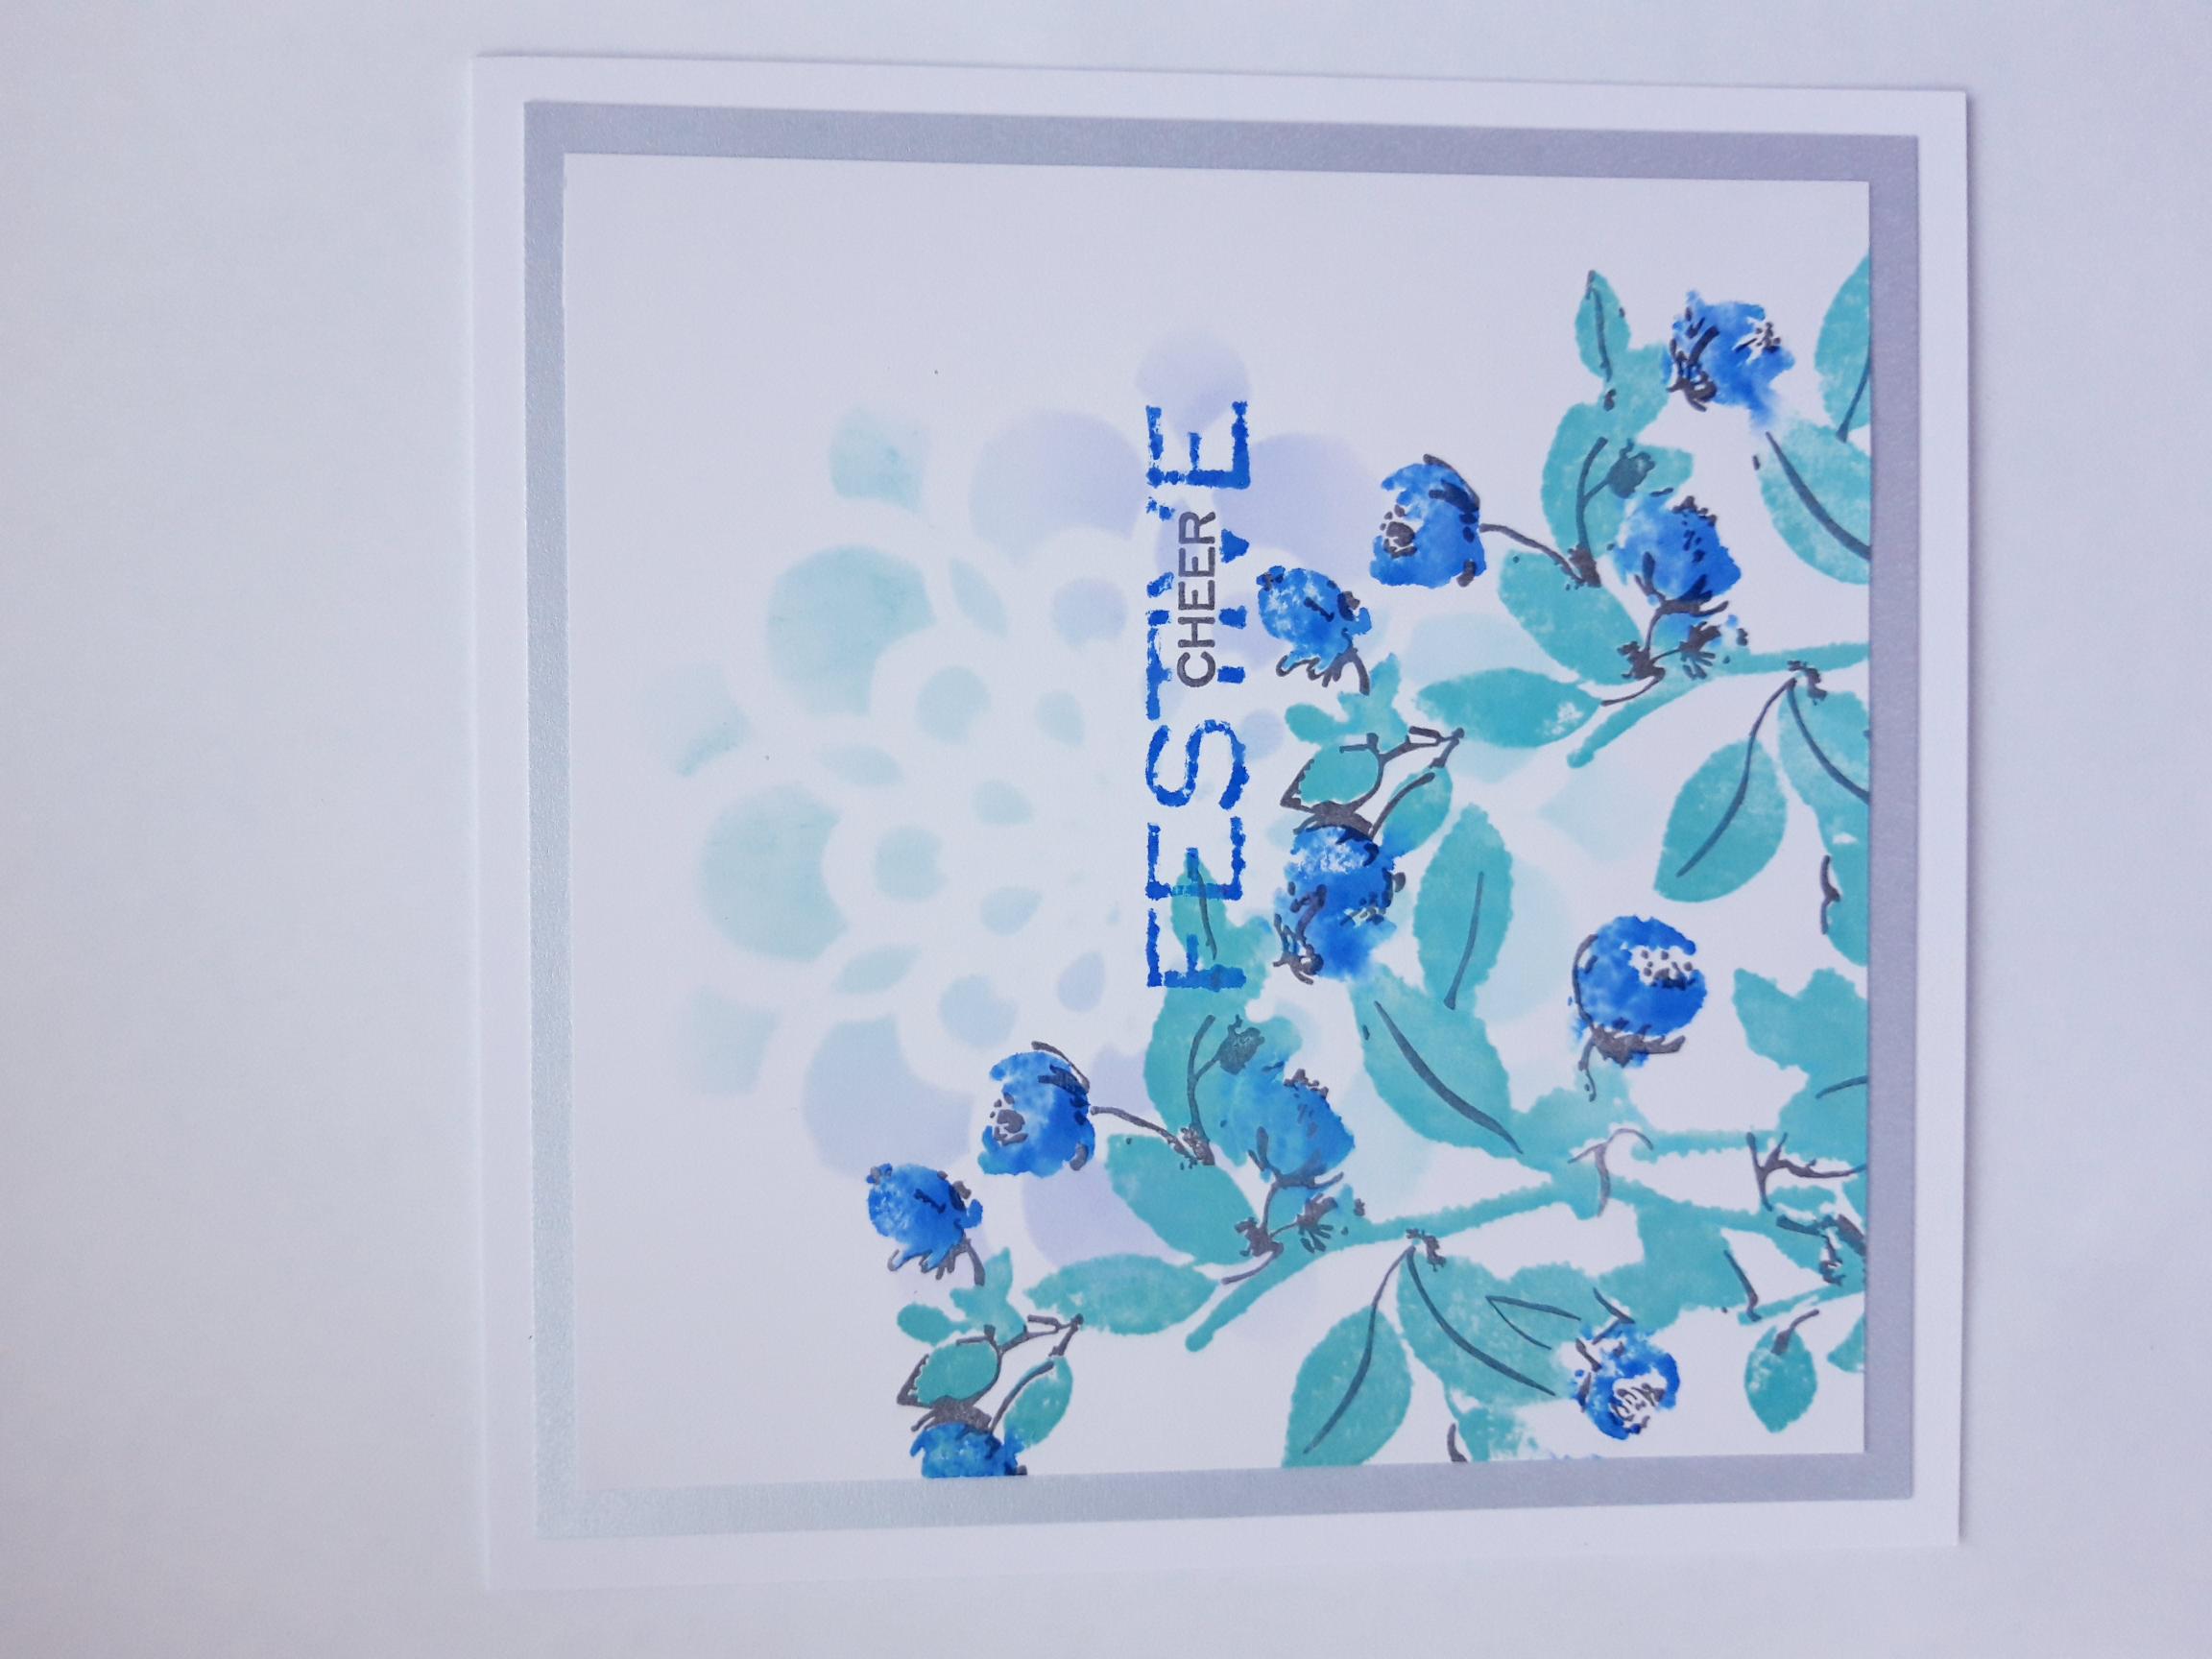
Mat this on to your card blank. |

|
To finish off your festive card, add your sequins around your artwork, as required. |