Give your friends $10 off their first order!
Refer a FRIEND


WHAT YOU WILL NEED:
Pink card blank 8 1/4 x 5 3/4"
White cardstock
Vellum
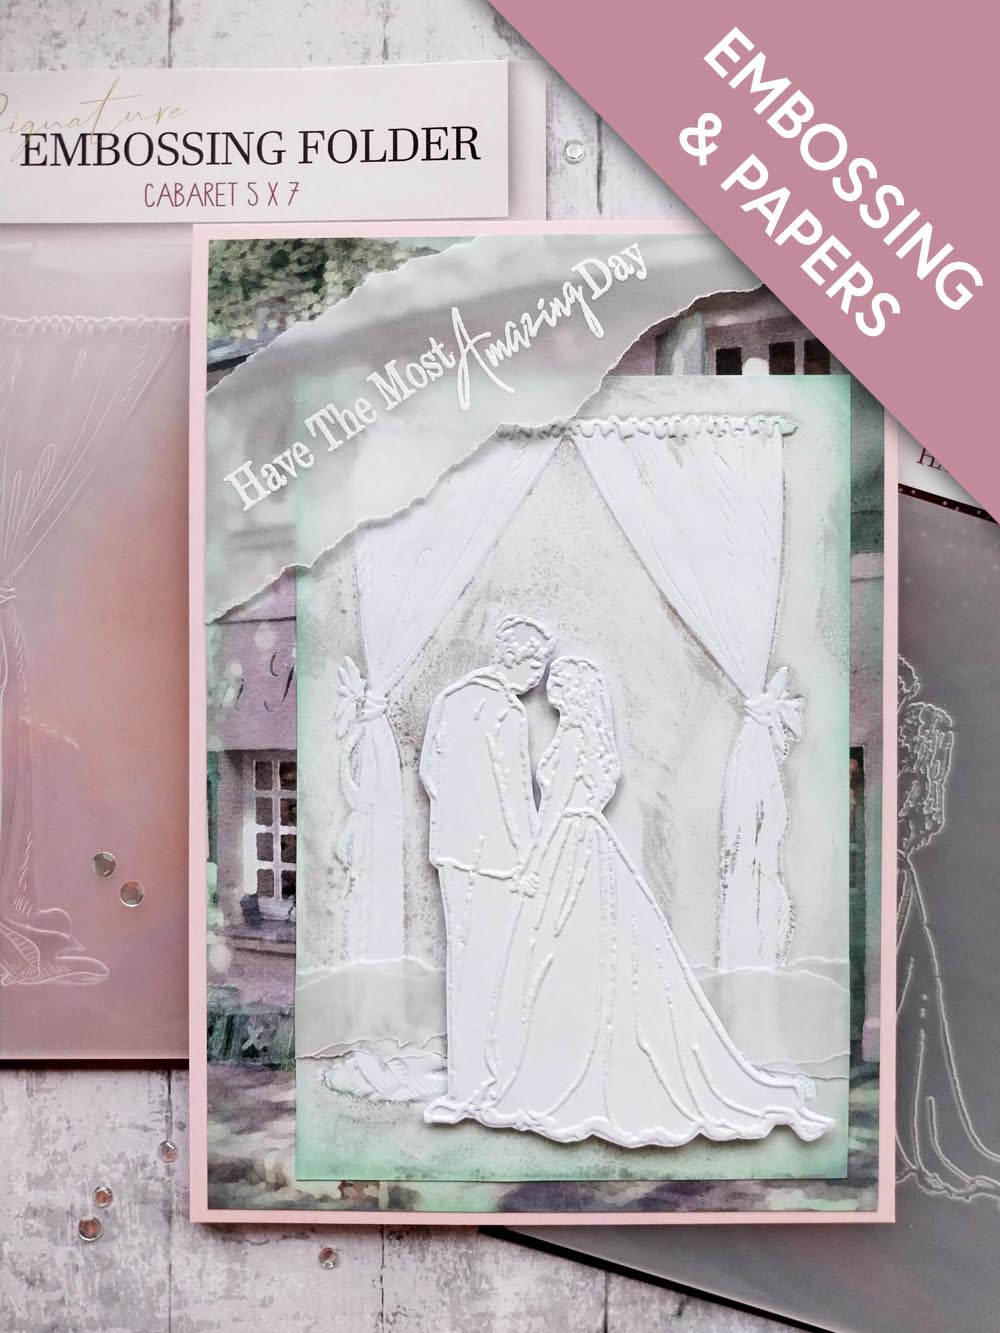
Signature Cabaret 3D Embossing Folder
HD3D Happy Ever After Embossing Folder
All Surfaces 8 x 8" Foreign Romance Paper Pad
Christmas Advent Calendar: sentiment stamp
Distress Ink/Oxide Pad: Pistachio, Lost Shadow, Hickory Smoke
Wow Embossing ink pad
WOW white embossing powder
WOW heat tool
Anti-static bag
Blending brush
Water spray bottle
Eureka 101 Watercolour Tablet
SBM A3 Magnetic glass mat
Paper Trimmer
Glue
Double-sided adhesive tape
Foam pads
Die Cutting machine
[click image to enlarge] 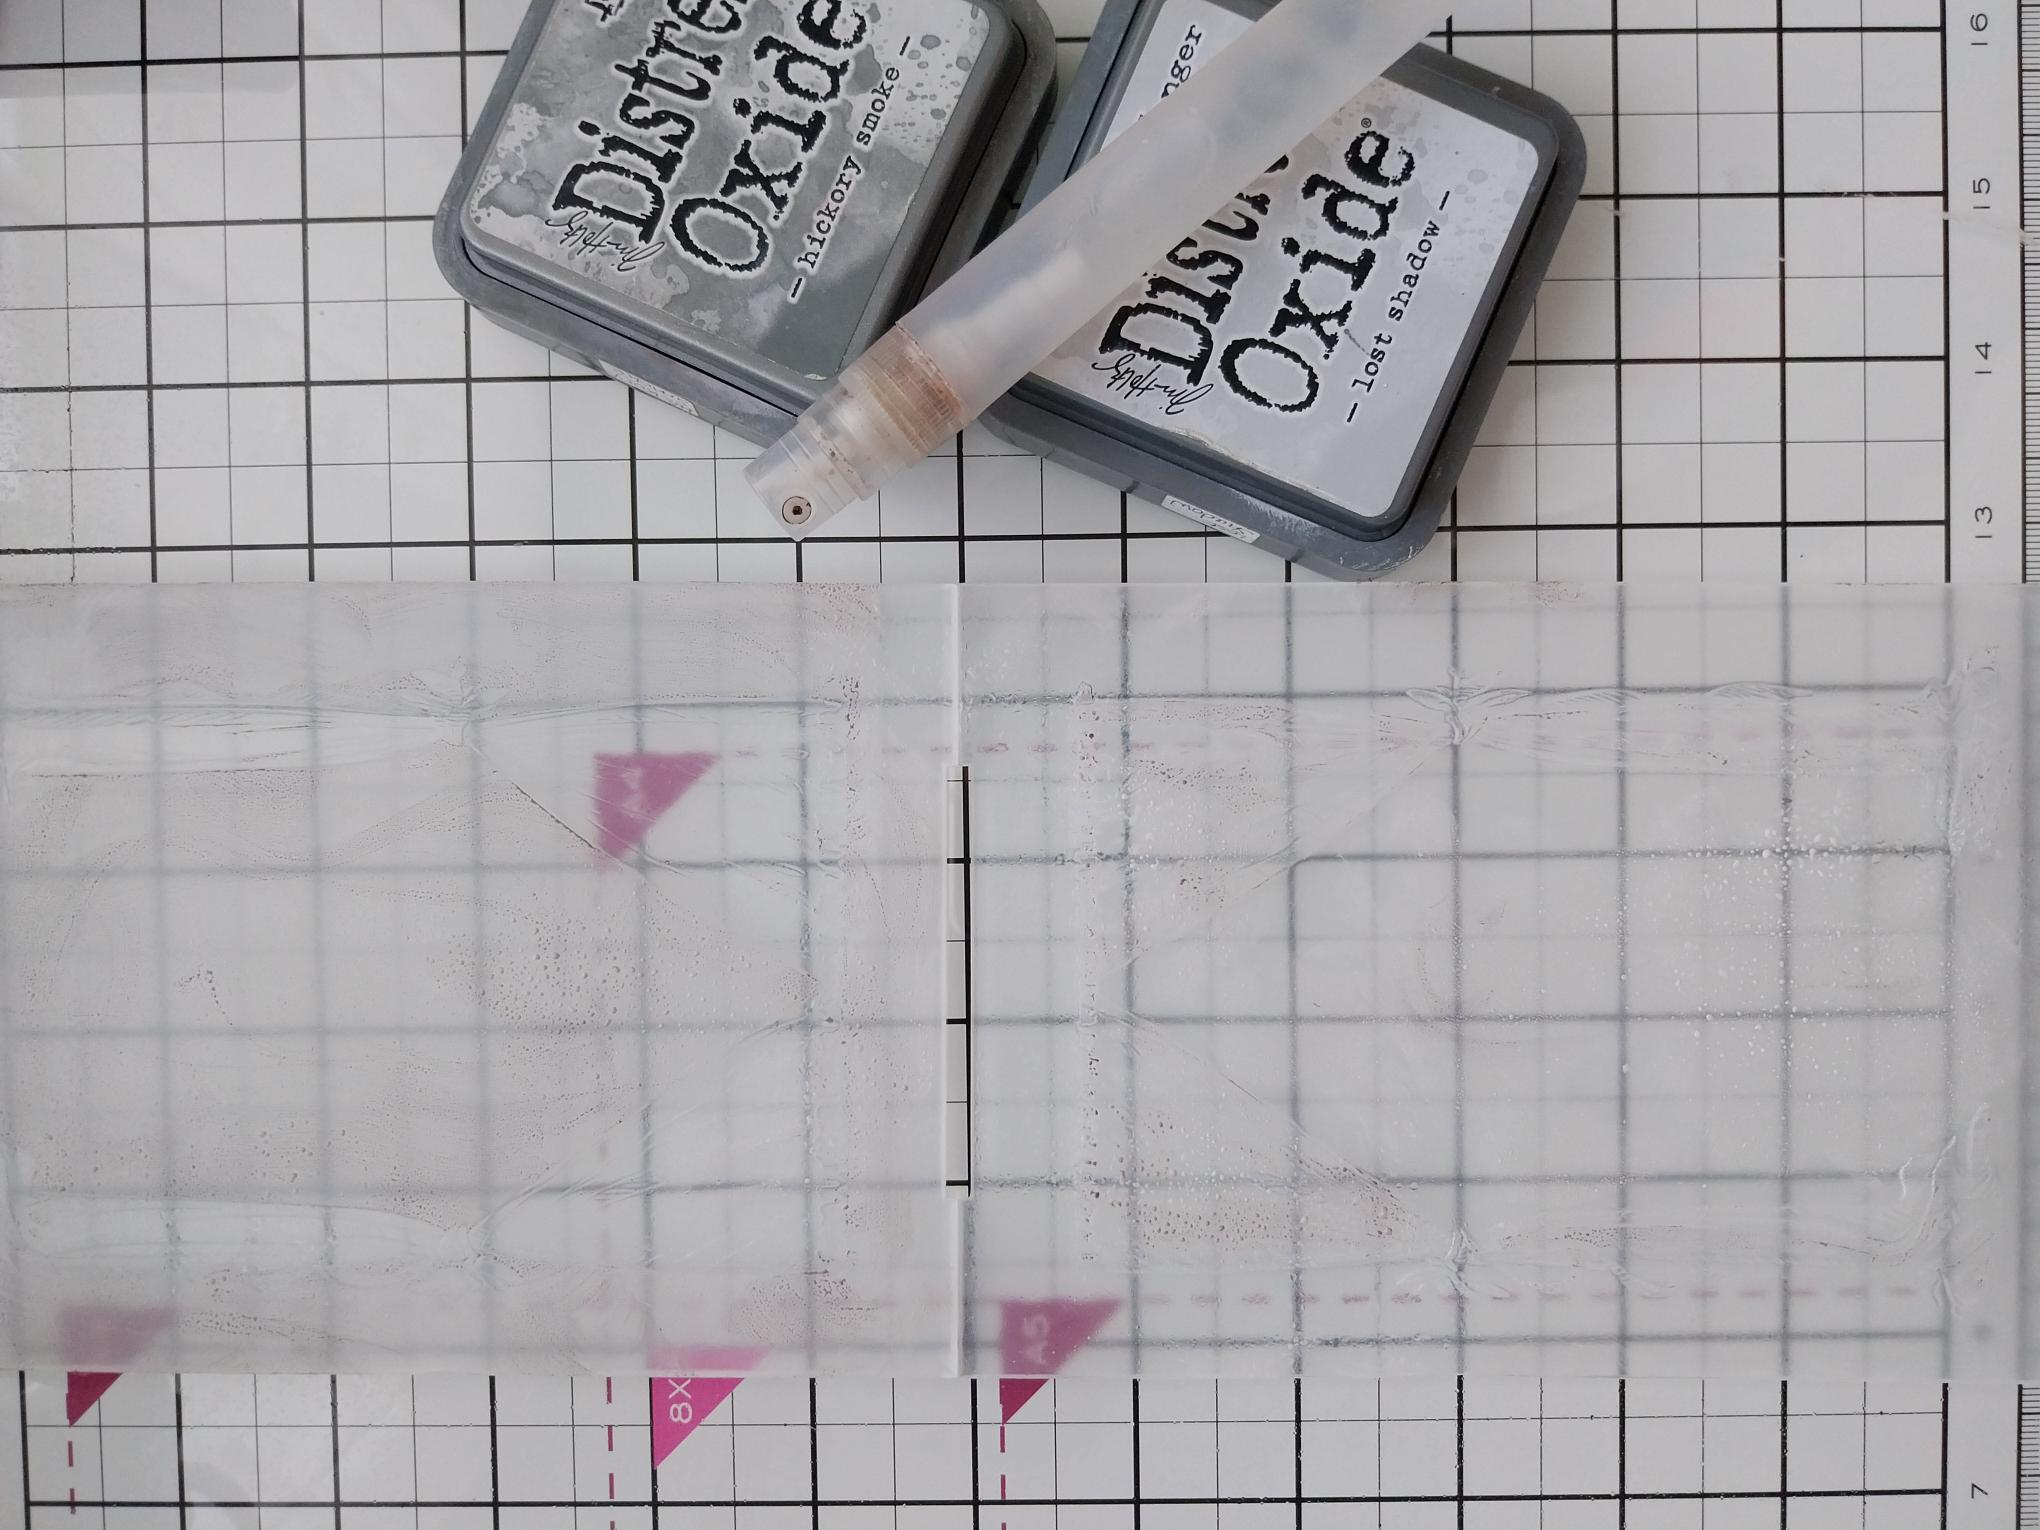
|
Swipe both grey Oxide ink pads over the debossed side of the Cabaret folder and spritz with water. |
|
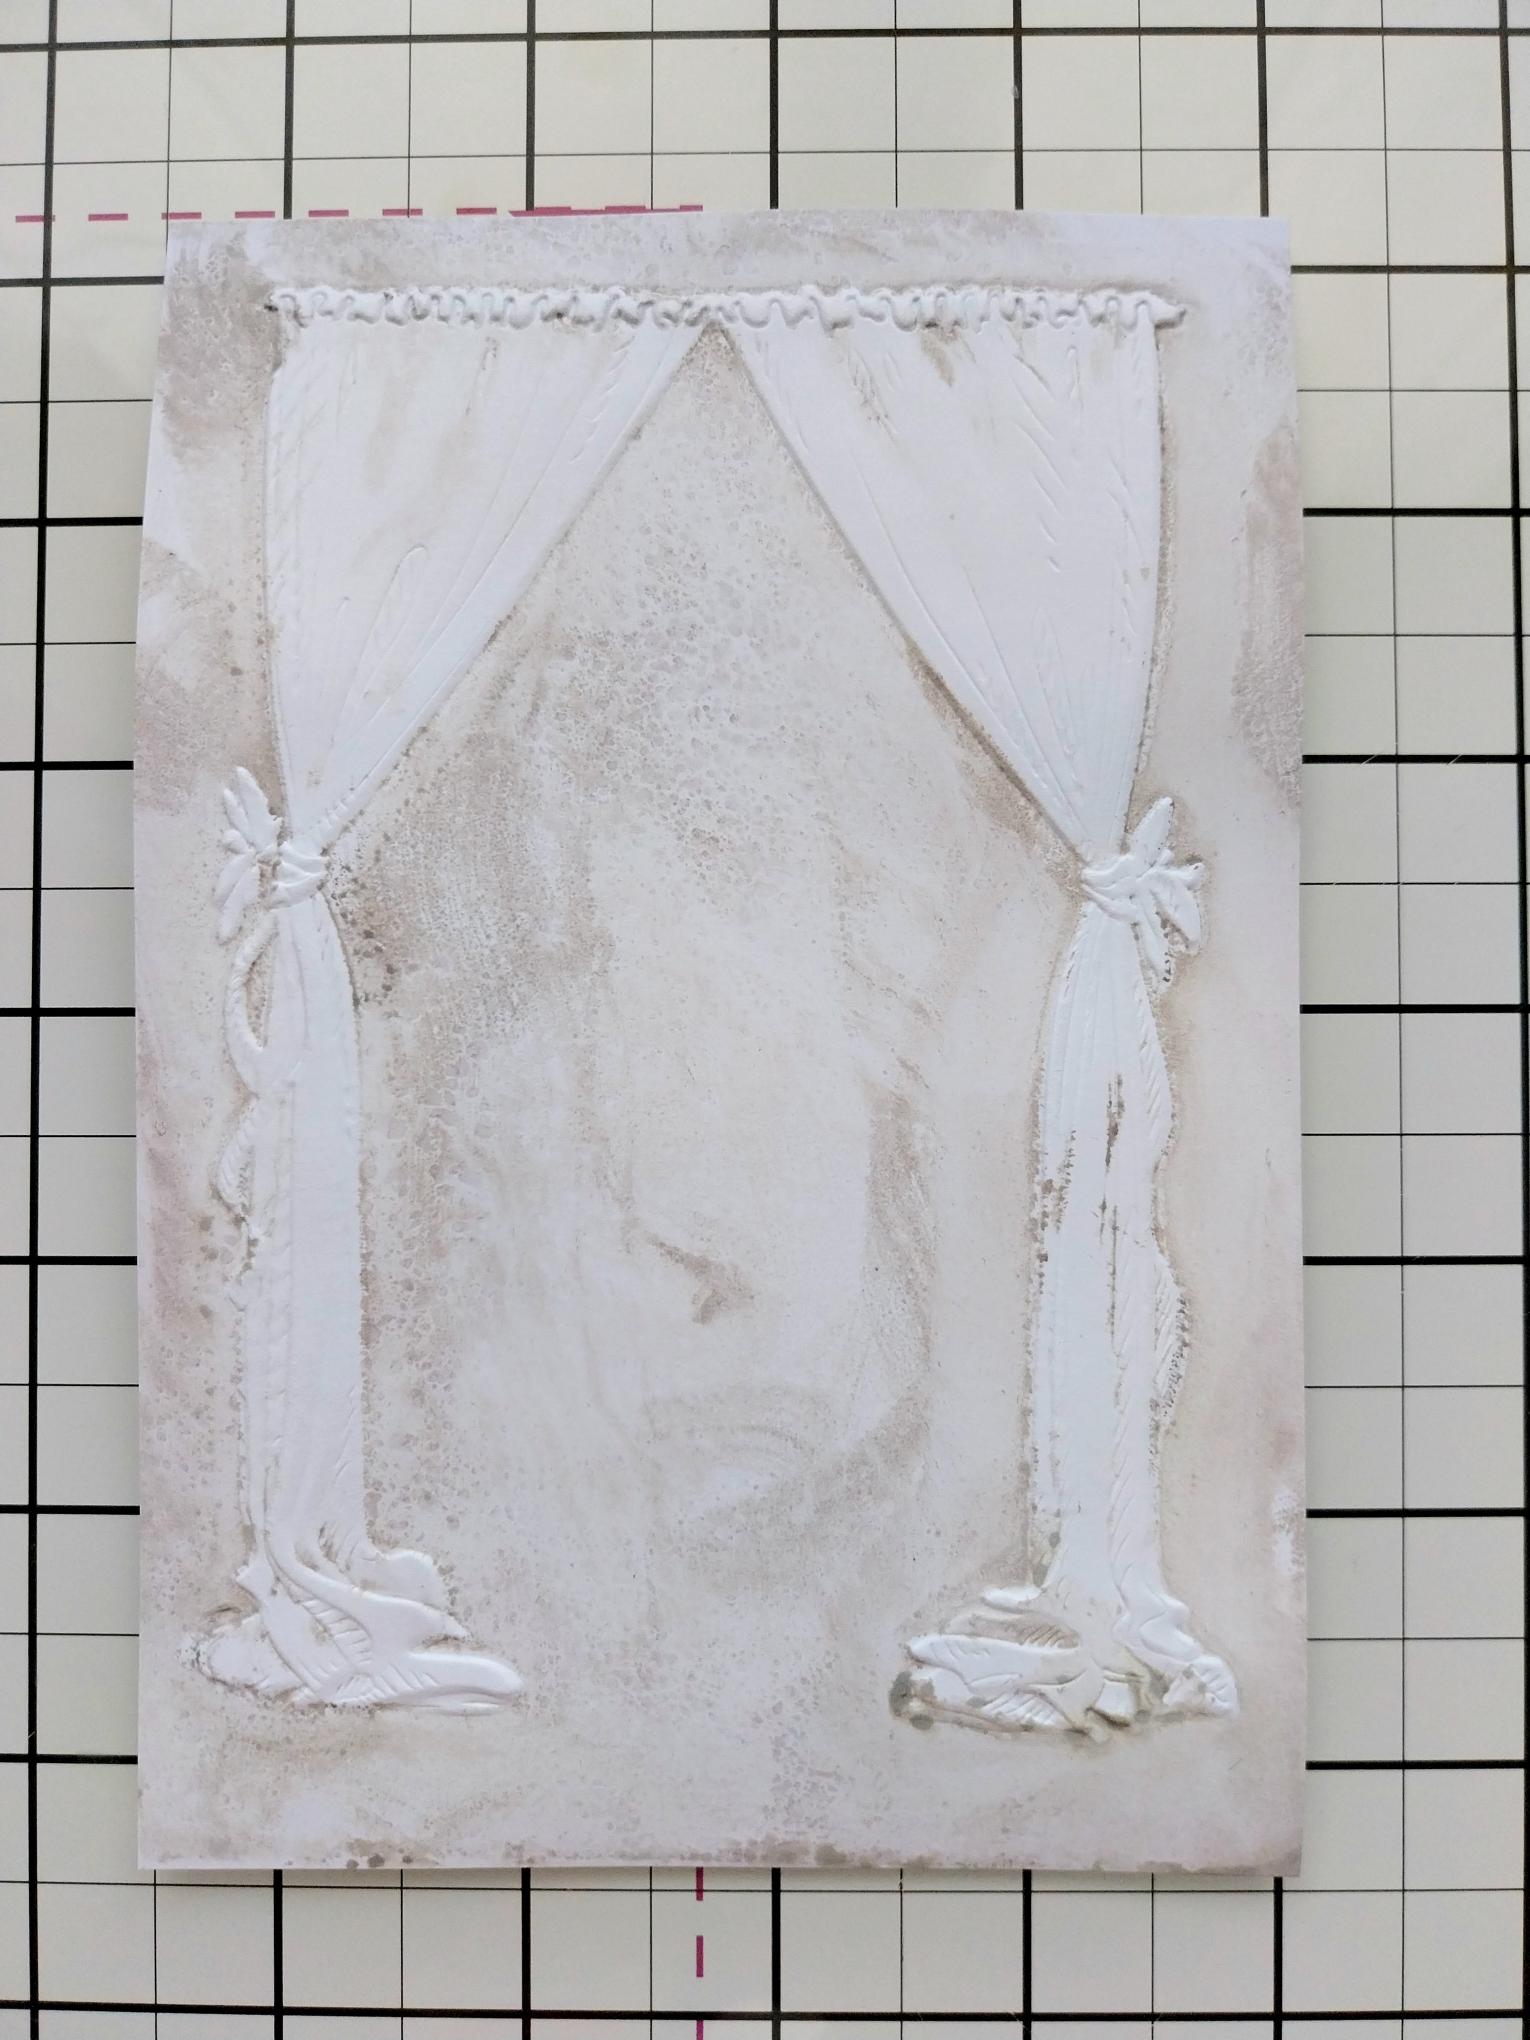
Place a piece of white card 6 1/2 x 4 1/2" inside the folder, with the inked side on top and run it through your machine. |
|
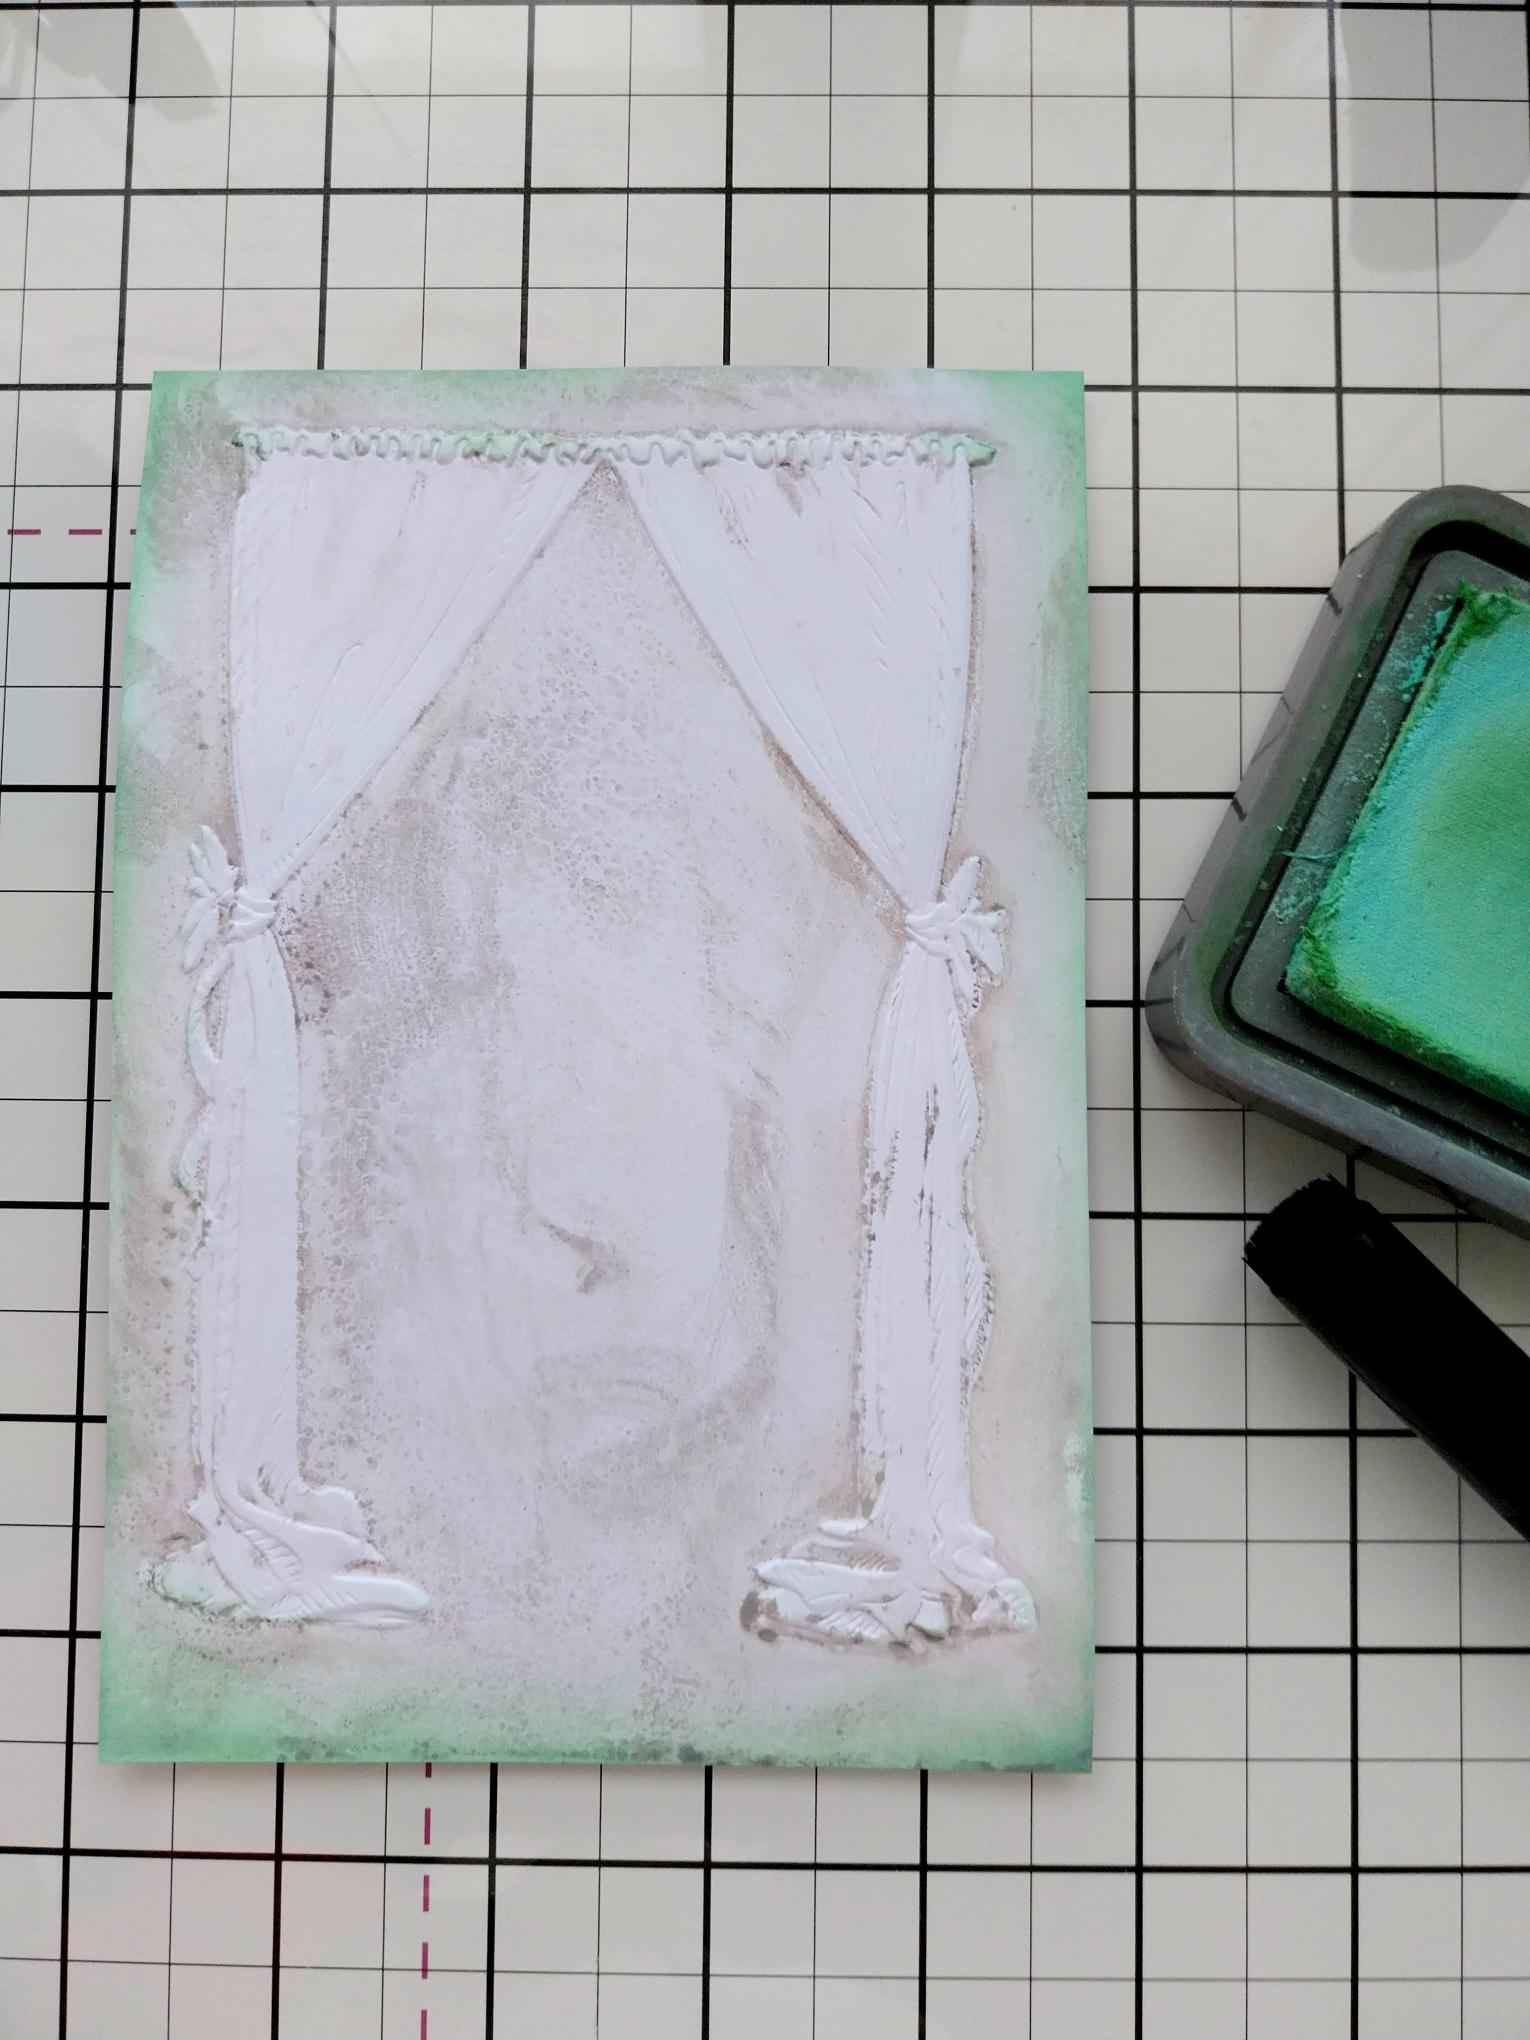
Blend Pistachio around the outer edges of your embossed card, before popping to one side. |
|
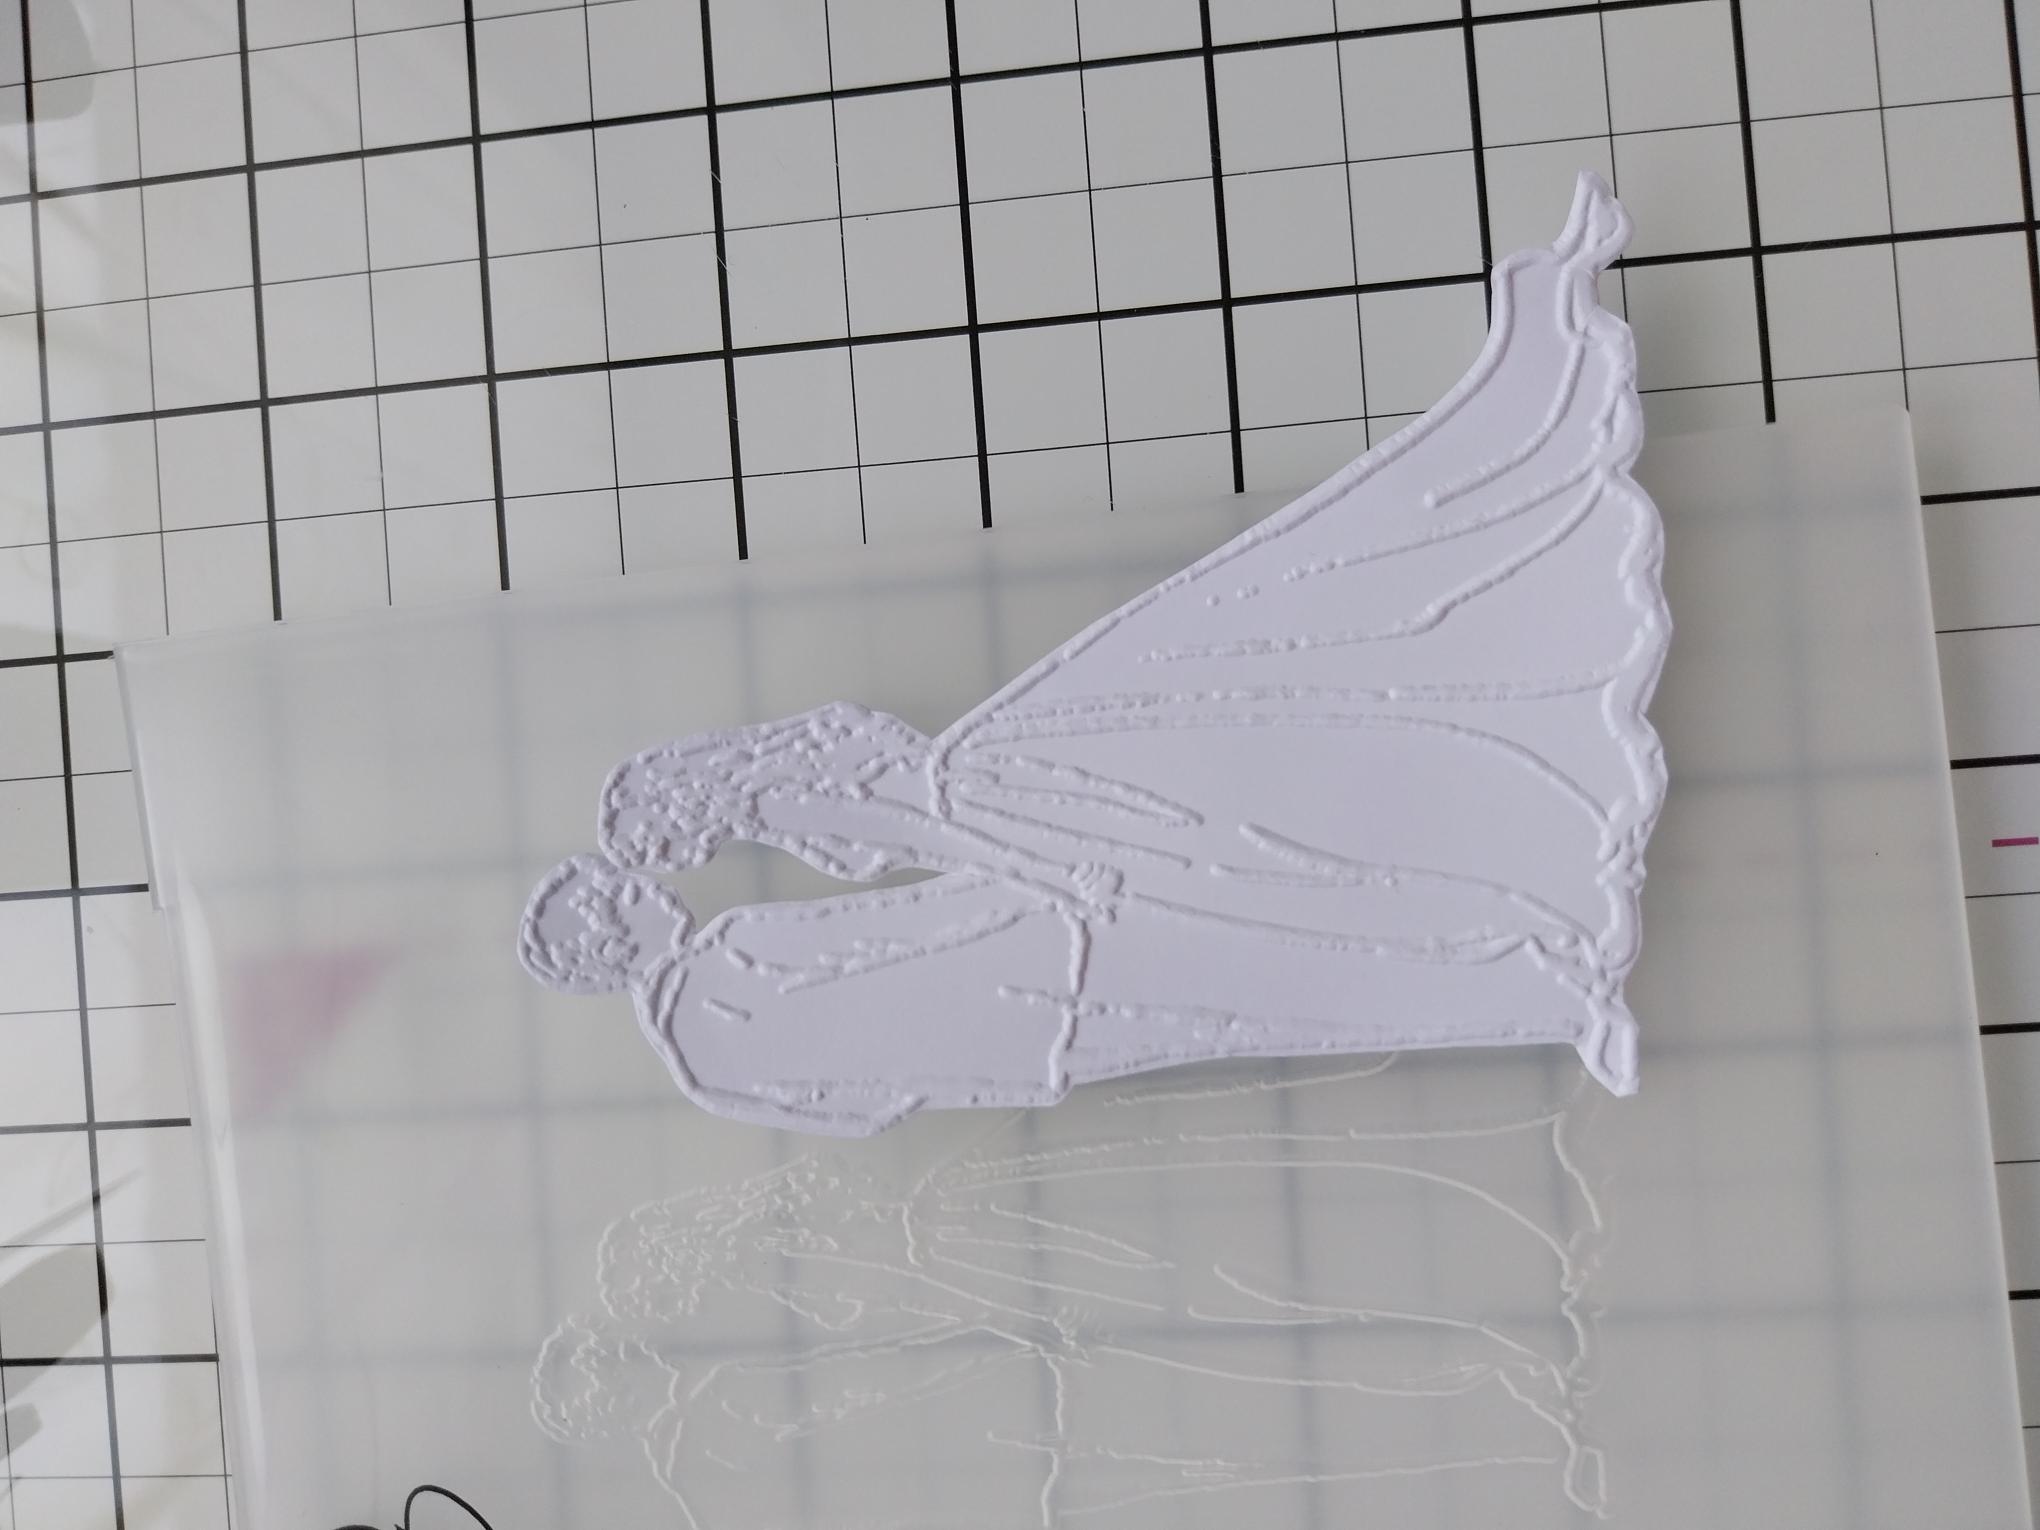
Place a piece of 4 x 6" white card inside the Happy Ever After embossing folder and run it through your machine. Fussy cut the Bride and Groom. |
|
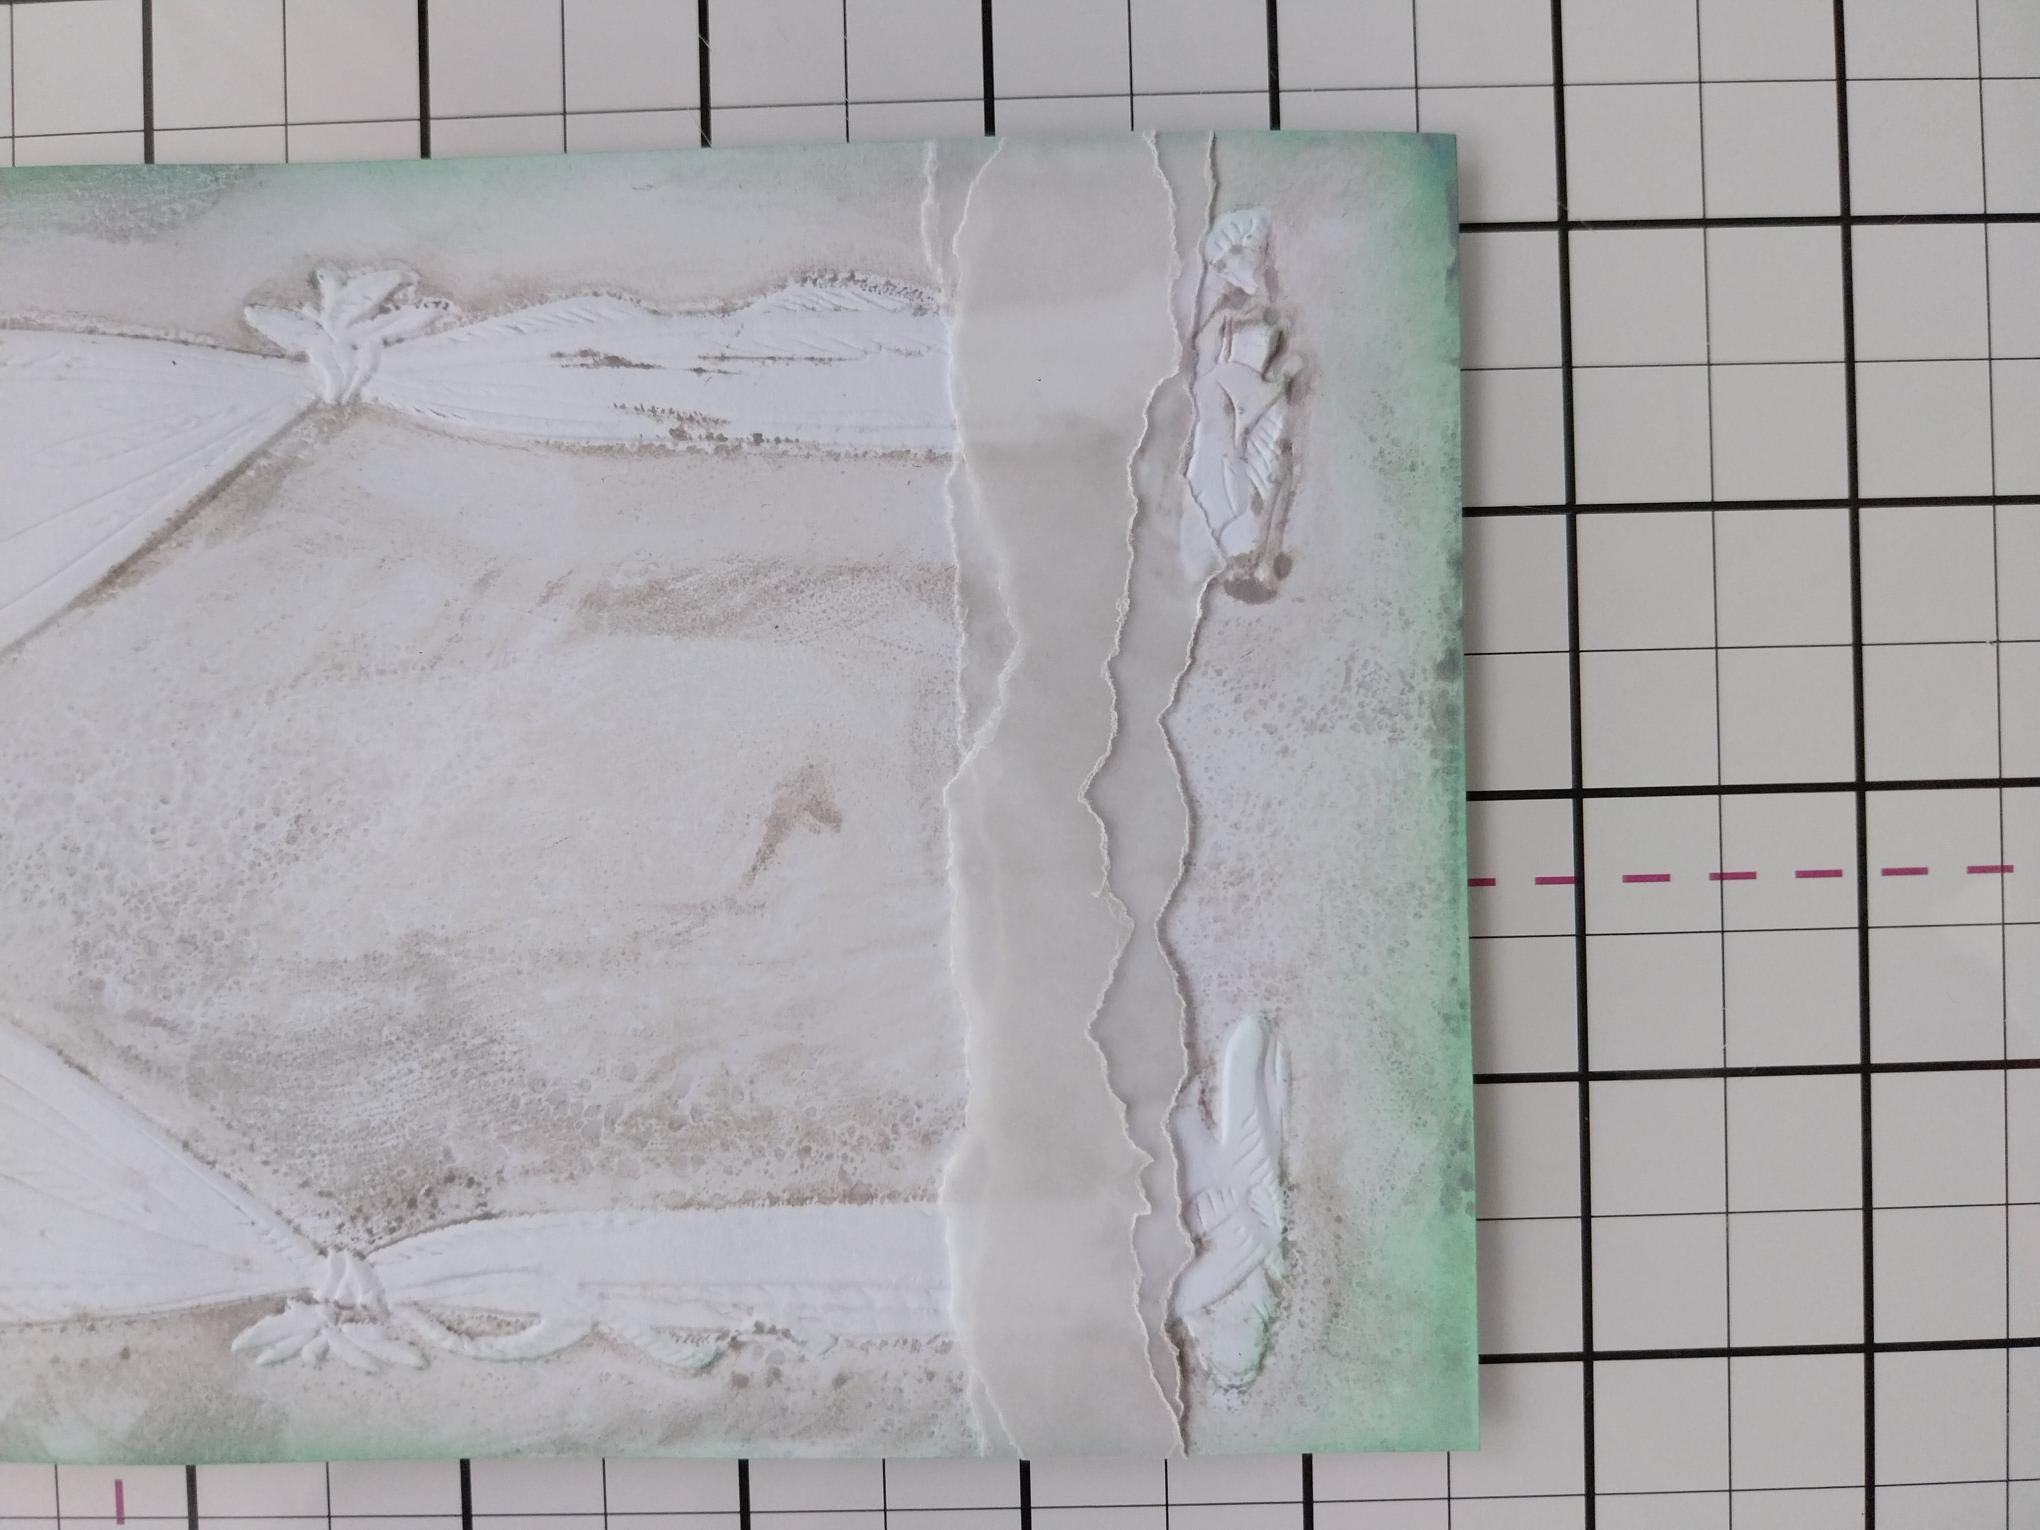
Tear 2 strips of vellum and lay one on top of the other, across the bottom third of the embossed card. Tuck the ends of the vellum over the edges of the card and secure on the reverse with double-sided adhesive tape. |
|
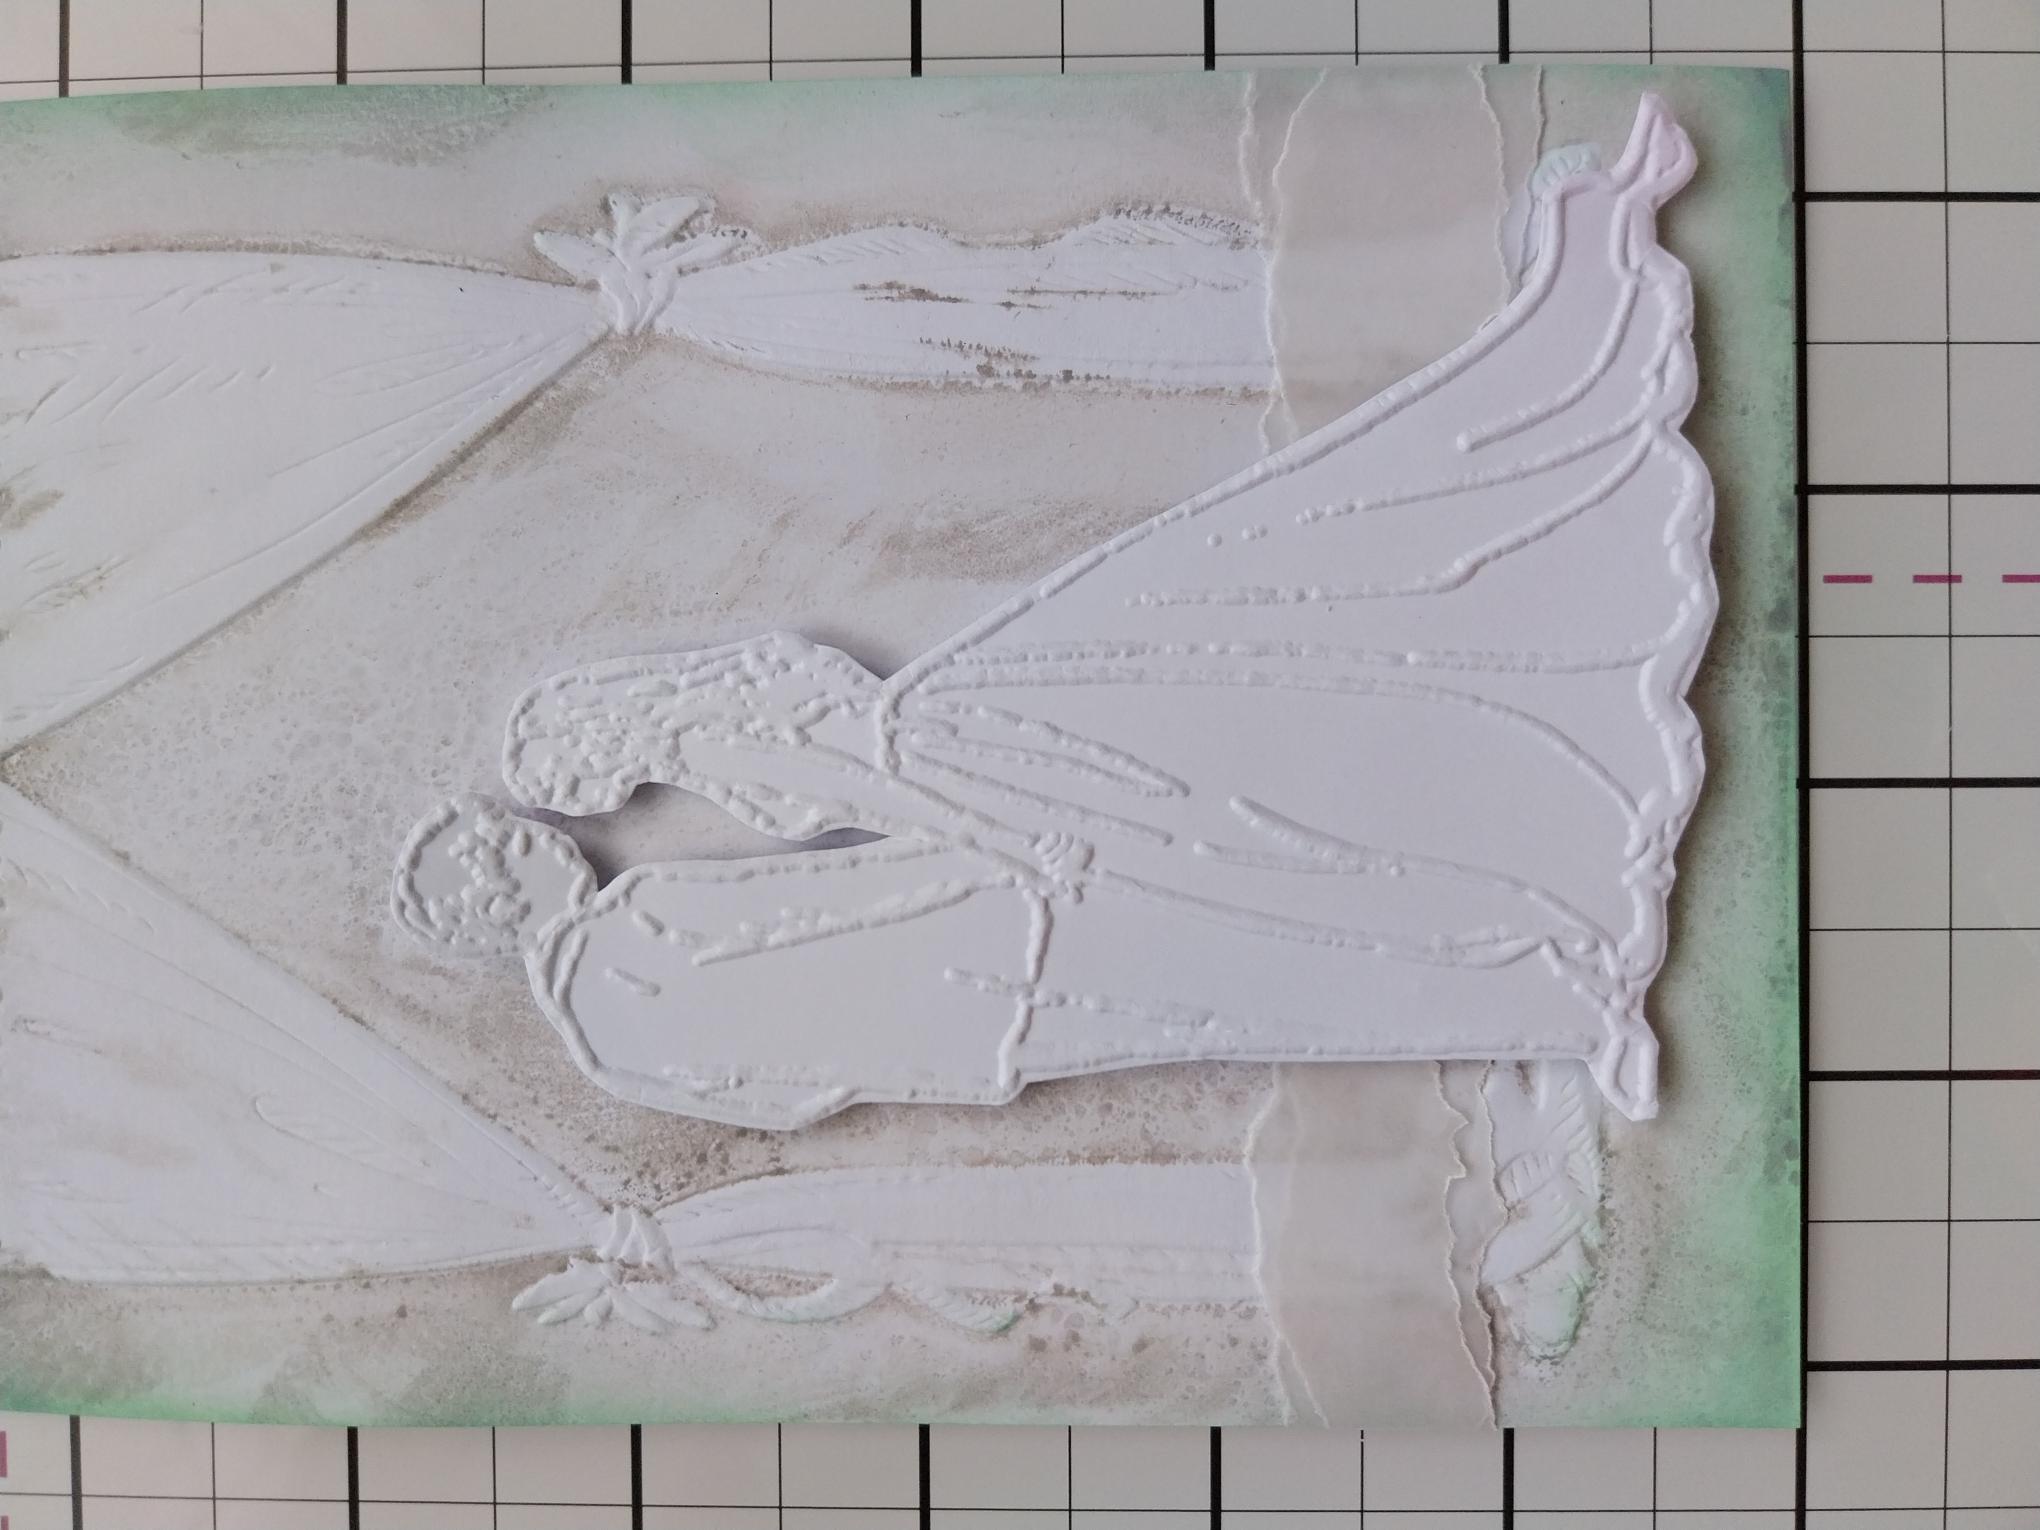
Secure your Bride and Groom in place, with foam pads. |
|
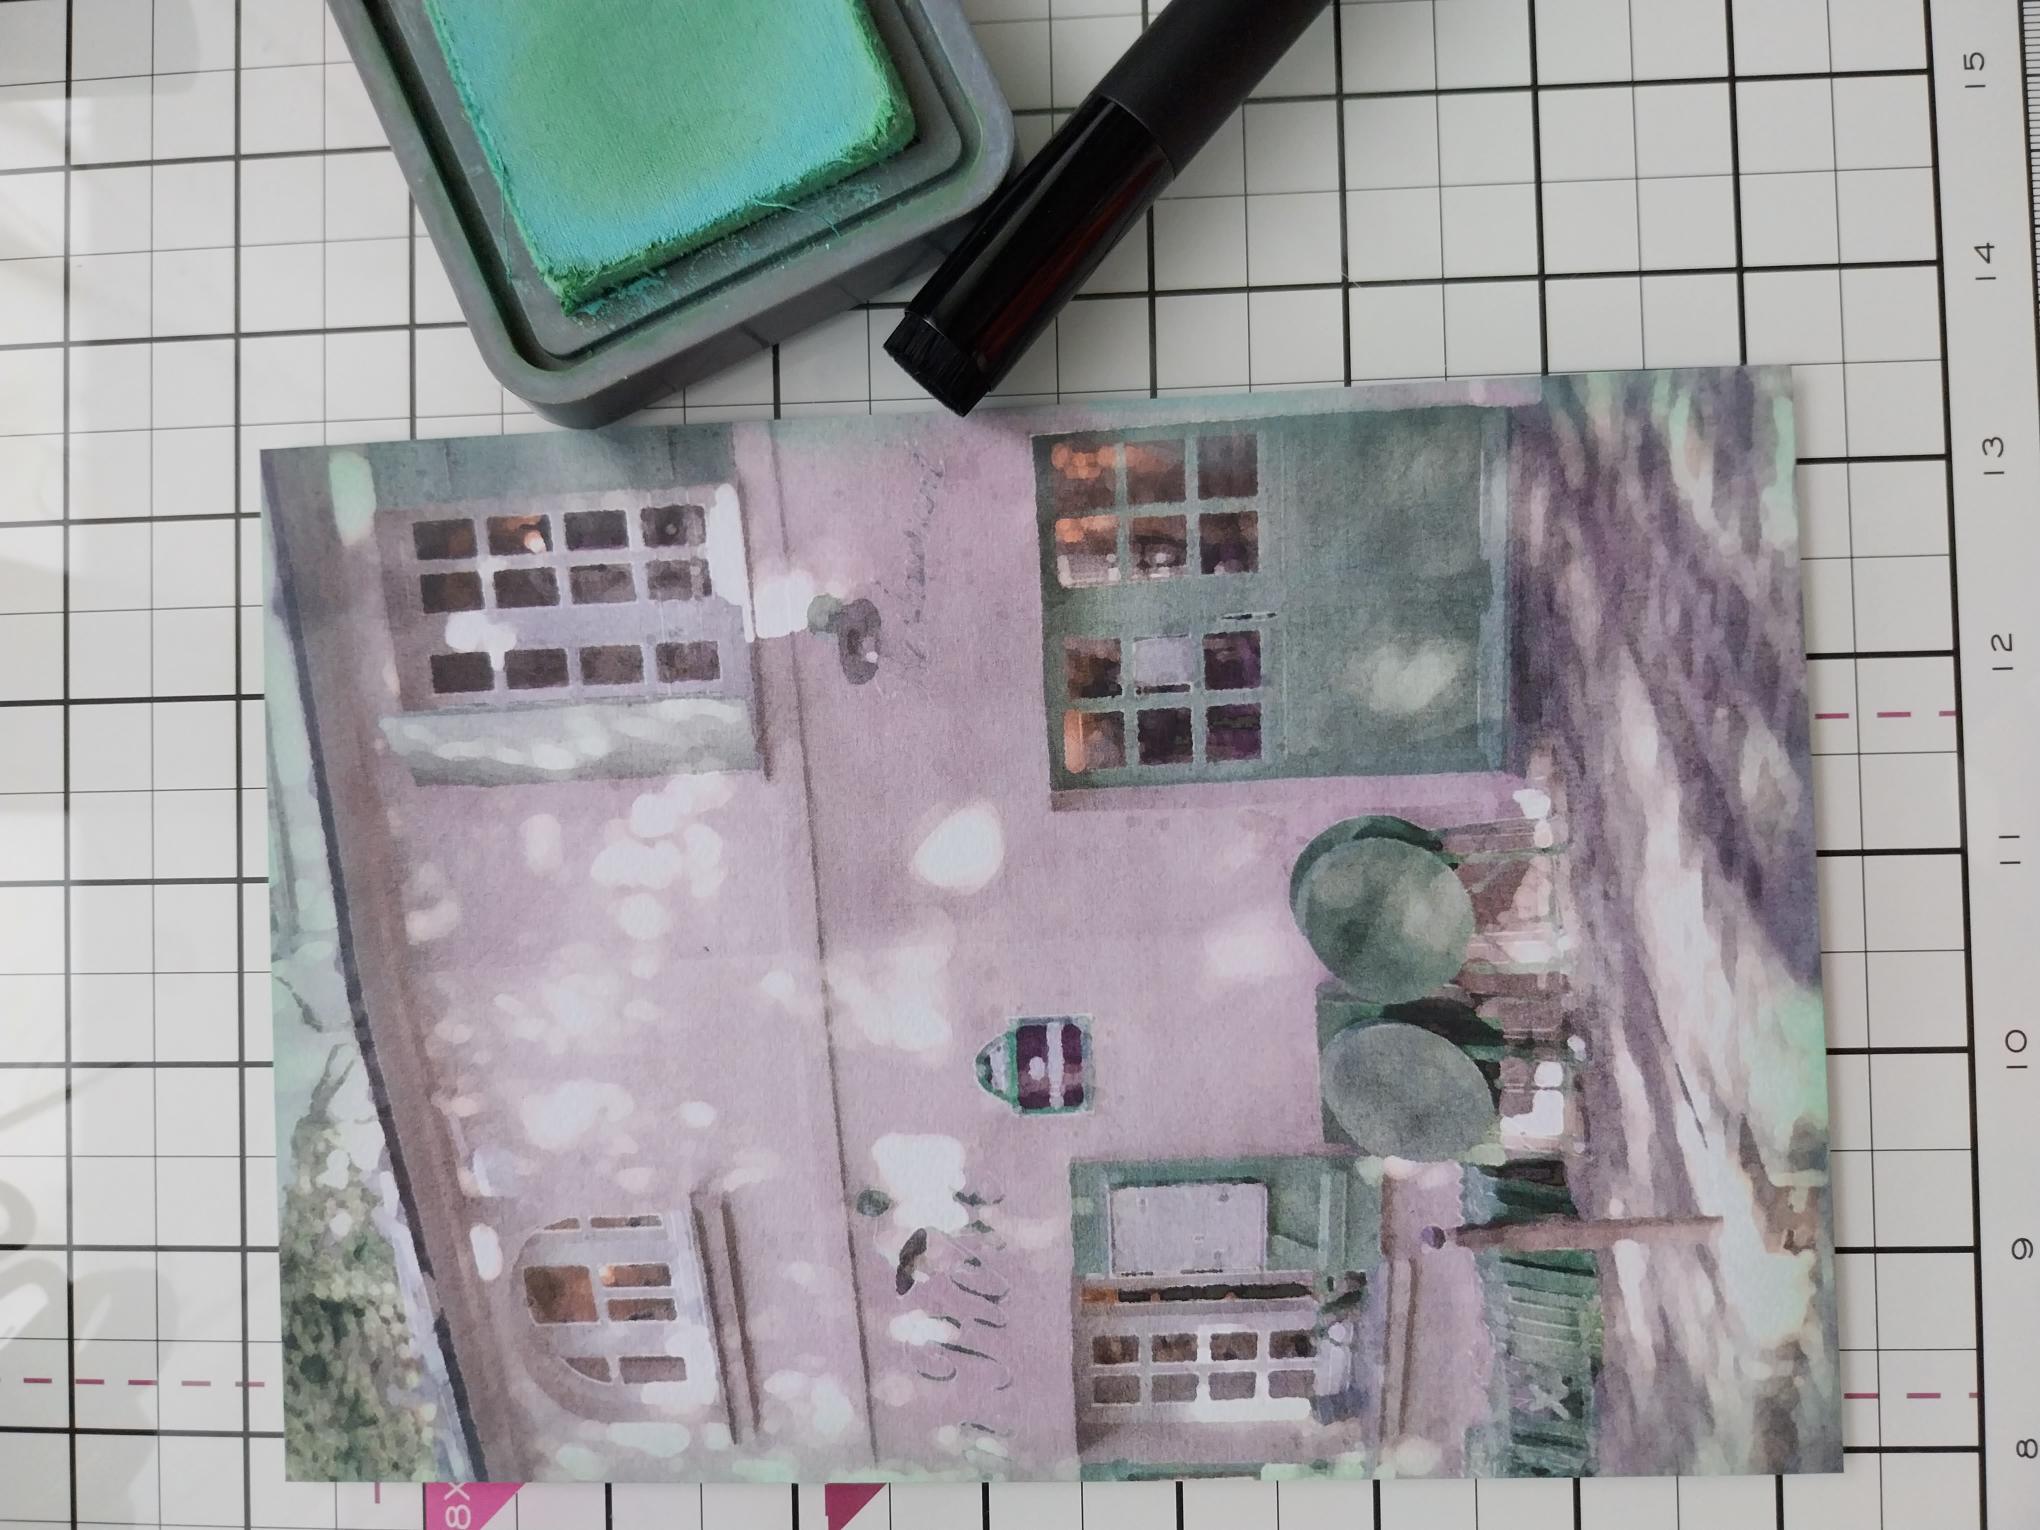
Trim this scenic paper from Foreign Romance, to 8 x 5 1/2". Blend the Pistachio around the outer edges. |

|
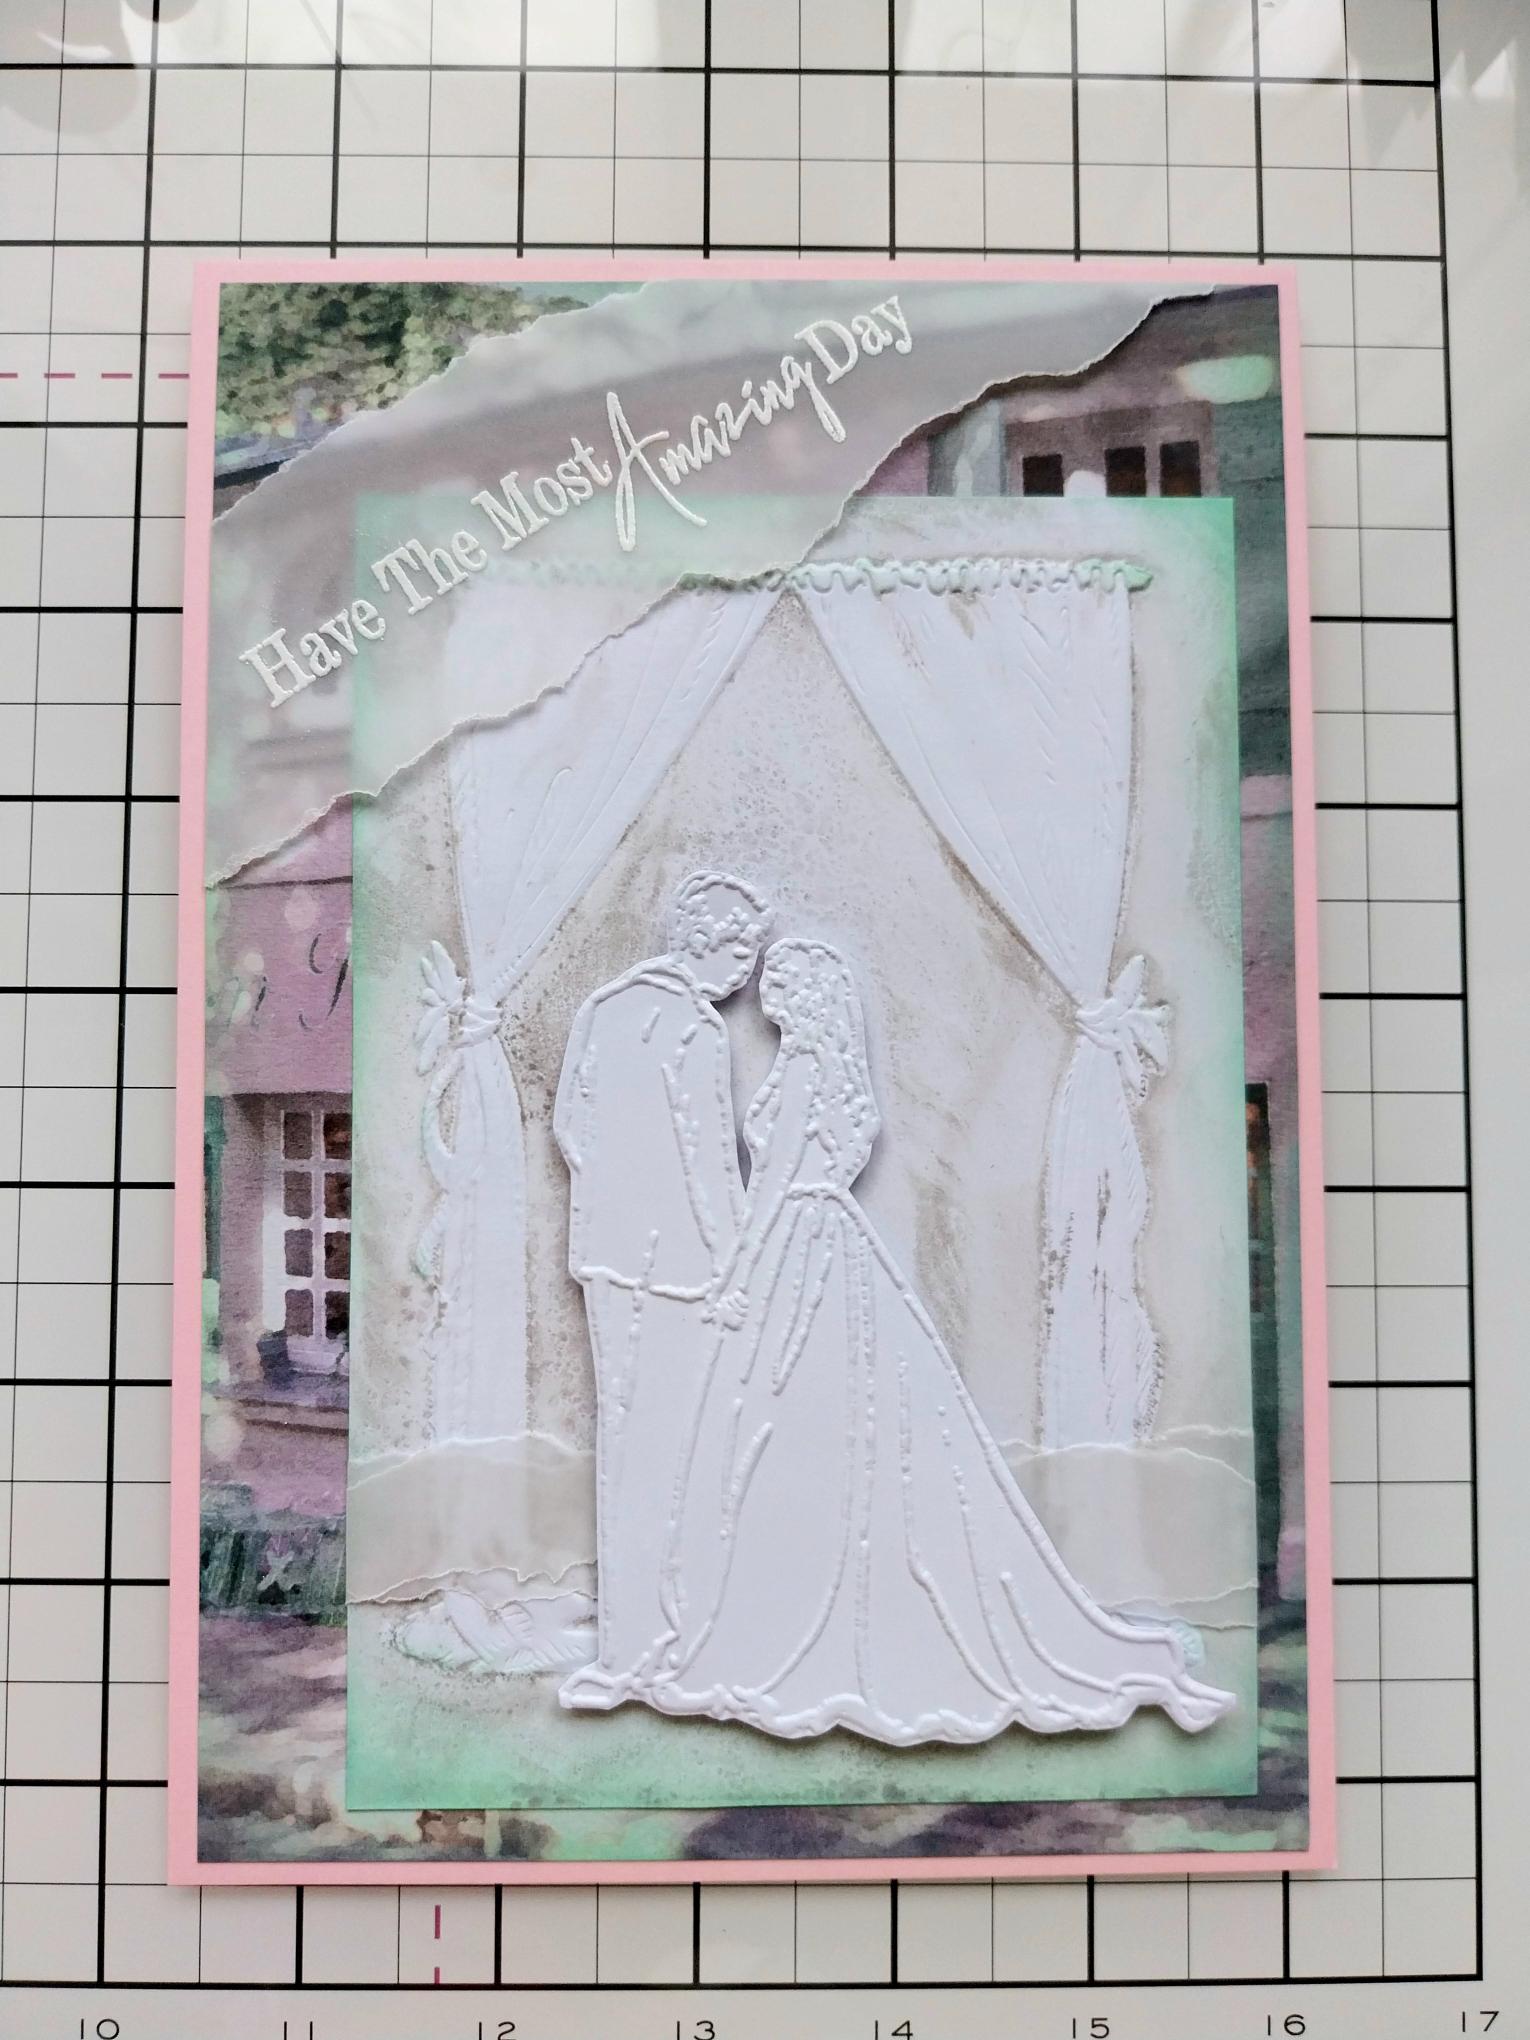
Secure your embossed artwork onto the scenic paper, to the right hand side as shown here. |
|
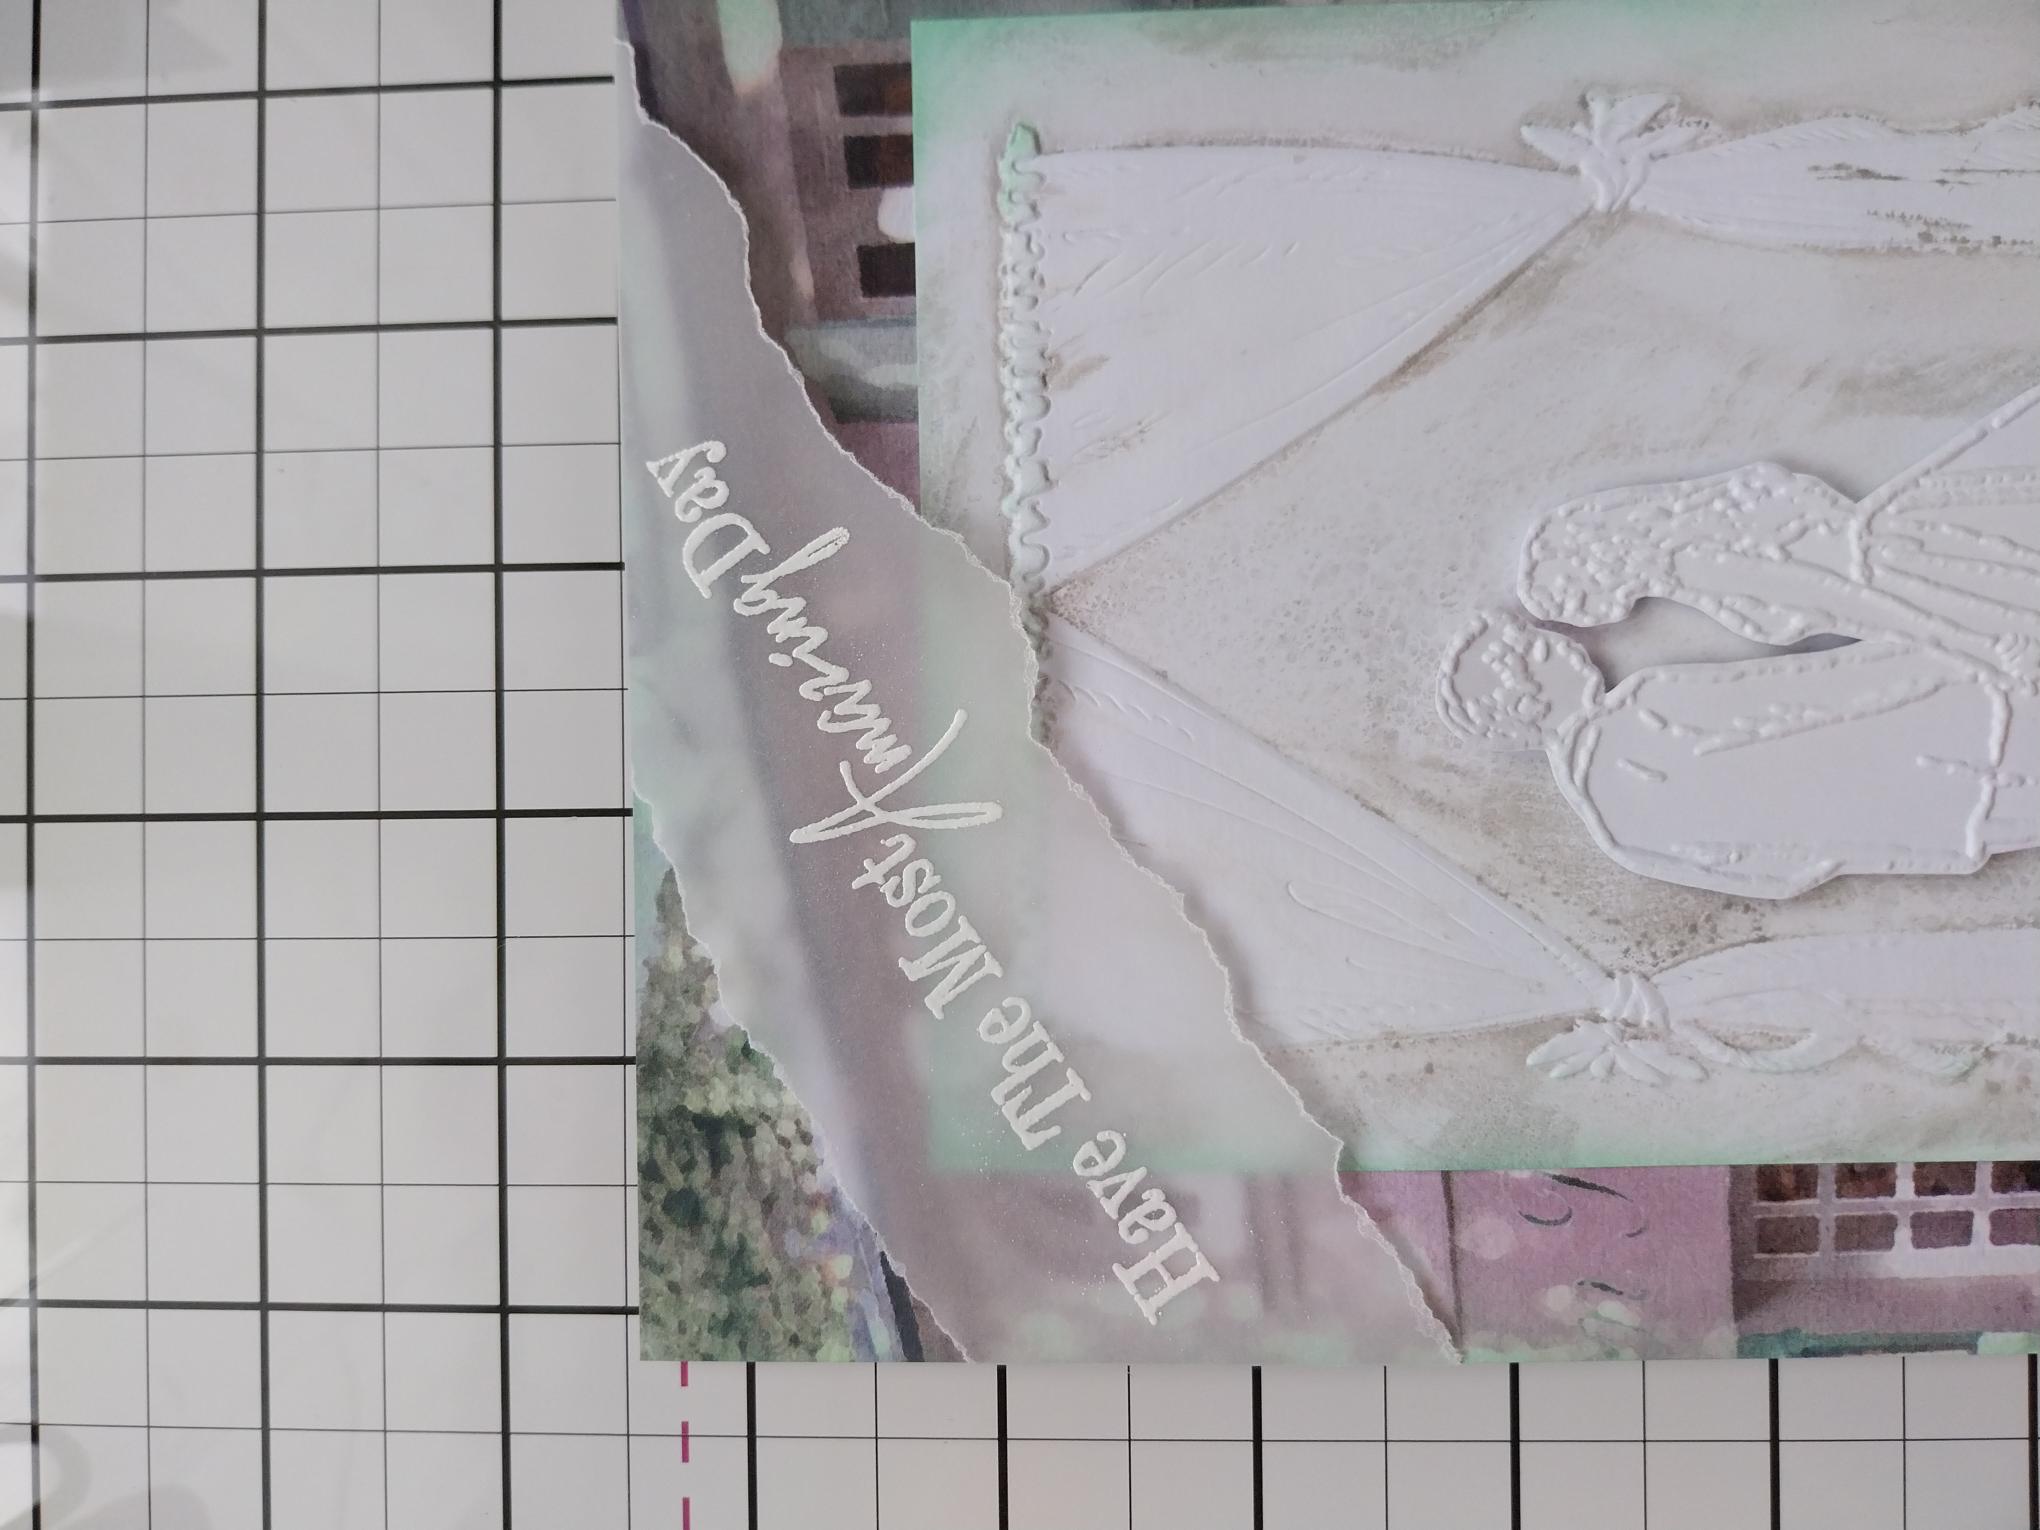
Tear another panel of vellum long enough to sit diagonally across the corner of your project, using your sentiment stamp (from the Christmas Advent Calendar) as a size guide. Wipe over the vellum with your anti-static bag before stamping the sentiment with the sticky WOW embossing ink. Cover with the white embossing powder, decanting the excess back into the pot. Get your heat tool good and hot before heat setting the powder. Lay the embossed vellum diagonally, across the top left of your project. Tuck the ends of the vellum over the edges of the paper and secure on the reverse with your tape. |
|
Secure to the front of your pink card blank, to finish. |