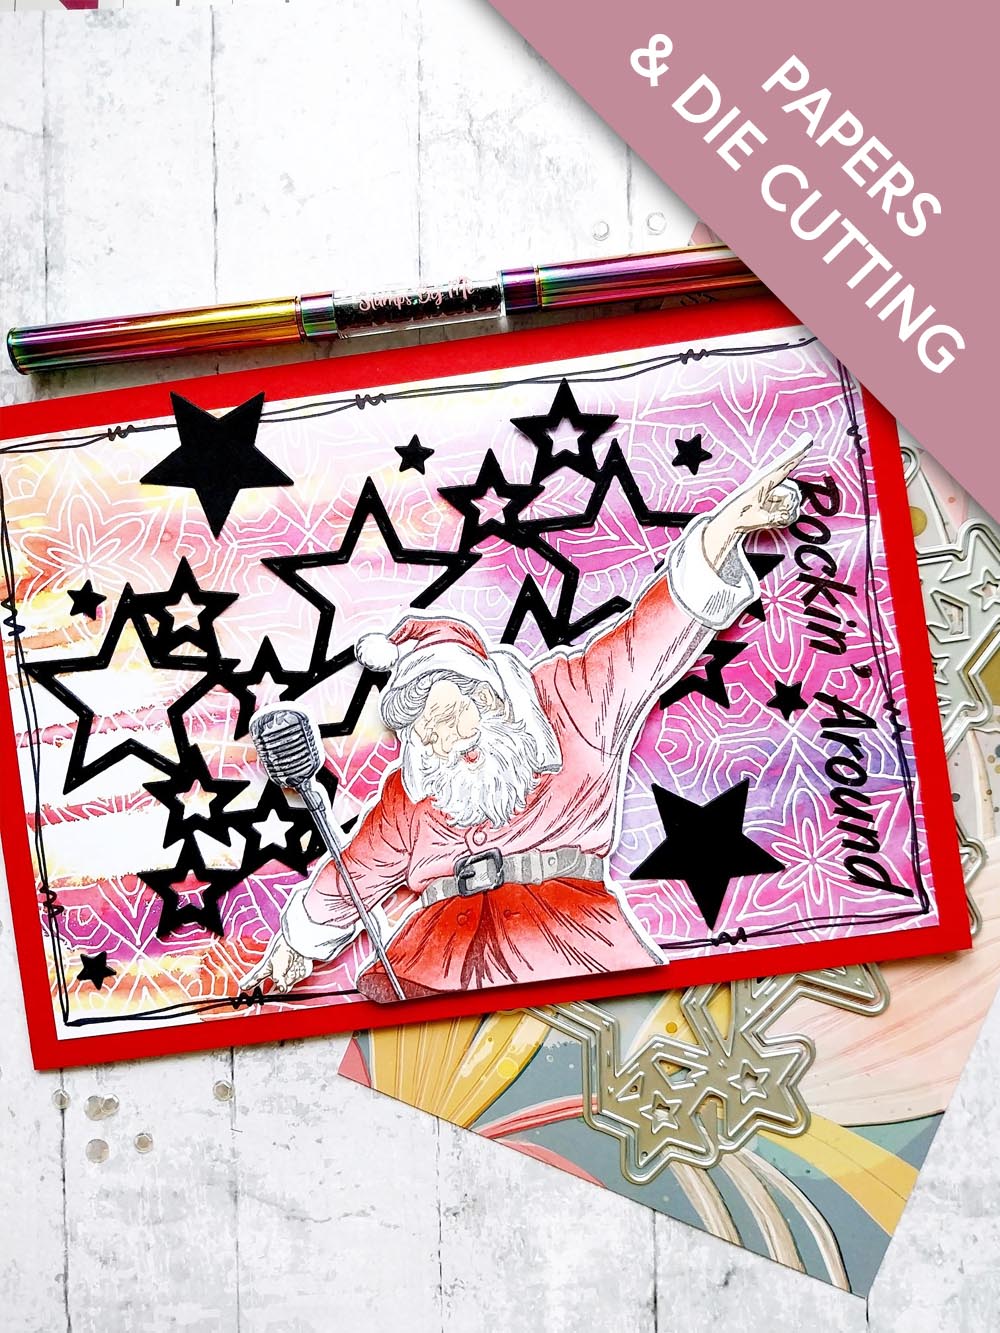
Give your friends $10 off their first order!
Refer a FRIEND


WHAT YOU WILL NEED:
Red card blank 8 1/4 x 5 3/4" (landscape)
Black/white cardstock
Wish Upon A Star A5 Die
Quattro D Rockin Around
SBM Hybrid ink Pad: Midnight
SBM Premium Dye Ink Pad: Redwood
Versafine Ink Pad: Smoky Grey
Distress Ink/Oxide ink Pad: Lost Shadow, Hickory Smoke, Black Soot, Tattered Rose
Blending Tool
Black pen
Thirsty Brush UnLtd Life In Full Colour Paper Pad
Eureka 101 Watercolour Tablet
SBM A3 Magnetic glass mat
Paper Trimmer
Glue
Foam pads
Die Cutting machine
[click image to enlarge] 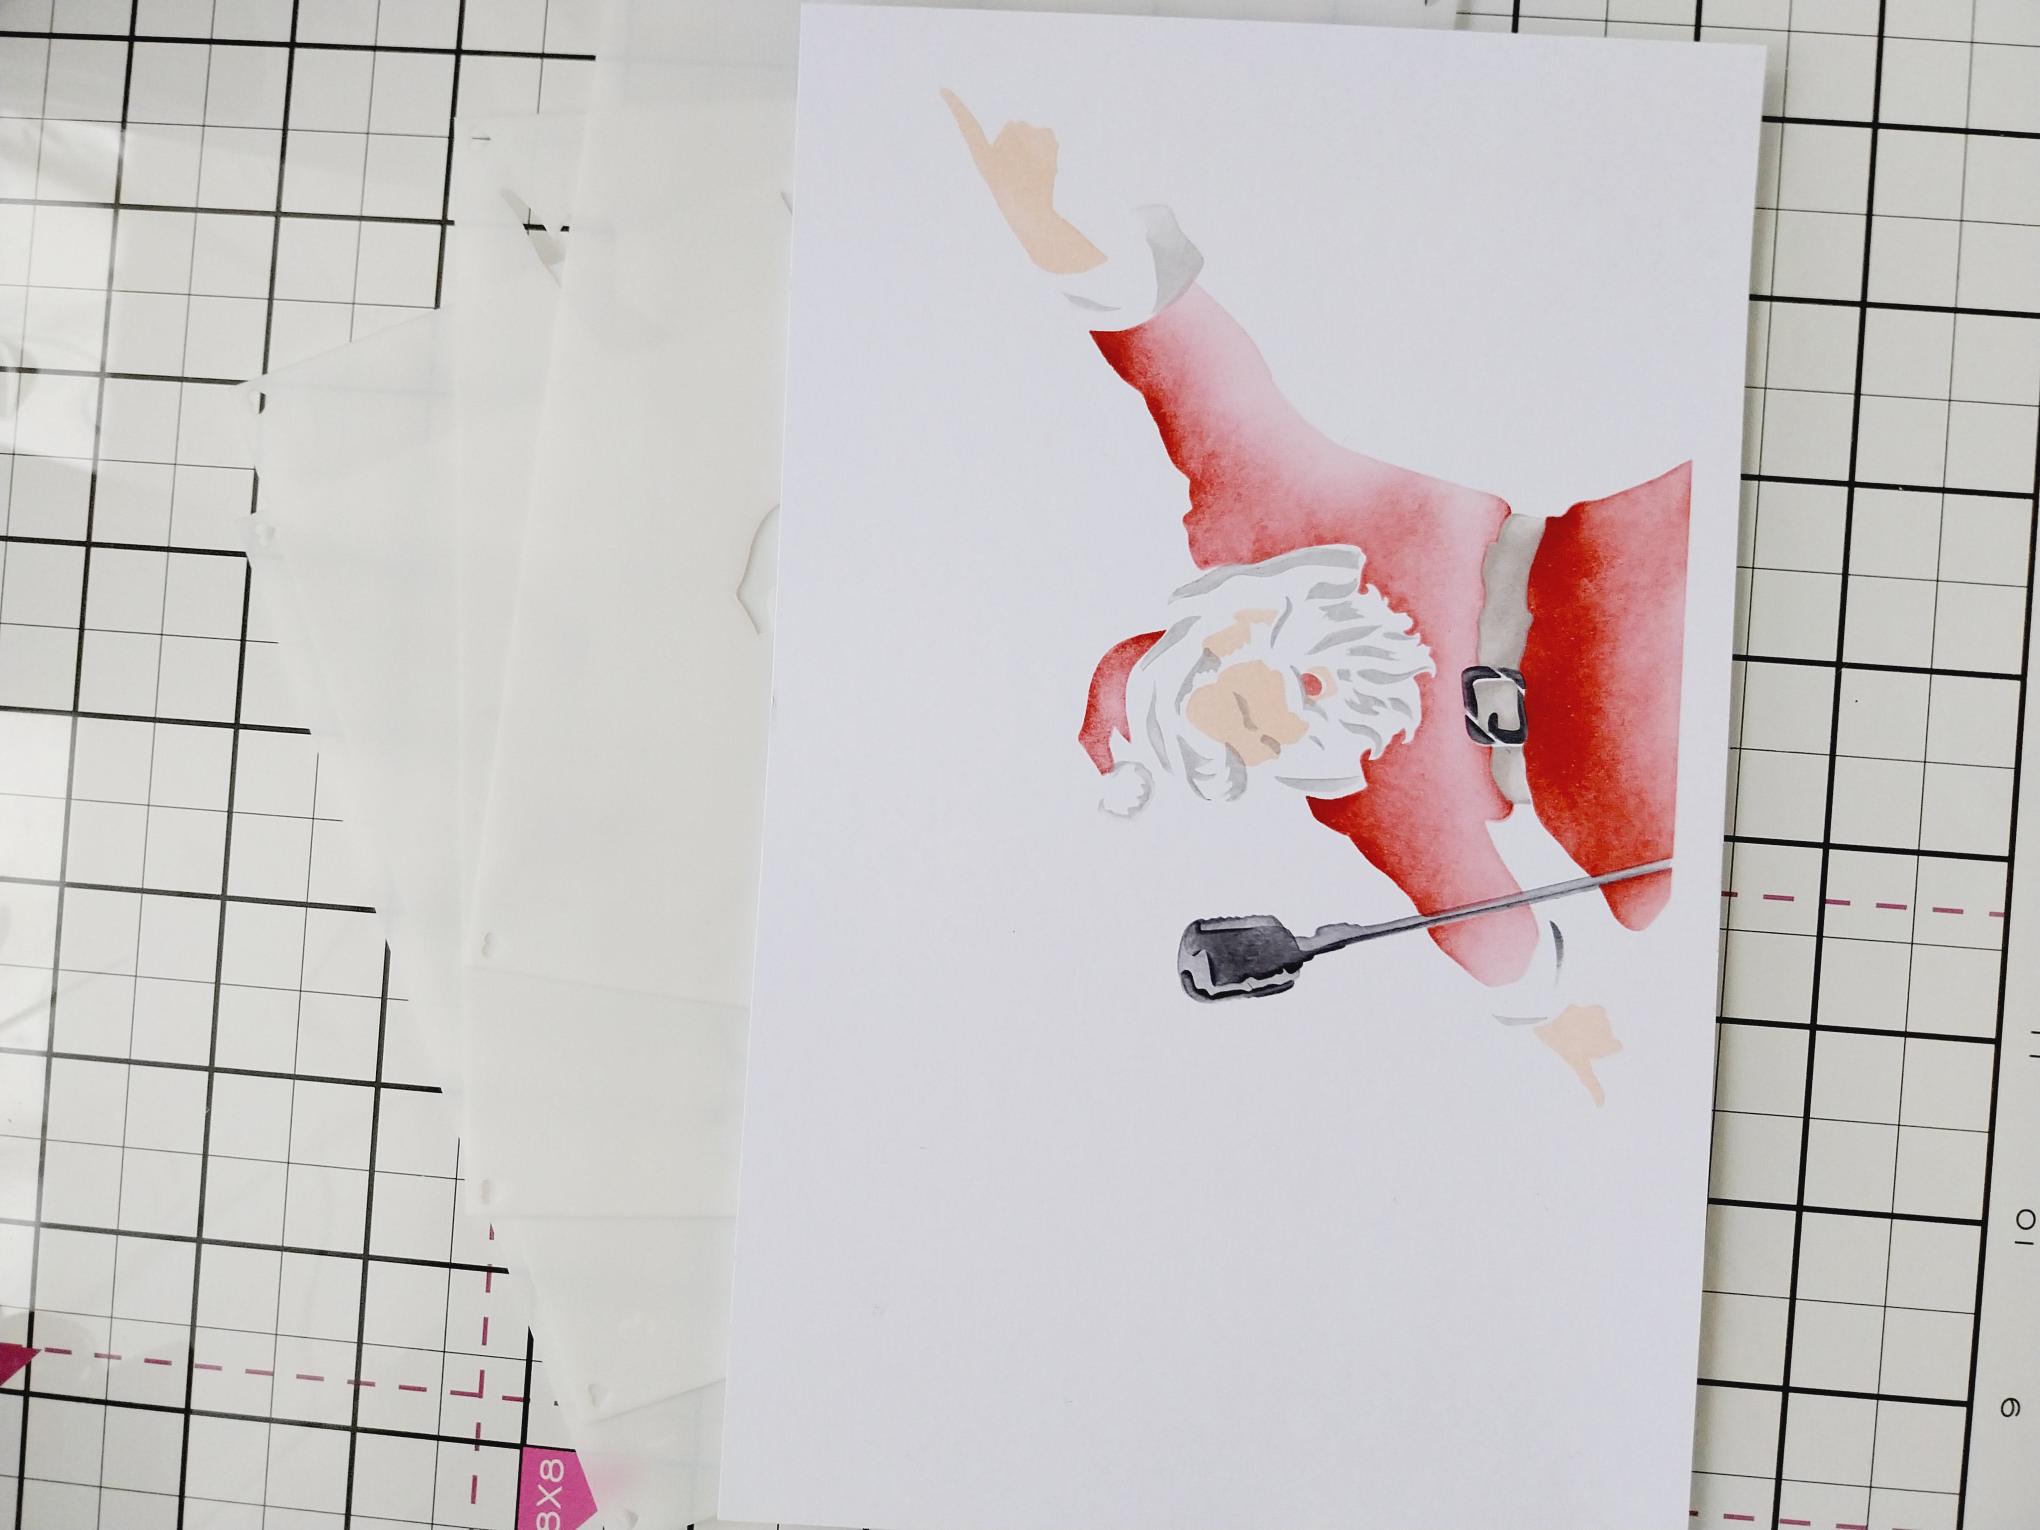
|
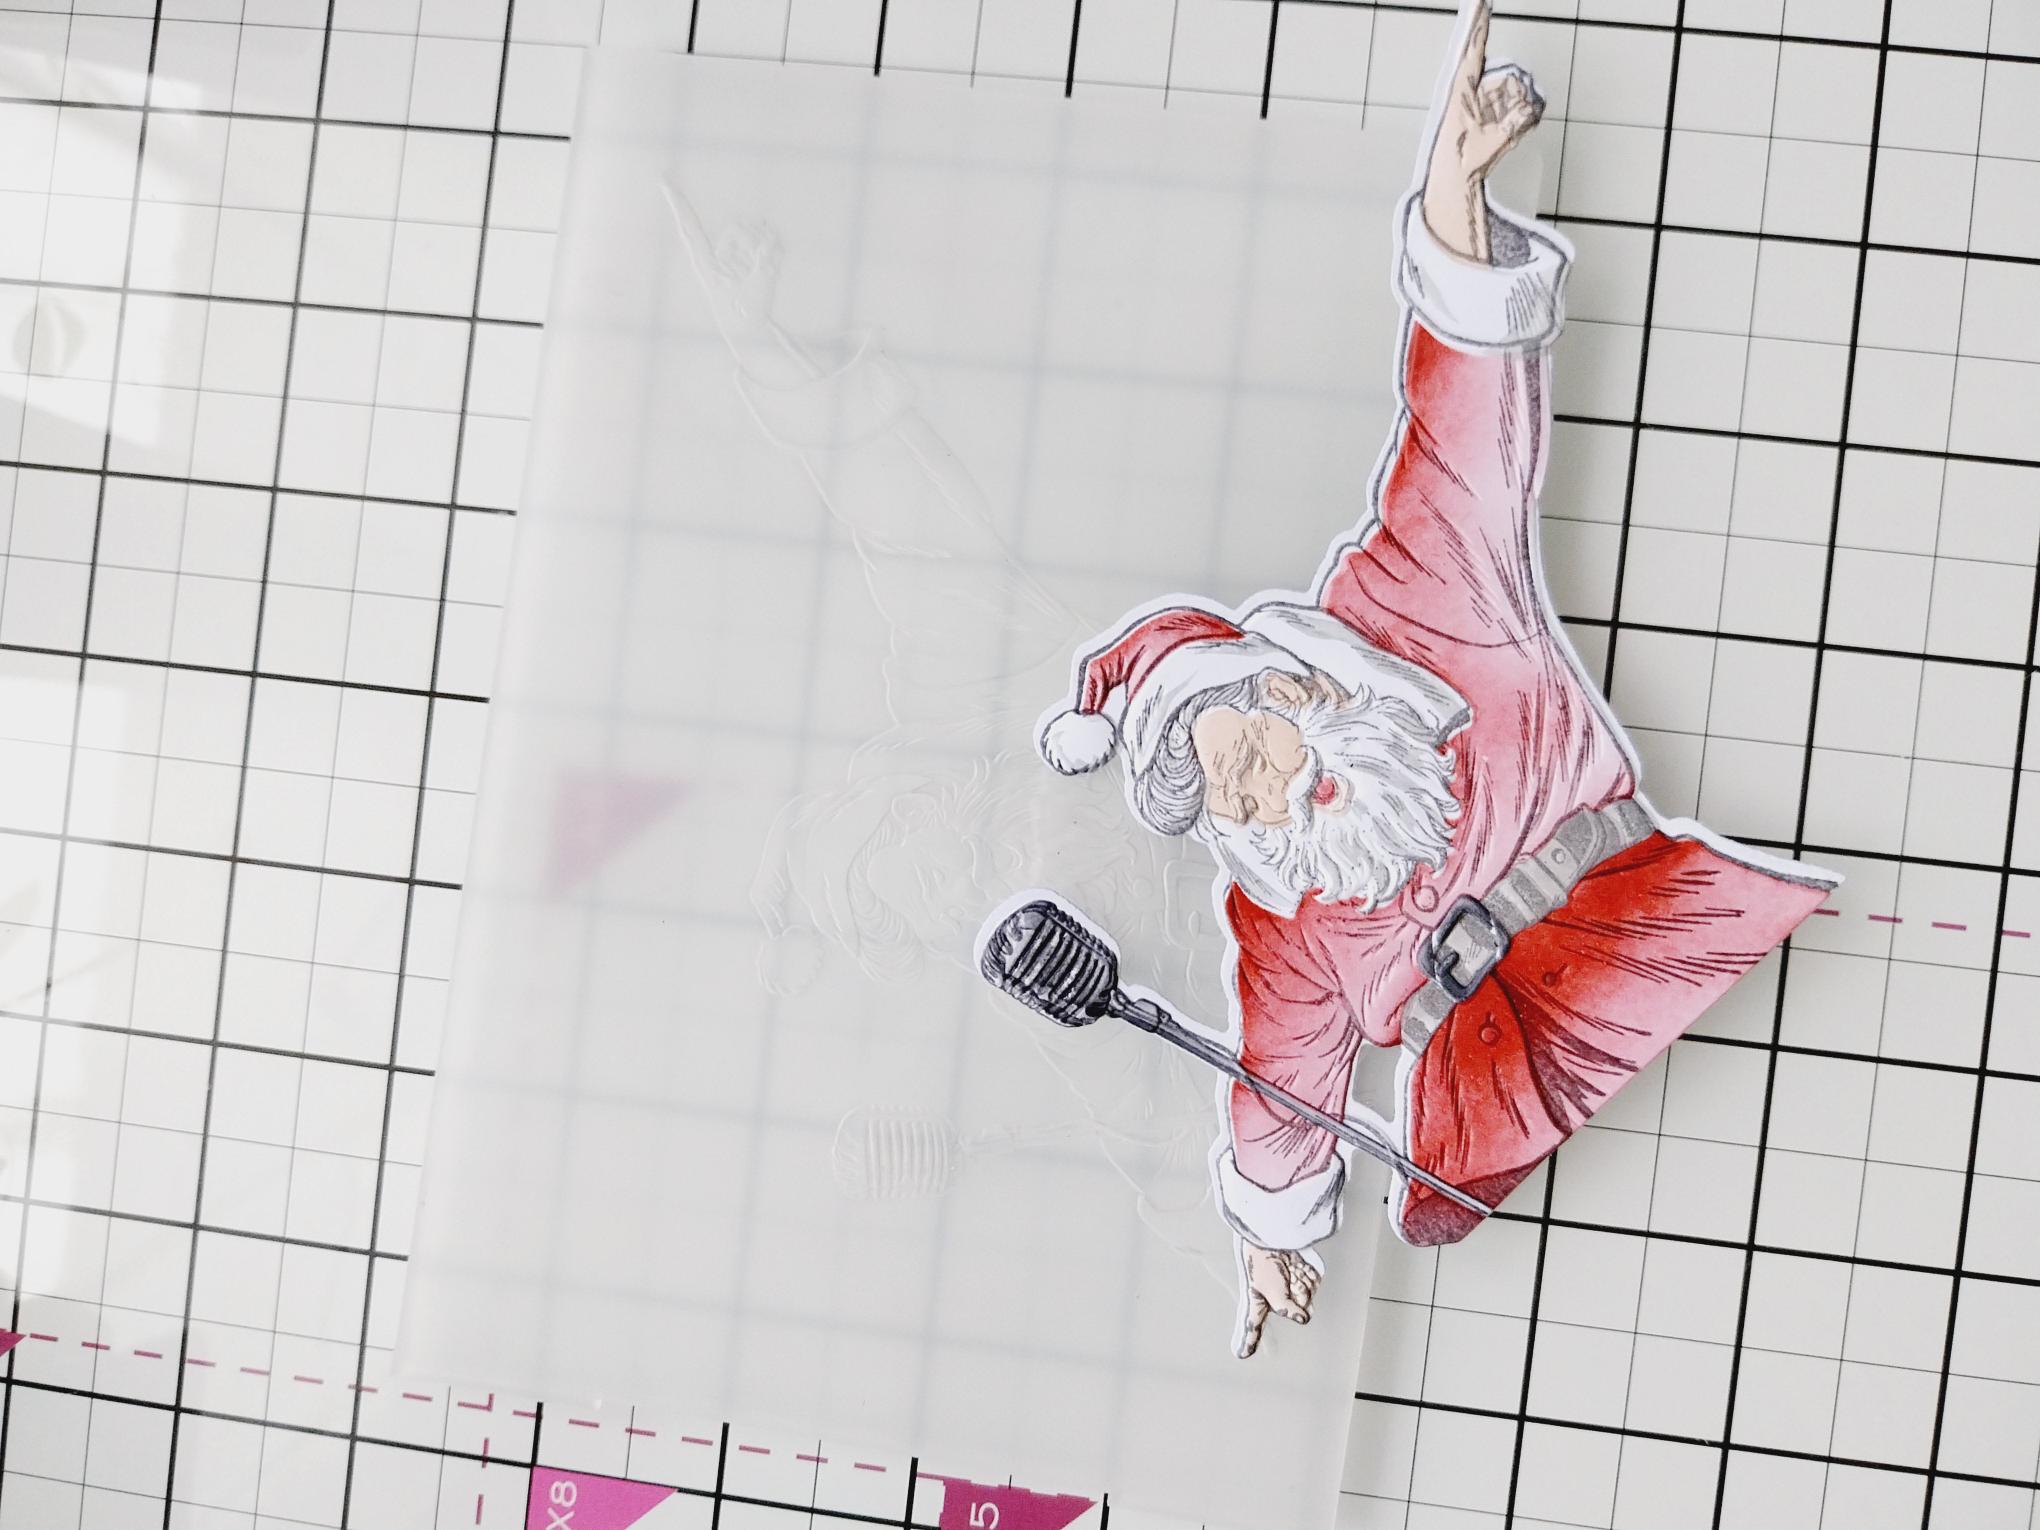
Each of the stencils in the Quattro D Rockin Around collection are numbered and have hearts in the corner to help you line each one up, if required. Use your blending tool to apply ink through each stencil, on to white card trimmed to 7 x 5", as follows: Stencil 1 Redwood Stencil 2 Tattered Rose (skin), Hickory Smoke (buckle) Stencil 3 Black Soot (buckle) and lightly on the Mic Stencil 4 Black Soot (buckle), Lost Shadow on rest of areas |
|
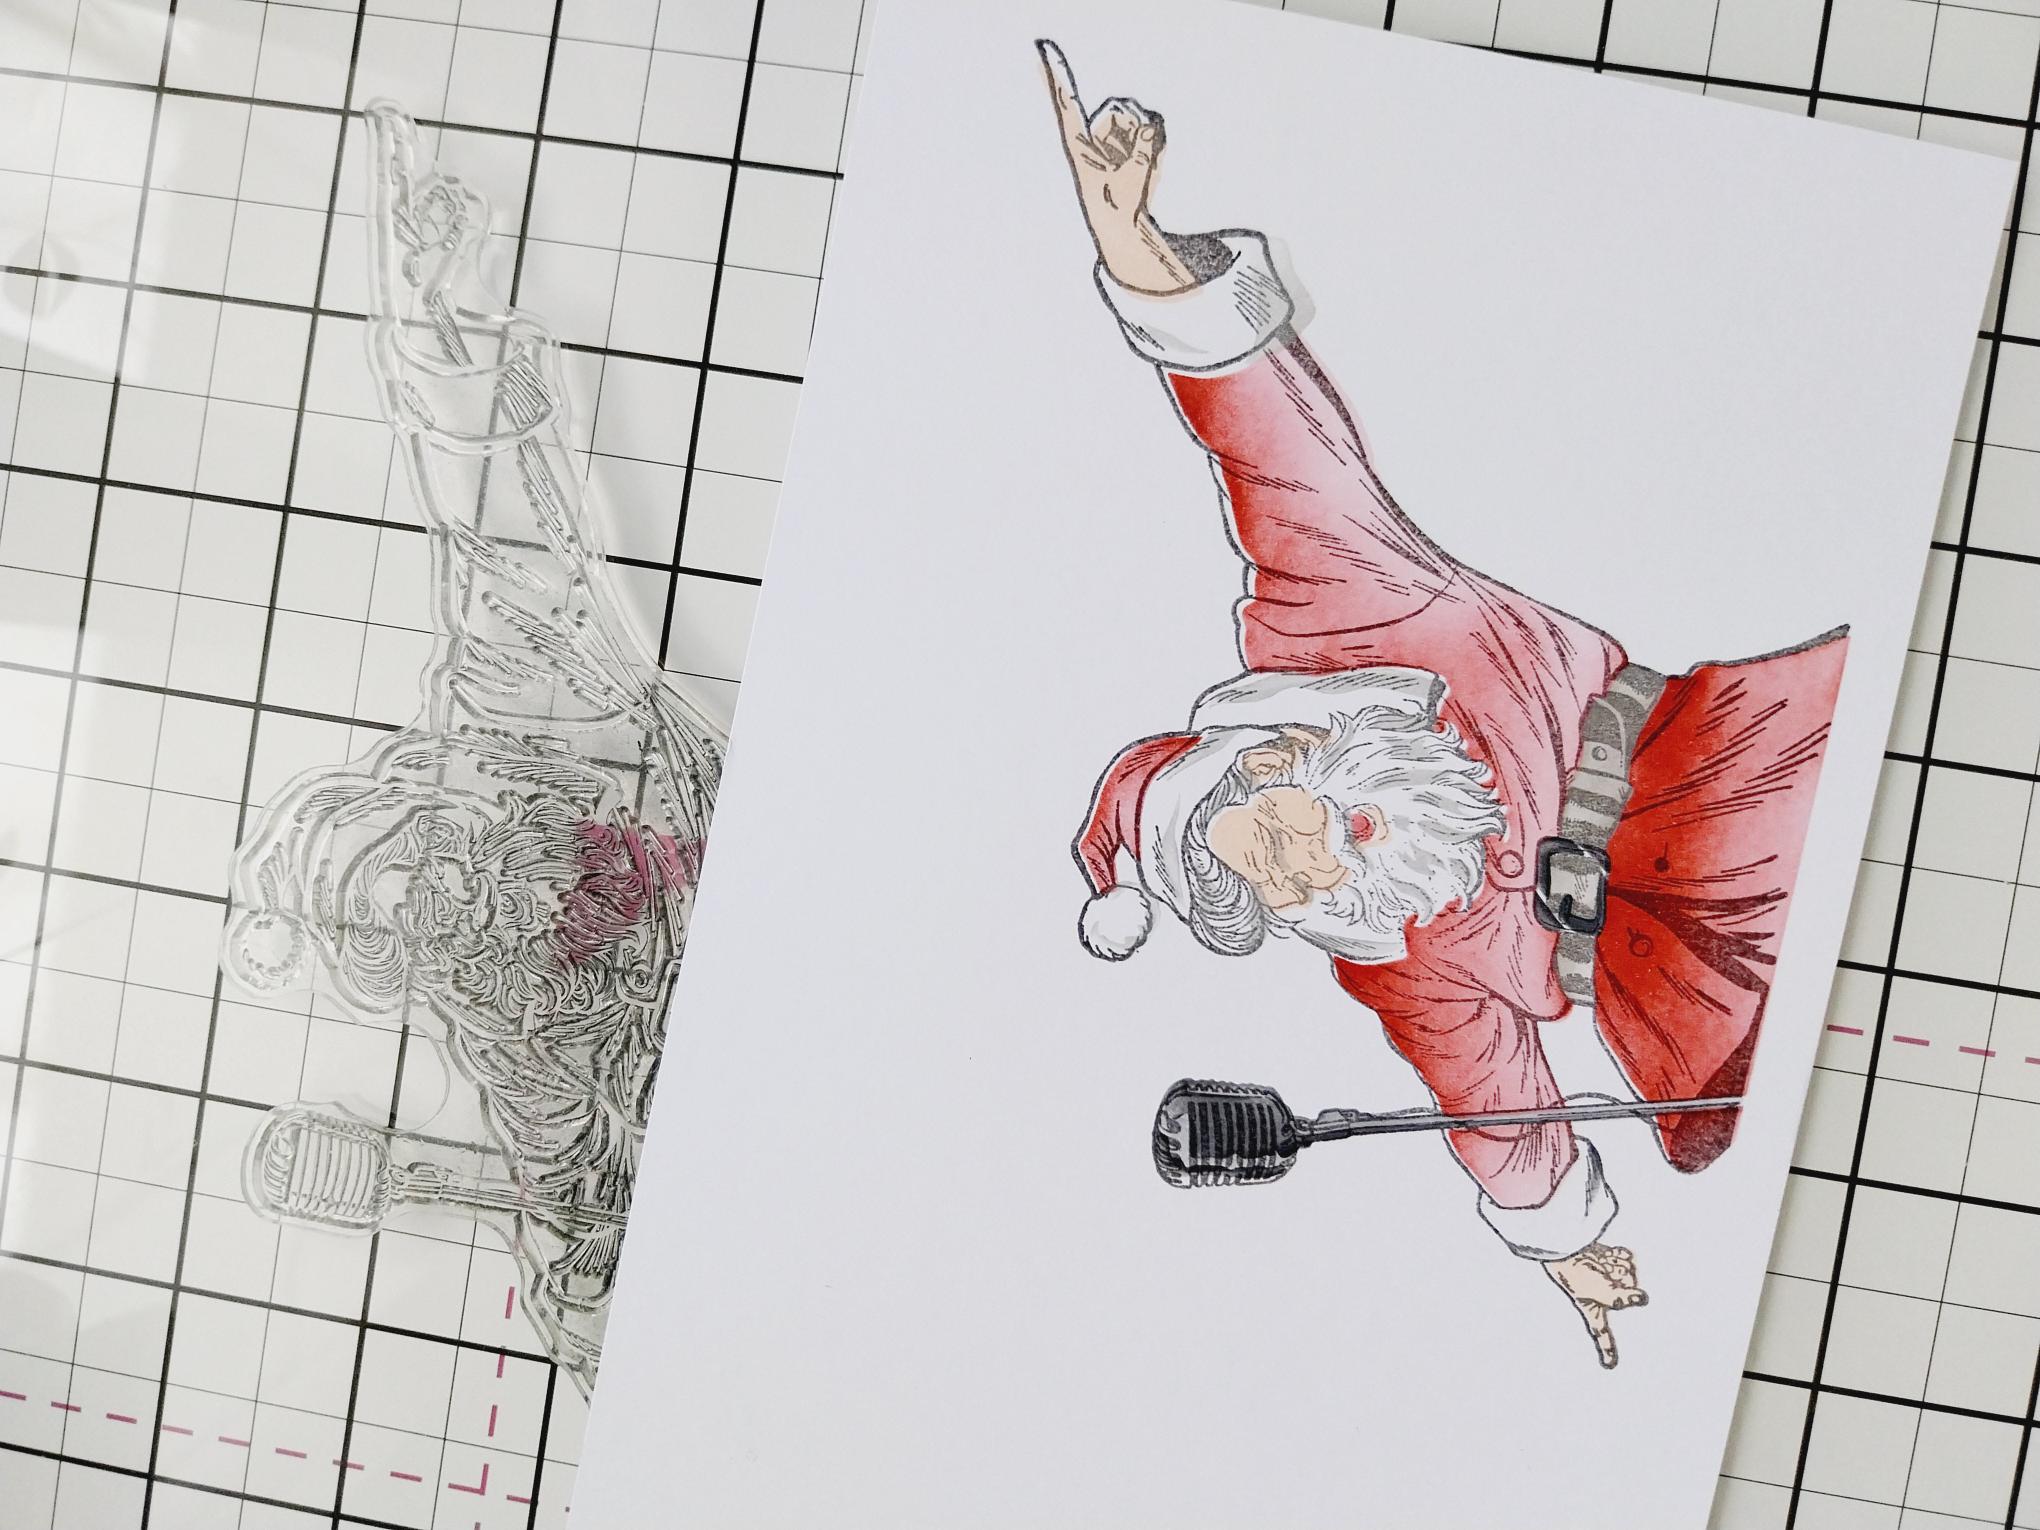
Stamp over your stencilled image in the Smoky Grey Versafine. |
|
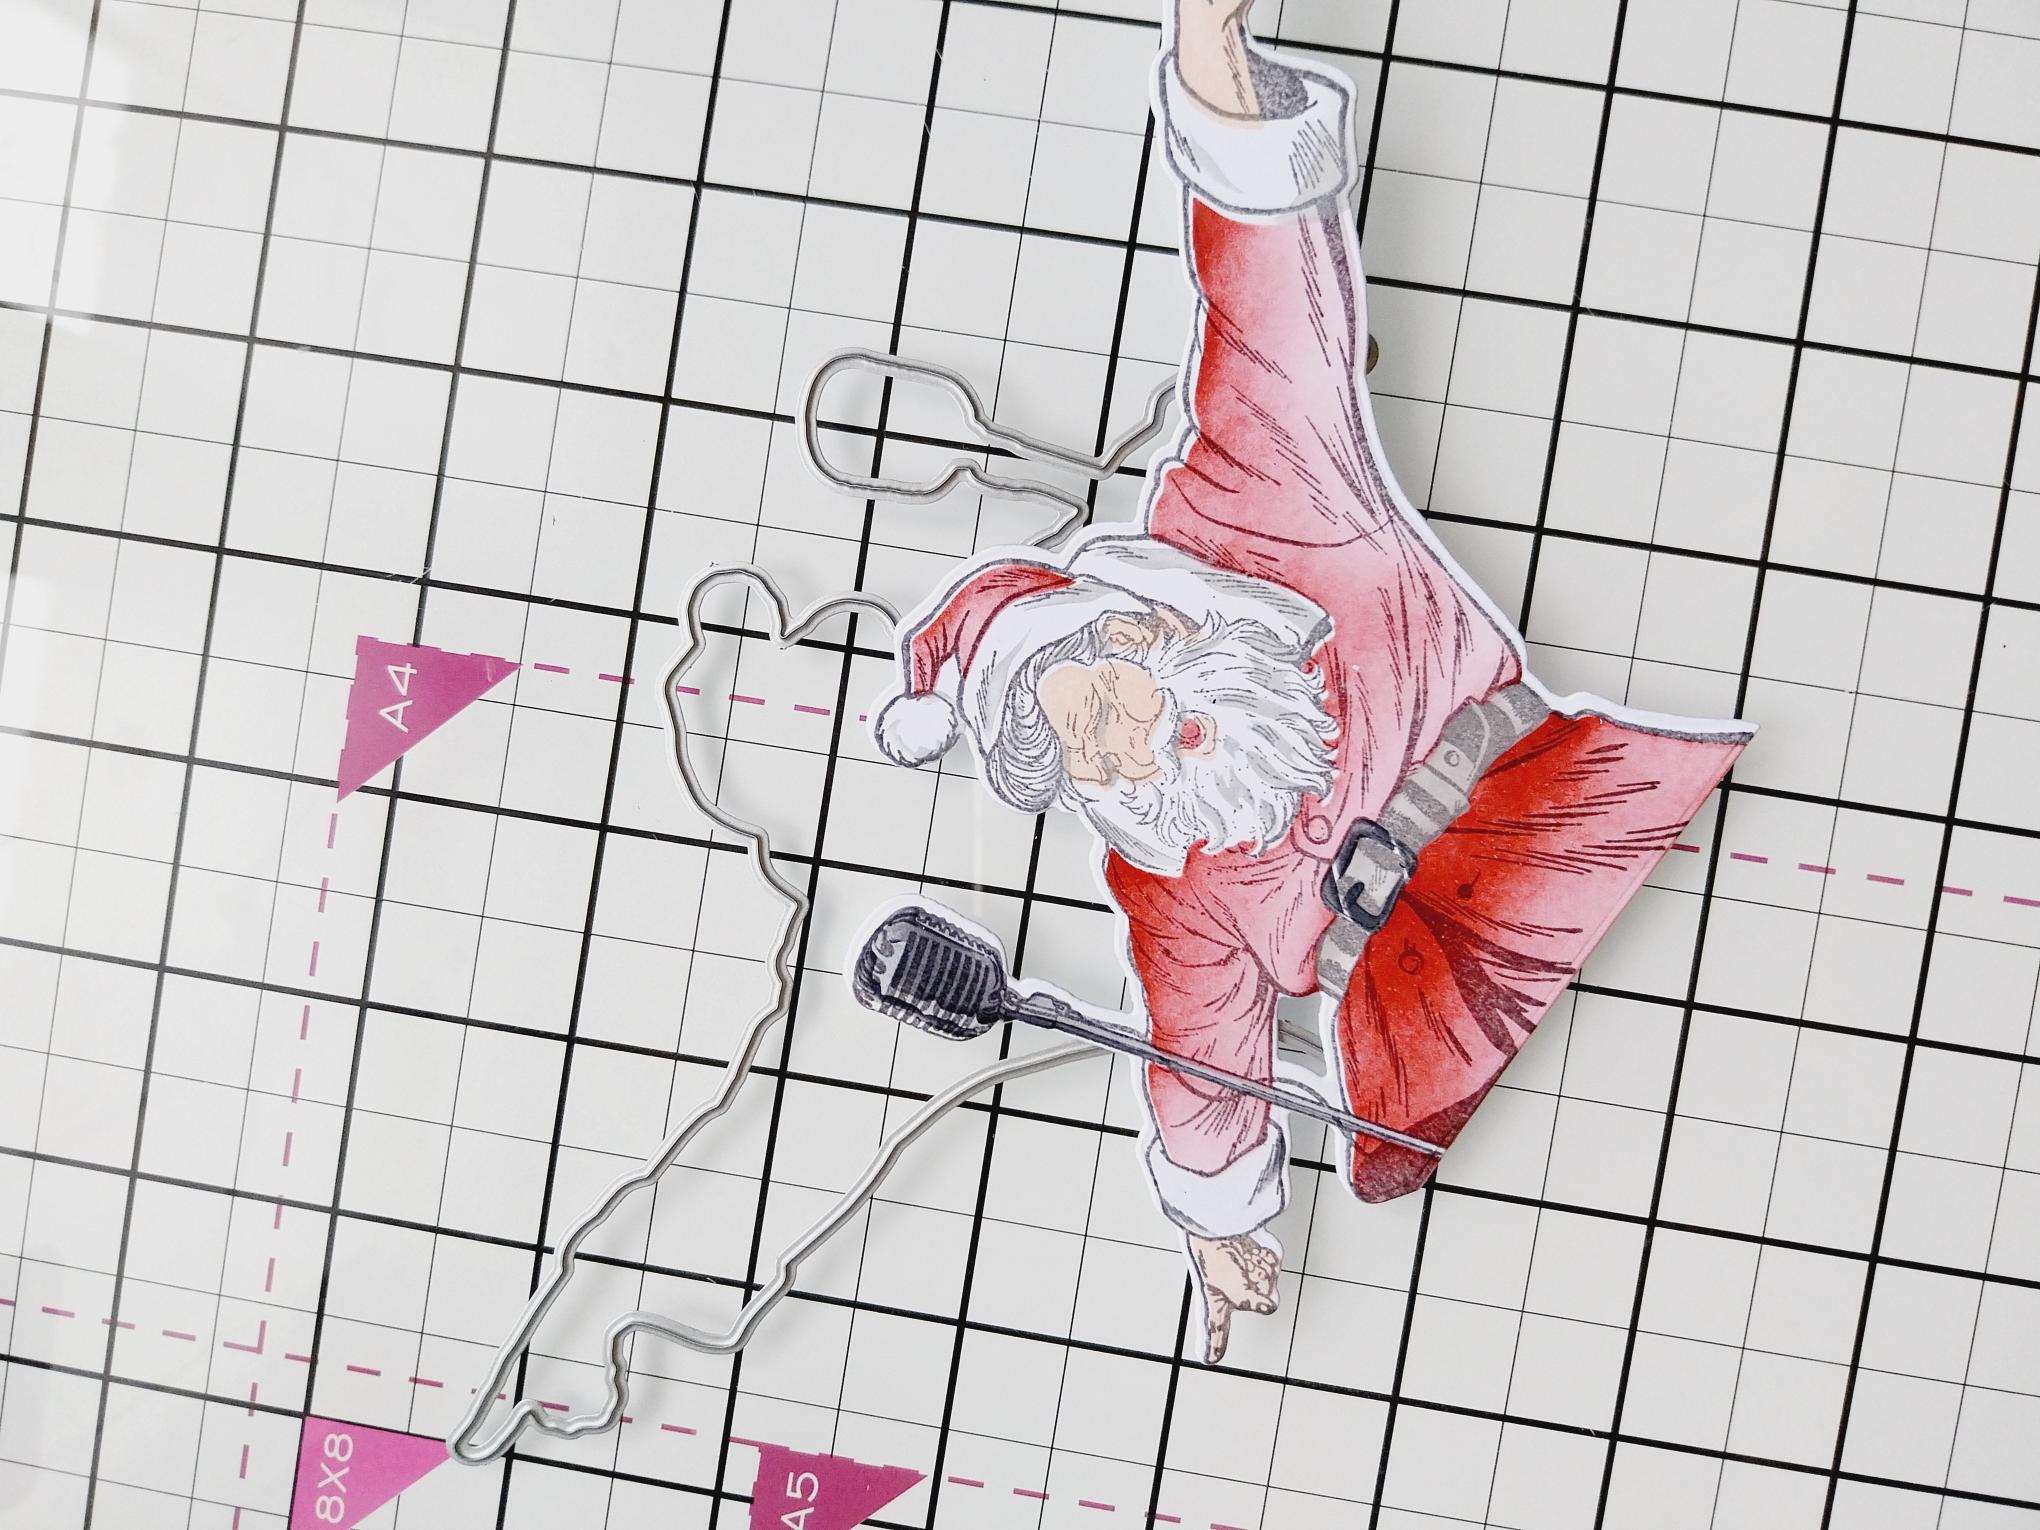
Use the coordinating die to cut it out. |
|
Place inside the embossing folder and run it through your machine, before popping your 3D Santa to one side. |
|
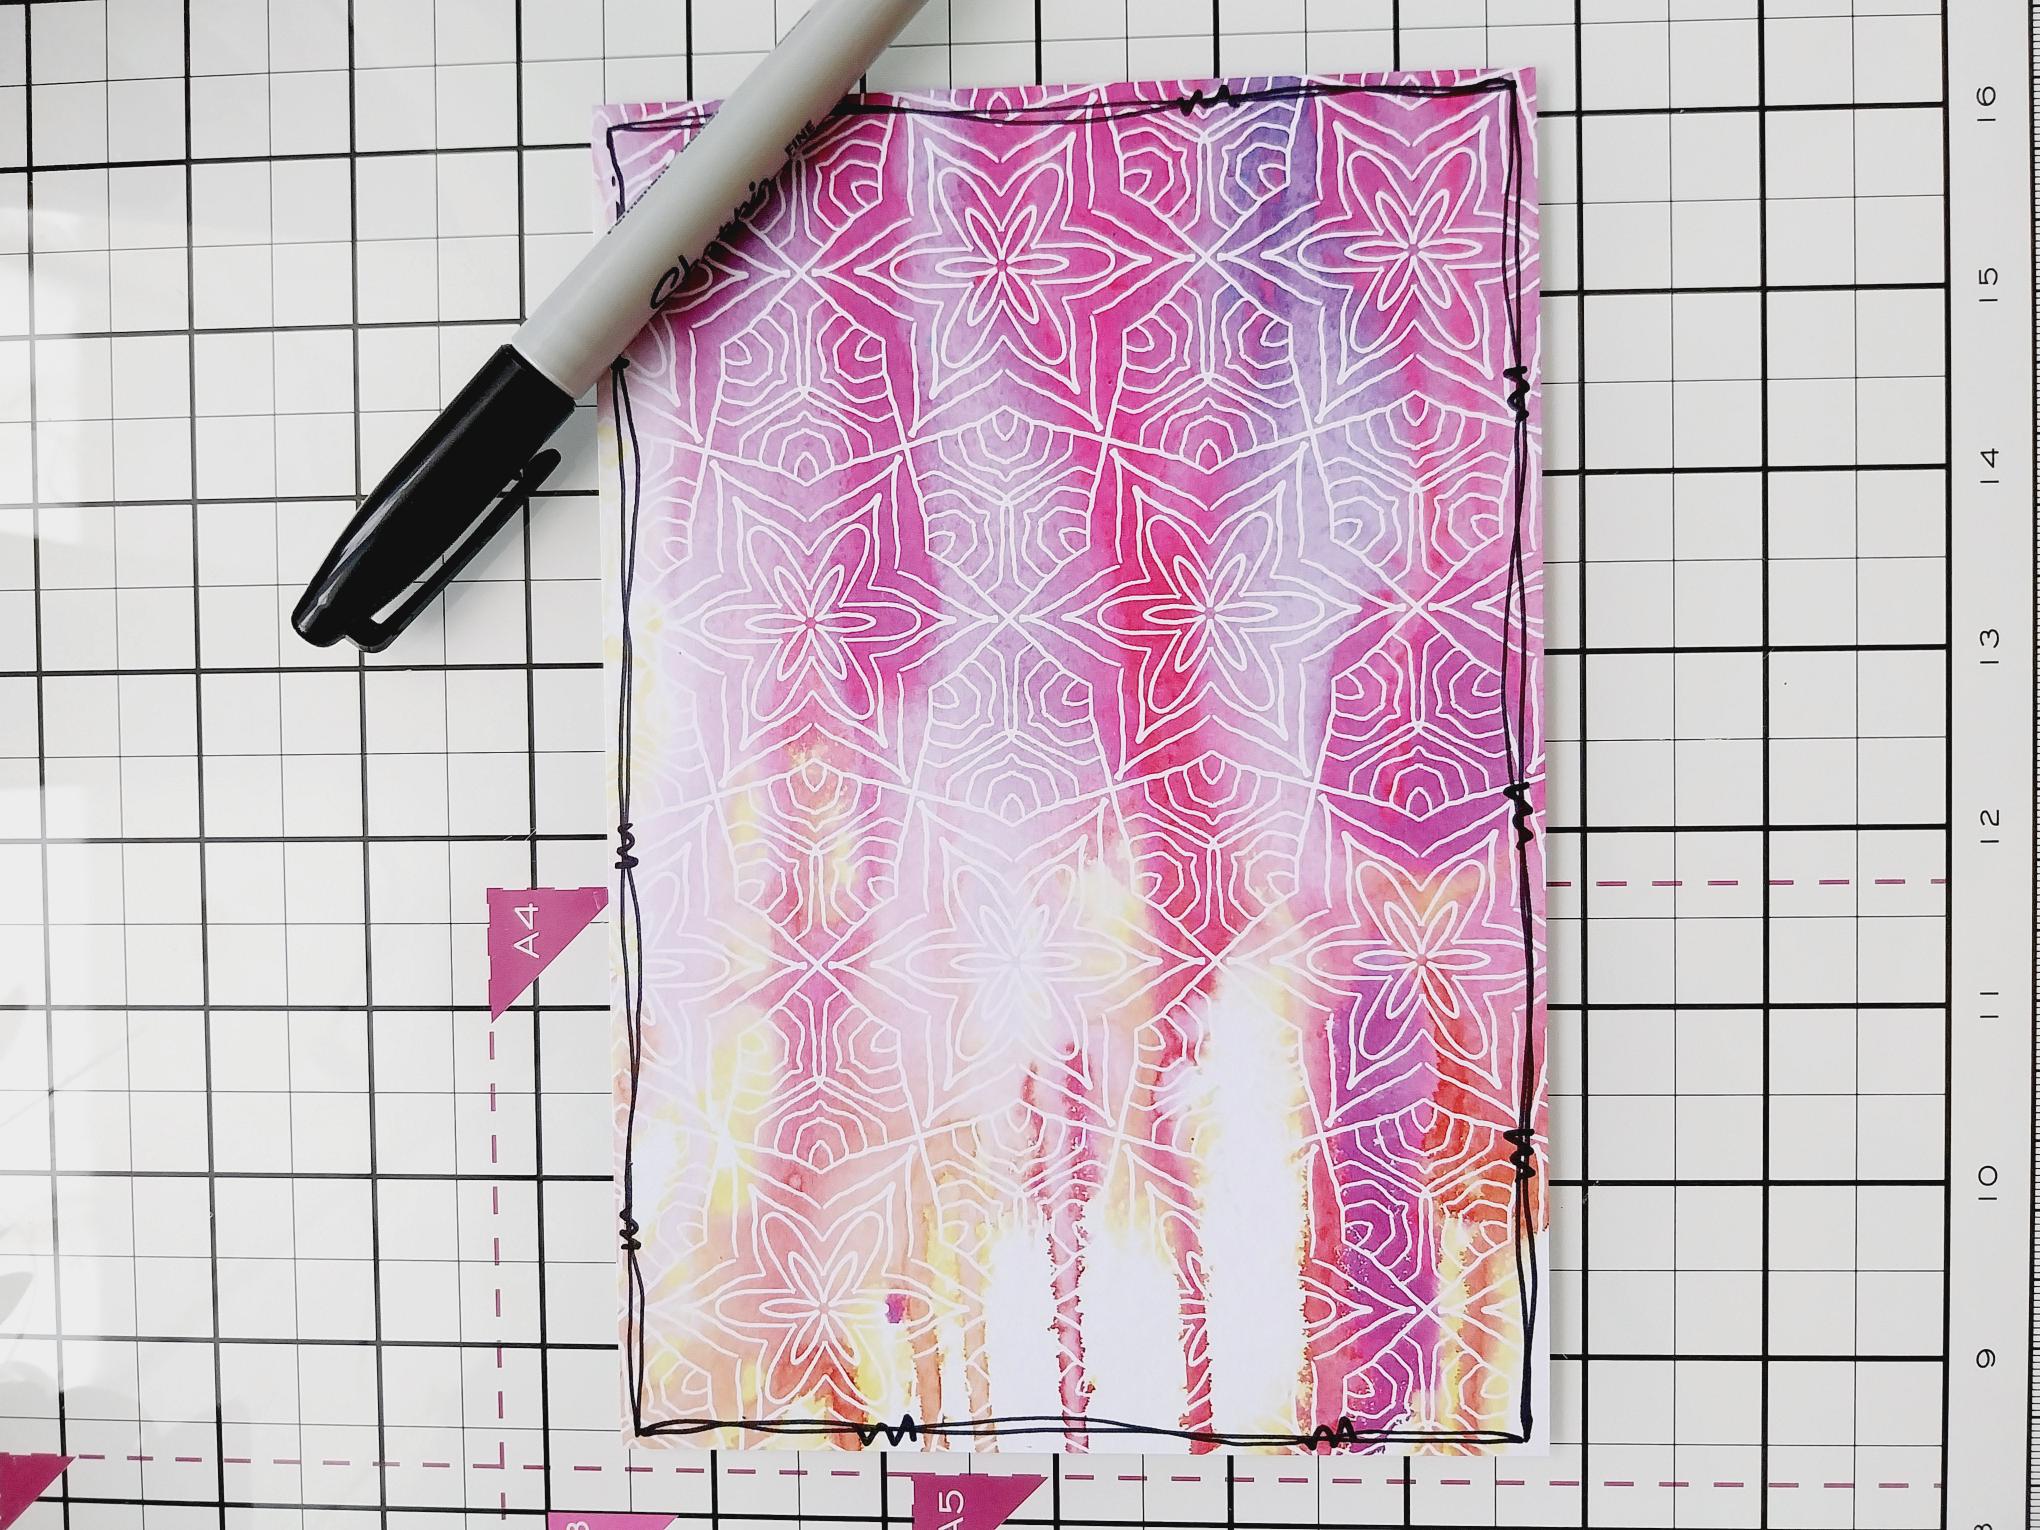
Trim this paper from Life In Full Colour, to 8 x 5 1/2" and draw a black decorative, wiggly frame around the edges. |

|
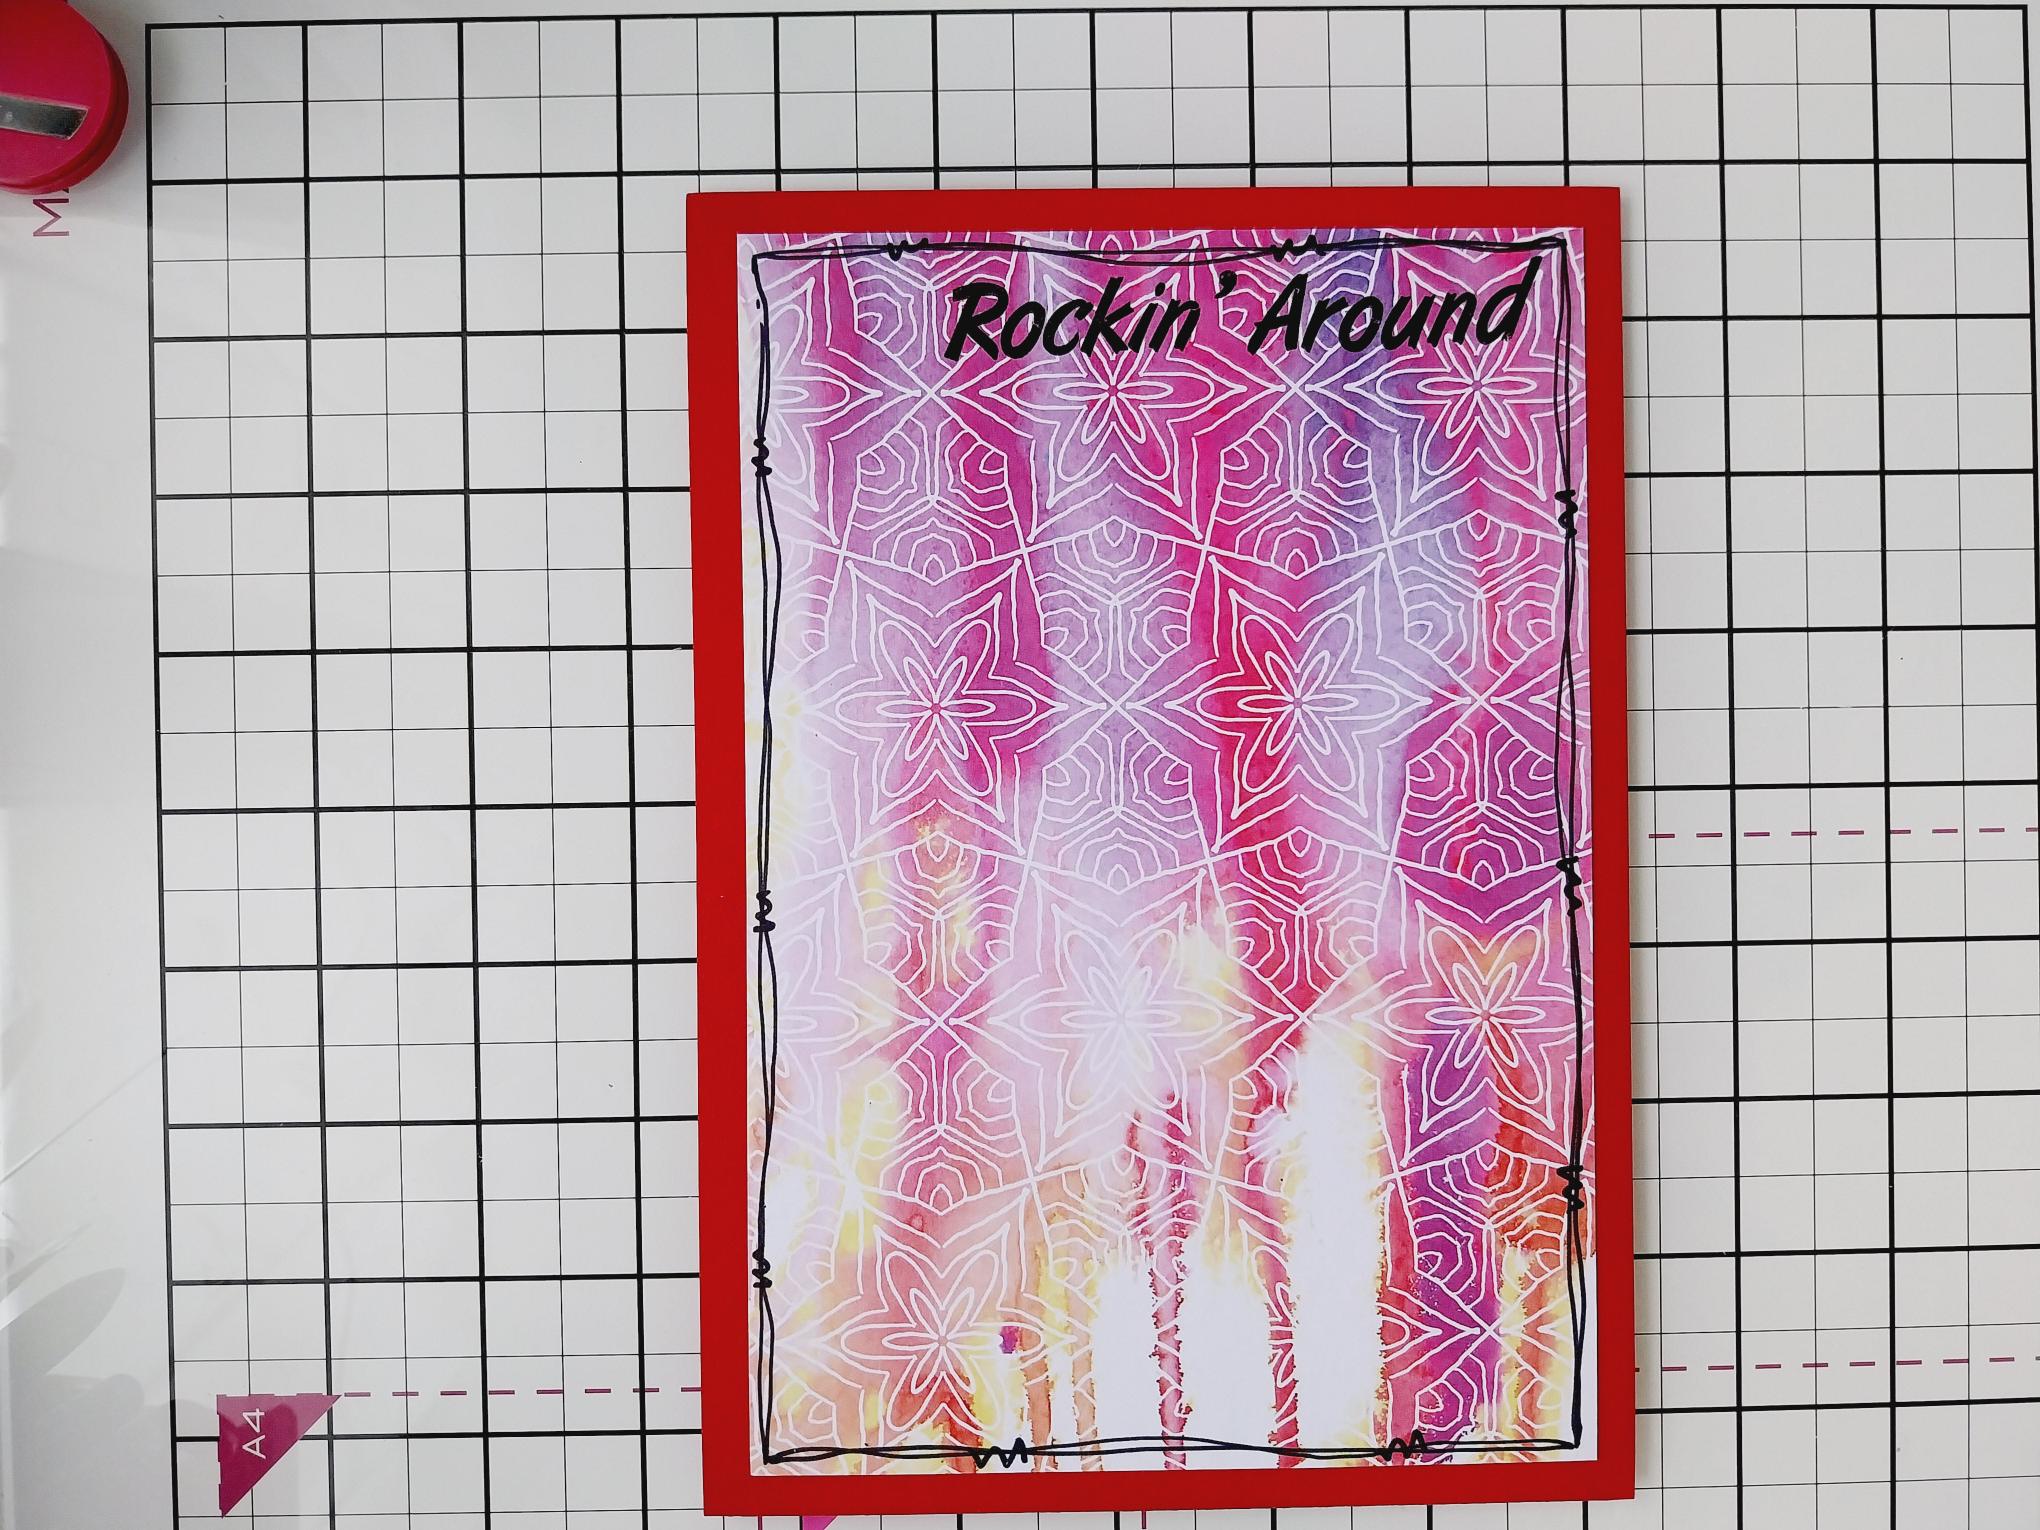
Stamp the sentiment in the Midnight ink, down the right side of the paper, which you have placed in a landscape position. |
|
Adhere to your red, landscape card blank and pop to one side. |
|
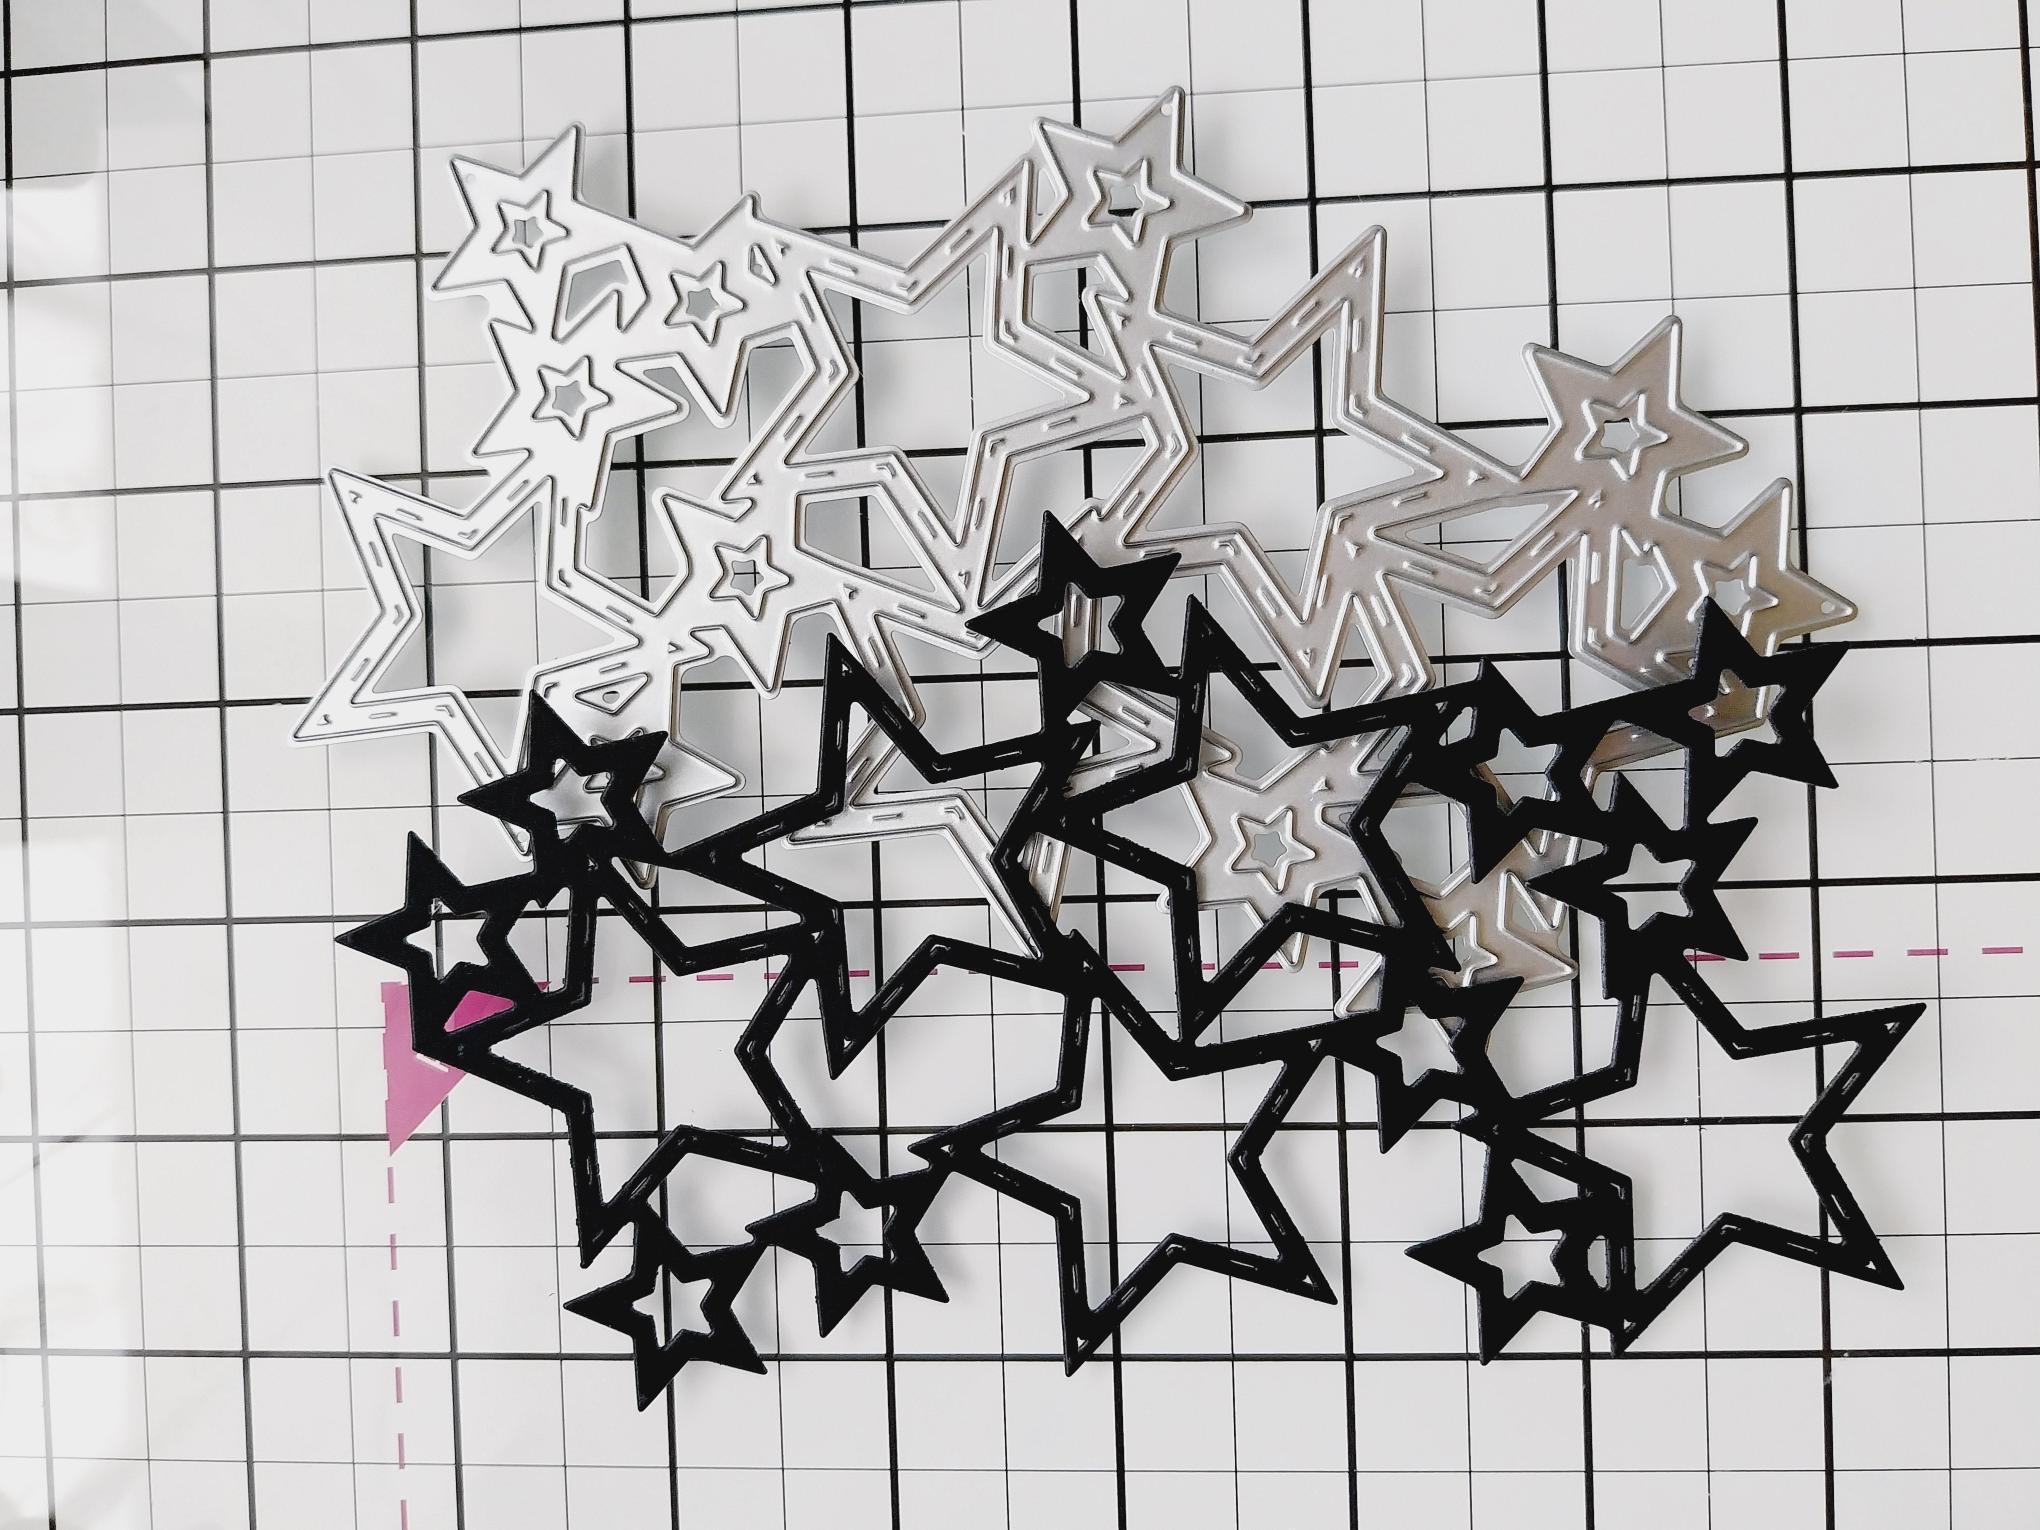
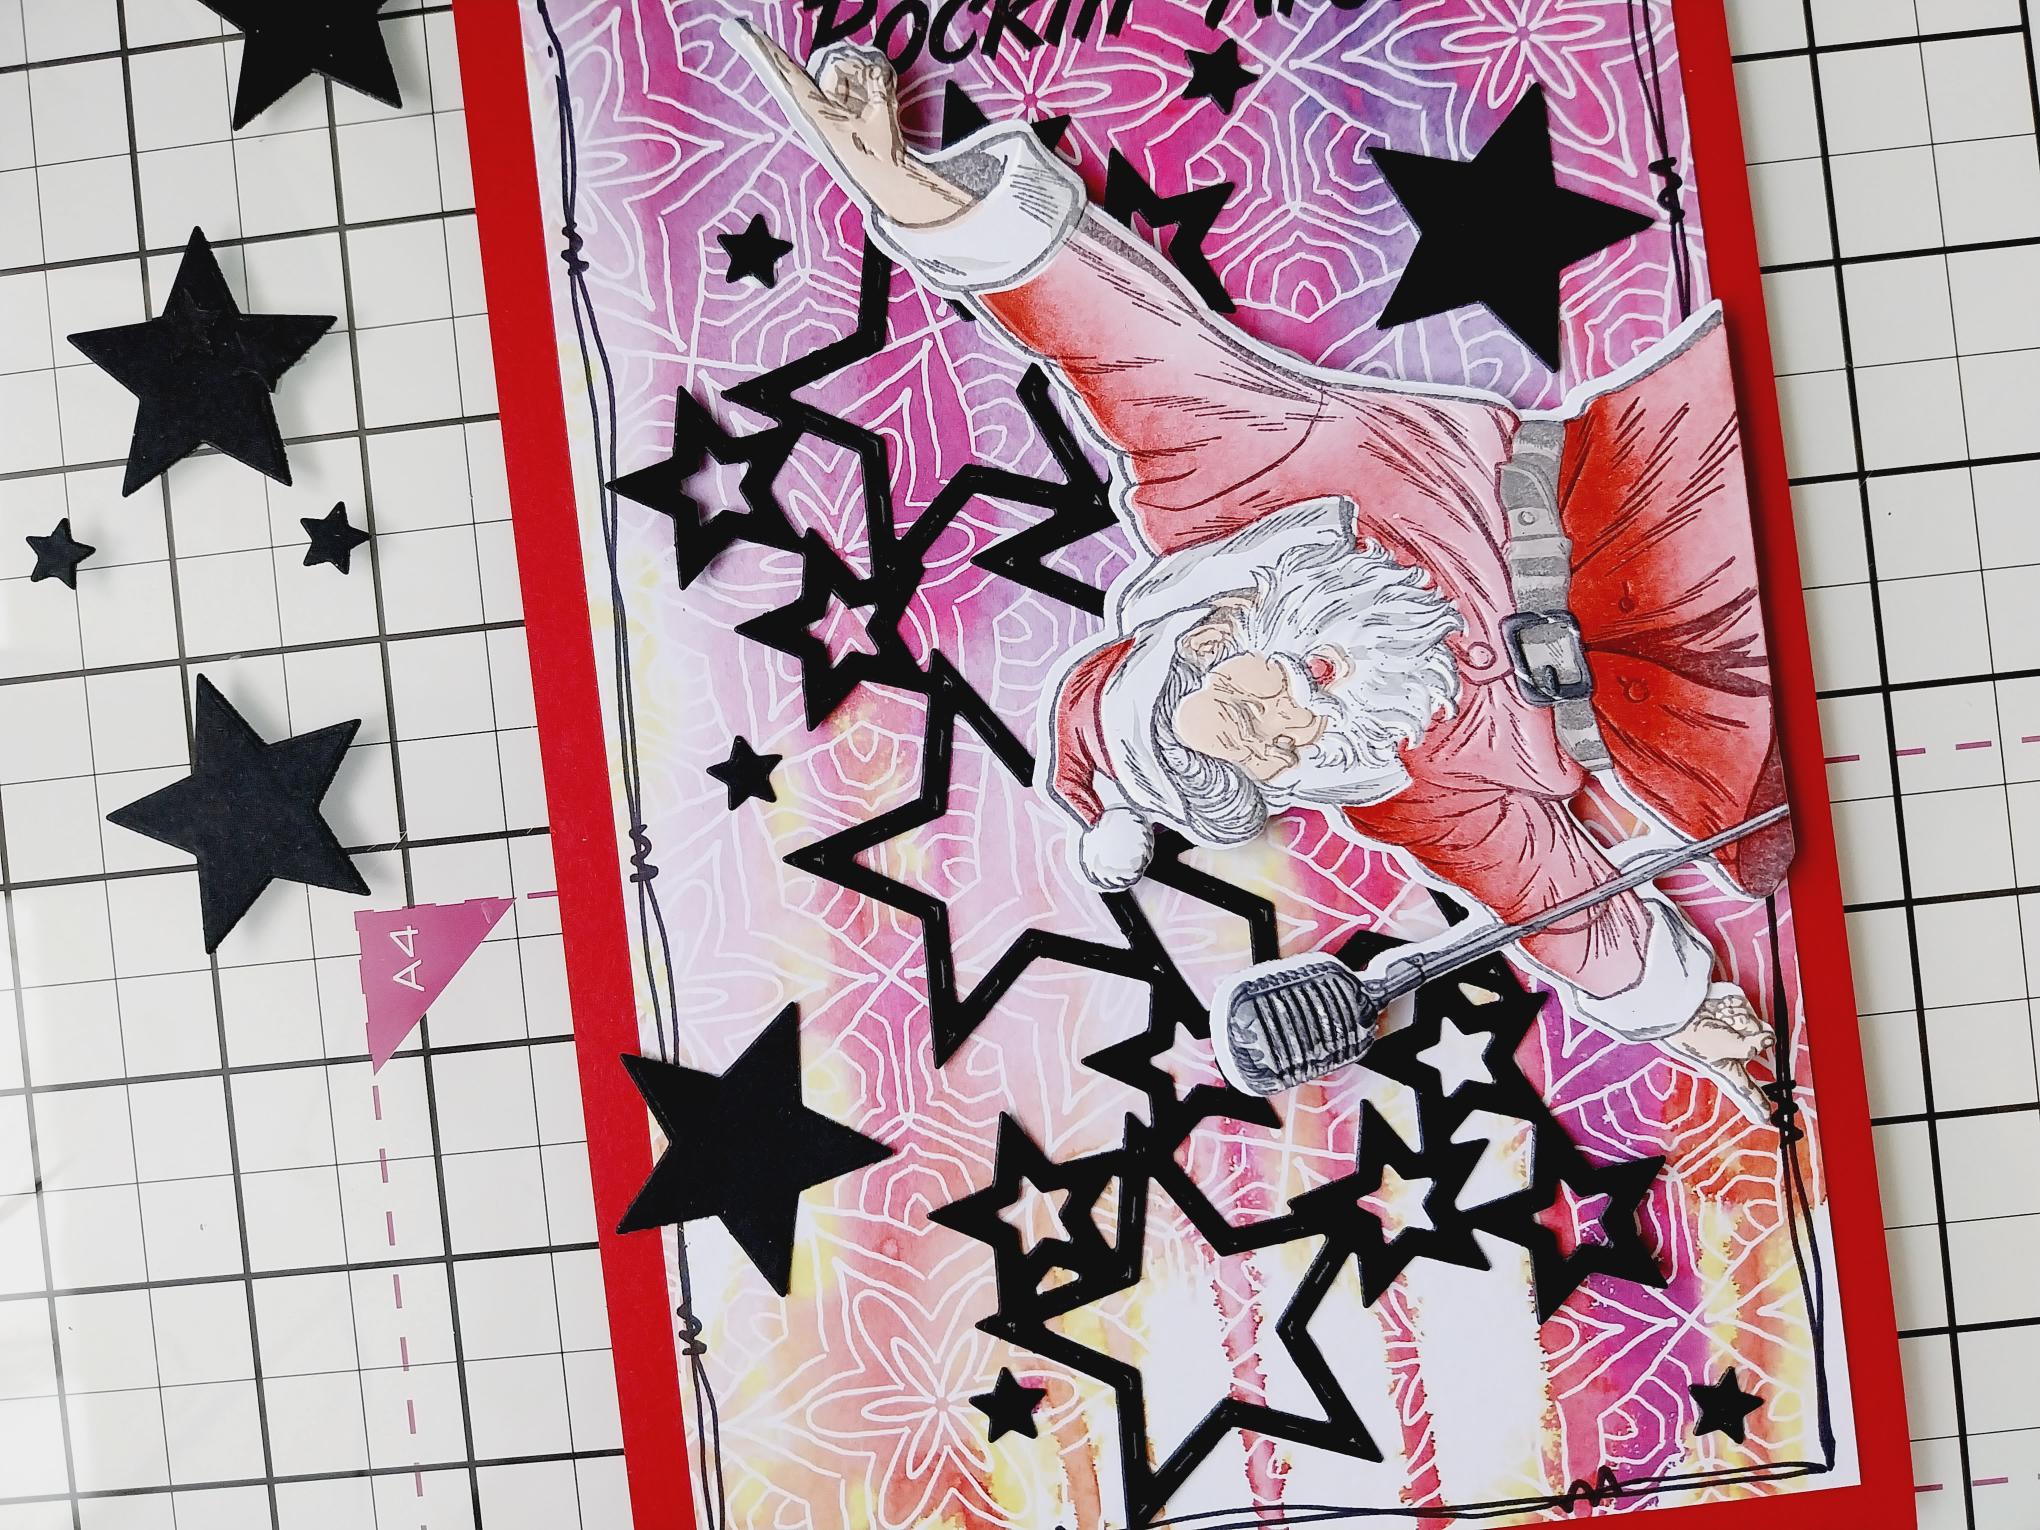
Die cut the Wish Upon A Star from black cardstock, keeping the "waste" stars that pop out. |

|
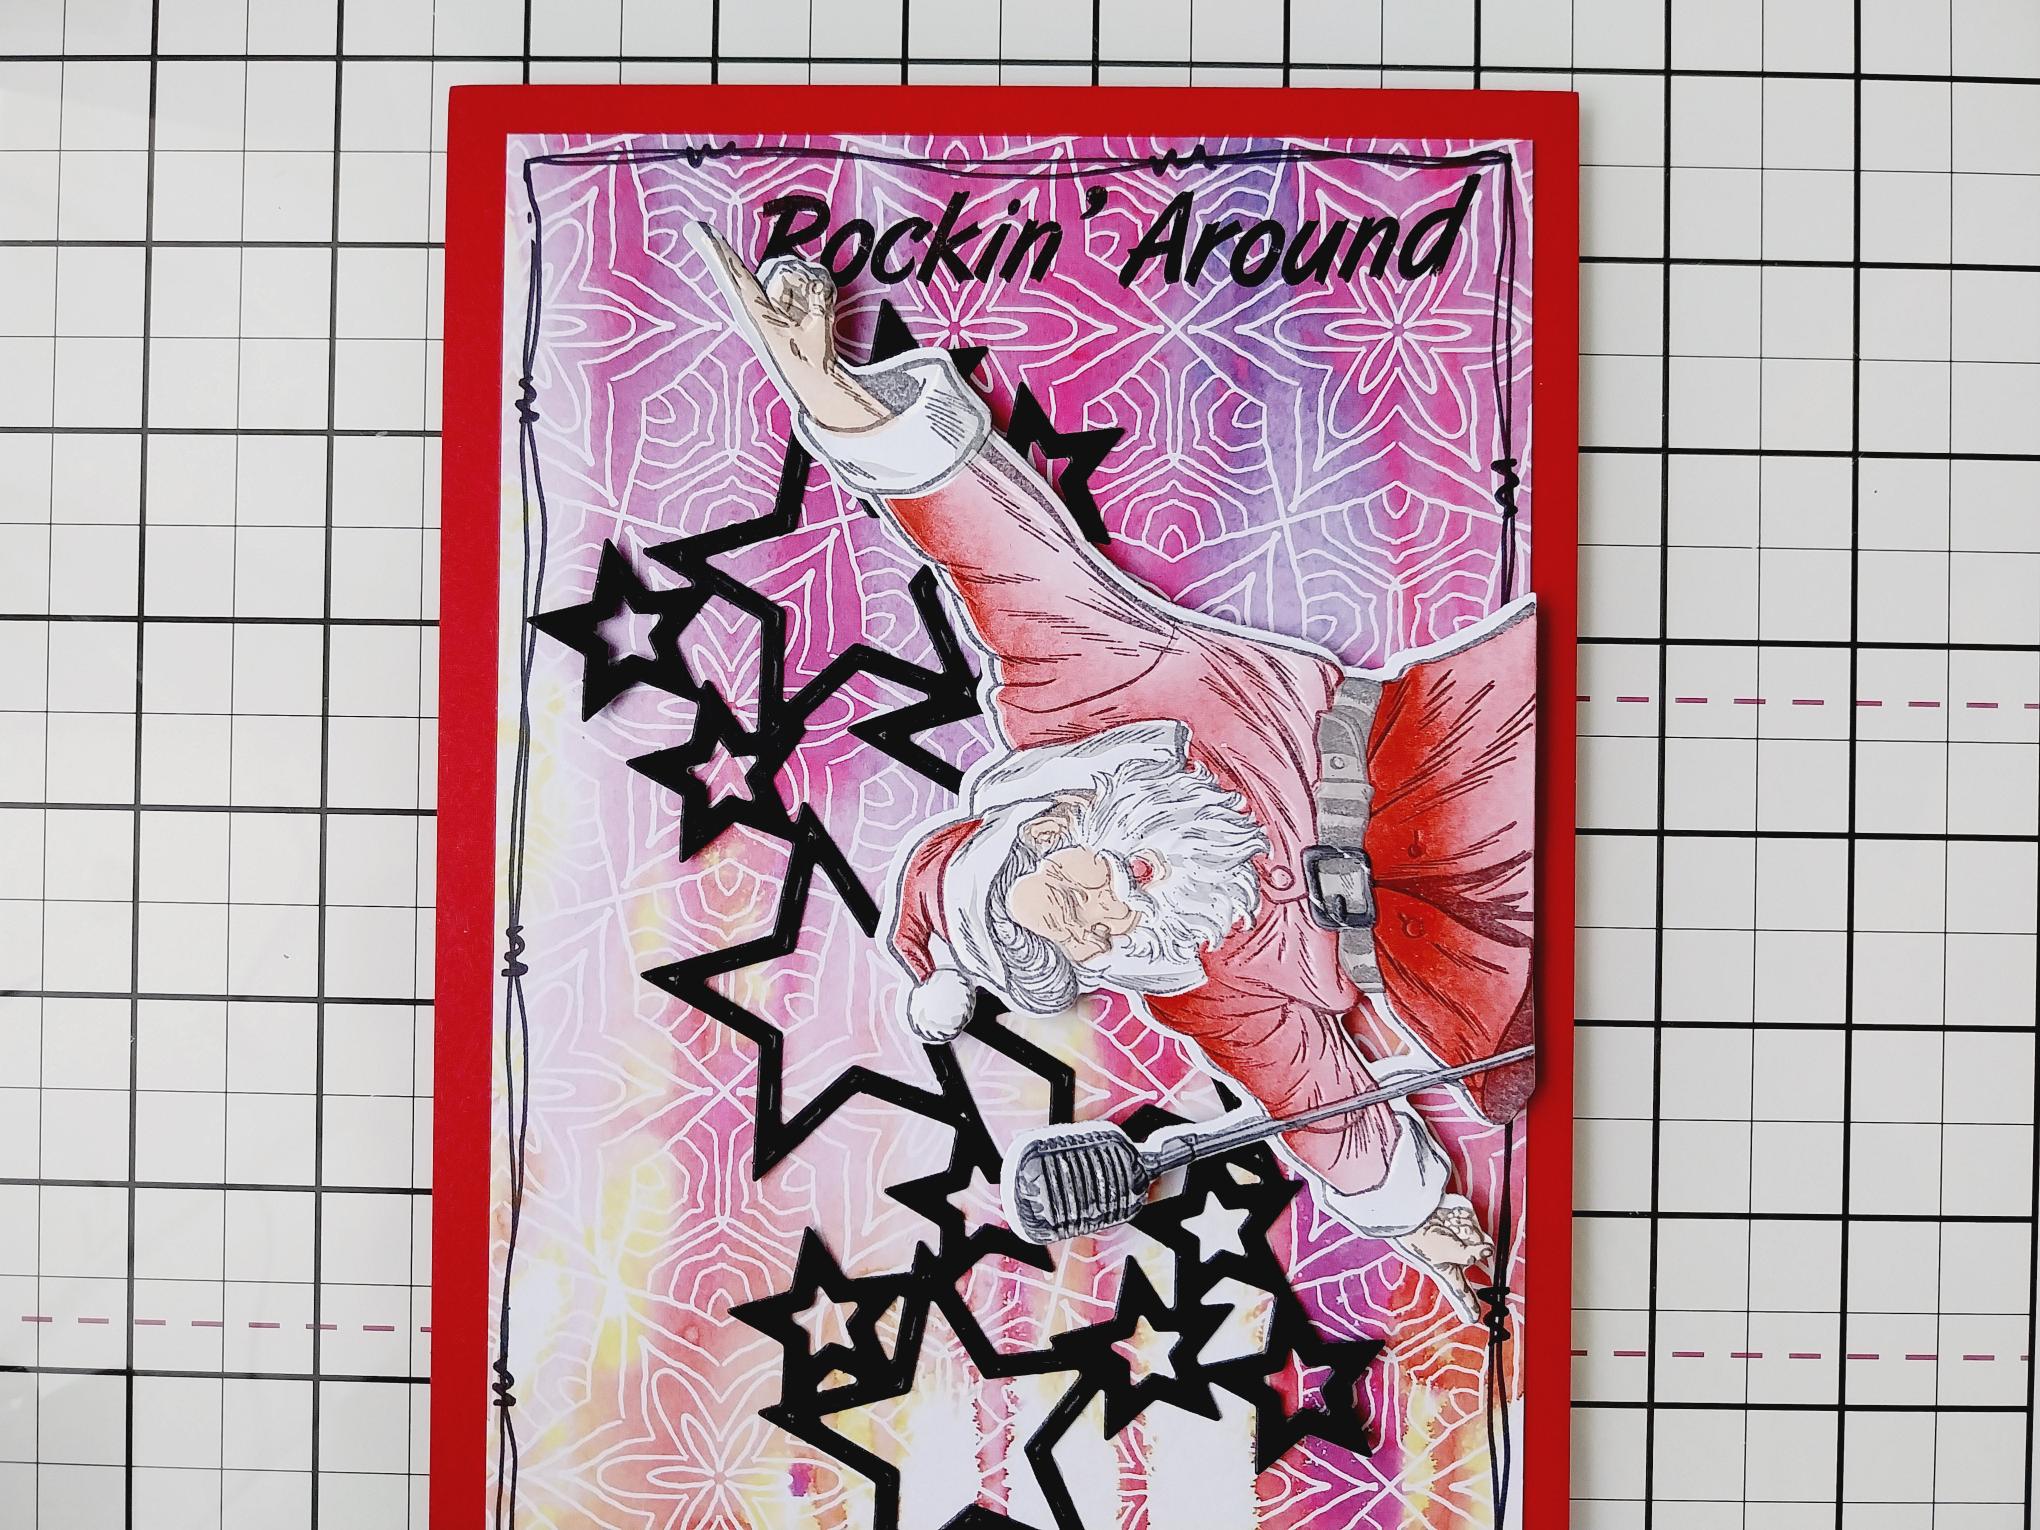
Adhere your die cut element on to your prepped card. |
|
Use foam pads to adhere Santa. |
|
To finish, glue some of the black die cut stars around your artwork, as required. |