Give your friends $10 off their first order!
Refer a FRIEND


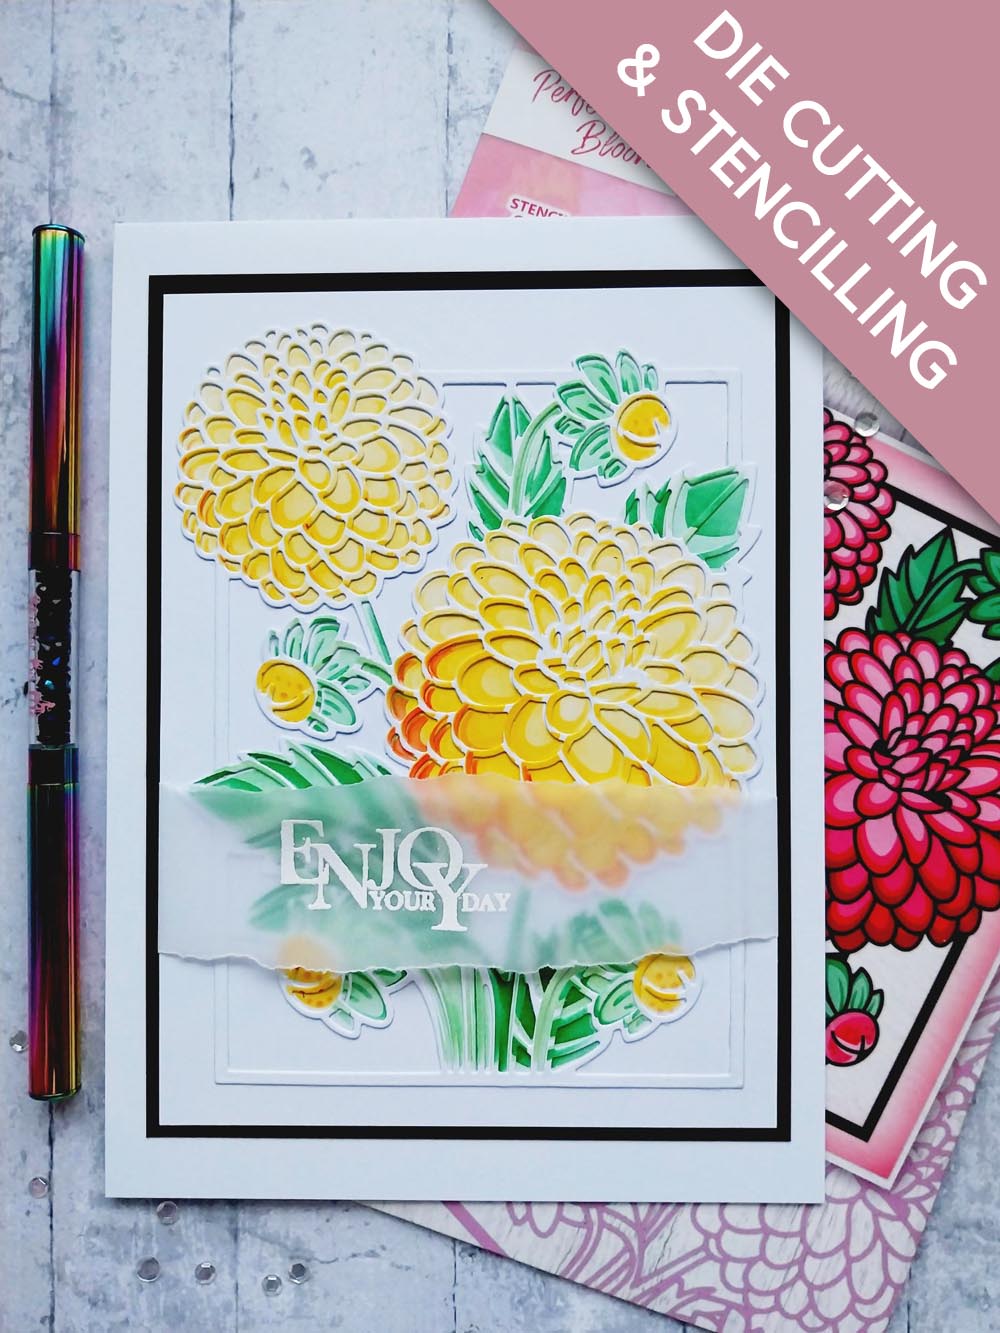
WHAT YOU WILL NEED:
White card blank 8 x 5 3/4"
Black/white cardstock
Vellum
SBM Premium Dye Ink Pad: Sherbet, Bittersweet, Hedgerow, Limeade
Blending brush
WOW embossing ink pad
WOW white embossing powder
WOW heat tool
Anti-static bag
Eureka 101 Watercolour Tablet
SBM A3 Magnetic glass mat
Paper Trimmer
Glue
Double-sided adhesive tape
Die Cutting machine
[click image to enlarge] 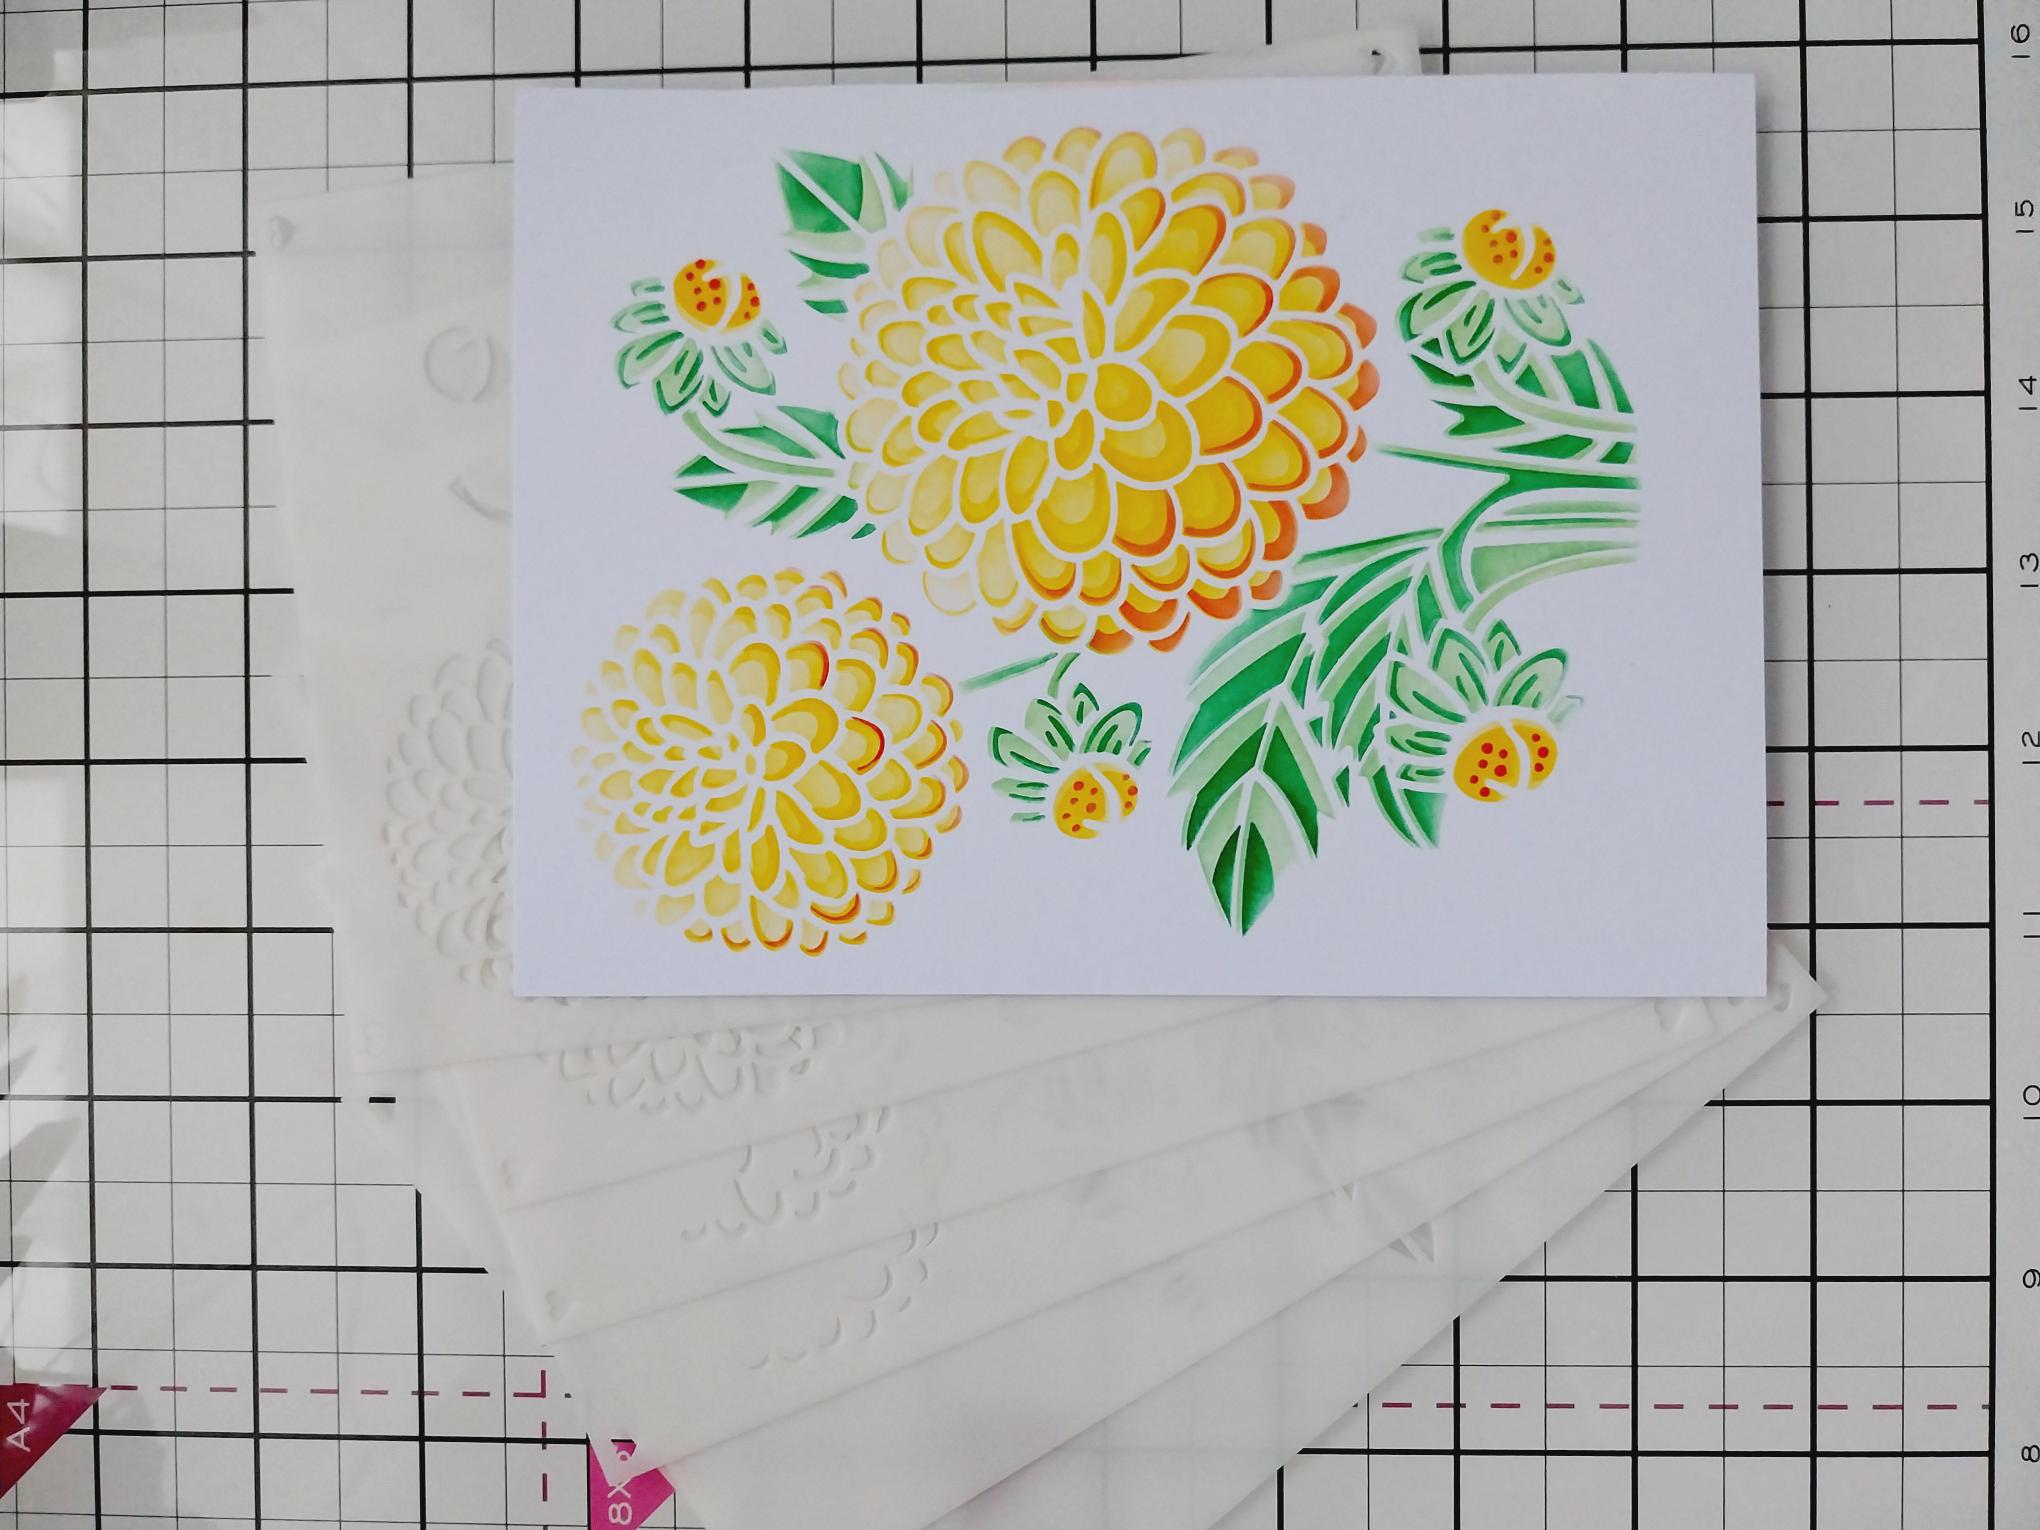
|
Cut TWO pieces of white card 5 x 6 3/4". Each layering stencil is numbered so lining up each one in numerical order, blend as follows, on BOTH pieces of card. Stencil 1 Sherbet for floral areas, Limeade for foliage Stencil 2 Repeat as per step 1 but with more colour and intensity Stencil 3 Sherbet Stencil 4 Bittersweet Stencil 5 Limeade Stencil 6 Hedgerow |
|
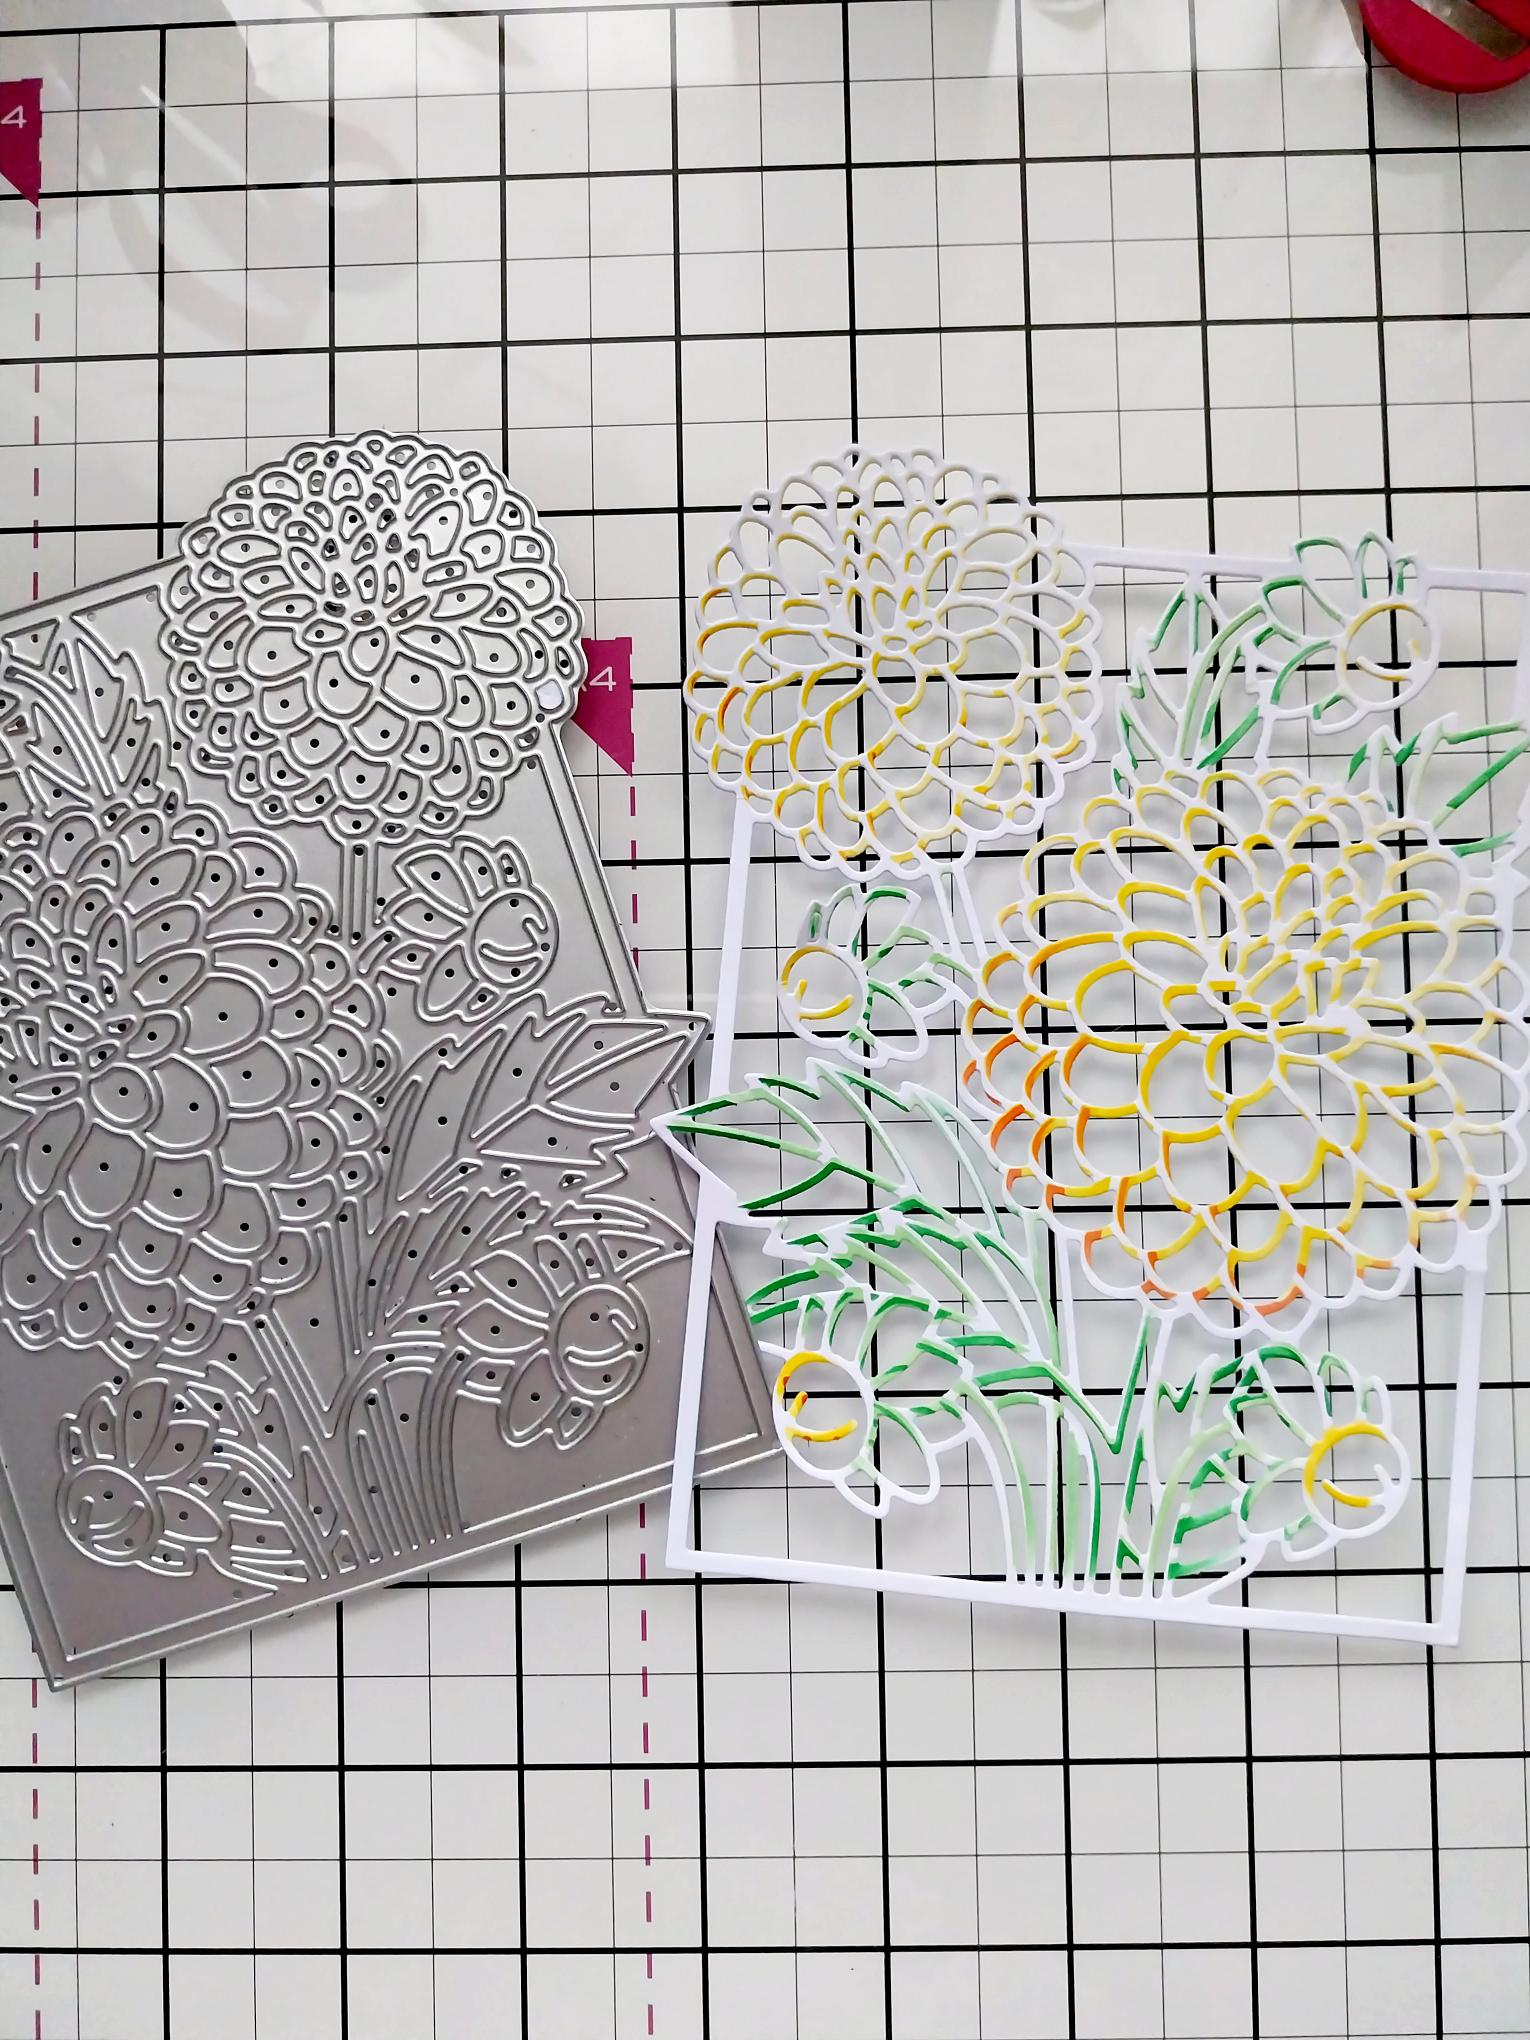
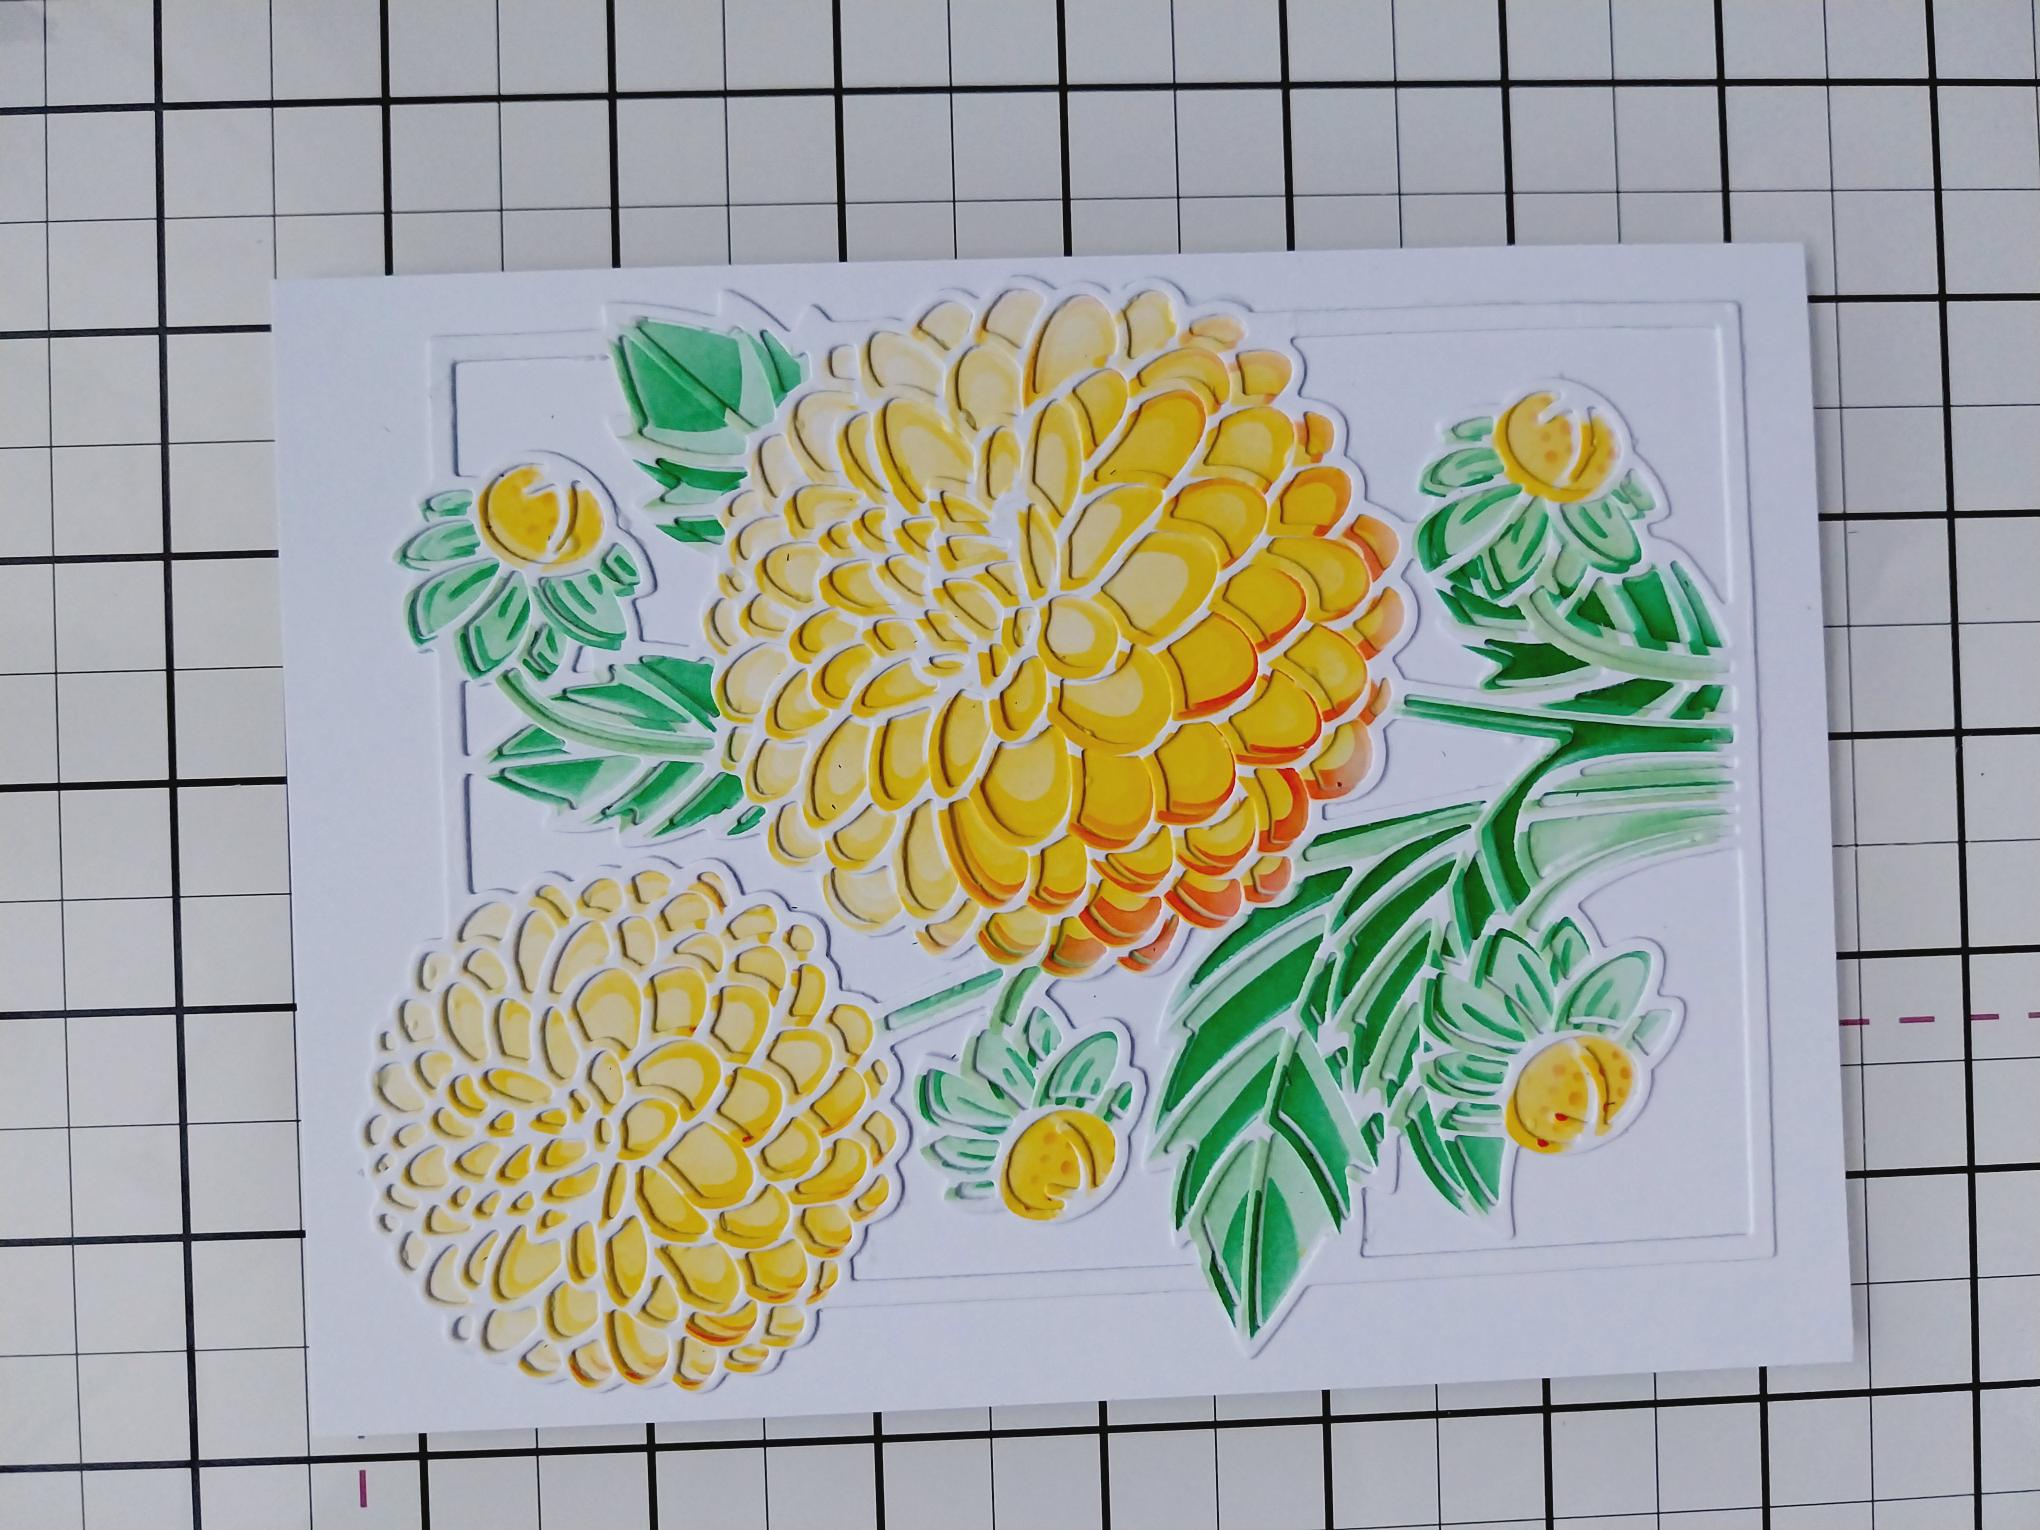
Use the coordinating die, die cut ONE of the stencilled images. |
|
Adhere the die cut frame over the second stencilled image. |
|
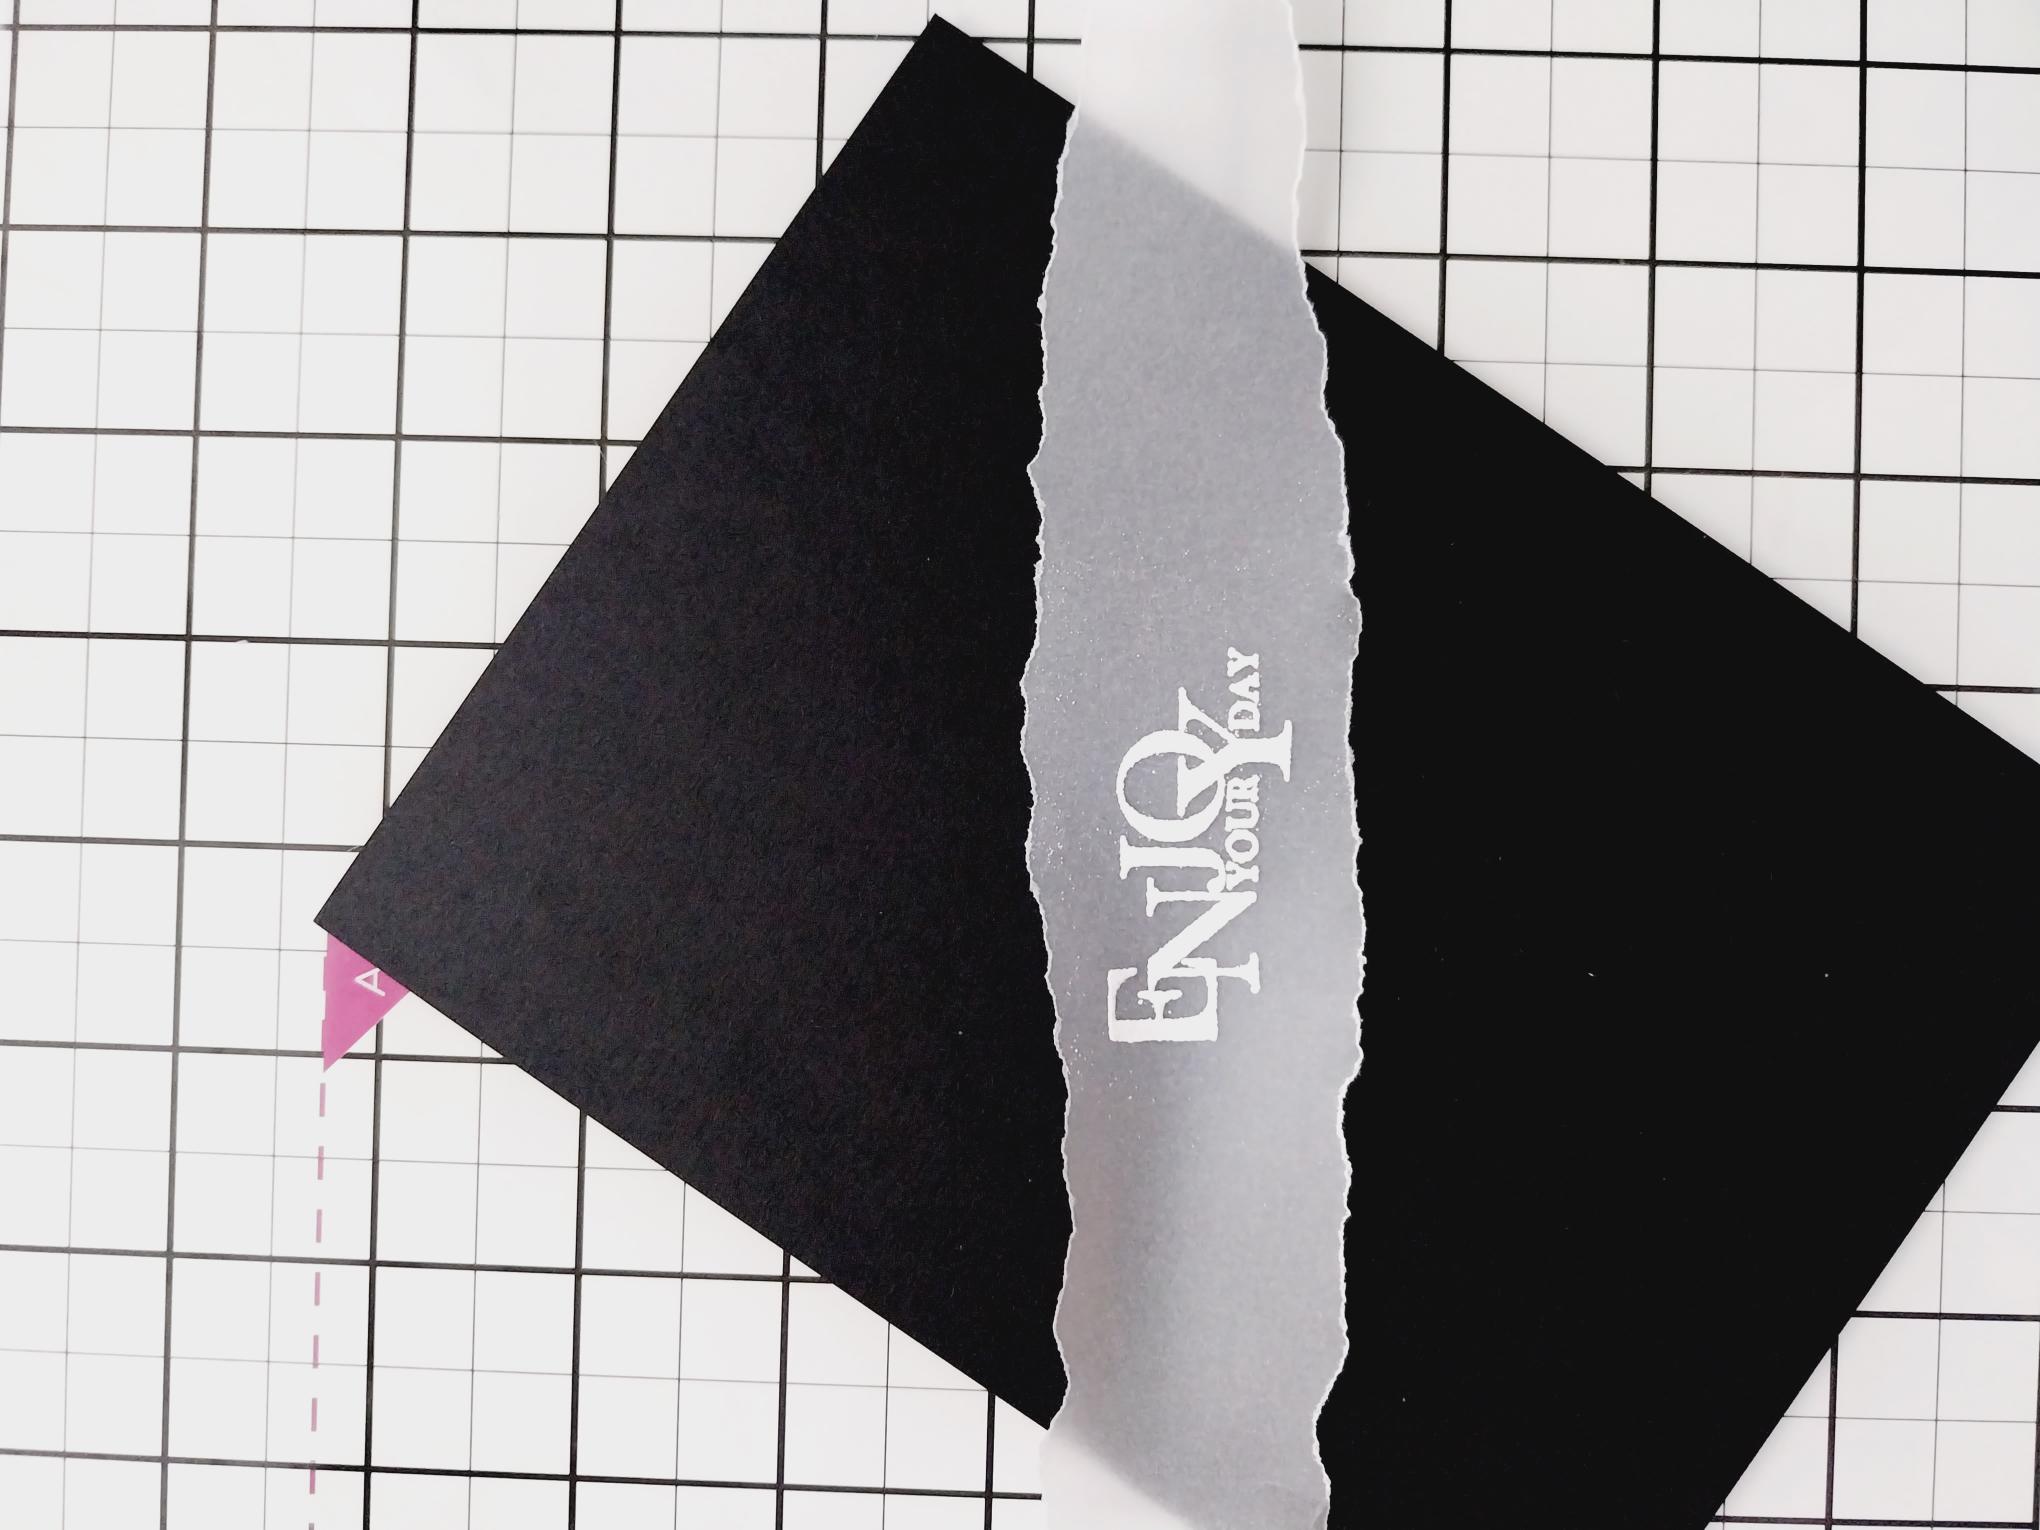
Tear a panel of vellum slightly wider than the frame and deep enough for the sentiment to fit. Wipe over the panel with your anti-static bag before stamping the sentiment in the WOW embossing ink. Sprinkle the white embossing powder over the sentiment, decanting the excess powder back in the pot. Once your heat tool is hot, heat set the powder, moving your gun as soon as it starts to turn. |

|
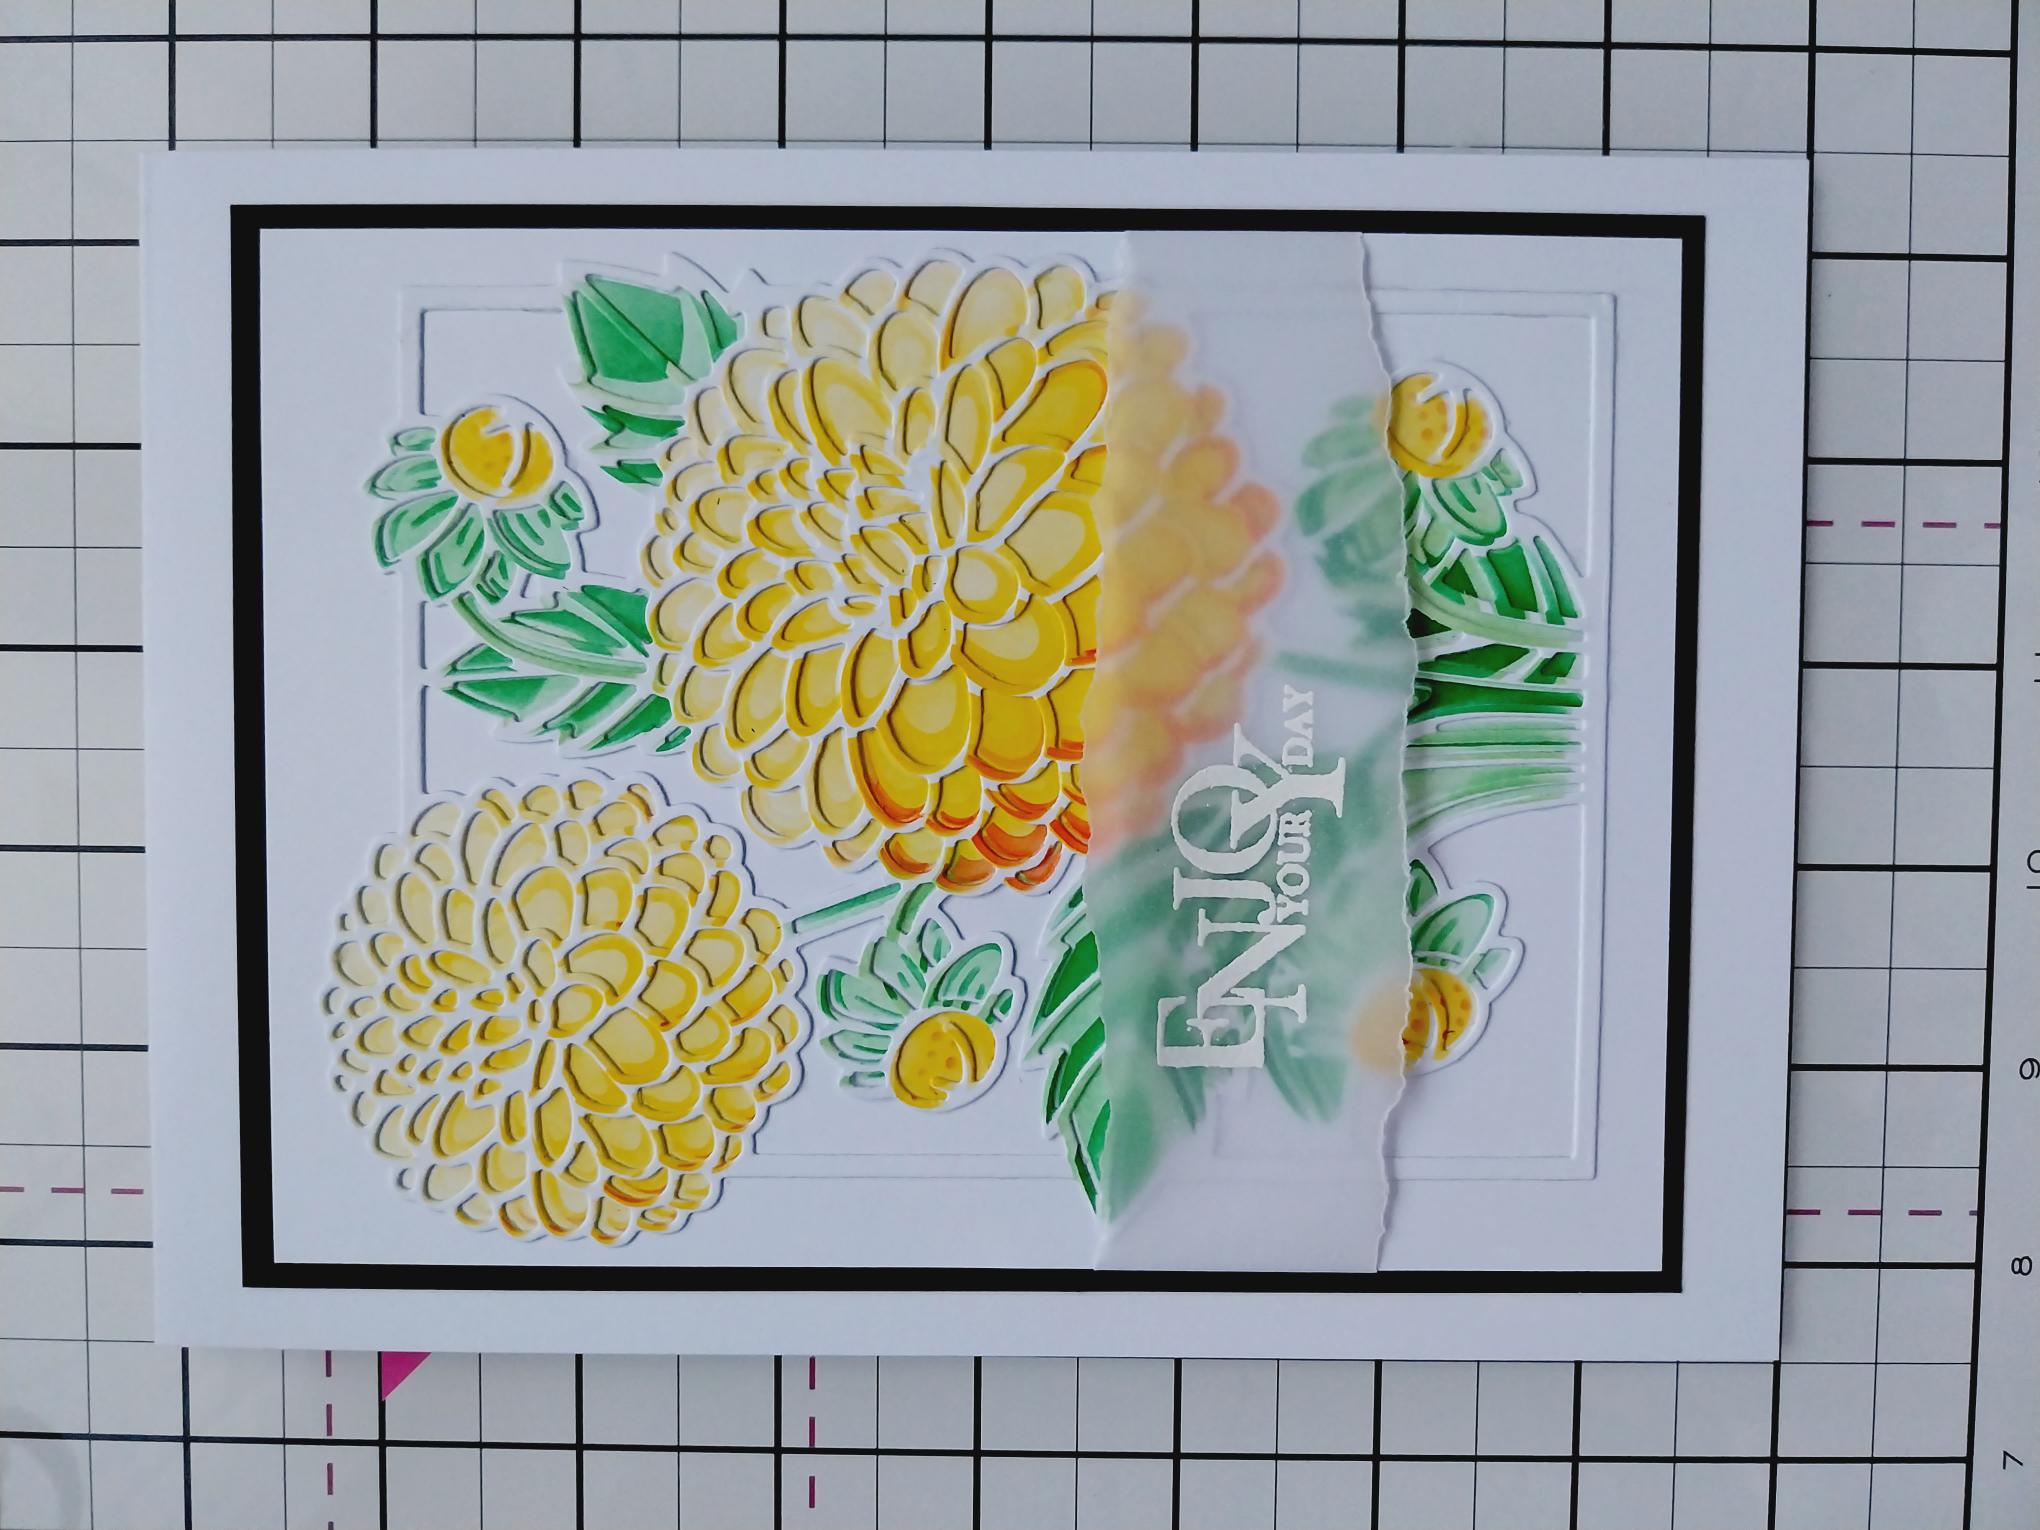
Place the embossed vellum across the bottom half of the artwork, tuck the edges over and secure on the reverse of the card with your double-sided tape. |
|
Adhere your artwork on to black card, trimmed to 7 x 5 1/4" and then to the front of your white card blank. |