Give your friends $10 off their first order!
Refer a FRIEND


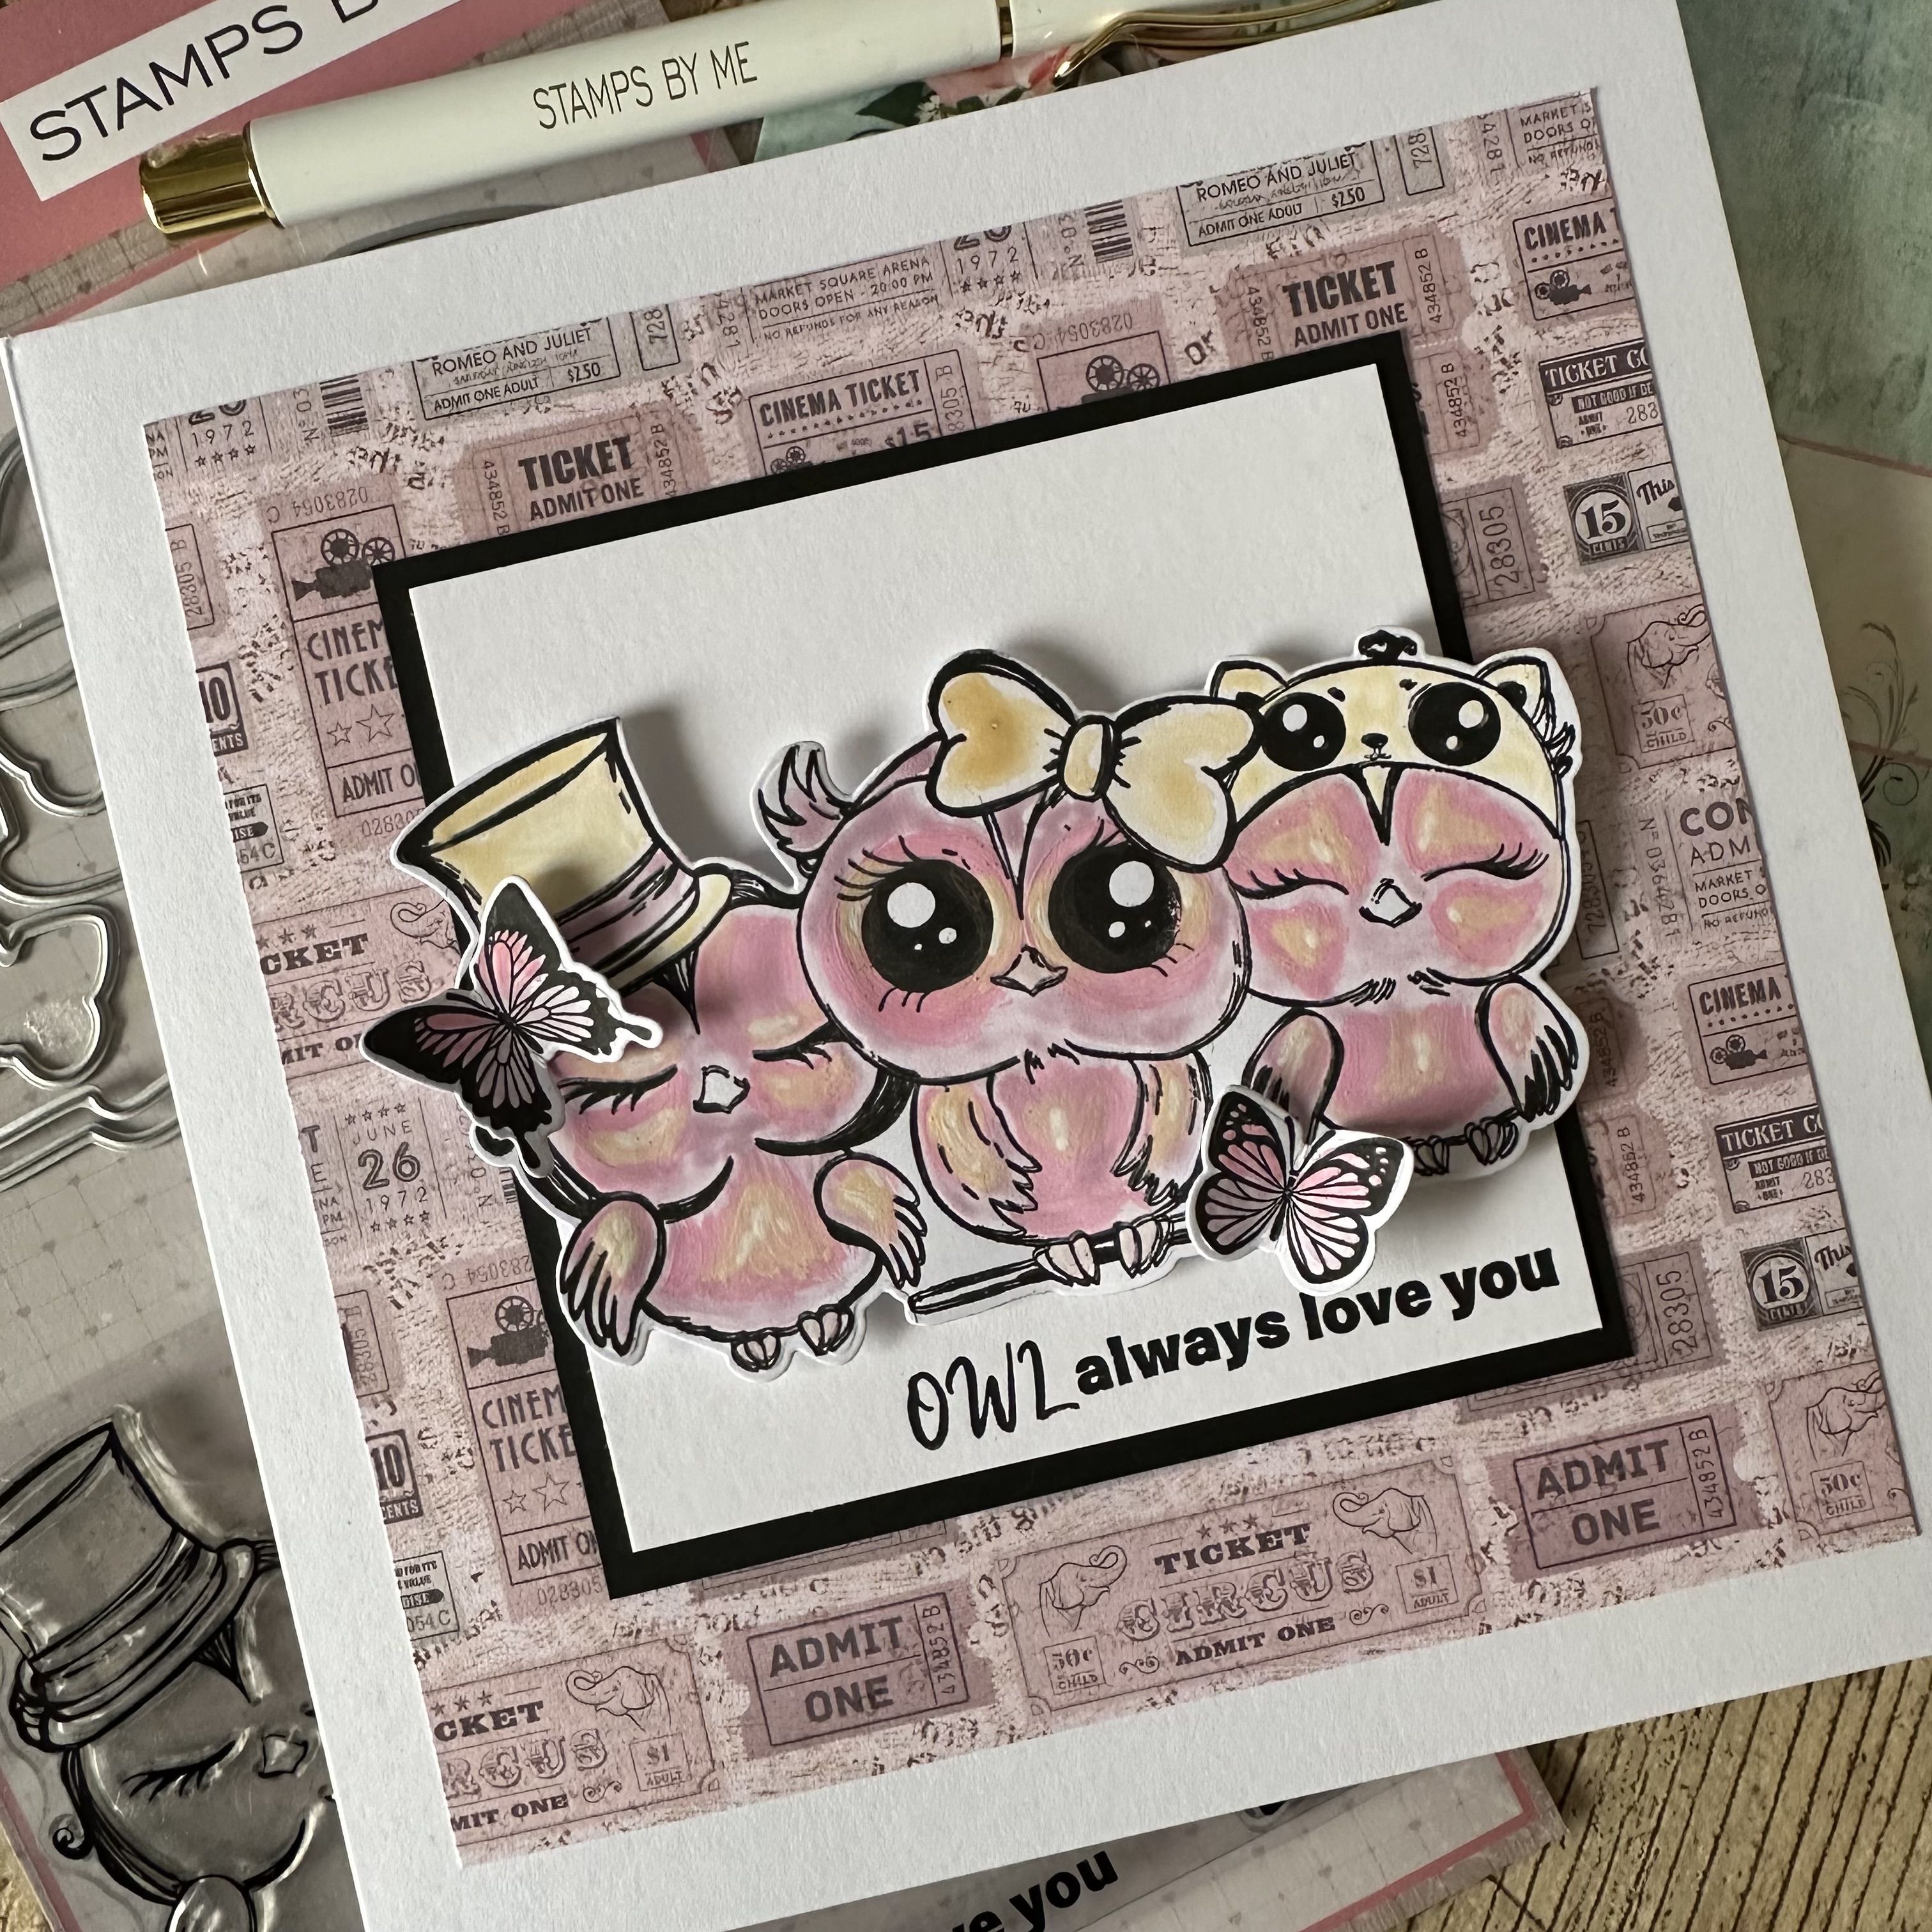
WHAT YOU WILL NEED:
White card blank 7 x 7"
White/black cardstock
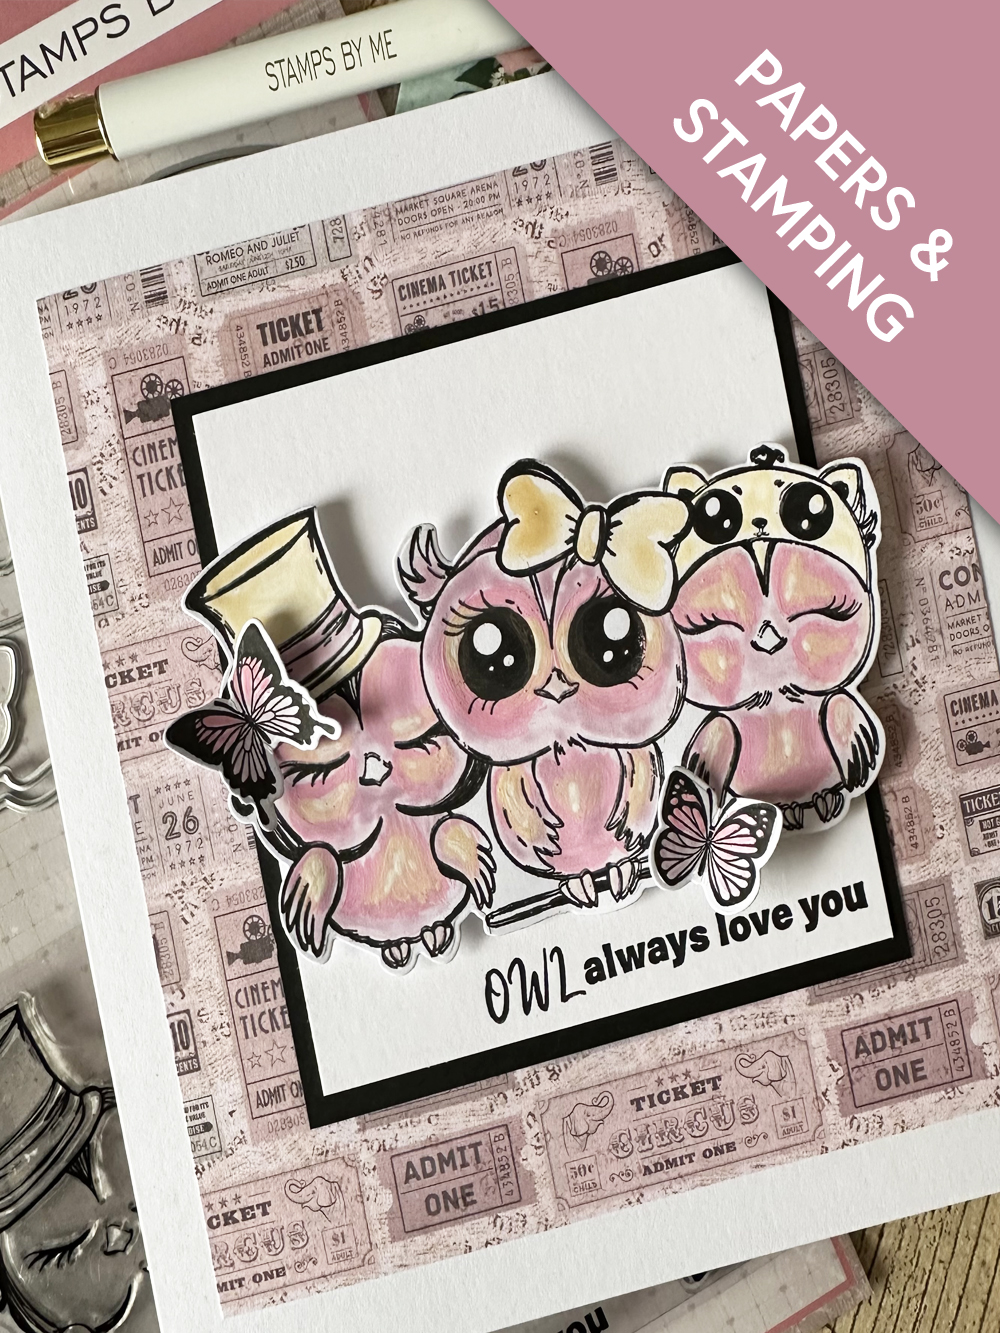
Owl Always Love You Collection: Stamp and Die, 6 x 6" Paper Pad
Versafine Ink Pad: Onyx Black
Paint brush
Gouache paints
Eureka 101 Watercolour Tablet
SBM A3 Magnetic glass mat
Paper Trimmer
Glue
Die Cutting machine
[click image to enlarge] 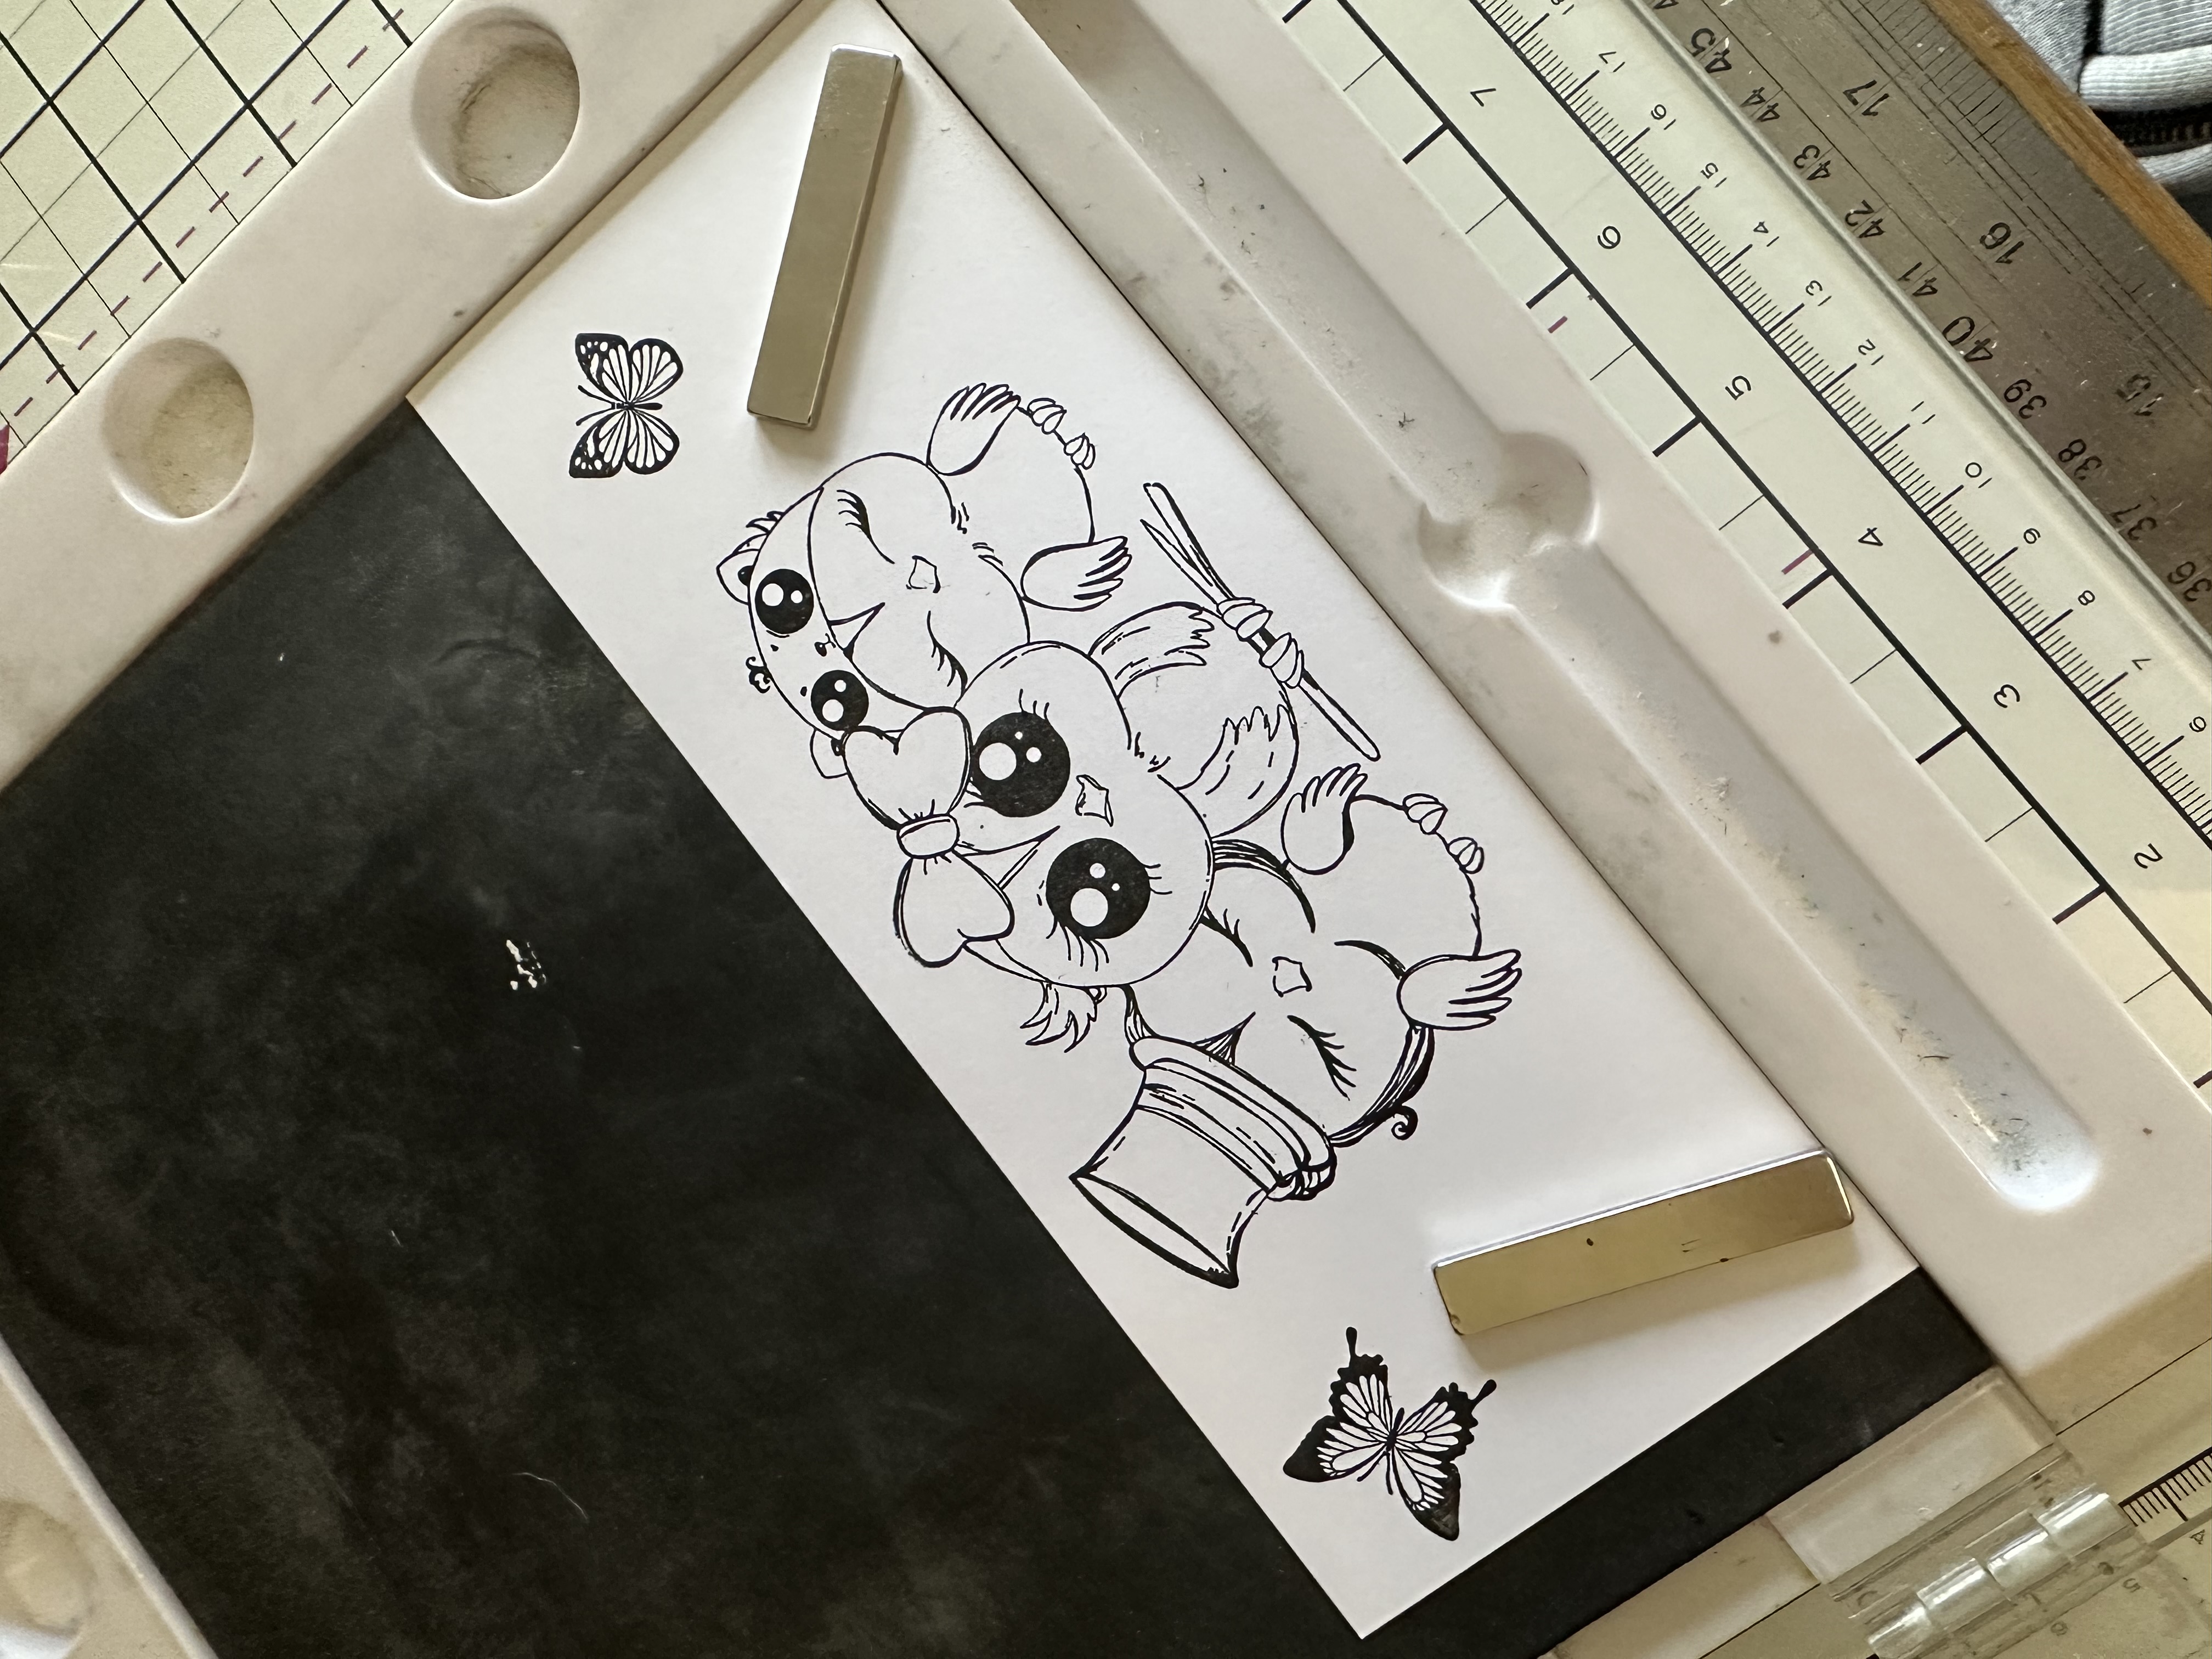
|
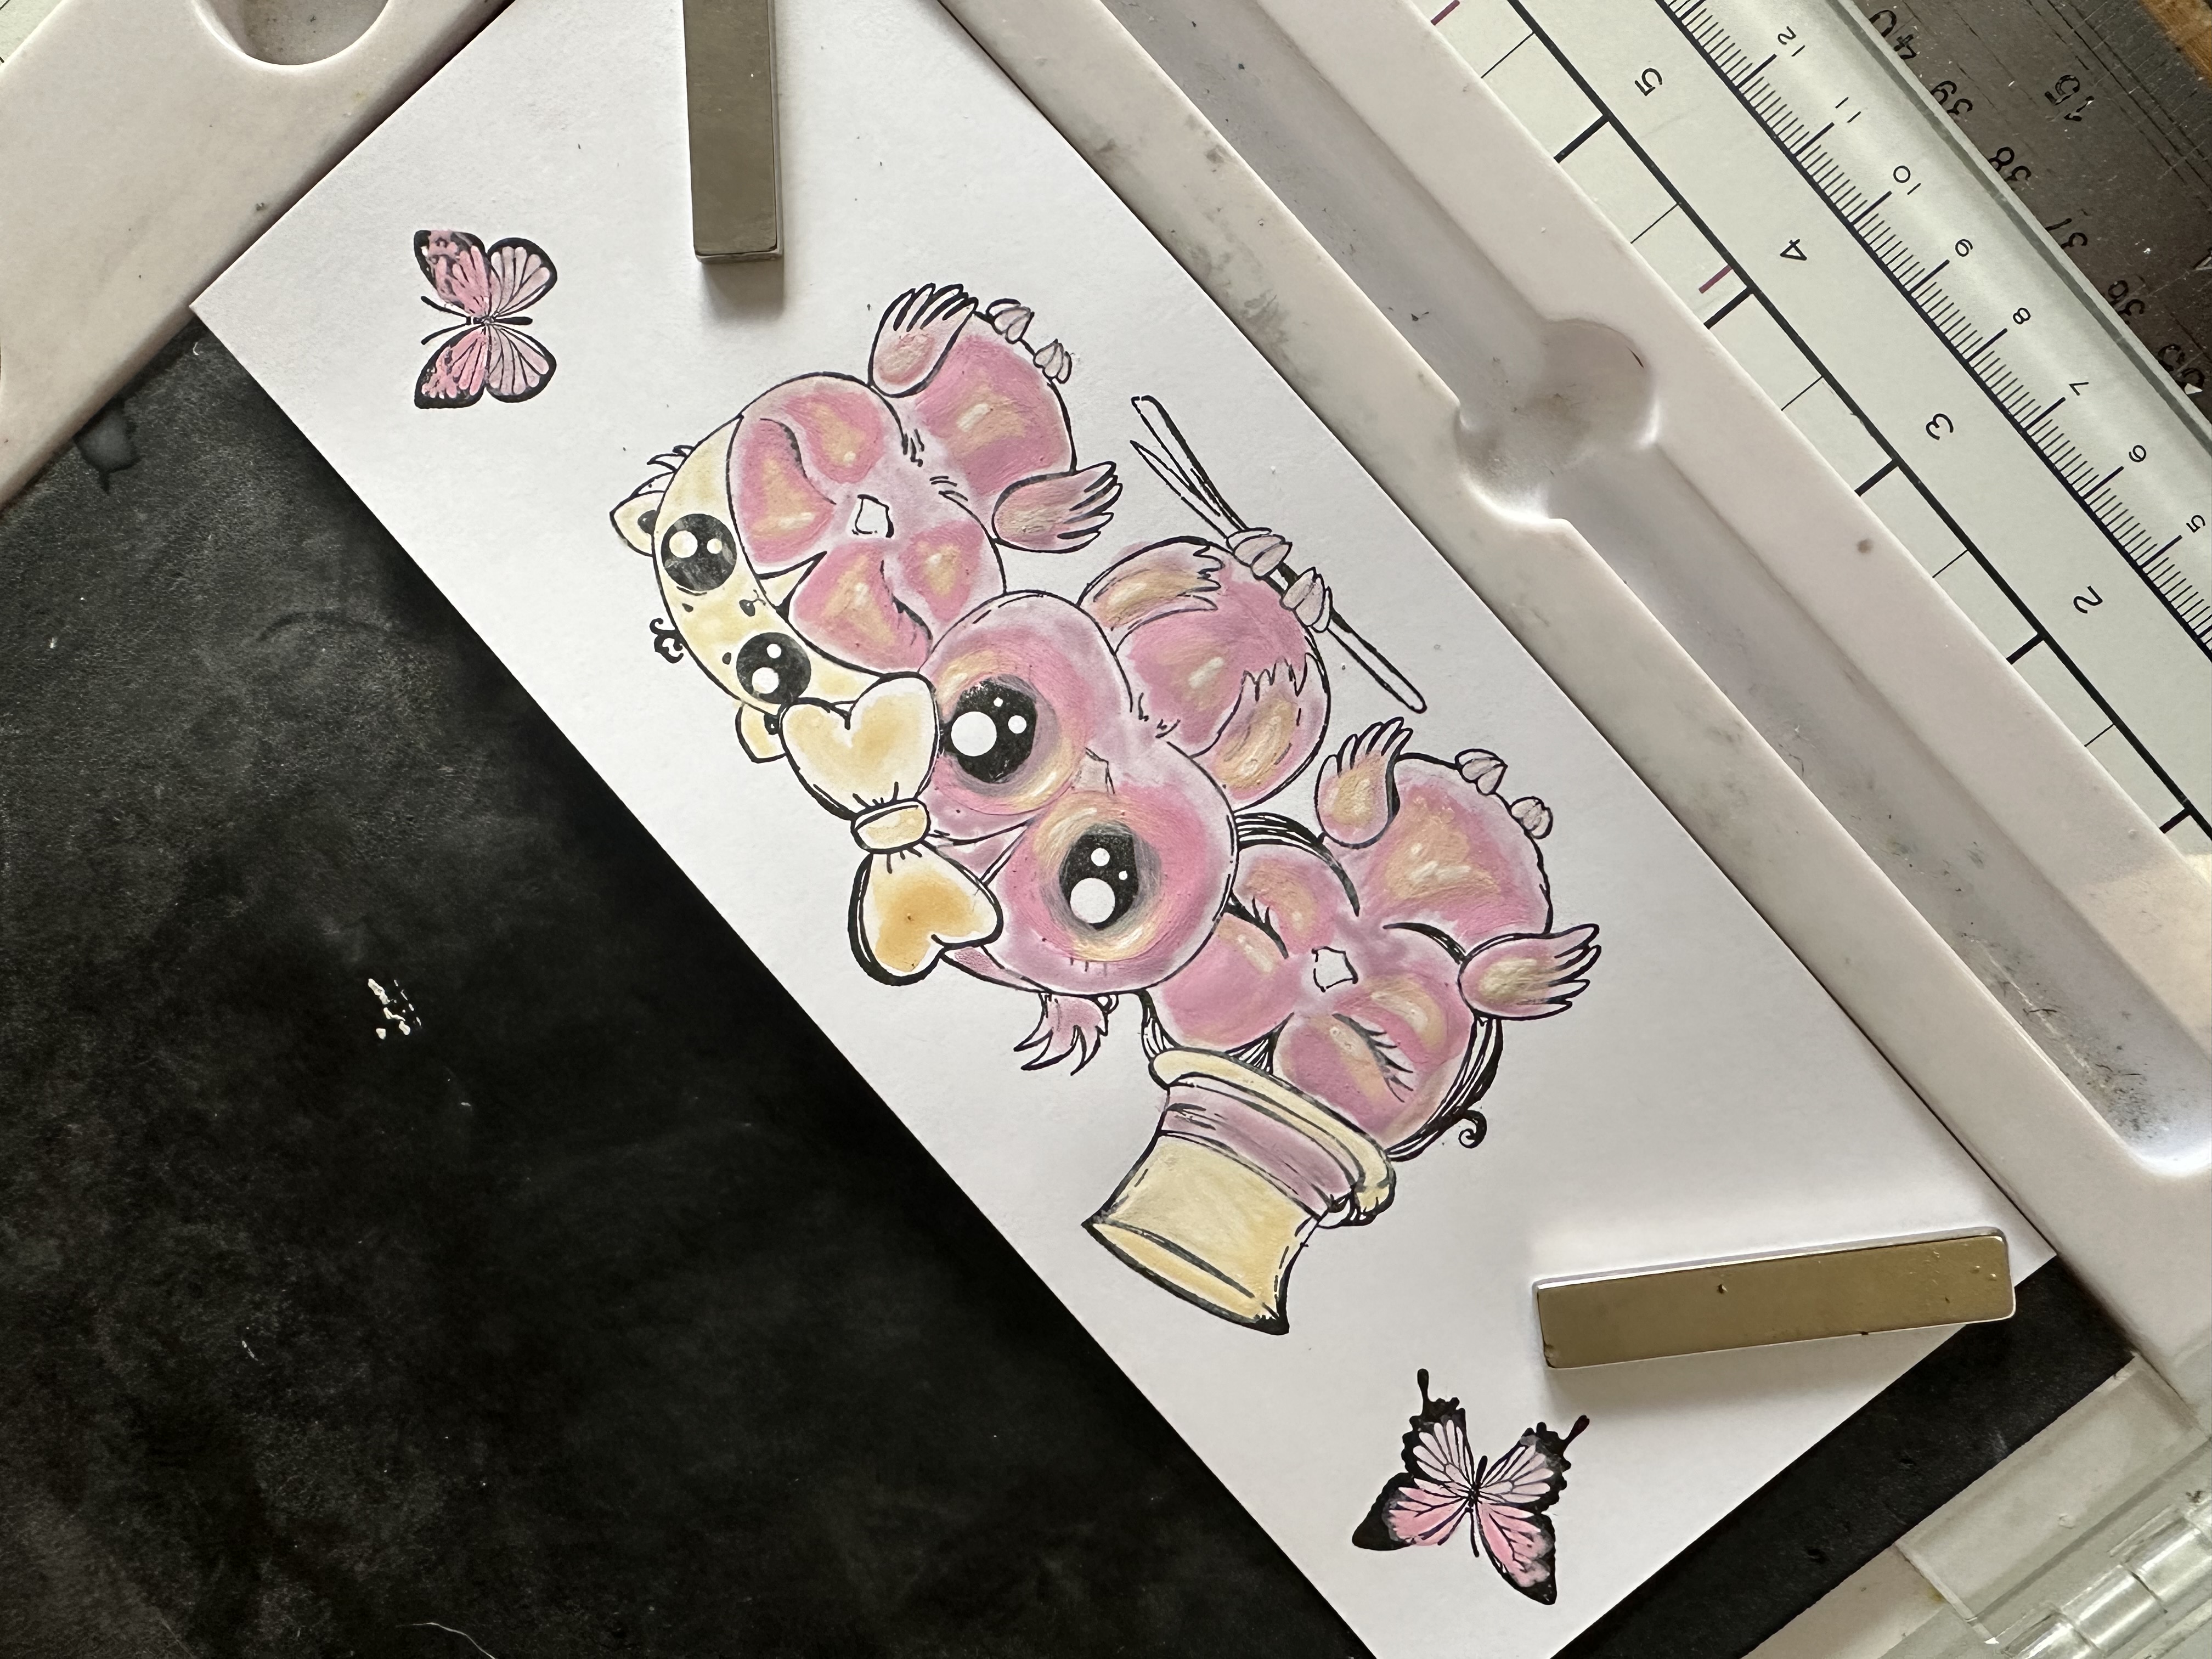
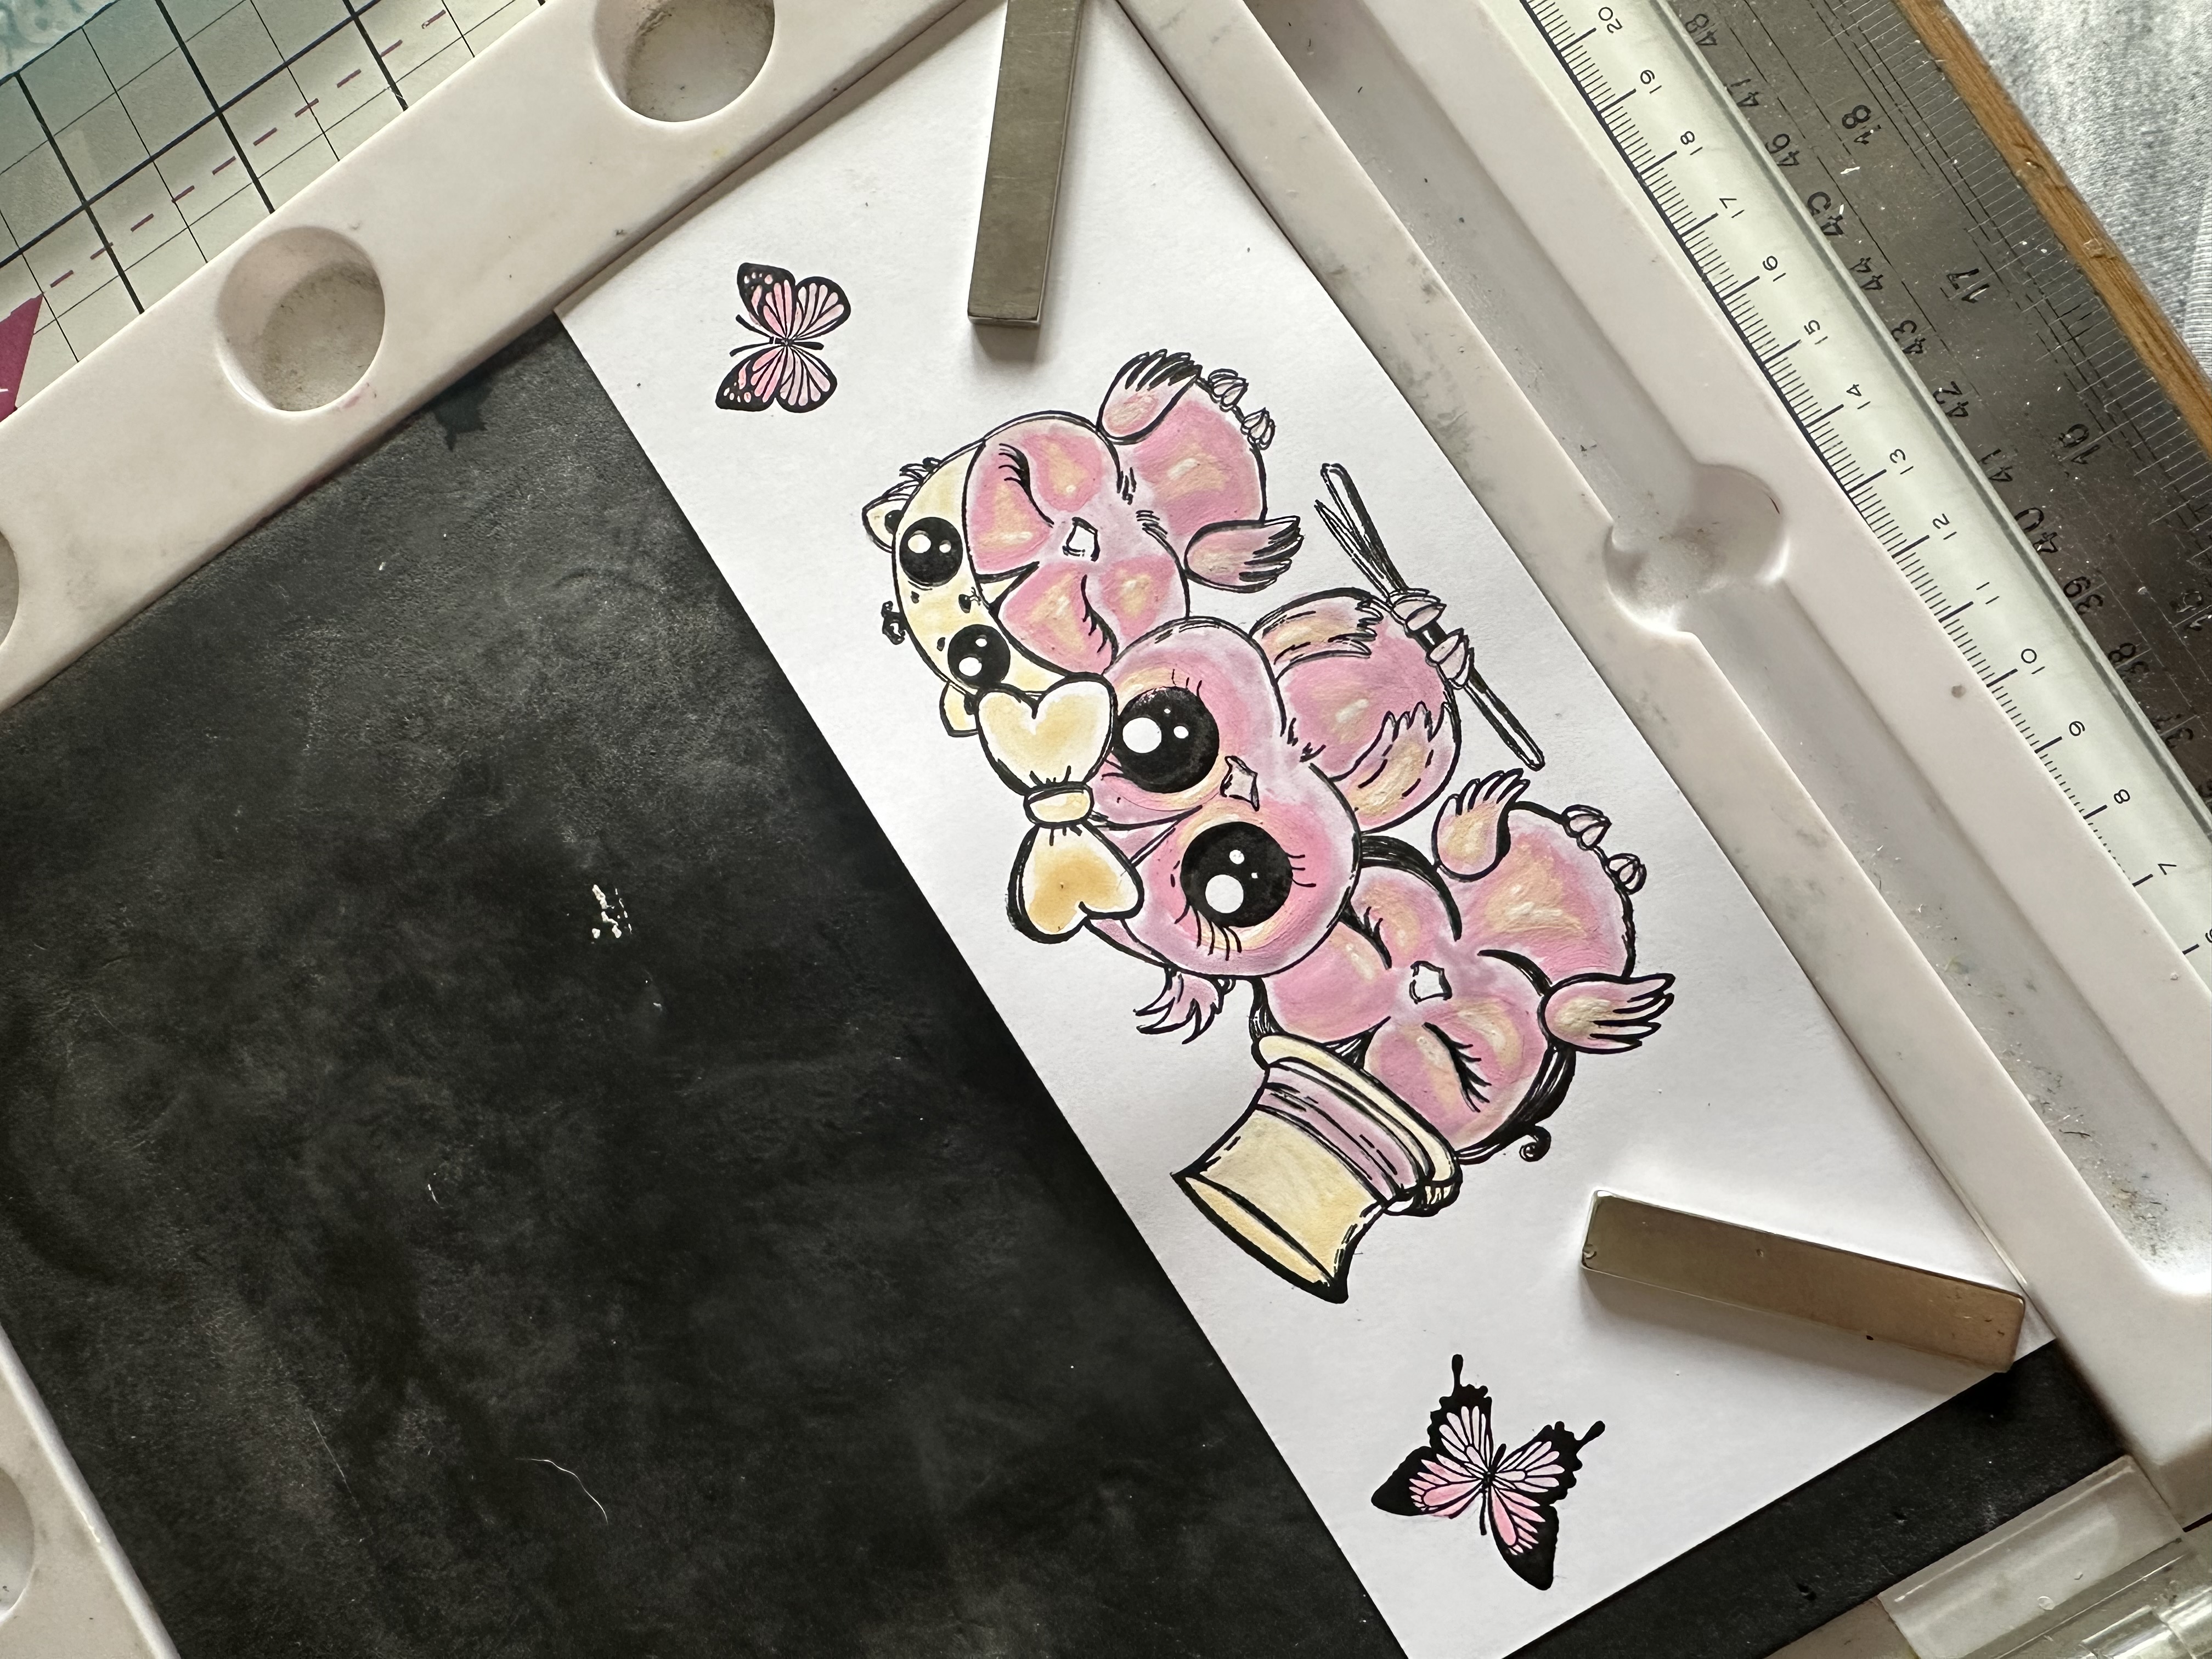
Using a piece of white cardstock stamp your owls and butterflies, laying your cardstock in the bottom righthand corner of your Eureka, using a black inkpad. Do not remove the stamps from your Eureka. |
|
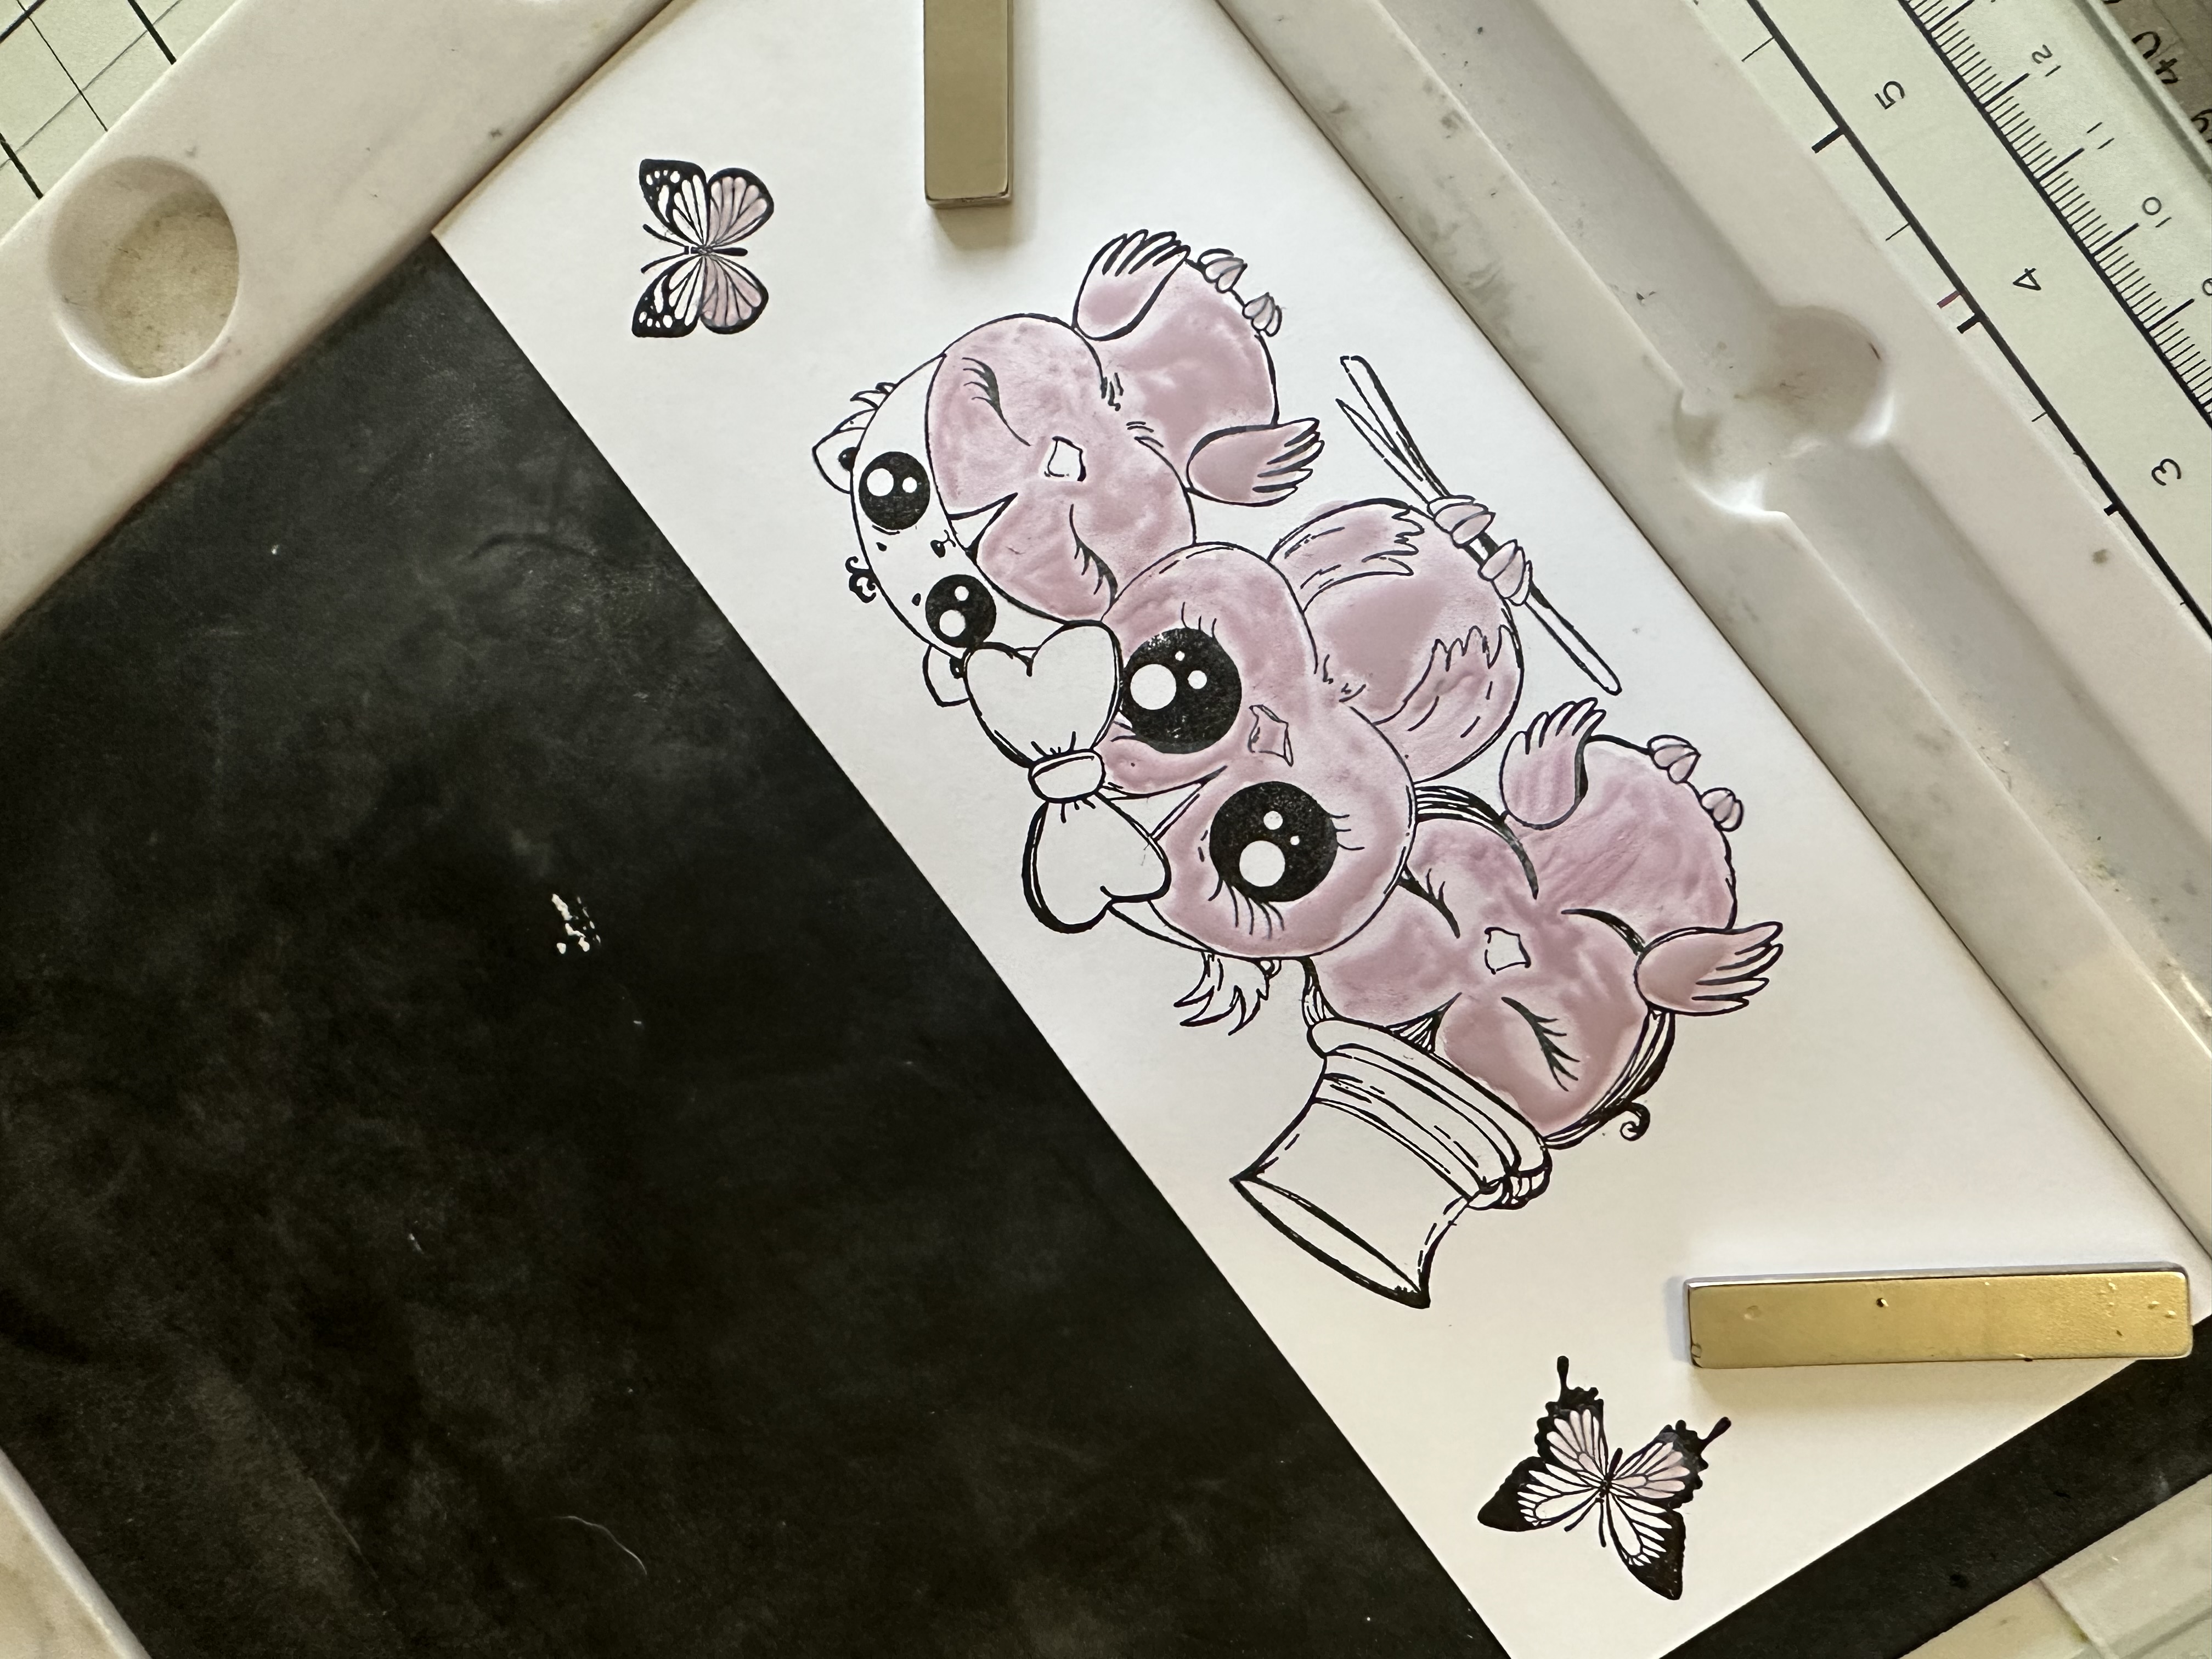
Using a light pastel pink gouache, apply an even base colour to your owls and areas of your butterflies. |
|
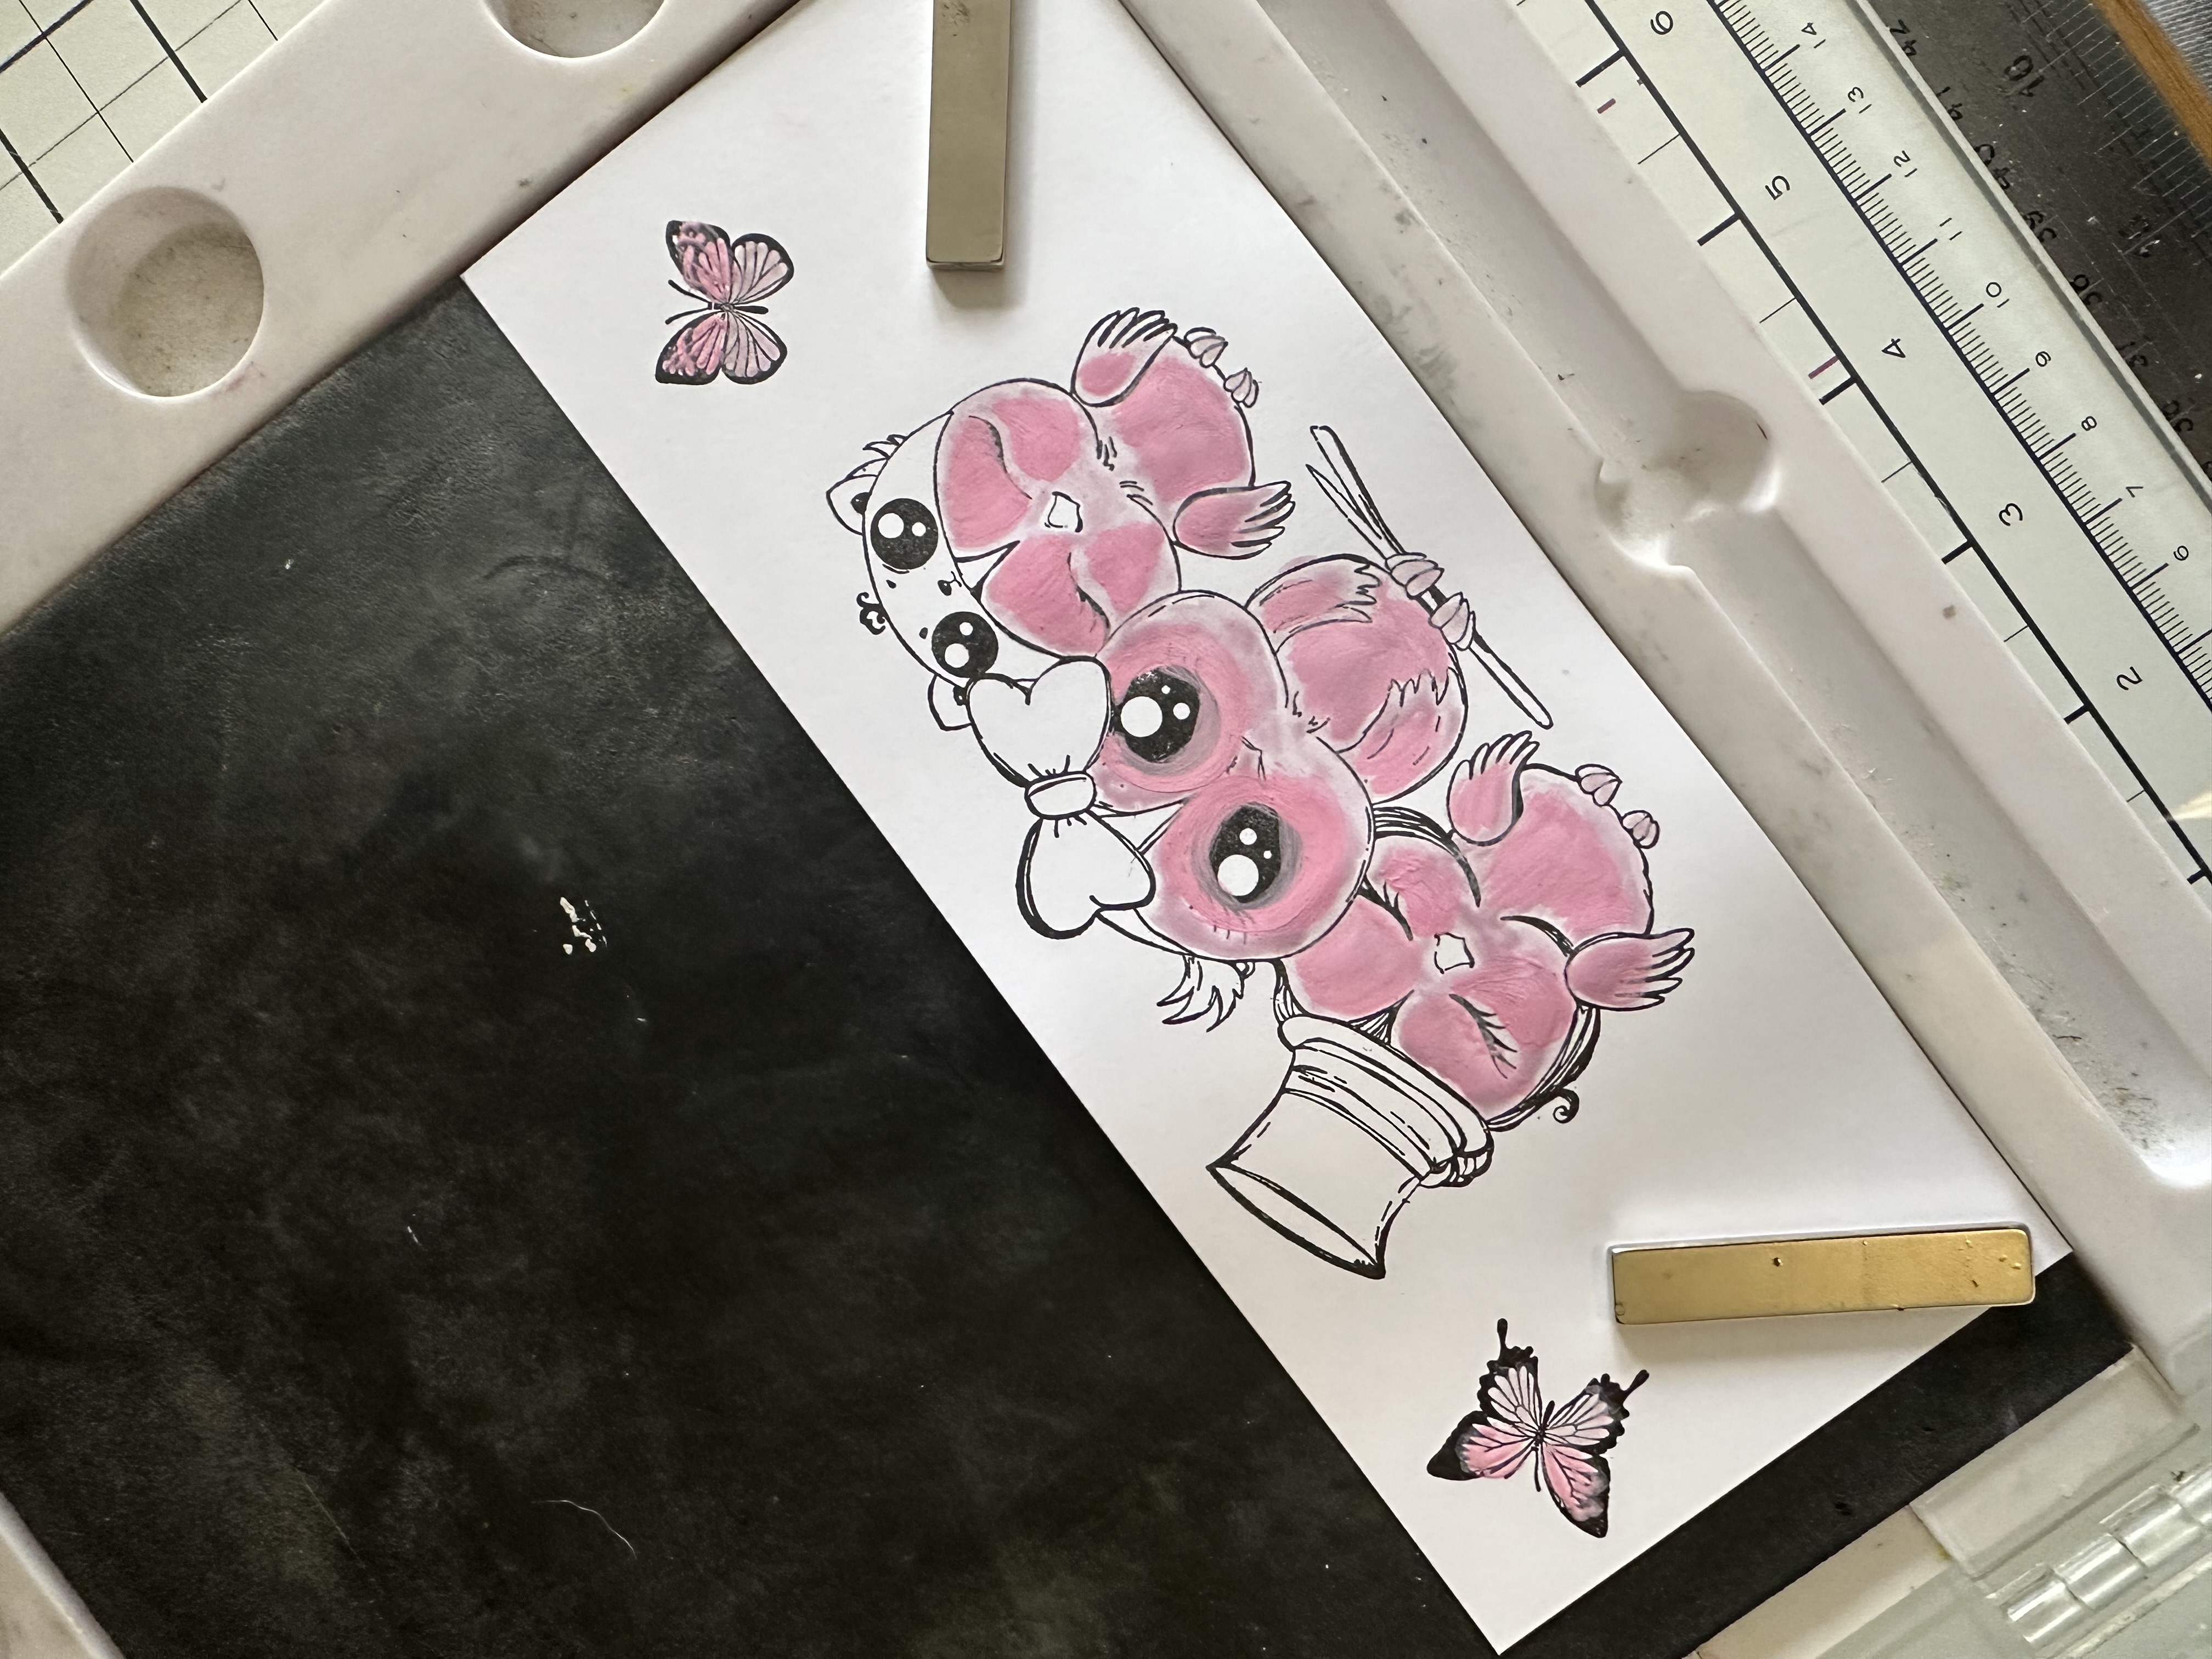
Once dry, go in with a darker shade of pink gouache leaving a little of the original colour around the edges of the owls. Add a little to the butterflies too. |
|
Once dry, add a light ochre colour of gouache to the owls head pieces , feet and add small highlights around the eyes, tummies and wings. |
|
Assuming the stamps and paper have not moved, re-stamp the images again in black, to sharpen any areas that may have been covered with the gouache. (If the cardstock has moved you should be able to realign to the bottom corner of your Eureka). |
|
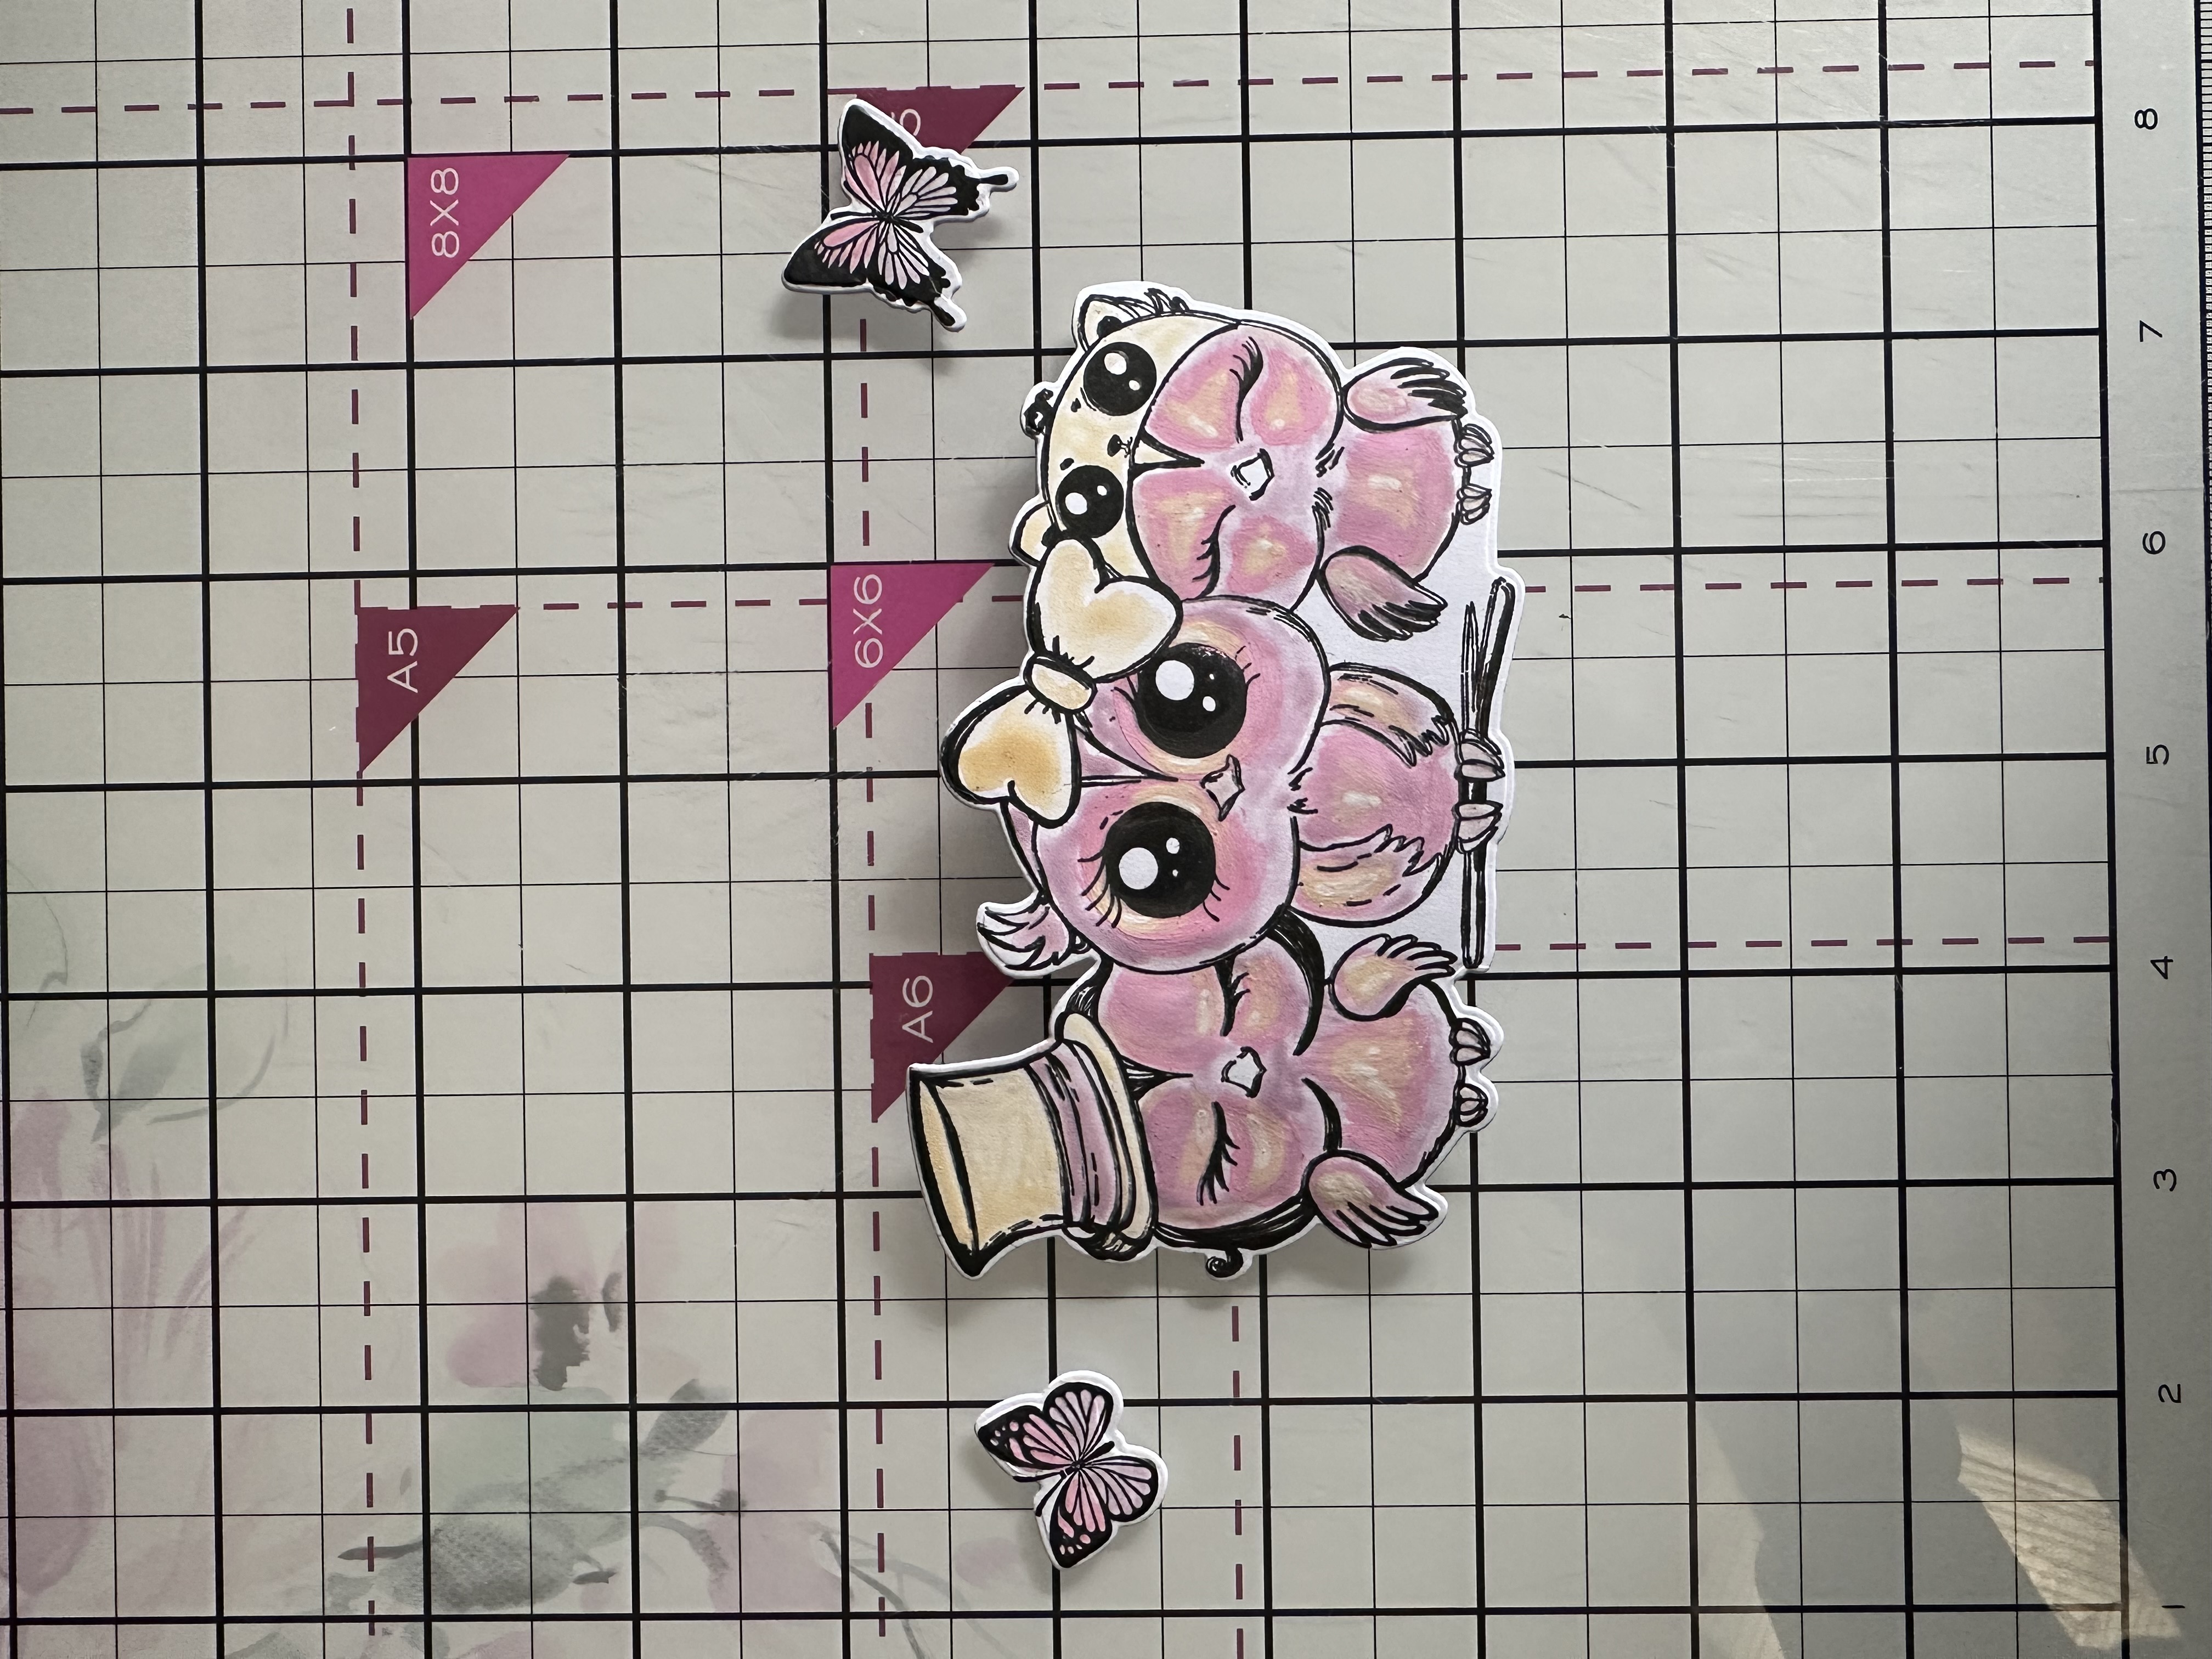
Die cut your images using supplied dies. |
|
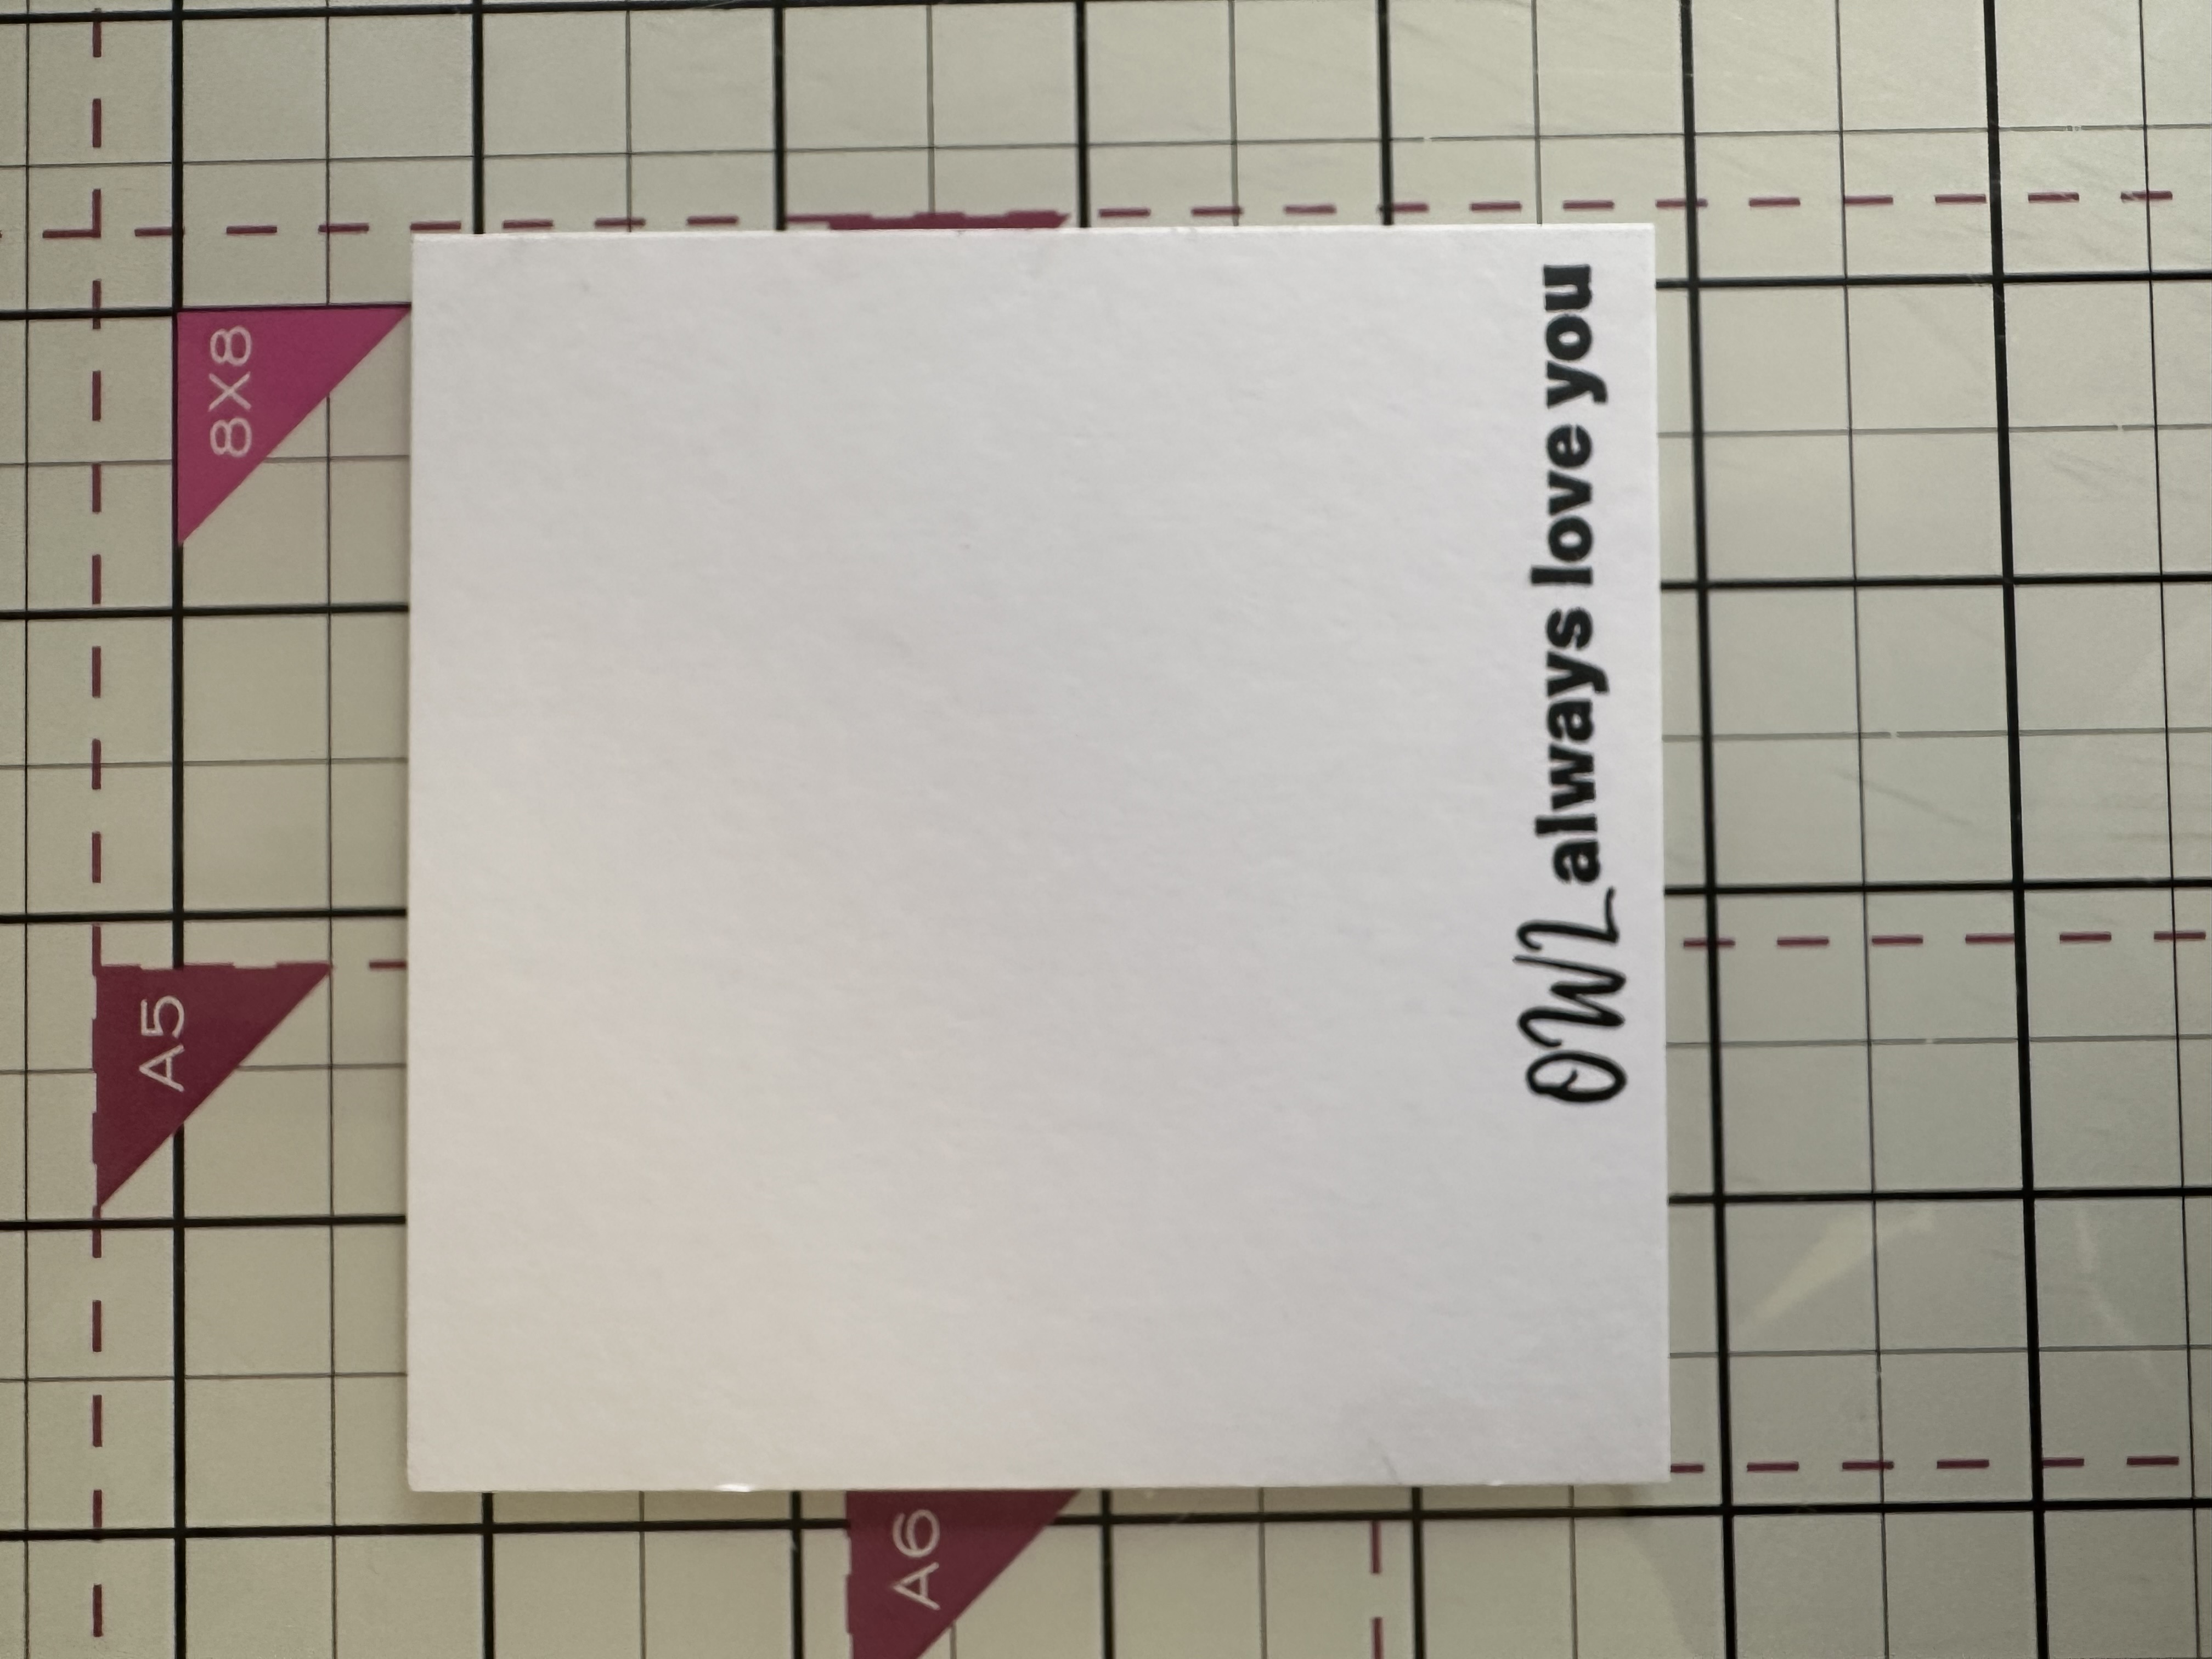
On a piece of 4 x 4 white cardstock, stamp your sentiment as shown and matt and layer onto a piece of 4 ¼ square black cardstock. |
|
Construct your card by glueing your patterned paper to your card blank followed by your sentiment square. Add foam pads to your owls and add to your base card, gluing the butterflies from the body so that their wings can be opened. |