Give your friends $10 off their first order!
Refer a FRIEND


WHAT YOU WILL NEED:
Kraft card blank 5 x 7"
Kraft/black cardstock
Vellum
Colourful Daisy Embossing Folder
Just Be You Lamination
SBM Pigment Ink Pad: Cotton
Distress Ink/Oxide Ink pad: Walnut Stain, Black Soot
Goldmine Confetti Ink
Paint brush
WOW embossing ink pad
WOW heat tool
WOW White embossing powder
Anti-static bag
Eureka 101 Watercolour Tablet
SBM A3 Magnetic glass mat
Paper Trimmer
Glue
Double-sided adhesive tape
Die Cutting machine
[click image to enlarge] 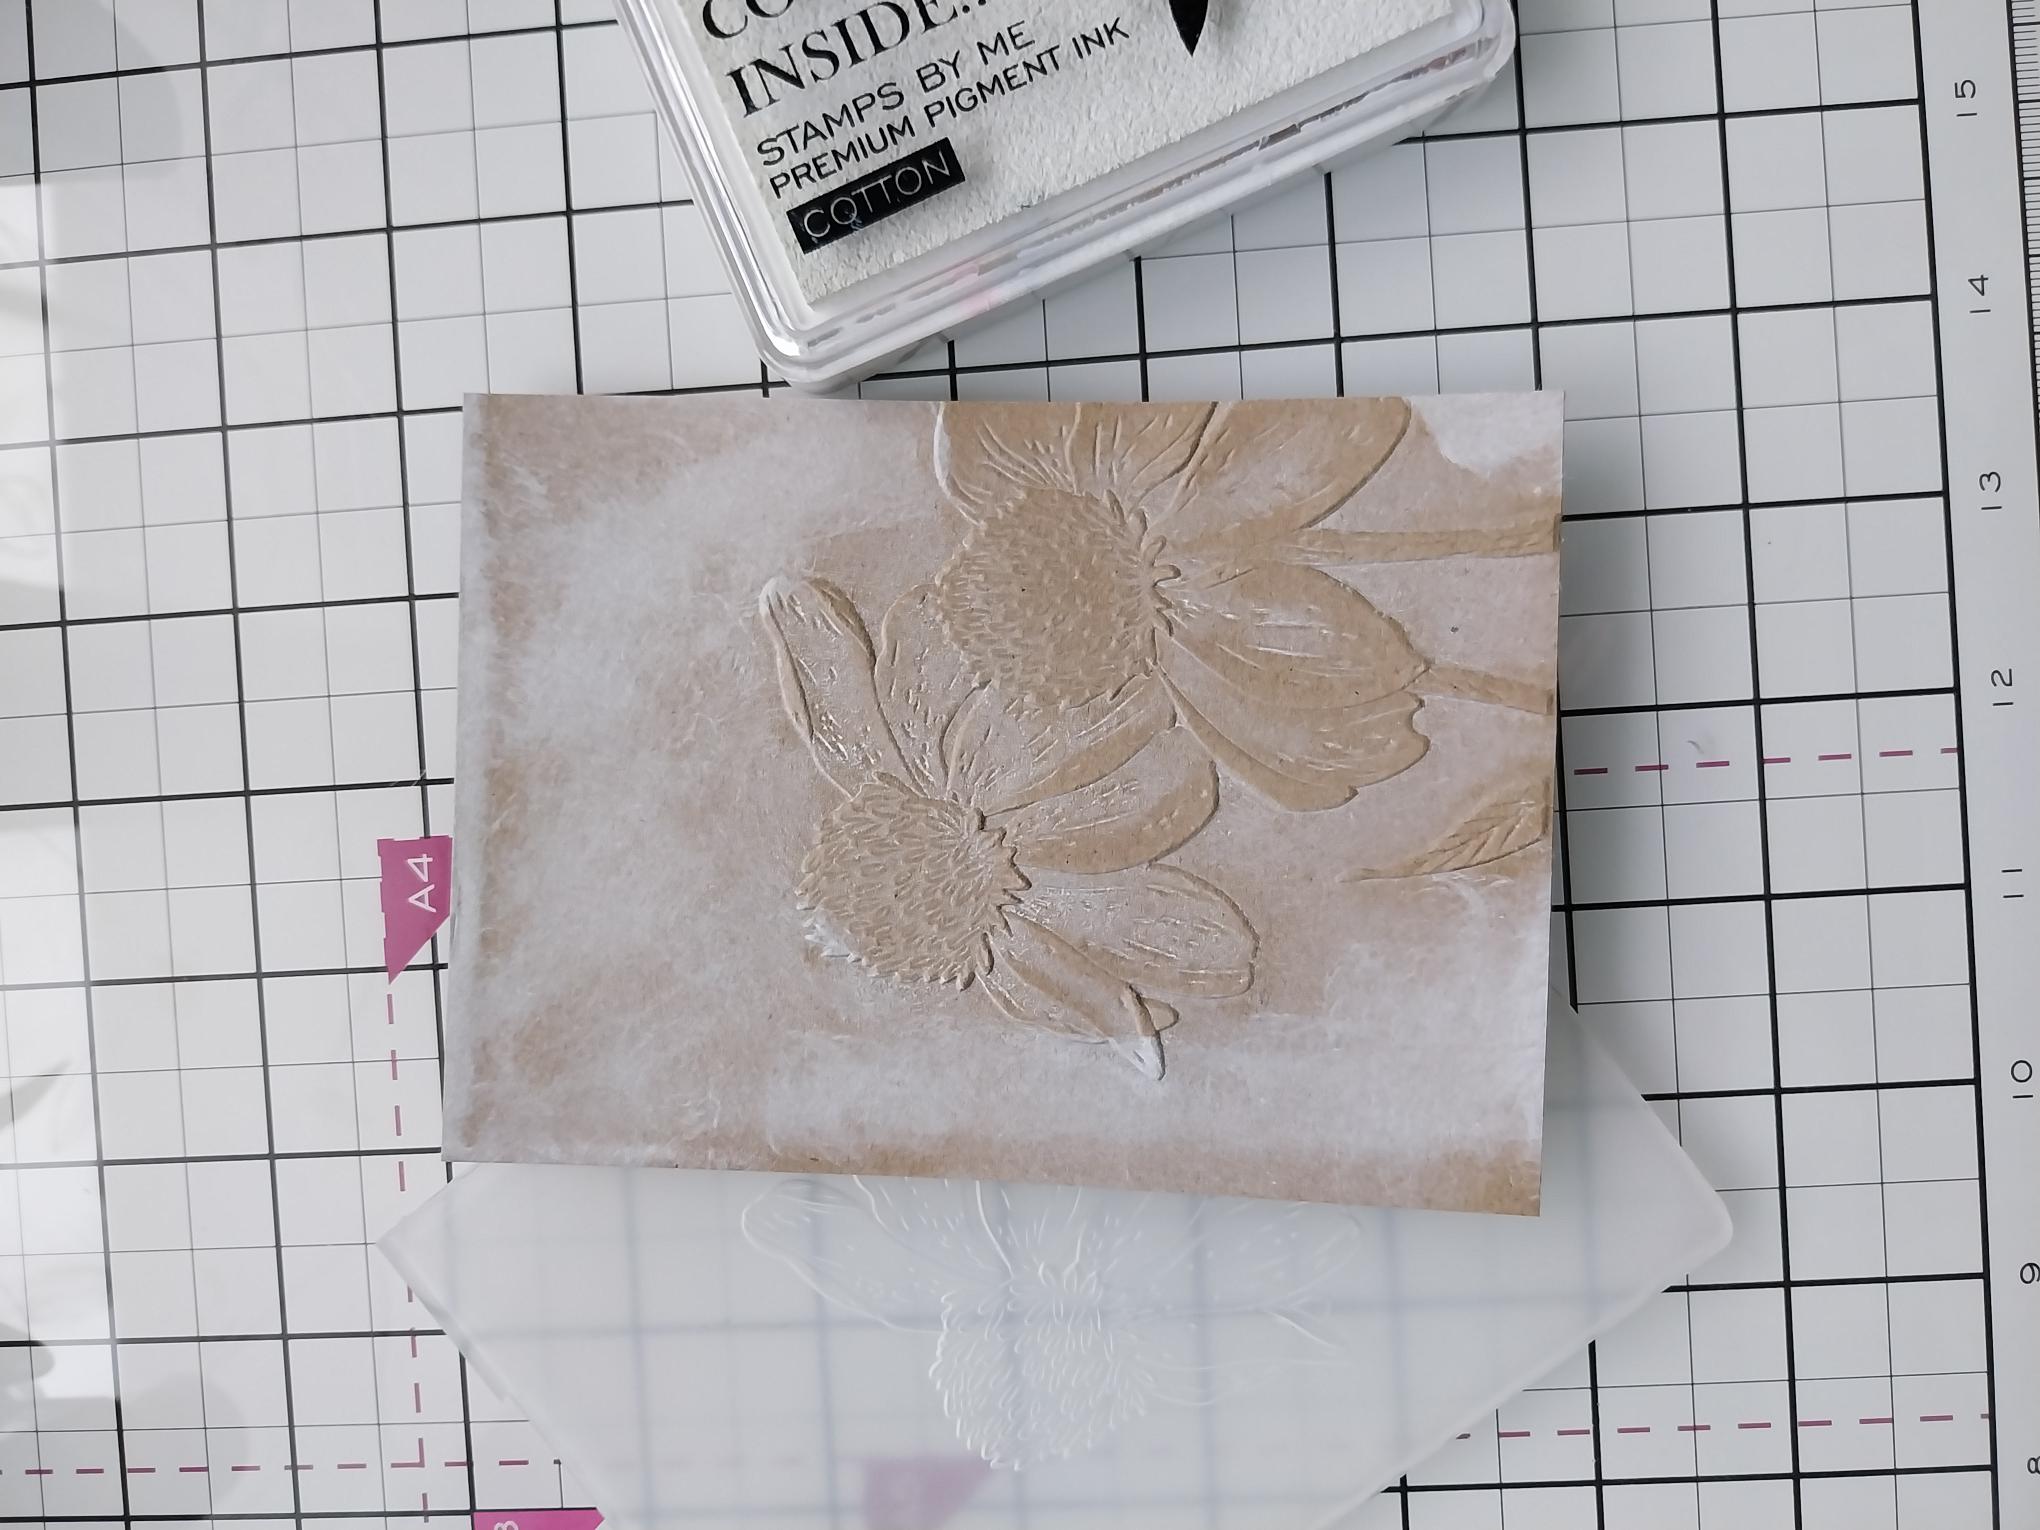
|
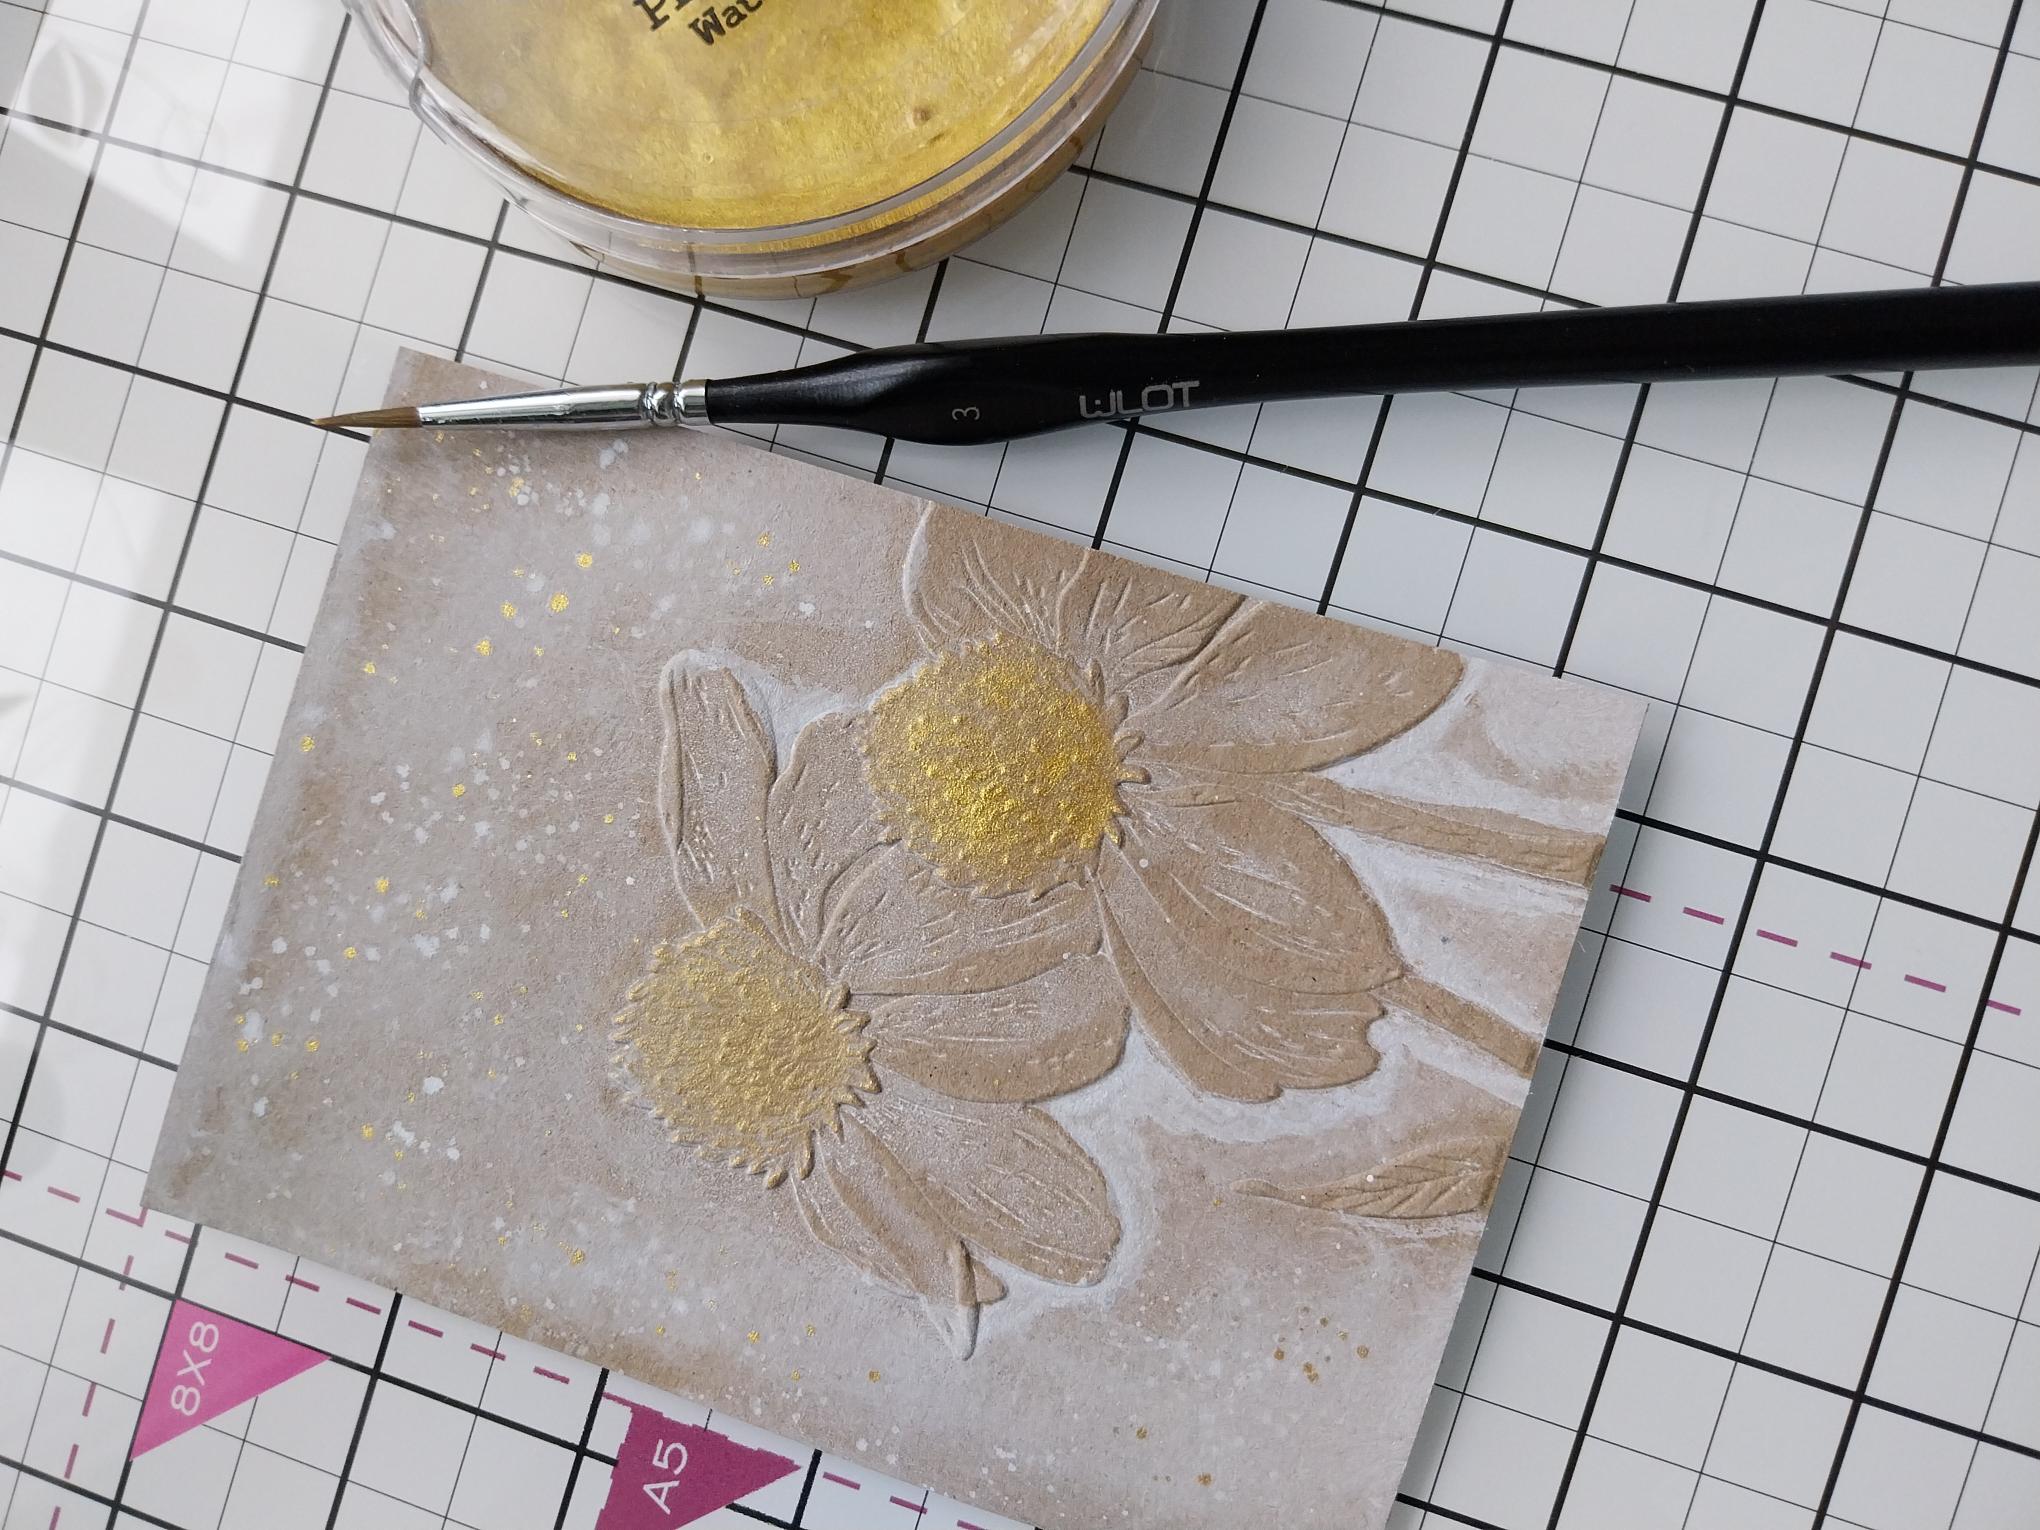
Trim a piece of kraft card to 5 1/2 x 4". Place inside the Colourful Daisy embossing folder and run it through your machine. Swipe the Cotton ink pad around the edges of the card, fading it out as you move inwards, towards the embossed image. NB: Pigment ink is very slow drying allowing it to blend easily. Dry the ink with a heat tool, once your background effect has been achieved, to avoid unwanted smudging! |
|
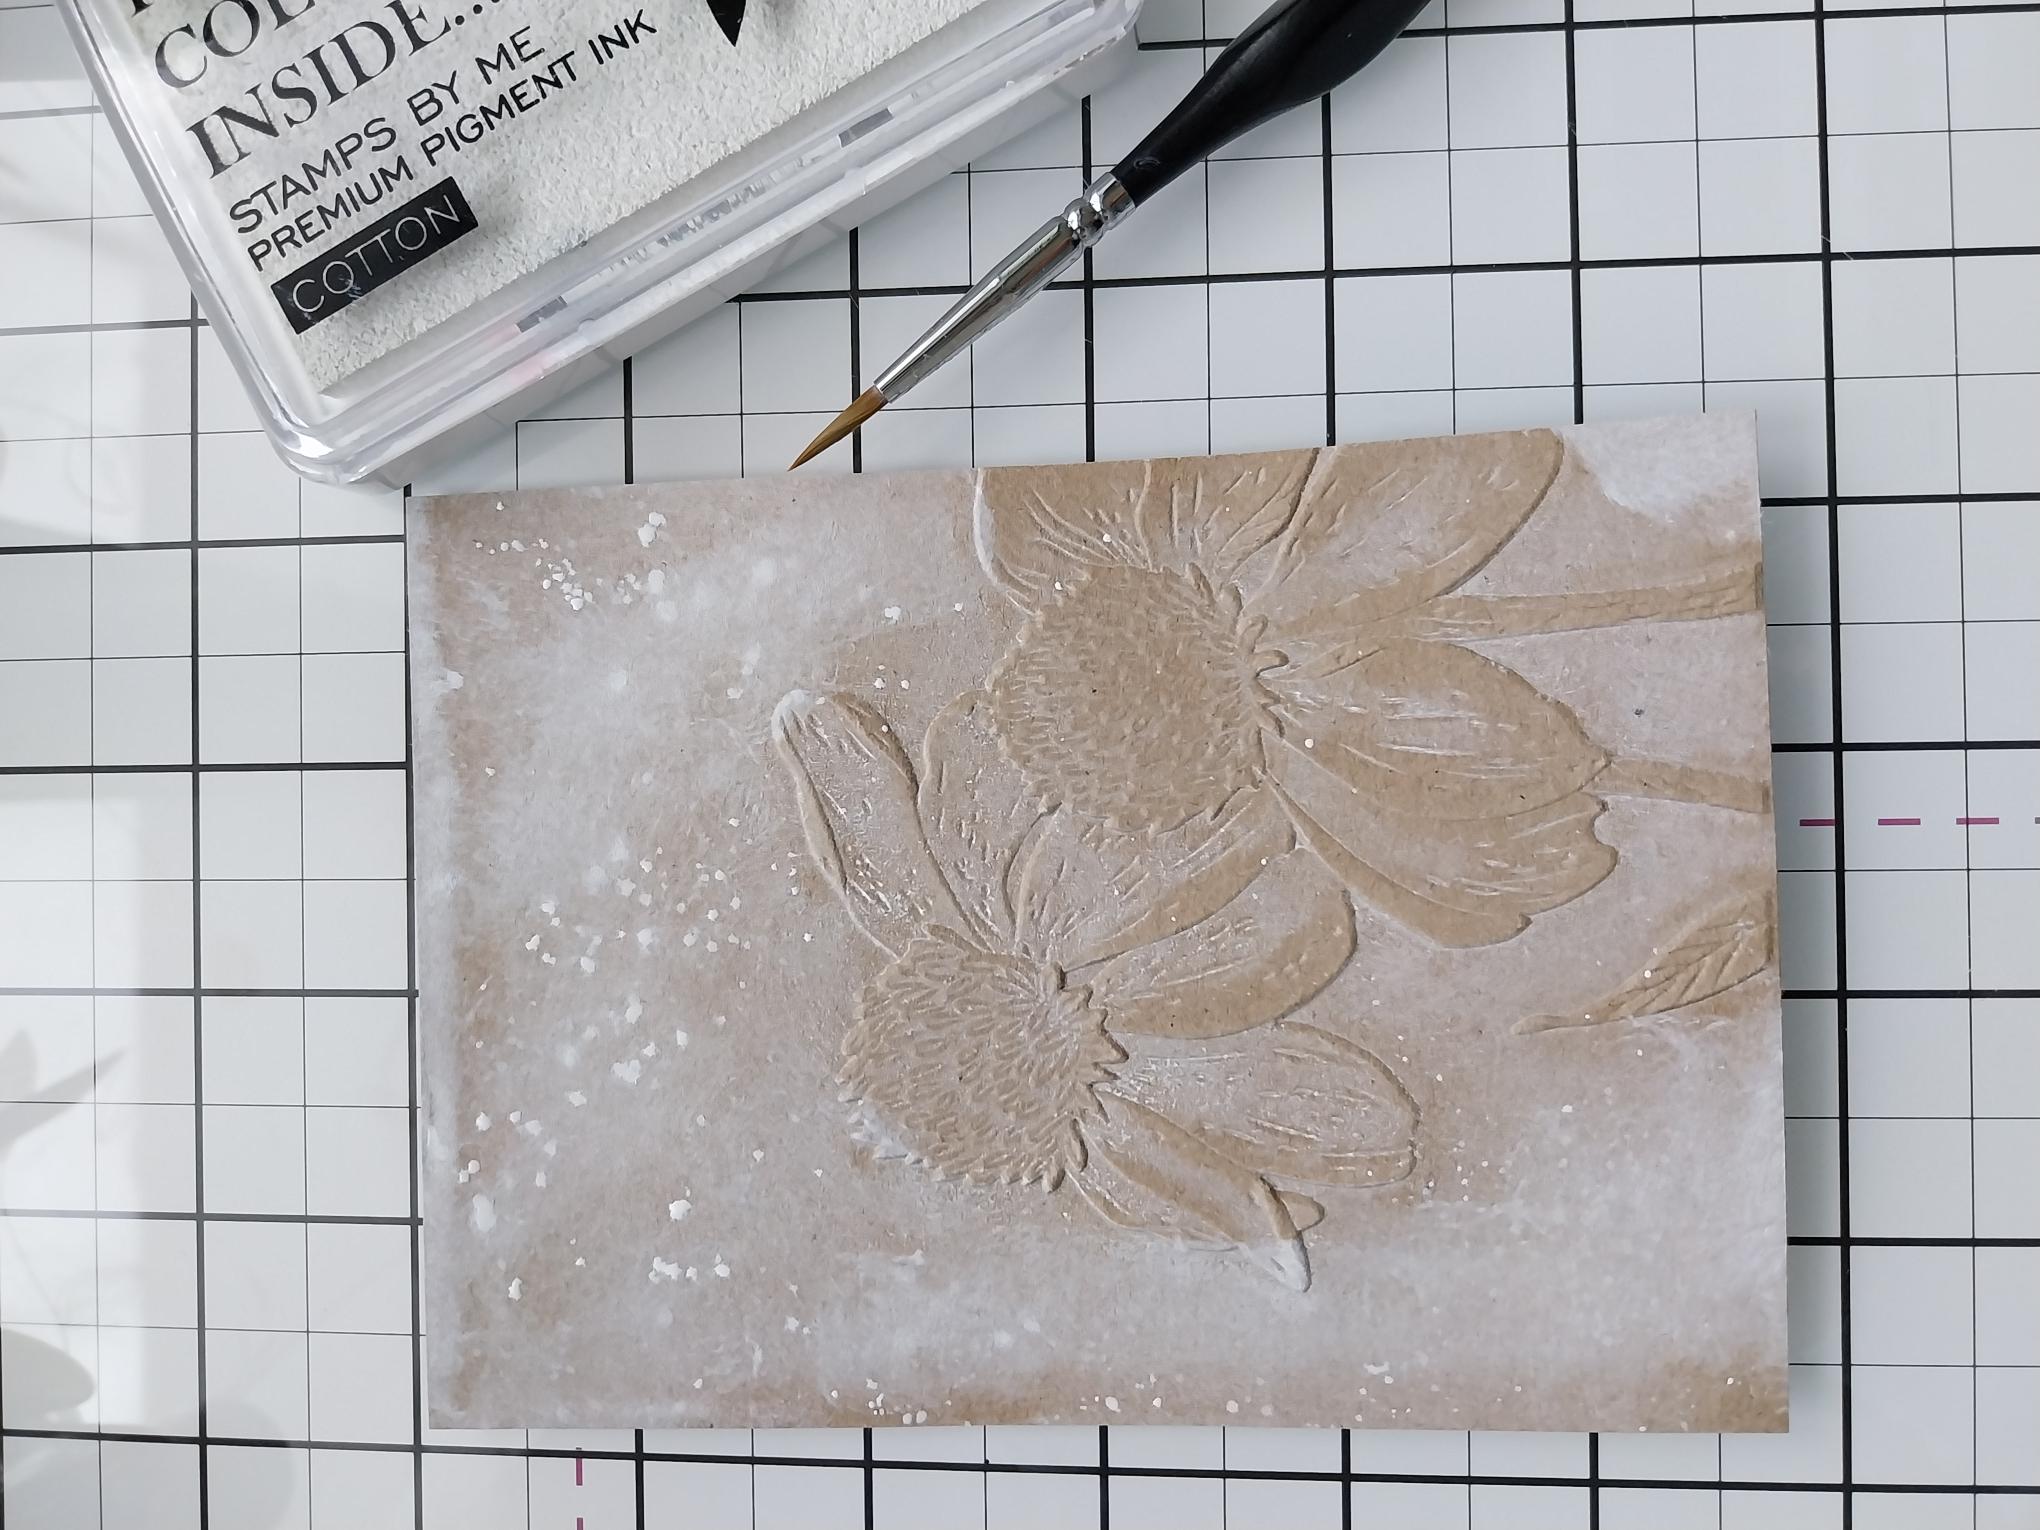
Smoosh a little Cotton ink on your glass mat, add water and splatter over your artwork with a paint brush. Blast dry with your heat tool. |
|
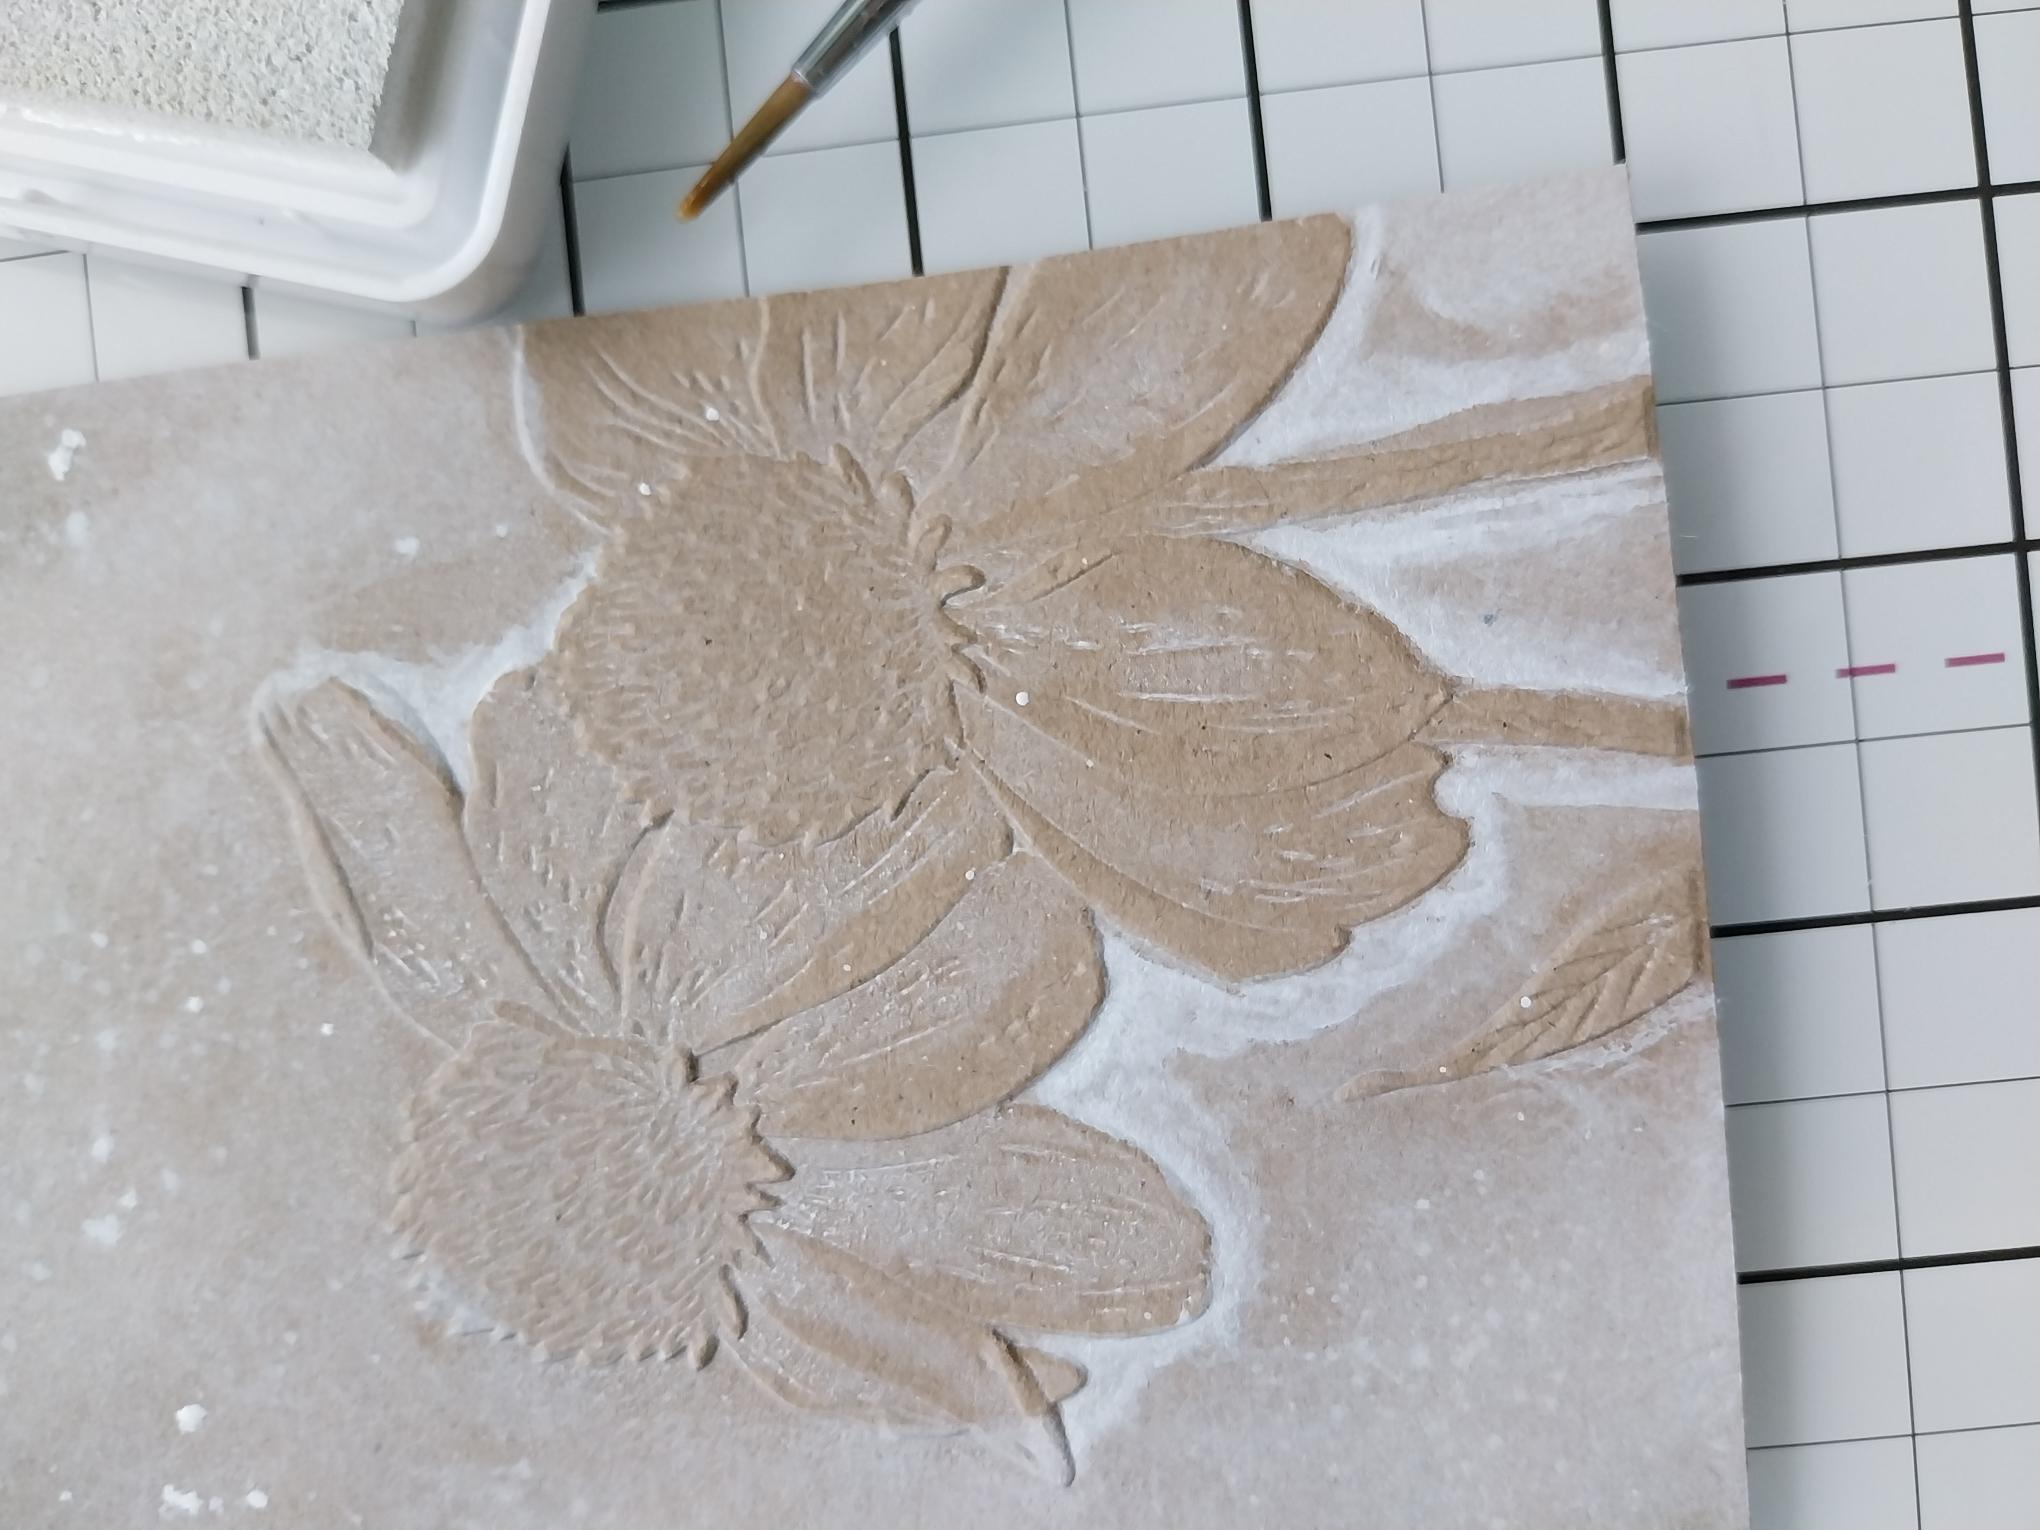
Use your paint brush to add more Cotton ink around the outer edges of your embossed Daisies, allowing the design to really "pop". |
|
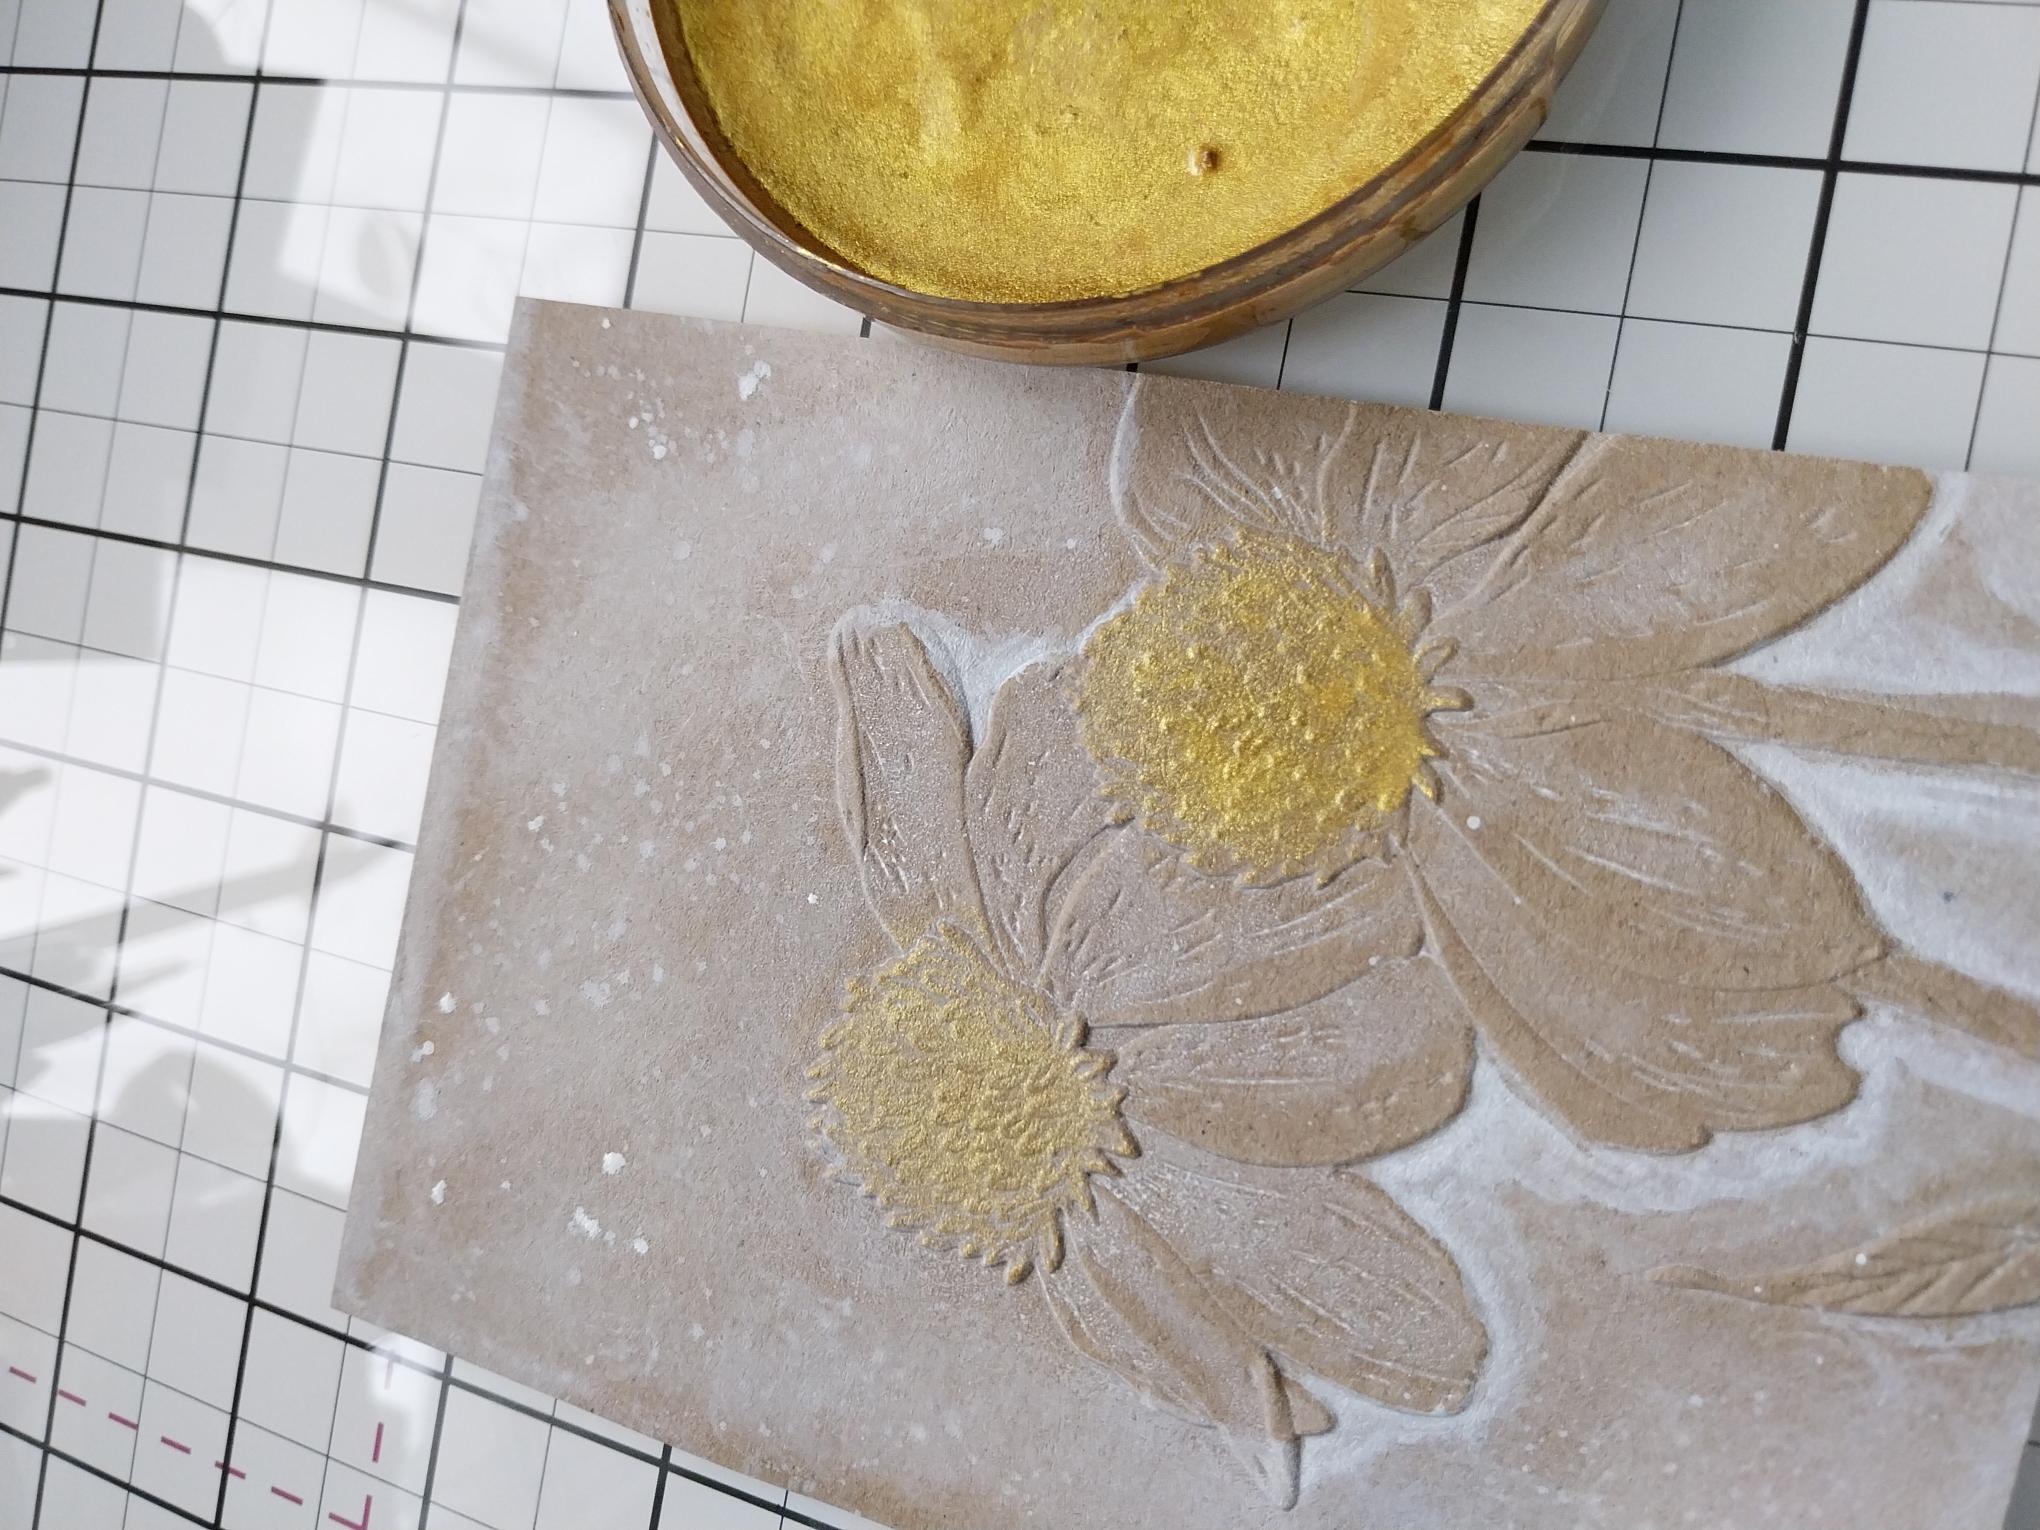
Paint the centres of your Daisies with the Confetti Goldmine paint. |
|
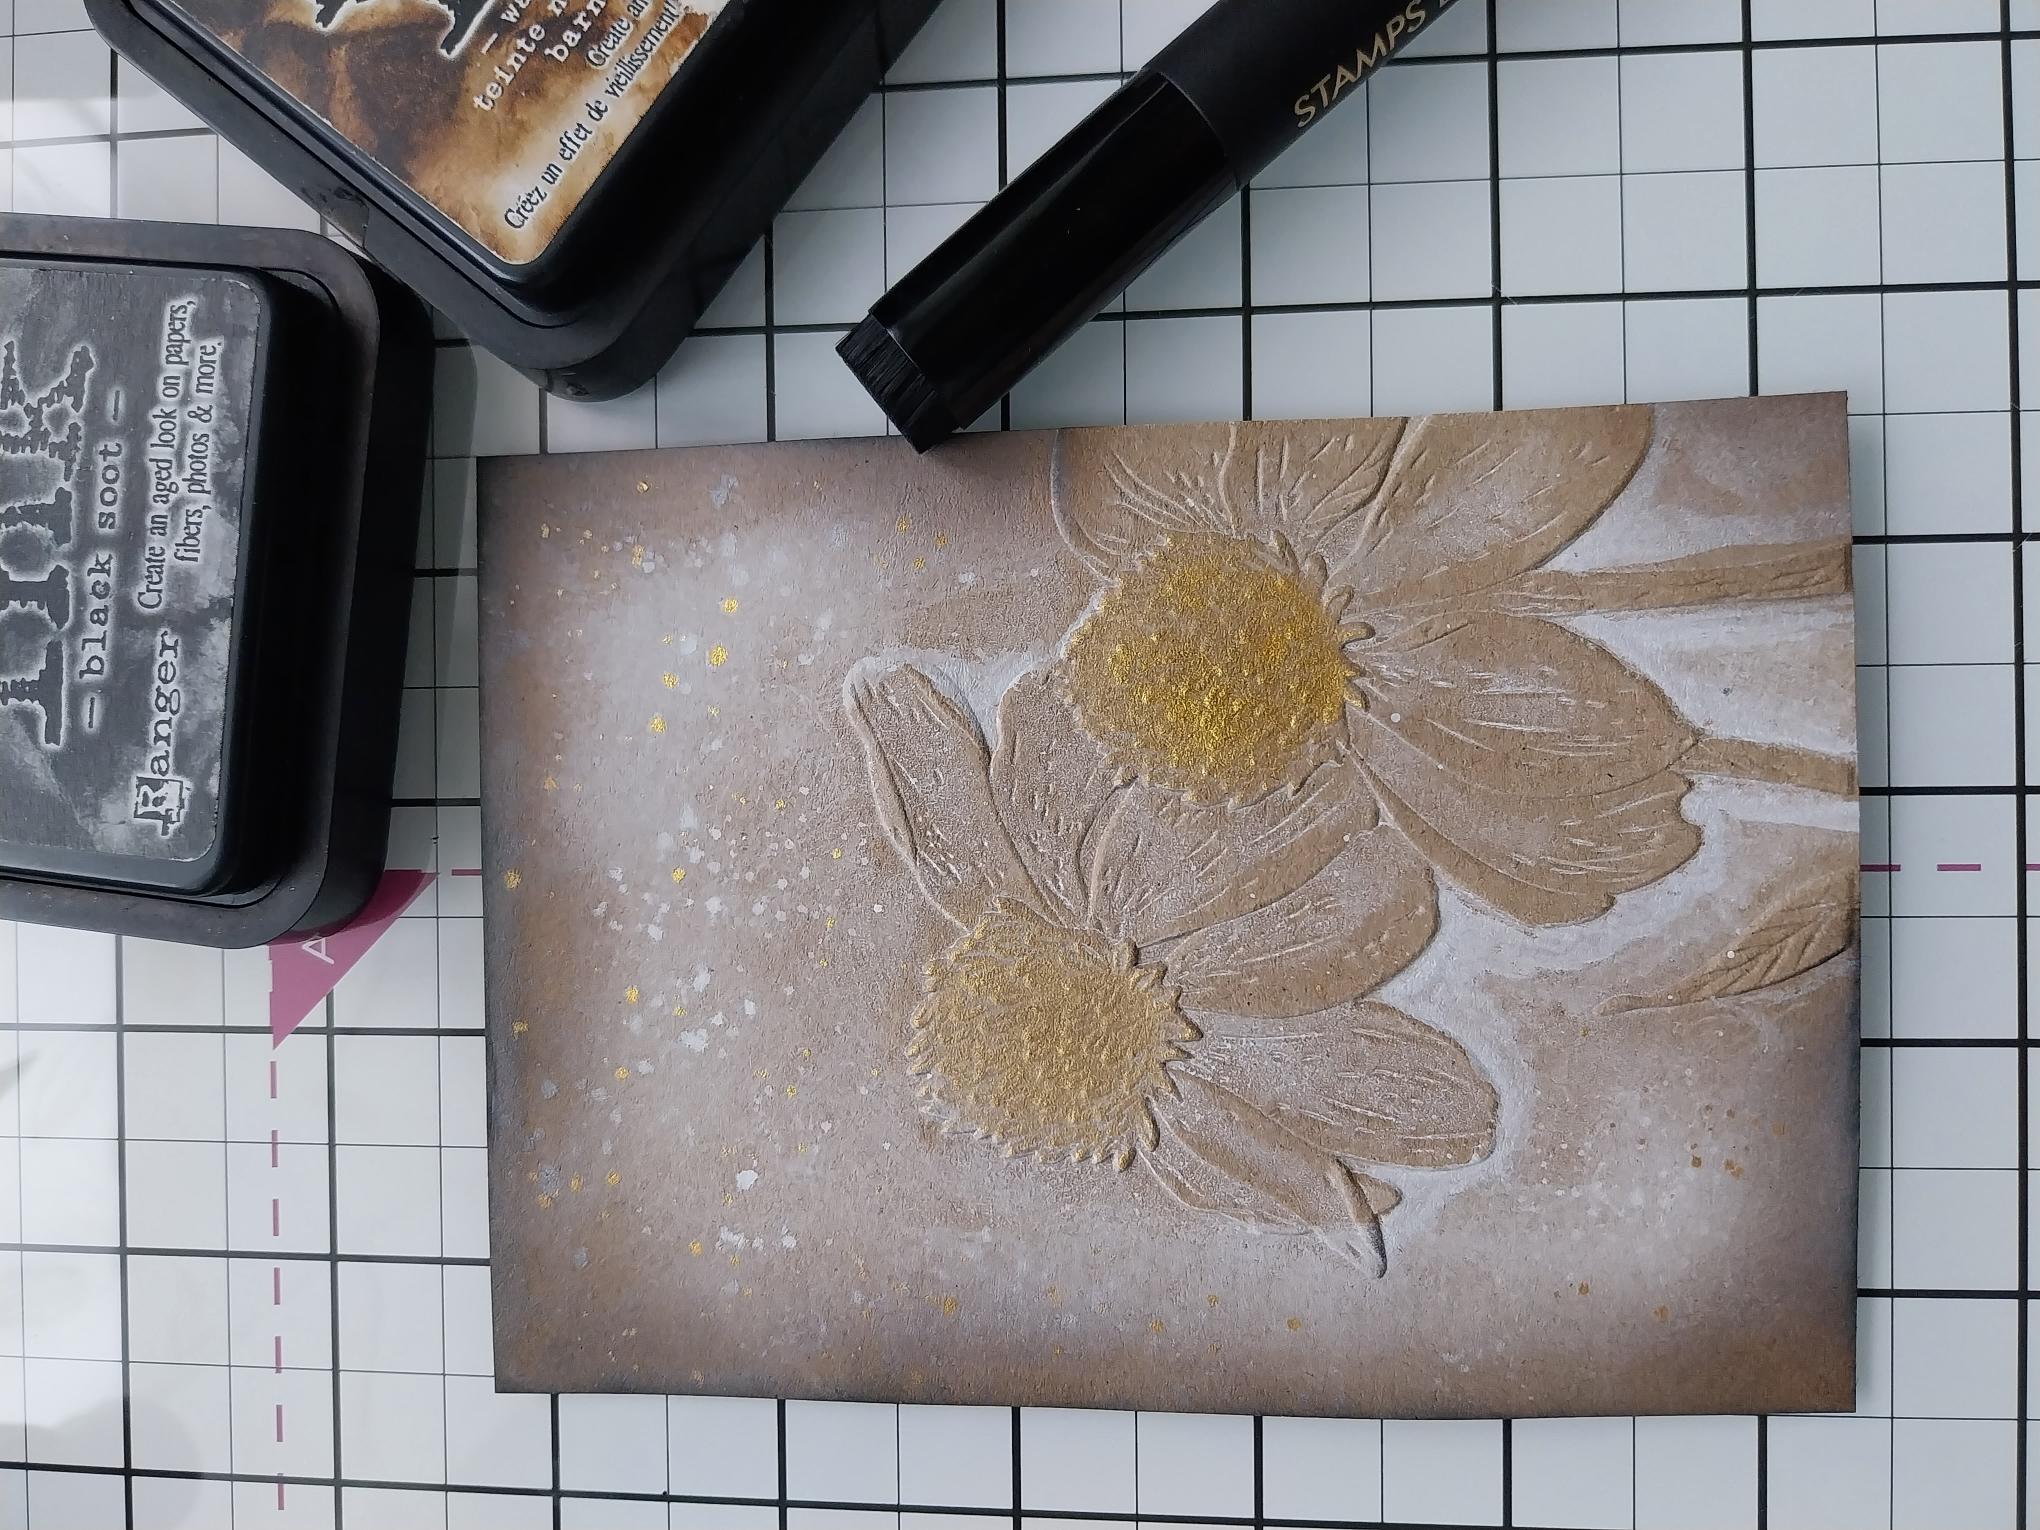
Splatter the Goldmine paint over your artwork, before blasting it dry with your heat tool. |
|
To draw your eye in to the artwork, blend Walnut Stain around your kraft card and then Black Soot, to intensify the edges. |
|
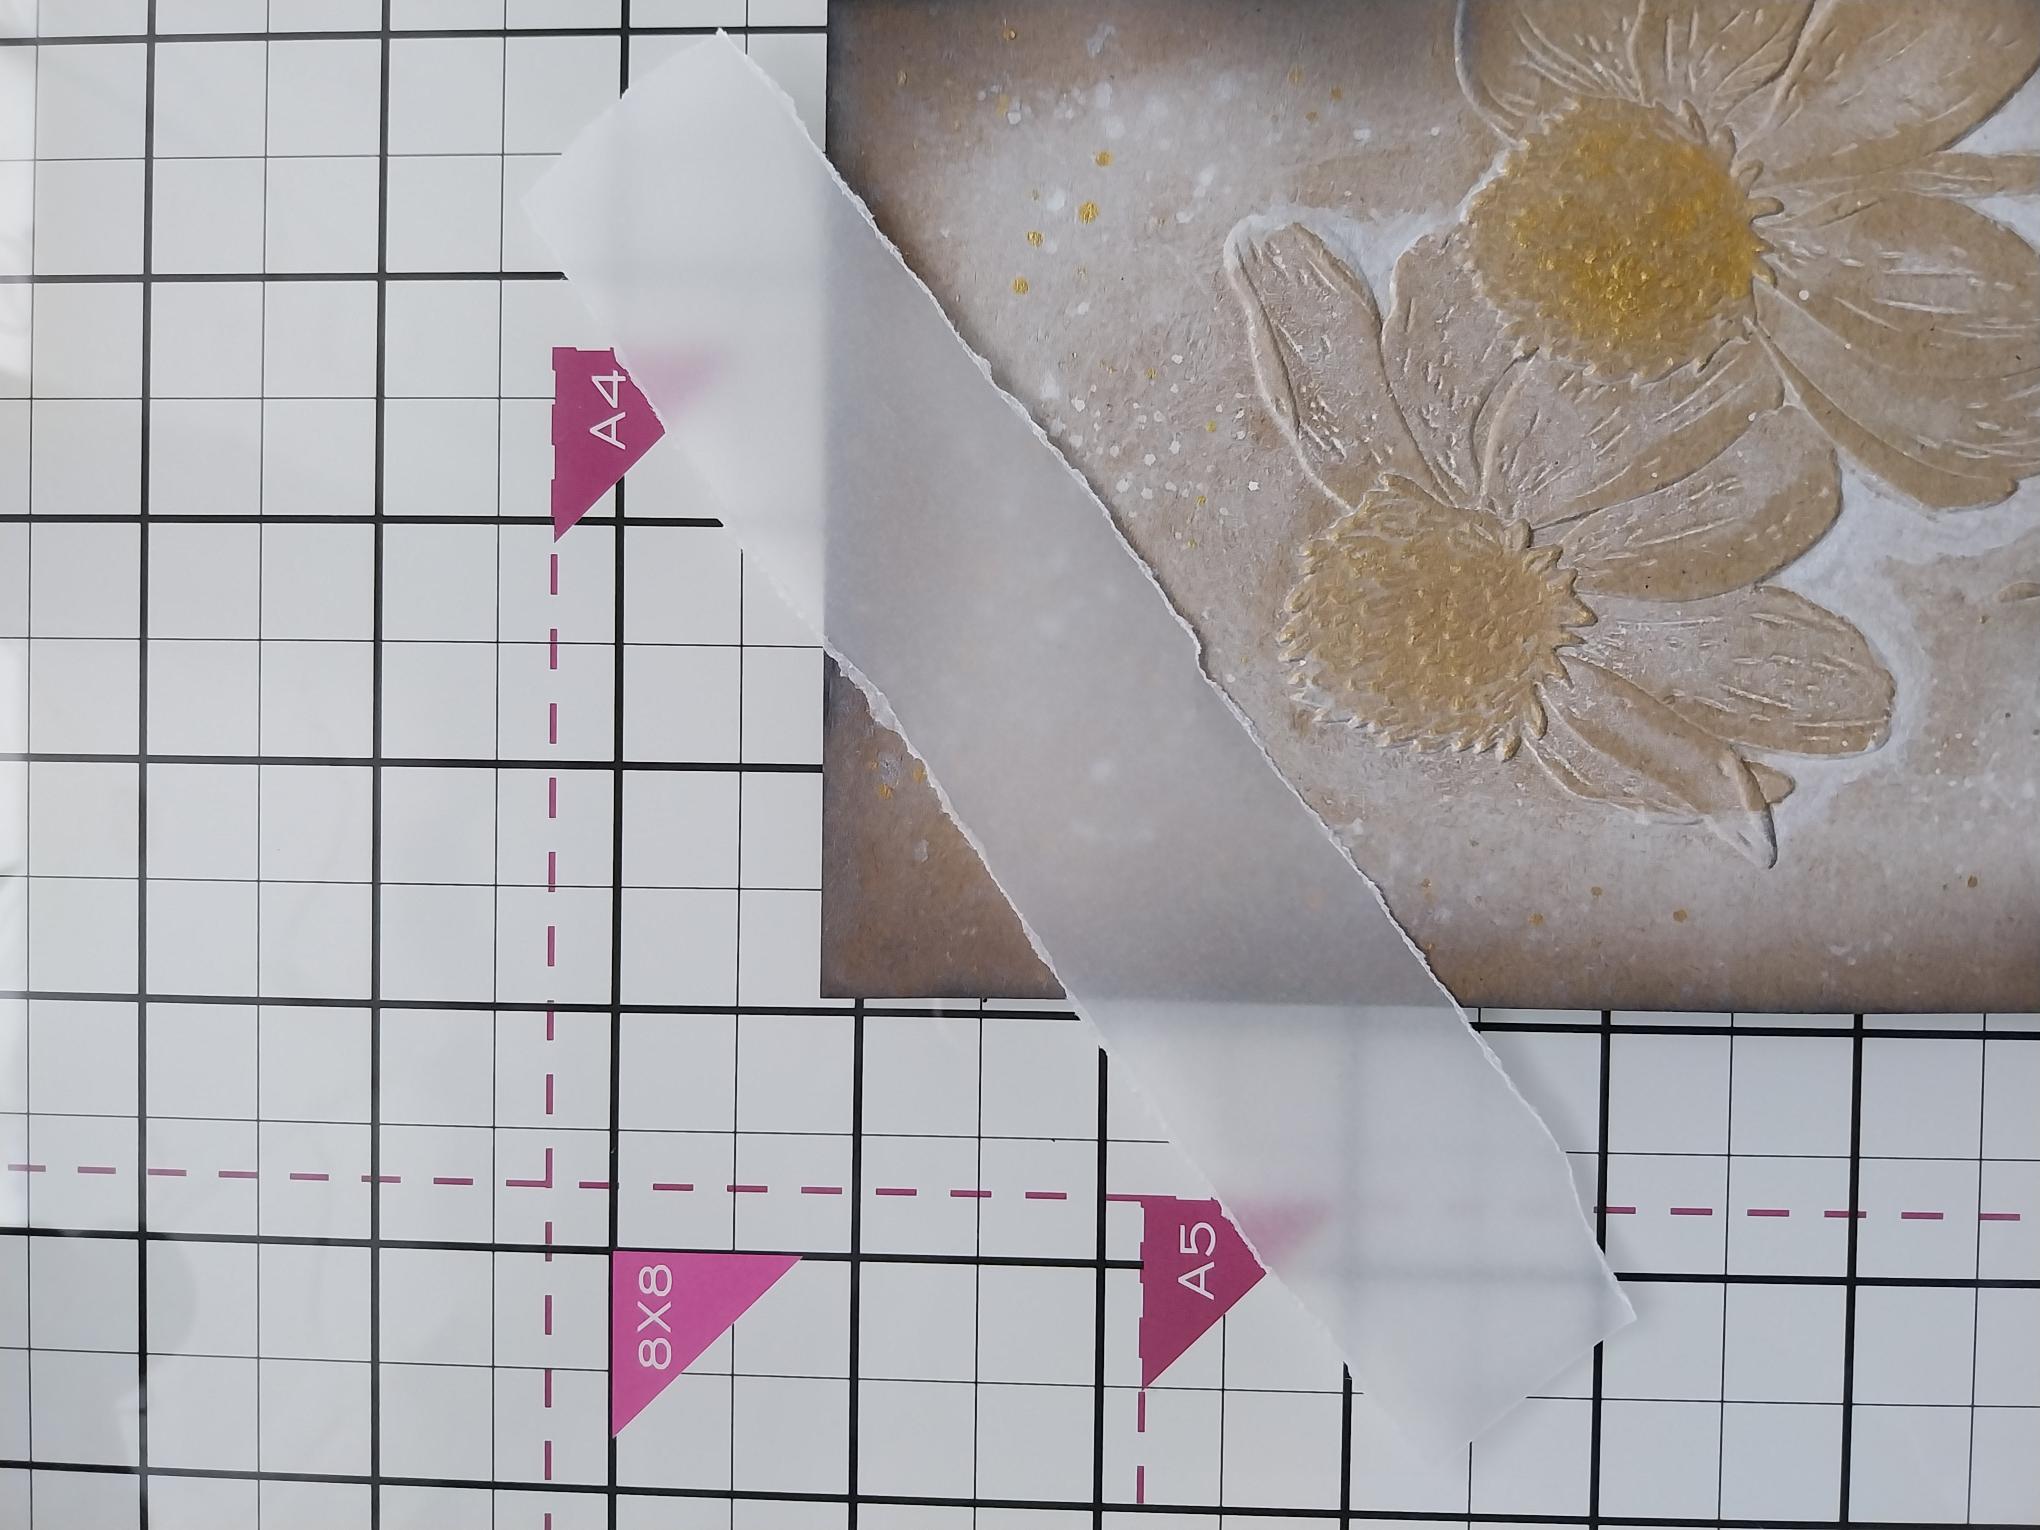
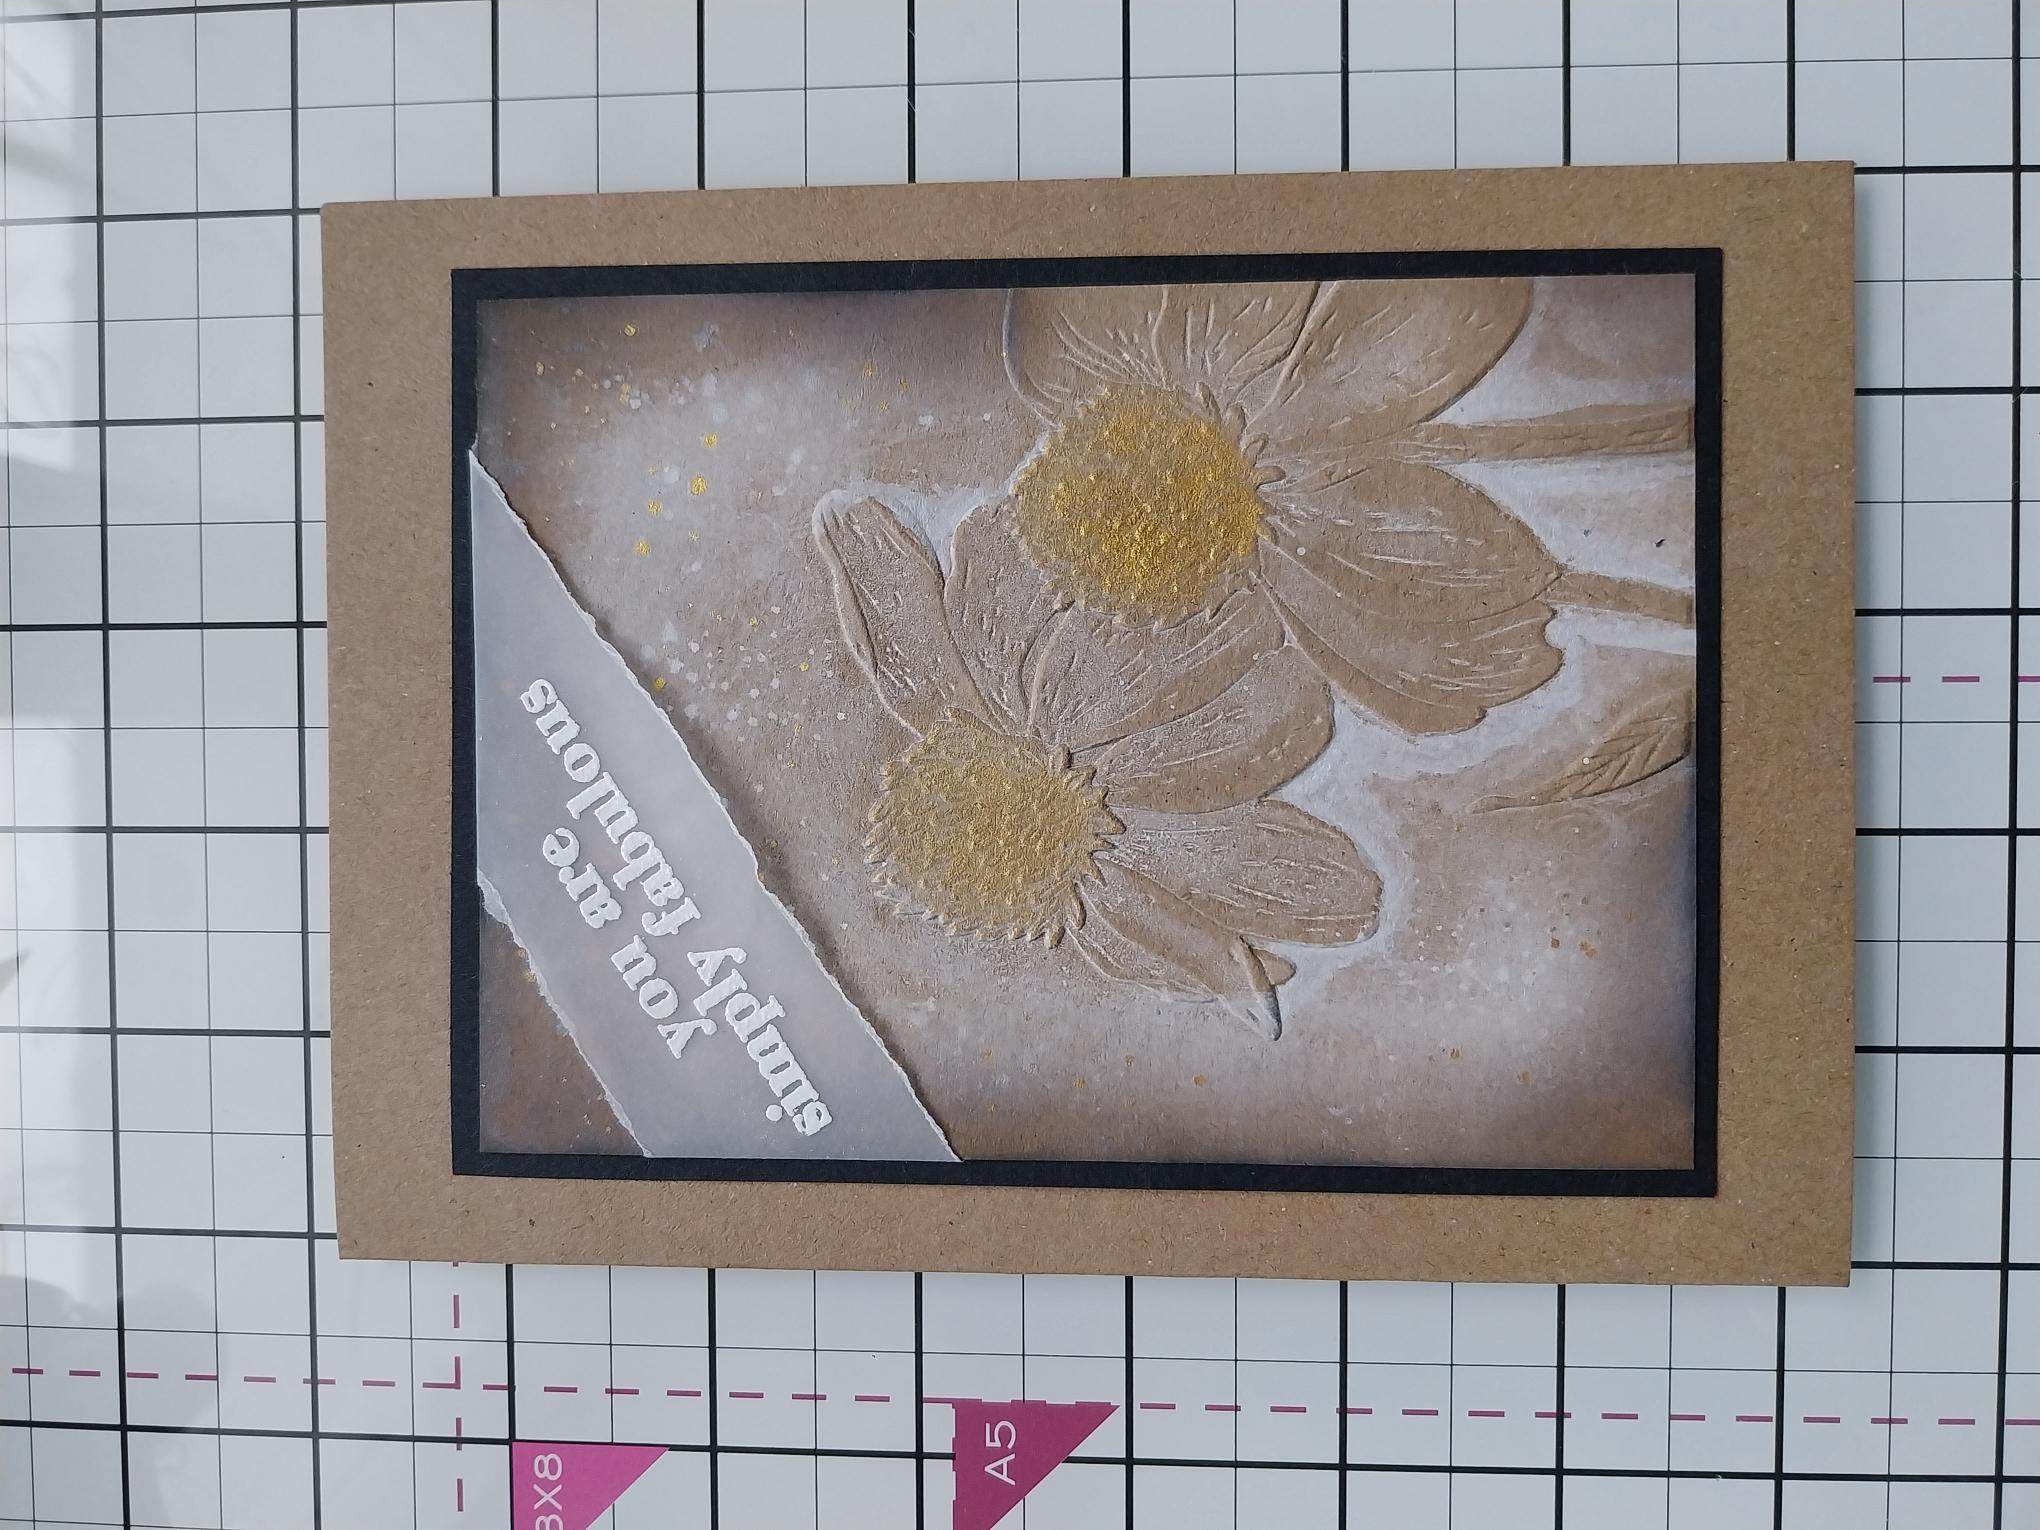
Tear a panel of vellum that will fit diagonally across the top corner and be wide enough to fit the sentiment on. |
|
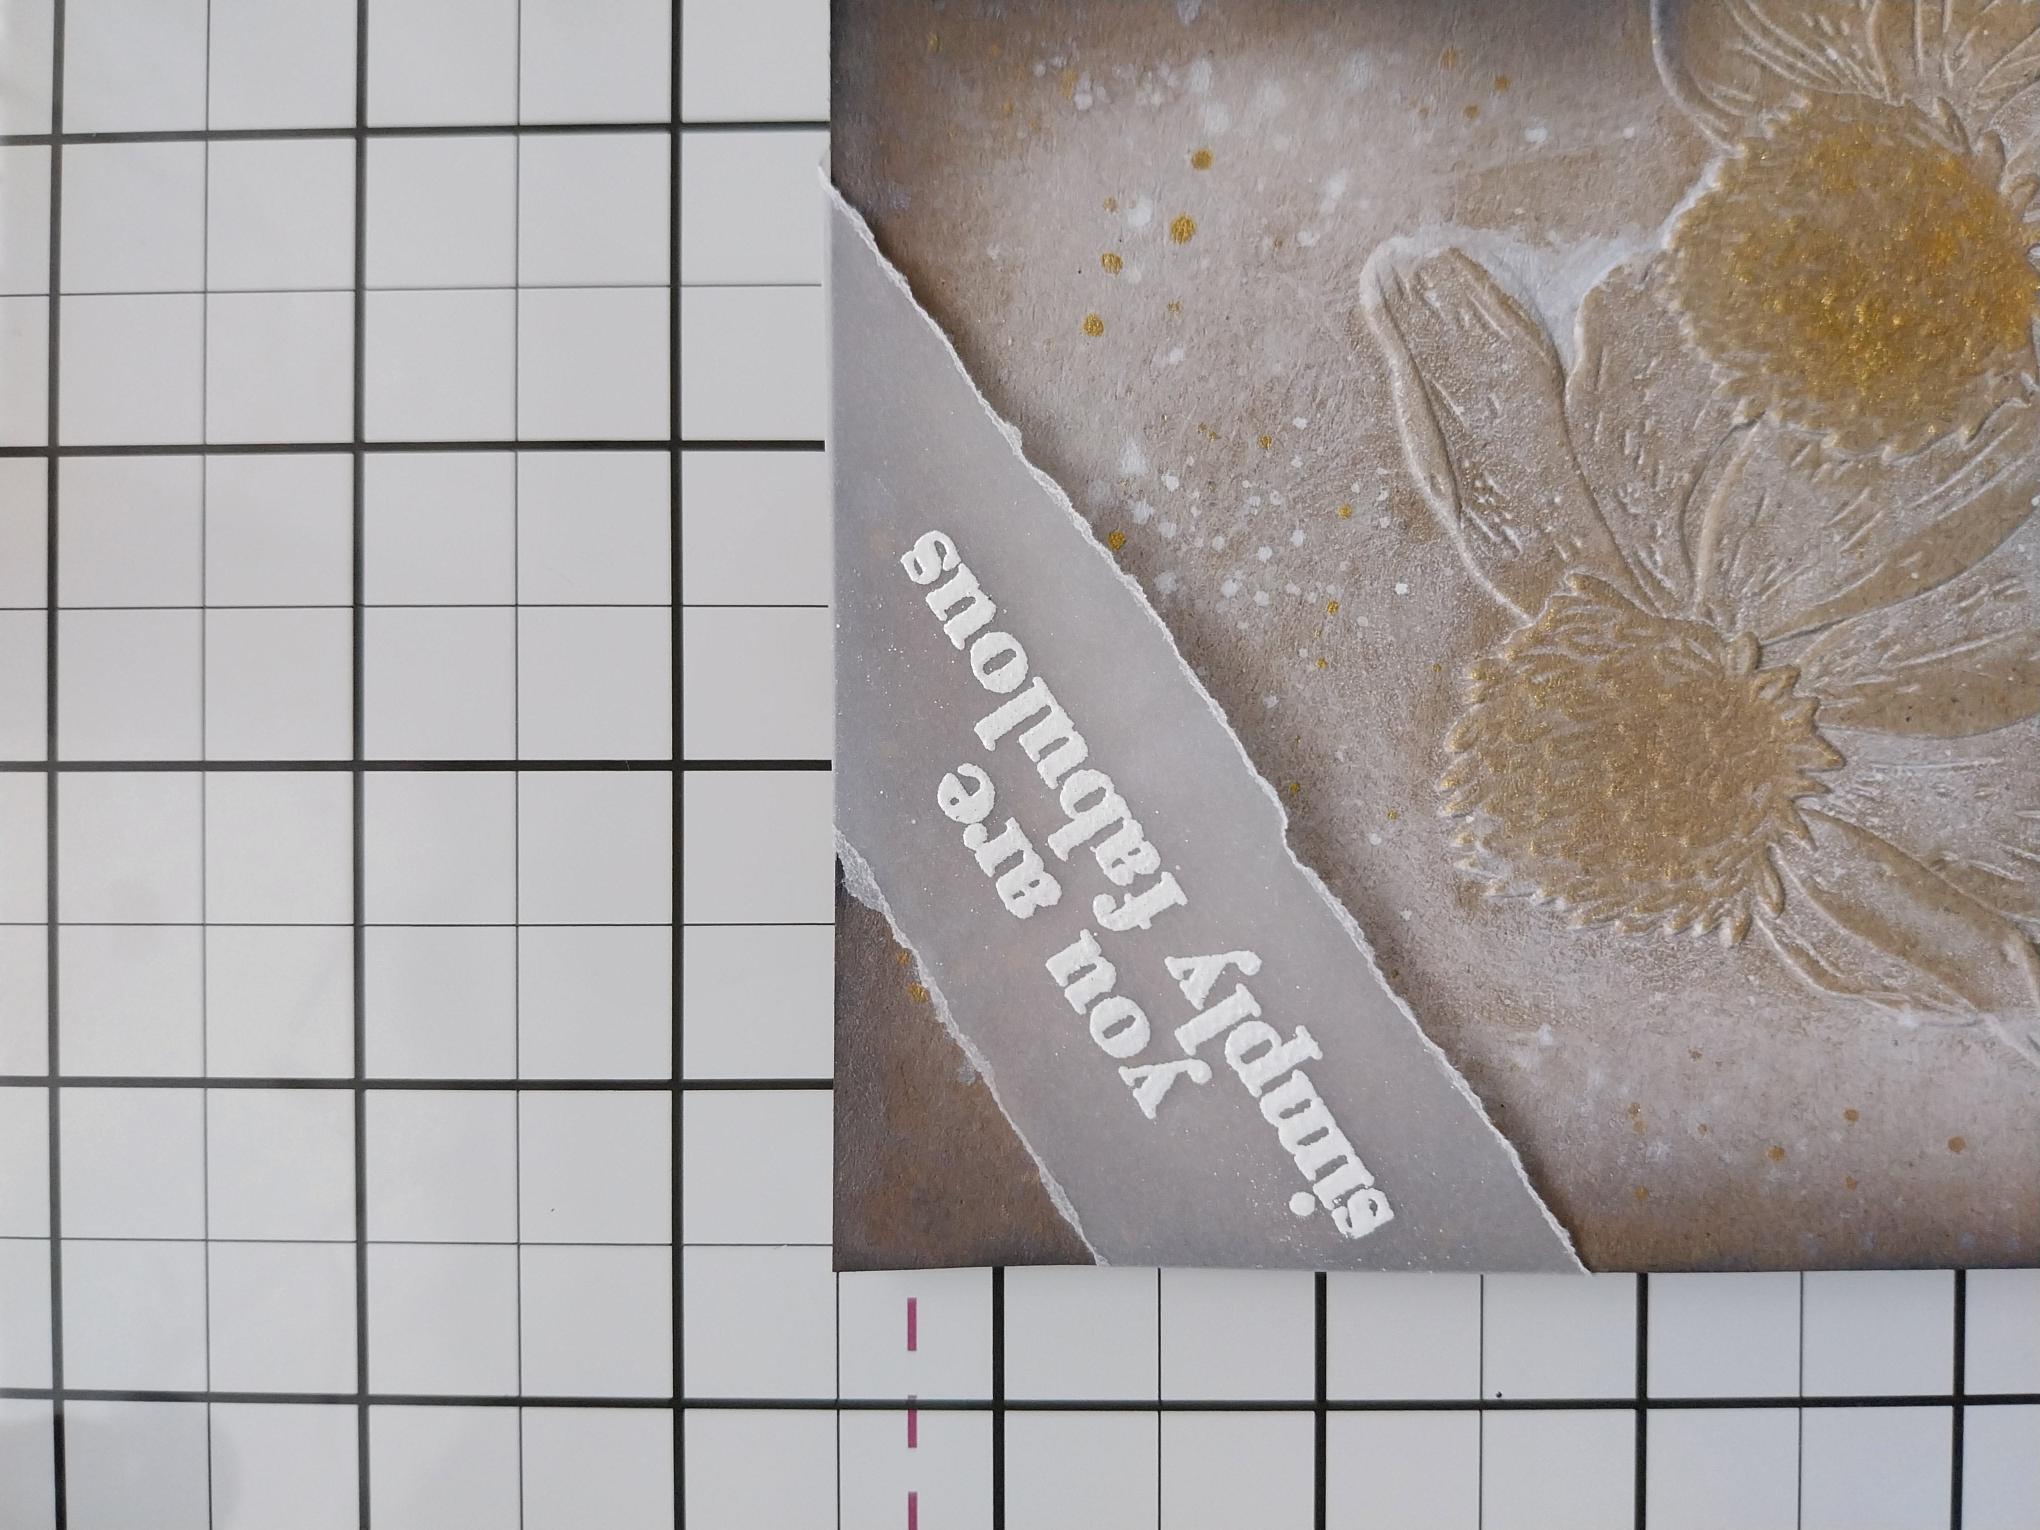
Having wiped over your vellum with an anti-static bag, stamp the sentiment in the WOW embossing ink. Apply the White embossing powder over your stamped sentiment, tapping the excess back in to the pot. Ensure your heat tool is hot before heat setting the powder. Lay the vellum across the top left corner of your artwork, fold the ends of the vellum over the edges of the card and secure on the reverse with double-sided tape. |
|
Adhere your artwork on to black card, cut to 5 3/4 x 4 1/4" and then on to the front of your 7 x 5" kraft card blank. |