

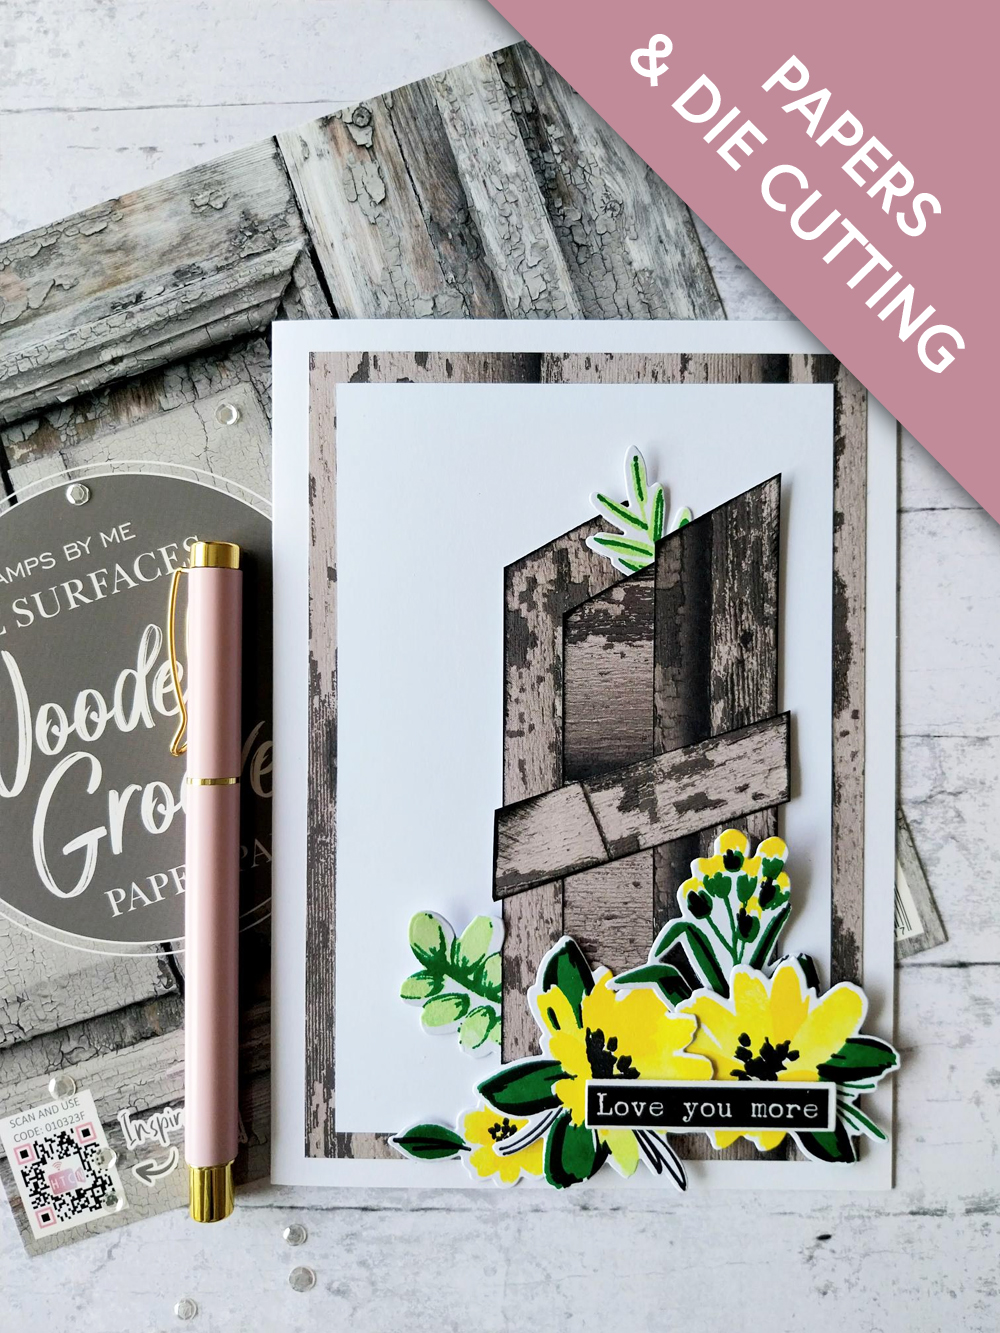
WHAT YOU WILL NEED:
White card blank 5 x 7"
White card
All Surfaces Wooden Groove 8 x 8 Paper Pad
WOW Blooms Stamp and Die
SBM Hybrid Ink Pad: Midnight
SBM Premium Dye Ink Pad: Sherbet, Limeade, Hedgerow
Water spray bottle
Eureka 101 Watercolour Tablet
SBM A3 Magnetic glass mat
Paper Trimmer
Glue/Foam pads
Die Cutting machine
[click image to enlarge] 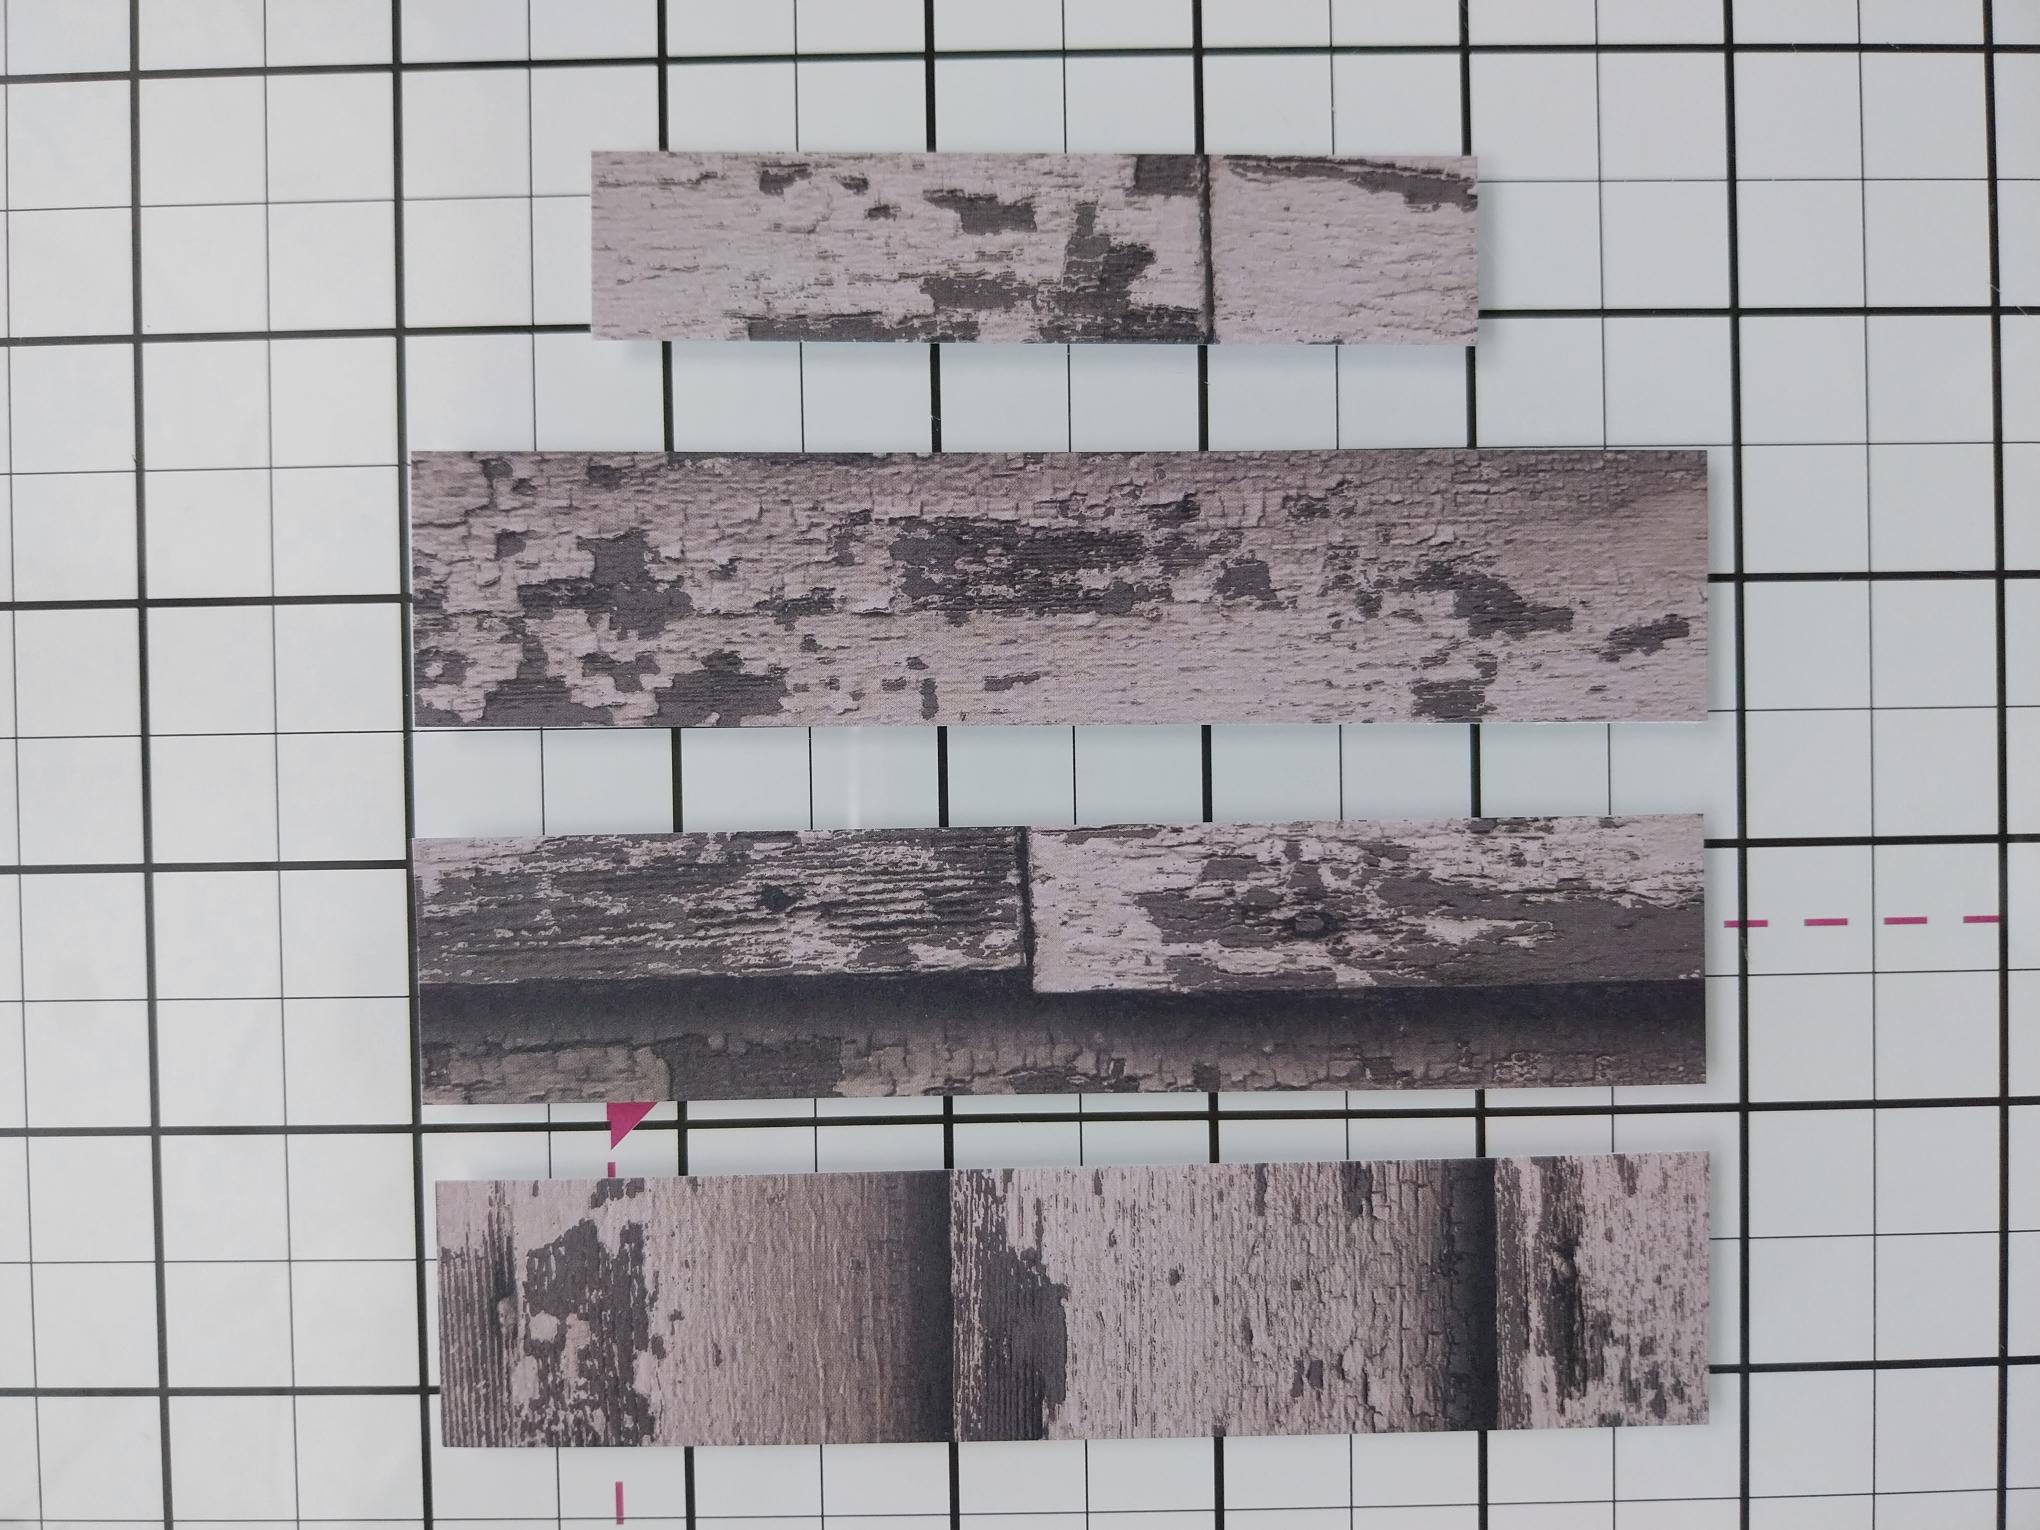
|
Take one of the papers from the Wooden Groove paper pad and cut THREE panels, each measuring 1 x 5" and ONE panel measuring 3 x 3 1/4". |
|
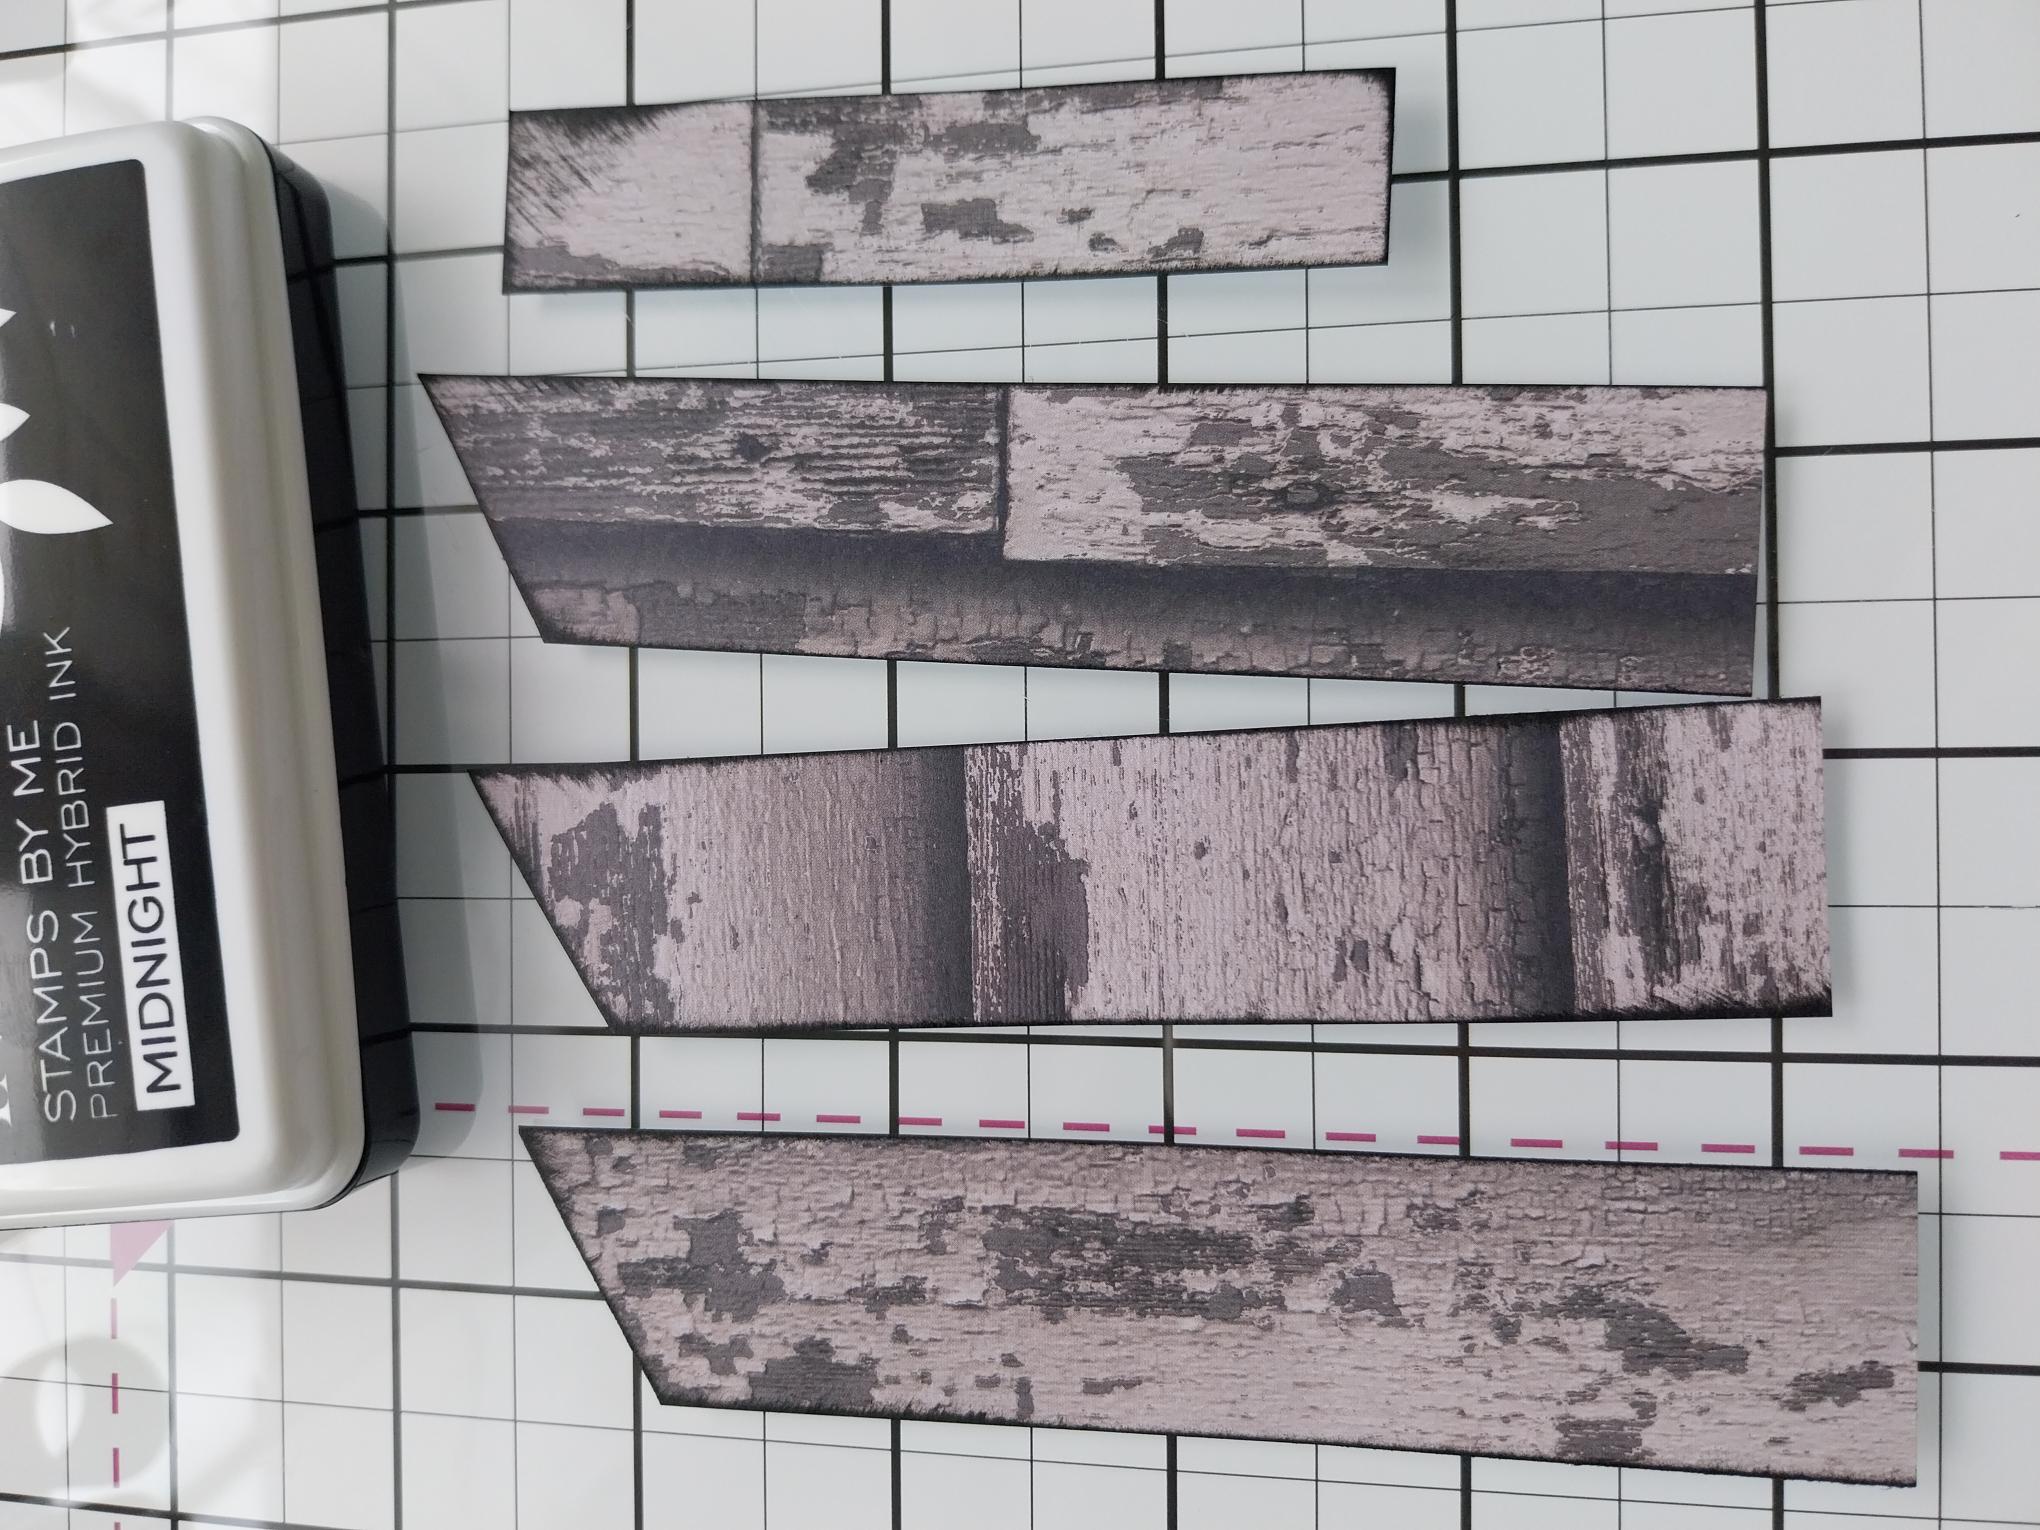
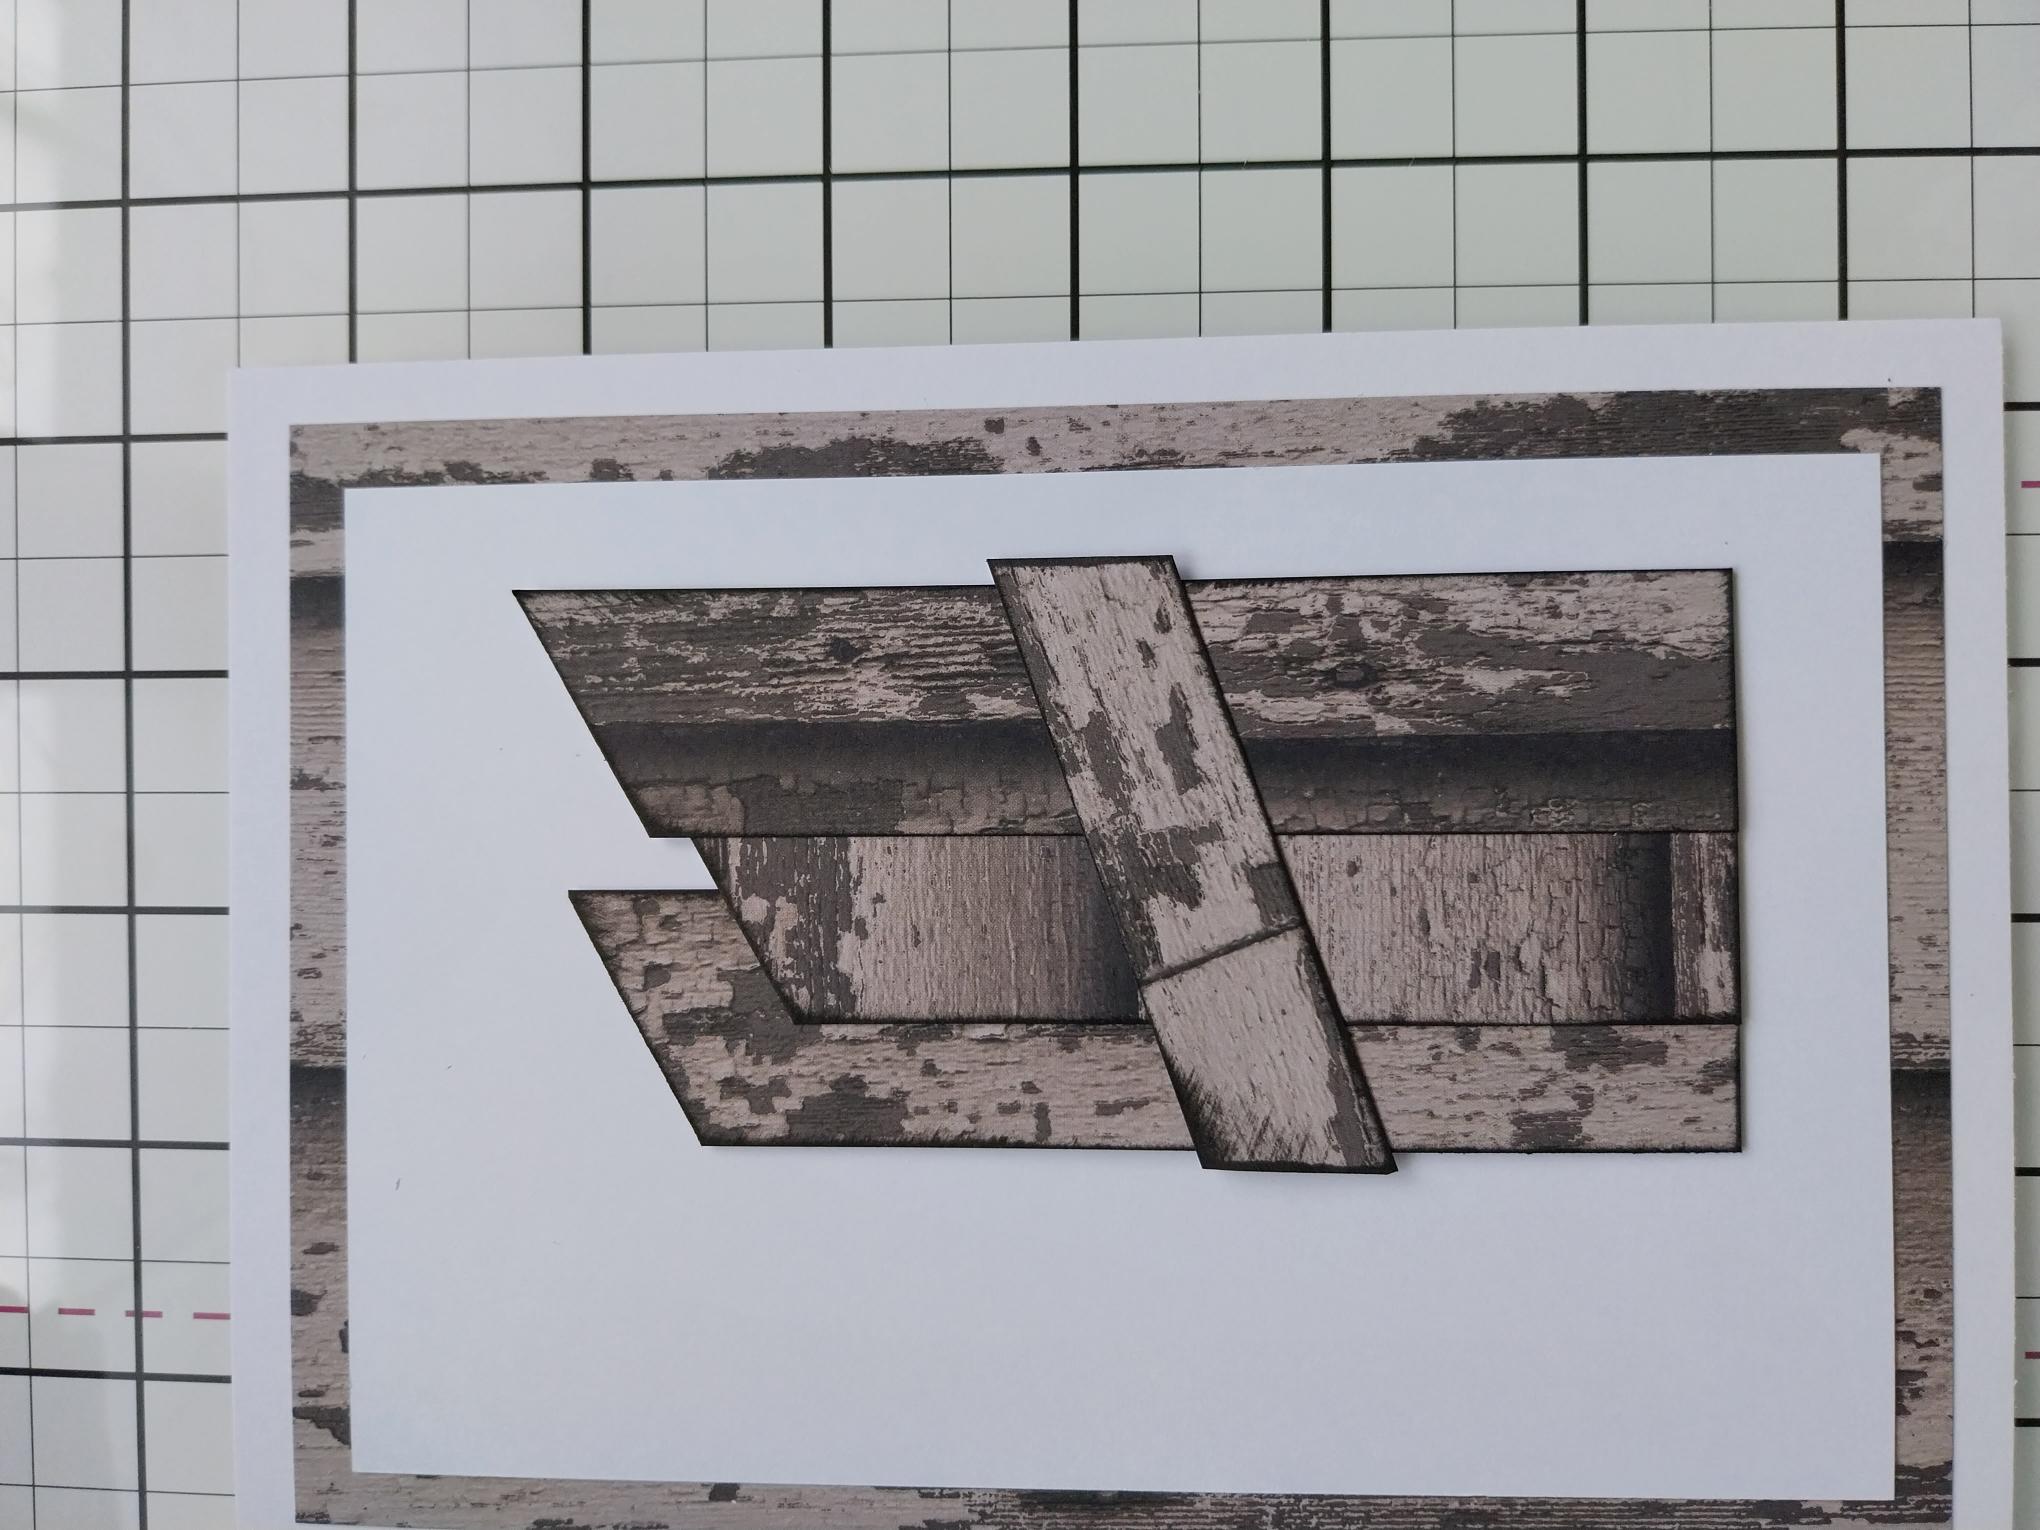
Cut the THREE larger panels on a diagonal at one end only, as seen here. Swipe around the edges of all the panels, with your Midnight ink pad. Pop the smaller panel to one side. |
|
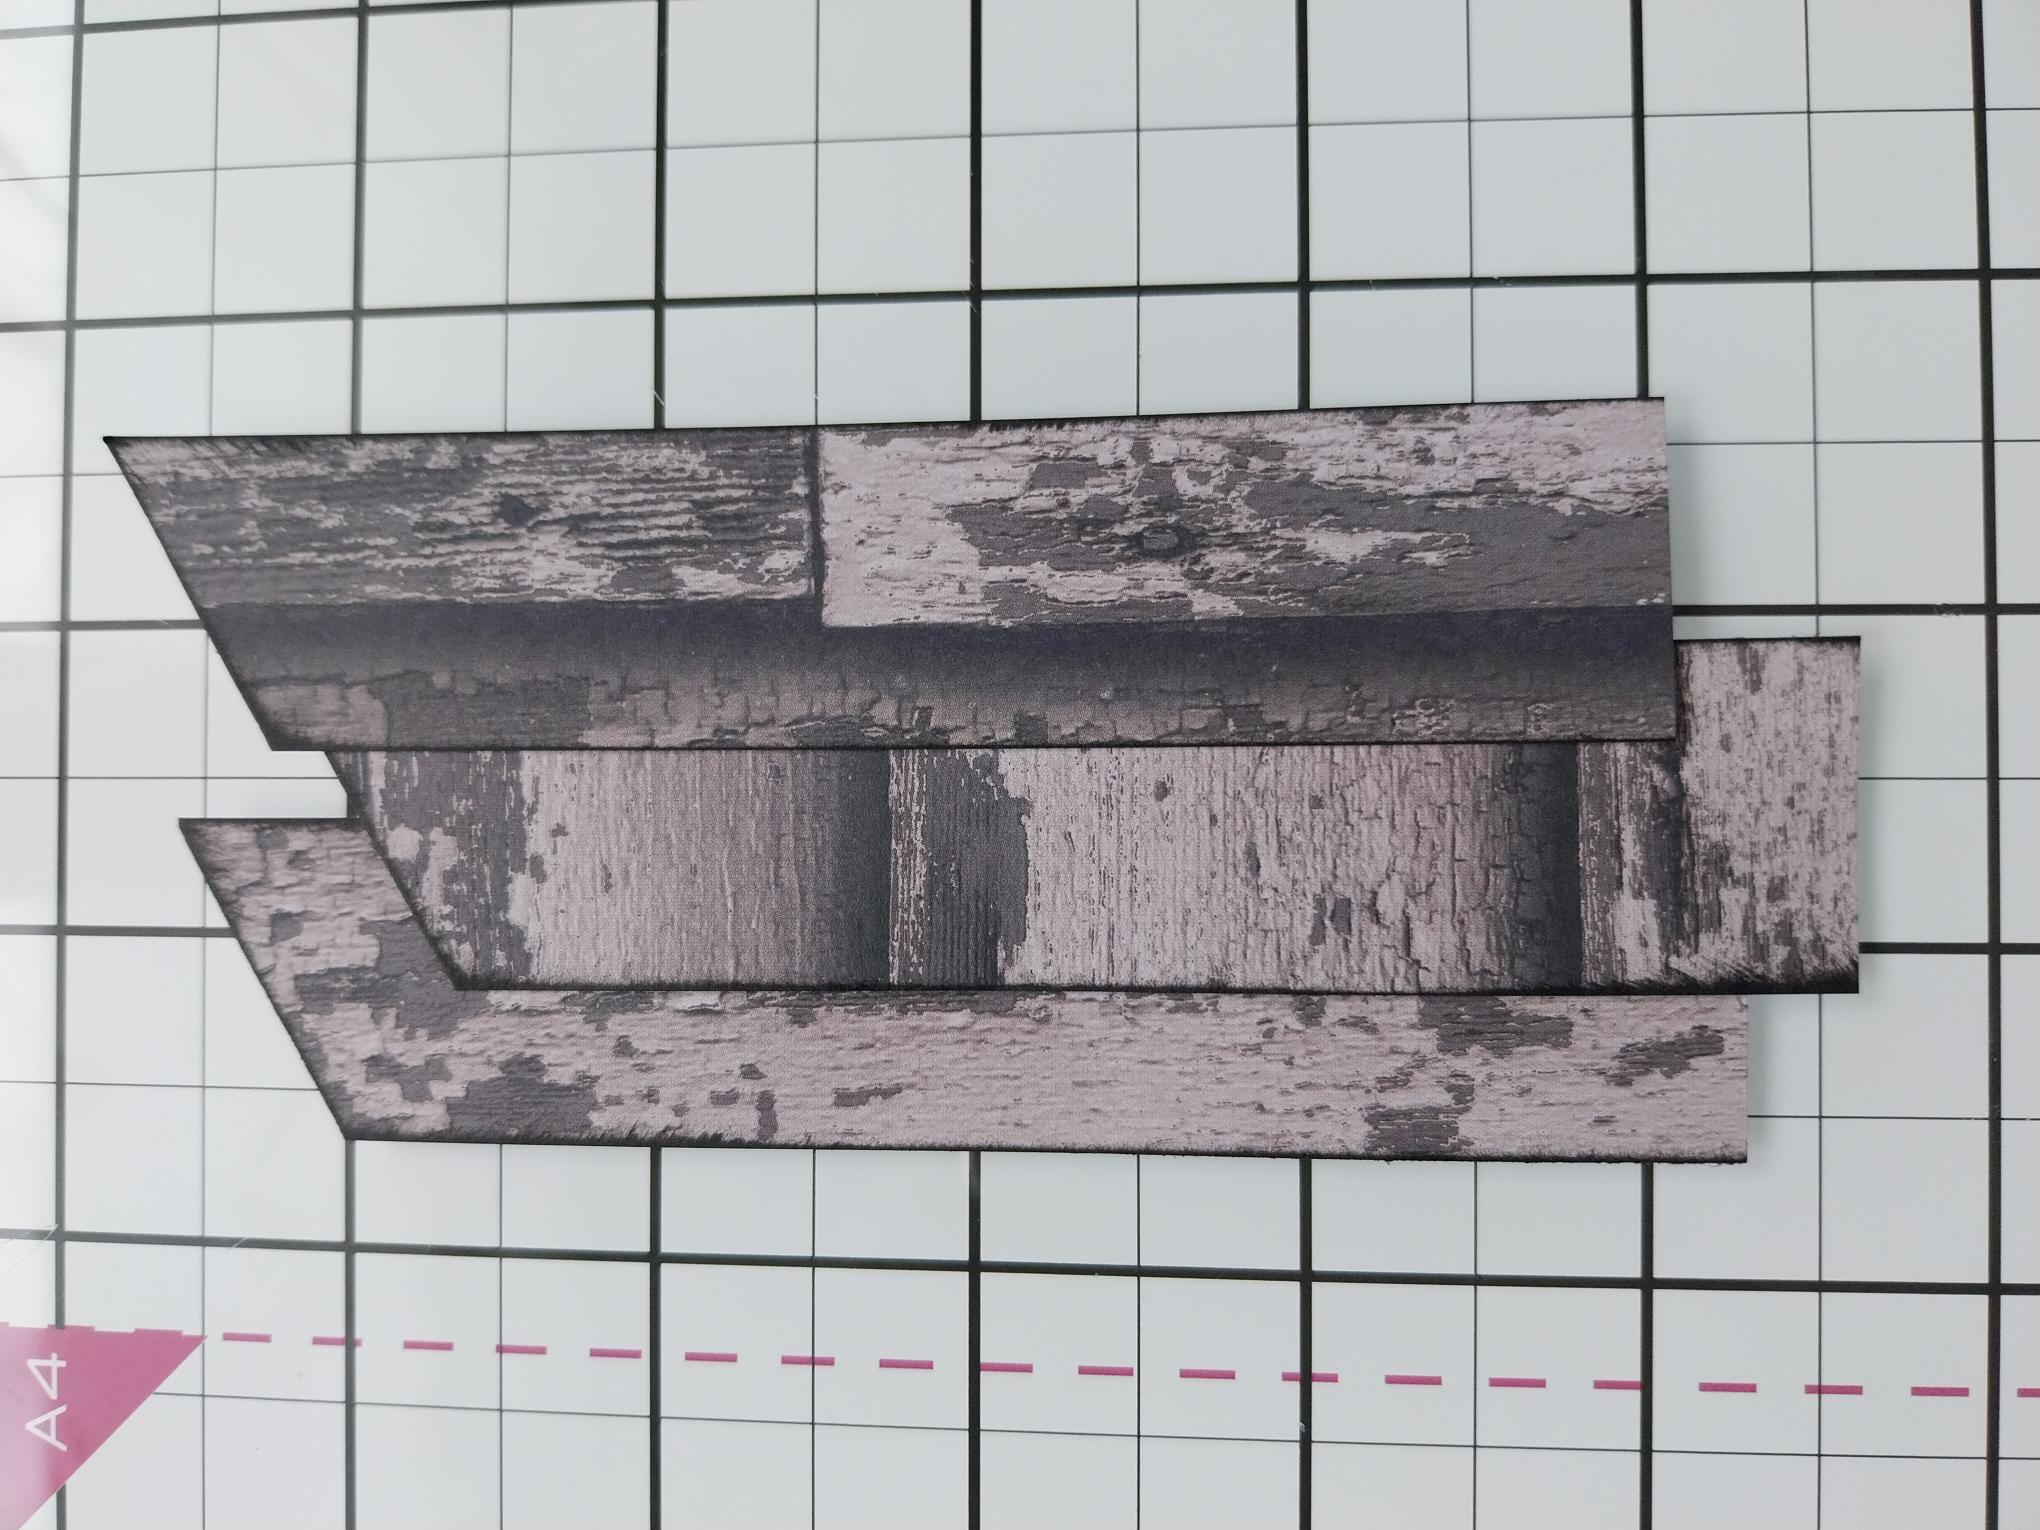
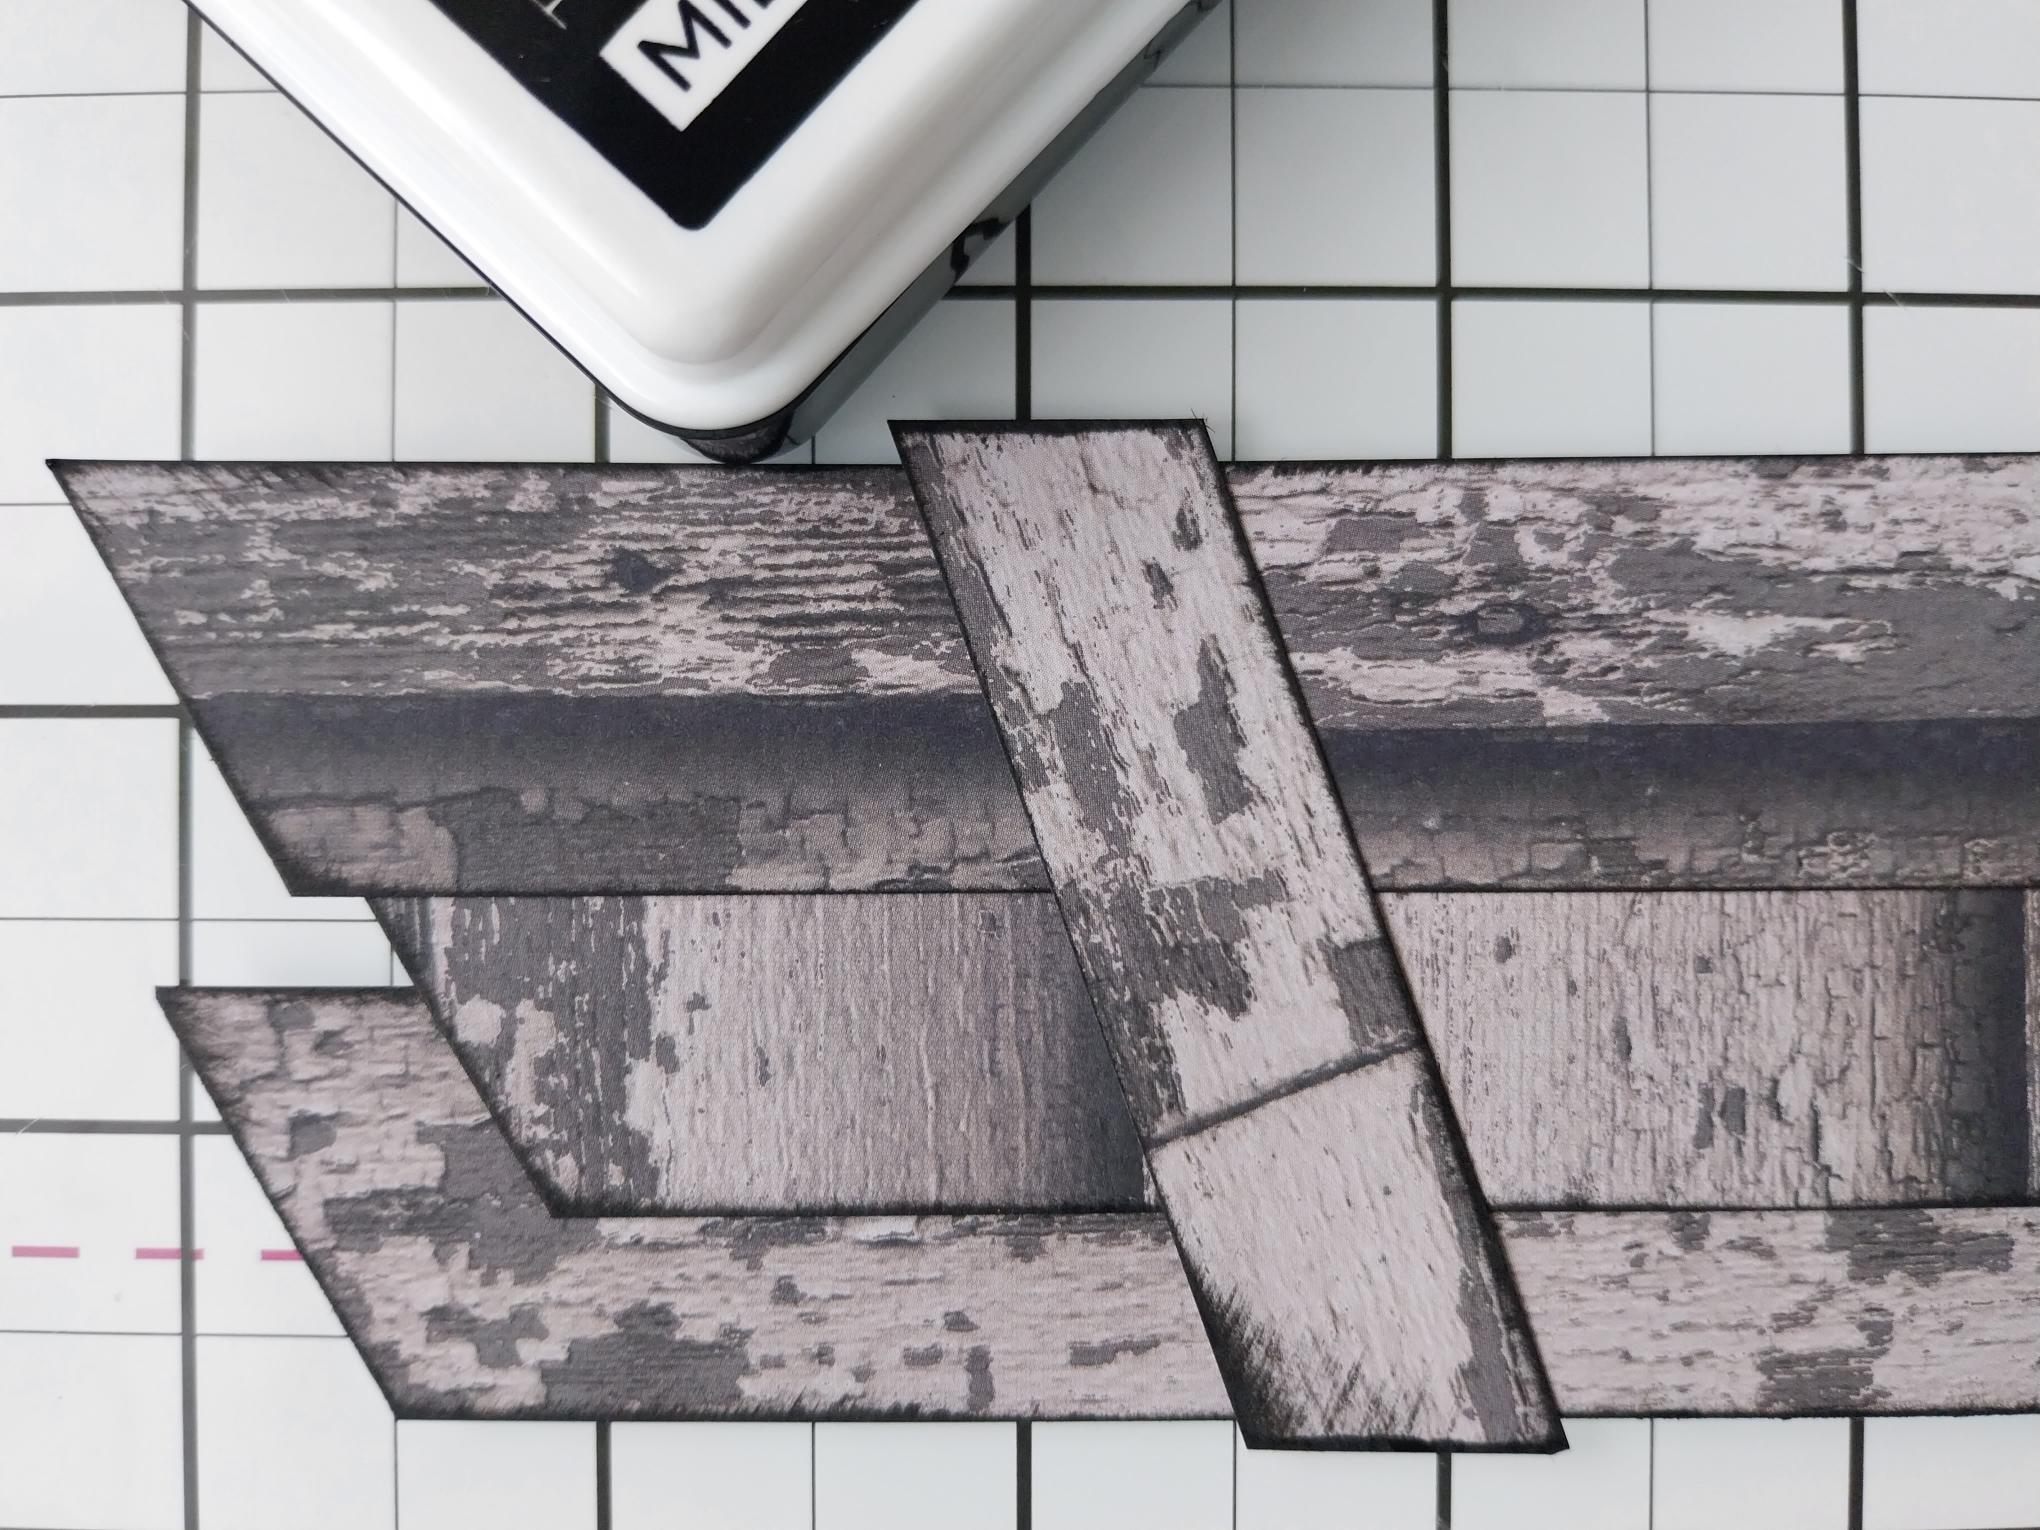
Adhere the THREE panels together, slightly overlapping each other, to create a "fence" as seen here. Trim the bottom so they are all level and ink any cut edges, with the Midnight ink. |
|
Take the smaller panel you set aside and adhere at an angle, across your "fence". Trim the ends parallel with the fence panels and ink the cut edges as before. Pop your fence to one side. |
|
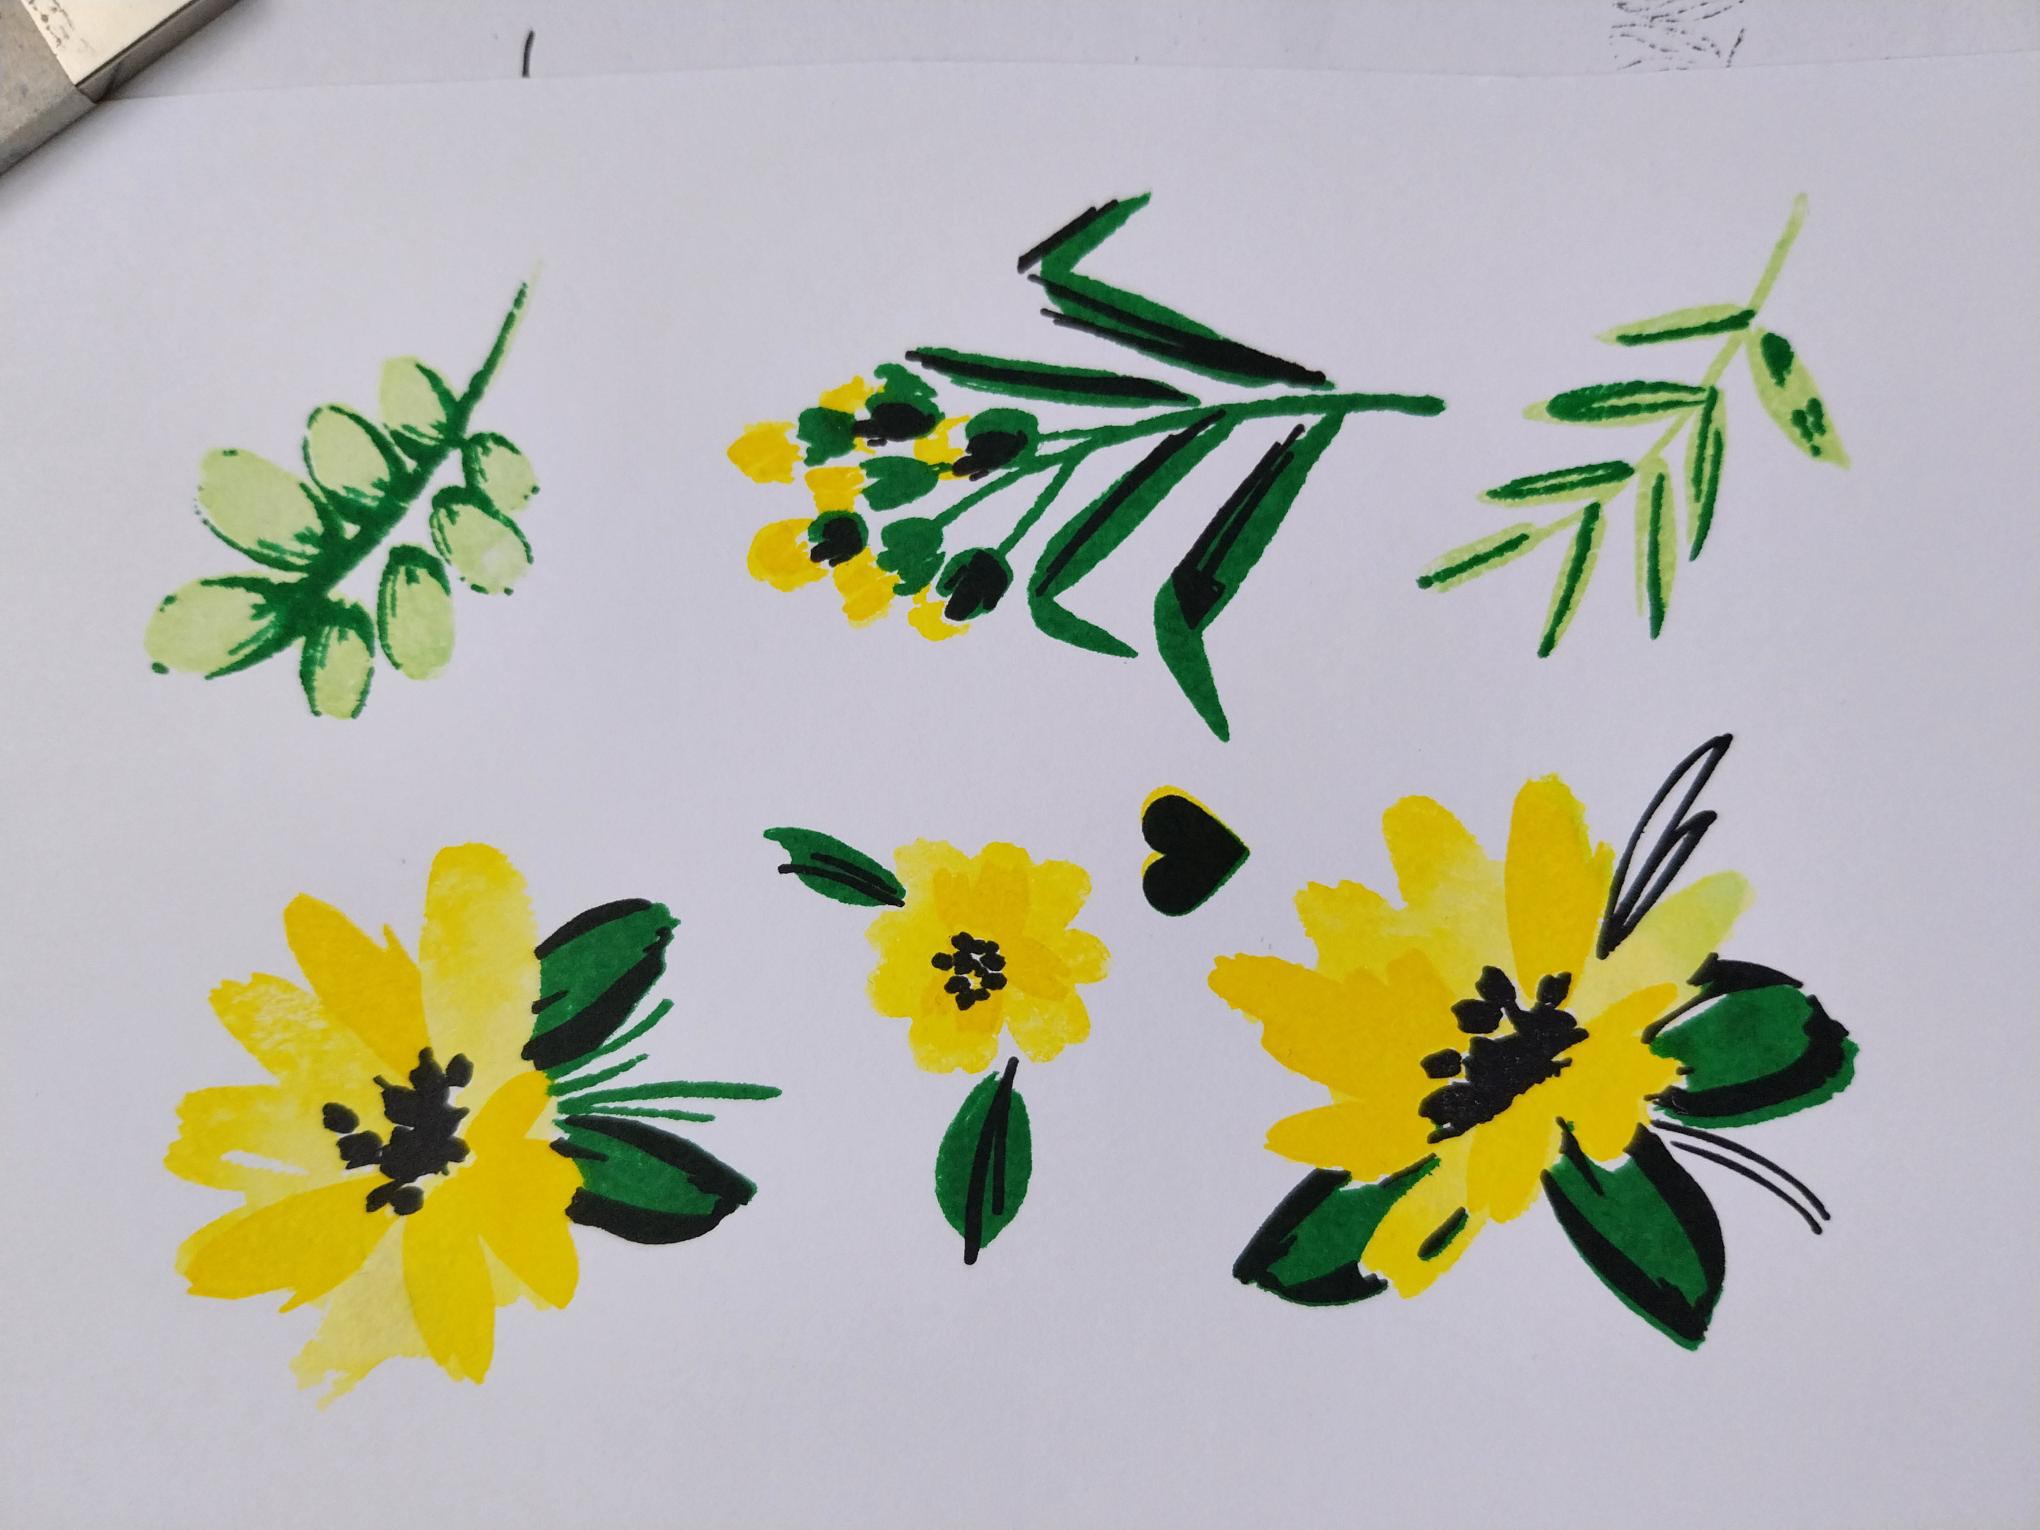
Cut a piece of white card to 6 x 5". Ink the floral areas of stamp 1, from the WOW Blooms set, with Sherbet and the foliage with Limeade. Spritz with water and stamp on to the card. Line up stamp 2, using the solid heart as a placement guide. Ink the floral areas with the Sherbet, to achieve a more intense colour and the foliage with Hedgerow. Spritz and stamp over your stamped image. Line up stamp 3, ink with Hedgerow, spritz and stamp. Line up stamp 4, ink with Midnight and stamp. |
|
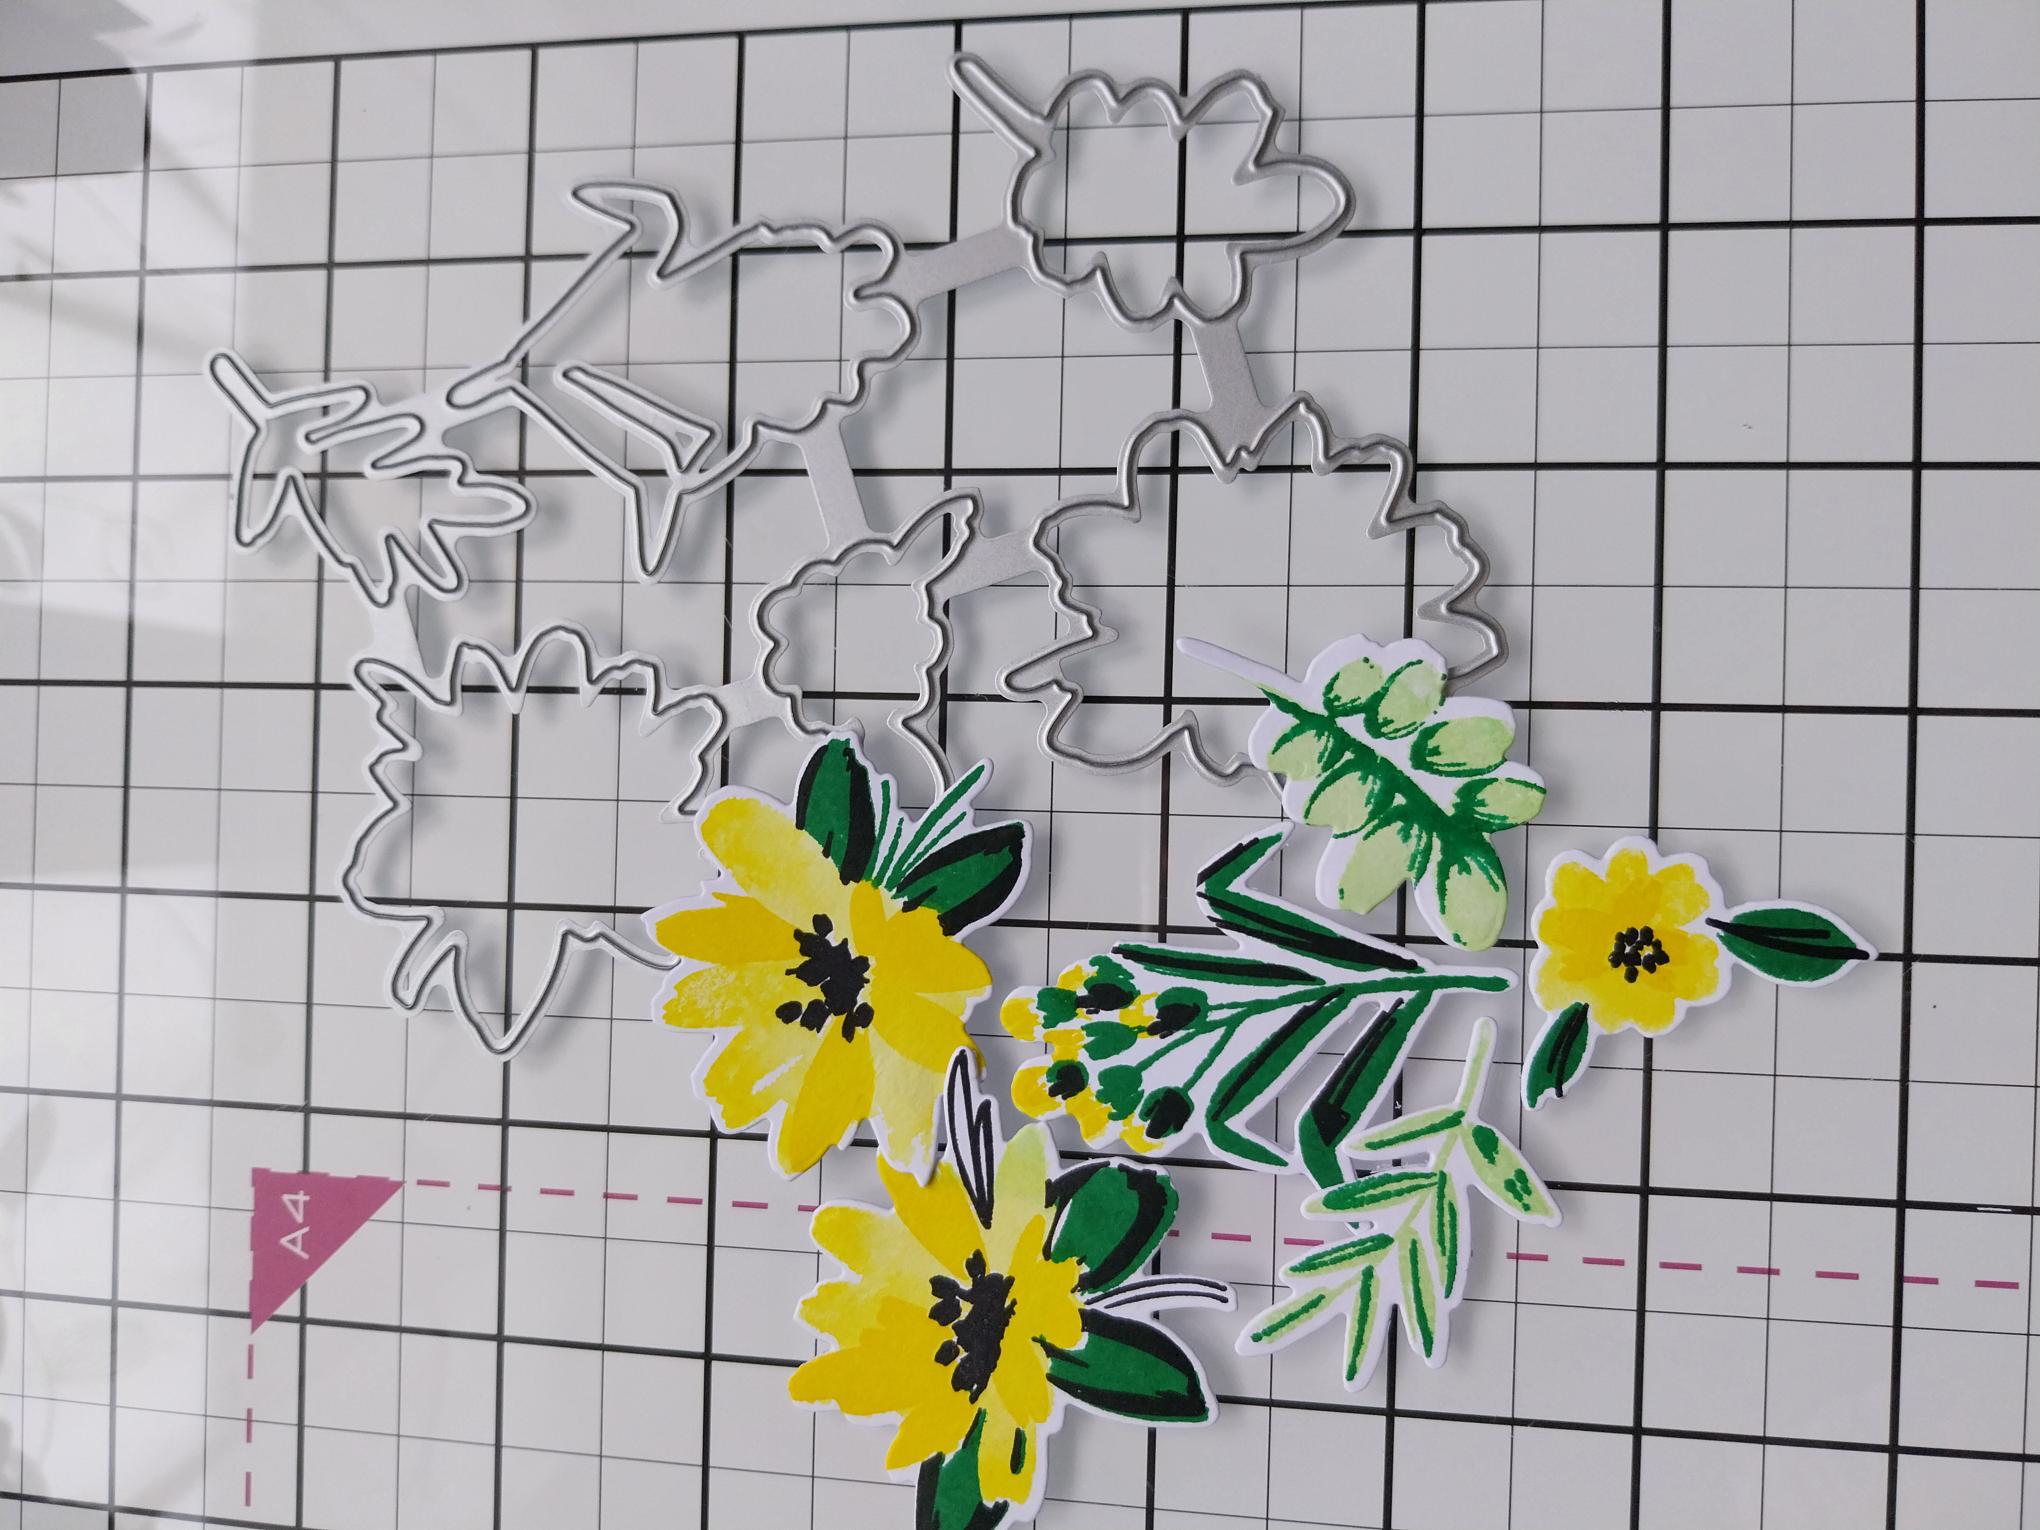
Use the coordinating die to cut them out and pop the elements to one side. |
|
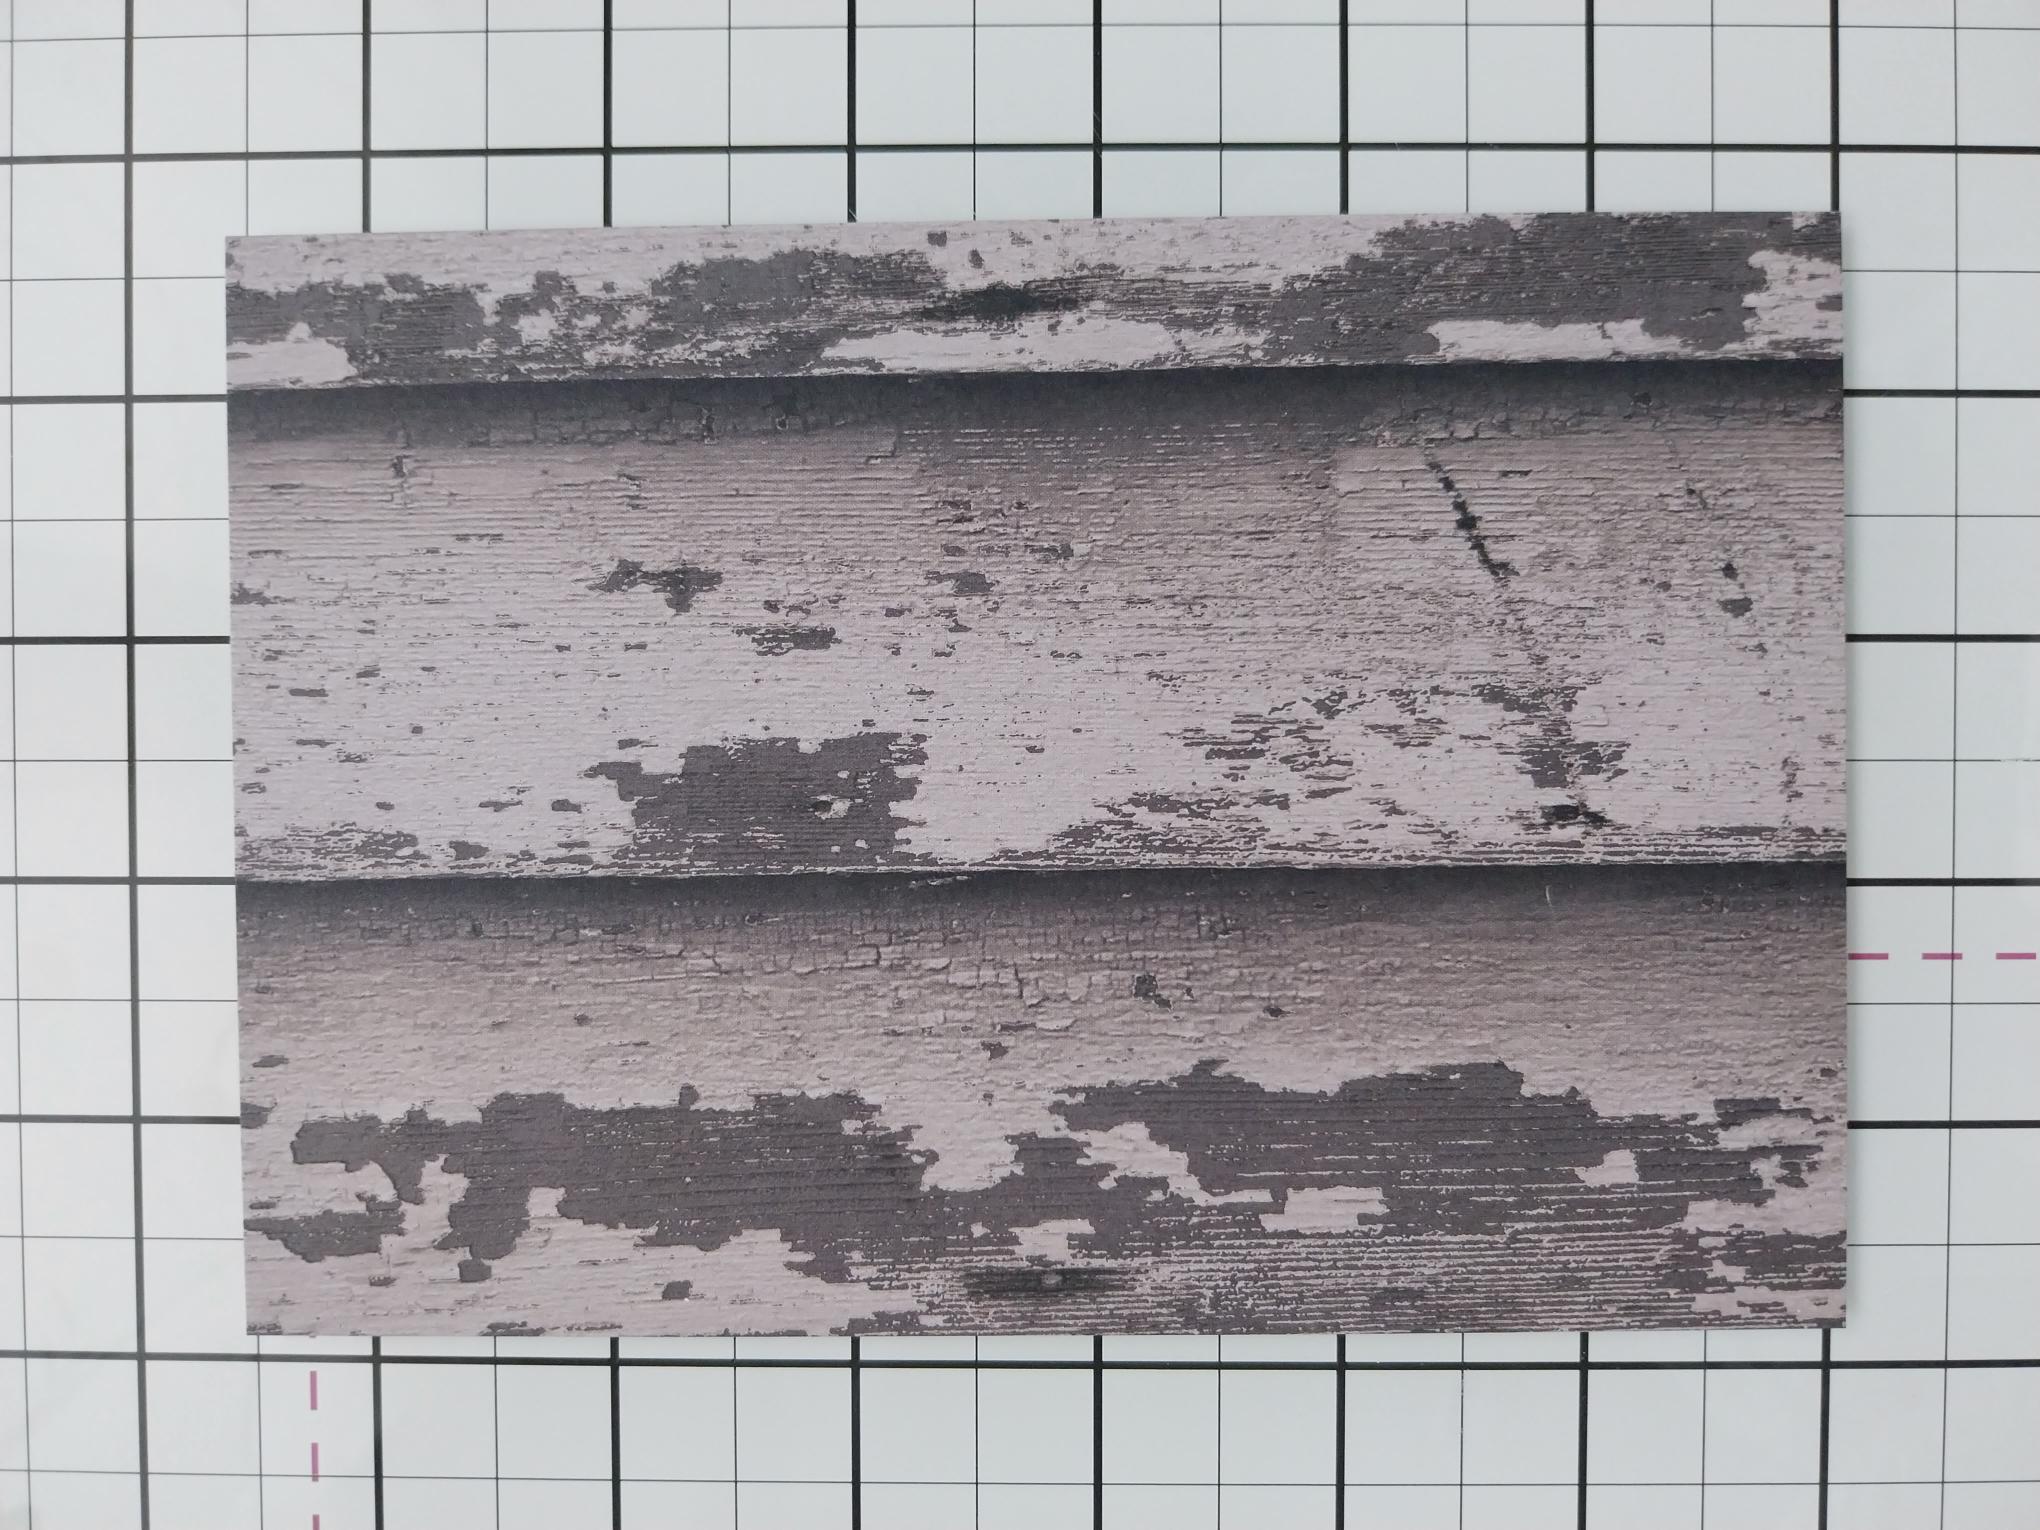
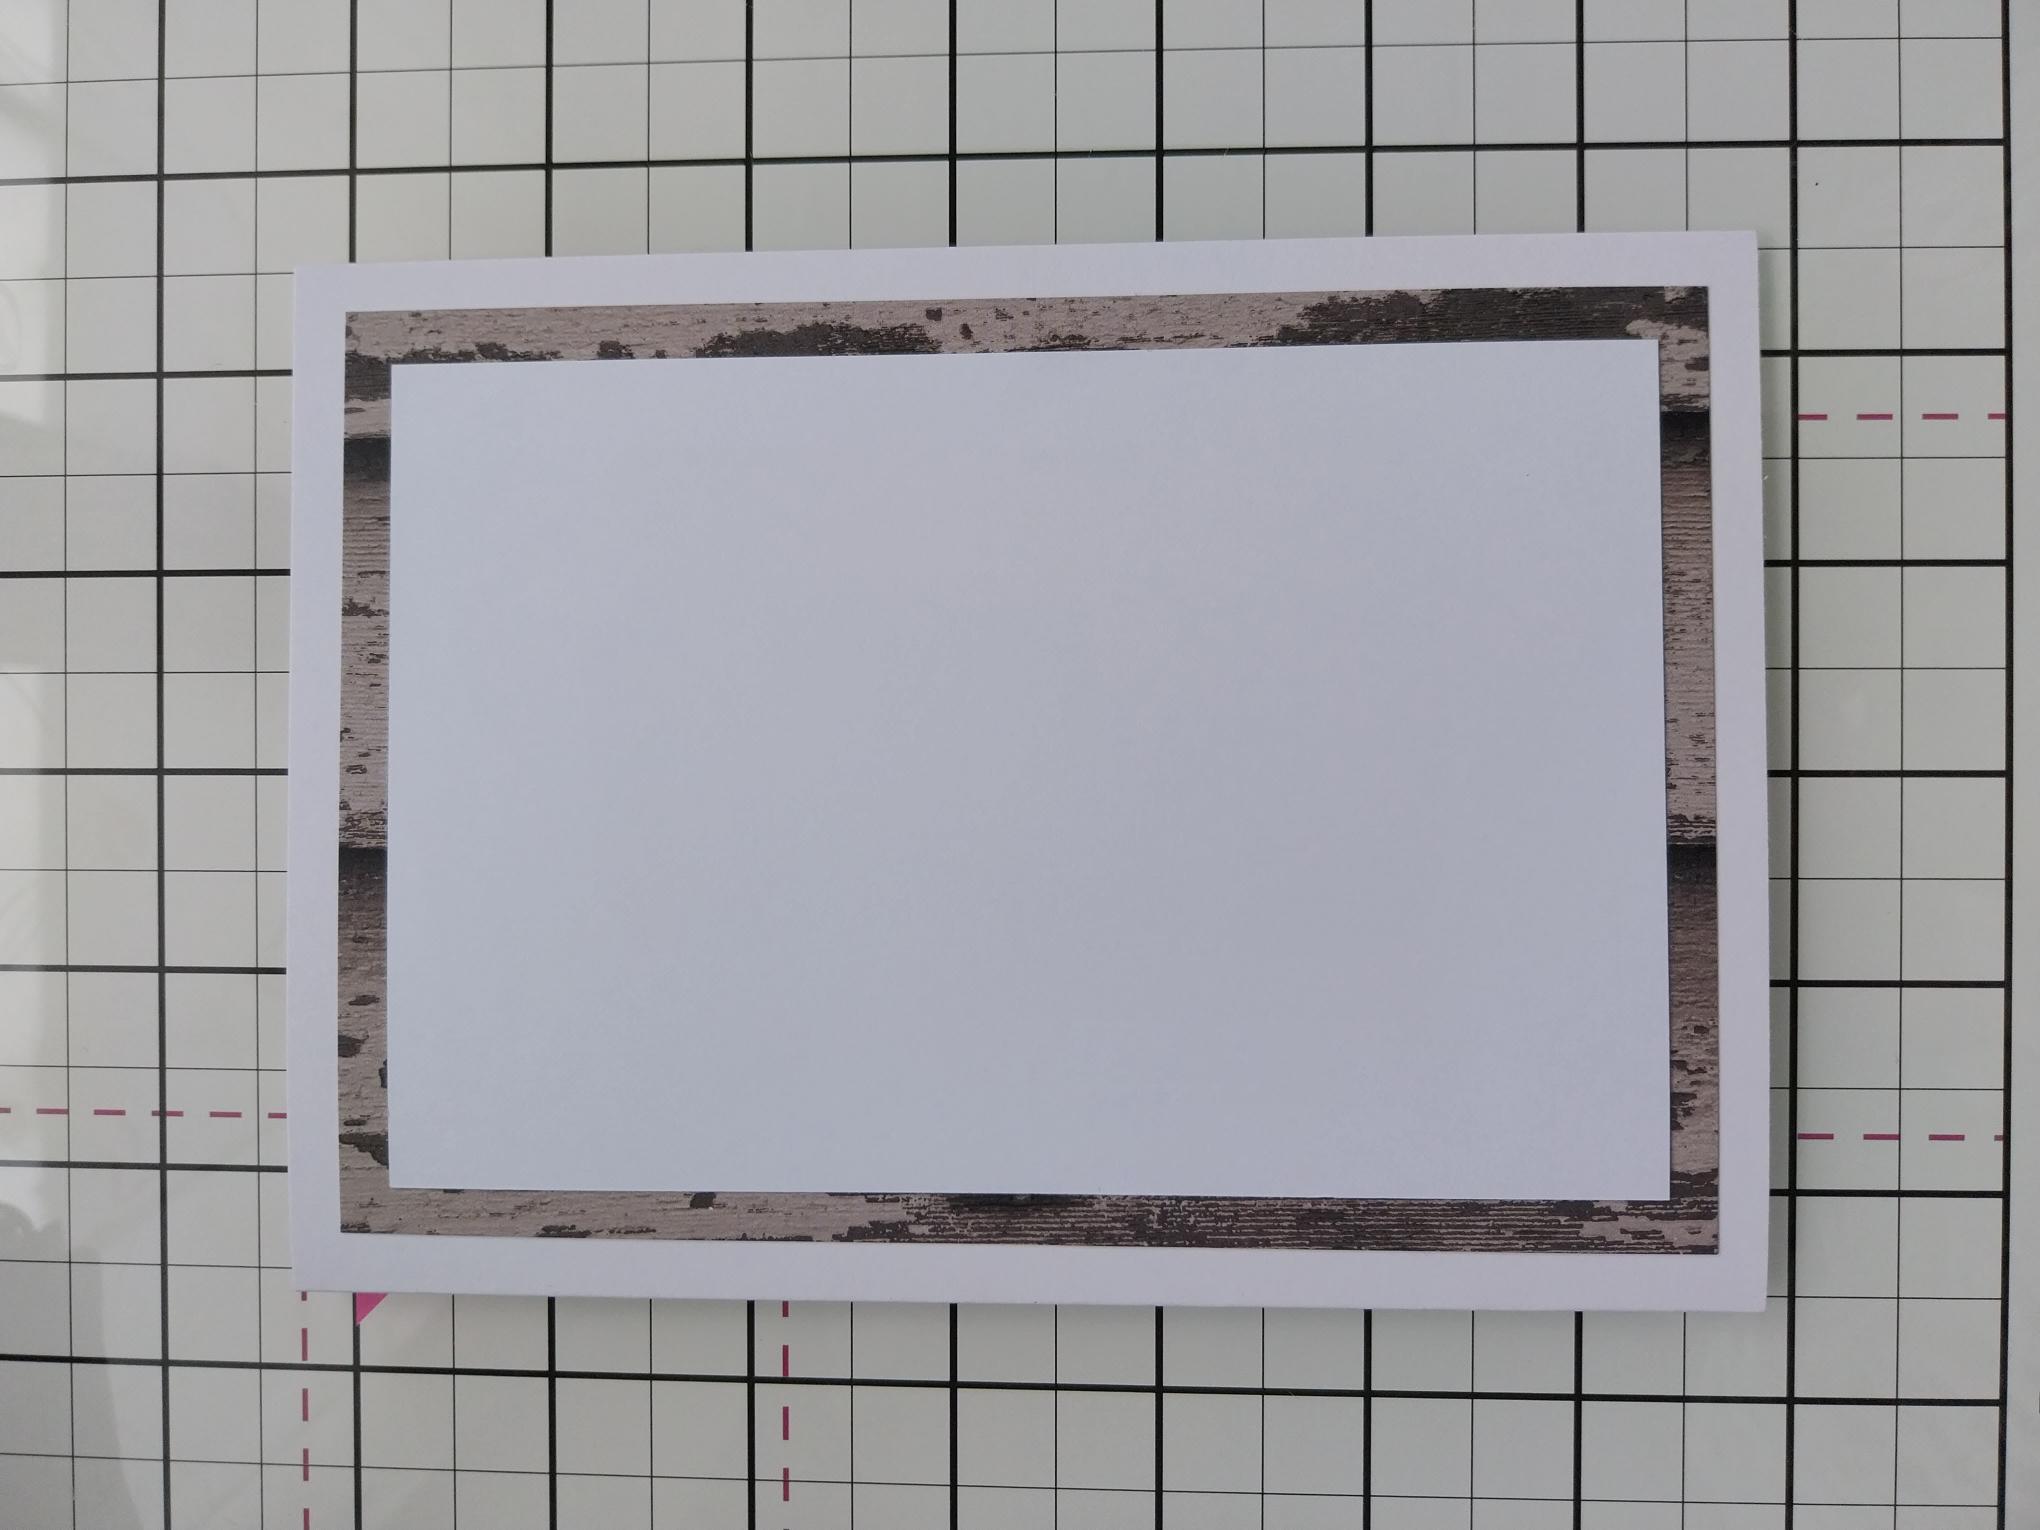
Cut another sheet from the Wooden Groove pad to 6 1/2 x 4 1/2". |
|
Adhere on to your white card blank. Cut a piece of white card to 6 x 4" and adhere on top of the woodgrain paper. |
|
Adhere your "fence" to the right of your layered card and set aside. |
|
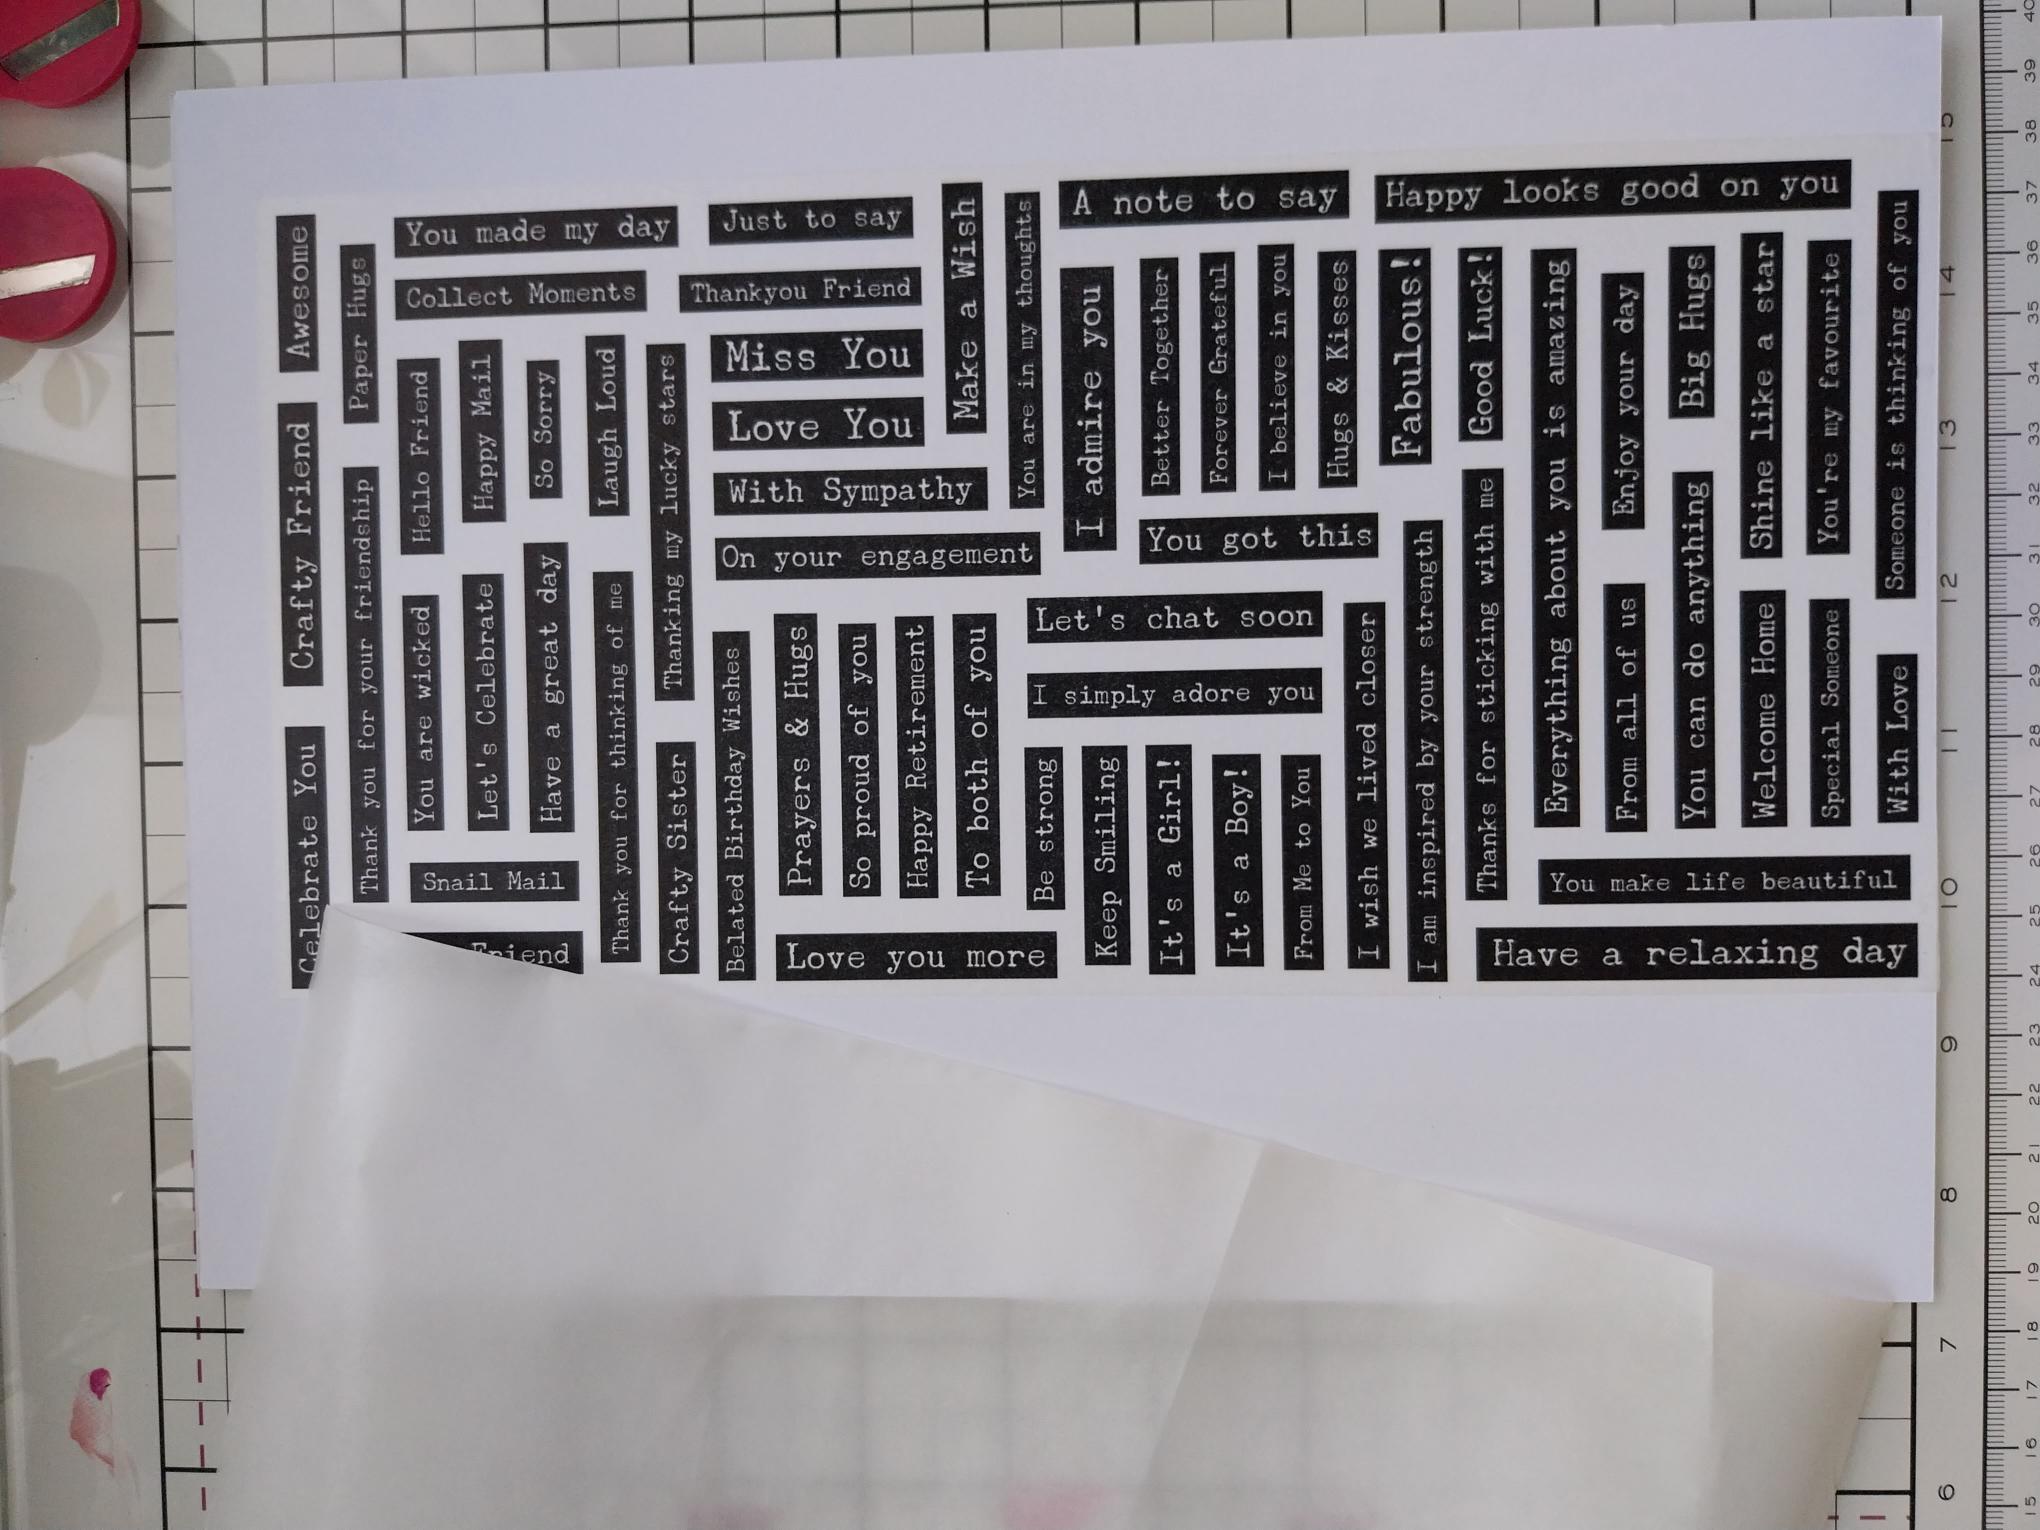
Using the dies as a guide, cut ONE drop from the typewriter washi roll. Lift up the backing sheet along one end of the tape and adhere across the top of an A4 sheet of white card. Slowly peel away the backing, as you use your hand to smooth the washi tape down on to the card. Once the backing has been fully removed, you can burnish the washi to ensure there are no air bubbles or creases. |
|
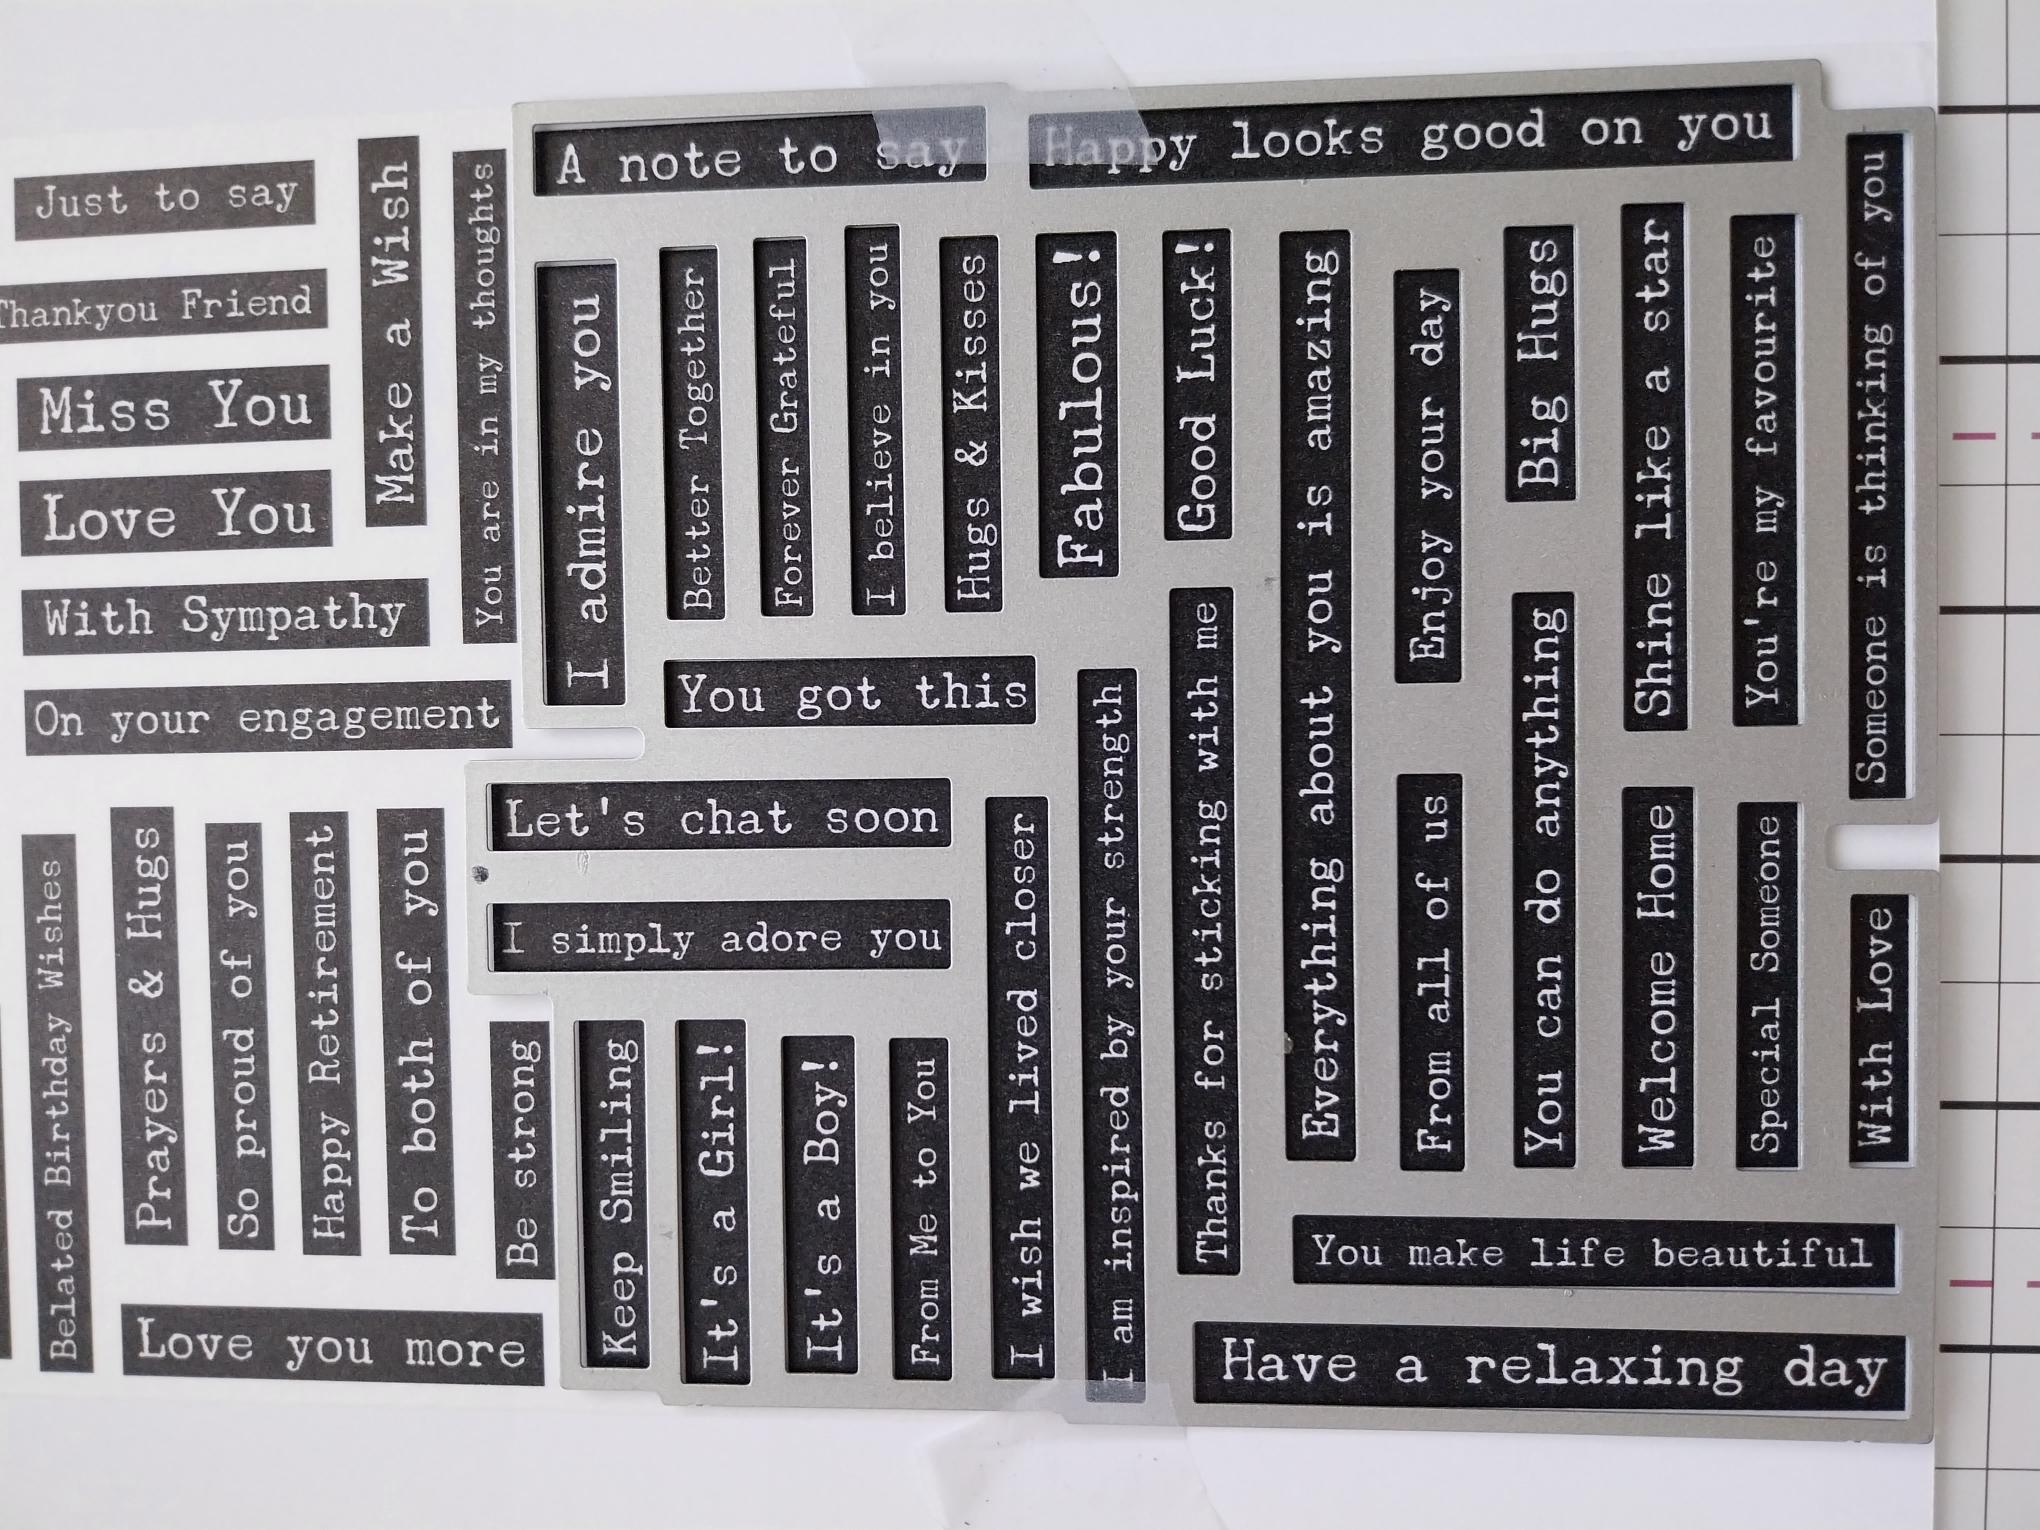
Line up the first die, with low tack tape and run it through your machine. |
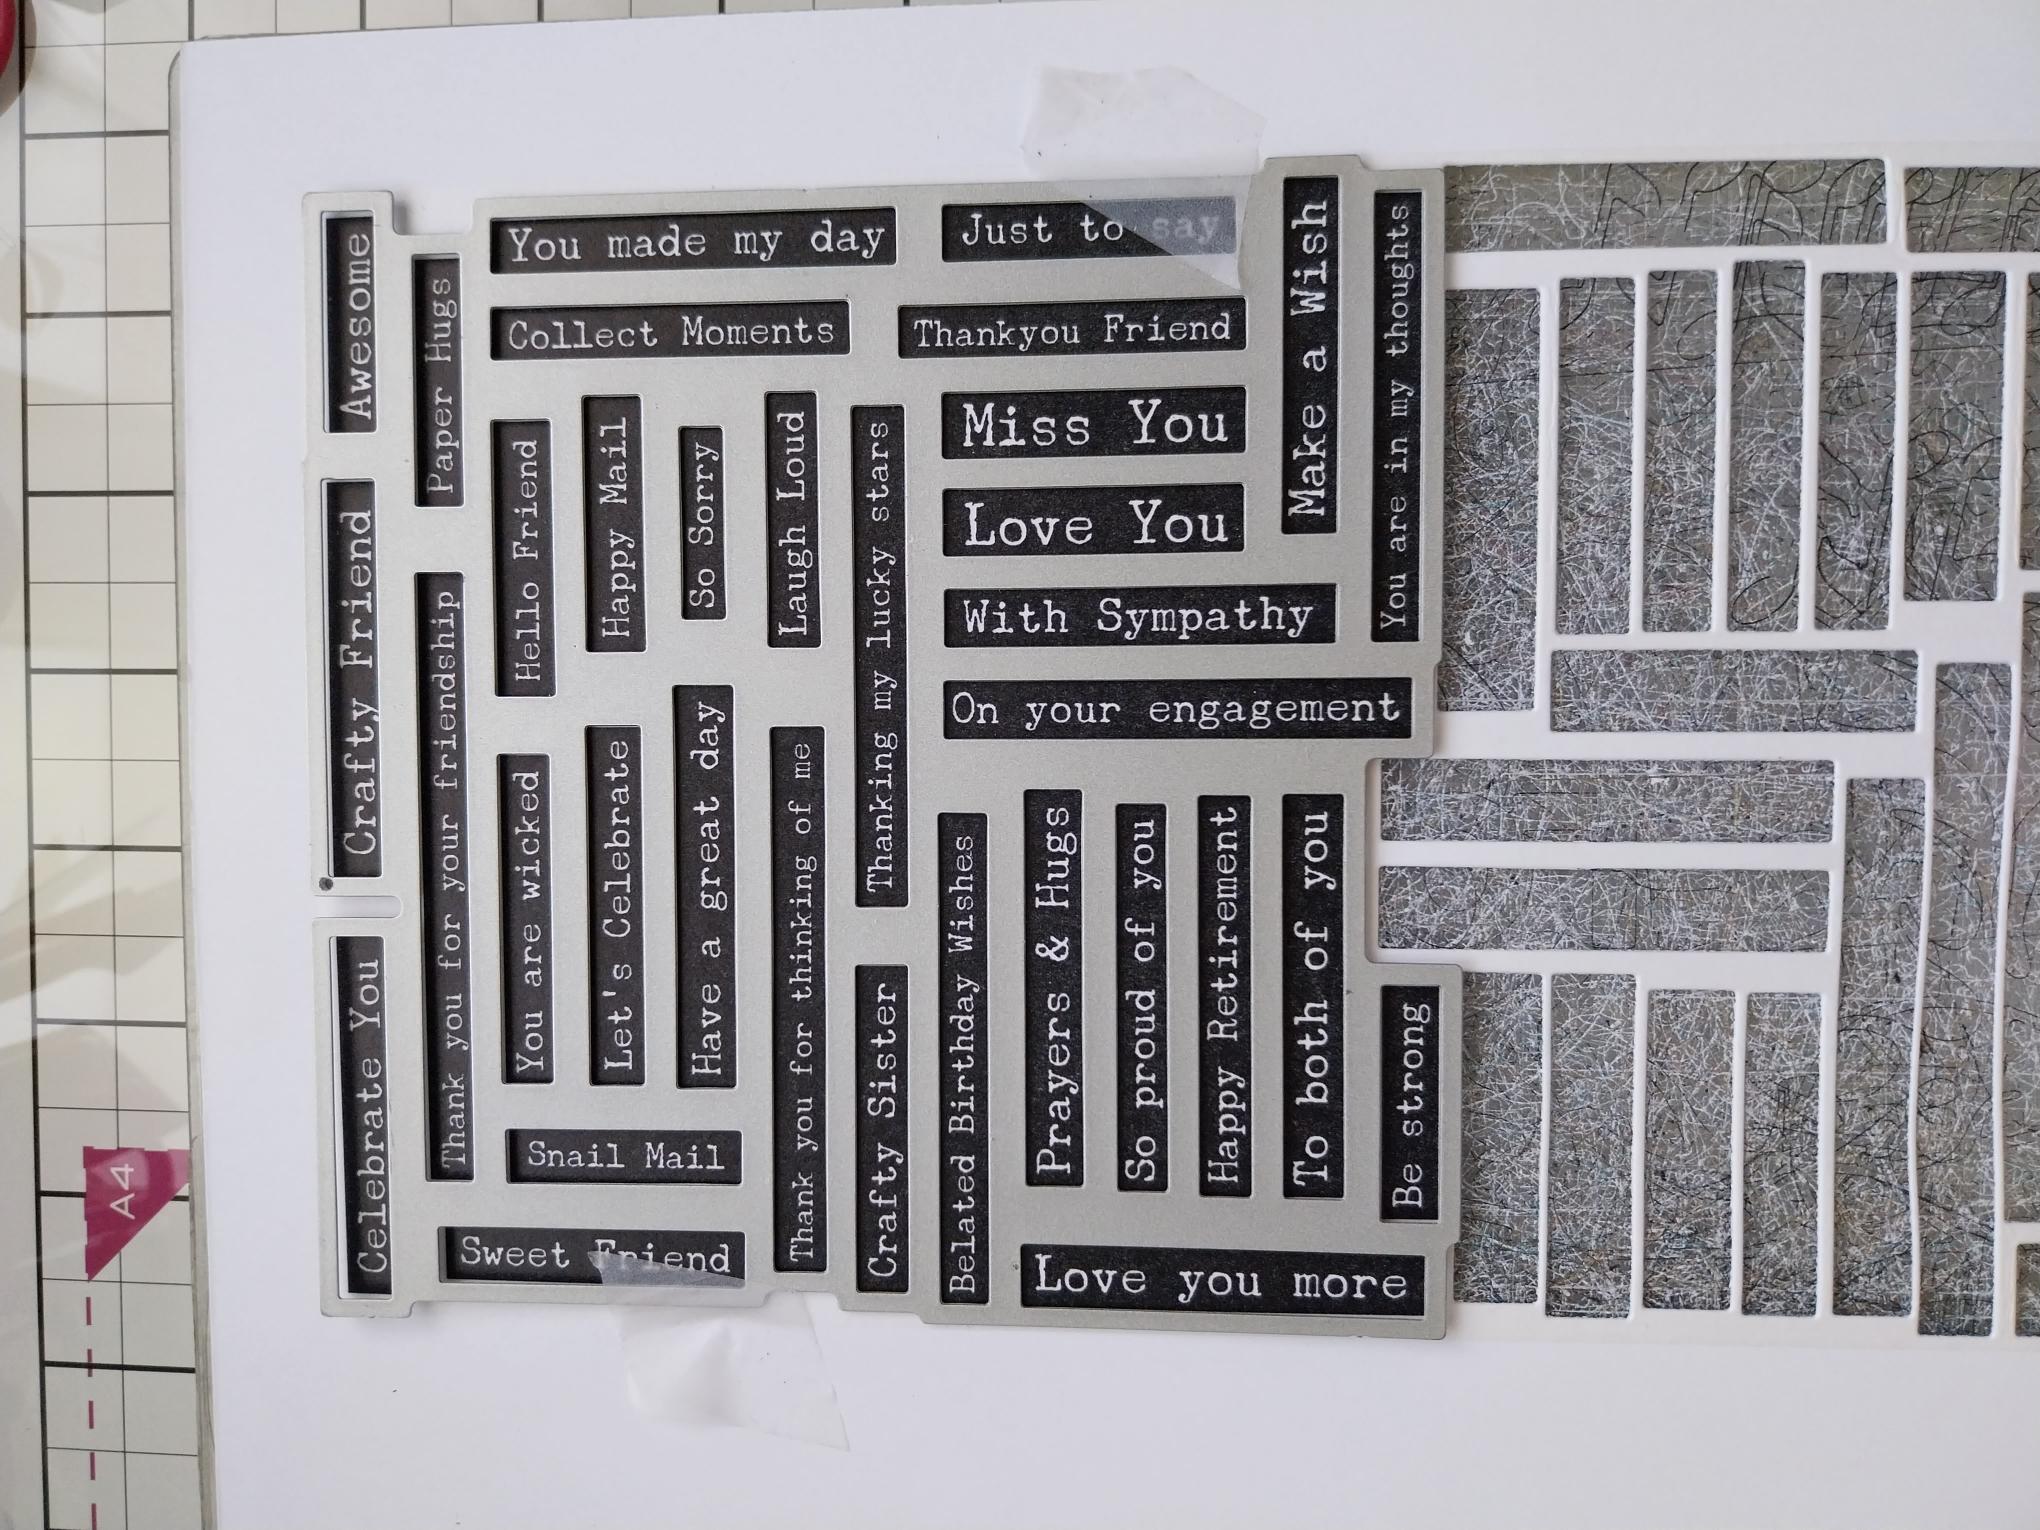
|
Line up the second die and run it through your machine. Pop out all the sentiments, pick out the one you are using for this project and keep the rest in a tub for future projects. |
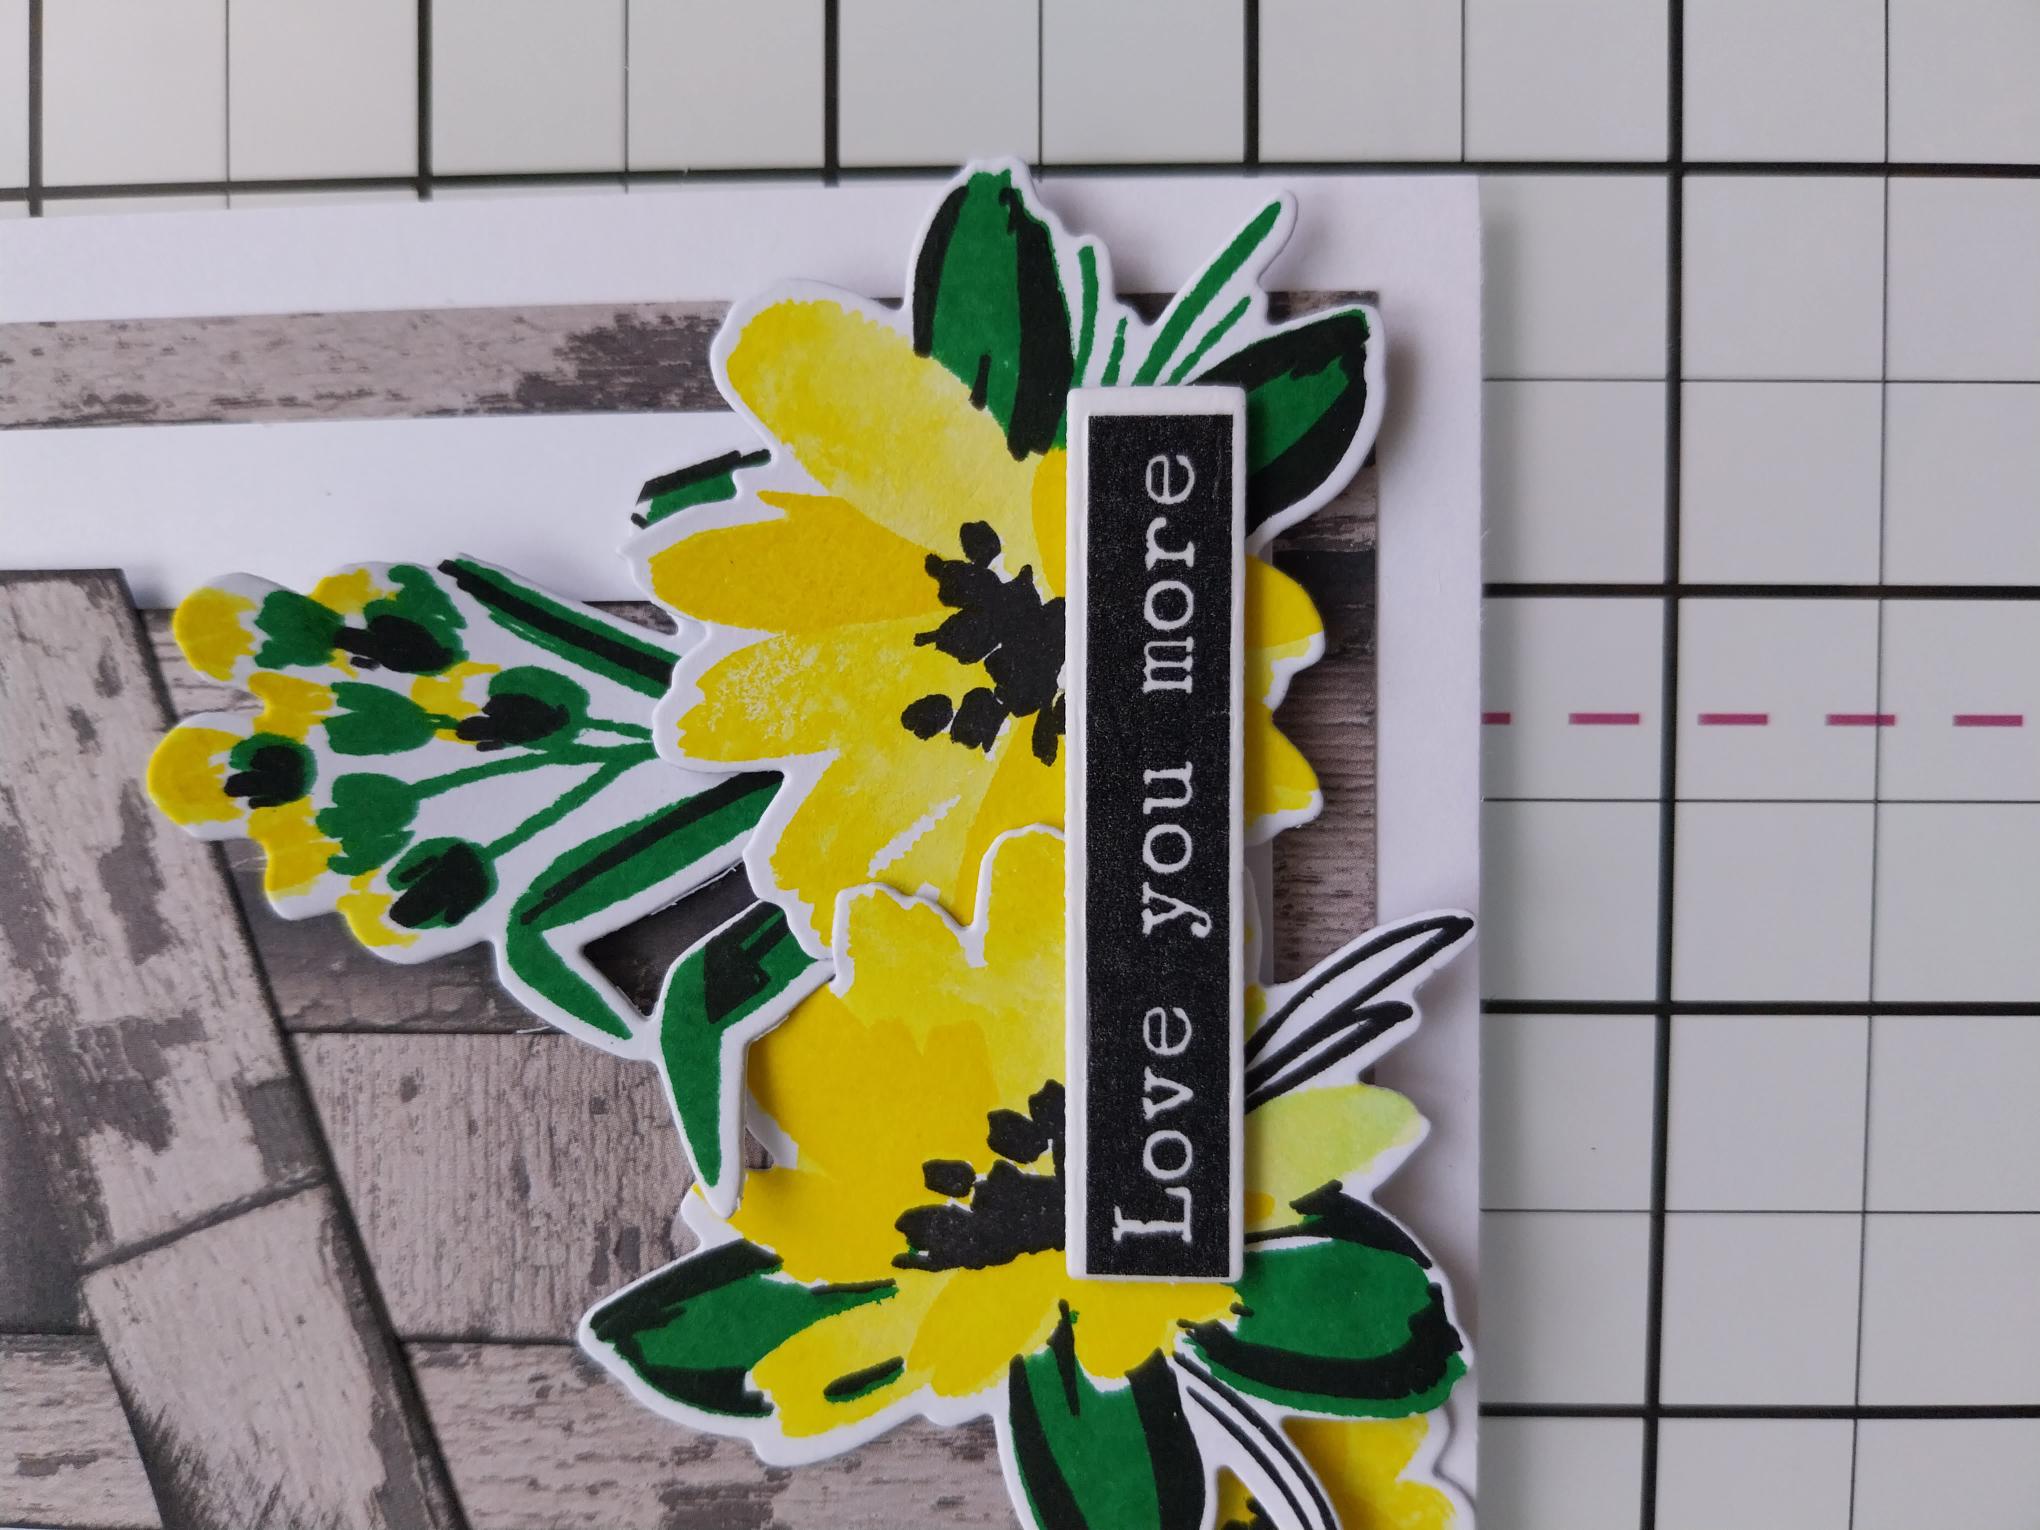
|
Adhere your 3D floral elements, with both wet glue and foam pads, to the base of your fence panels. You can pop a couple of the leafy elements "growing out" from behind the top and side fence panels. Finally, adhere the washi sentiment across the florals, to complete your project. |