Give your friends $10 off their first order!
Refer a FRIEND


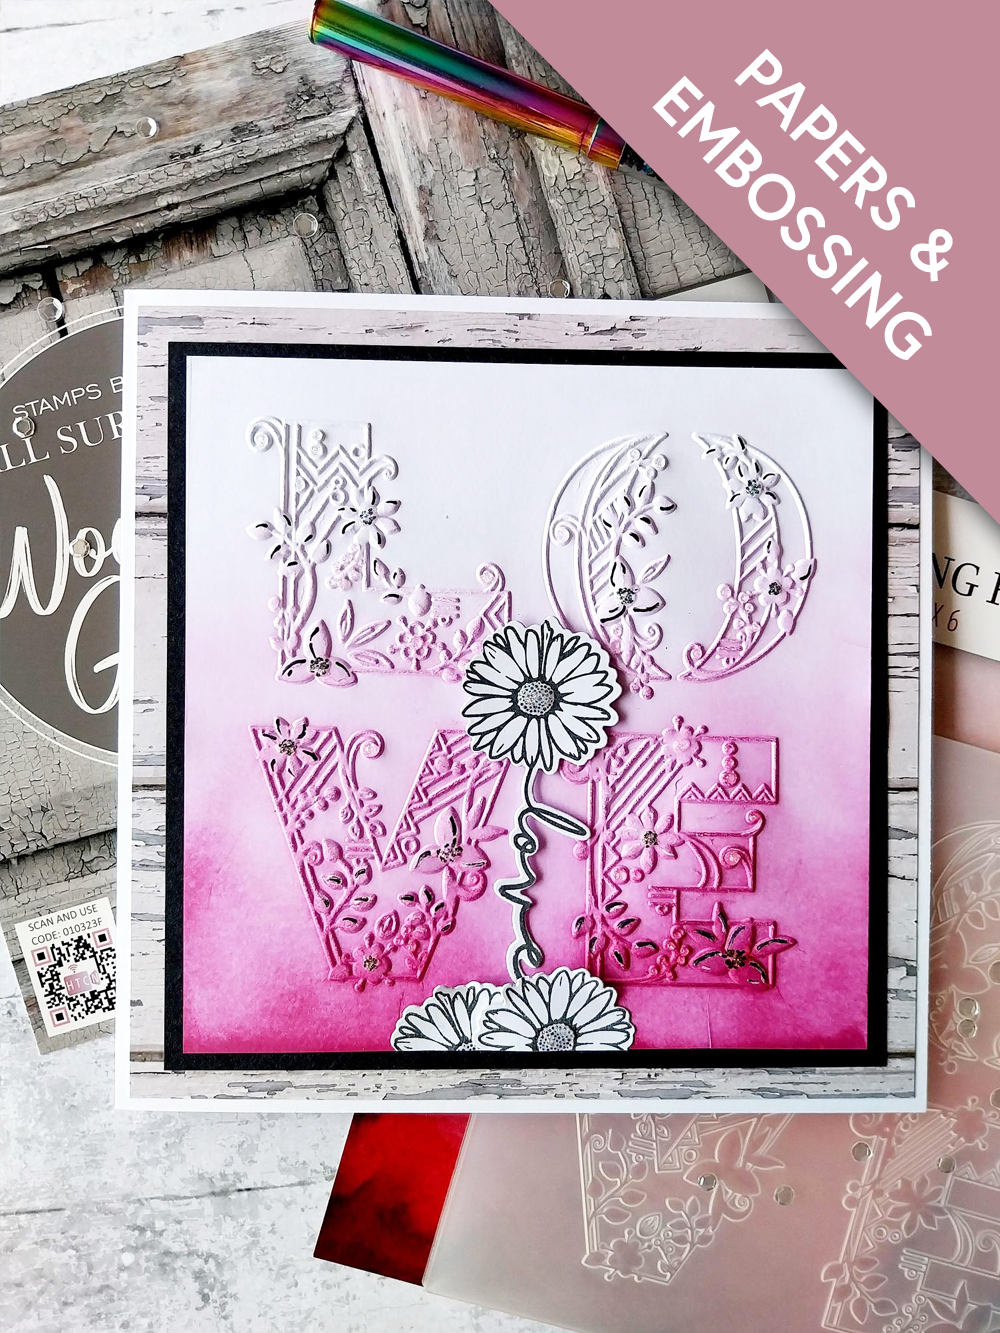
WHAT YOU WILL NEED:
White card blank 7 x 7"
Black/white card
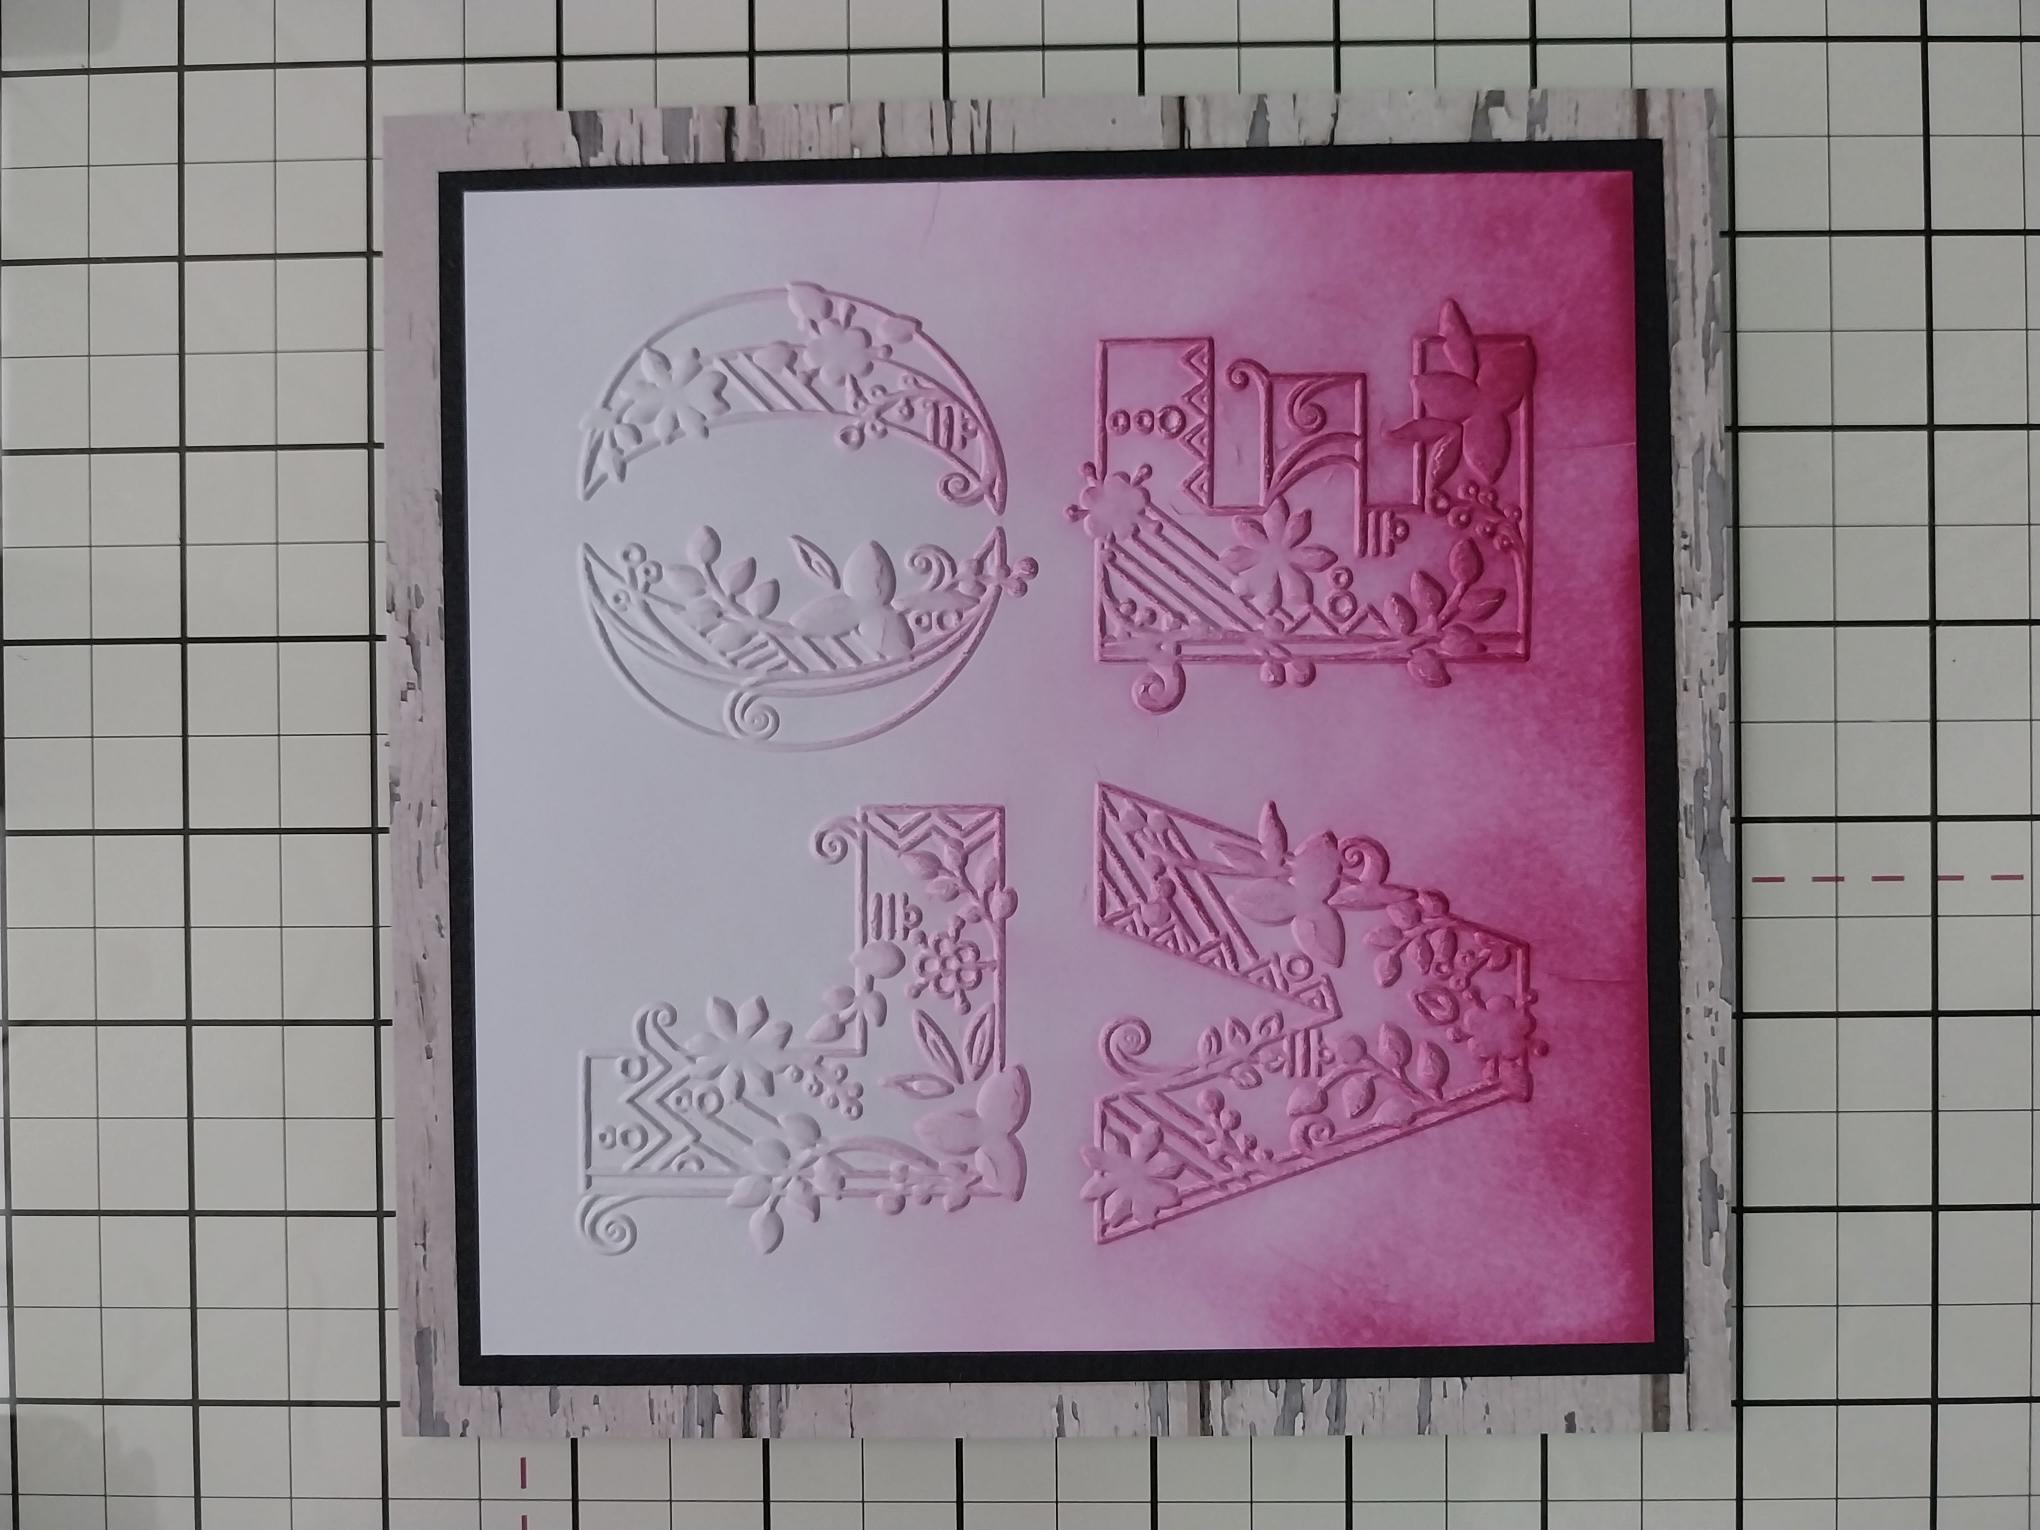
LOVE 6 x 6 Embossing Folder
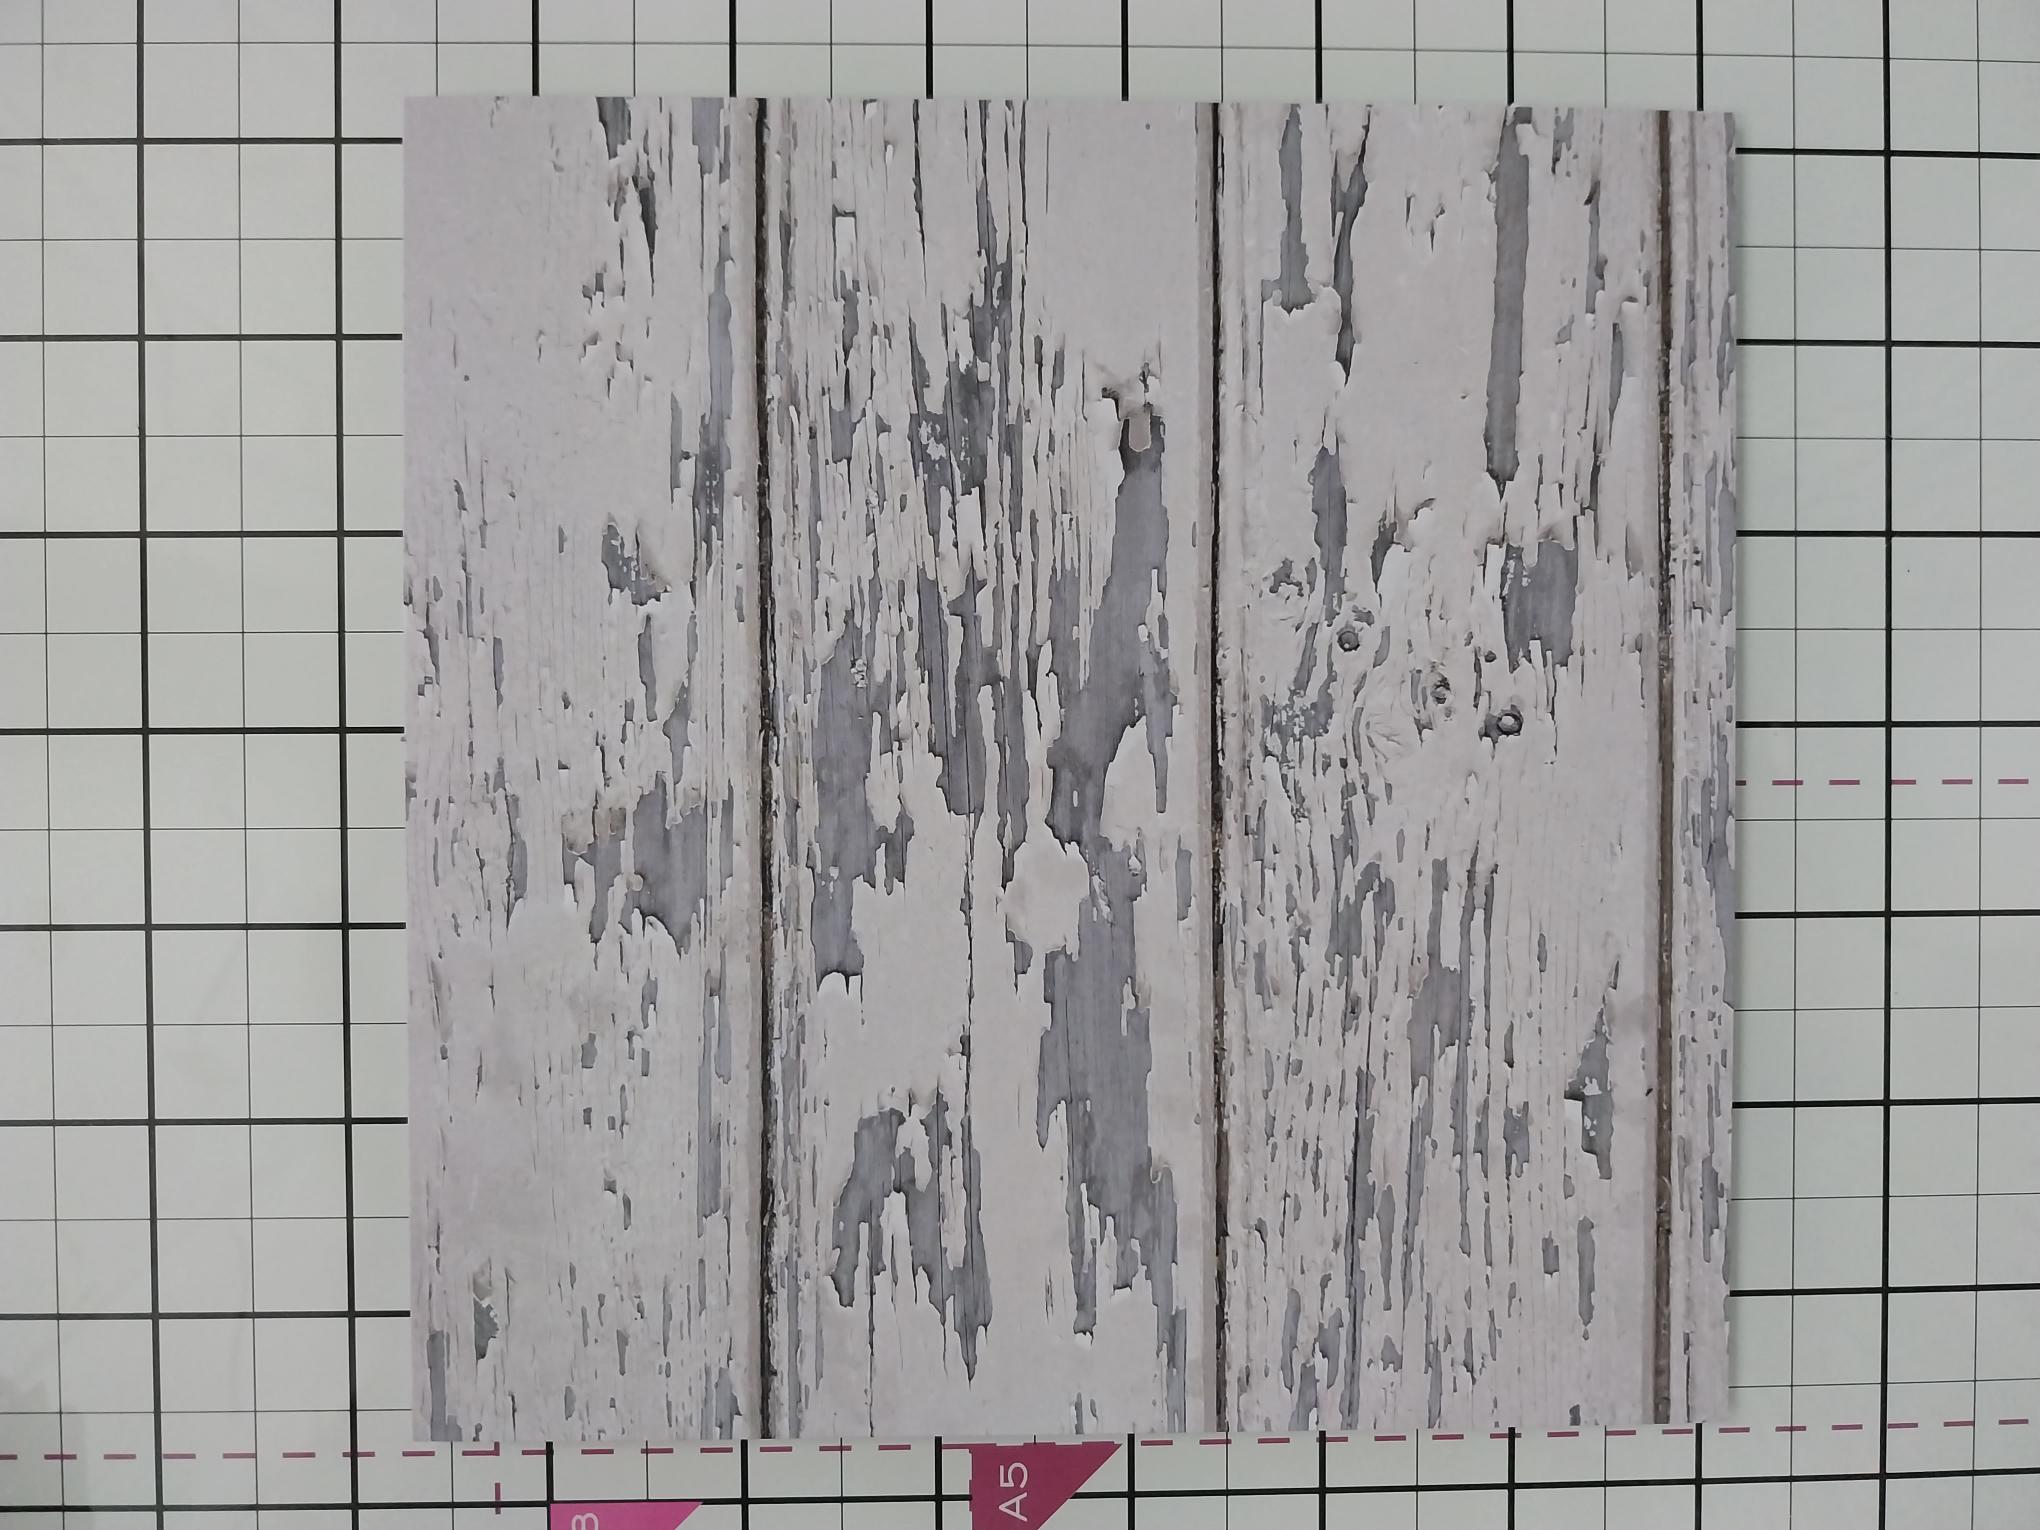
All Surfaces Wooden Groove 8 x 8 Paper Pack
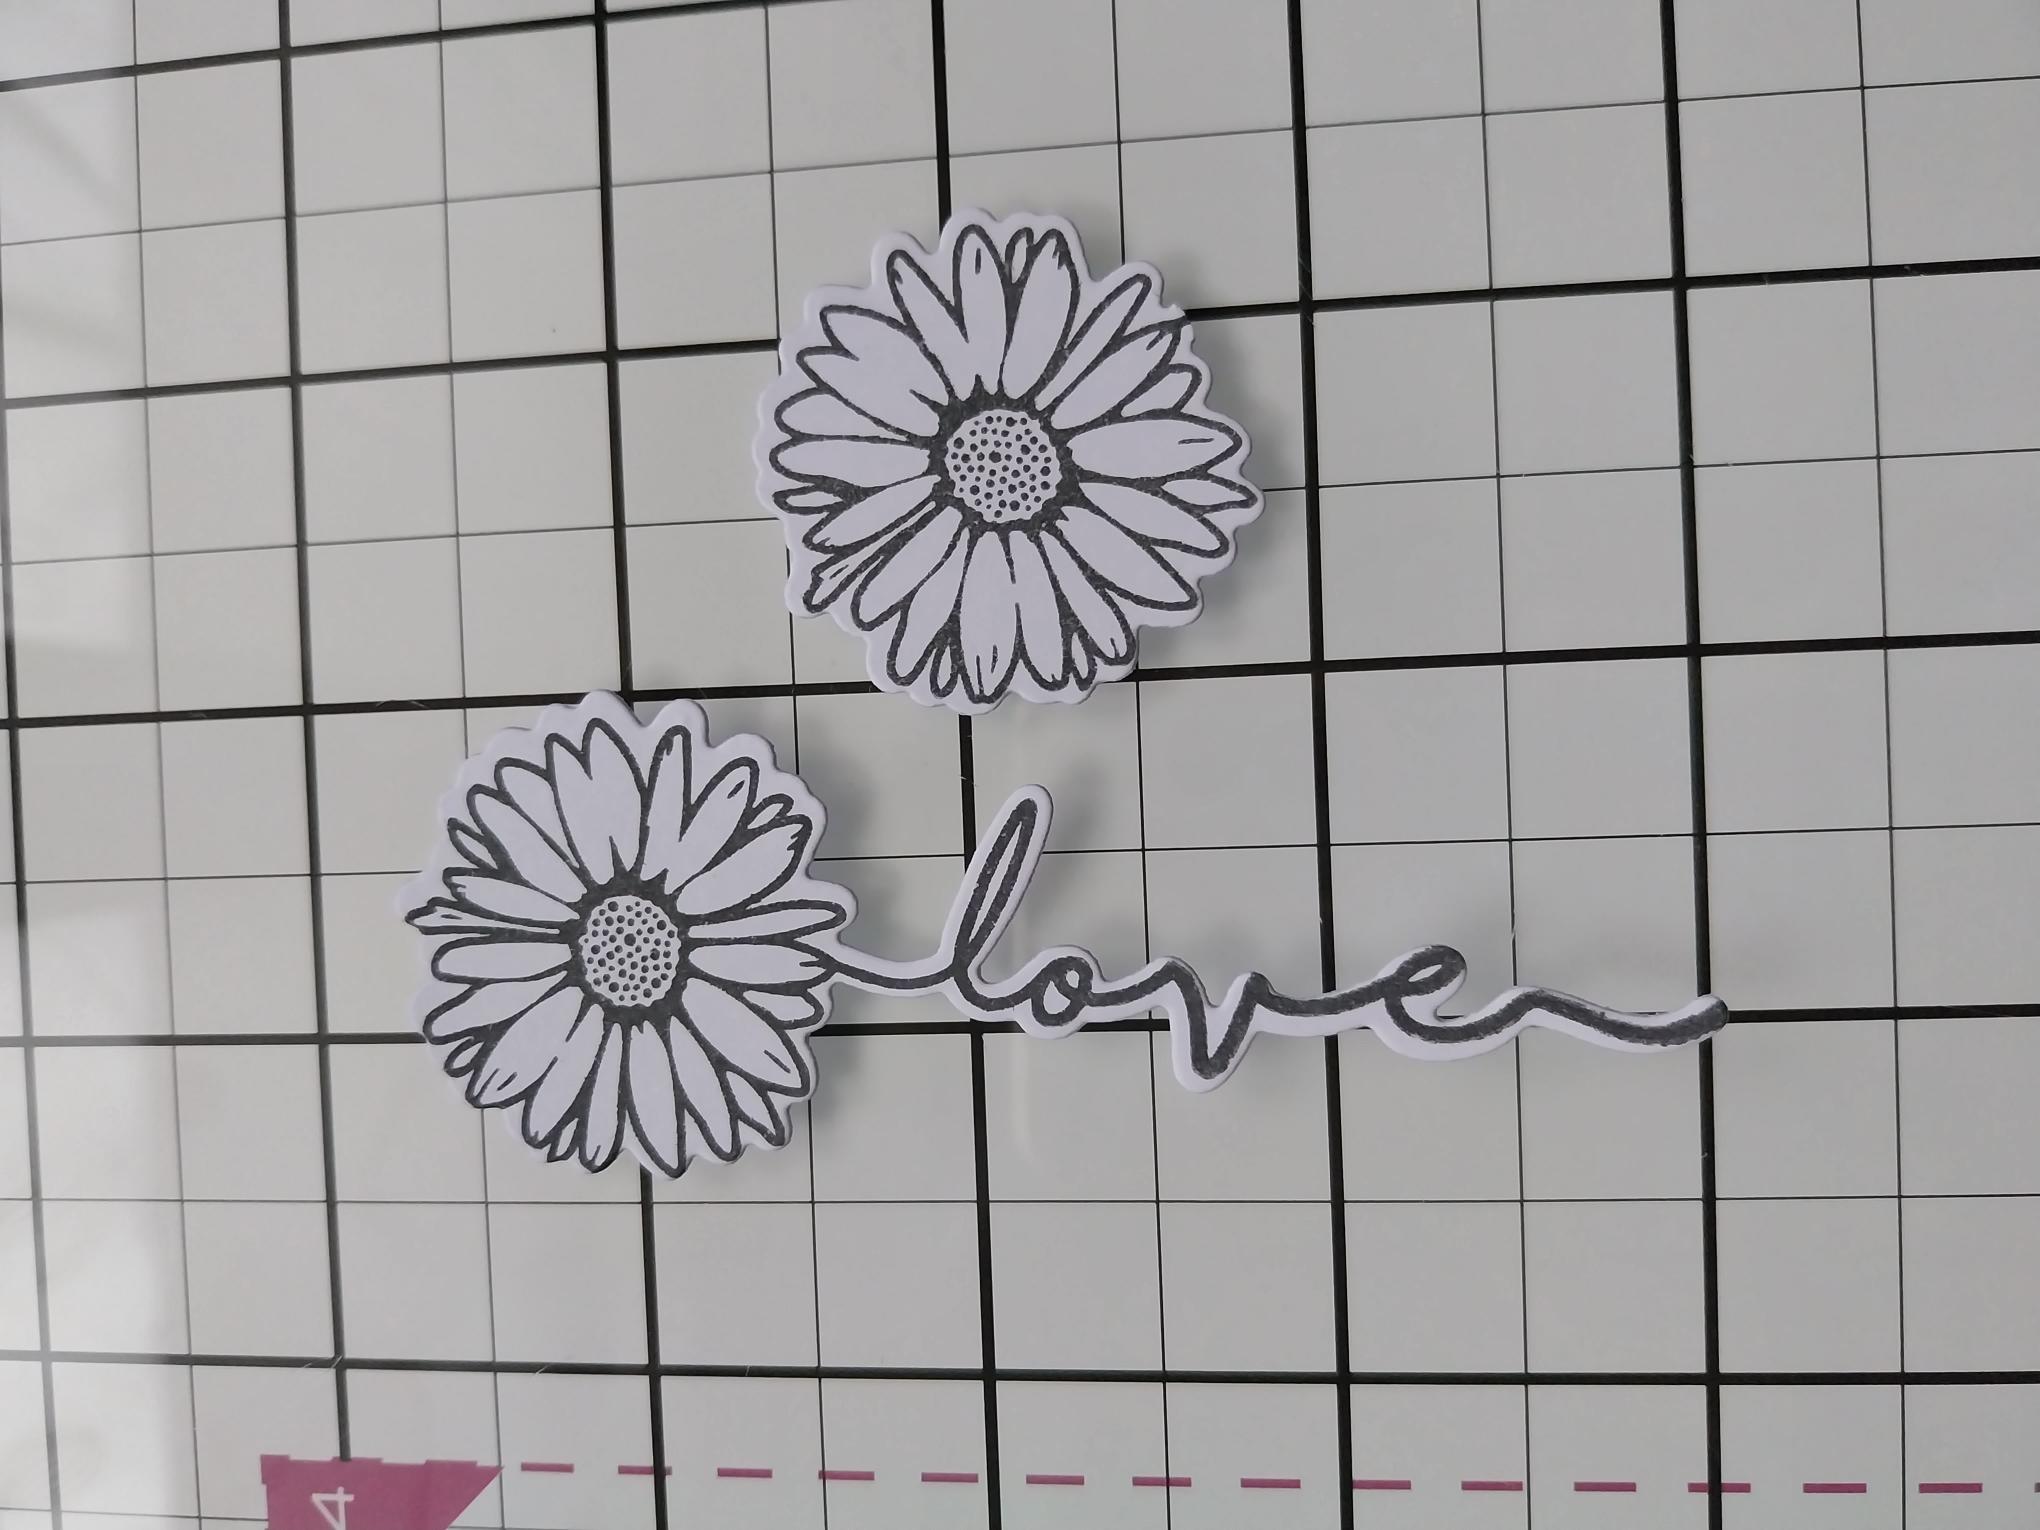
Faith Stamp and Die
SBM Hybrid Ink Pad: Midnight
SBM Premium Dye Ink Pad: Fandango
Blending brush
Stickles: Diamond
Black pen
Eureka 101 Watercolour Tablet
SBM A3 Magnetic glass mat
Paper Trimmer
Glue/Foam pads
Die Cutting machine
[click image to enlarge] 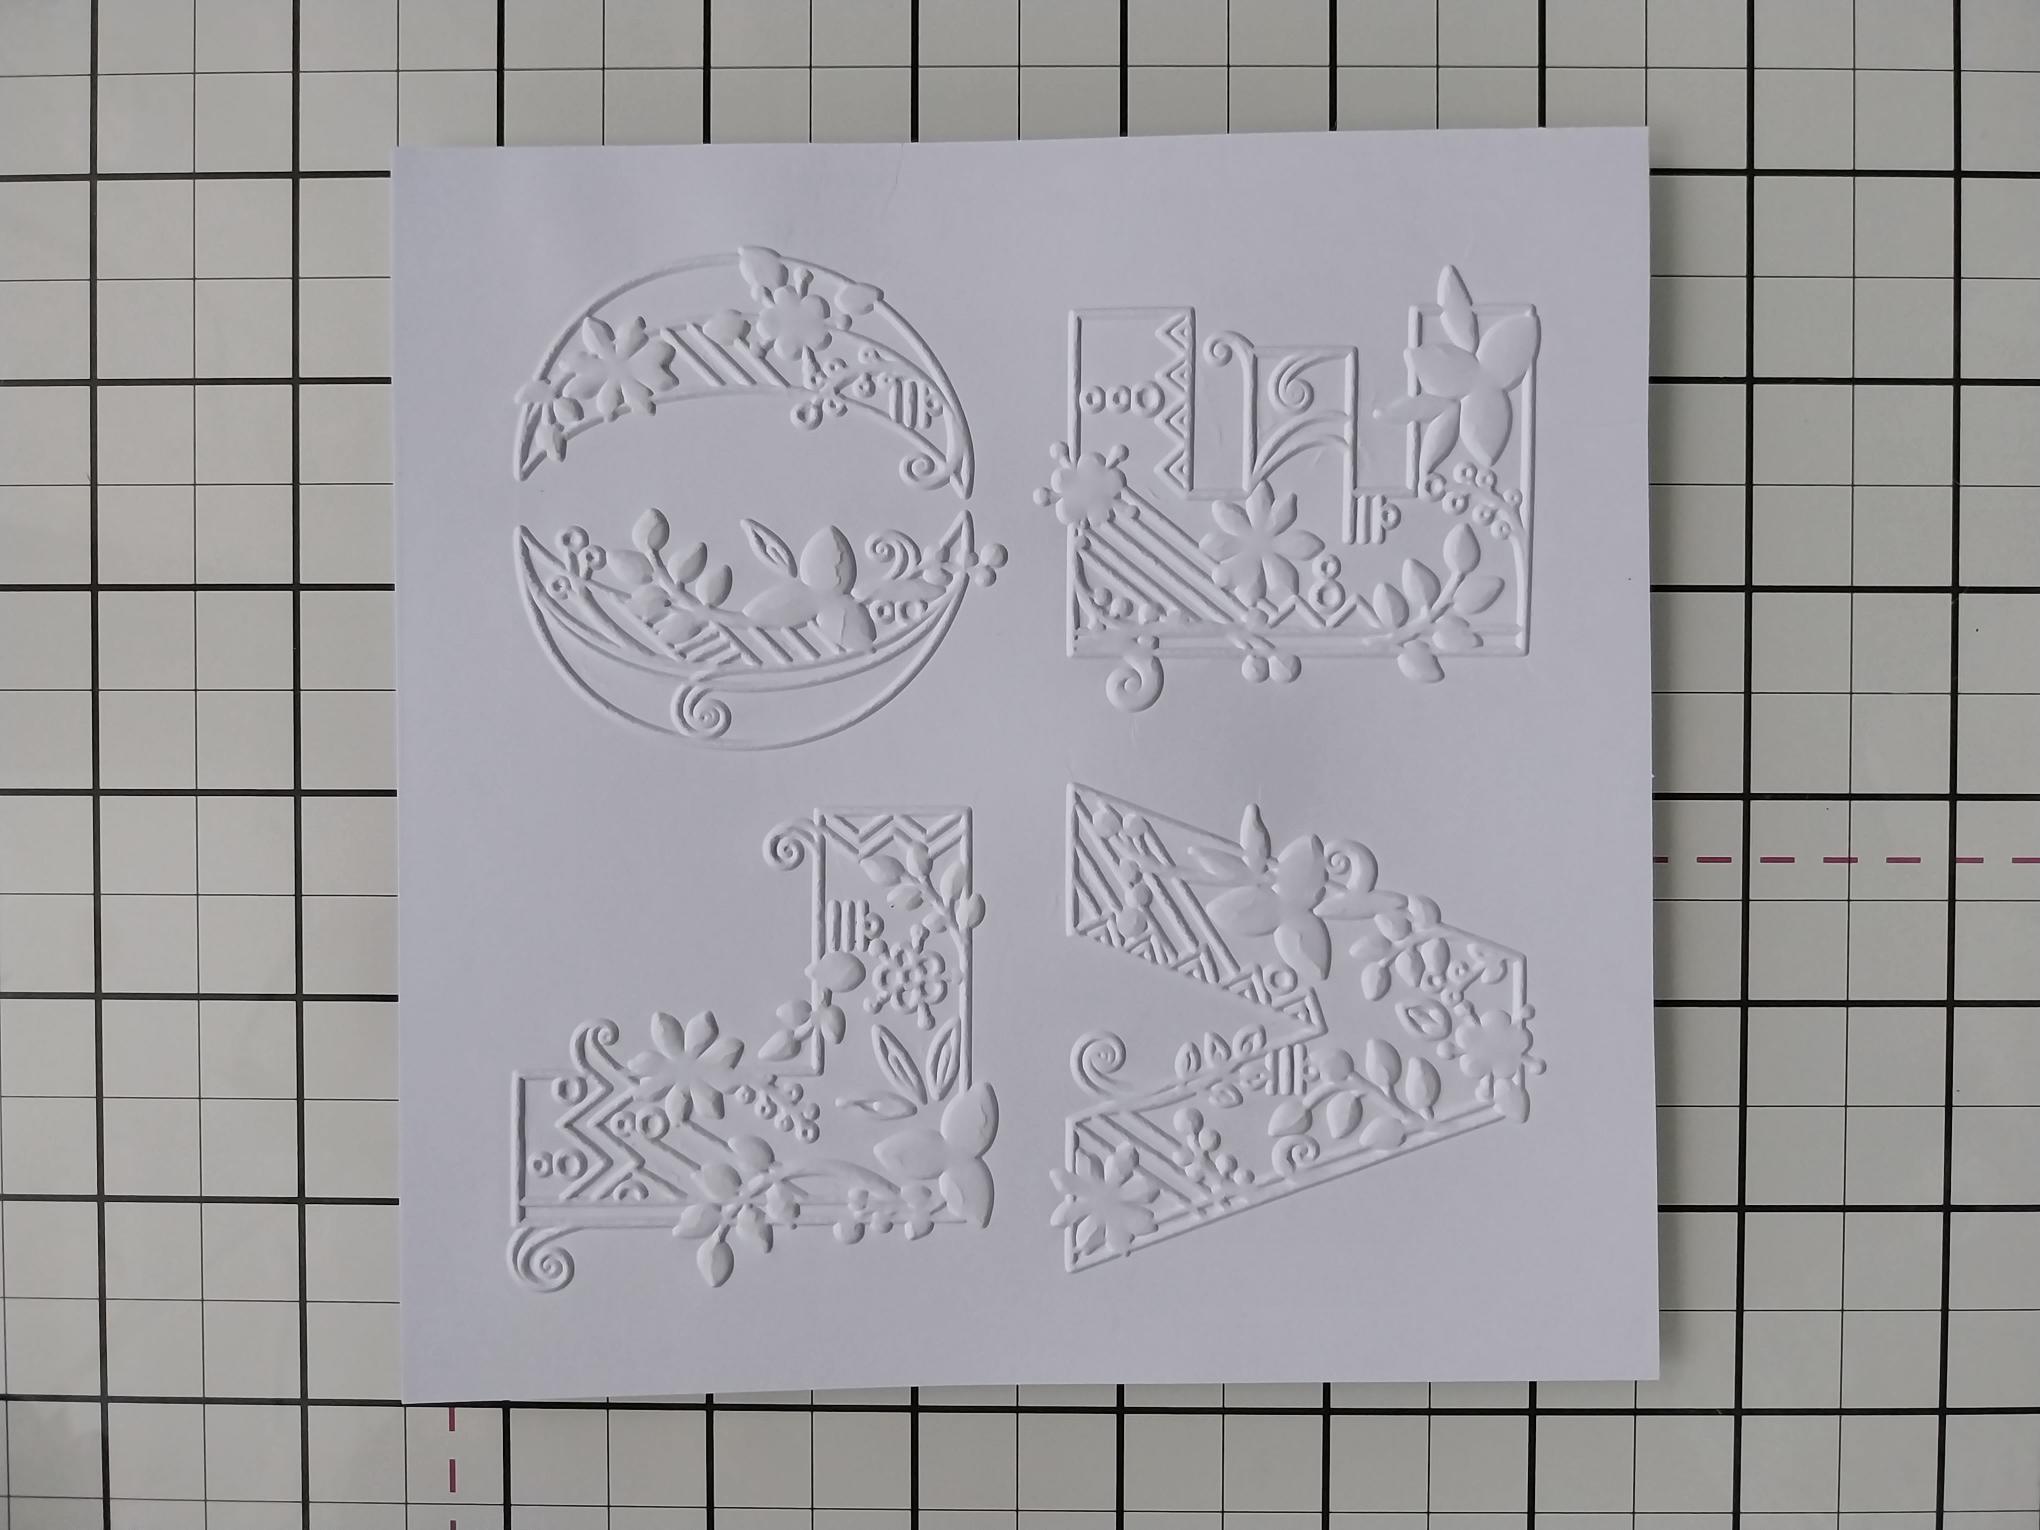
|
Trim white card to 6 x 6", place inside the LOVE embossing folder and run it through your machine. |
|
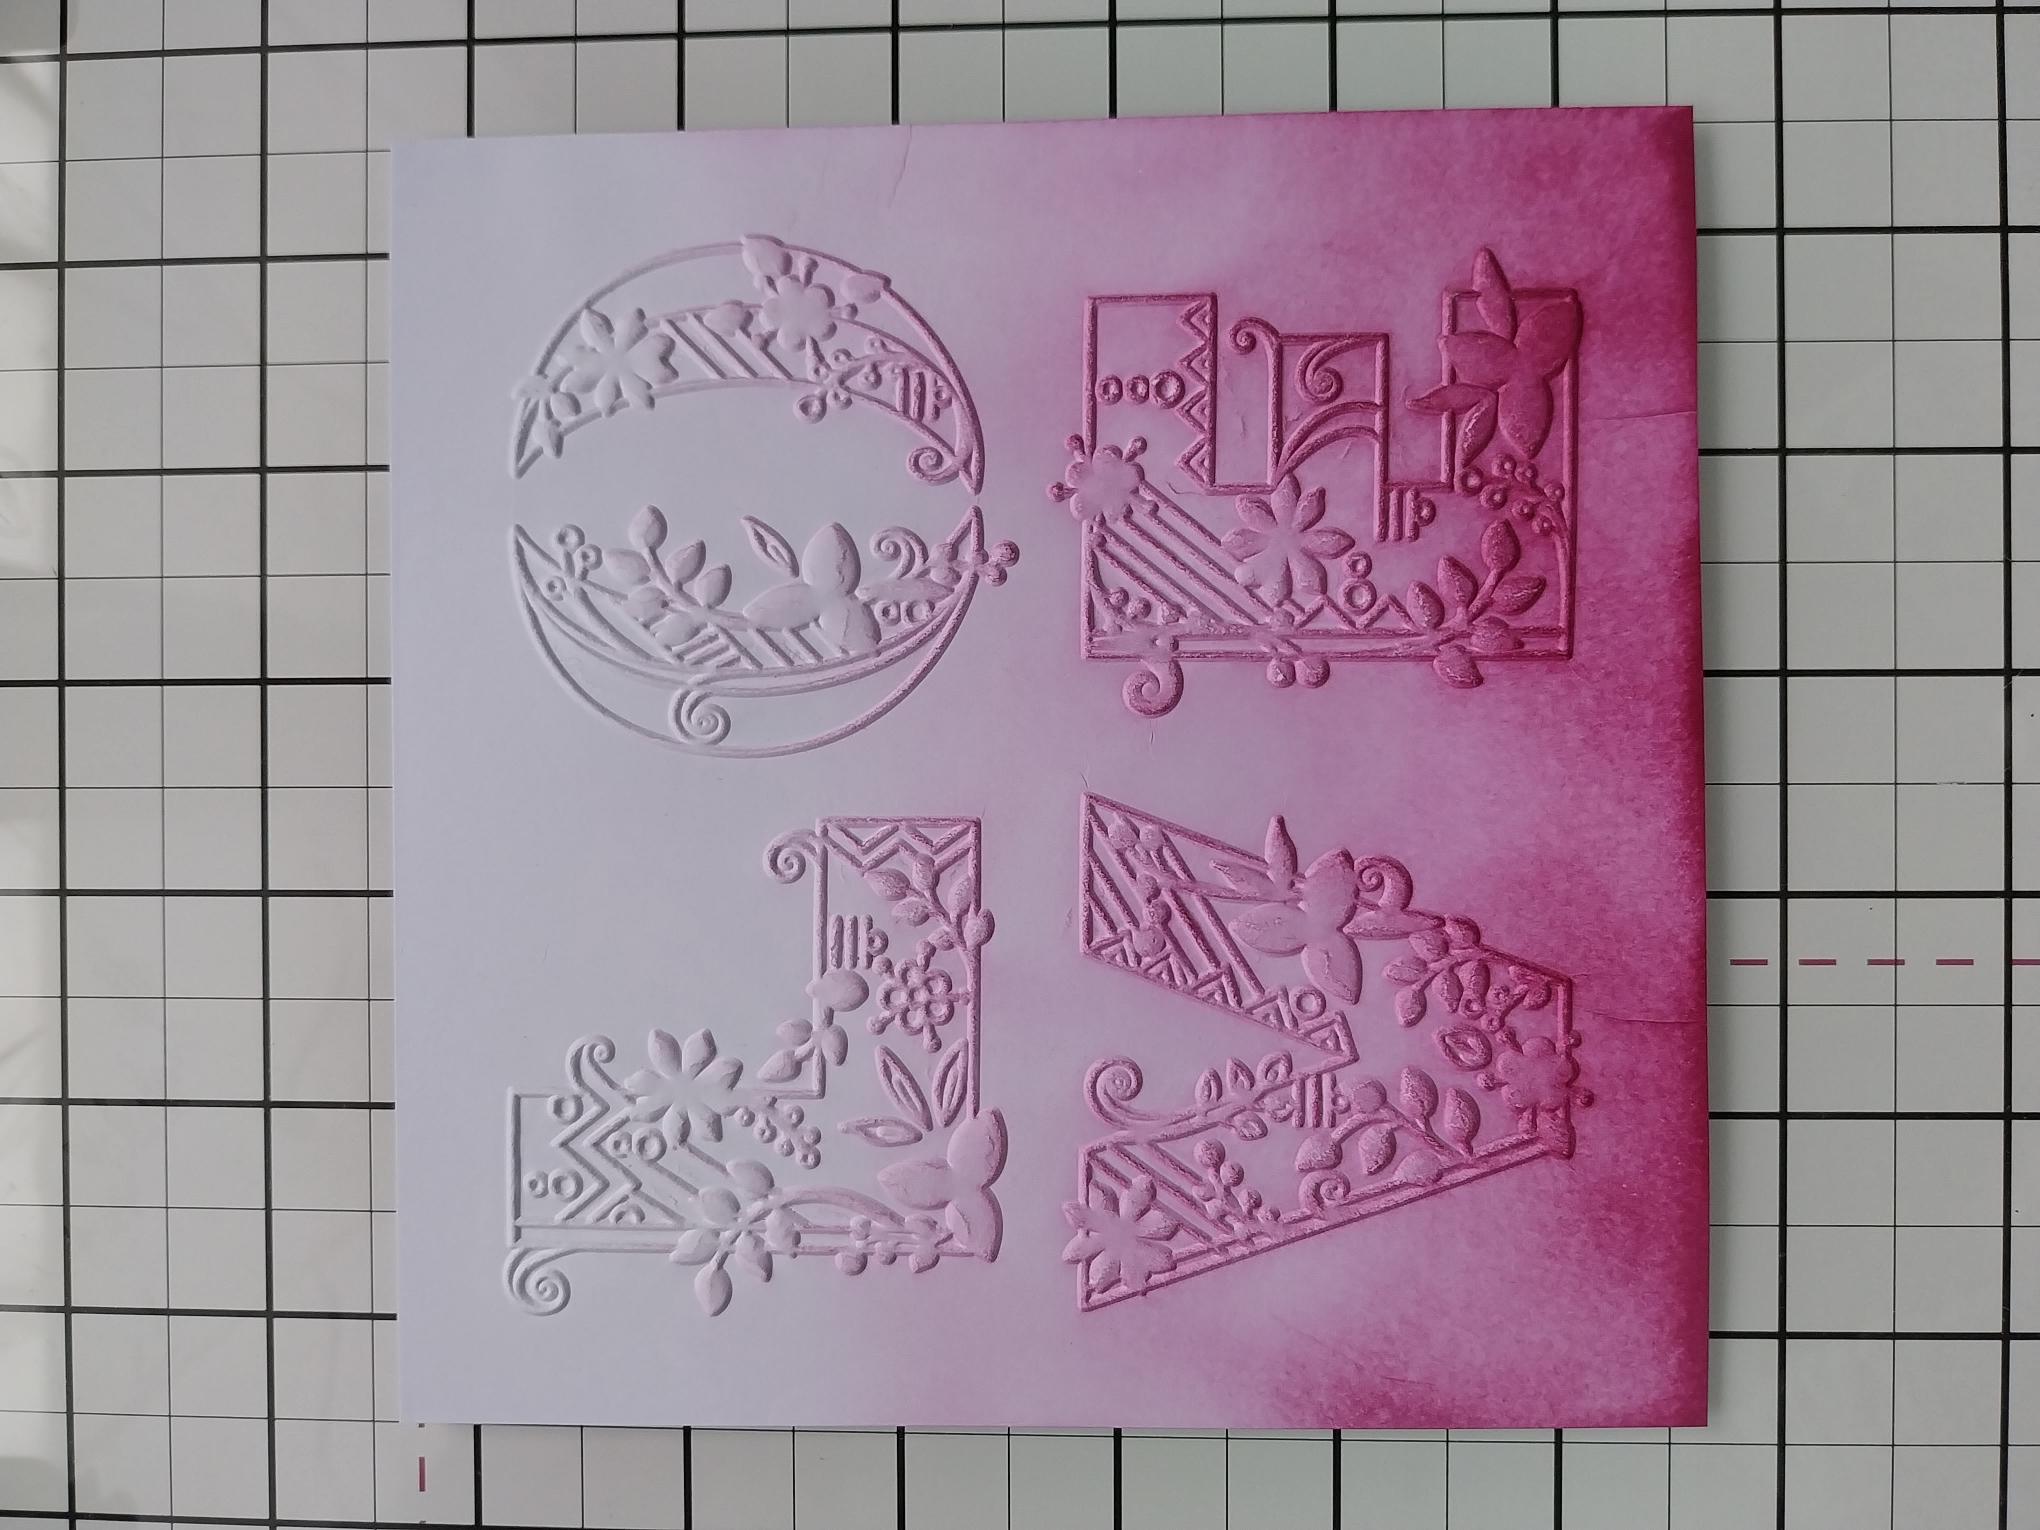
Blend the Fandango, starting from the bottom of the card and fading it out as you move upwards, creating an ombre effect. |
|
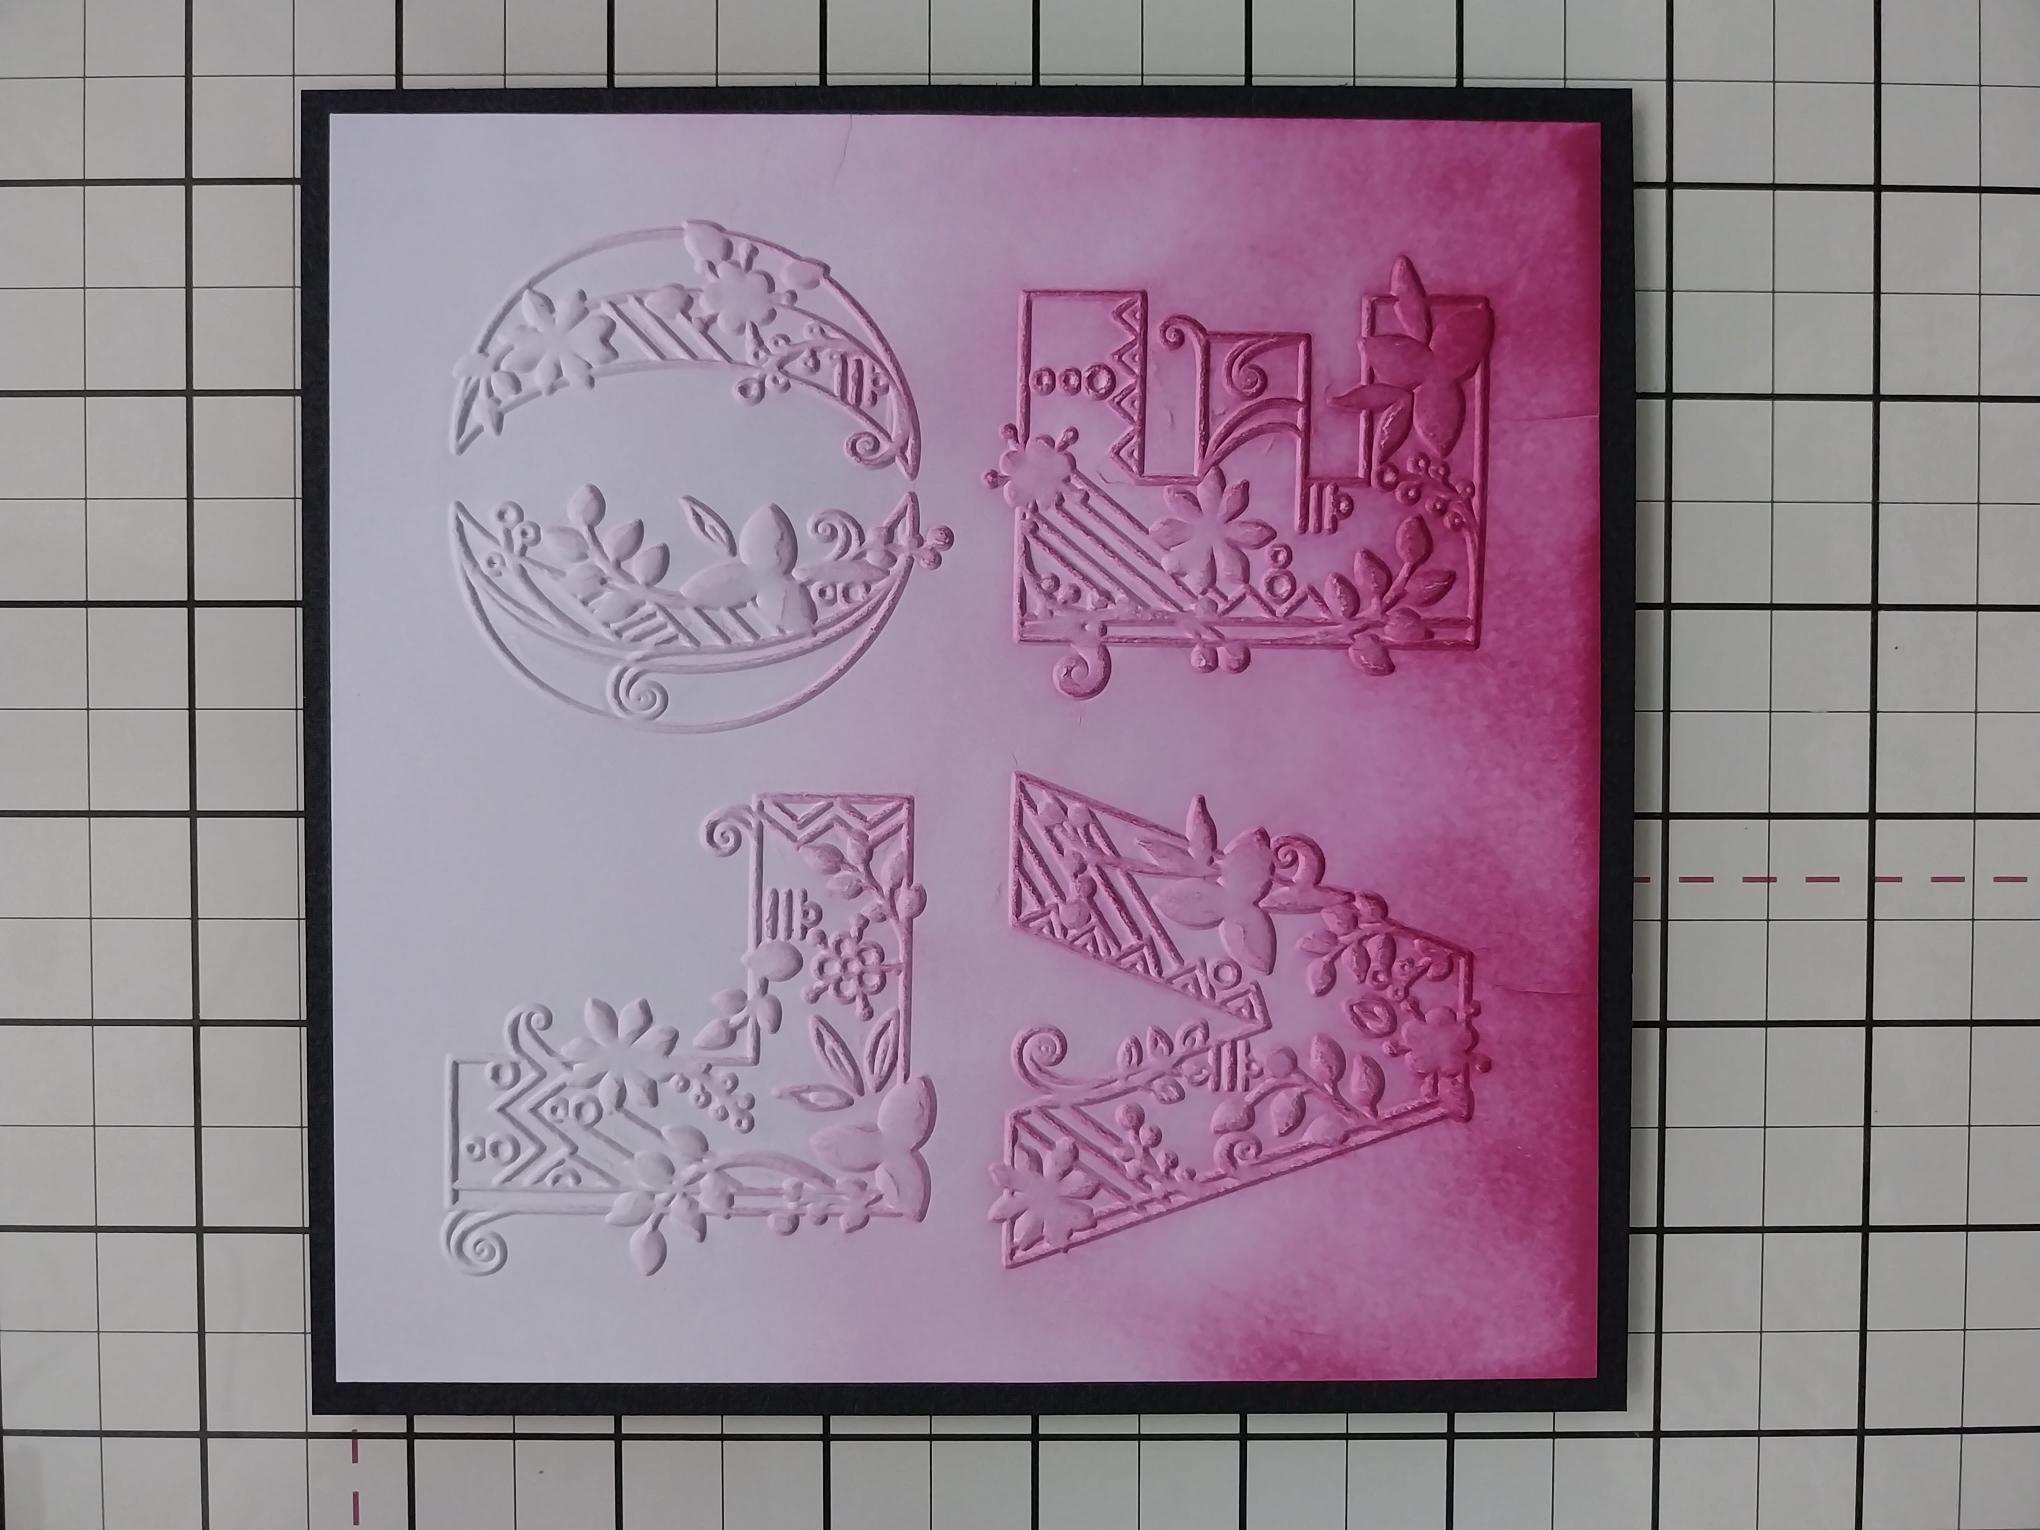
Adhere to black card cut to 6 1/4" square. |
|
Trim a sheet from the Wooden Groove paper pack to 6 3/4" square. |
|
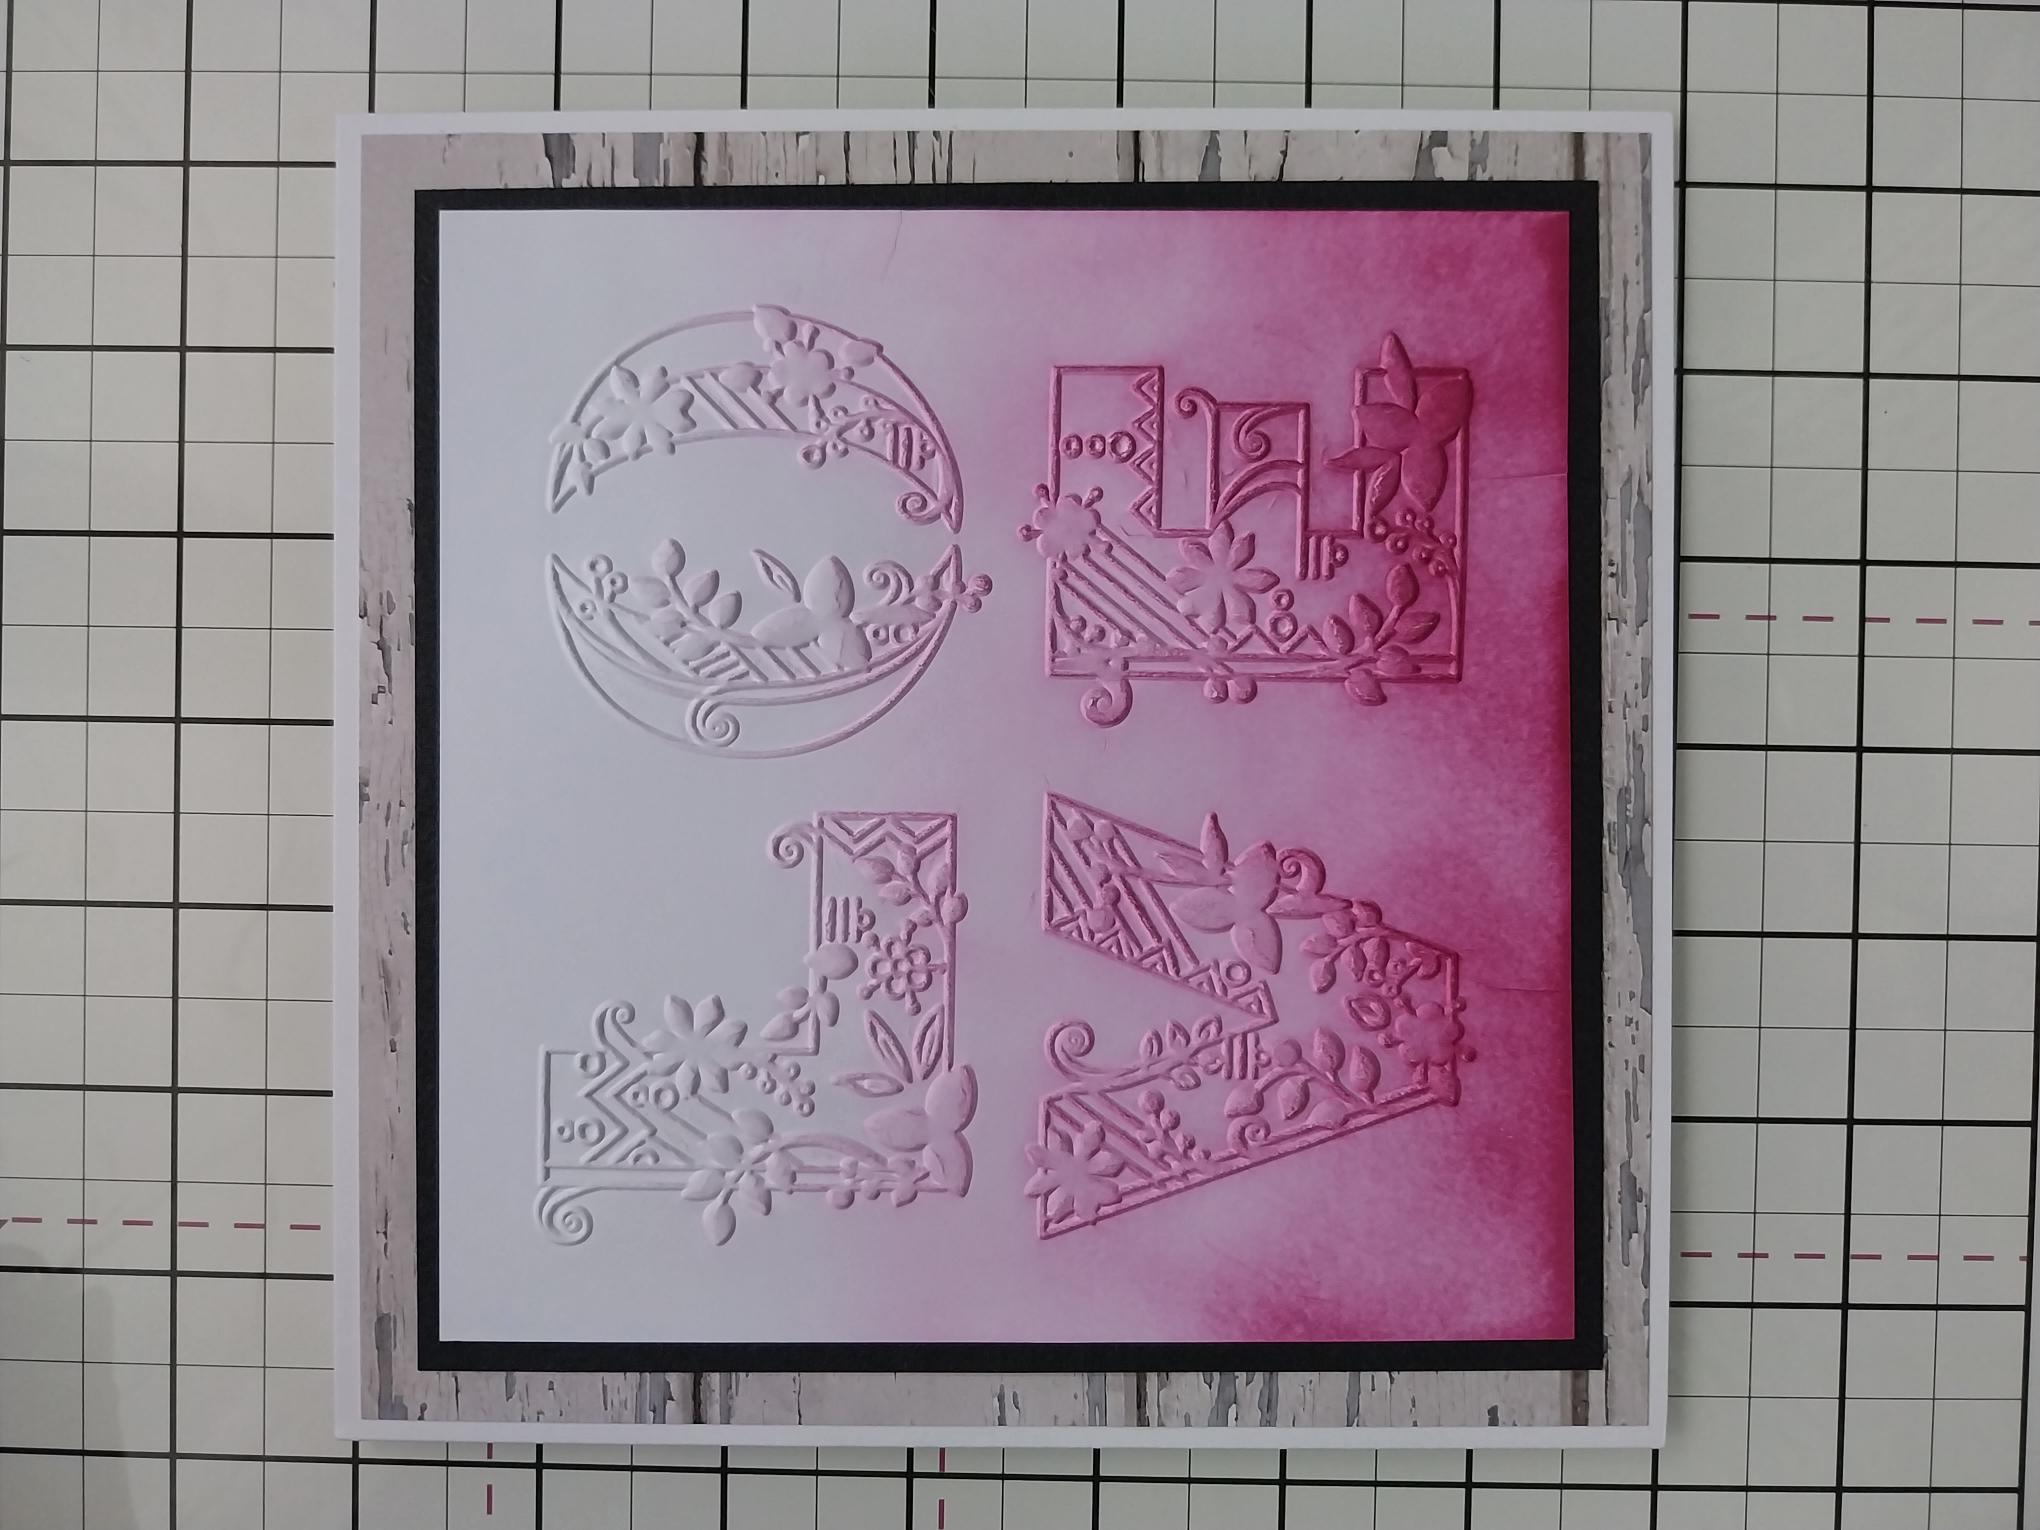
Adhere your artwork on to the panelled paper. |
|
Adhere to front of your card blank and set aside. |
|
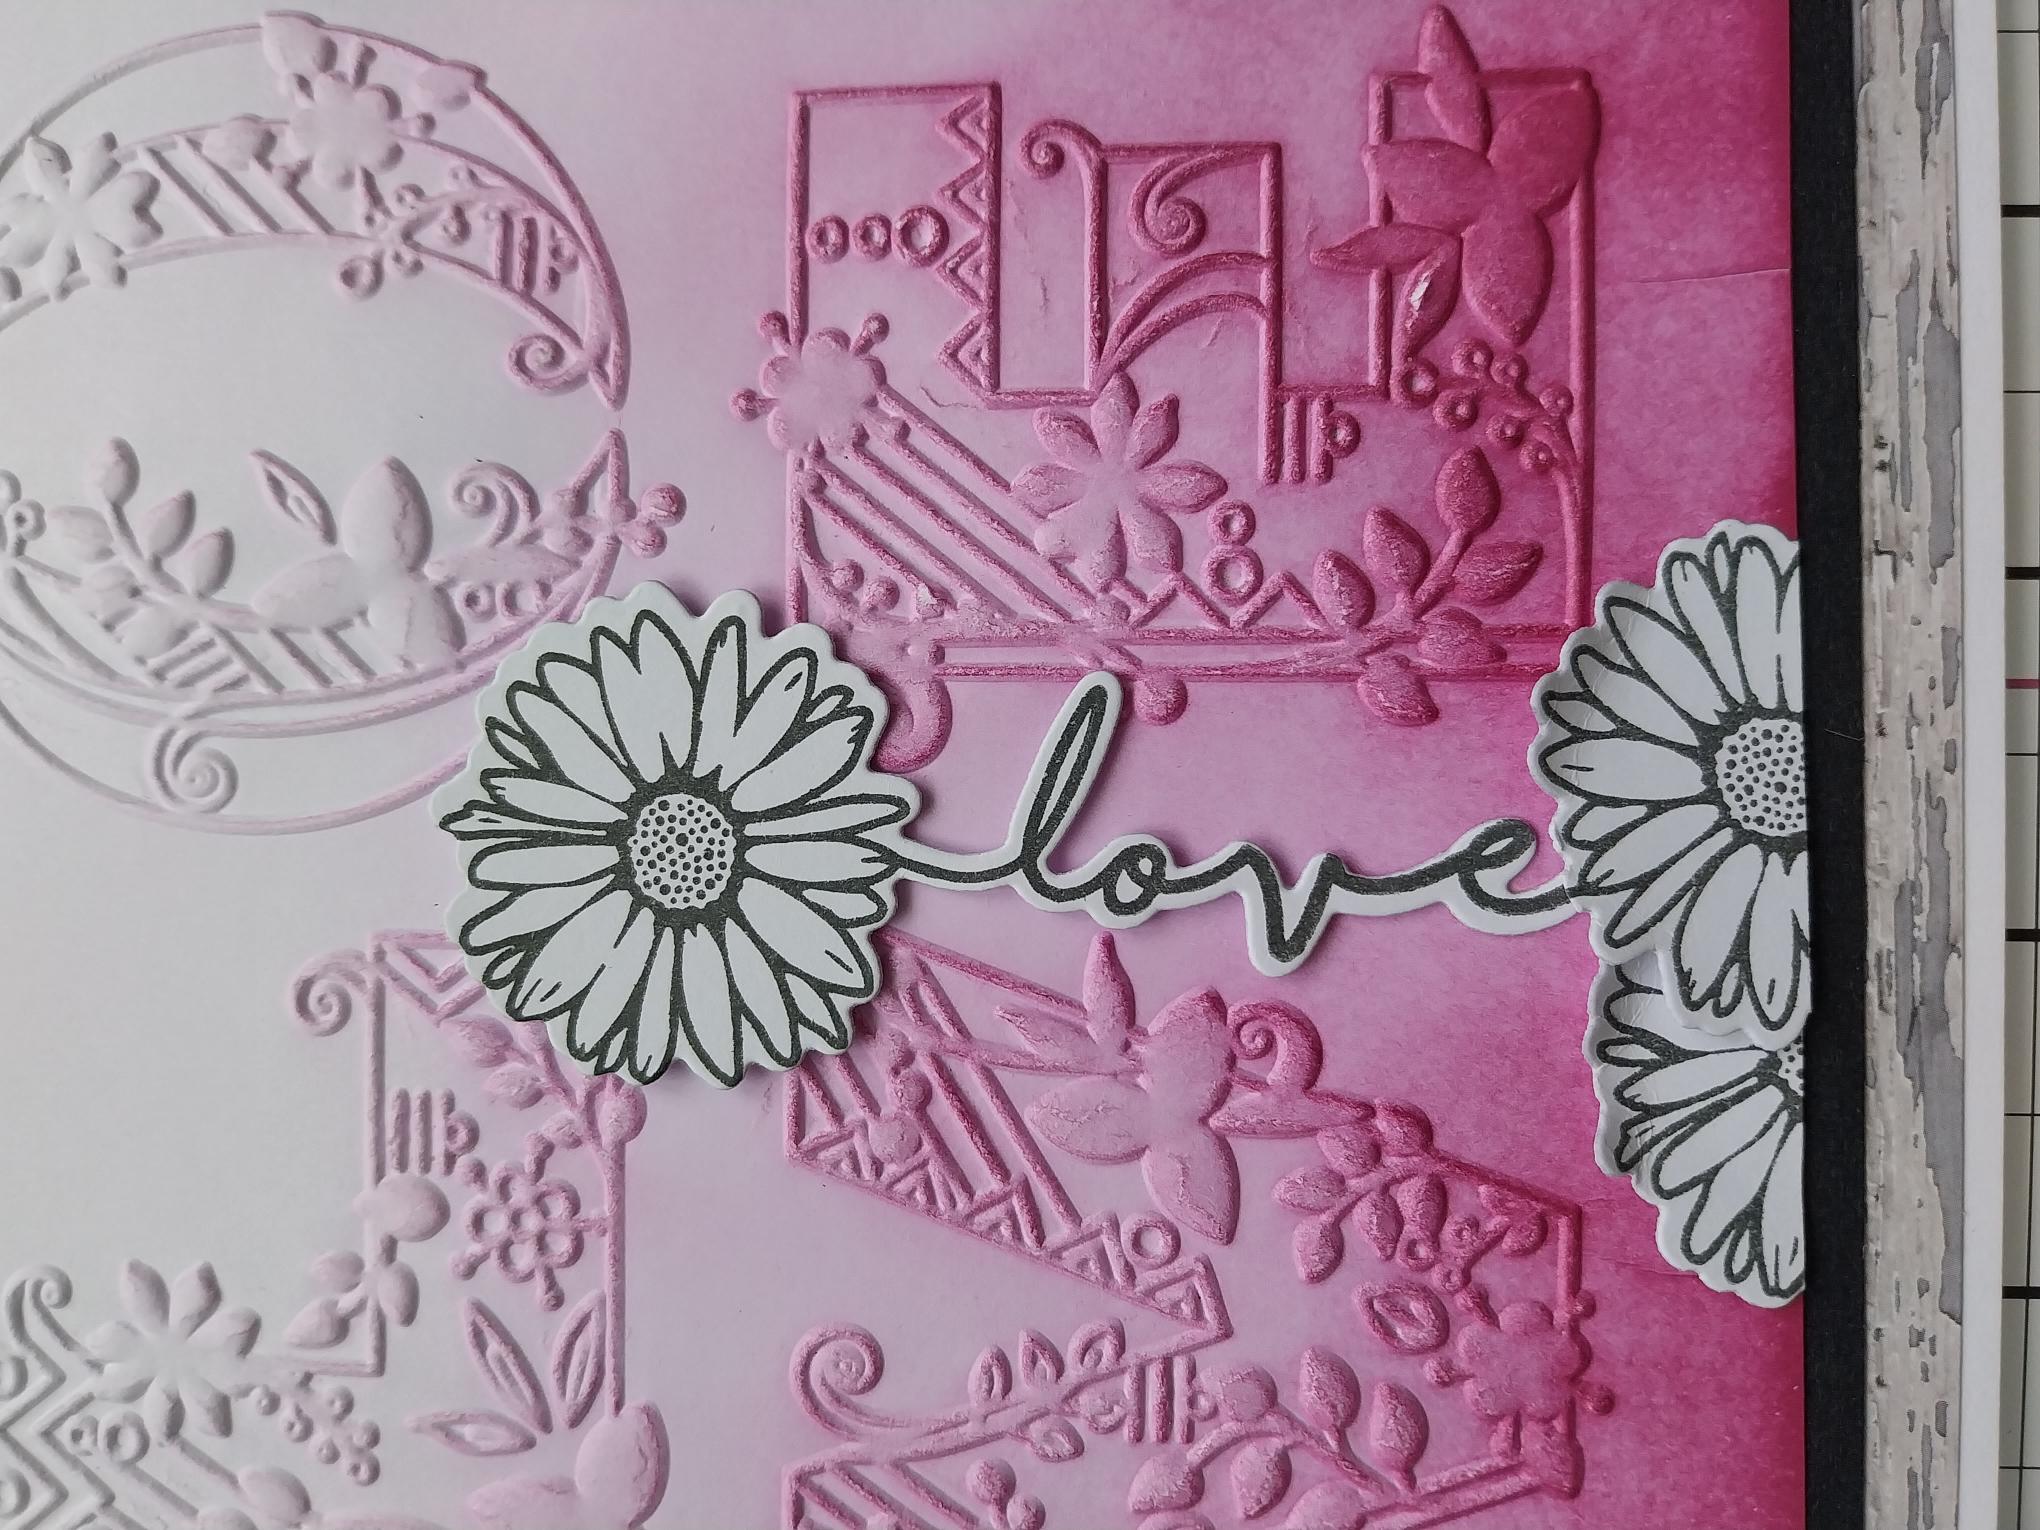
Stamp TWO Love Daisies, from the Faith Stamp and Die set, in the Midnight ink on to white card. Use the coordinating die to cut them out, then snip off ONE of the Daisy heads. |
|
Adhere the Love Daisy down the centre of the LOVE folder. Cut the other Daisy head in two and adhere at the base of the focal Daisy. |

|
Use your black fine line pen to add accents to the LOVE letters, as required. |
|
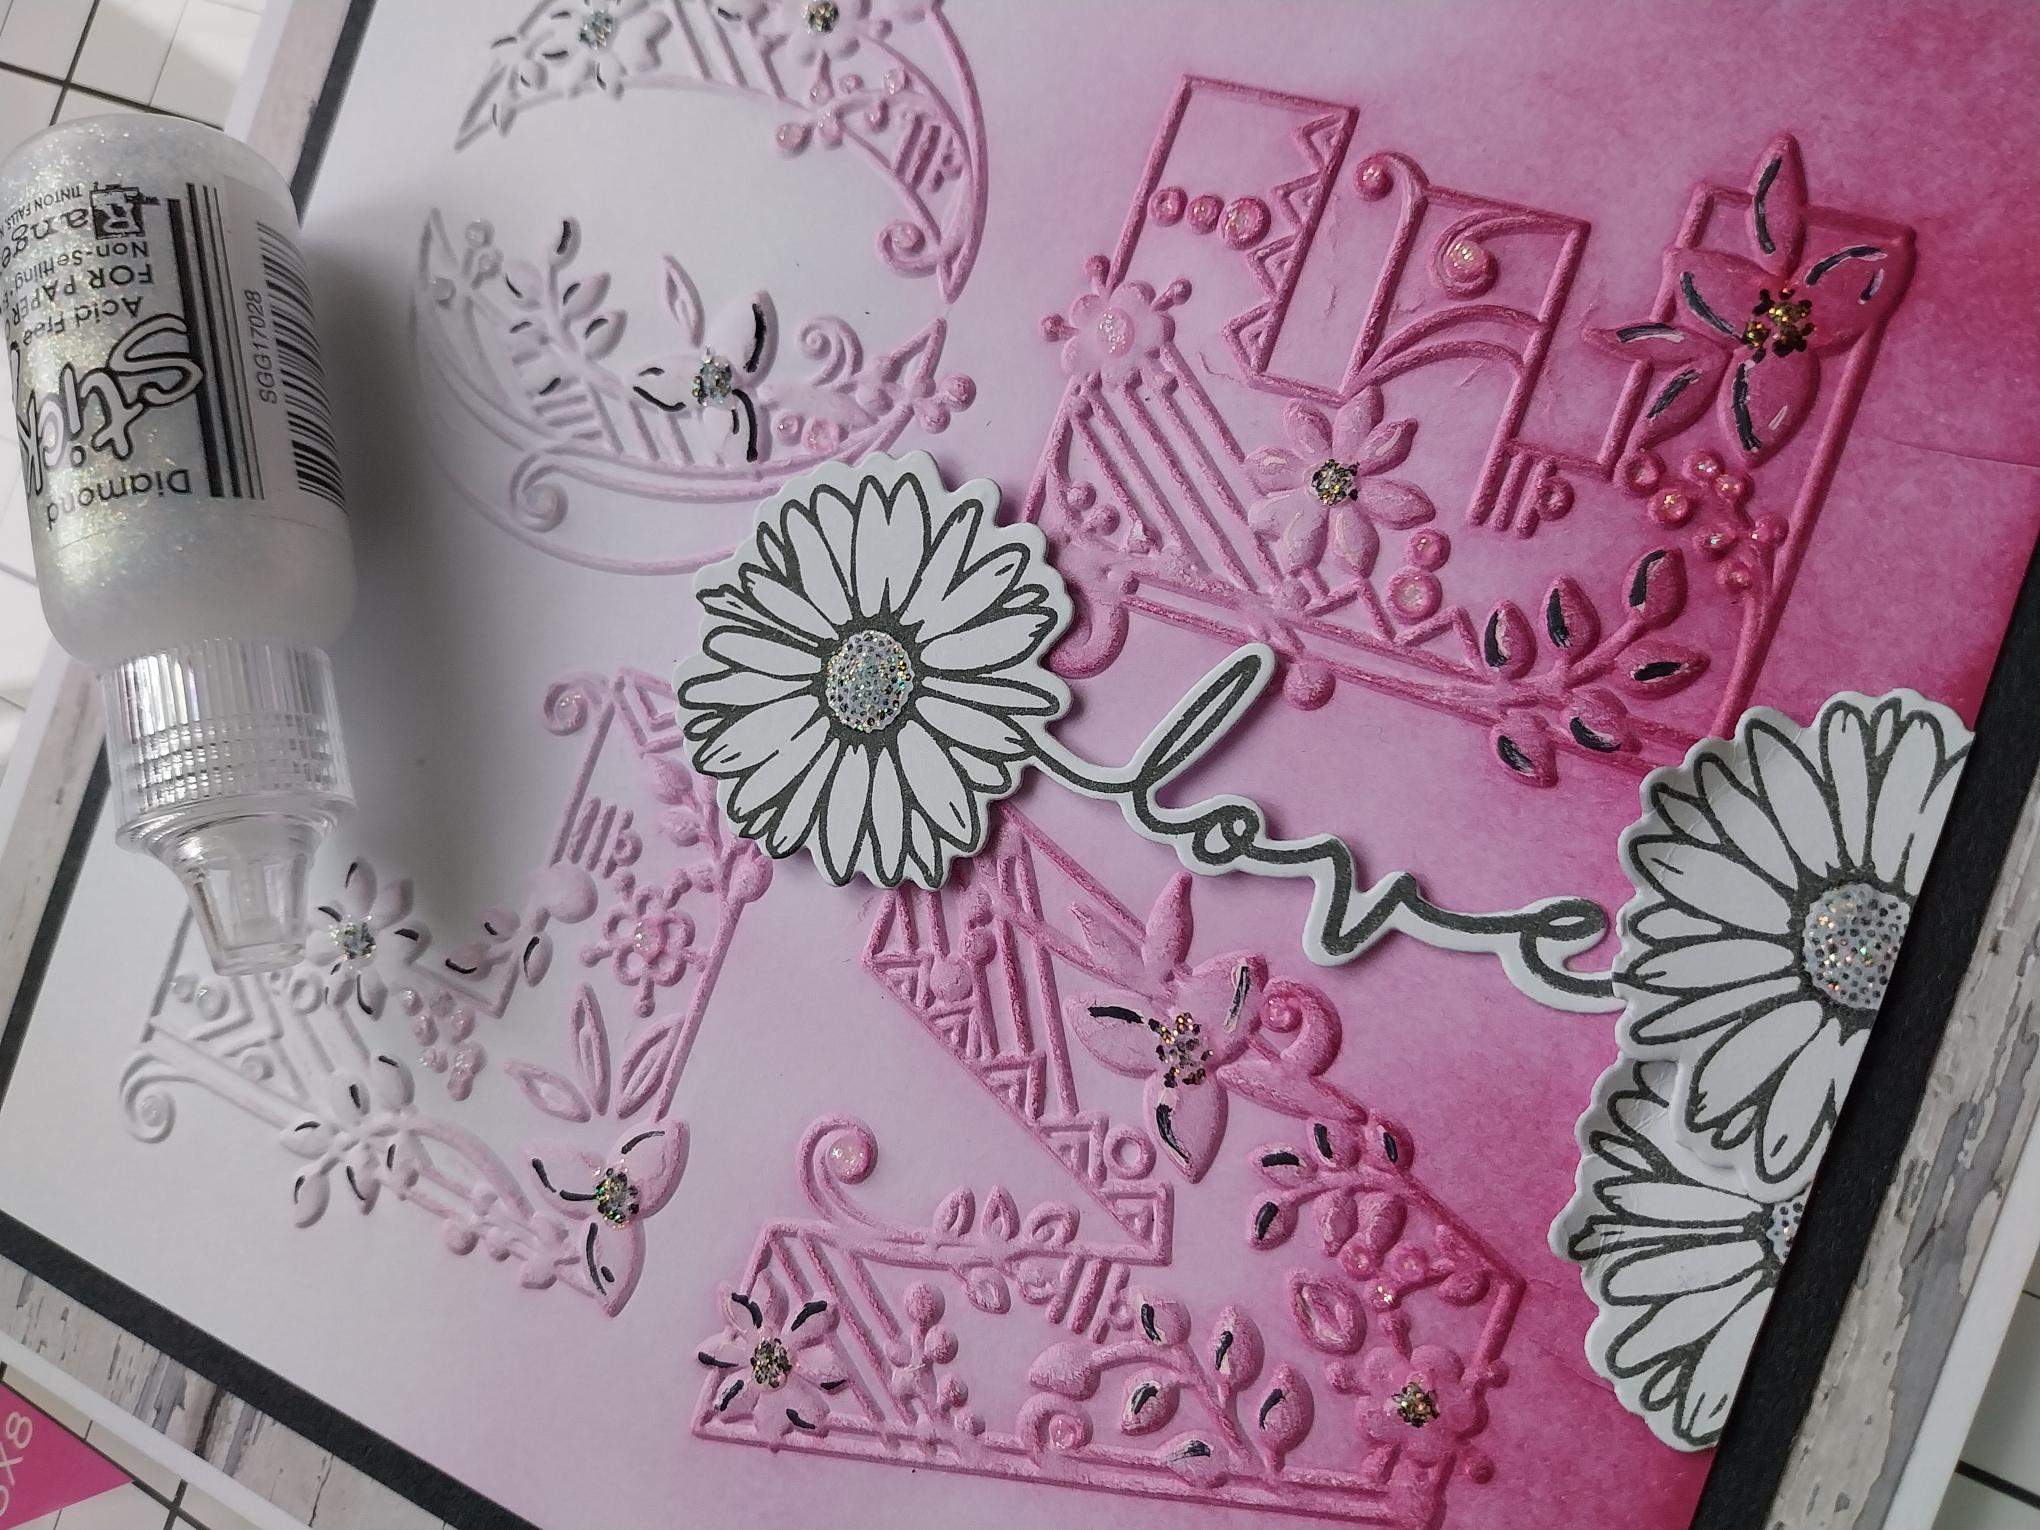
Finish by using your Stickles to add a touch of sparkle to the centres of the Daisies. |