Give your friends $10 off their first order!
Refer a FRIEND


WHAT YOU WILL NEED:
Pink card blank 8 1/4 x 5 3/4"
Black/white card
Vellum
Romance A5 Stamp and Die
Thankful For You Lamination
Happy Haunting 5 x 7 Paper Pack
SBM Hybrid Ink Pad: Midnight
SBM Premium Pigment Ink Pad: Cotton
Blending brush
Circle mask
Pearlywinks Pearl Mist Spray: Iced Teal
Paint brush
WOW Embossing ink pad
WOW white embossing powder
Anti-static bag
Stickles: Star Dust
Eureka 101 Watercolour Tablet
SBM A3 Magnetic glass mat
Paper Trimmer
Glue, foam pads
Die Cutting machine
[click image to enlarge] 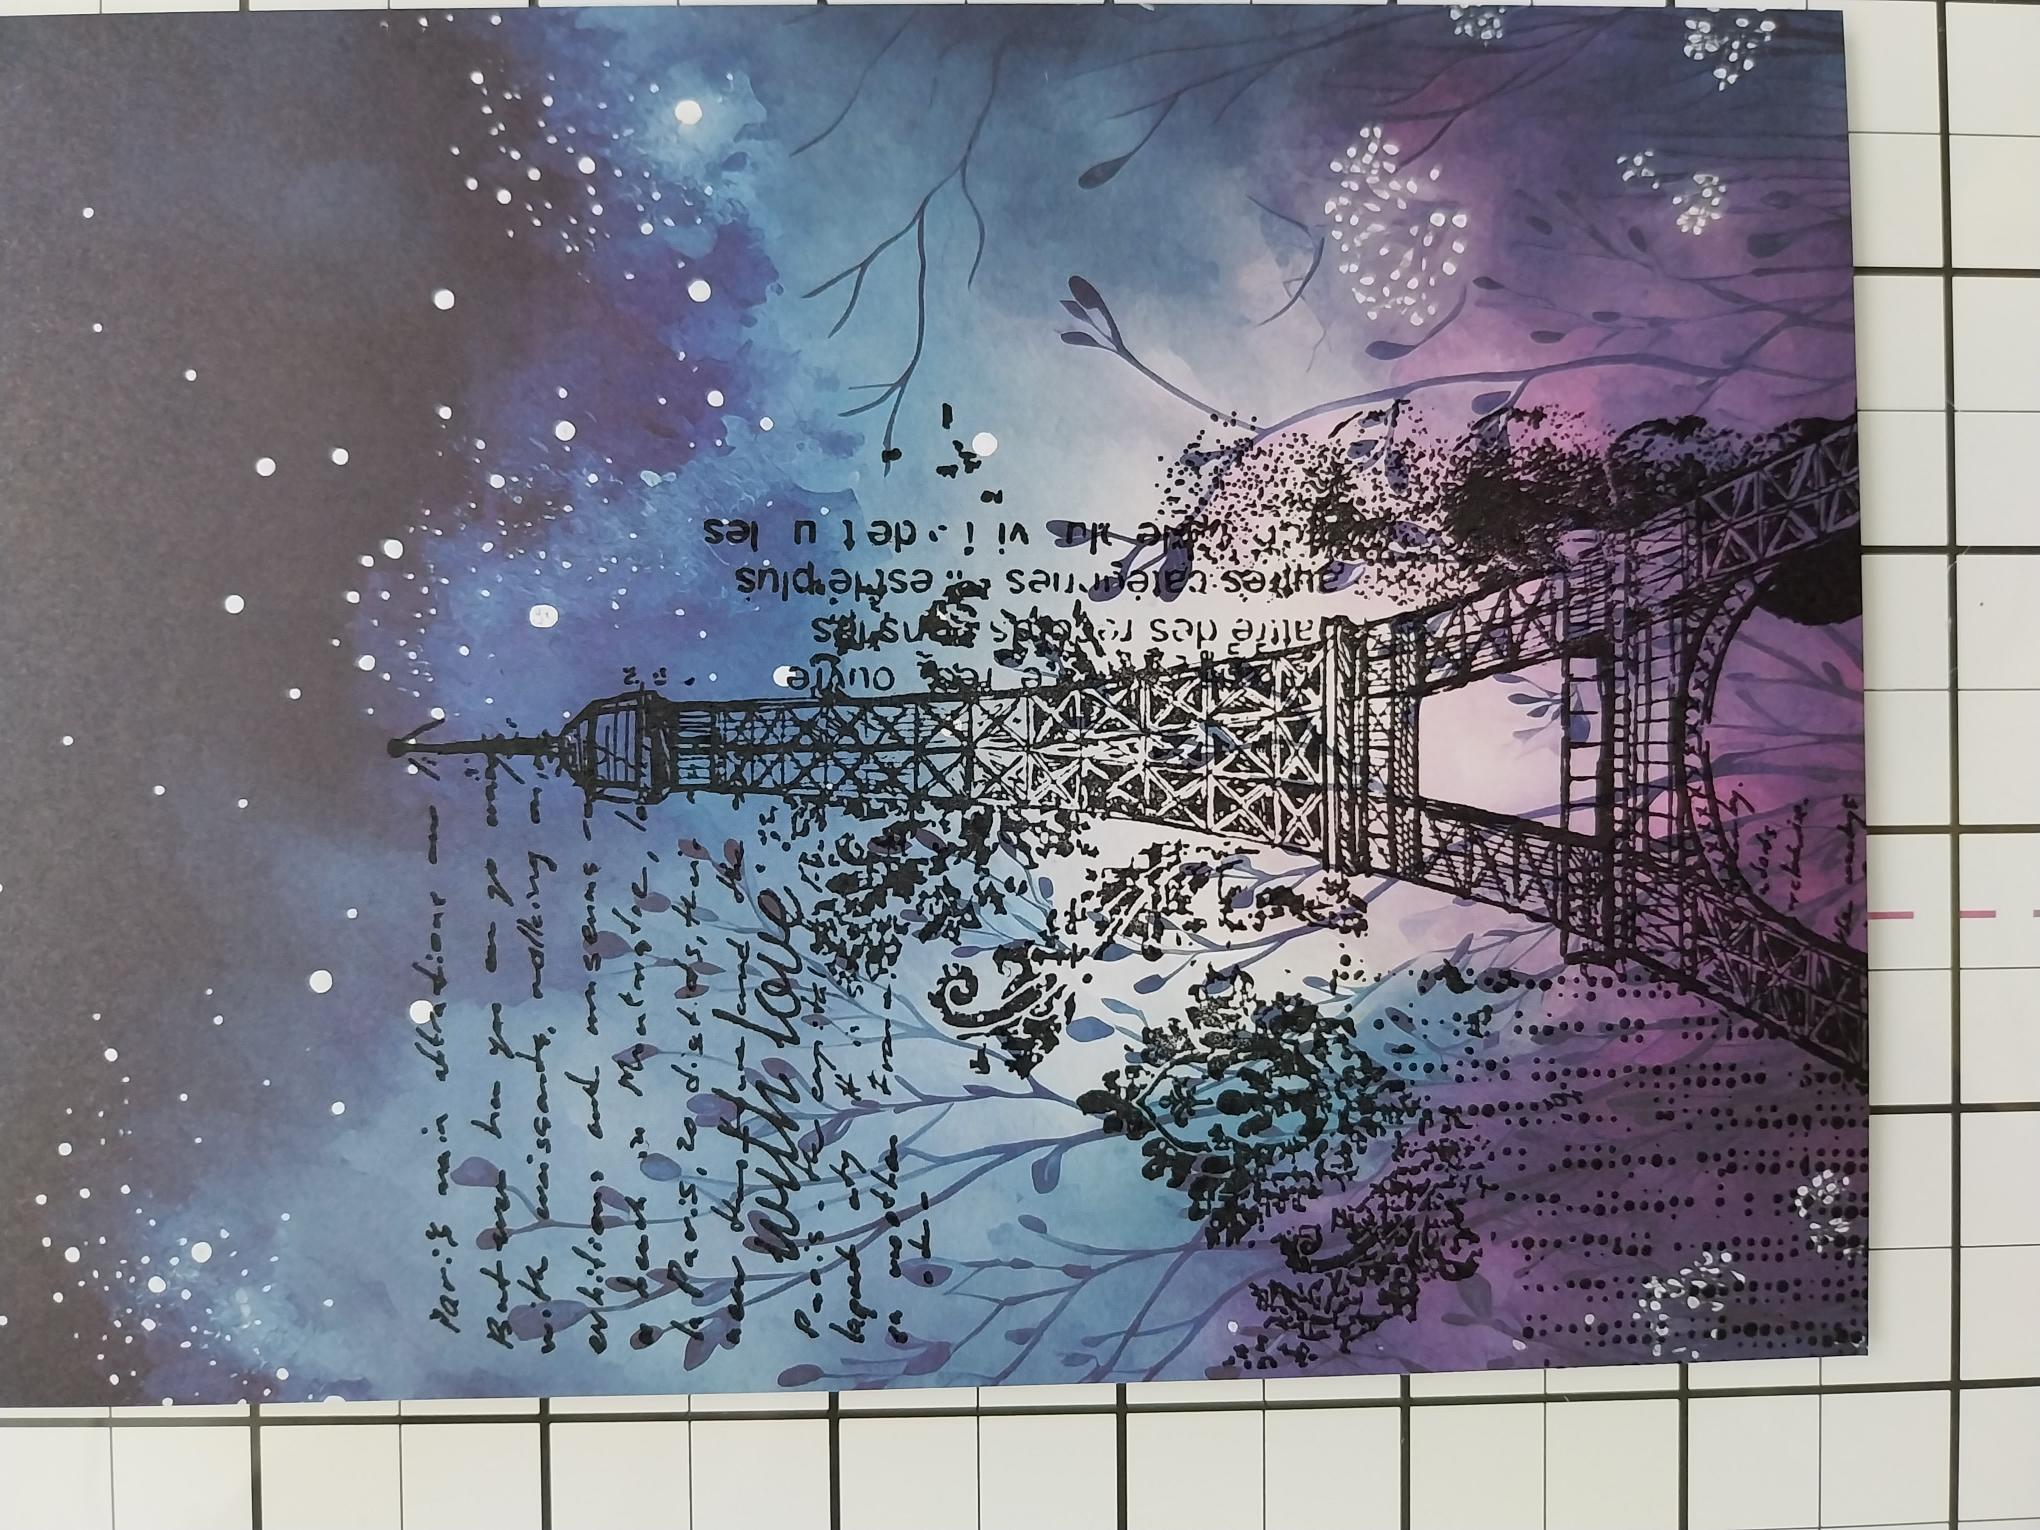
|
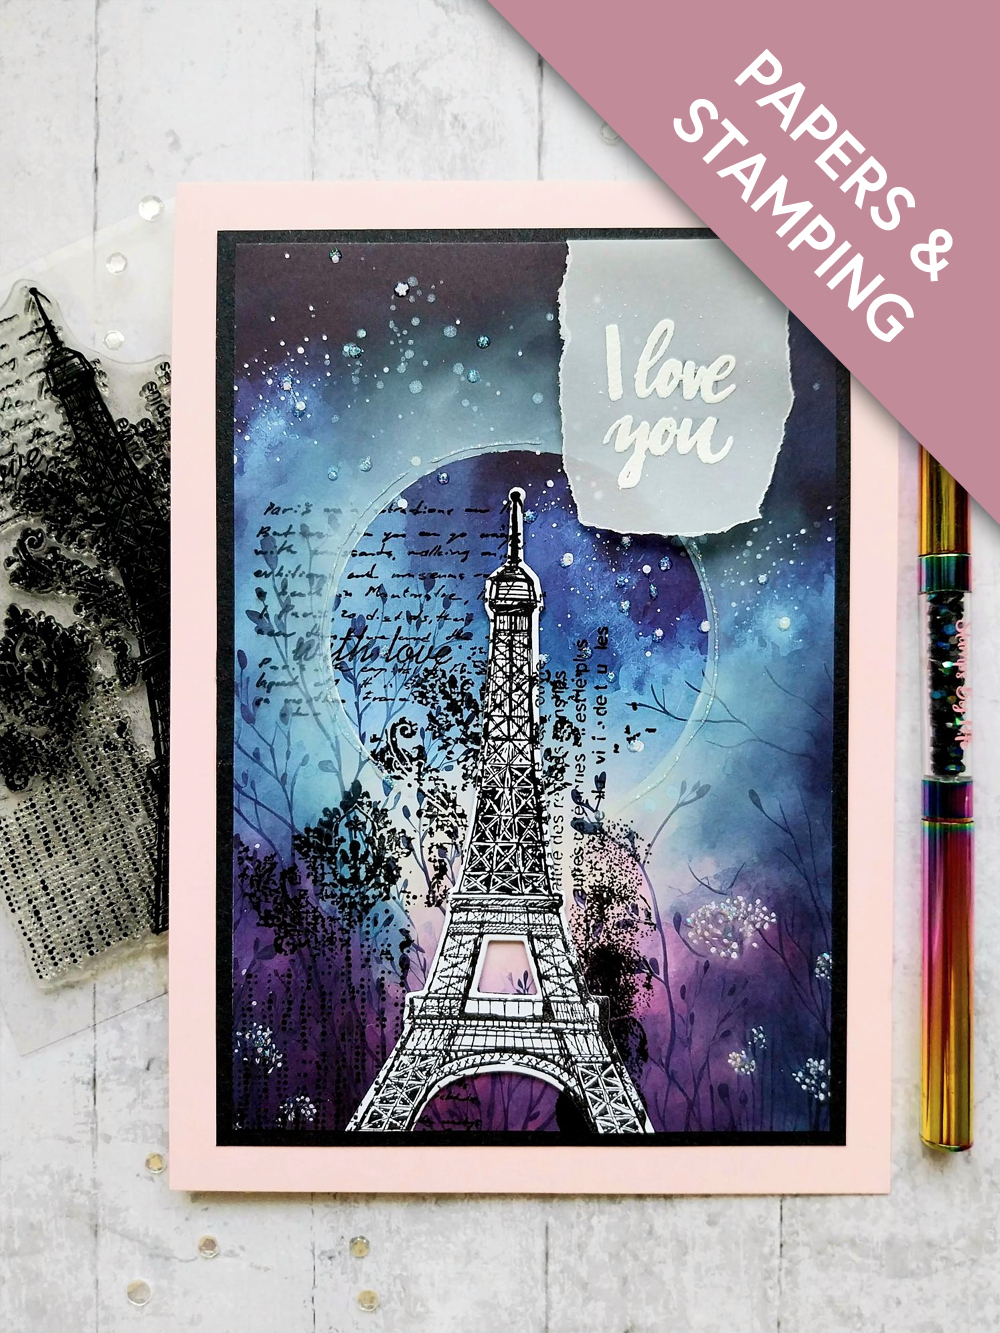
Trim this beautiful paper, from the Happy Haunting pack, to 7 x 4 3/4". Ink up the Romance collage stamp with the Midnight hybrid ink and stamp just off the bottom, left edge of the decorative paper. |
|
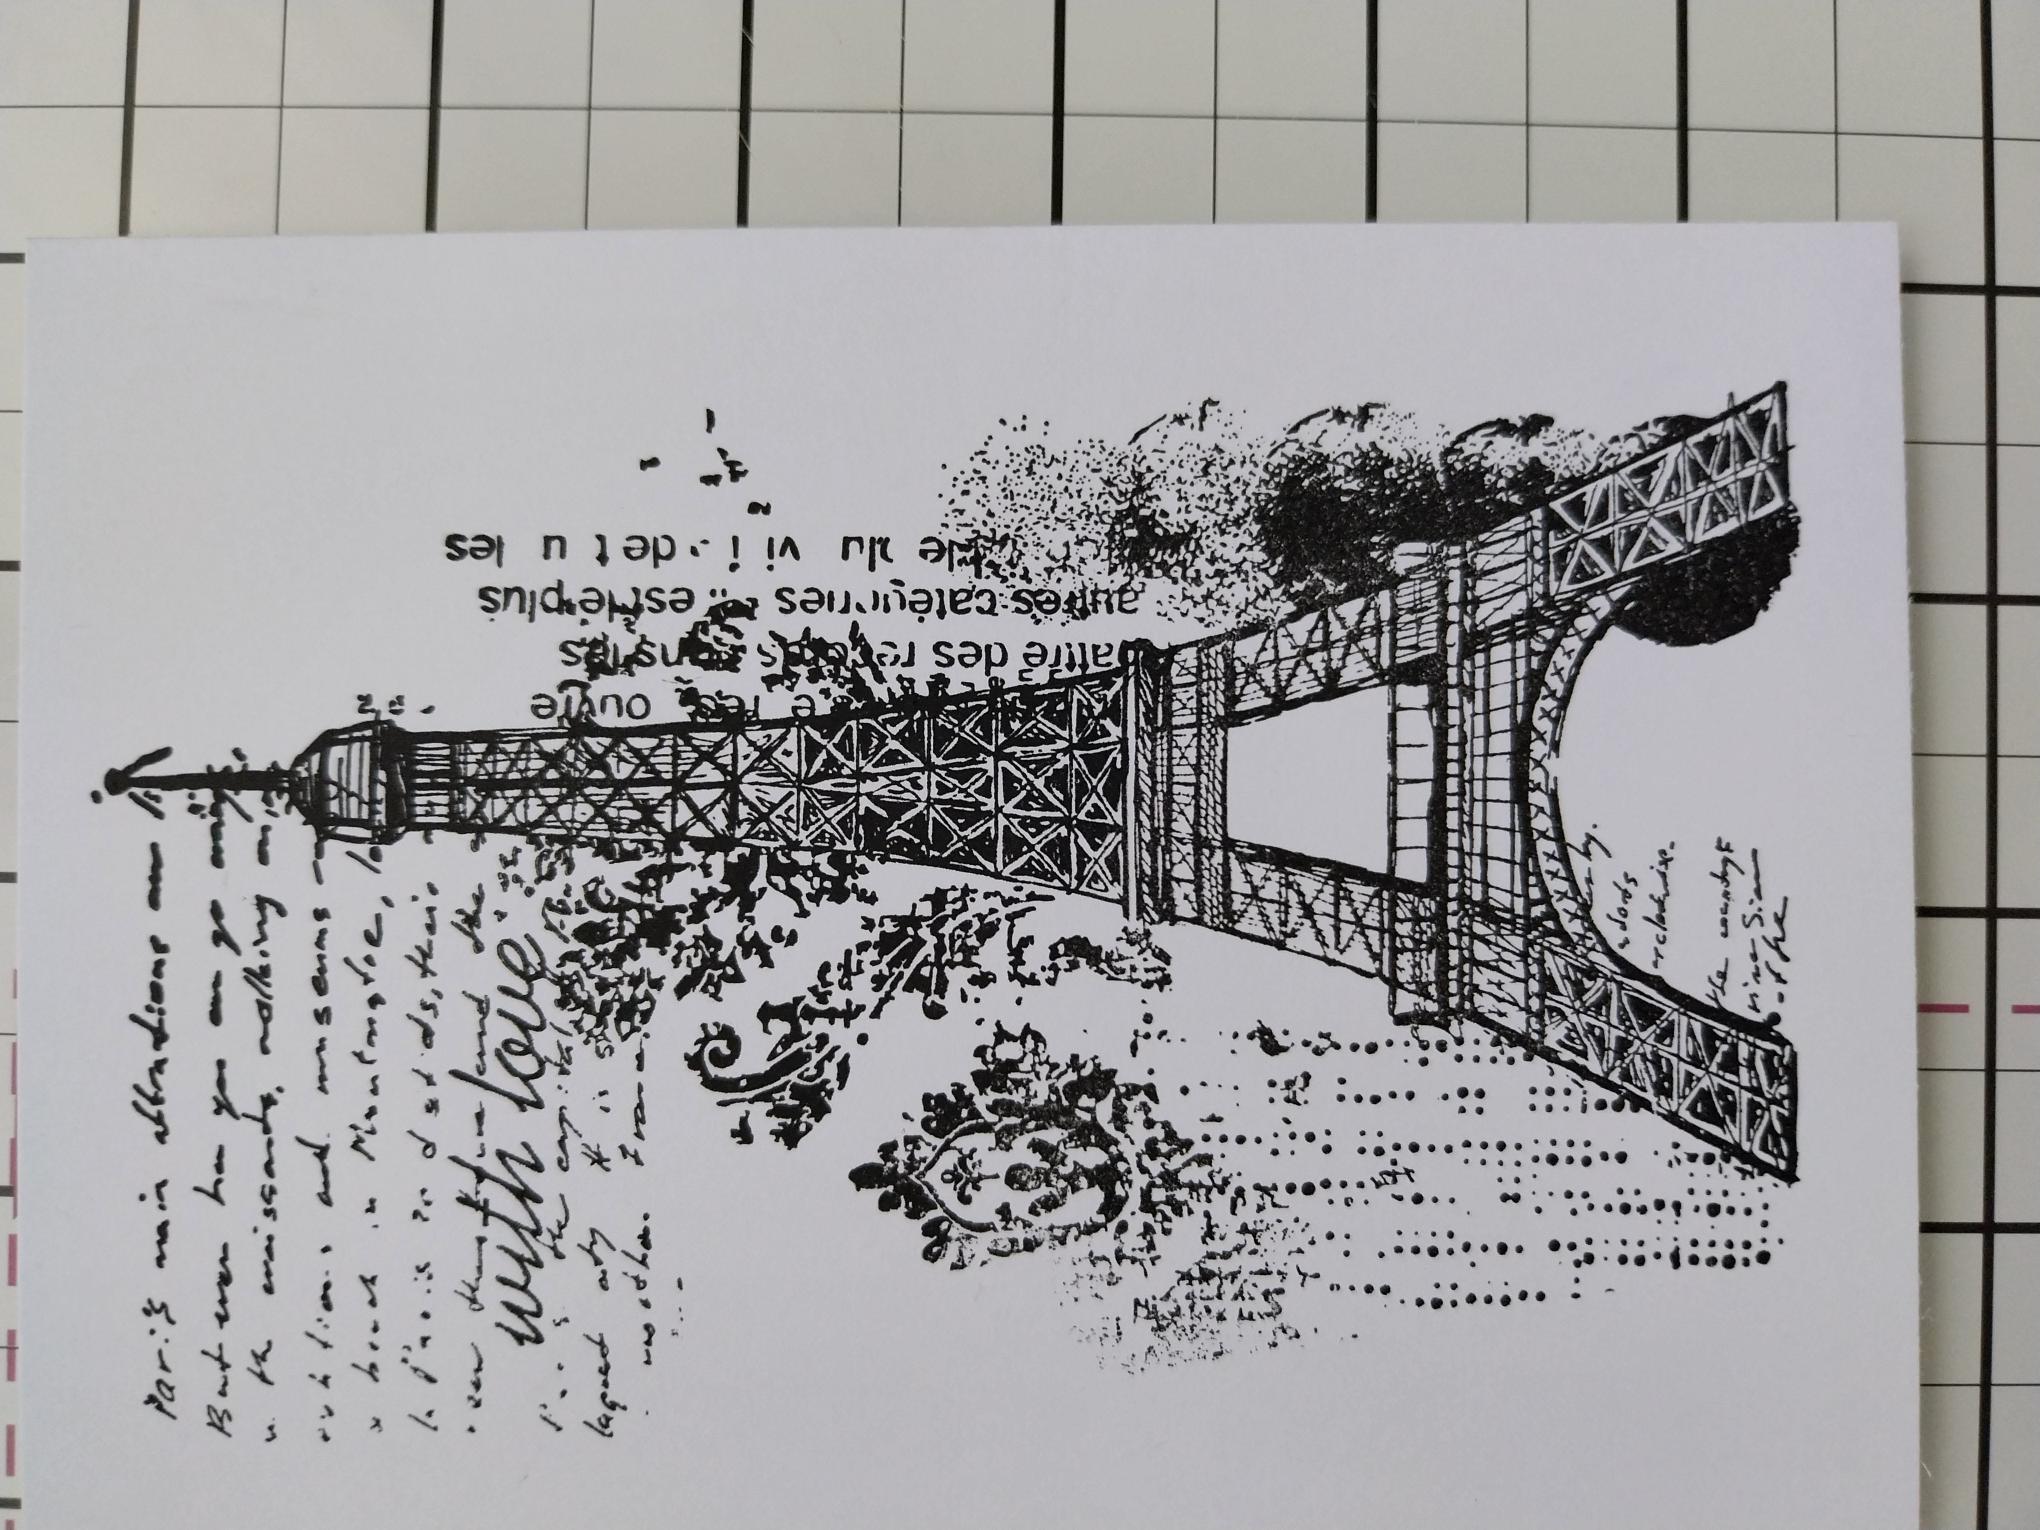
Re-ink and stamp again, on to a piece of white card. |
|
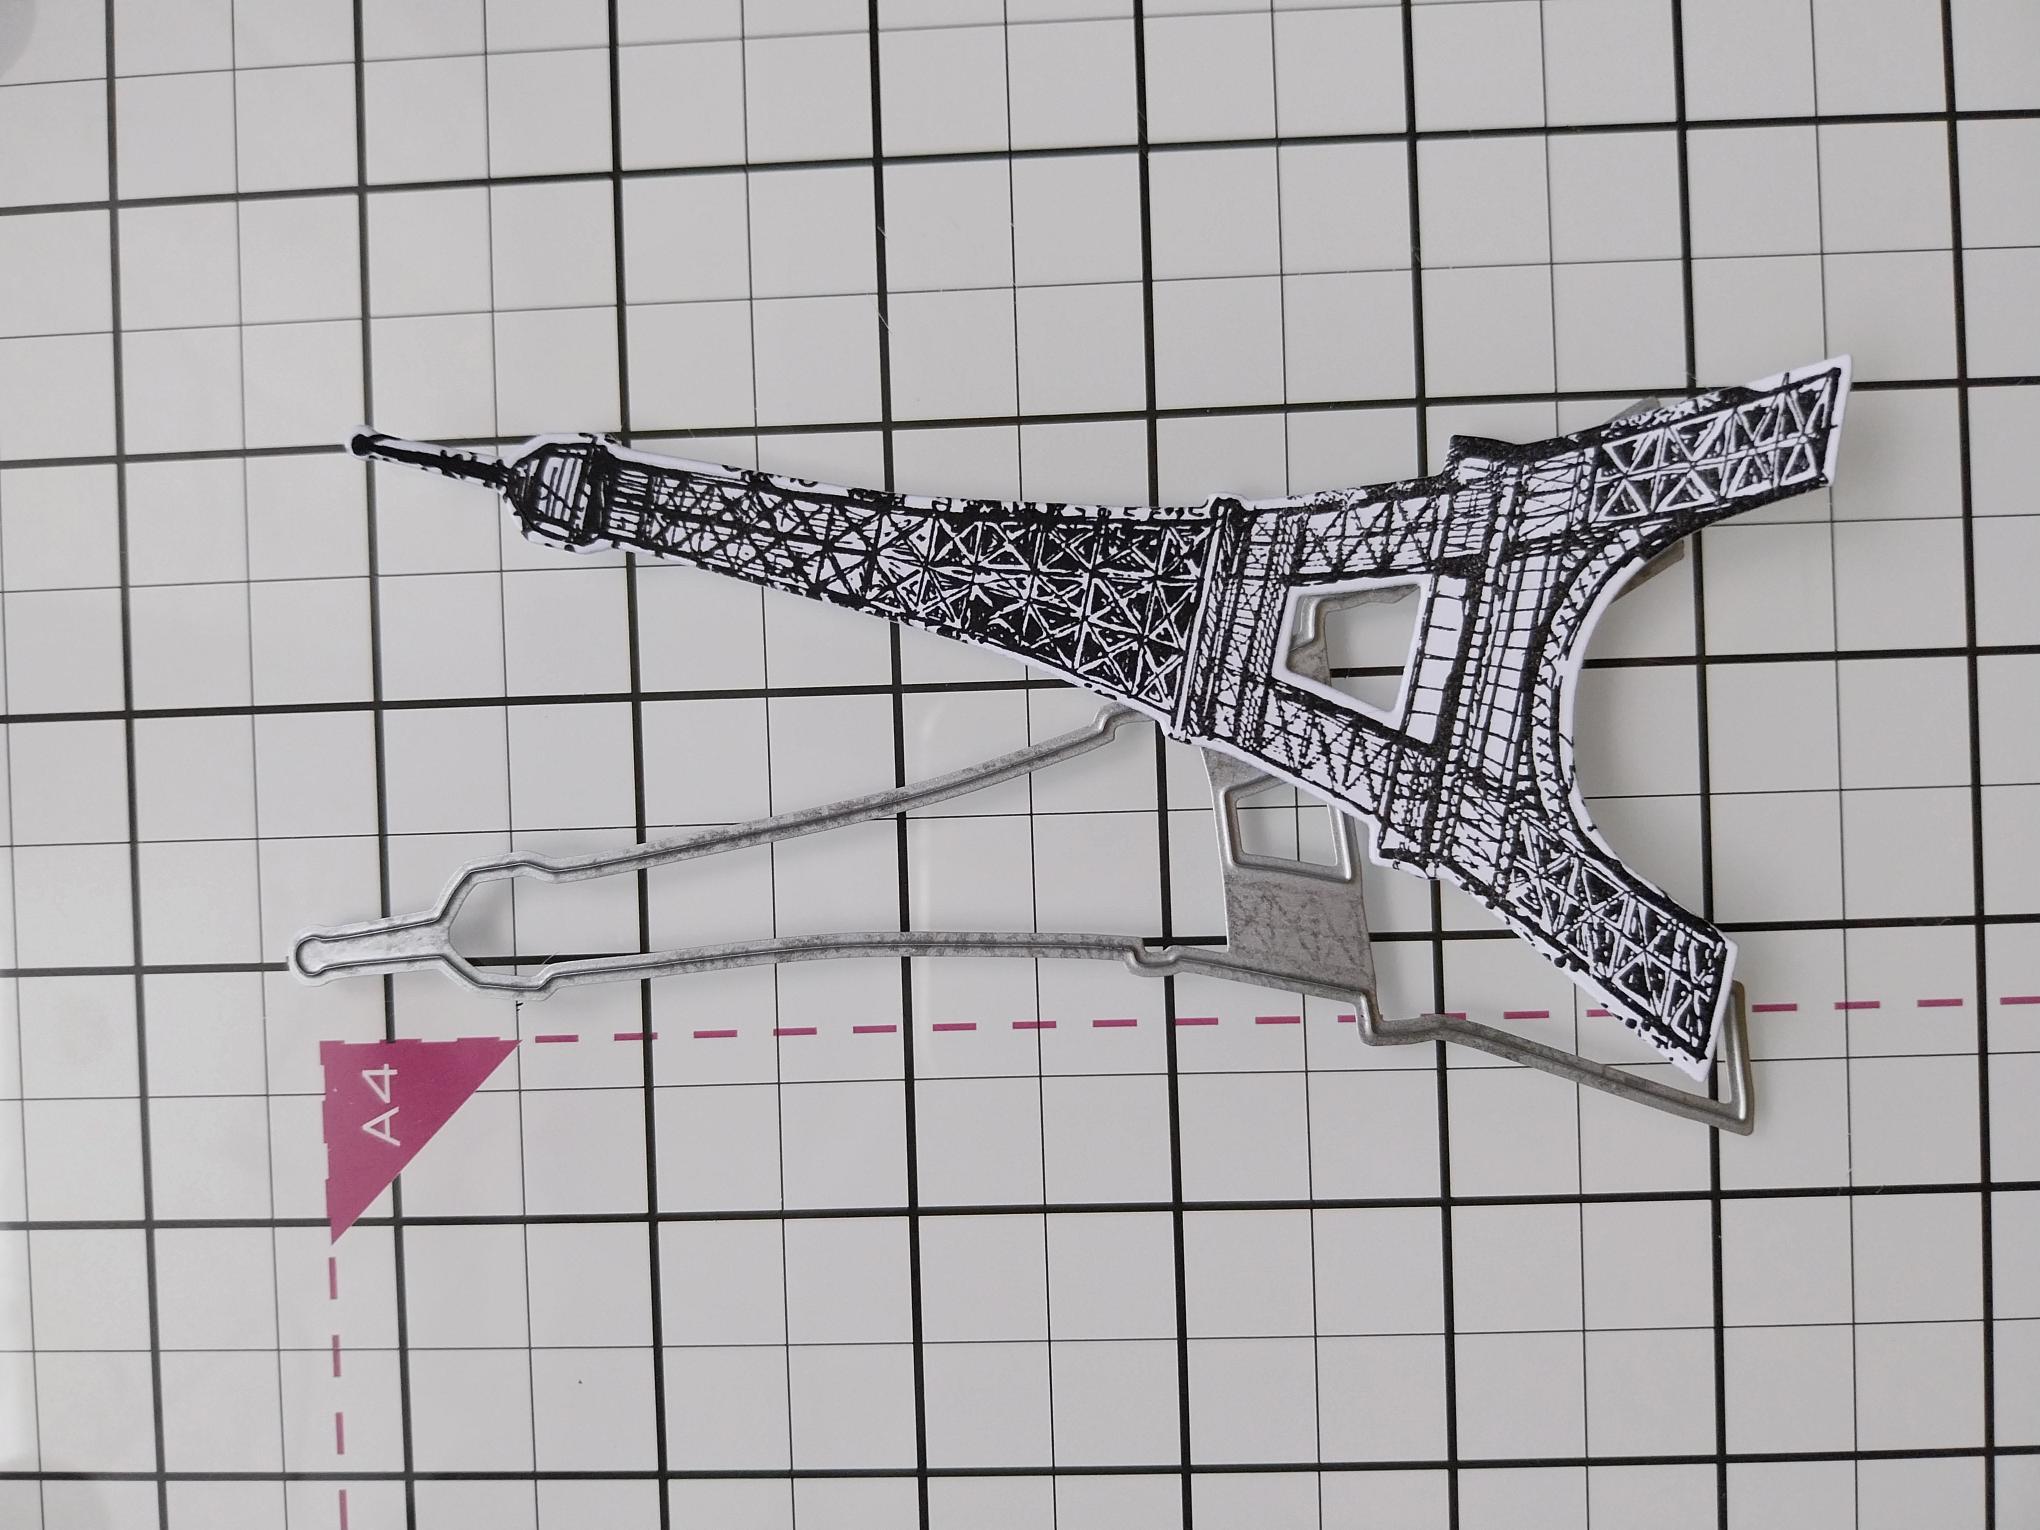
Die cut the tower, using the coordinating die. |
|
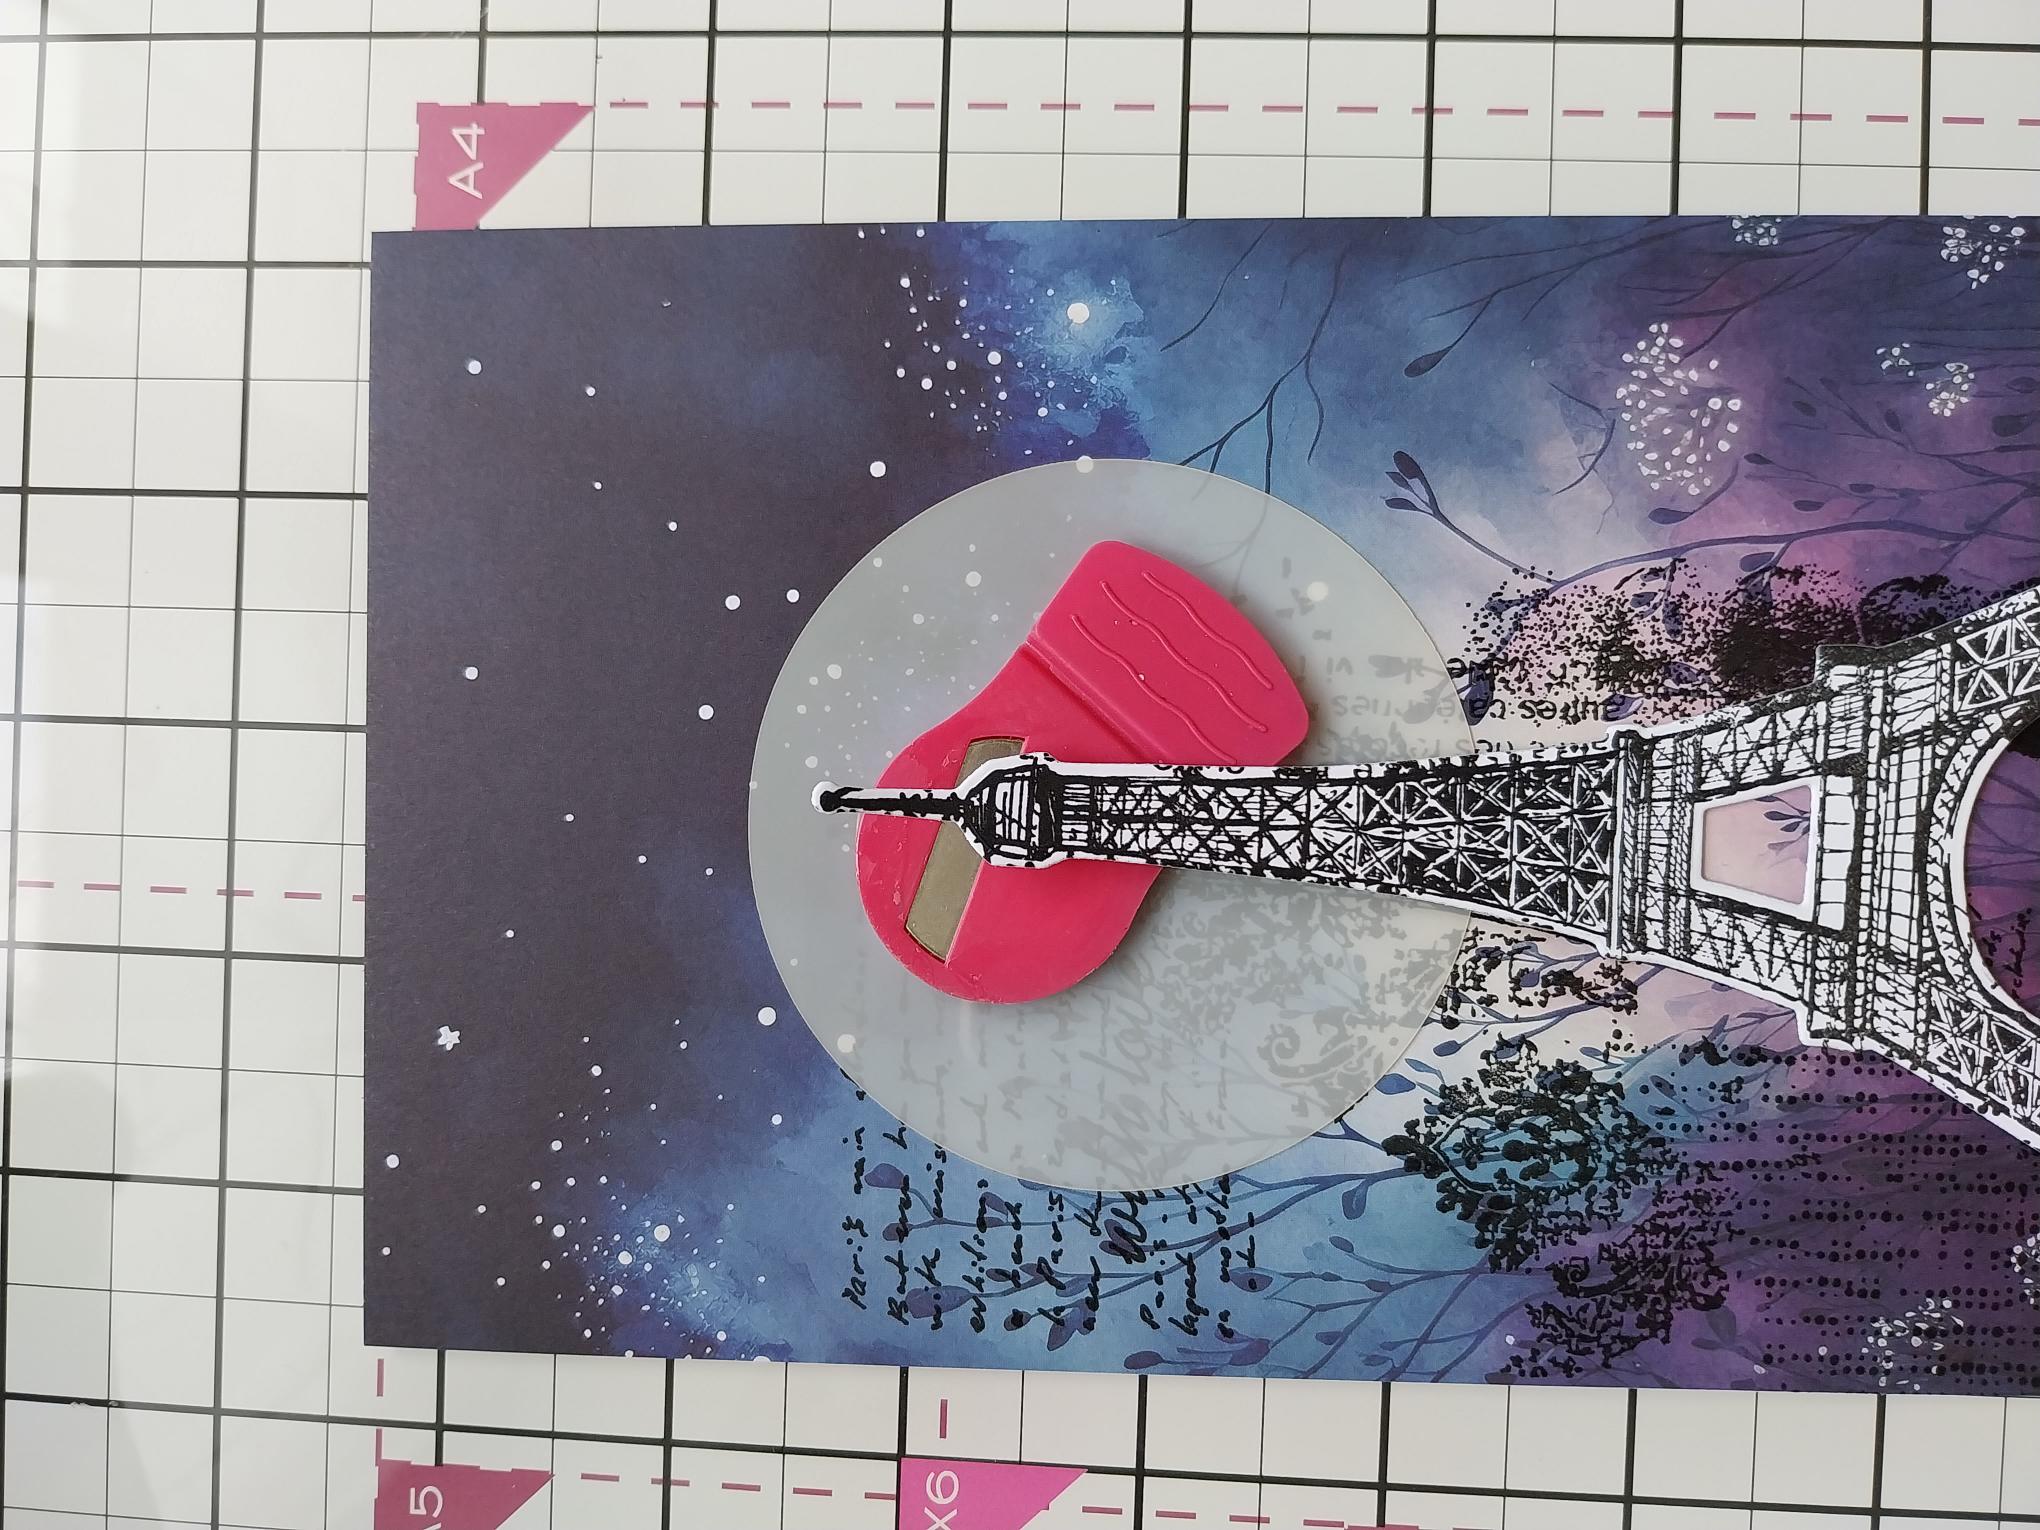
Using your die cut element as a positional guide, secure your circle "mask" in place so it will sit behind the top of the tower, as shown here. |
|
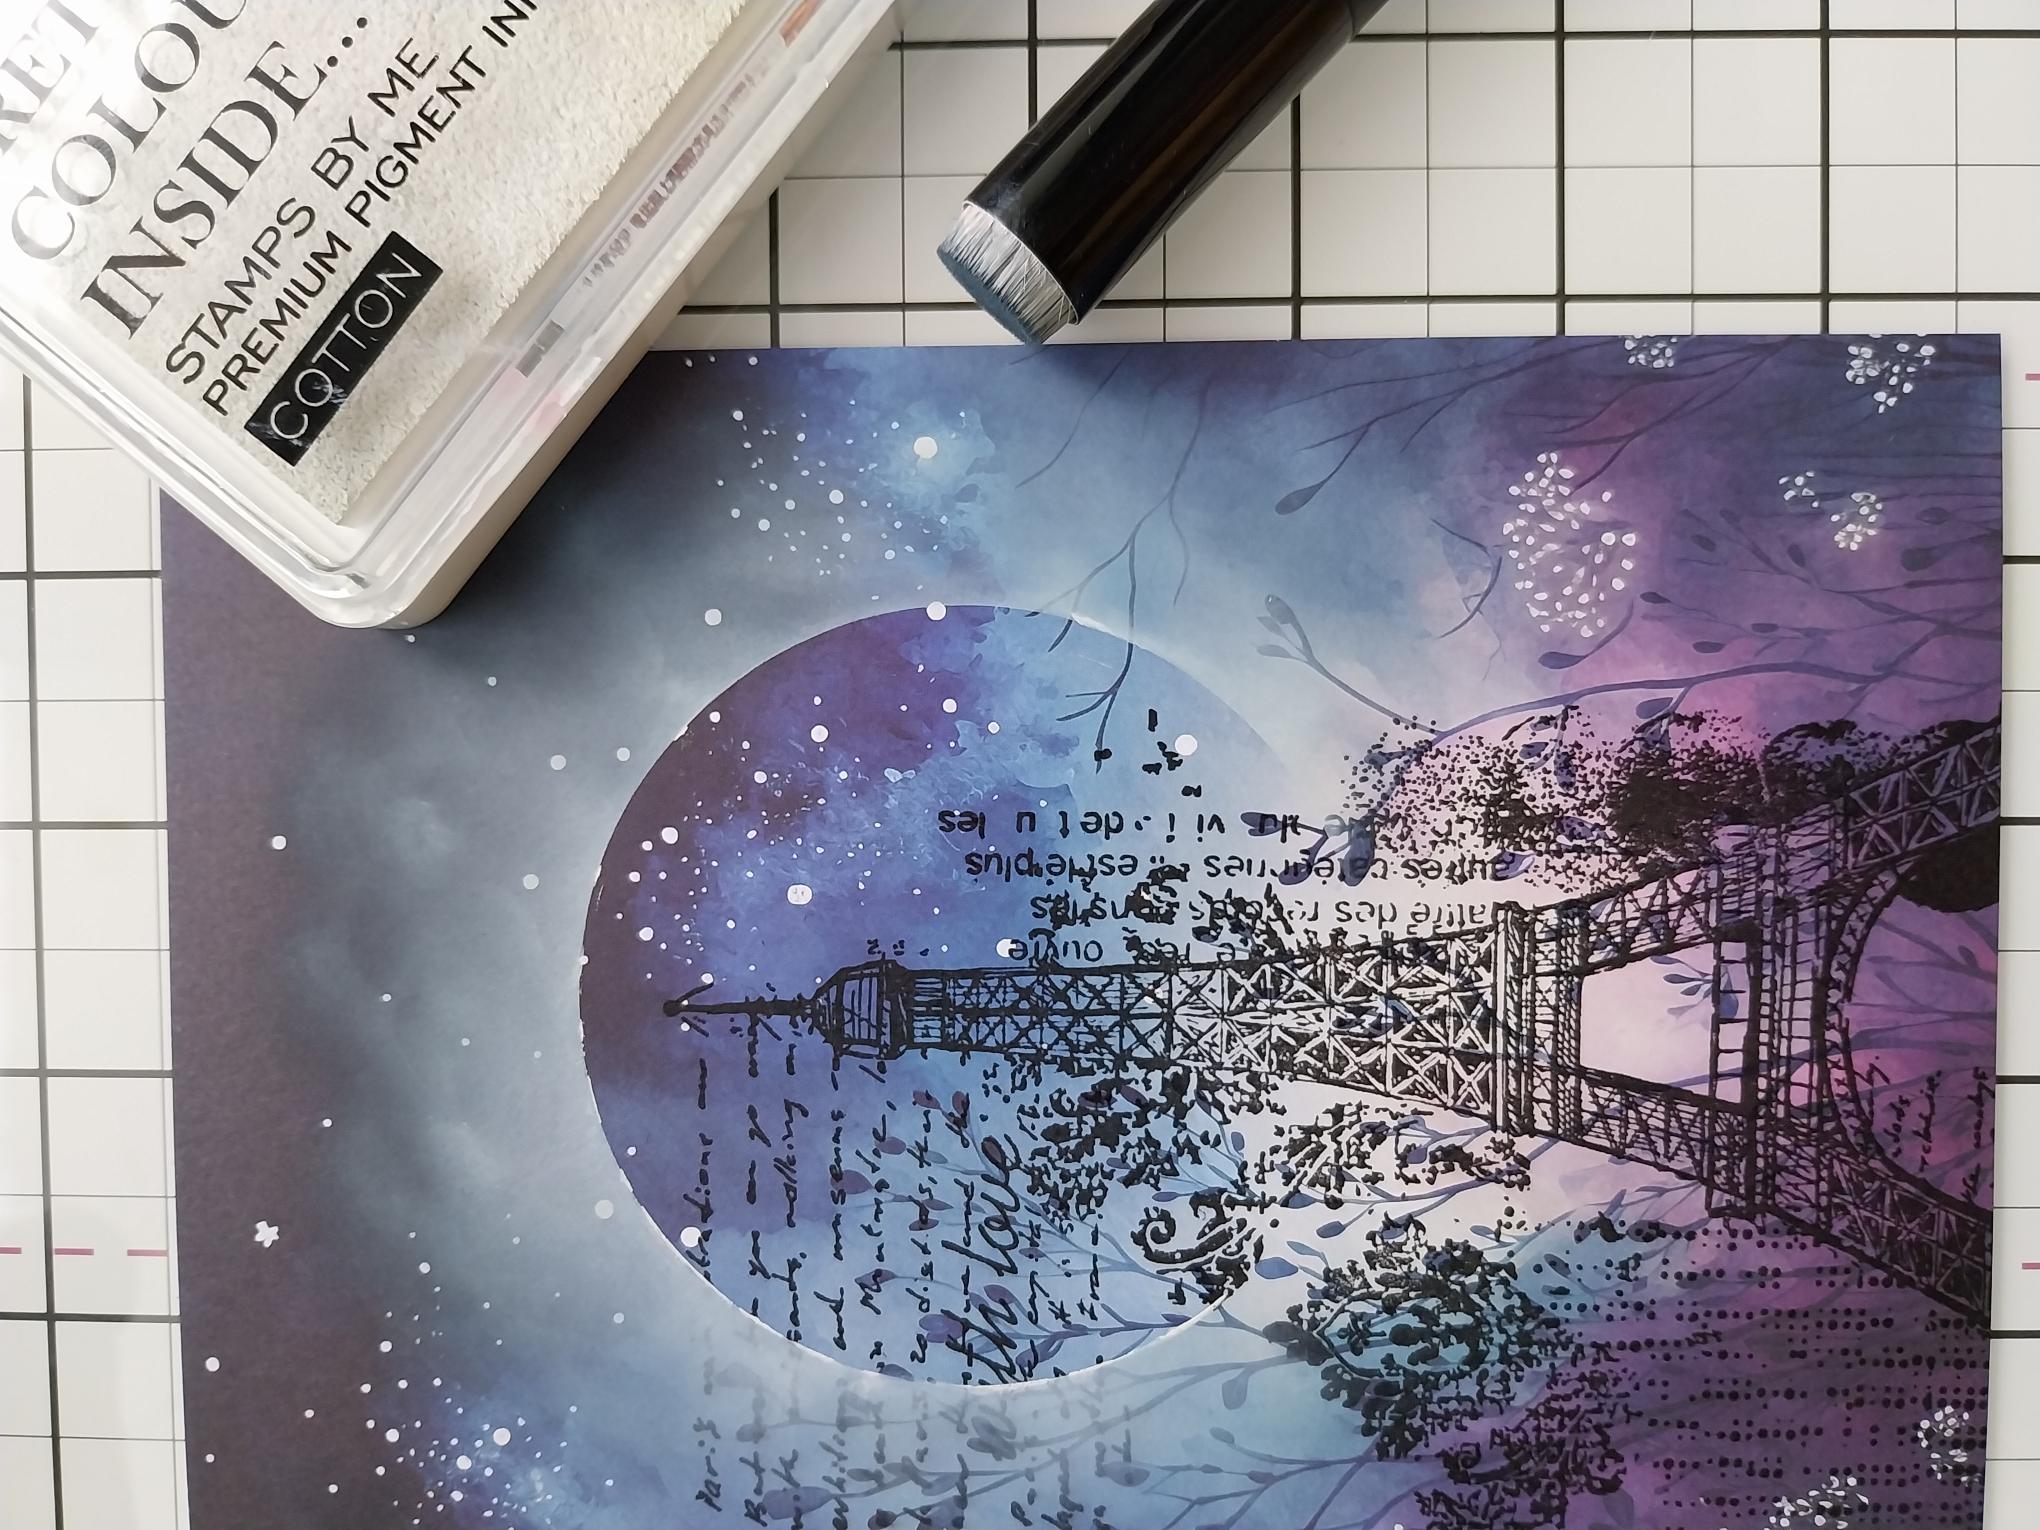
Use your blending brush to apply the Cotton ink, so it's coming out and fading away, from the "mask". |
|
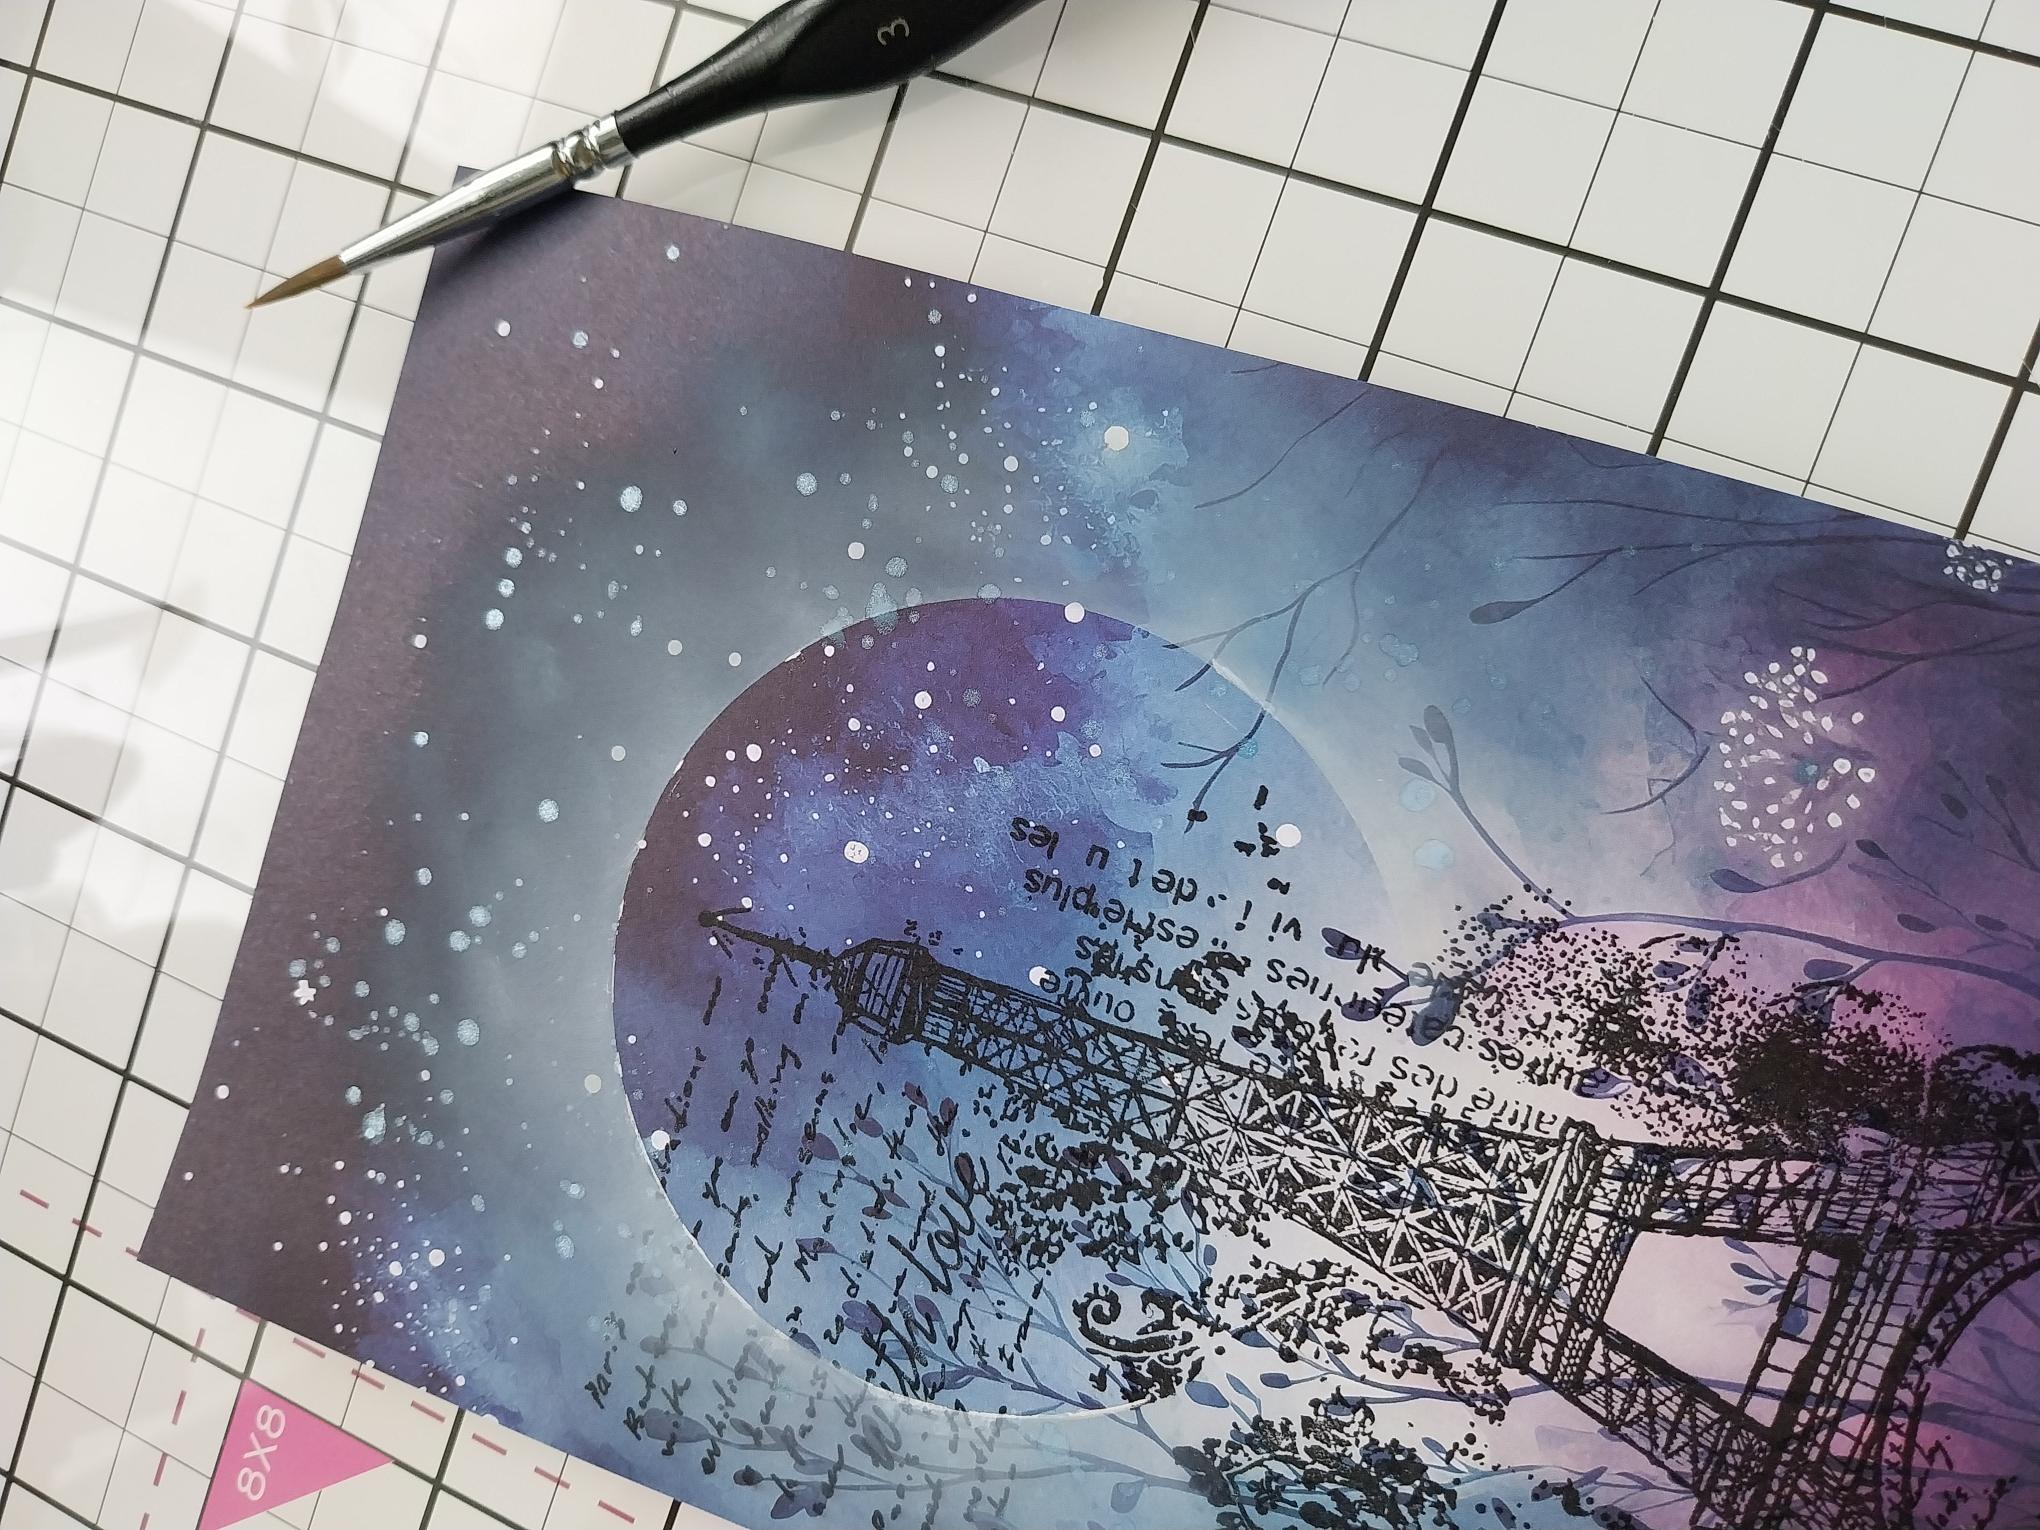
Use a paint brush to splatter the Pearlywinks Pearl Mist over your artwork. NB: The Cotton pigment ink is slow drying and WILL smudge, so give it a blast with your heat tool to speed up the drying time! |
|
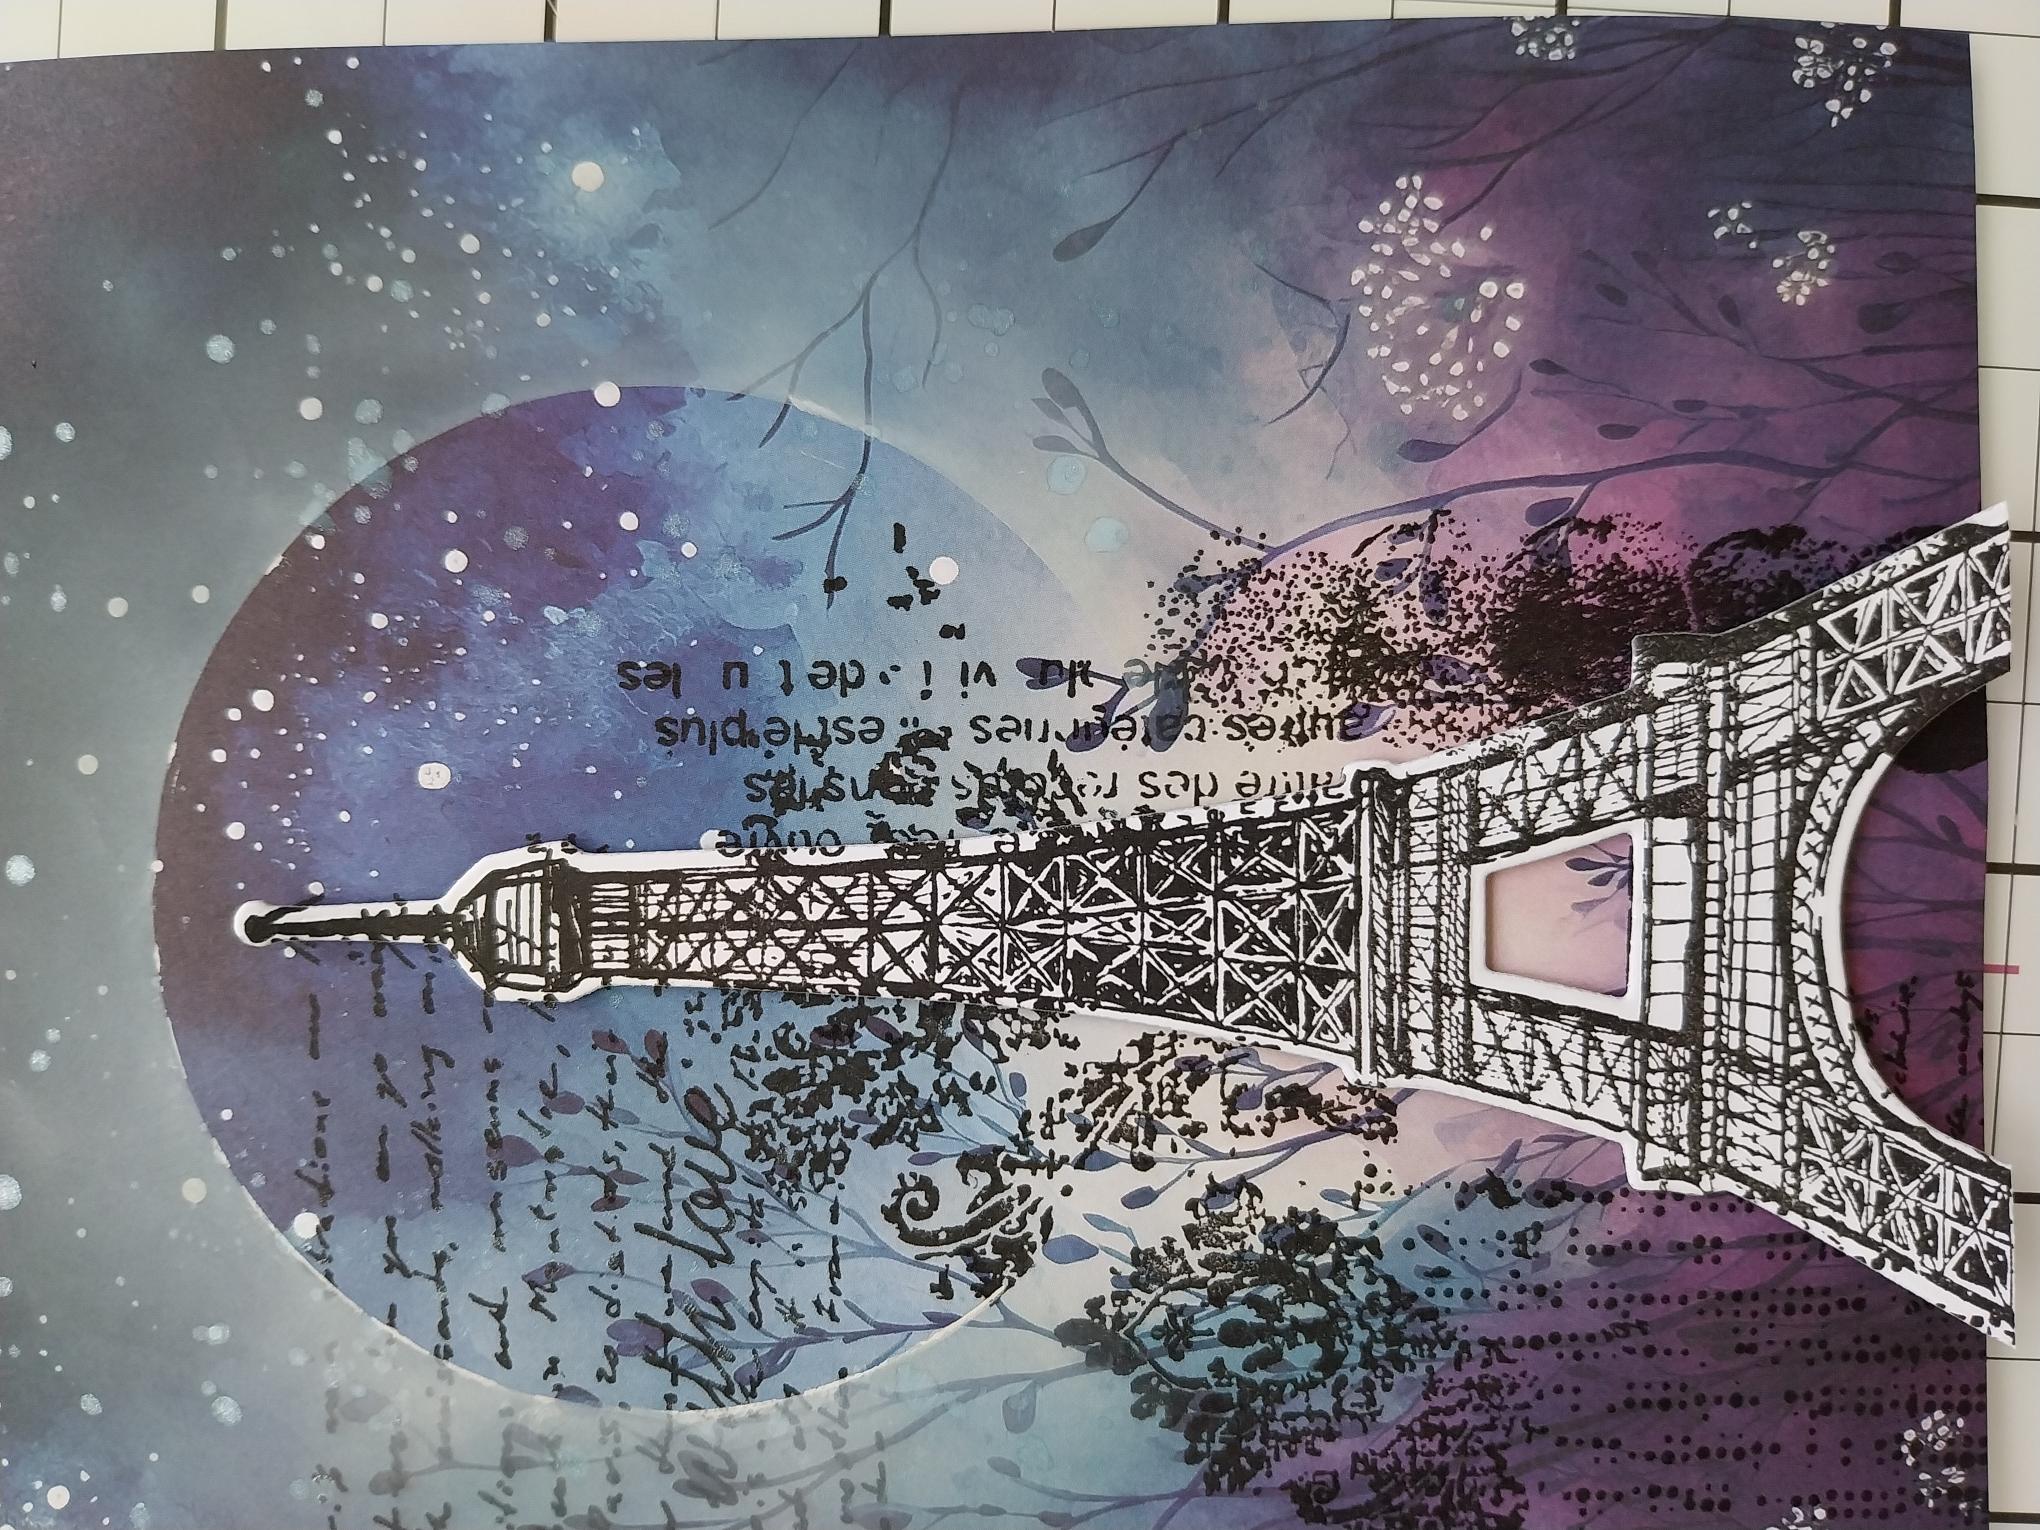
Use foam pads to adhere your die cut tower in place, trimming off any overhang you may have. |
|
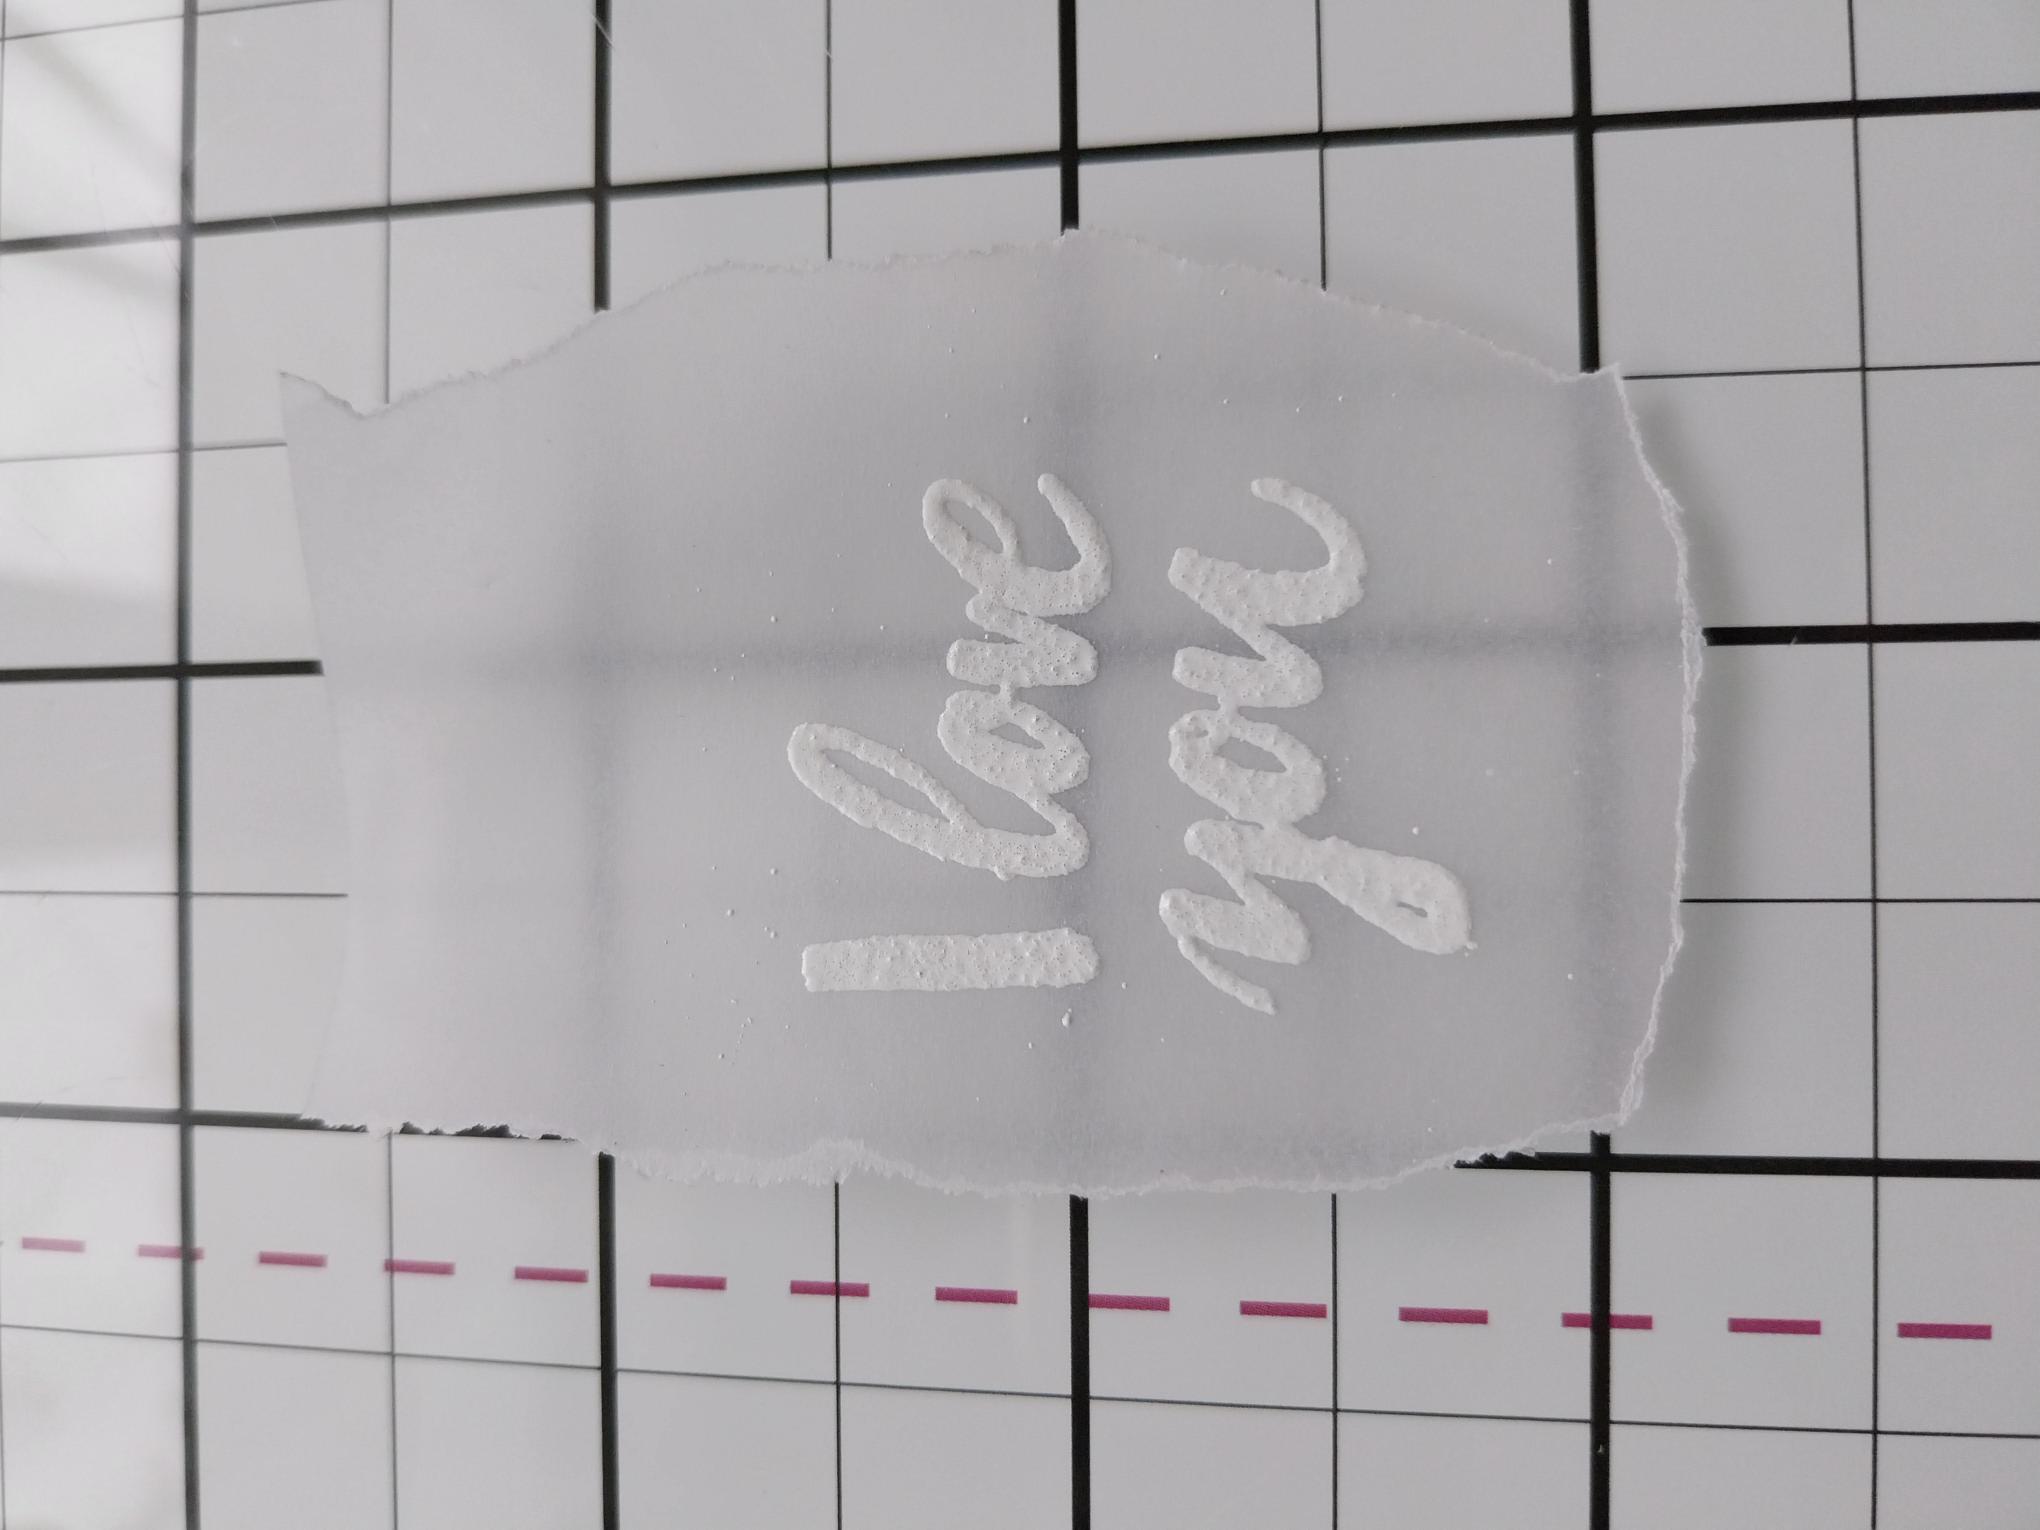
Tear a piece of vellum, big enough for the sentiment to fit on to and leaving excess vellum above. Wipe over the vellum with your anti-static bag before stamping the sentiment with the sticky embossing ink. Apply the white embossing powder over the sticky ink and heat set. Make sure your heat tool is hot BEFORE you take it to the powder, as this will help minimise any warping. |
|
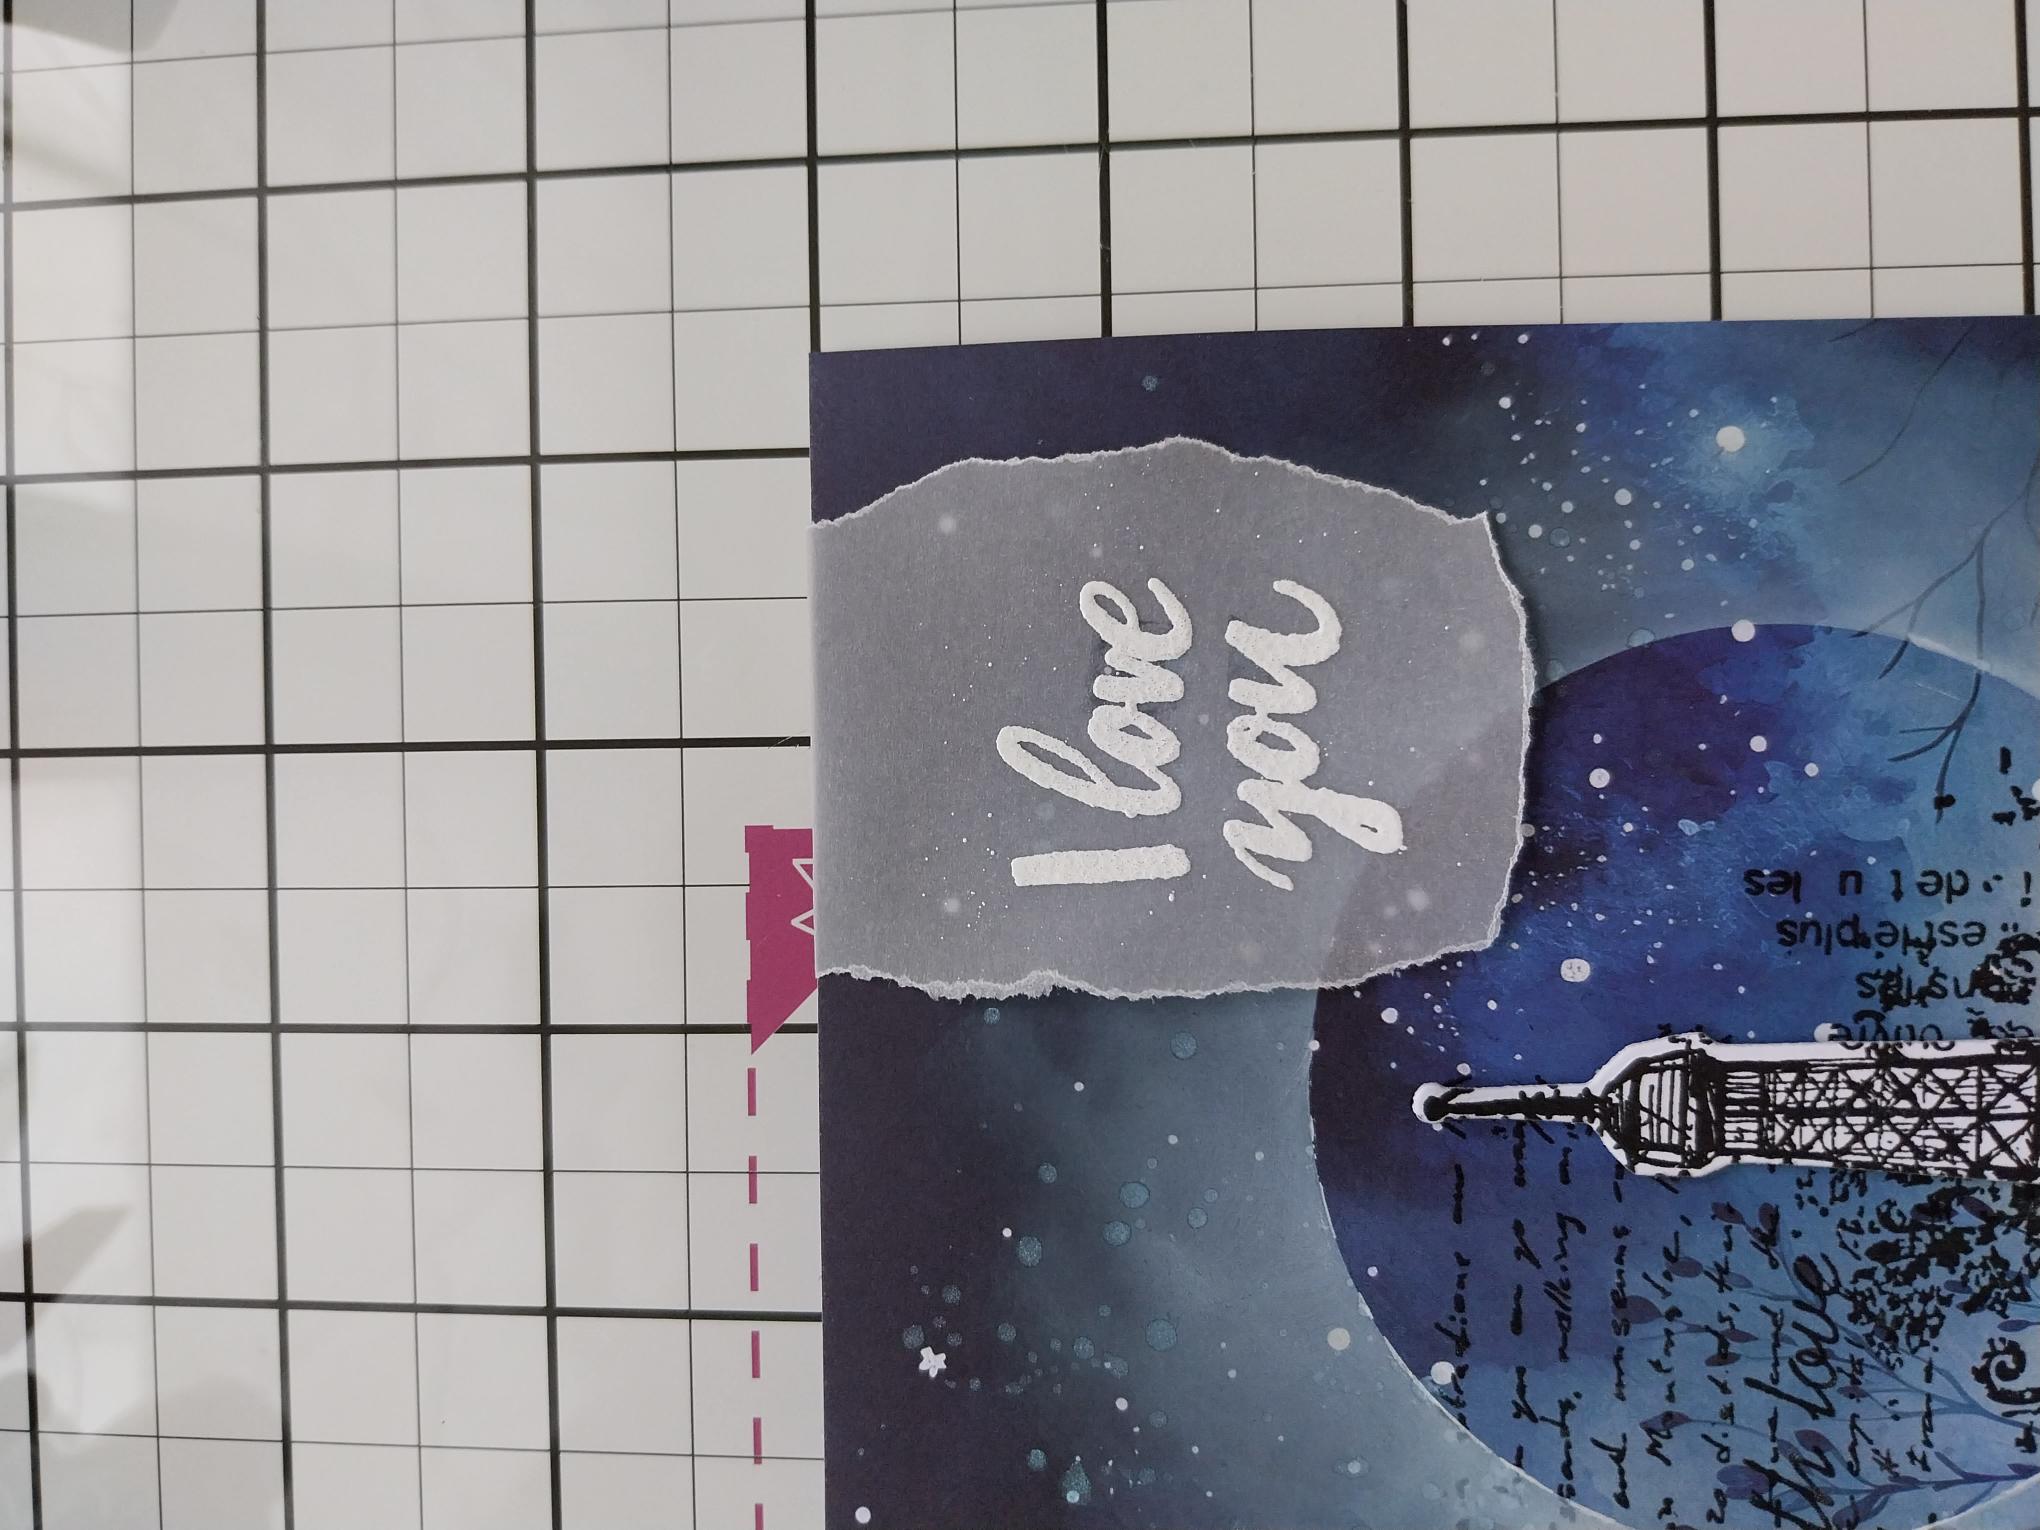
Lay the embossed vellum on the top right of your artwork, fold the excess vellum over the top of the card and adhere on the reverse with double-sided adhesive tape. |
|
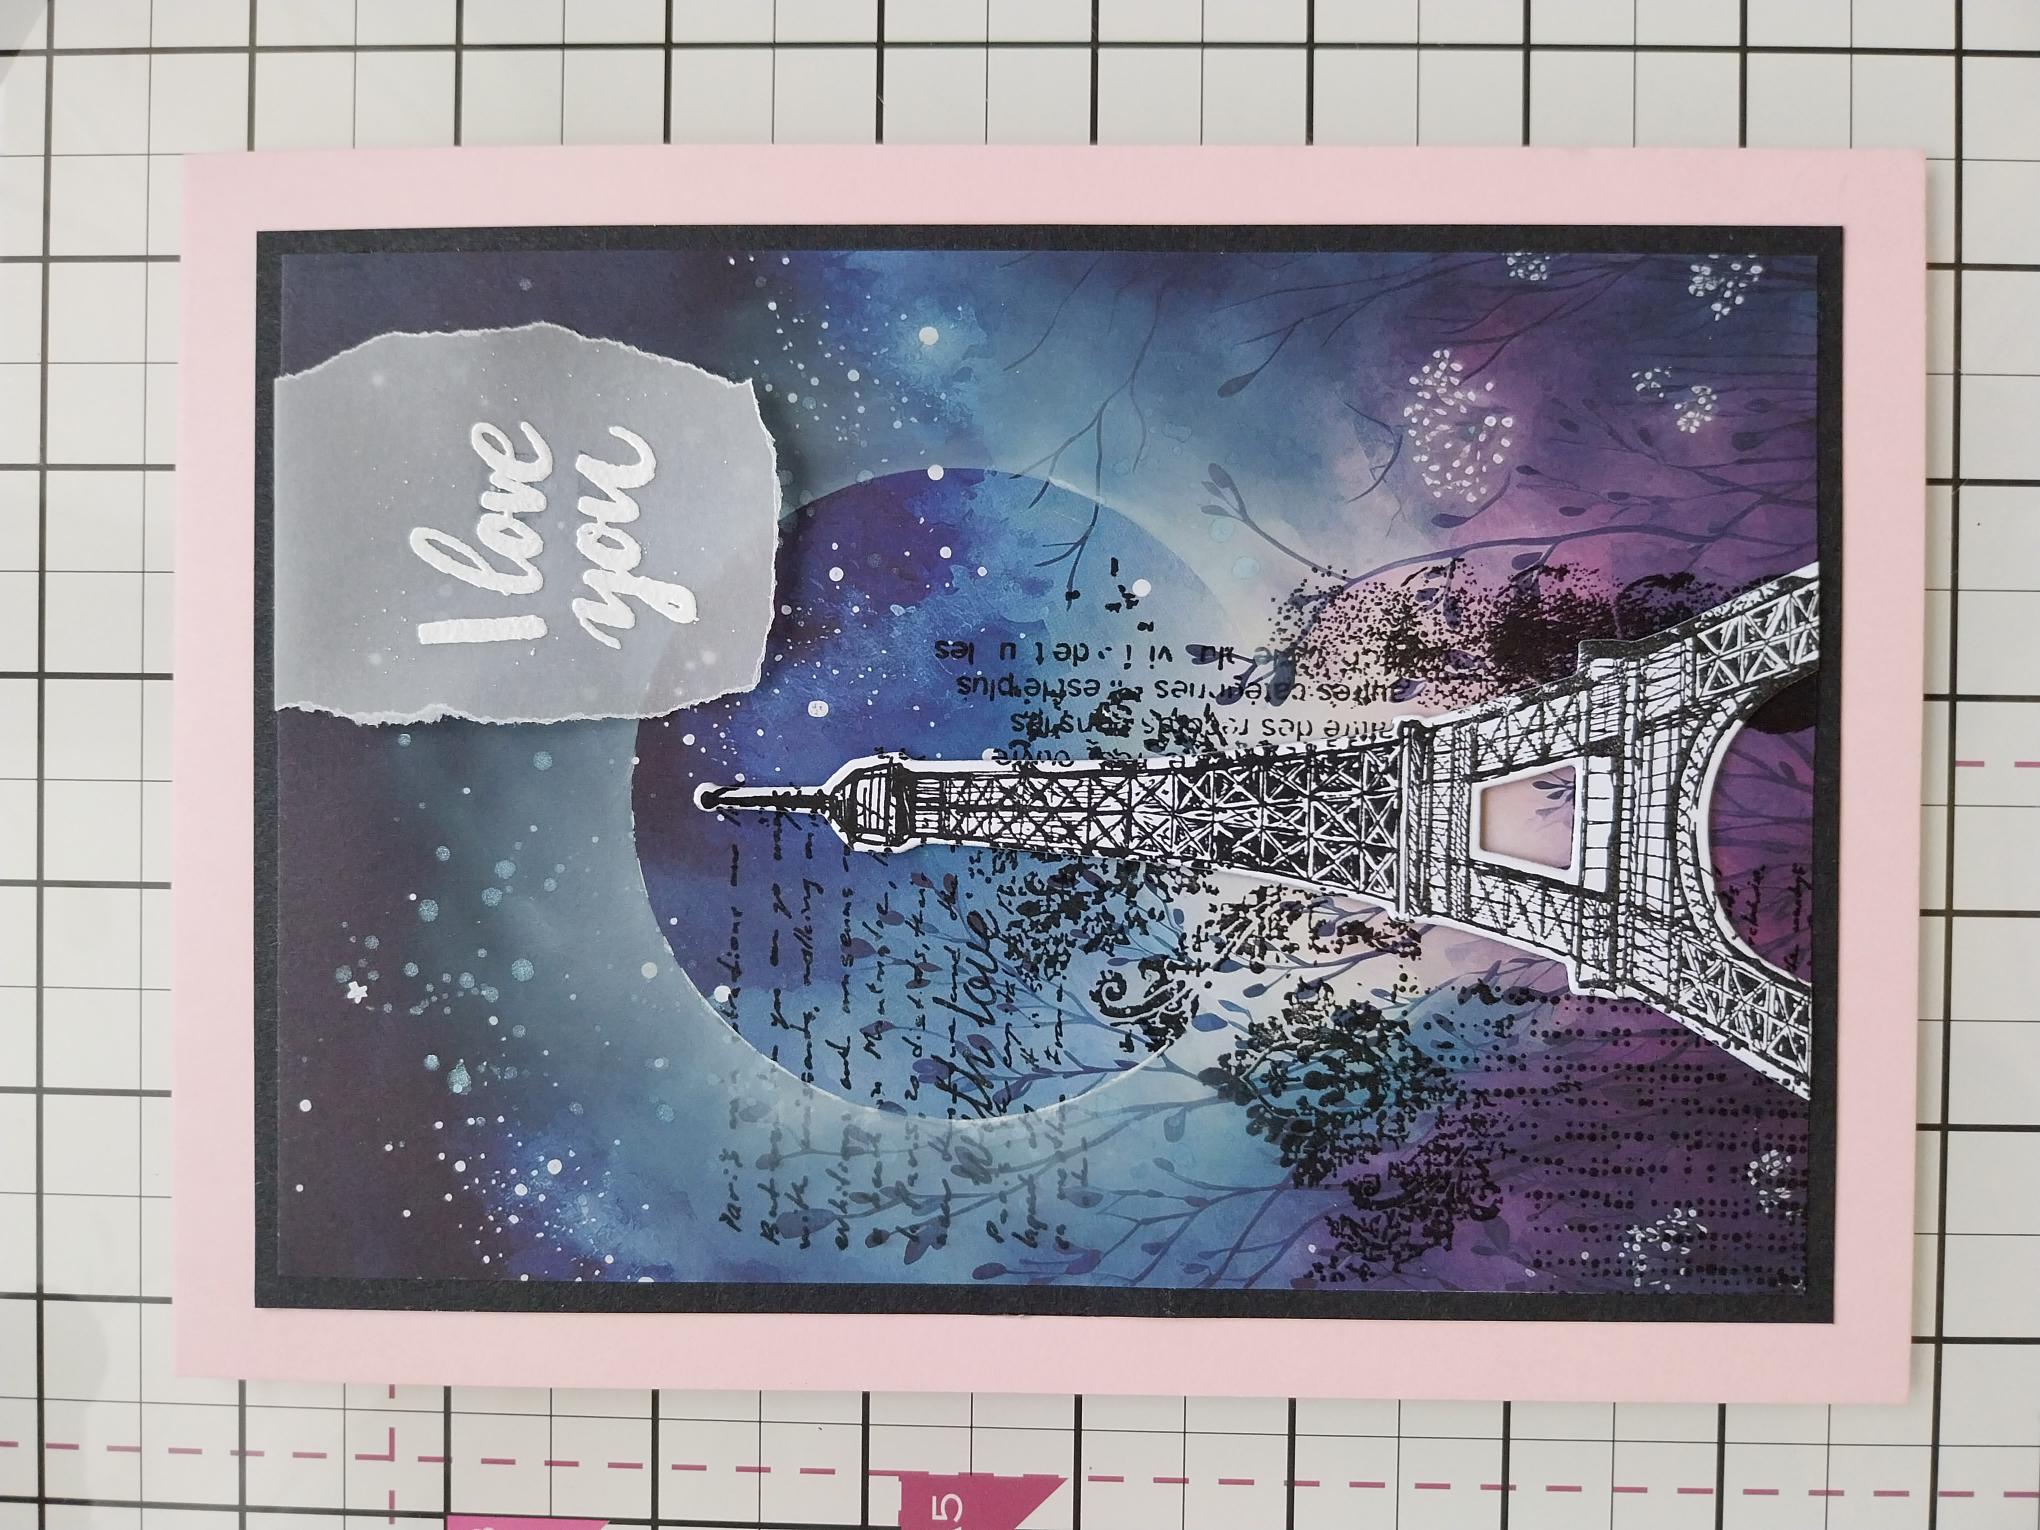
Mat your artwork on to black card, trimmed to 7 1/4 x 5" and then affix to your pink card blank. |

|
To finish, use the Stickles to add a touch of sparkle to your artwork, in particular around the edge of your Moon. |